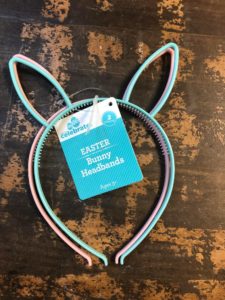
I love decorating for all holidays and I have been looking at all the Easter decor in the stores. I’m always looking for new ideas or items I can use to create a new idea. While shopping in Walmart I found a child’s Easter headband and I knew it would make a great craft item.
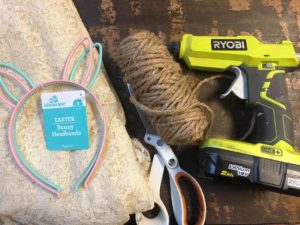
The supplies you will need for this project are :
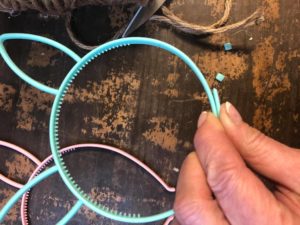
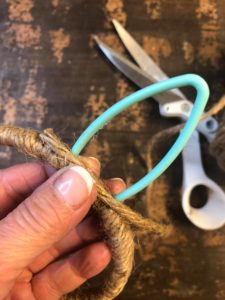
1. Plastics bunny headbands ( these are from Walmart)
2. Twine
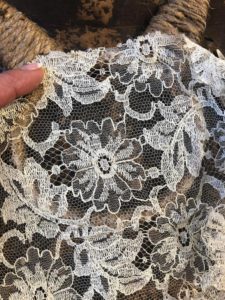
3. Lace
4. Glue gun
5. Scissors
6. Pink paint
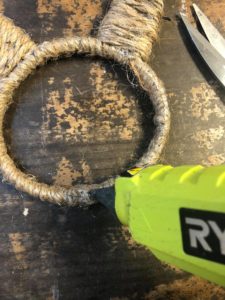
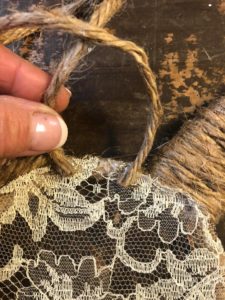
The first thing I did was cut the very ends of the headband off. This is going to allow you to join and glue the ends flush together.
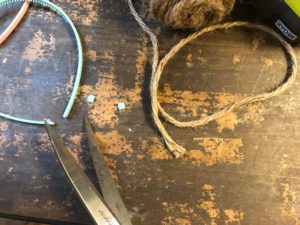
You will want to add hot glue and hold the ends to together. Once your ends are secure and you have your head formed it is time to start adding your twine.
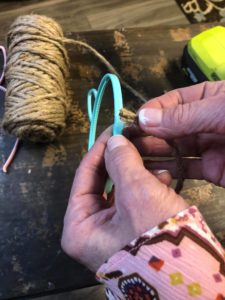
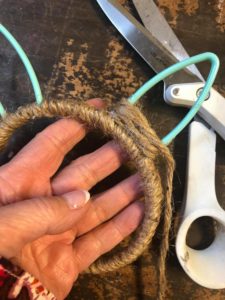
You will want to add some glue and start wrapping the twine around the headband.
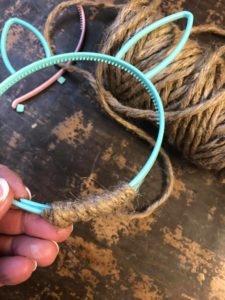
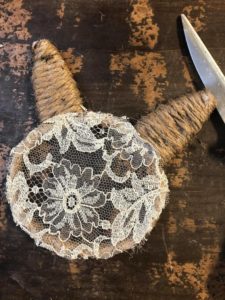
Once you have the twine wrapped around the base you will then want to add twine to the ears.
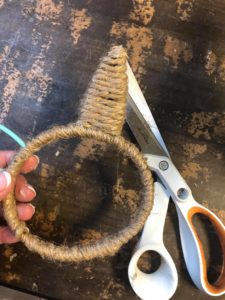
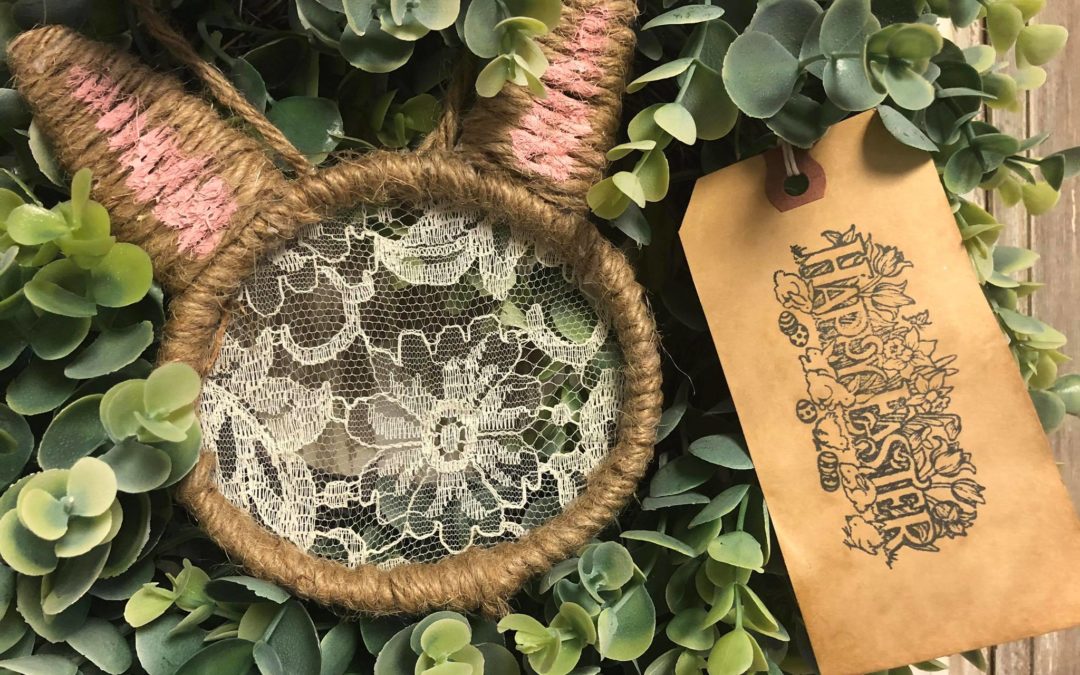
After the headband is completely wrapped in twine I then add lace to the back. You will want to add some hot glue and then place the lace onto the headband being sure to keep it stretched so there won’t be any sagging .
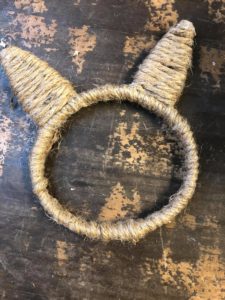
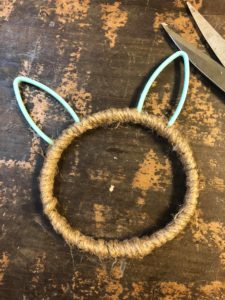
Then the last step is to just add a little pink paint to the ears.

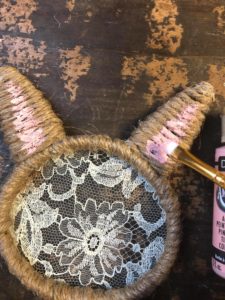
I added a piece of twine to the back for hanging.
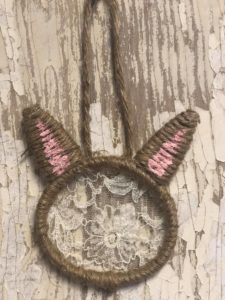
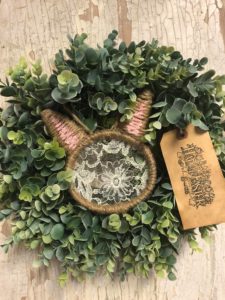
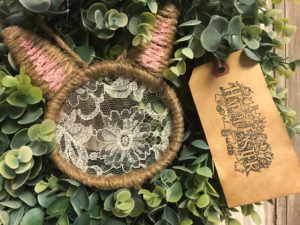
I hope this will inspire you to get create and look at things in other ways. This was a child’s headband and we created it to be an adorable bunny head. This is such a quick and simple DIY and I hope you will all give it a try.
So cute! I can’t keep up with you, girl
Omg this is so stinking cute
Love, love love this – it was something a little different and I love twine, lace and dolies!!
Barb those are so Cute,,, I Can’t get much done around my house because of watching all your Fantastic Crafts…Your Whole Family is so Sweet… Happy Crafting…
I love this idea I love everything you do Barb you buzzed around like a little bumblebee I love everything you do have a good evening hope to see you soon I miss the video on the sock bunnies
Barb trying to write everything down. I got to get me book to keep up and remember everything you do.. lol. I LOVE trying to do your crafts..
Thanks sssooo much for sharing a link…can’t always catch you live…wish you would do for every project
Love this!🐰
So adorable and creative.
Simple and elegant. Love it. Thank you Barb.
If you can’t find them in your Walmart, I found the same headbands only 4 for dollar at the dollar tree!