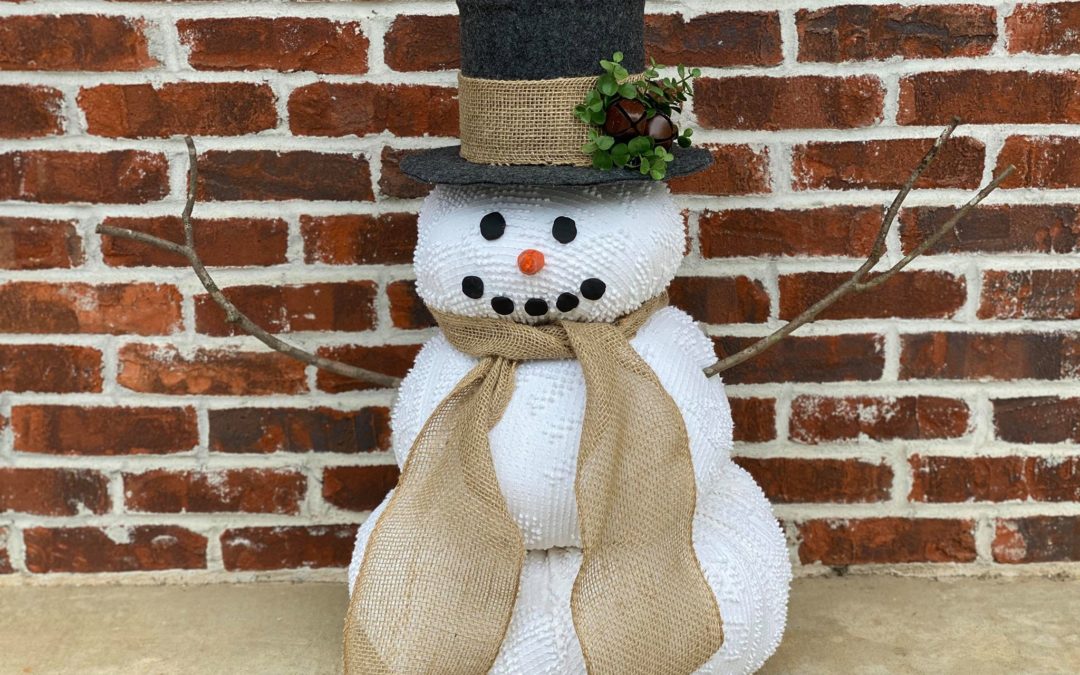
Okay everyone if you’re following The Shabby Tree then you all know that I have been talking about making a fabric snowman. This snowman is so easy to create and you can make him as unique as you want. I love decorating for Christmas and this snowman is going to look amazing next to my flocked tree!
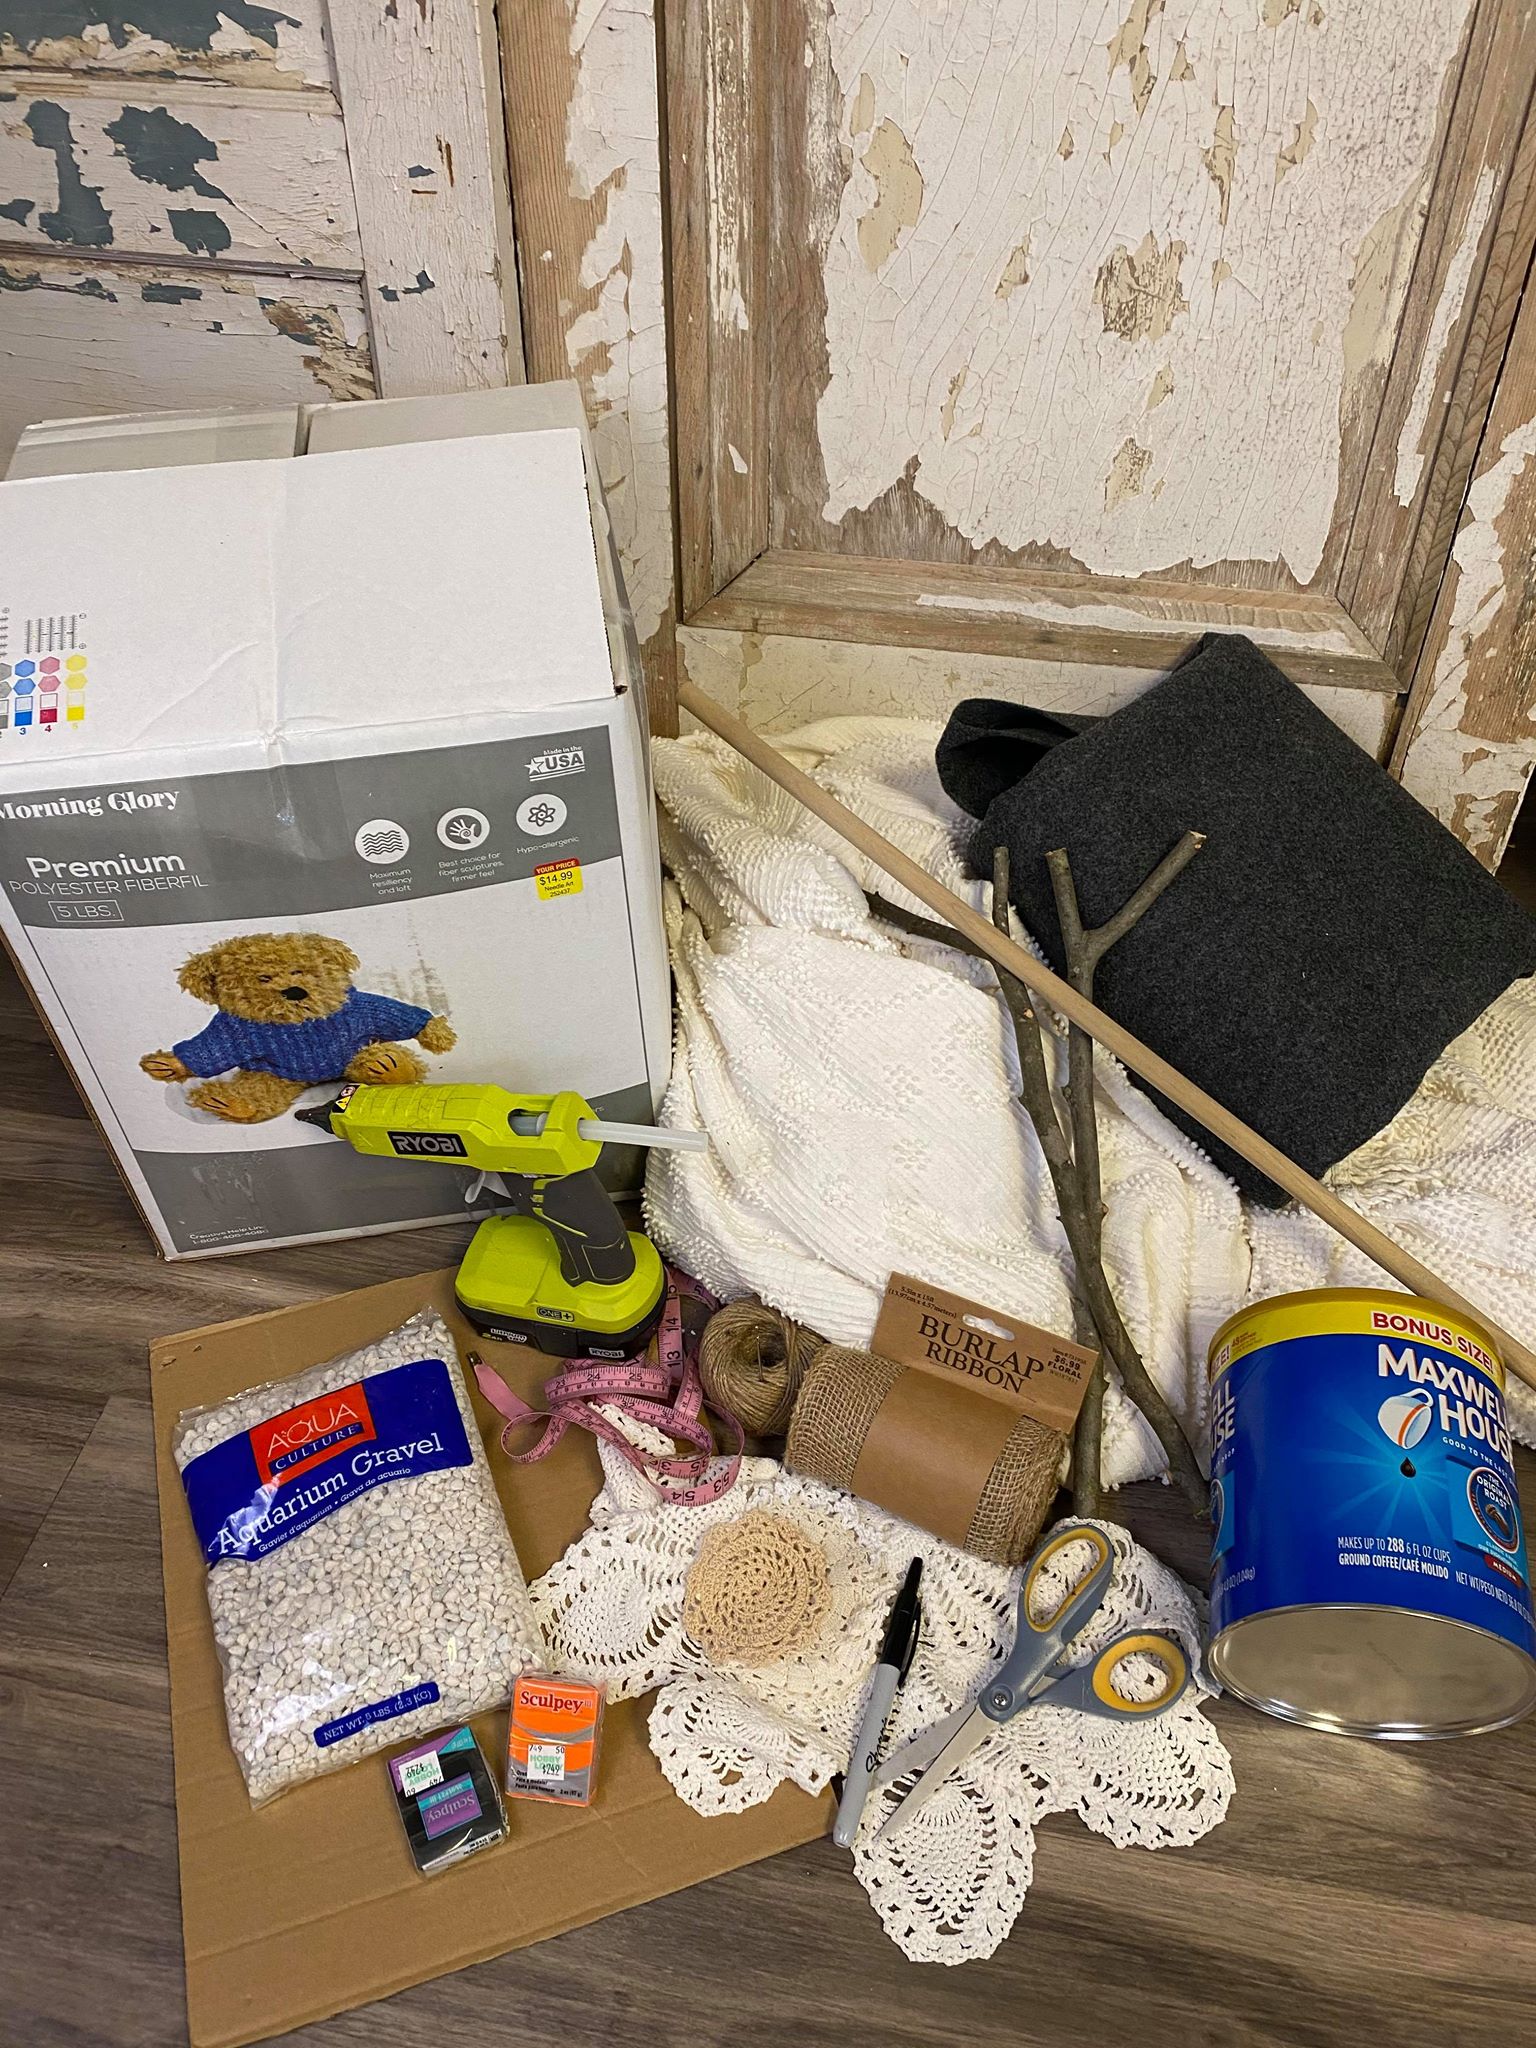
The supplies you will need for snowman are:
1. Material (how much material depends on how big you will be making your snowman)
2. Fish tank gravel
3. Dowel (I grabbed a dowel from Walmart and it is a half inch round)
4. Cardboard
5. Coffee can
6. Felt for hat (I would get one yard)
7. Sticks for arms
8. Polyester fiberfill
9. Scissors and hot glue
10. Twine, yarn needle and tape measure
11. Burlap ribbon (I purchased my ribbon from Hobby Lobby)
12. Orange and black sculpey (I purchased mine from Hobby Lobby)
13. Pen or marker
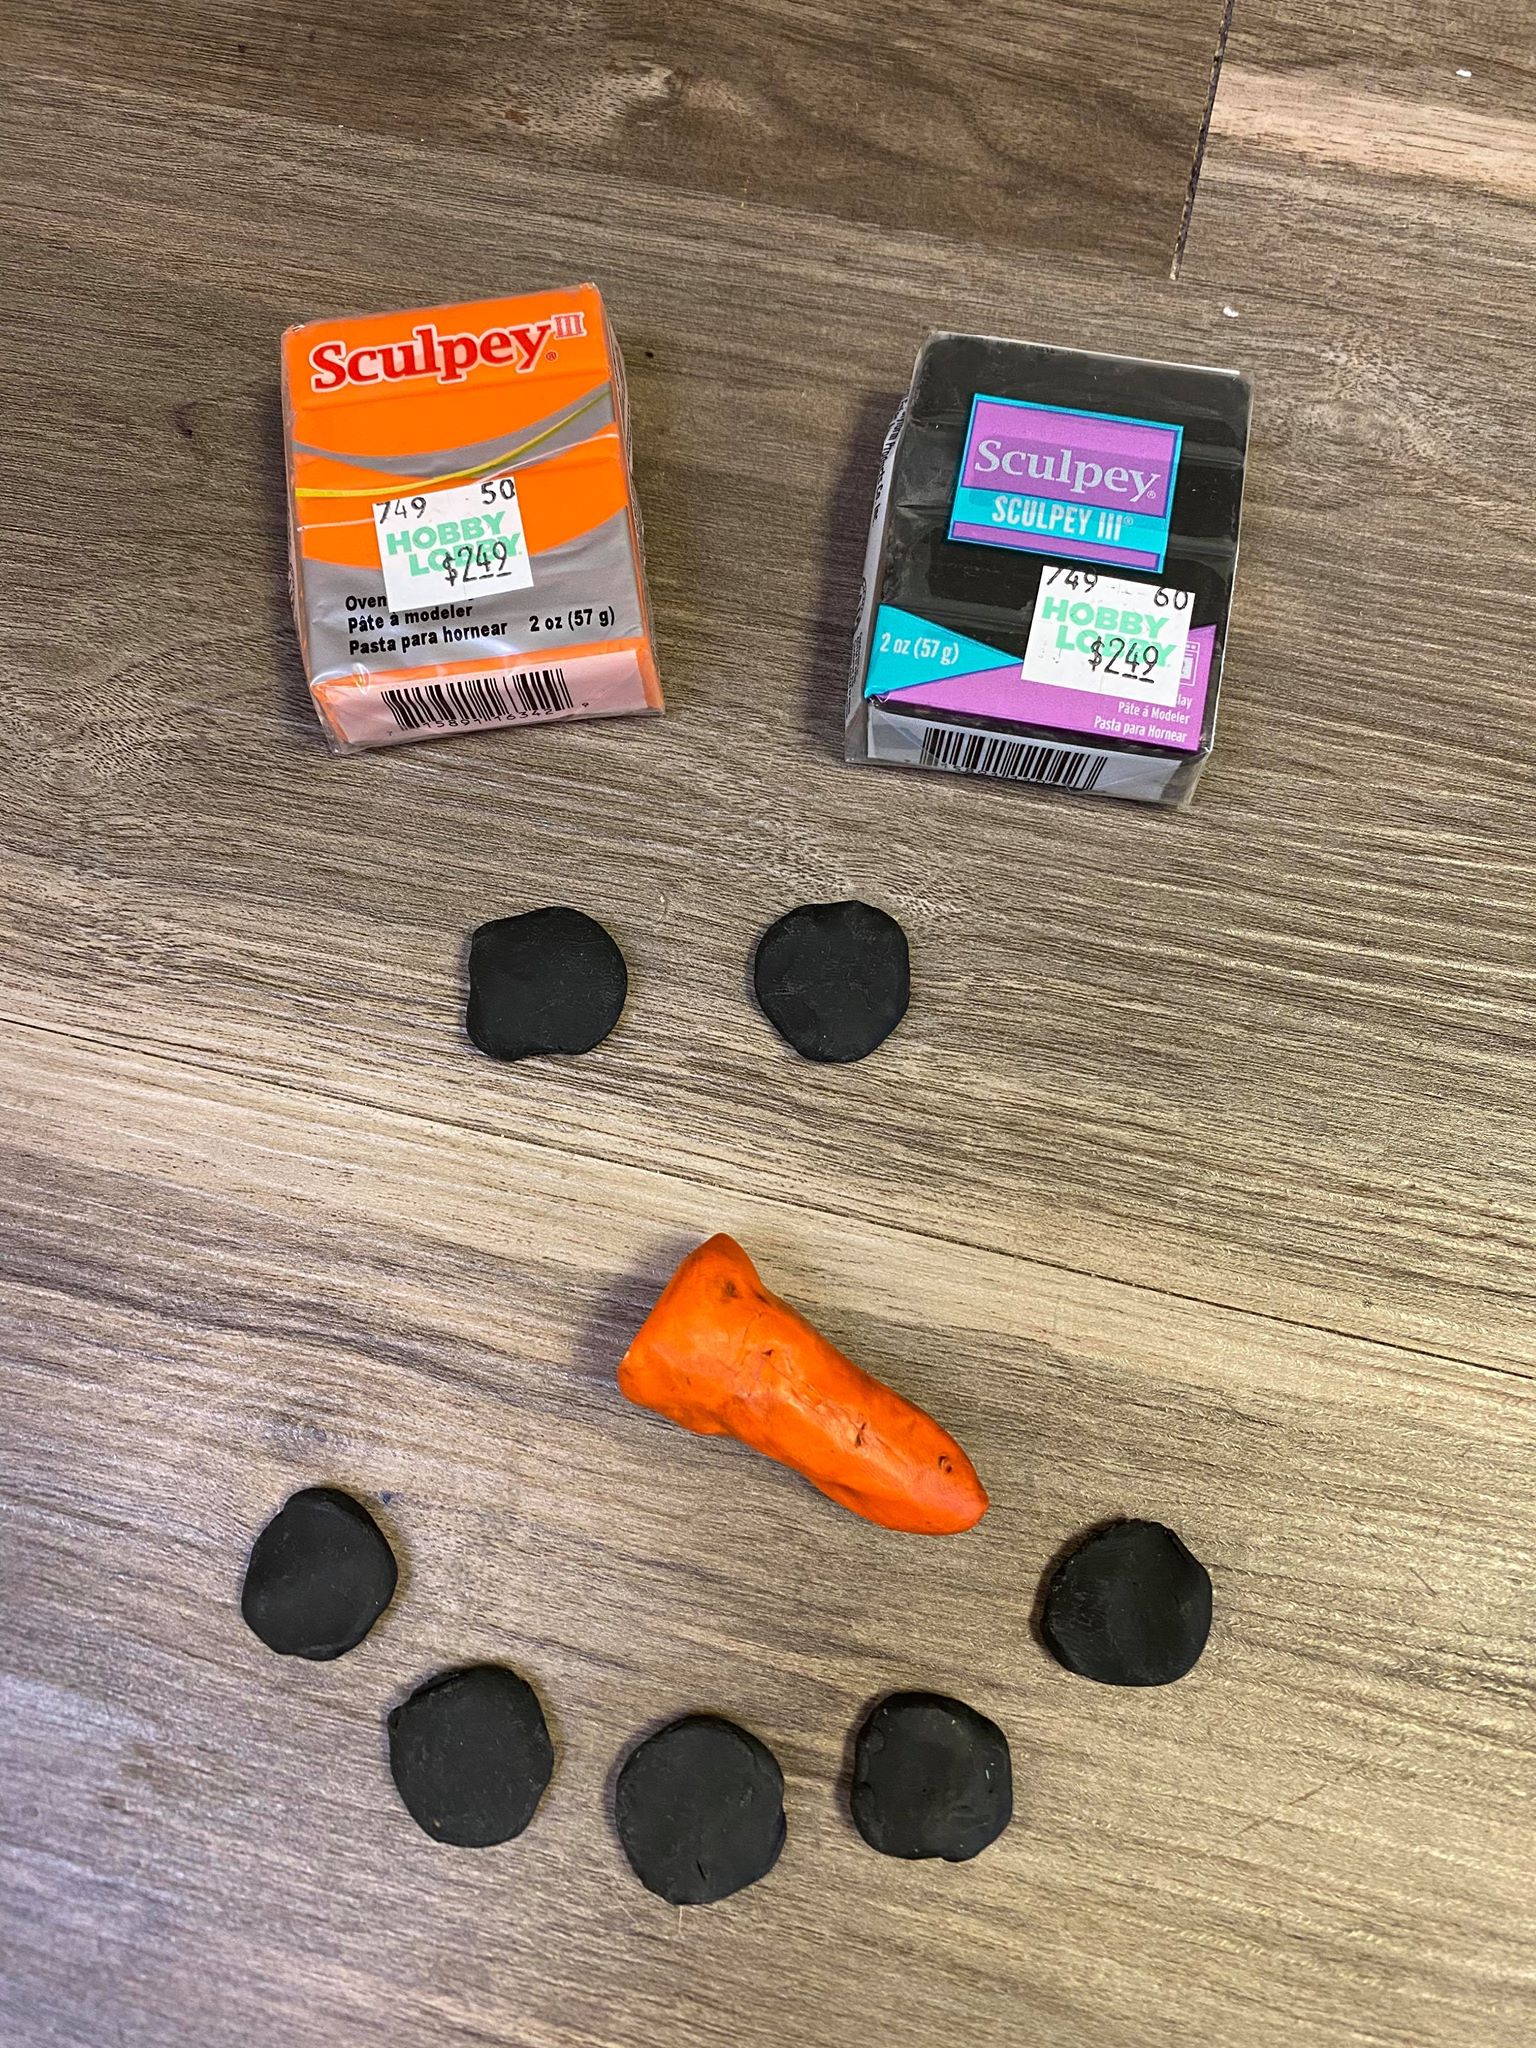
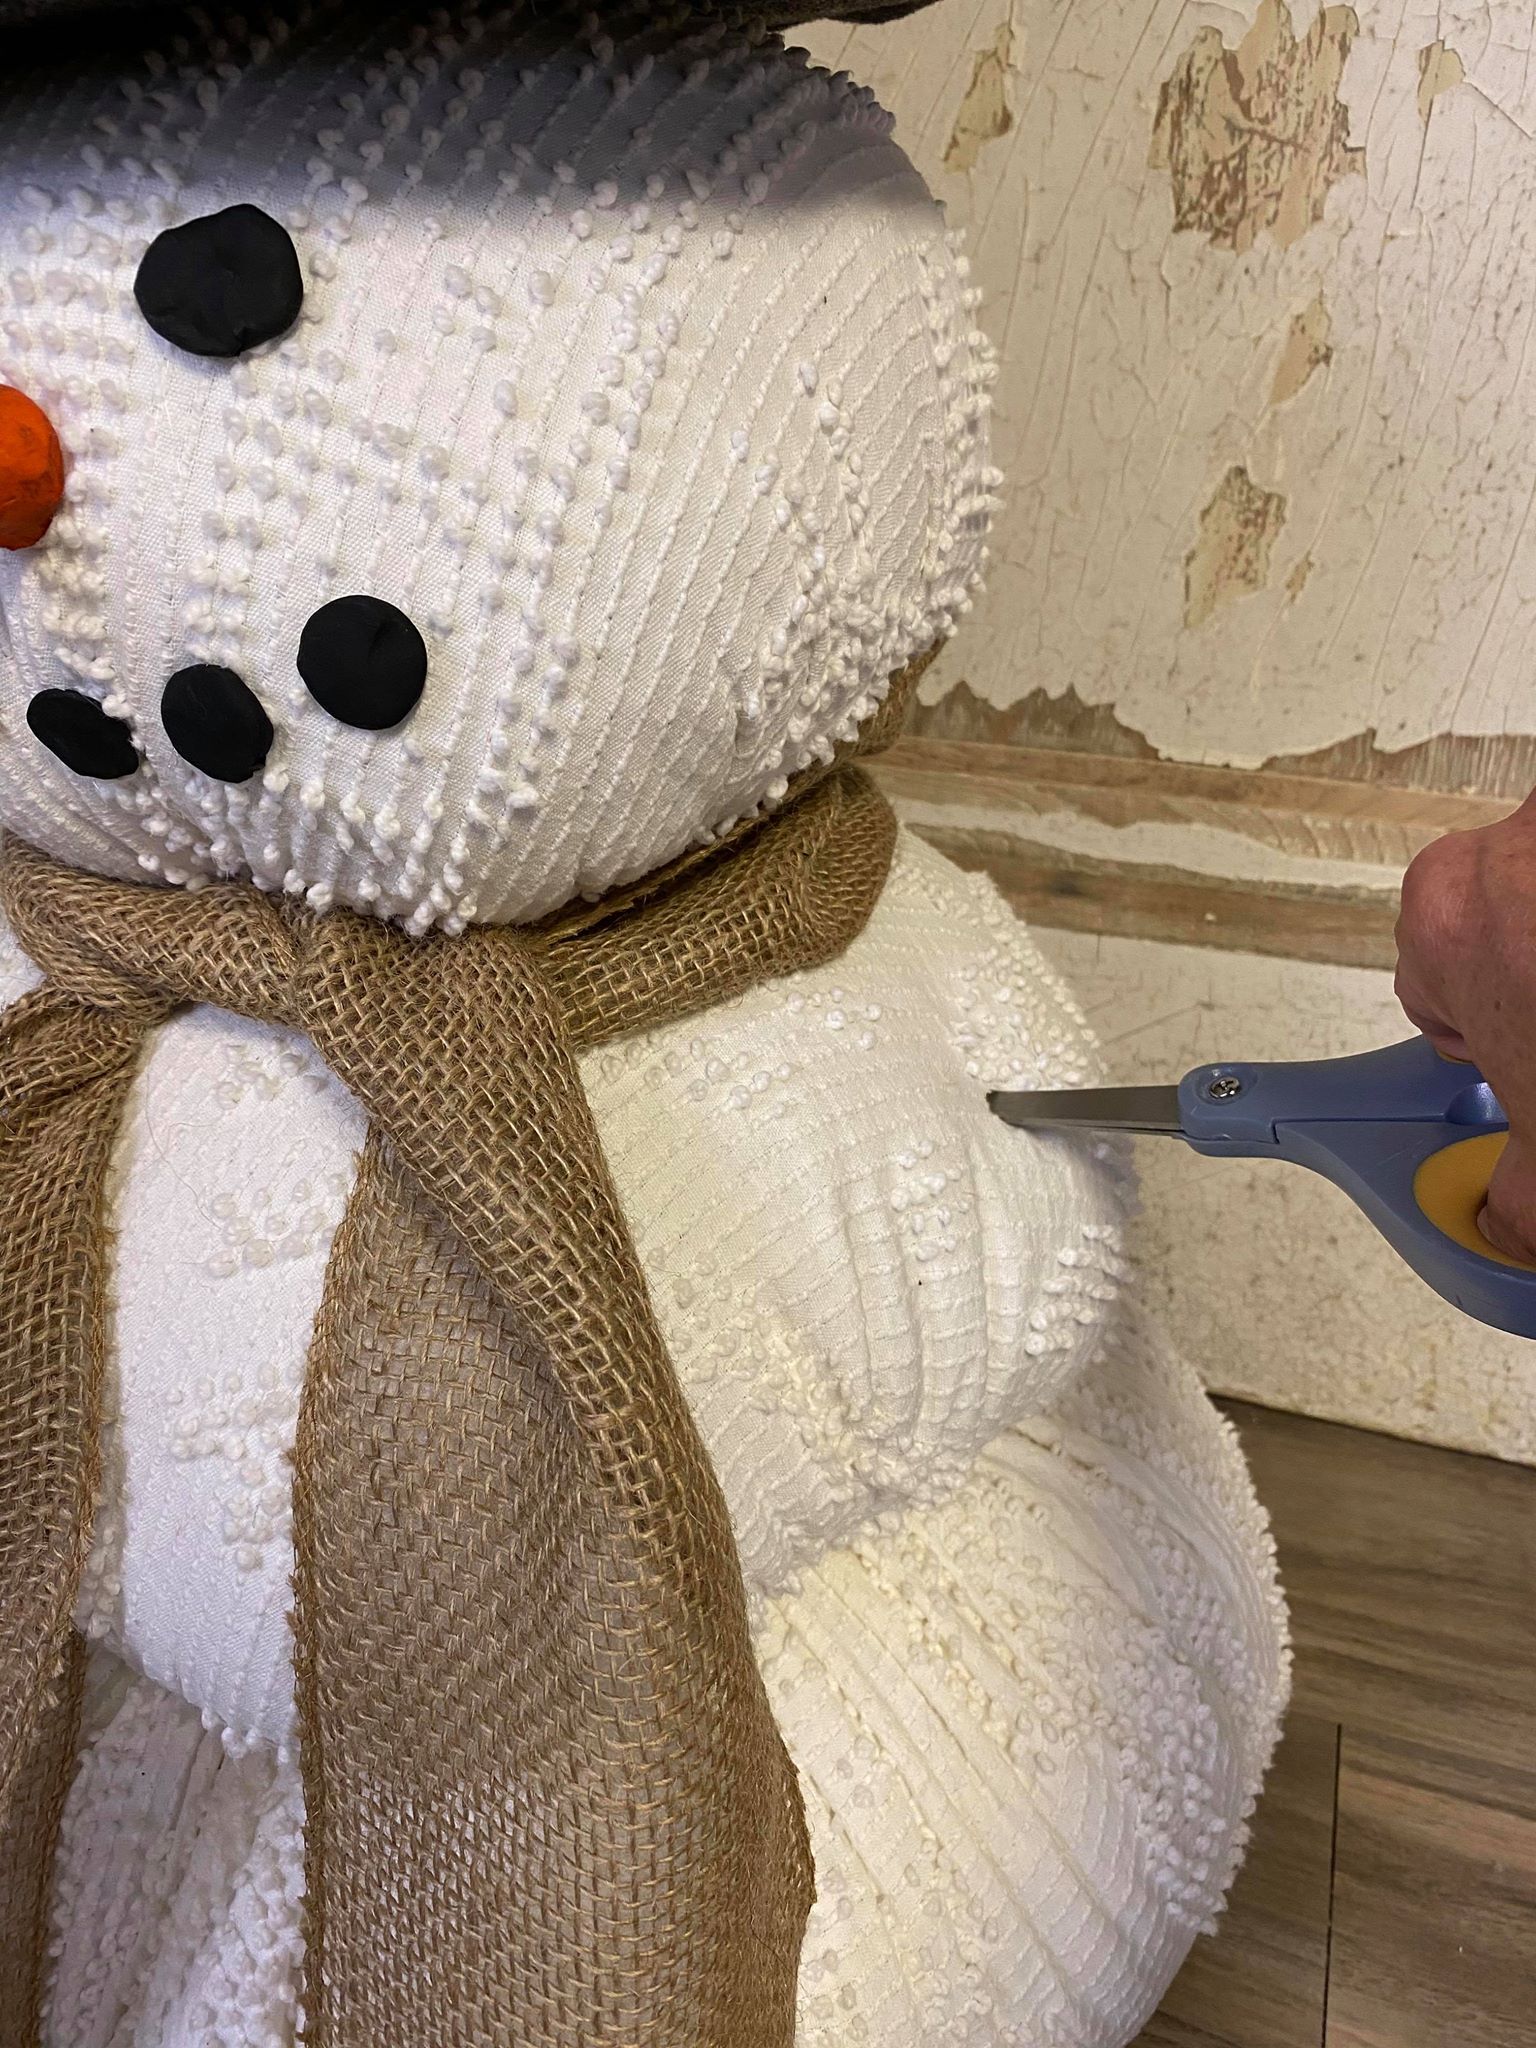
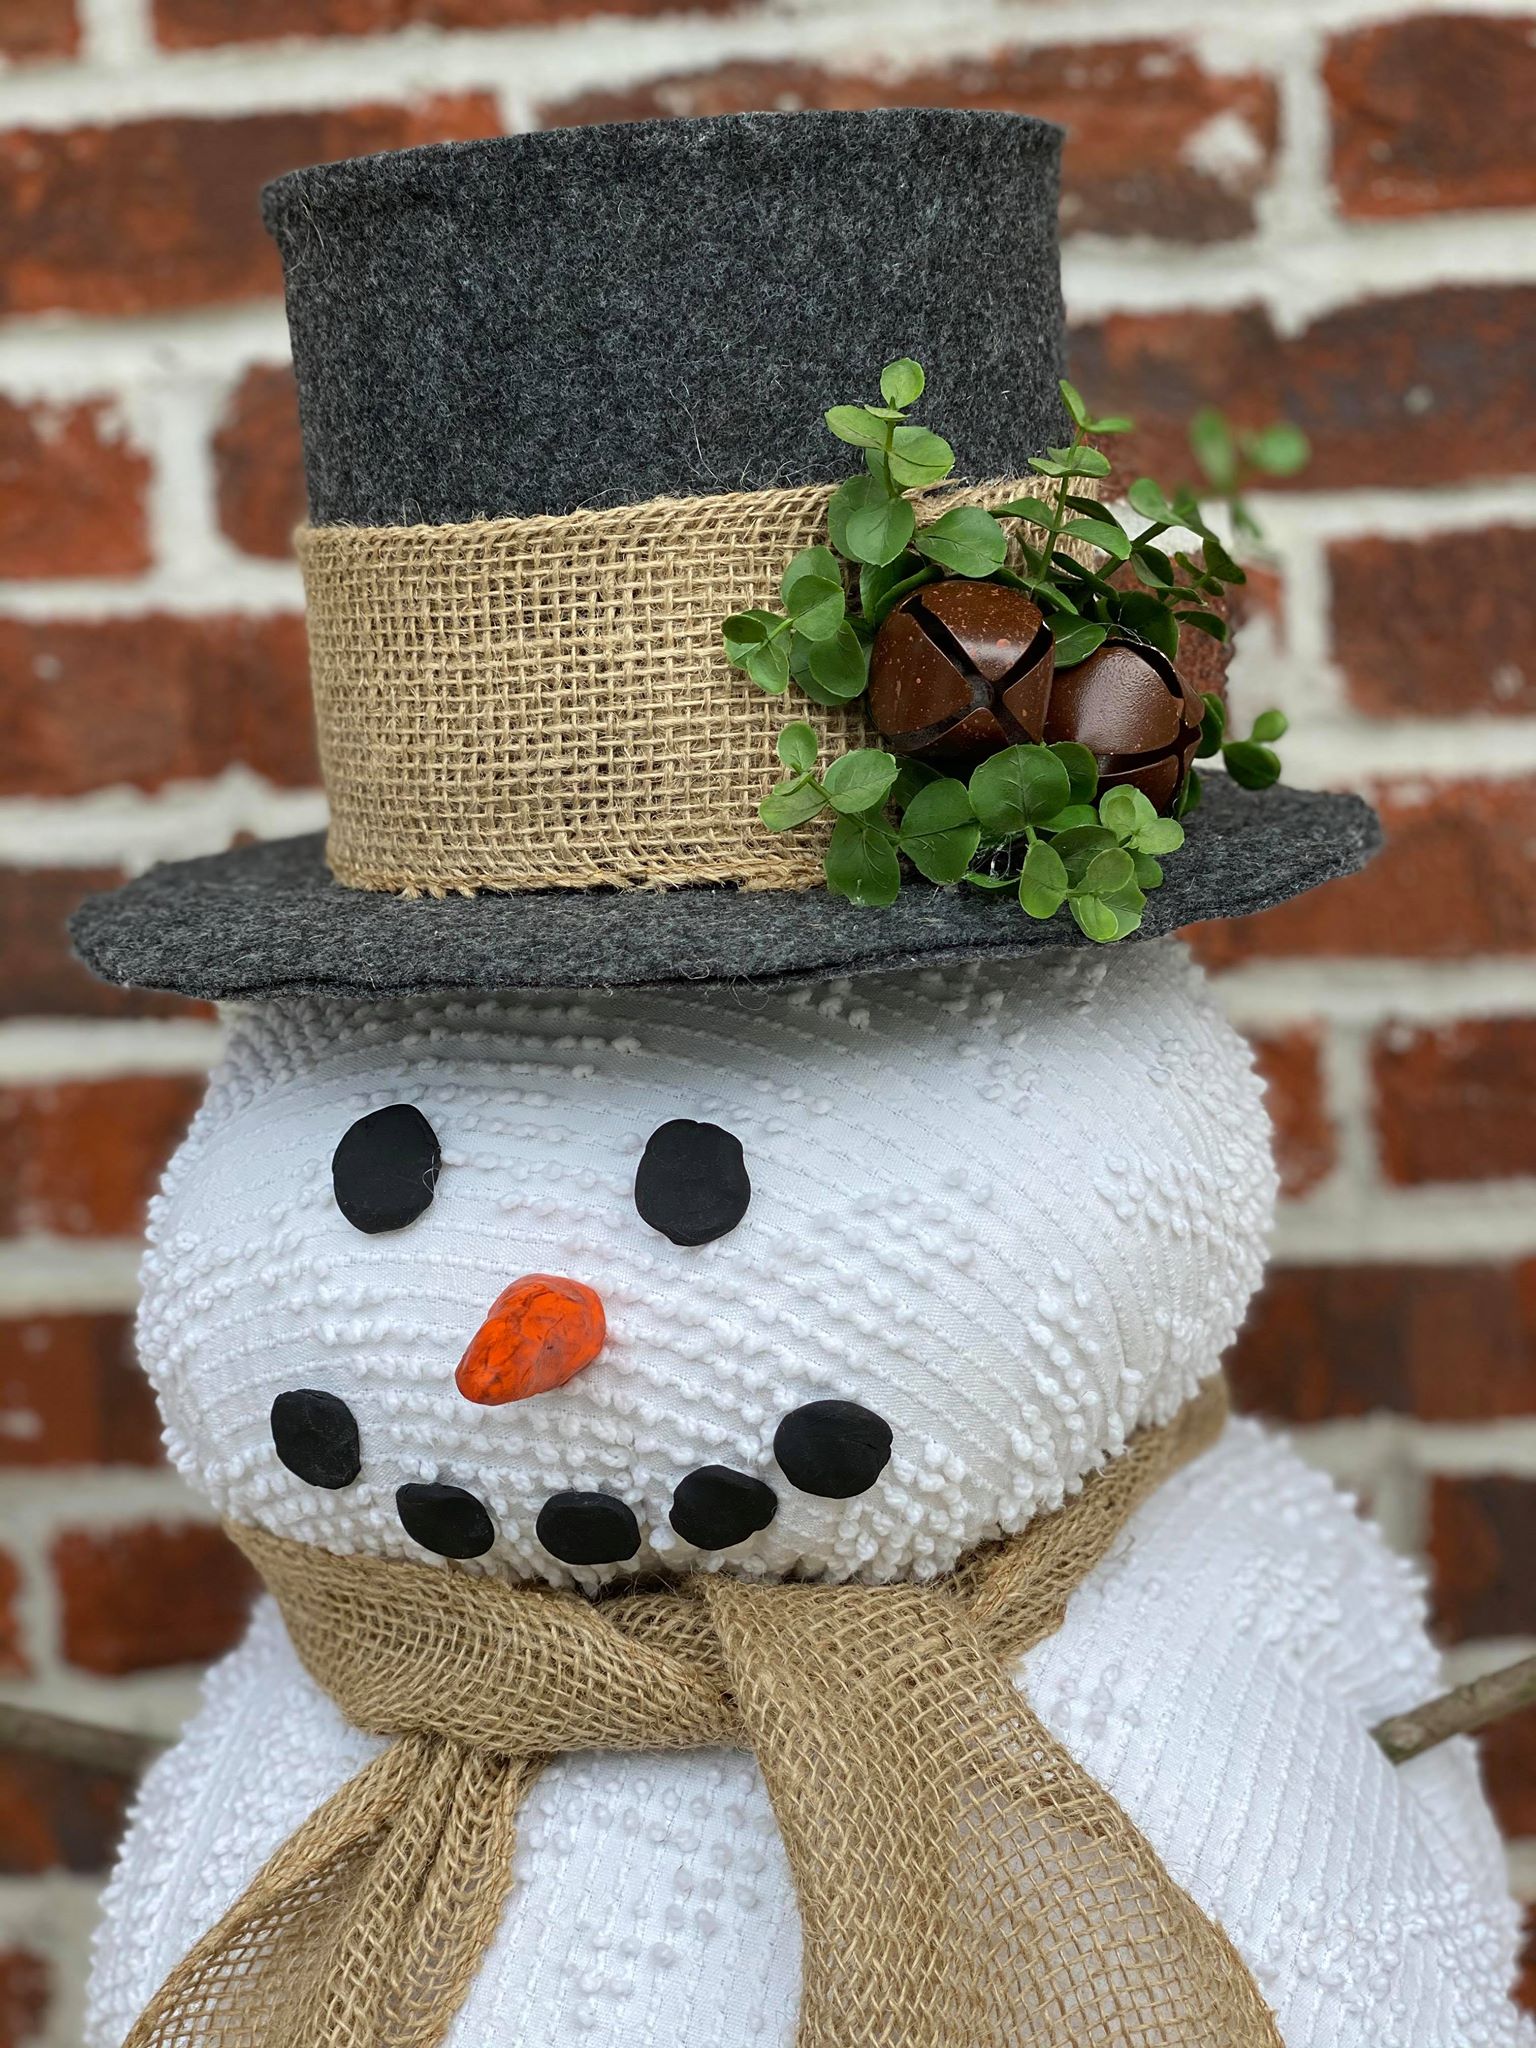
The first step is to form your nose, eyes and mouth out of the sculpey. The directions on the packaging say to bake in oven at 275 degrees for 15 minutes.
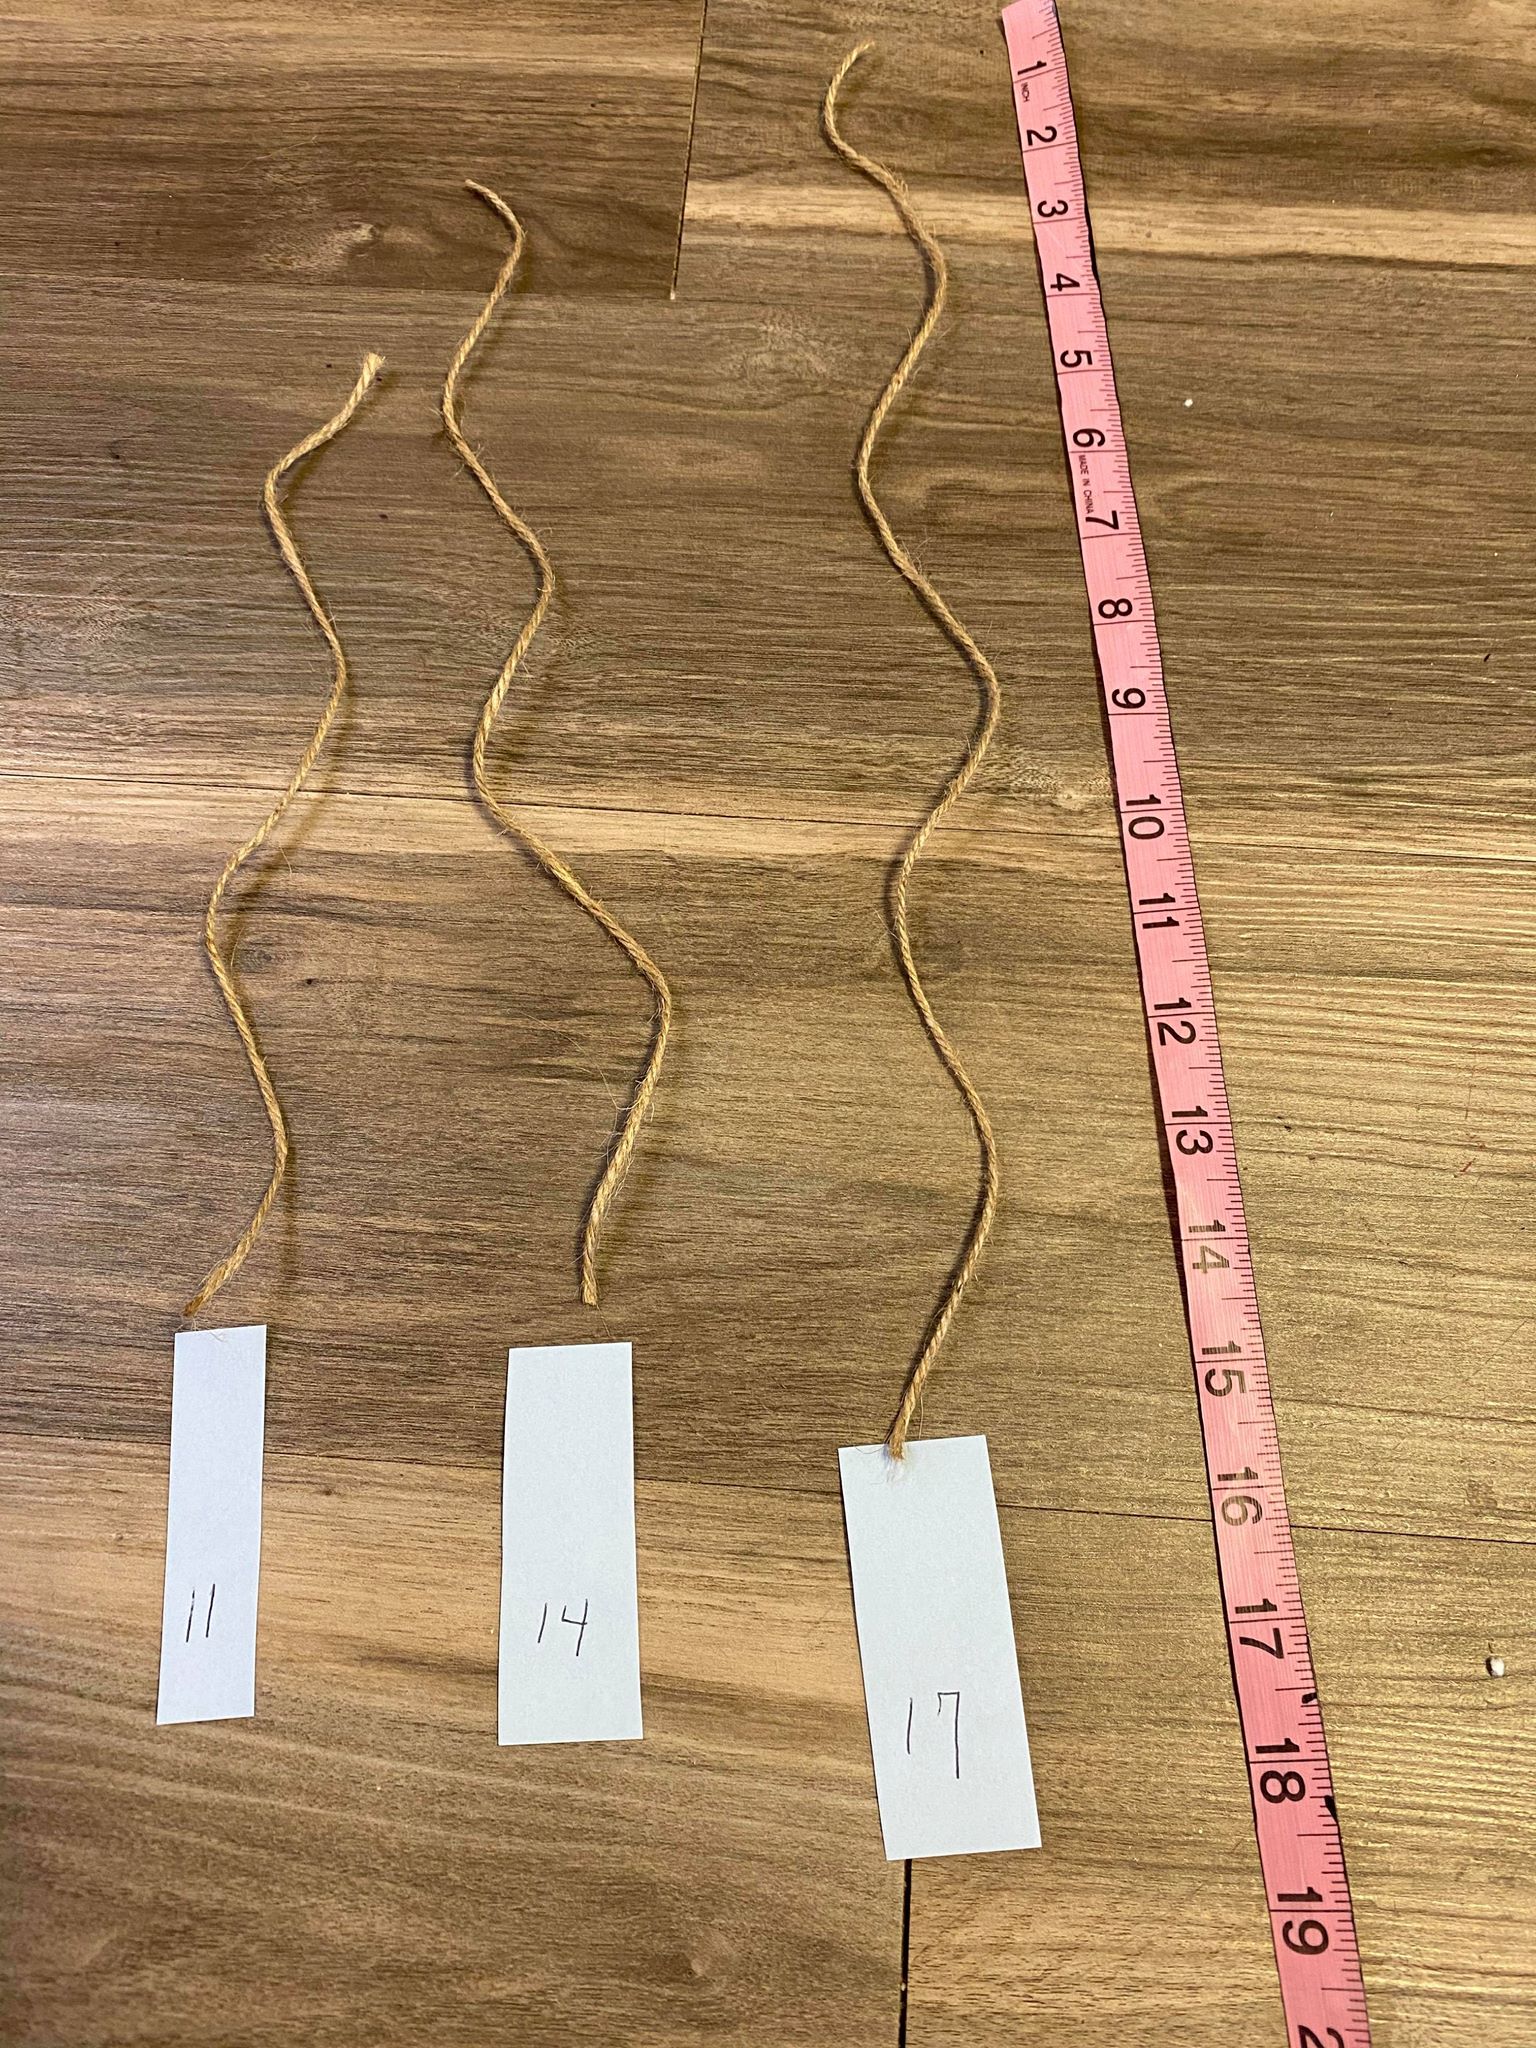
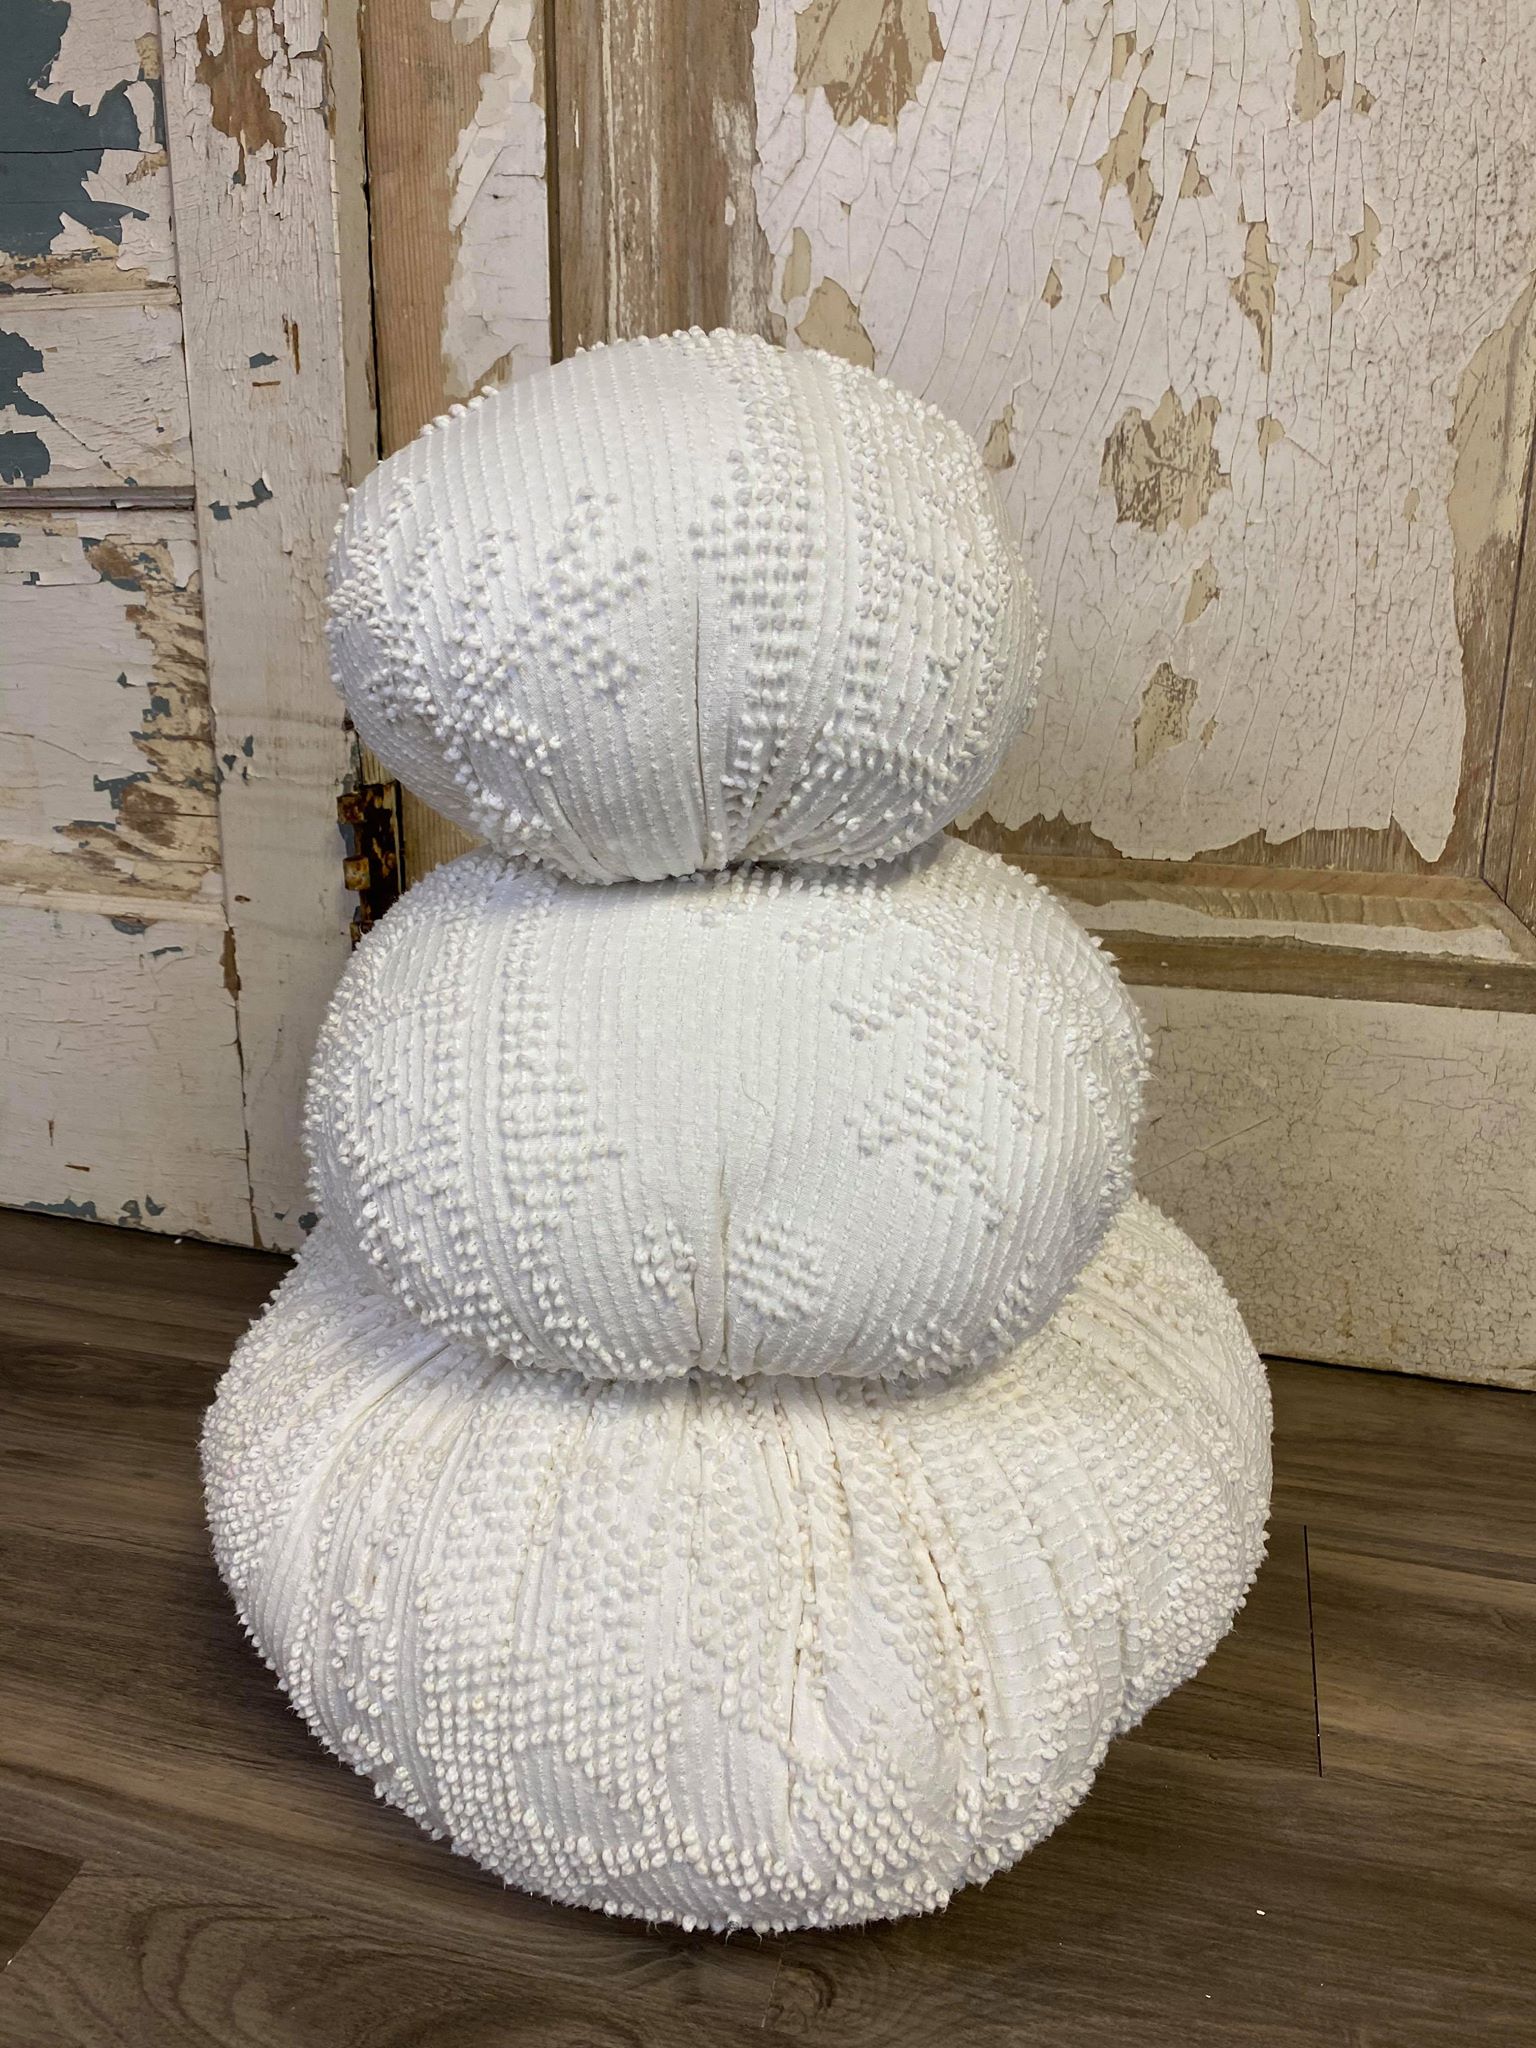
If you want to make your snowman the same size as mine then you will need to cut 3 pieces of twine. You will cut an 11 inch piece, 14 inch piece and a 17 inch piece. You can cut your pieces of twine bigger items smaller. These pieces will create a snowman measuring 21 inches high without his hat.
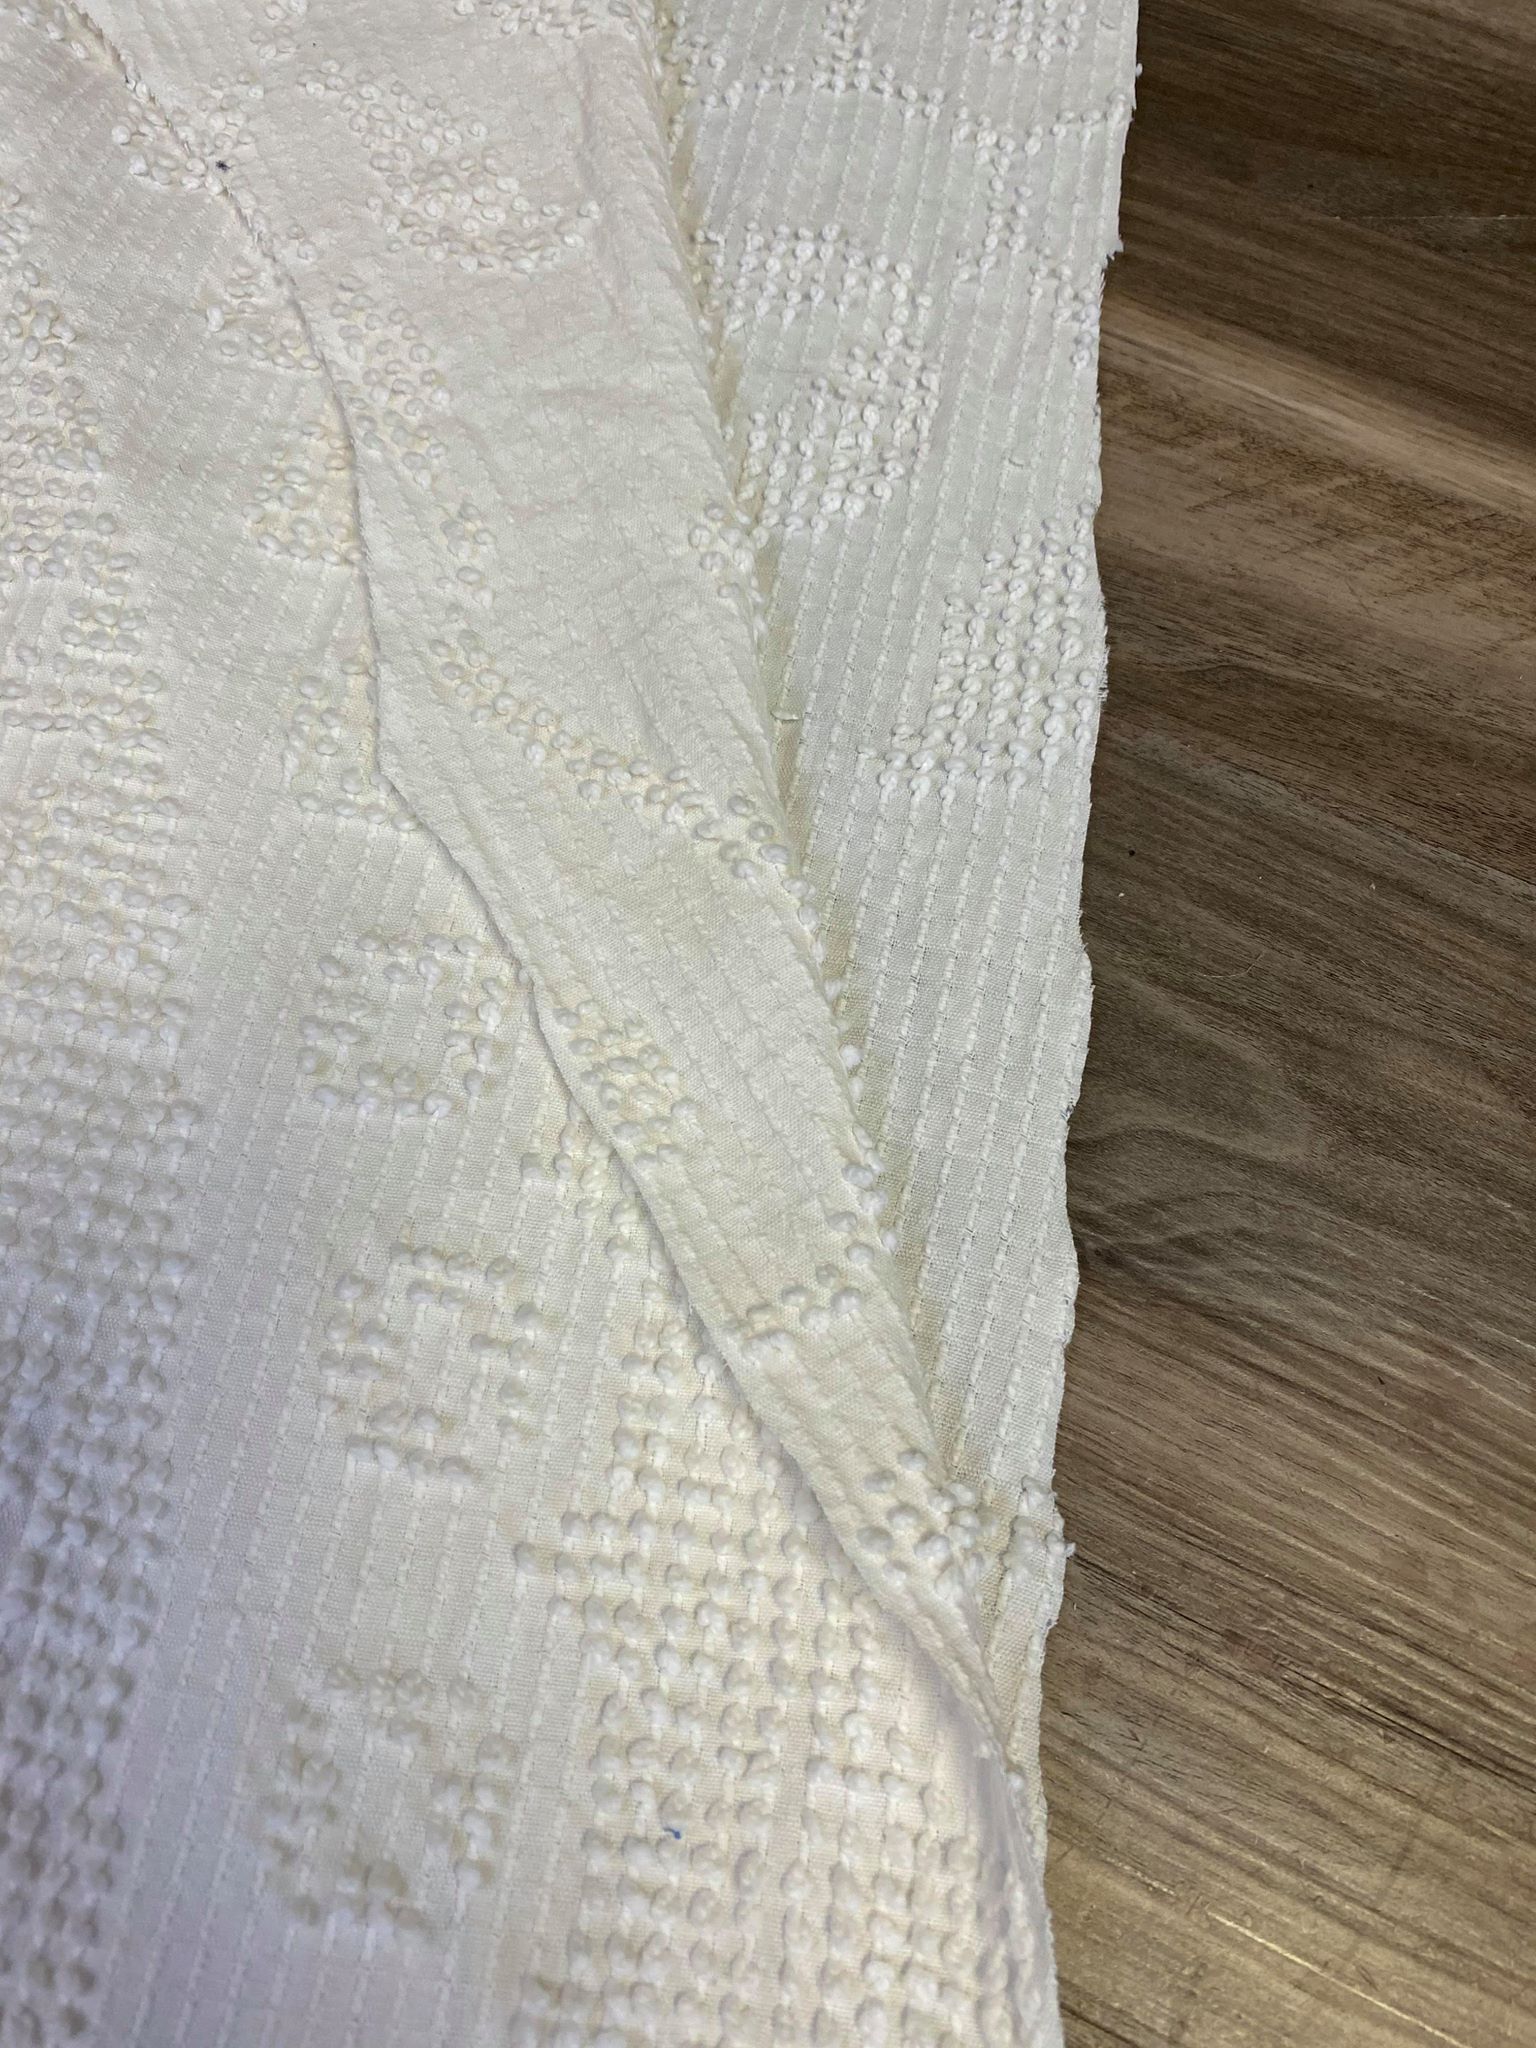
Fold your material in half. I am using an old chenille bedspread that I got from a yard sale.
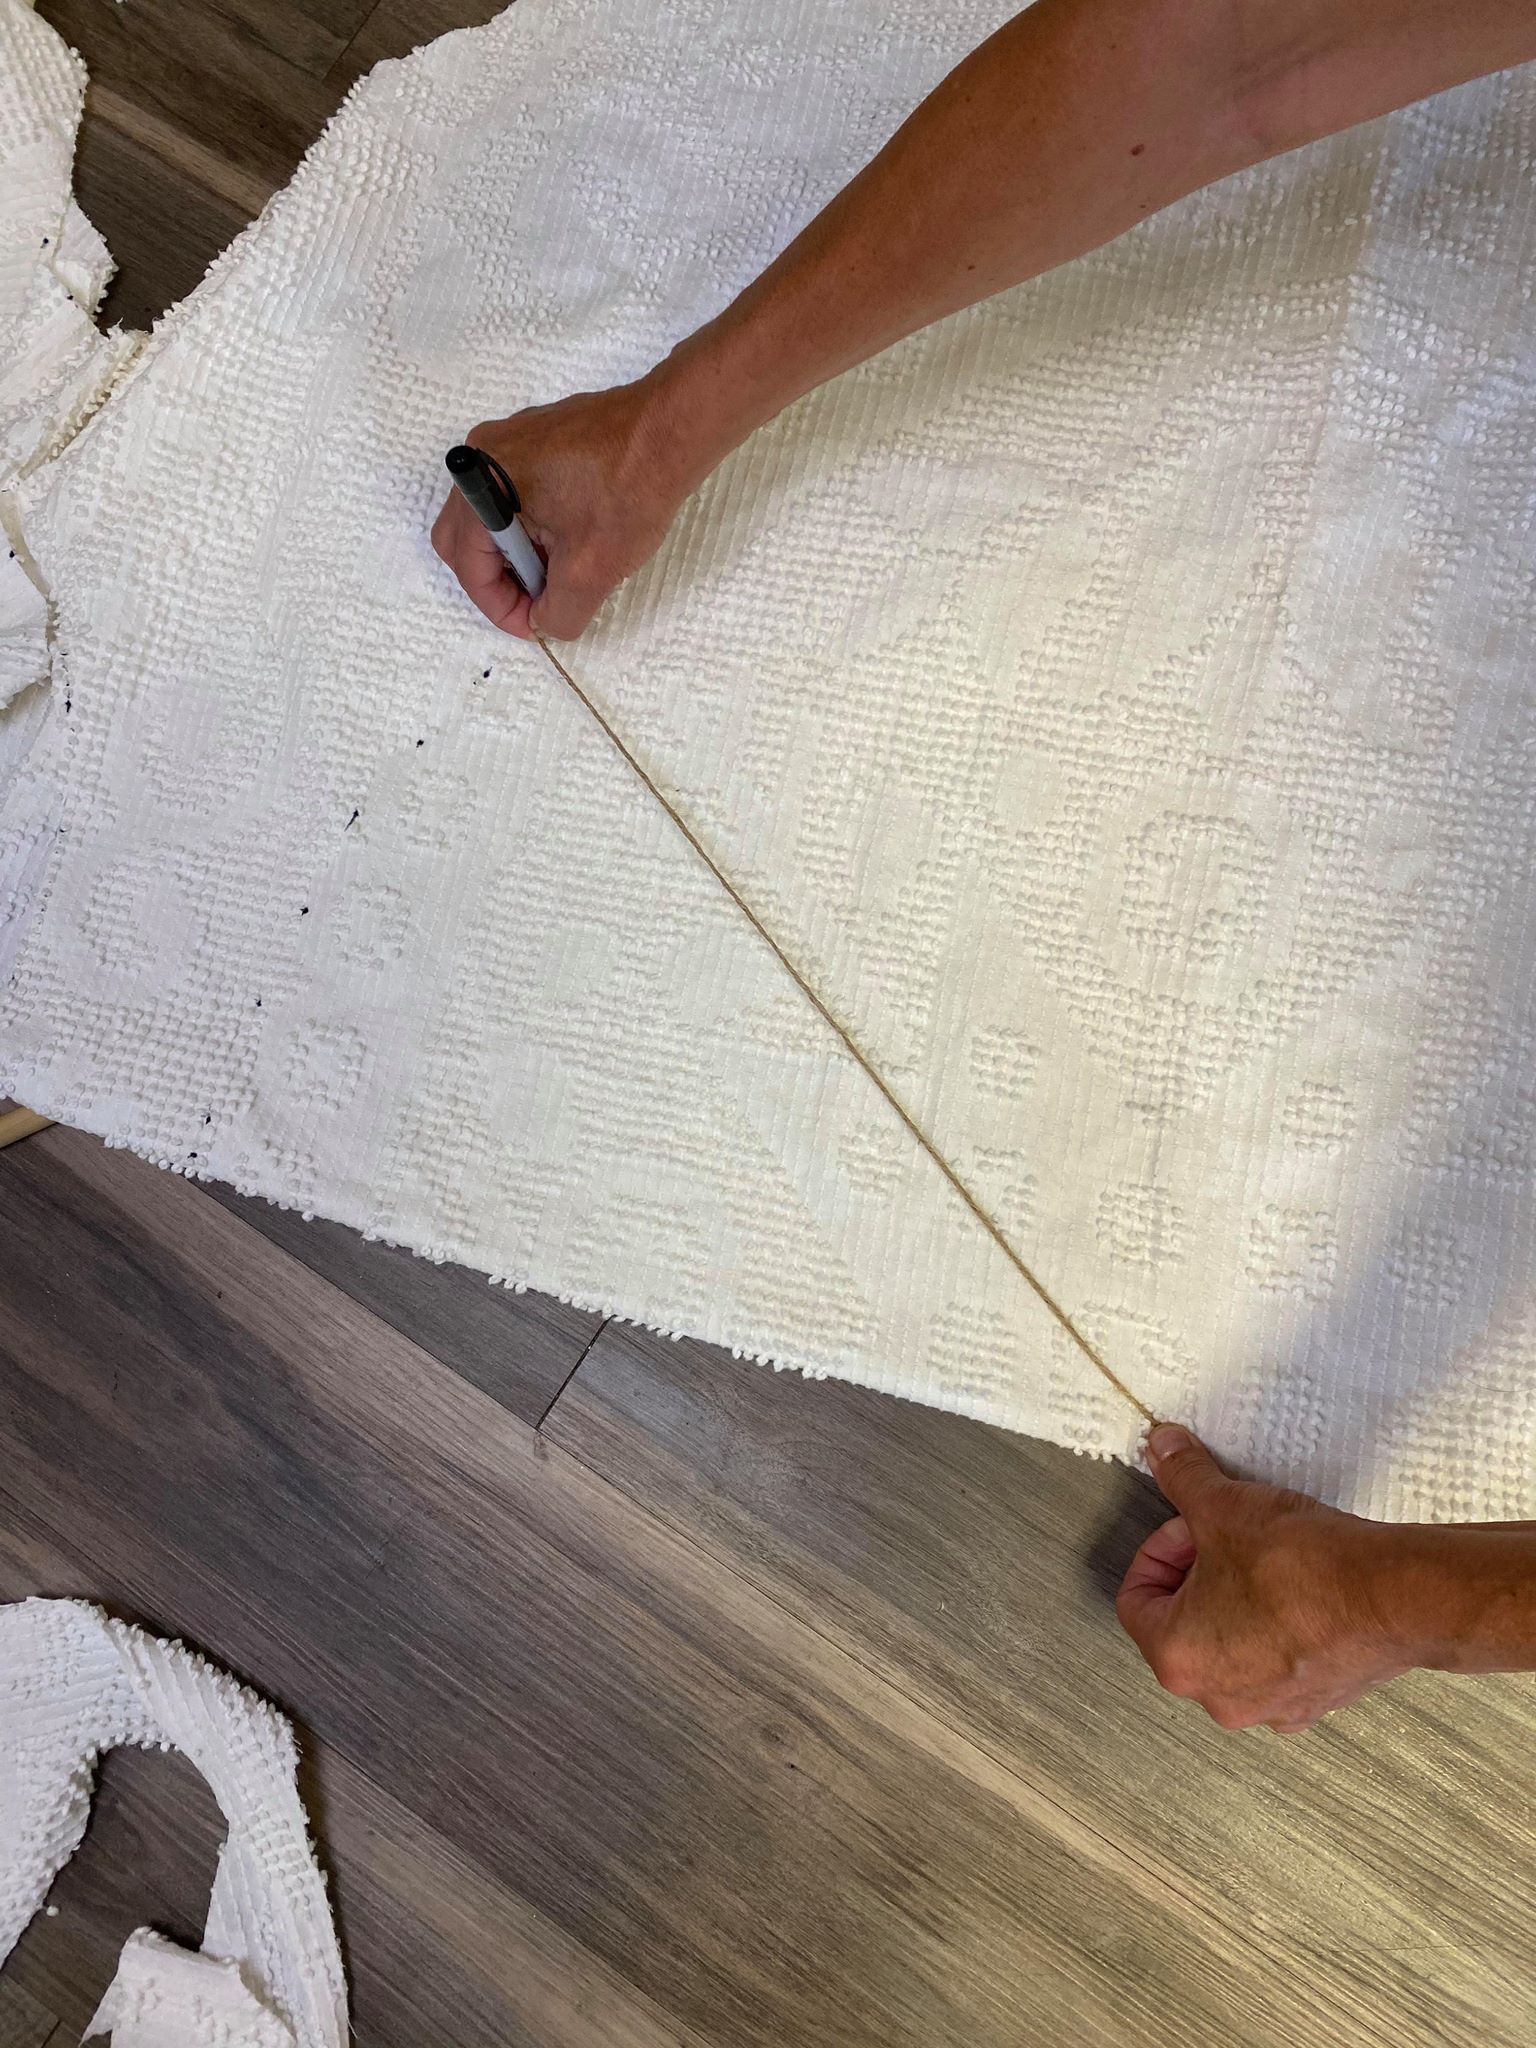
You will hold one end of the twine on your fold and then draw half of your circle by moving the other end of the twine.
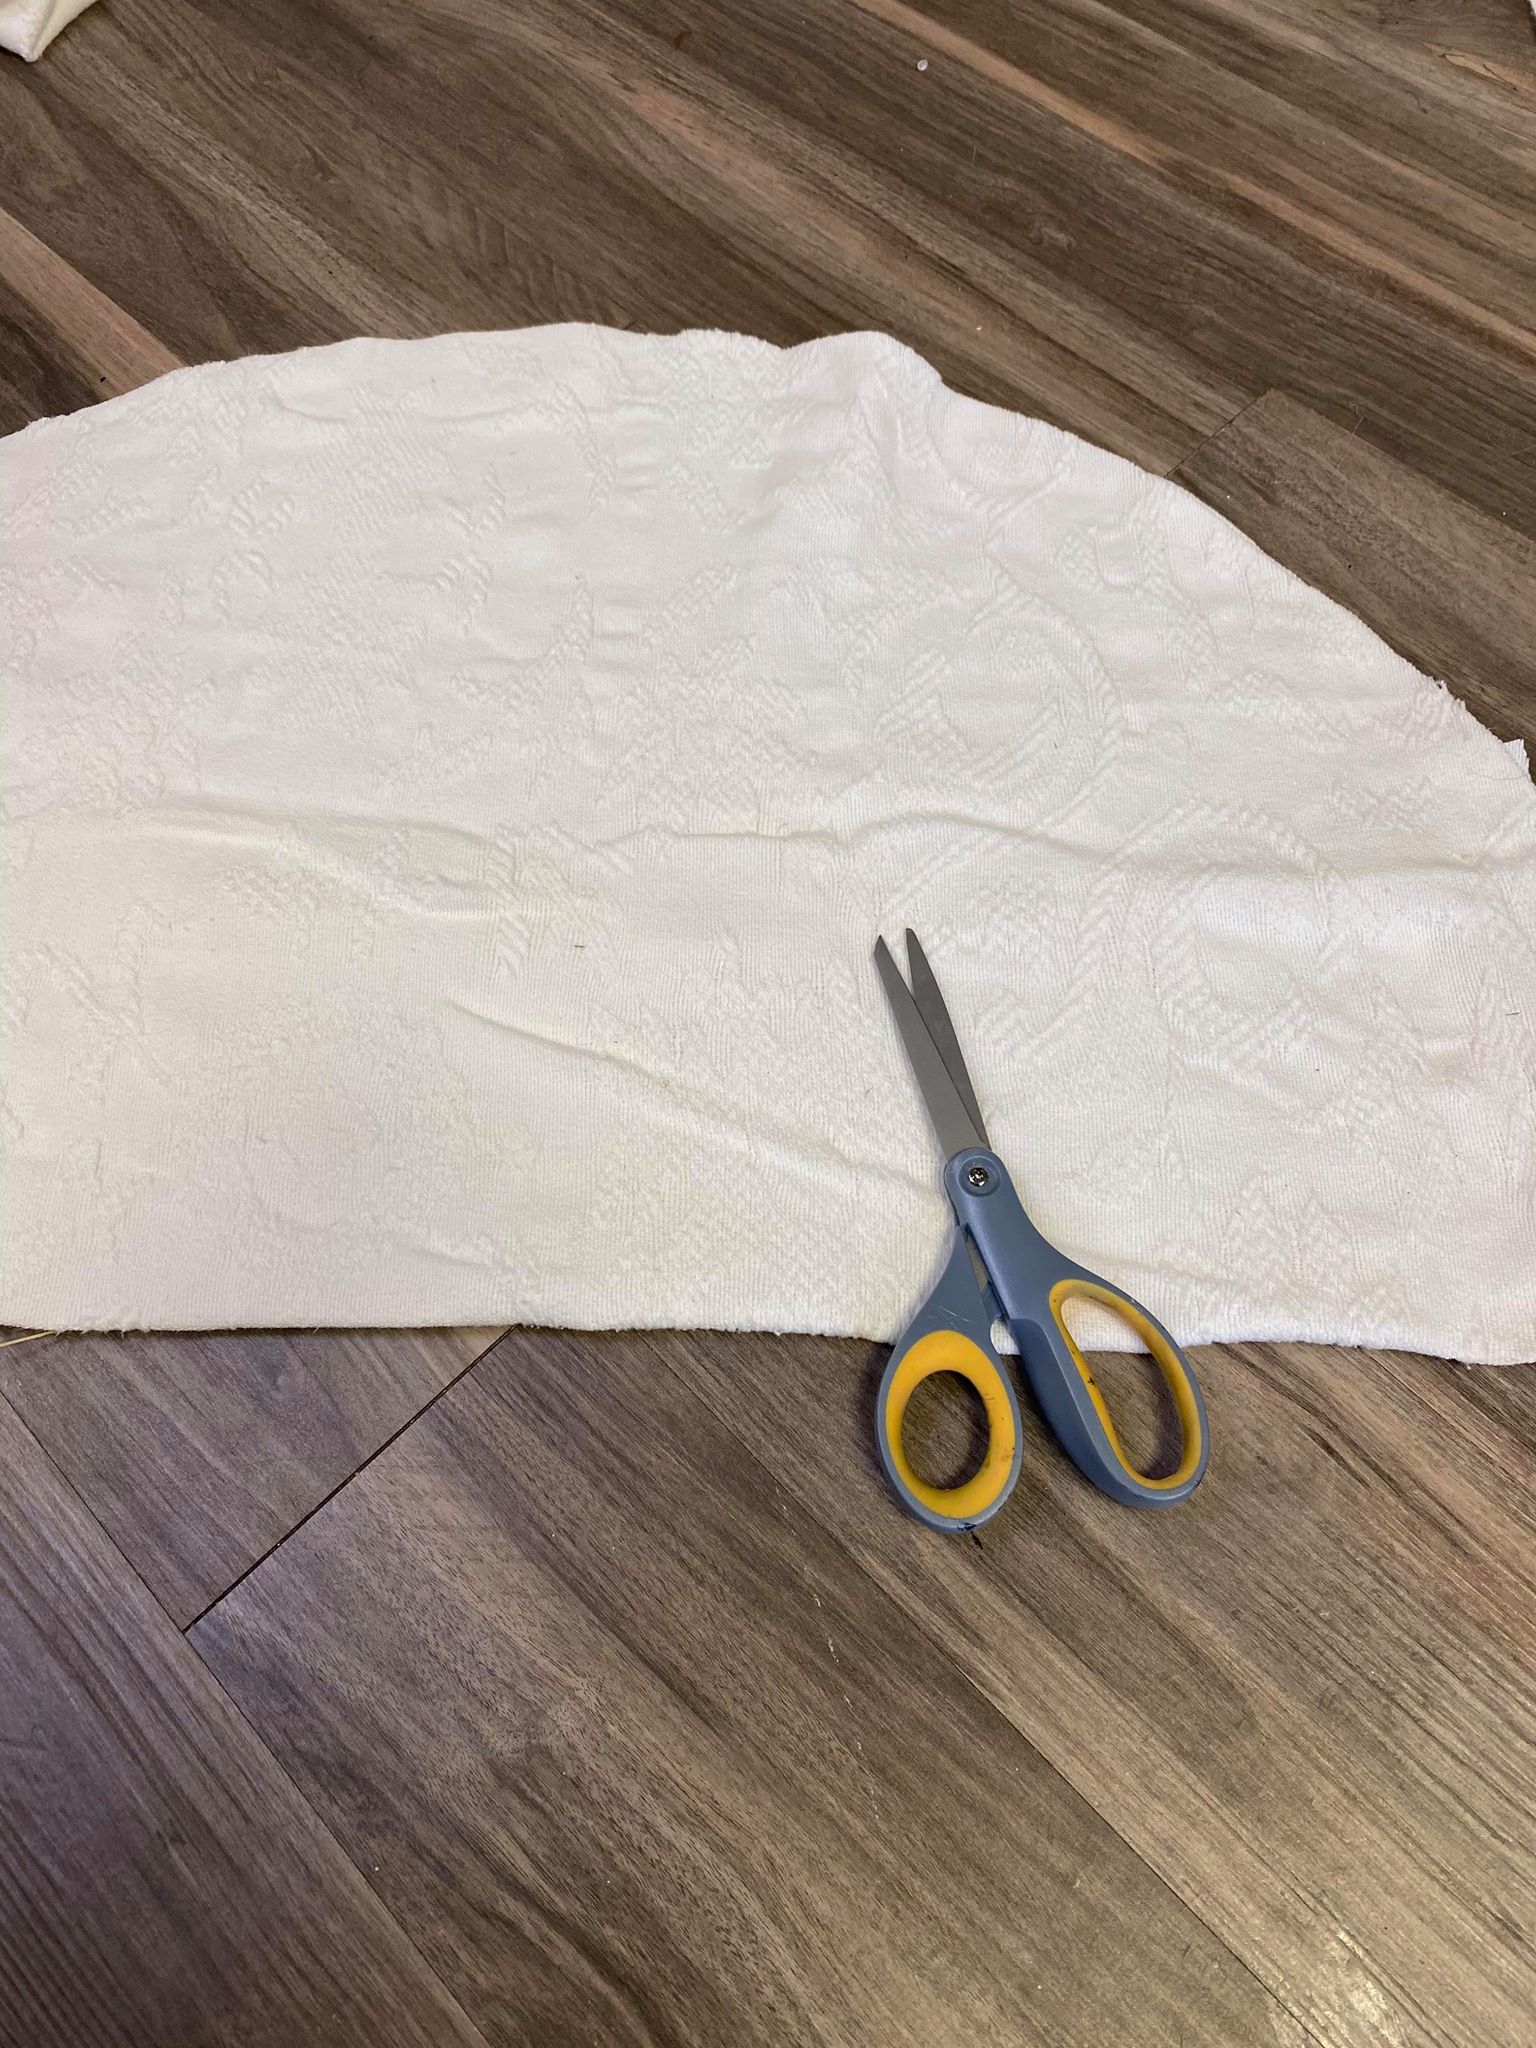
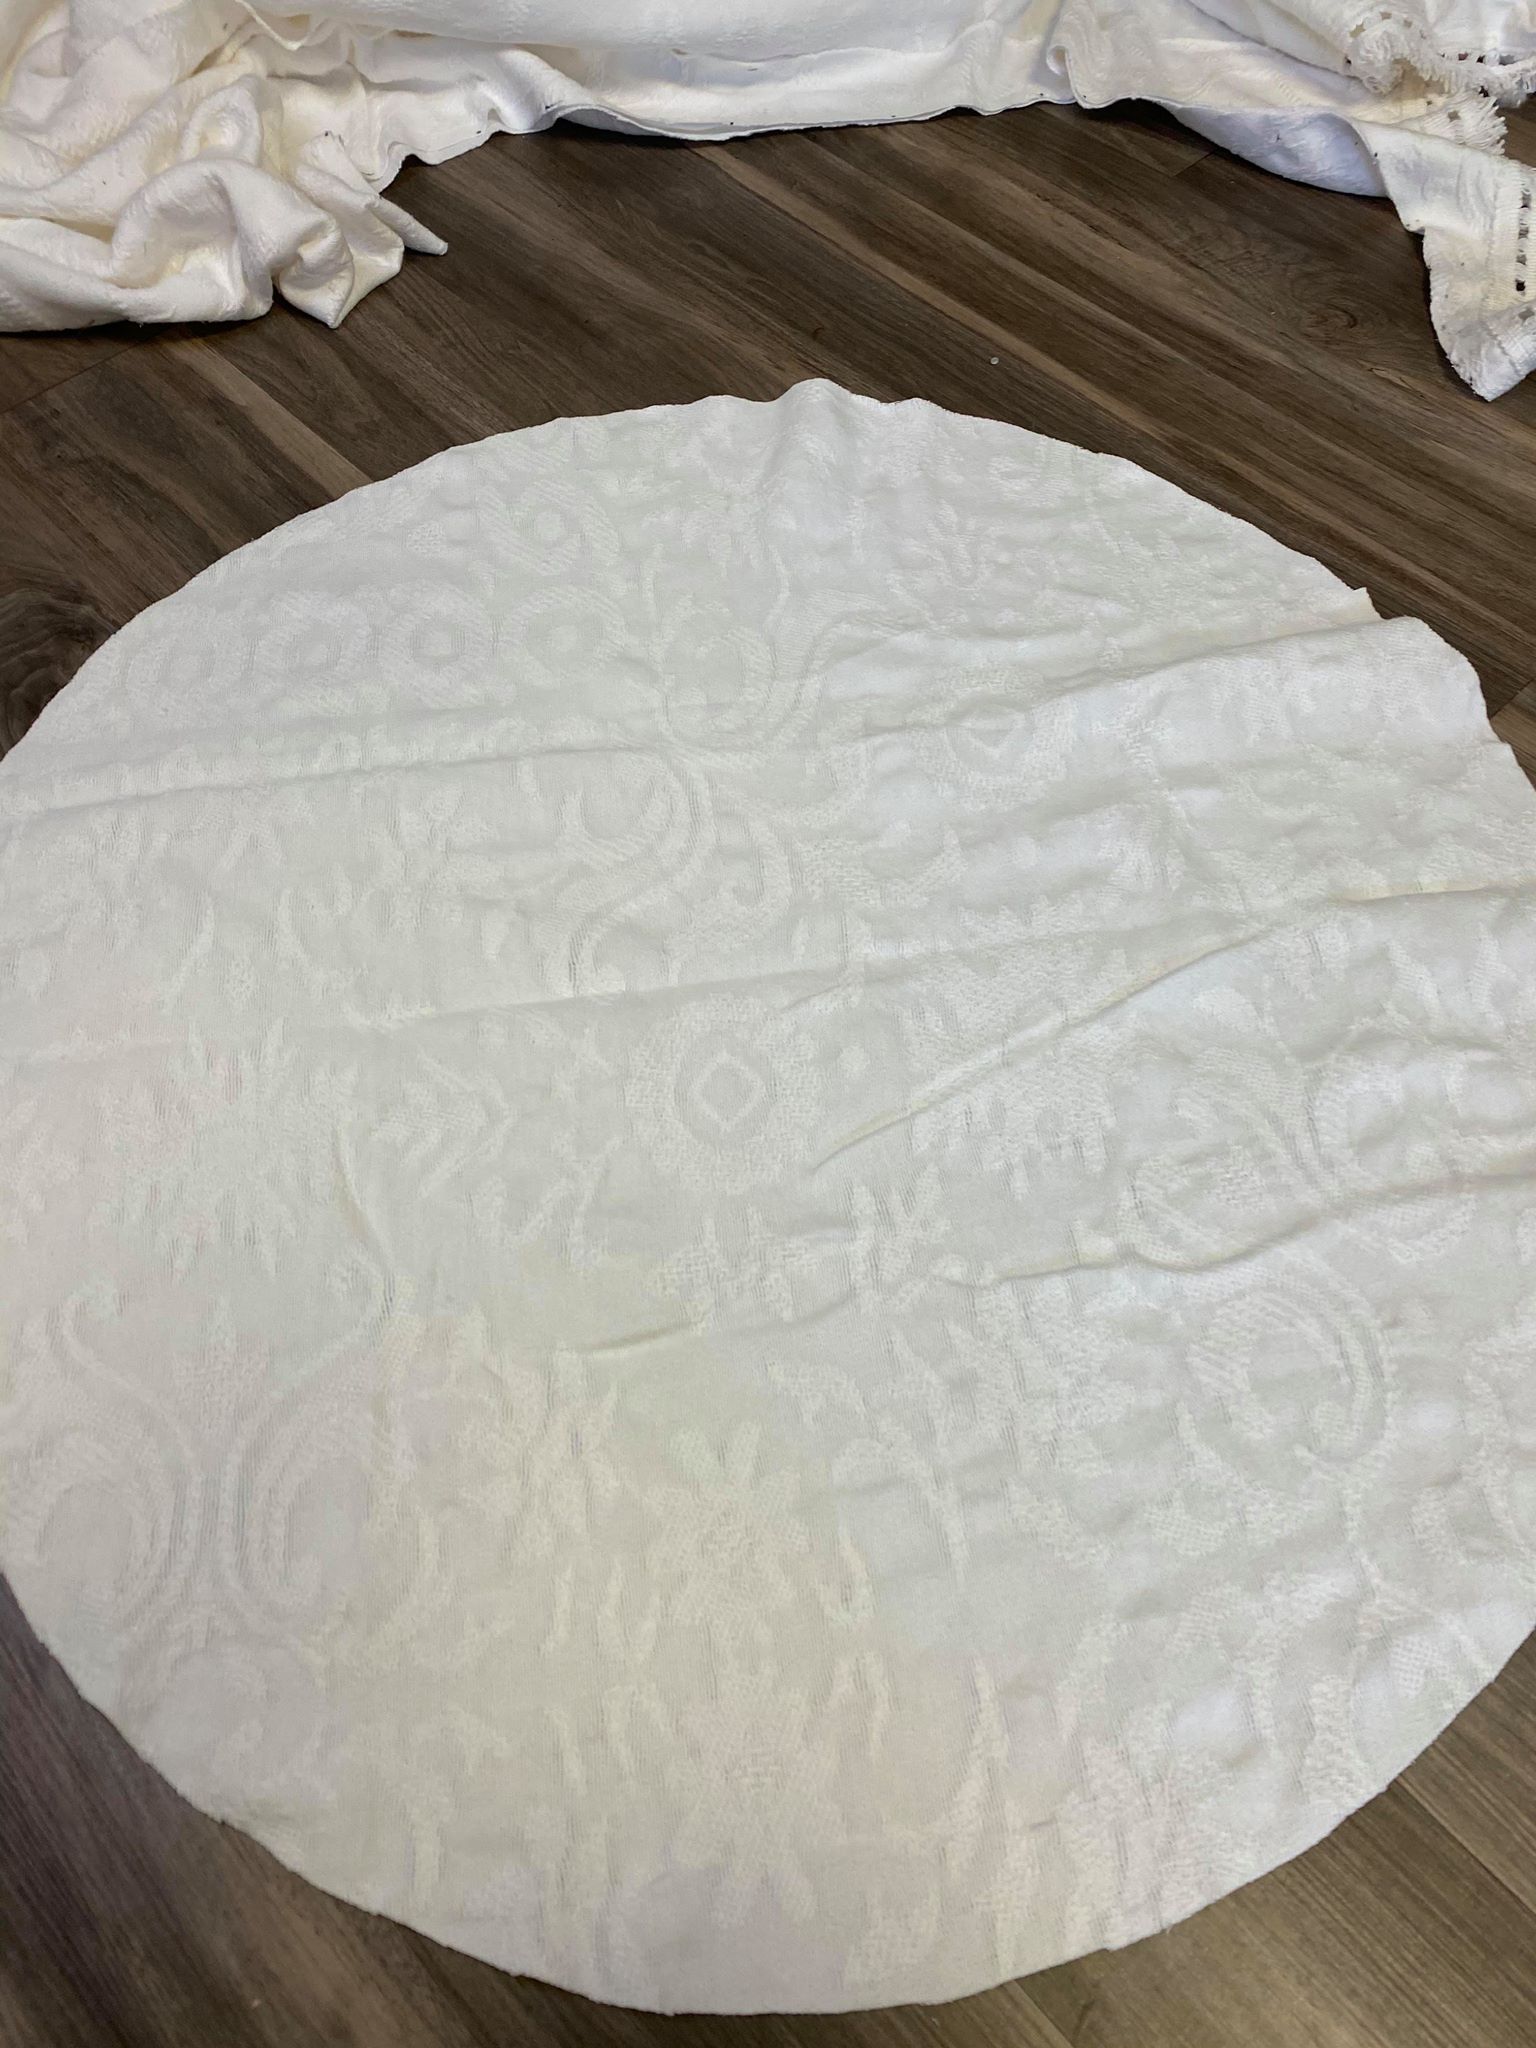
When you cut it out and open it you will have a complete circle. You will do this with all 3 pieces of twine which will give you 3 different size circles.
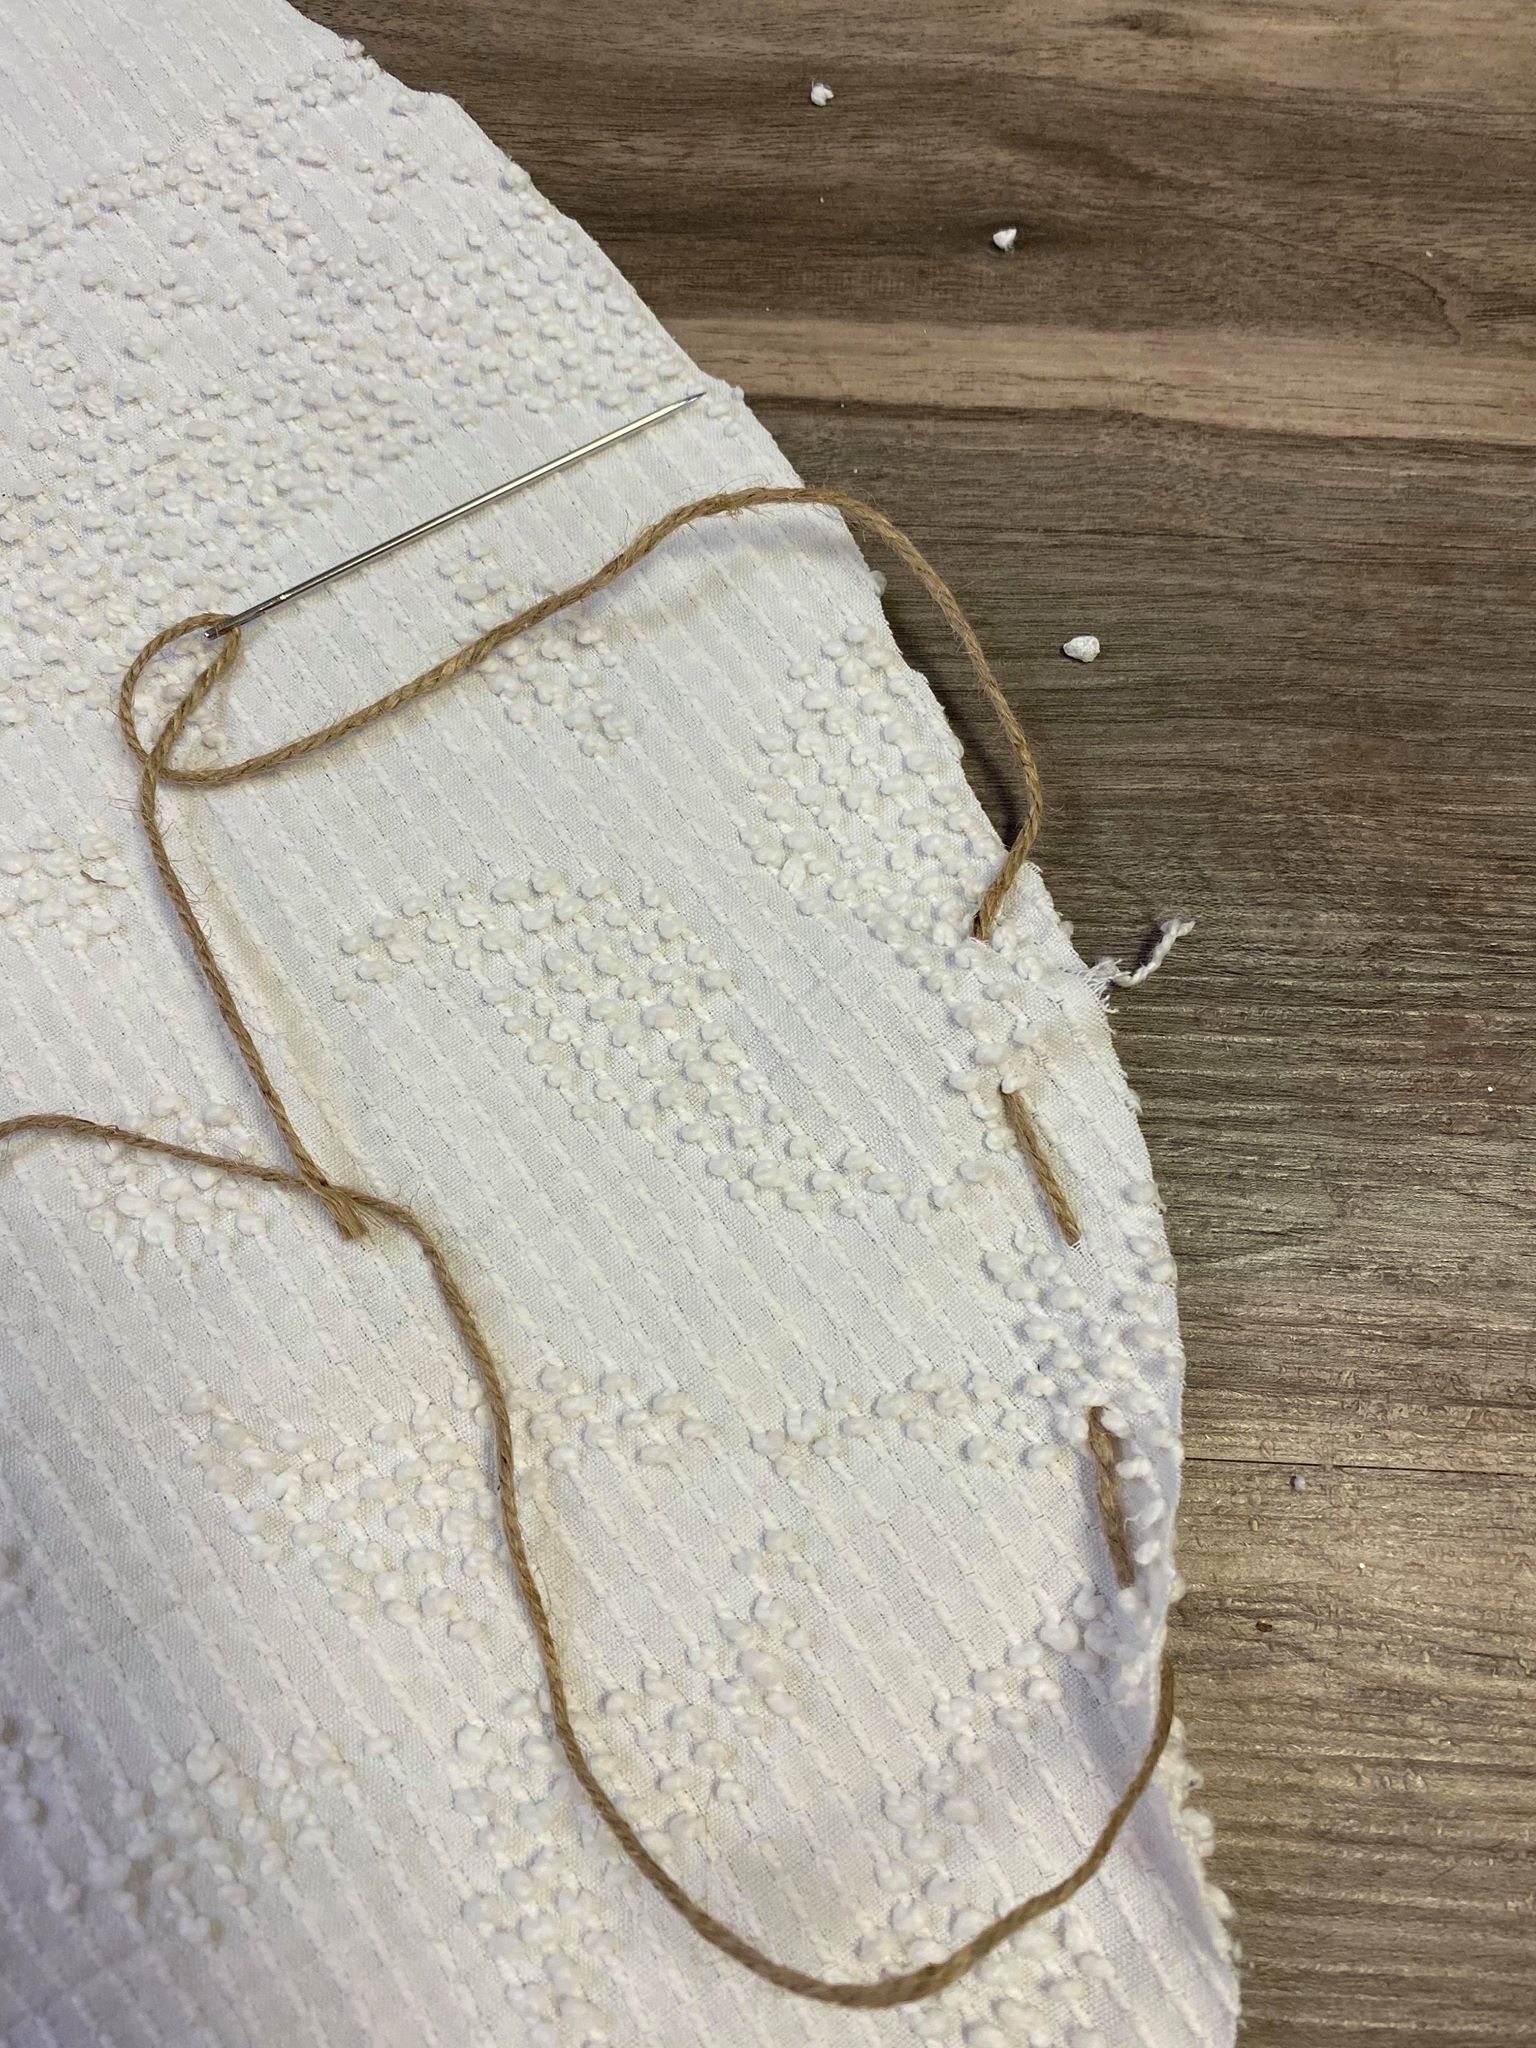
You will then do a basting stitch around each circle. I am using a yarn needle and twine for this step. You will need to pull this tight and I found that the twine does not break when I pull it to stuff.
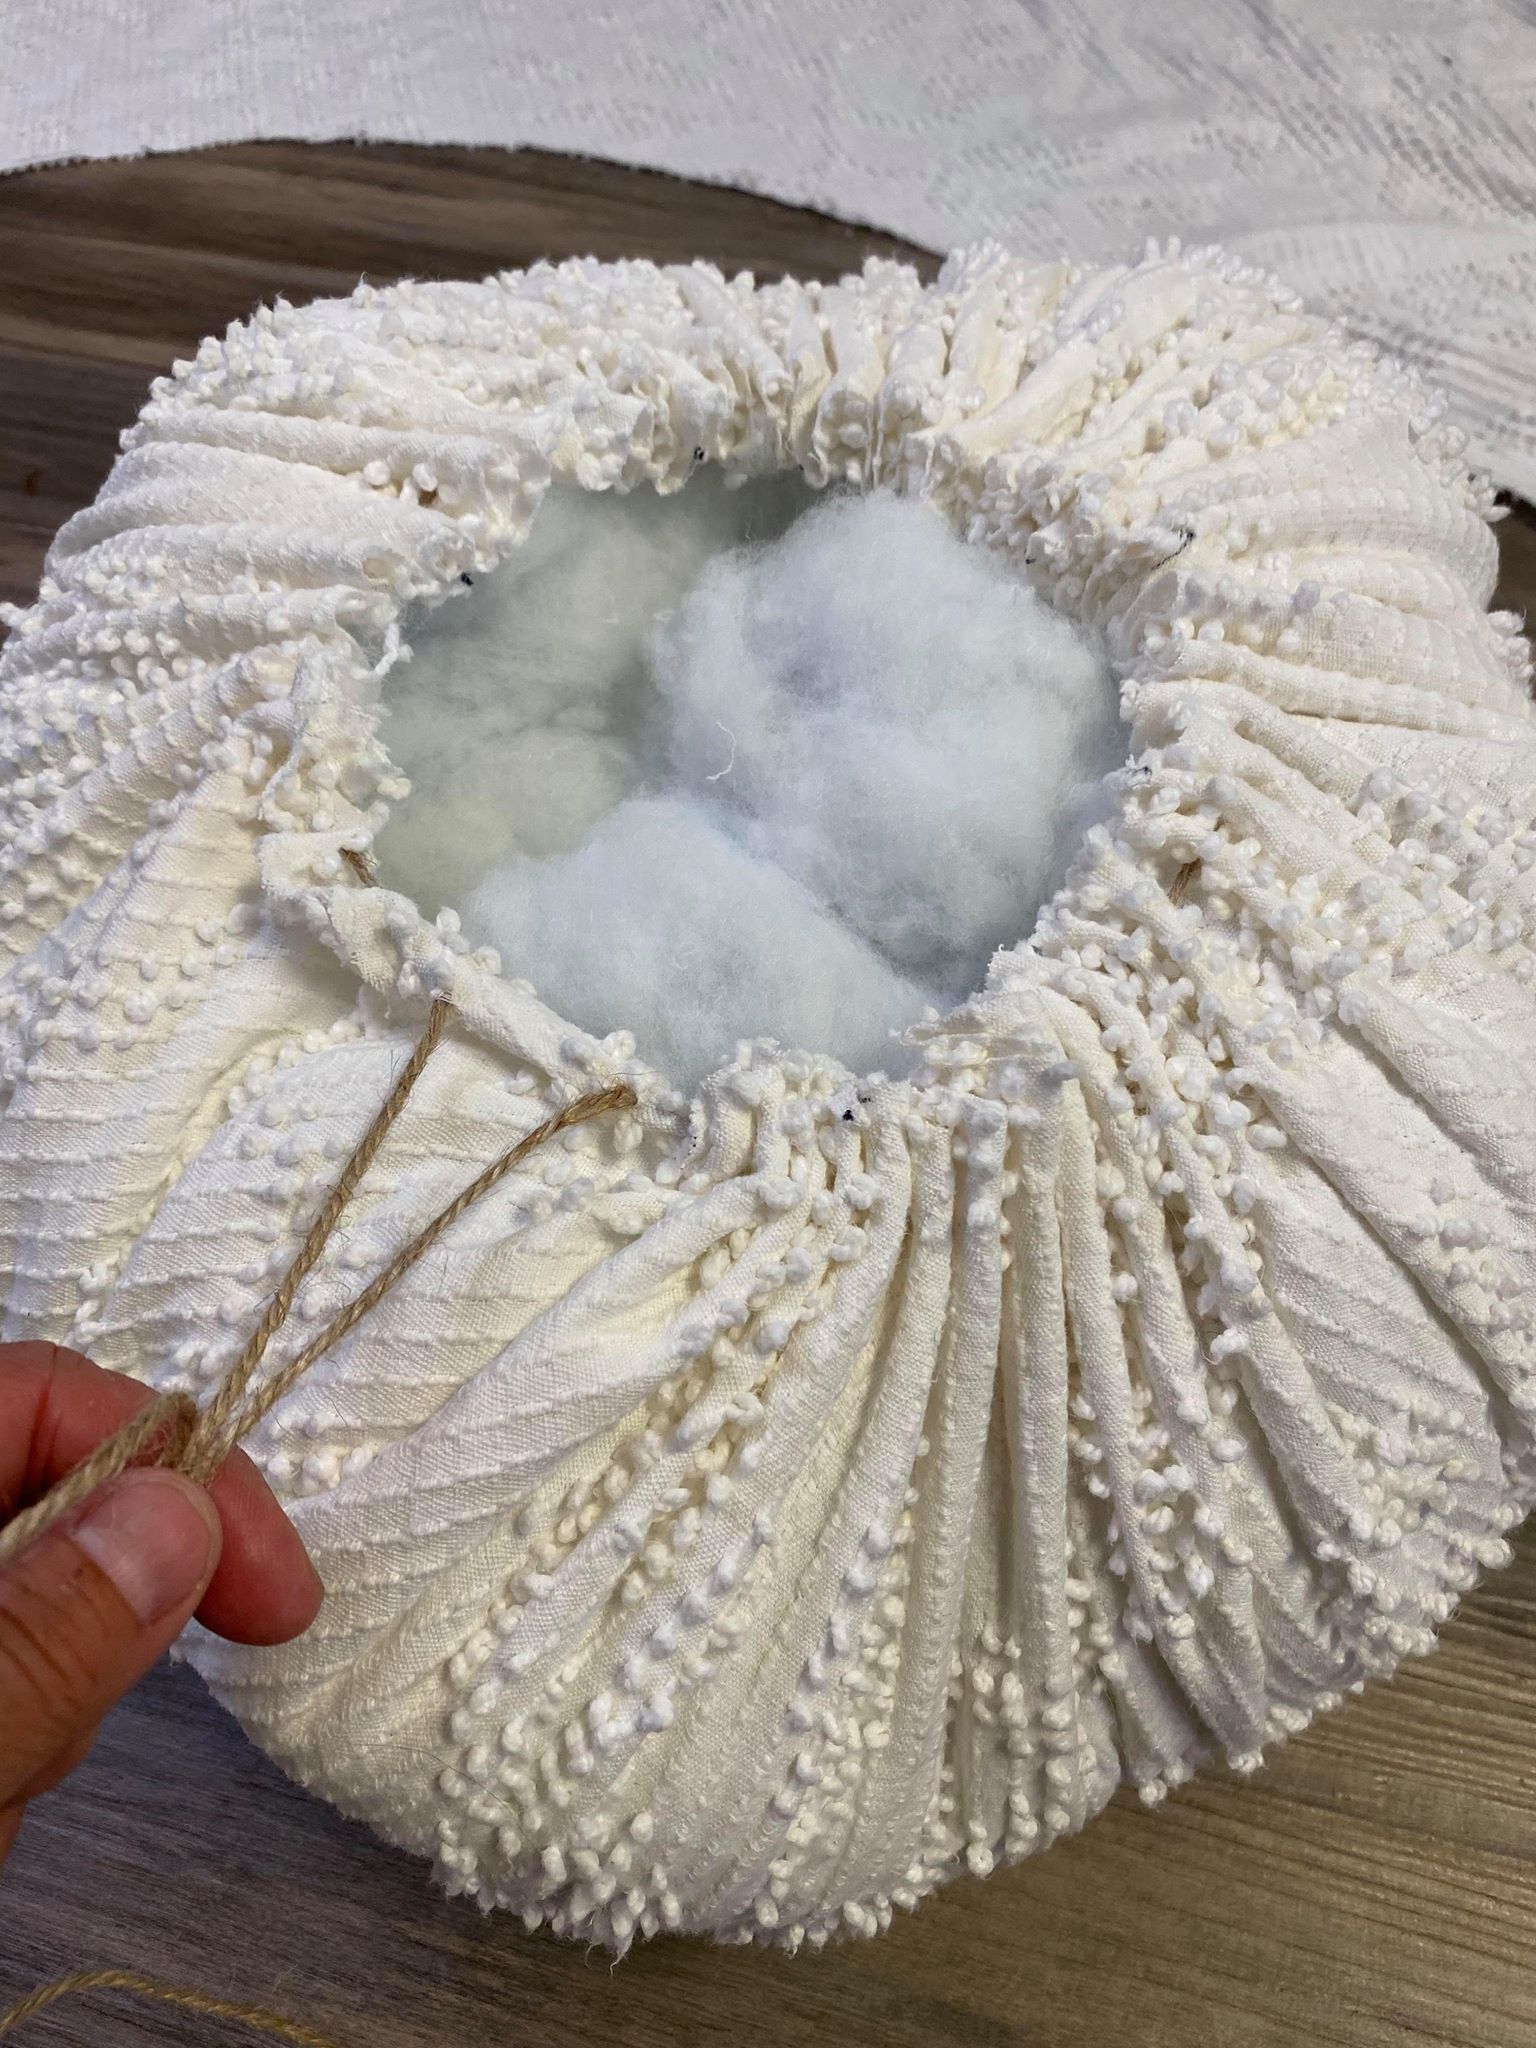
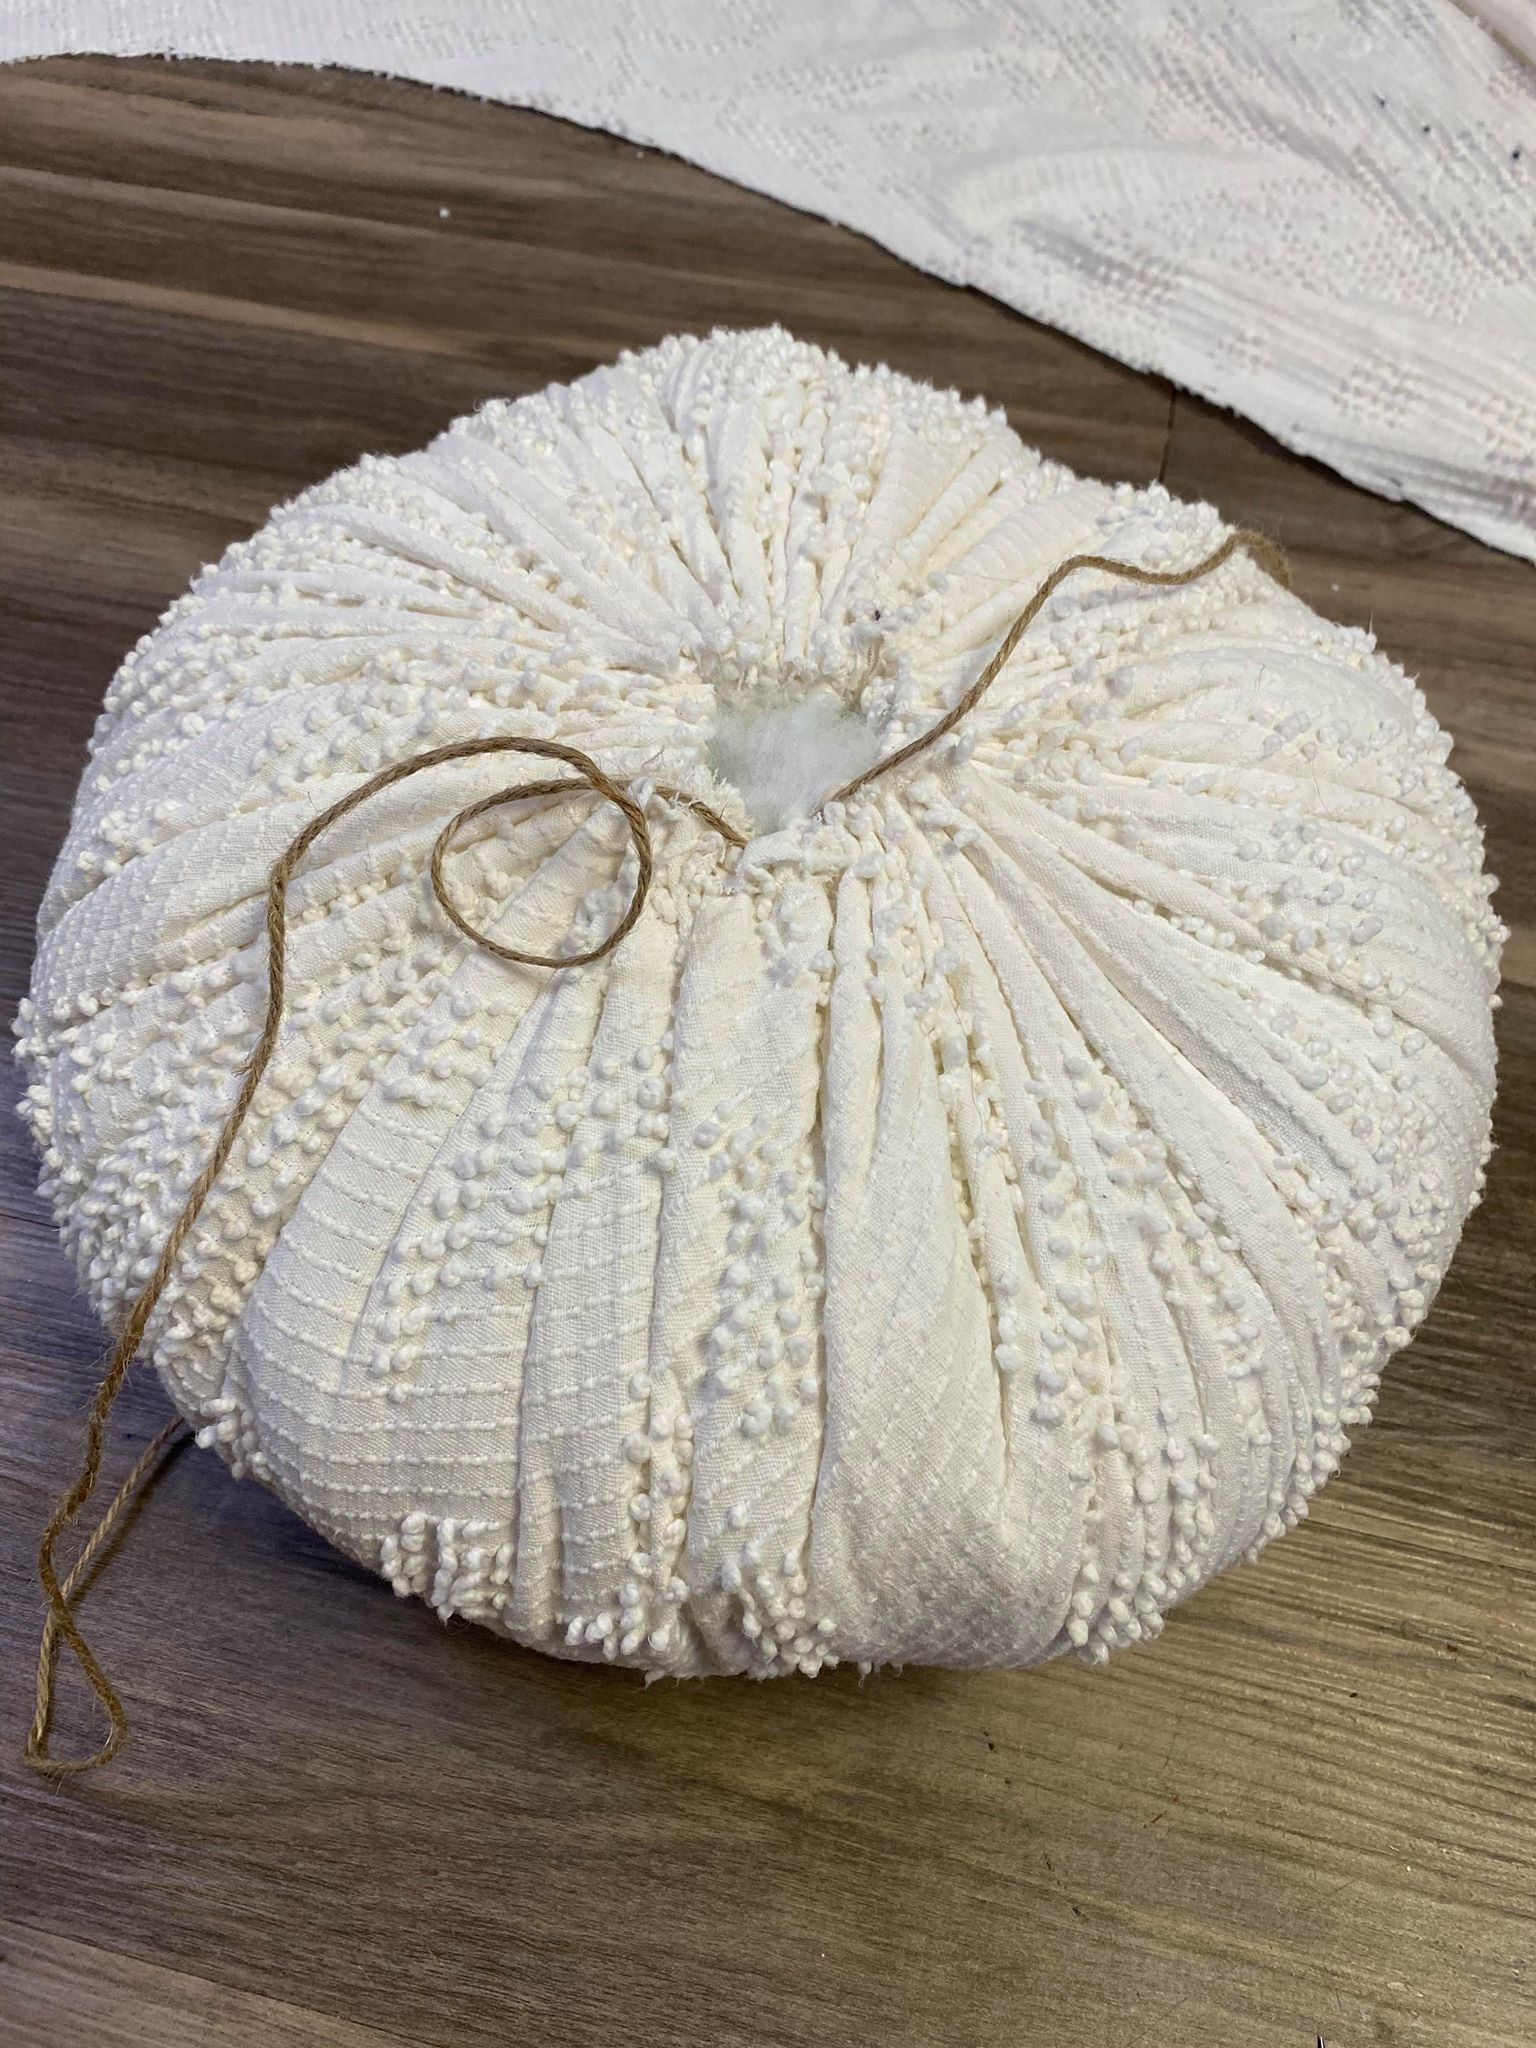
You will want to pull it as tight as you can and then tie a knot. You will do this to all 3 circles of material.
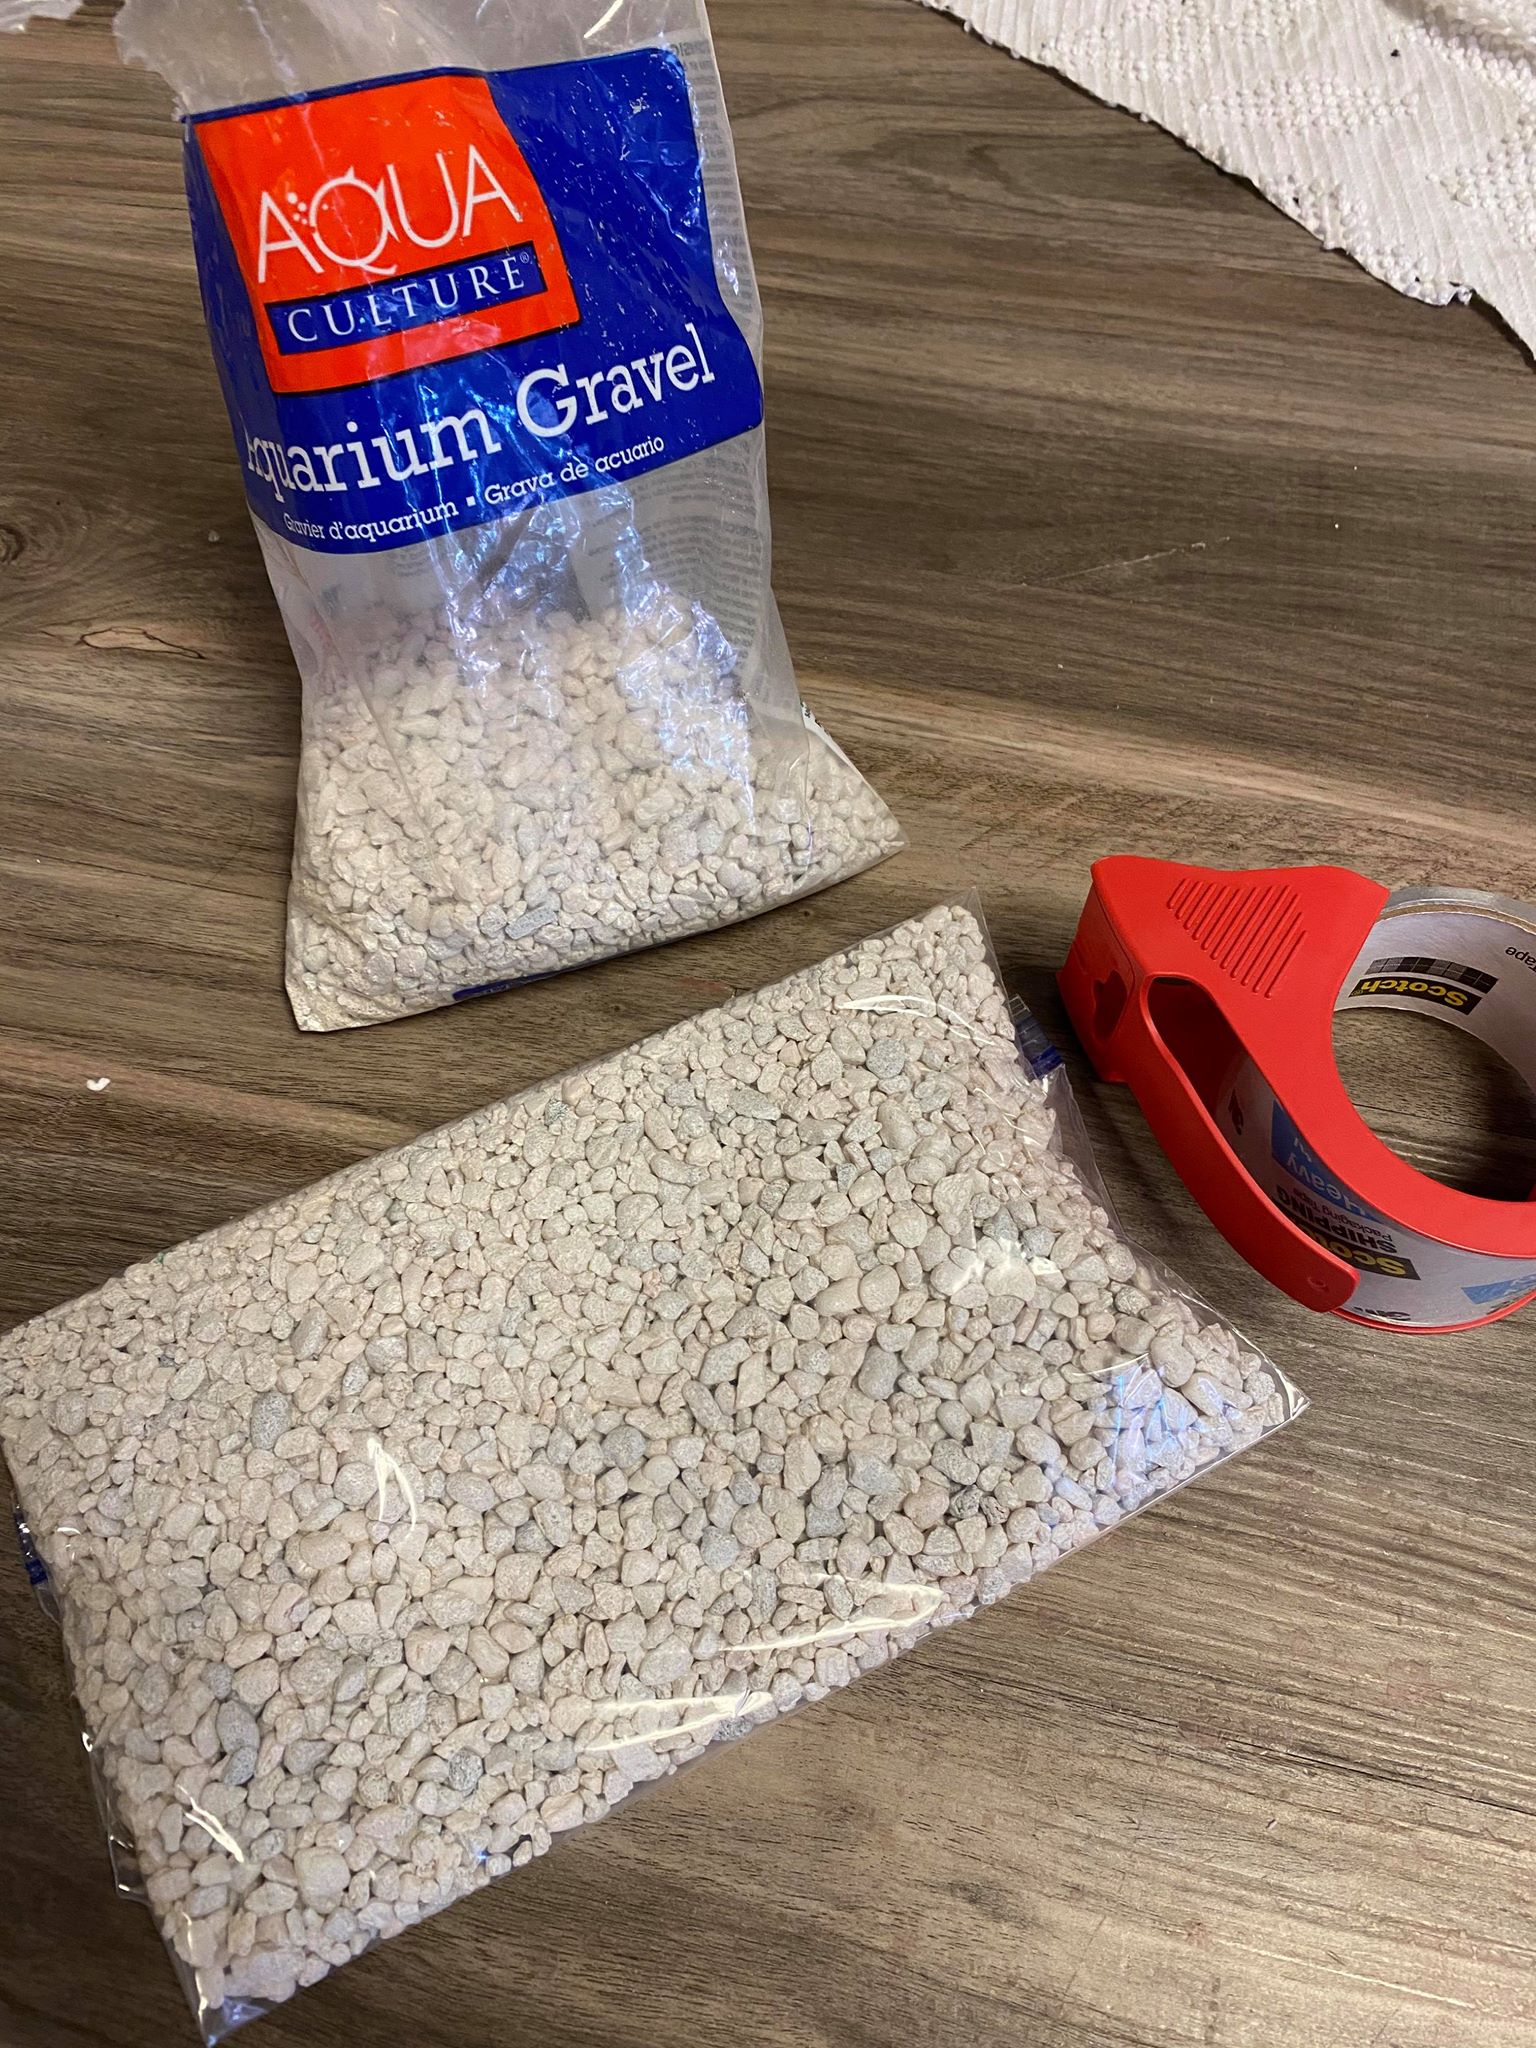
I filled a zip lock bag with my fish tank gravel. I placed this on the bottom of my largest circle. This will help give weight to your snowman so that he will stand up good.

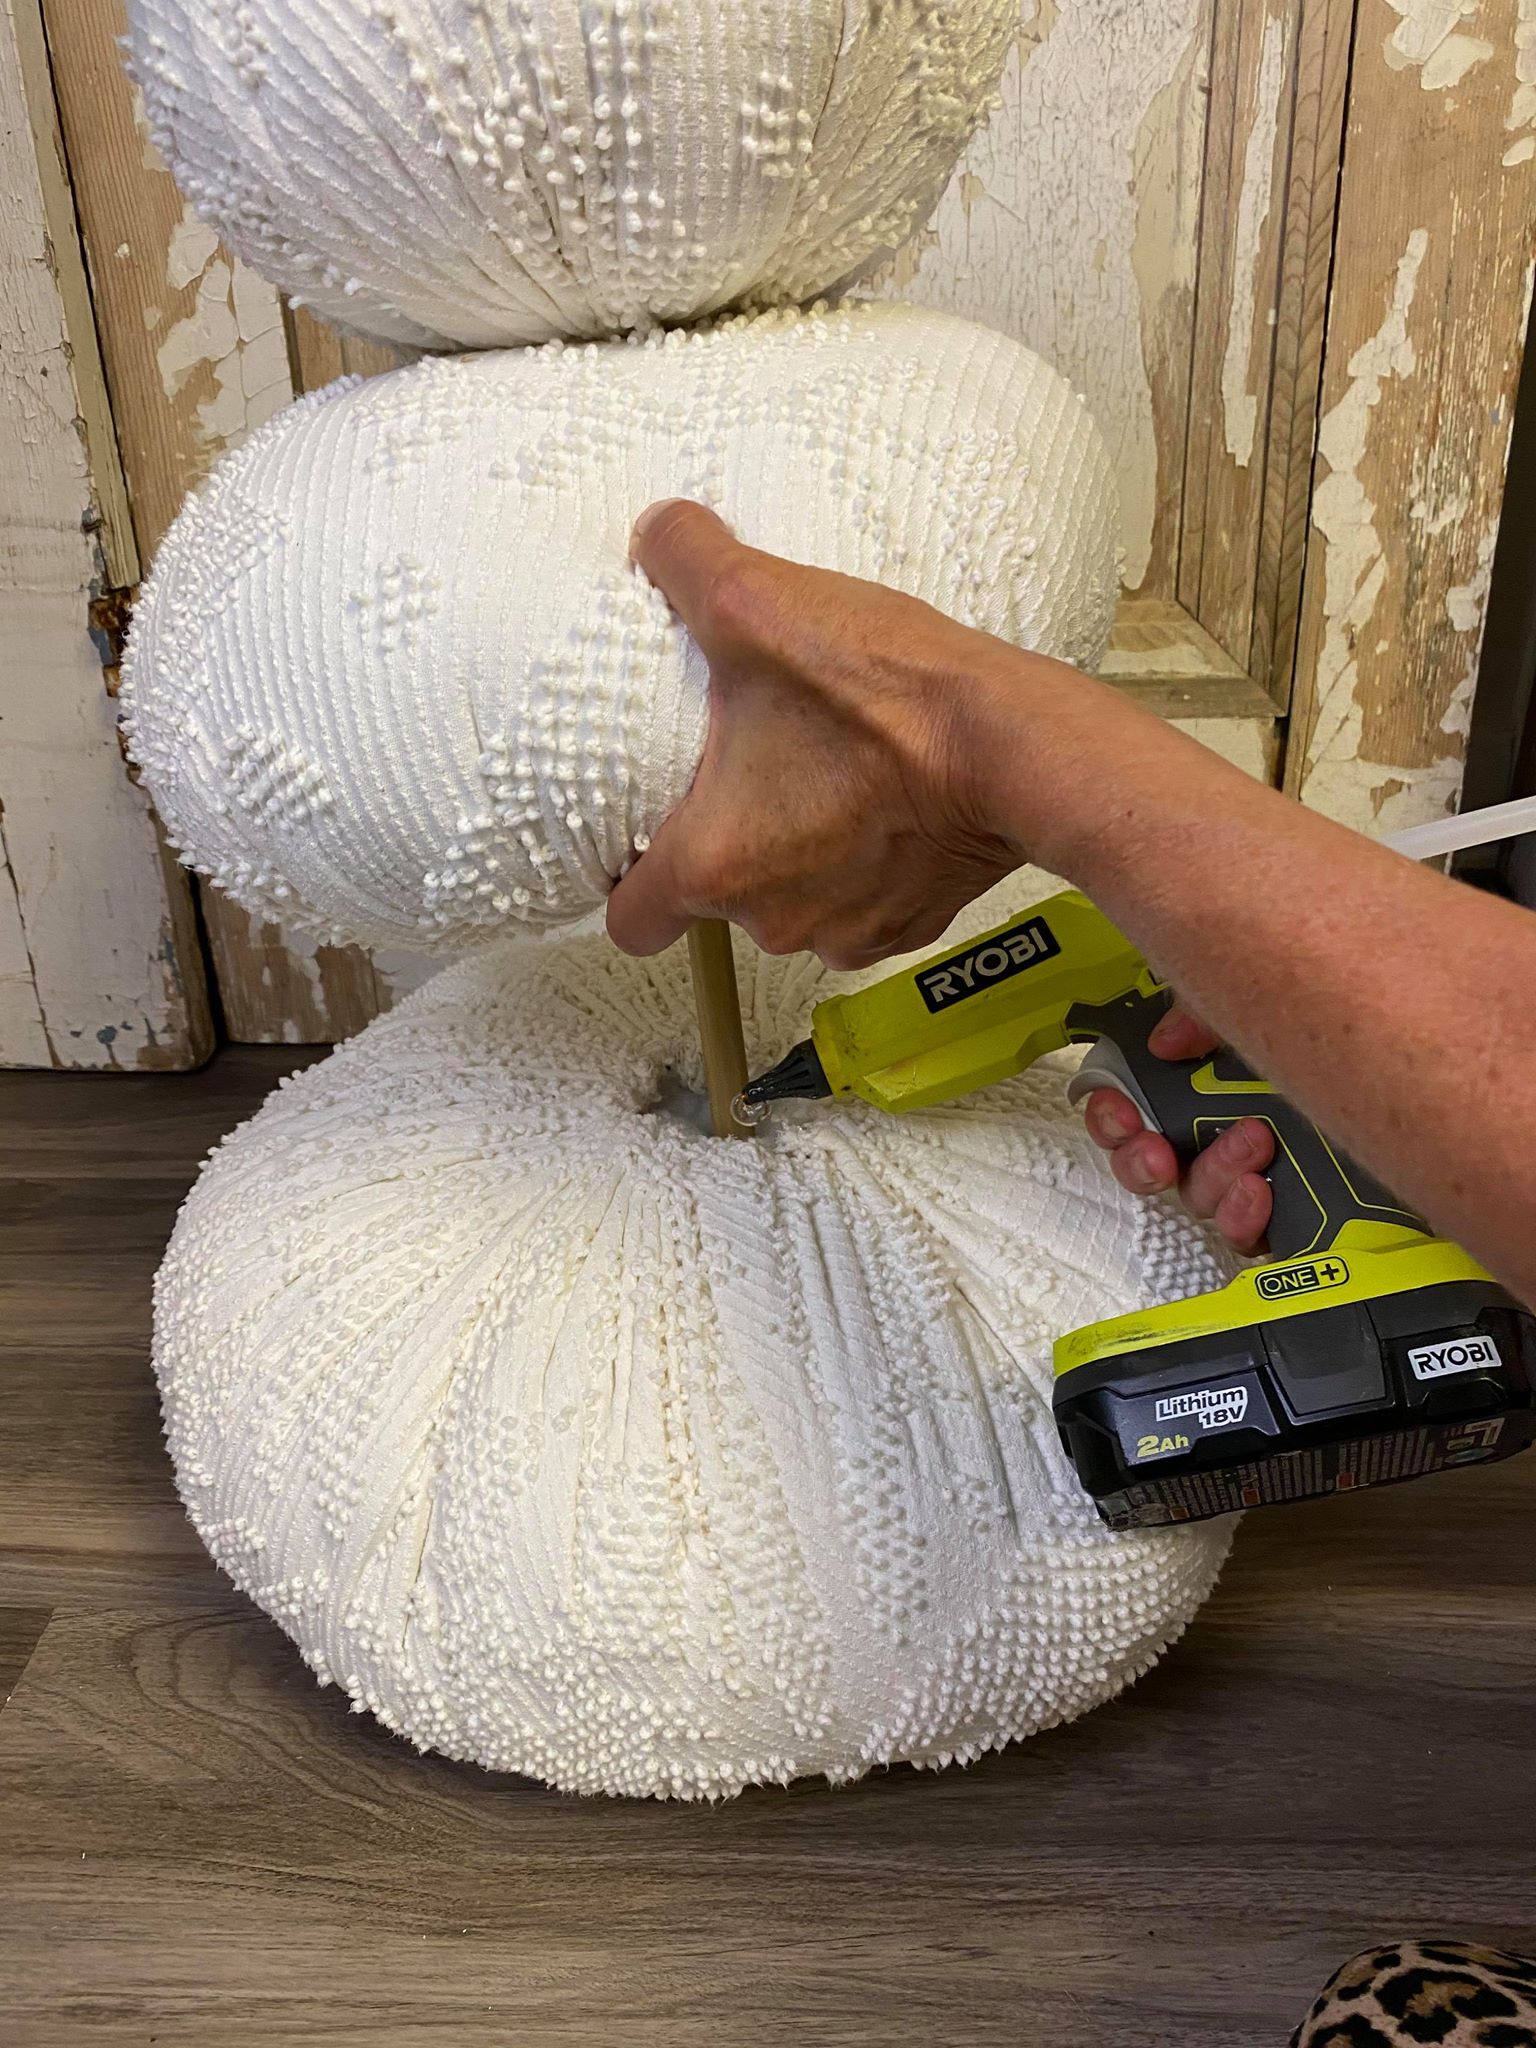
It is now time to put all 3 sections of your snowman together. You will need to poke a hole in the center of your middle piece. You will be placing your dowel through the center of this piece.

Once you have the dowel through the center piece of your pumpkin you will then place the dowel down into your bottom piece. I added hot glue to help hold everything in place.
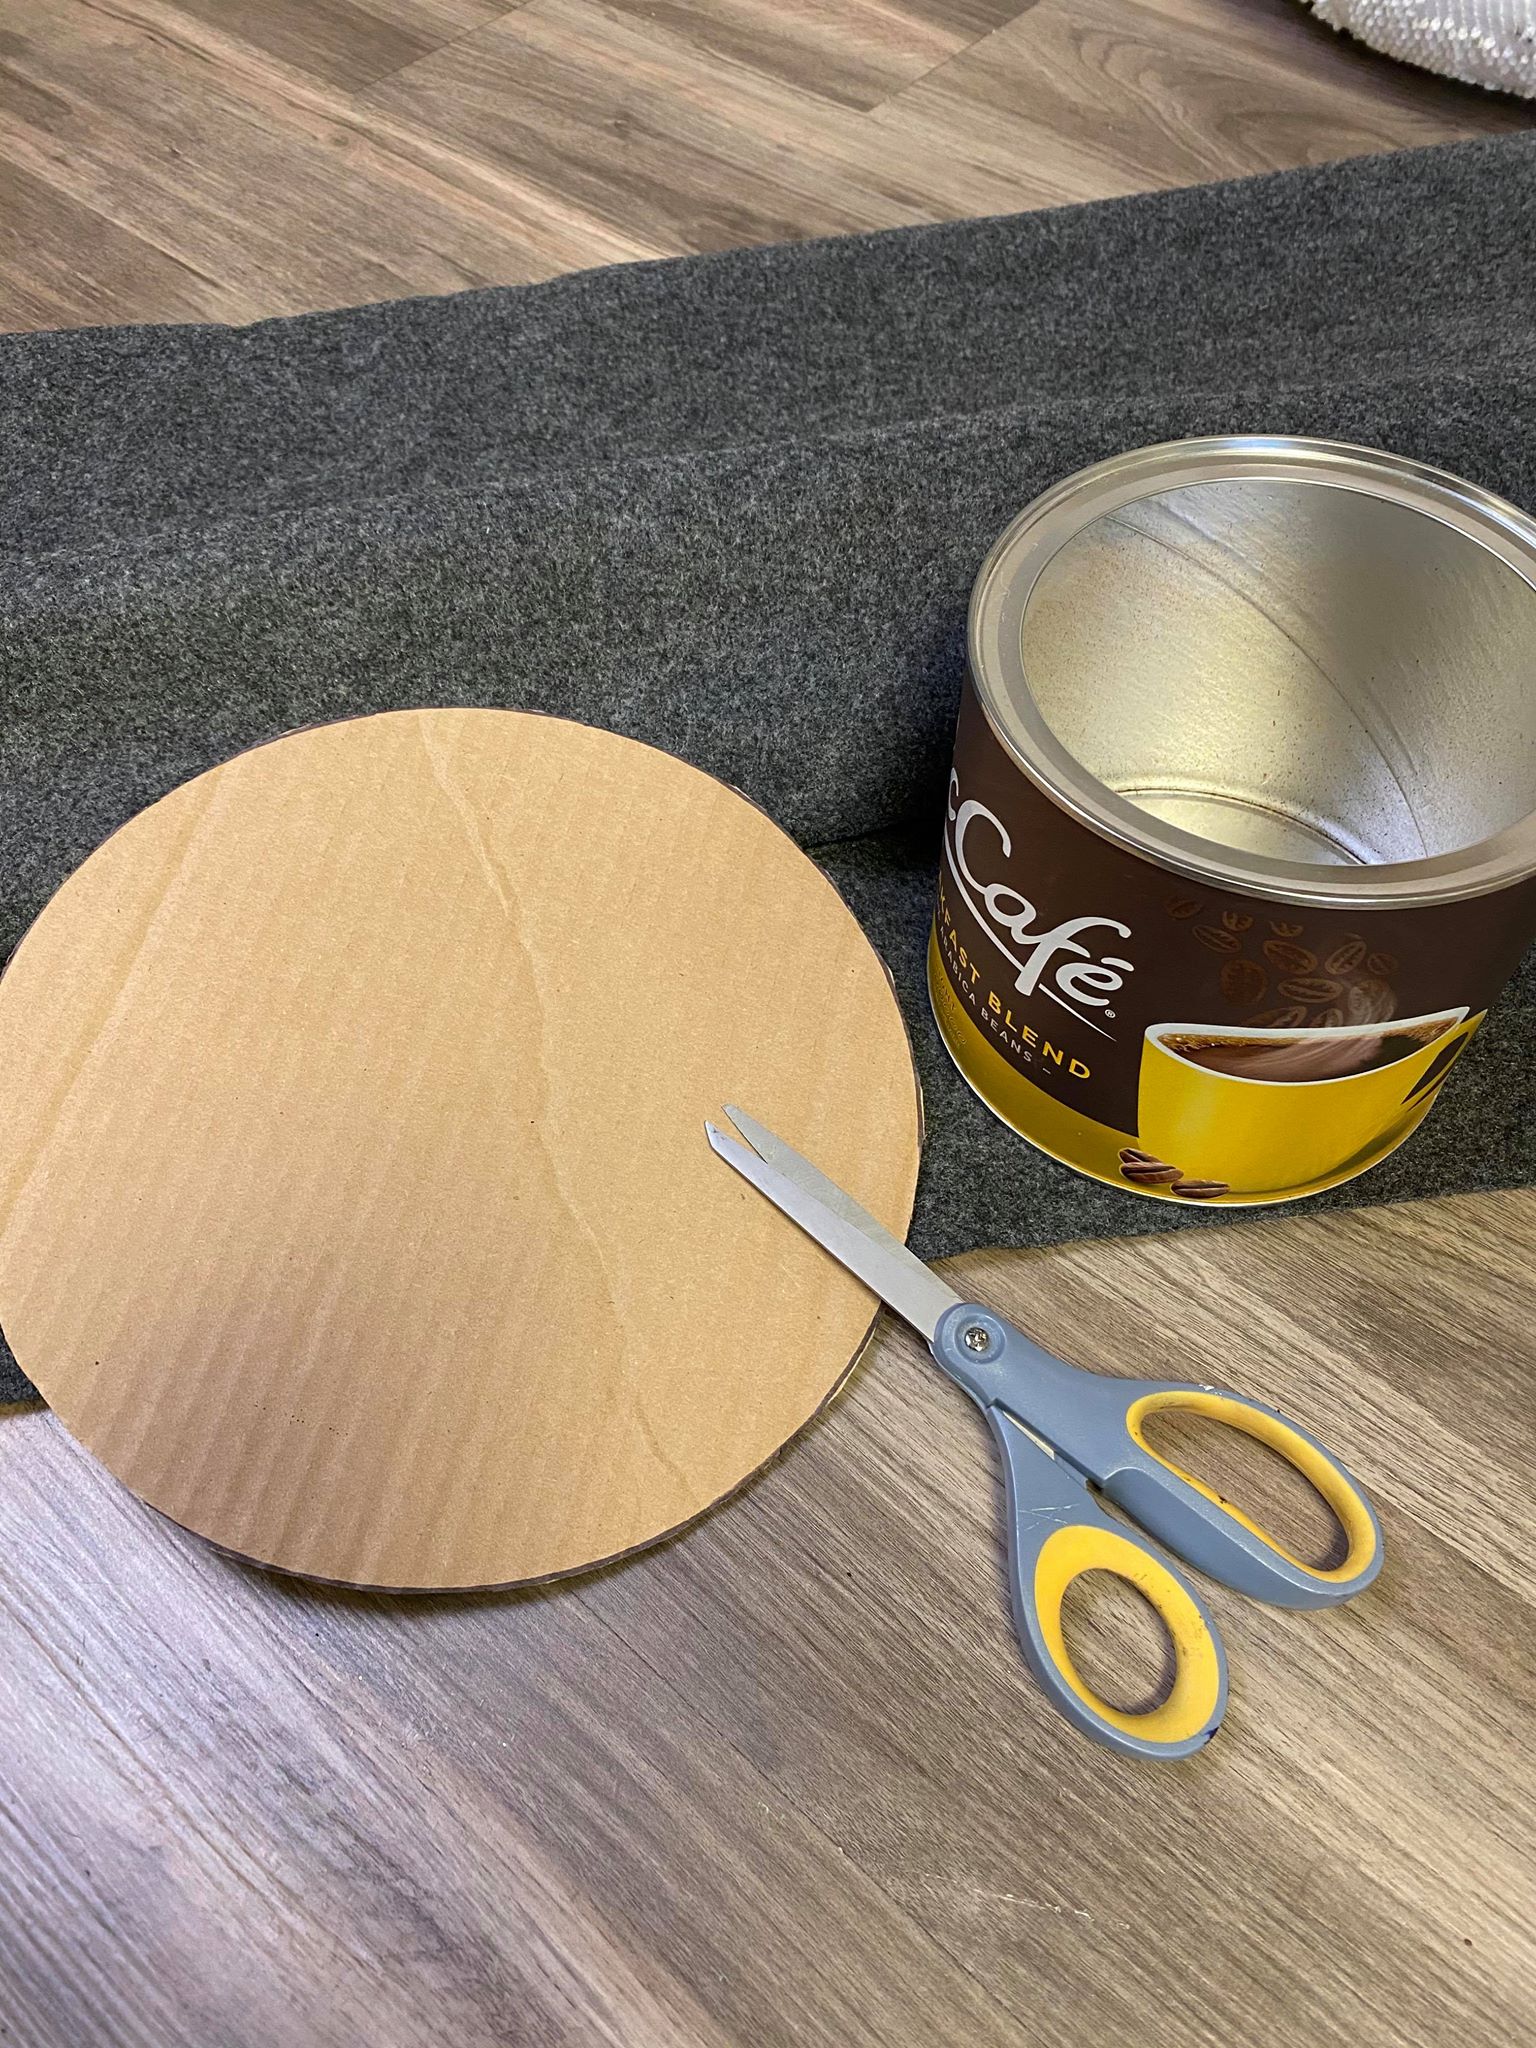
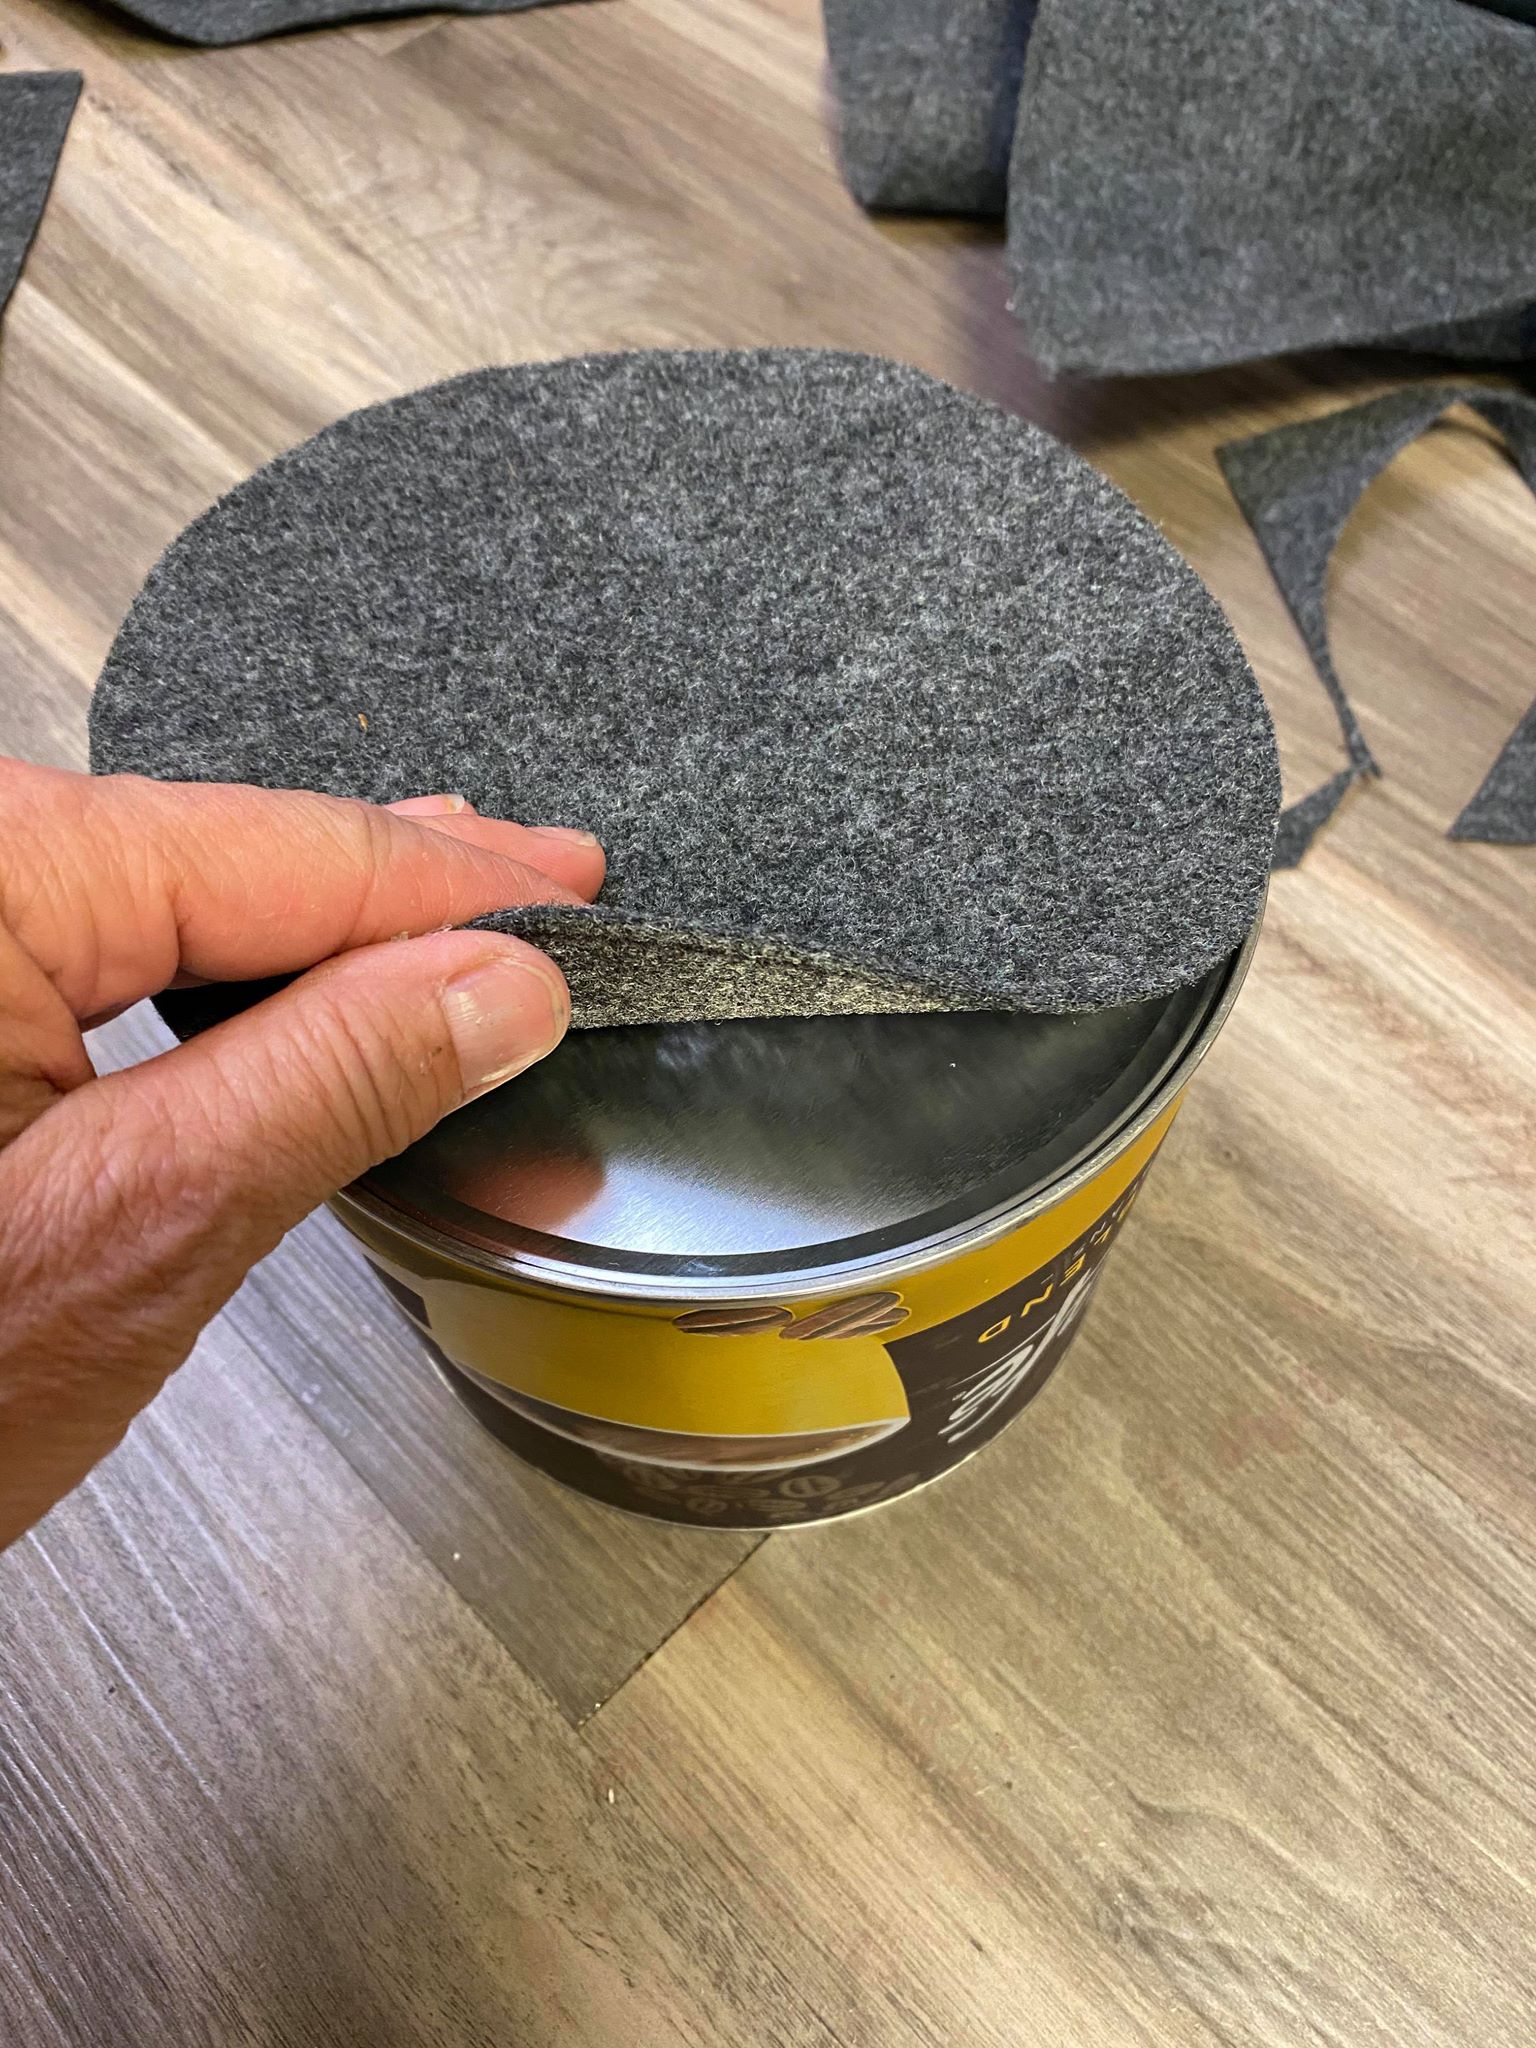
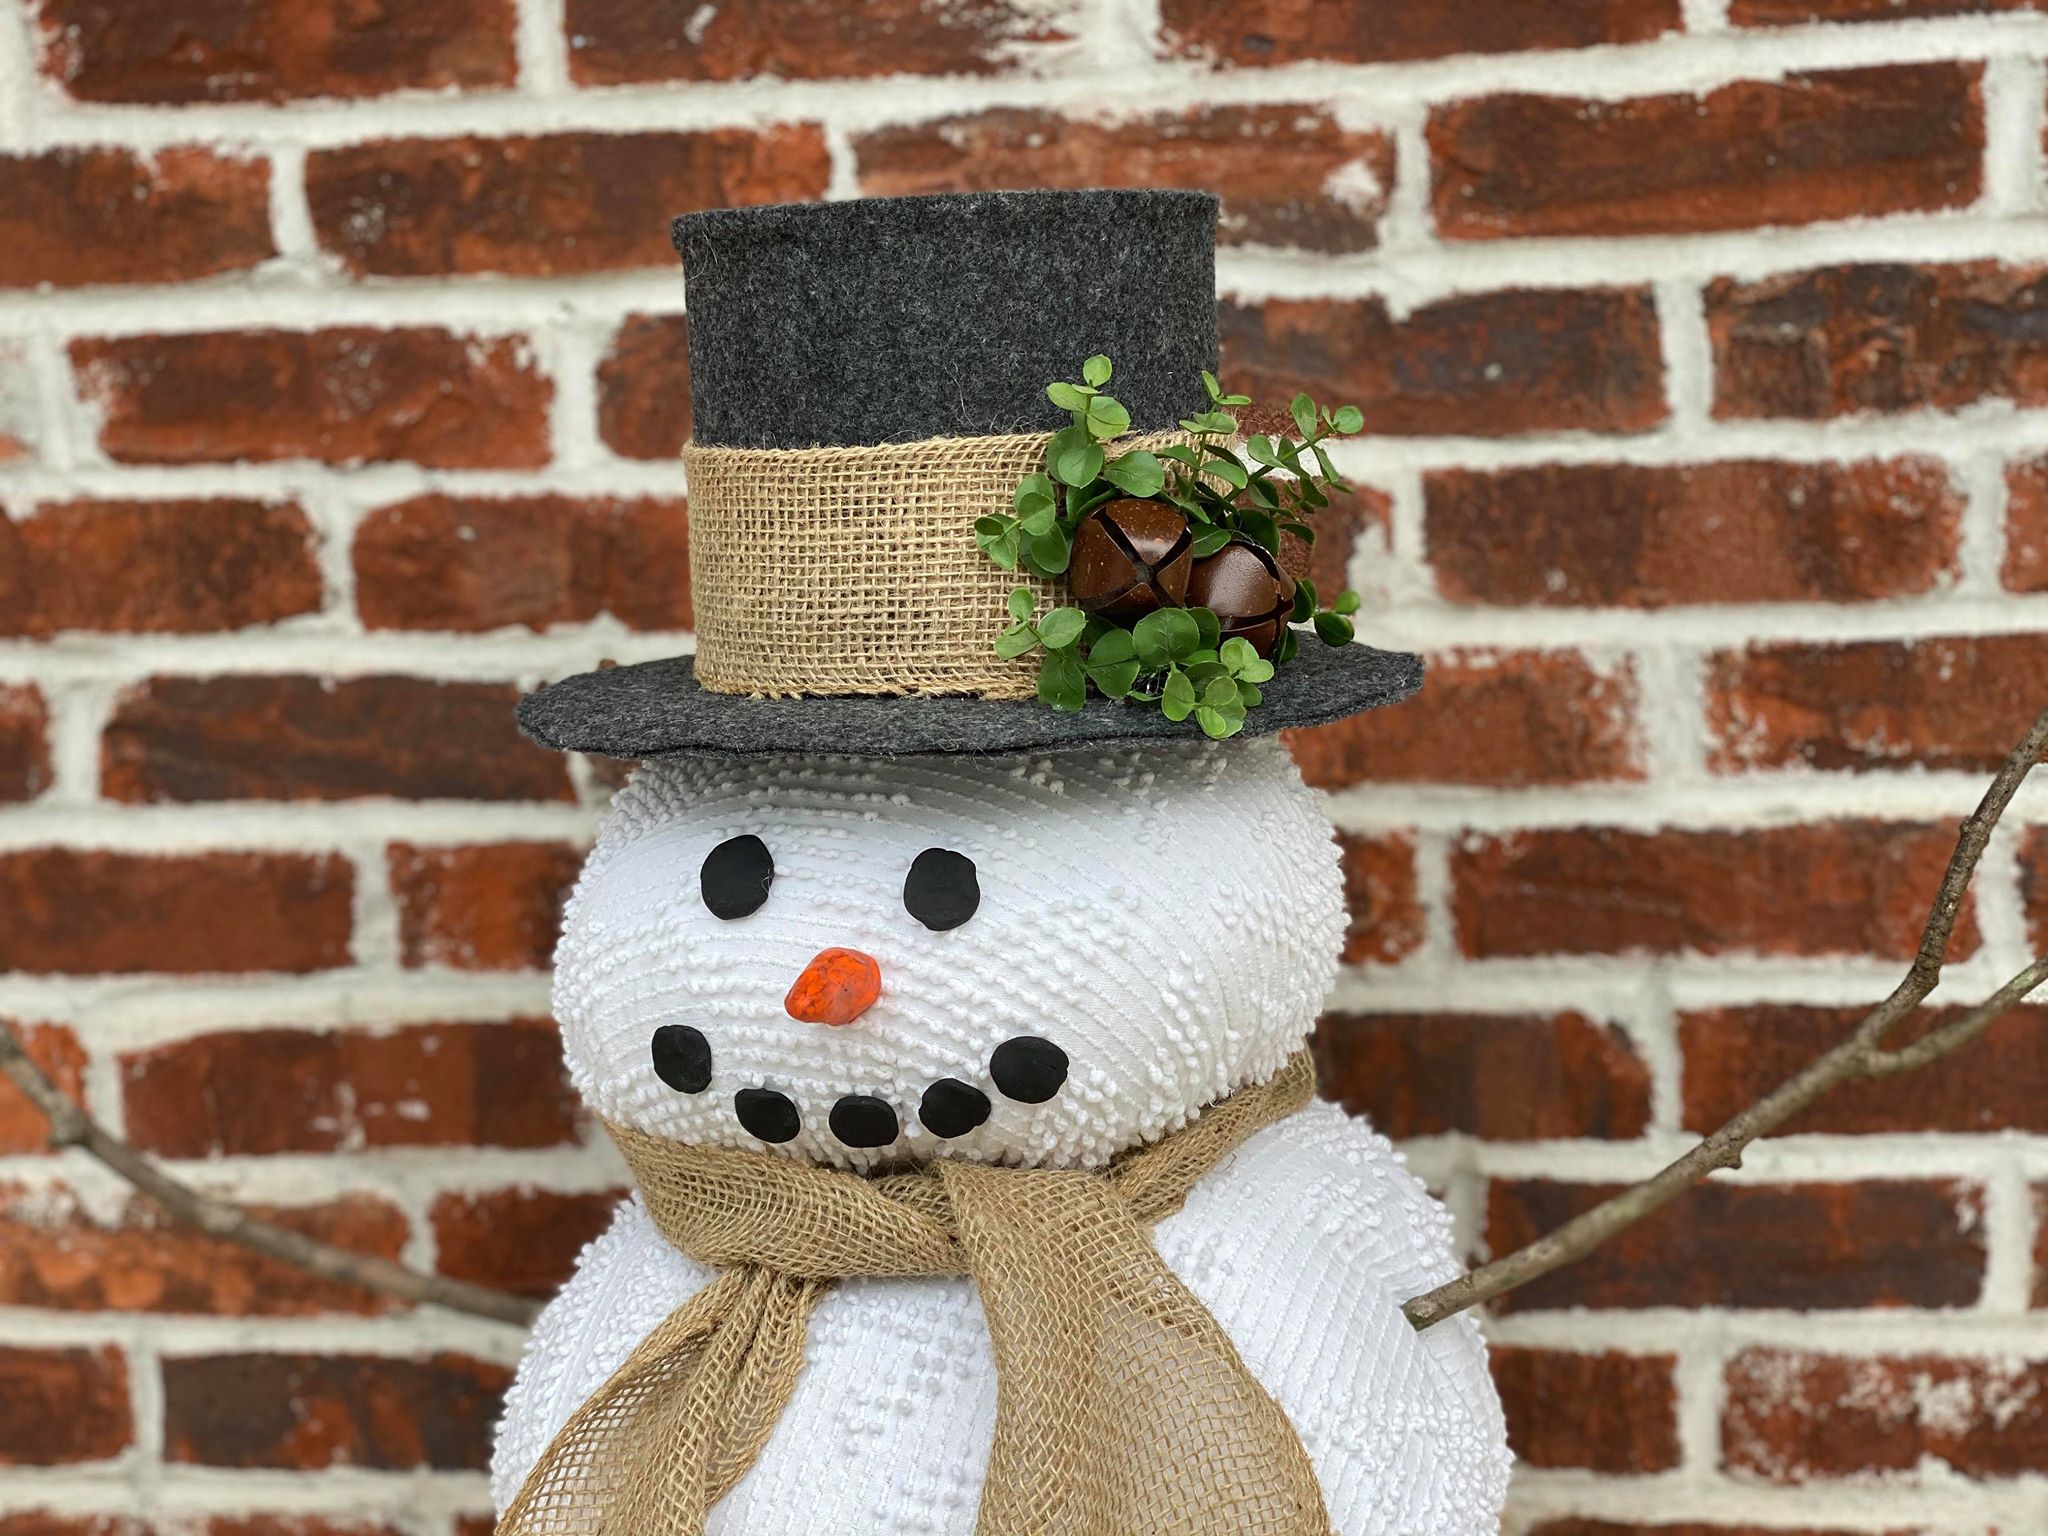
Now it is time to make your hat. I cut all the pieces for the hat from my piece of felt. I took a dinner plate and traced it onto cardboard for the bottom of my hat and I used the coffee can for the top of the hat.
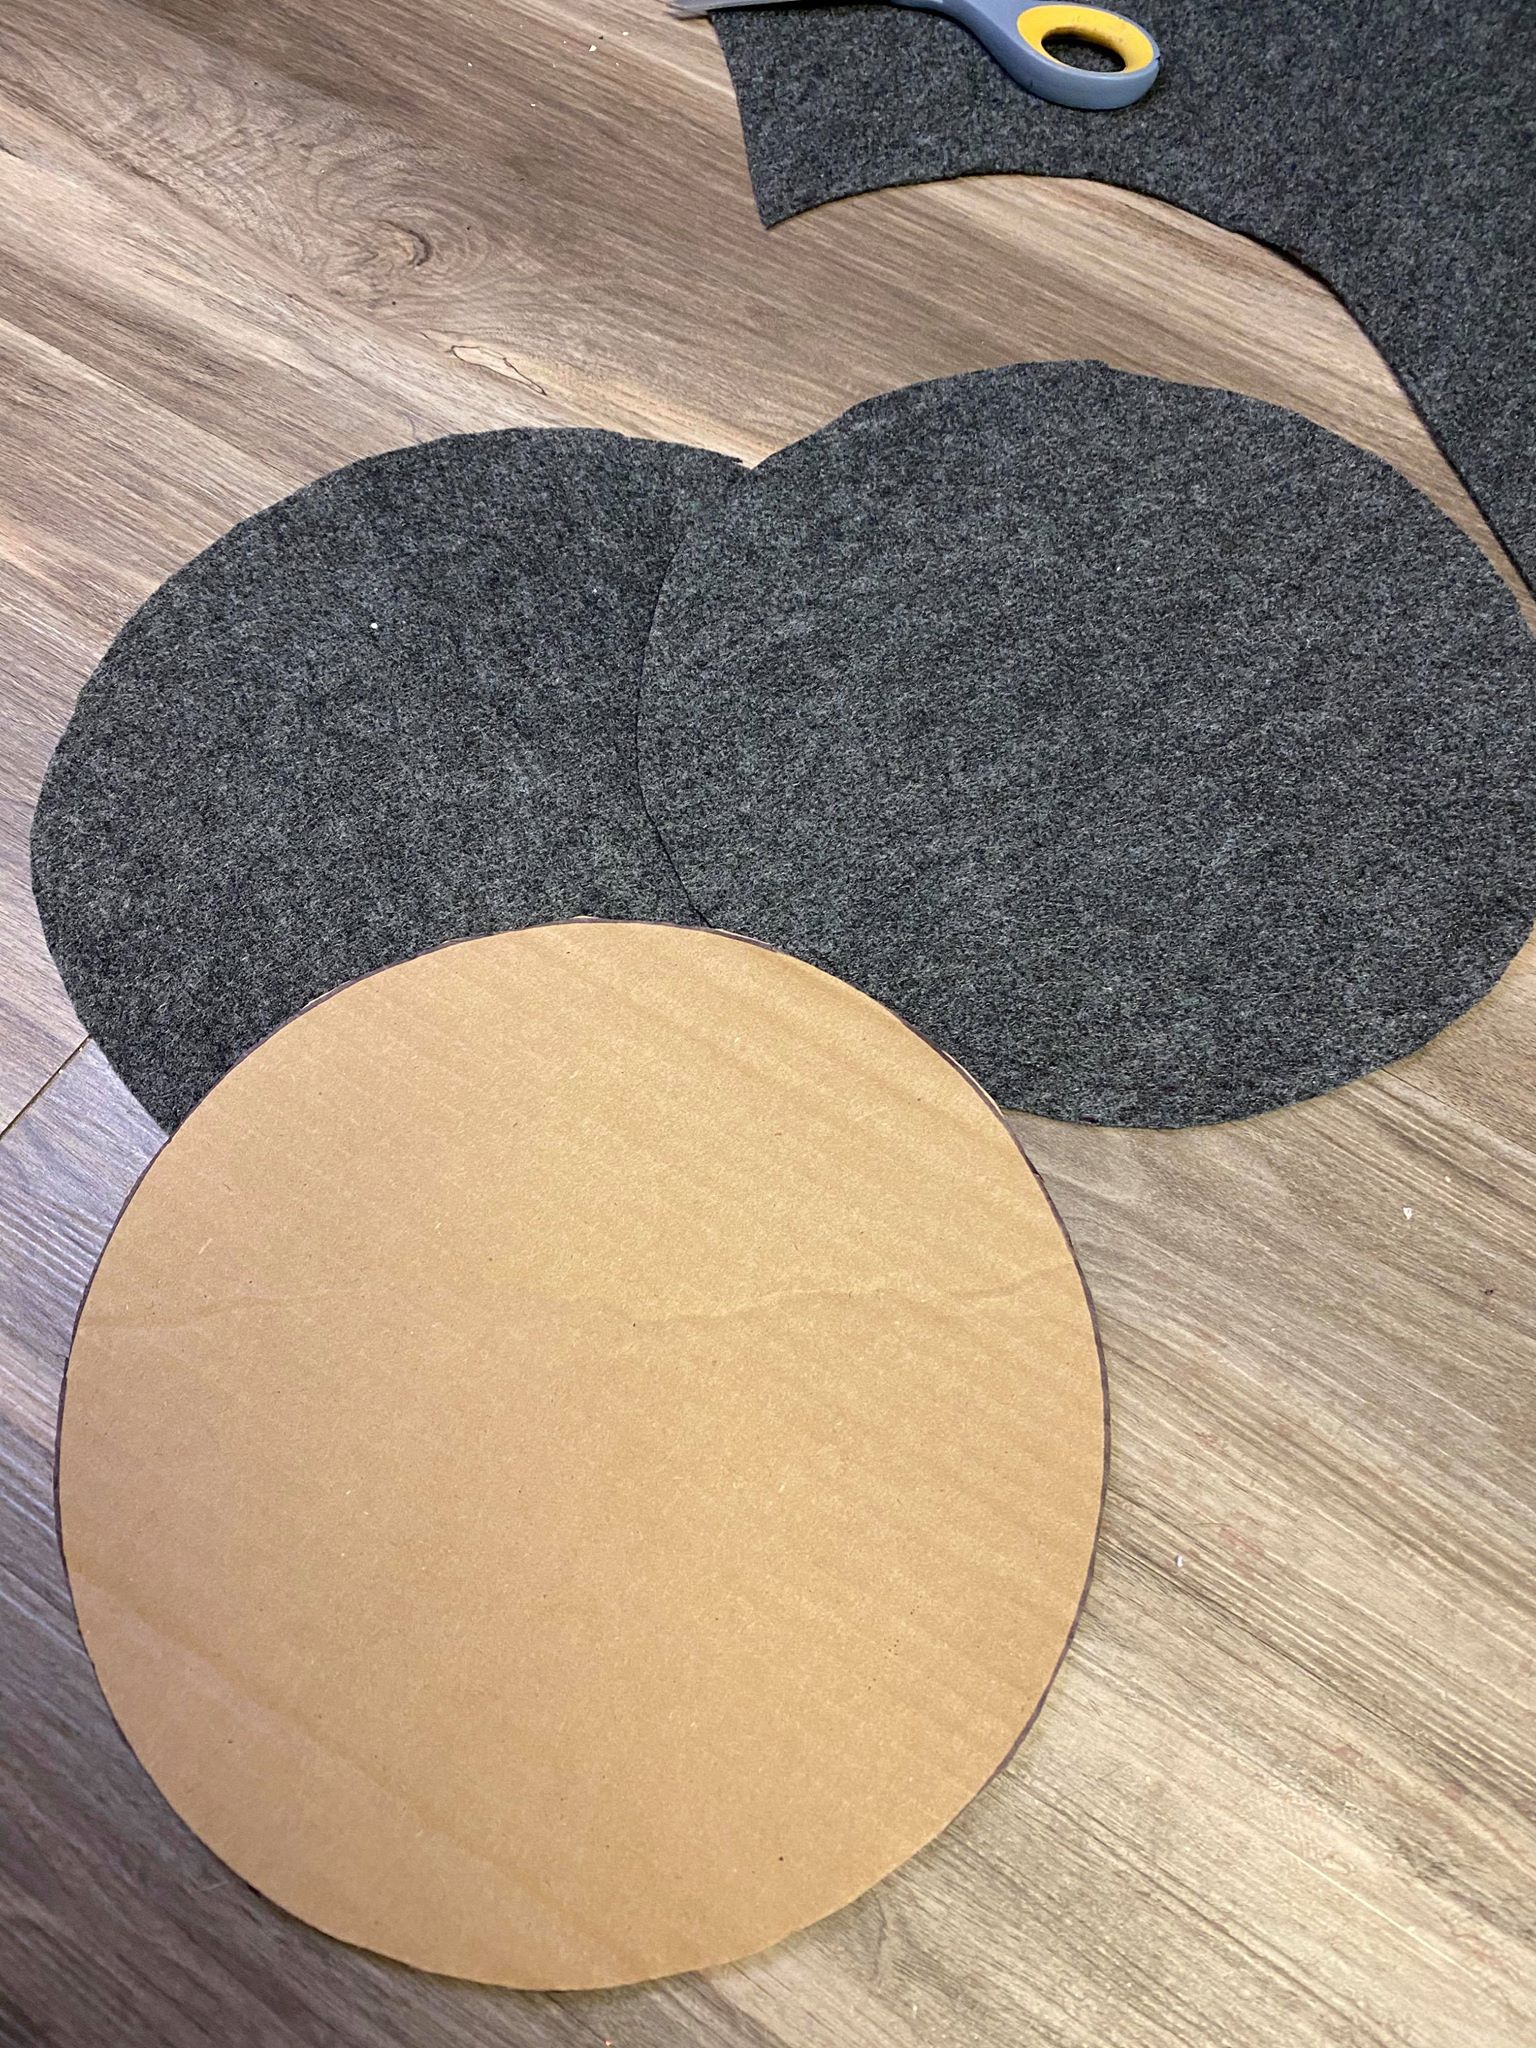
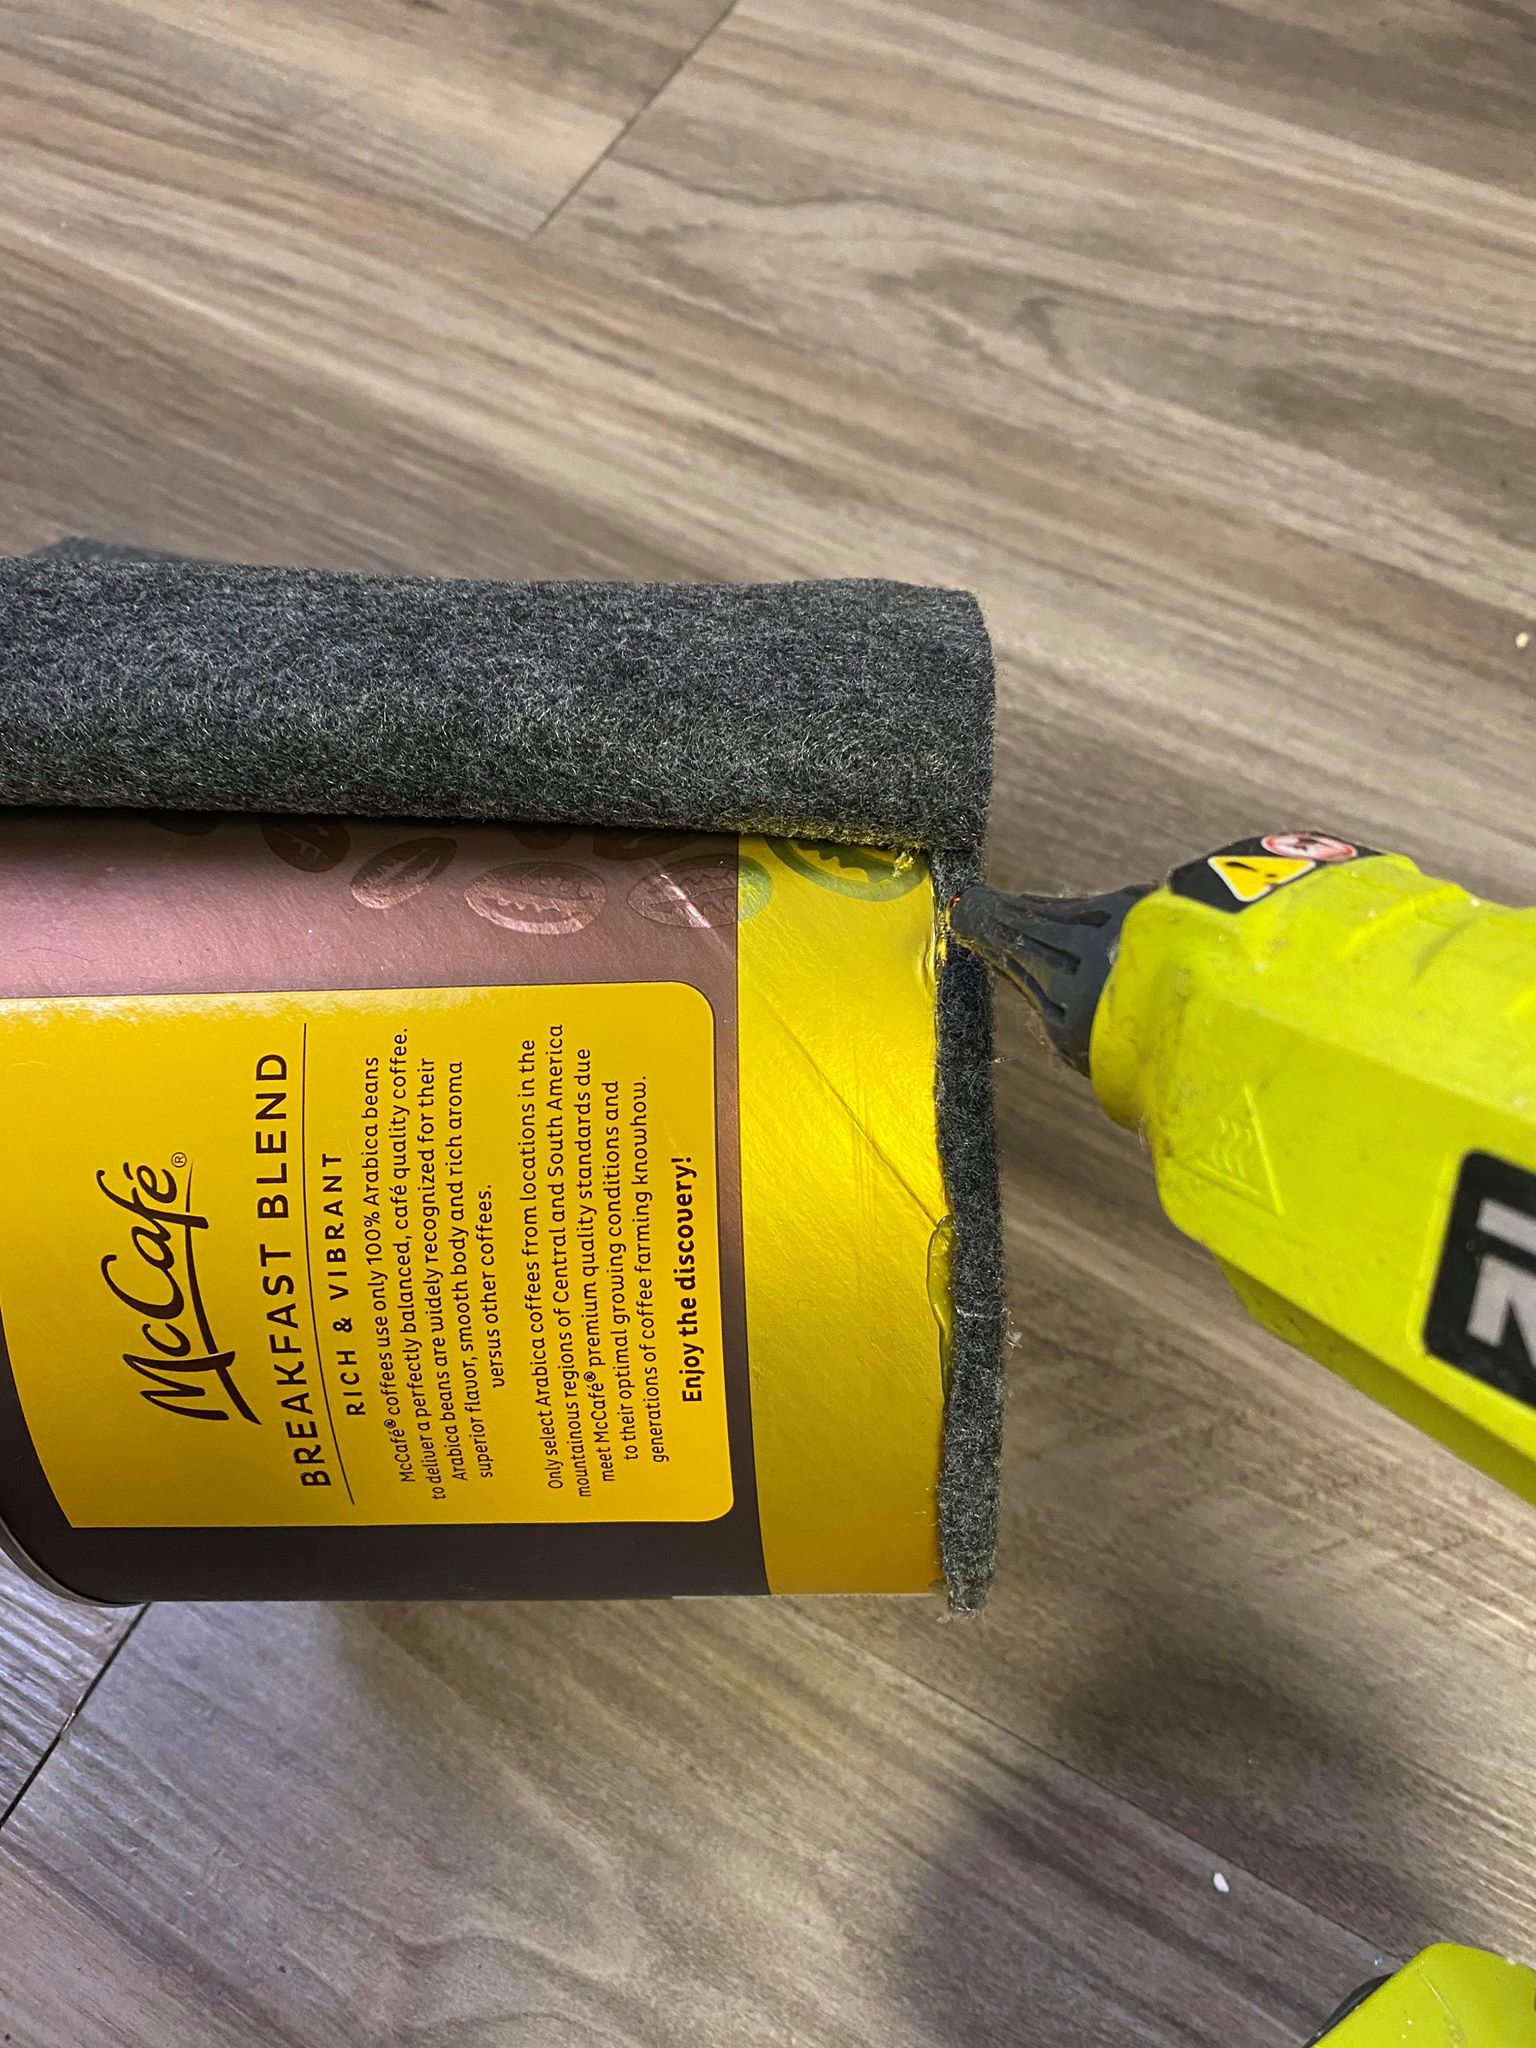
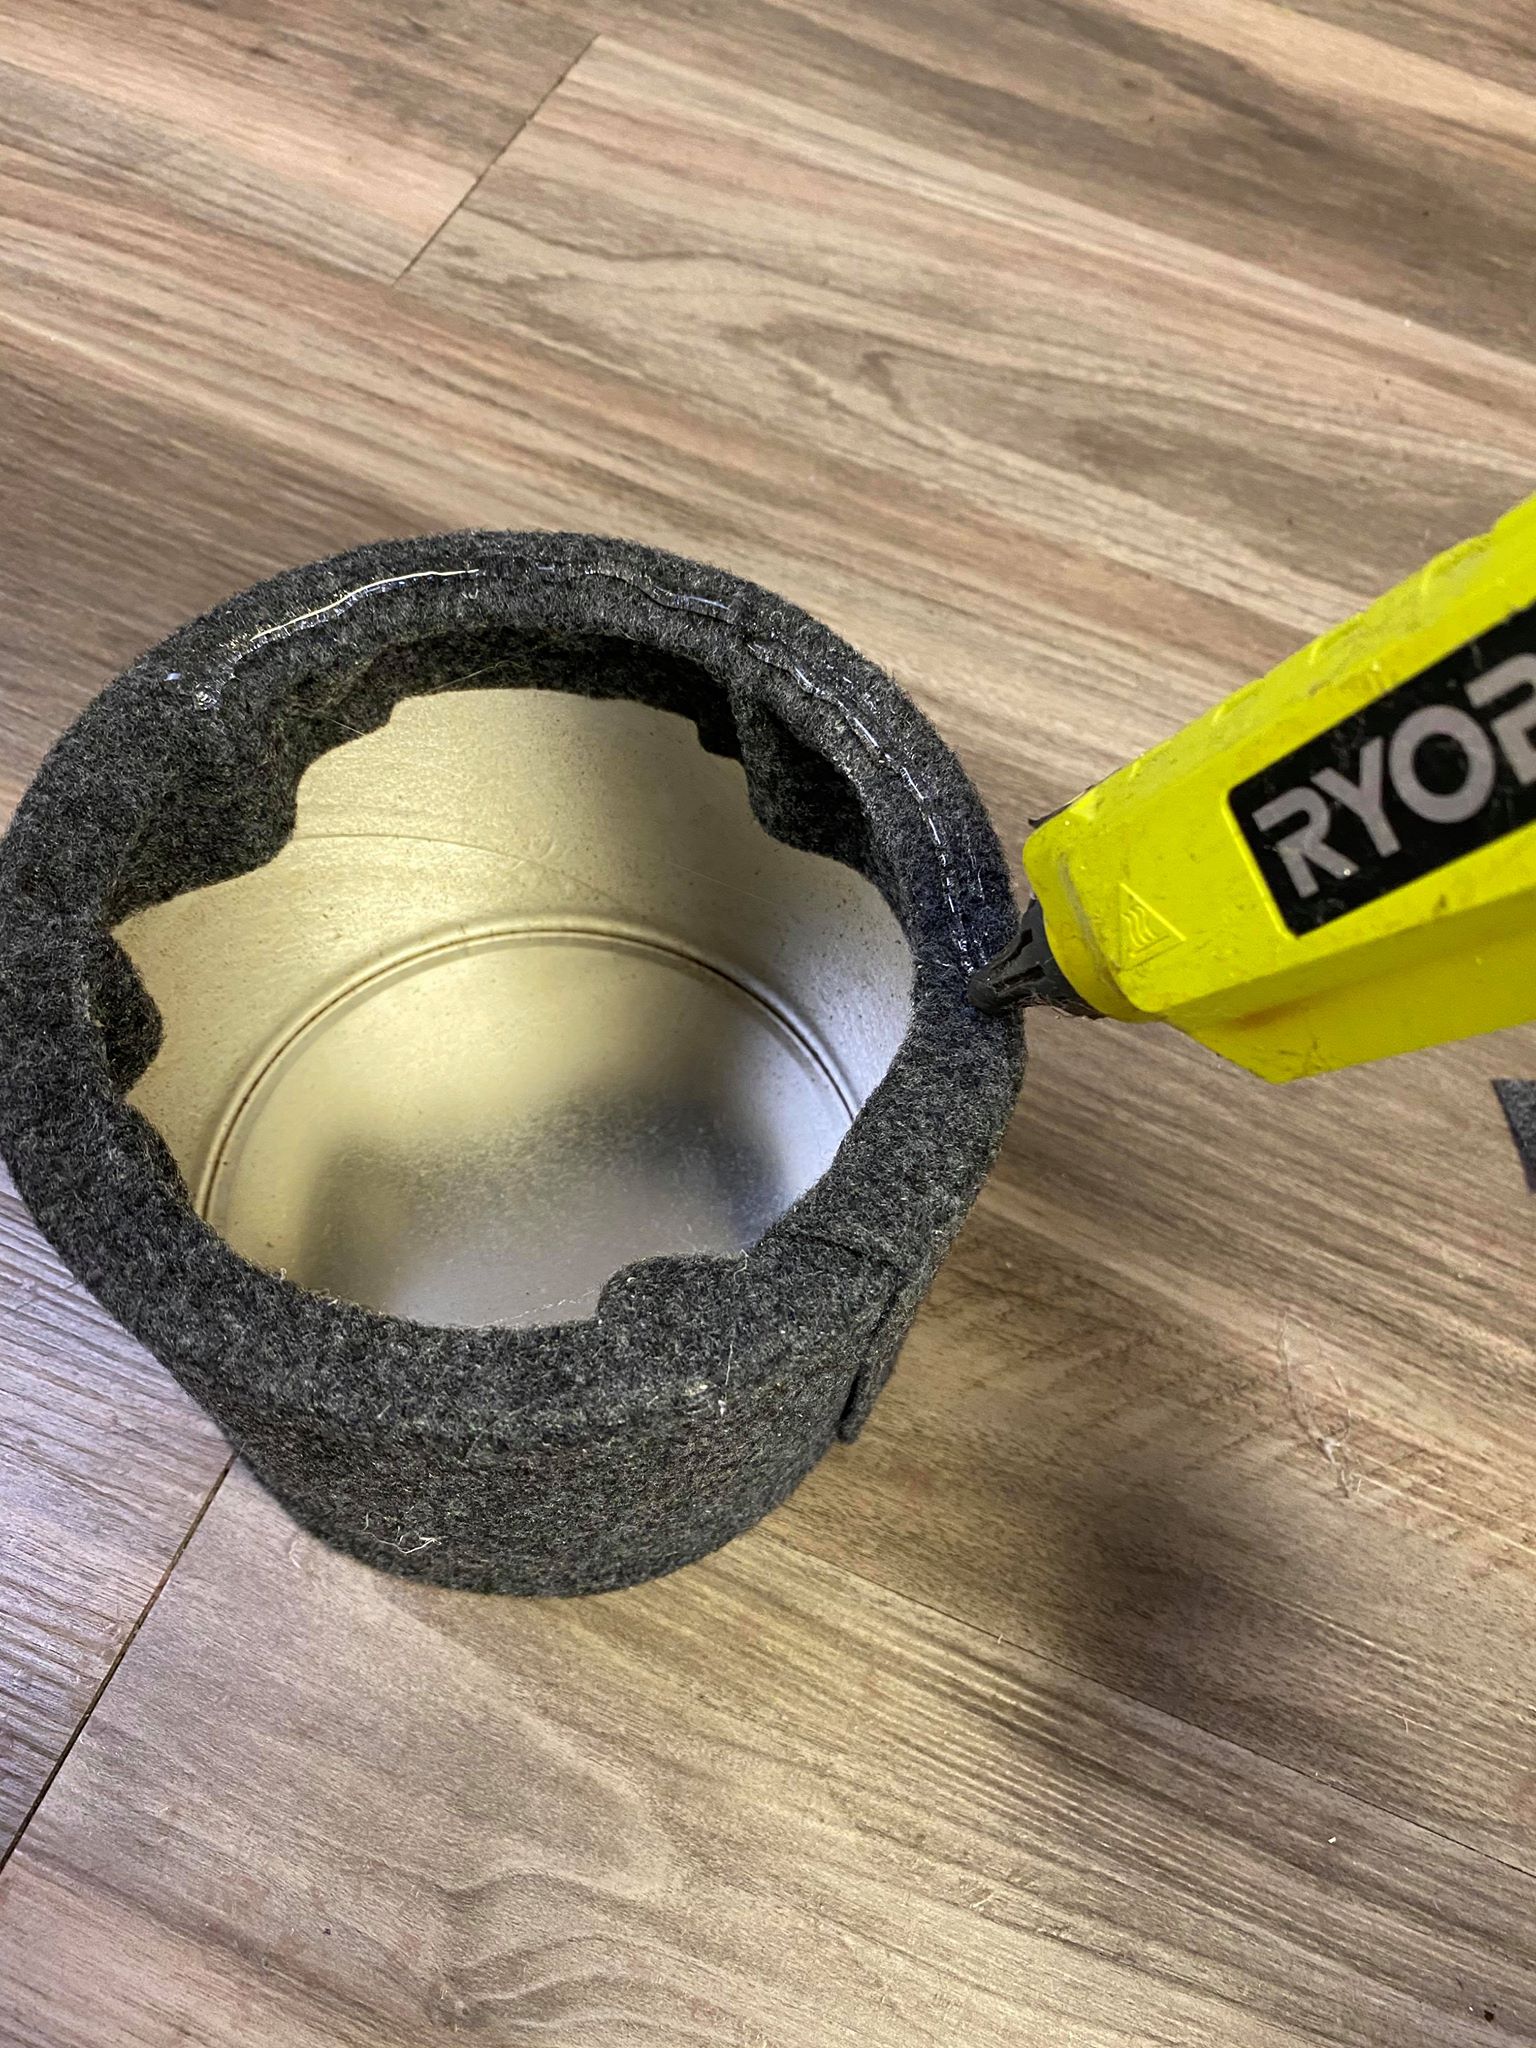
I covered both sides of the cardboard with felt and then covered the whole coffee can with felt.

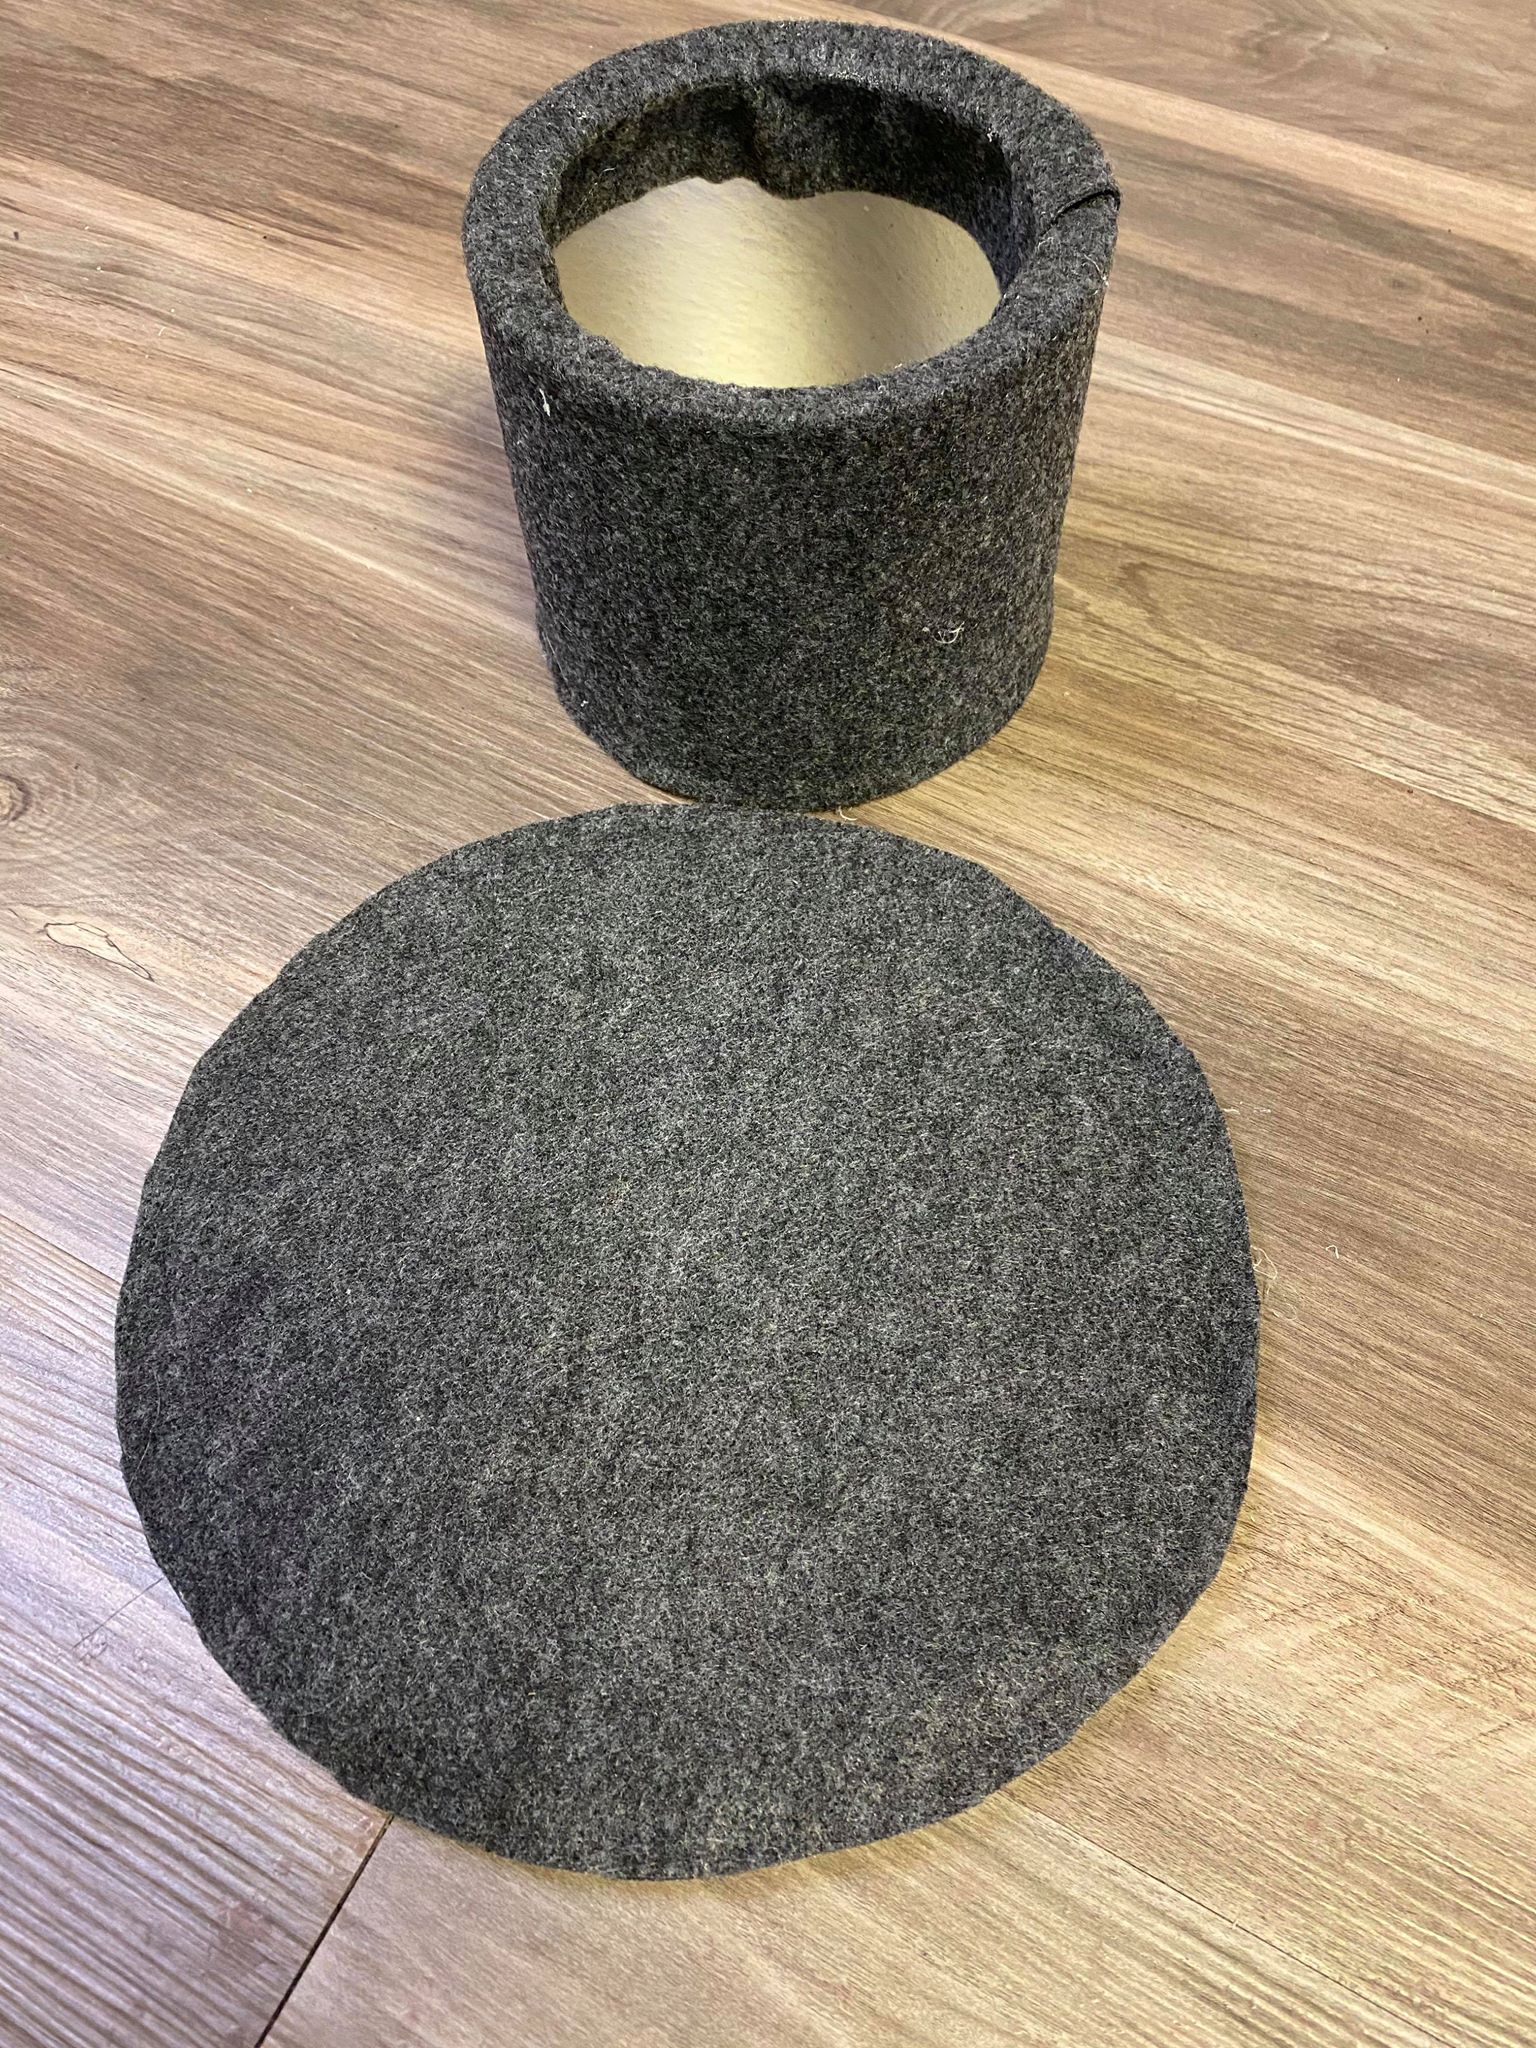
I glued both pieces together and then cut a hole in the center. The hole will help to allow the hat sit flat to his head.

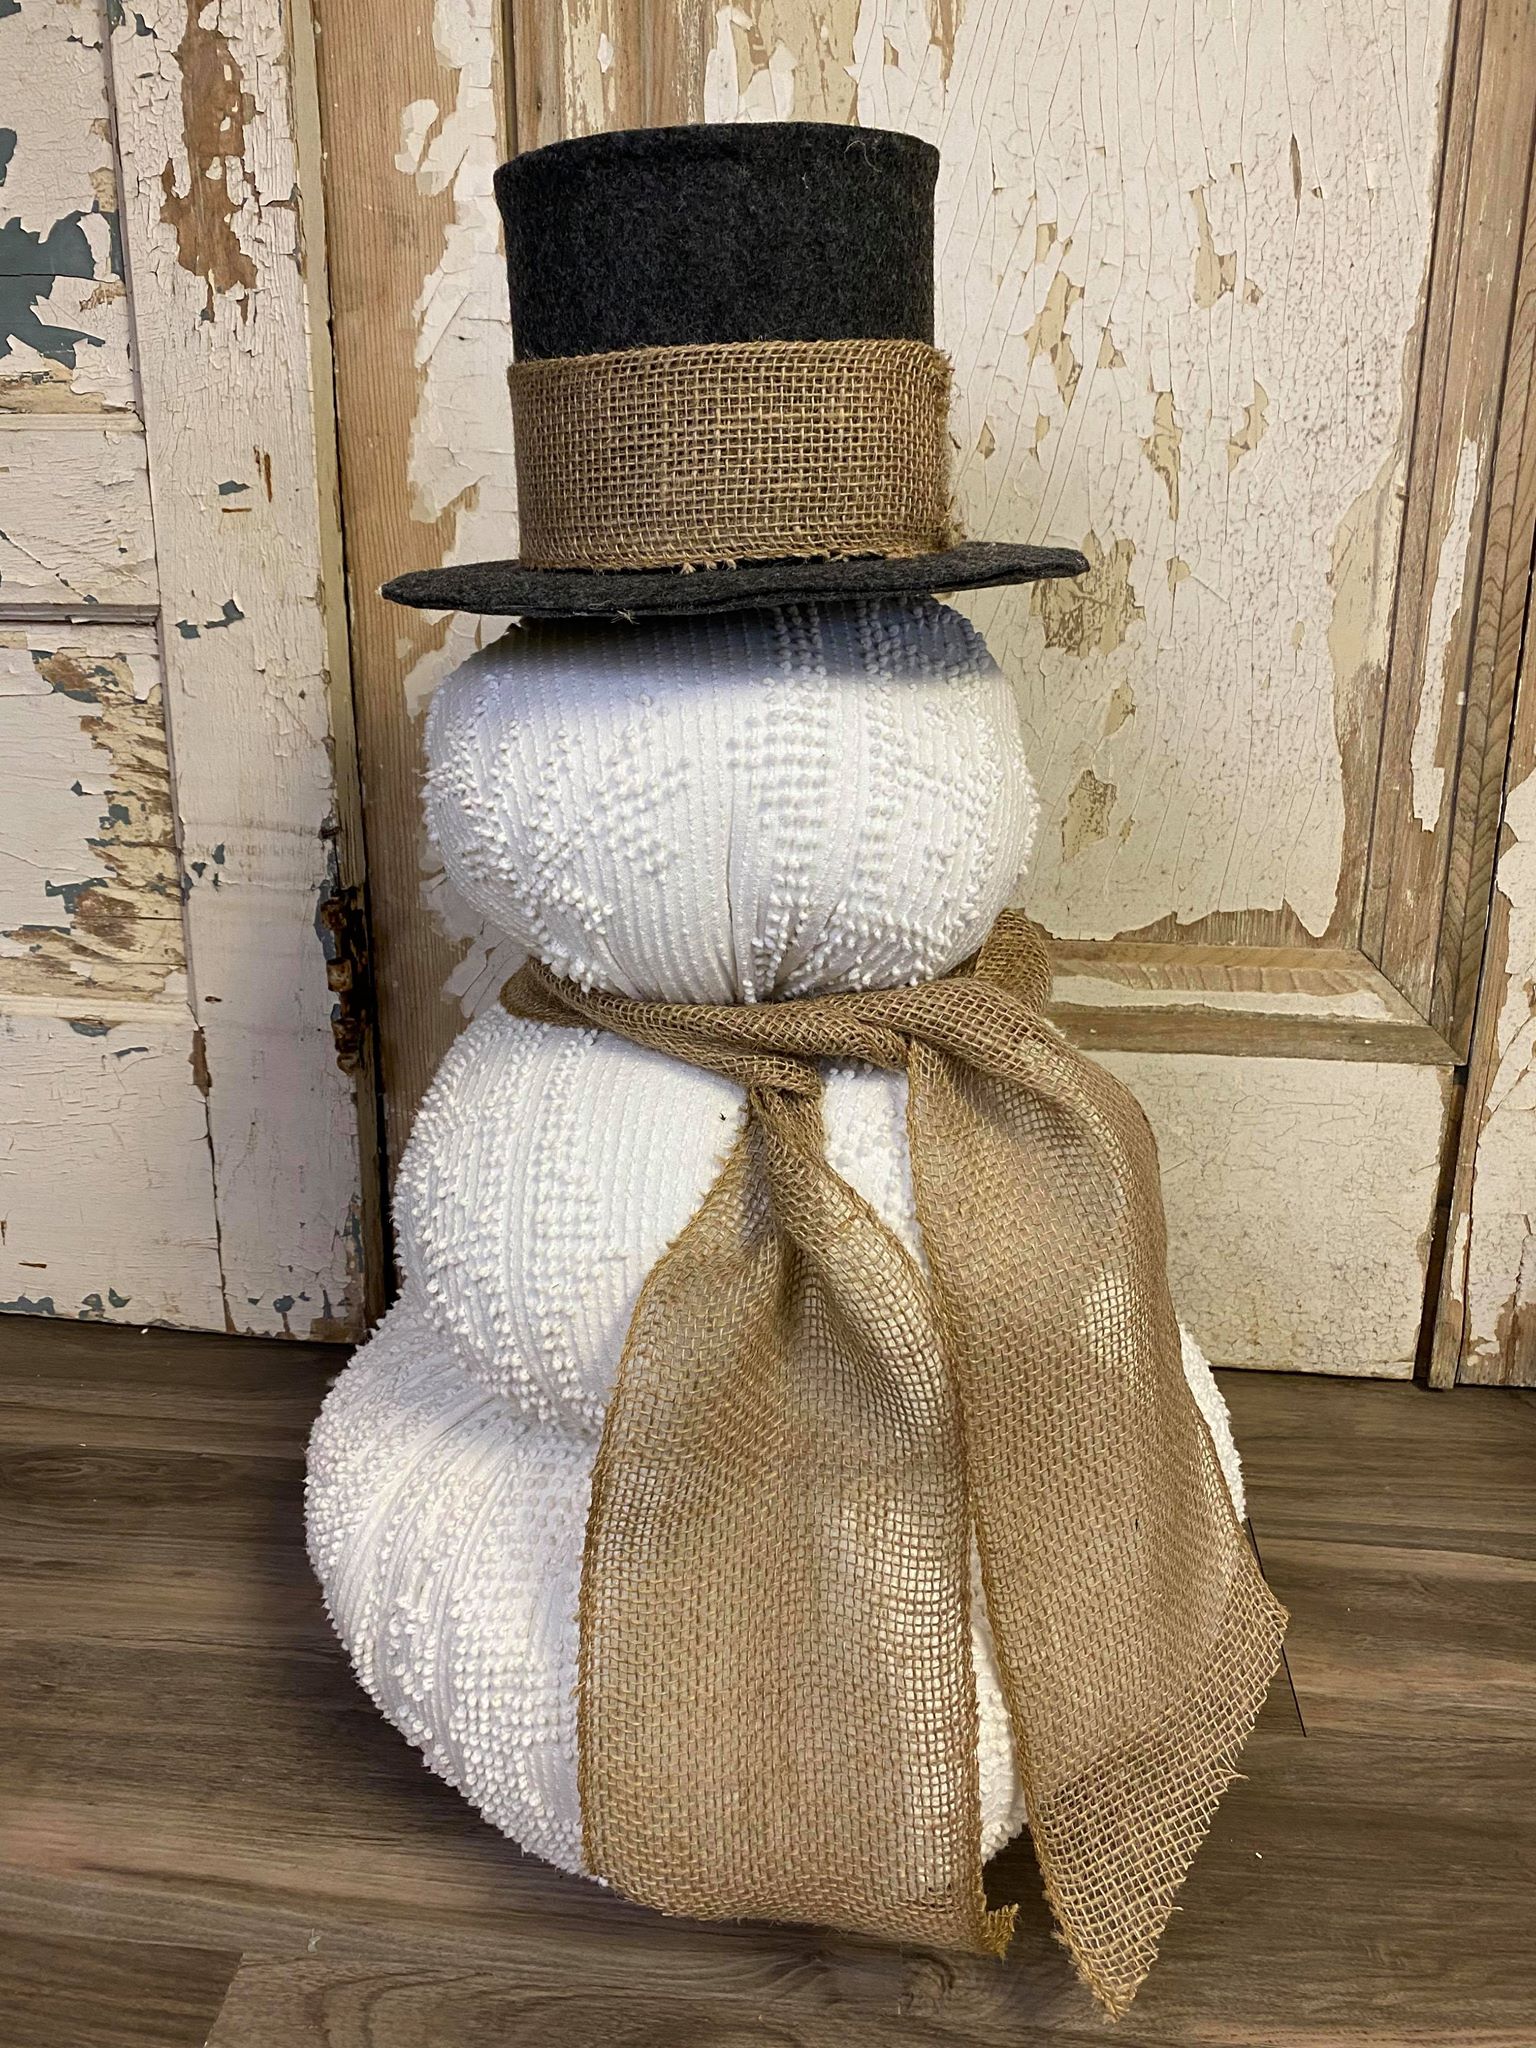
I added a strip of the burlap ribbon around the hat and then I tied a strip around the neck for a scarf.

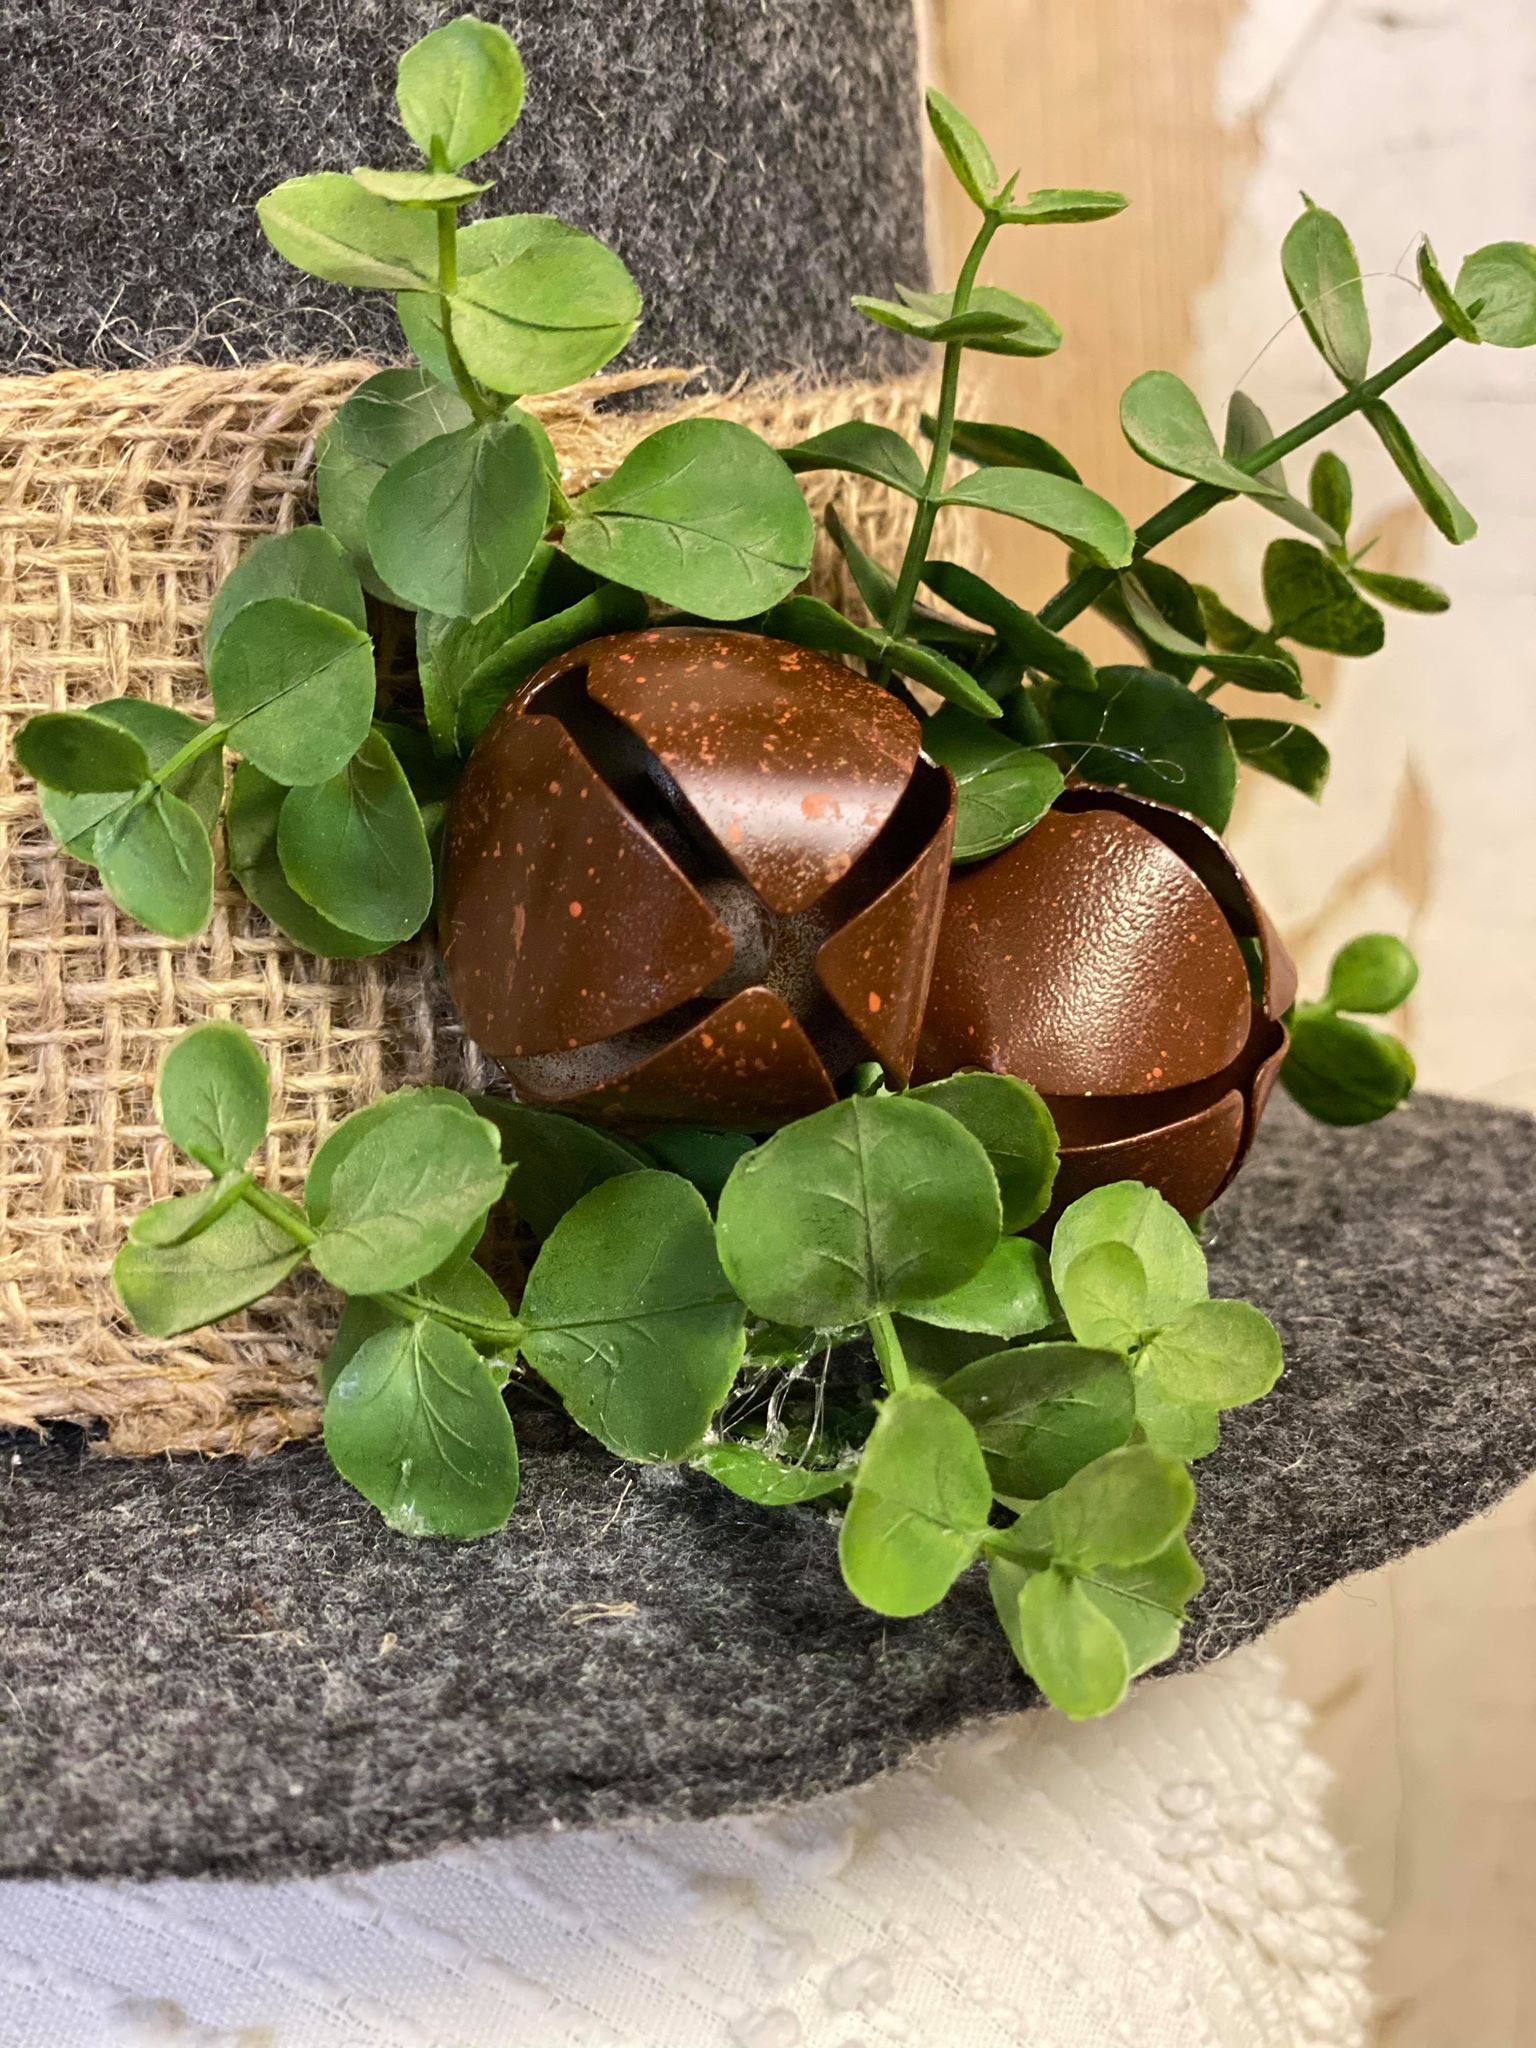
I used hot glue to glue on the face. I also added some greenery and bells to the hat.
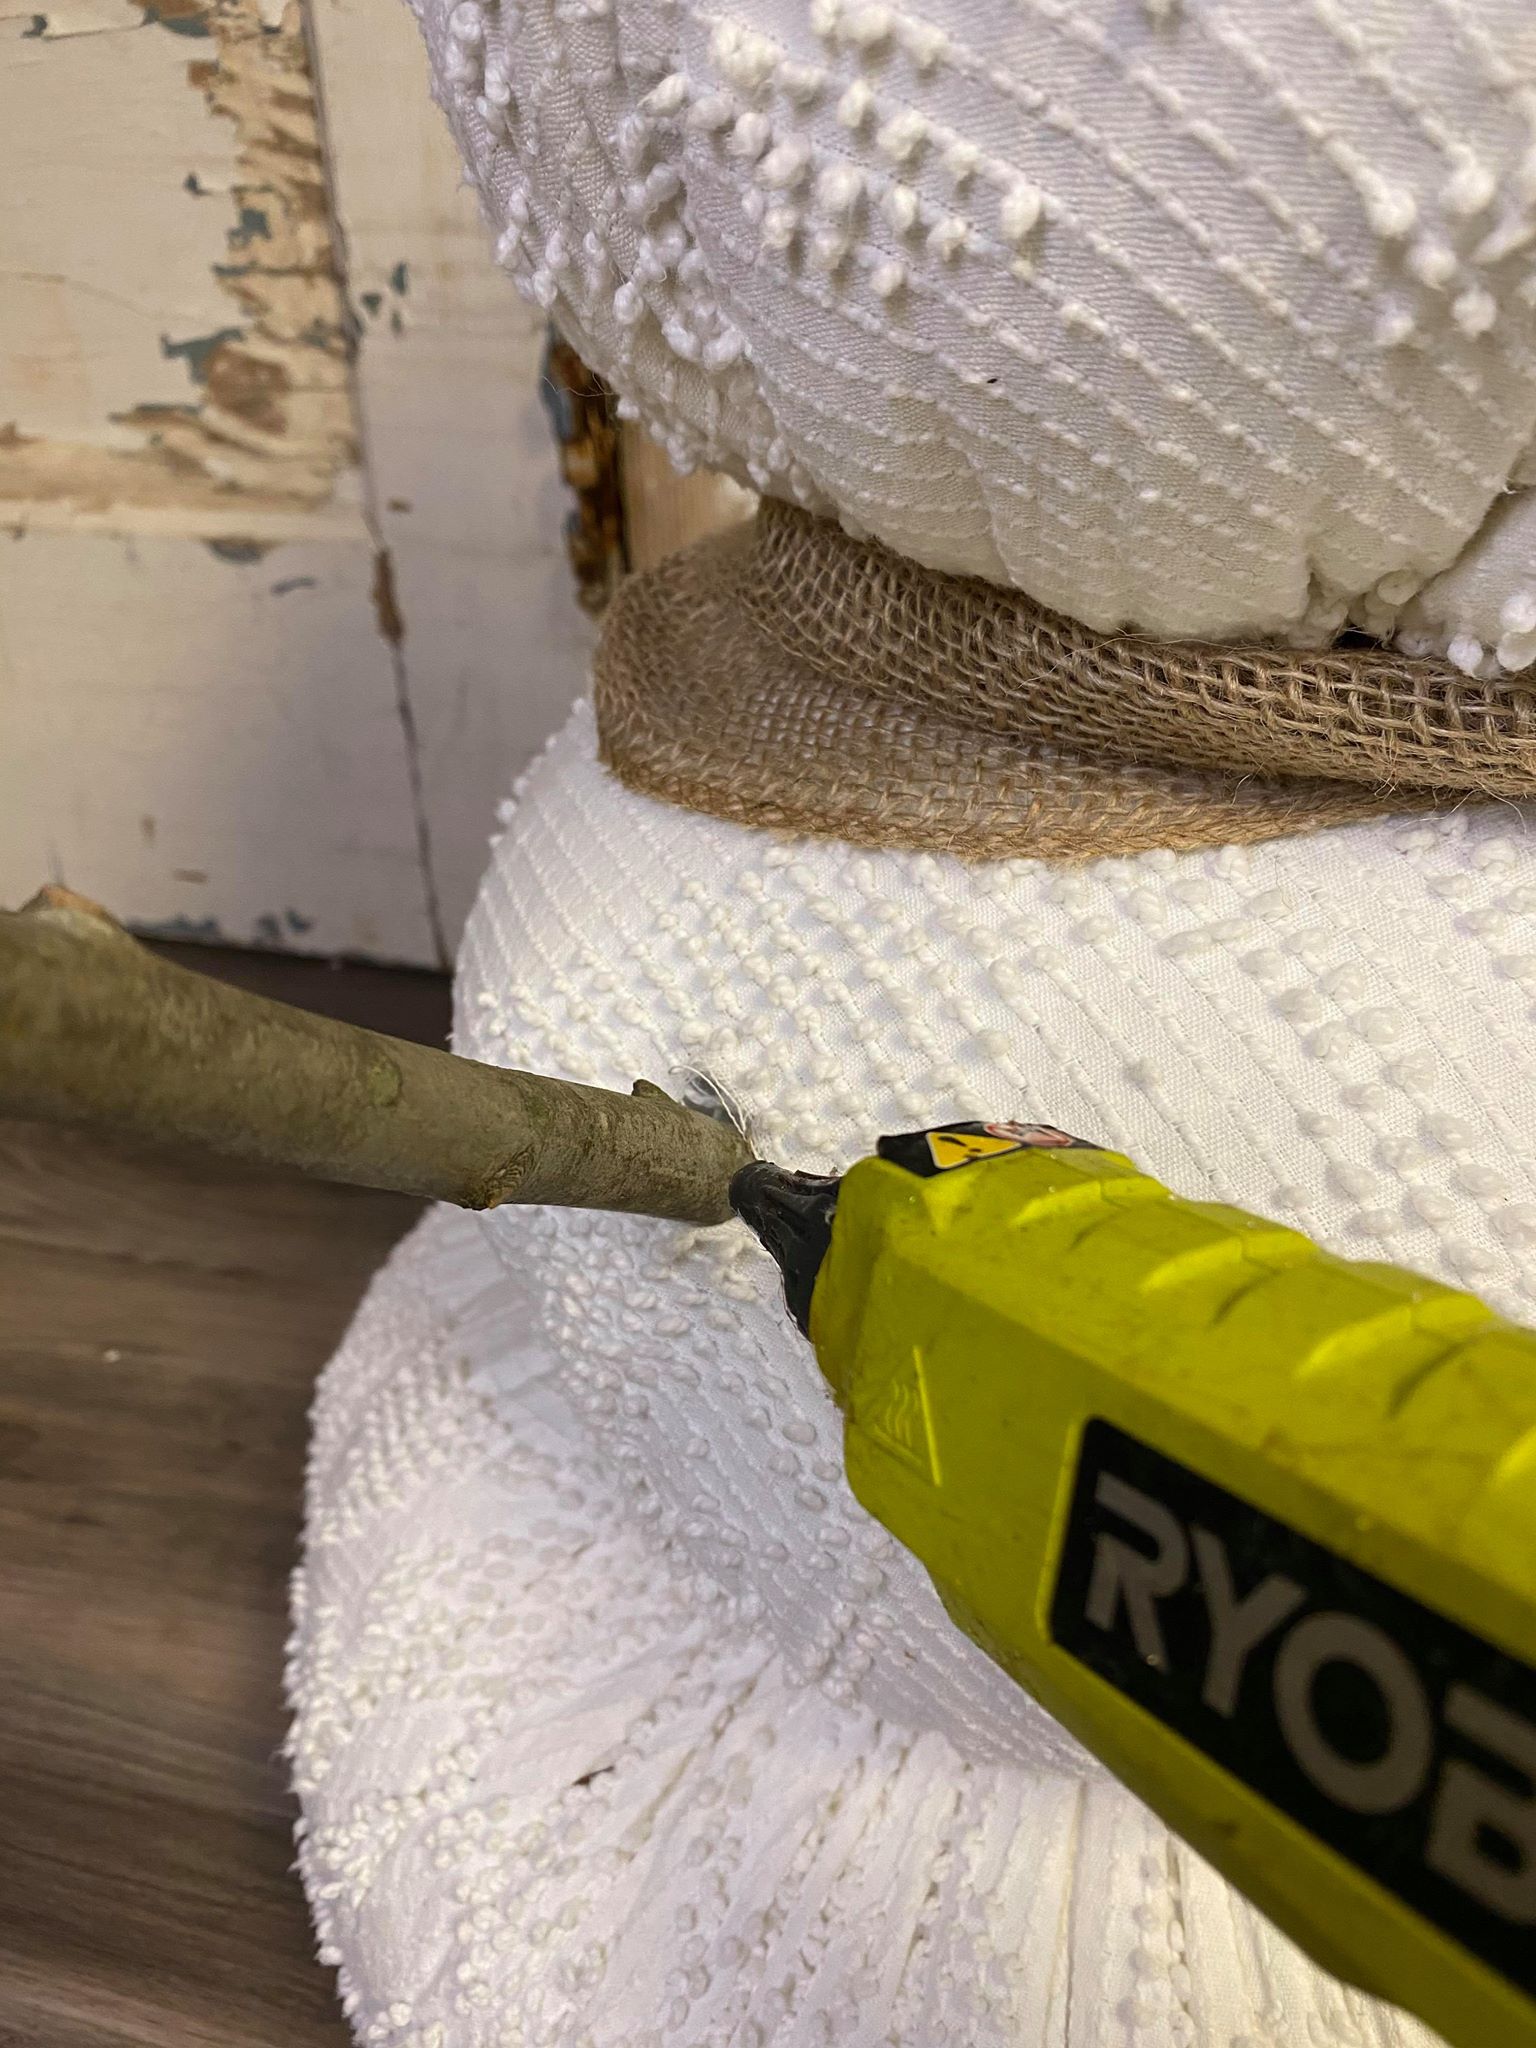
You will need to poke 2 holes in the side of your snowman to insert the stick arms. I added some hot glue around the openings once the arms were in place.
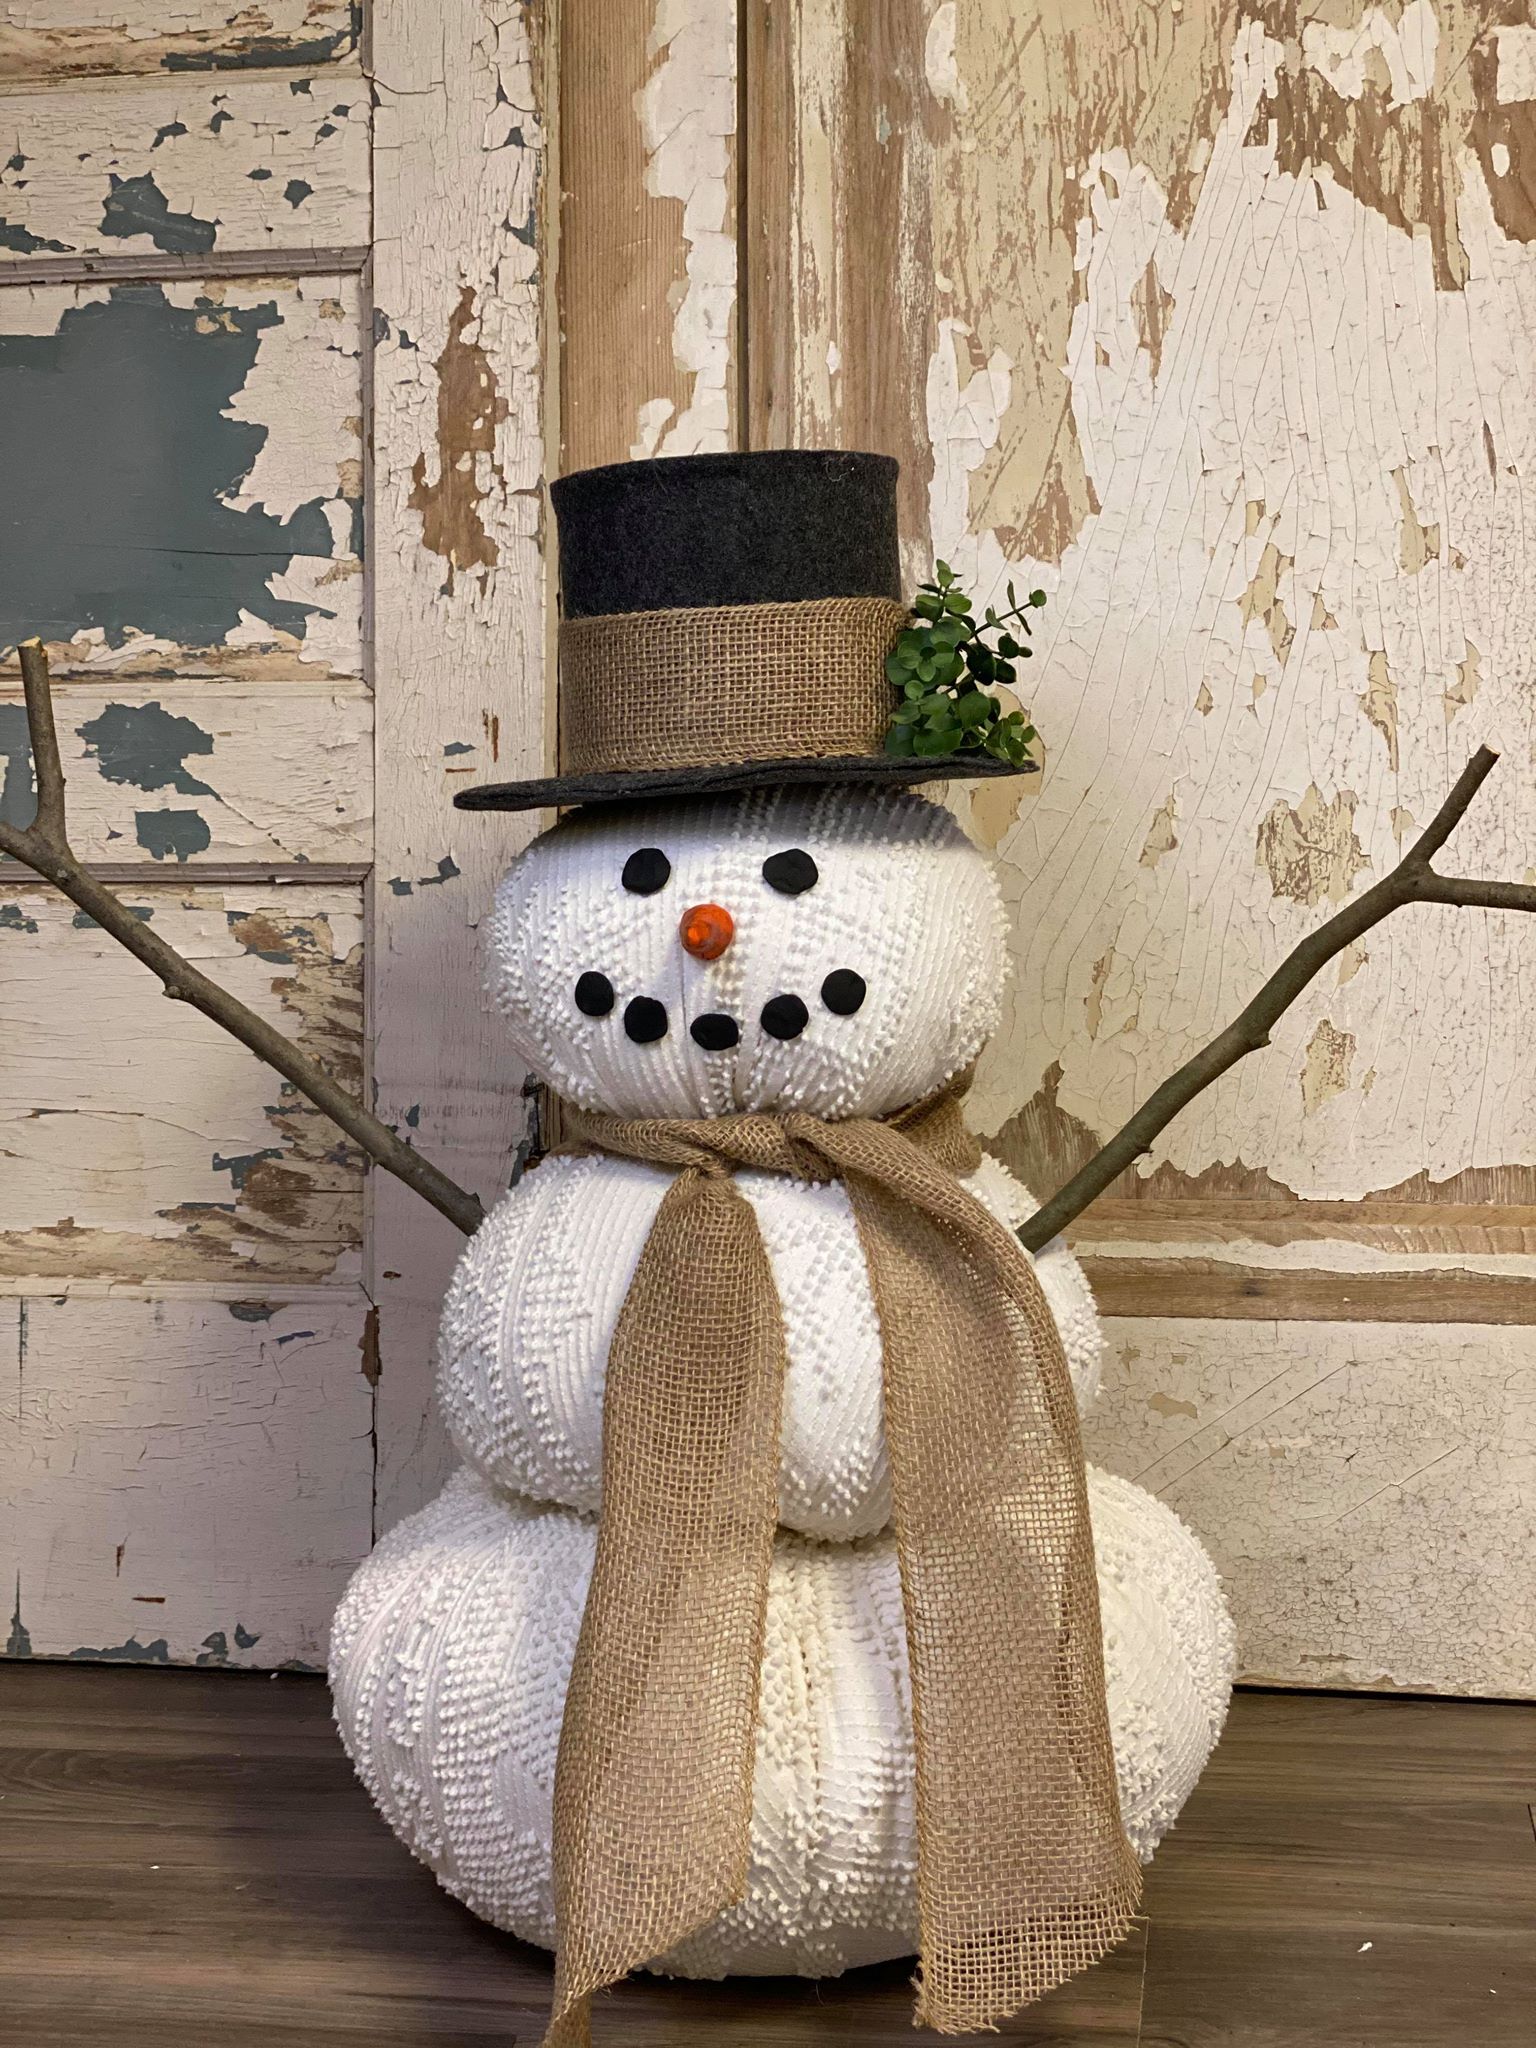
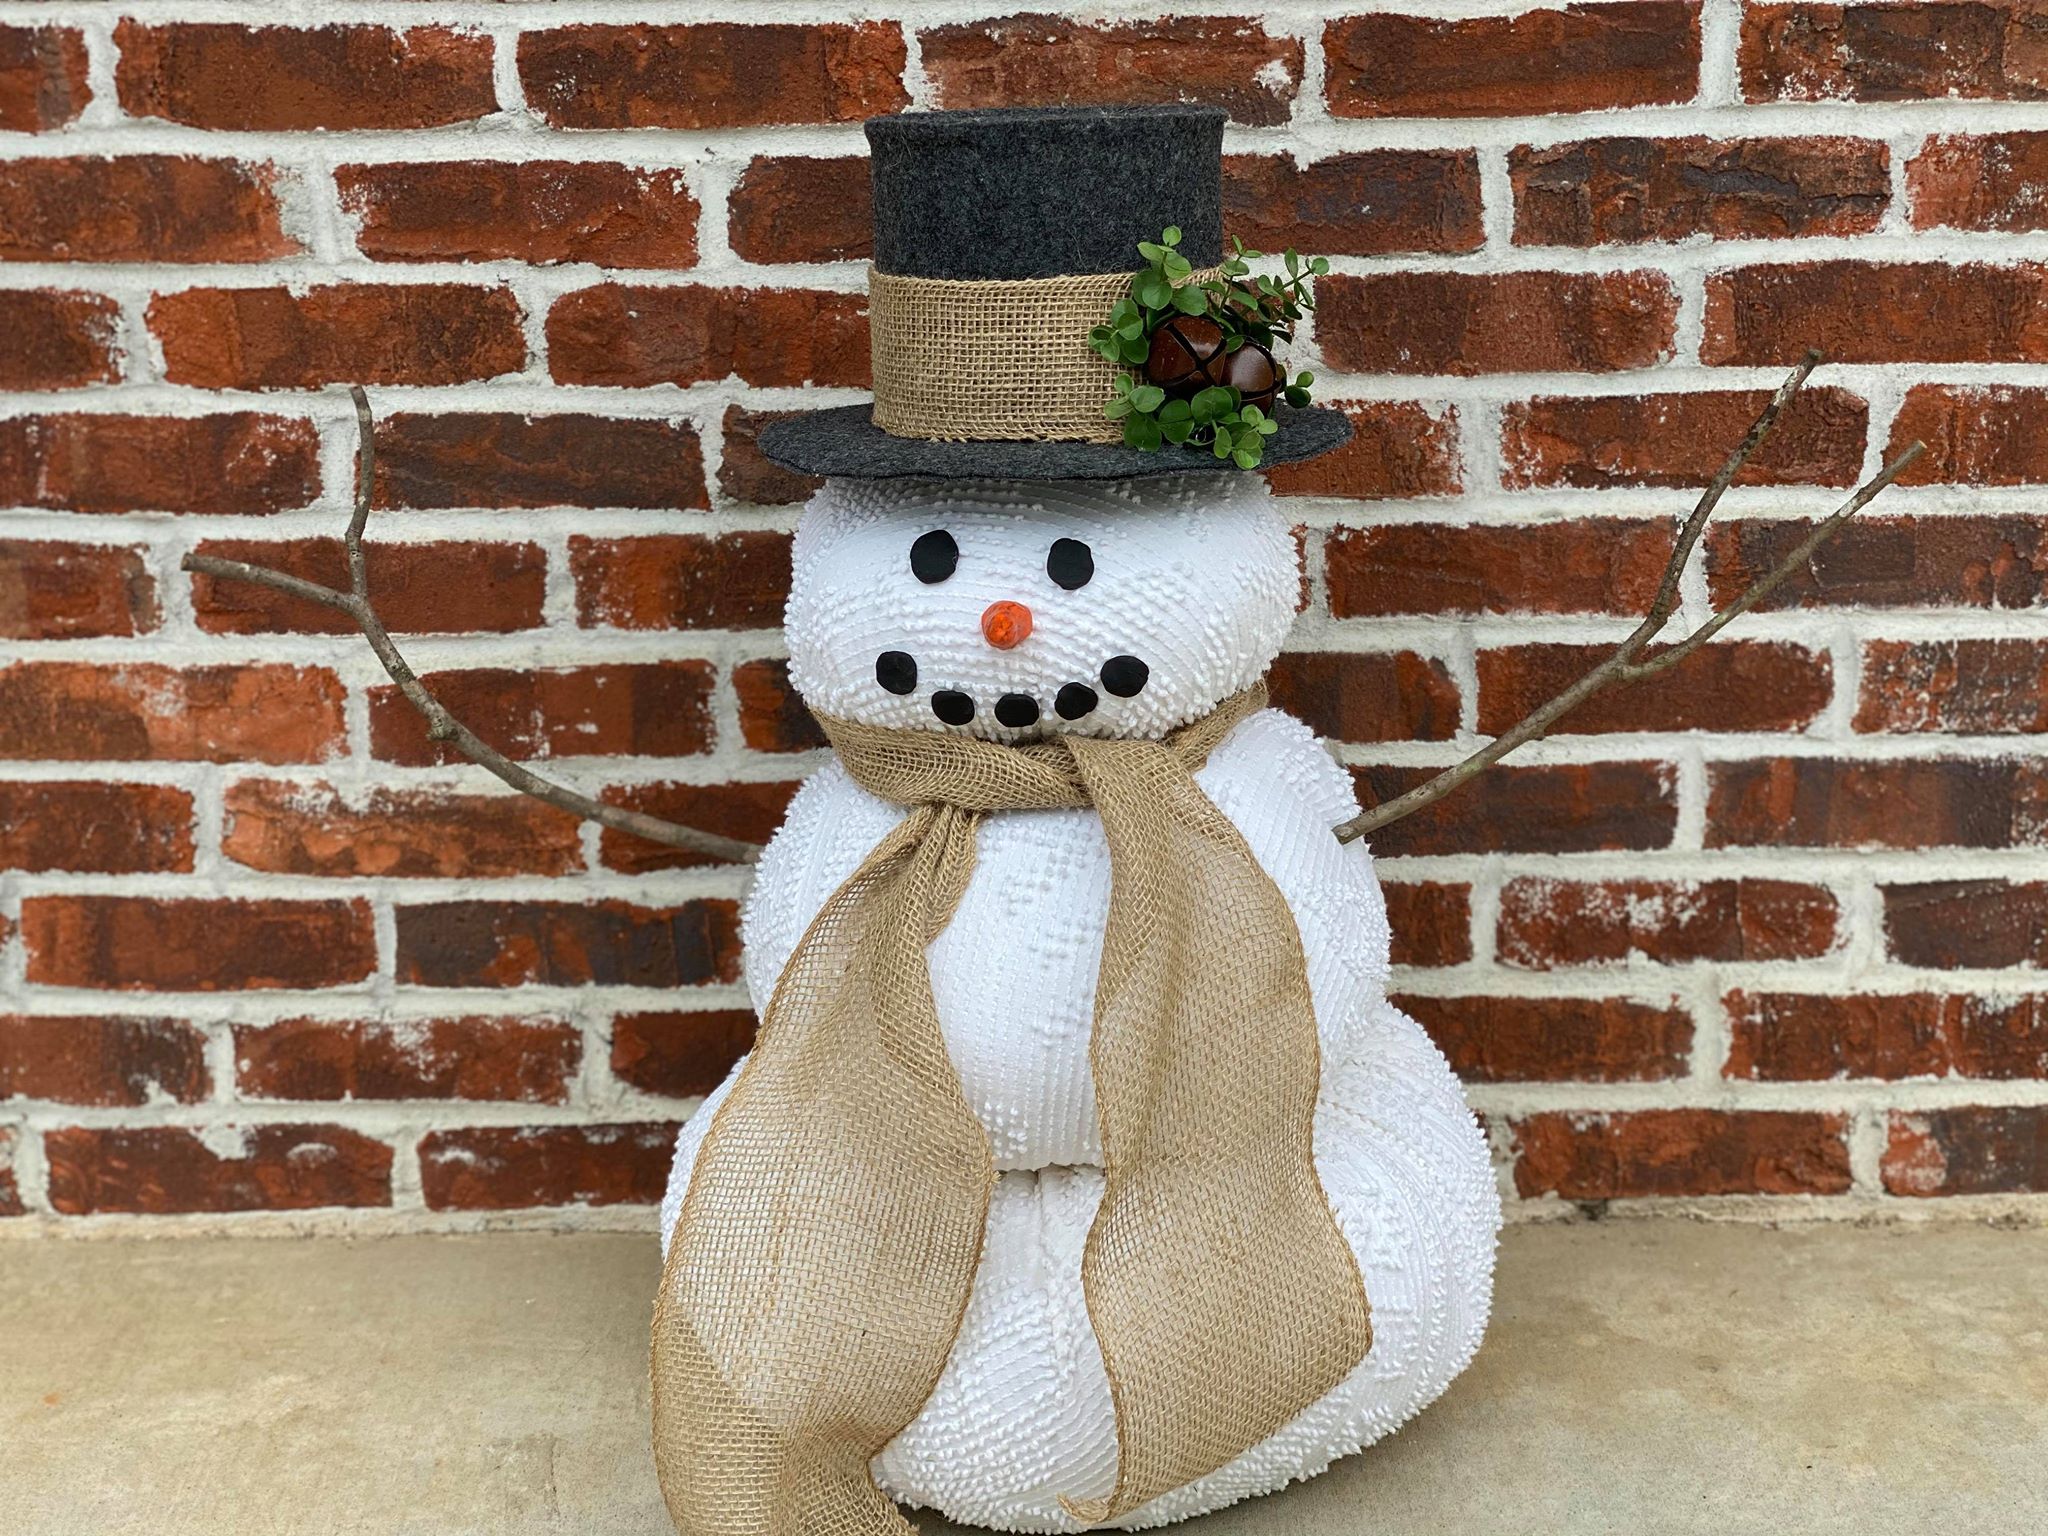
I absolutely love the way this craft turned out! I know this snowman is going to look amazing next to one of my trees. I really hope you guys will give this DIY a try!