
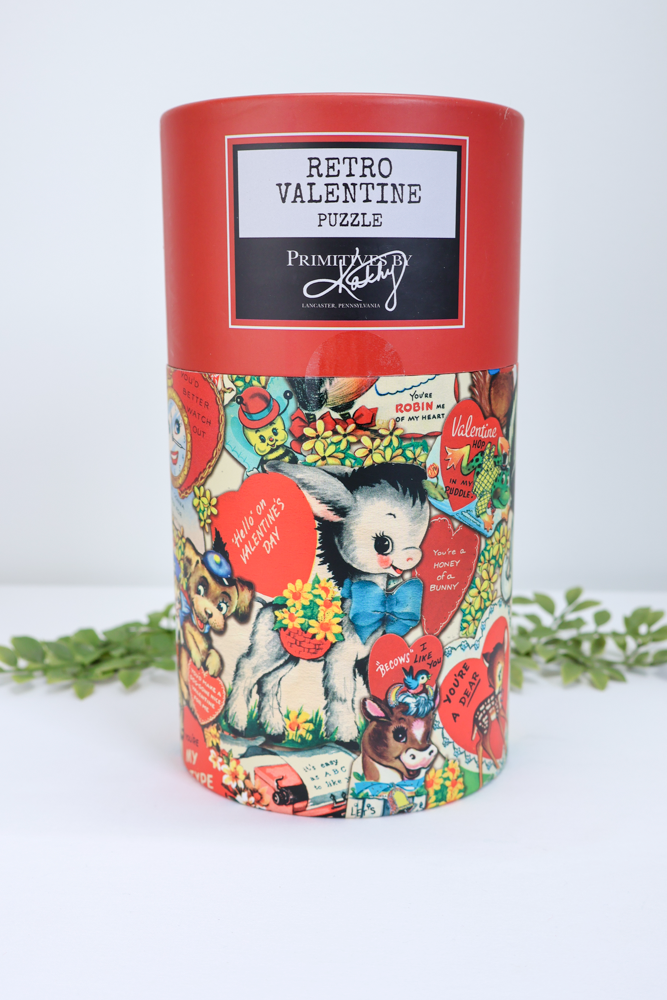
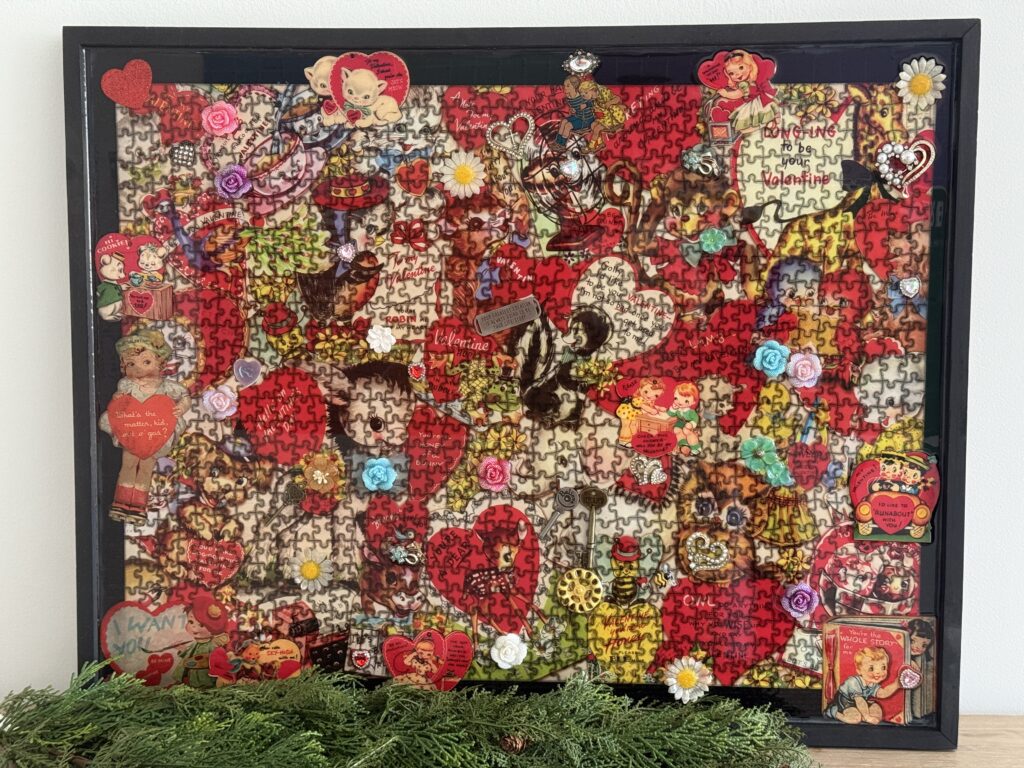
This DIY started with a Valentine’s Day puzzle, but the fun part is that this method works with any puzzle you love! Covering a puzzle in resin is such a creative way to turn it into lasting decor instead of packing it back into the box. Whether it’s seasonal, vintage-inspired, or something you want to display year-round, resin gives it a smooth, glossy finish that really brings the artwork to life. This project is easier than you might think and is a great way to turn a simple puzzle into a unique piece for your home. Let me show you how I did it!
The puzzle I am using was on our website last year!
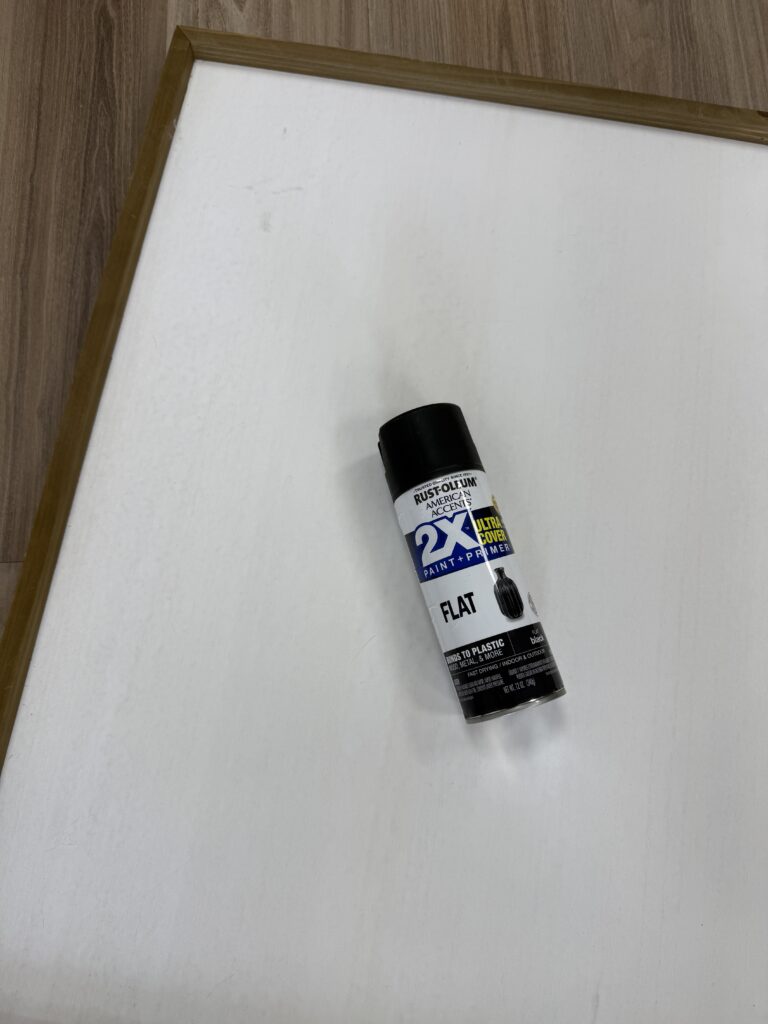
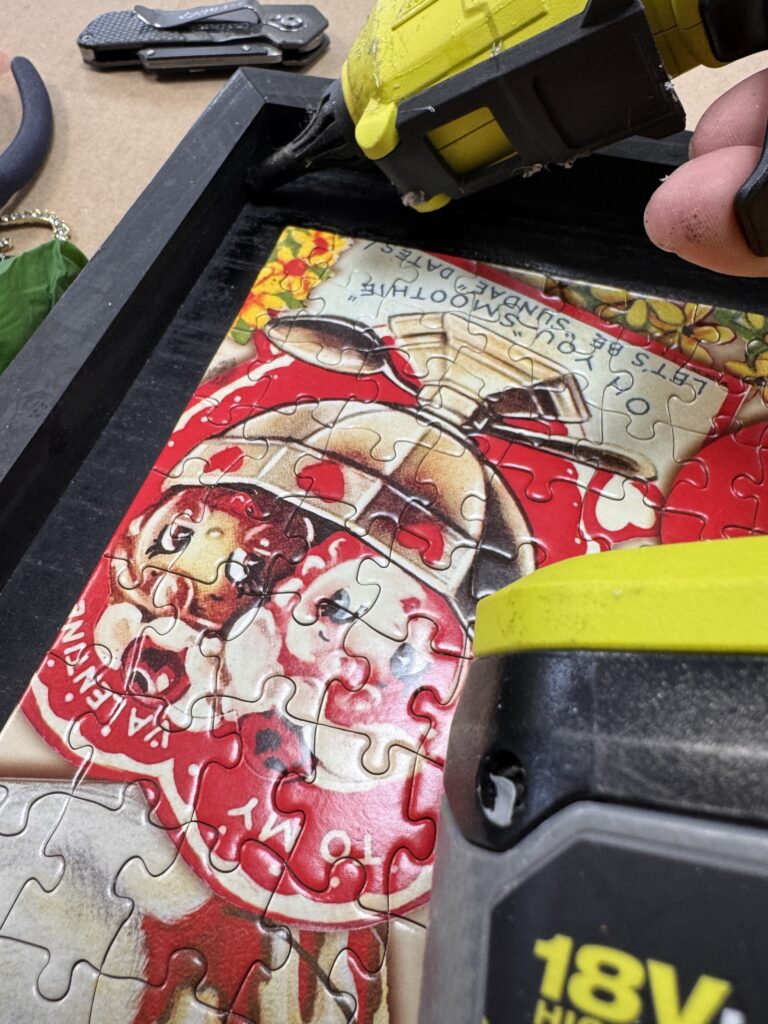
I started out with a wooden frame that I got from Hobby Lobby. You will need to measure your puzzle to see what size works for you. My frame ended up being 29.5″ x 23.5″.
I spray-painted my frame black to match the decor in my home. You can do spray paint yours whatever you want or just leave the frame as is!
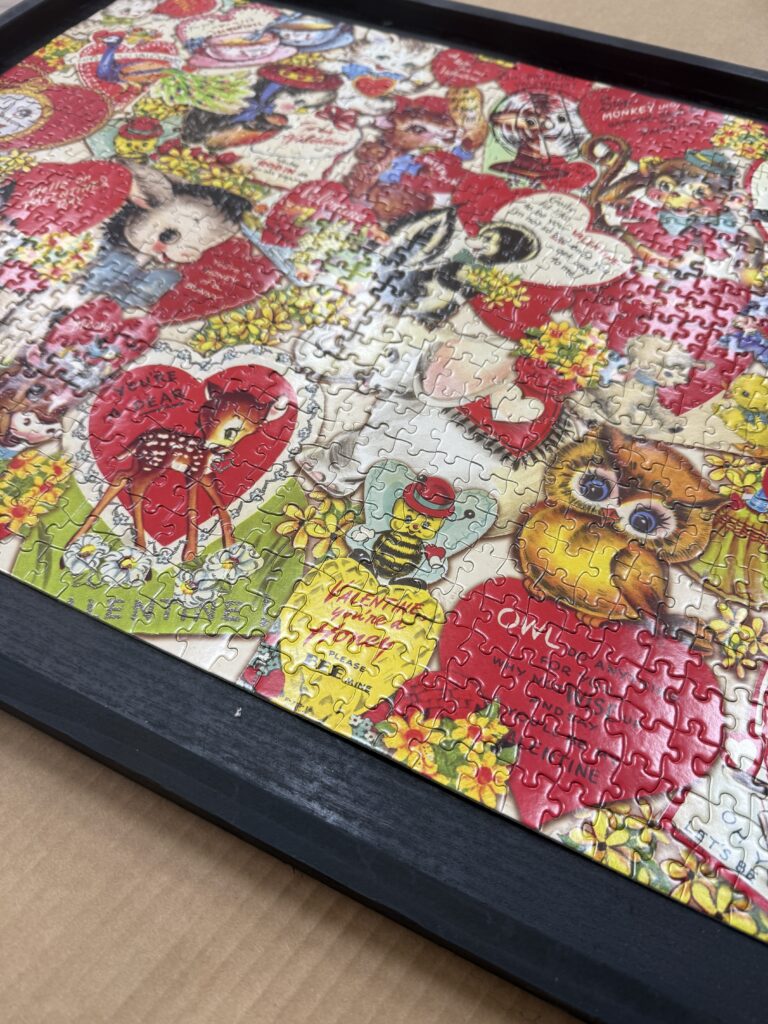
This puzzle stayed together really well so it was easy to slide it onto the frame.
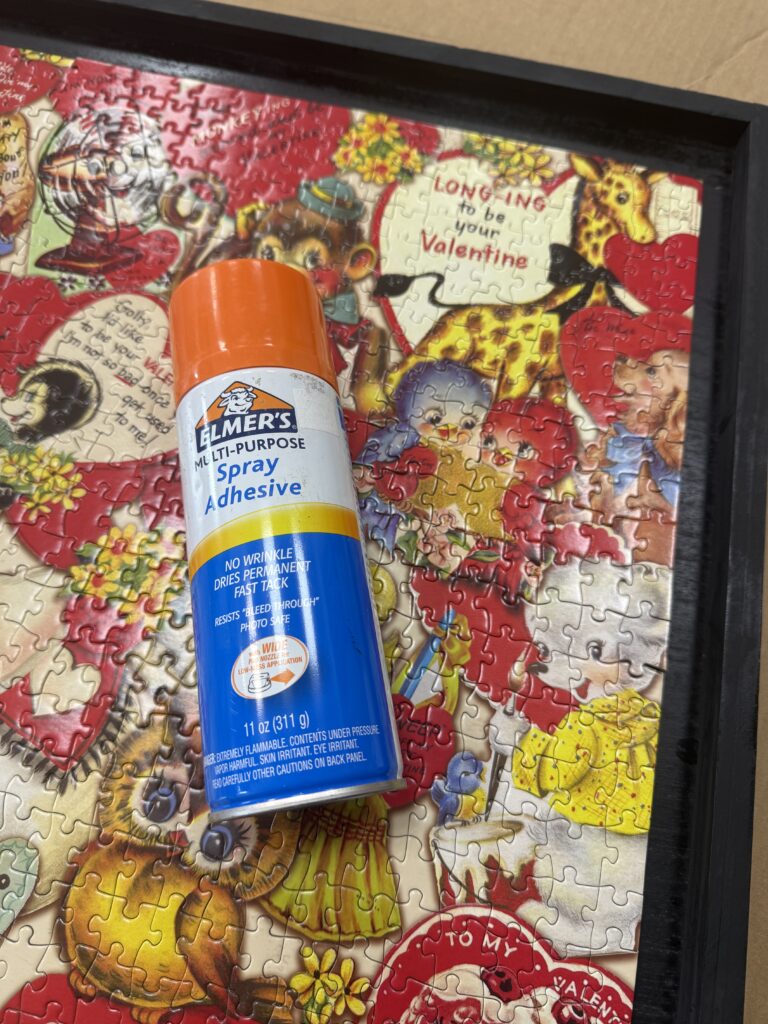
I wanted to make sure that the puzzle didn’t lift during the curing process of the resin.
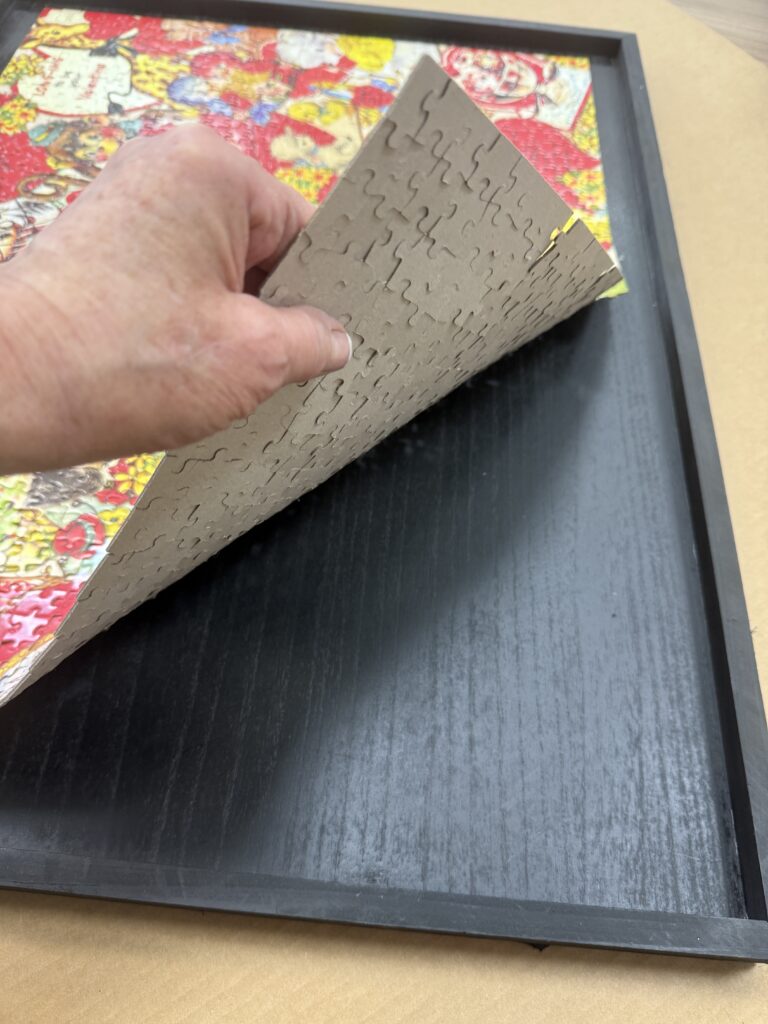
It was so easy to lift my puzzle and spray underneath!
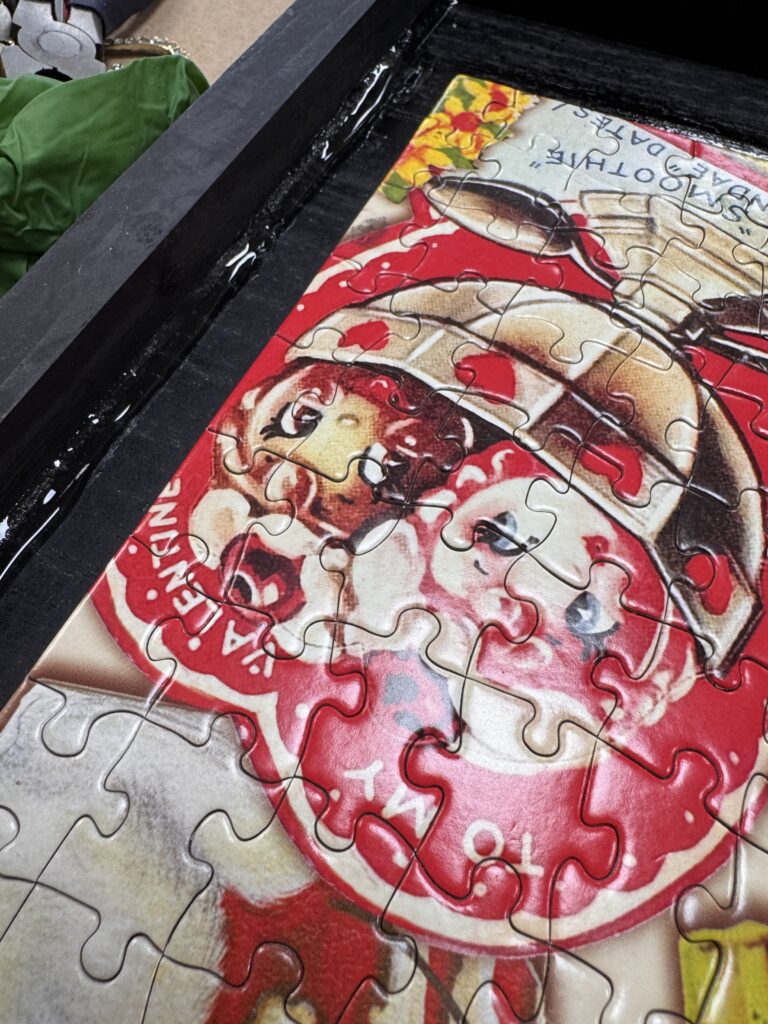
I wanted to make sure that the resin wasn’t going to leak through the seams of my frame so I went around the edges with hot glue.
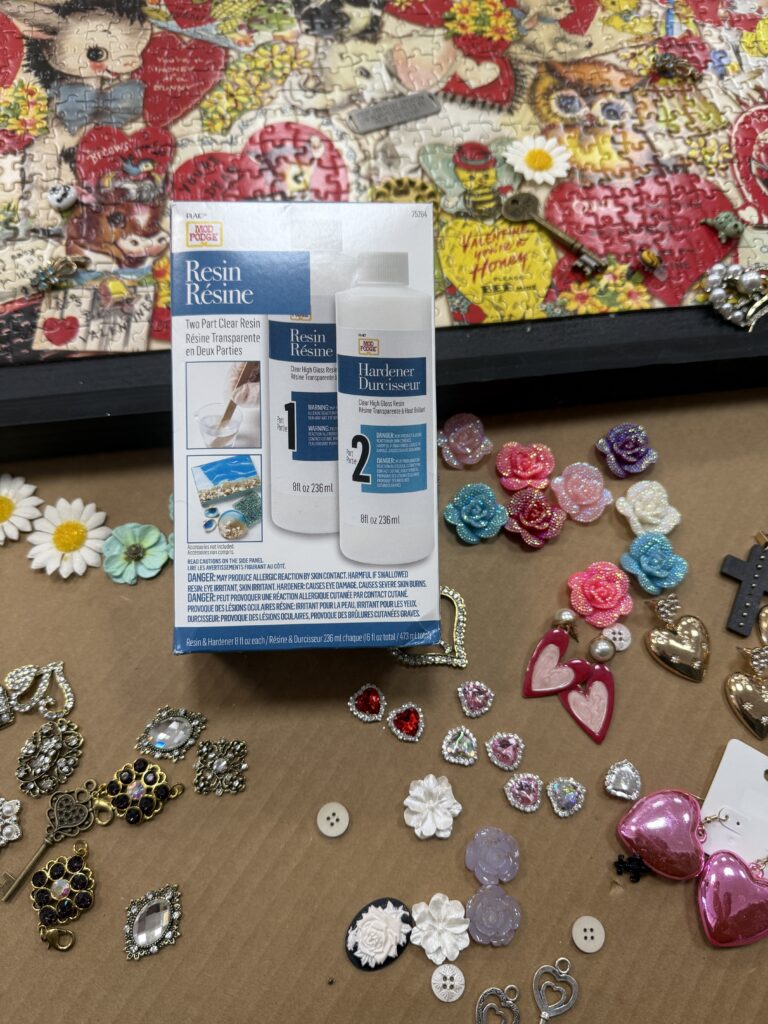
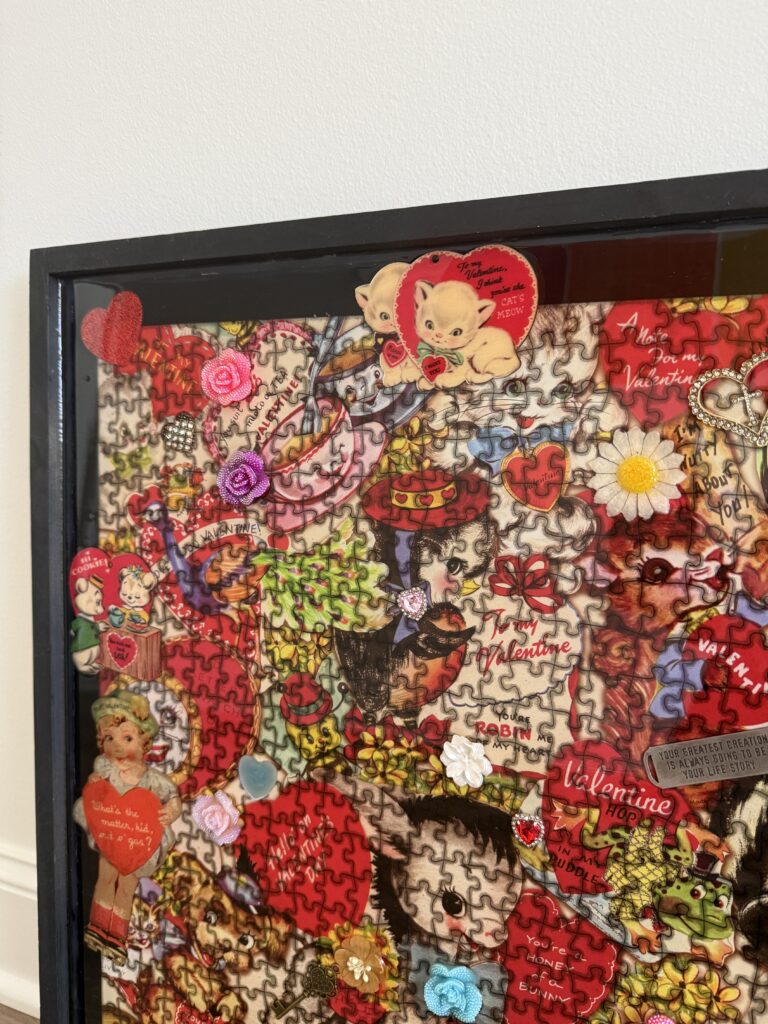
Now for the fun part, decorating and resin!
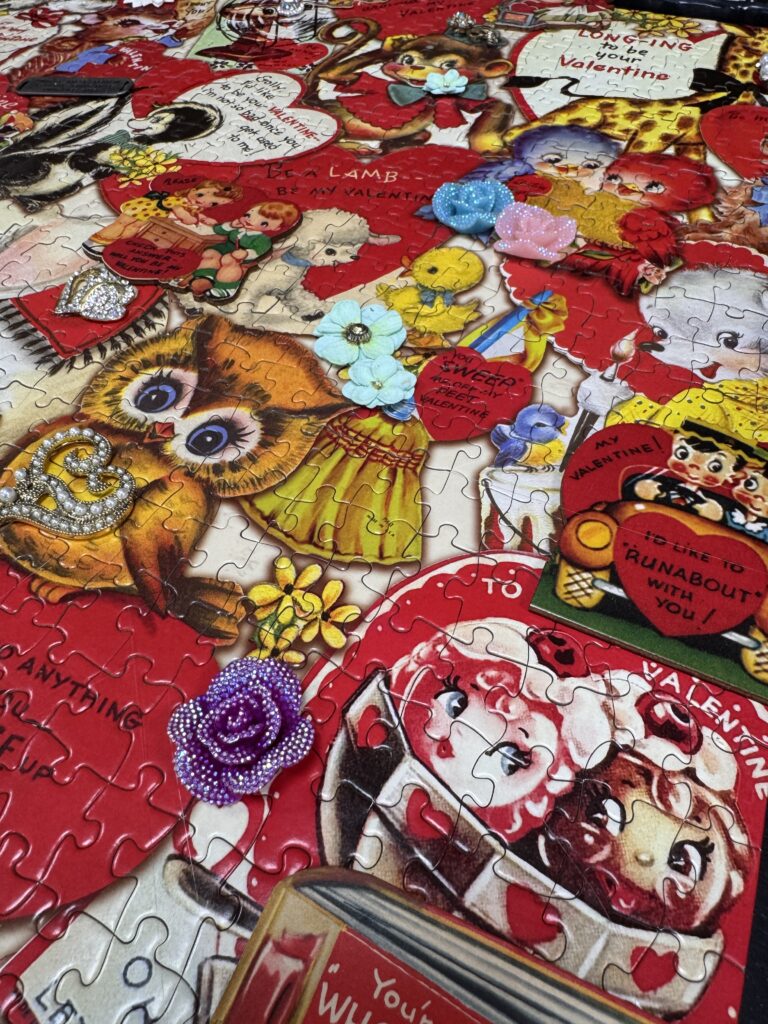
I got creative with different trinkets that I had and once I knew where I wanted them, I added hot glue to secure them so they stayed down once the resin was poured.
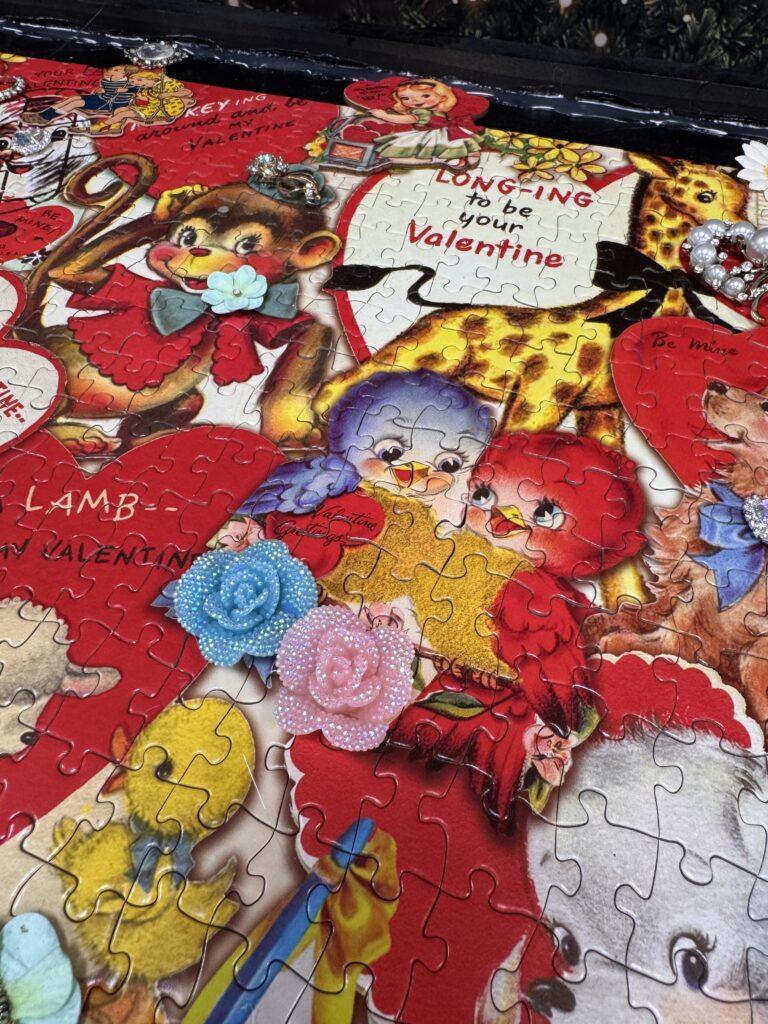
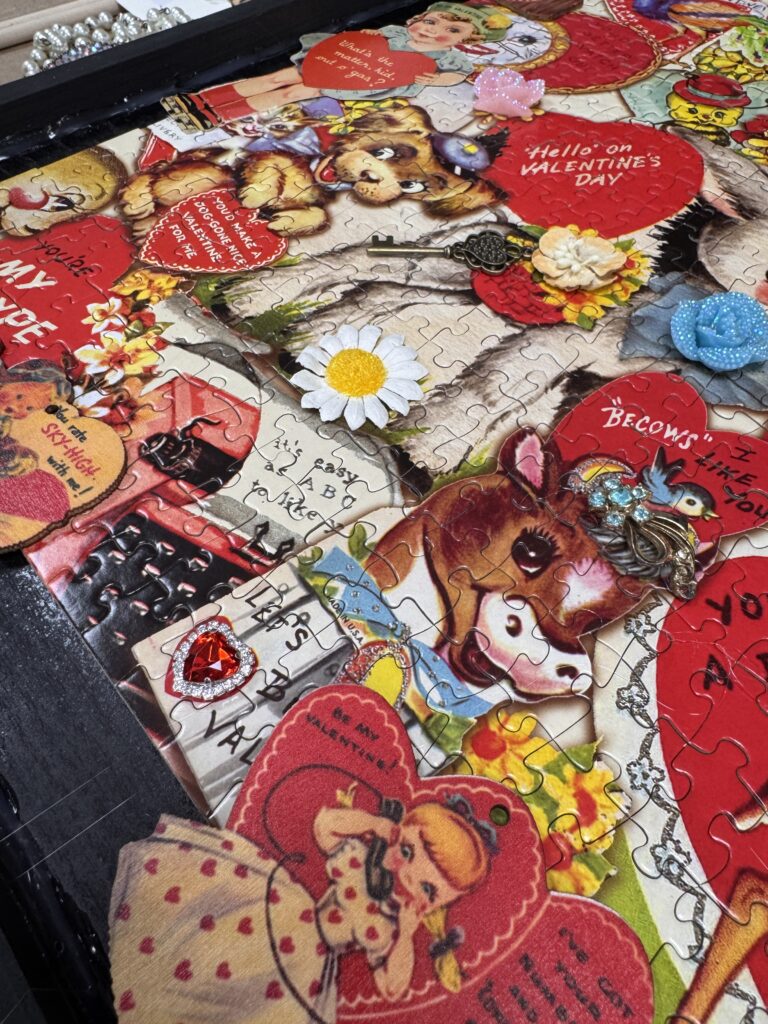
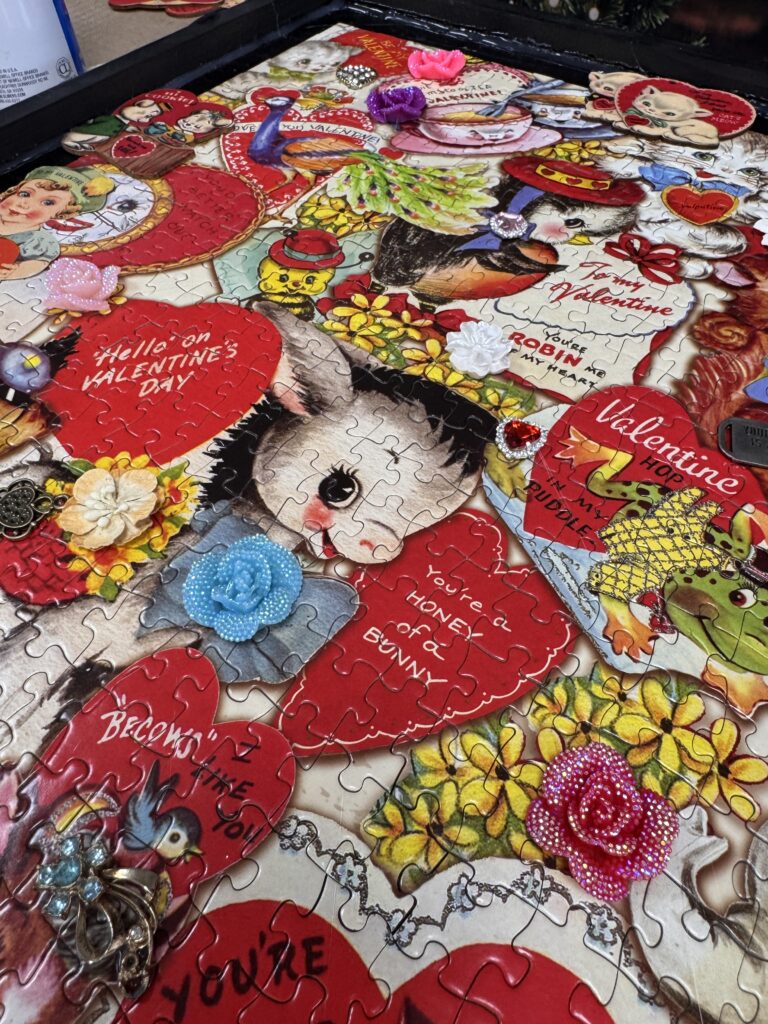
This part was so fun to play around with and really added personality to my puzzle.
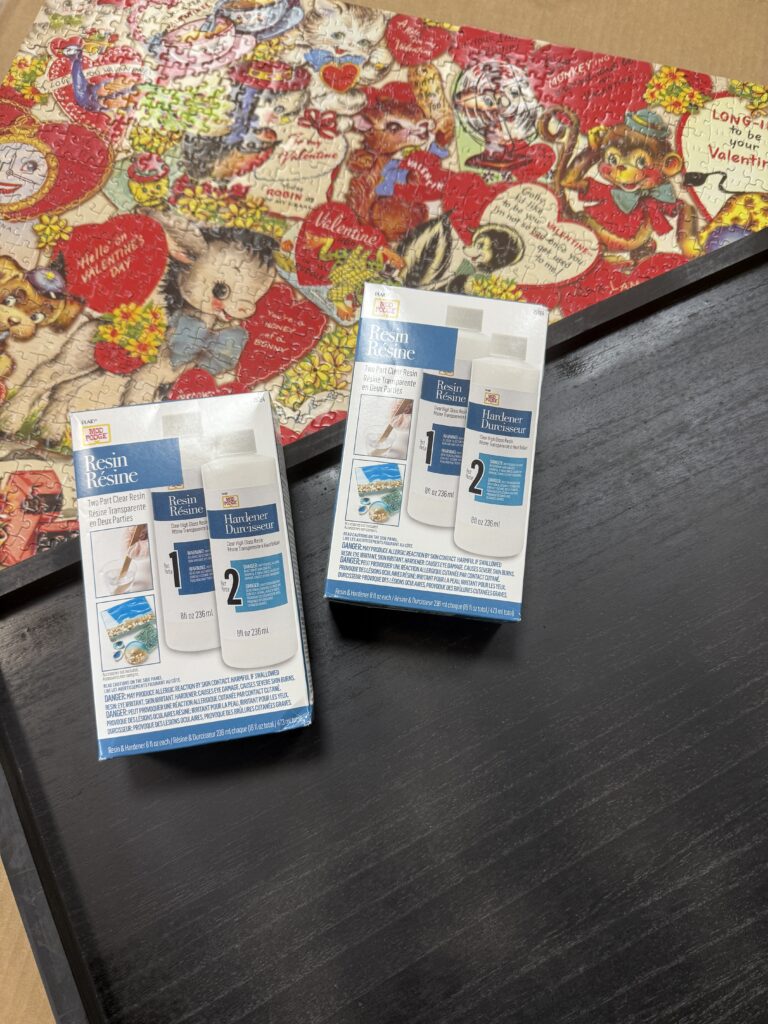
In this photo you will see two boxes. I realized it was not going to be enough so I had to use more. I ended up using 32 ounces total. You can also use clear cast epoxy if you have it.
You can find the resin here: https://walmrt.us/3Z9bNAc
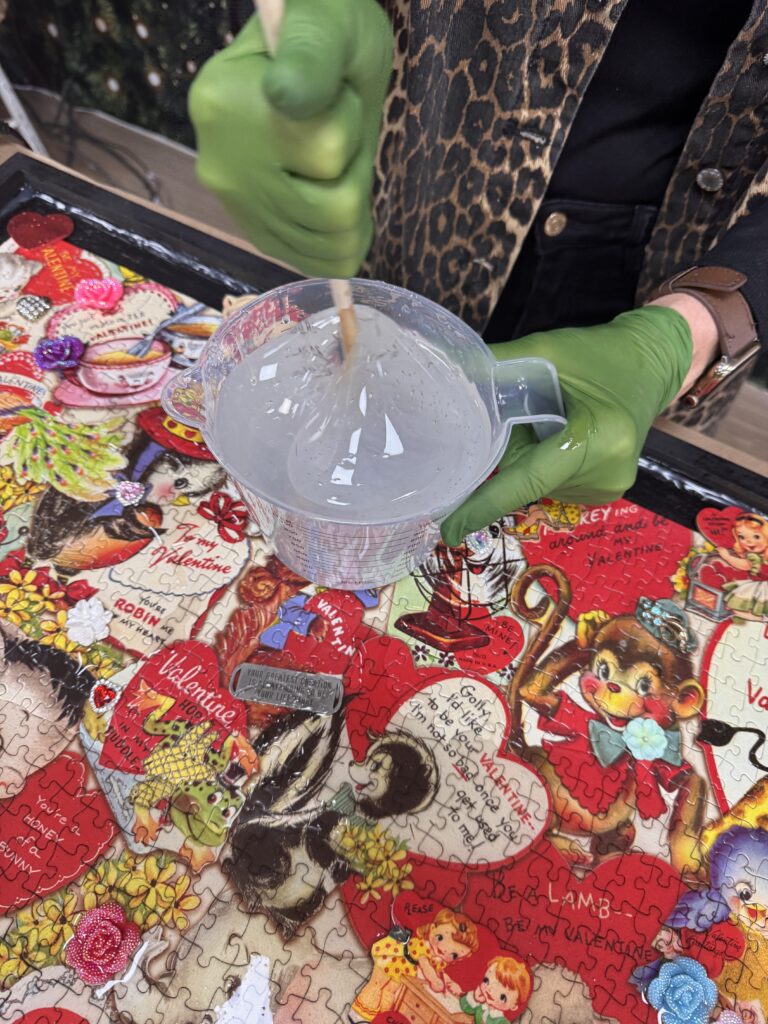
You will follow the directions on your resin to make sure that it will cure correctly. I will say that you really need to make sure it is well mixed.
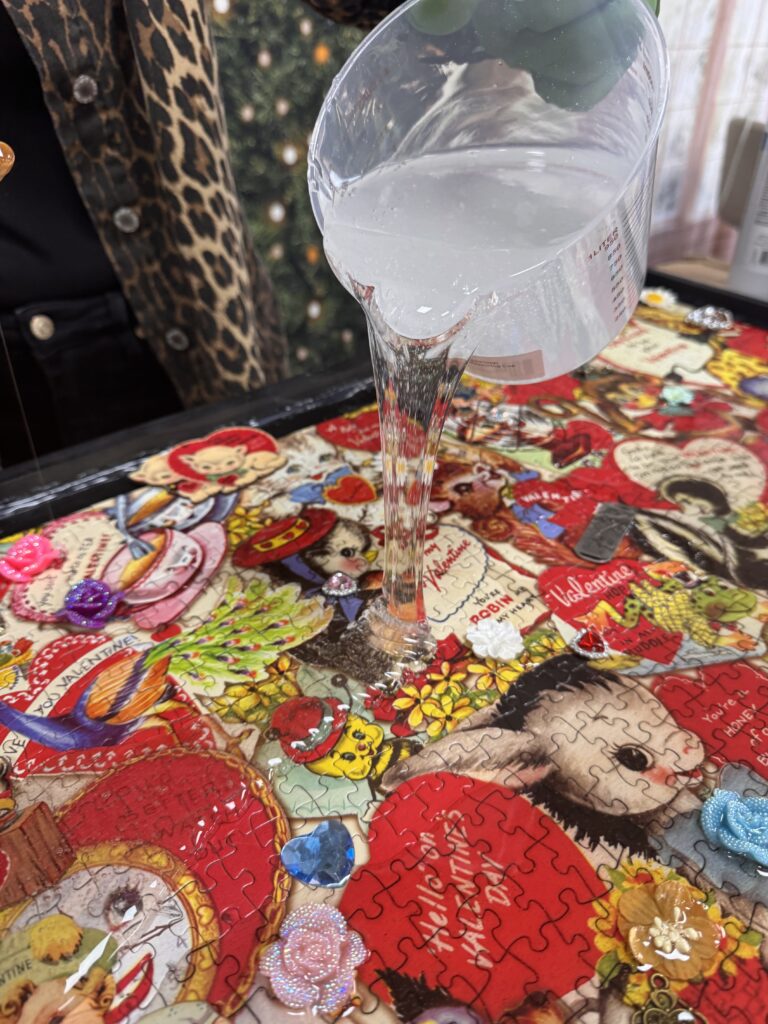
I started at the top of the frame, going back and forth to make sure everything was well coated.
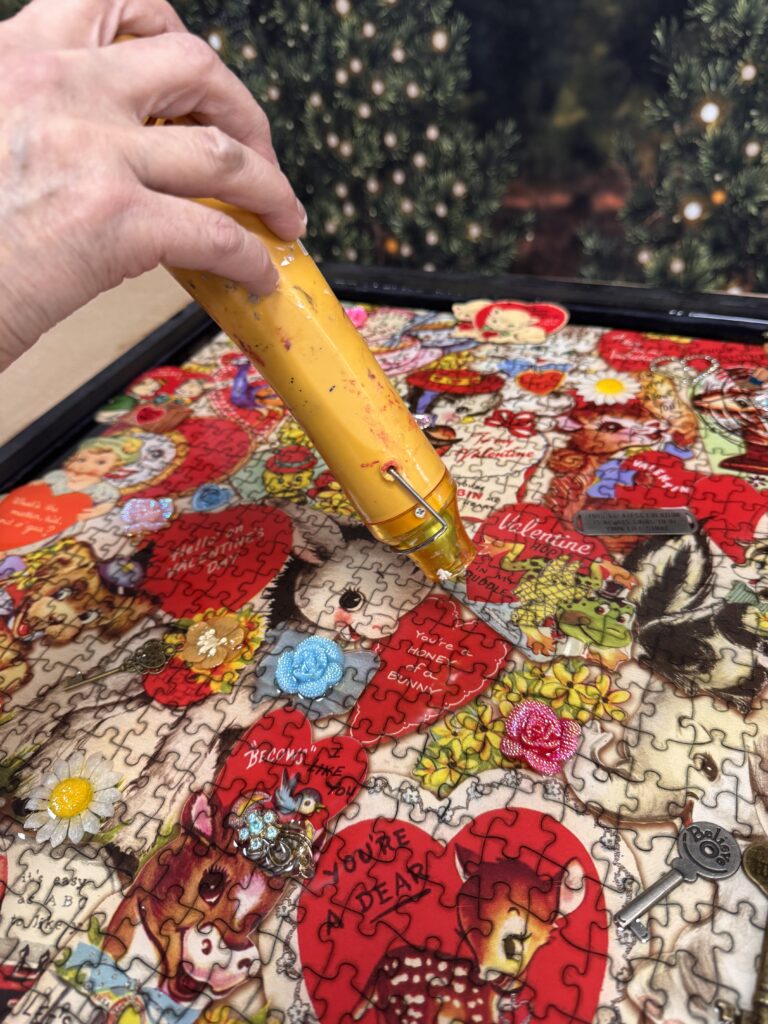
I went over it with a heat gun to help it all even out and get the air bubbles out.
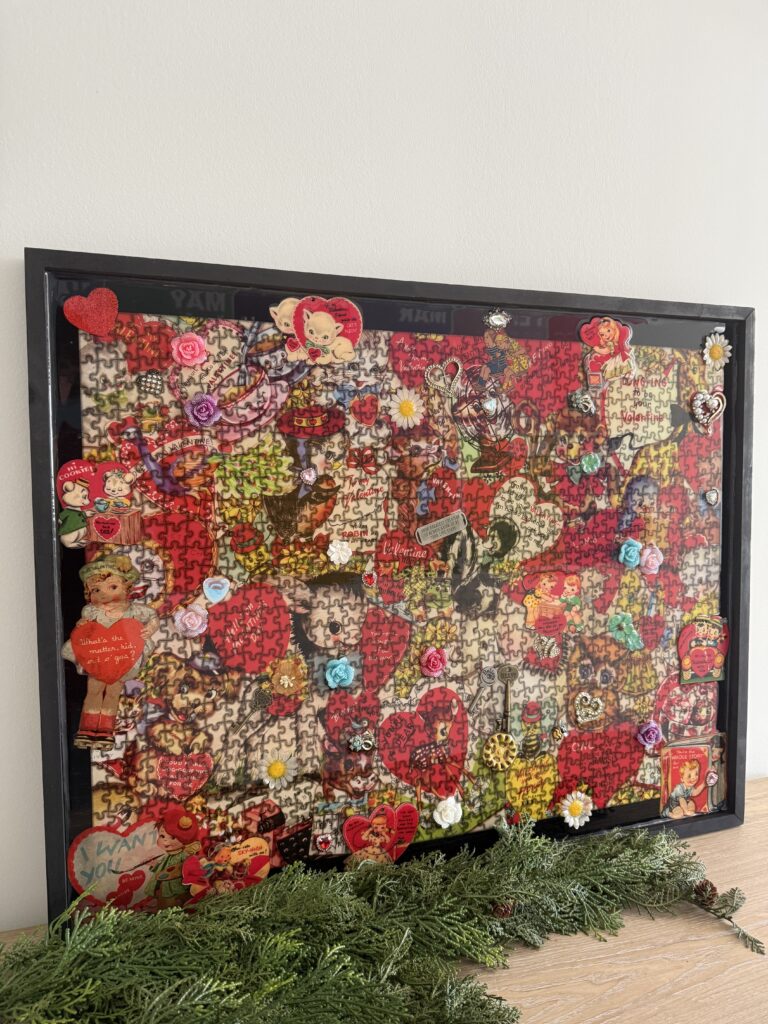
It’s that simple! Once the resin is fully cured — mine was ready after one night — your puzzle is all set to display on a mantel, hang on the wall, or style anywhere you’d like.
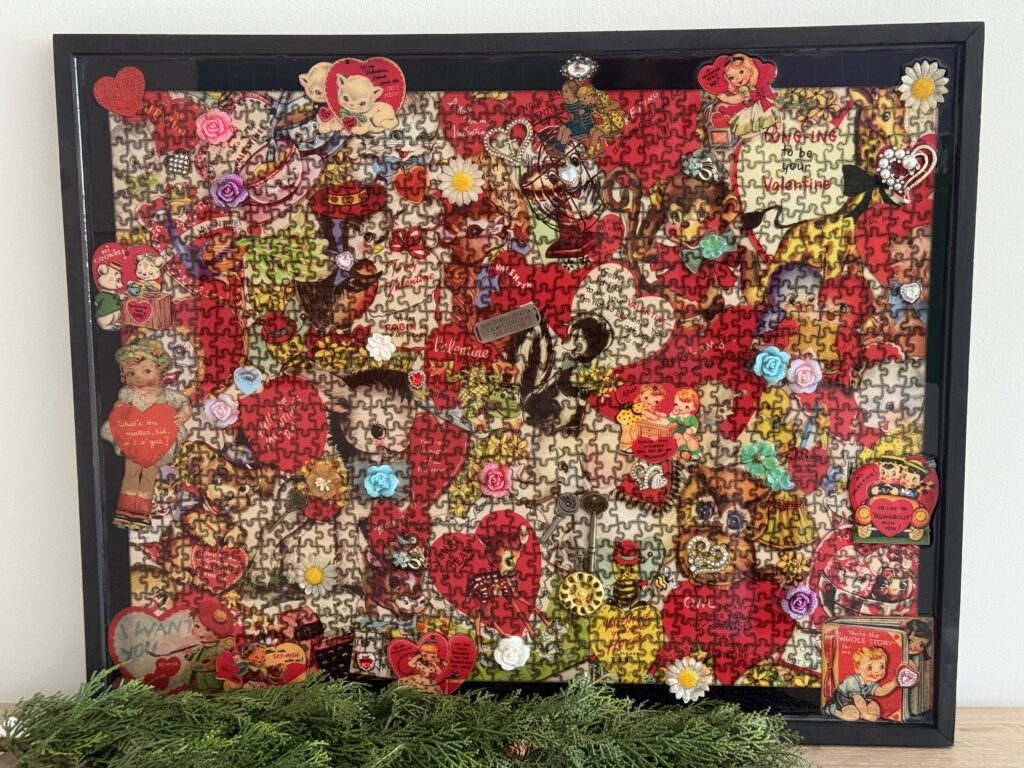
I love how this puzzle turned into a finished piece that can be enjoyed long after it’s put together. Resin is such a fun way to preserve puzzles and turn them into decor you can display anywhere in your home. You can easily switch up the look by choosing different puzzles for each season or style. I hope this inspires you to grab a puzzle you love and give this DIY a try — it’s such a fun way to get creative!
I love it Barb. I love doing puzzles! Can’t wait to find just the right one to use resin on! ❤️
Very nice Barb…and you probably have lots a sweet family memories surrounding it. What treasure!
Barb this turned out so pretty🩷🤍♥️
It is beautiful Barb!
It’s beautiful. I am jealous. I need to do one.