We recently added an amazing vintage Christmas print drying mat to our website, and as soon as I saw it, I knew I wanted to get creative with it! I thought it would be fun to turn this festive drying mat into a unique light-up Christmas decoration. This DIY project is a great way to add a cozy, vintage touch to your holiday decor, and it’s super easy to make!
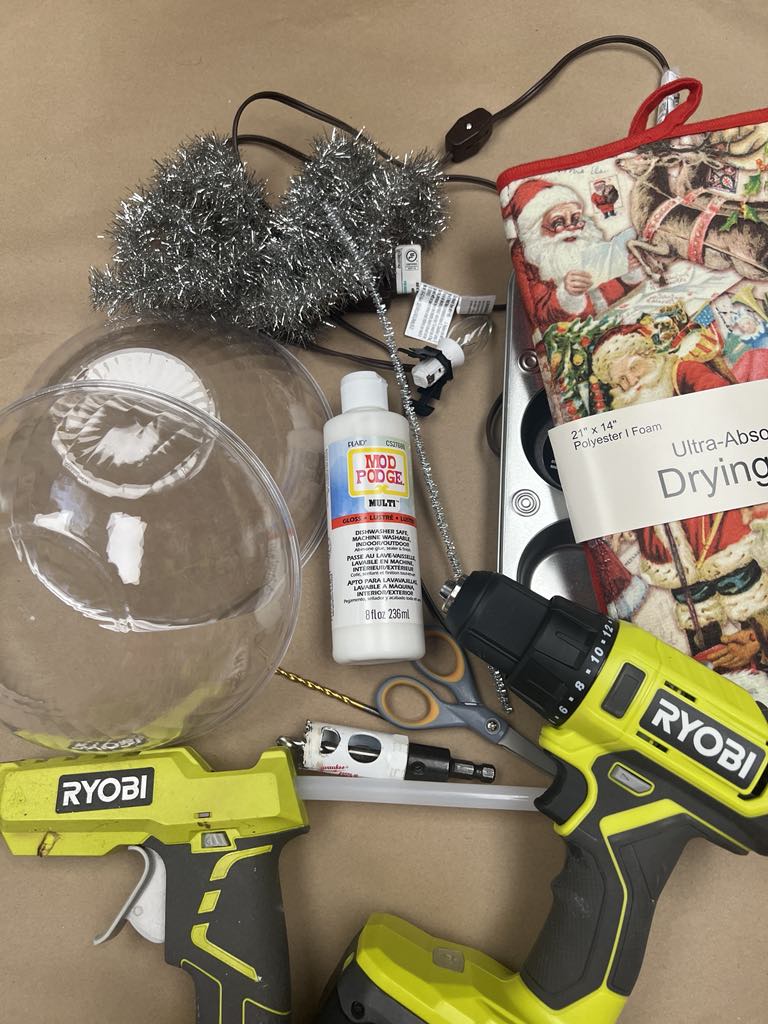
You will find the list of supplies that I’ll be using down below.
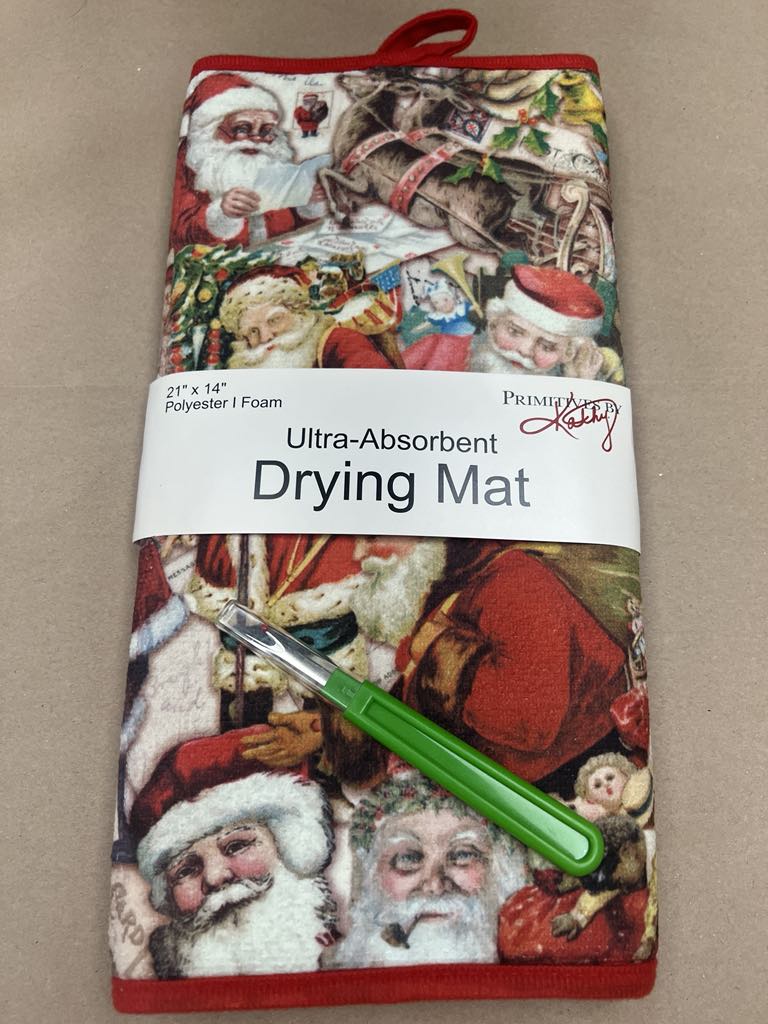
1. One drying mat from our website
2. Hot glue
3. Drill and a one inch hole saw bit
4. Two plastic bowls from Amazon
5. Silver tinsel
6. Dollar Tree muffin pan
7. Clip light from our website
8. Mod podge
9. Scissors
You can find the drying mat on our website by clicking the link below.
https://theshabbytreeboutique.com/vintage-santas-drying-mat/
You can make this light-up decoration using one or two drying mats, depending on the size and look you want to achieve.
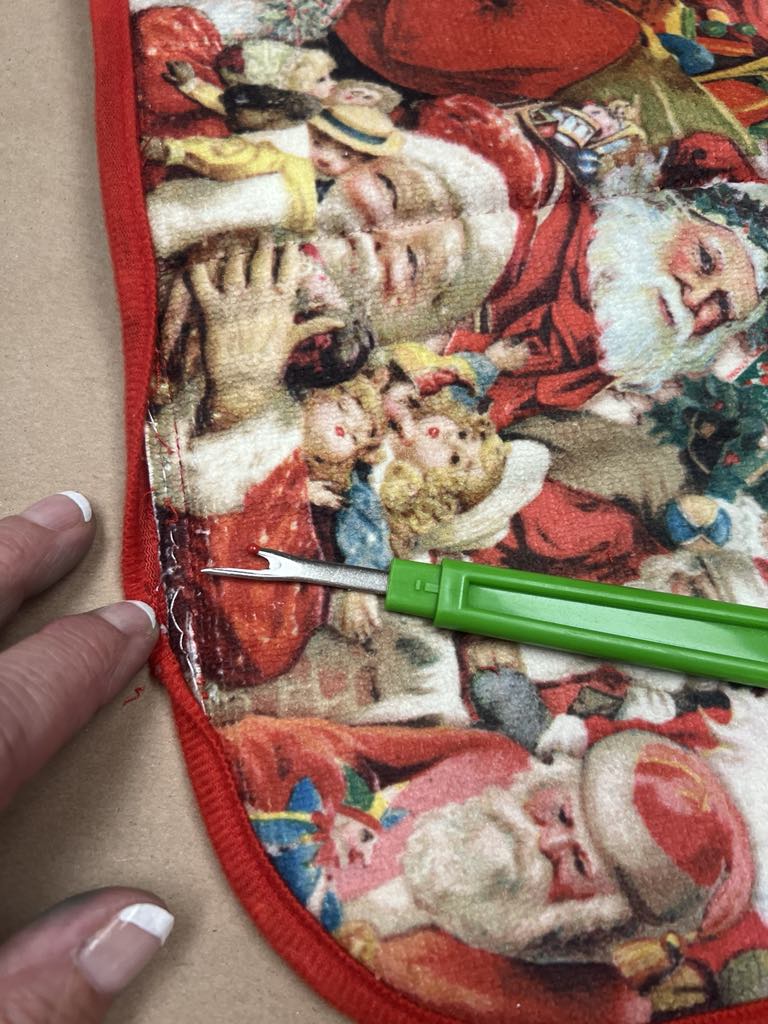
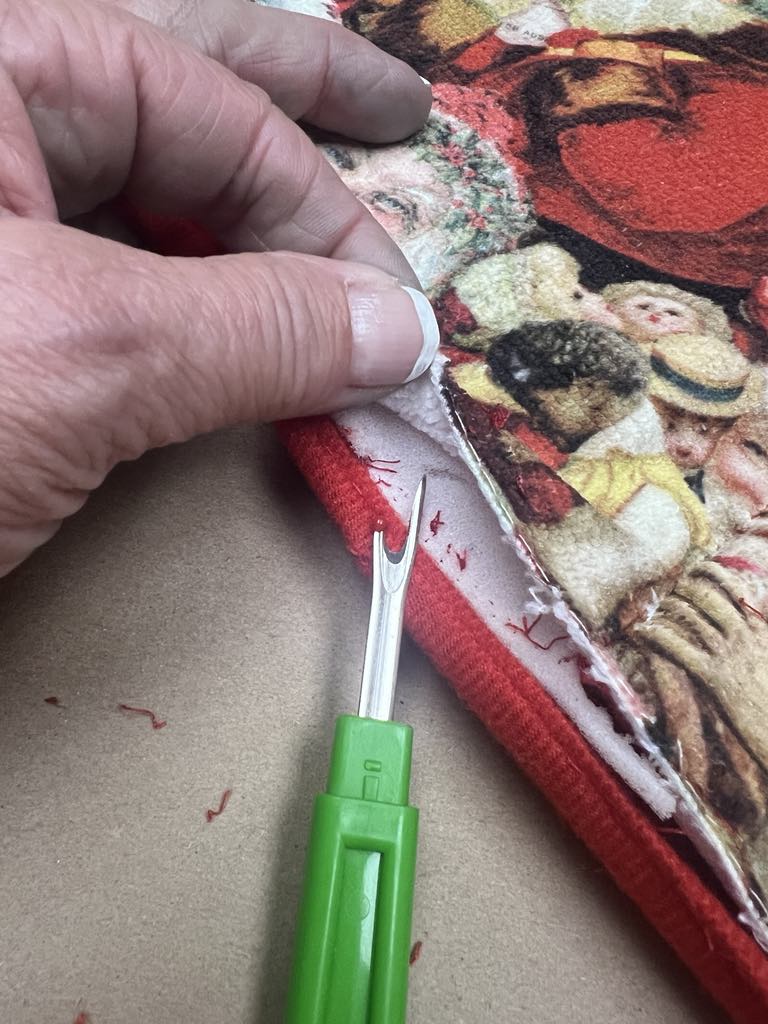
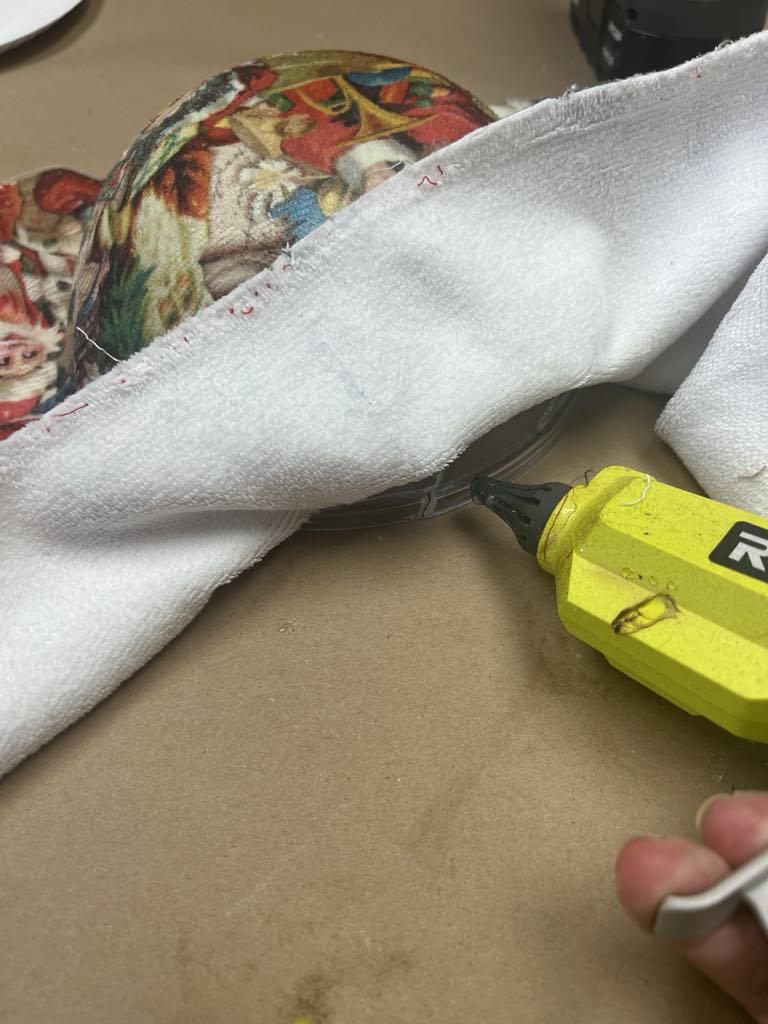
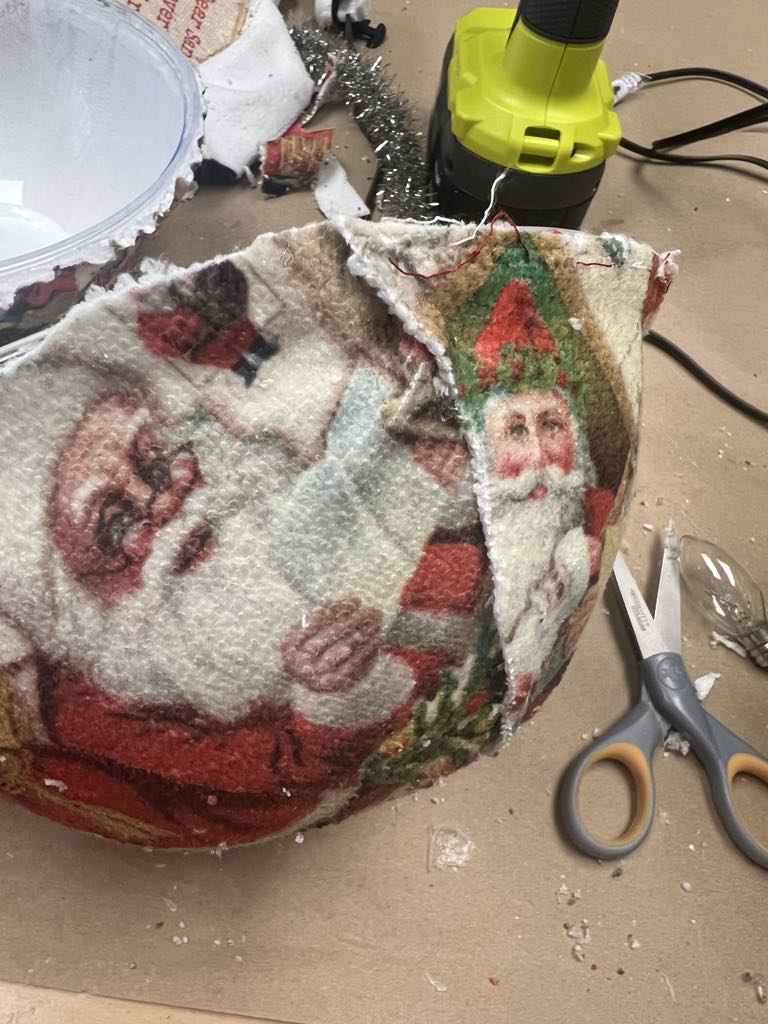
The first step is to carefully remove the top liner of the drying mat. You can use either scissors or a seam ripper to do this, depending on what you have on hand.
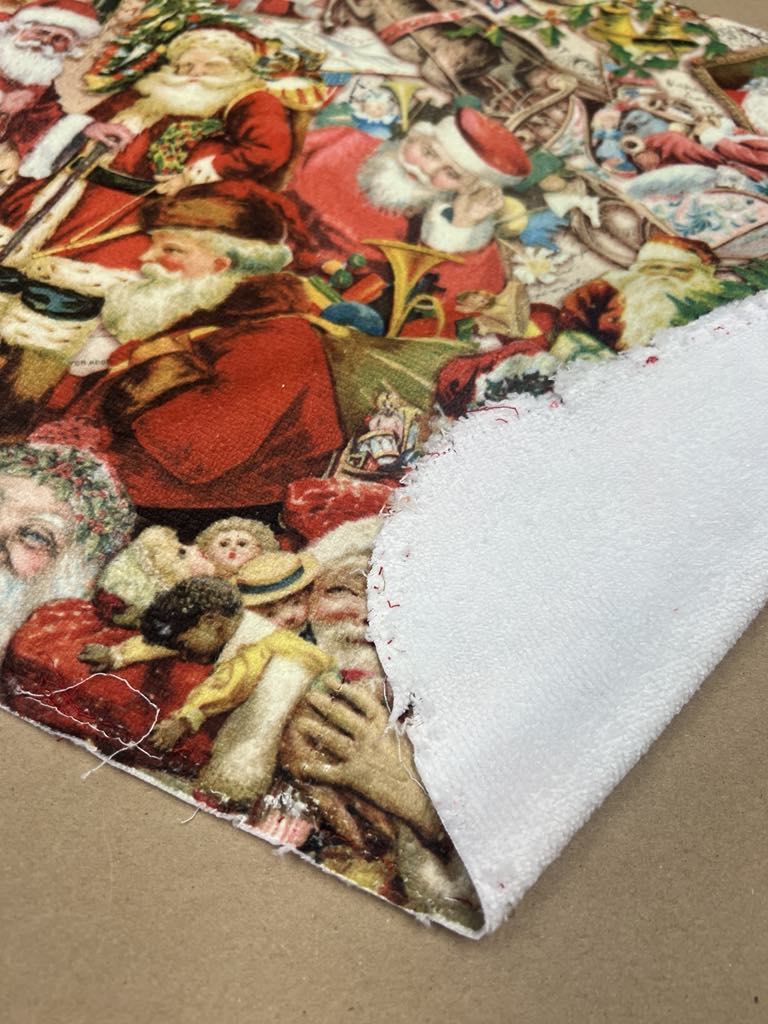
Once you’ve removed the top layer of the drying mat, the next step is to apply it to your plastic bowls.
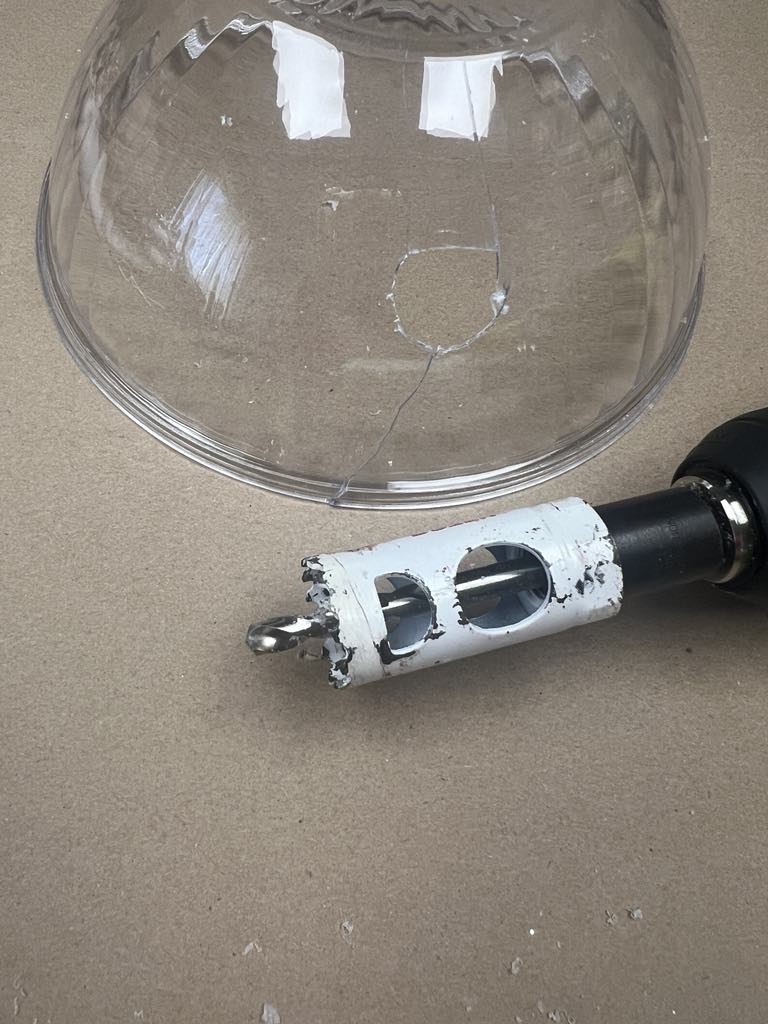
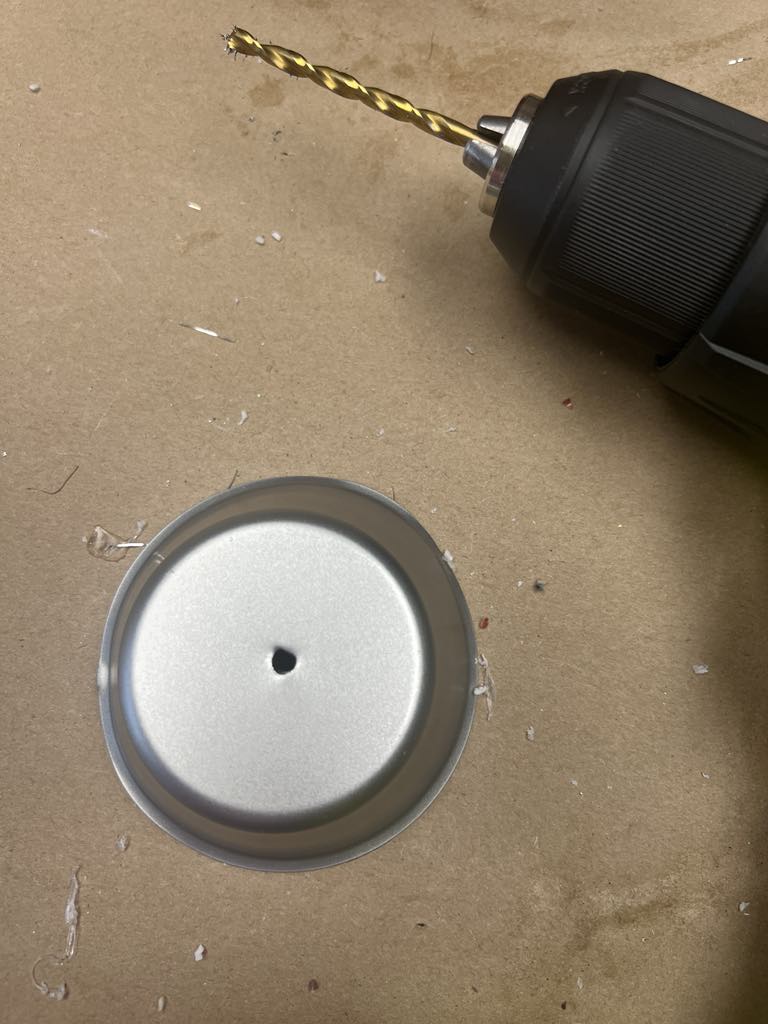
Before applying the mat, you’ll want to drill a hole into one of the plastic bowls. This hole is where the clip light will be inserted. If your bowl cracks slightly during drilling, don’t worry—it will still work just fine!
I’m using 8-inch plastic bowls from Amazon for this project. You can easily find them by clicking my referral link below!
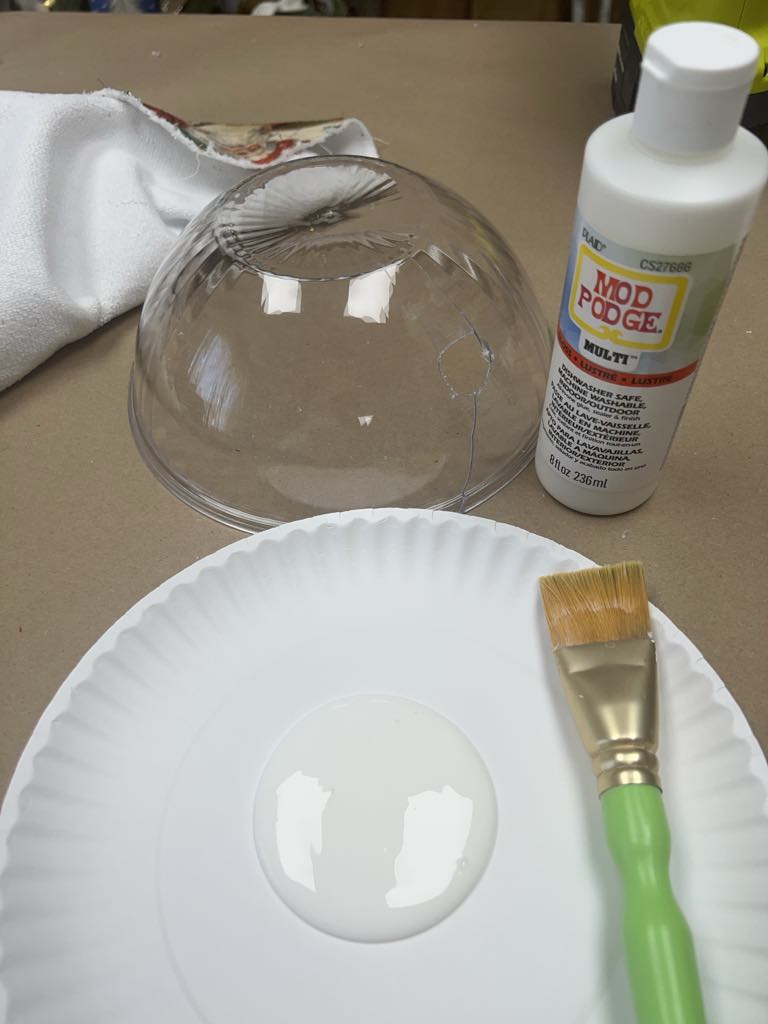
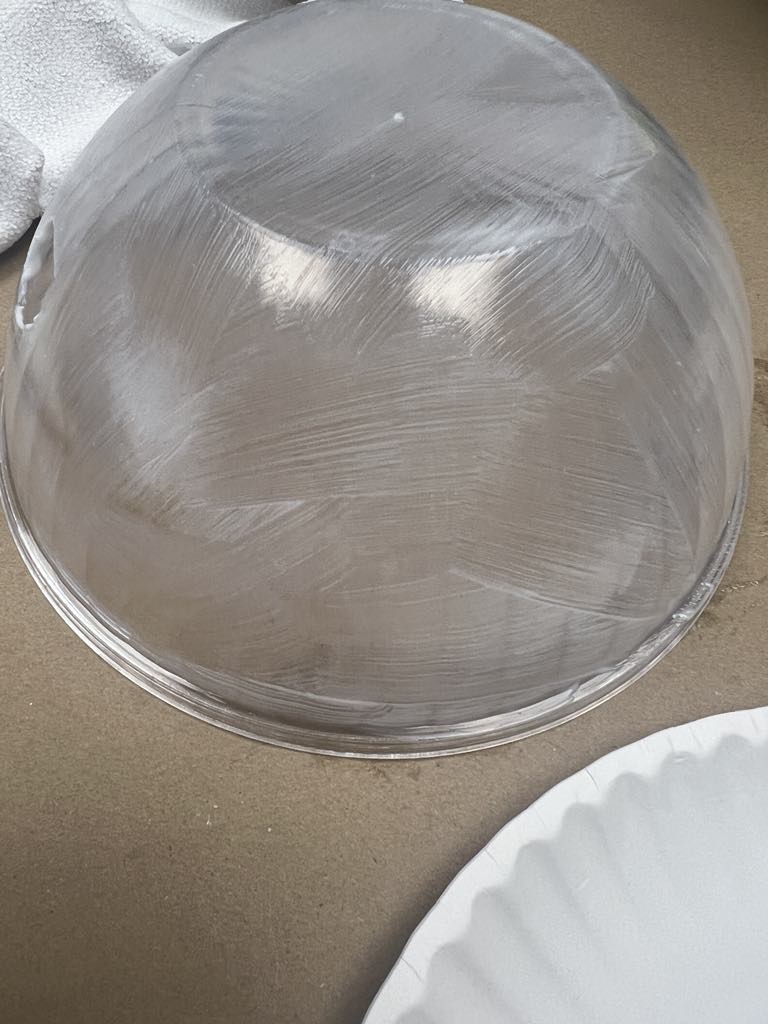
The bowl with the hole will serve as the bottom of your decoration. Start by adding the drying mat piece to the top bowl. Apply a layer of Mod Podge to the bowl, then press the fabric into place, ensuring it adheres smoothly.
Be sure to use one side of the fabric to maximize your material for the second bowl. Once the fabric is secured over the top bowl, apply hot glue to the bottom to keep everything in place.
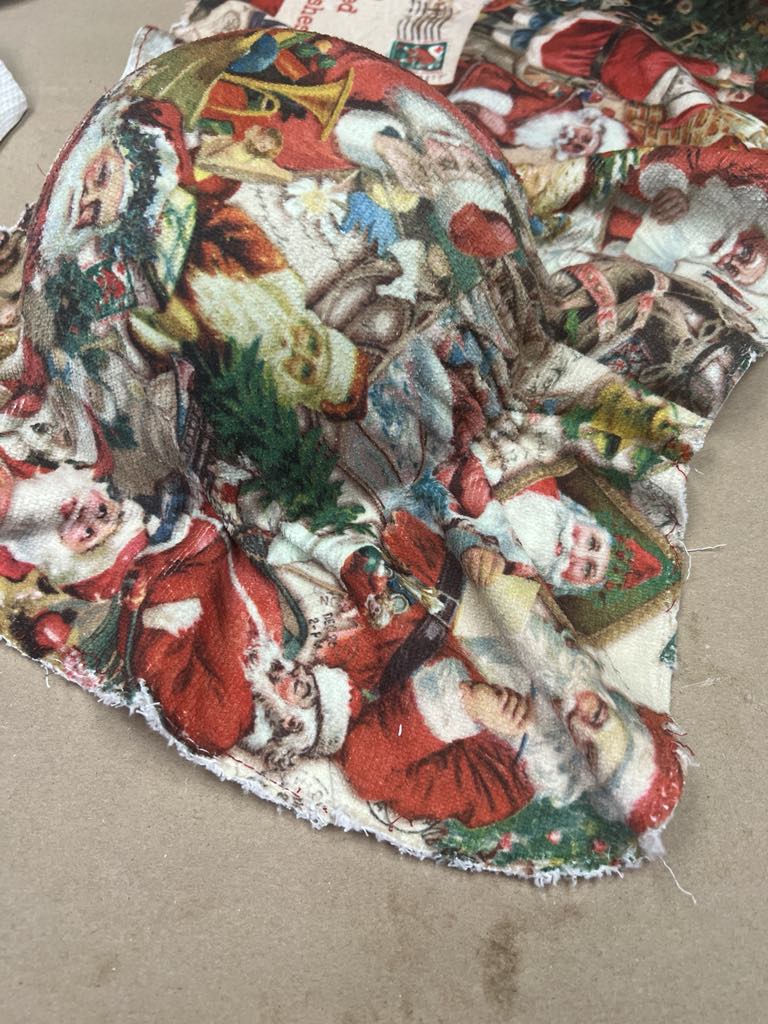
Once the fabric is in place, trim any excess around the bowl for a neat finish. If you’re using two drying mats, repeat this process with the second mat for the second bowl.
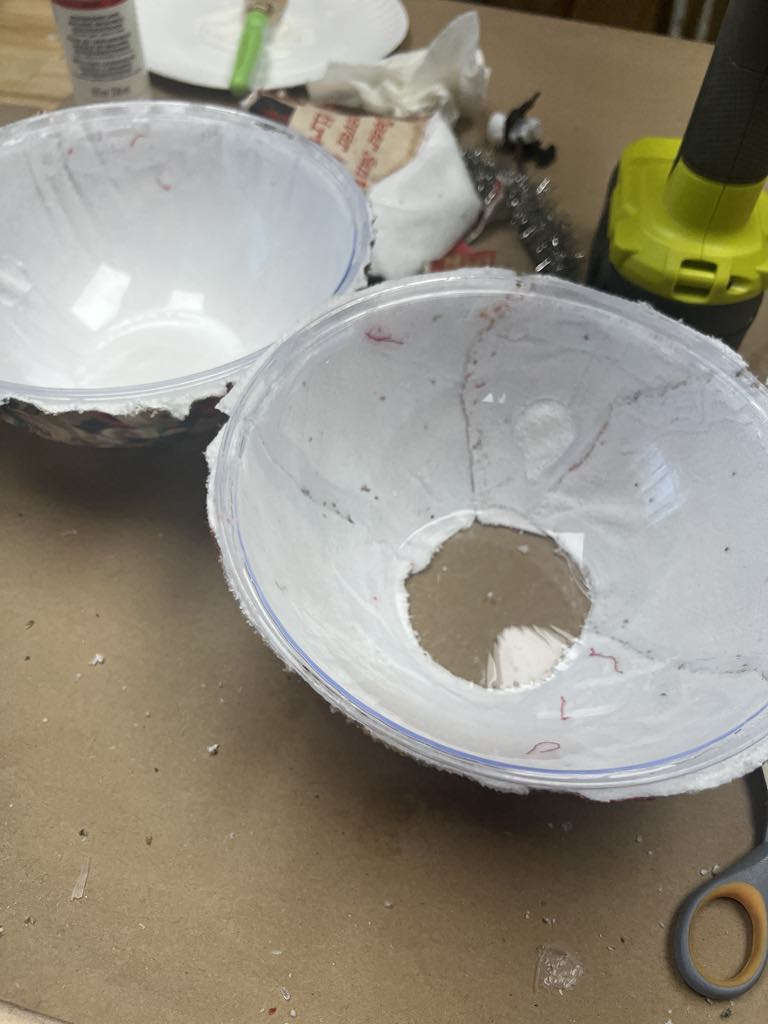
I used one drying mat, so for my second bowl, I covered it with pieces of the remaining fabric.
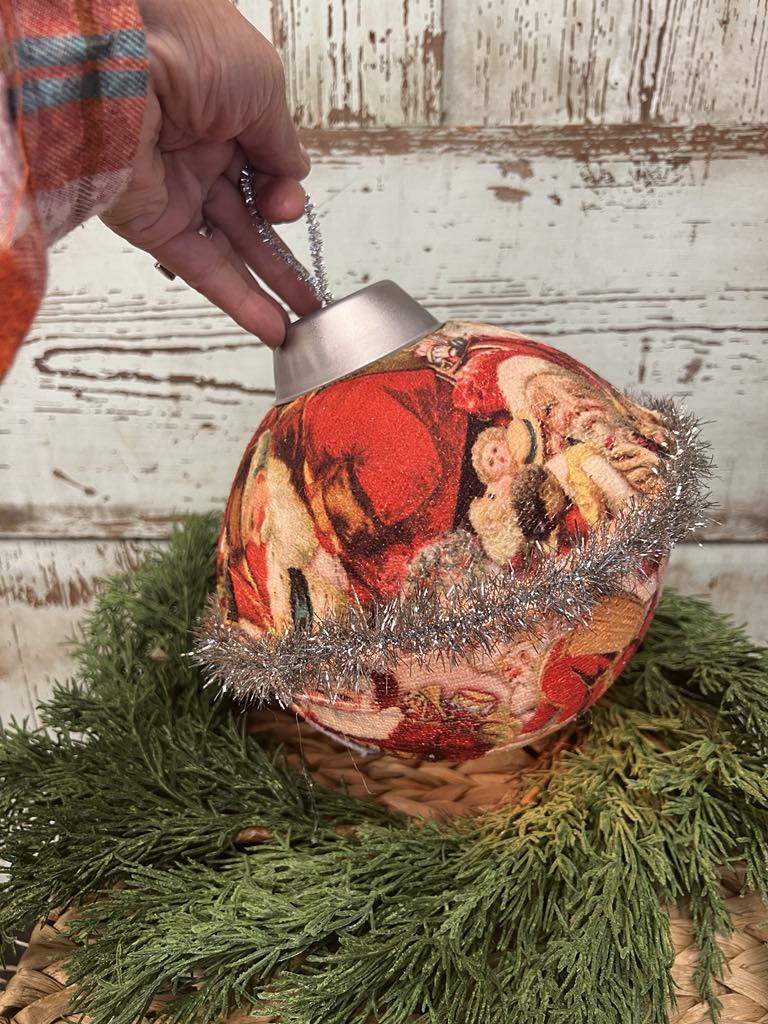
After both bowls are covered, it’s time to glue them together. Apply hot glue around the rim of the bottom bowl and carefully press the top bowl down, ensuring they are securely bonded.
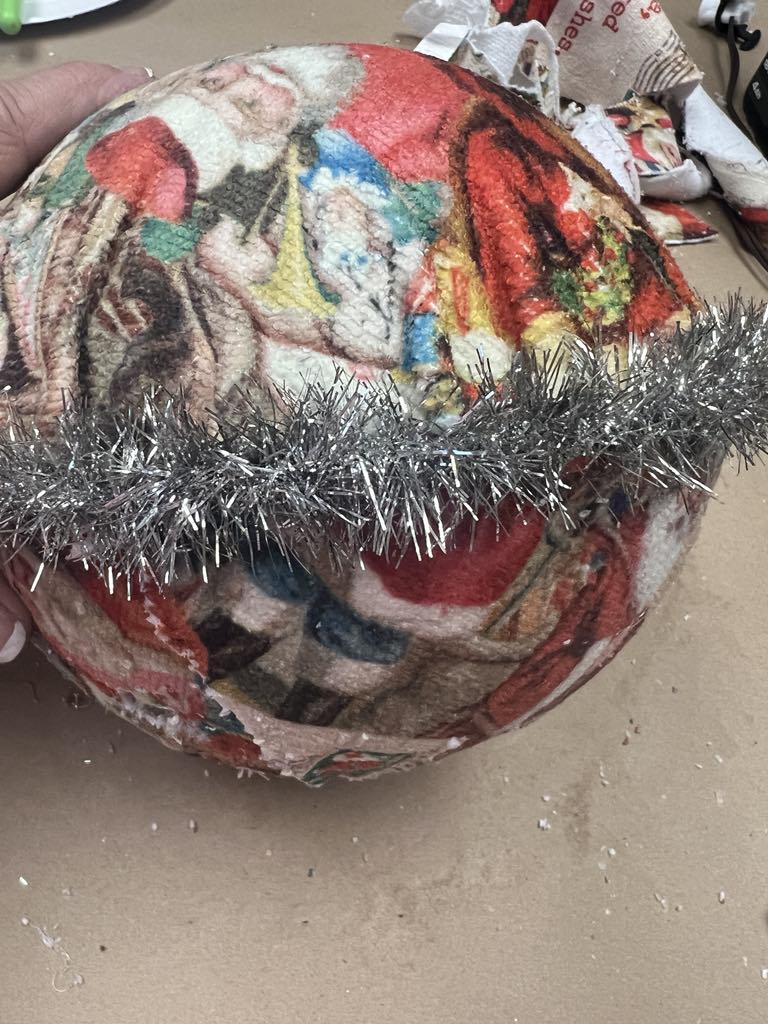
I added some silver tinsel around the center where both bowls are glued together. This not only adds a festive touch but also helps to conceal the seam for a polished look.
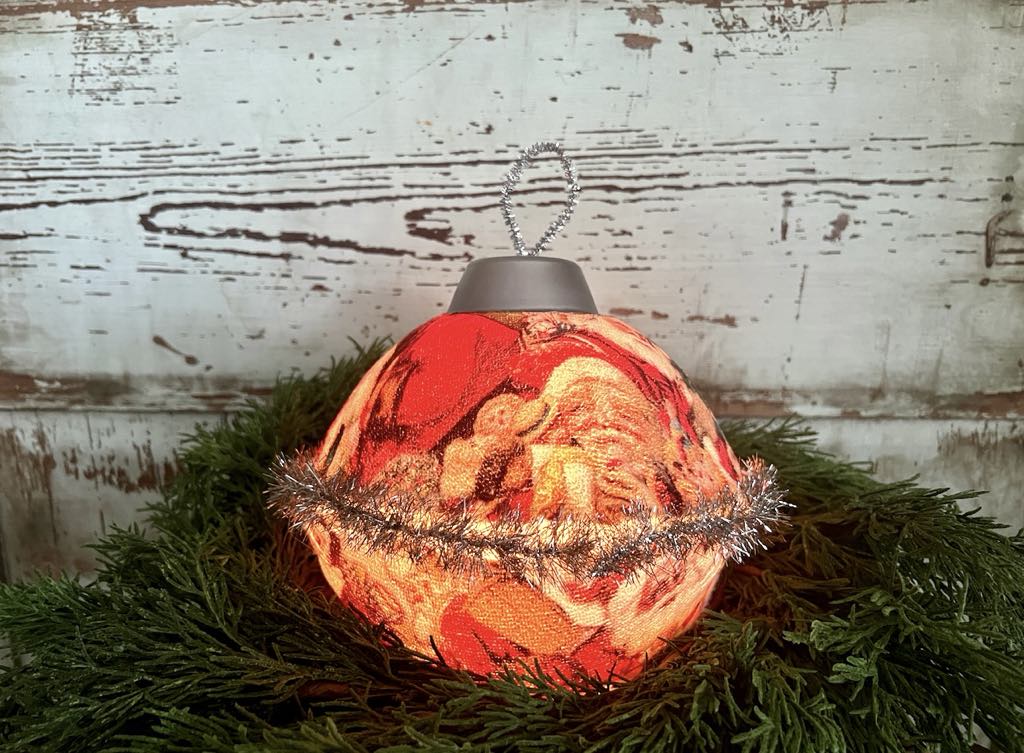
I removed one of the tins from the muffin pan to use as the top of my decoration. After drilling a hole in the center, I used a silver pipe cleaner to create a hanger.
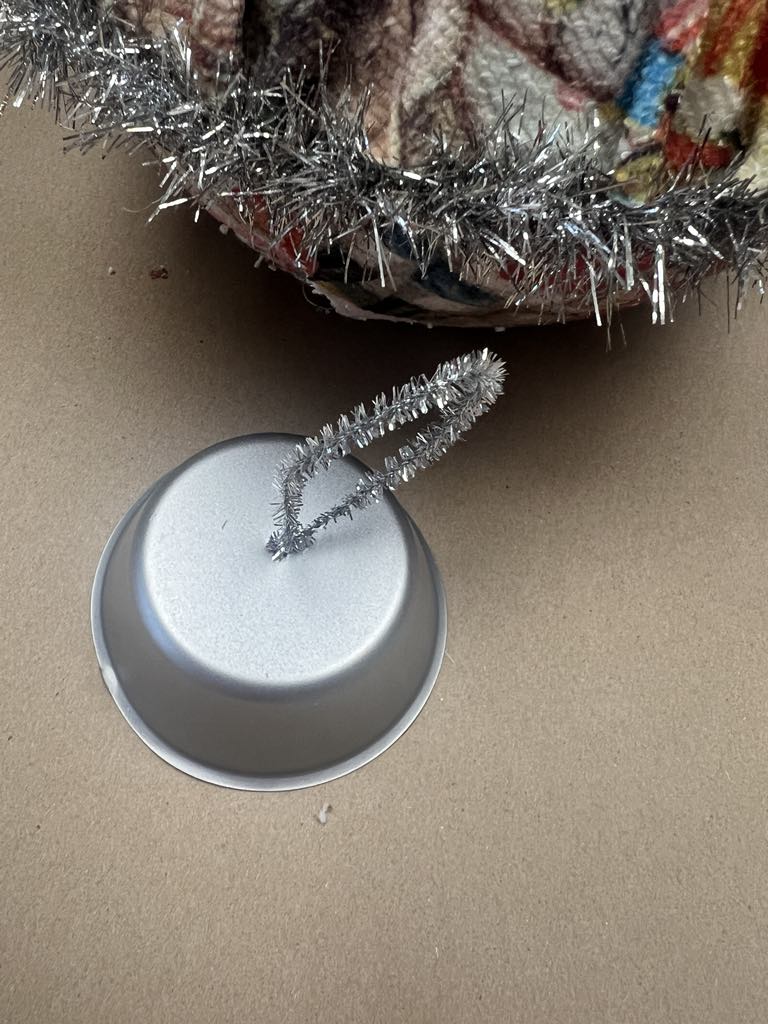
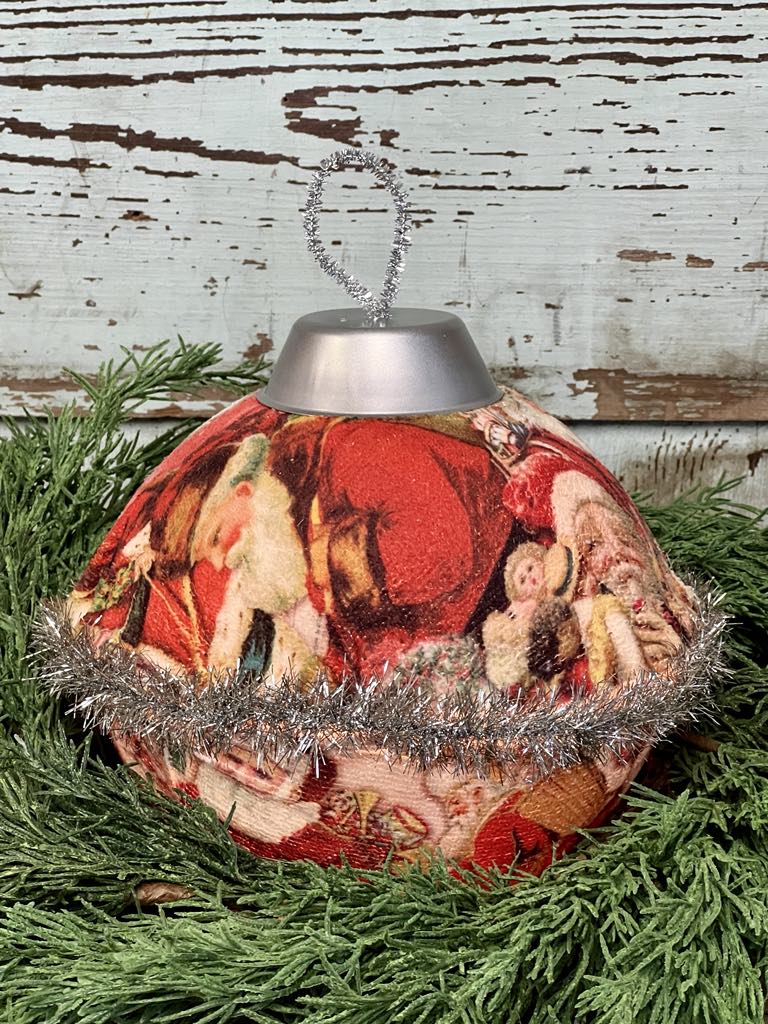
I glued the muffin tin onto the top of my decoration, securing it in place for a sturdy and stylish finish.
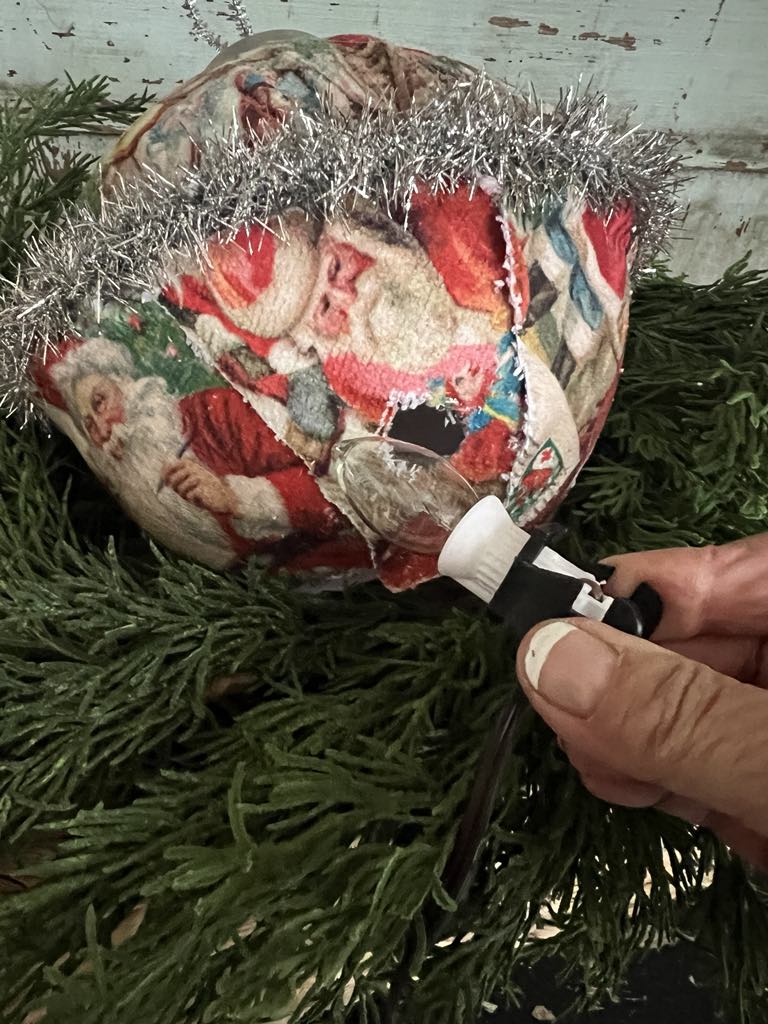
I added the clip light into the hole, positioning it so it shines brightly through the decoration.
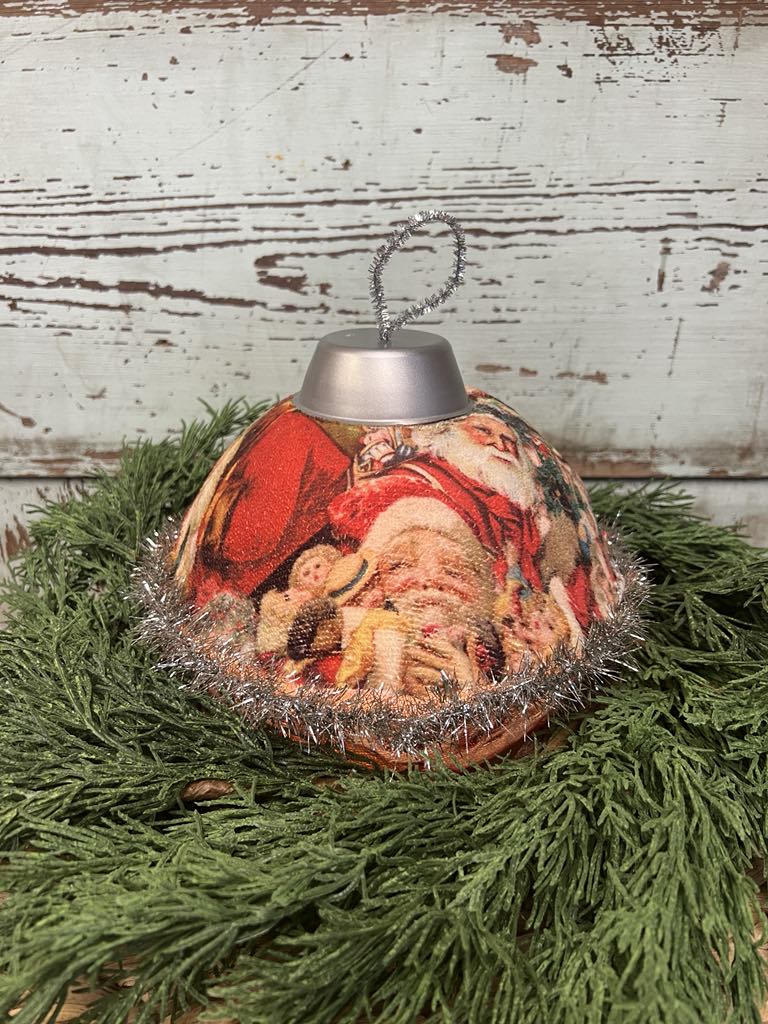
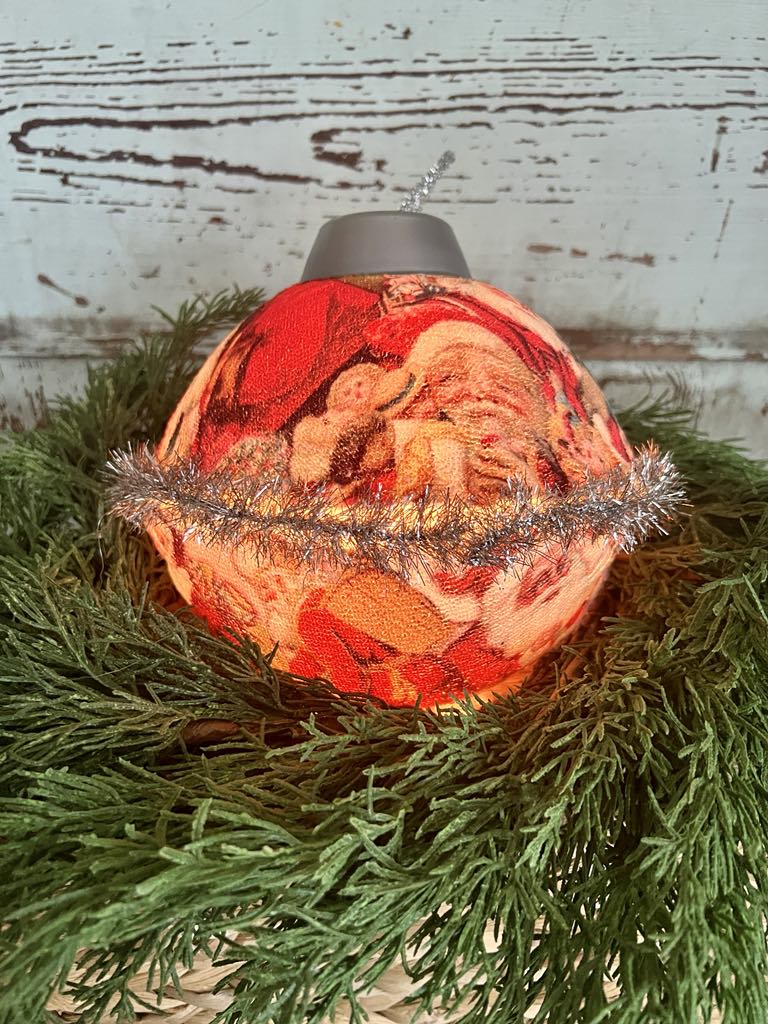
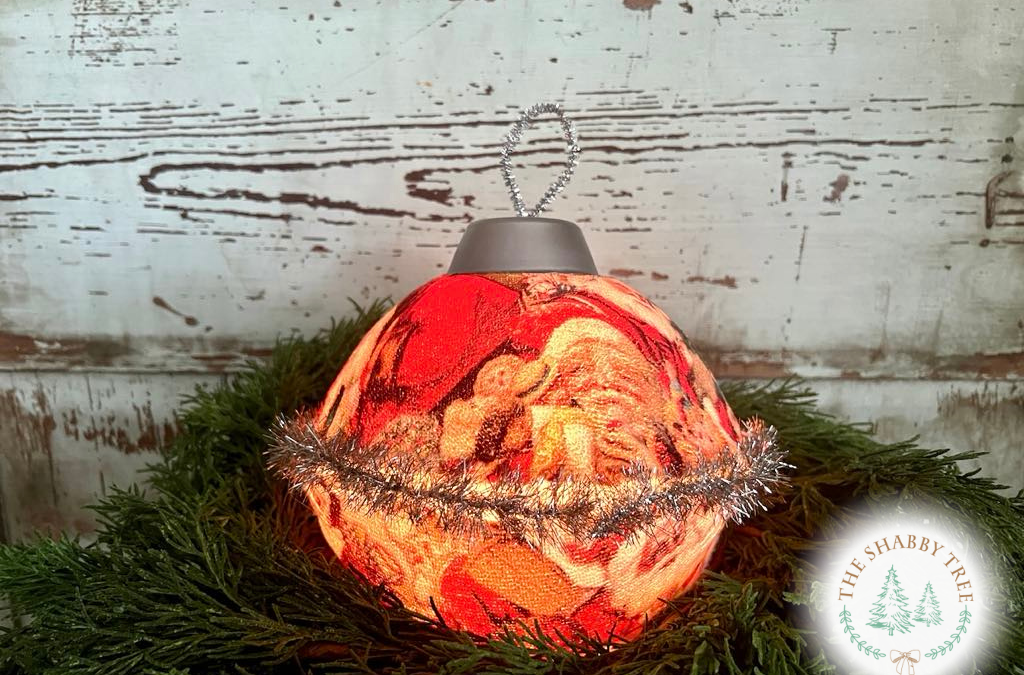
This decoration looks amazing when lit up! It was very easy to make and will look great anywhere in your home. I hope you’ll get creative and give this project a try!
I love this!! It’s so pretty all lit up.
I am for sure going to try this….Amazing…….
Beautiful Miss Barb!!! I have the drying mat … I might try this !!!!
Looking lovely. Trying to join you tonight. Love the colors.
Awww!! Barb I can’t wait to join you Friday night ! I love this stinkin cute craft! So very cute and unique ❤️❤️
I love it! I love things that light up!
This is so cute! I’m certainly going to try making this one.
I love this Christmas decoration. I have got to make. Thank you so so much
Love it
Good morning Barb, the old world Santa ornament turned out beautiful.
💦💦💦💦💦💦💦🌲
It’s absolutely gorgeous ❤️❤️❤️