
I love spring and I wanted something fun to put in my dough bowls and add to my spring tree. These carrots are so easy to make and can be decorated according to your style.
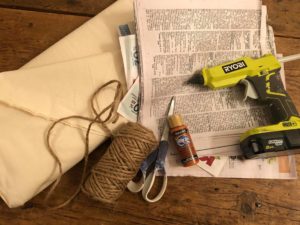
The supplies you will need are:
1. Newspaper
2. Scissors
3. Glue gun
4. Jute or twine
5. Muslin material
6. Orange paint
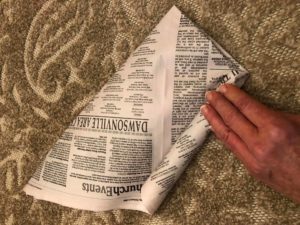
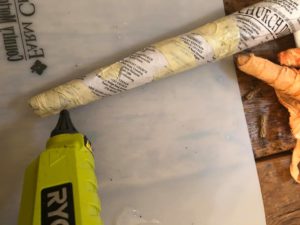
First you will need to take a few sheets of the newspaper. You will fold the newspaper in half making a large triangle.
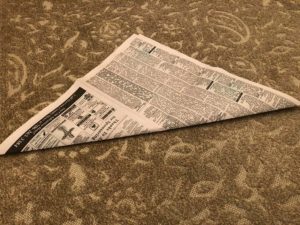
You will then want to fold that in half one more time making a triangle.
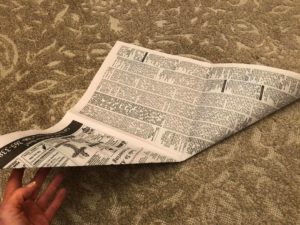
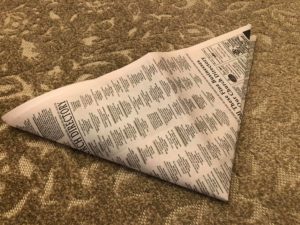
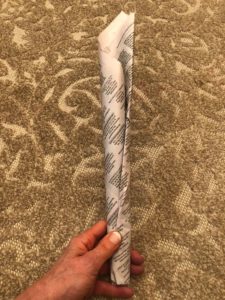
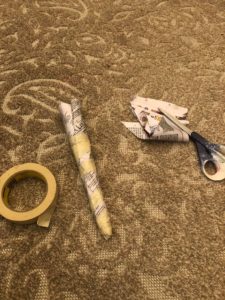
Once you have your triangle you will want to roll it forming a cone. You don’t want to roll it too tight. You want your cone to have a hollow center.
Once you have your cone rolled you can either glue it in place or take some tape and tape it .
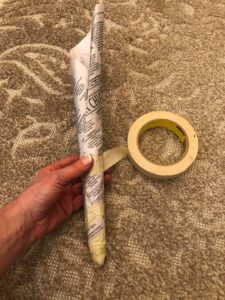
I am adding some tape to hold the cone in place.
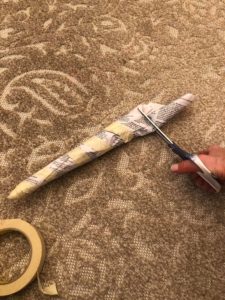
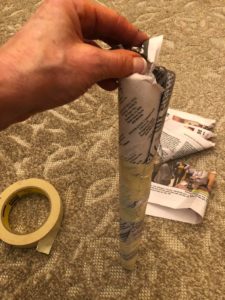
Next you will want to take the scissors and cut the top off the cone. You will want to cut the top straight across.
Next take some scrap pieces of the newspaper and roll them up. You will want to shove these down into your cone.
I want to wrap my cone with strips of muslin. I will make cuts into the muslin and rip to firm my strips.
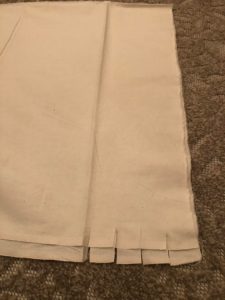

Your material will rip giving you a straight rip forming even strips.

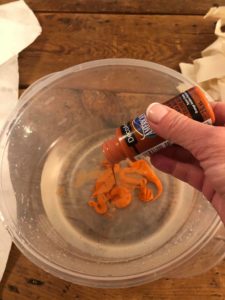
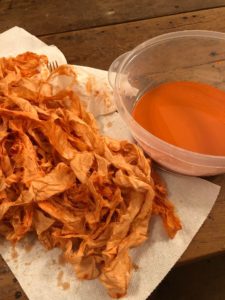
I don’t want to leave my muslin a cream color. I want my carrots to have a orange tint. I am taking some warm water and I I g in some paint. How much water and paint you use depends on how dark you want your color. I am just taking warm water and outing in half my paint.
Once your paint is mixed you will add your strips of material. I put my strips into the paint and then squeeze them out.

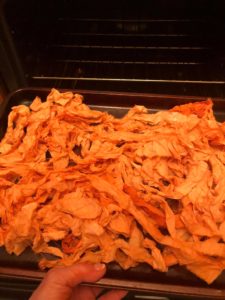
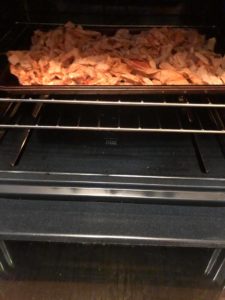
Normally I would put my strips outside in the sun to dry but we do not have nice weather today. I will be drying them in my oven. I put them on a cookie sheet and bake in the oven on 200 for about 15 minutes.
Once my strips of material are colored and dried it is time to start wrapping them onto my newspaper cone.
I add some hot glue to the bottom tip of the cone.
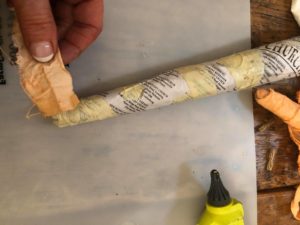
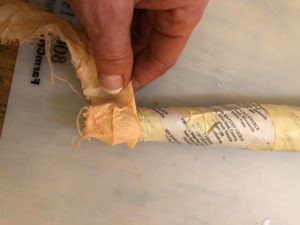
Add your material strip and start wrapping. You can add some hot glue every now and then as you wrap your way up the cone.
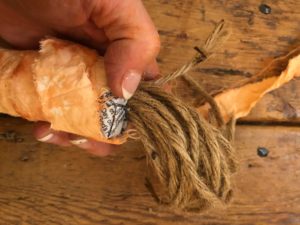
Once you get towards the top of the cone you will want to cut your strips of twine.
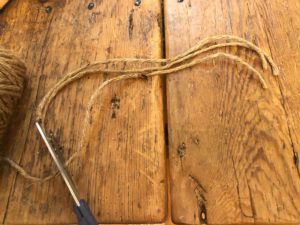
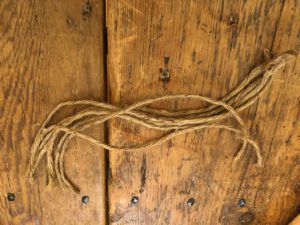
The twine is going to be your sprigs first the carrot. I cut about strips of twine. The length will depend on how long you want your carrot sprigs to be. My strips are about 12 inches long.
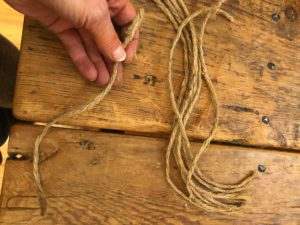
Once they are cut you will want to cut a small strip to use to tie your twine strips together.
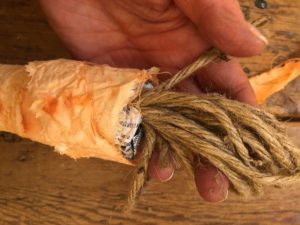
You will want to now fold them in half and add them to the top of your carrot.

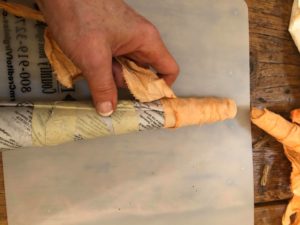
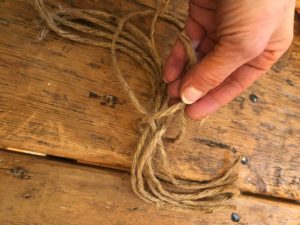
Next you will want to fold the top of your carrot in. I take my finger and push the top in.
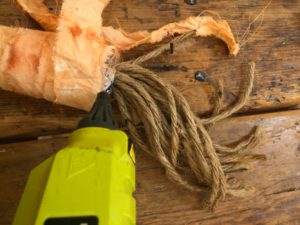
You will not add some glue and finish wrapping your strip if muslin around the top of your carrot.
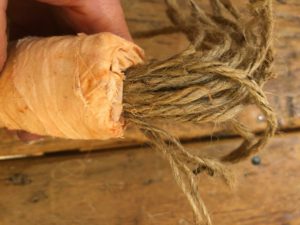
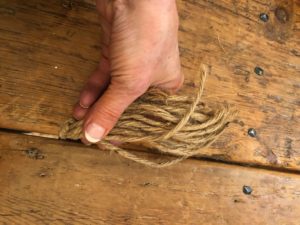
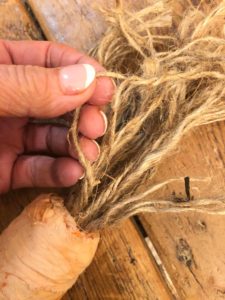
Last step is to seperate the pieces of your twine. I take my finger nail and seperate all the twine pieces. You are unraveling each strand which gives you a fuller look.

These carrots are so easy to make. I love this Diy because you can make a variety of sizes and you can create them to match your decor. I am using muslin to cover my newspaper cone but there are so many different things you can use. I hope you enjoy this DIY and give it a try.

I AM SO GLAD MY BESTIE TURNED ME ON TO THIS FABULOUS SITE AS WELL AS MS BARB AND HER LOVELY FAMILY! HAVING SHABBY TREE HAS MADE LOCK IN 2020 NOT SO TERRIBLE!
Can’t wait to try this idea. I did what you said and bought a notebook can’t keep up with you and your terrific ideas. This blog page will help a lot! I so enjoy watching you & your fantastic ideas! Now if you call my name & I win a gift. Lol. Keep up the great job you are doing. We all love you! Jan
I would like to know where you bought the 2 trees that are very skinny and tall usually behind you when you craft. Thank you
I love doing these. I will be making then for my 5 granddaughters to put in there homes for Easter. Thank you for all the good ideas on The Shabby Tree. I watch you every time you come on.