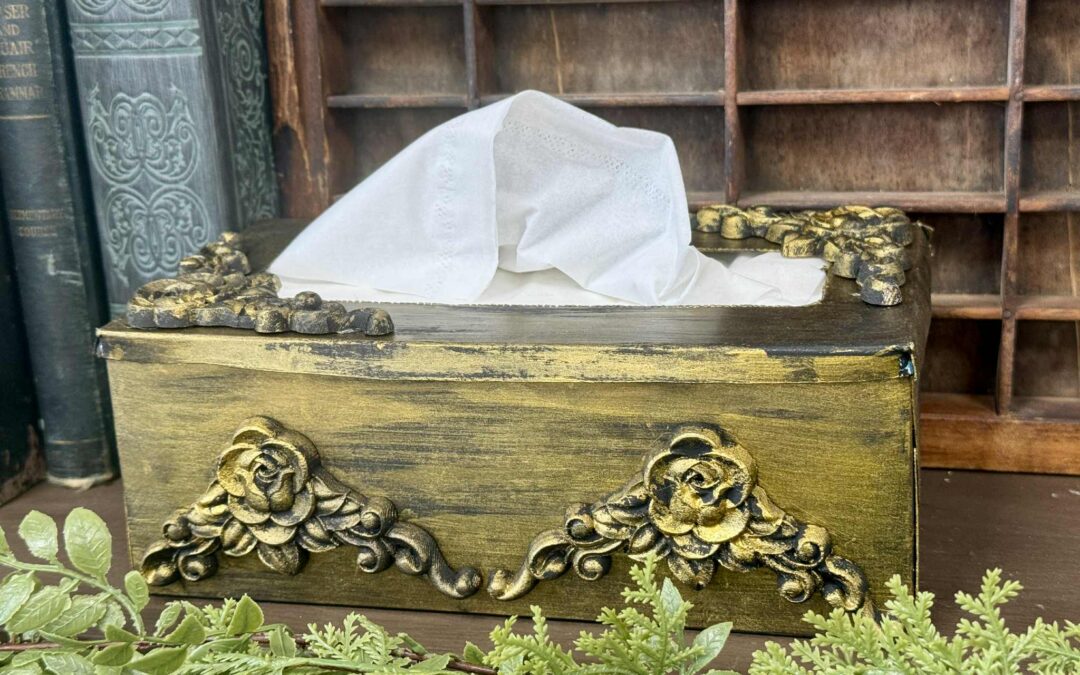
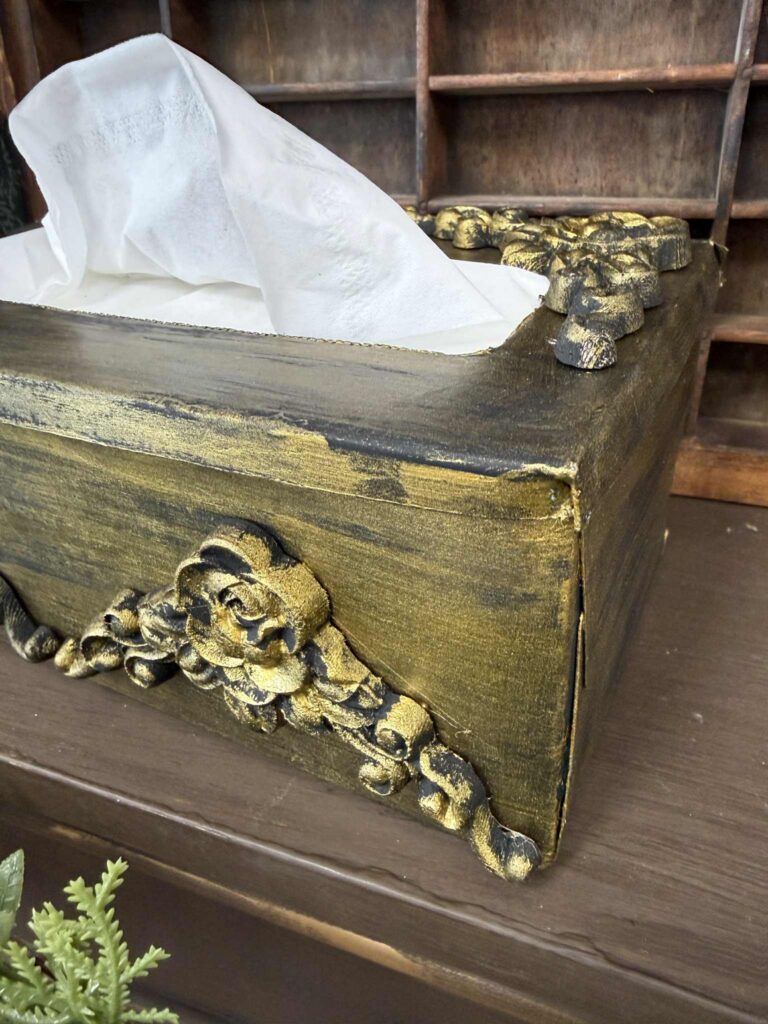
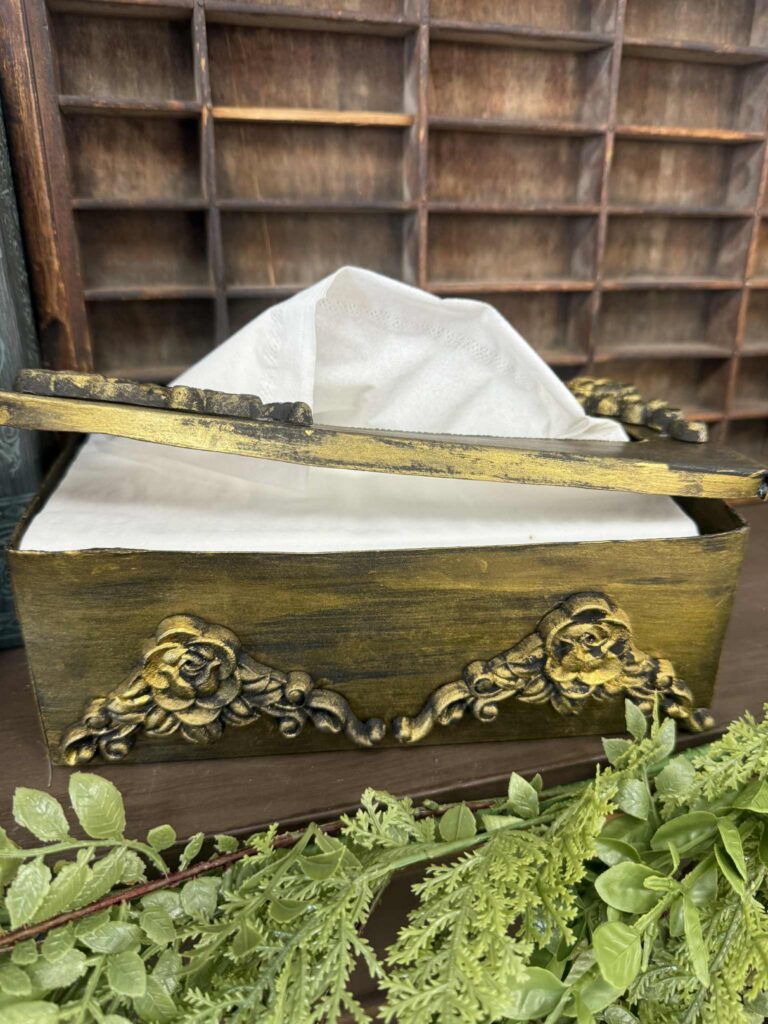
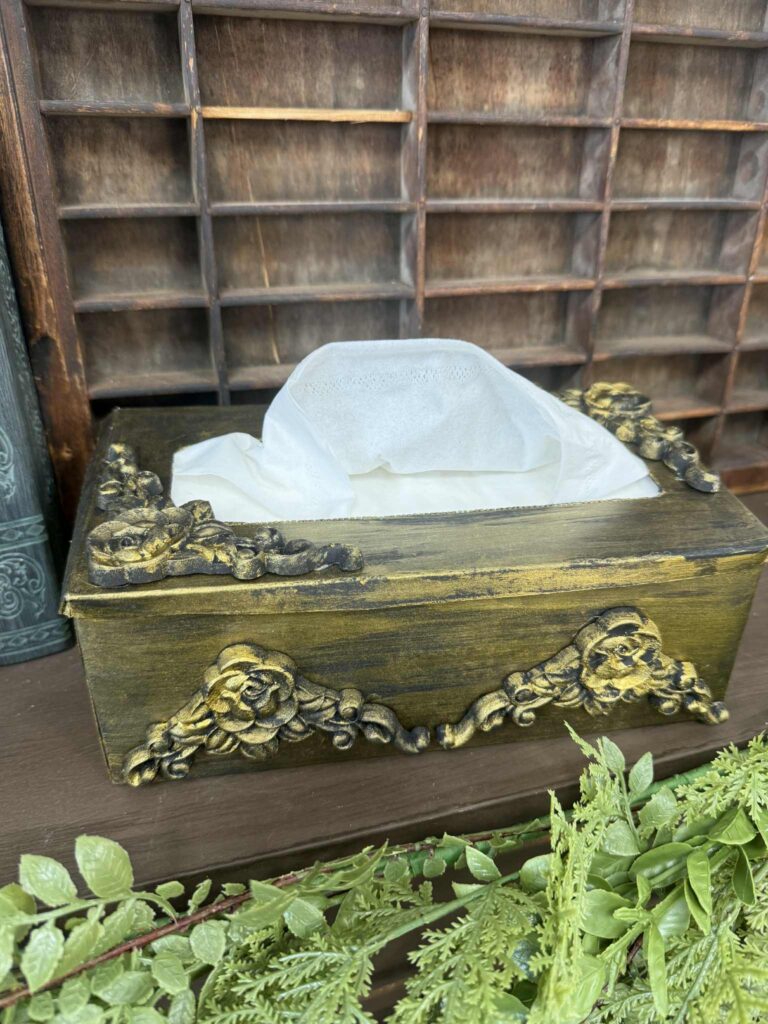
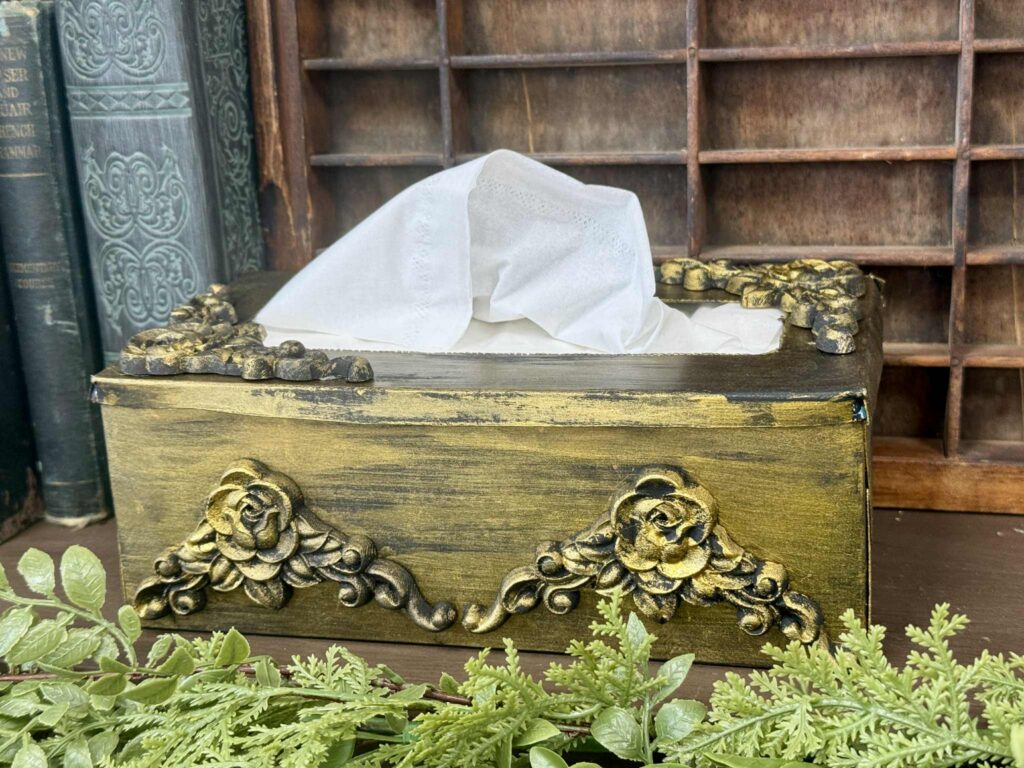
I’ve always loved filling my home with vintage-inspired treasures. Since we’re constantly dreaming up fun and creative projects here at The Shabby Tree, I thought it would be lovely to make a tissue box that feels beautifully vintage and full of character.
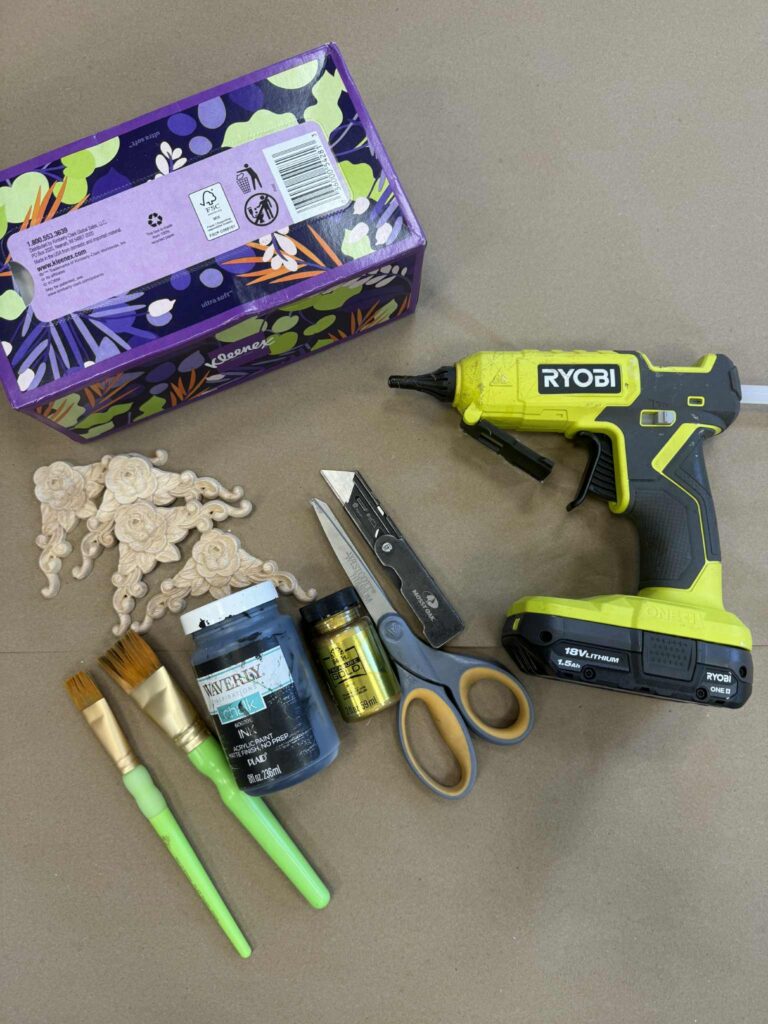
You’ll find the list of supplies that I’ll be using for this diy down below.
1. One tissue box
2. Box cutter or x-acto knife
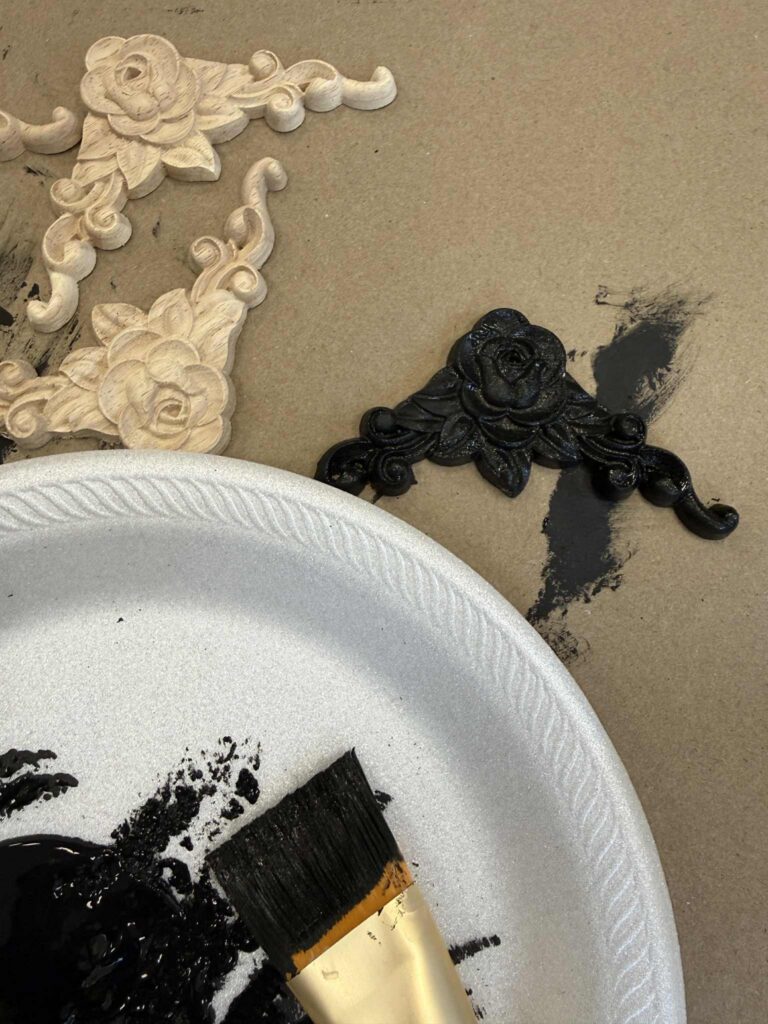
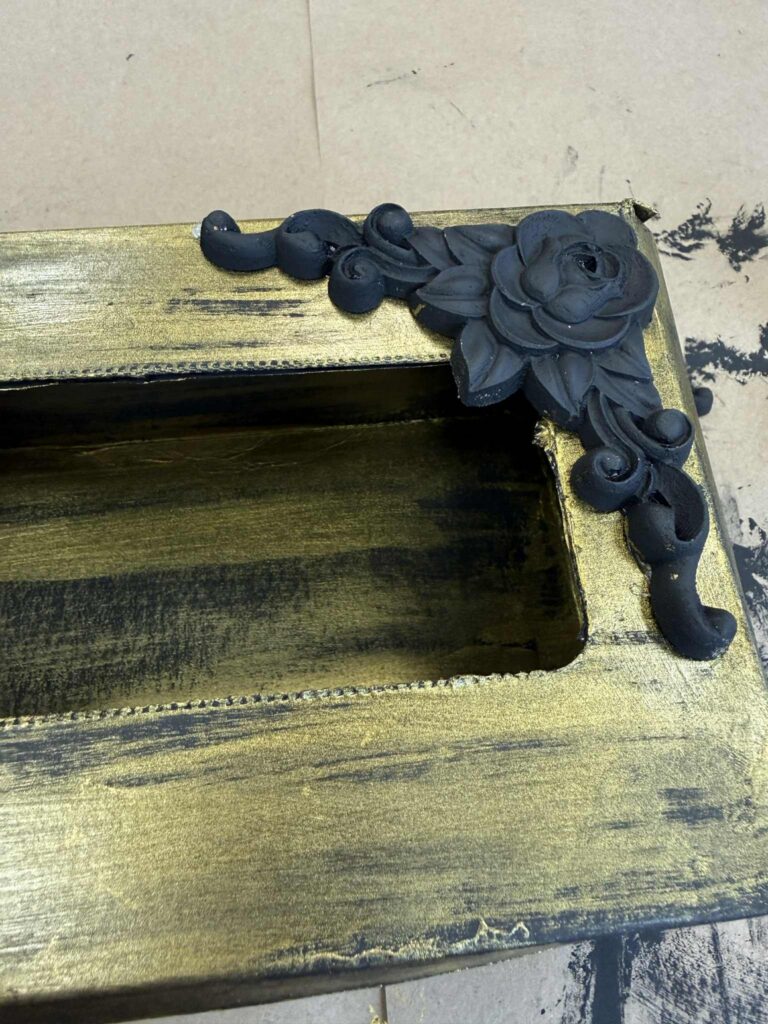
3. Wood embellishments from Amazon
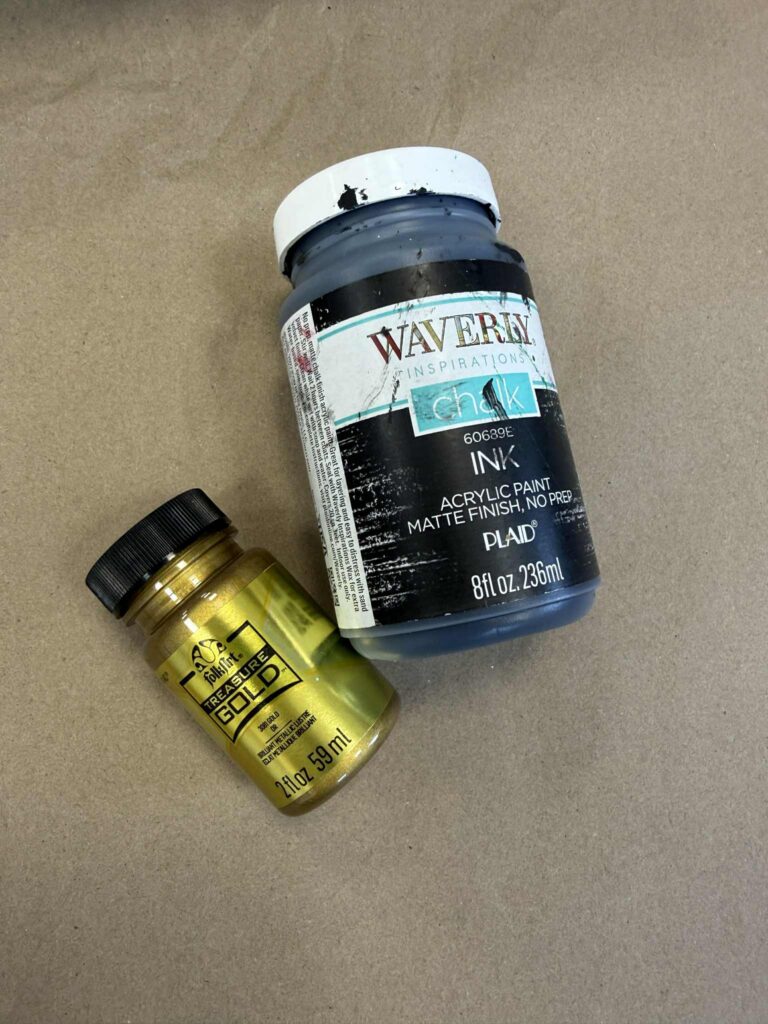
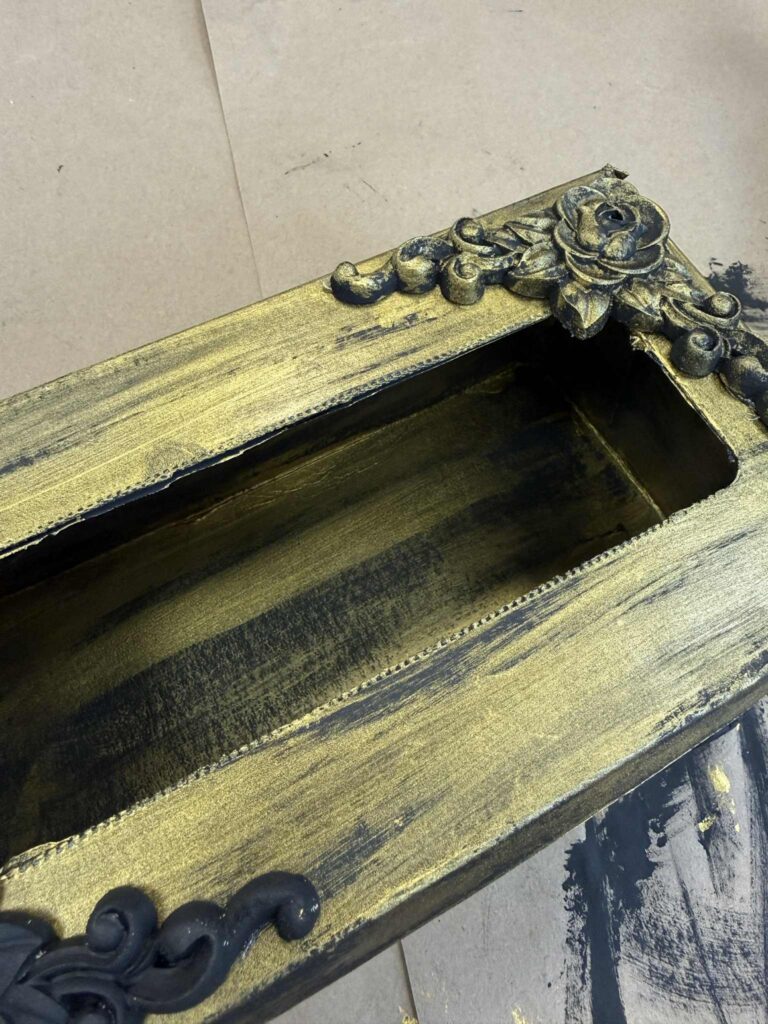
4. Waverly black chalk paint
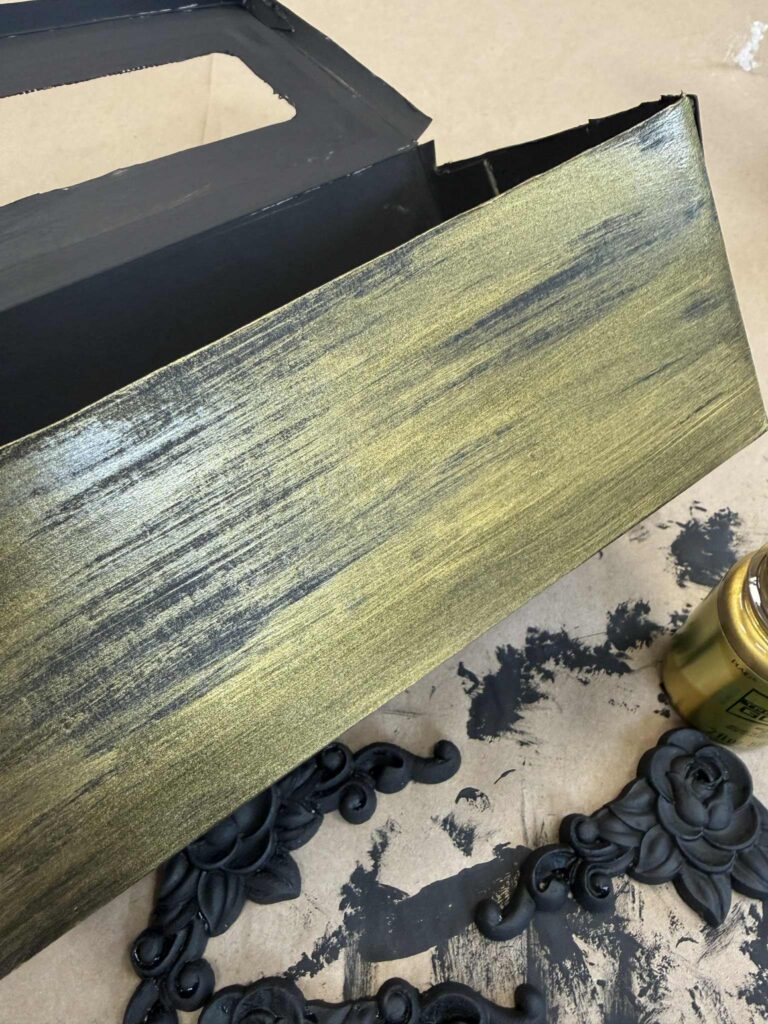
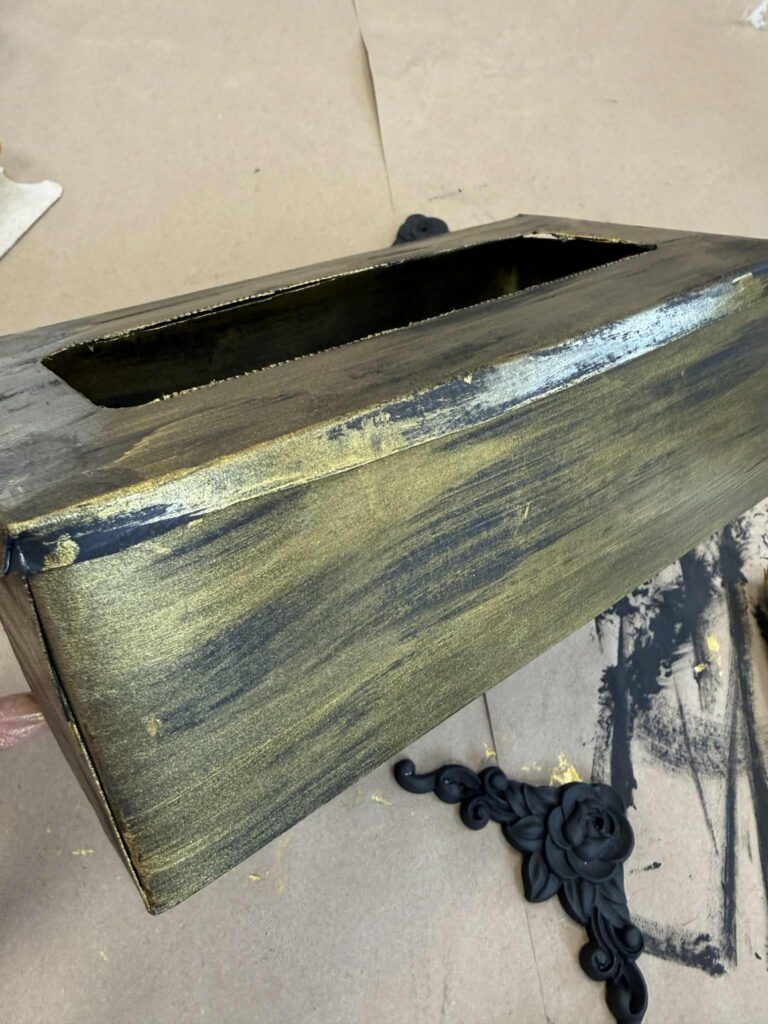
5. Folk Art treasure gold paint
6. Paint brush
7. Hot glue
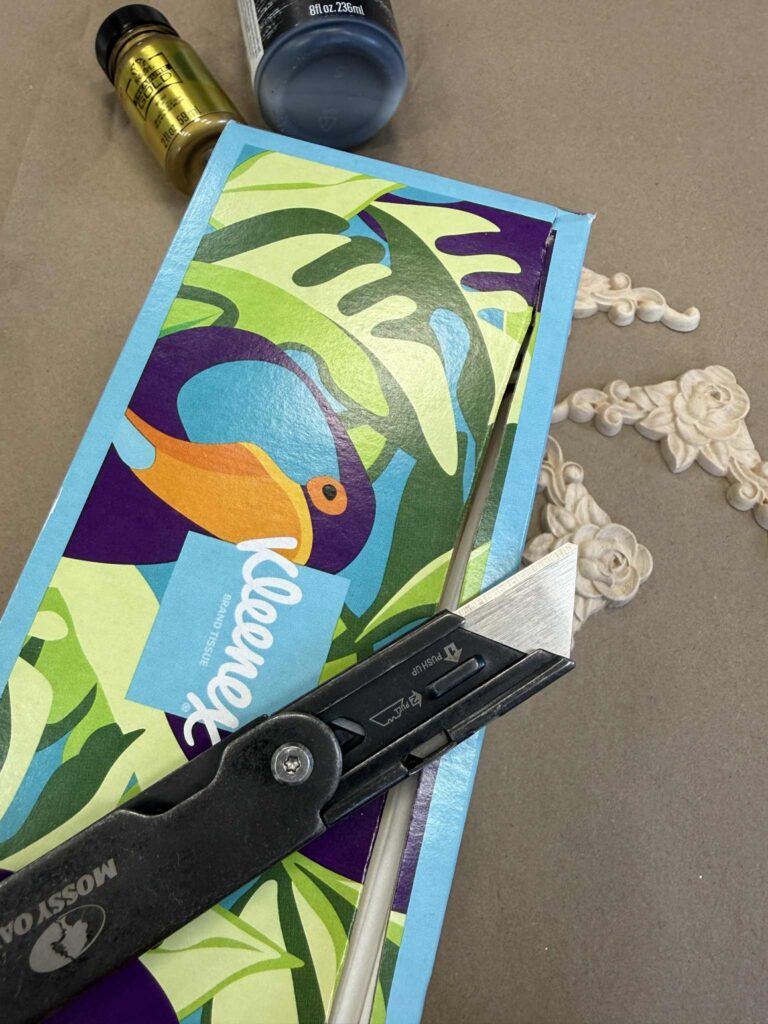
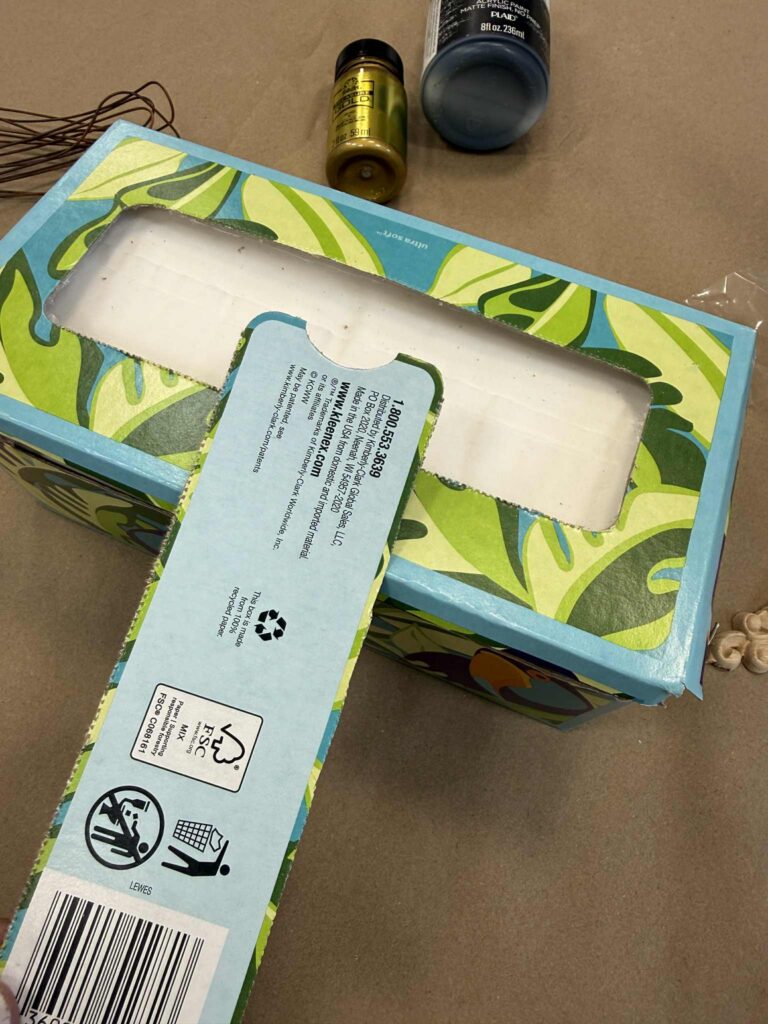
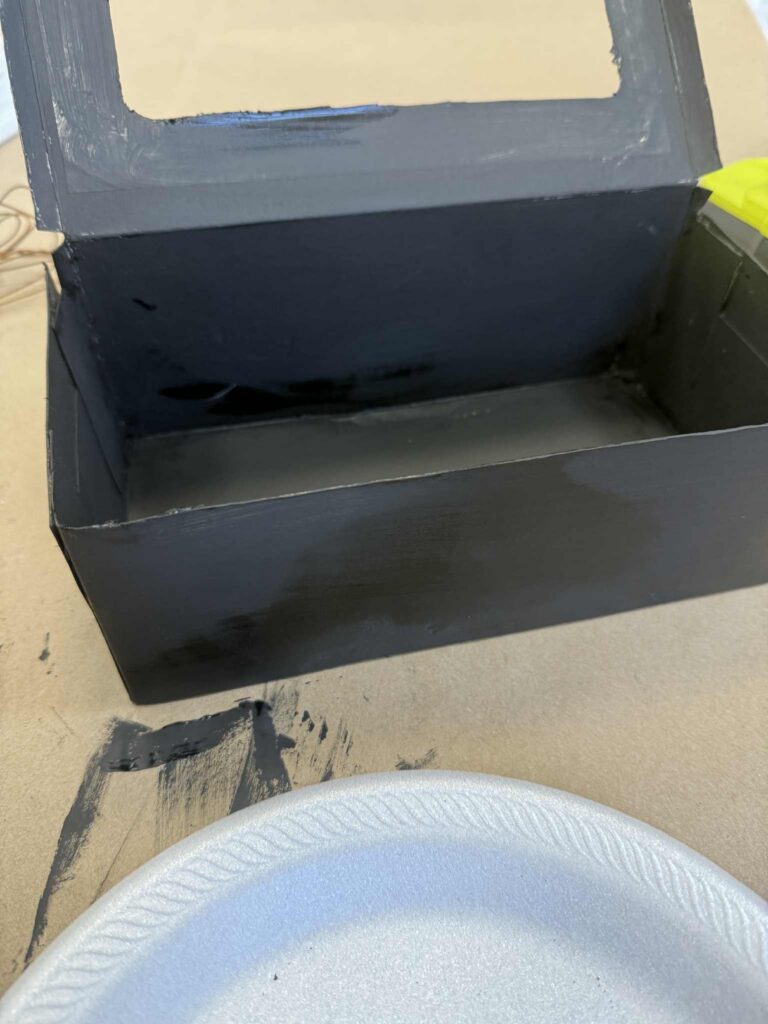
The first step is to cut your tissue box. You’ll cut along three sides to create an attached lid that can open and close.
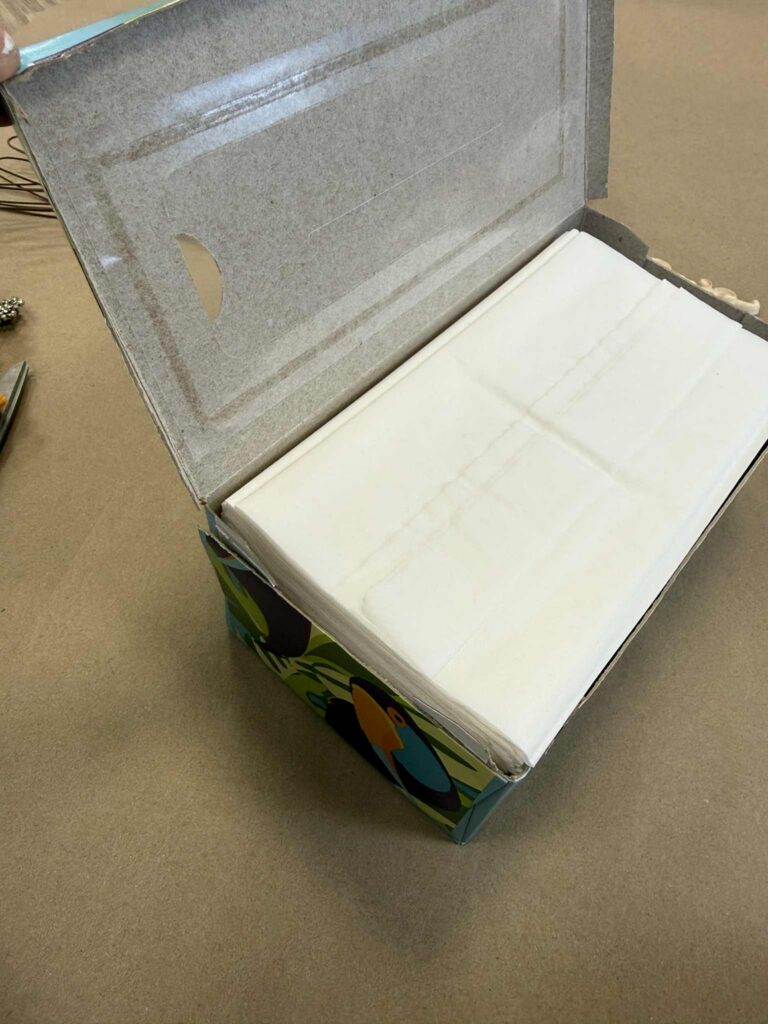
After cutting the lid, you’ll then cut out the opening on the top of the box.
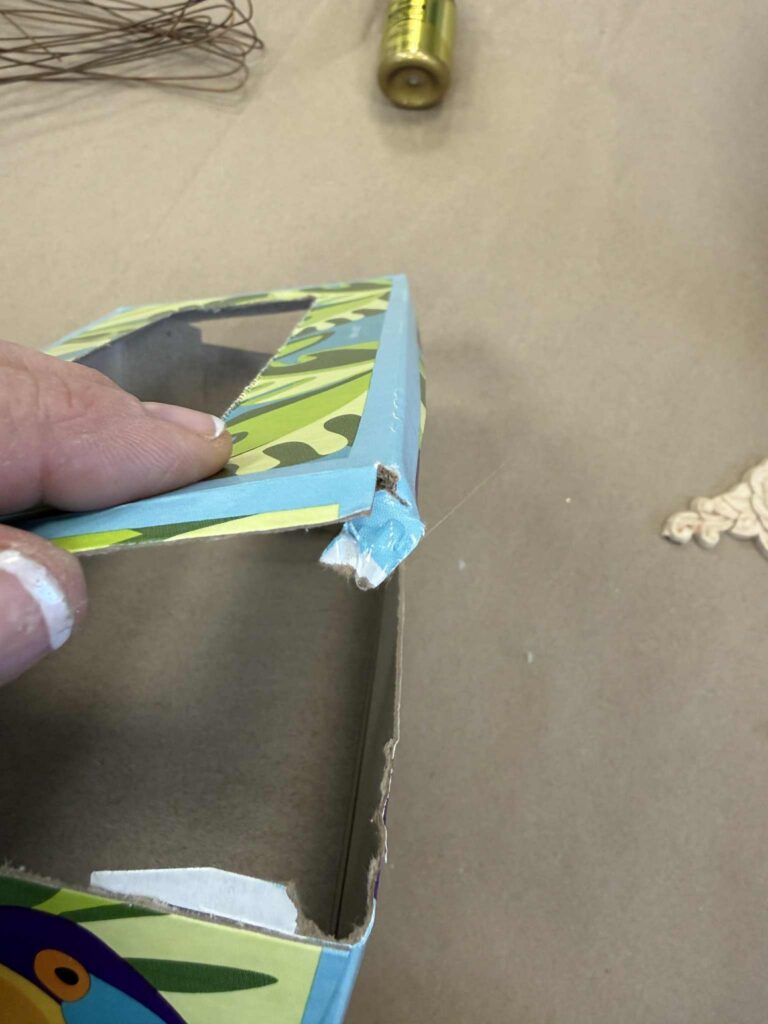
You may need to secure the sides of the lid with a little hot glue.
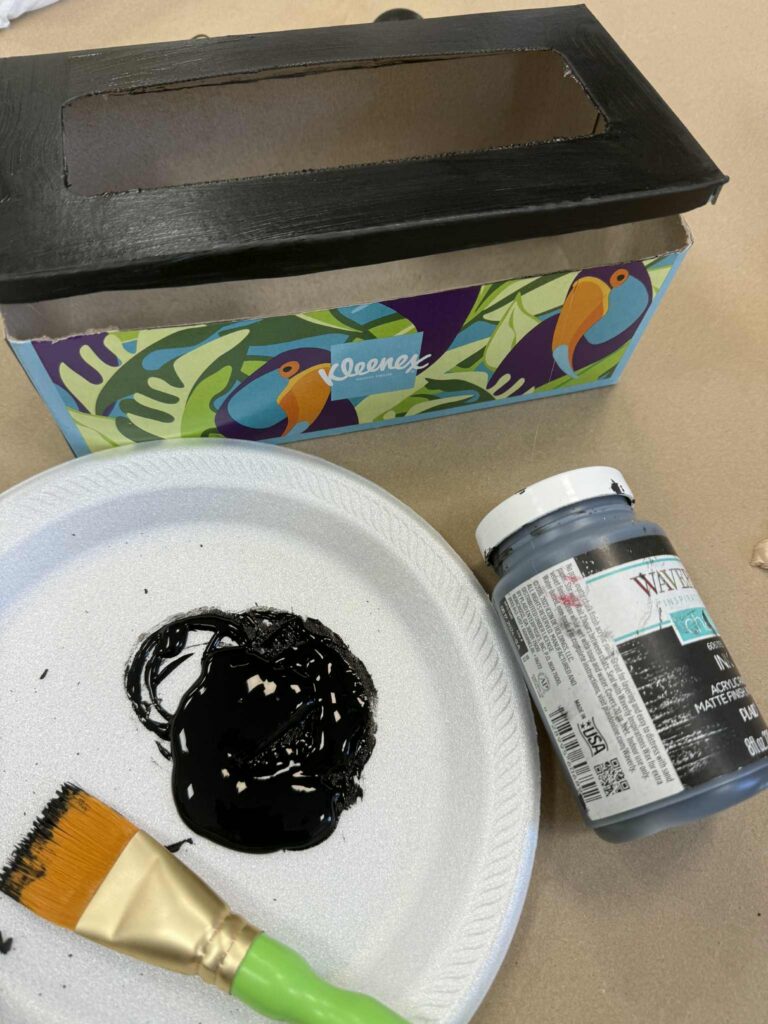
The next step is to apply paint to the tissue box.
This blog may contain affiliate links, which means I could earn a small commission if you make a purchase through them—at no extra cost to you. Thanks for supporting what I do!
Very cute, elegant actually.
I like this idea!
Looks amazing! Love this! ❤️
Wow!! What a great makeover!! It’s beautiful!!! I always have to cover my Kleenex with boxes – the boxes they come in are not pretty at all. 😂❤️🩷🌲
Barb, if you didn’t want to use the wooden forms from Amazon, you could also use hot glue to make your own design. Then paint it. I did that on Spooky Books with my grandchildren last Halloween. They looked so cool.
Who knew a paper tissue box could be so pretty !!!!, love it Barb….see you for friday night hangout 😊
Who knew a paper tissue box could be so pretty !!!!, love it Barb….see you for TGIF hangout !!!!
Looks awesome Barb, turns a plain tissue box into a fancy box
I am not a fan of gold at all, but like the concept of this craft, and I could choose any color to use. Neat way to use a tissue box!
What a unique and fun DIY !
Barb….Beautiful idea for Vintage Tissue Box…cant wait for Friday night for you to introduce it to us…
This turned out so pretty. I absolutely love it and will be making this. I just ordered the pretty wood pieces from Amazon. Thanks Barb for another awesome idea
What a fabulous tissue box. Just beautiful and elegant. I love it and will definitely have to create one. Thank you Barb for your inspiring creativity.
Wow!!! I love how that came out!
Oh I love this Barb, have everything but the wood pieces but will figure out something to decorate mine with
Love it! Love and enjoy your creativity 💖🌲
Wow!! Can’t believe you did this with cardboard!!!??? I want to try it but not sure if I’ll have the supplies. If not will try in the future
Barb, I love it!!!!
Wow, what a pretty tissue box.🥰
Absolutely beautiful Barb.
Barb,
I love this!! It is an easy DIY & the outcome is so beautiful & worth it!
Thank you for sharing!
You are so creative & FUN! I APPRECIATE you! 😀
Liz
So pretty Barb.
WOW that turned out amazing So unique Great job made out of cardboard hard to believe You’re amazing Barb ❤️❤️
What a fabulous tissue box. Just beautiful and elegant. I love it and will definitely have to create one. Thank you Barb for your inspiring creativity.
It turned out really pretty.
I love it! ❤️❤️❤️
It’s pretty and functional. I love it!!
Wow, Barb, this can out amazing. Another beautiful craft by Barb. 🤗💗
Love it! What Great ideal Barb ❤️
I will be there
Love it, Barb! 💖💖💖