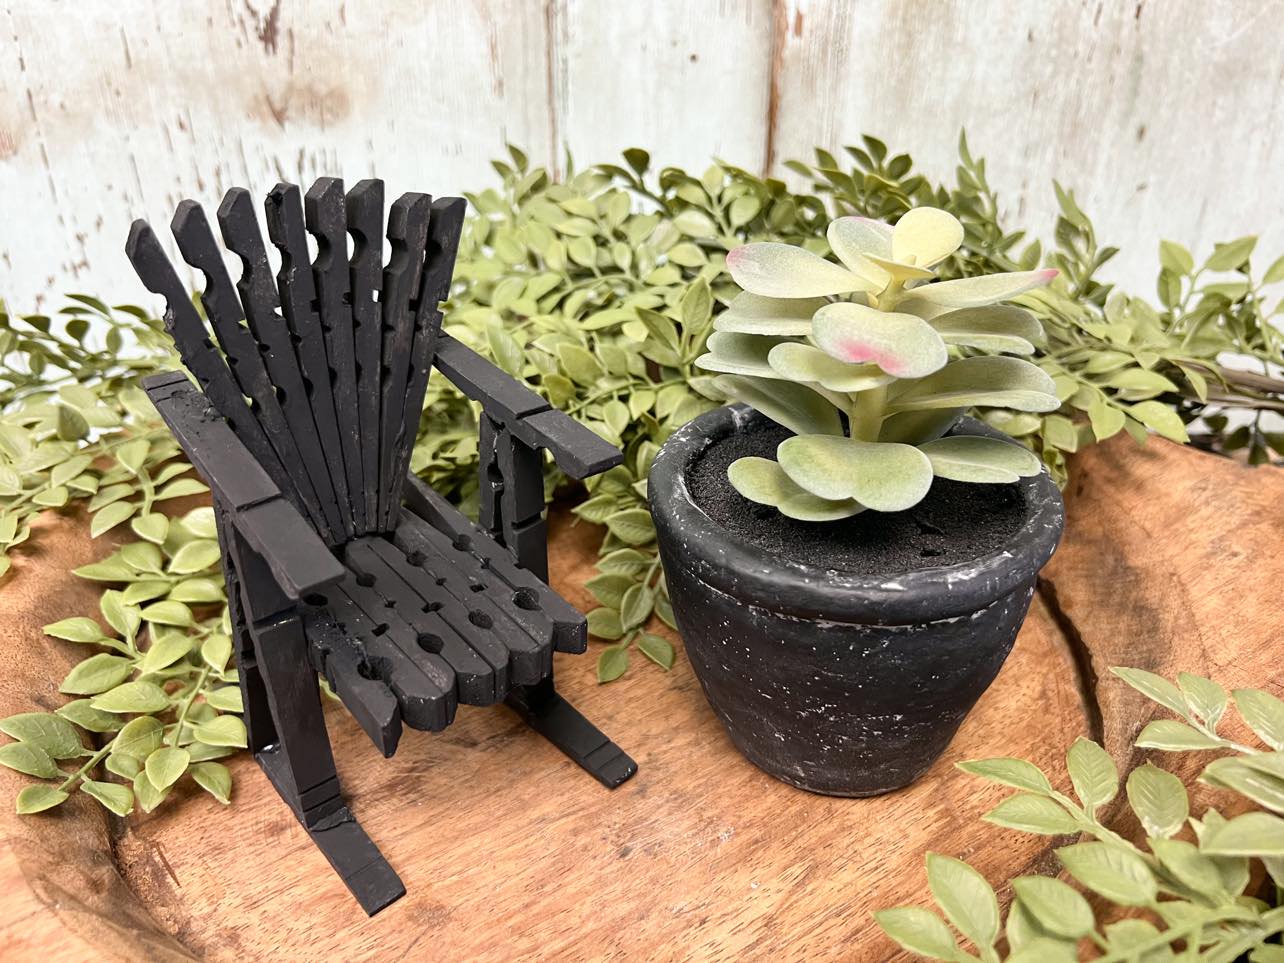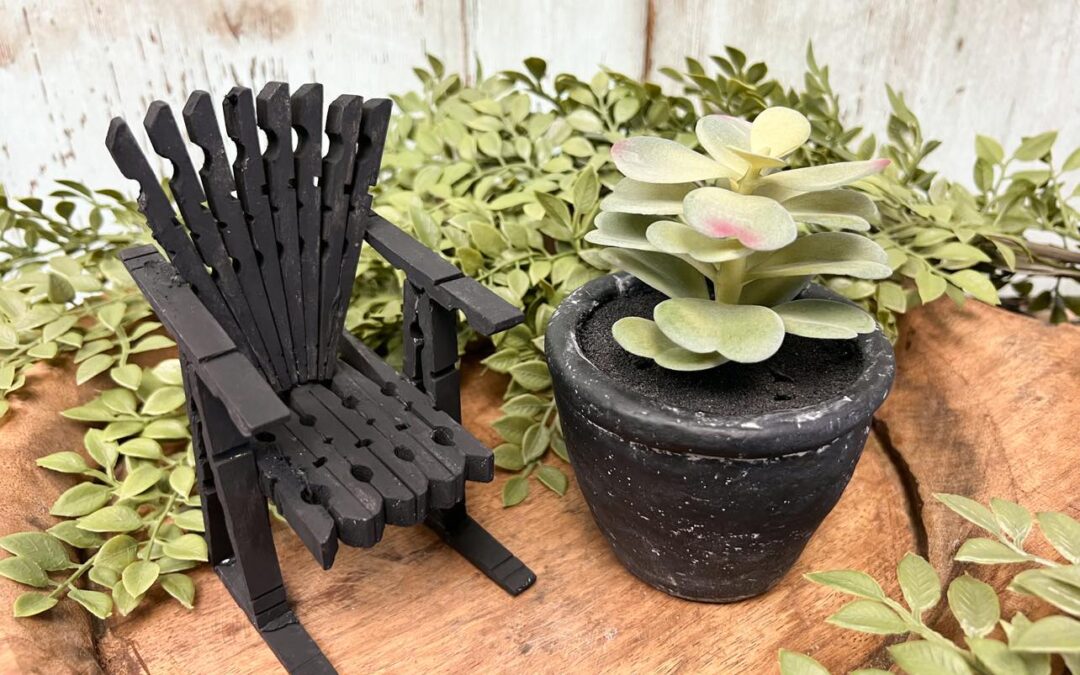
If you’re following The Shabby Tree then you know we are always creating fun and unique items. There is a clothespin craft that I have been wanting to try. You can easily turn a few wooden clothespins into a fun small decorative rocker.
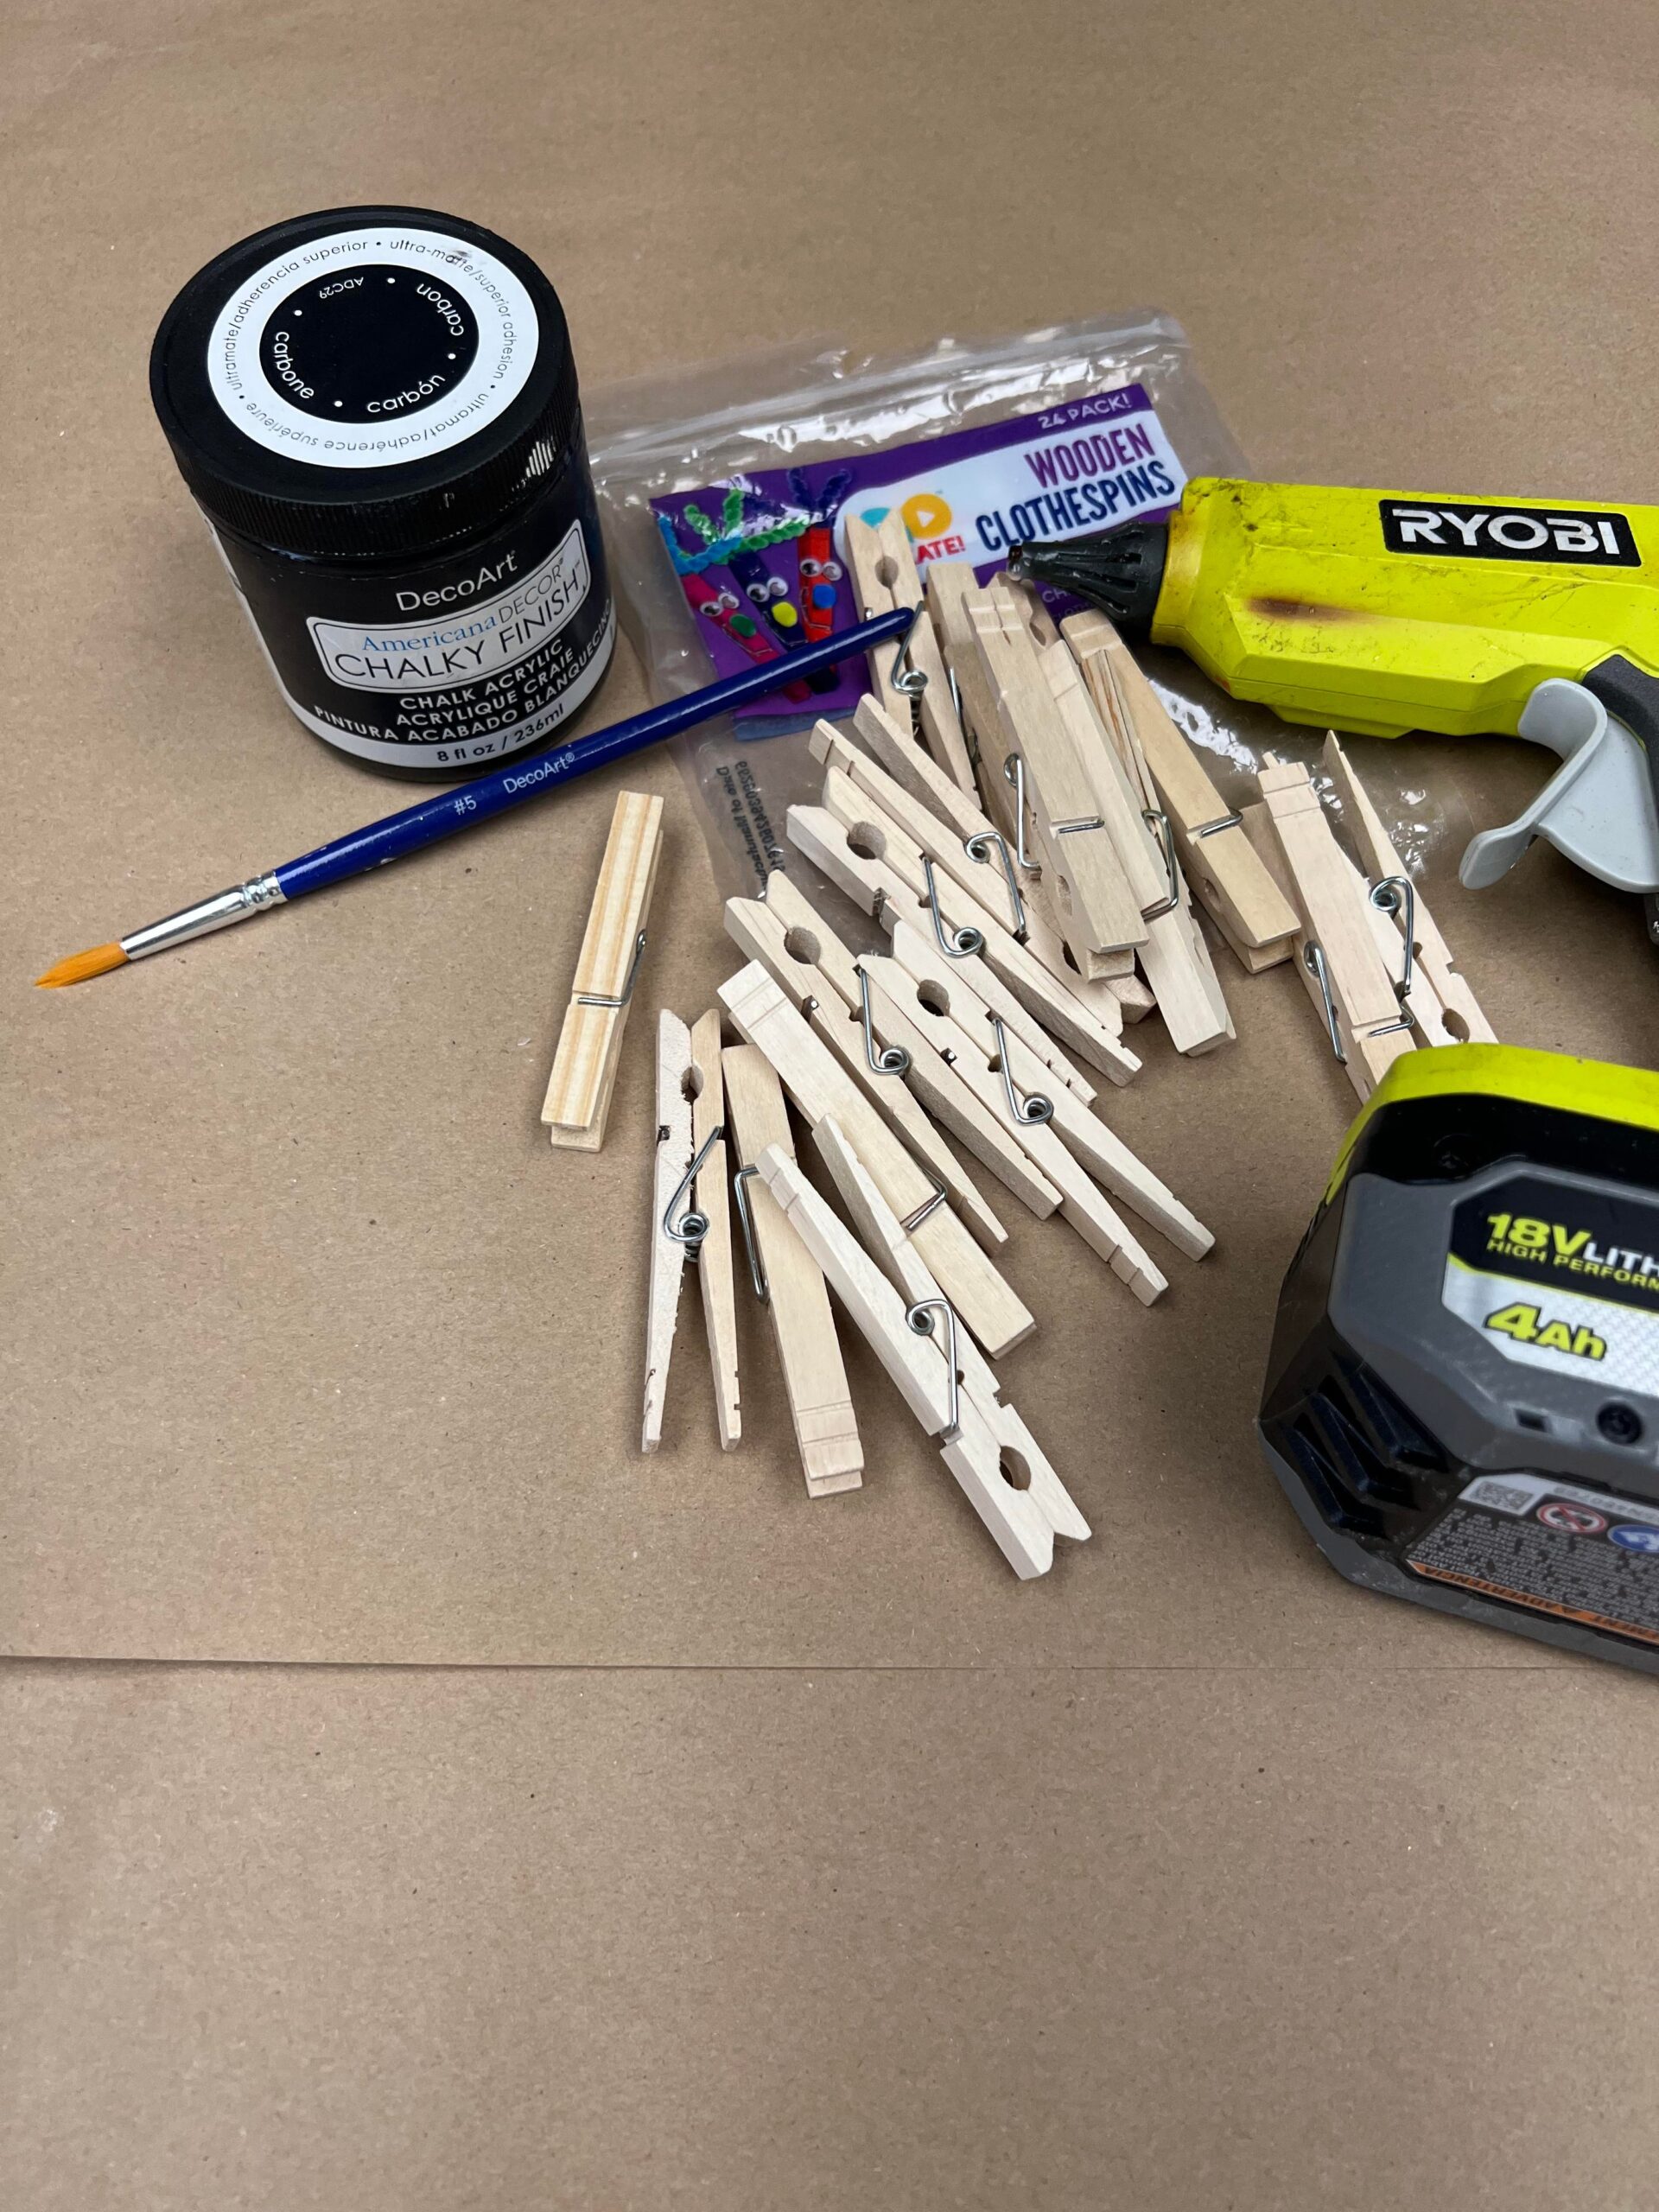
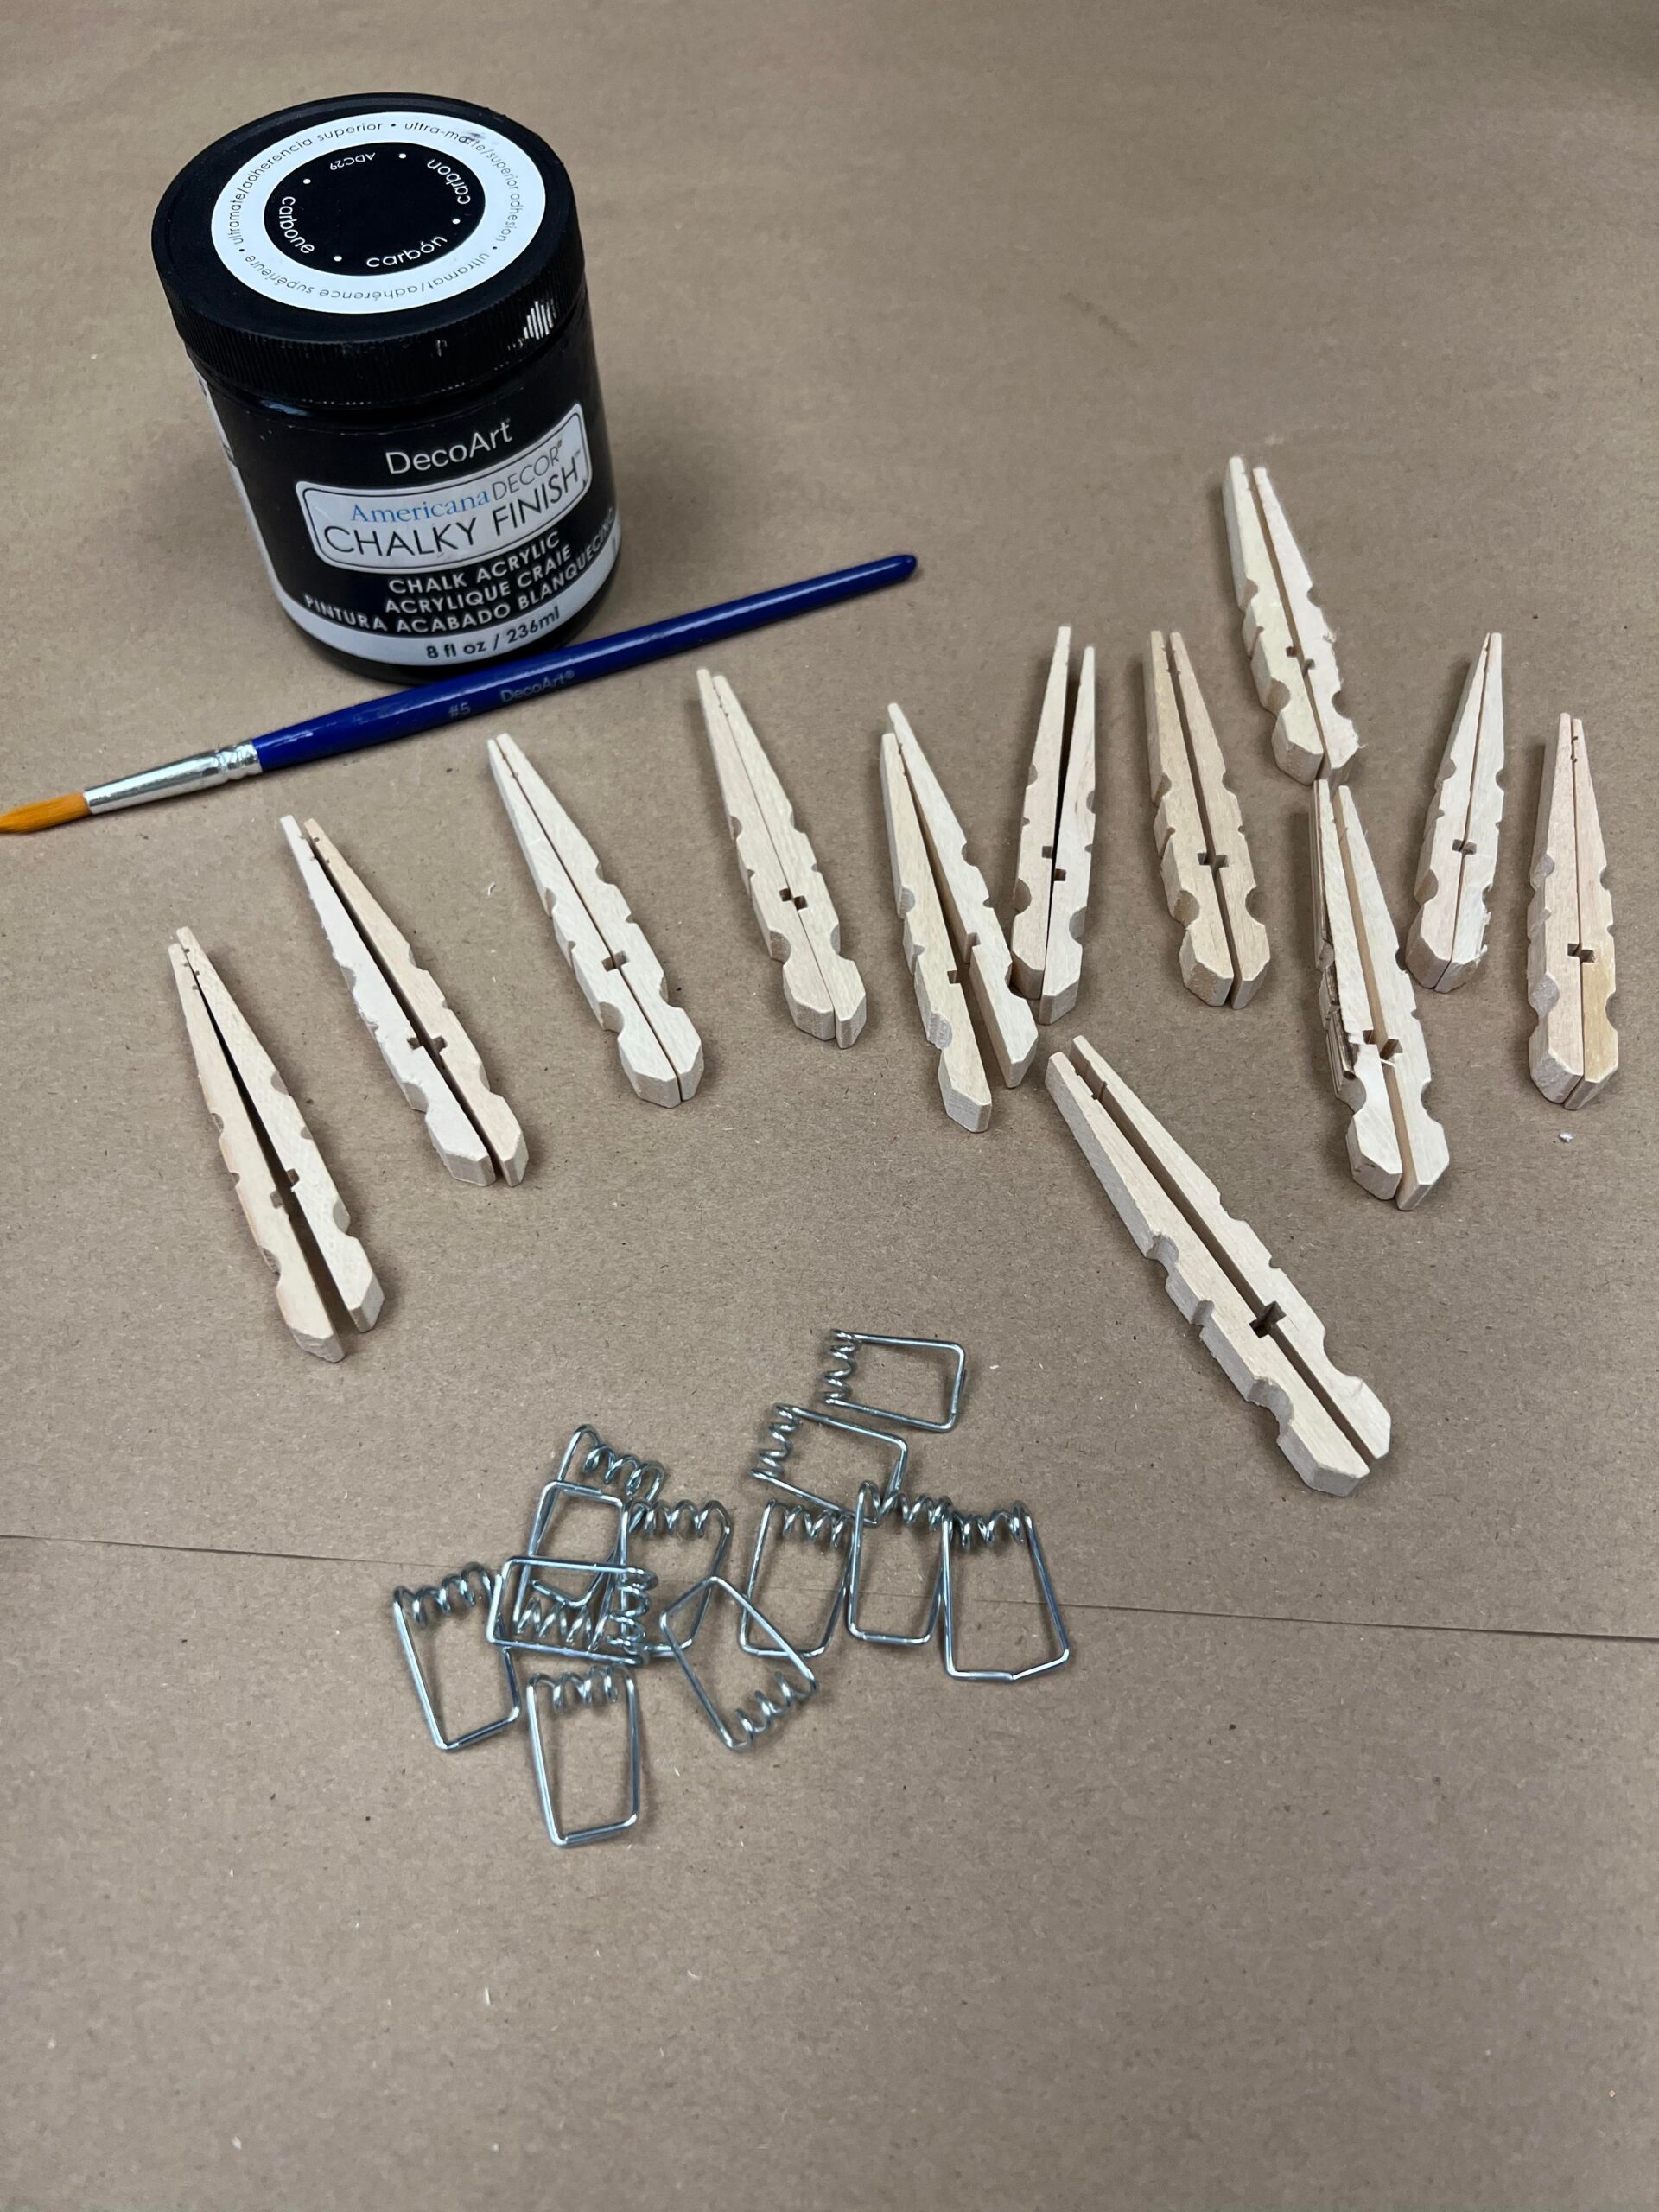
The supplies that I’ll be using for this craft are:
1. Twelve wooden clothes pins
2. Hot glue
3. Black chalky finish paint by DecoArt ( optional)
4. Paint brush ( optional)

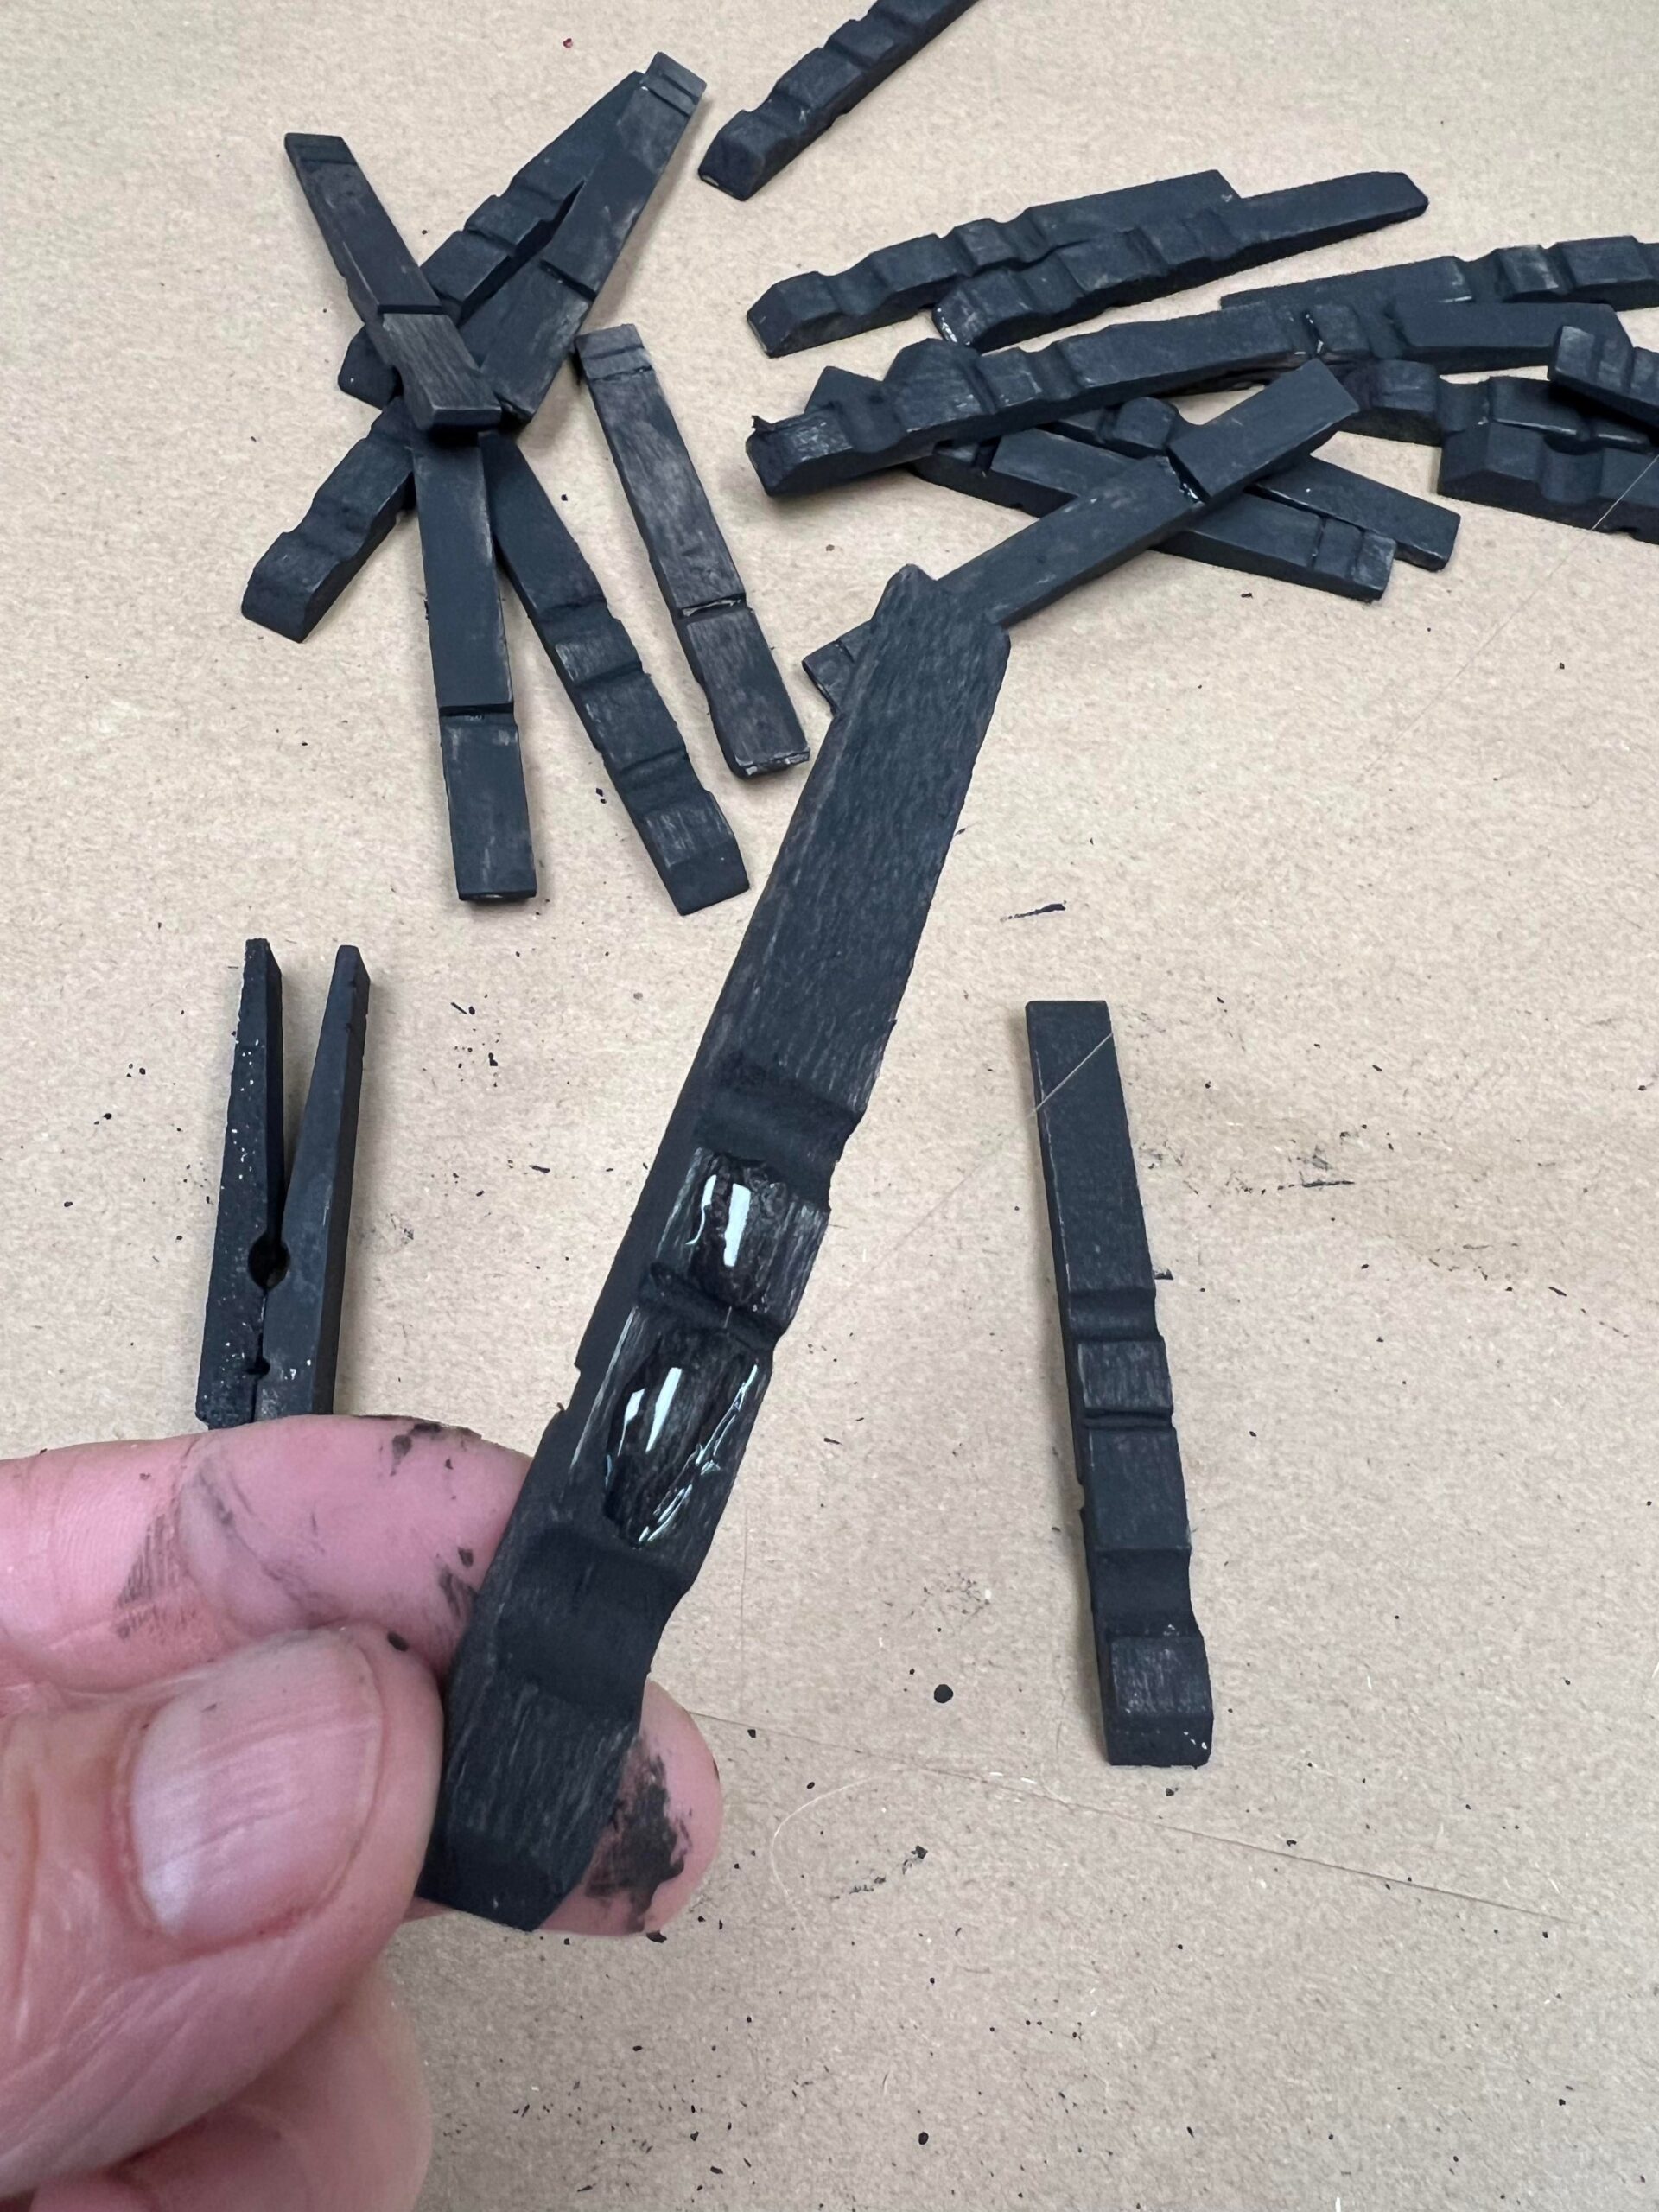
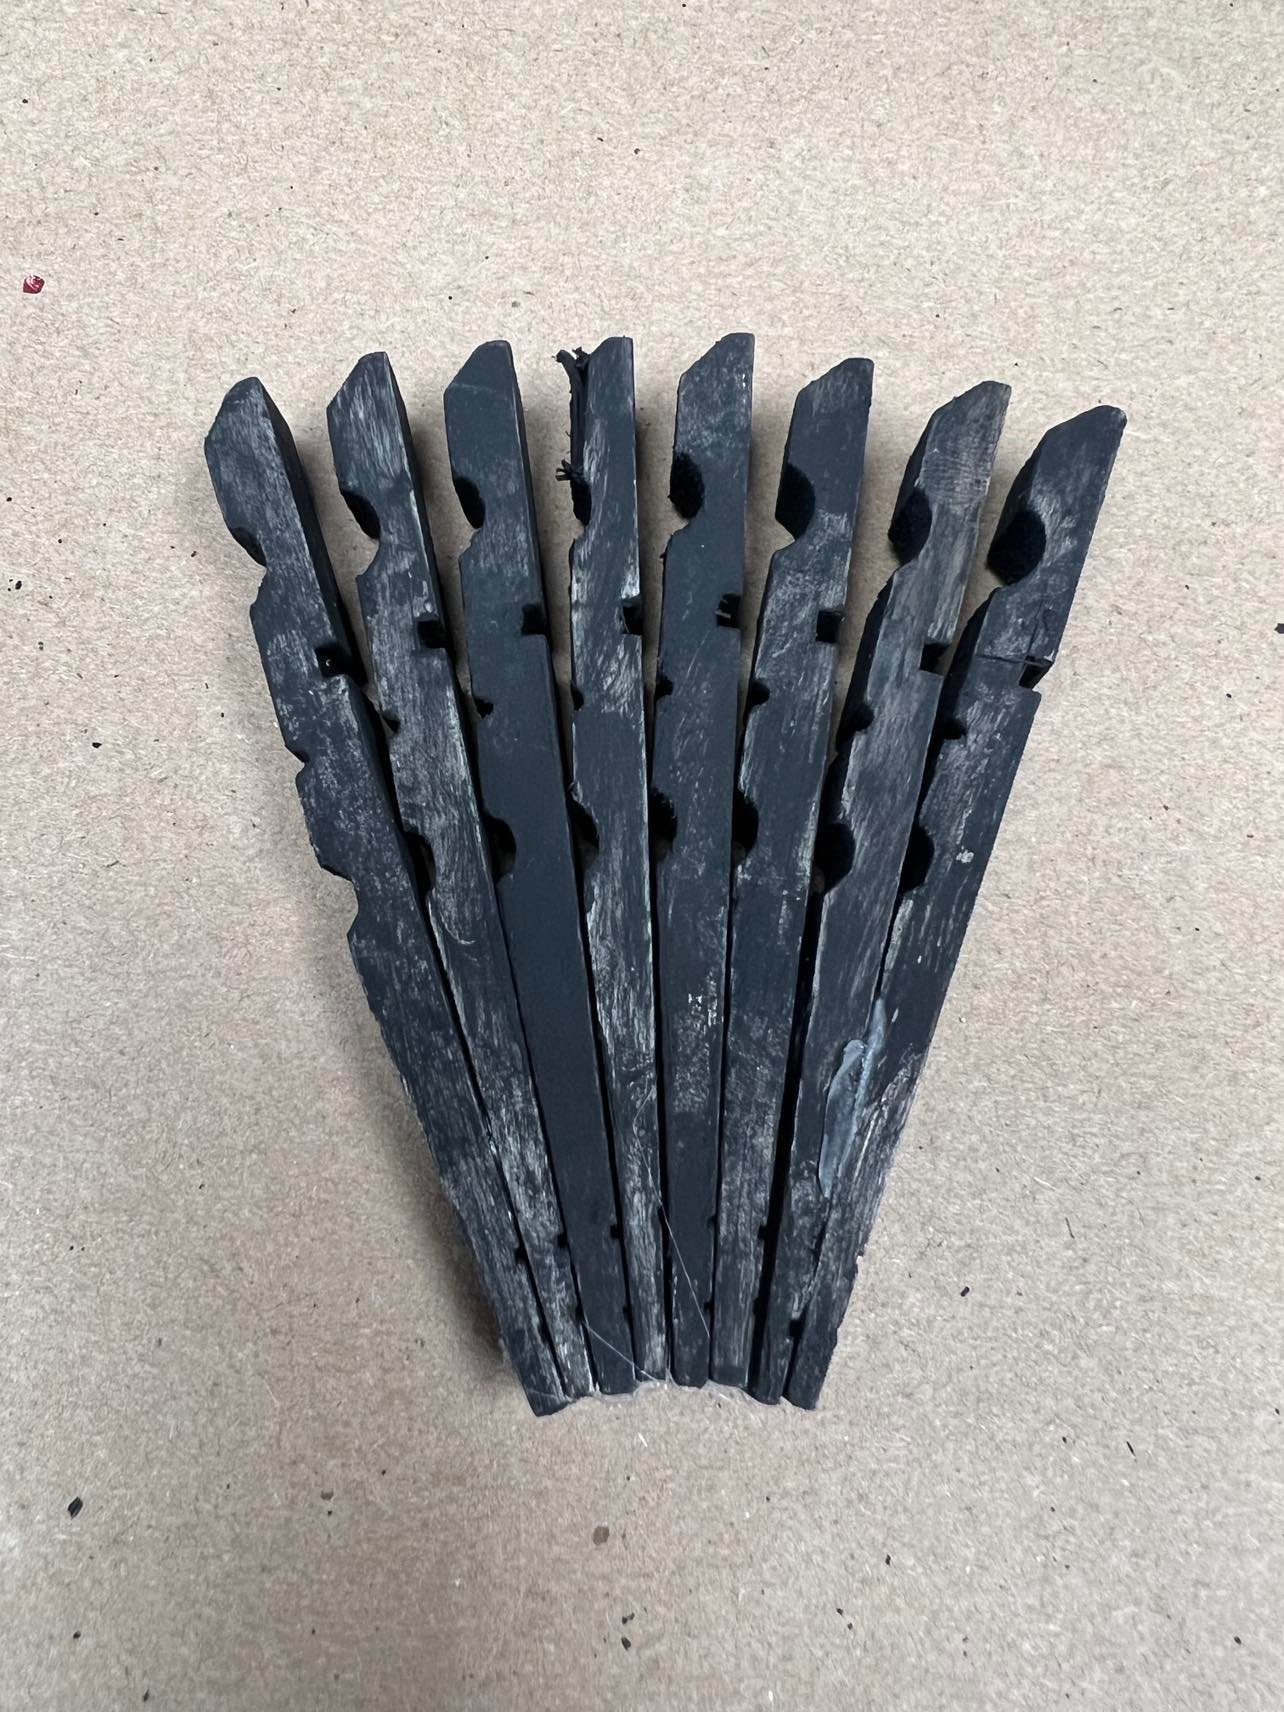
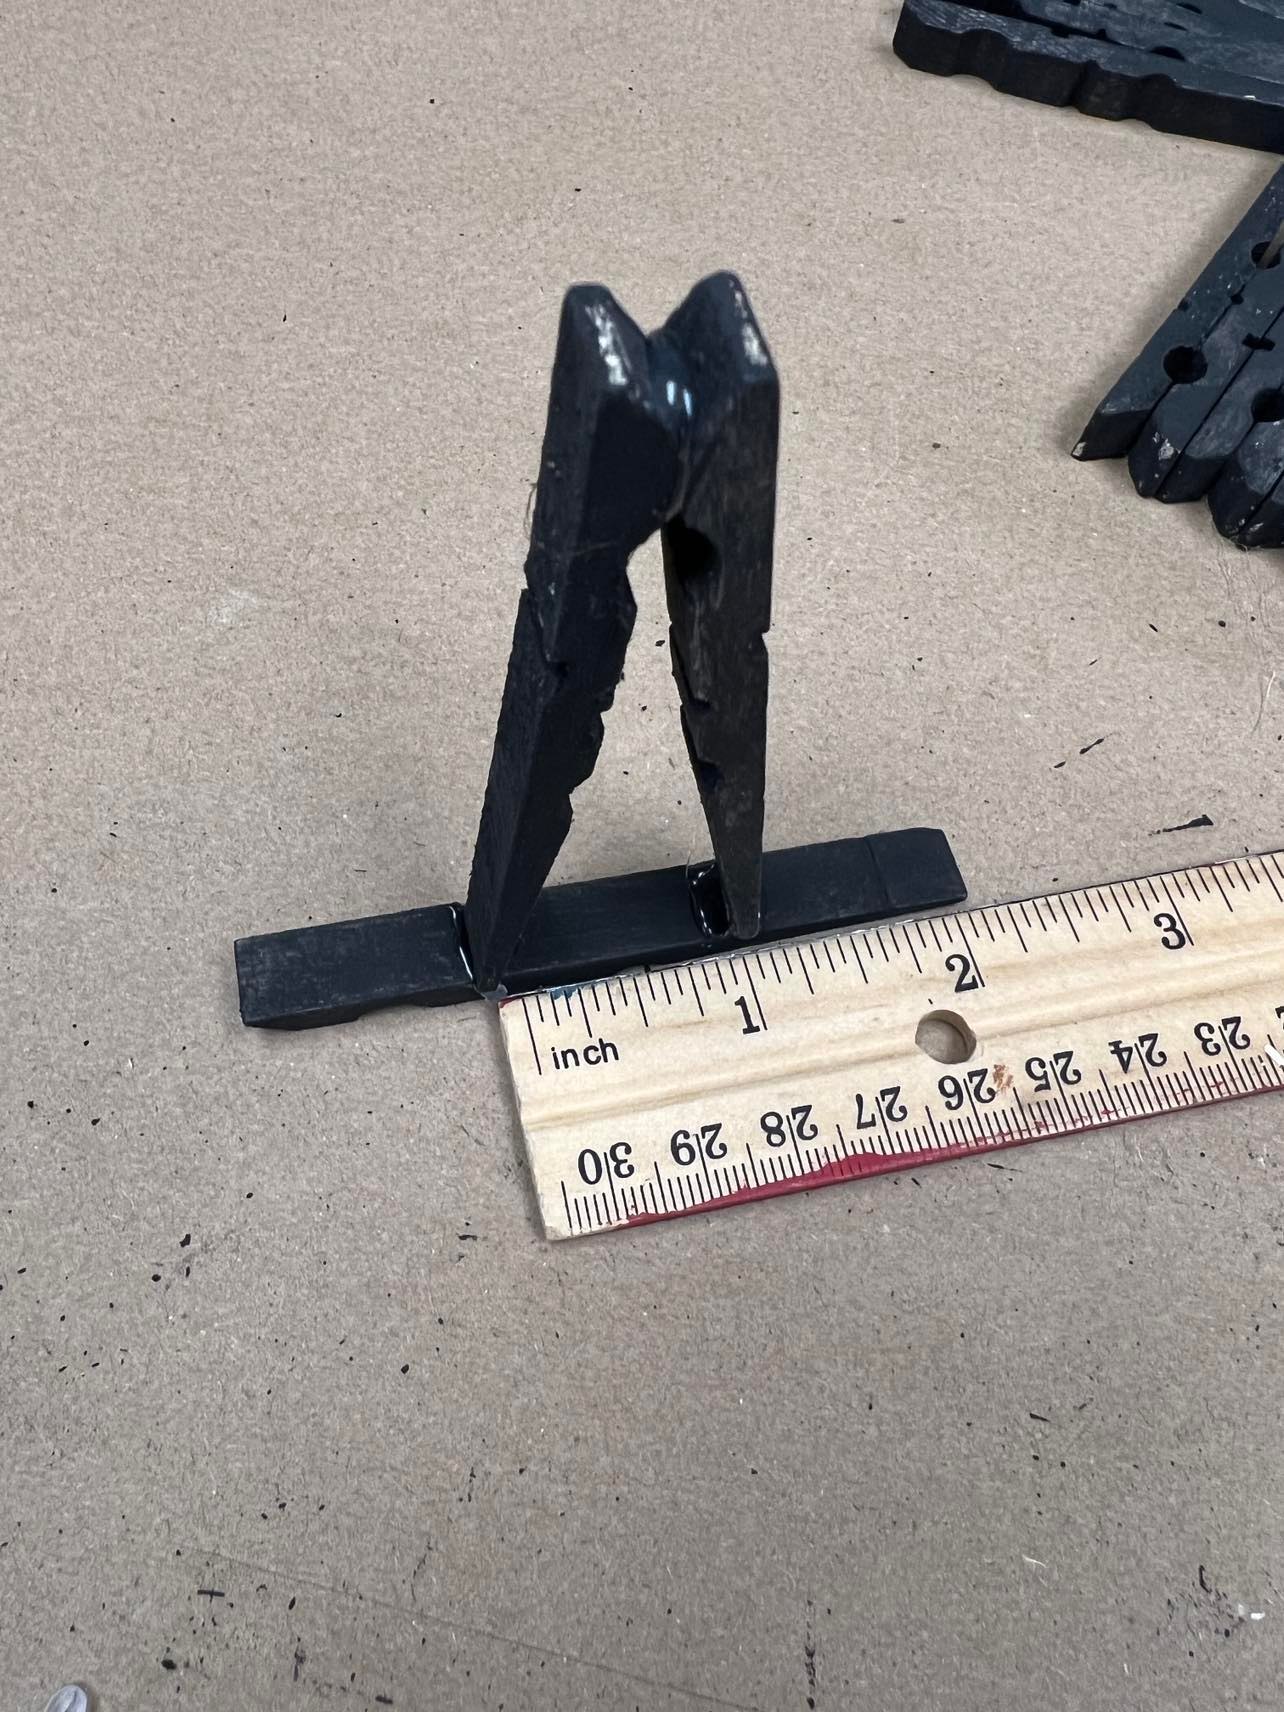
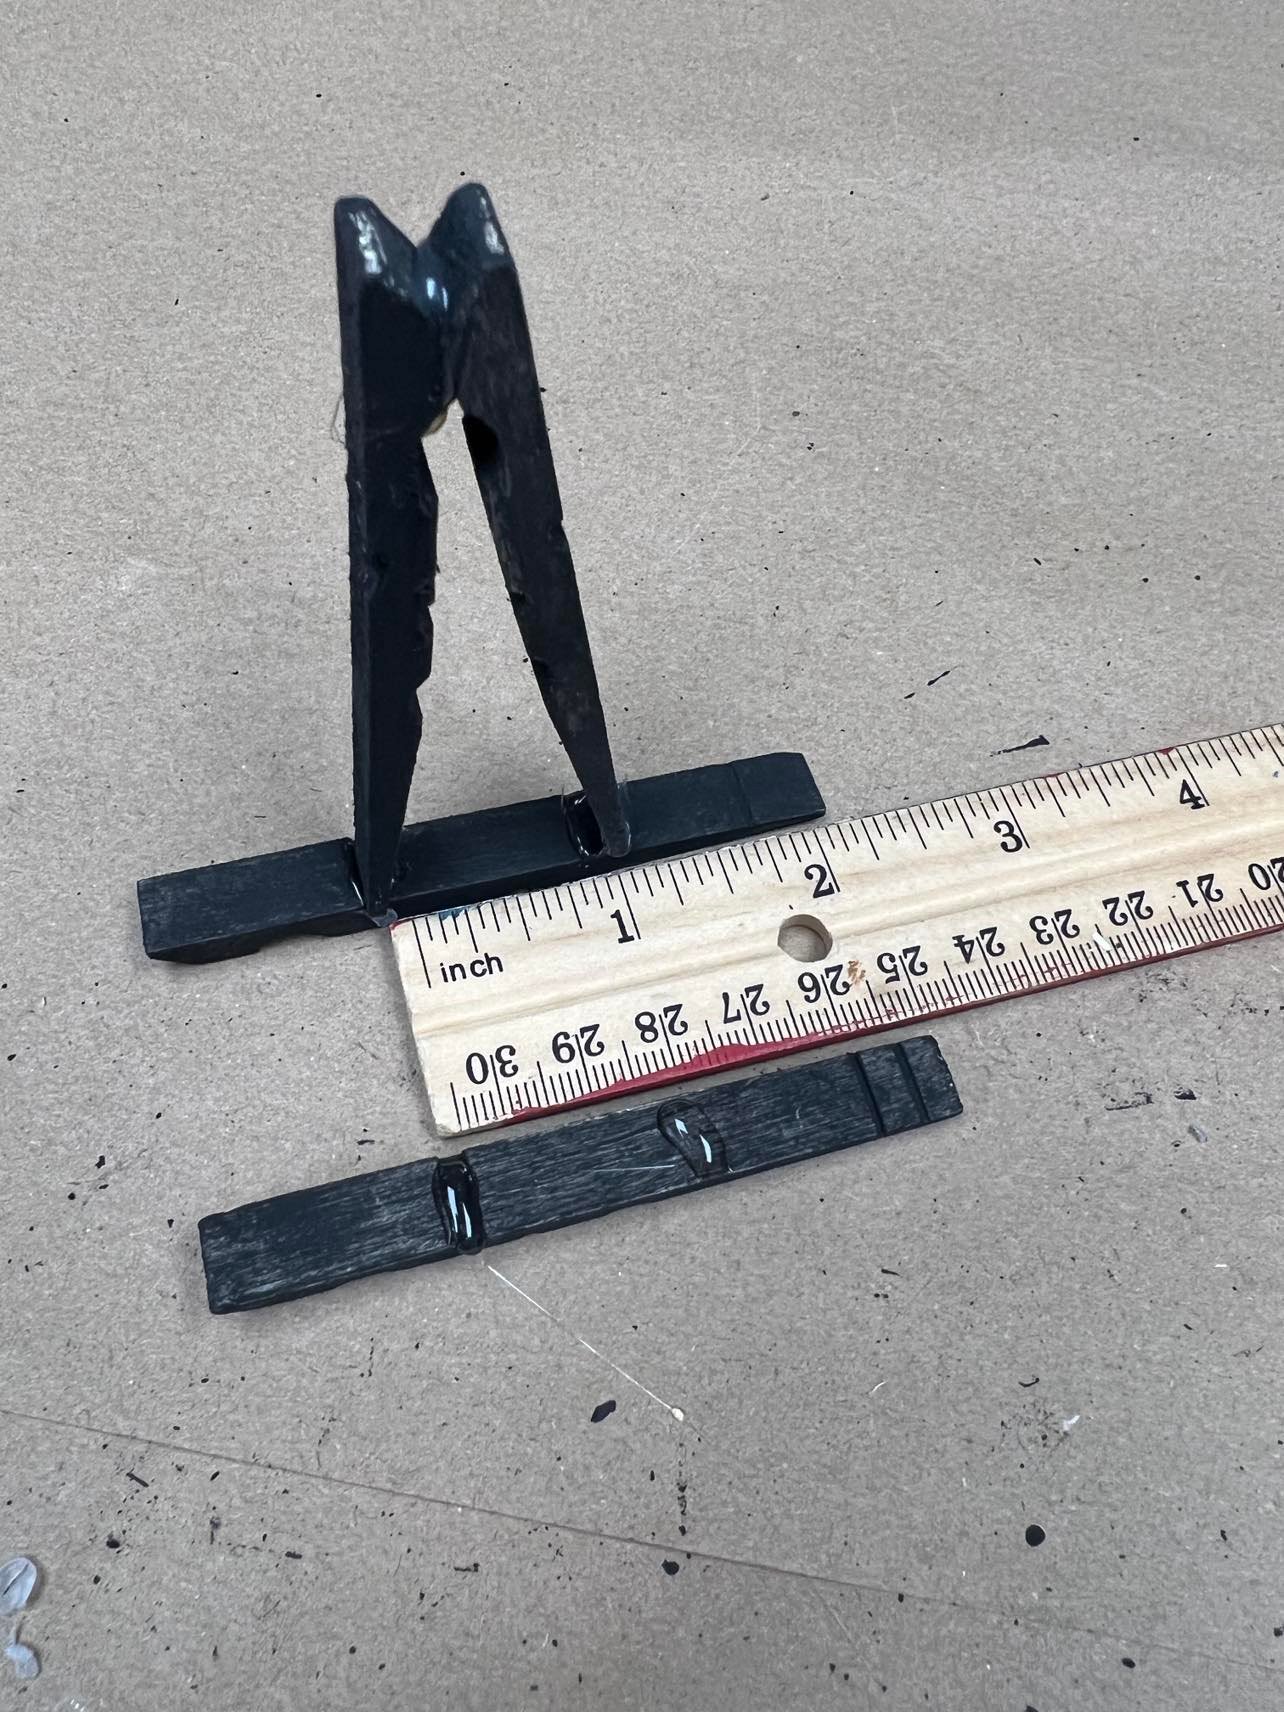
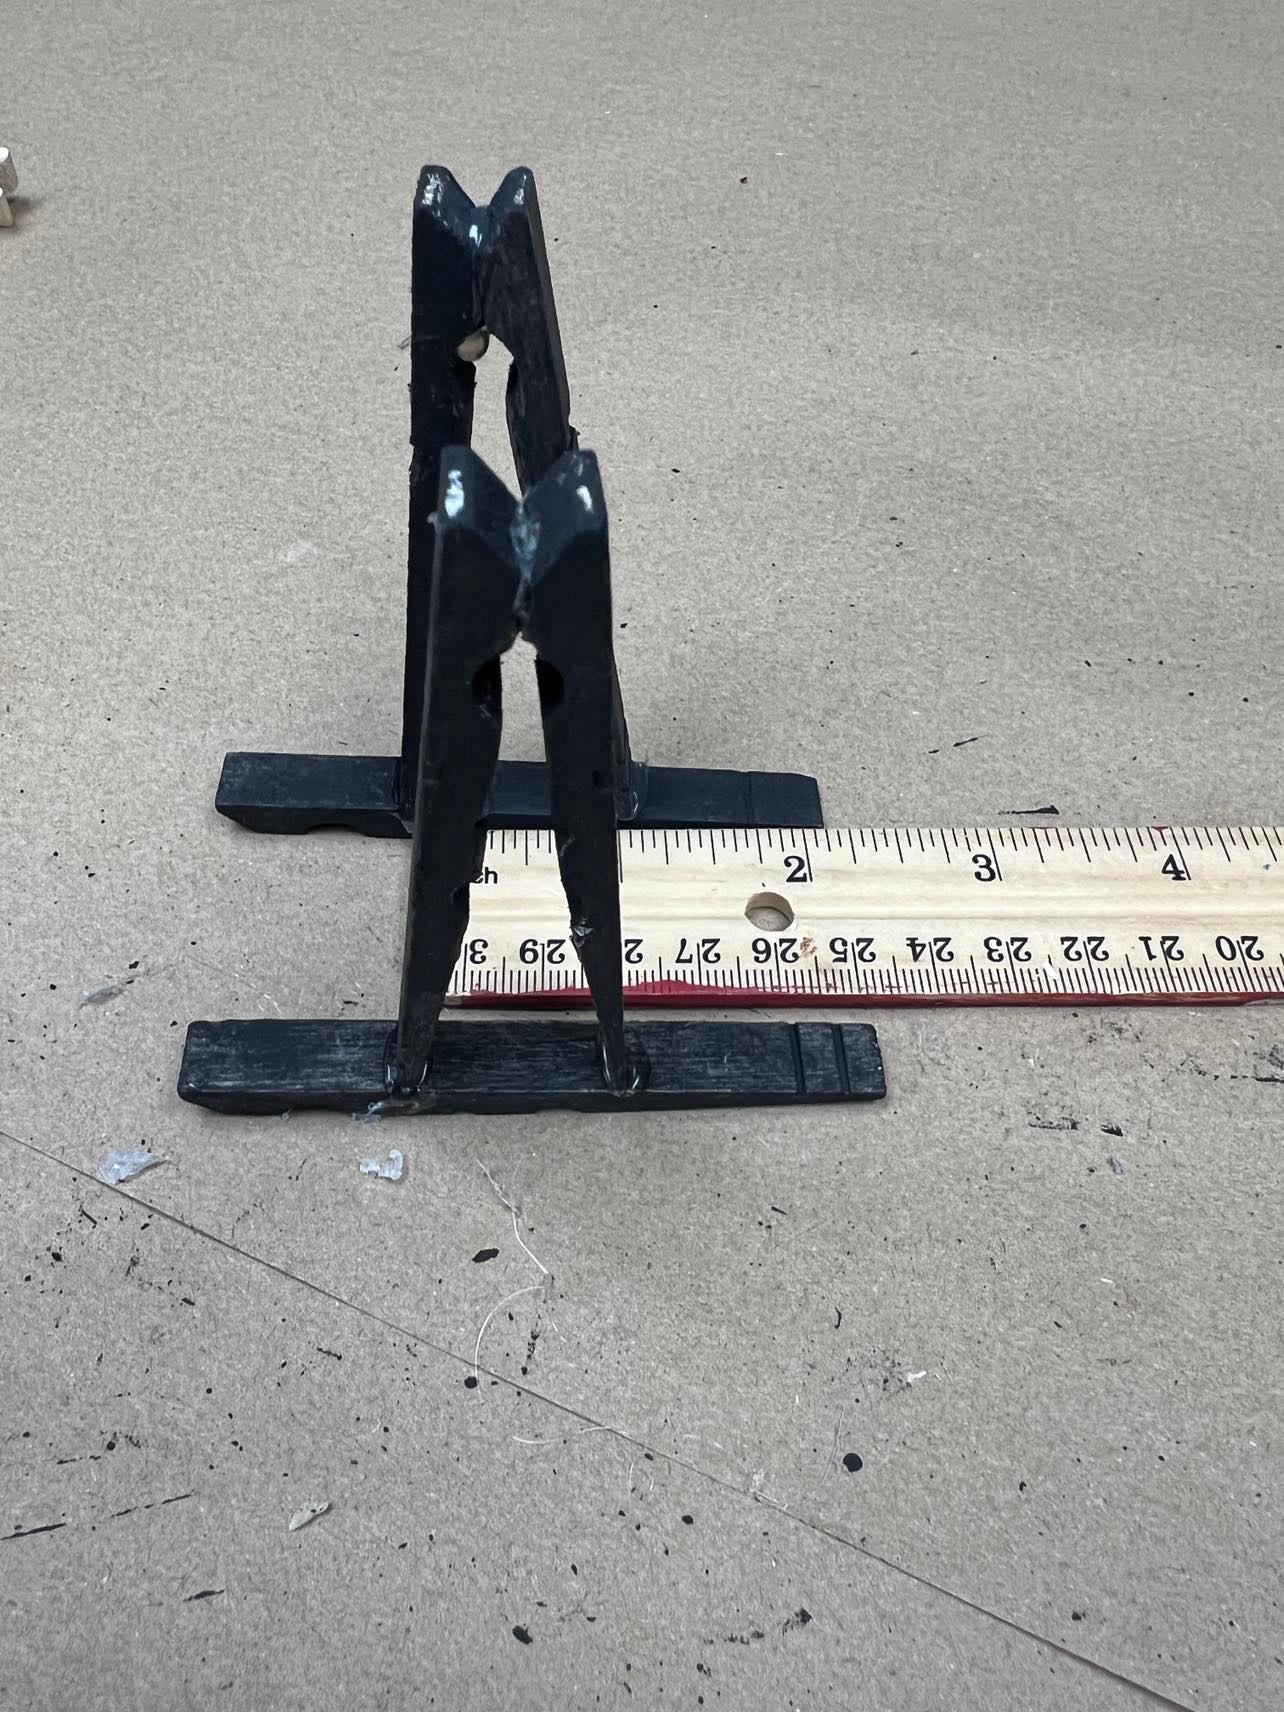
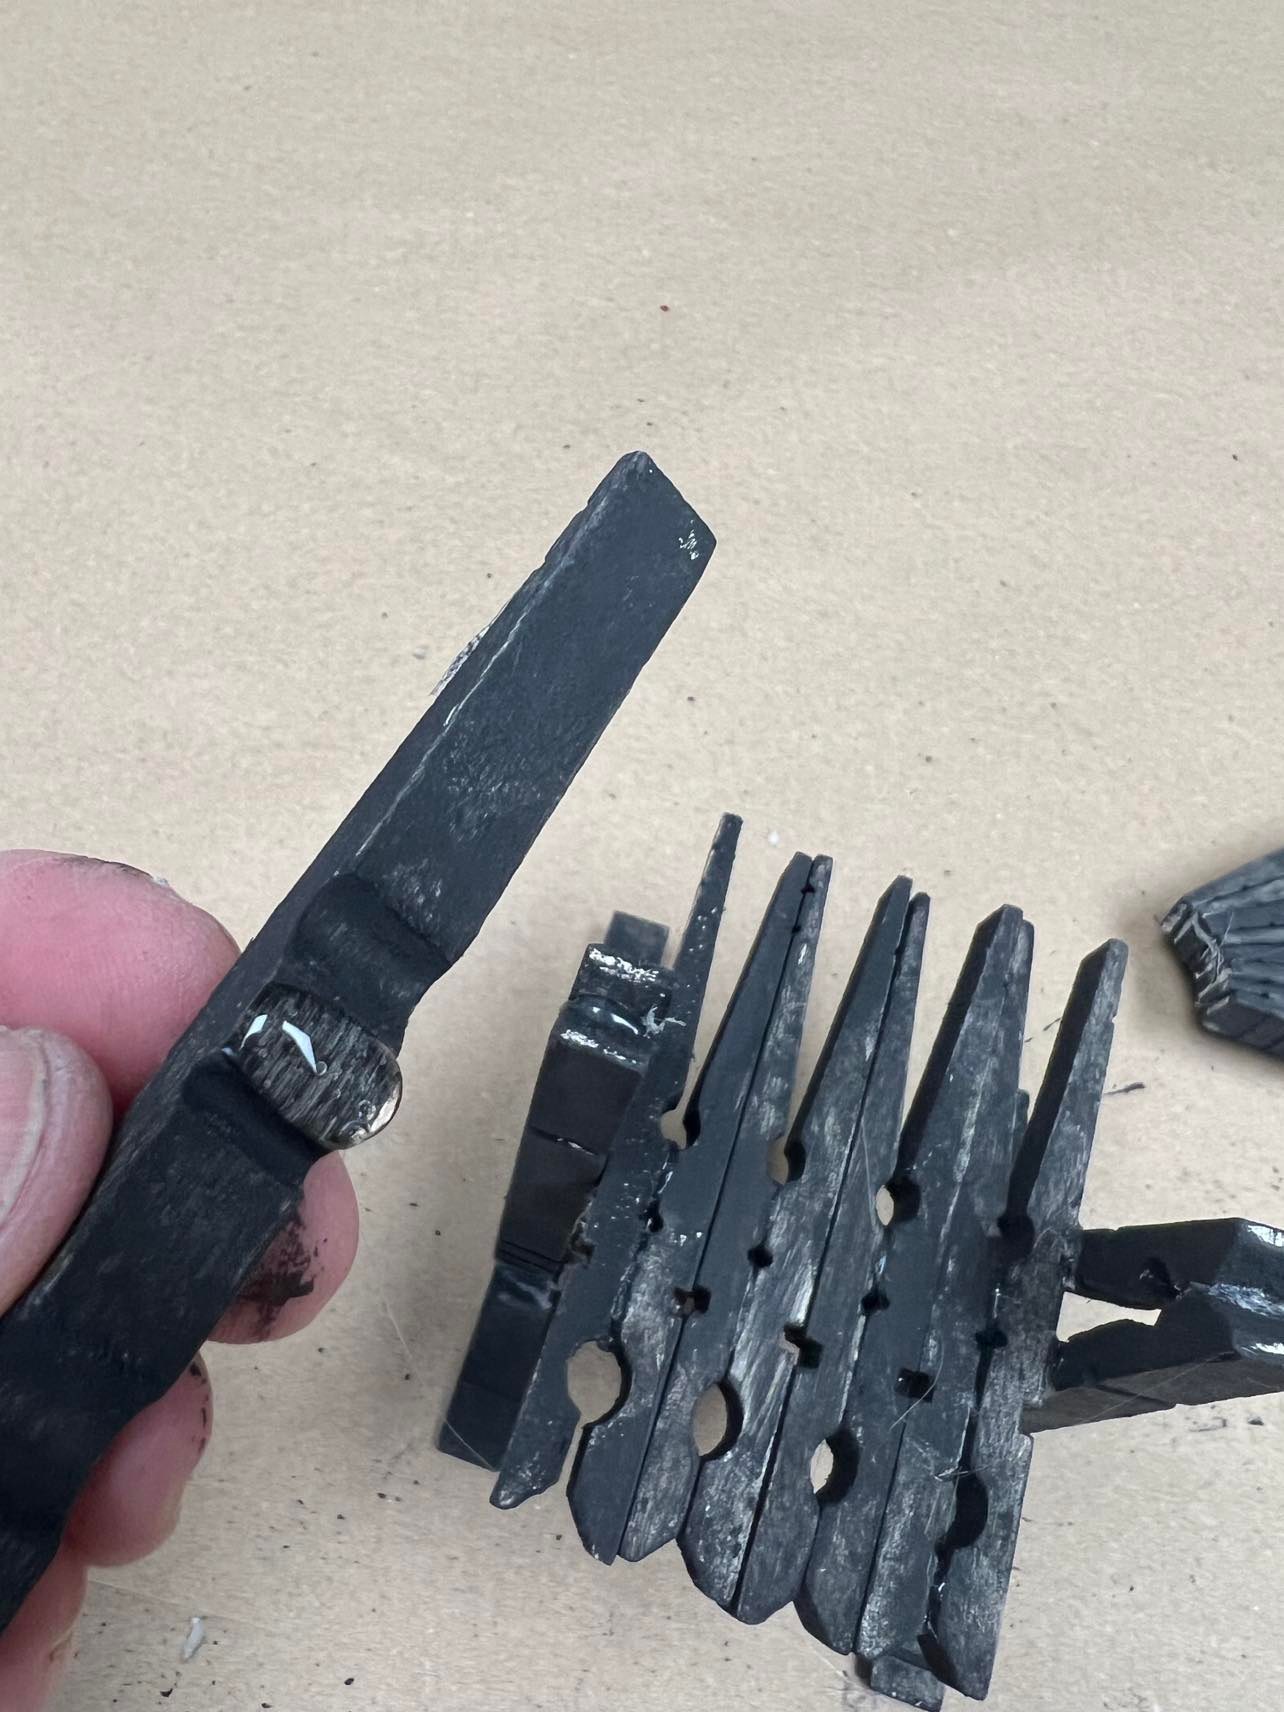
The first step is to separate the two pieces of the clothespin. You’ll remove the small metal piece that holds them together.
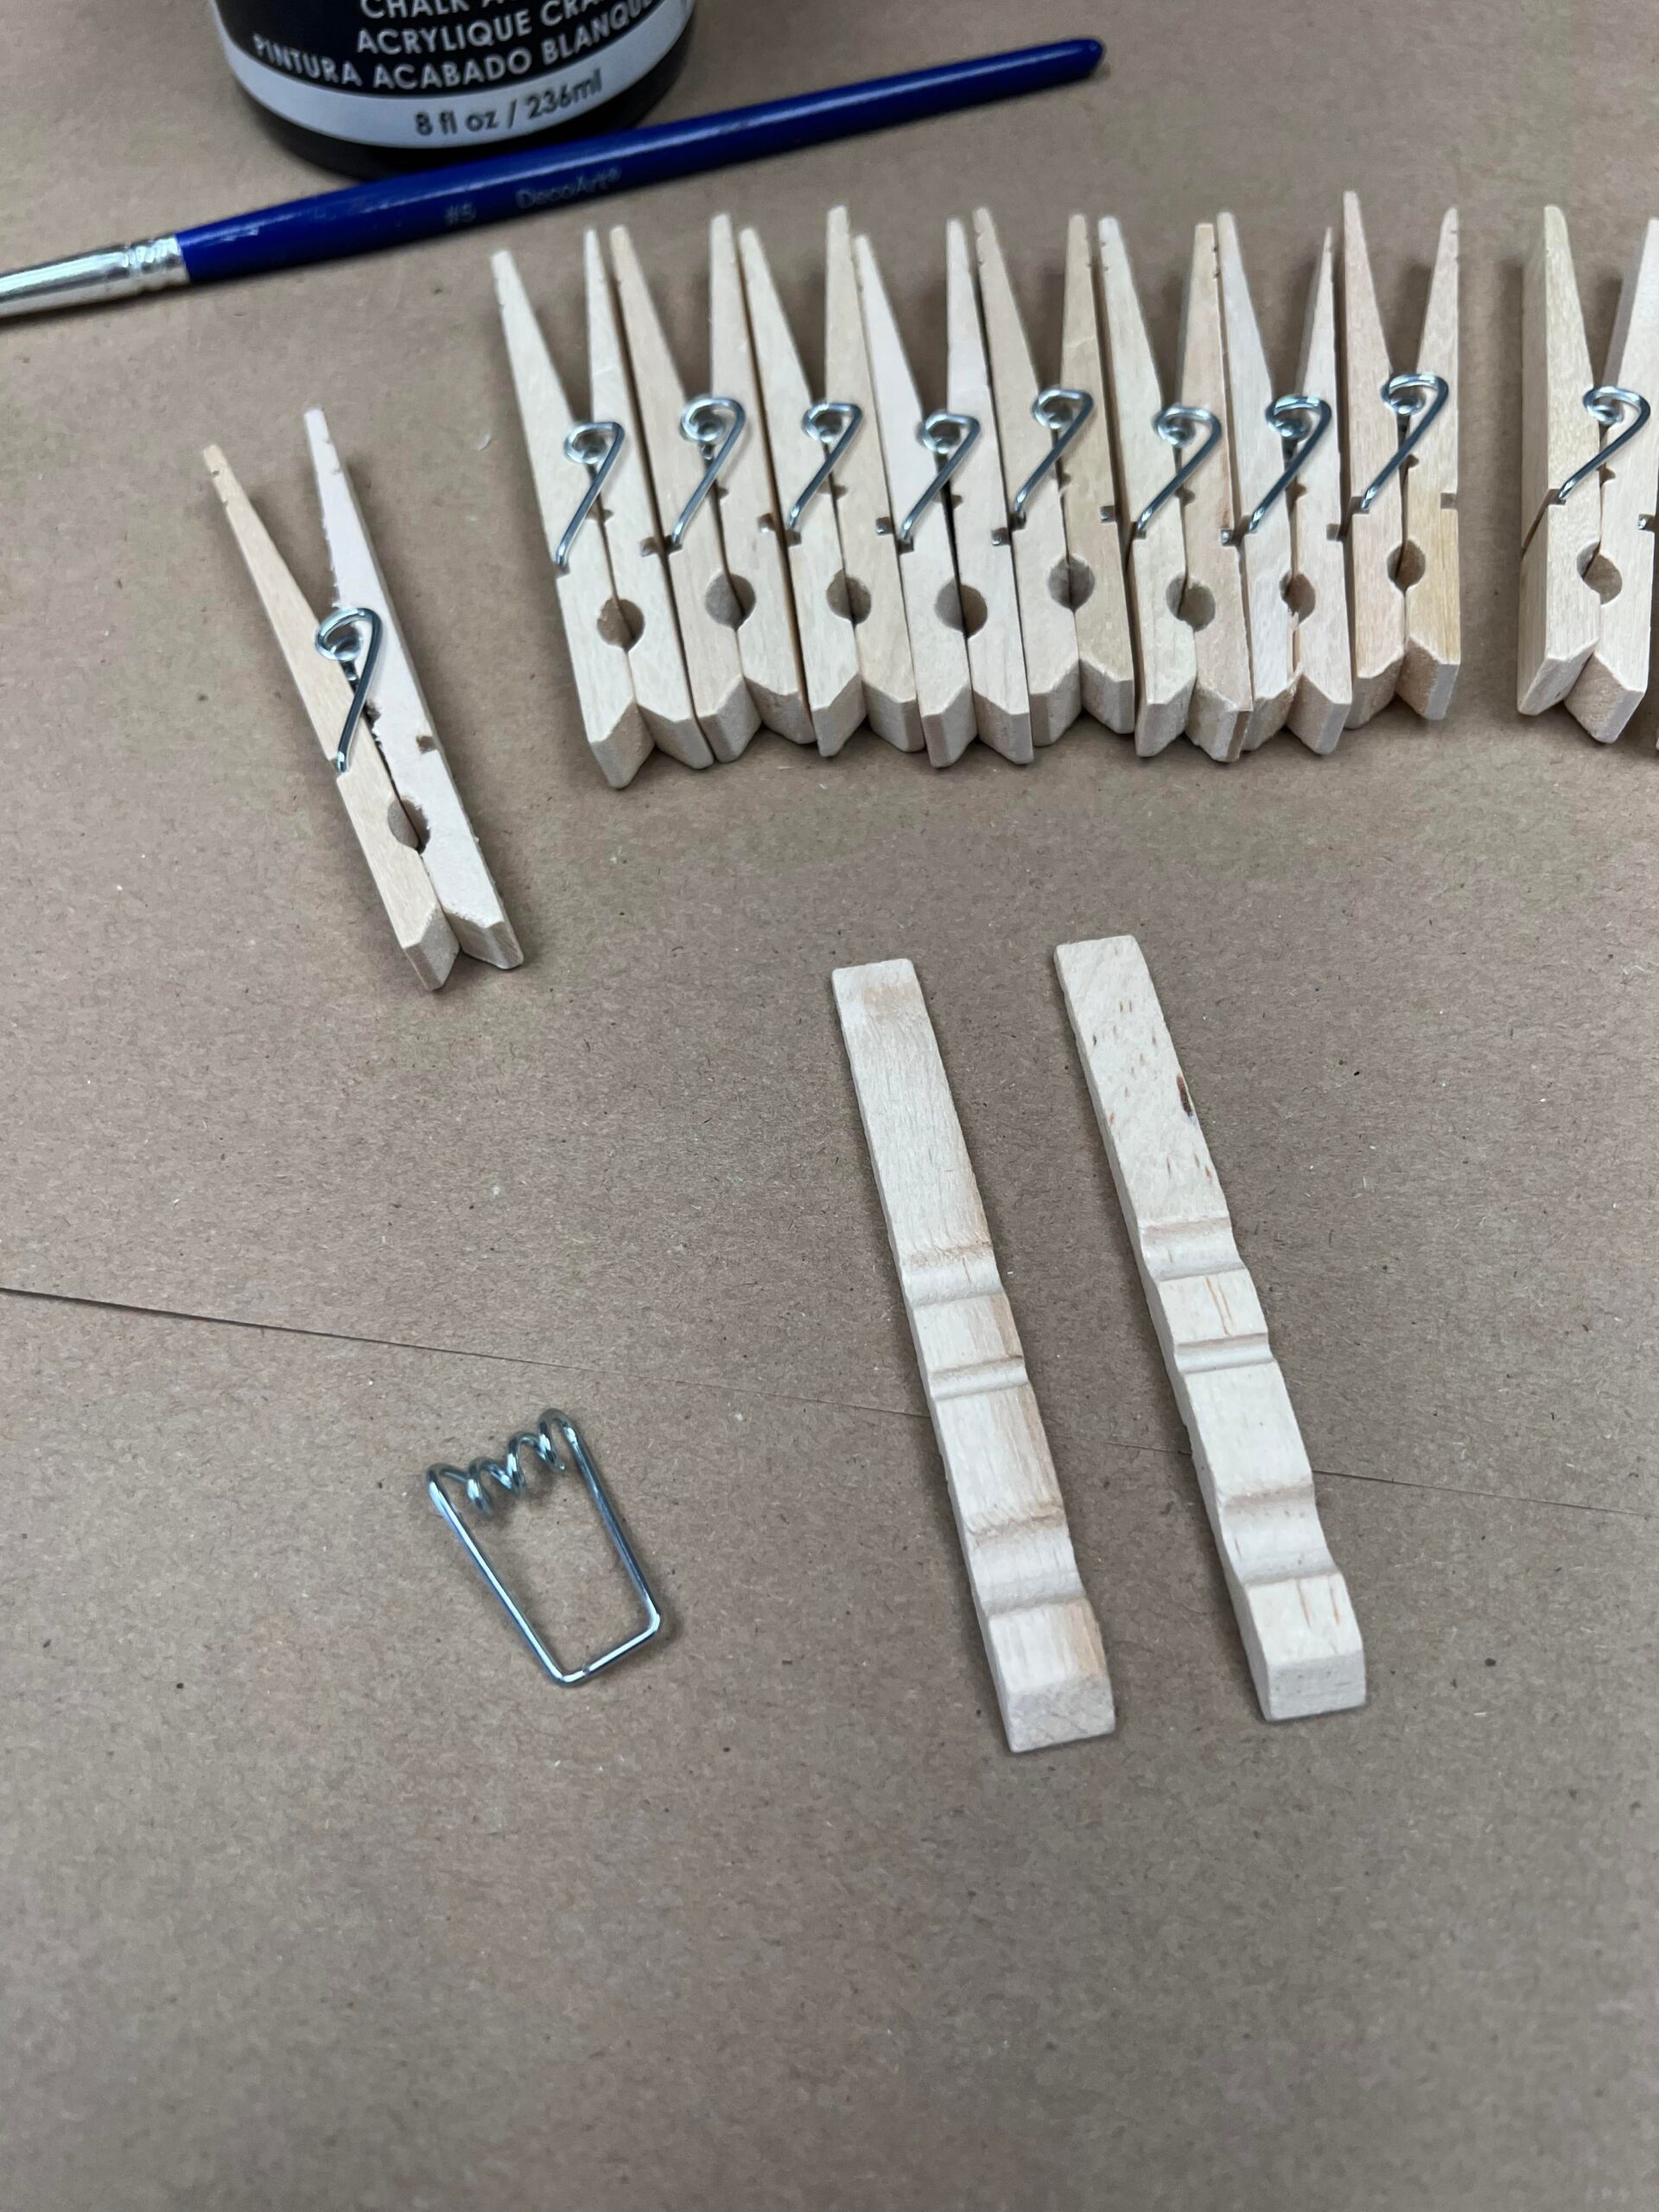
You’ll do this to all twelve clothespins.
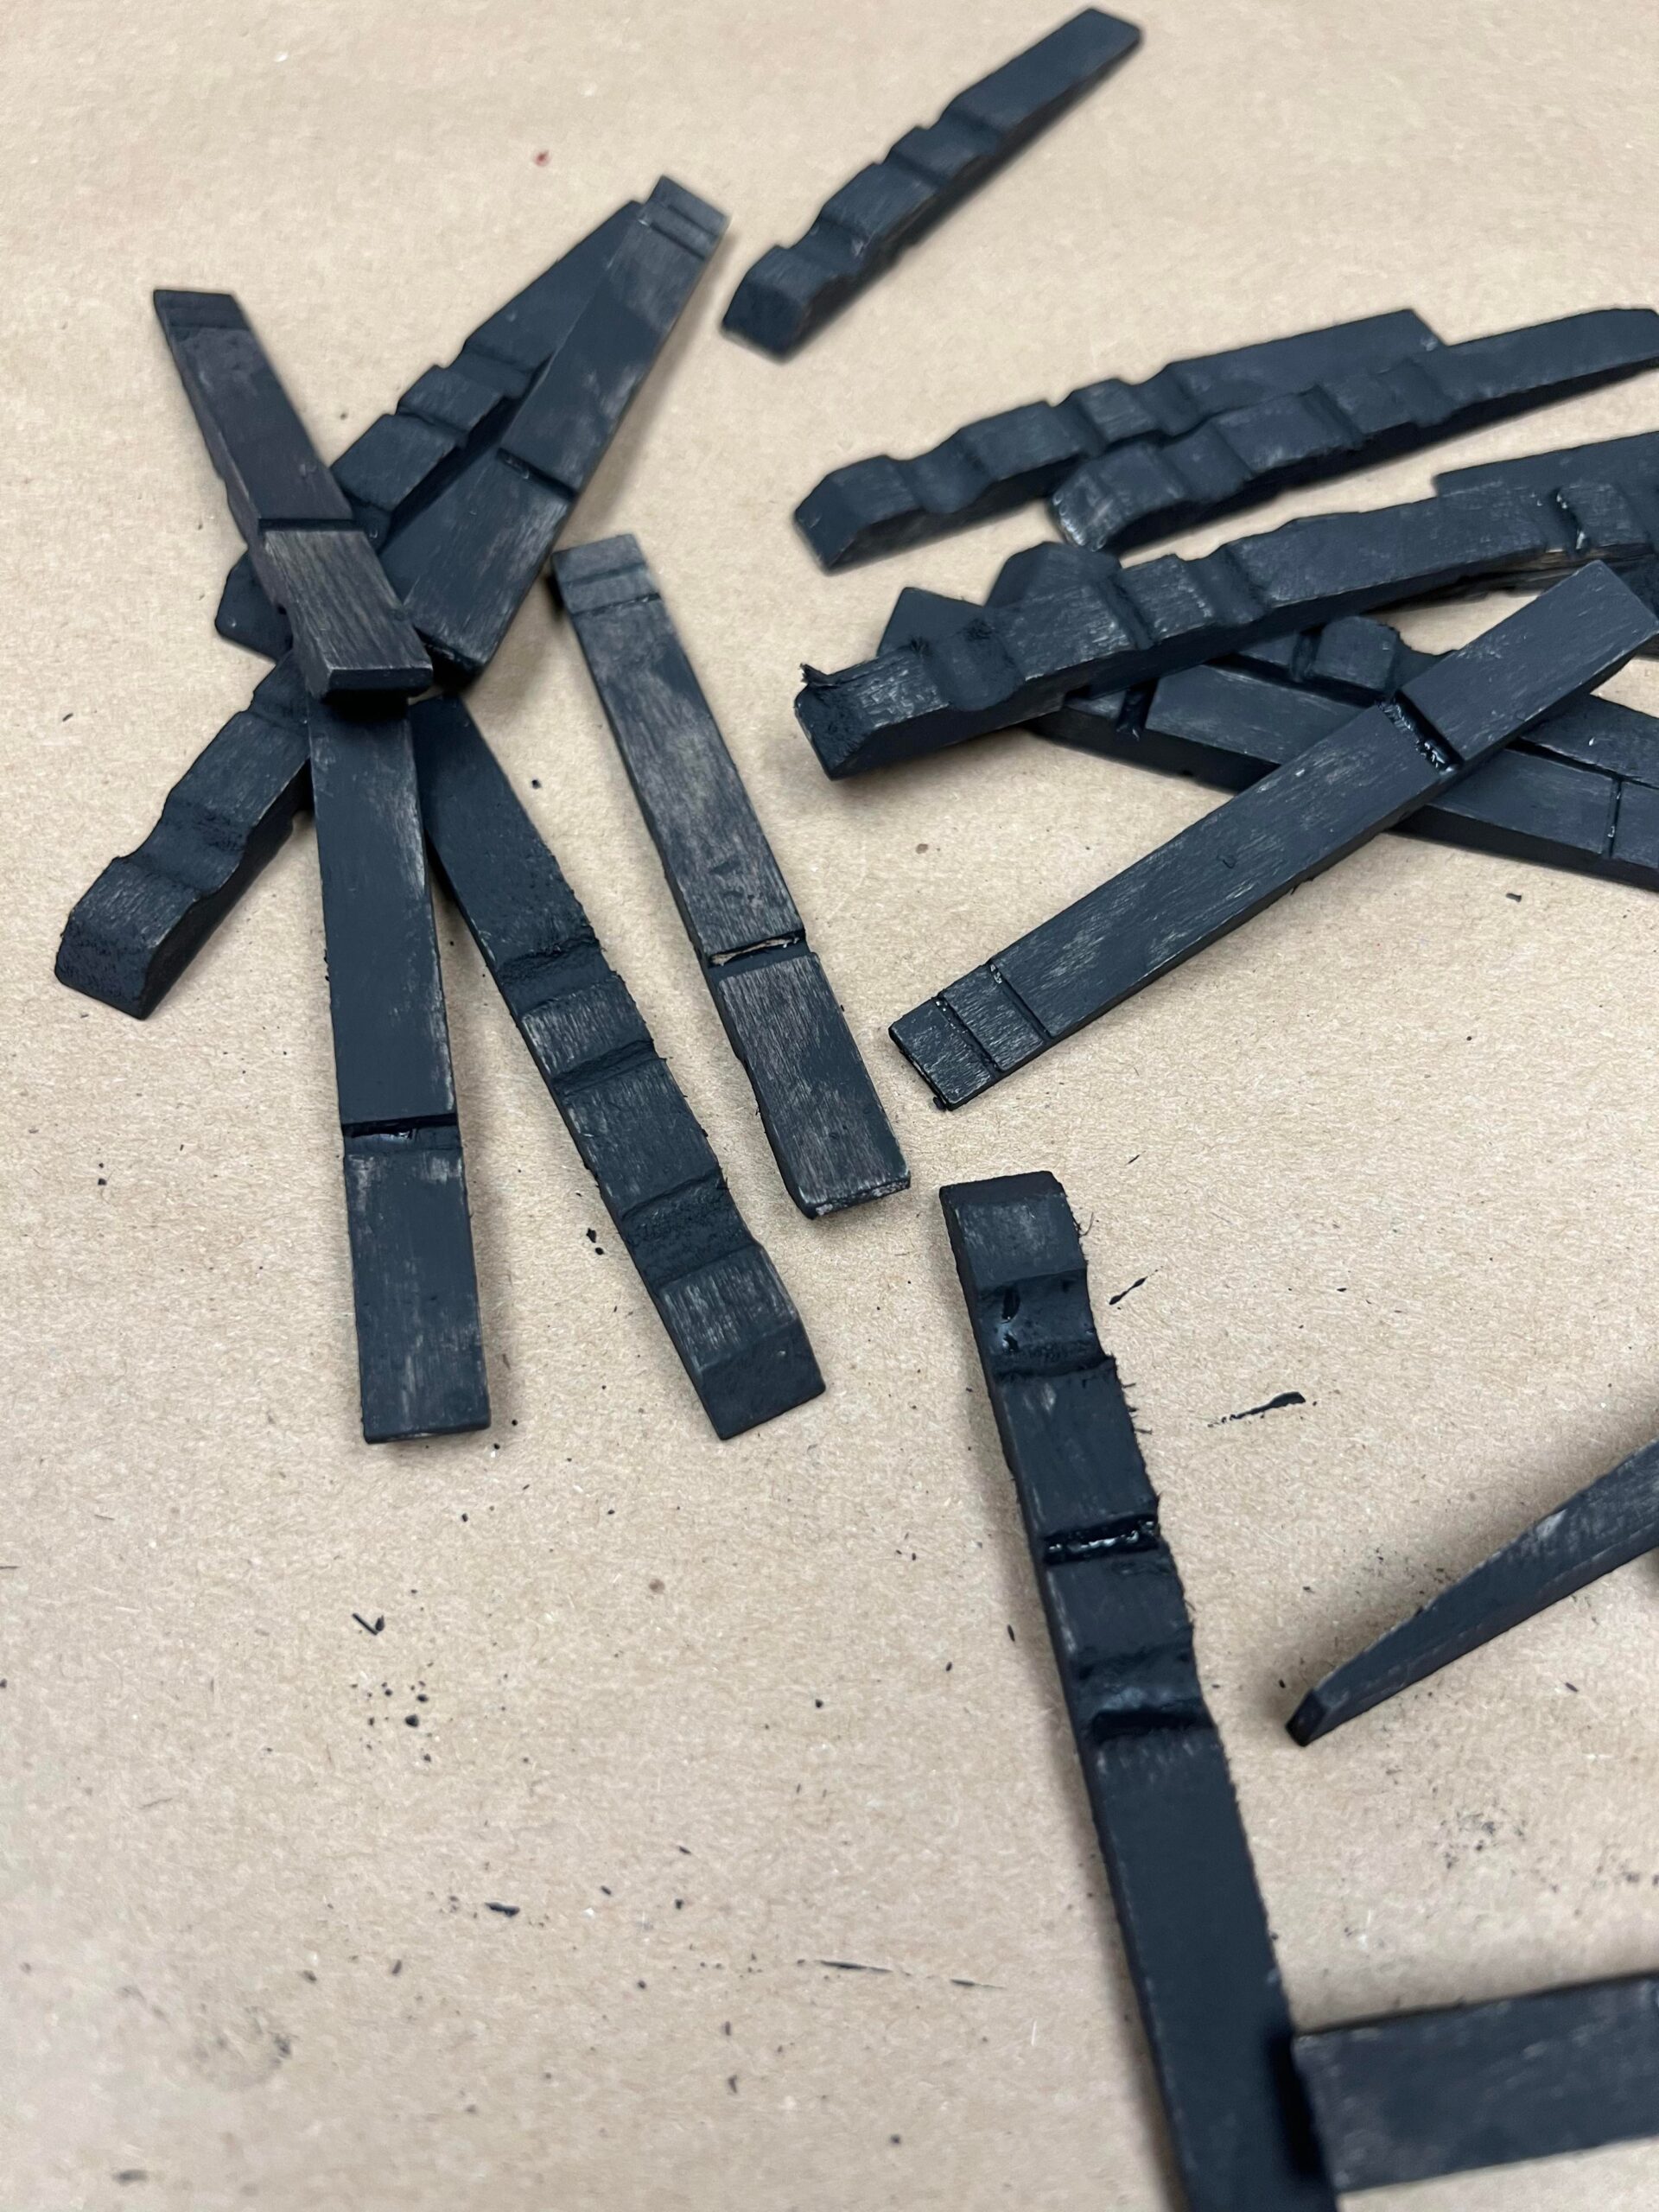
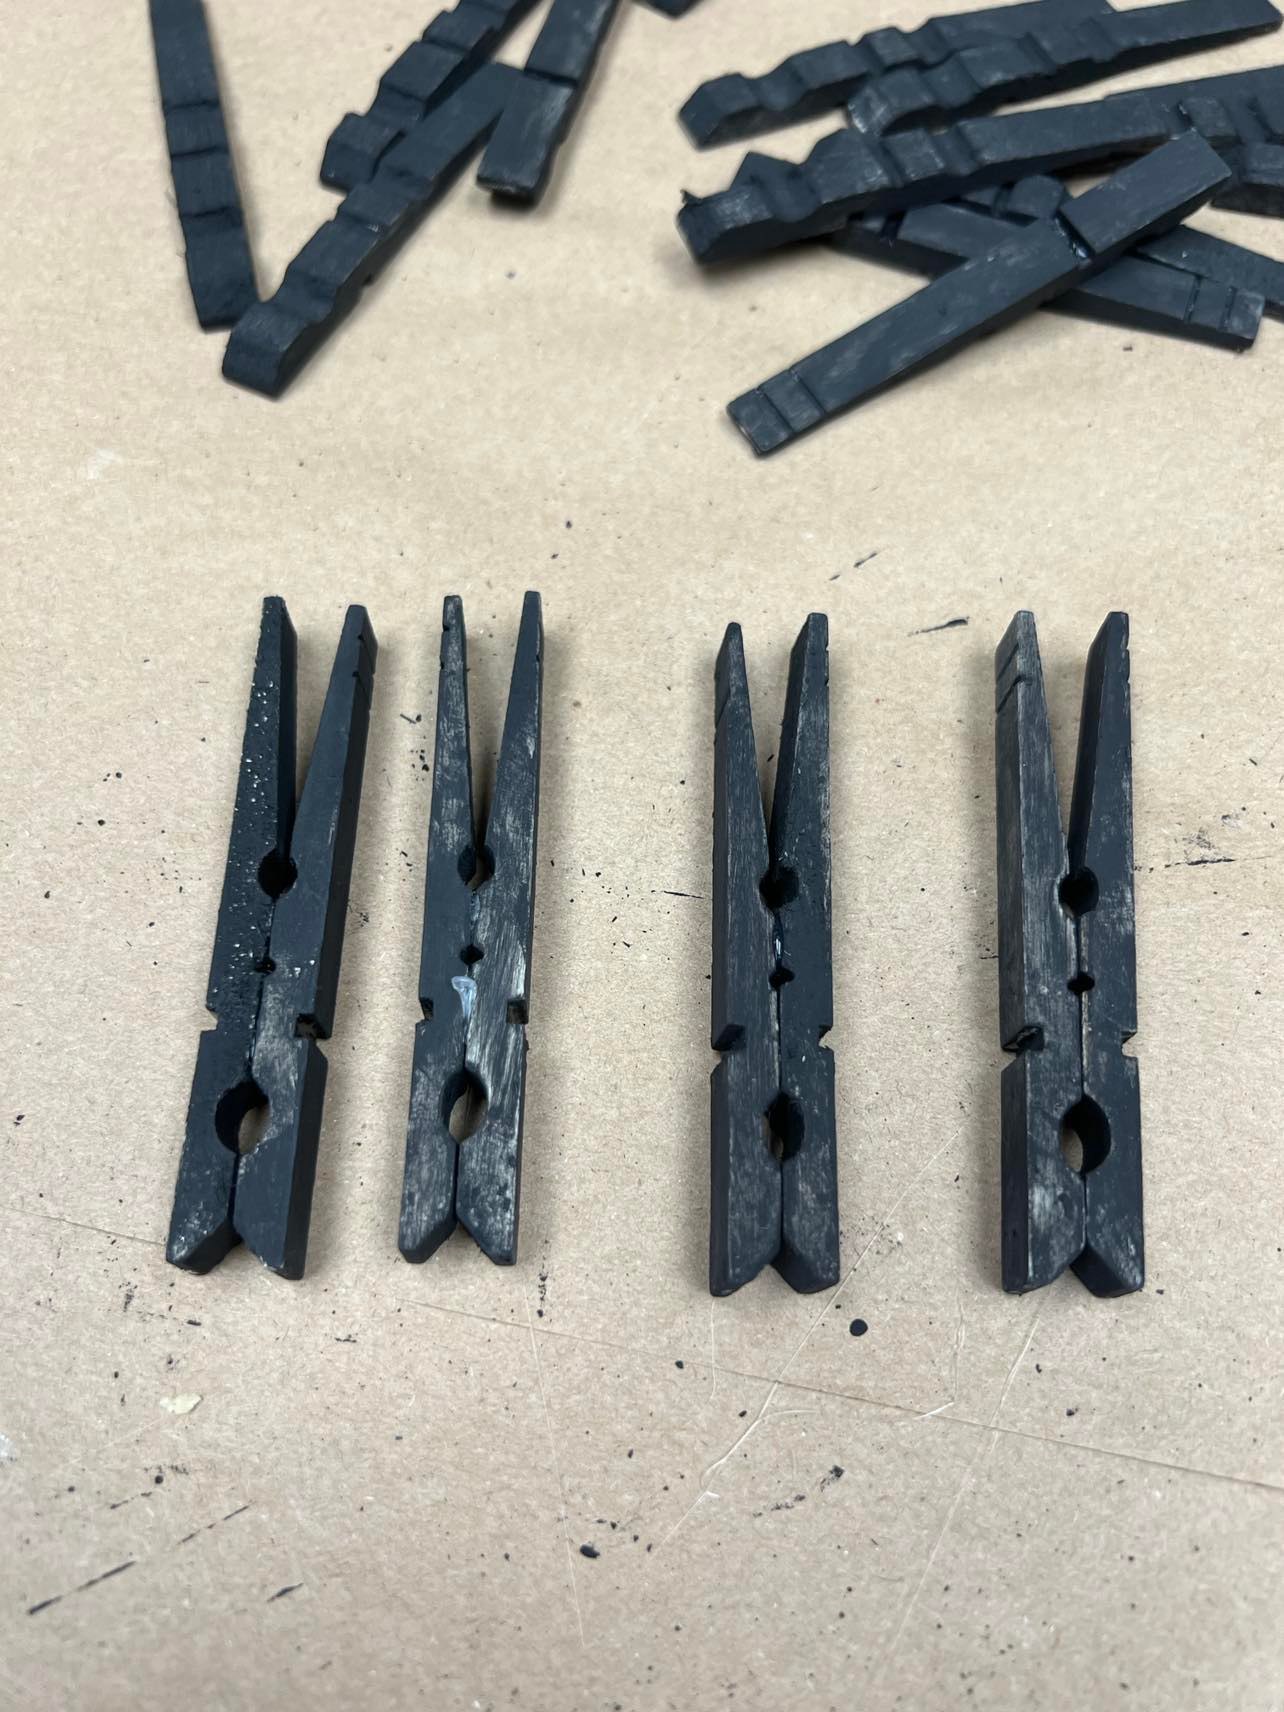
Once I had all the clothespins separated I then painted all of my pieces.
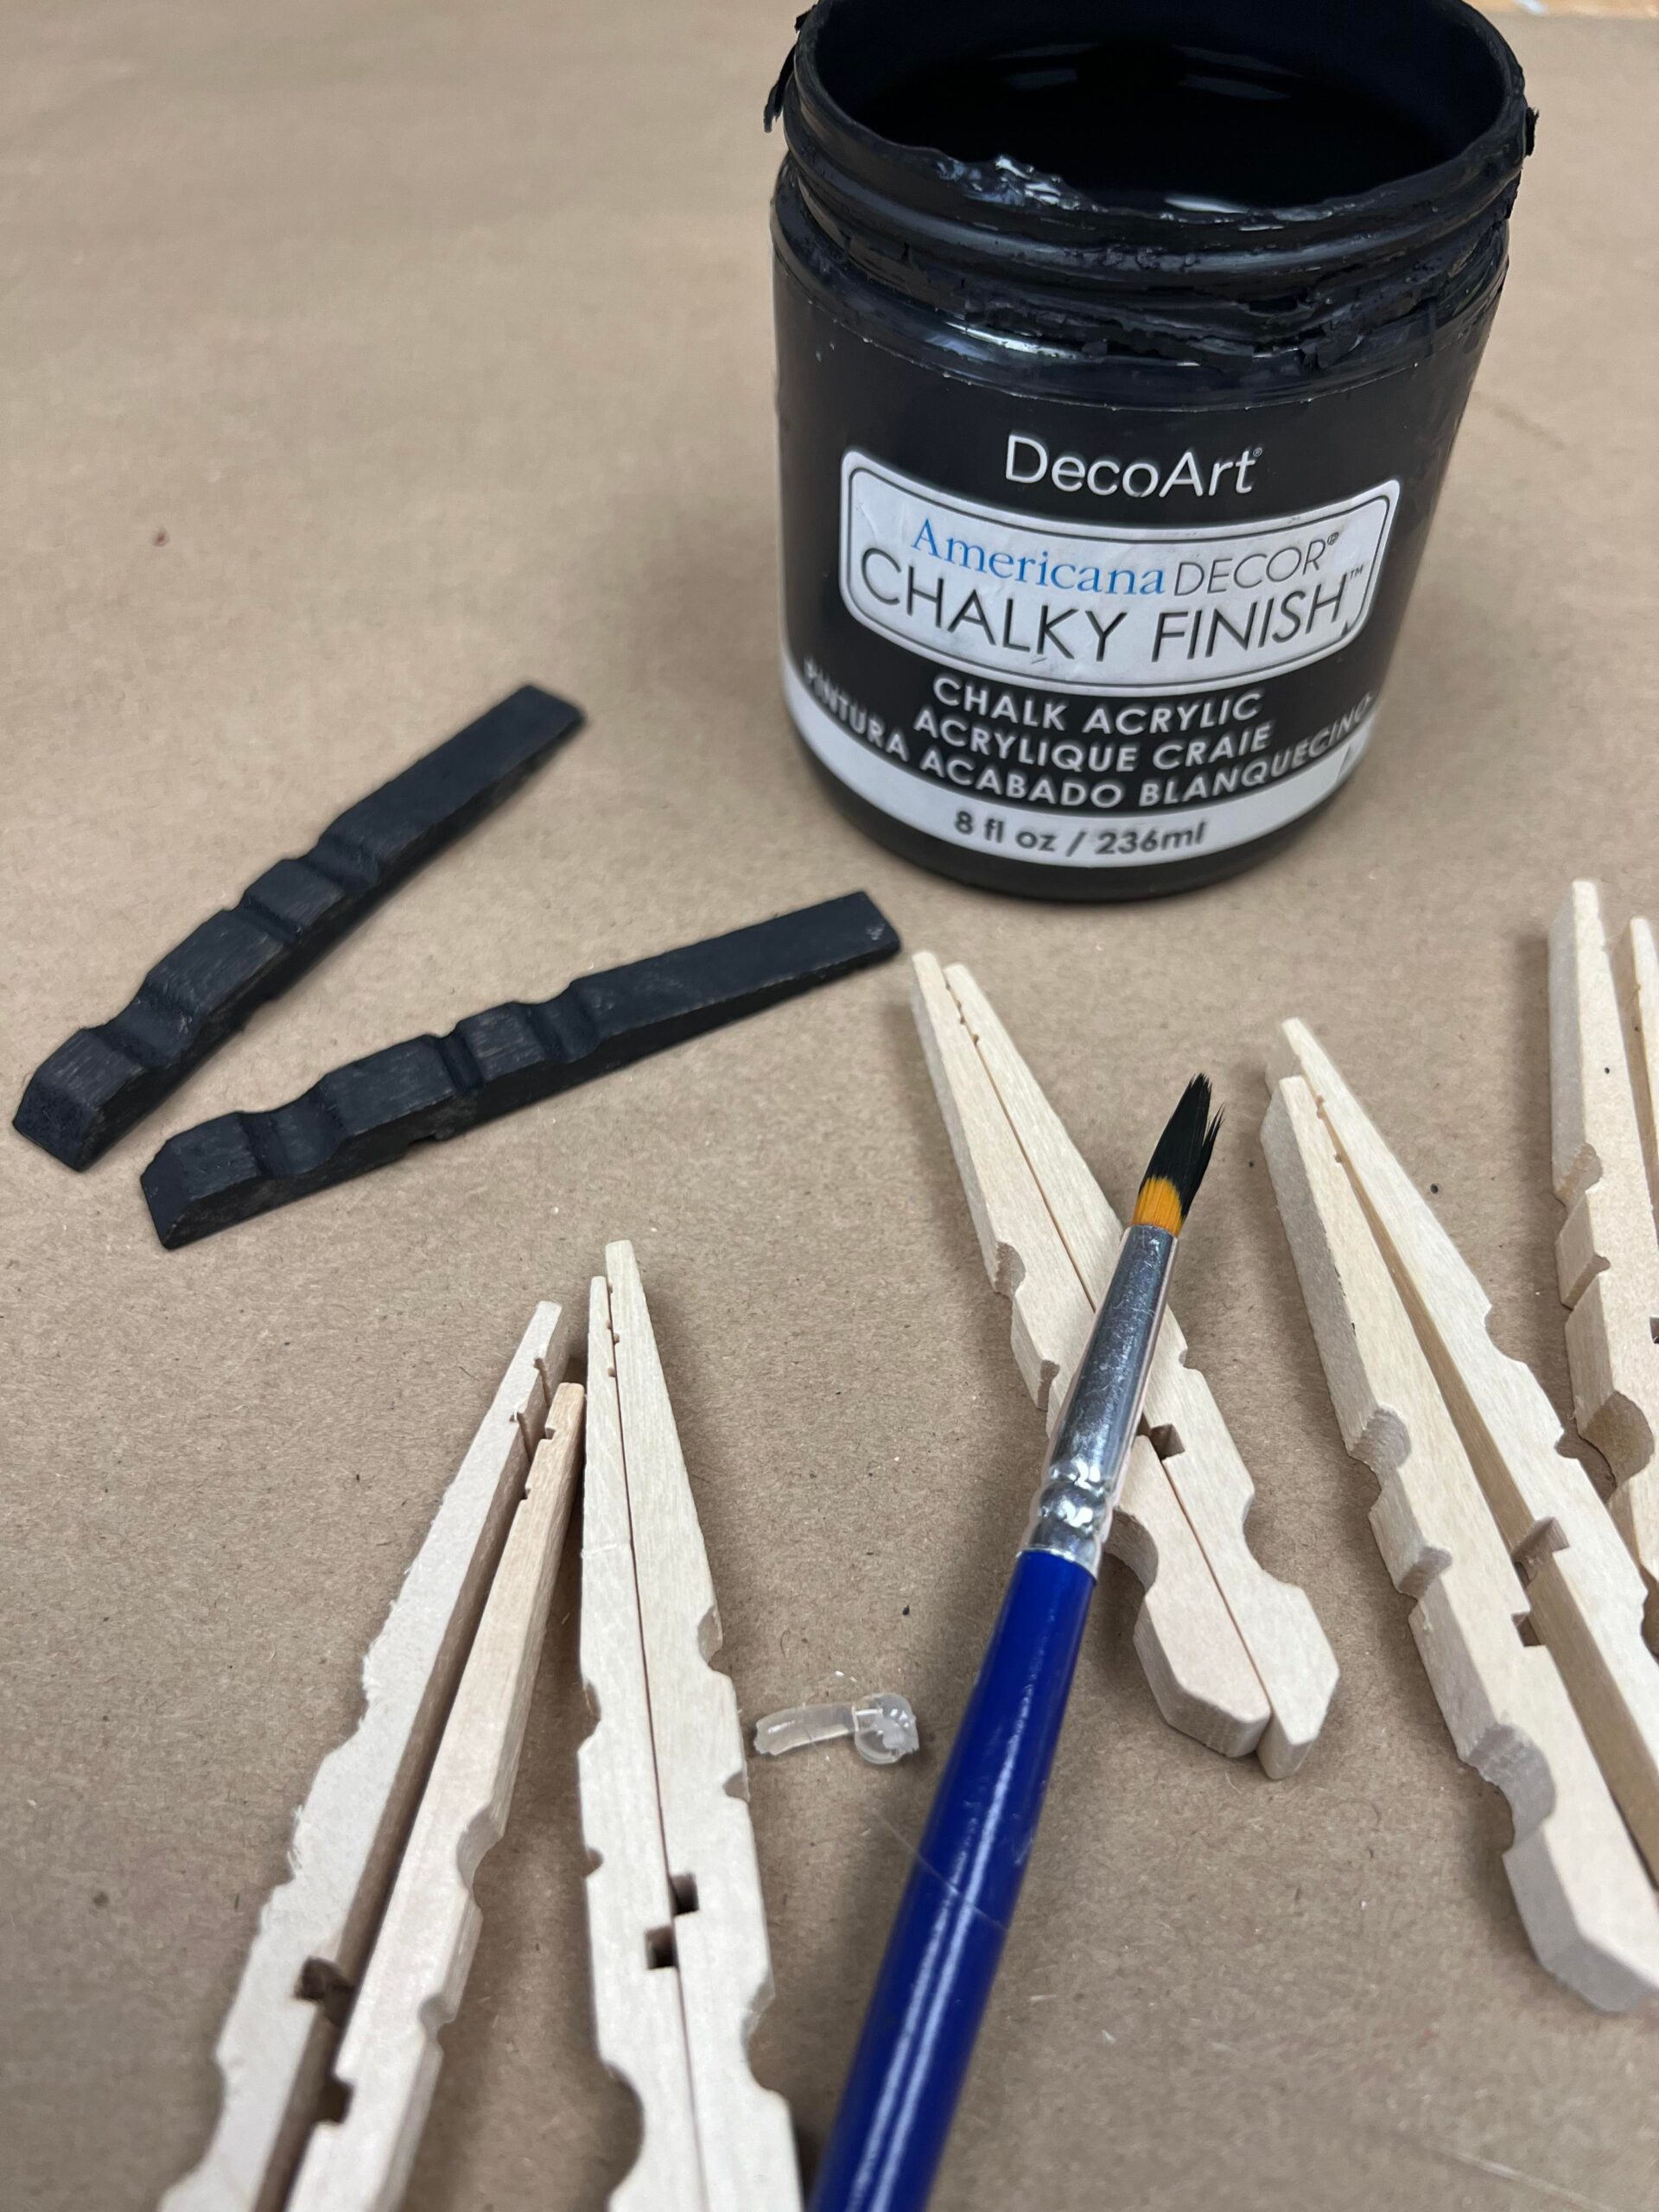
You do not have to paint your clothespins.
Once I had my pieces painted I then started glueing some together.
The first step is to glue 8 pieces together as shown in photo above.
You’ll want to add some hot glue to the bottom area as shown in photo above.
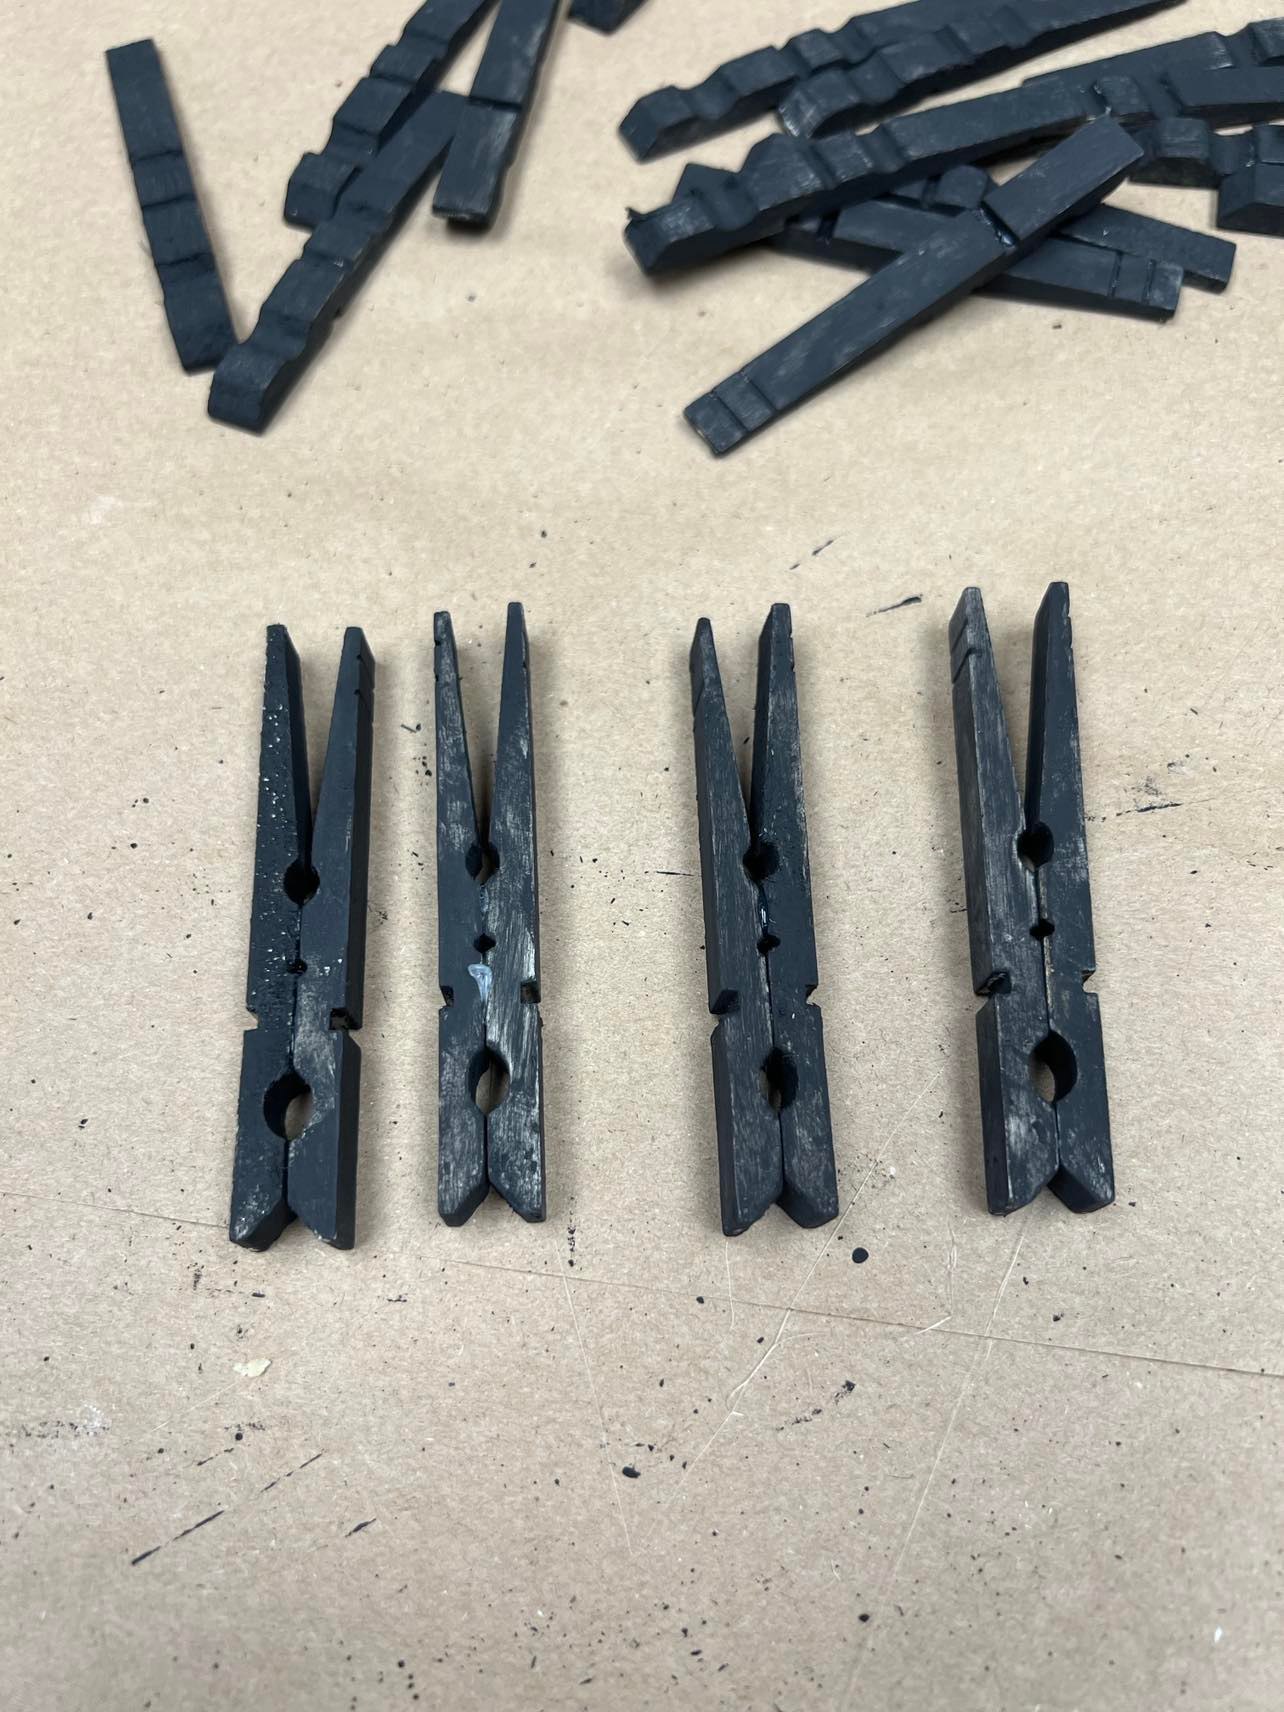
Once you have them glued together you’ll then glue those four pieces together.
Once you have the four pieces glued together it should look like the photo above.
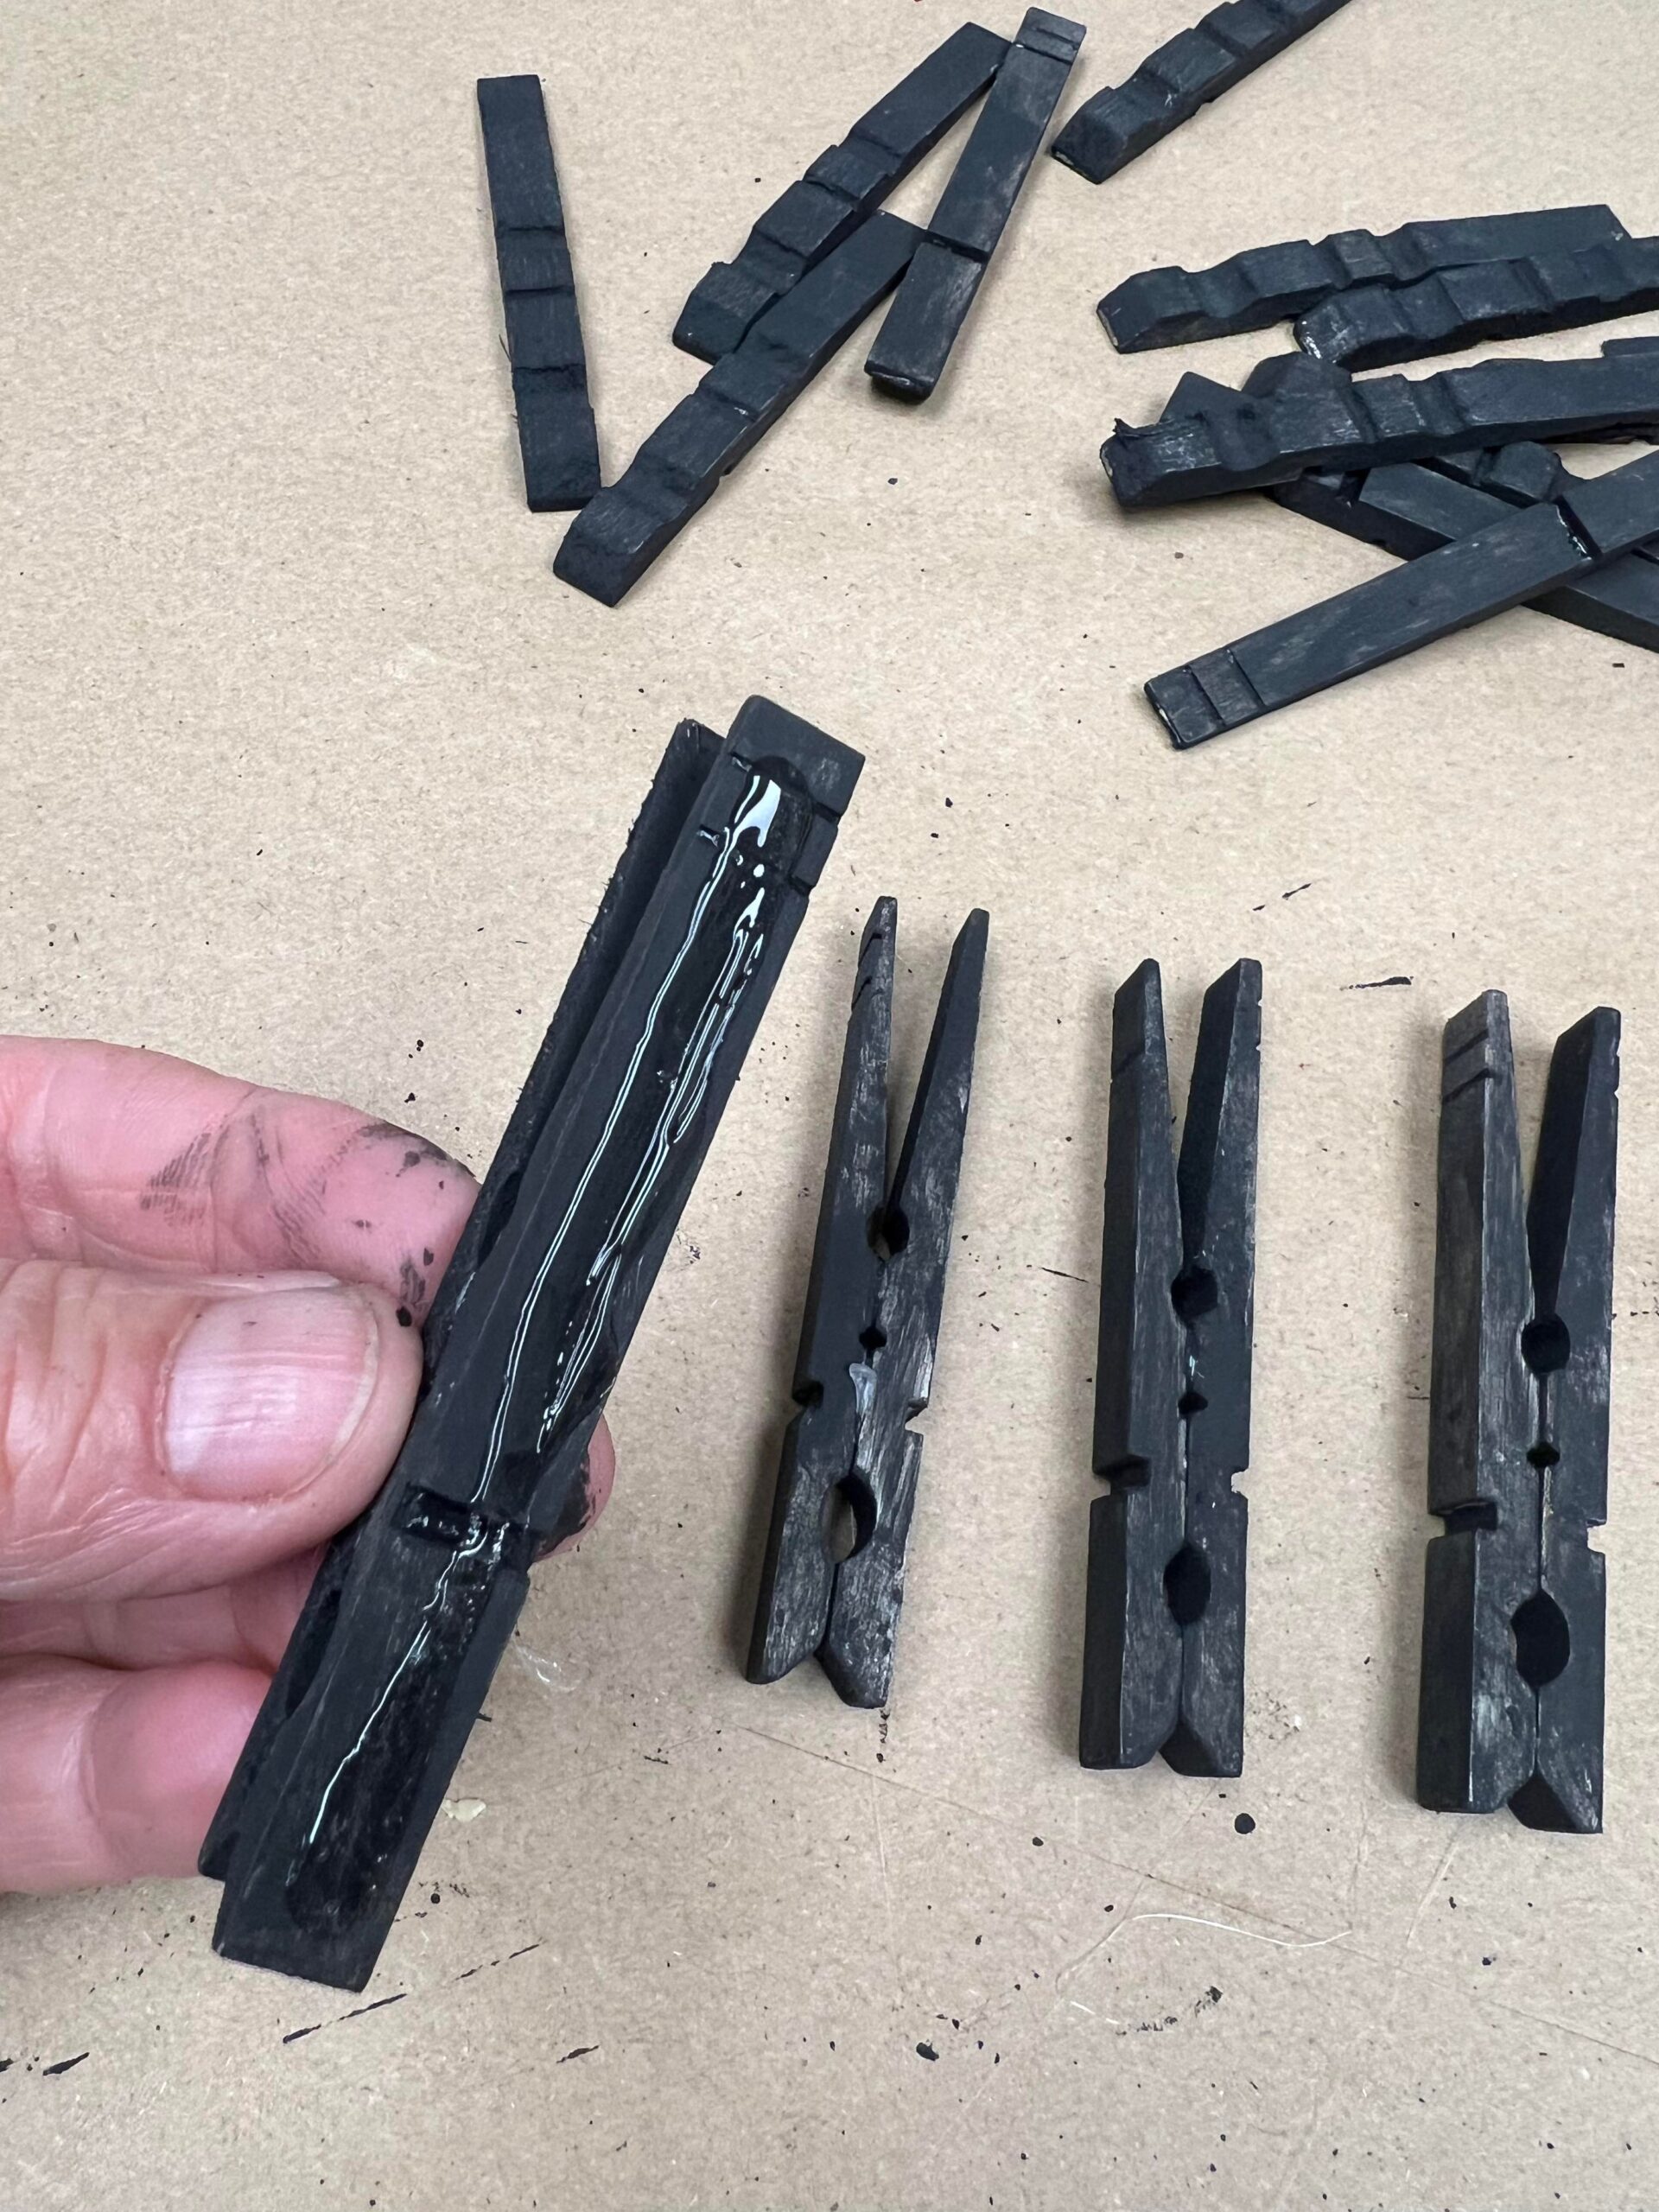
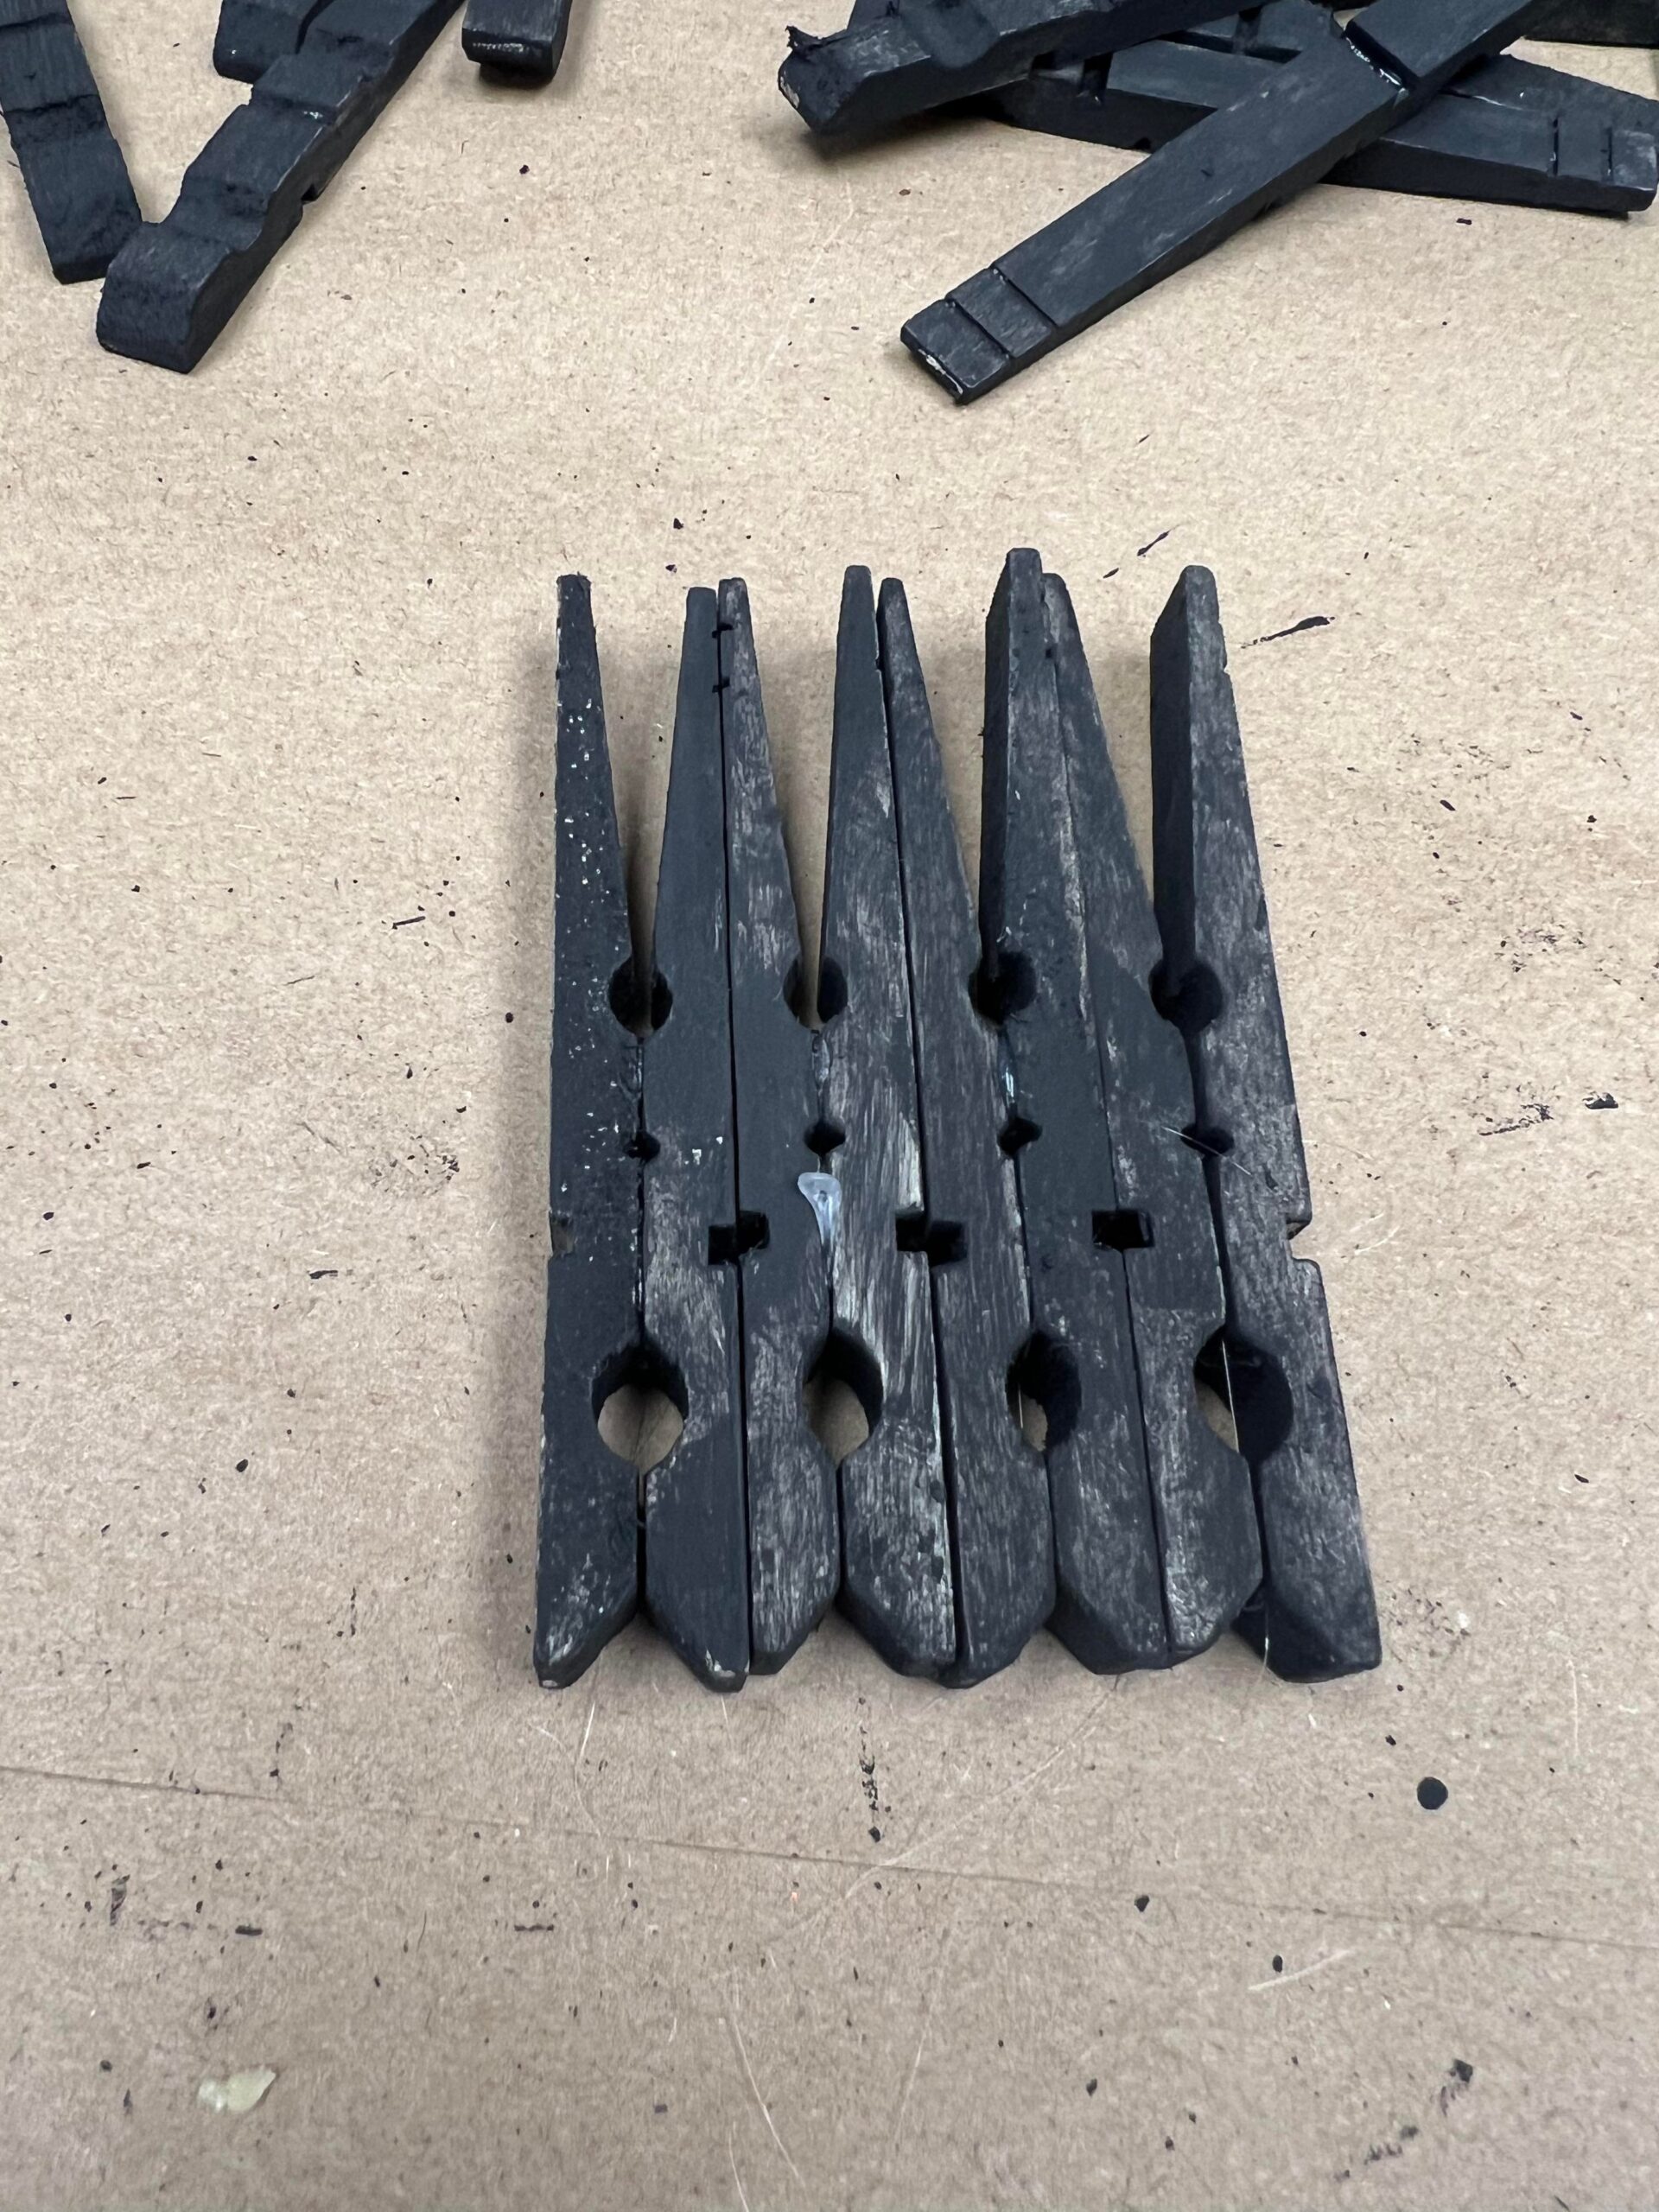
The next step is to glue 8 pieces together as shown in photo above. Be sure to add the hot glue only to the bottom part. You can see that there is a space in between each piece at the top.

You should now have 2 pieces that look like the pieces in photo above.
You’ll now glue 3 pieces together as shown in photo above. I have about a one inch space at the bottom.

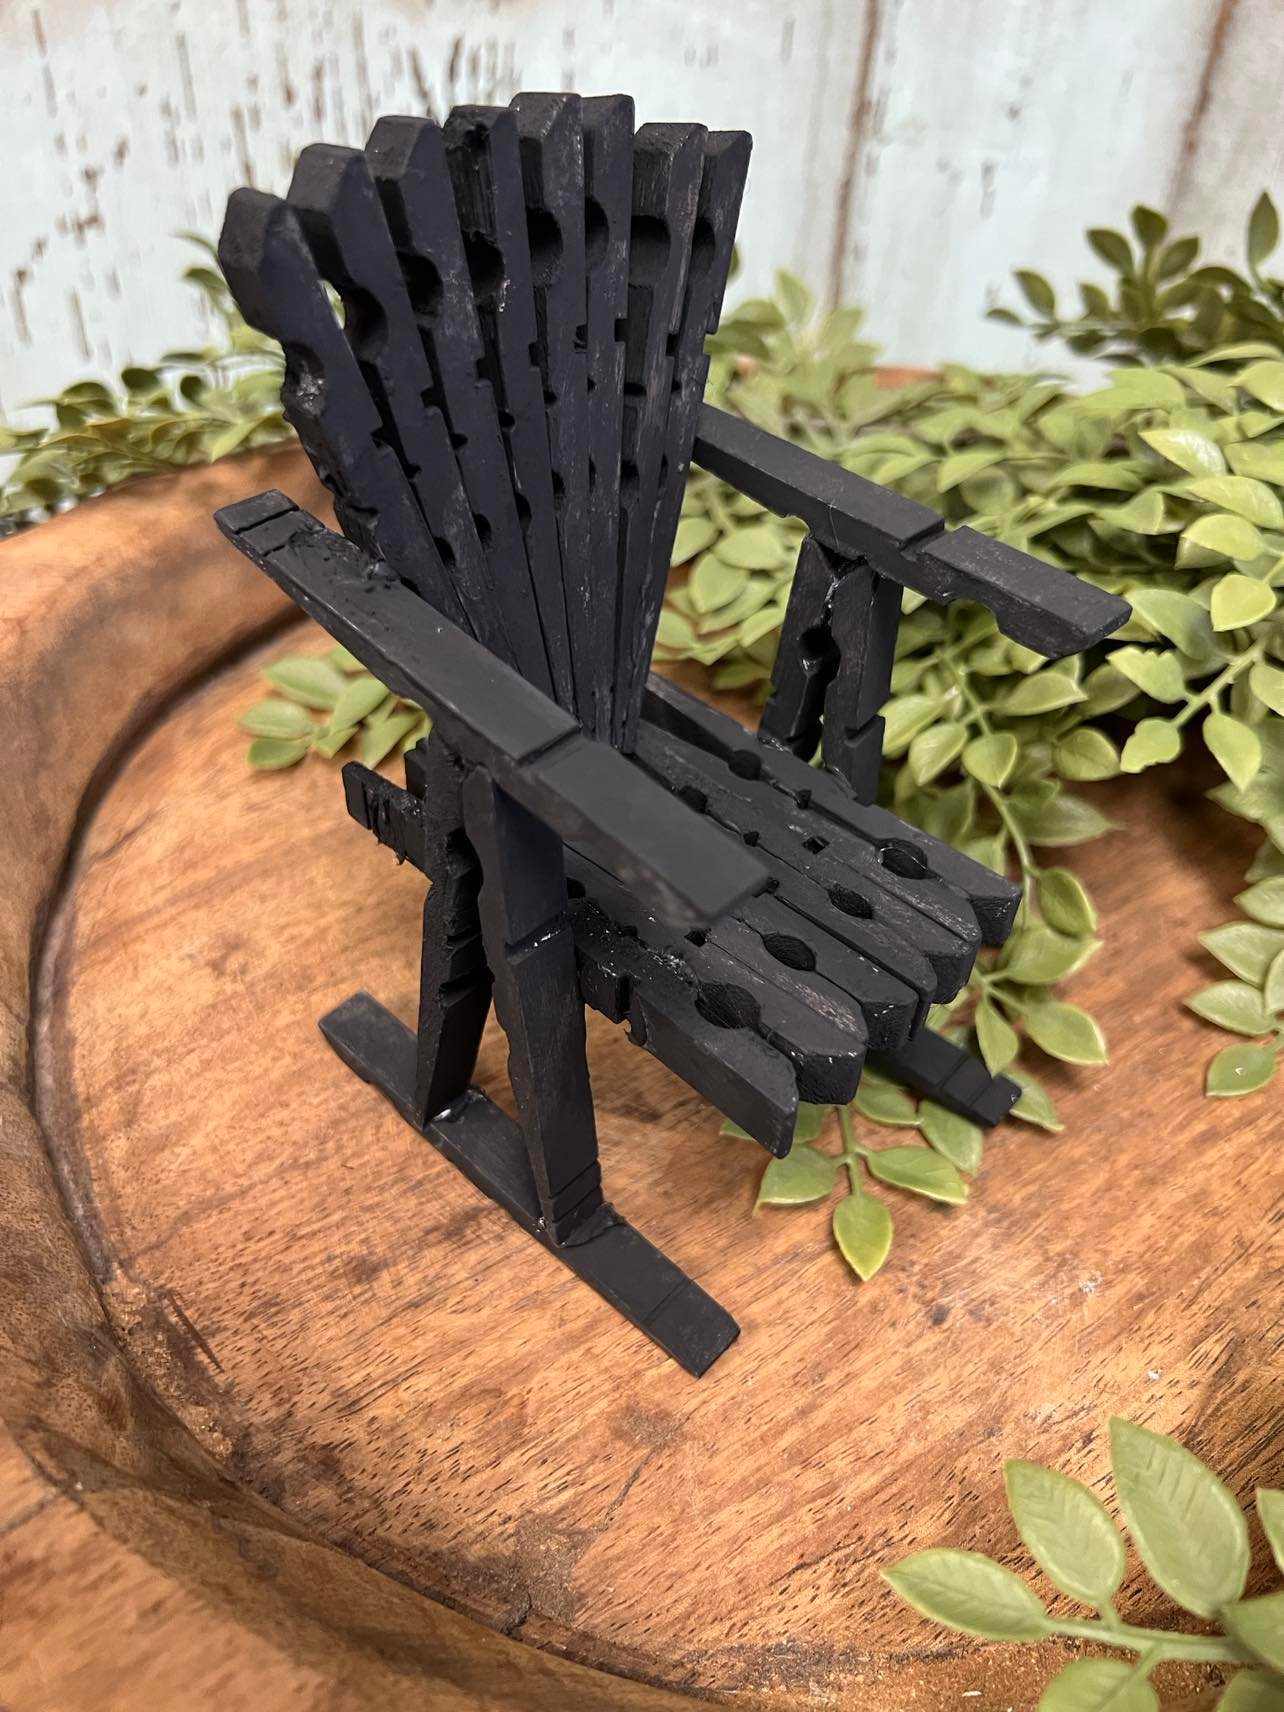
I glued the four piece section to the two pieces that I just made. This will create the seat to the rocker. You’ll want to glue the seat piece on a little higher then midway up onto the leg pieces. Once I had the seat glued in place I then added the arm rest pieces on.

Once you have the arm rest on you’ll then glue the back piece on.
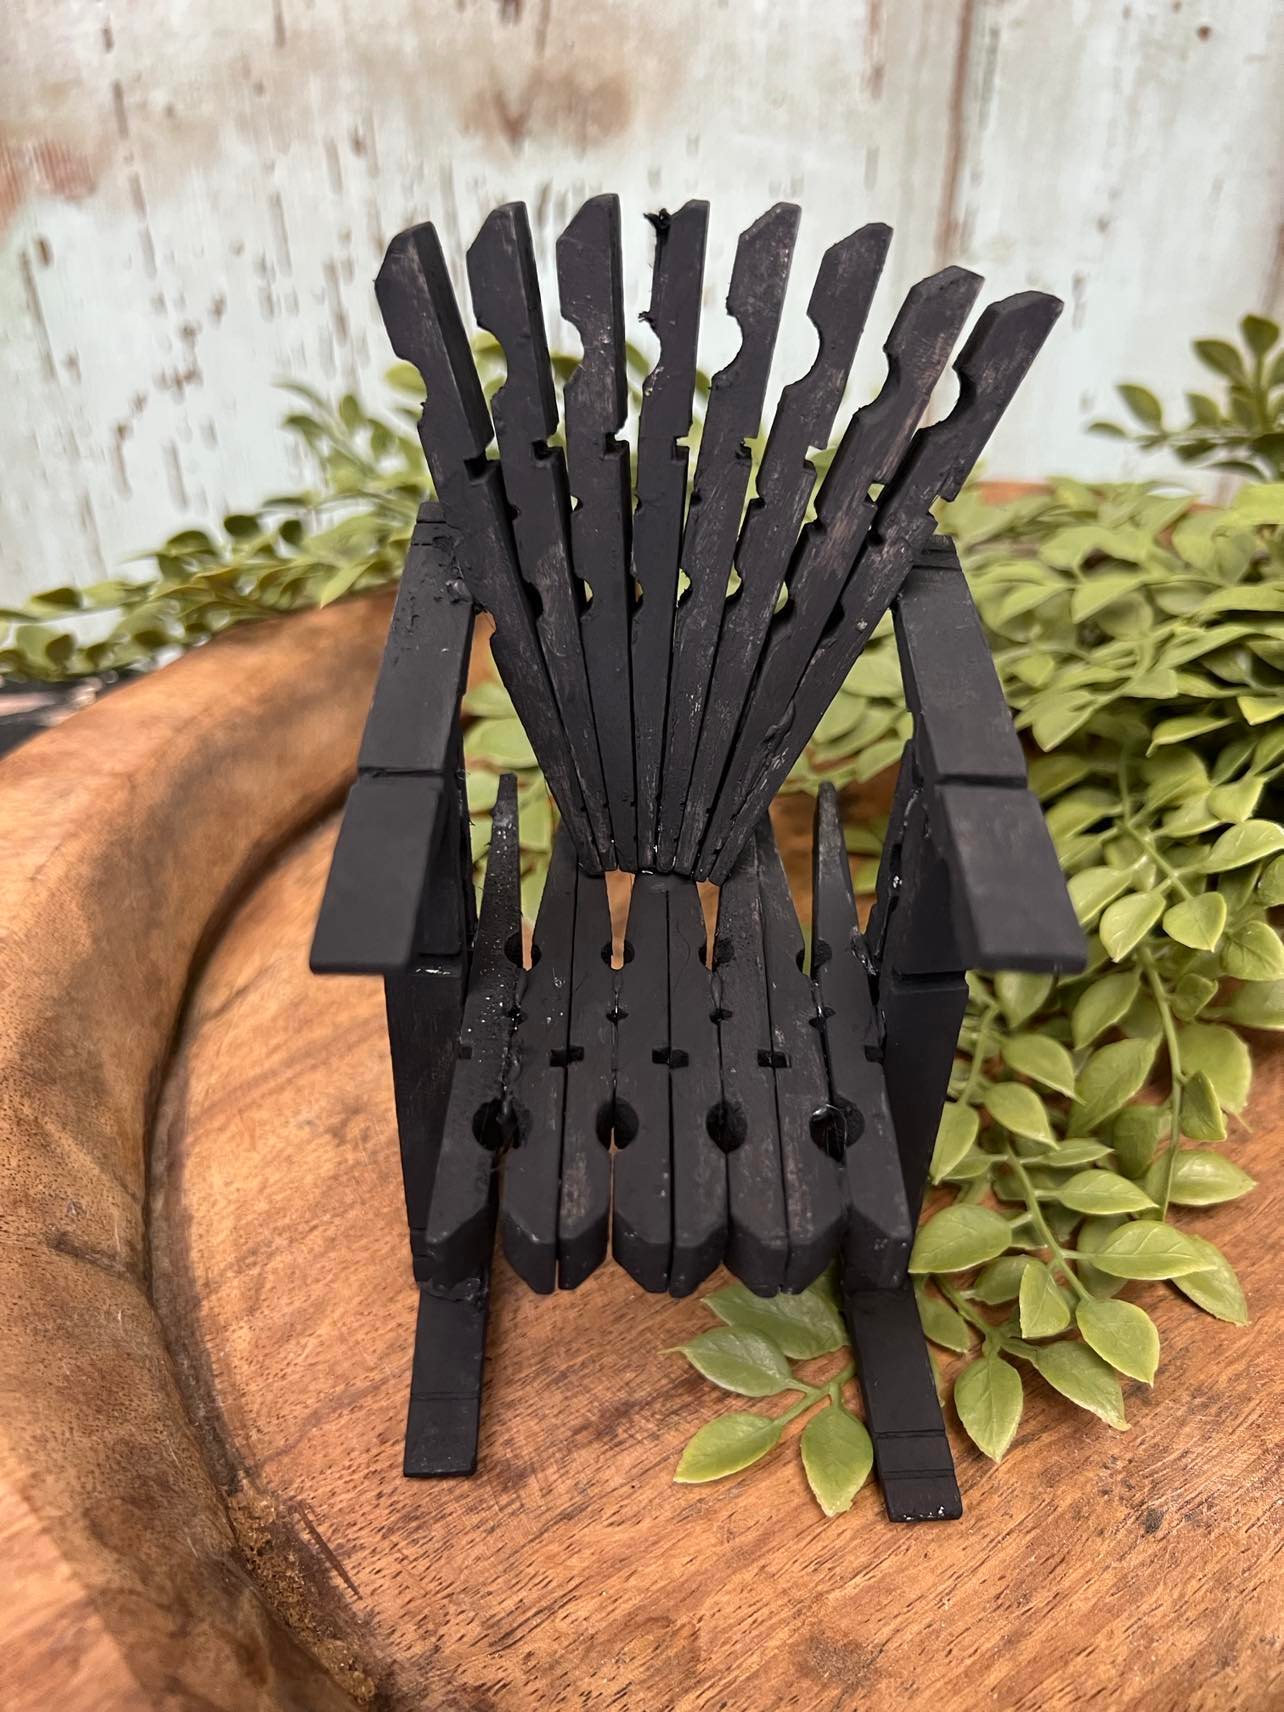
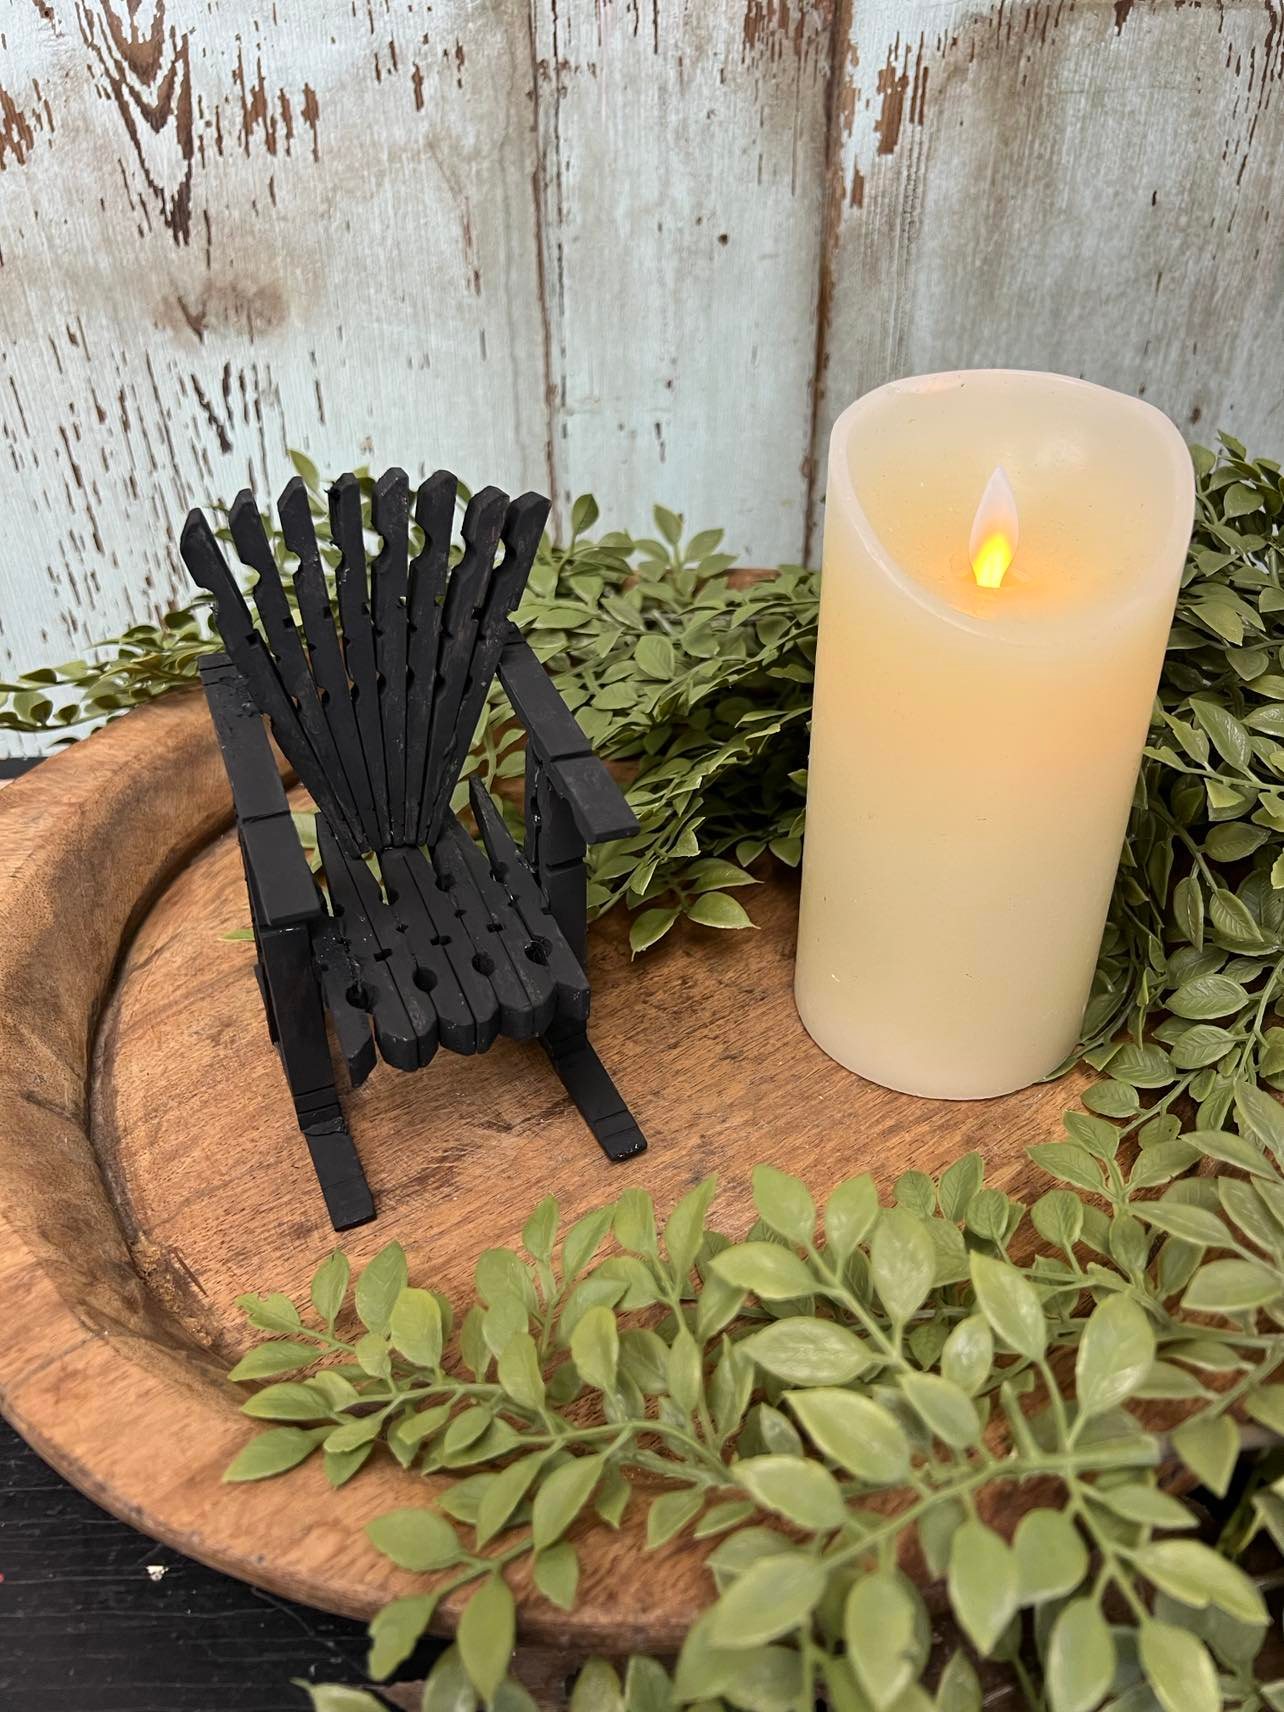
This is very easy to make and can be added to so many things. I love it on a wooden tray but it would also be cute in a lantern. I hope you’ll have fun , get creative and give this a try.