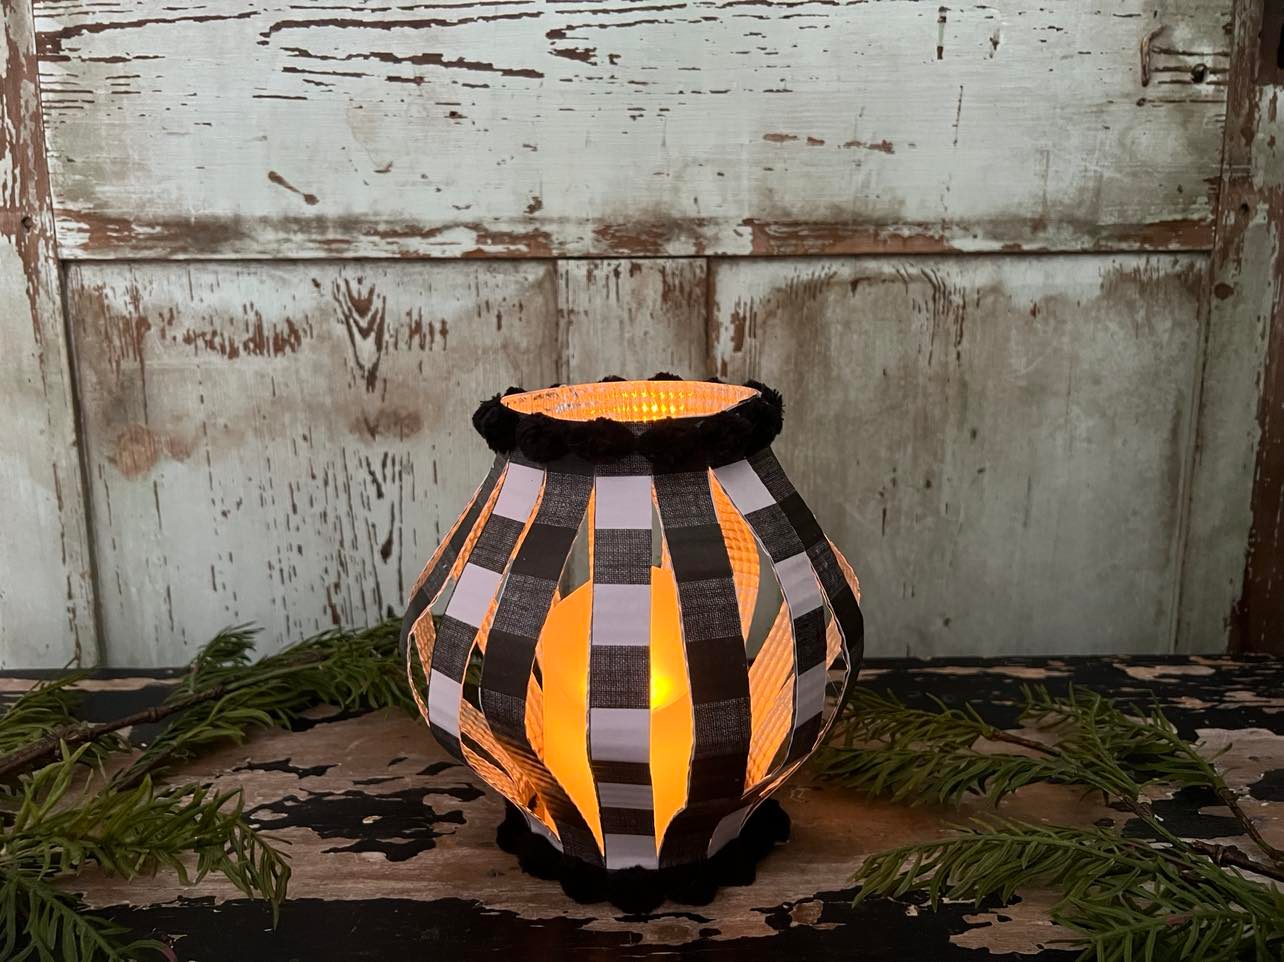
We have been getting creative with making lanterns and I have another one that I’m excited to try. This lantern can be created with any printed paper but I want to stick with a black and white check print.
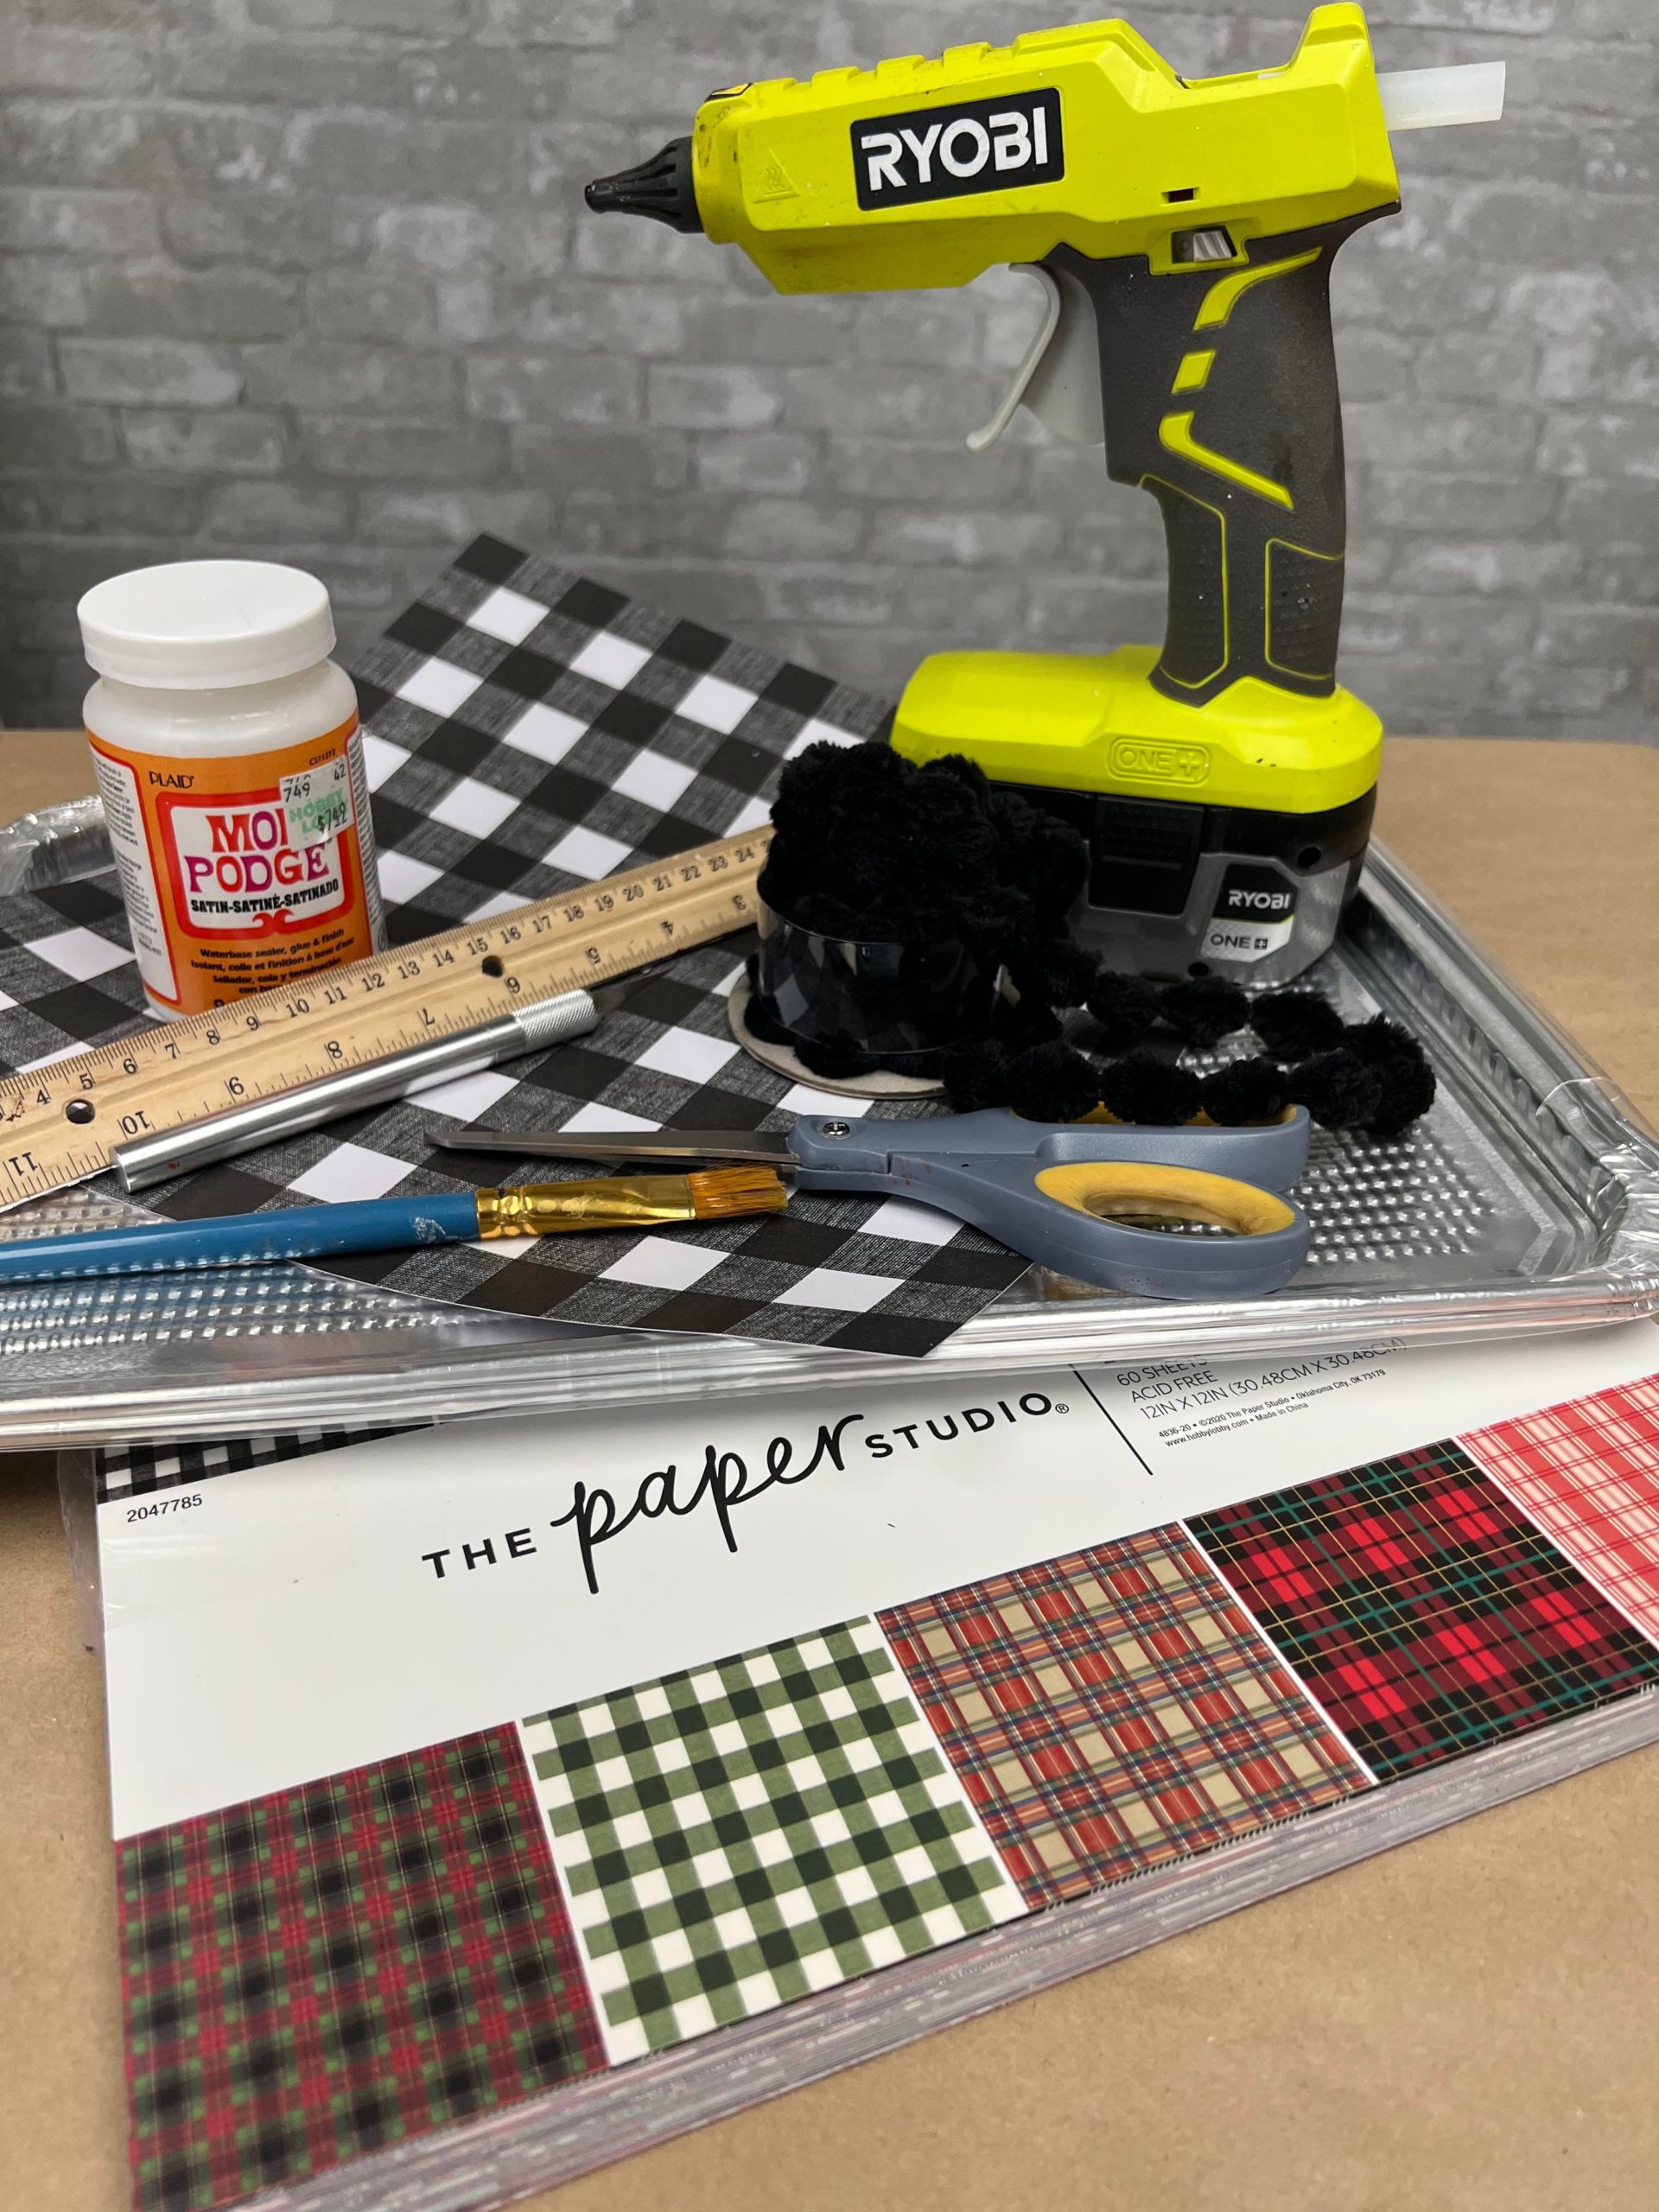
The supplies that I’ll be using are:
1. Aluminum cookie sheets from the Dollar Tree
2. Scrapbook paper
3. Mod podge
4. Hot glue
5. Chenille ribbon from Hobby Lobby
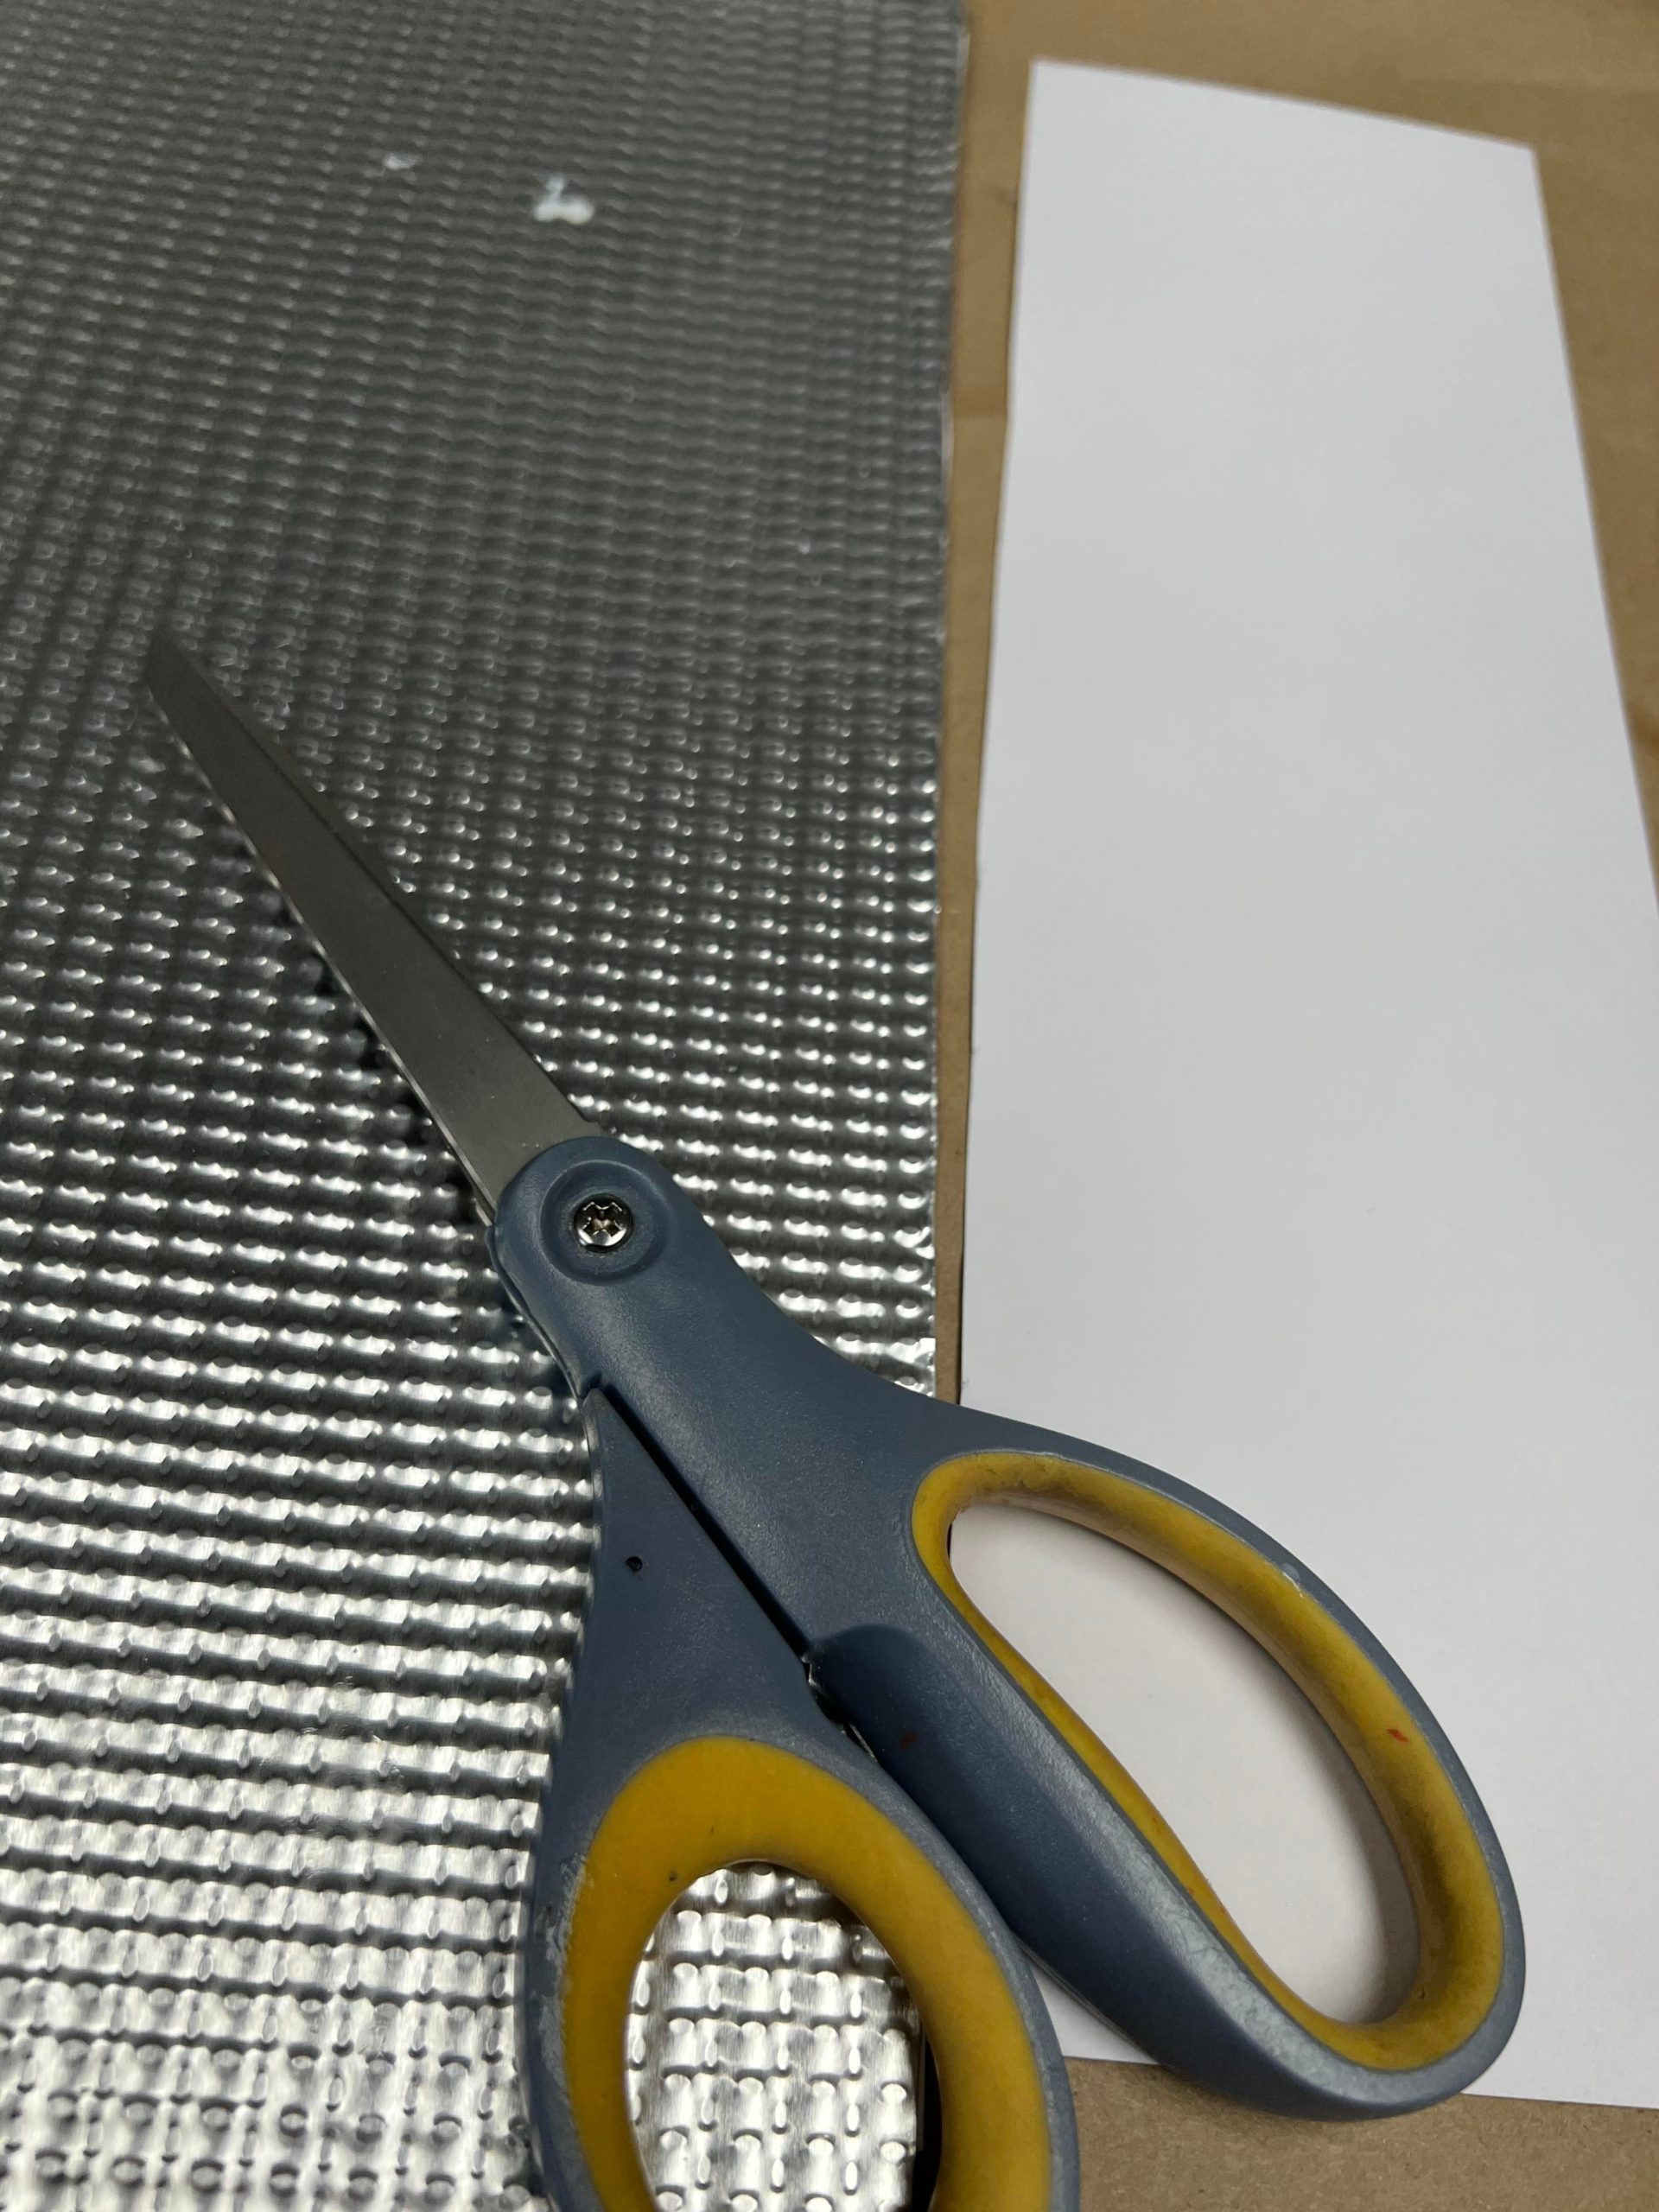
6. Exacto knife
7. Scissors
8. Paint brush
9. Ruler stick
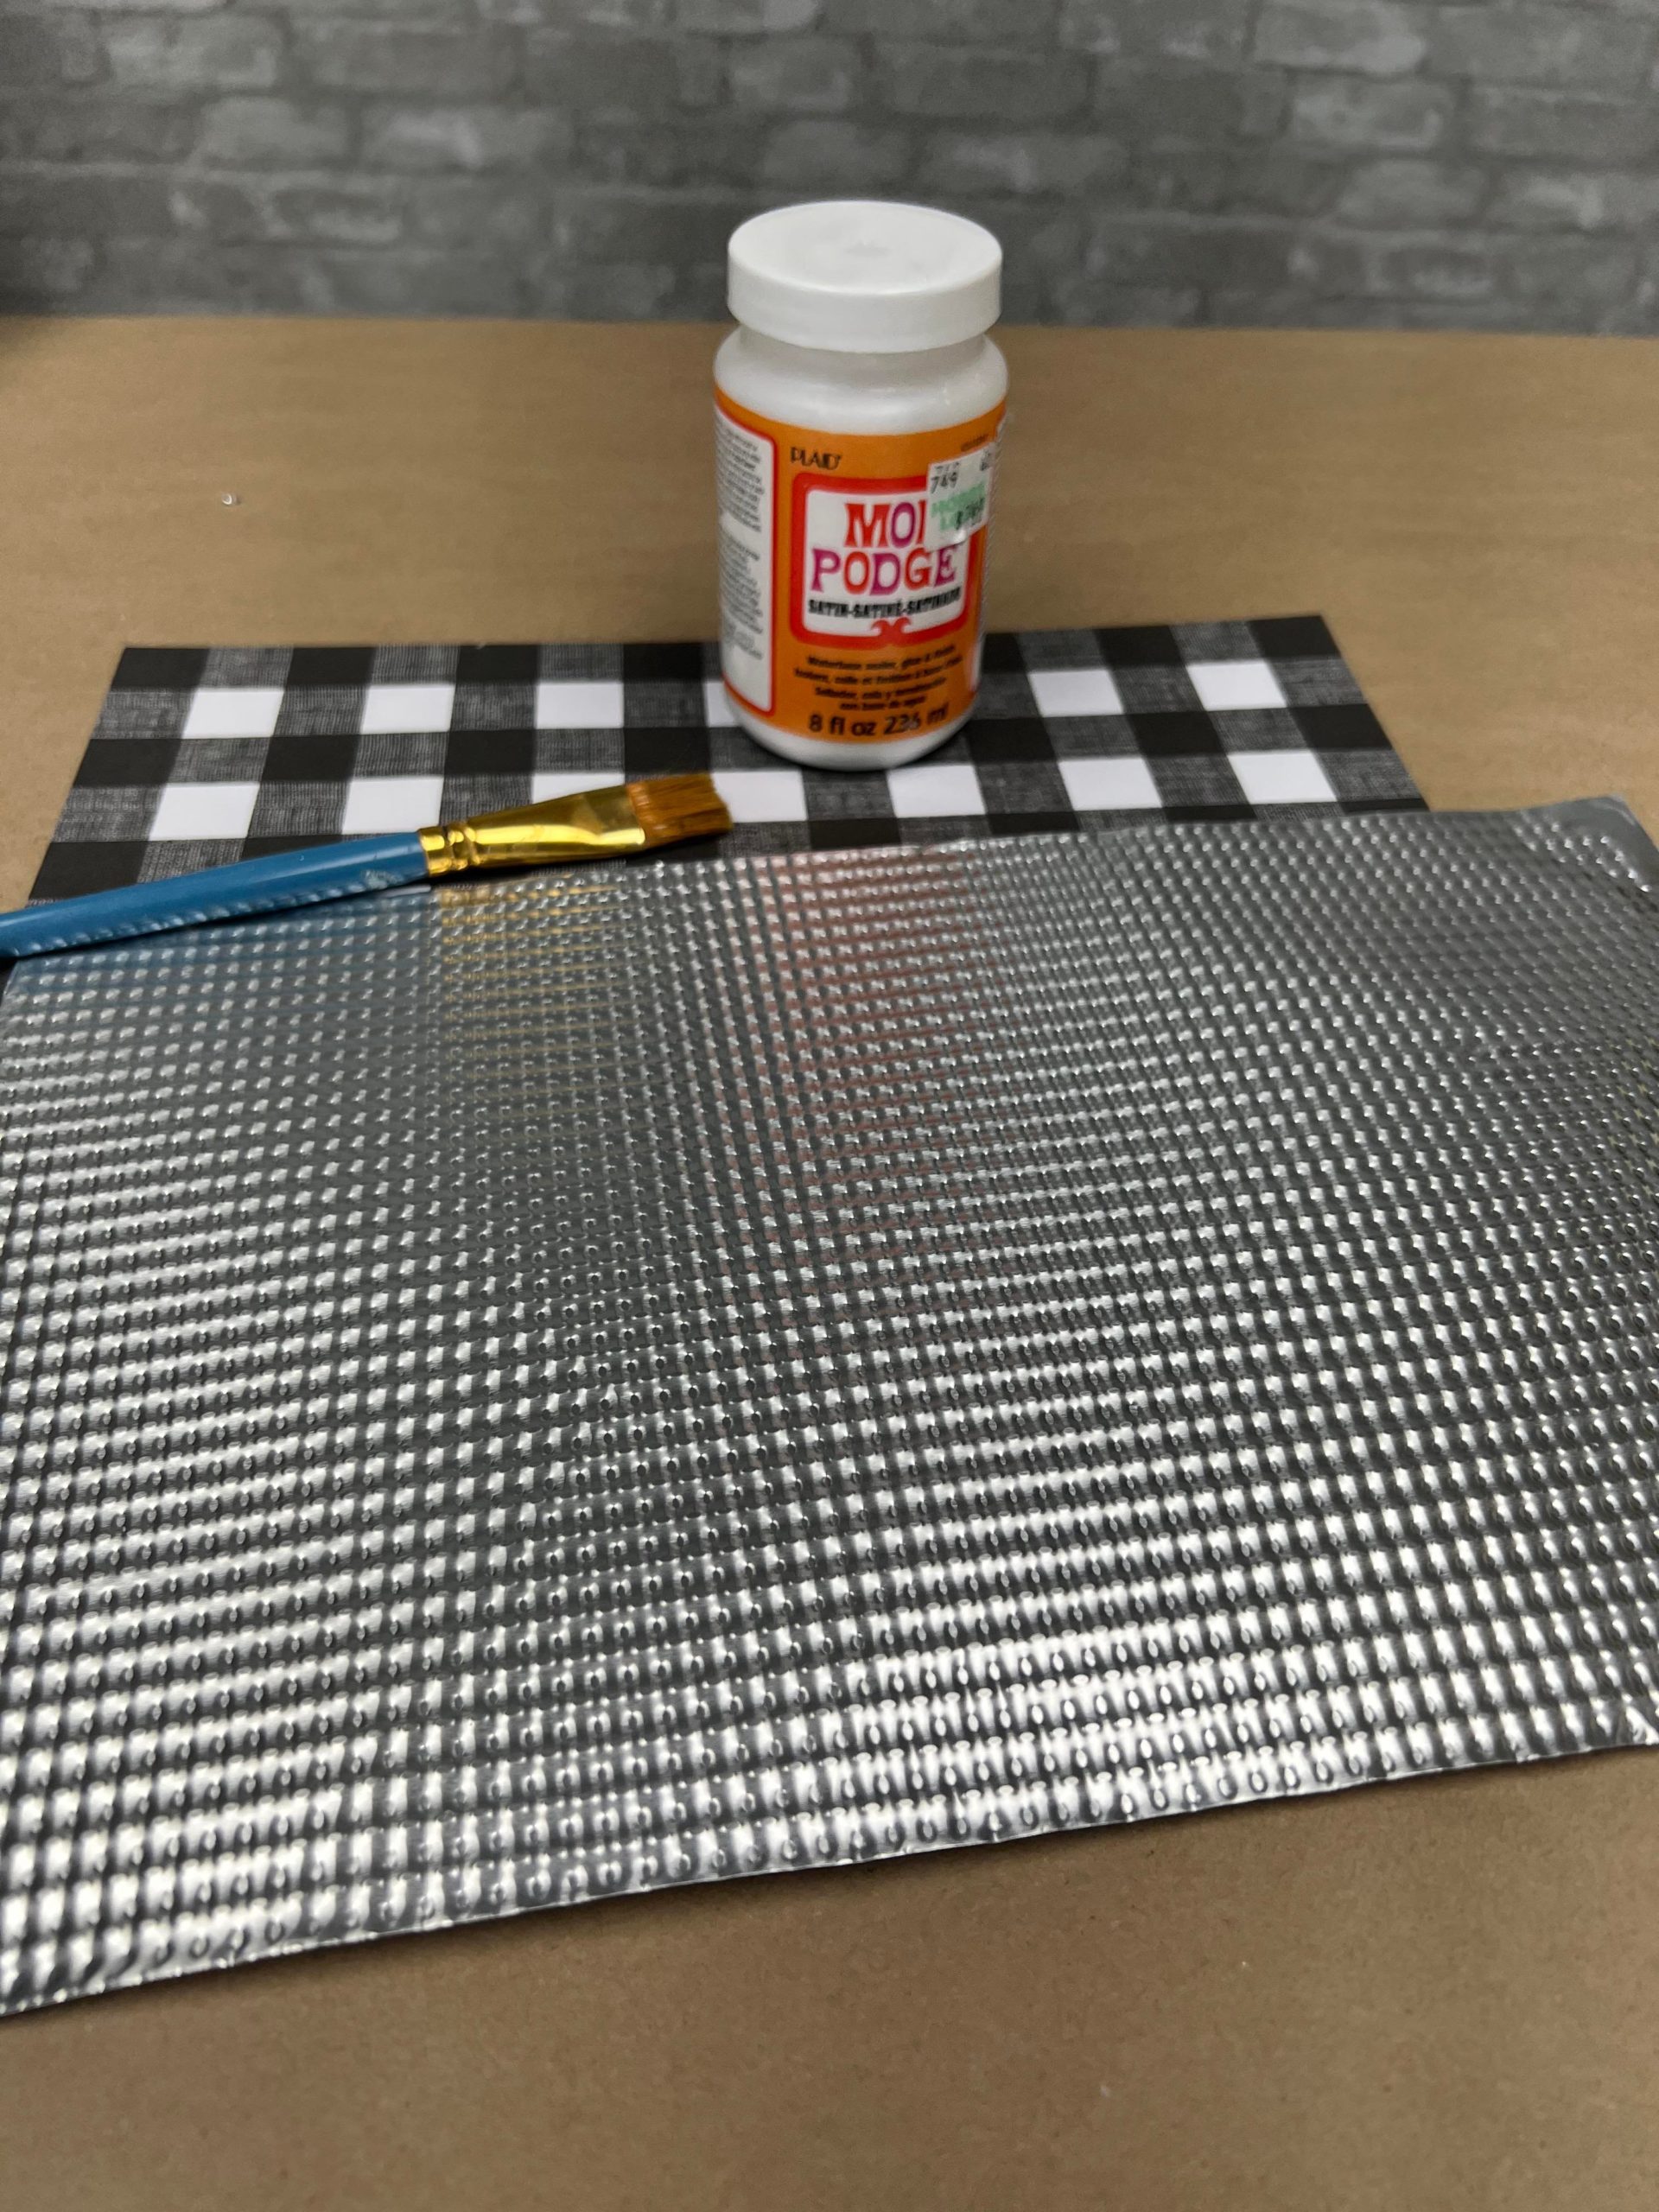
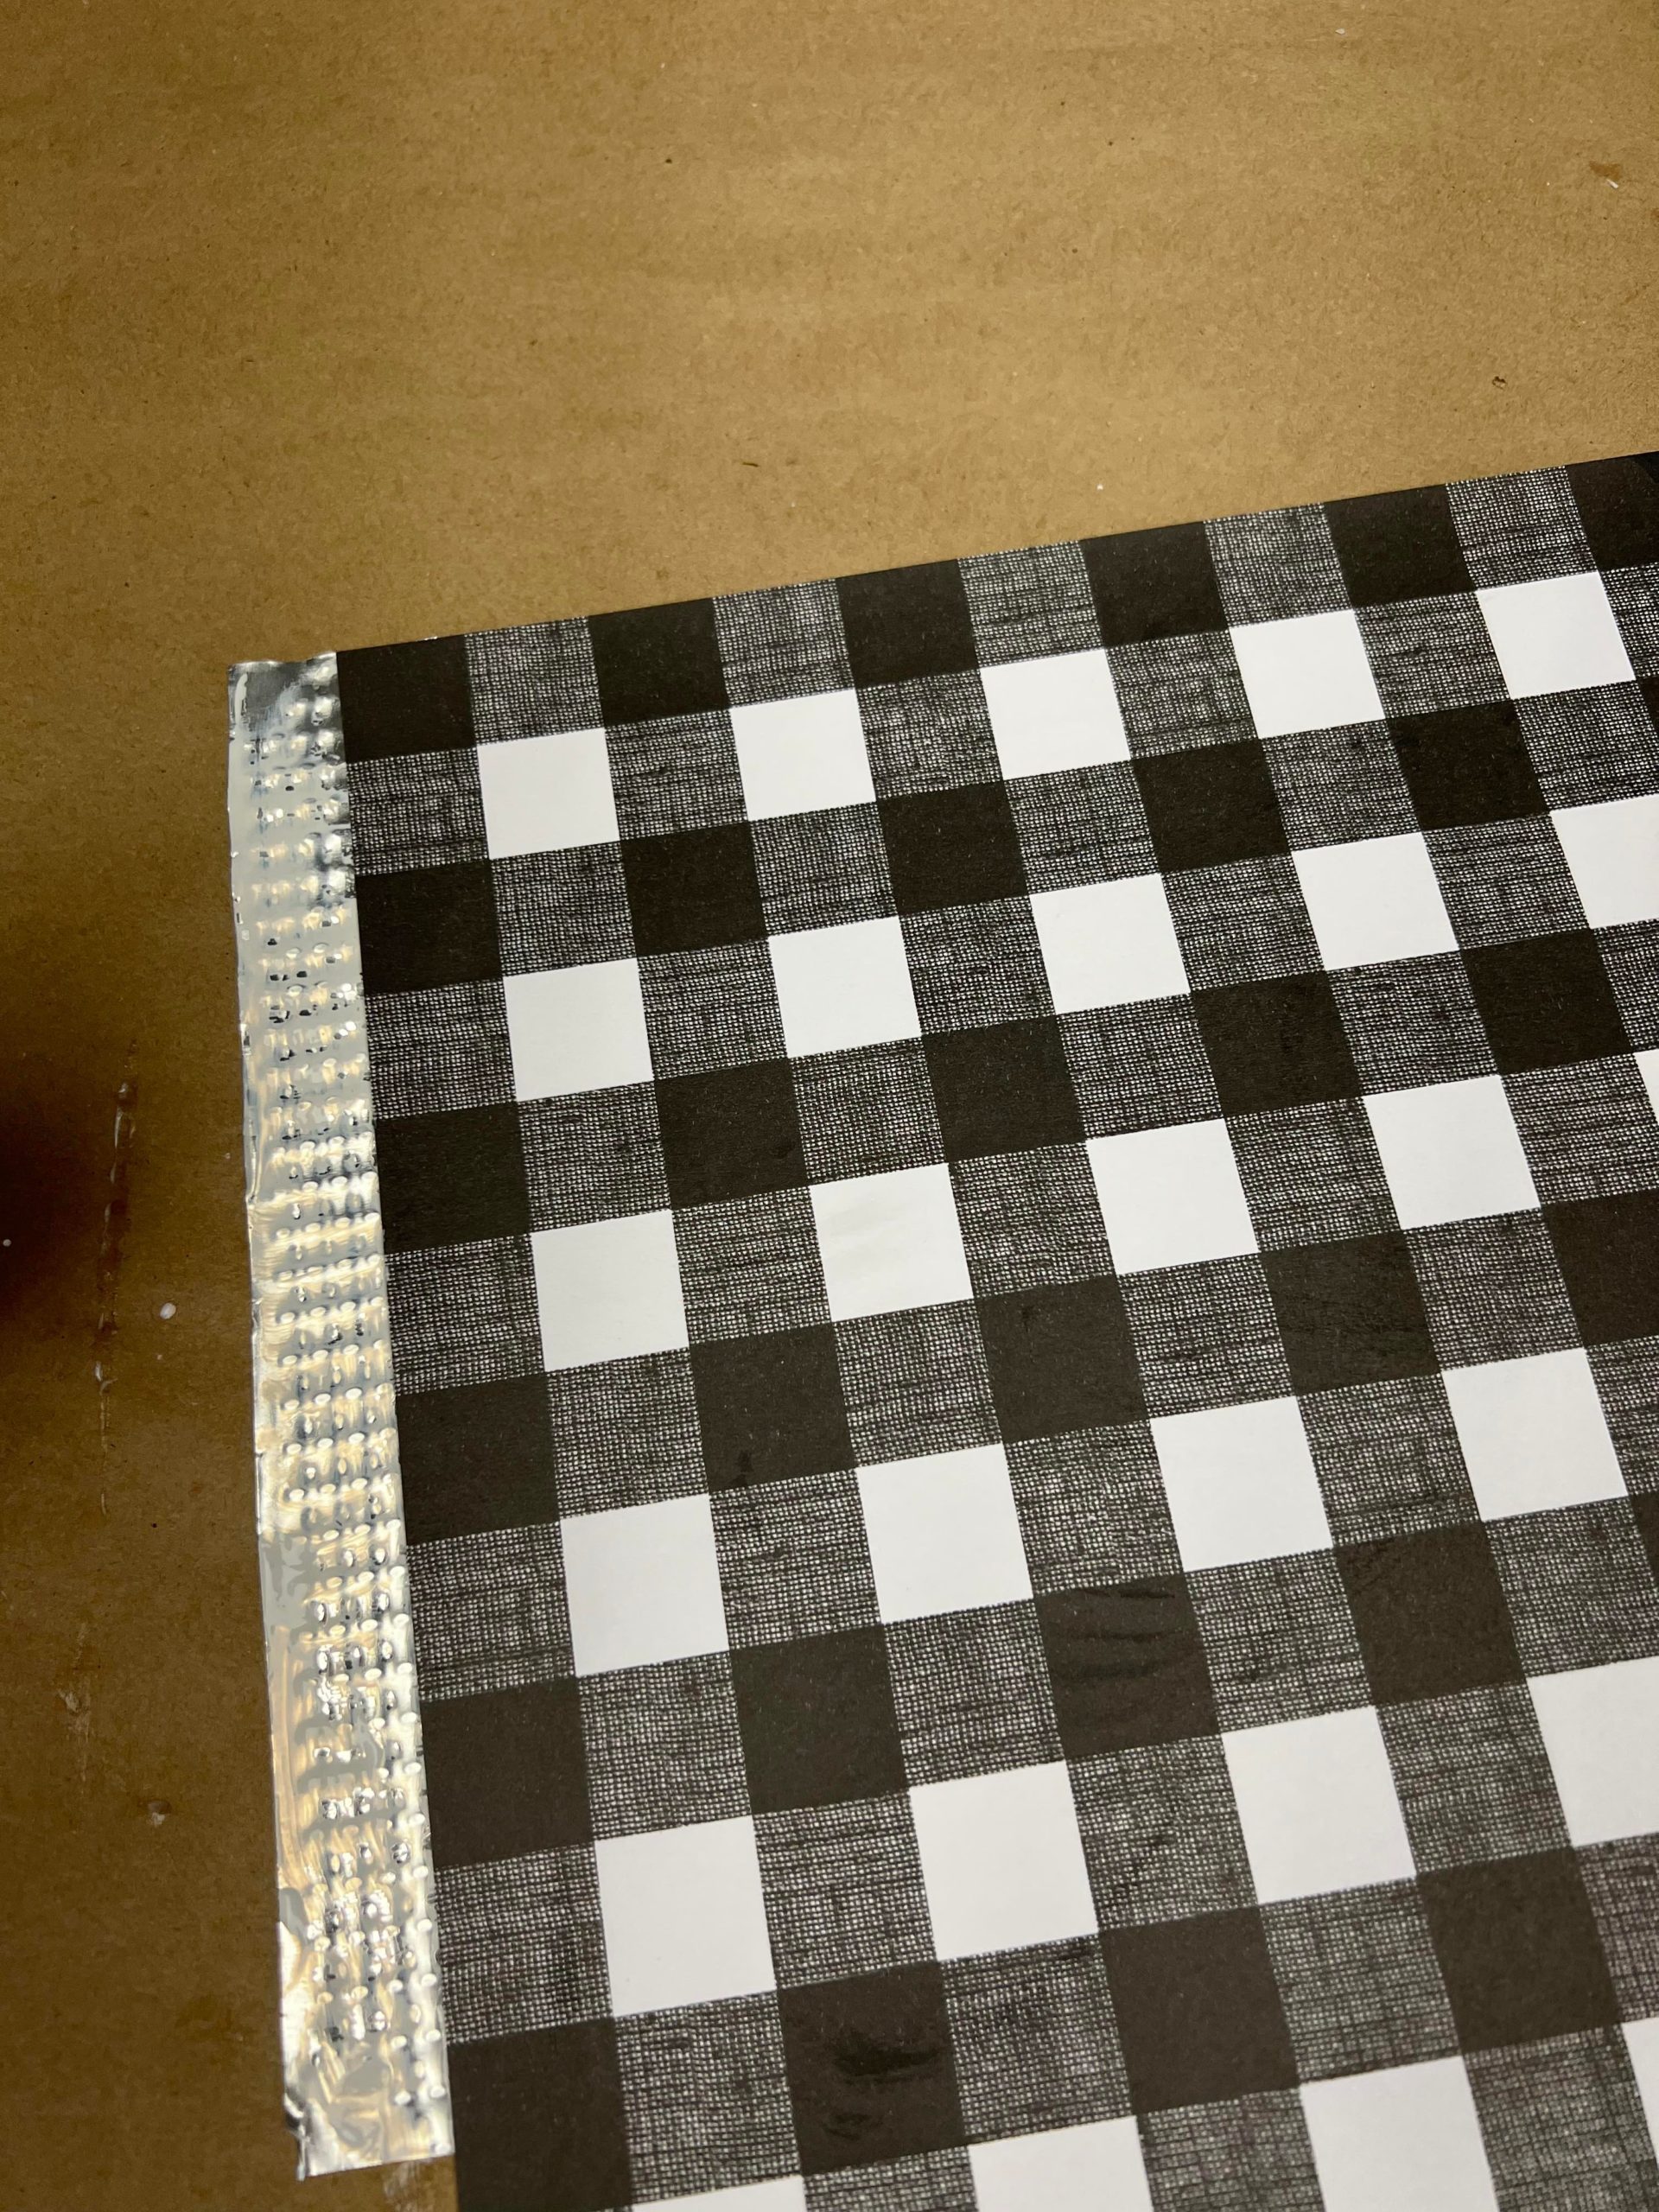
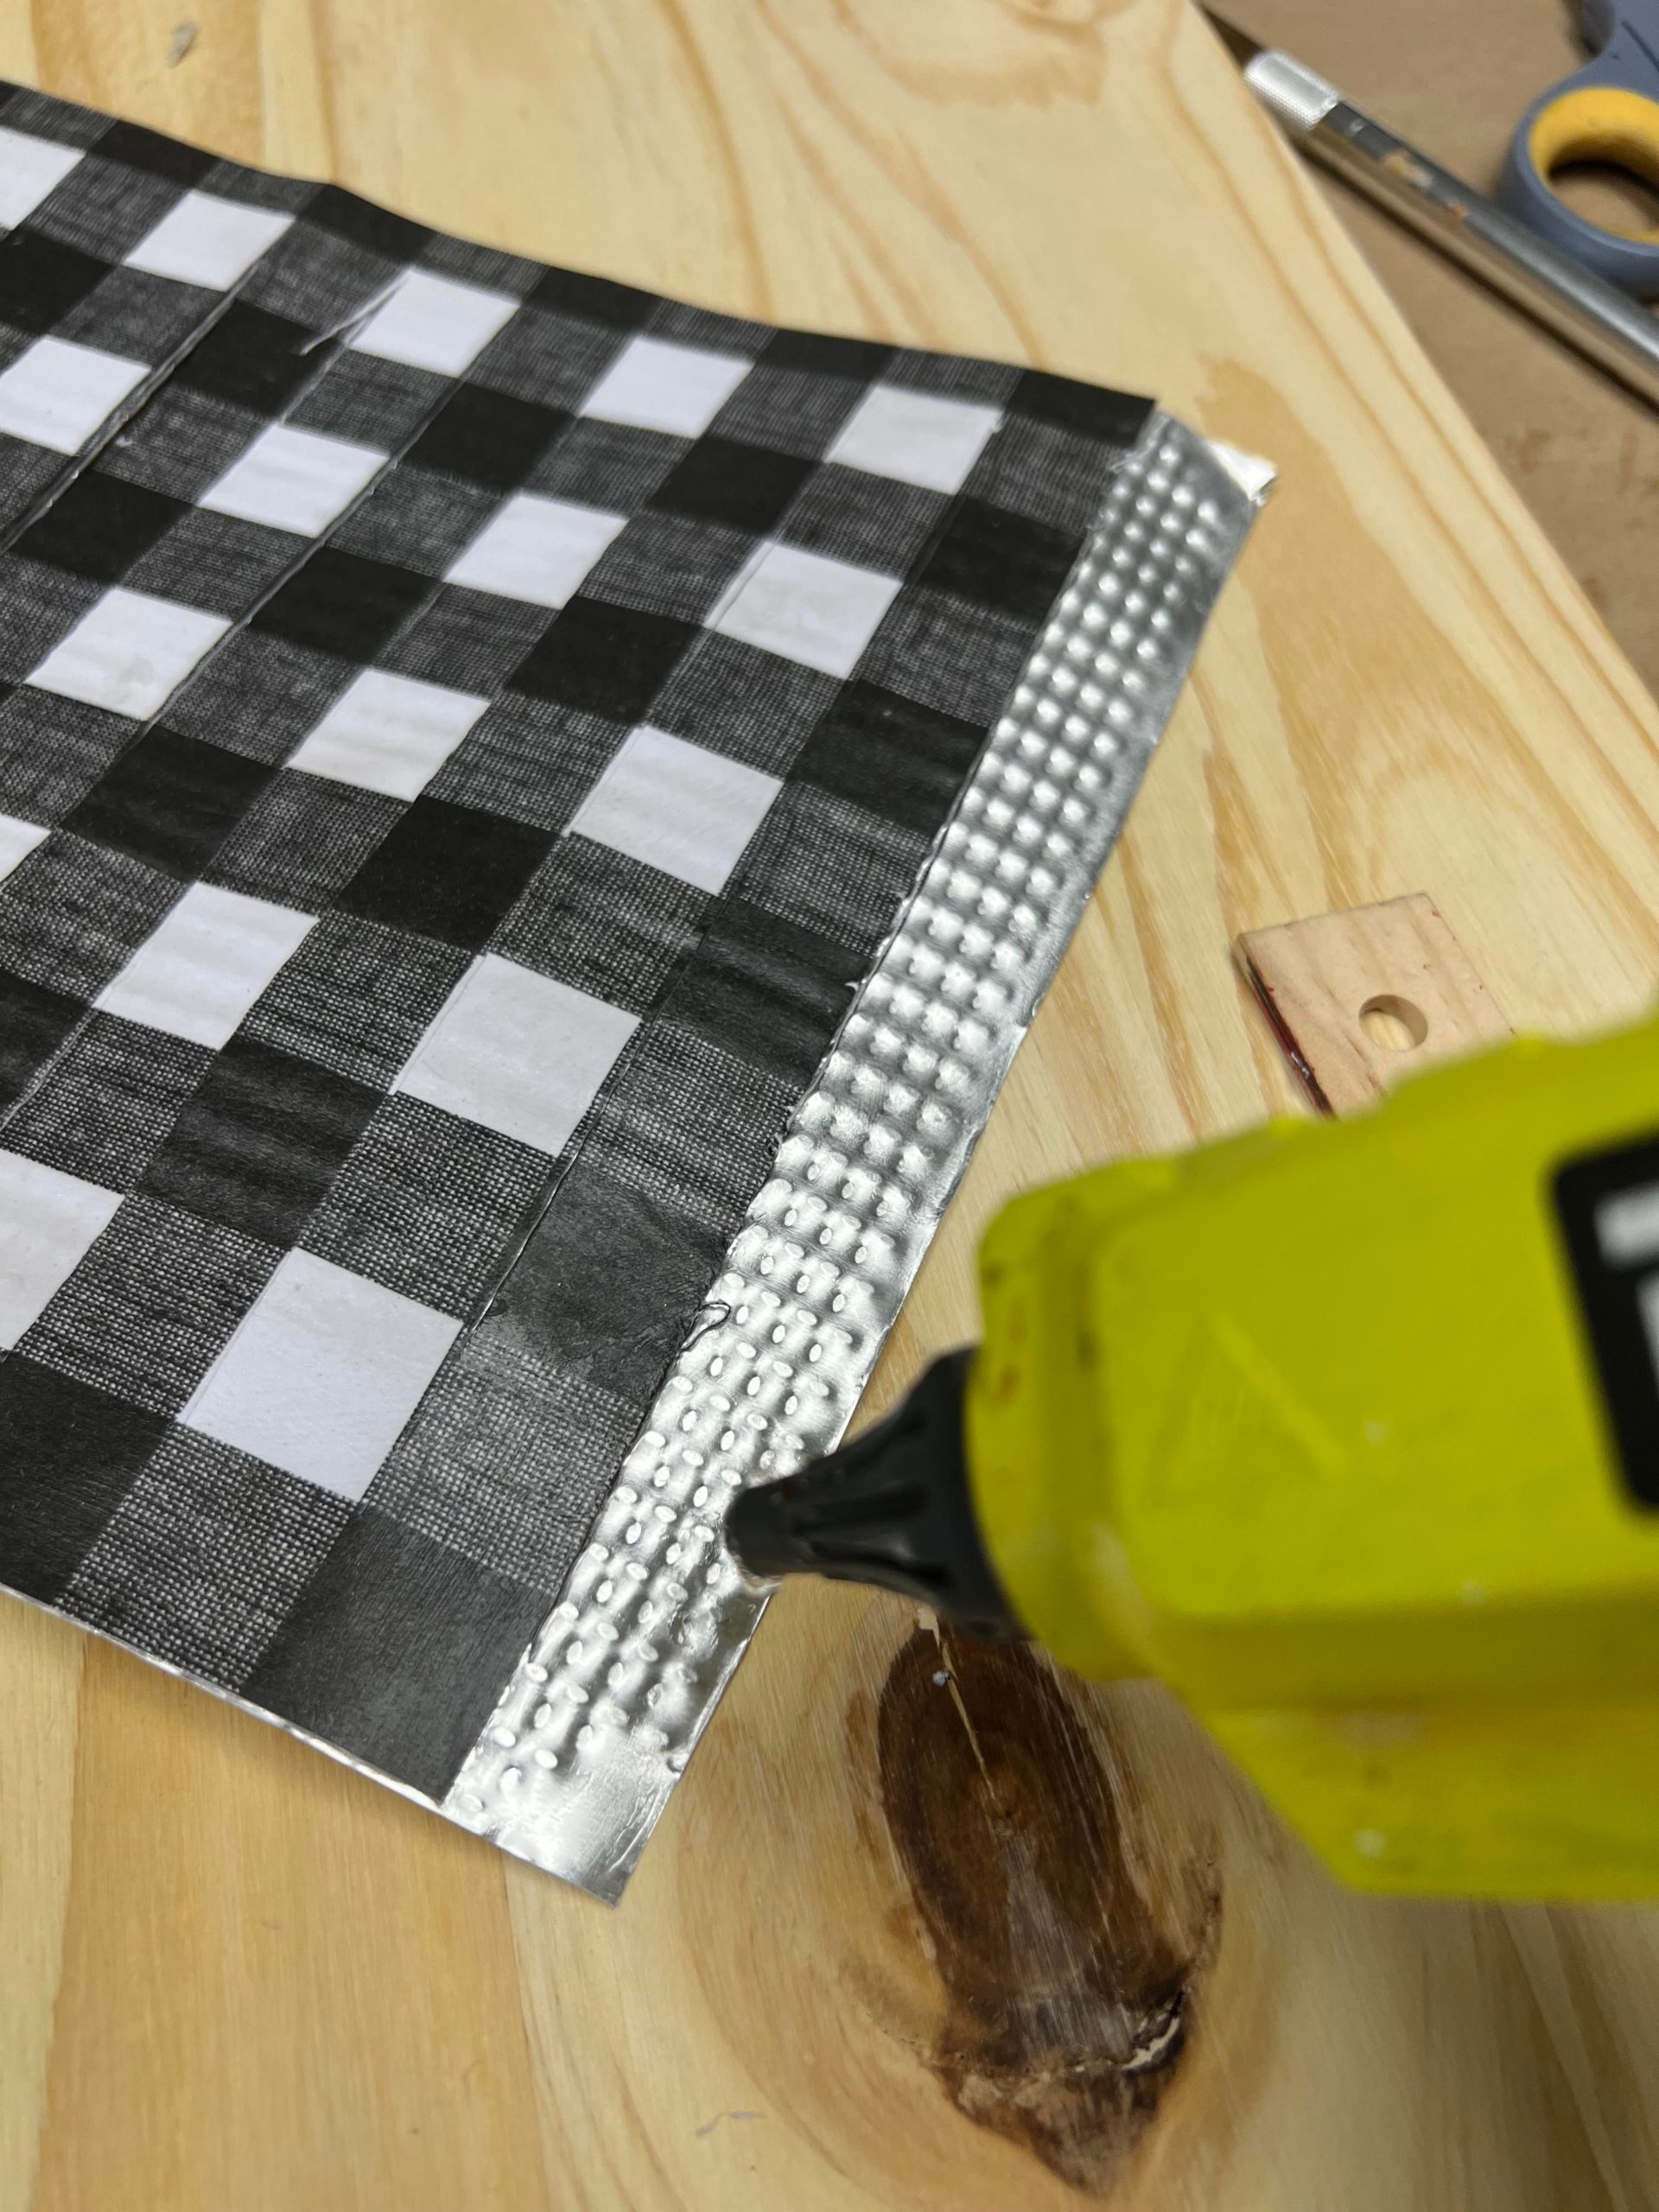
You will want to cut the edging off of the cookie sheet. This will give you one flat piece of the cookie tin.
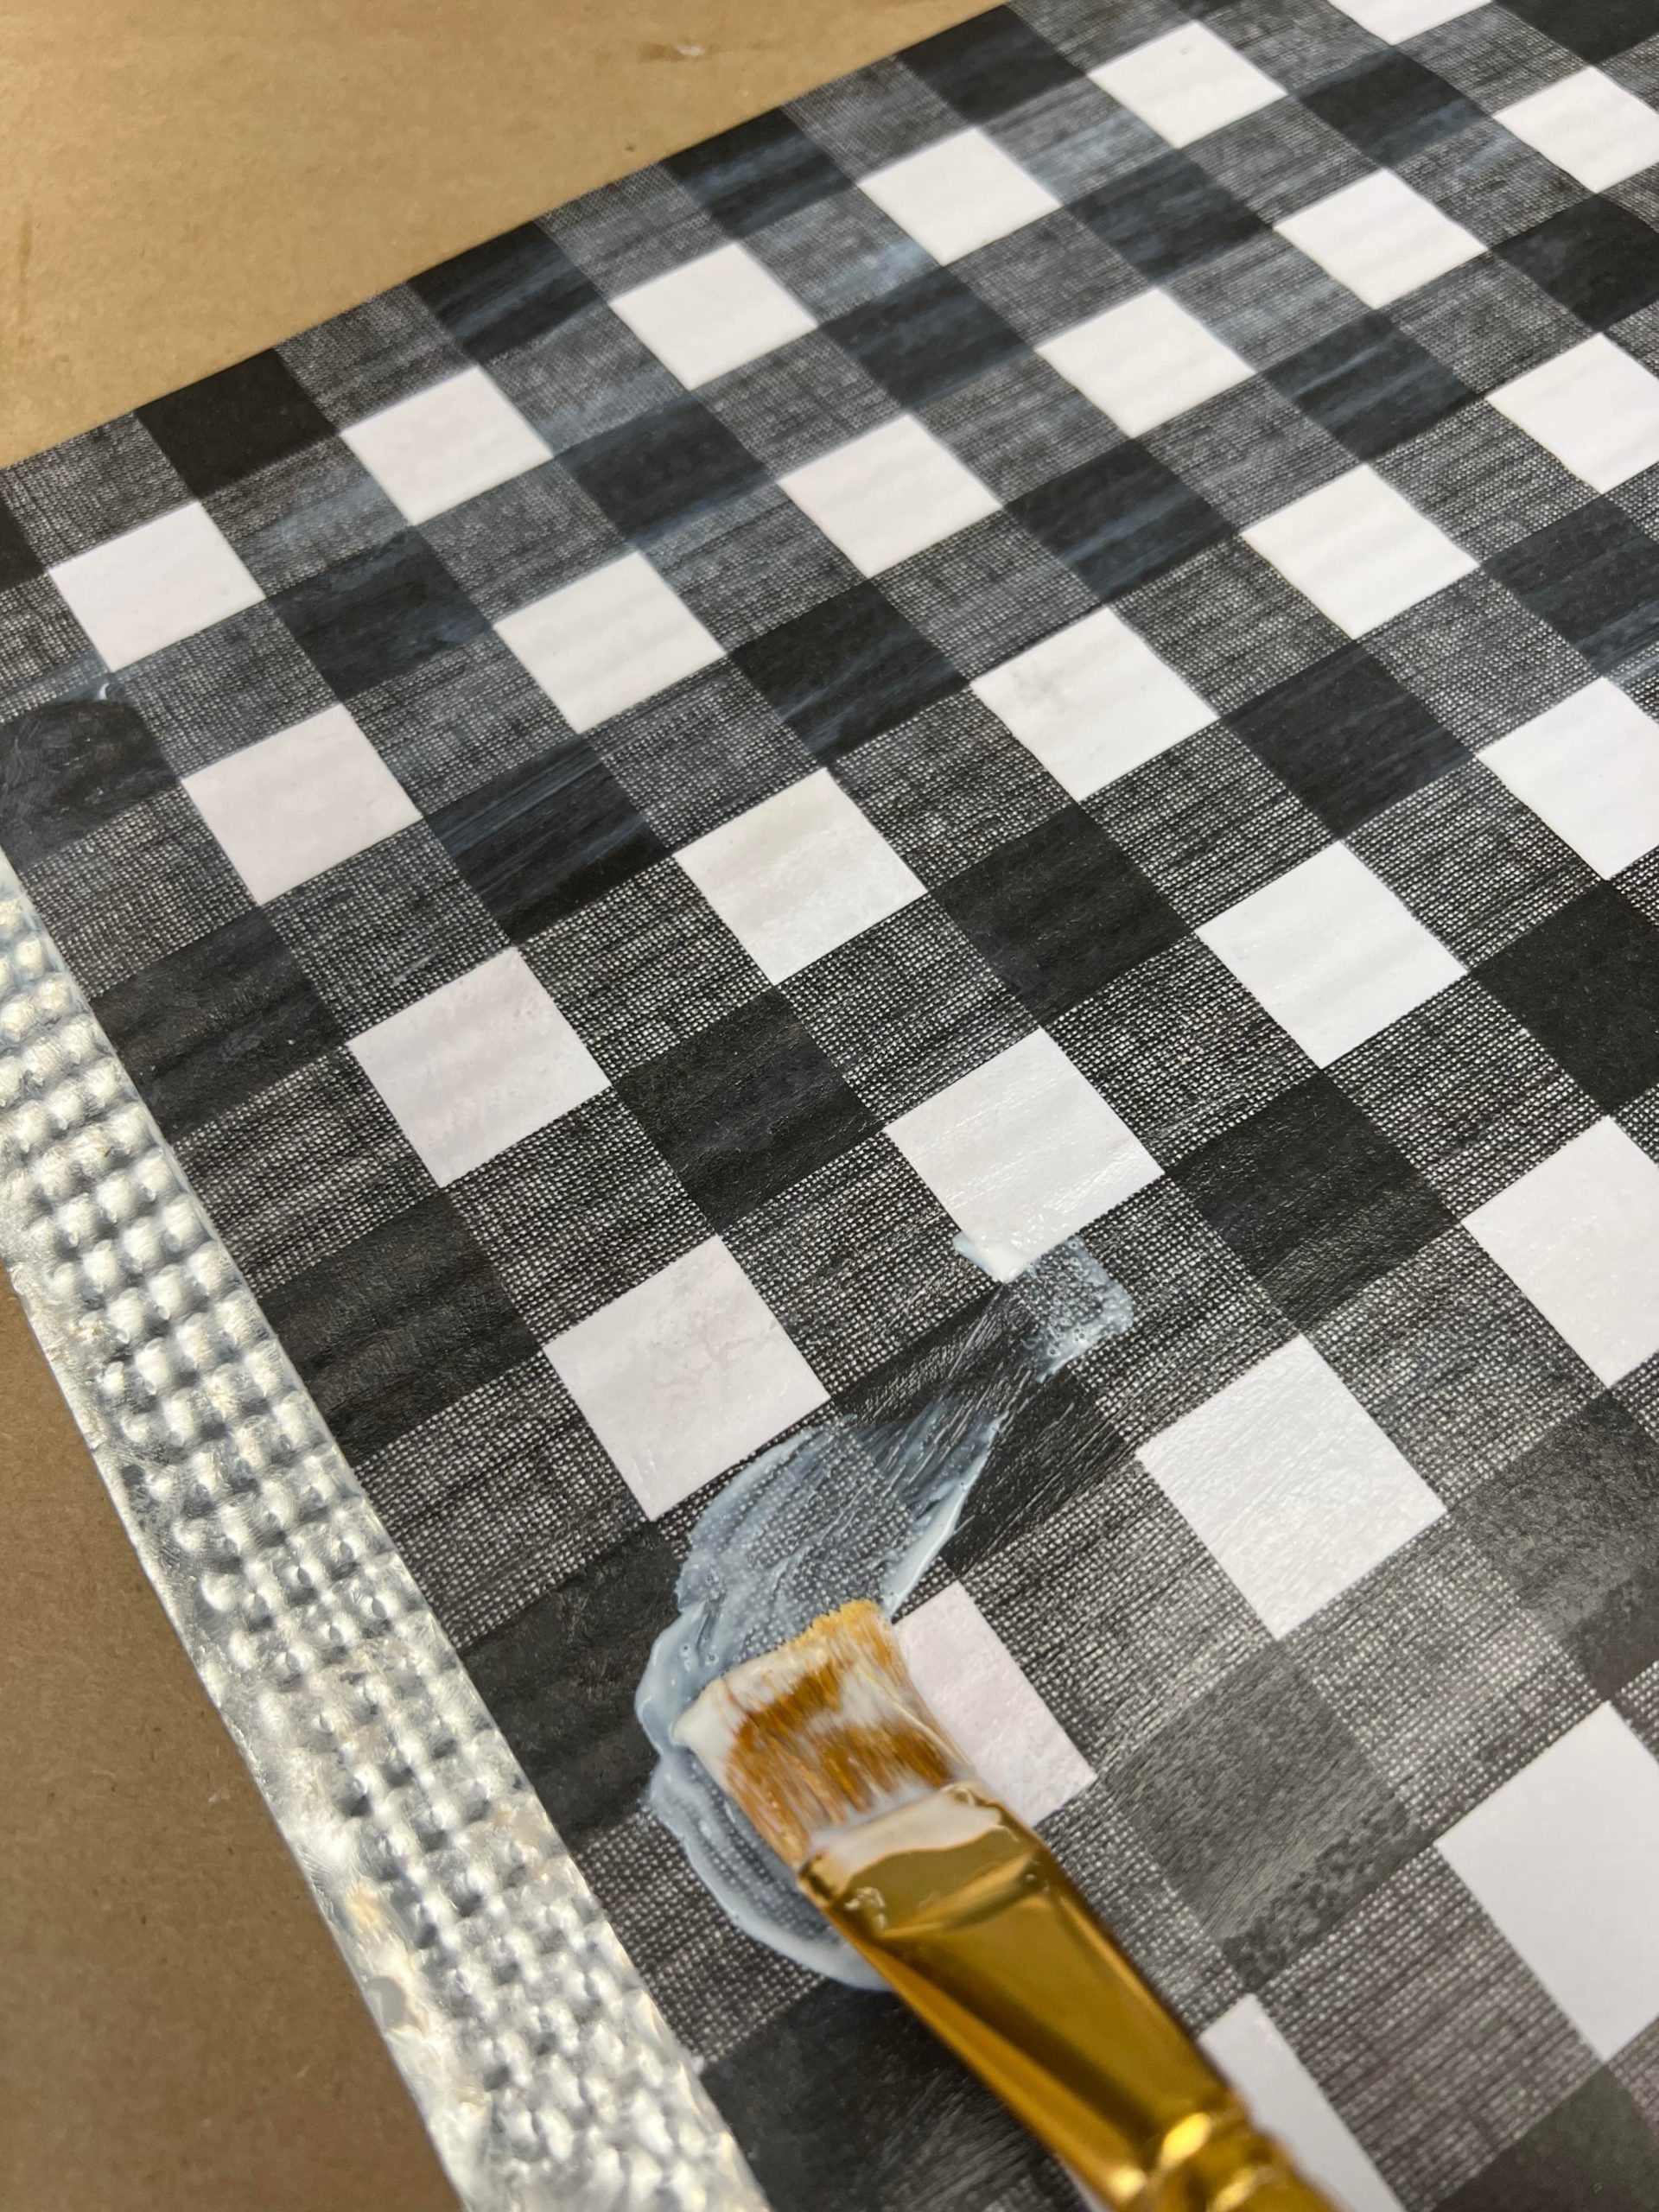
Brush on a lot of the mod podge.
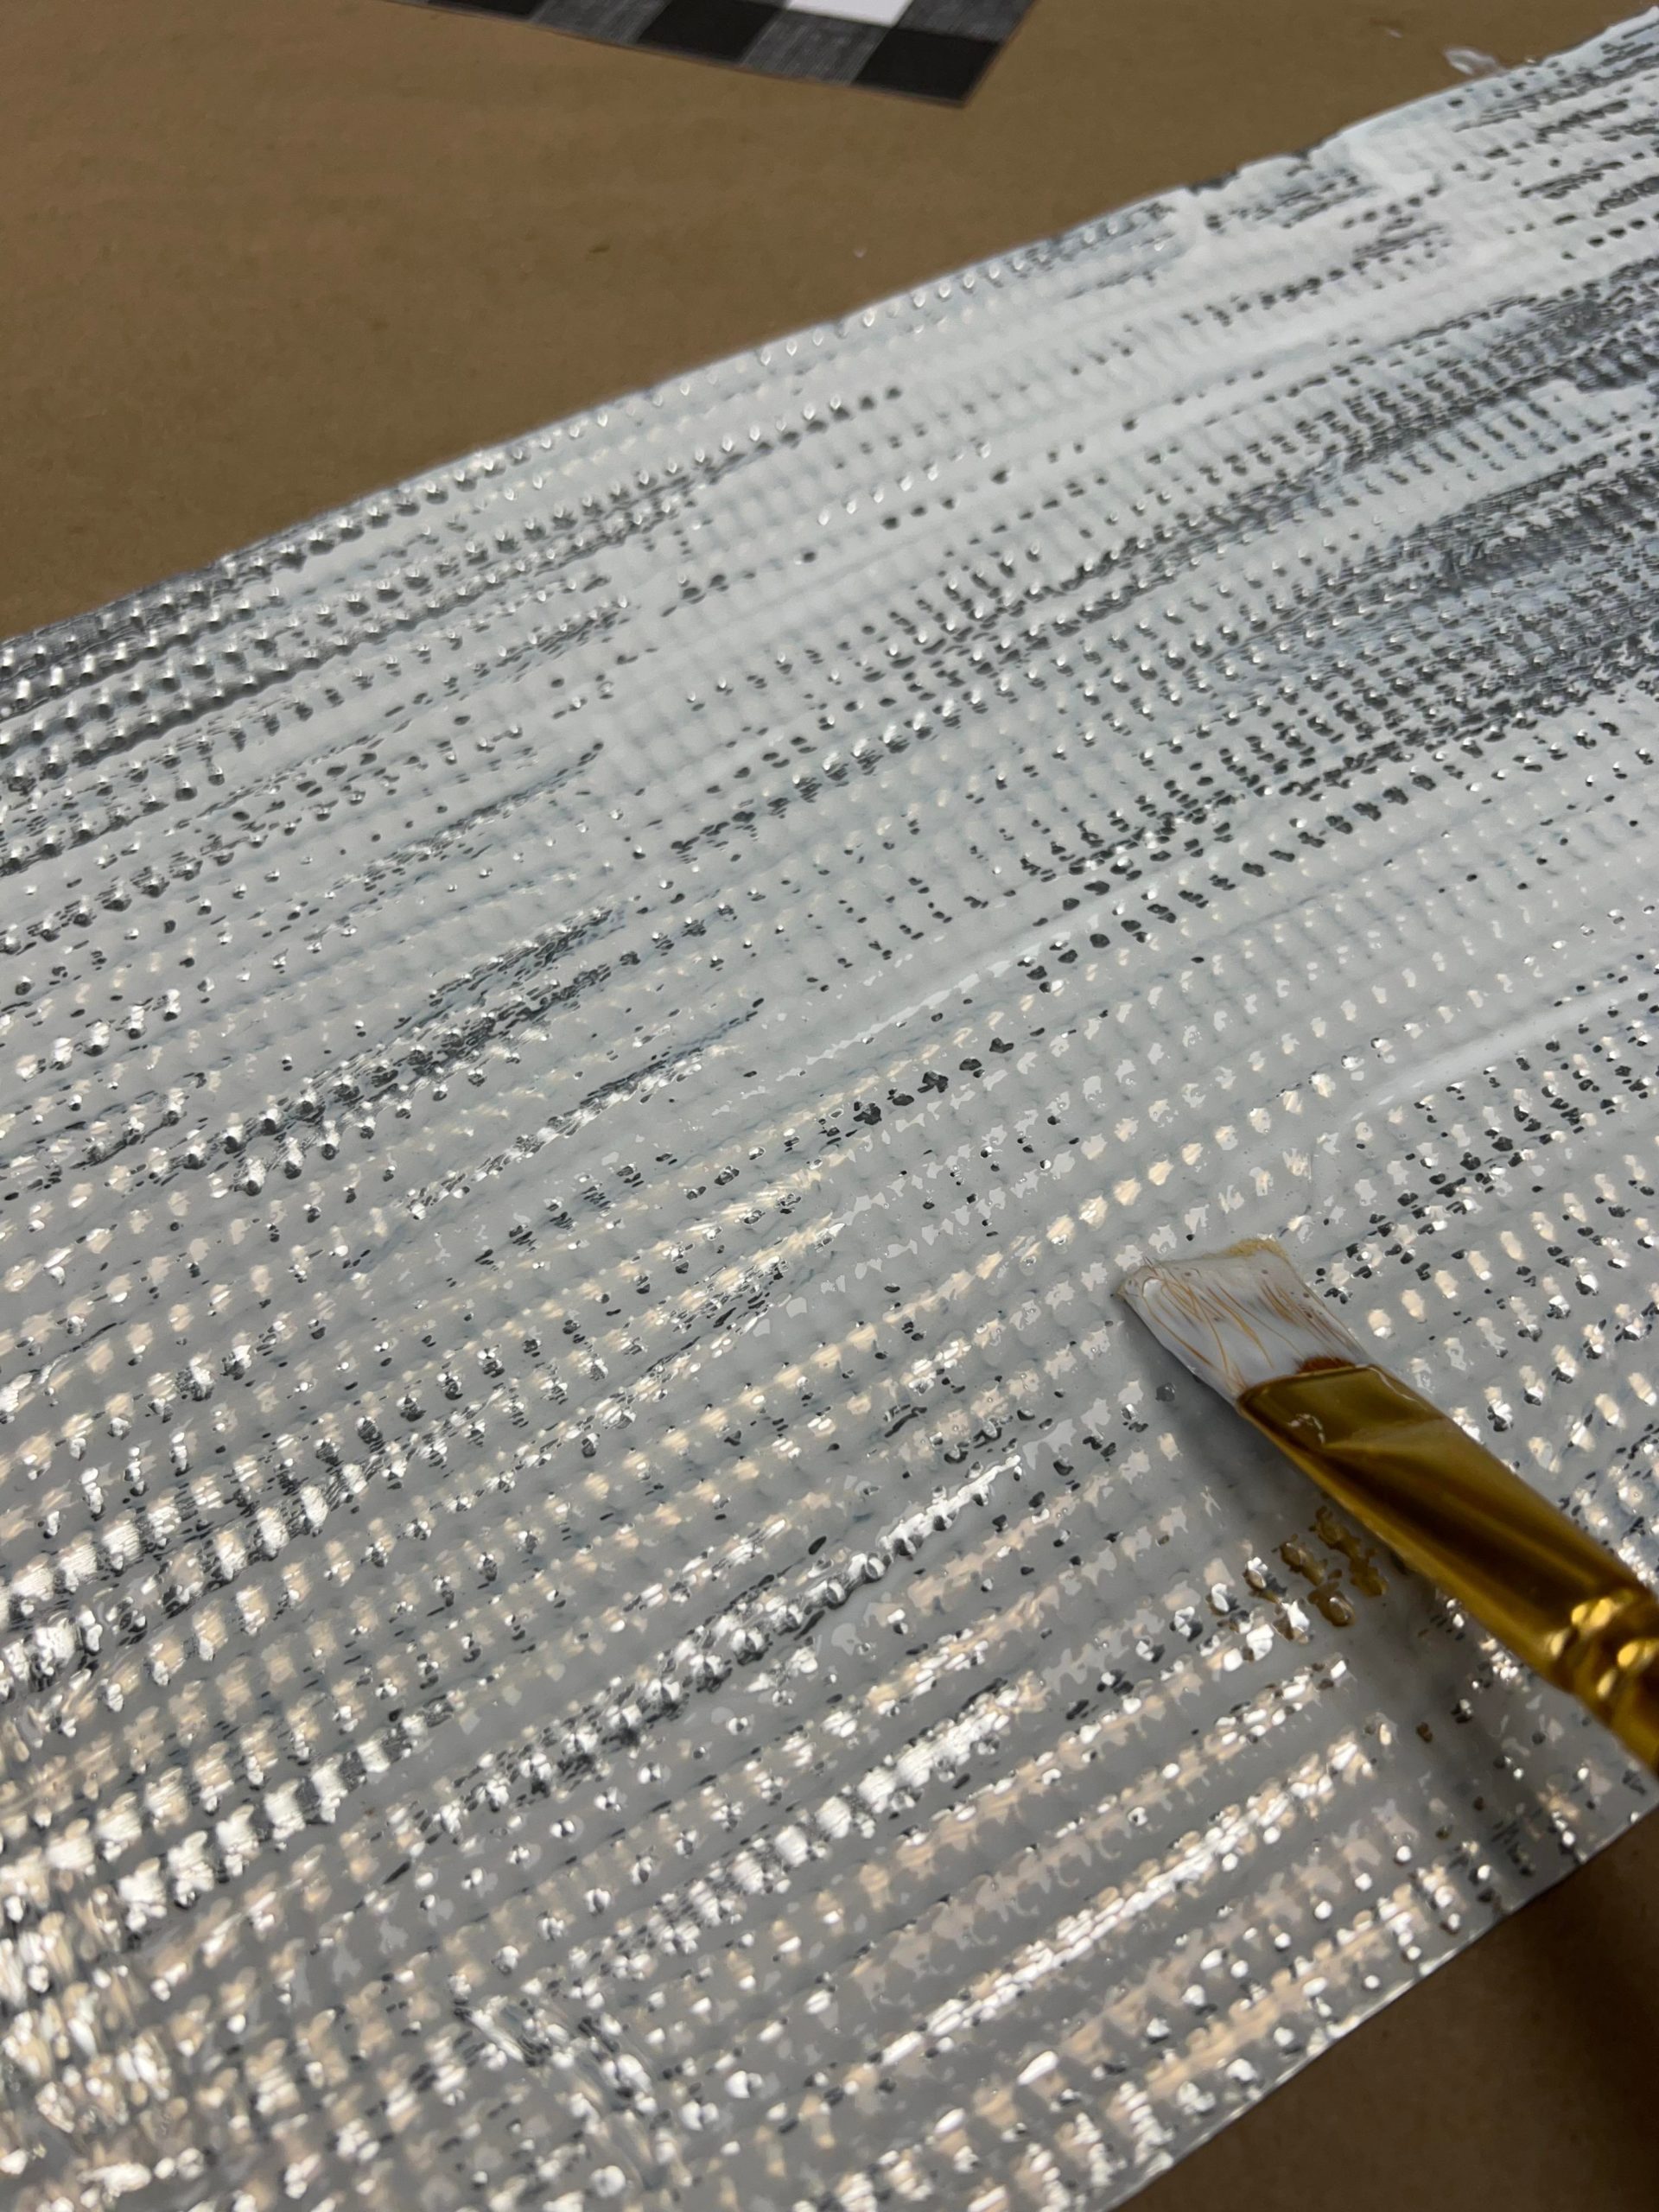
Press the piece of scrapbook paper onto the cookie tin and over the mod podge.
You will want to add more mod podge over the paper.
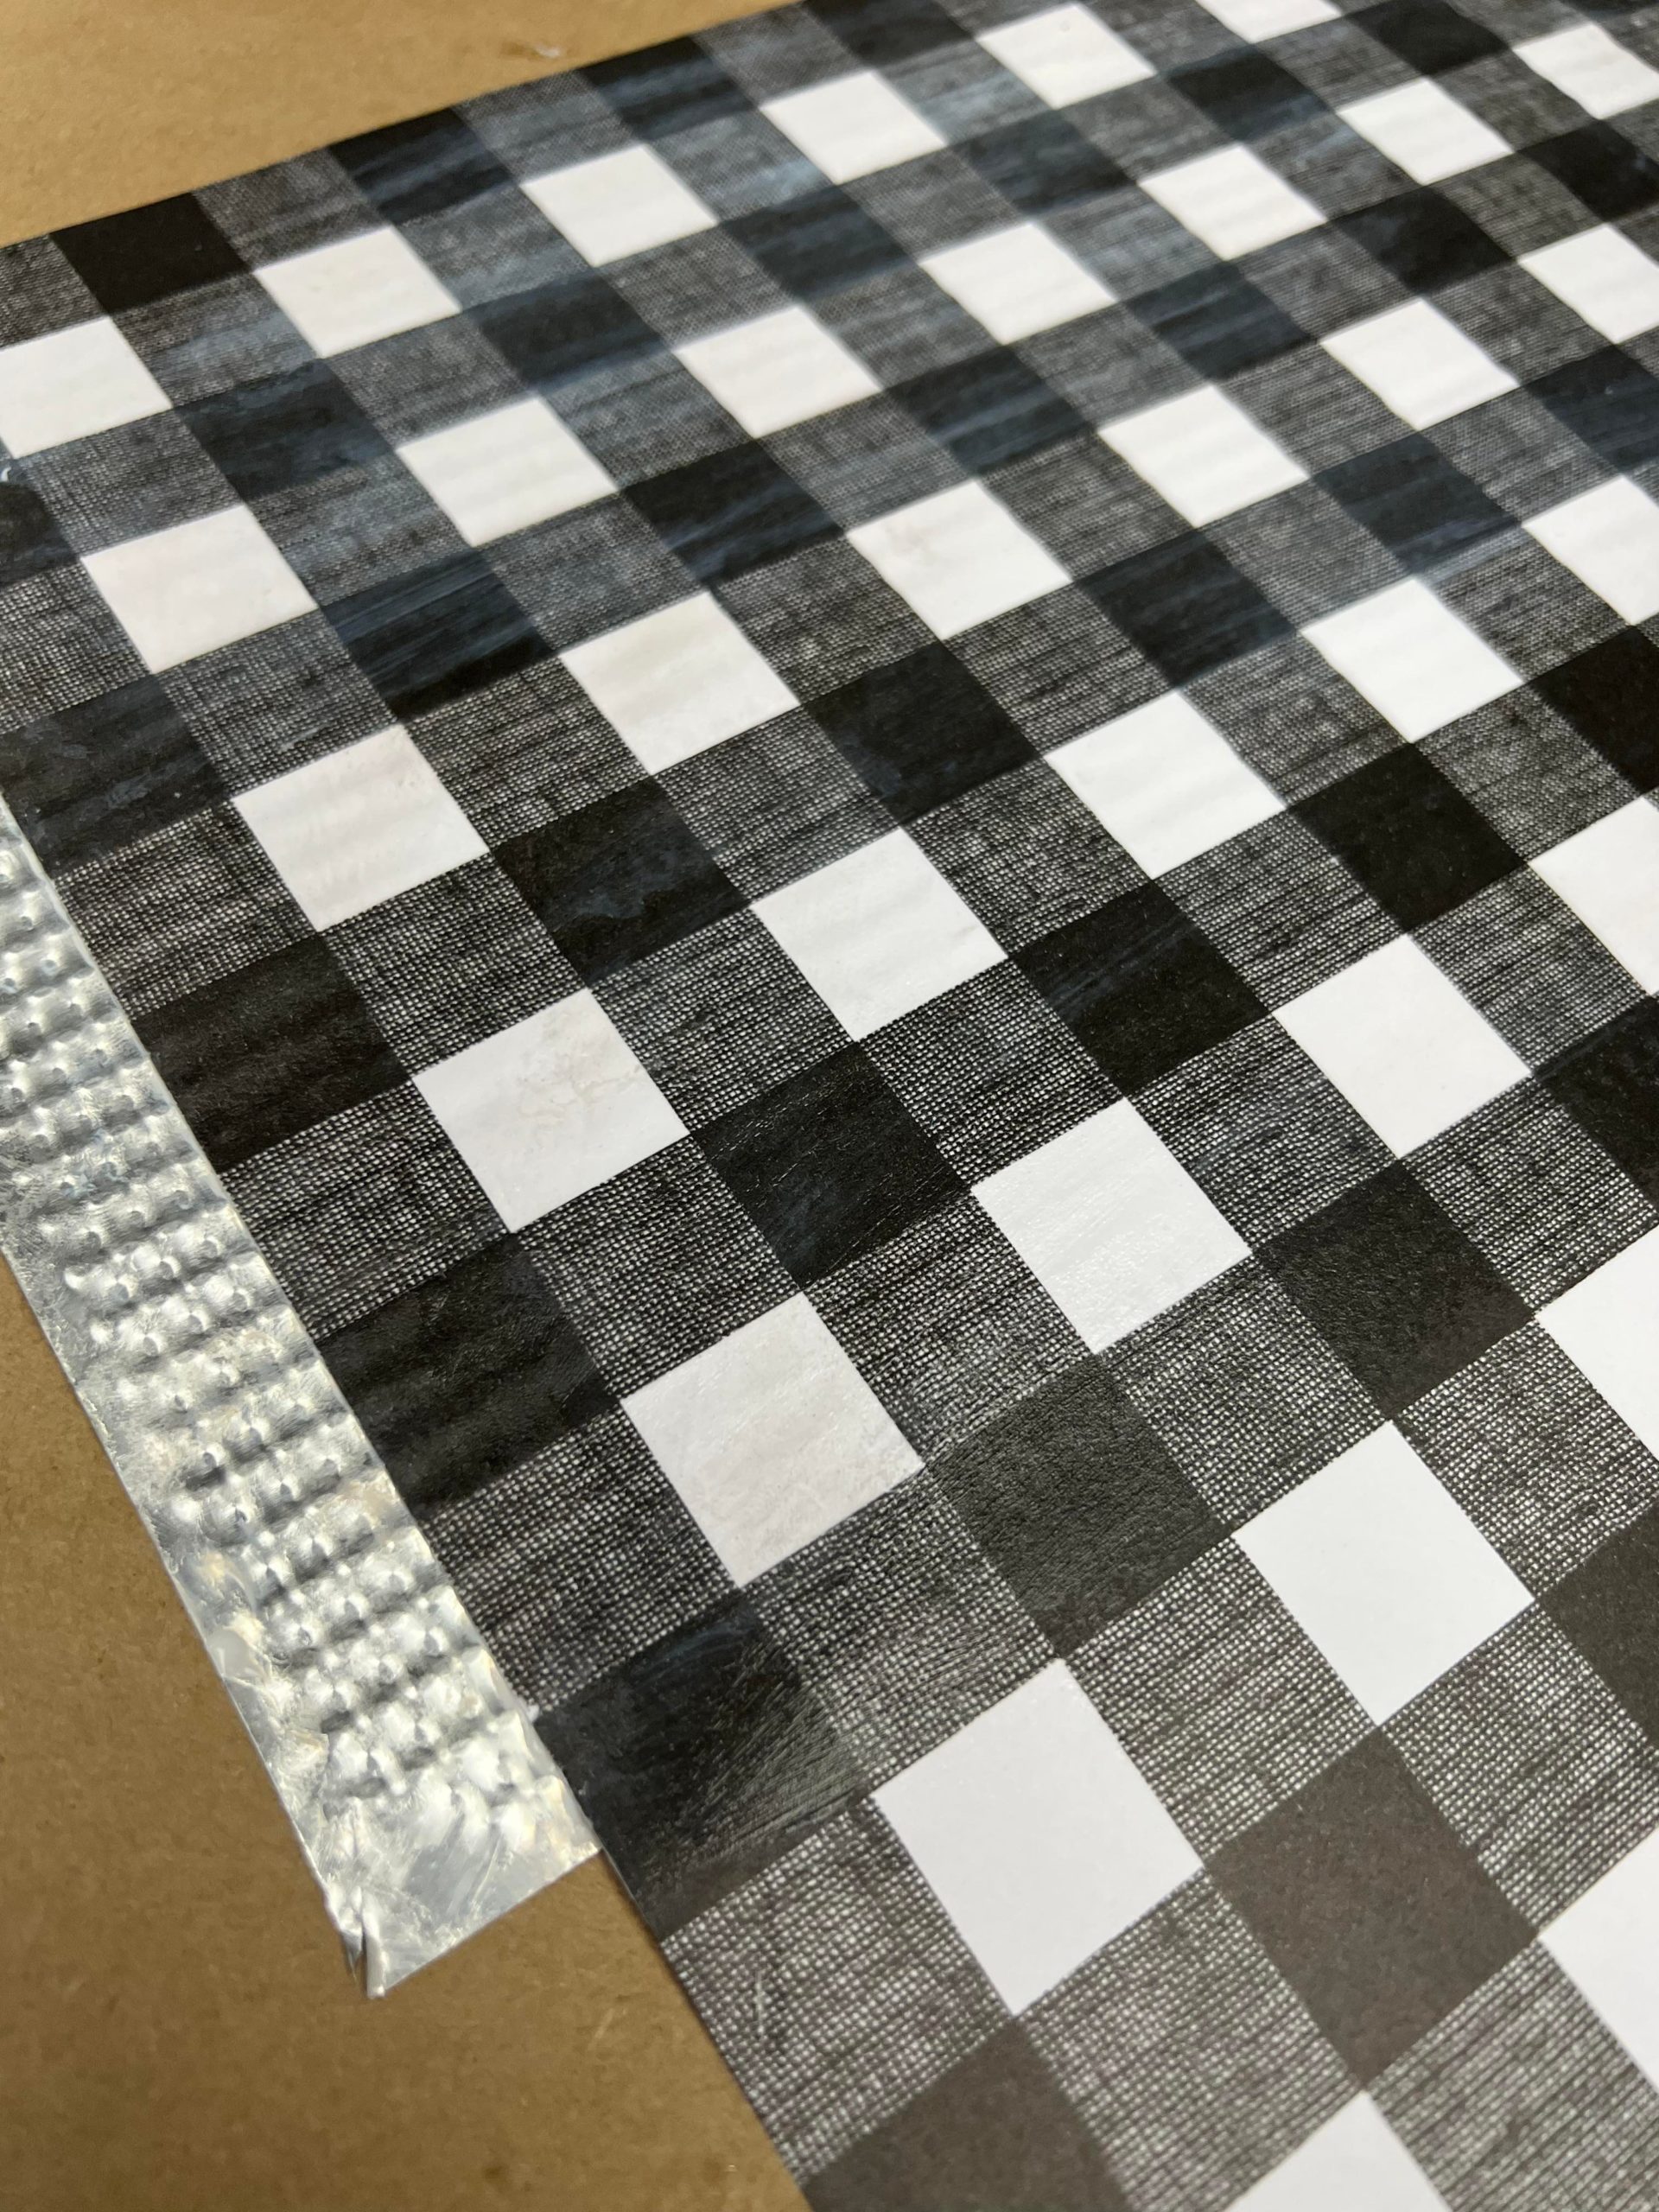
Cut the excess paper off of the cookie sheet.
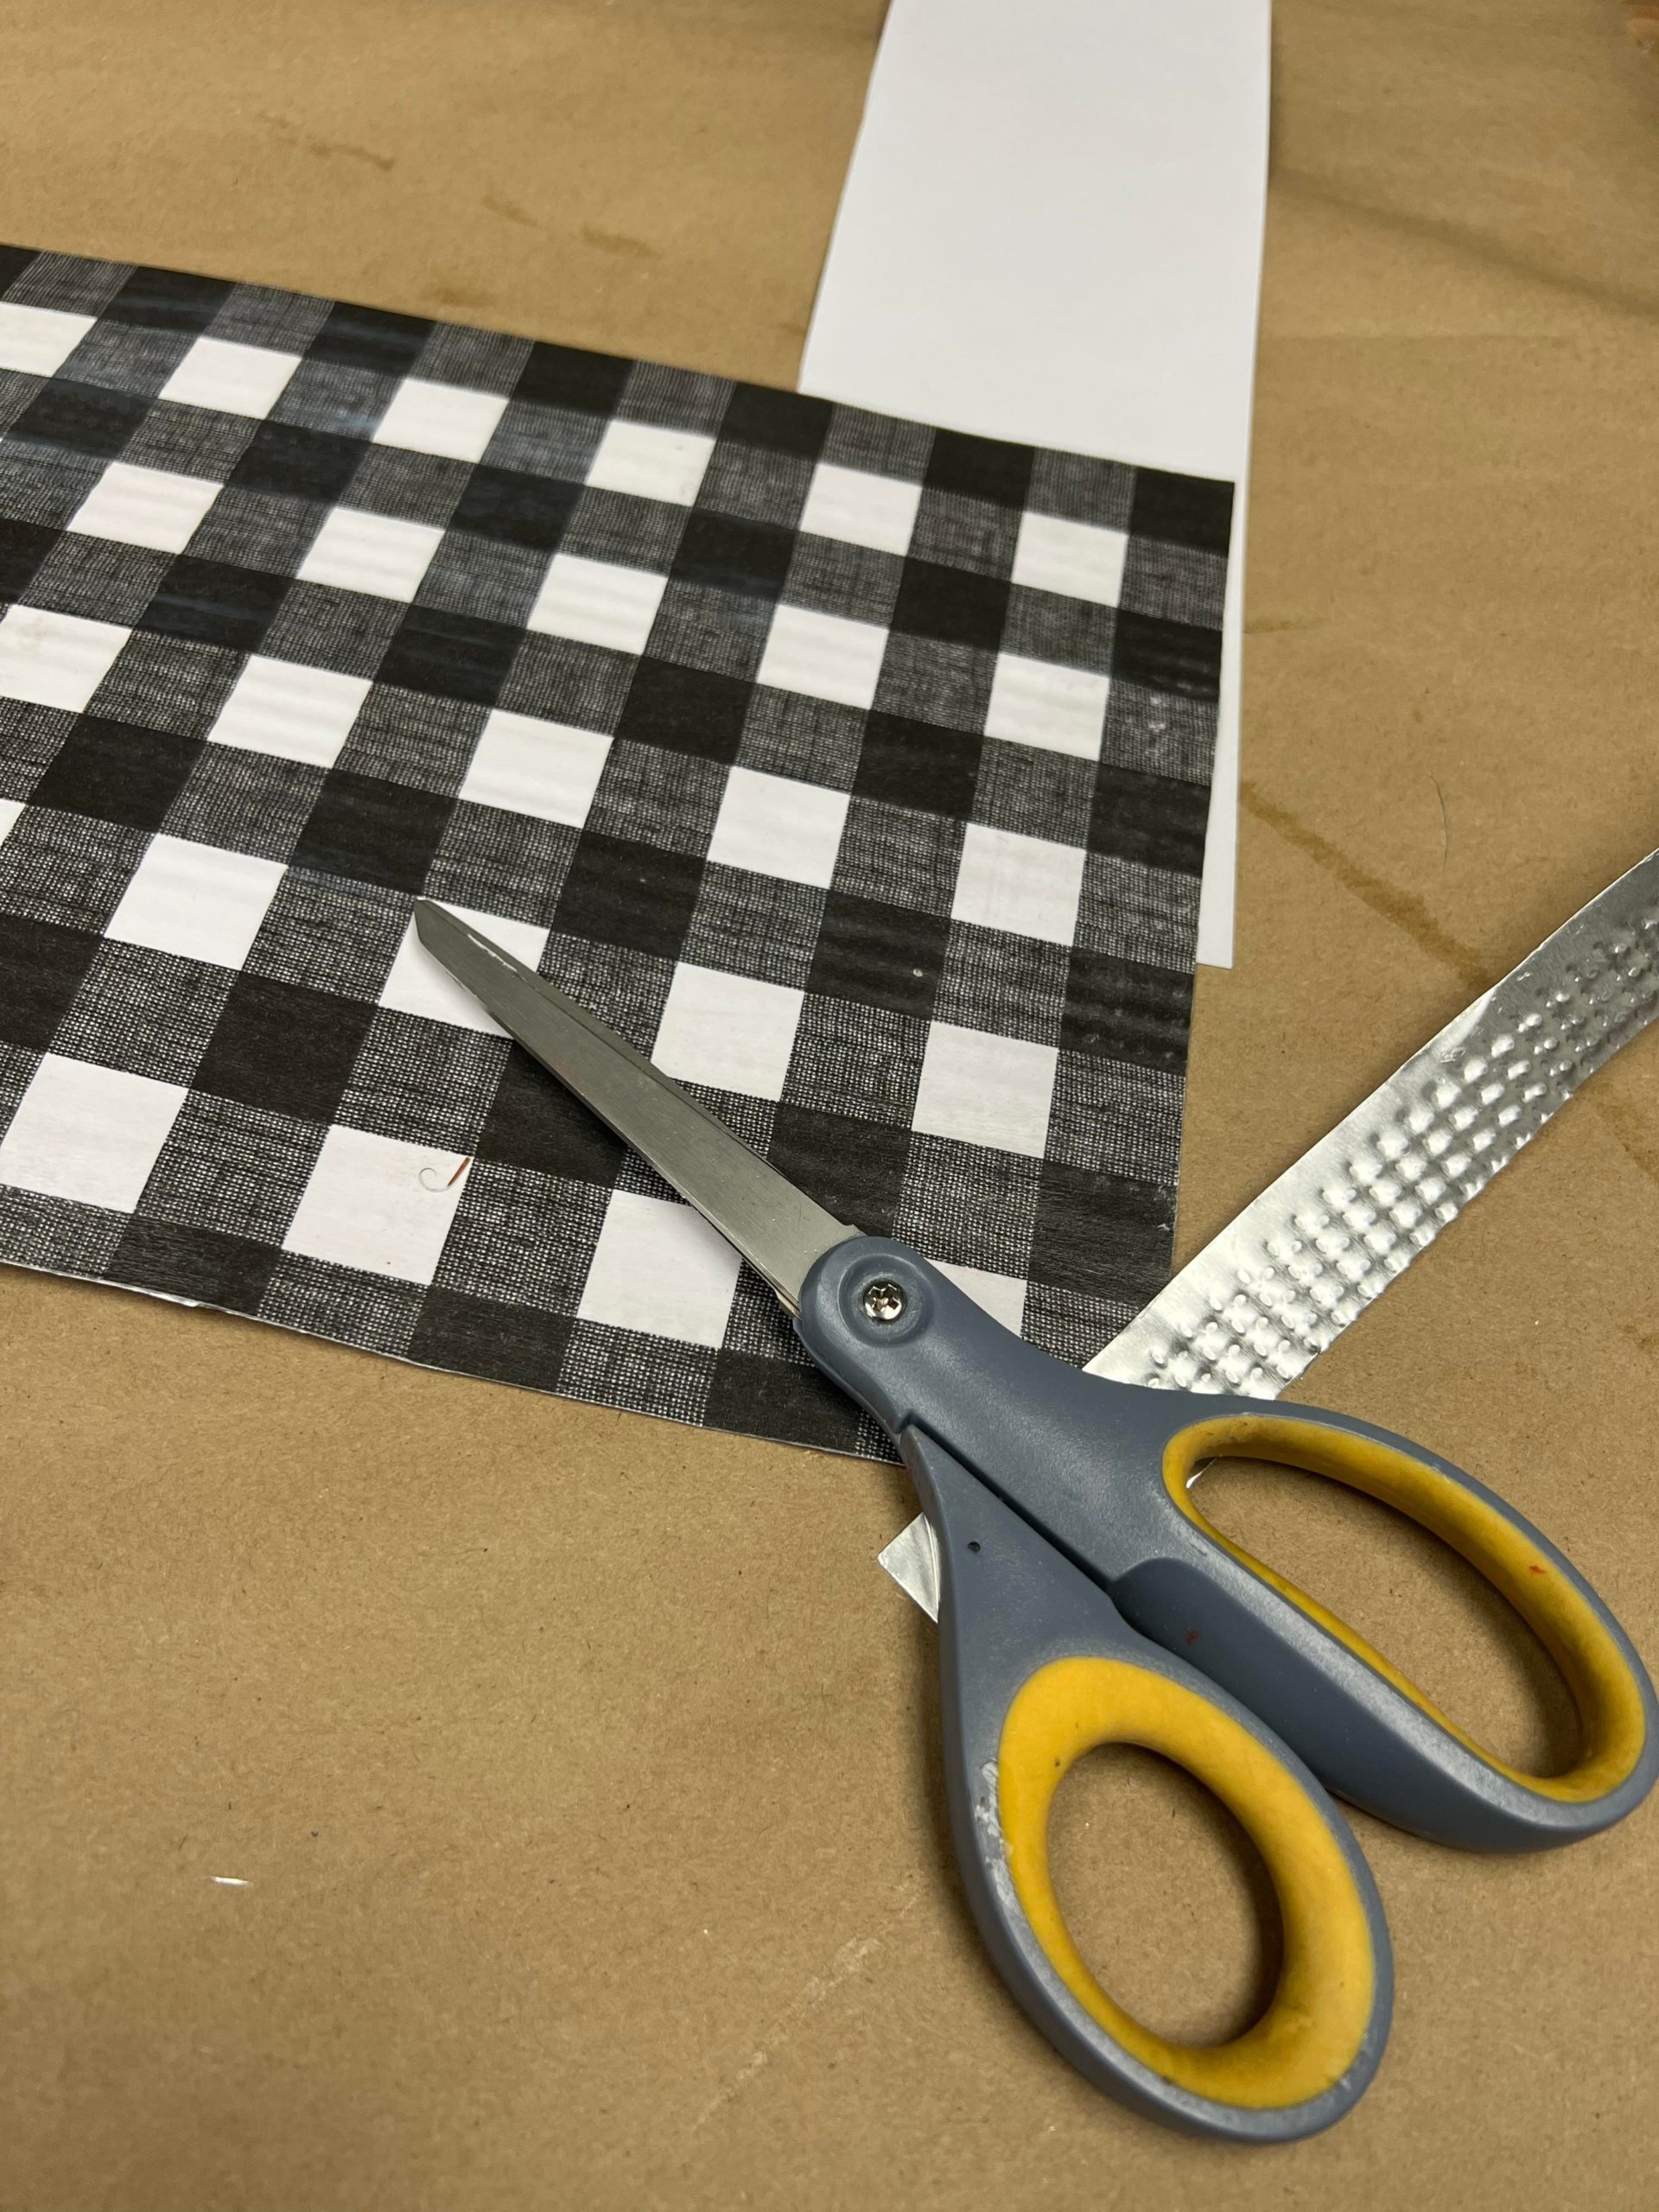
I then cut one end of the cookie tin off of the paper.
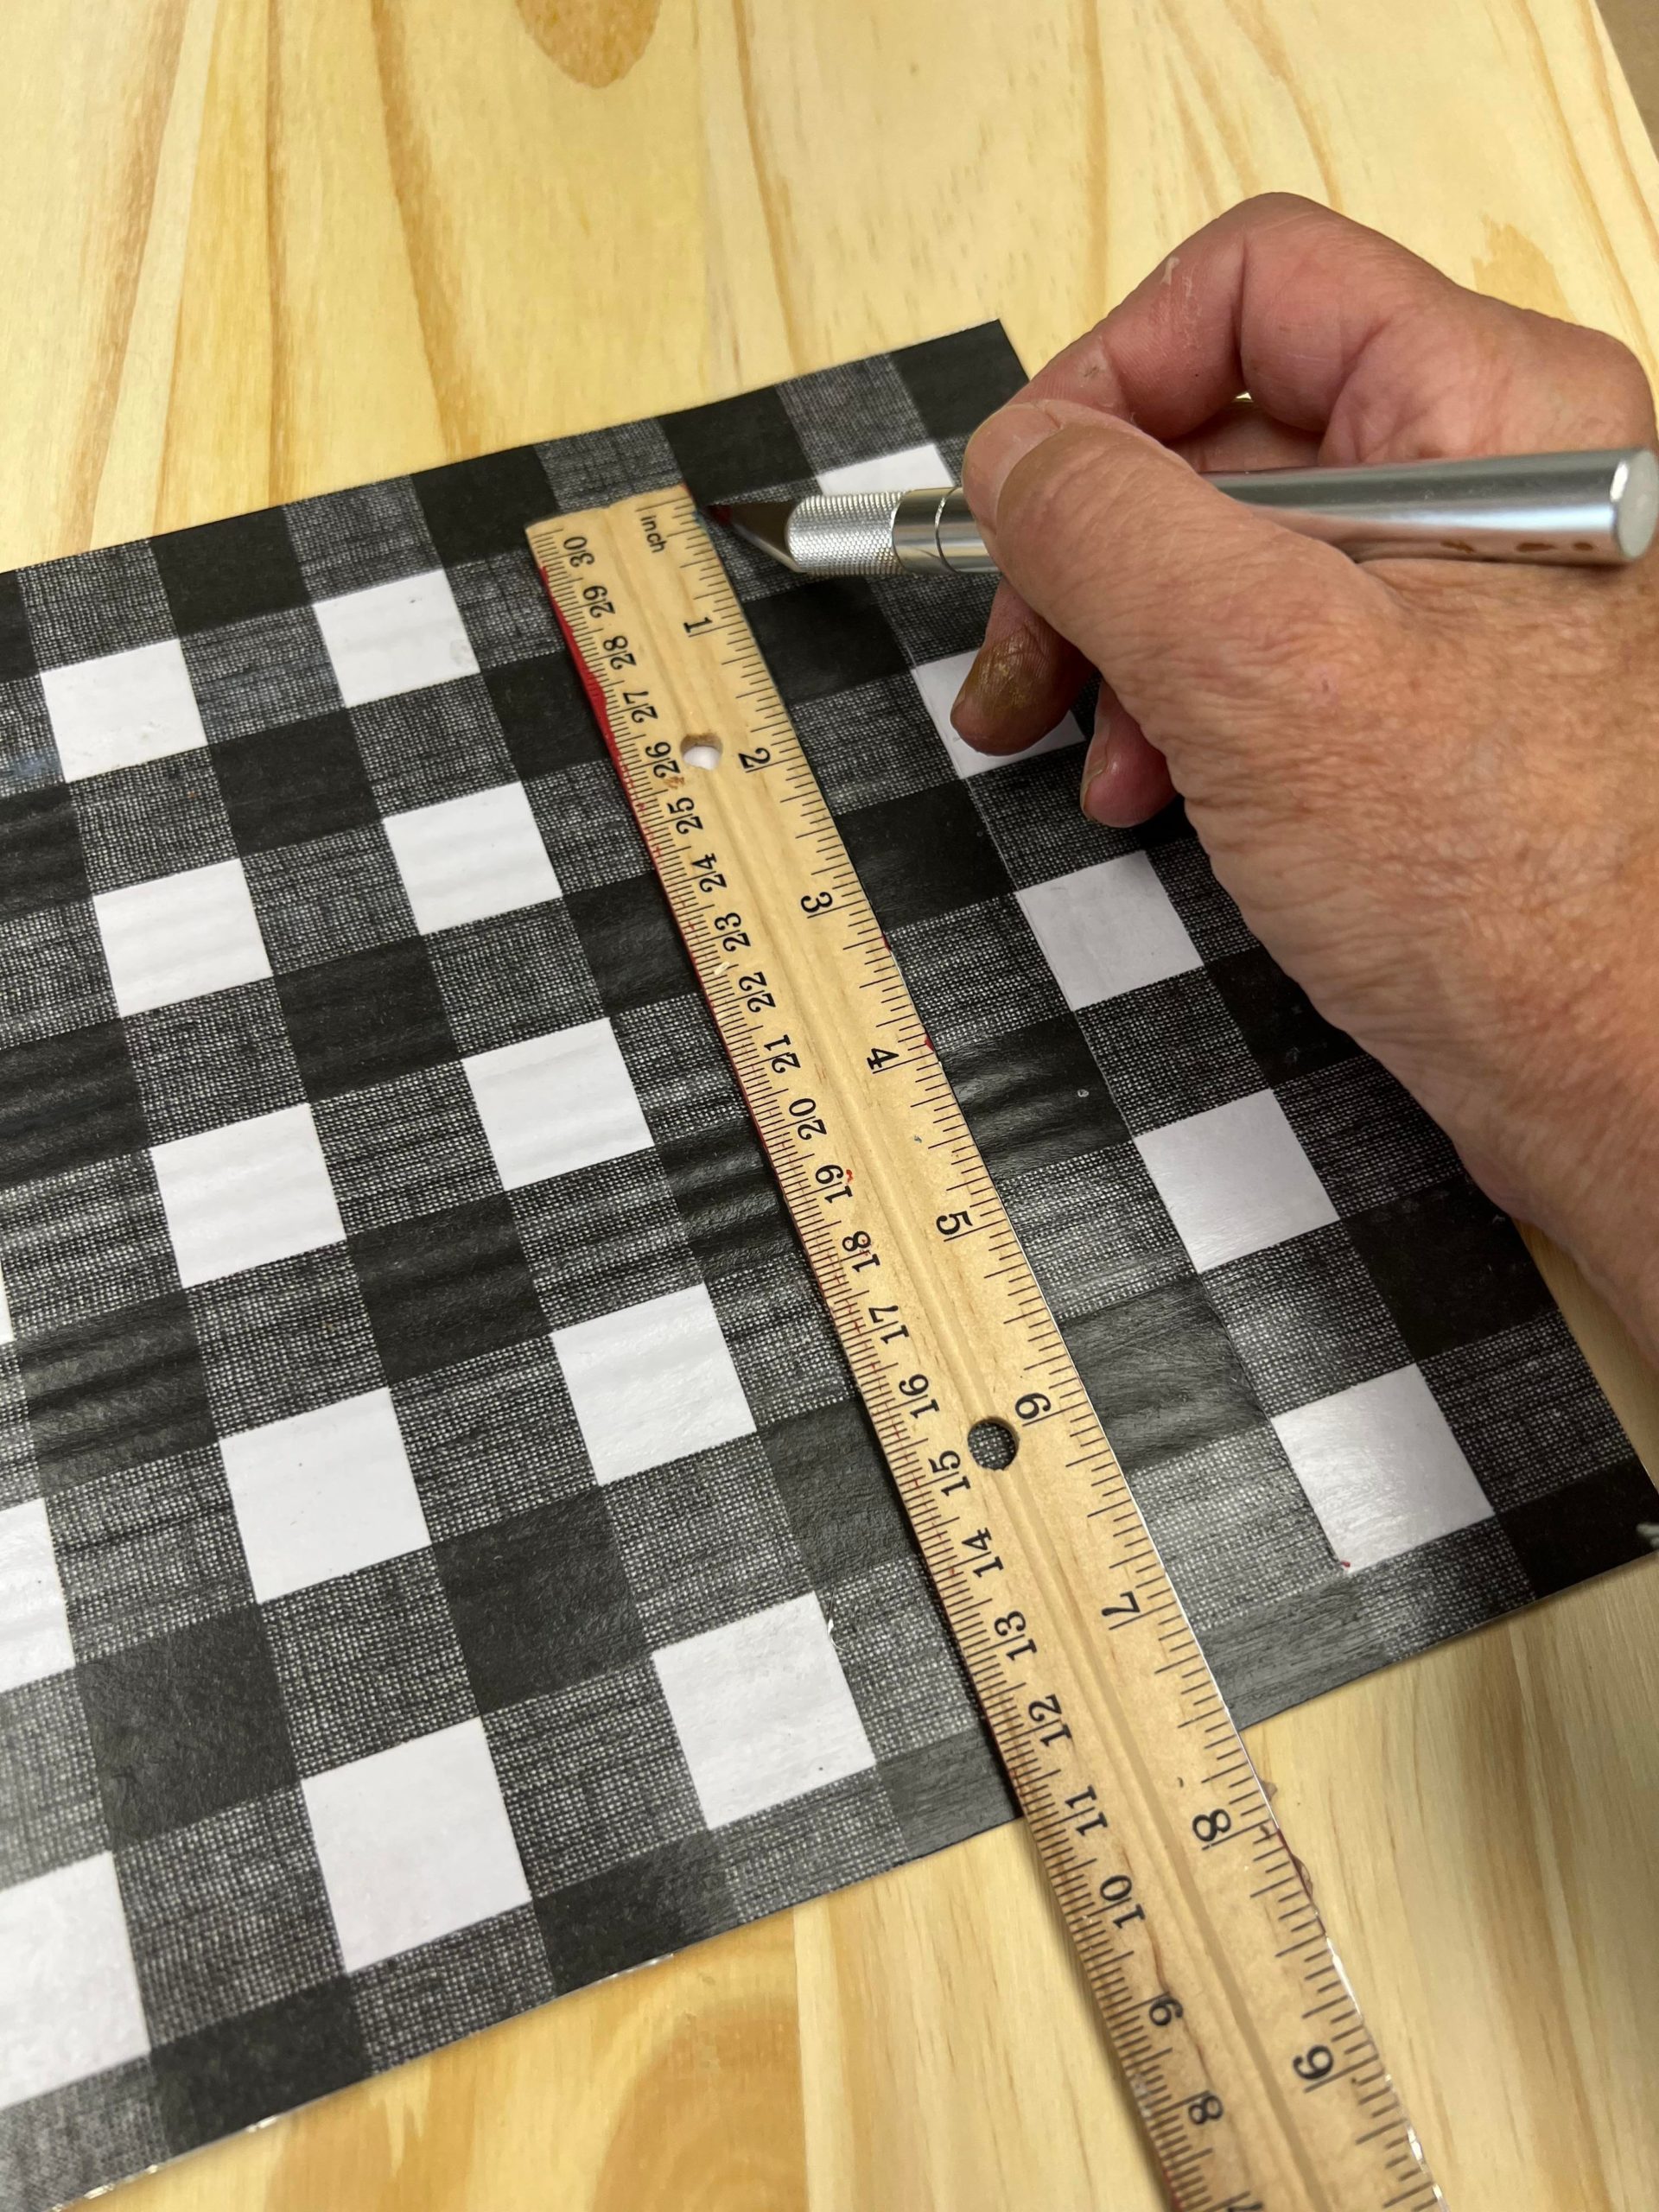
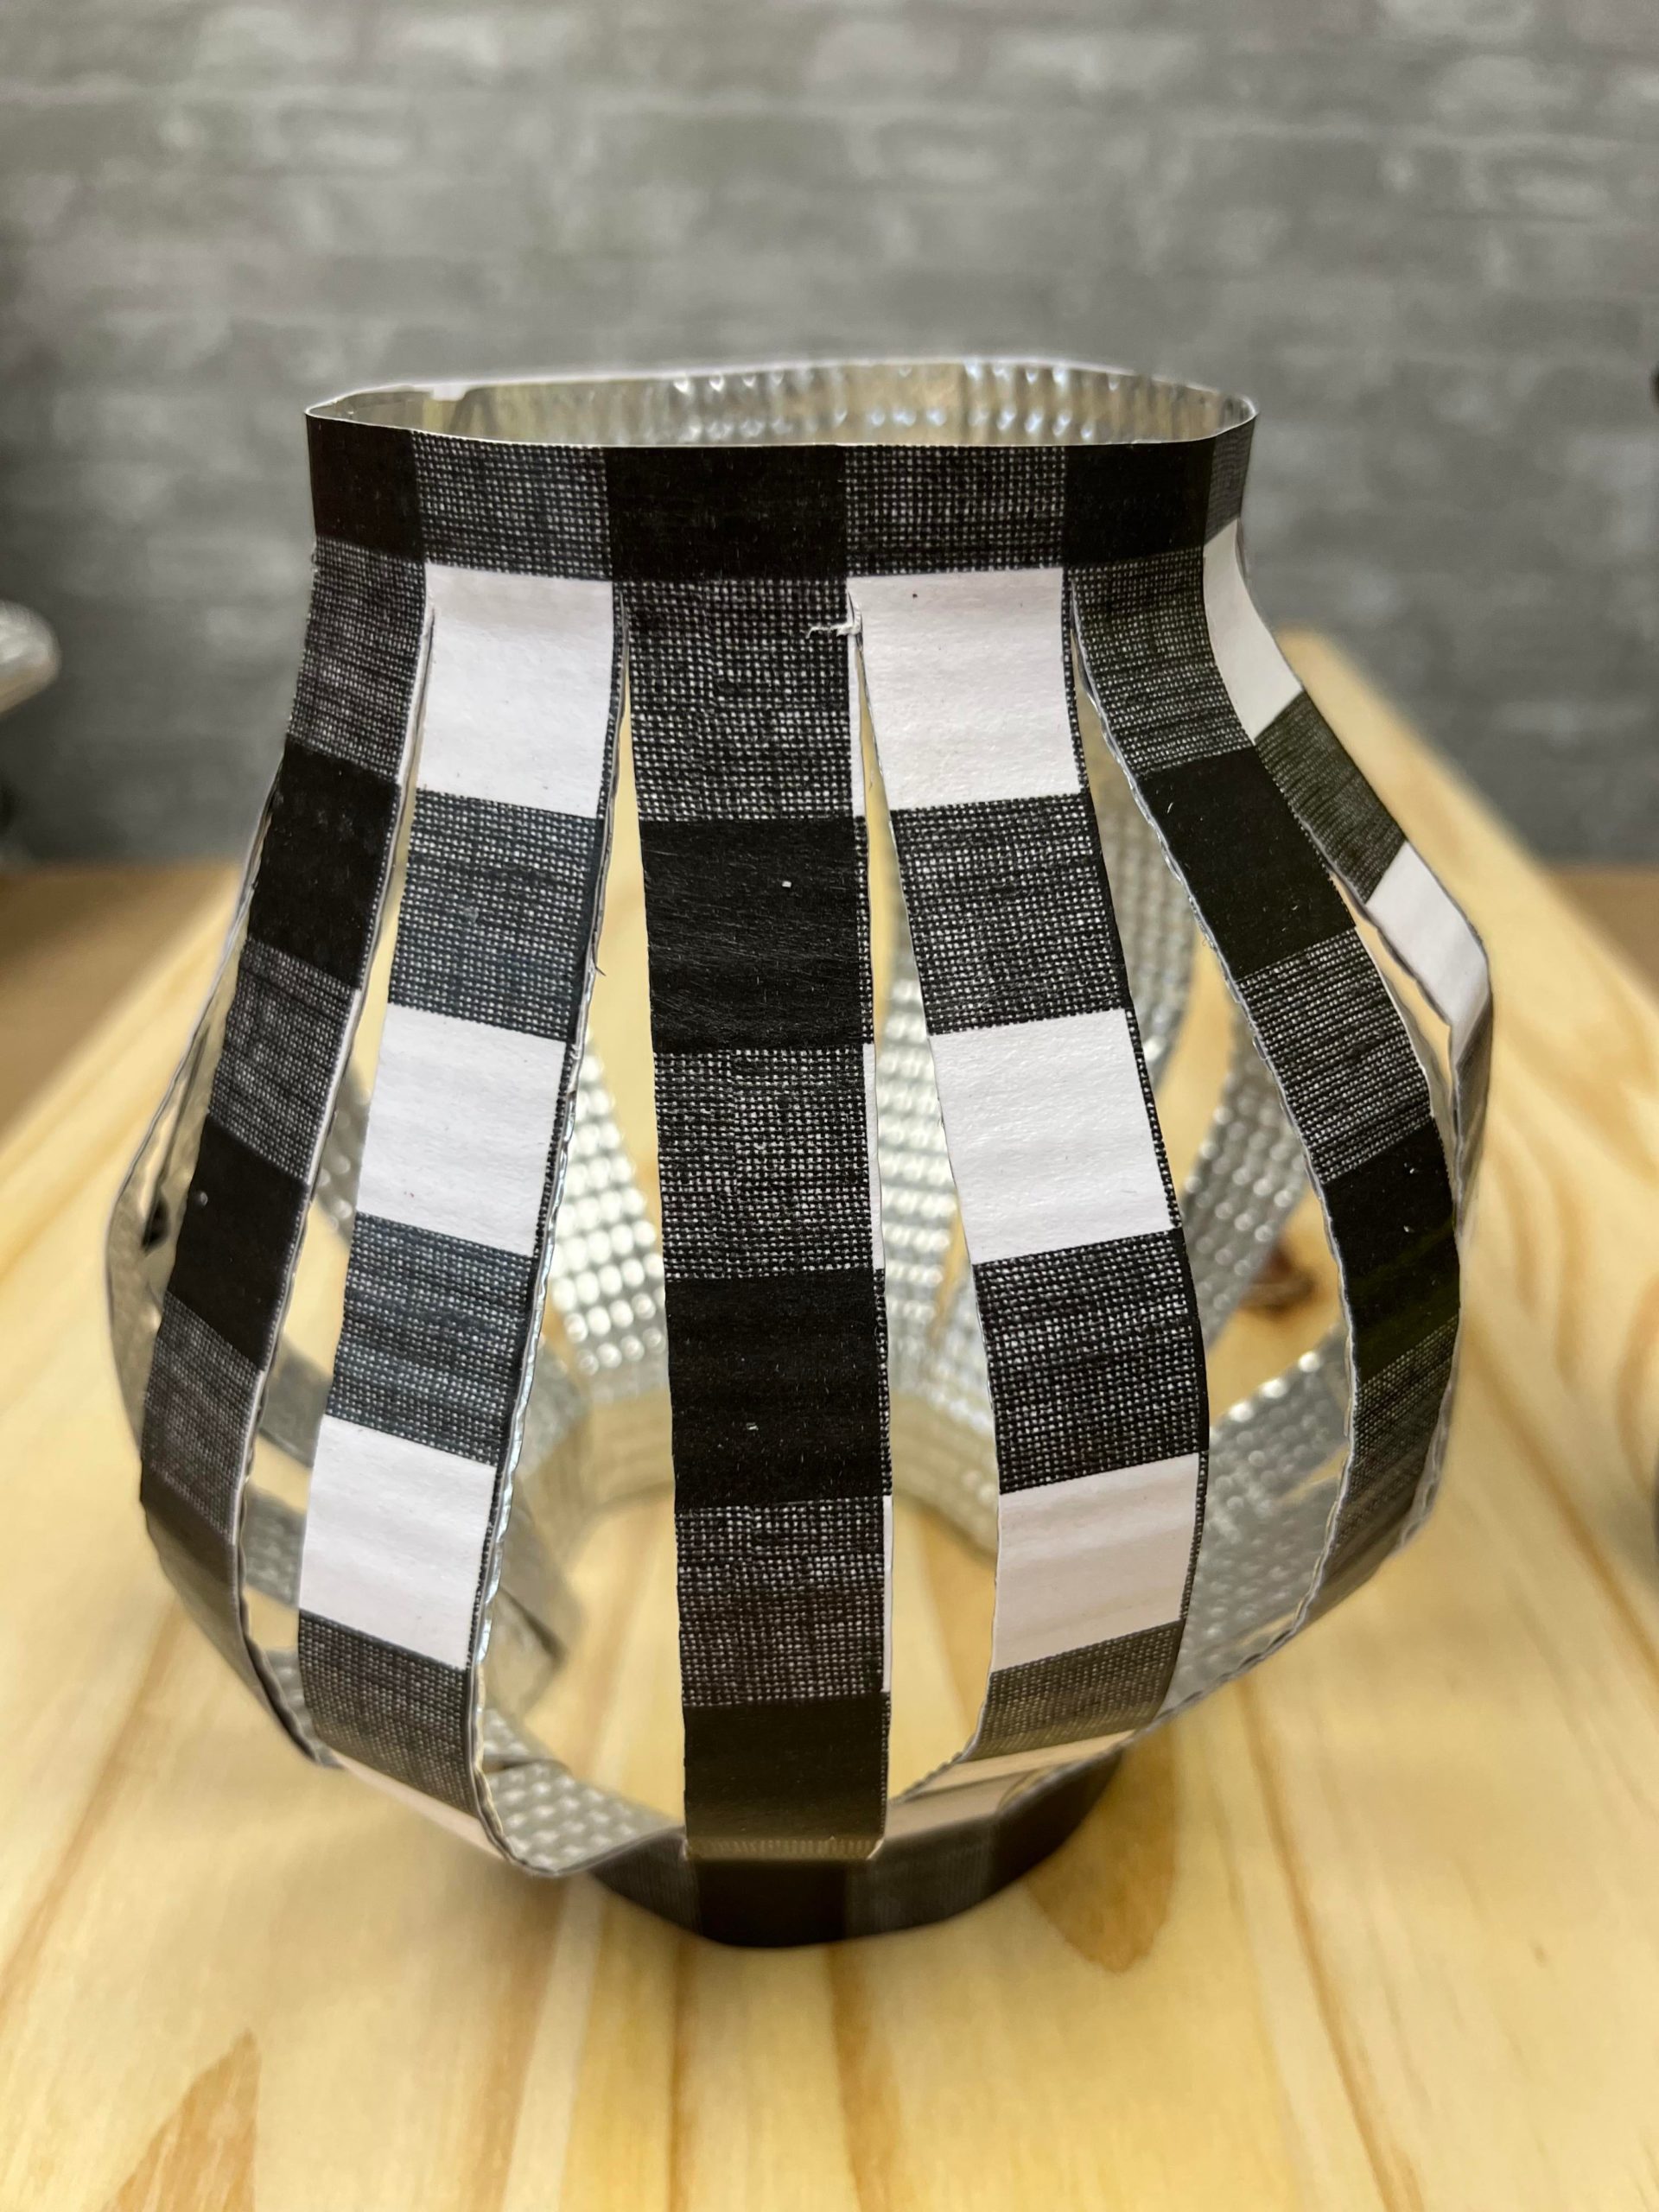
I placed the cookie tin onto a piece of wood and then used the exacto knife to cut strips. You will want to use the ruler to cut straight lines. The check print paper made this very easy to cut my strips all the same width. Be sure to cut the strip about an inch from the top and bottom of the paper.
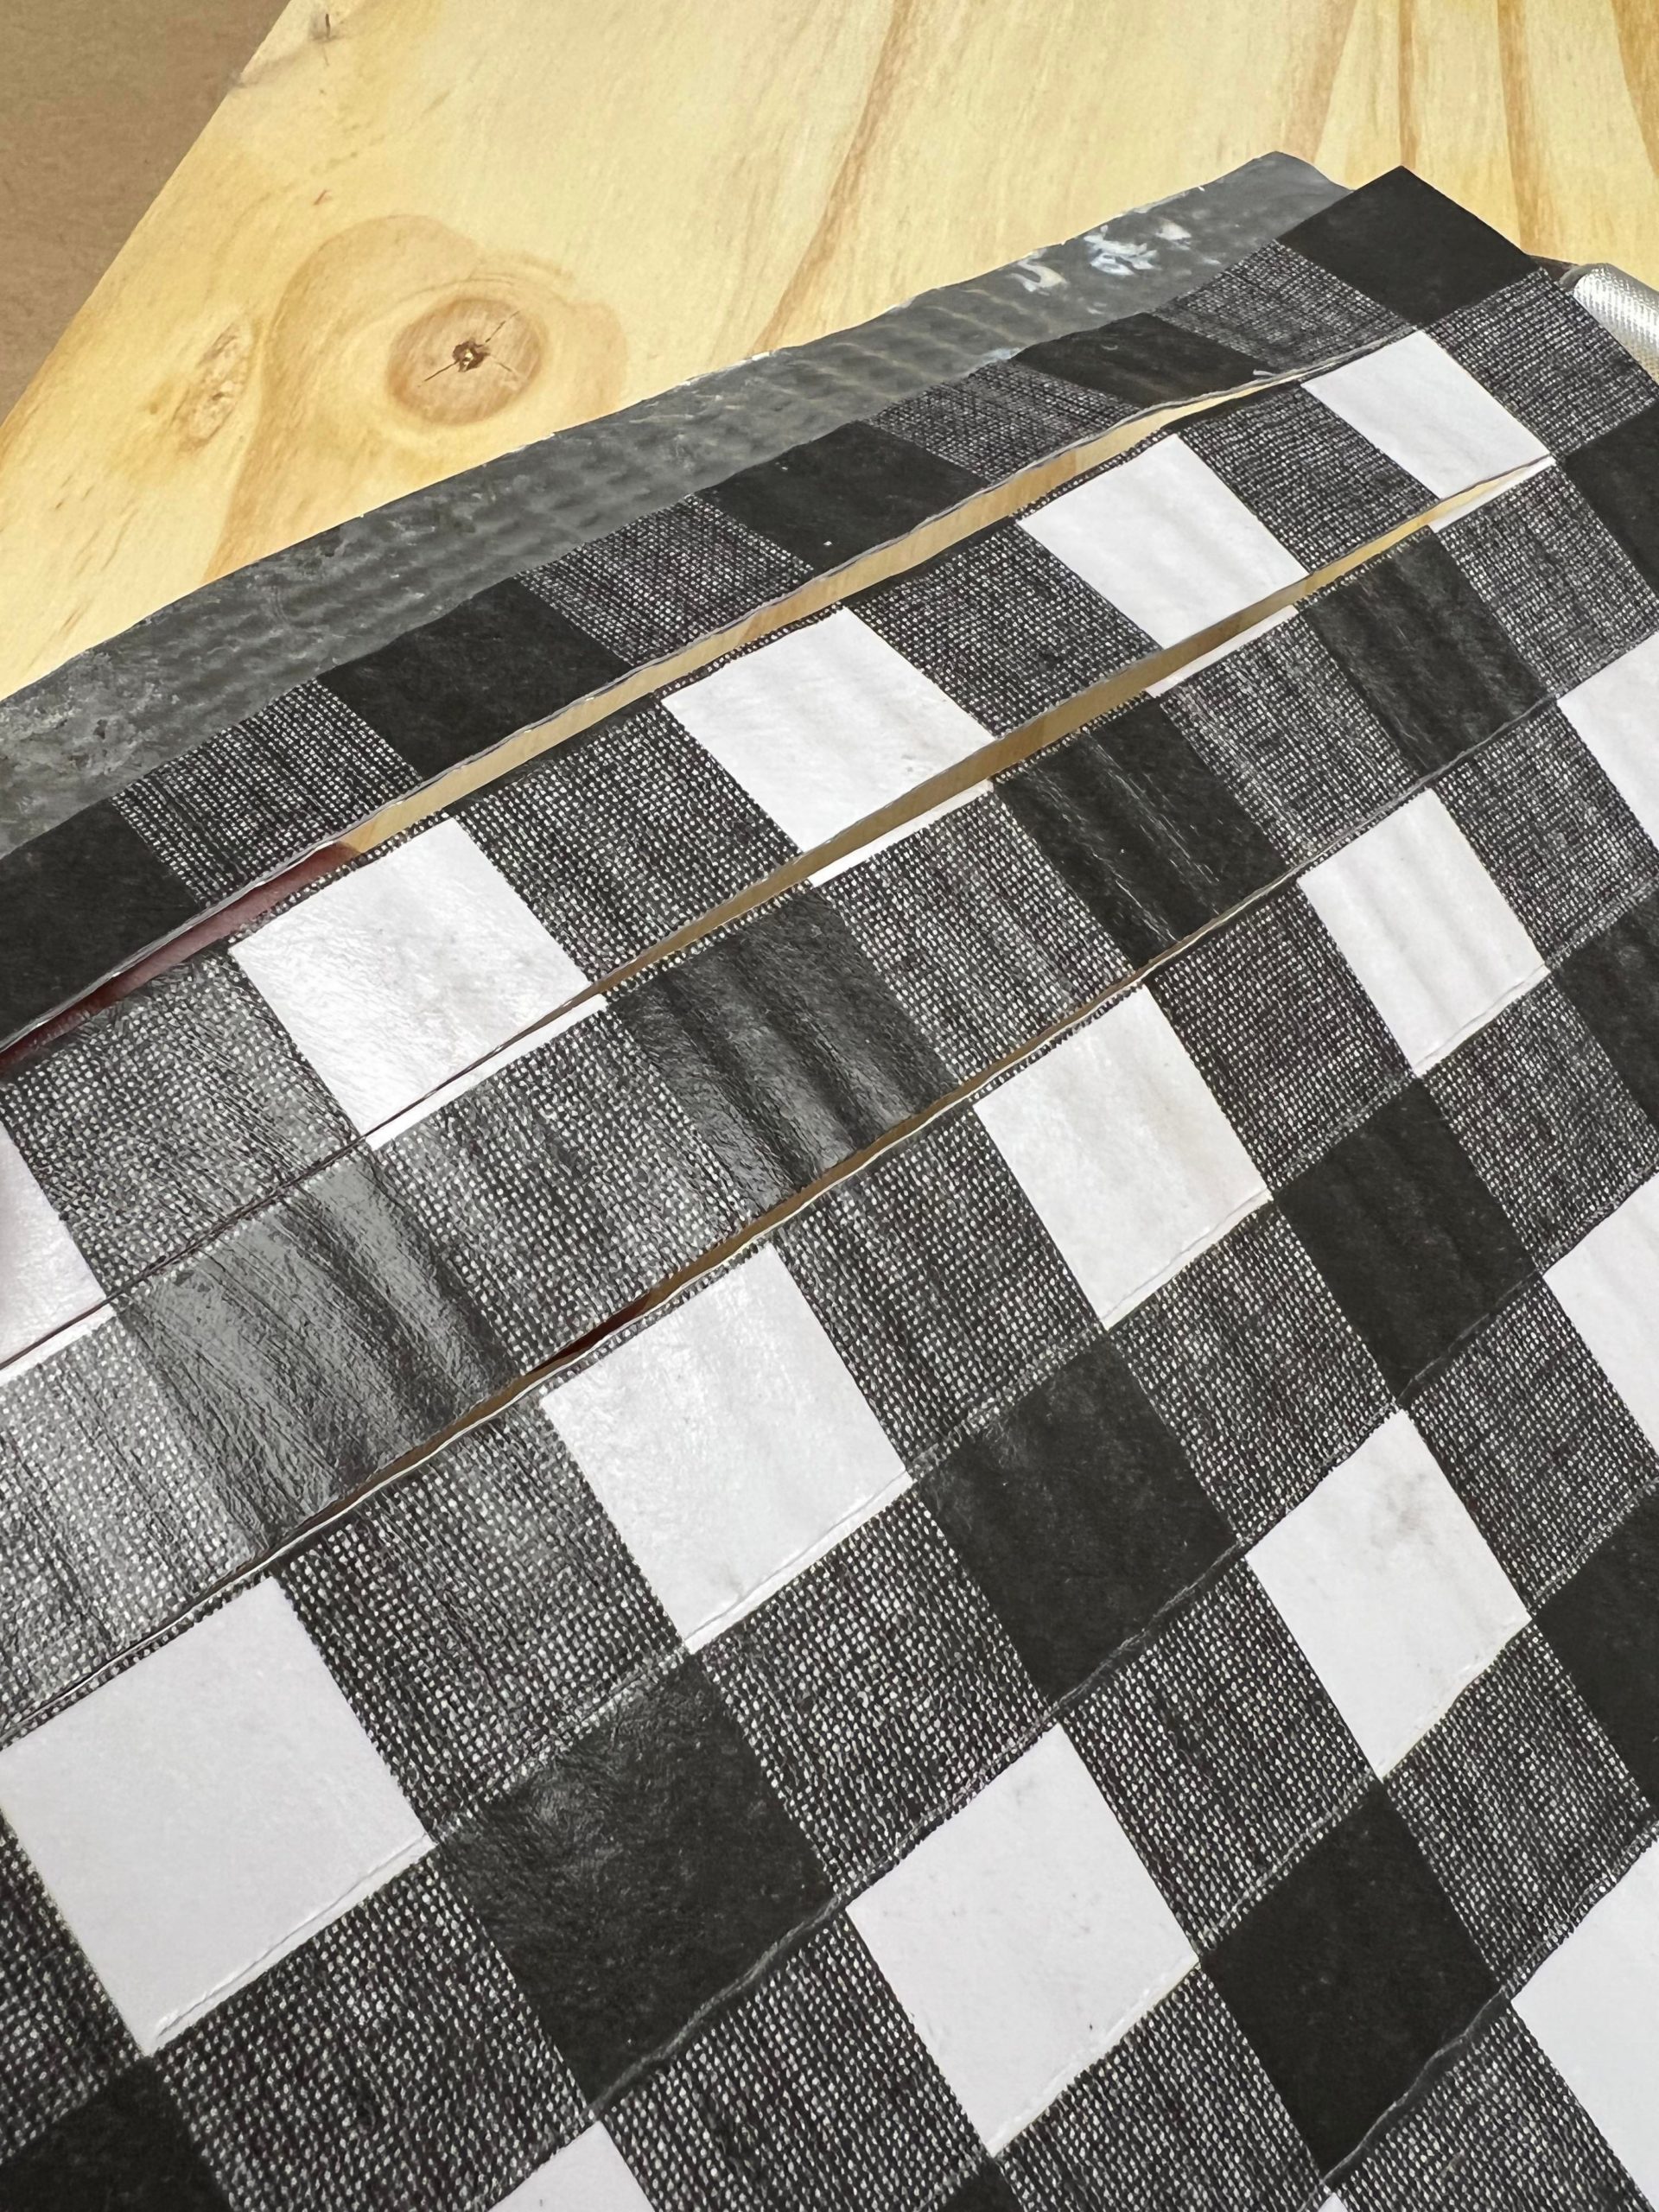
Separate the strips and then glue the ends together to create the lantern.
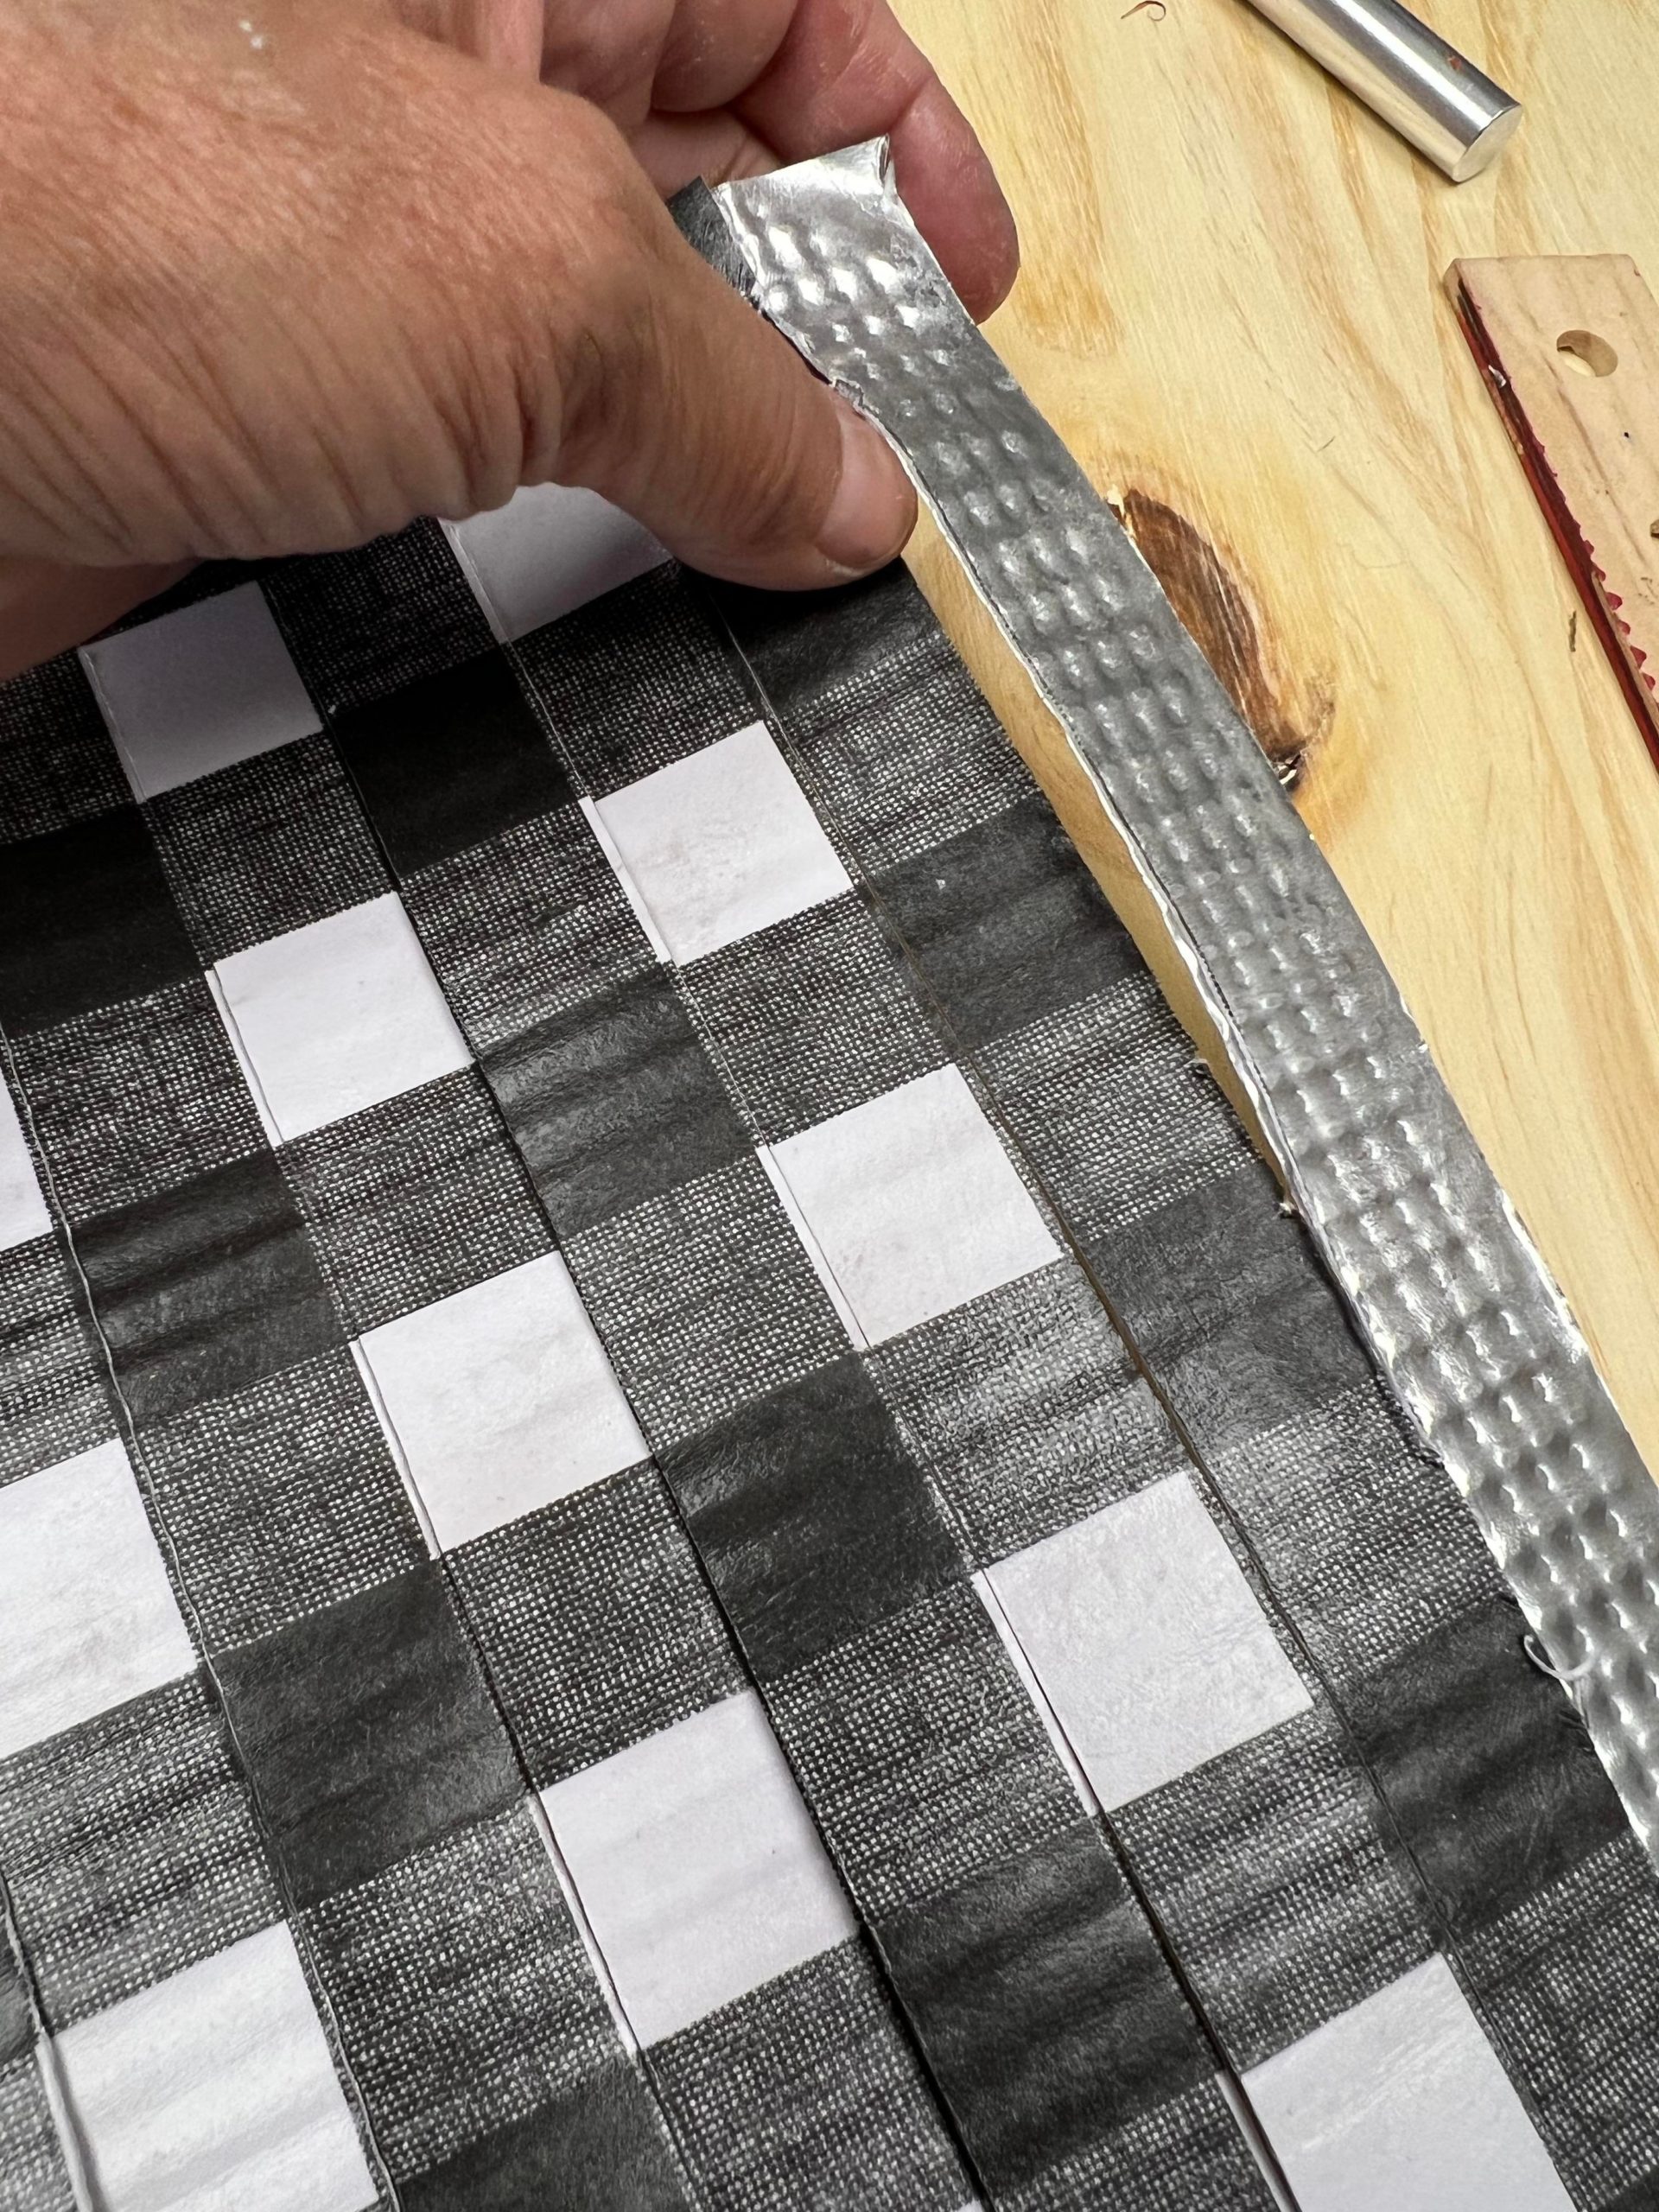
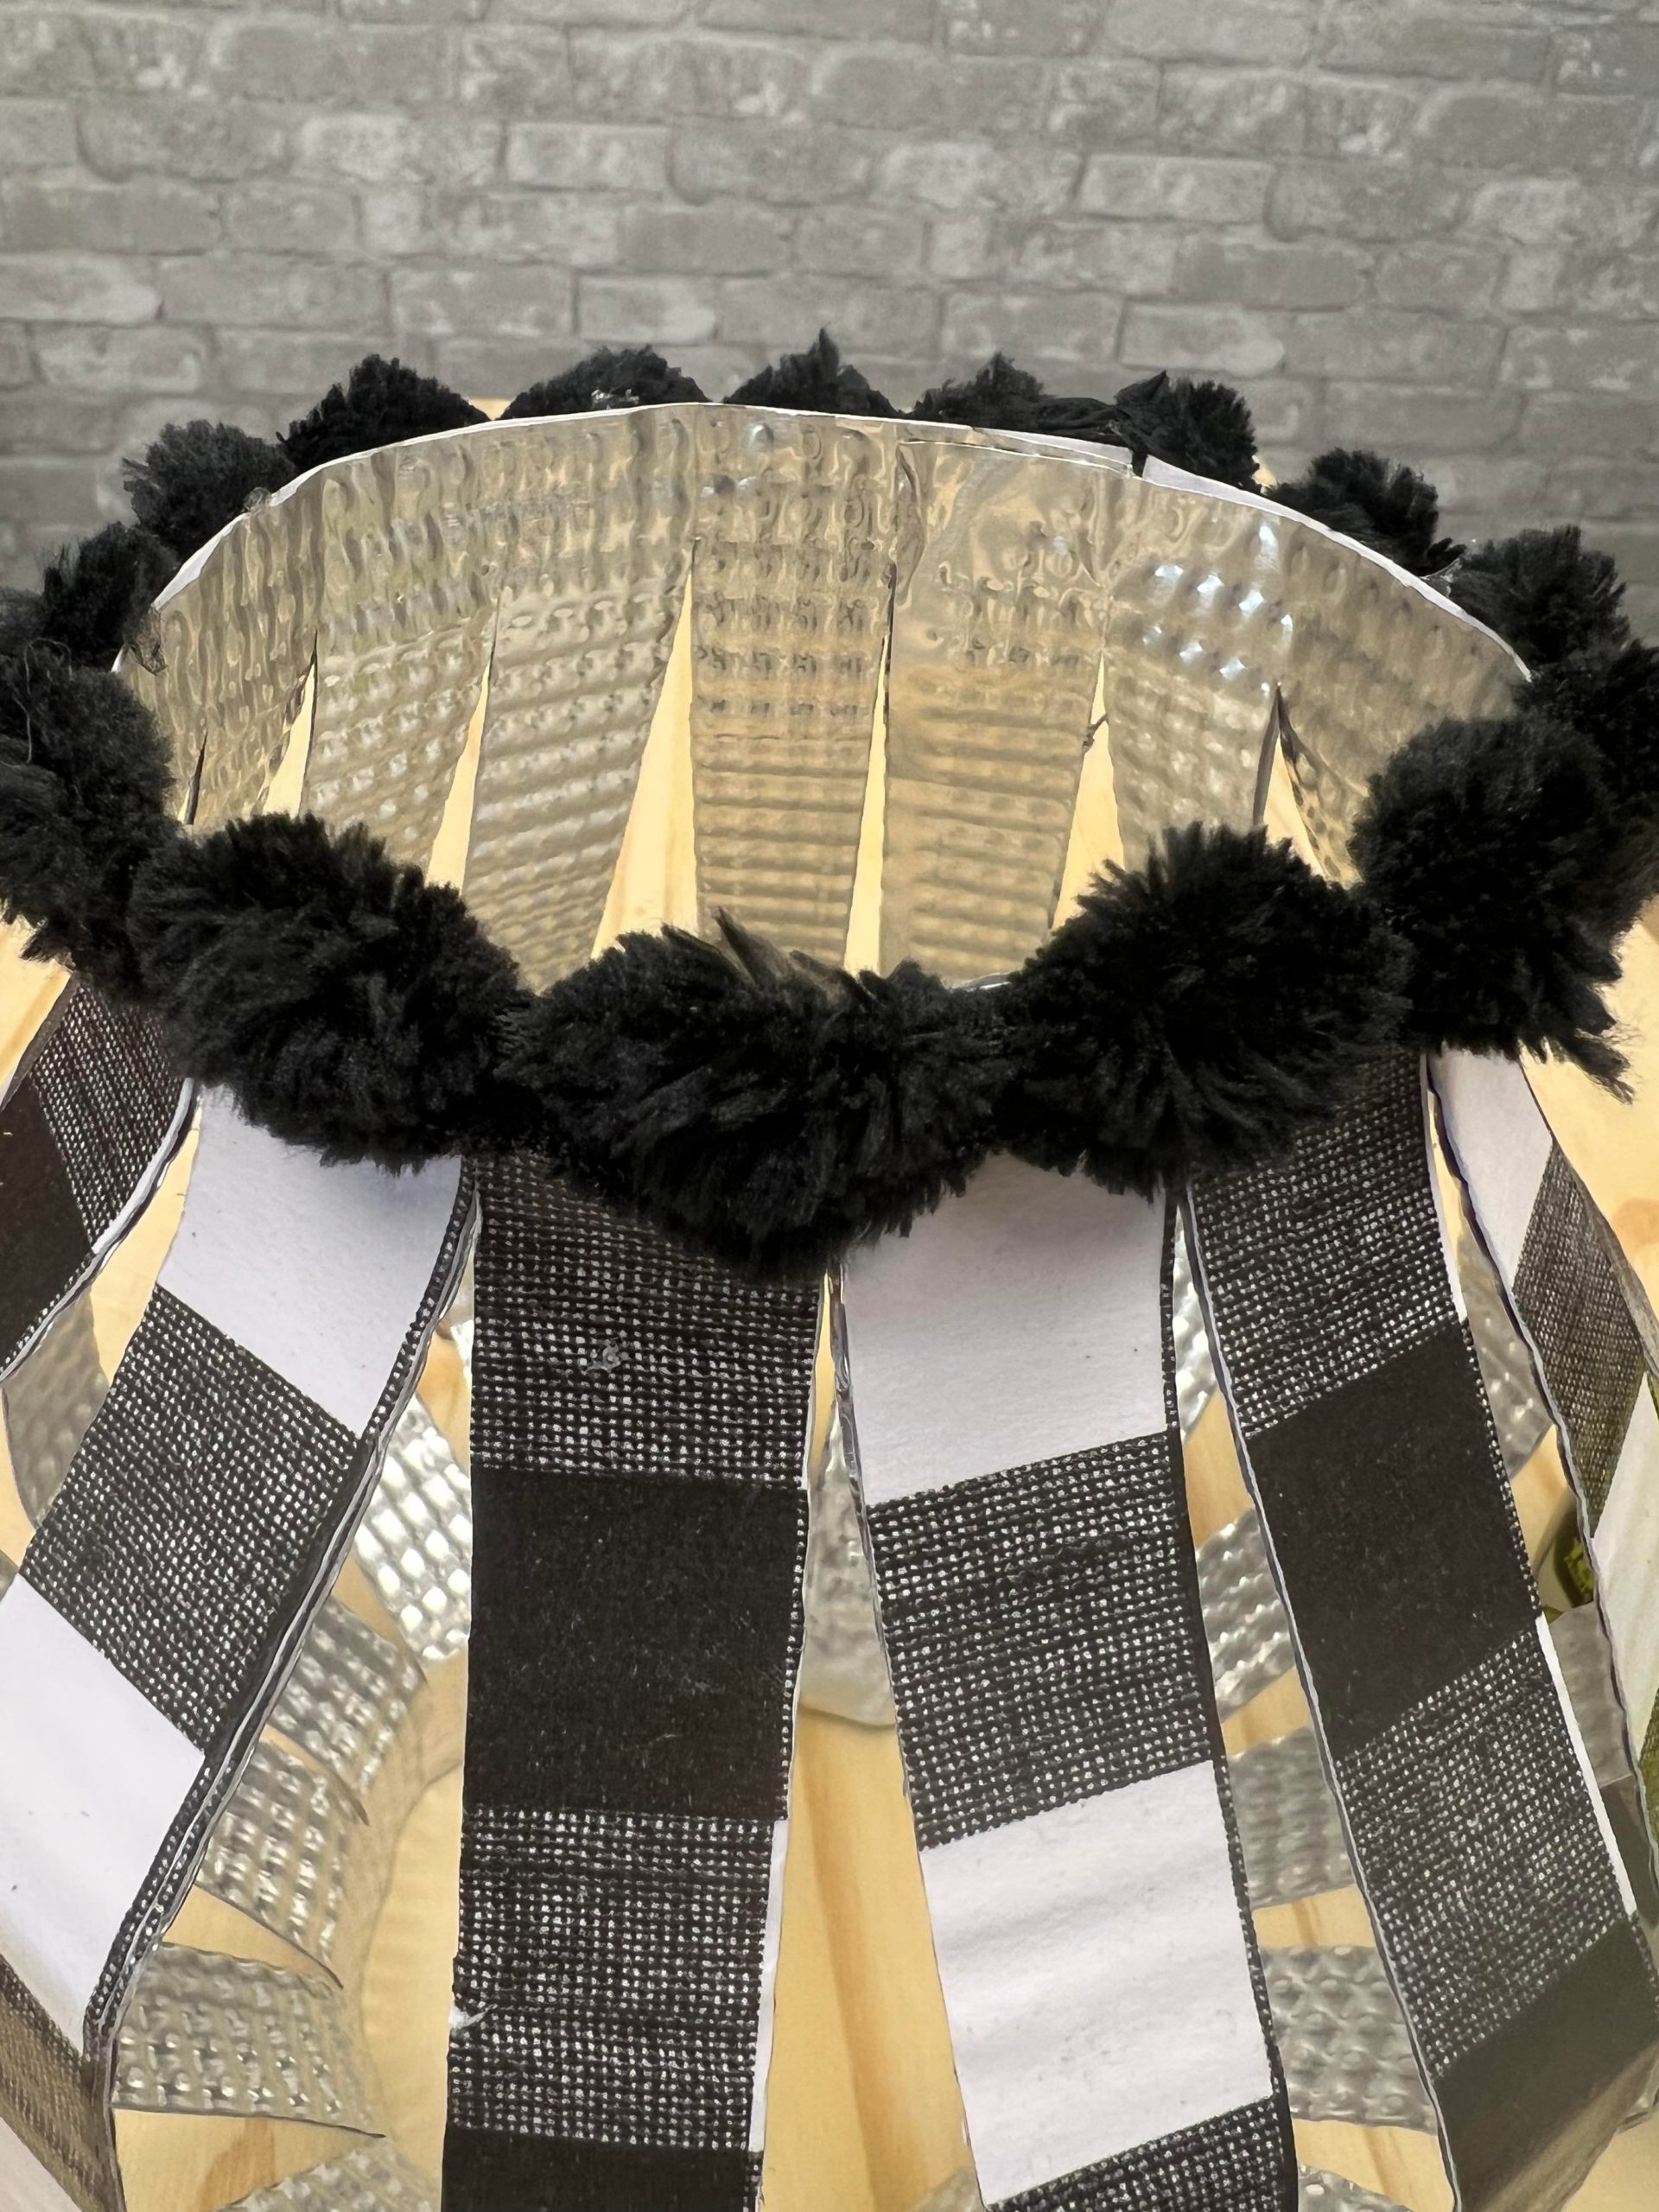
Once I had the lantern created I then glued the ribbon to the top and bottom of the lantern.
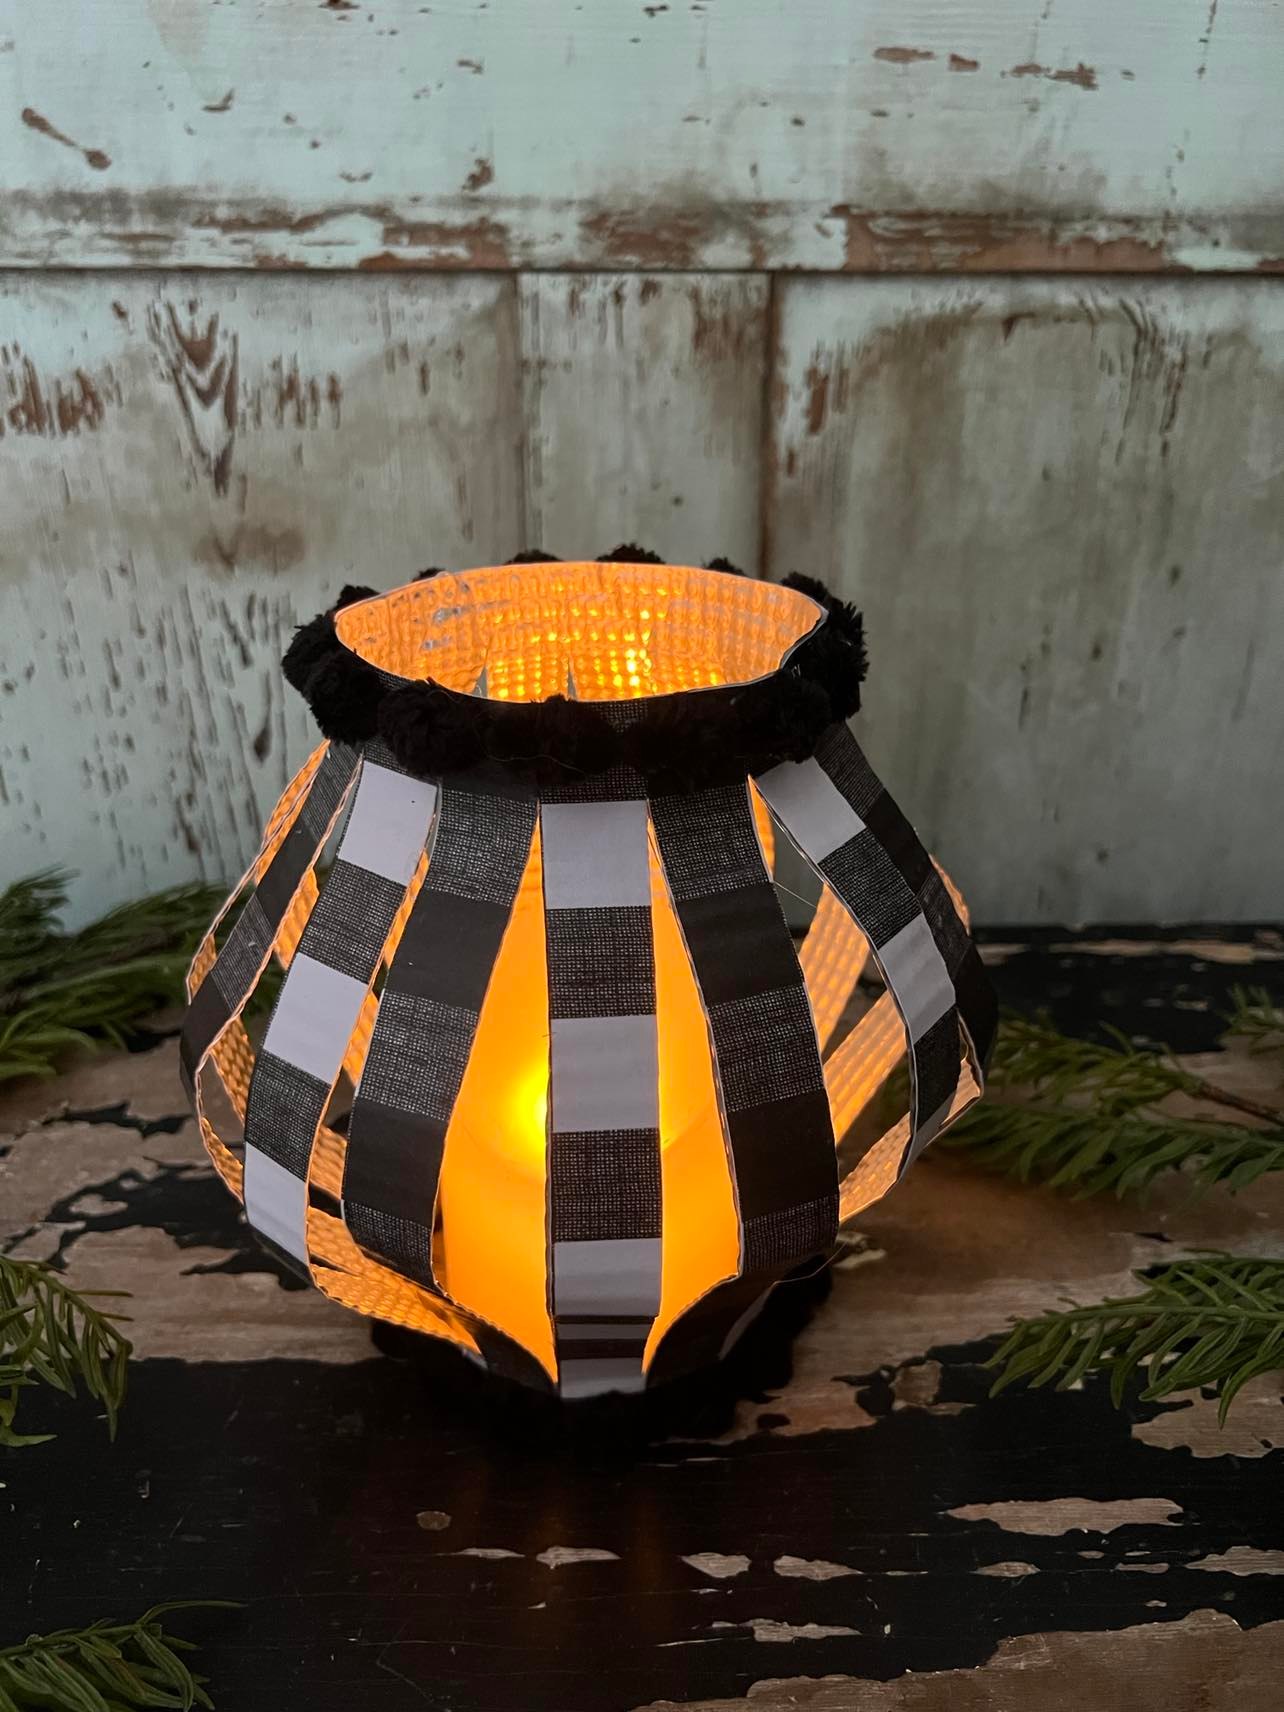
You will push down on the top of the lantern and curve the strips out. This lantern was very easy to make and looks so pretty with a battery operated candle. I hope you will get creative and give this fun DIY a try.