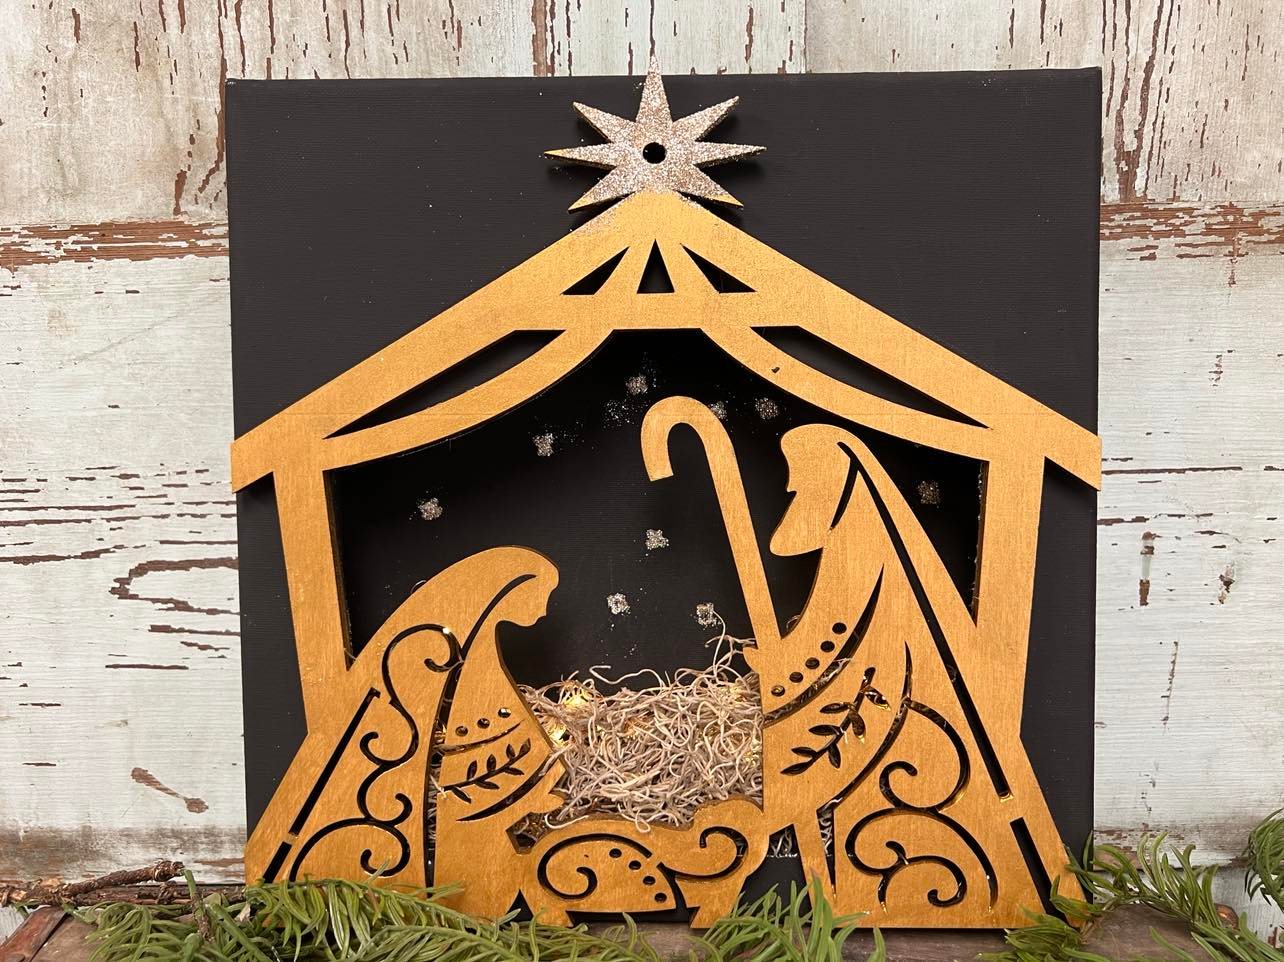
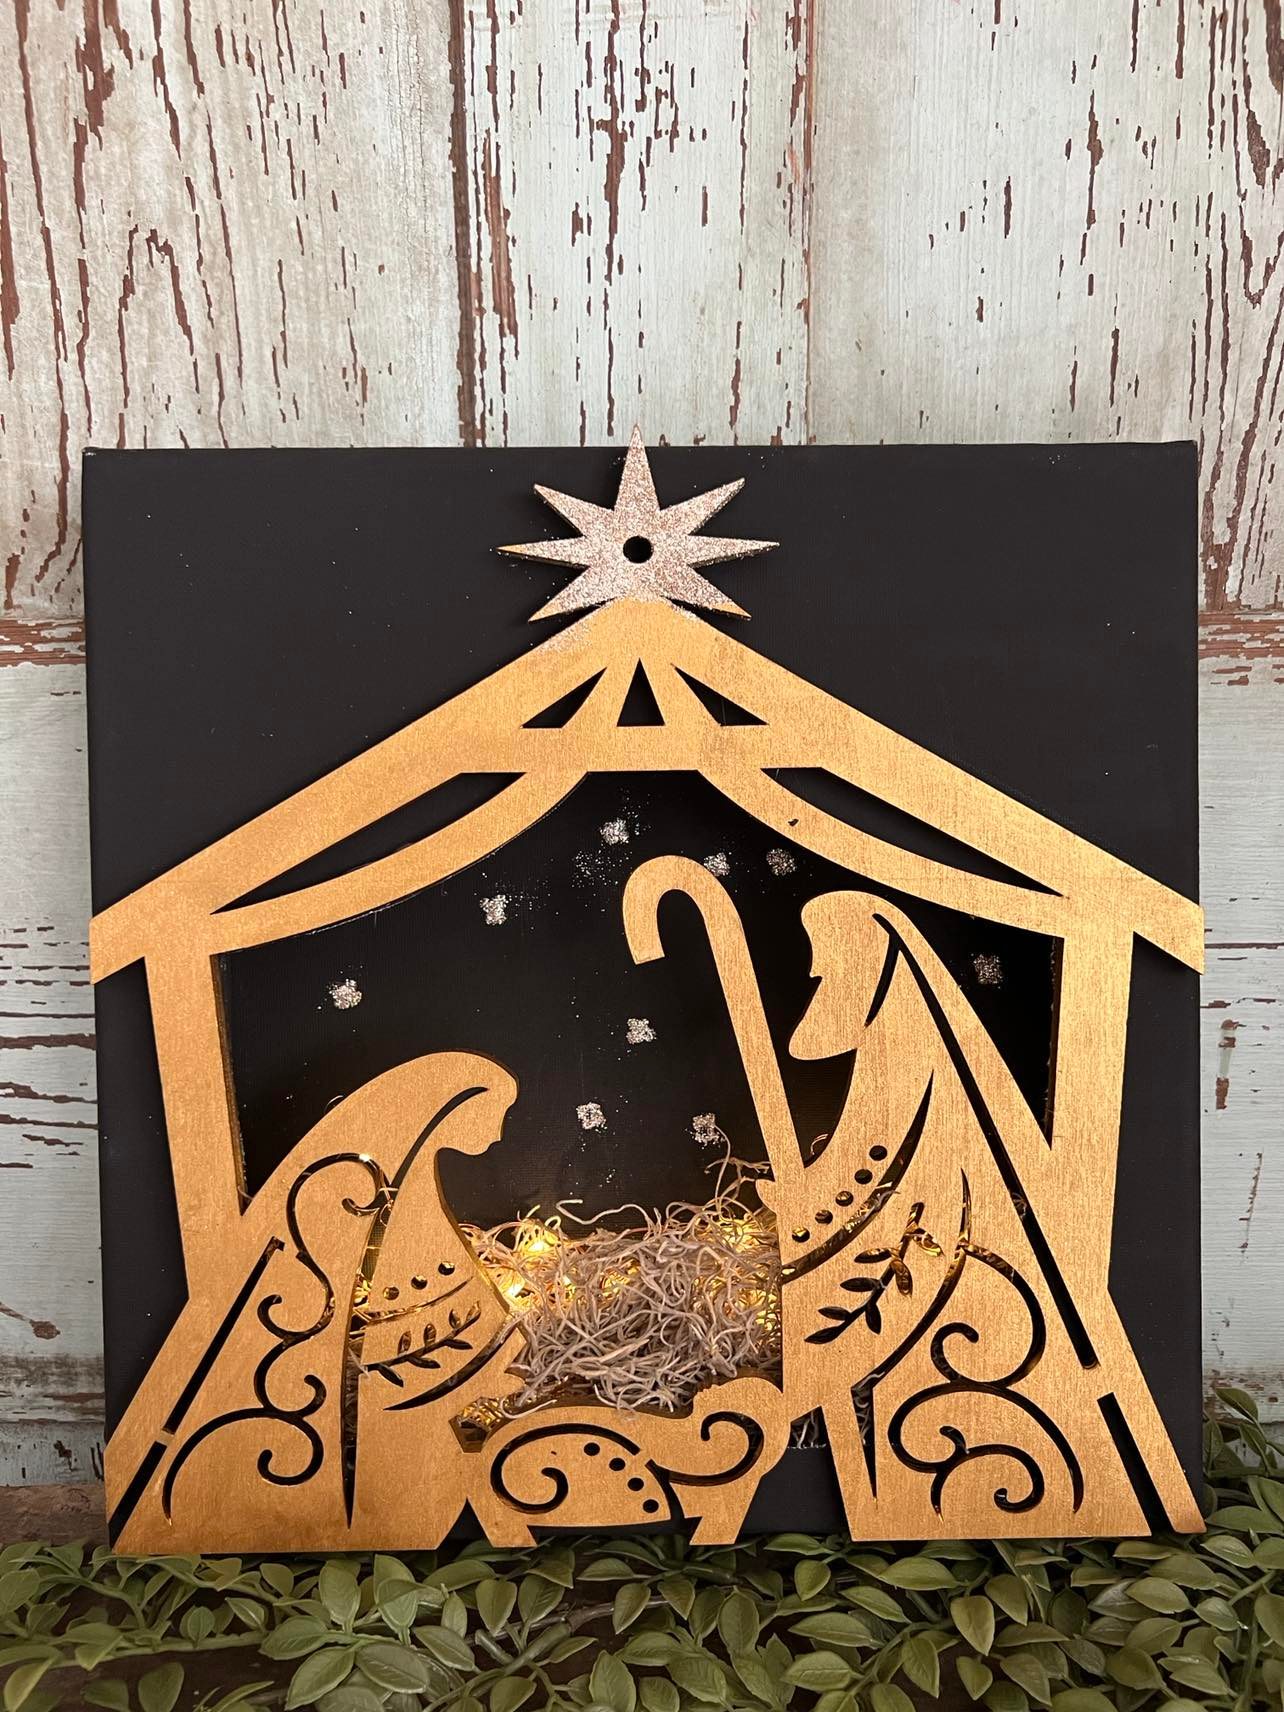
The stores seem to have all of their Christmas out and I just have to check it all out. I recently picked up a wooden nativity scene cut out from Hobby Lobby and I know exactly what I want to do with it. I think we can easily create a light up nativity scene using this wooden cut out.
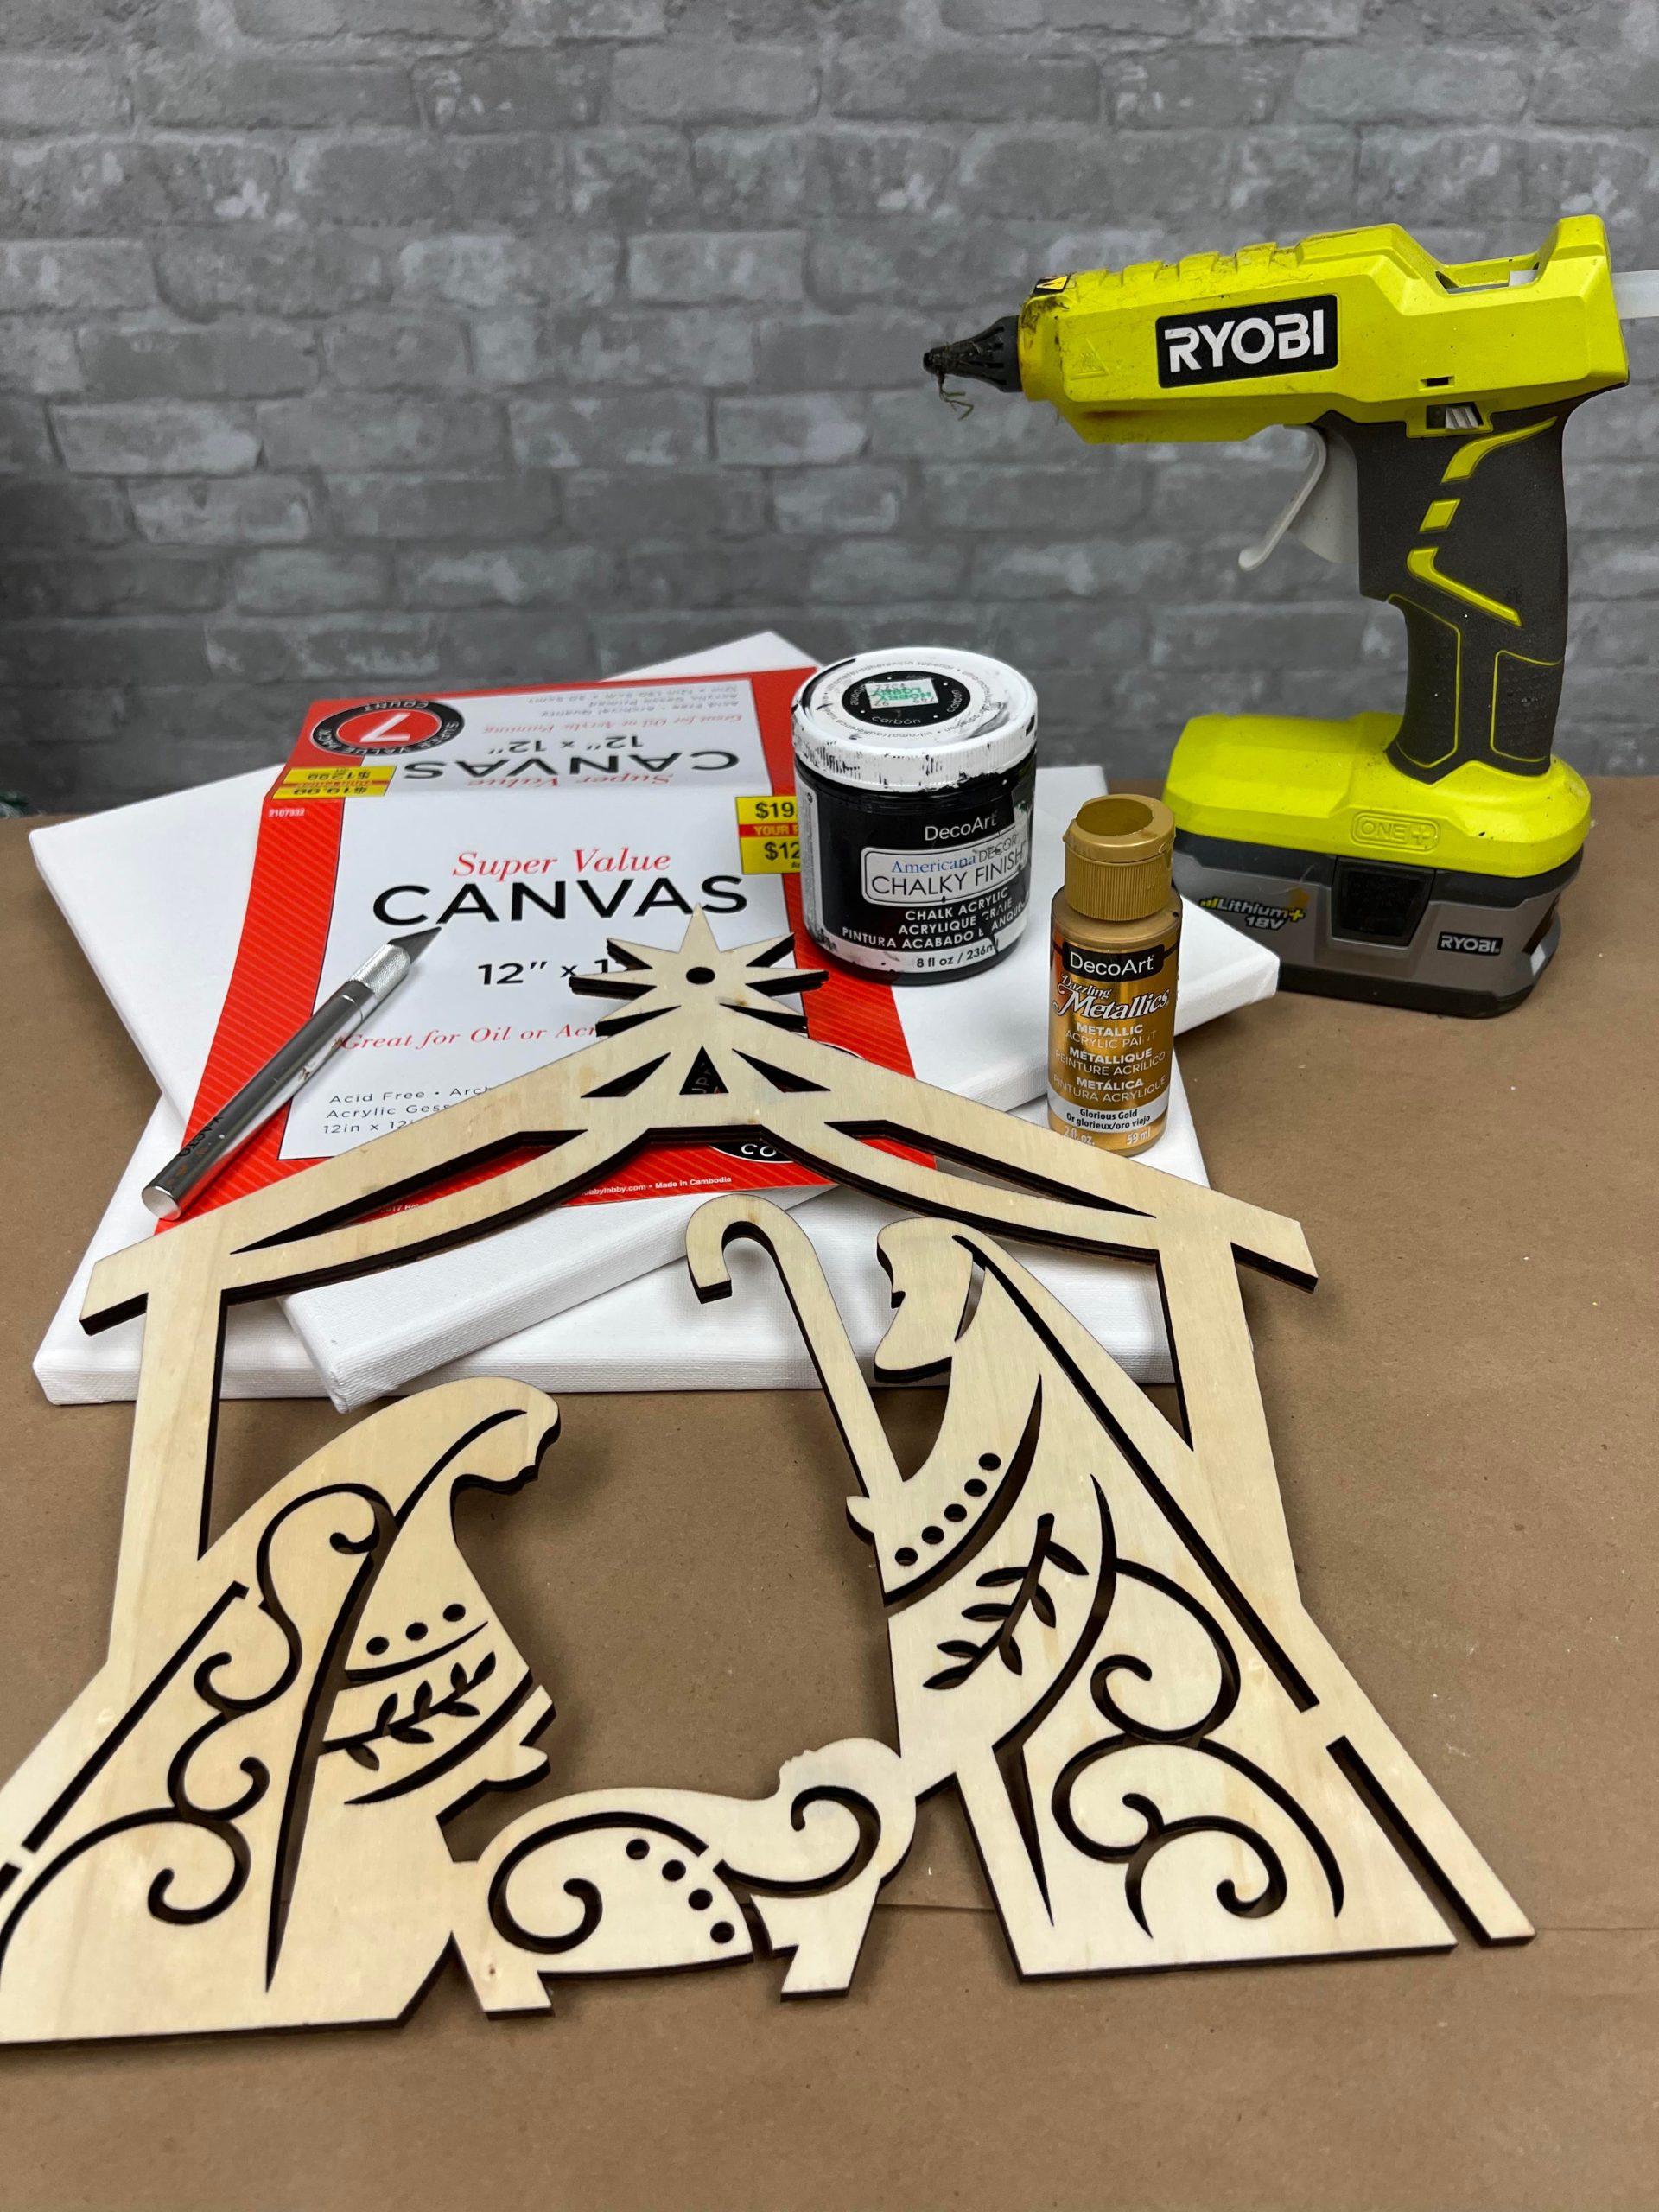
The supplies that I’ll be using are:
1. One wooden nativity scene cut out from Hobby Lobby
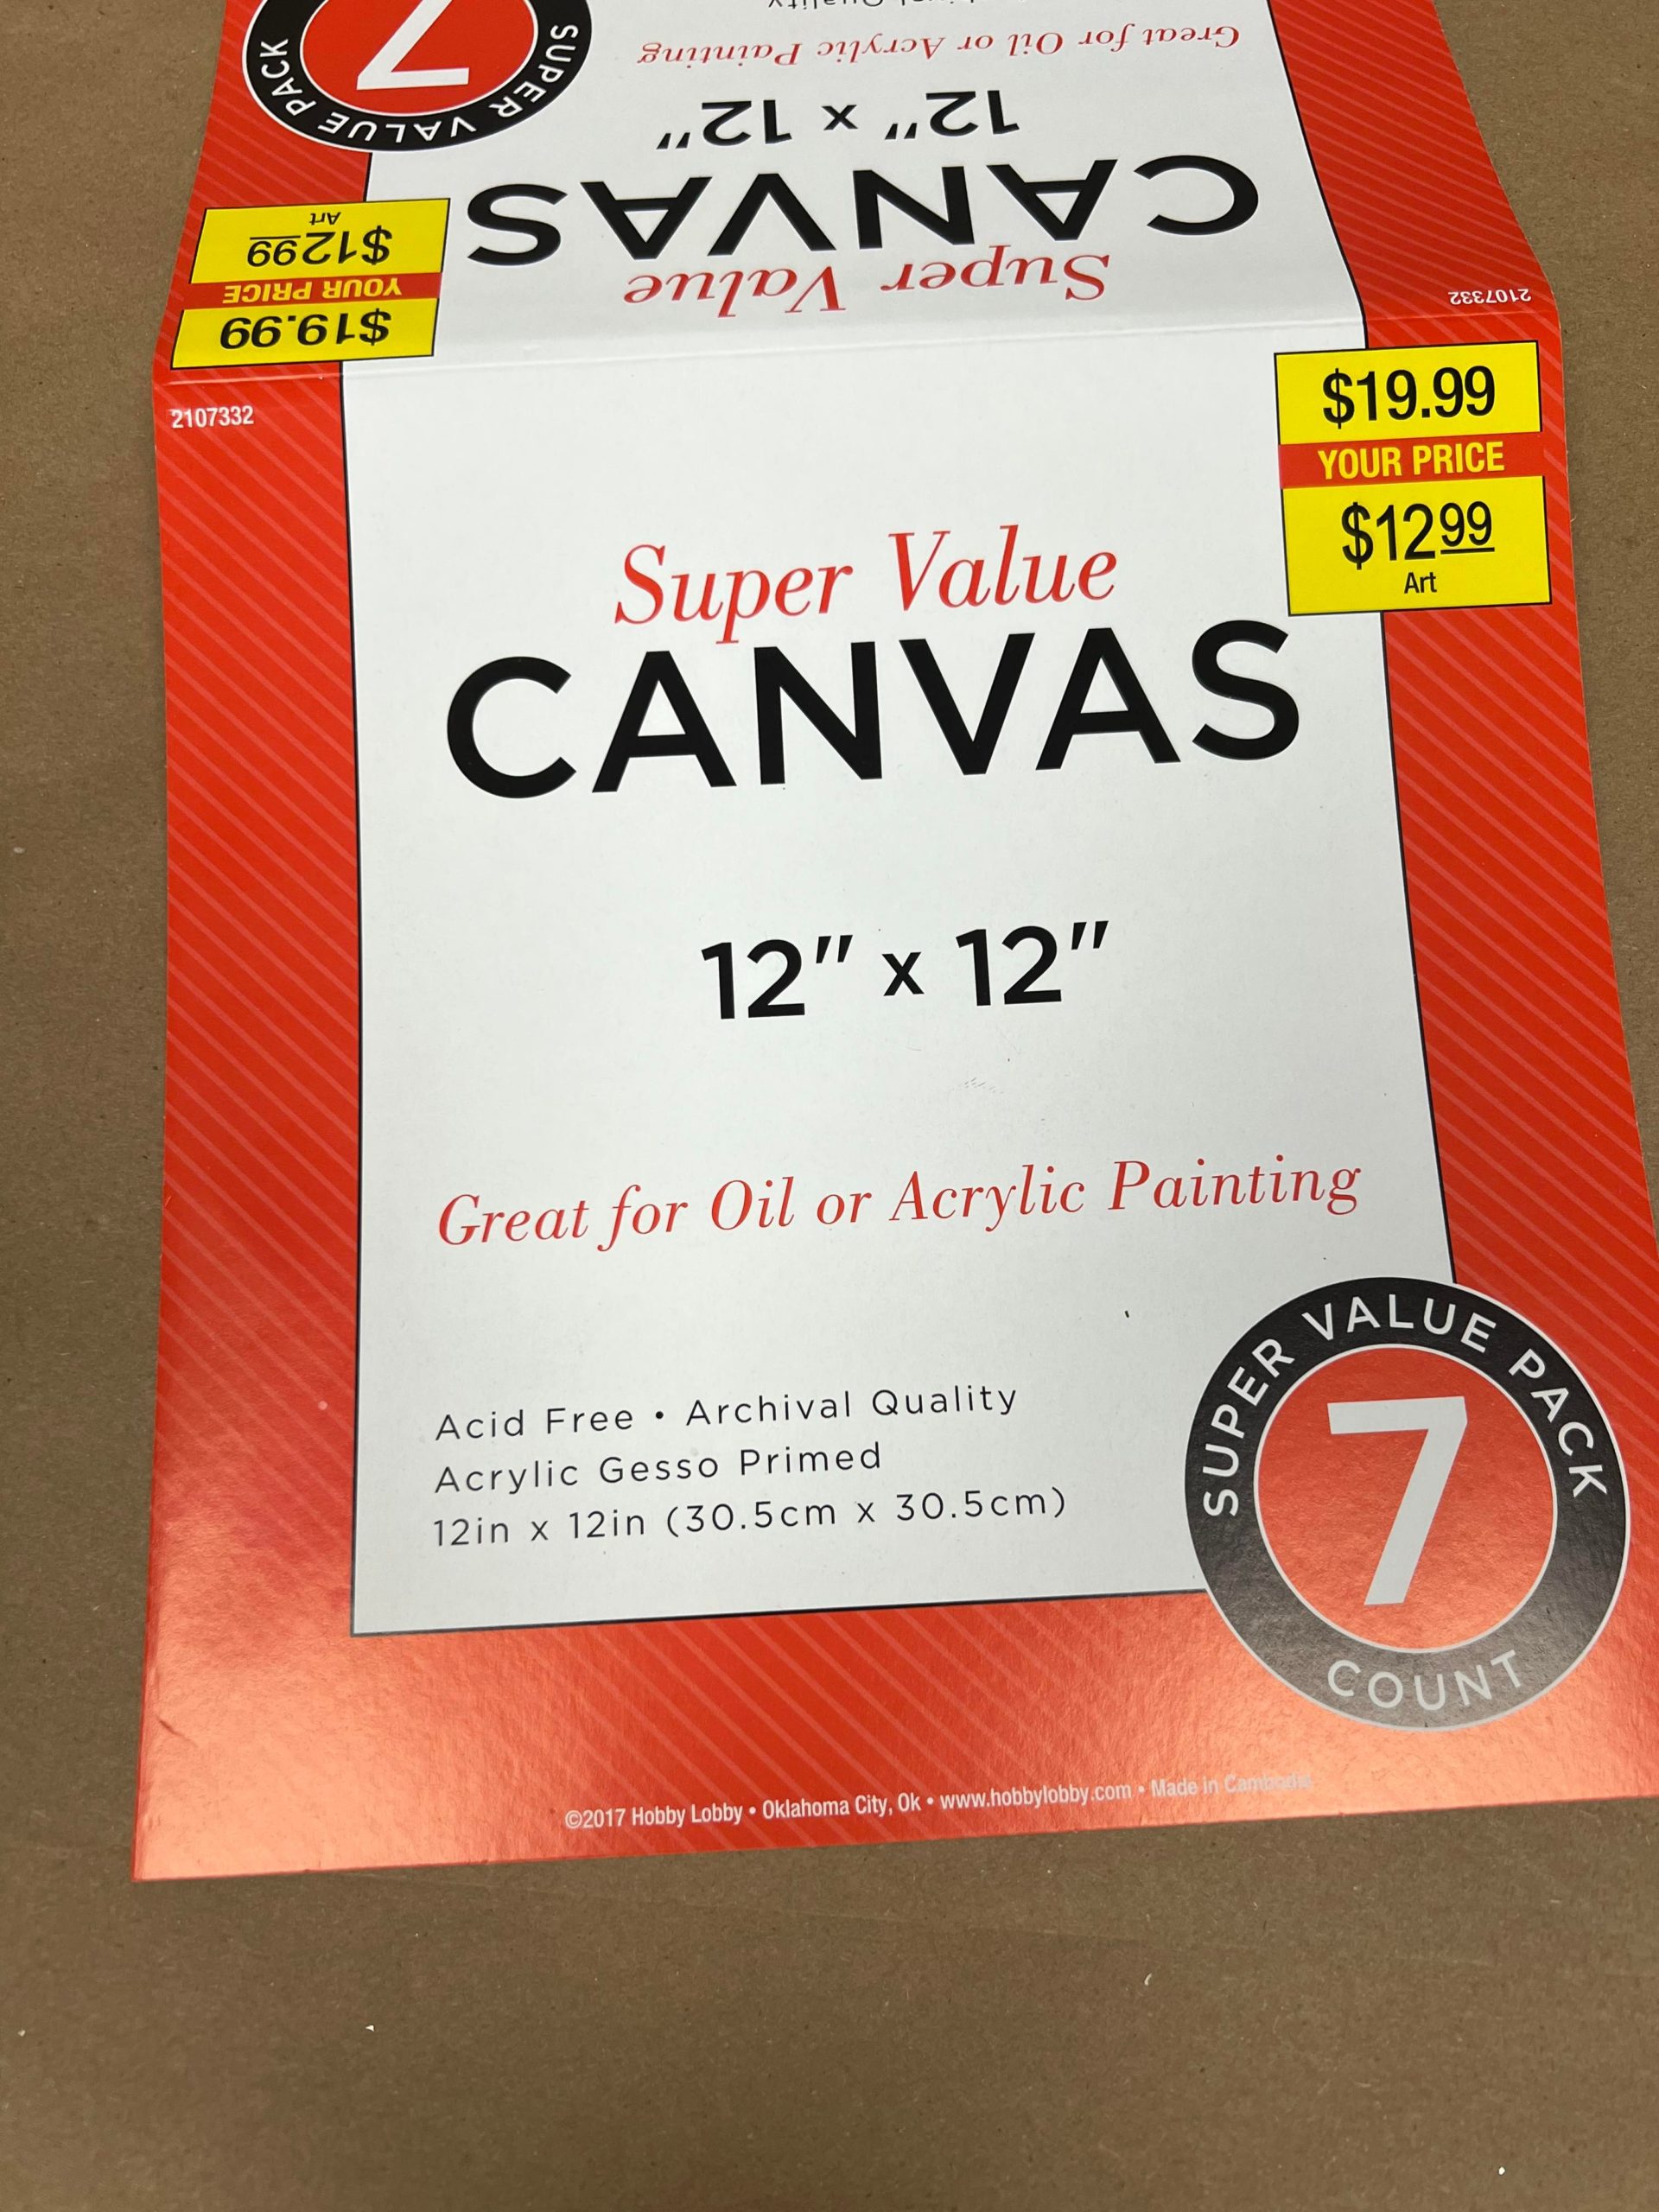
2. Two 12”x12” canvases from Hobby Lobby
3. Hot glue
4. Black chalky finish paint by DecoArt
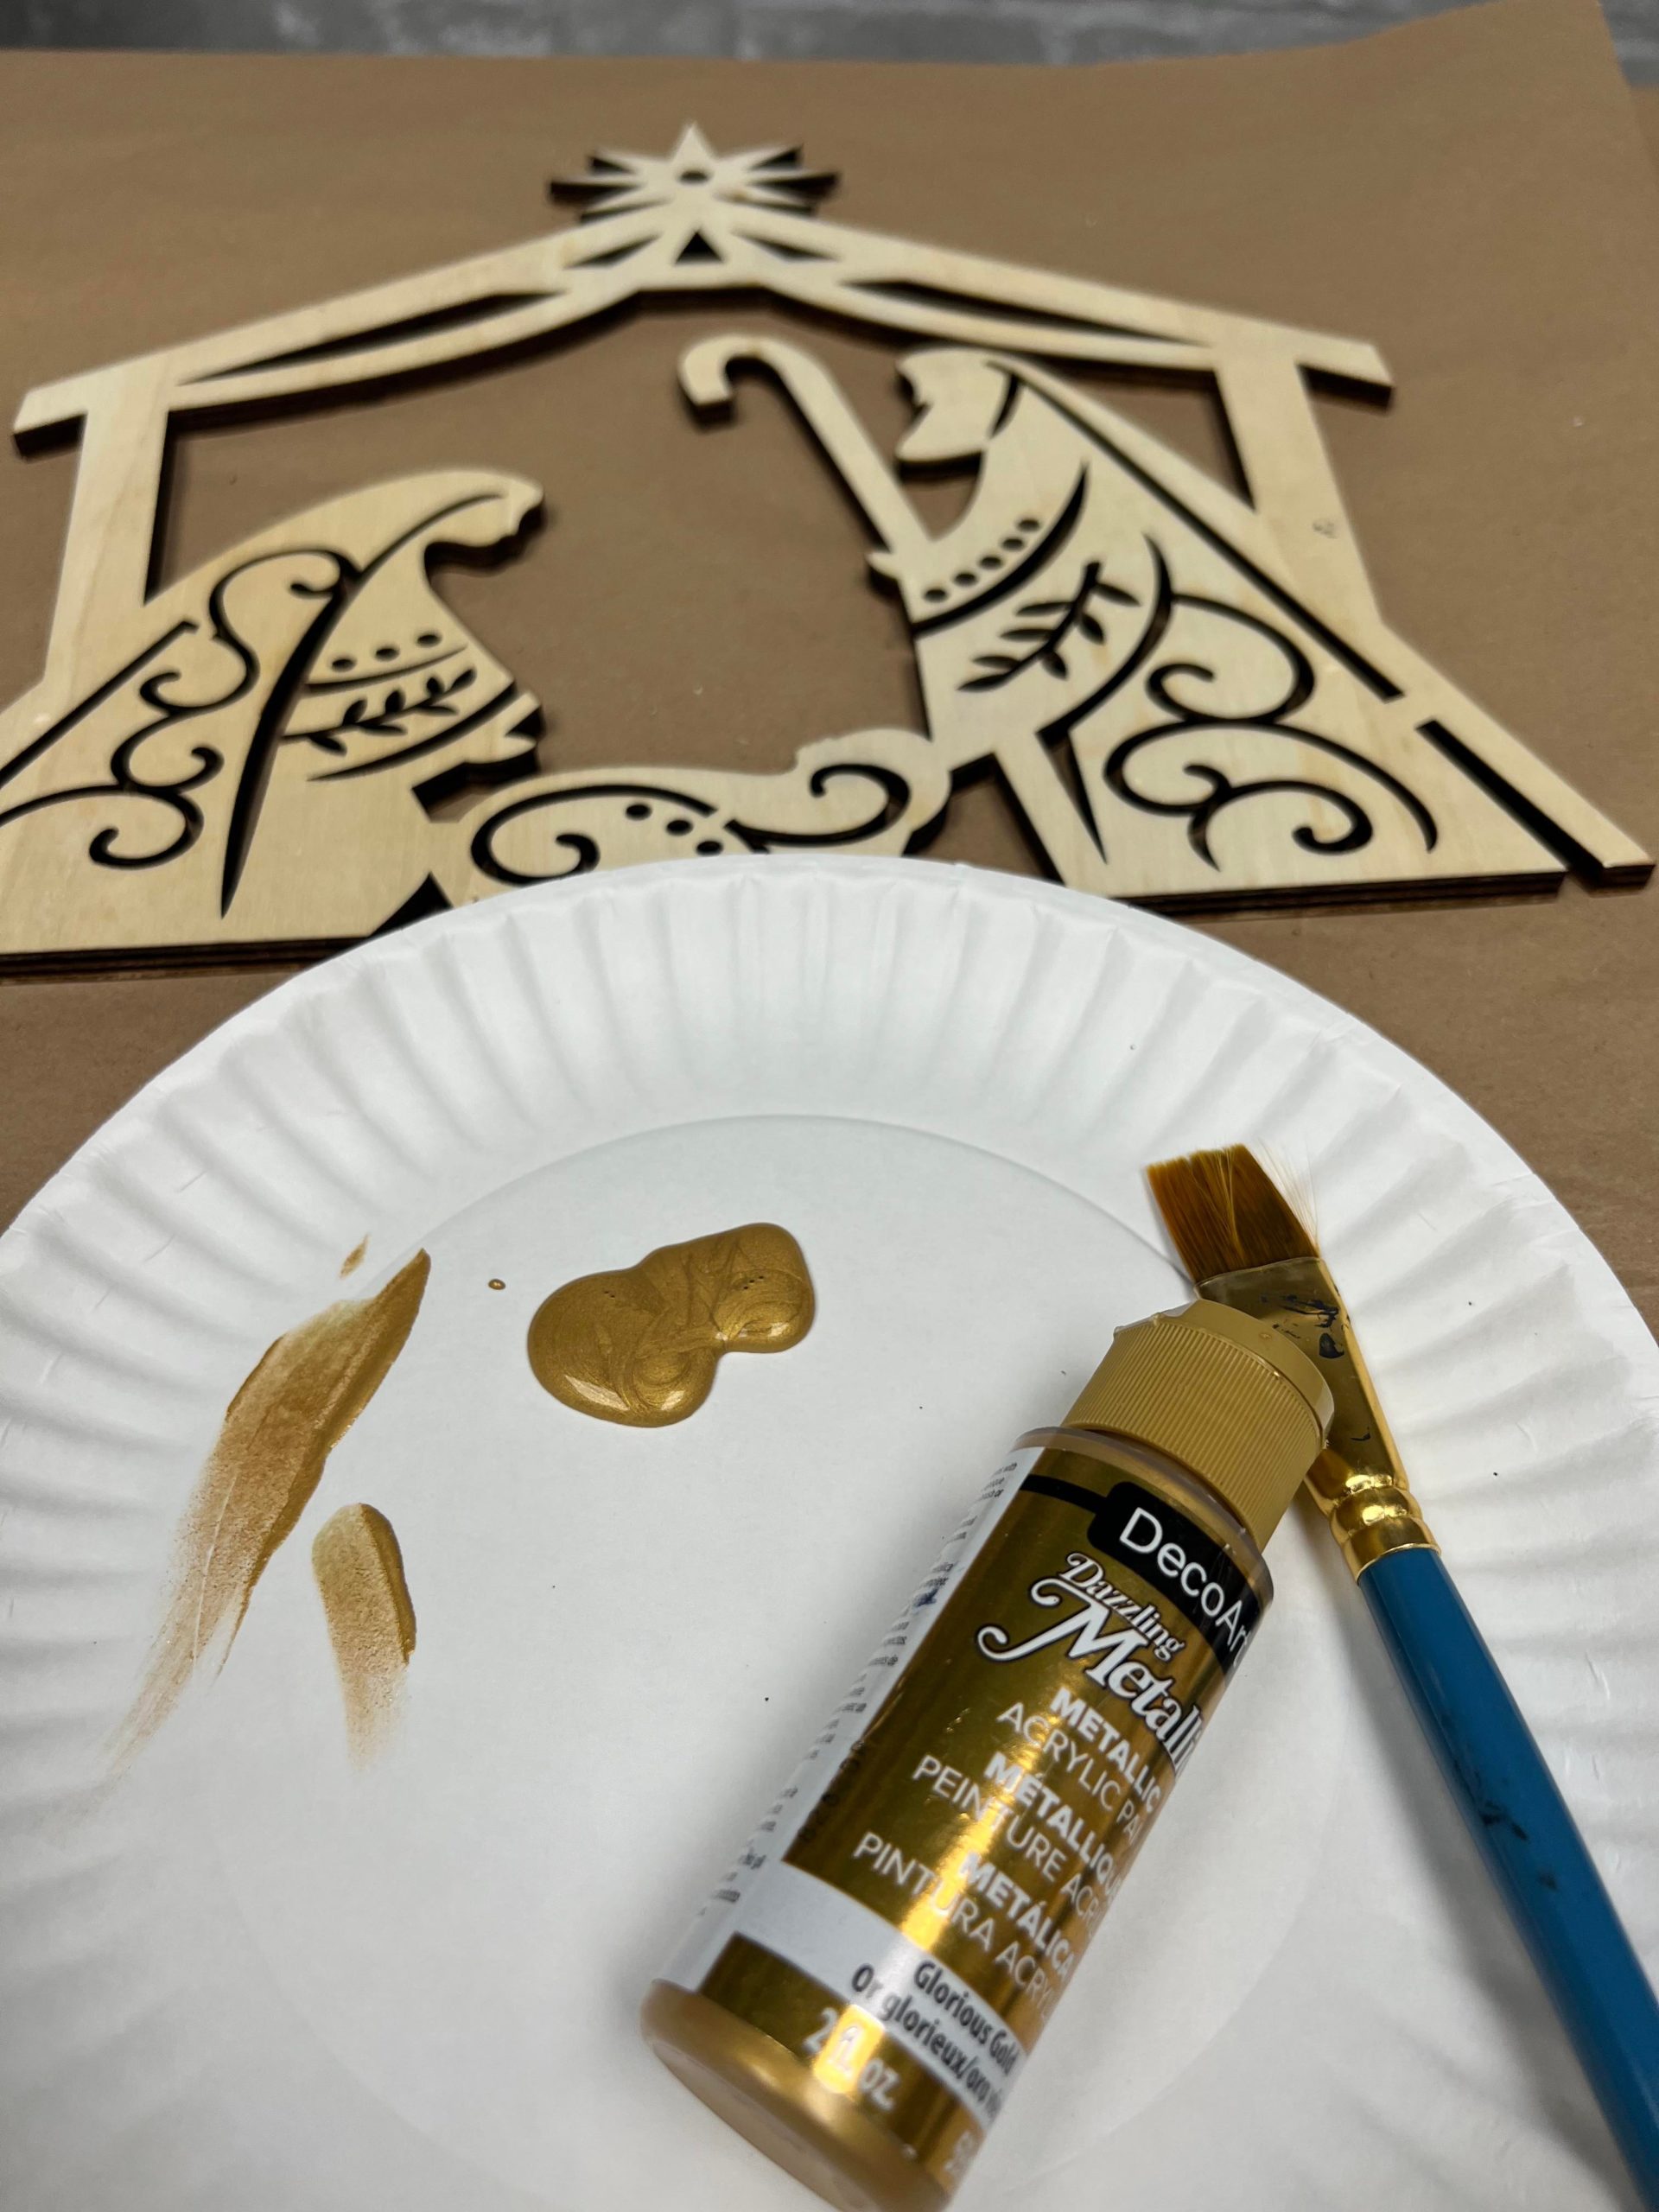
5. Dazzling Metallic paint by DecoArt ( color Glorious Gold)
6. Paint brush 7. X-acto knife
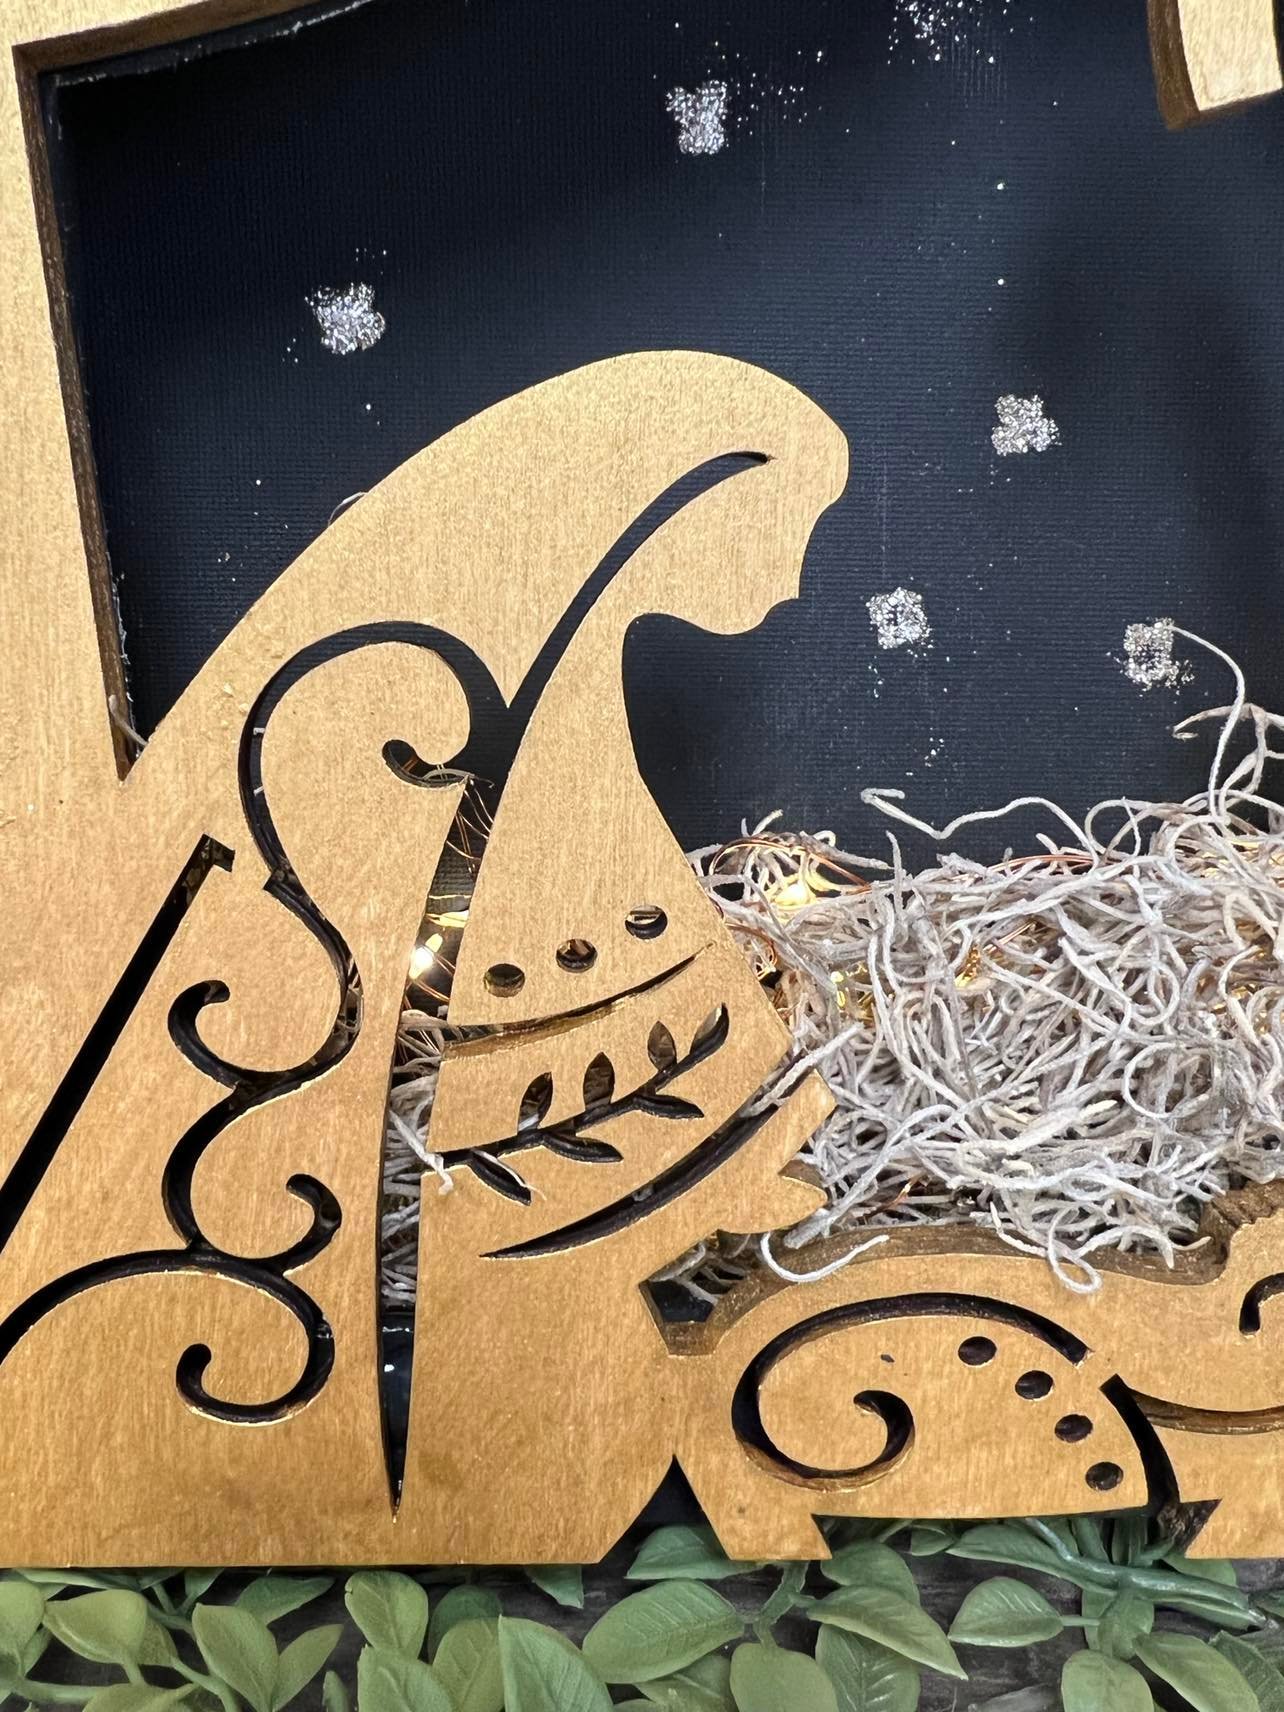
8. Spanish moss
9. Battery operated wire lights 20ct
10. Elmer’s Glue
11. Gold Glitter
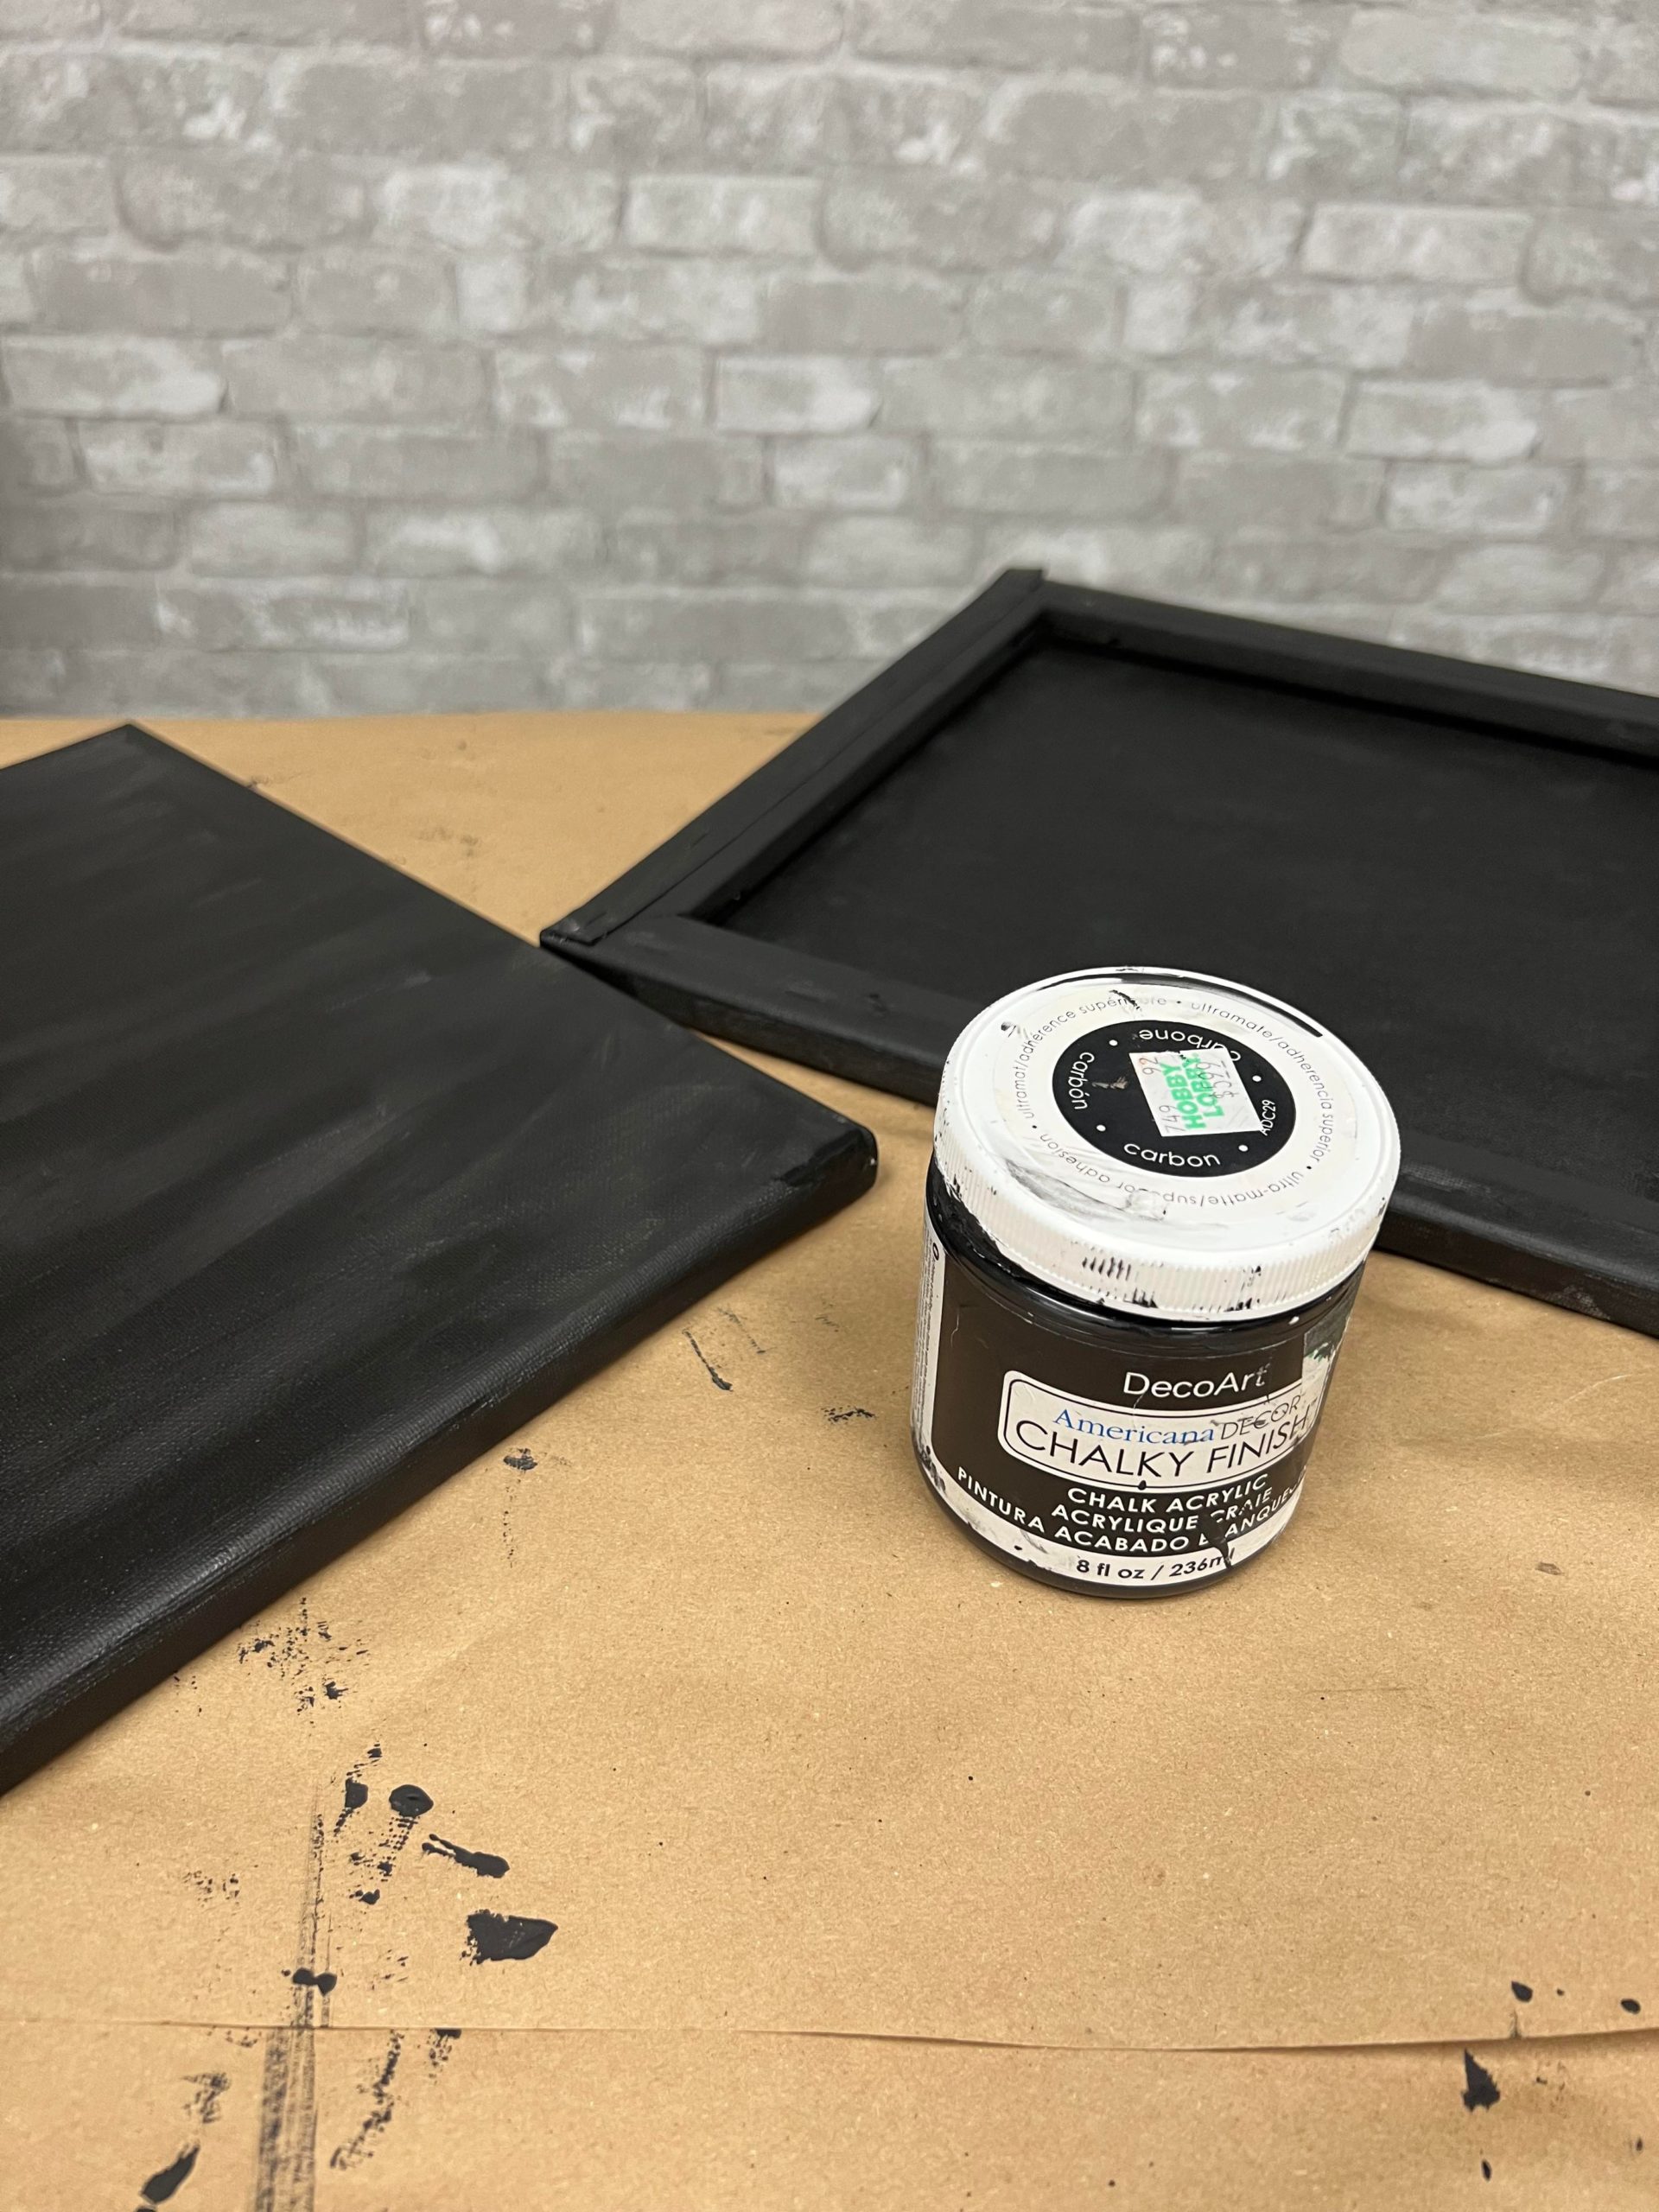
The first step is to paint the canvases with the black chalky finish paint.
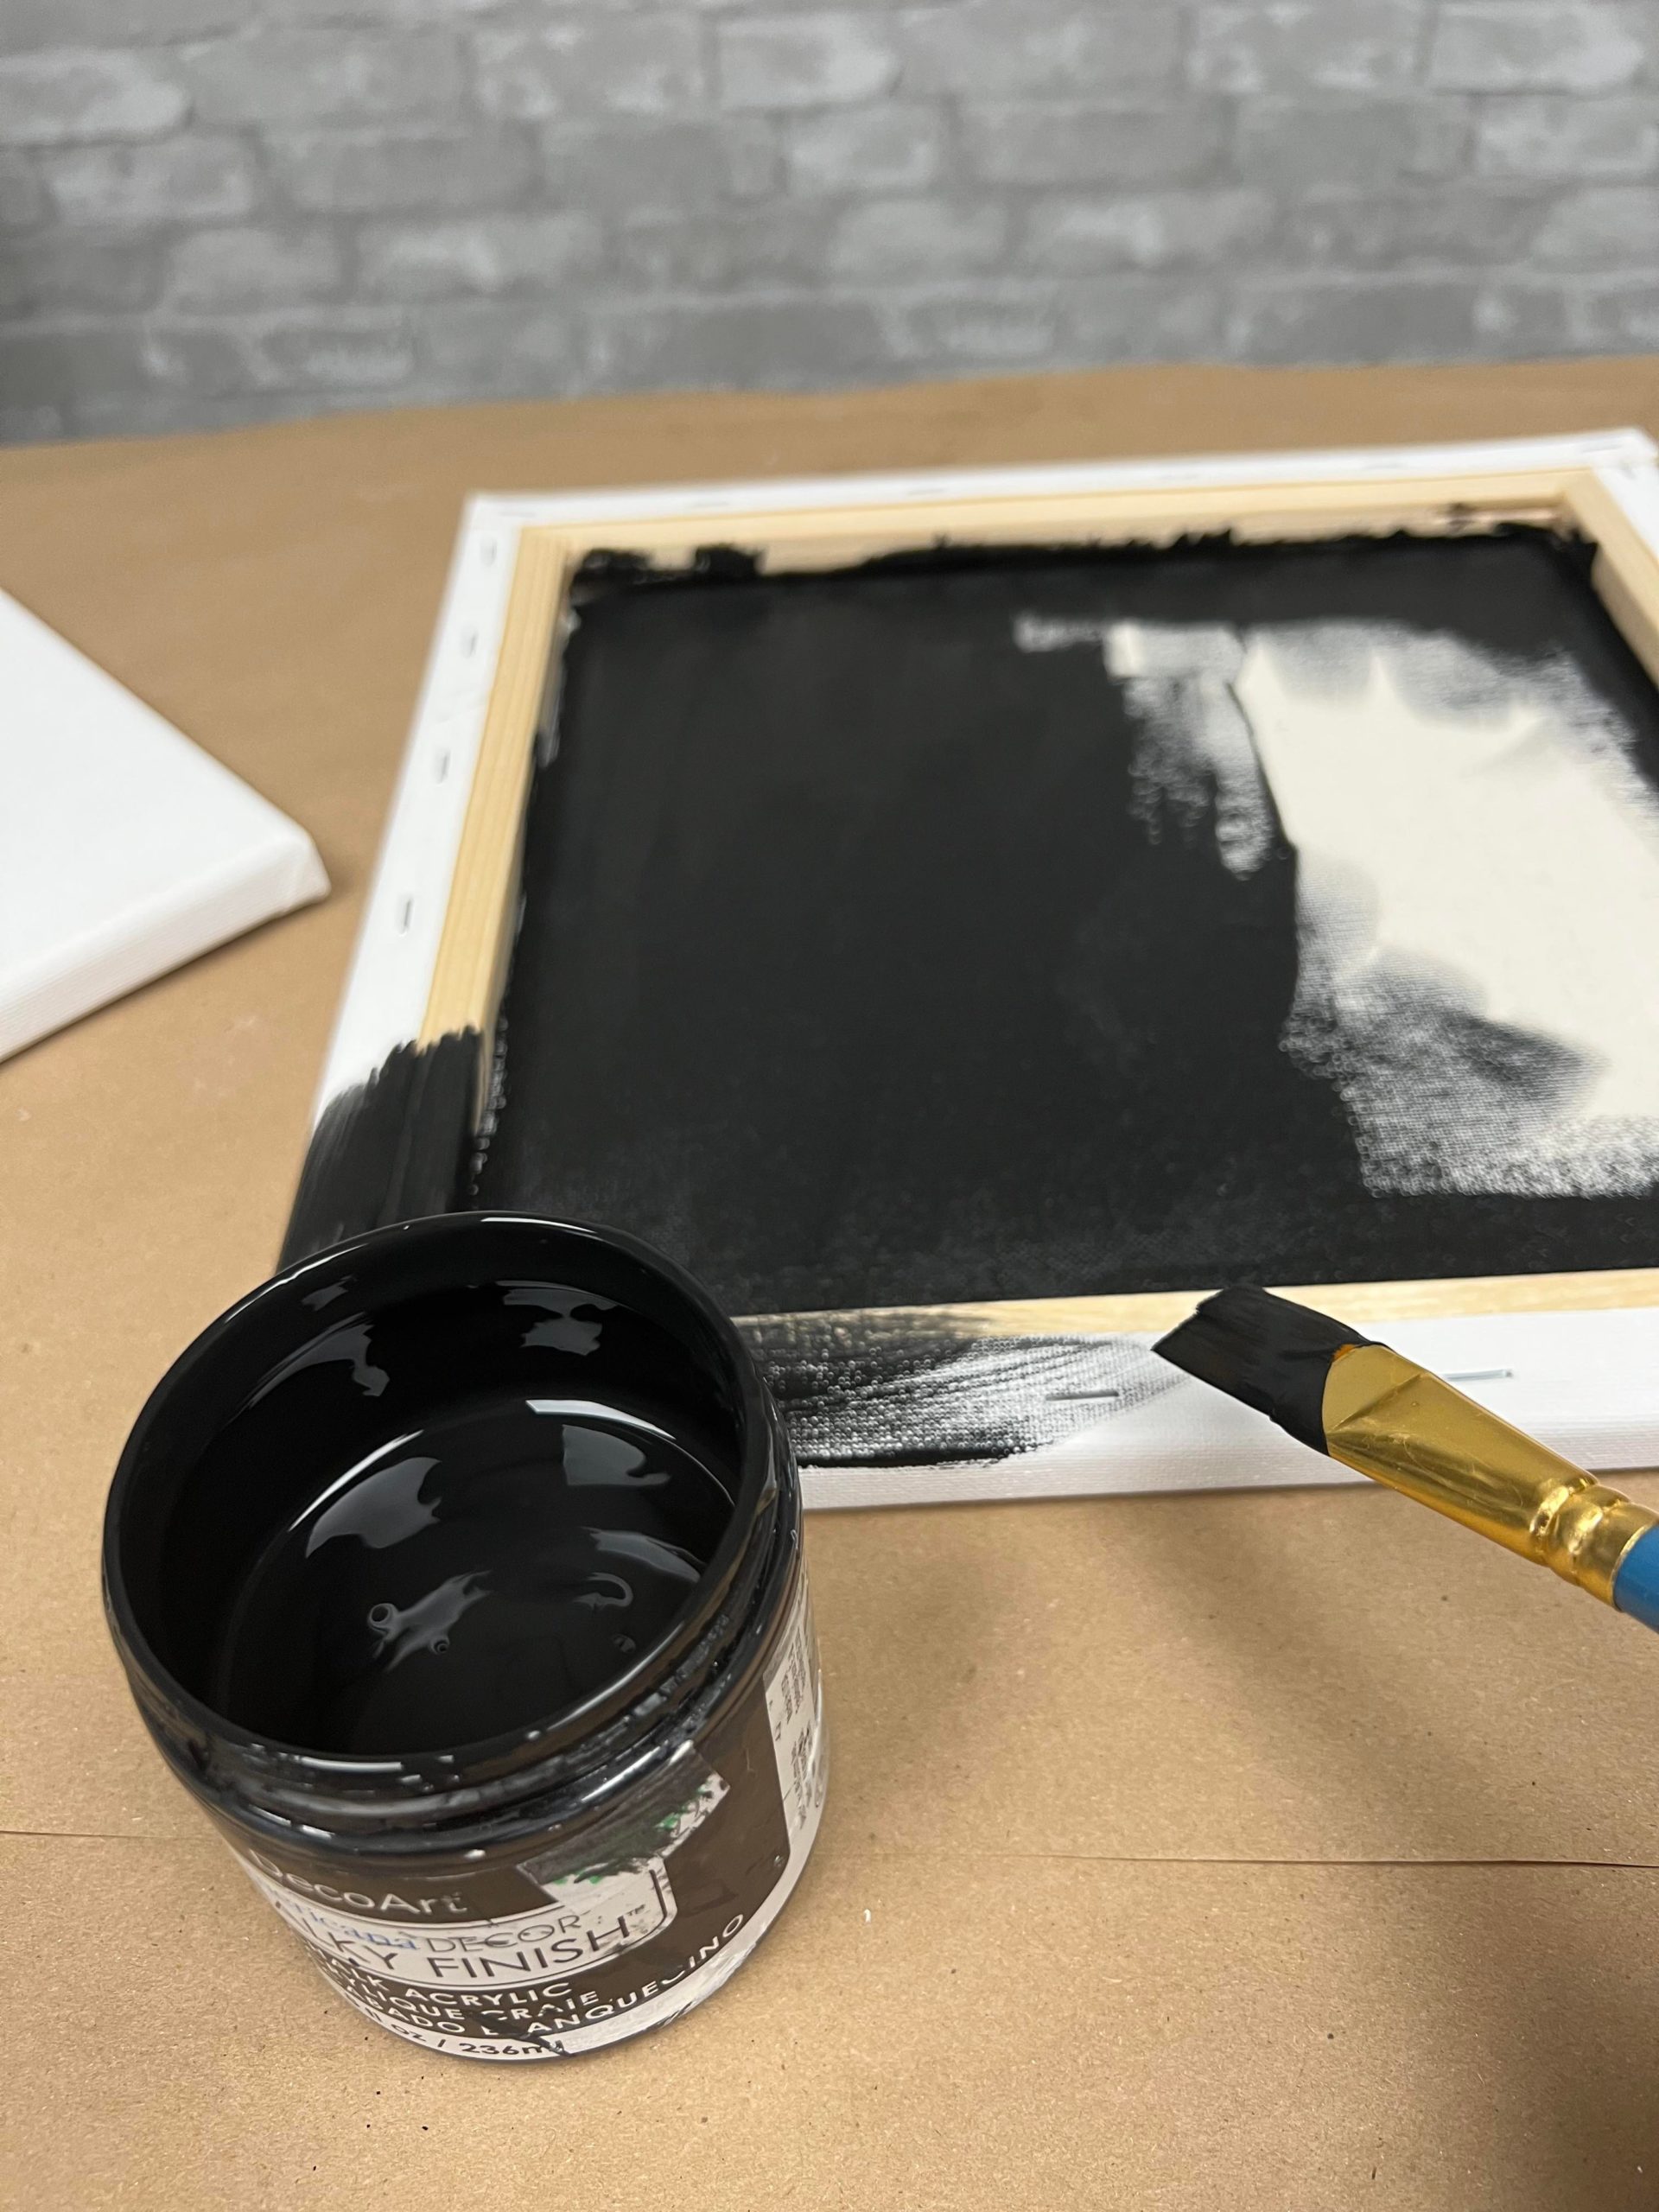
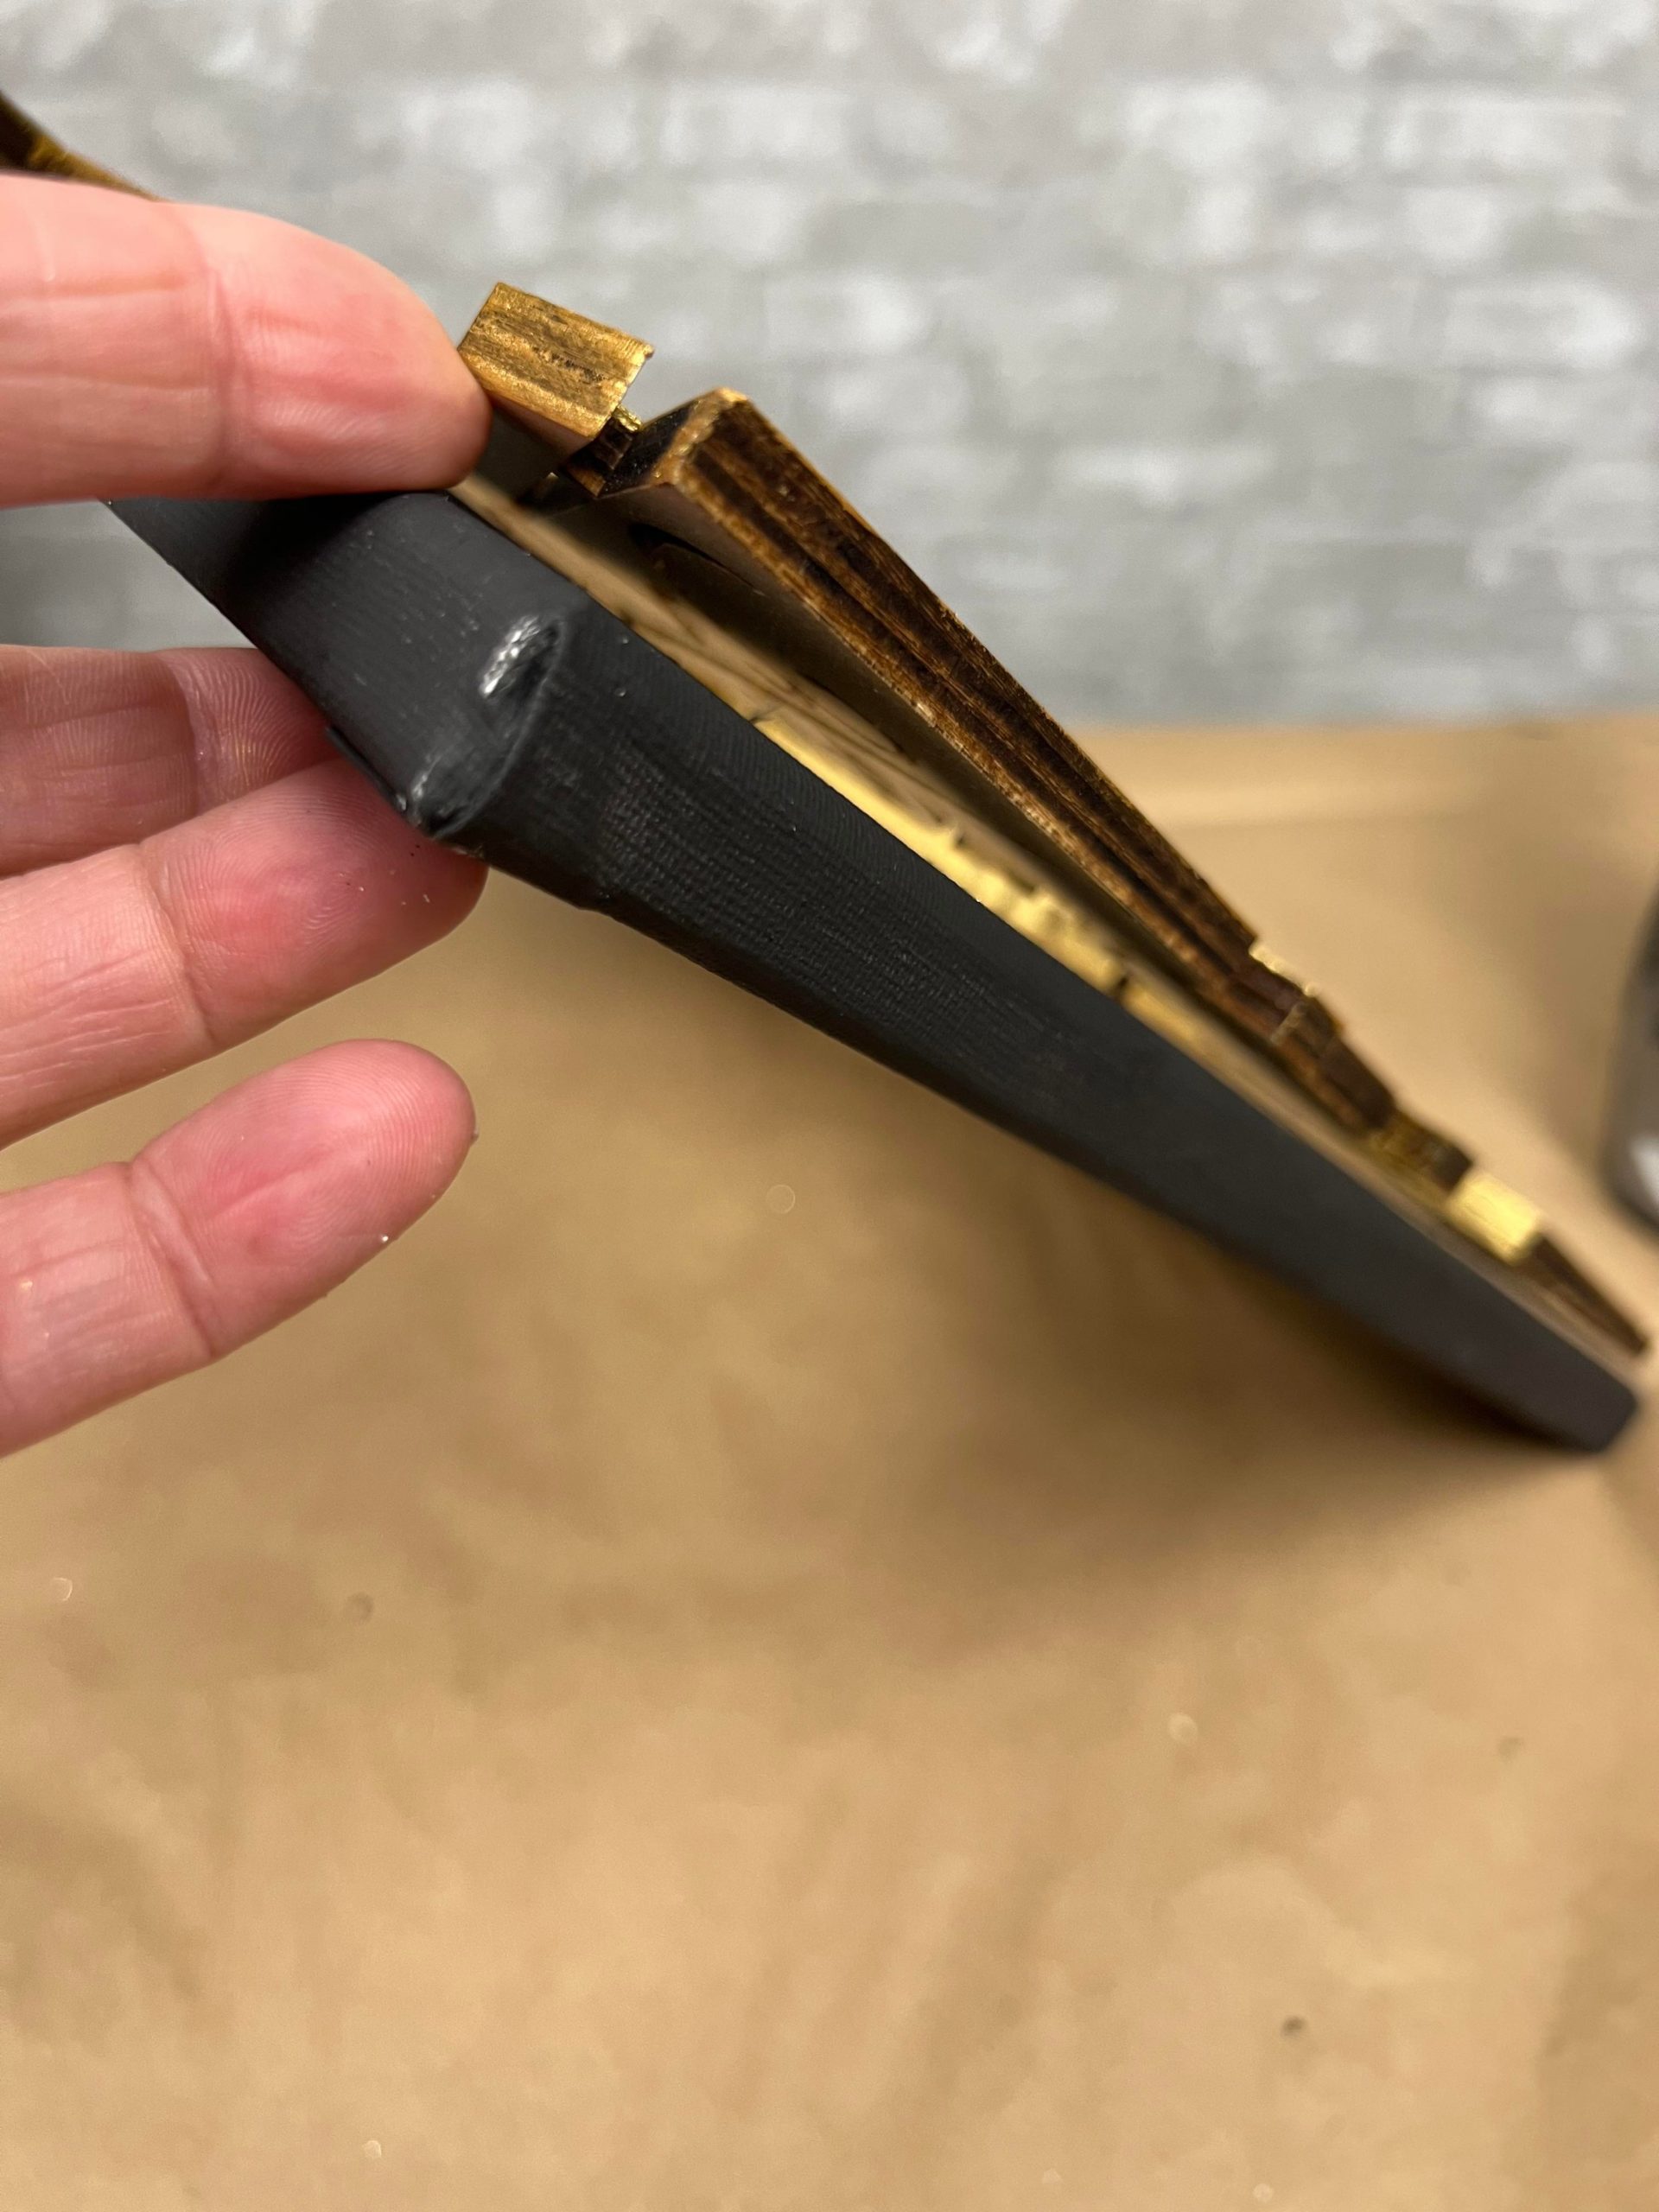
You will paint the back side of one canvas and the front side of the other.
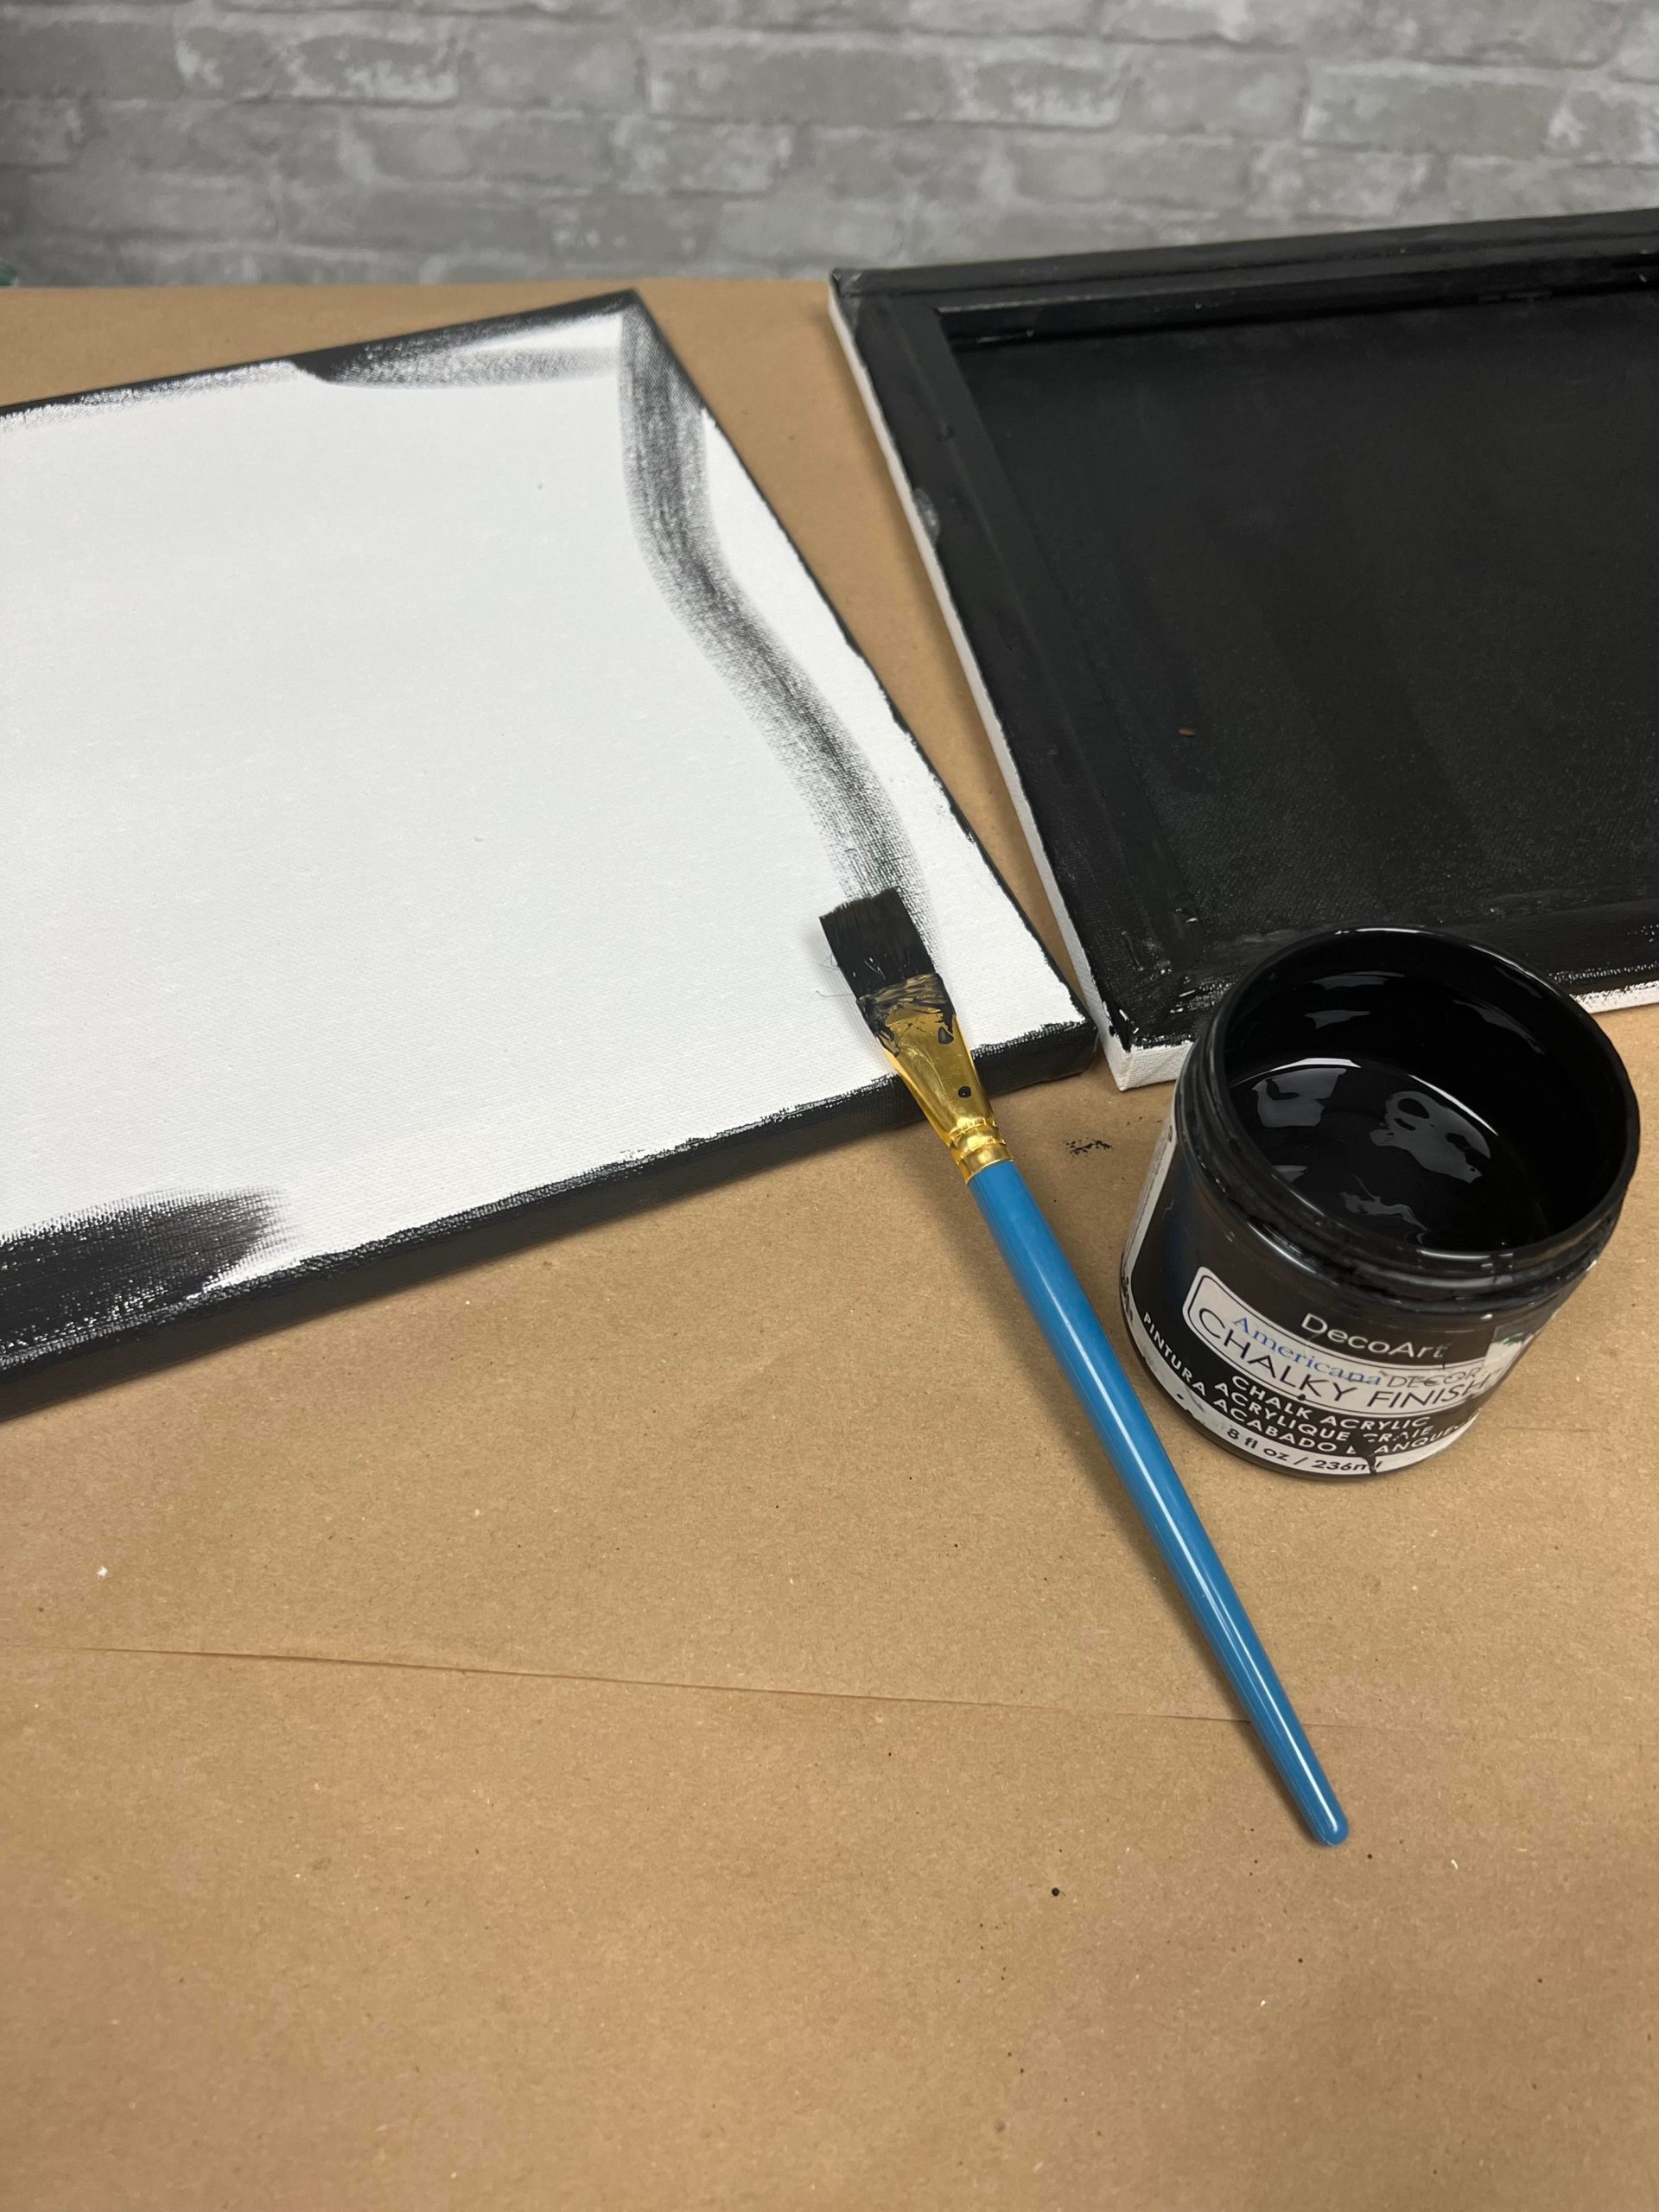
I also painted the sides of both canvases. The inside side and the outside side.
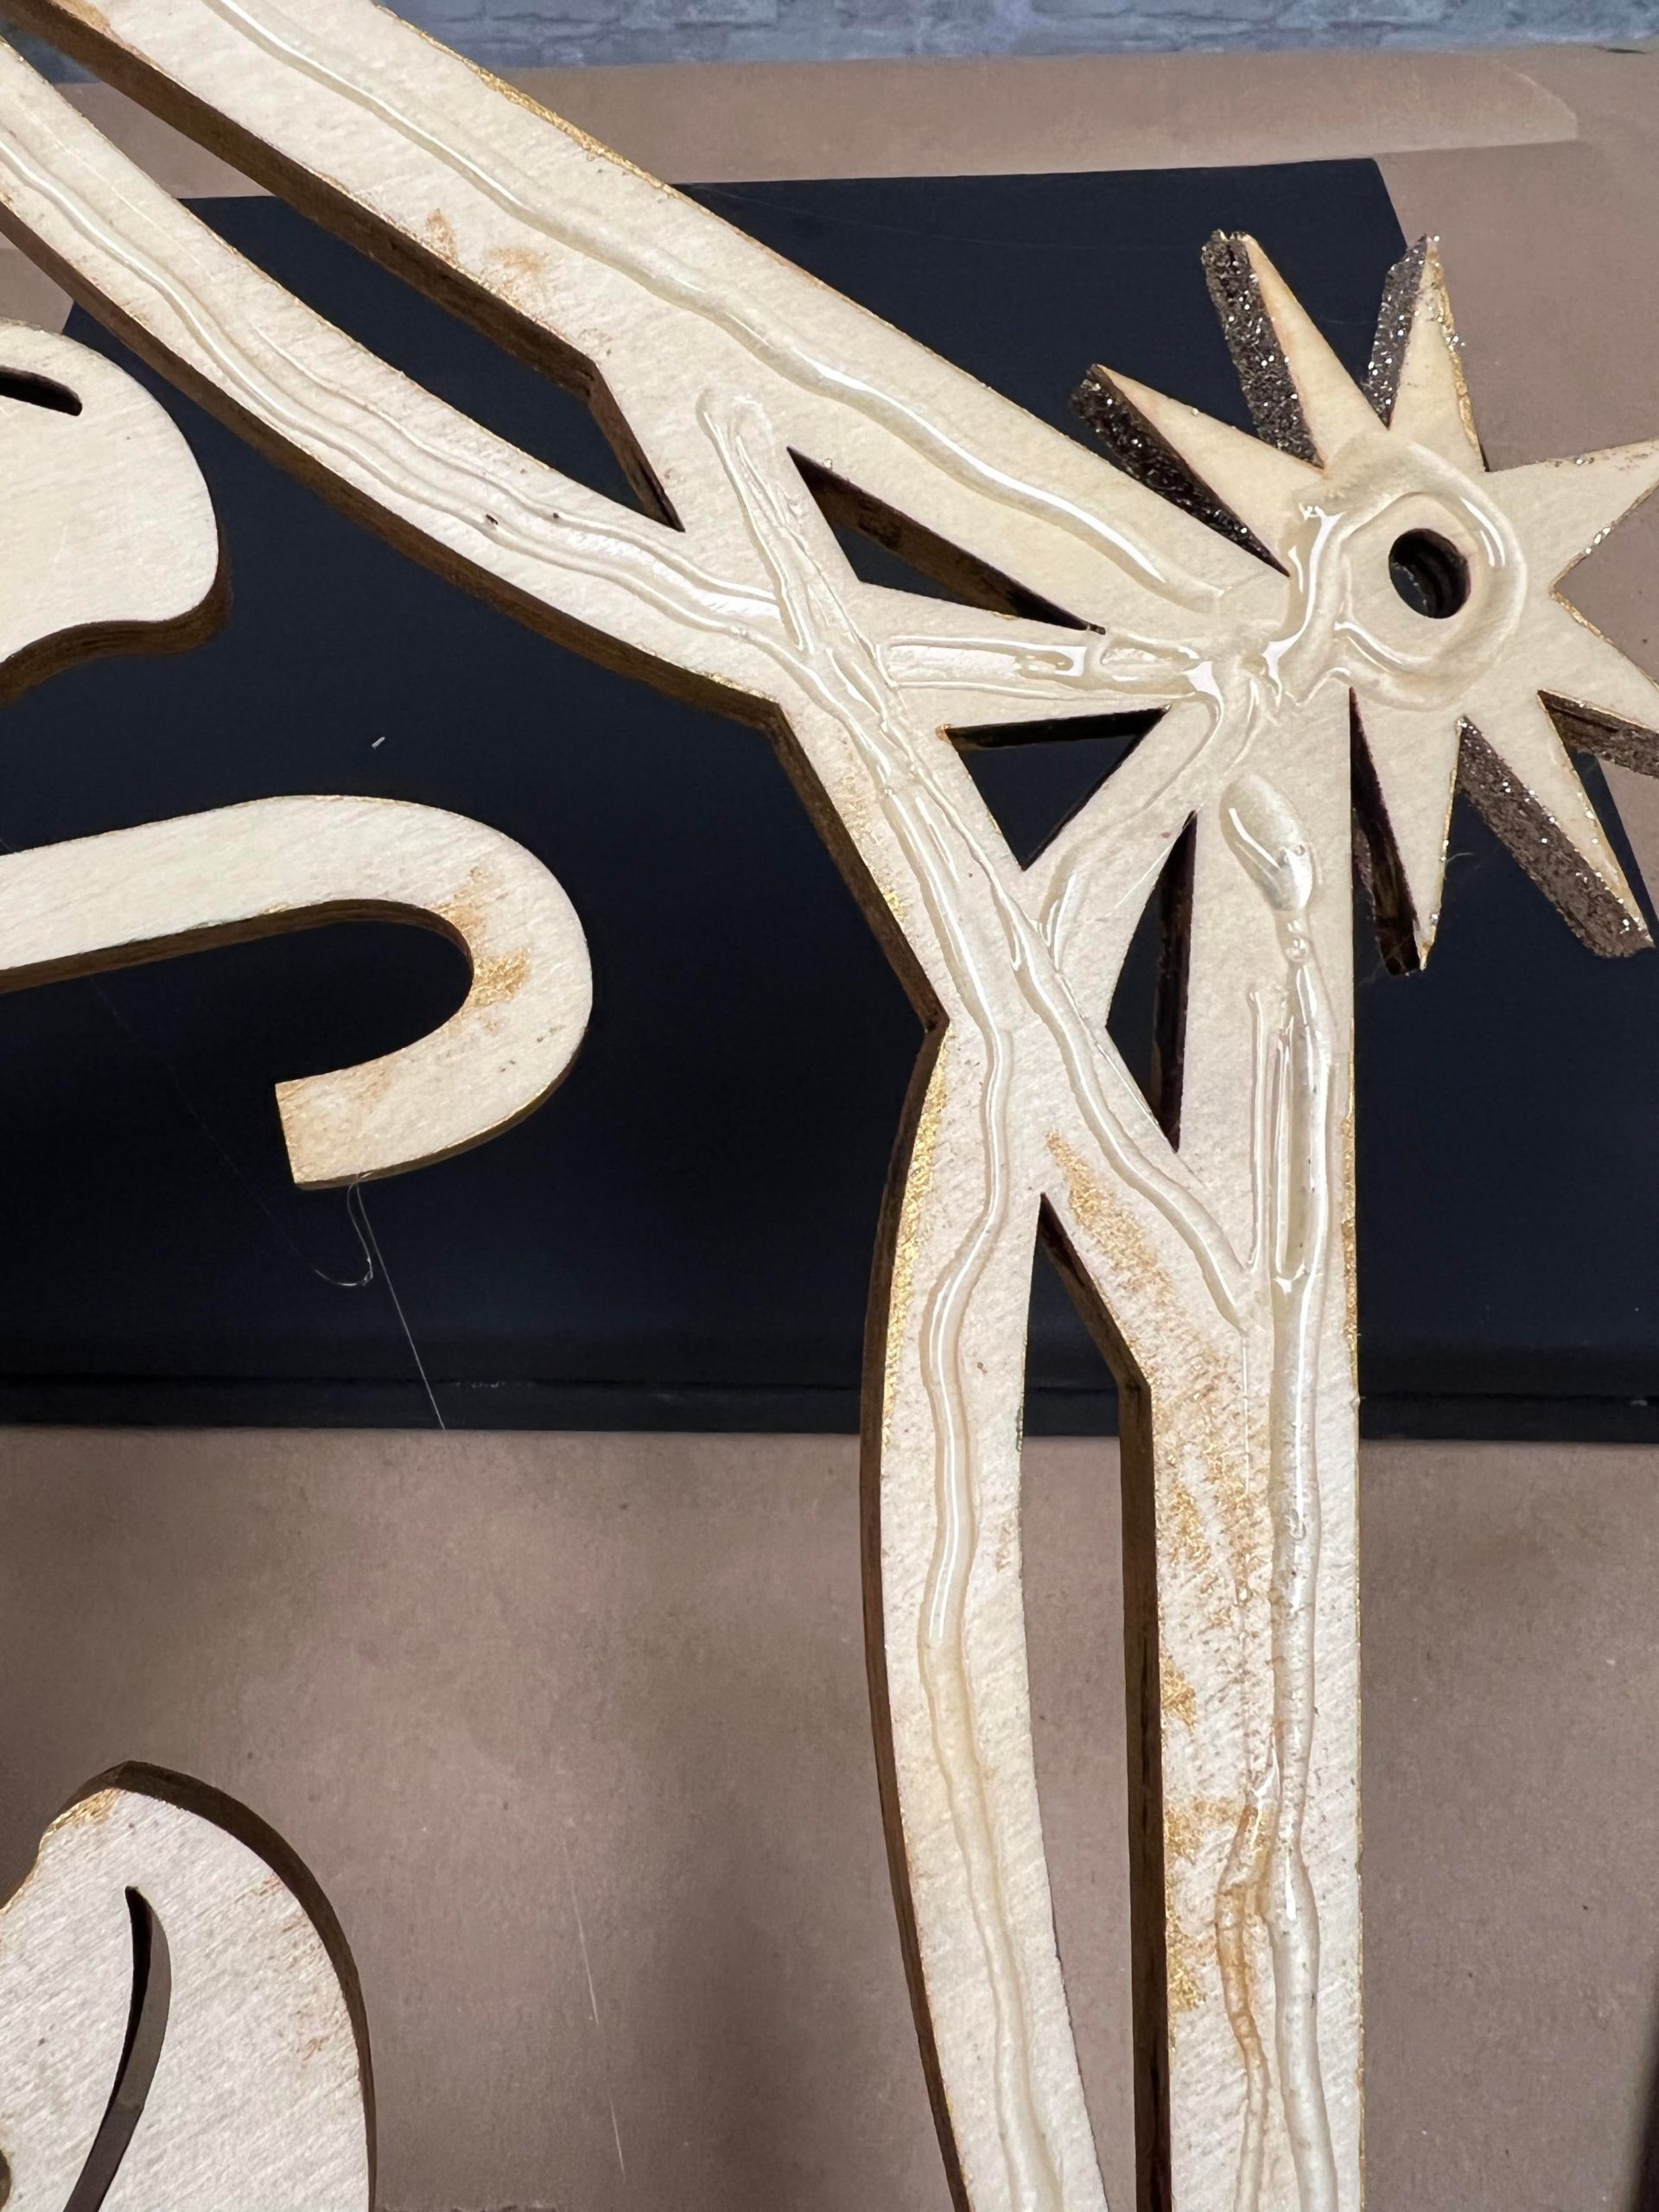
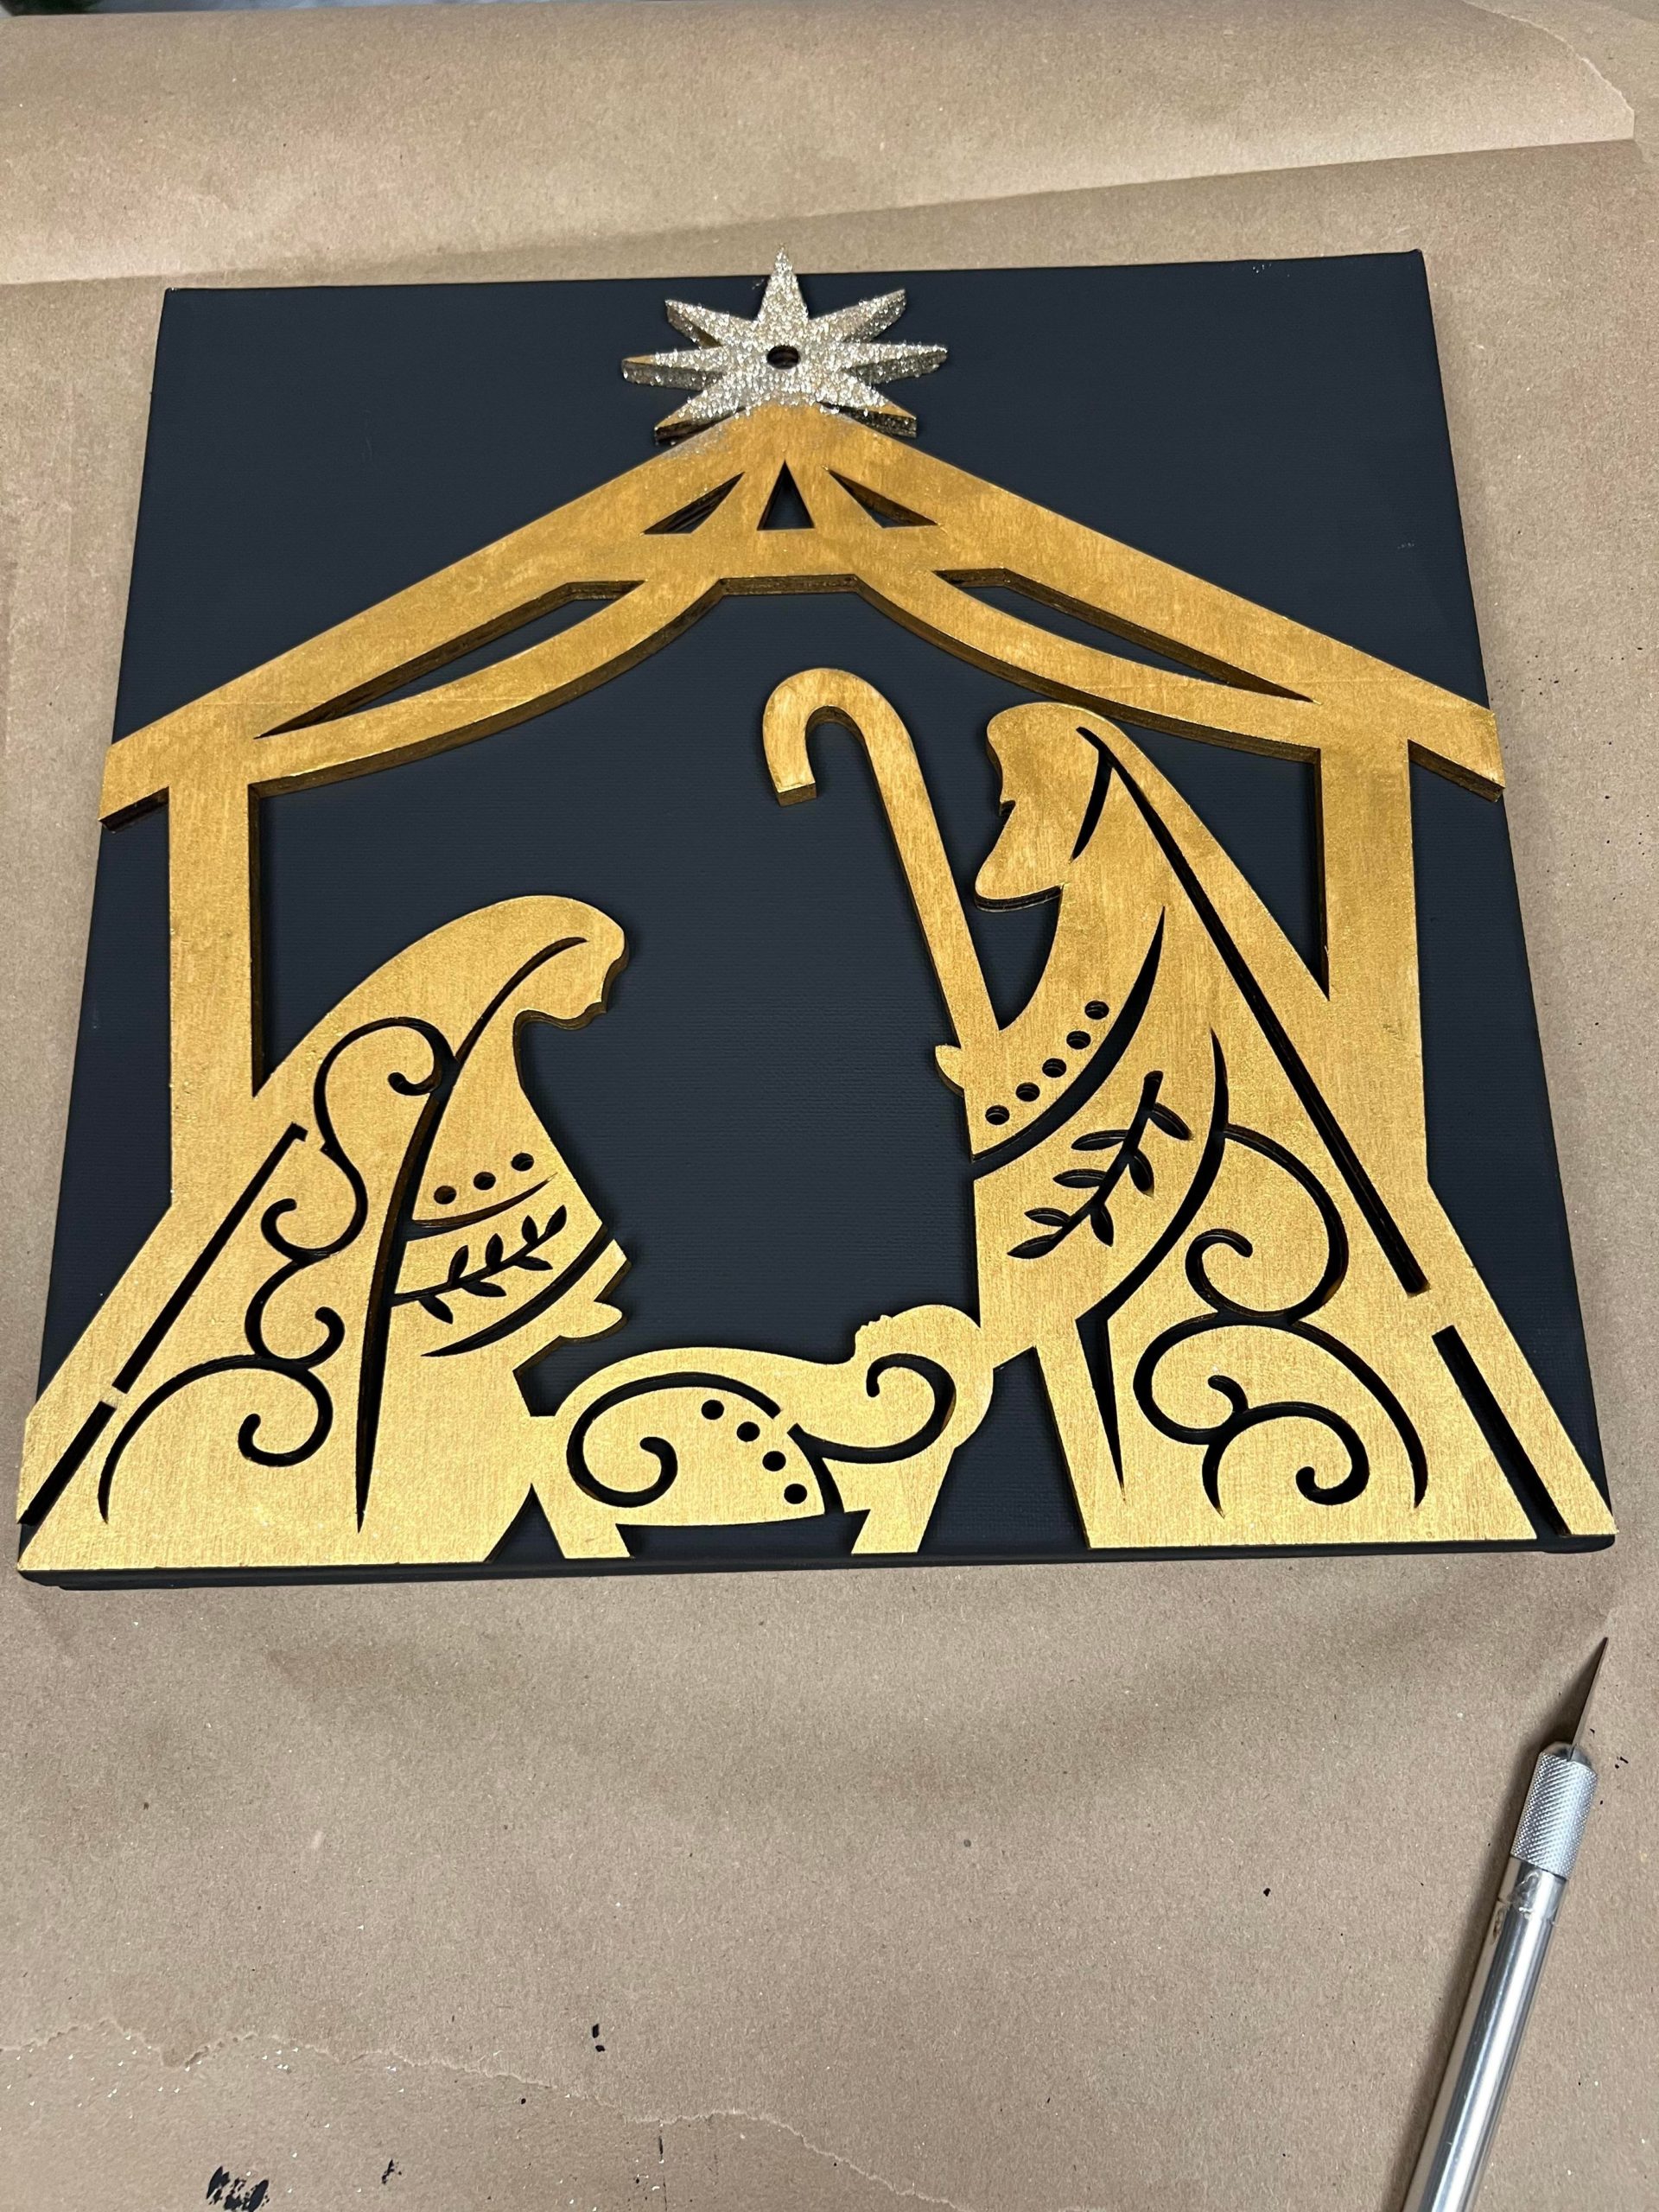
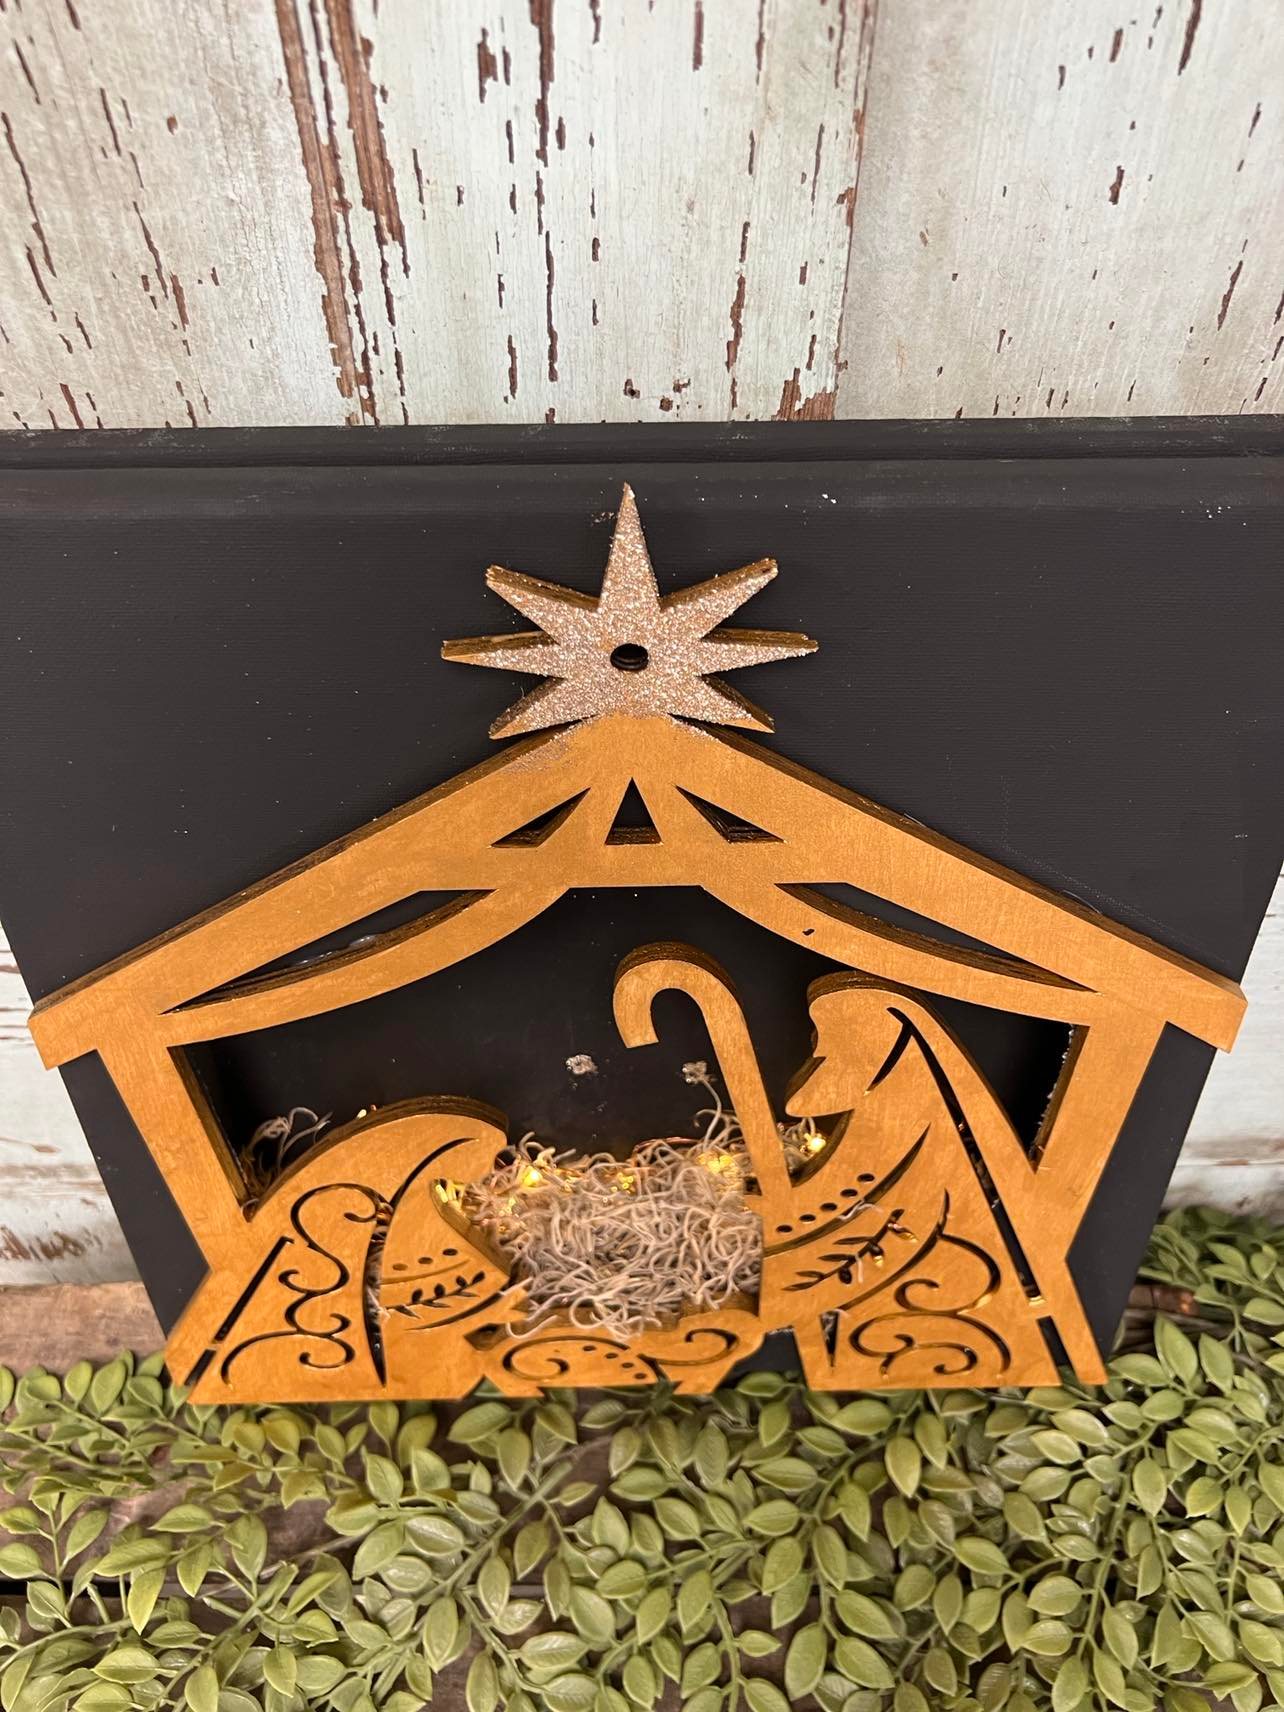
Once I had both canvases painted I then painted the wooden nativity cut out.
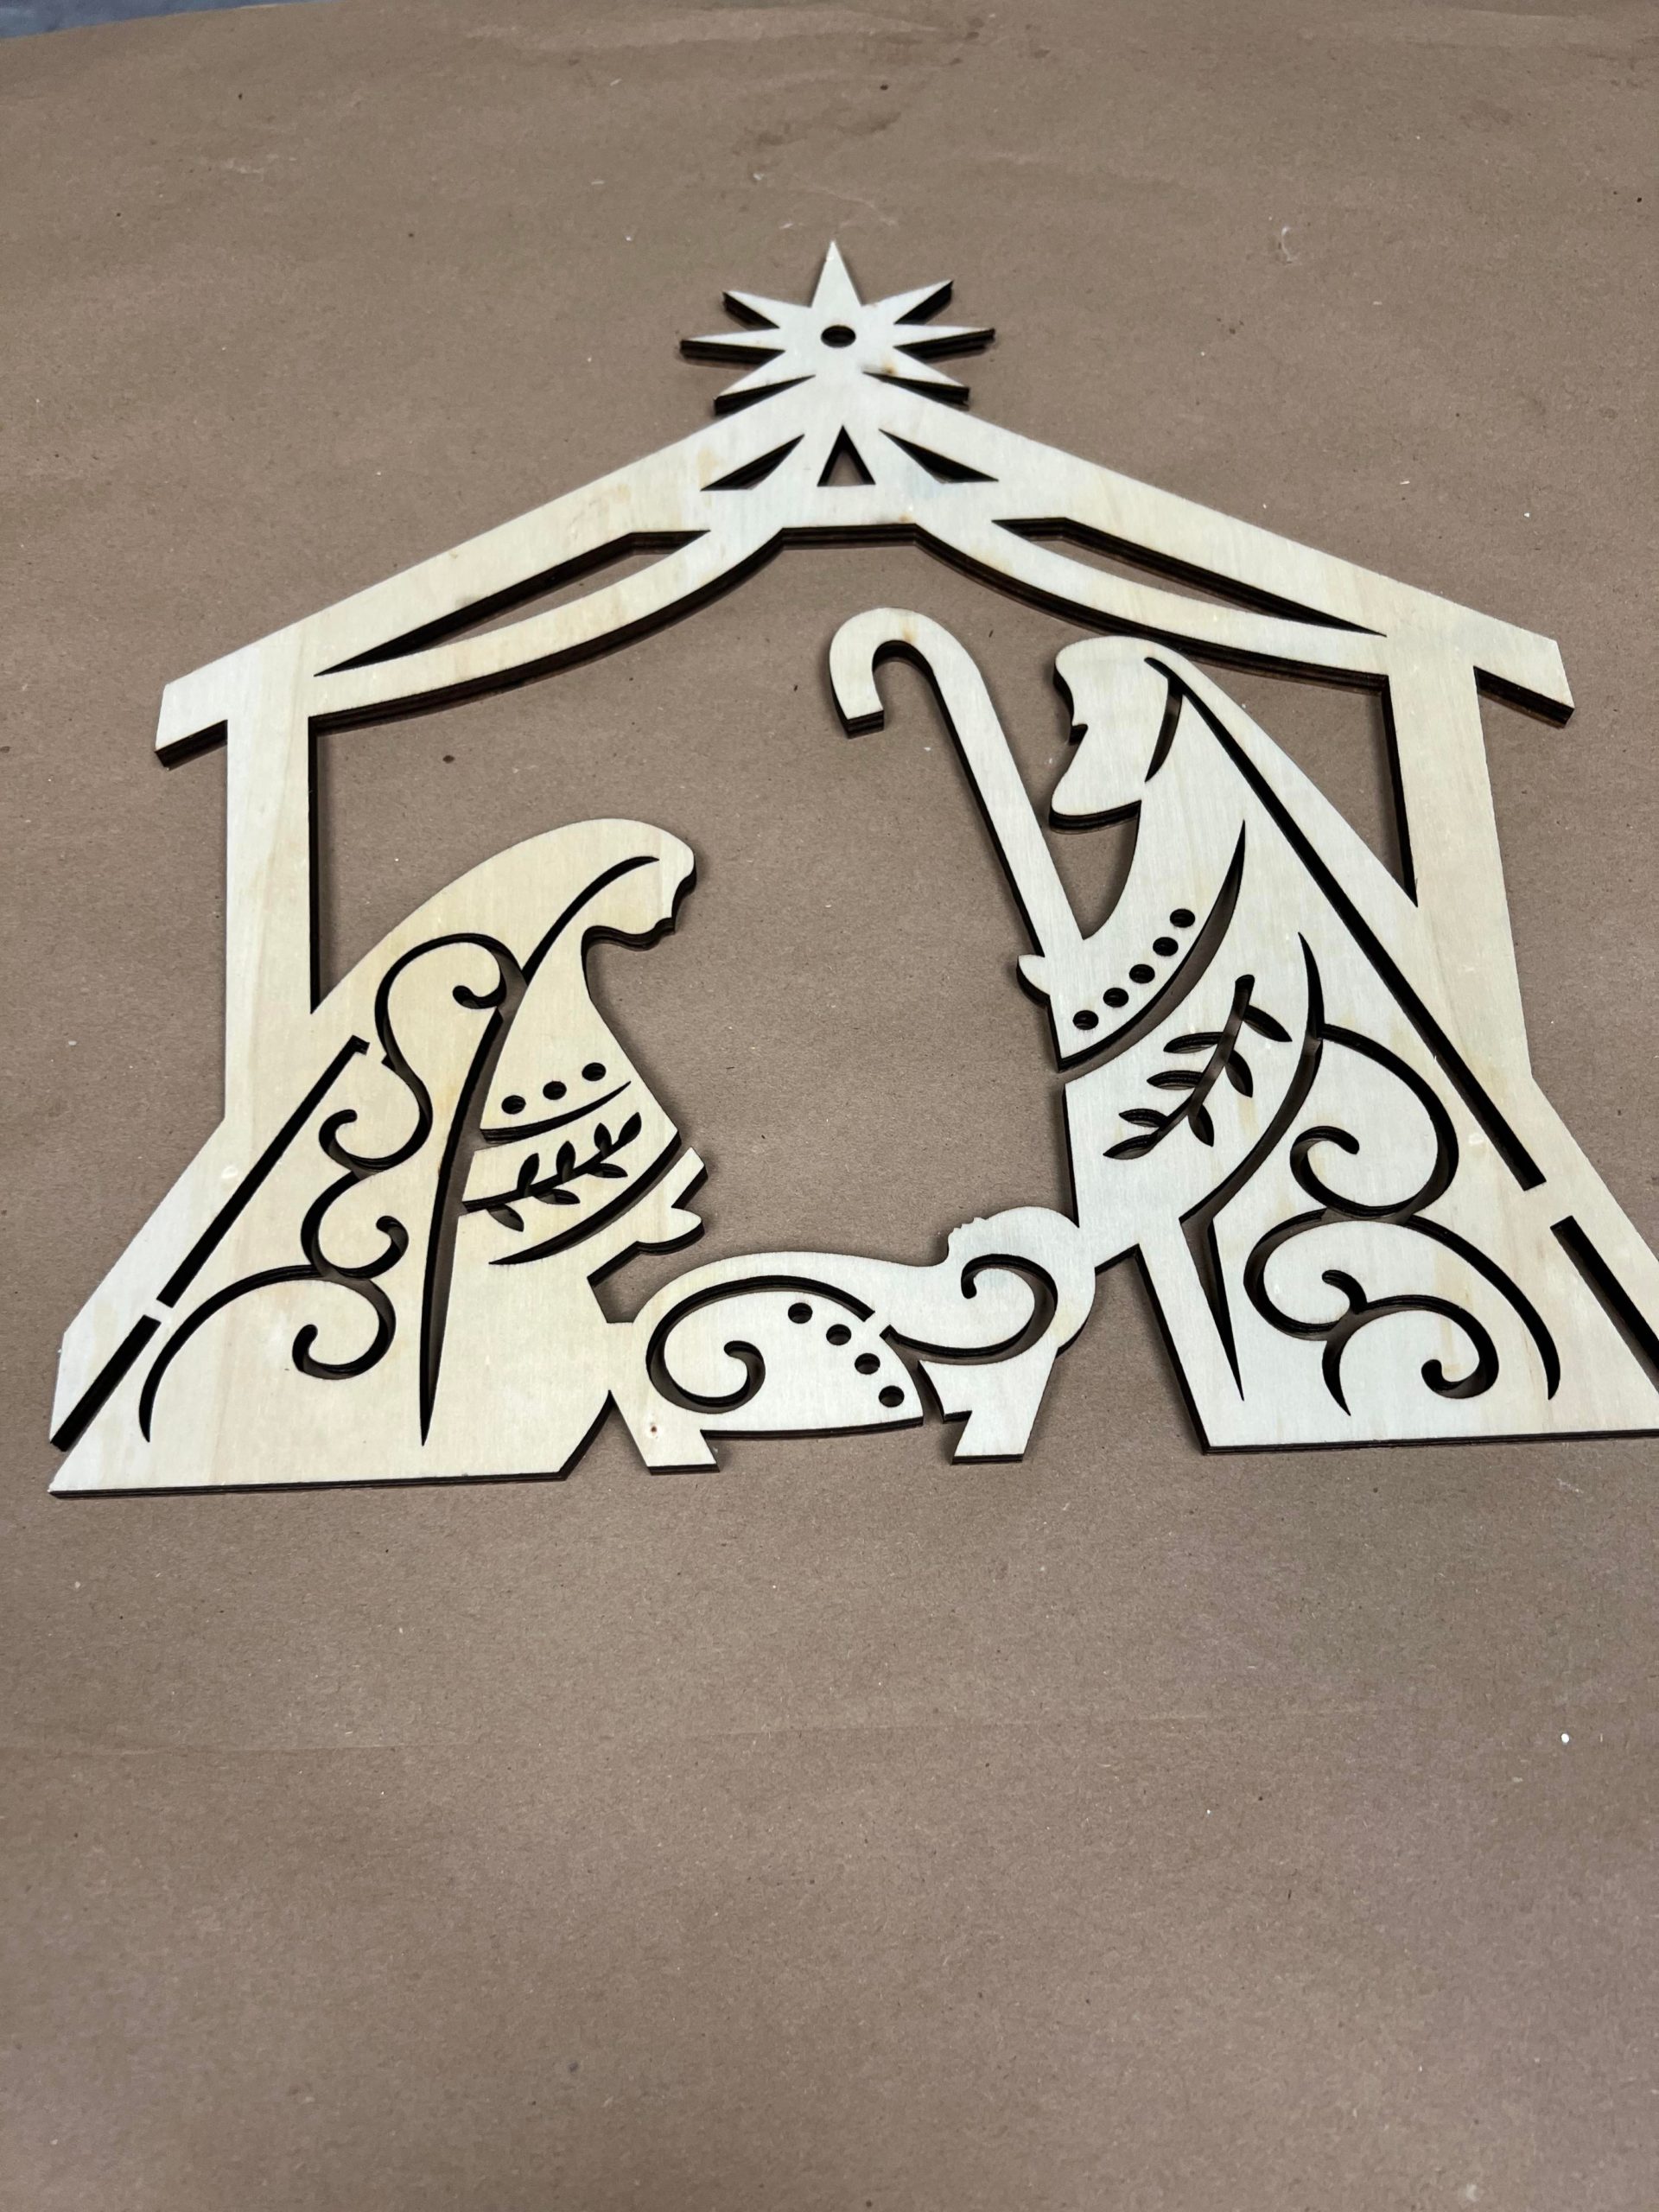
I painted this cut out with the Glorious Gold.
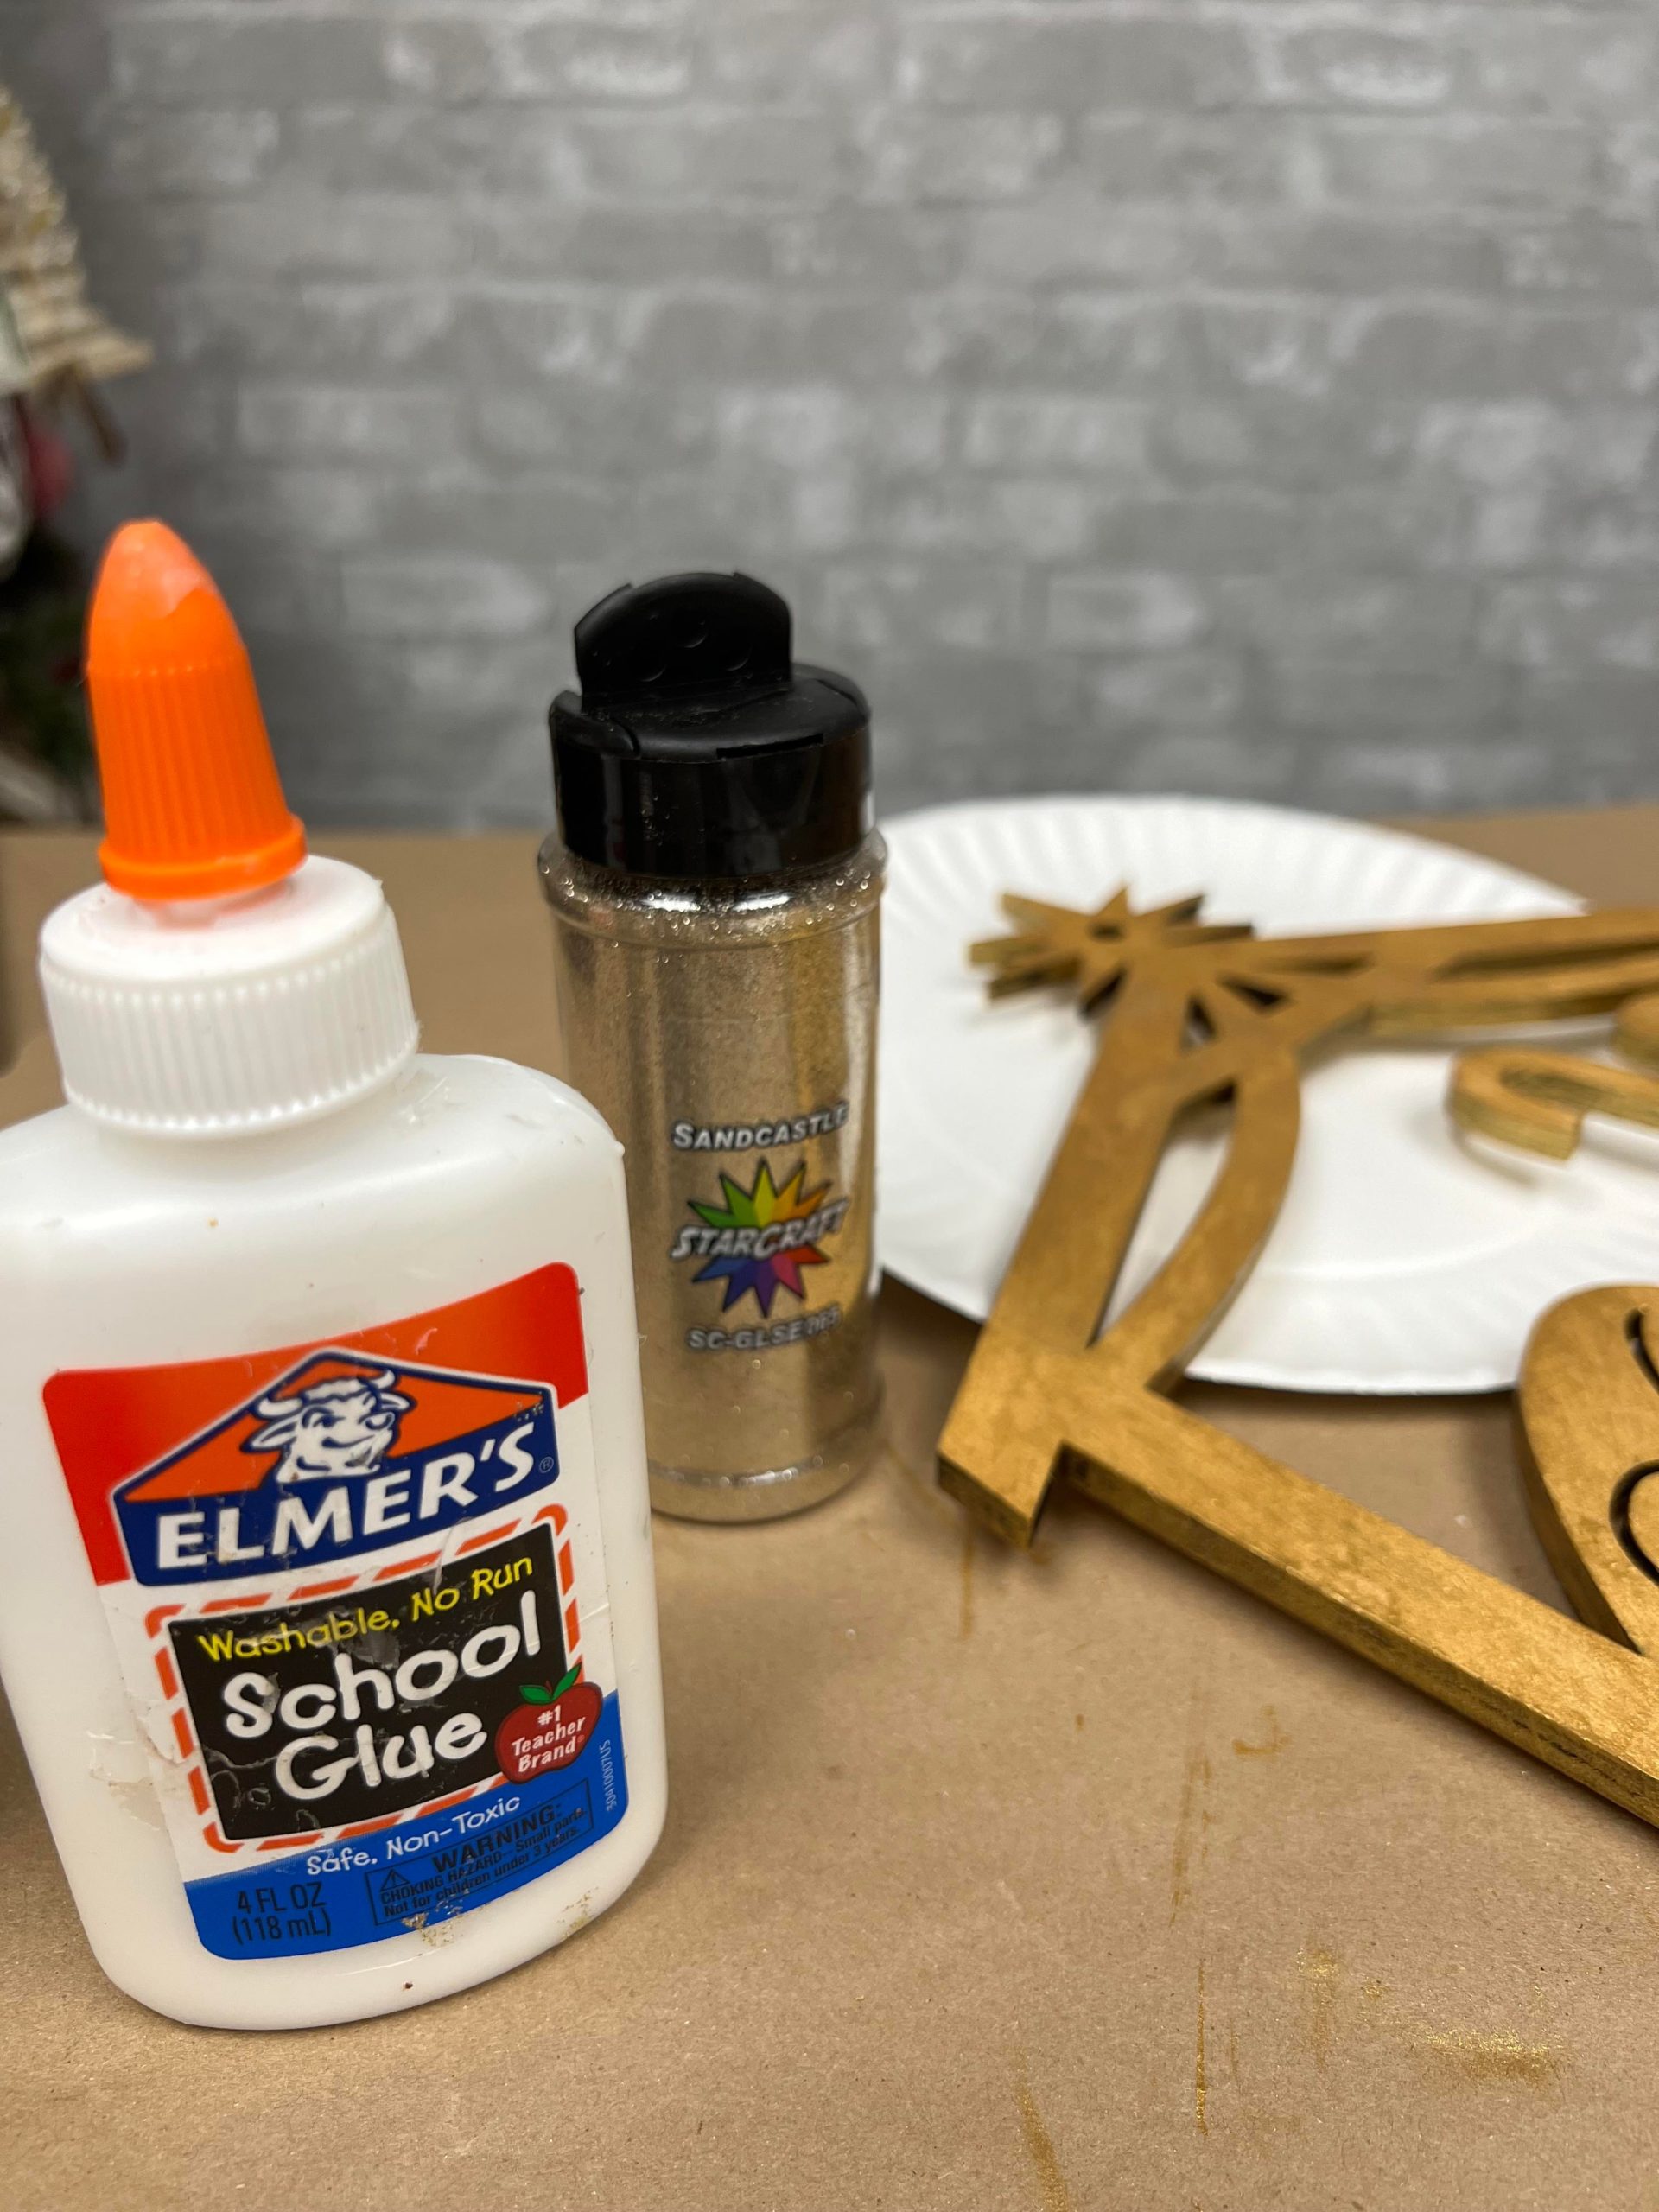
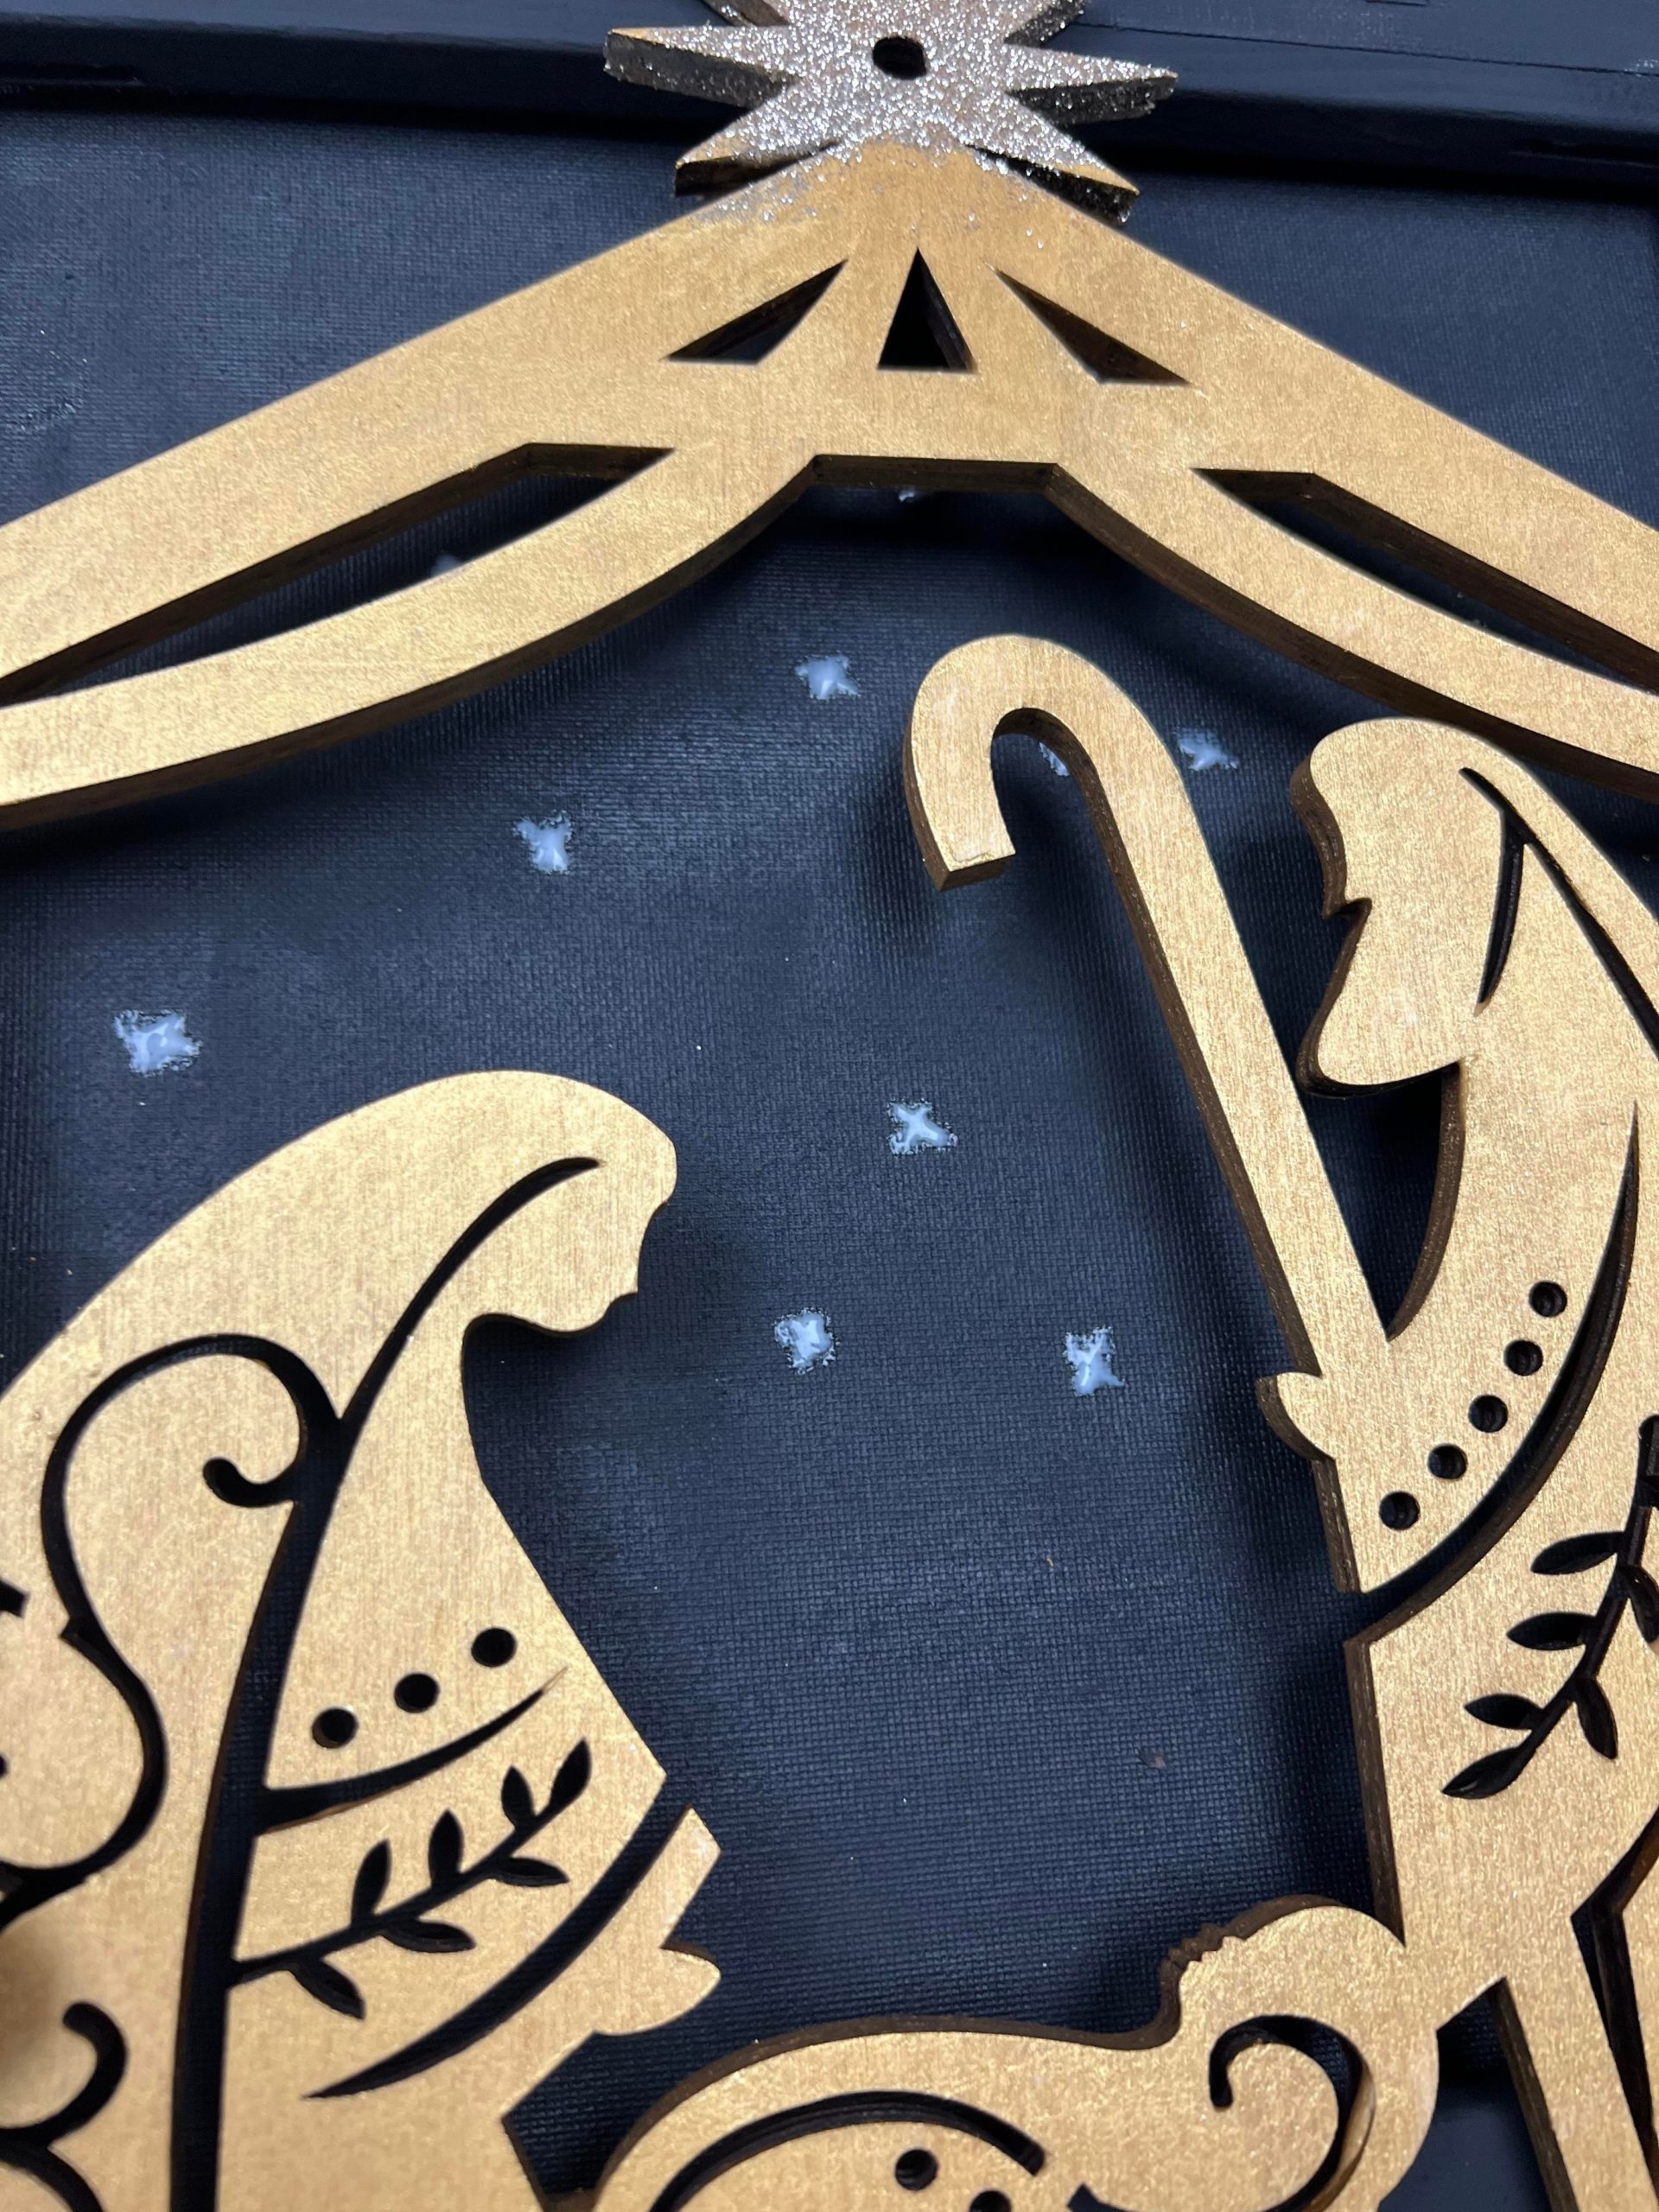
I added some gold glitter to the wooden star at the top. You can paint on some Elmer’s glue and then sprinkle on the glitter.

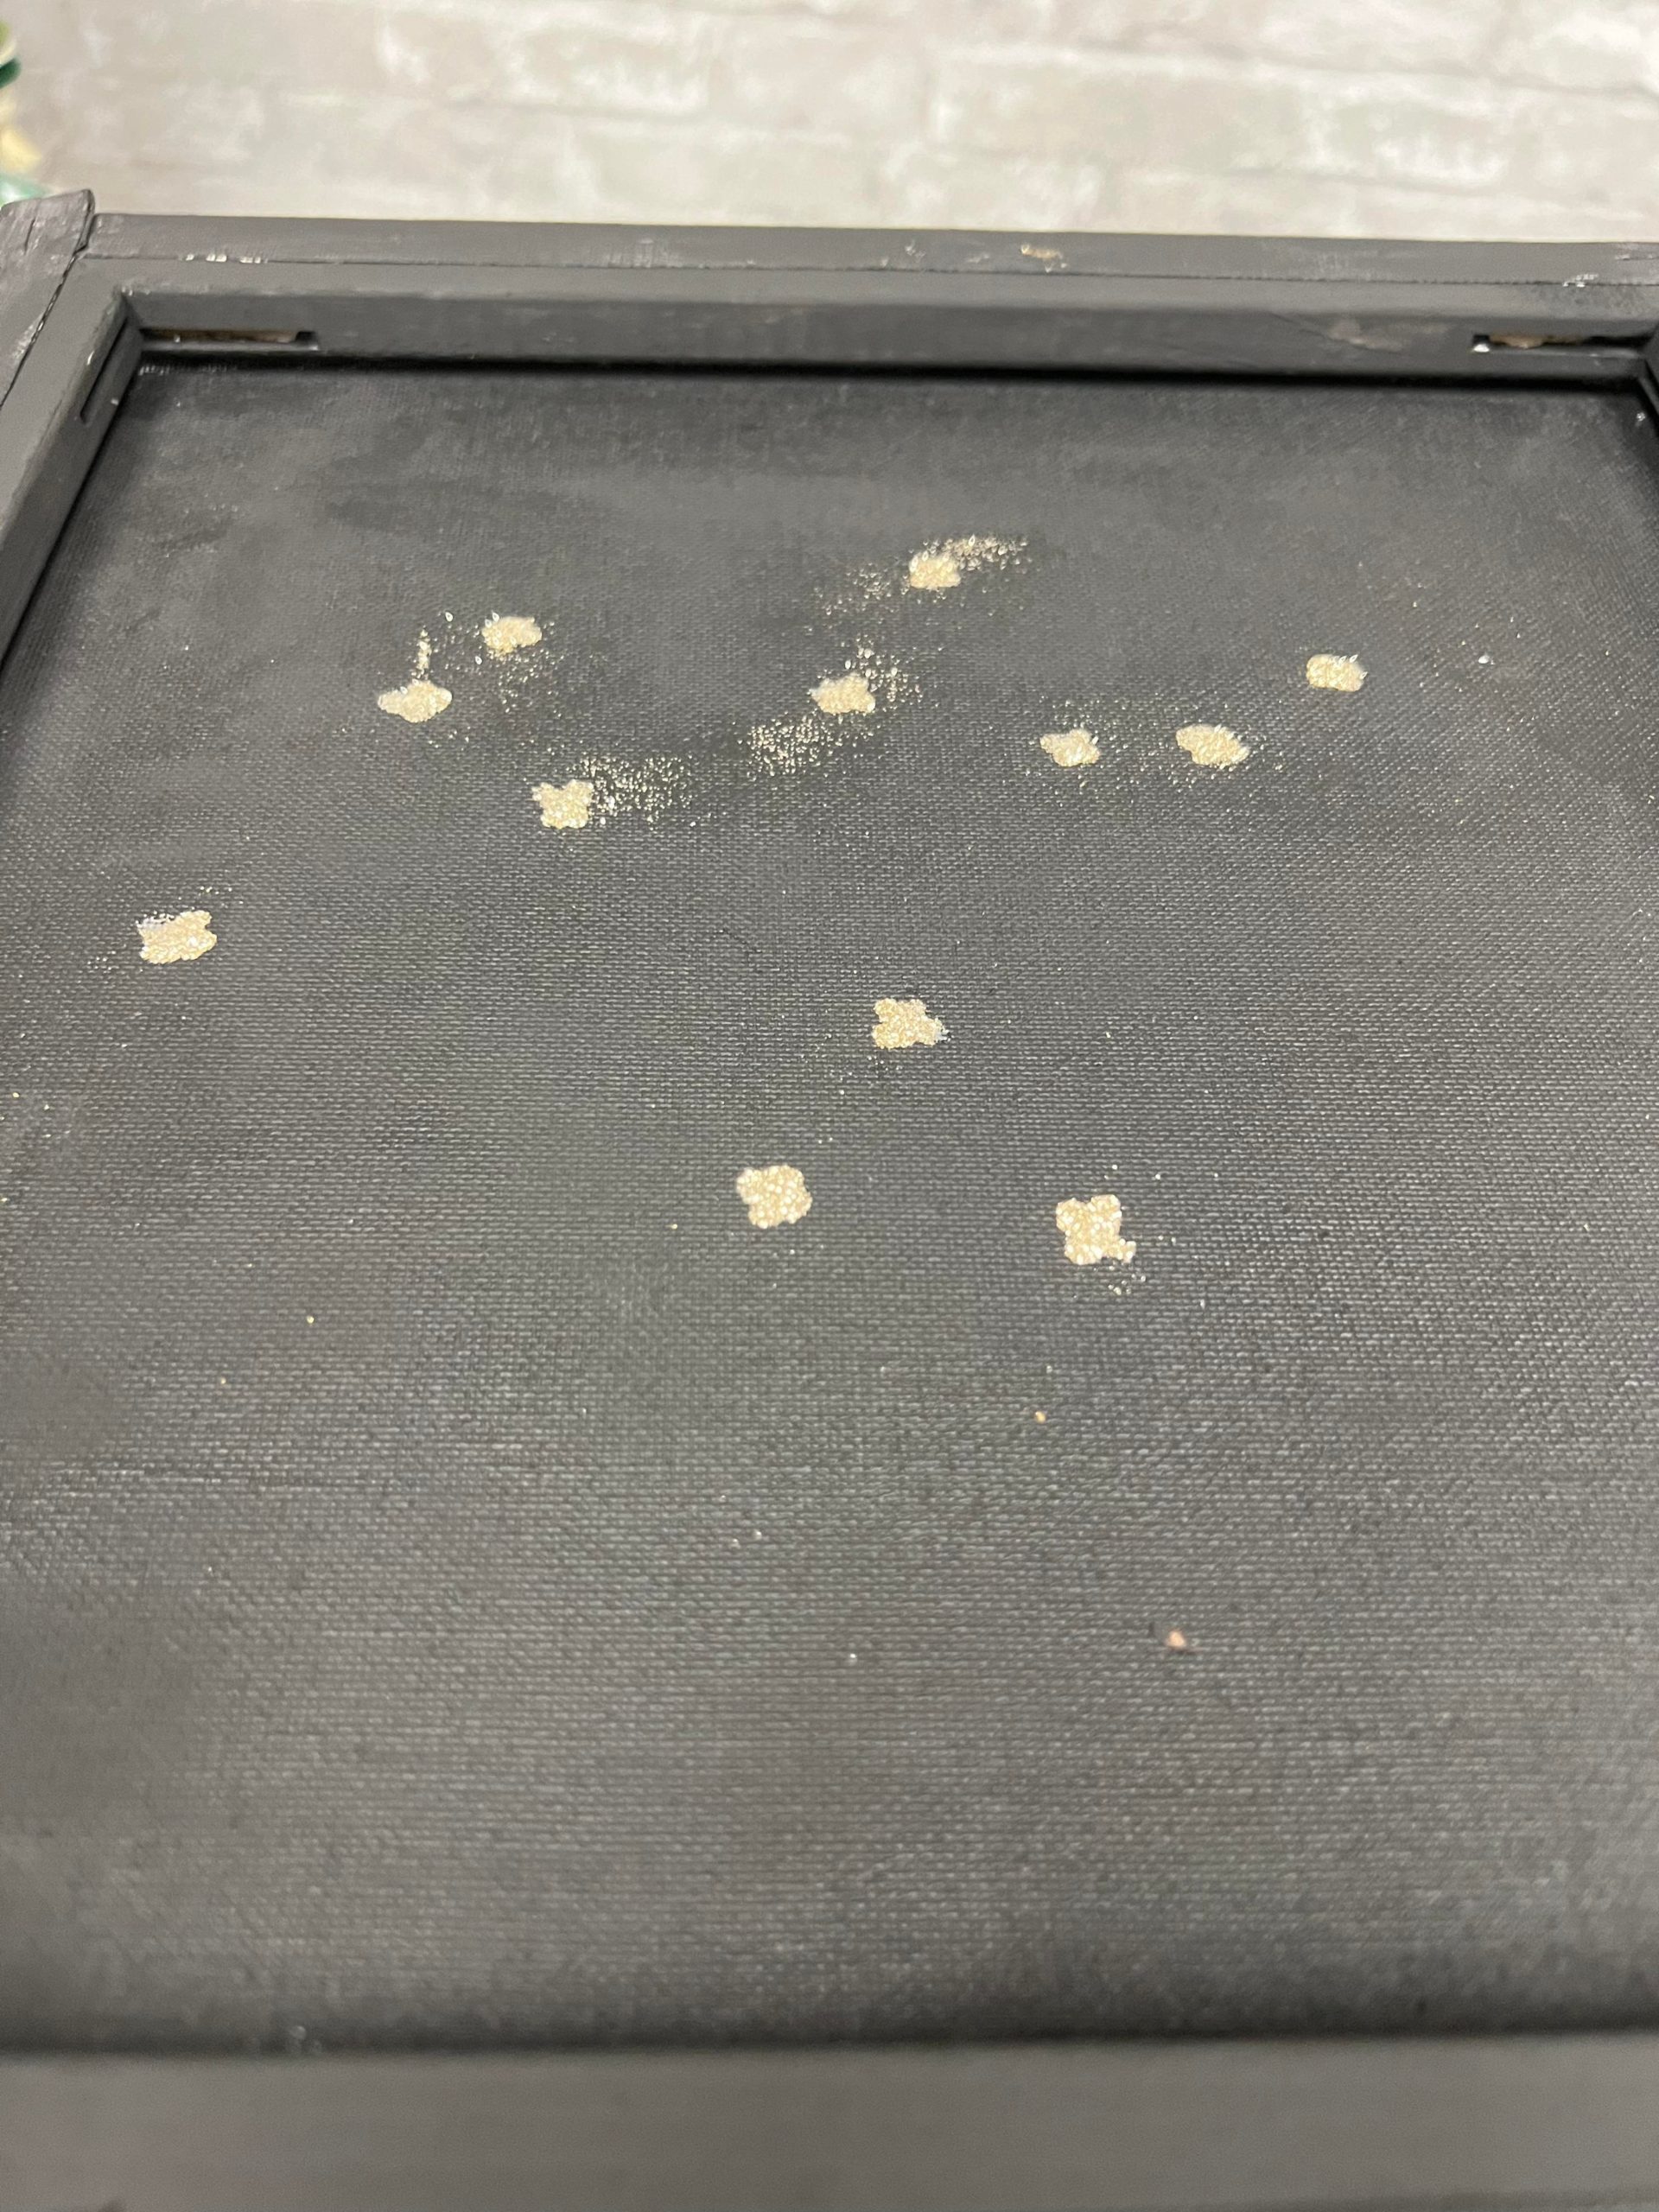
I added some drops of Elmer’s glue to the inside of one of the canvases. These will be sprinkled with glitter and look like stars.
I placed the nativity cut out onto the canvas to see where I would want the stars to be before adding the Elmer’s glue.
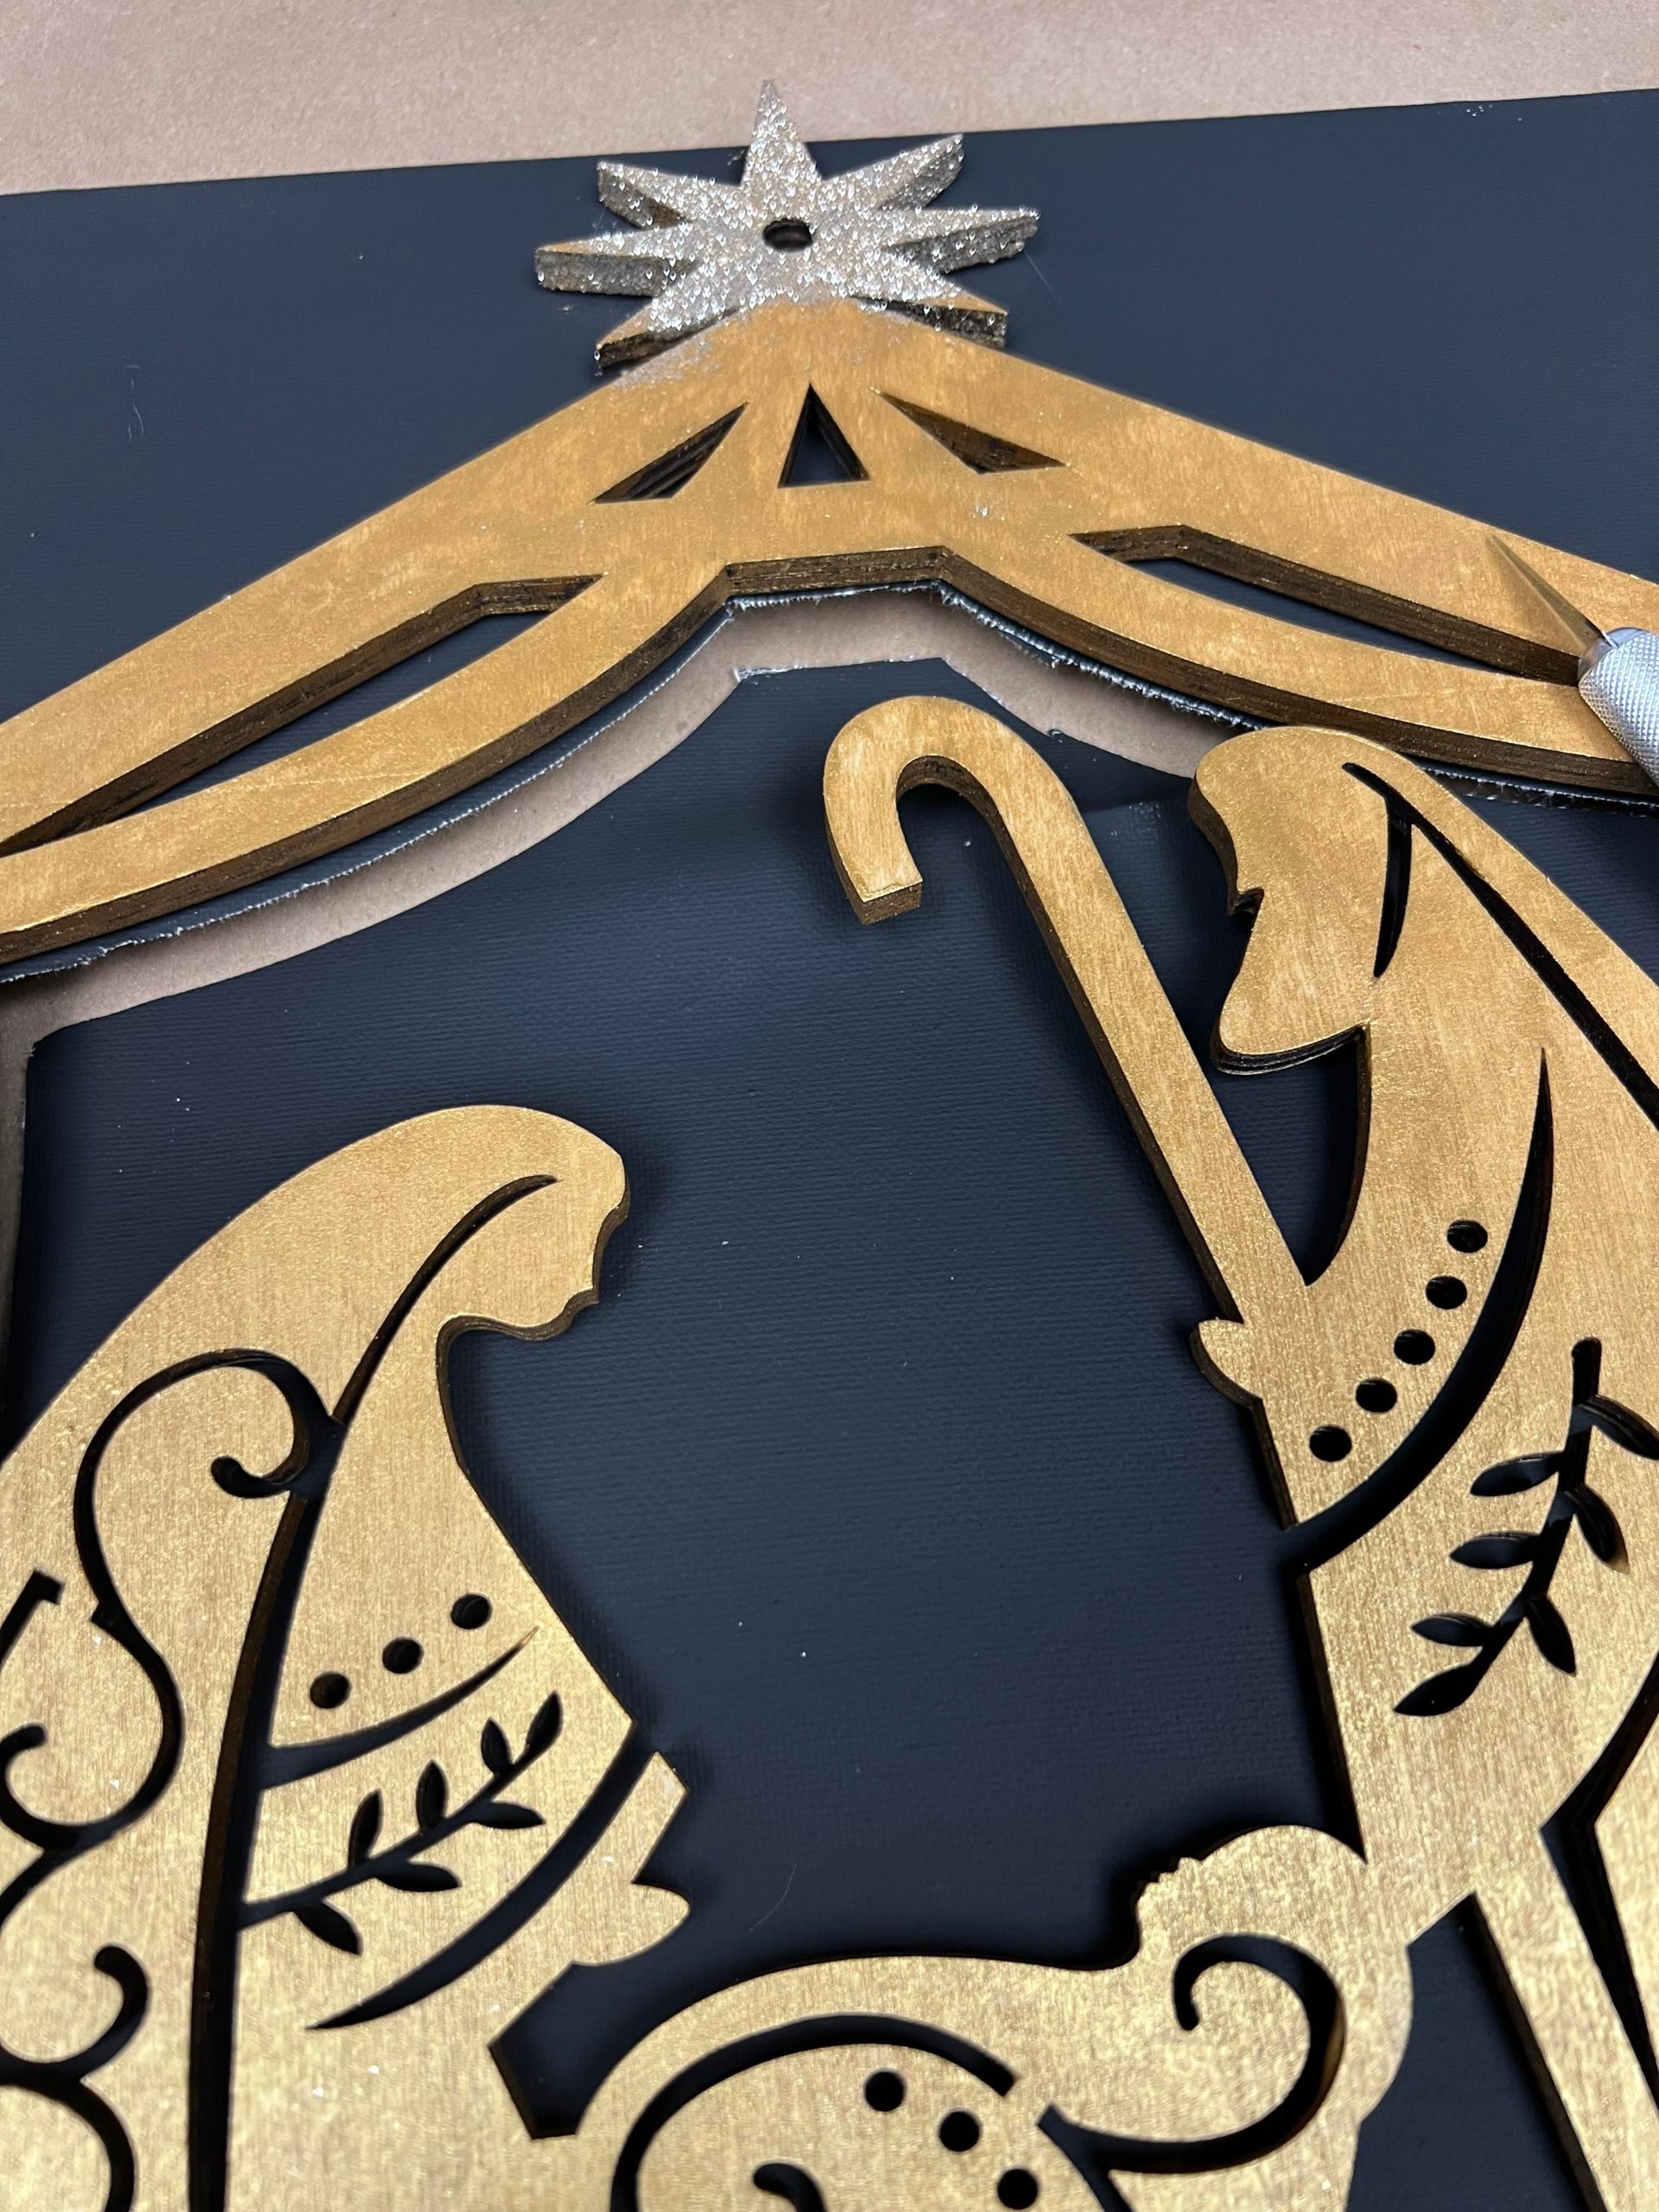
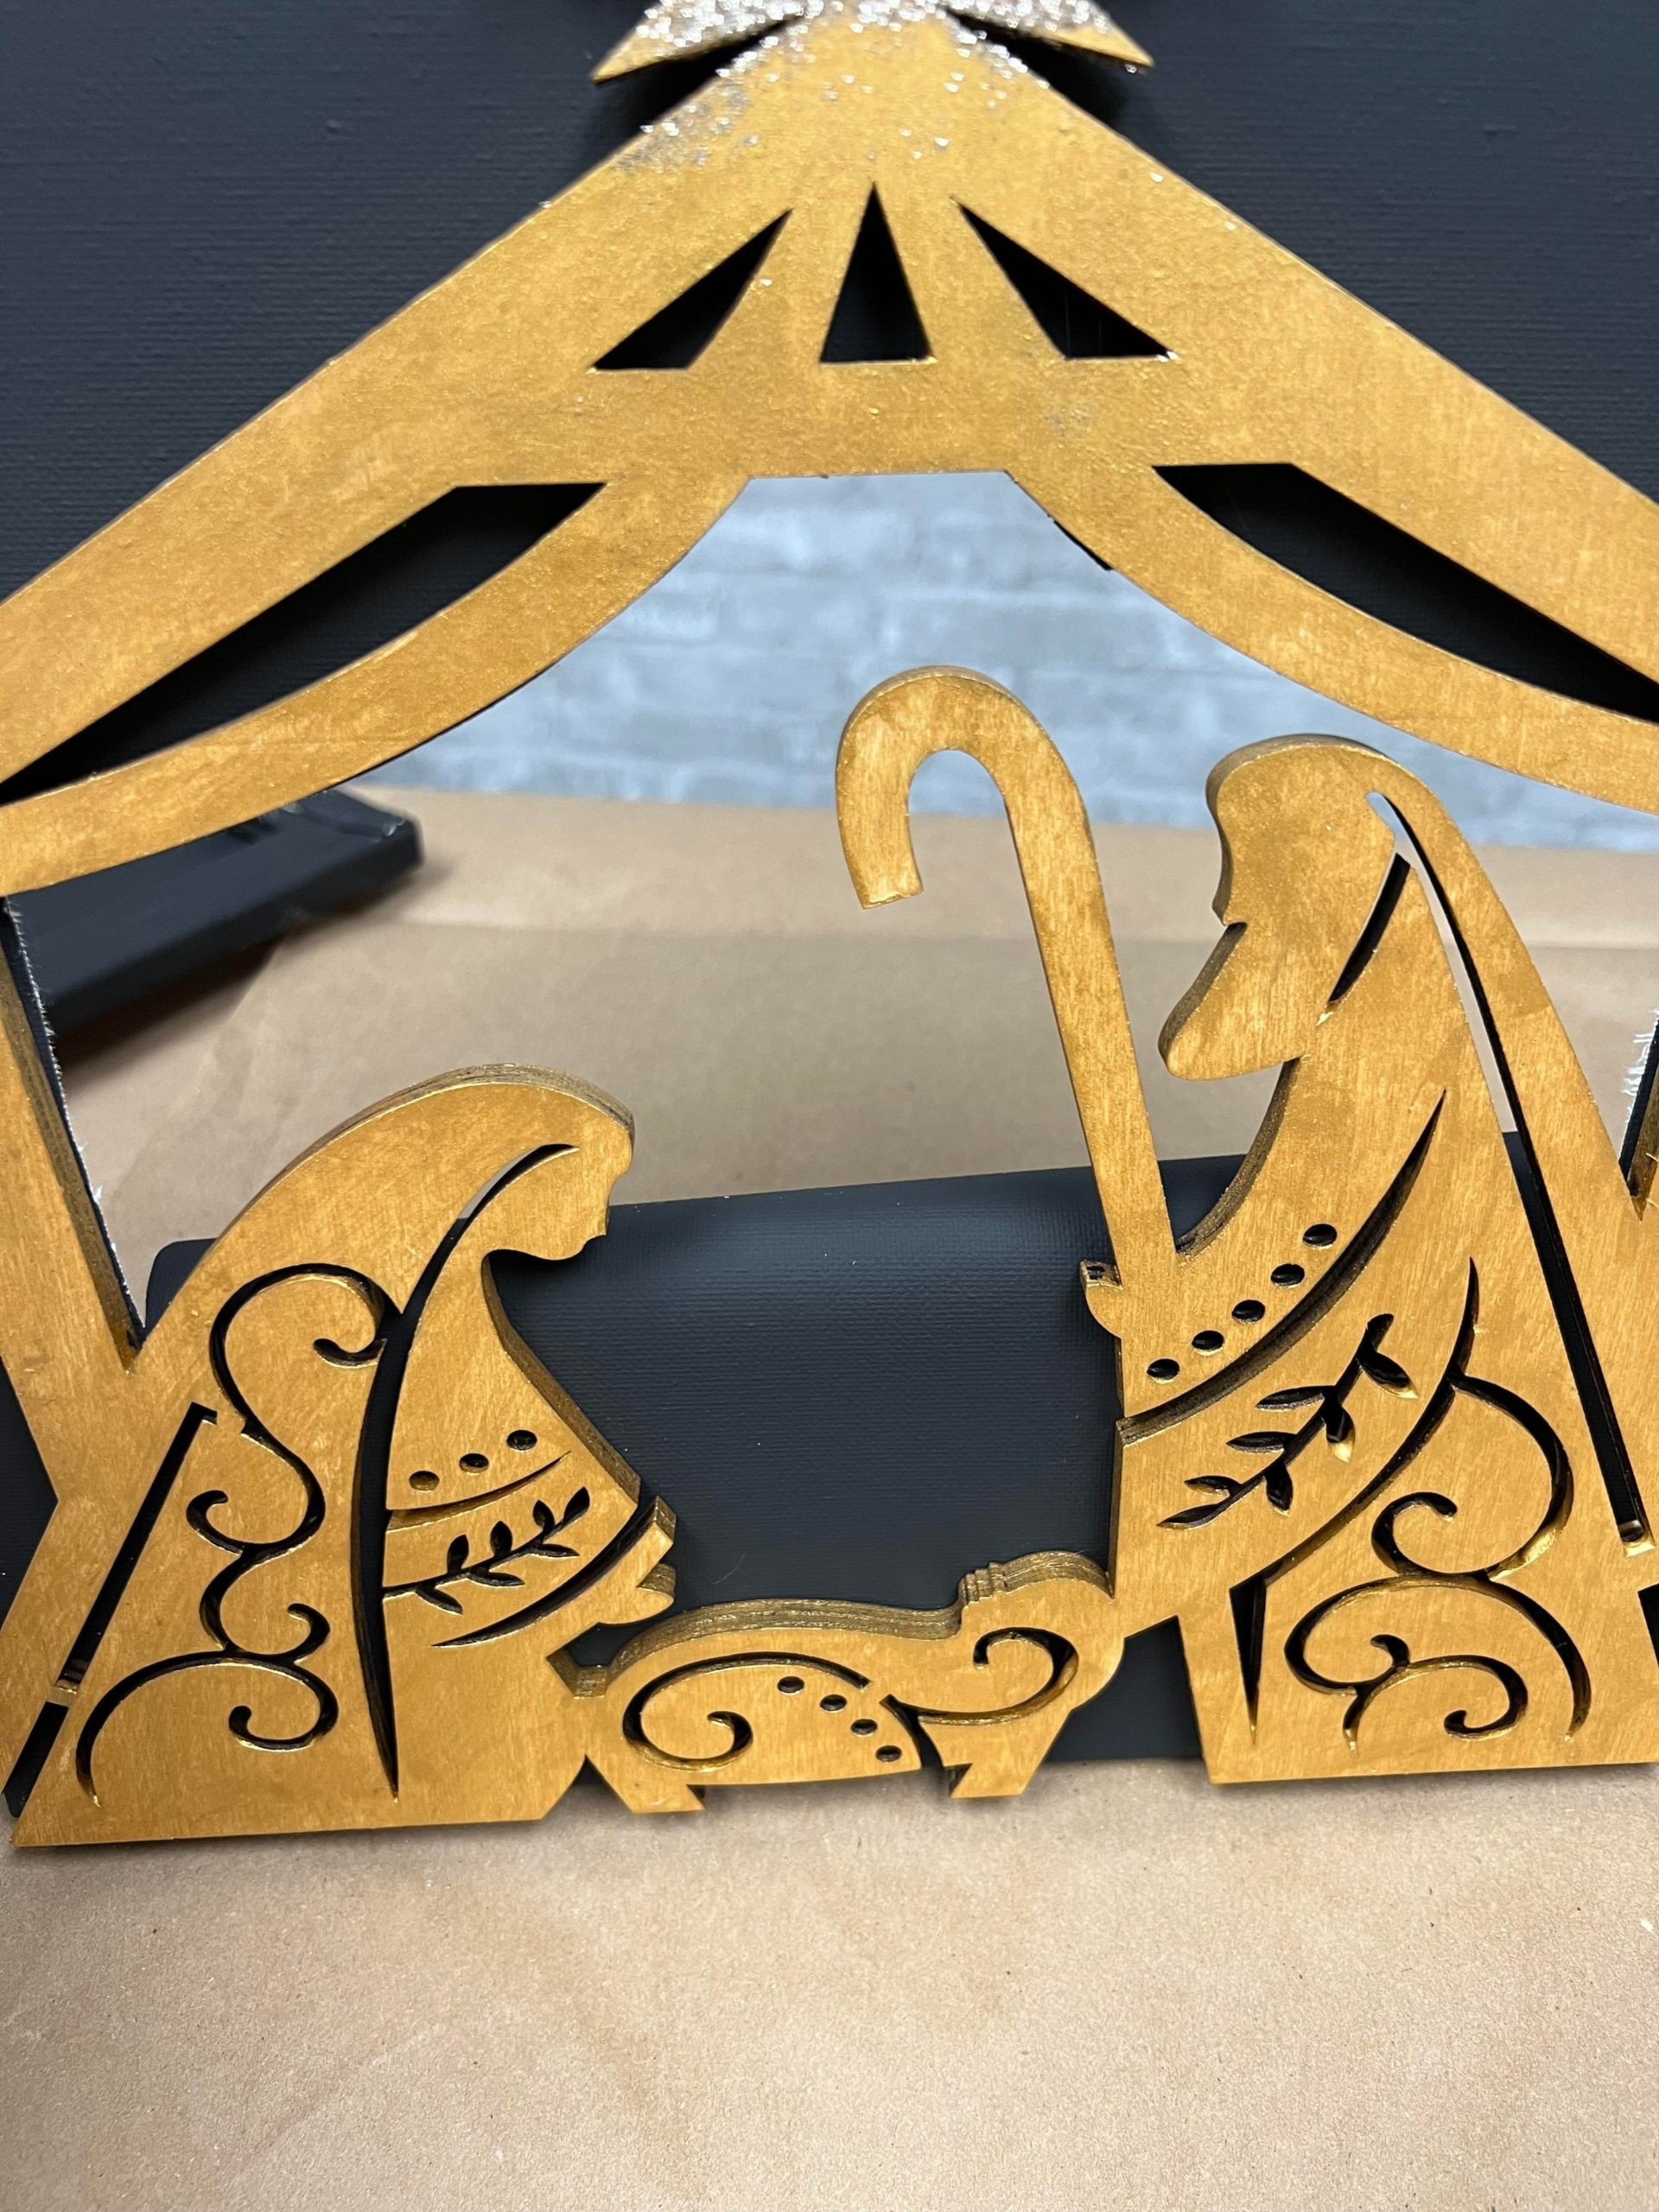
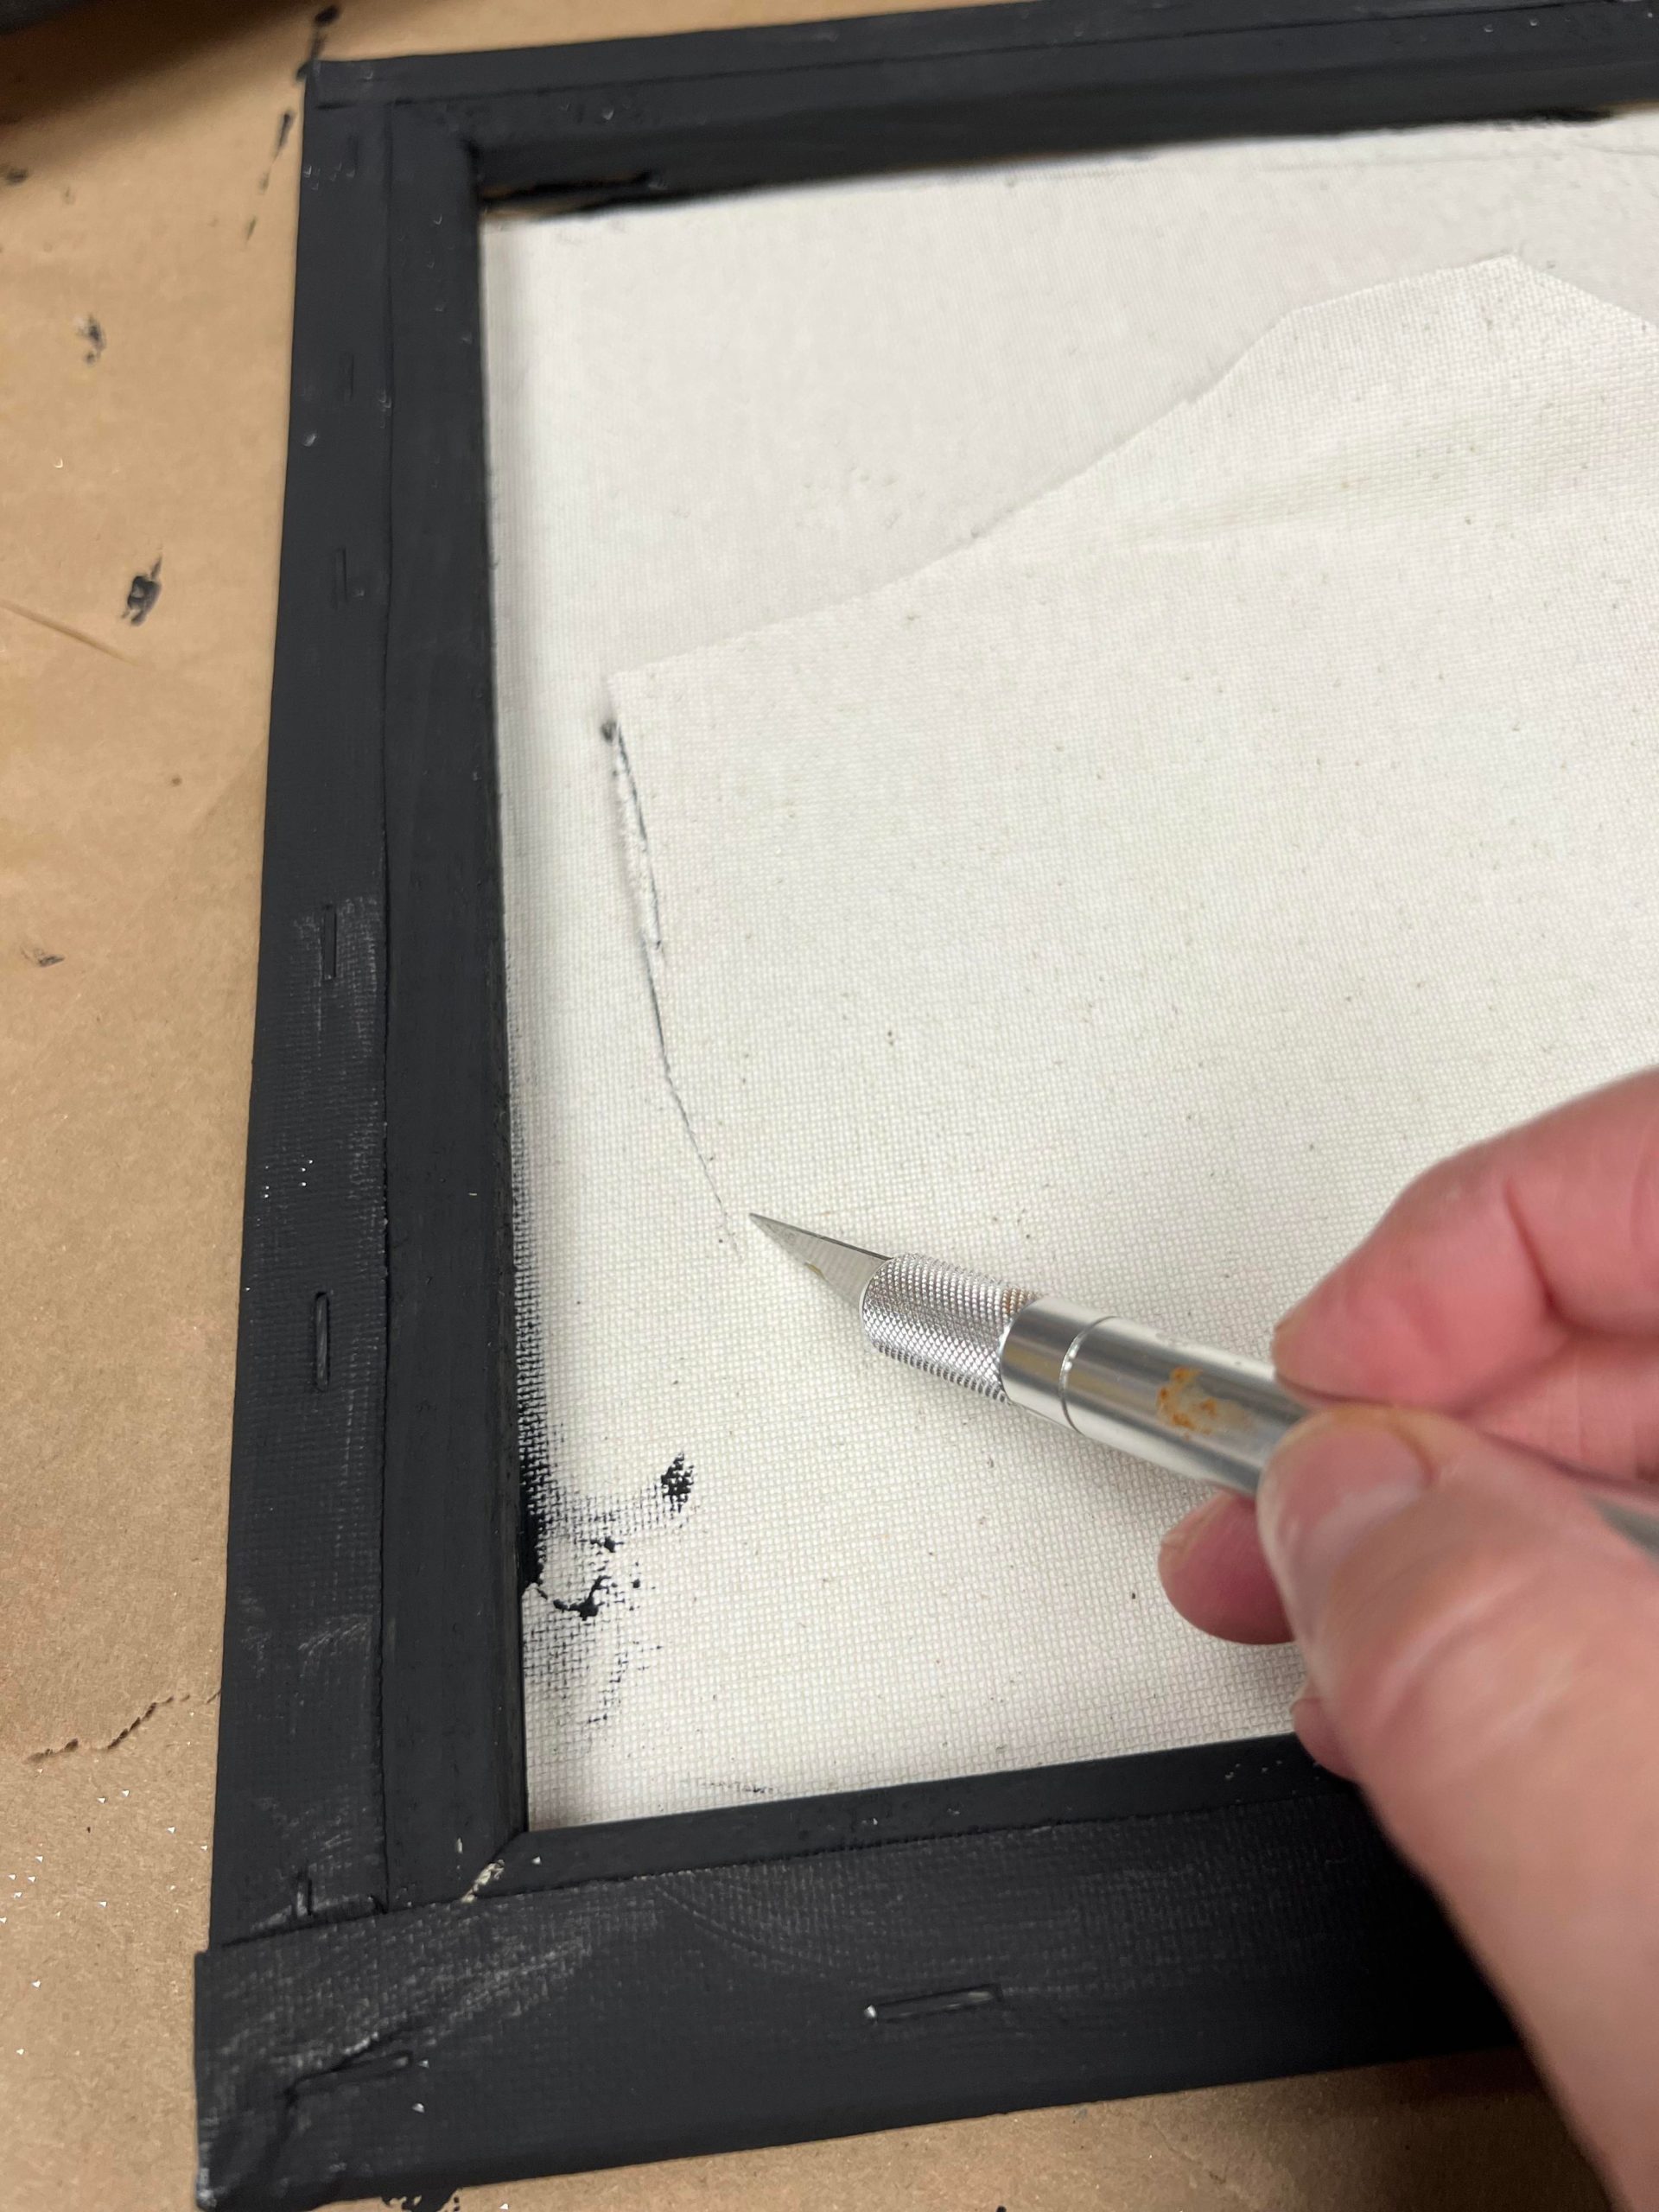
I added some hot glue to the top section of the cut out only and then placed it onto the top side of the canvas.
Once I had the nativity cut out glued in place I then used the x-acto knife to cut out the center area as shown in photo below.
You will flip the canvas over to cut the bottom part.
Once you have the canvas cut out you’ll then glue the bottom part on.
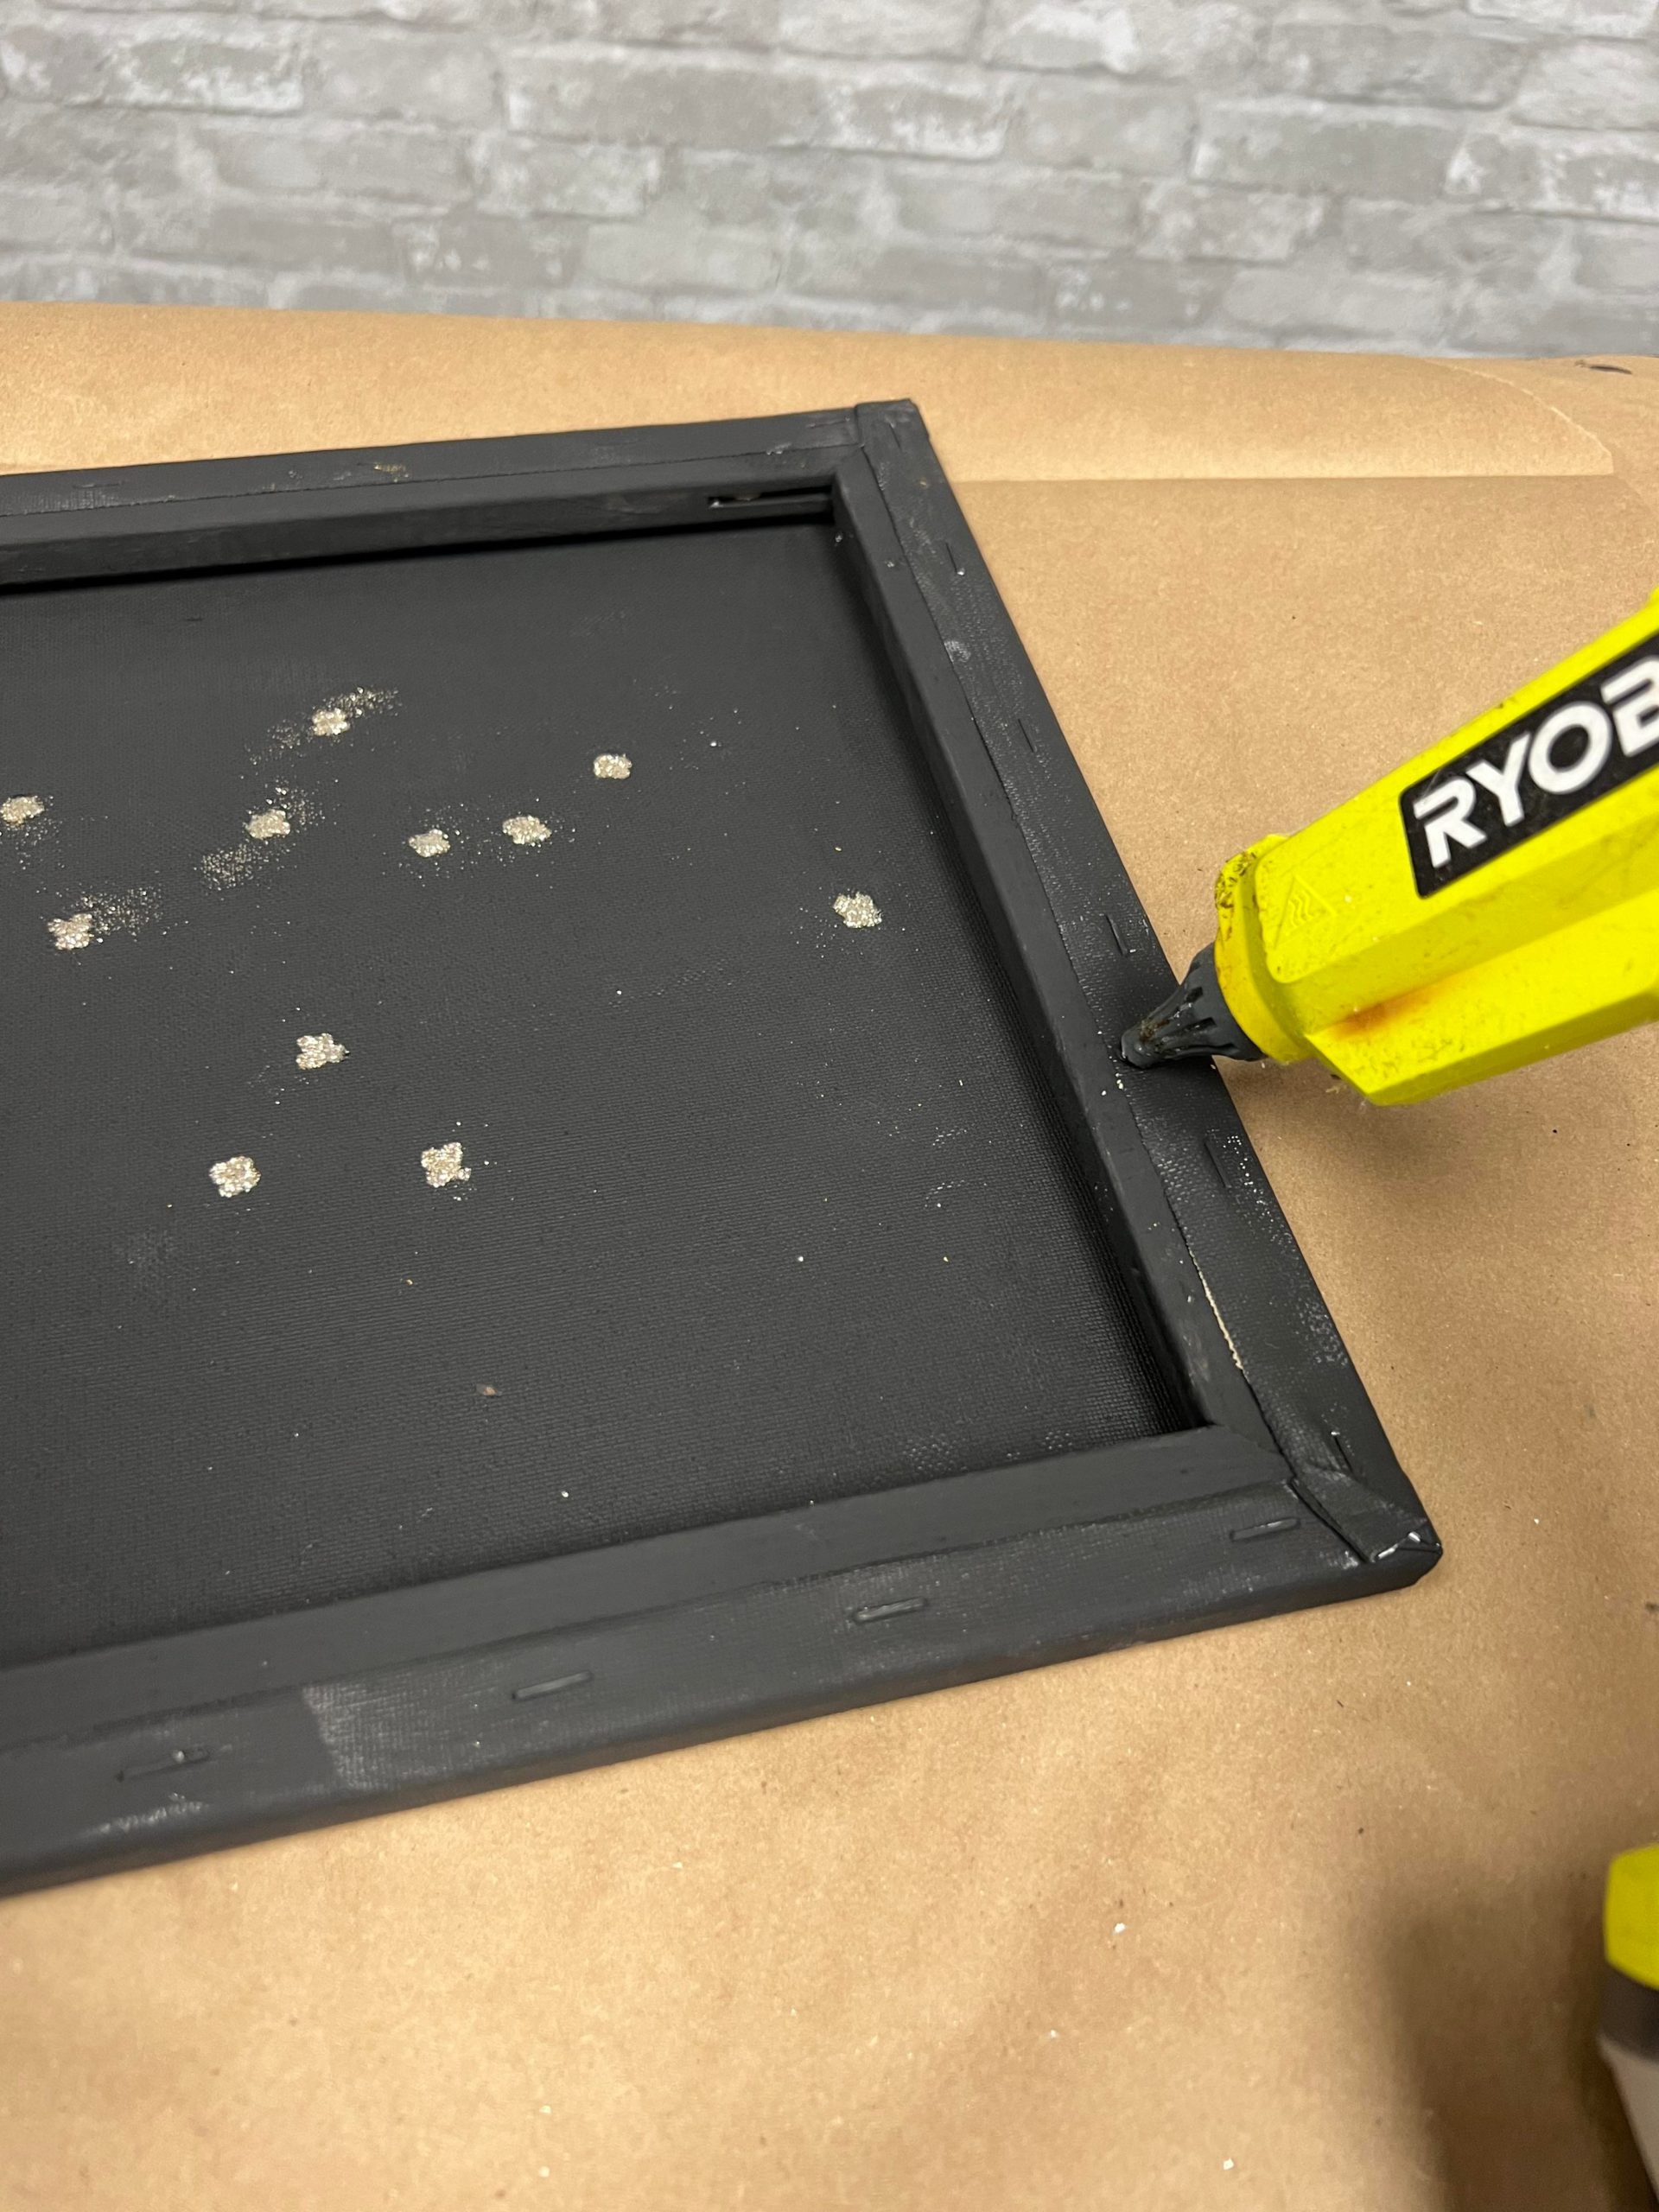
The next step is to glue the top canvas onto the bottom canvas.
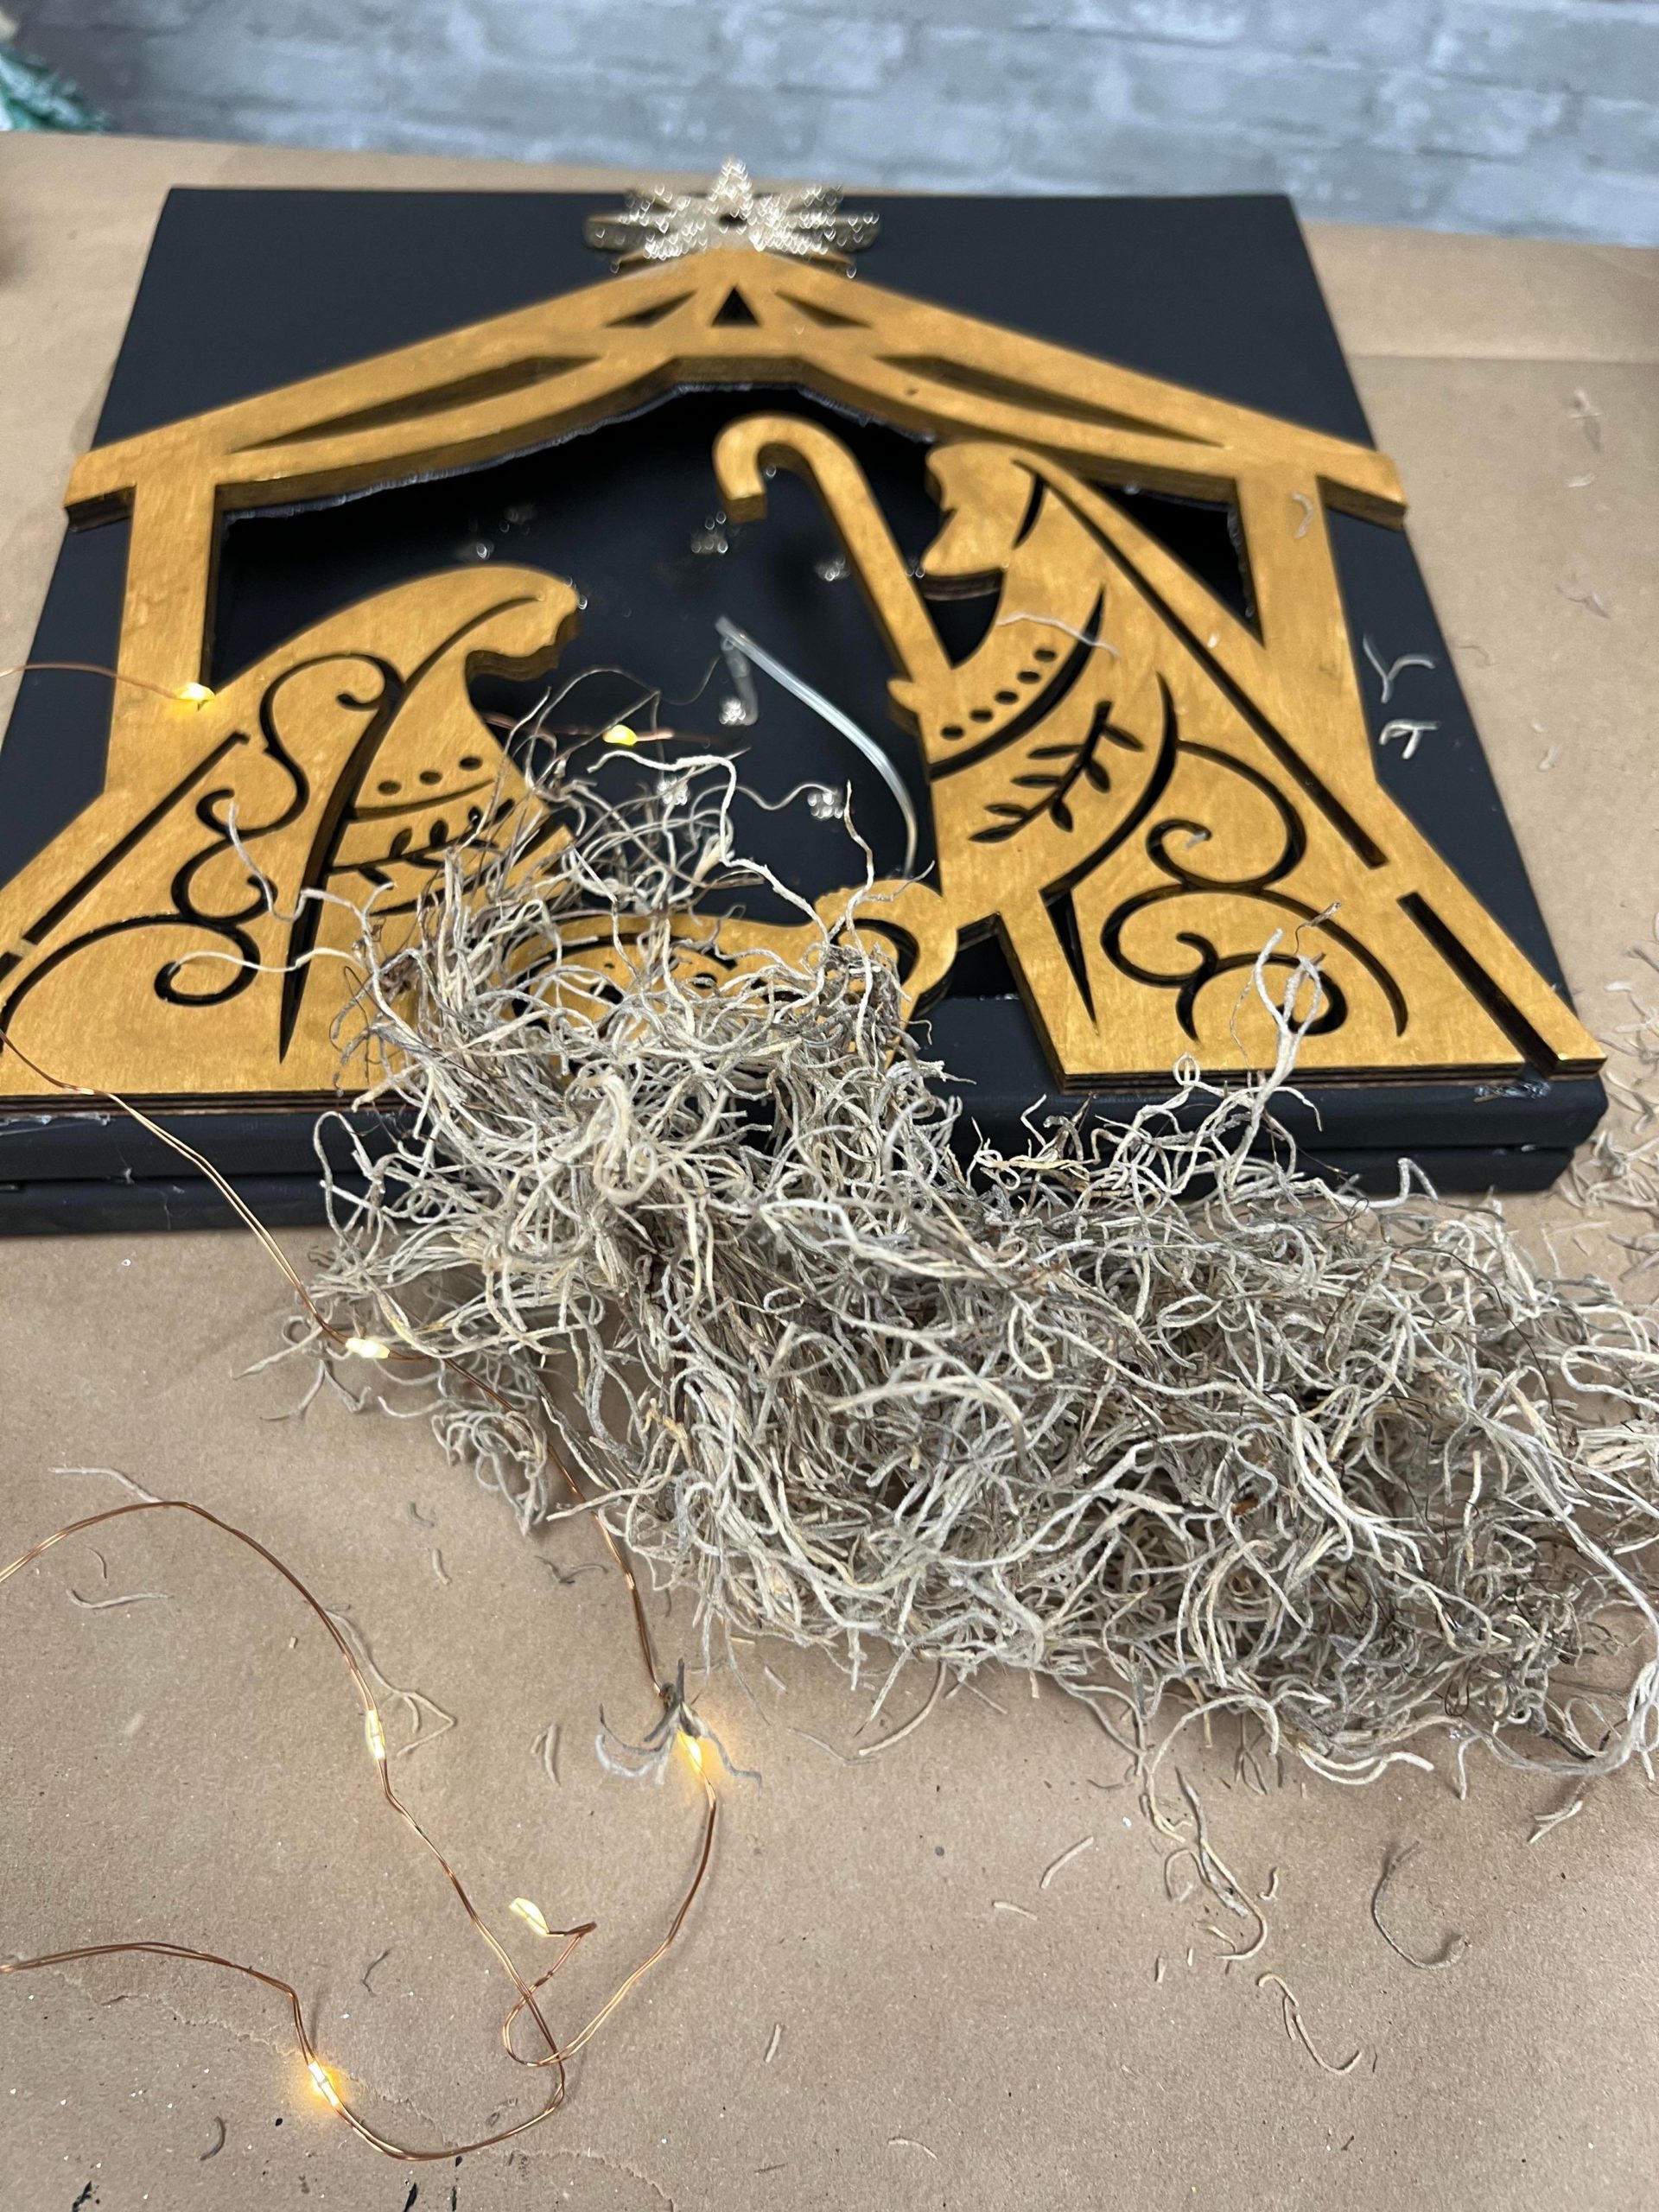
Once I had the canvases glued together I then added my lights and Spanish moss to the bottom inside area.
This is so easy to make and will look great any where in your home.