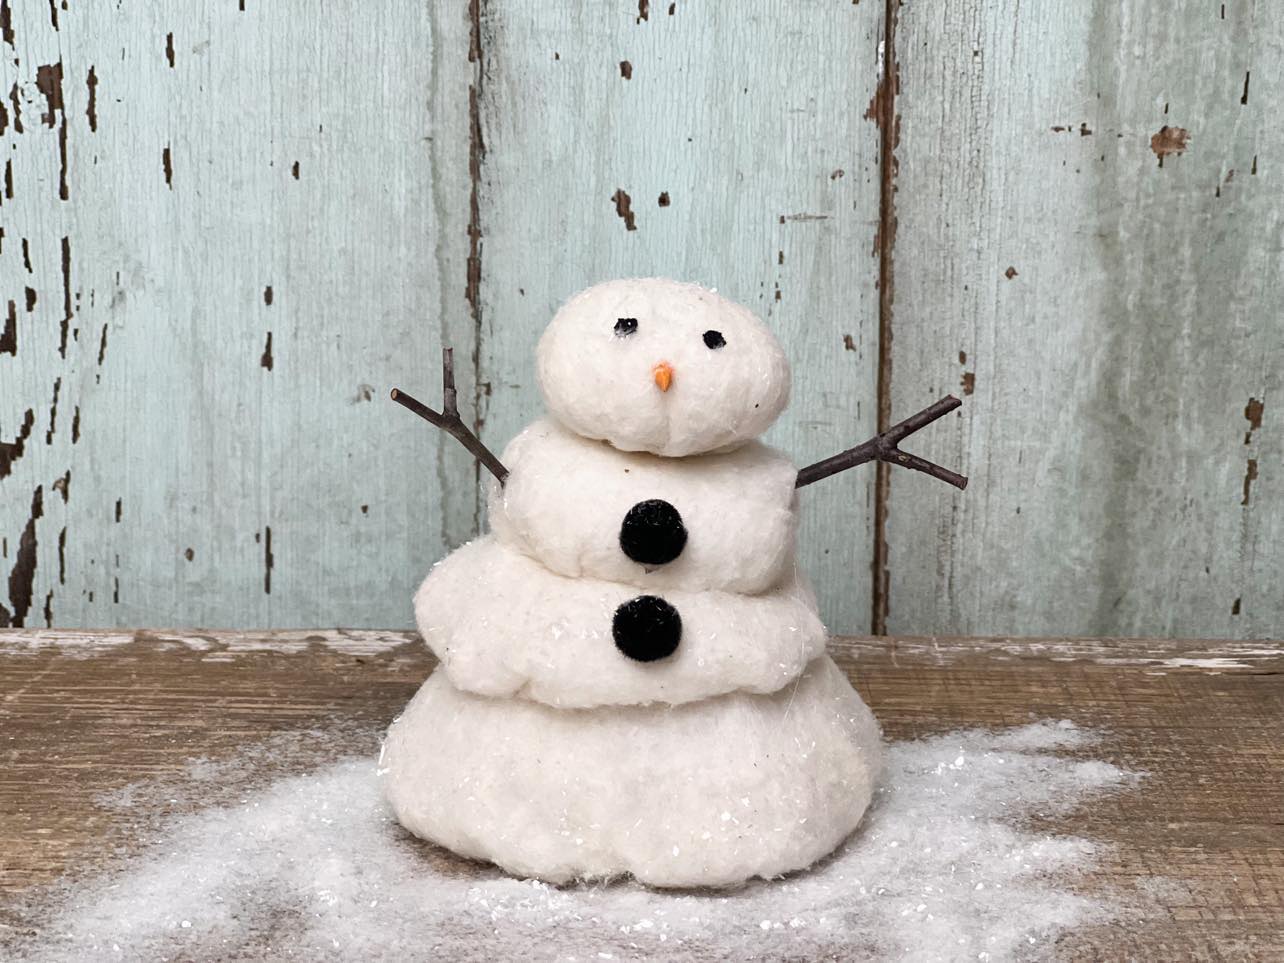
It’s time to start thinking about your Christmas decorations. The store’s are starting to put the Christmas decorations out which always gets me inspired to create some Christmas items. I thought it would be fun to create a very simple melting snowman.
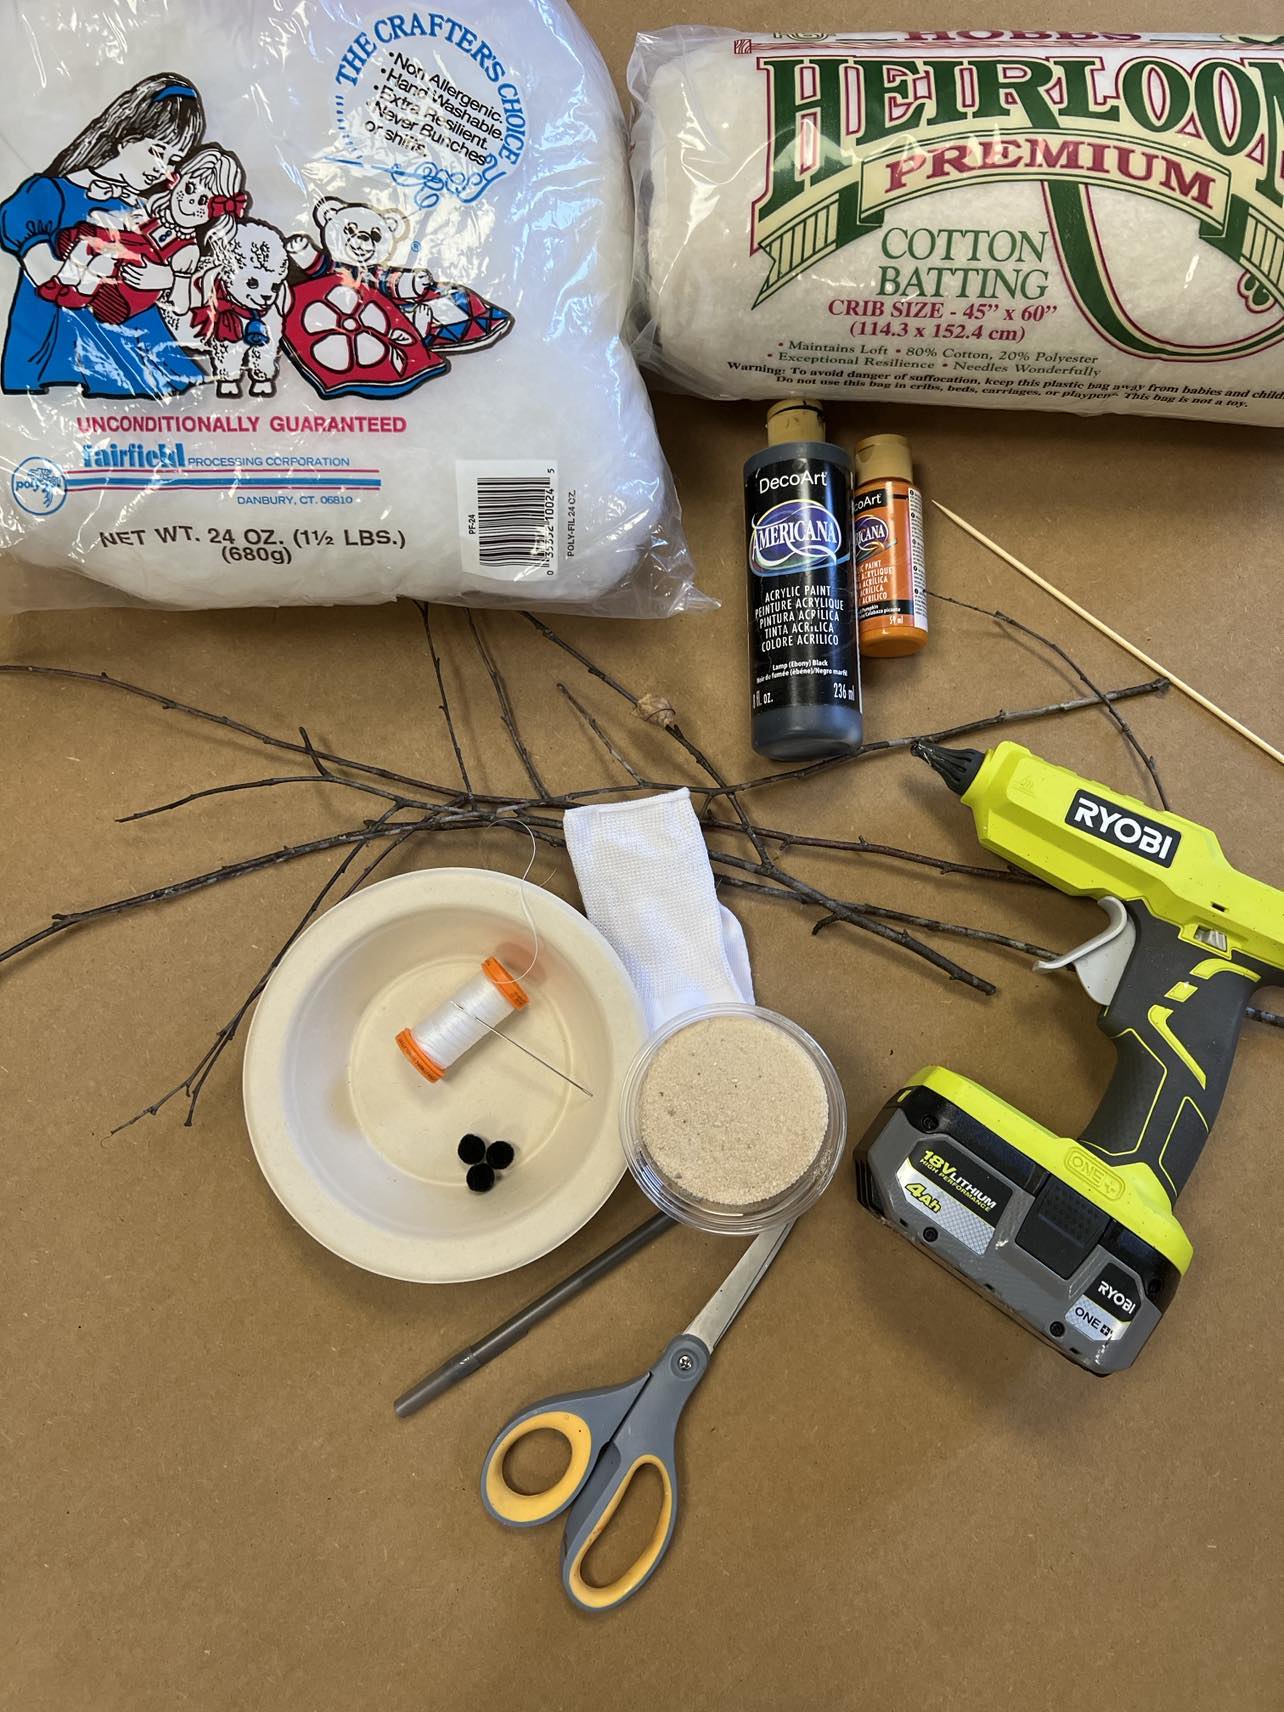
The supplies that I’ll be using are:
1. Cotton batting
2. Poly-fil
3. Sand
4. Upholstery thread and needle
5. Hot glue
6. Scissors
7. Small sticks from outside
8. Two small black pom pom’s
9. One kabob stick
10. Orange and black paint
11. One 7 inch paper bowl
12. One baby sock
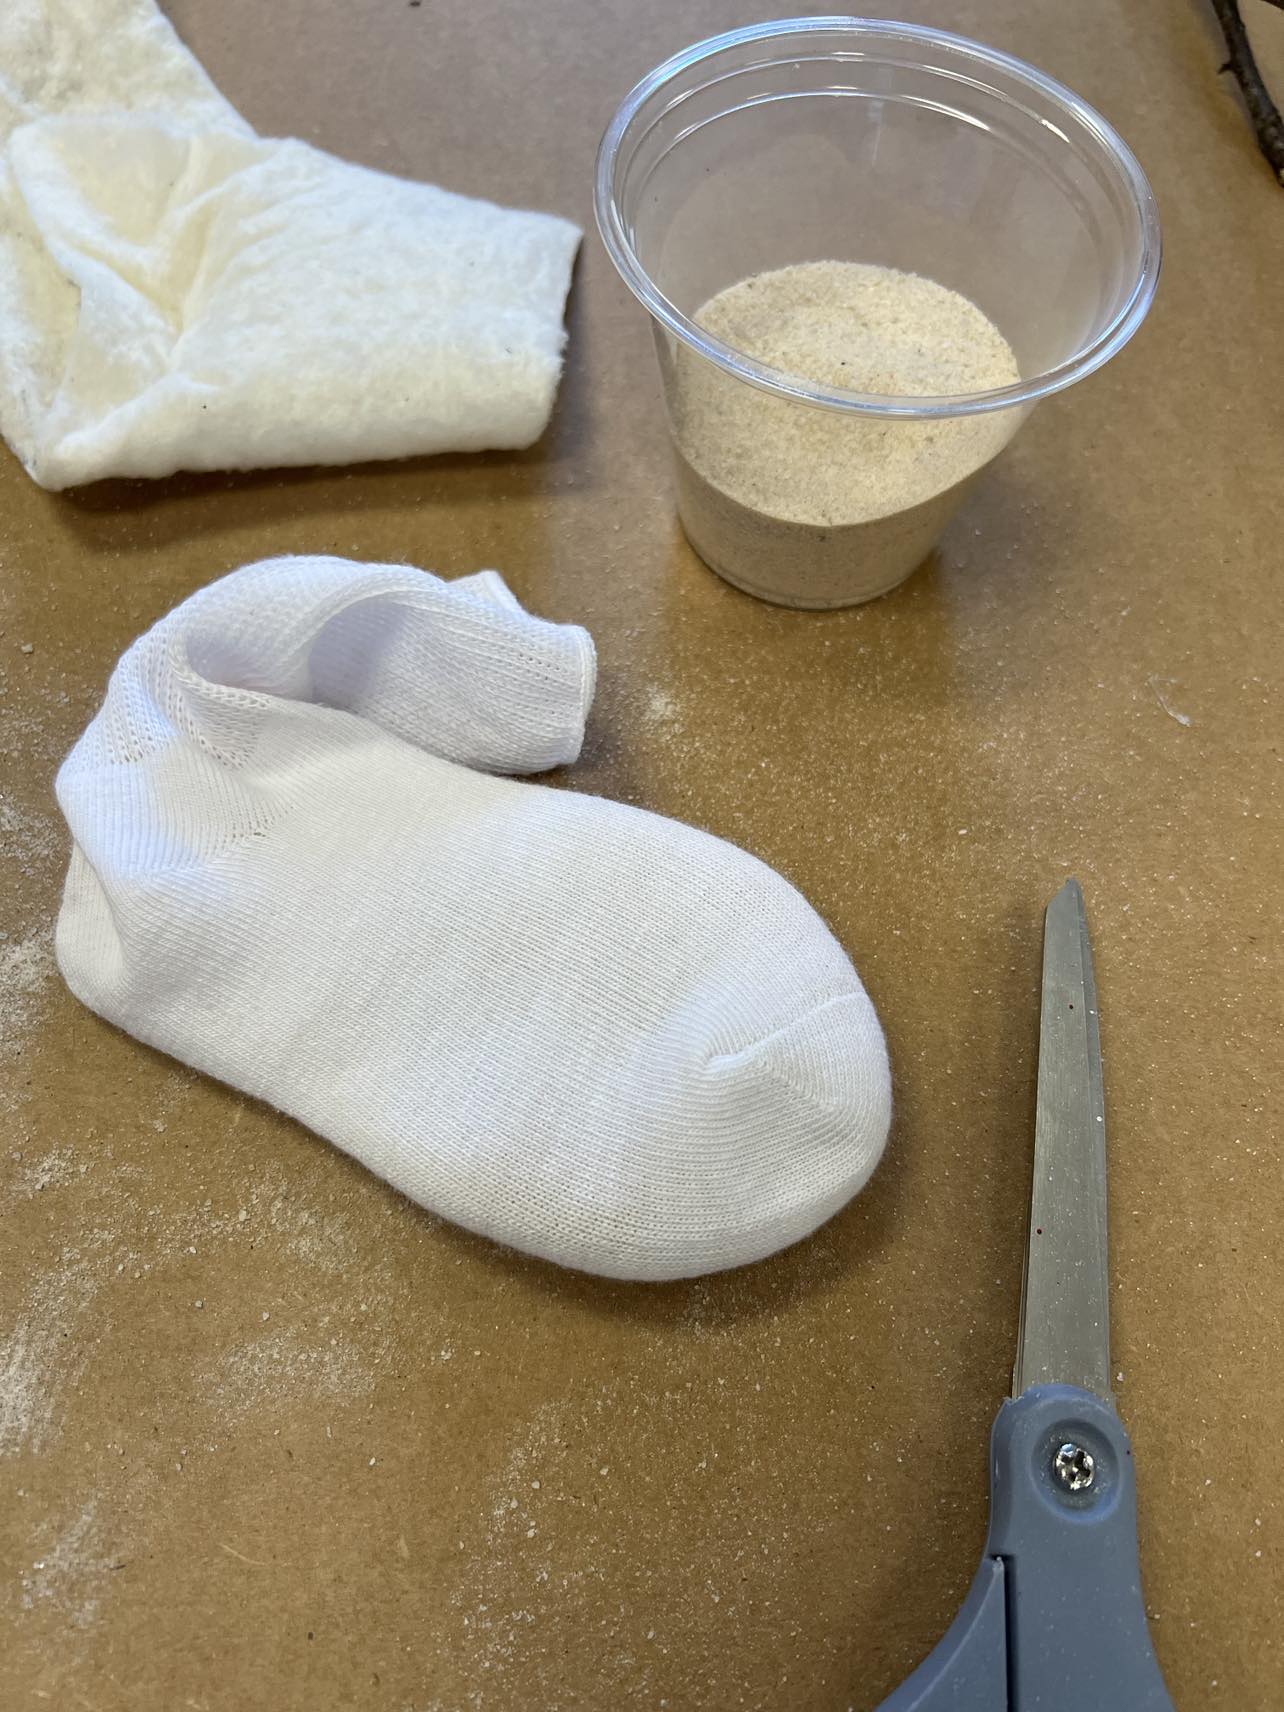
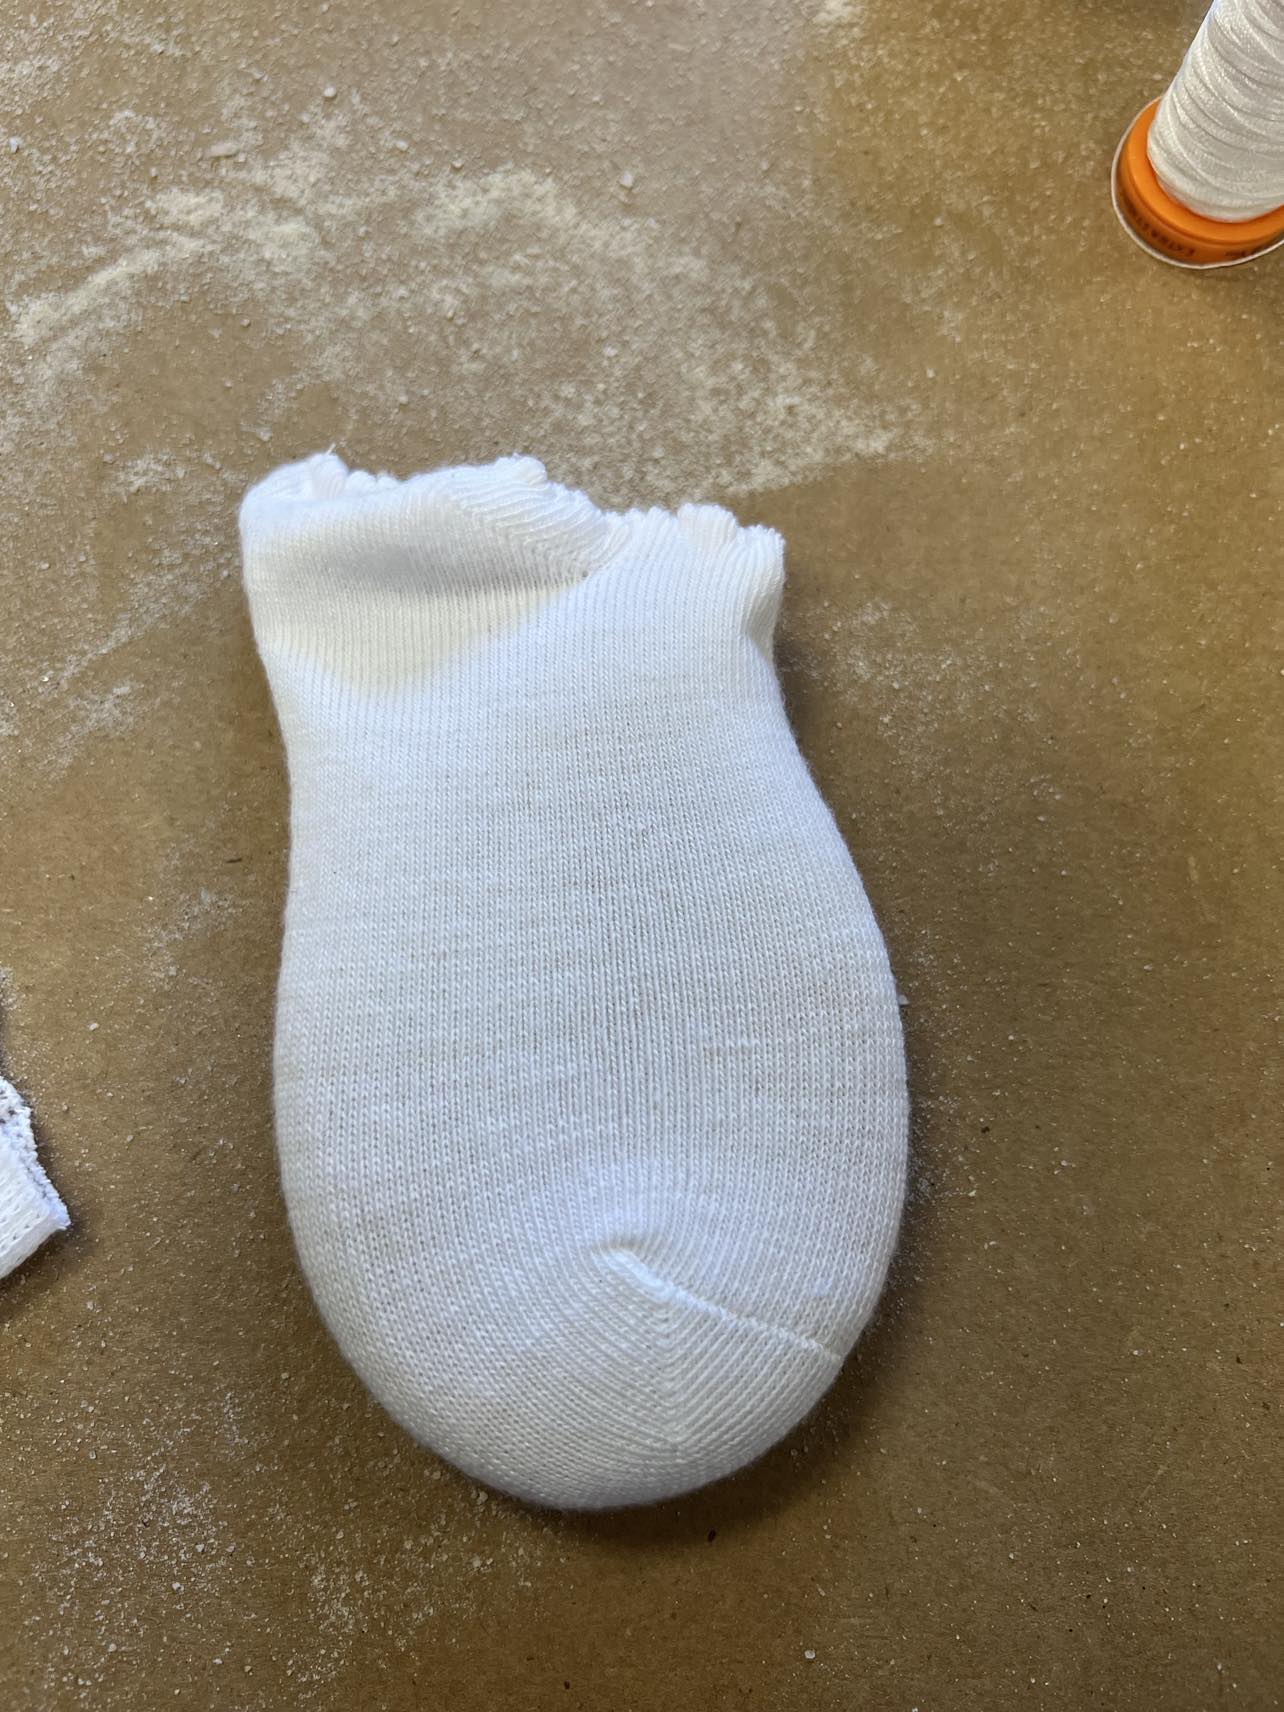
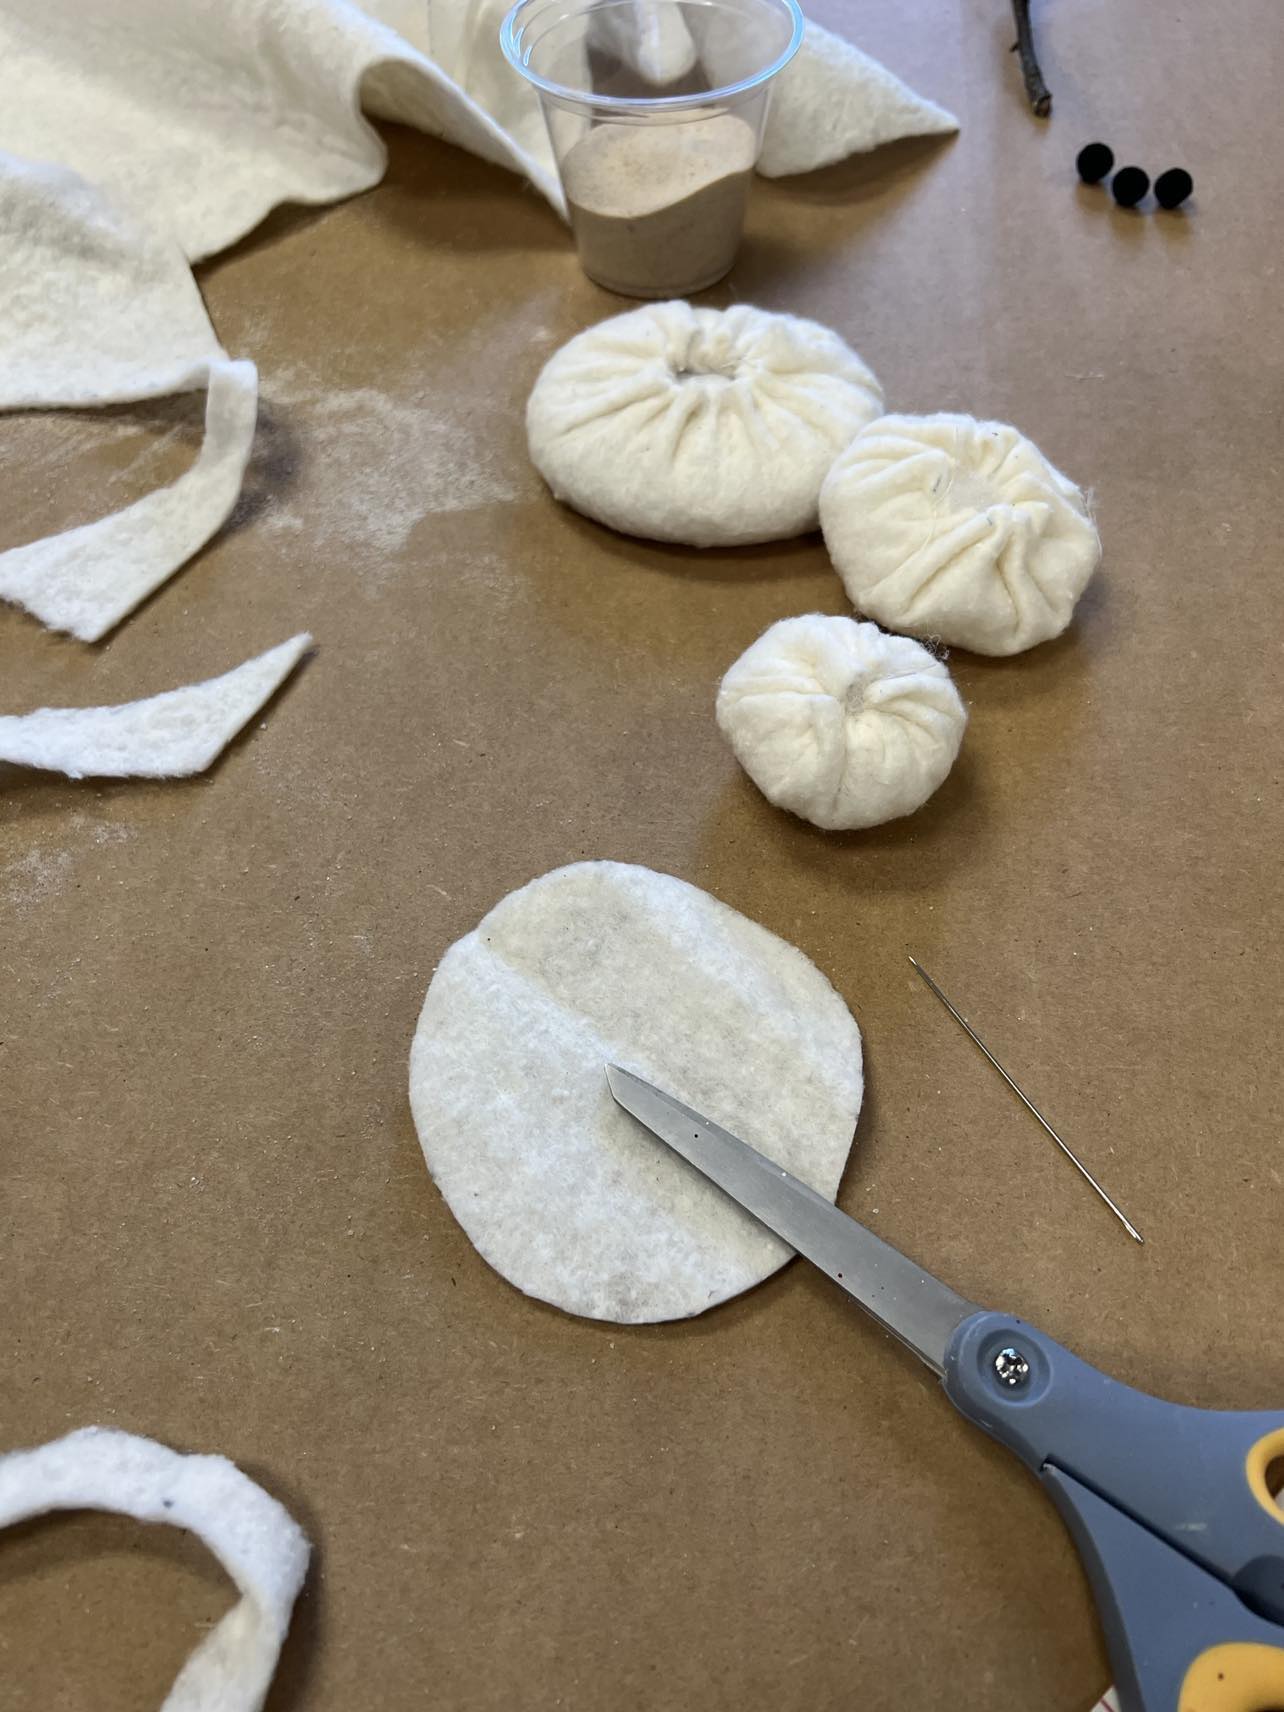
I cut the baby sock and filled it with sand. This will be added to the bottom layer of the snowman and give it weight to stand up.
I used the needle and thread to sew the end of the sock closed.
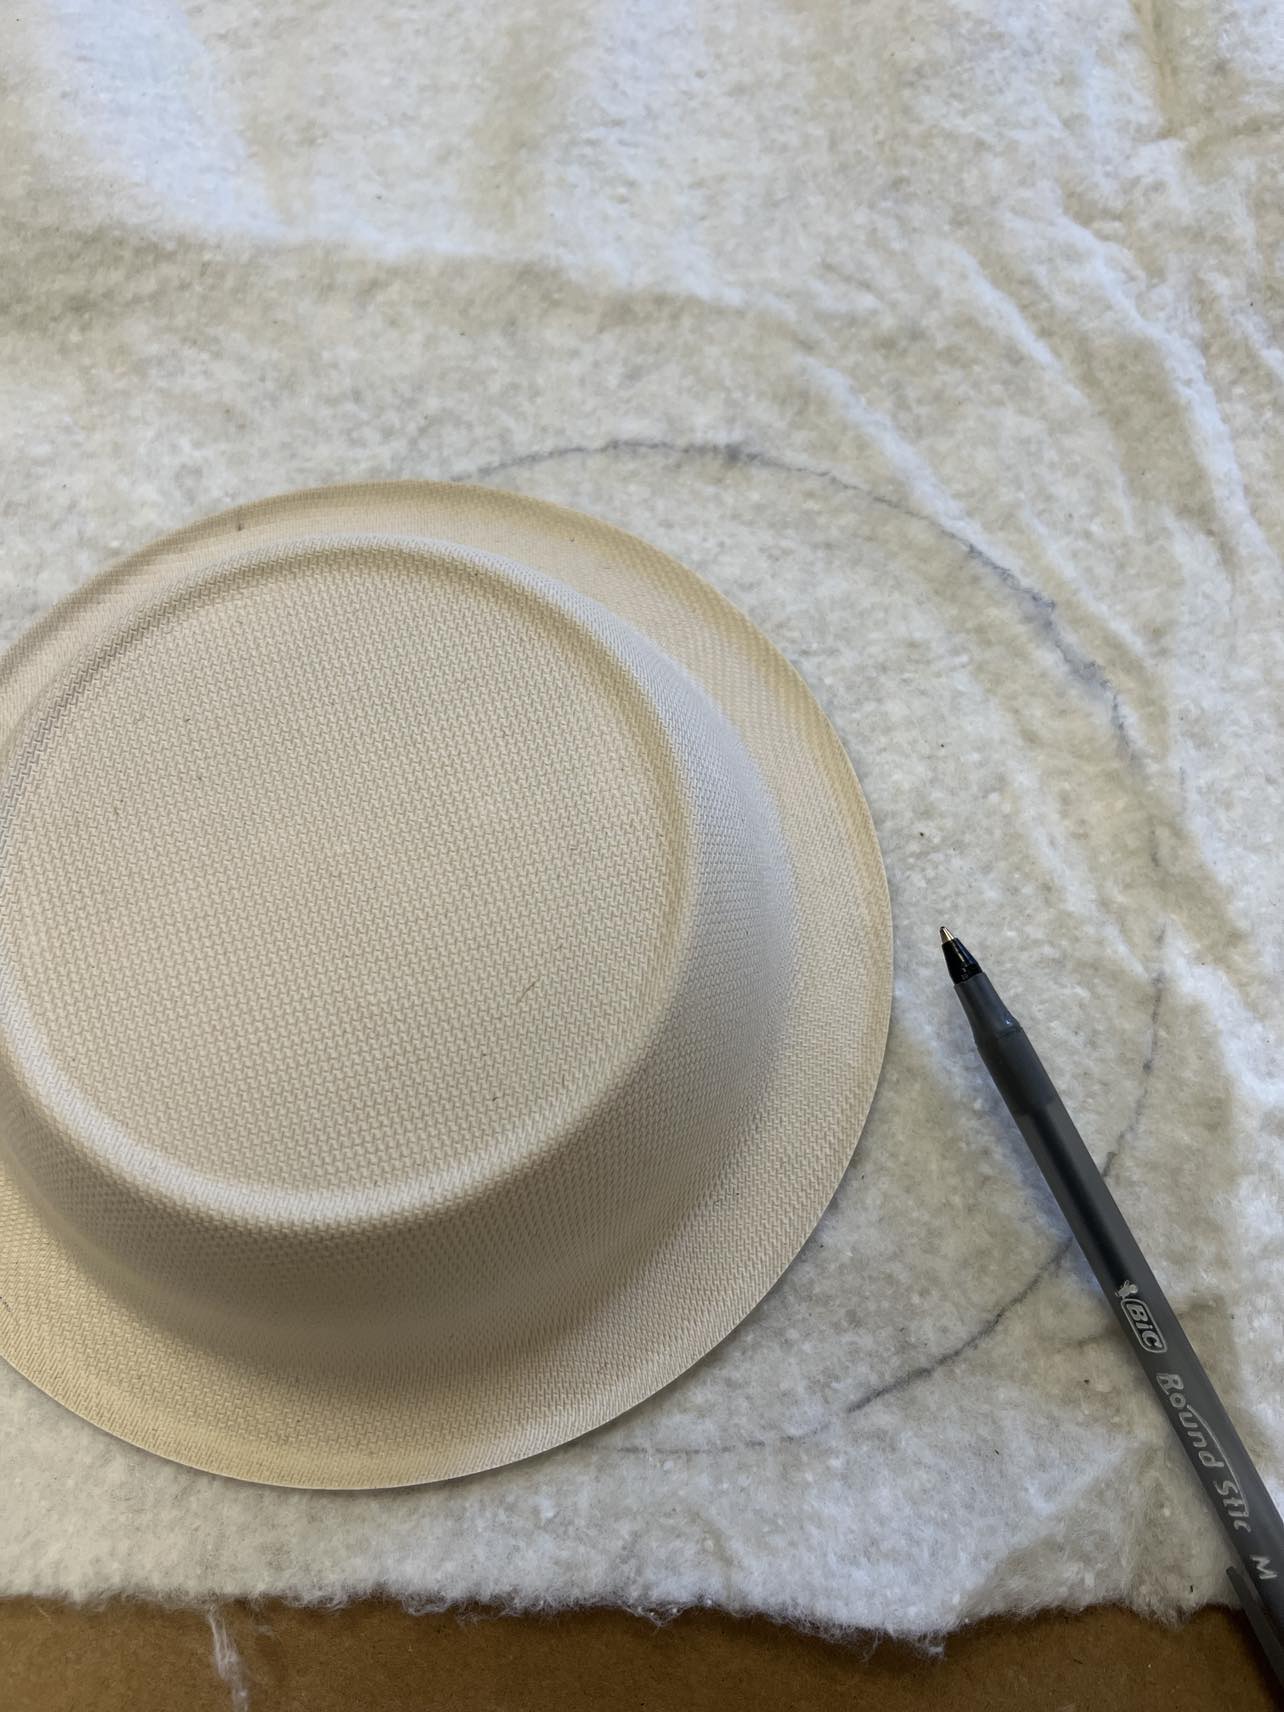
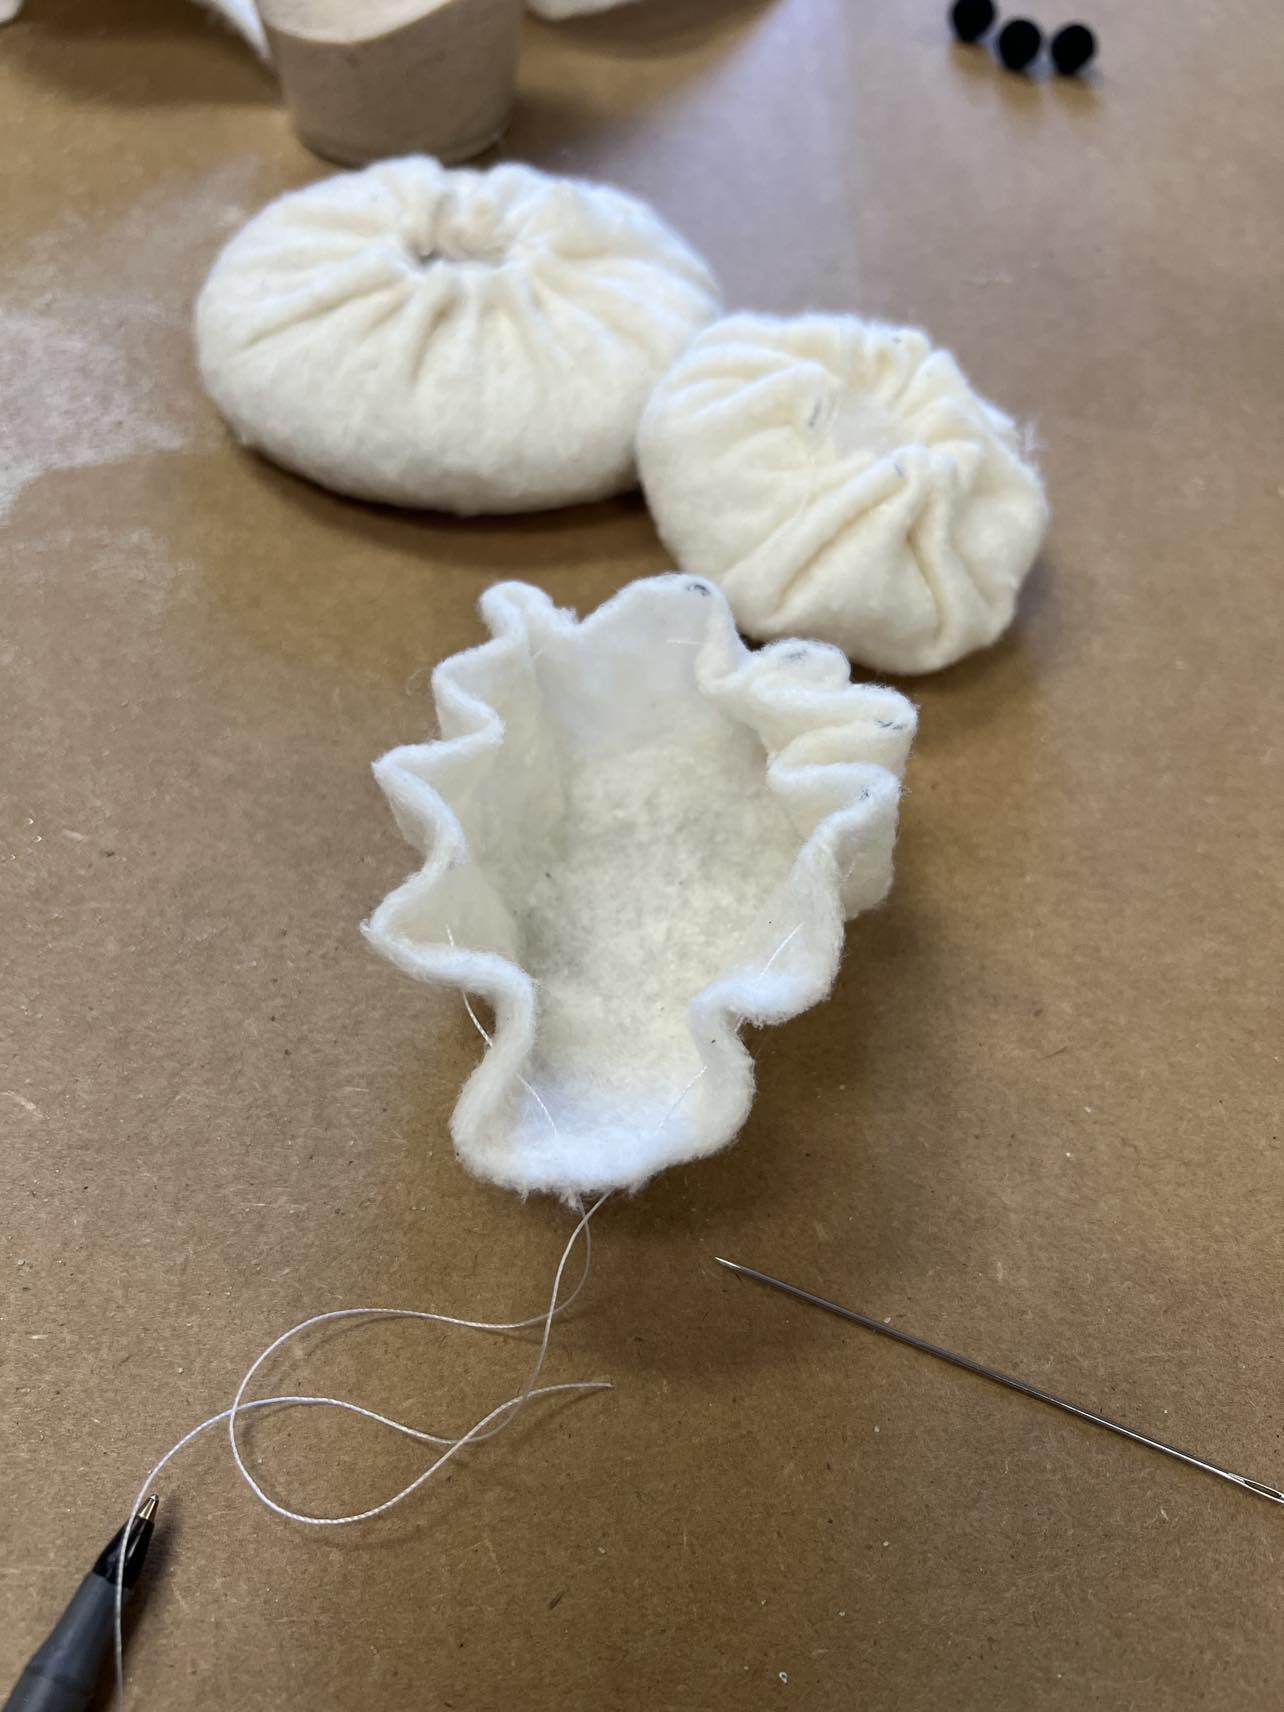
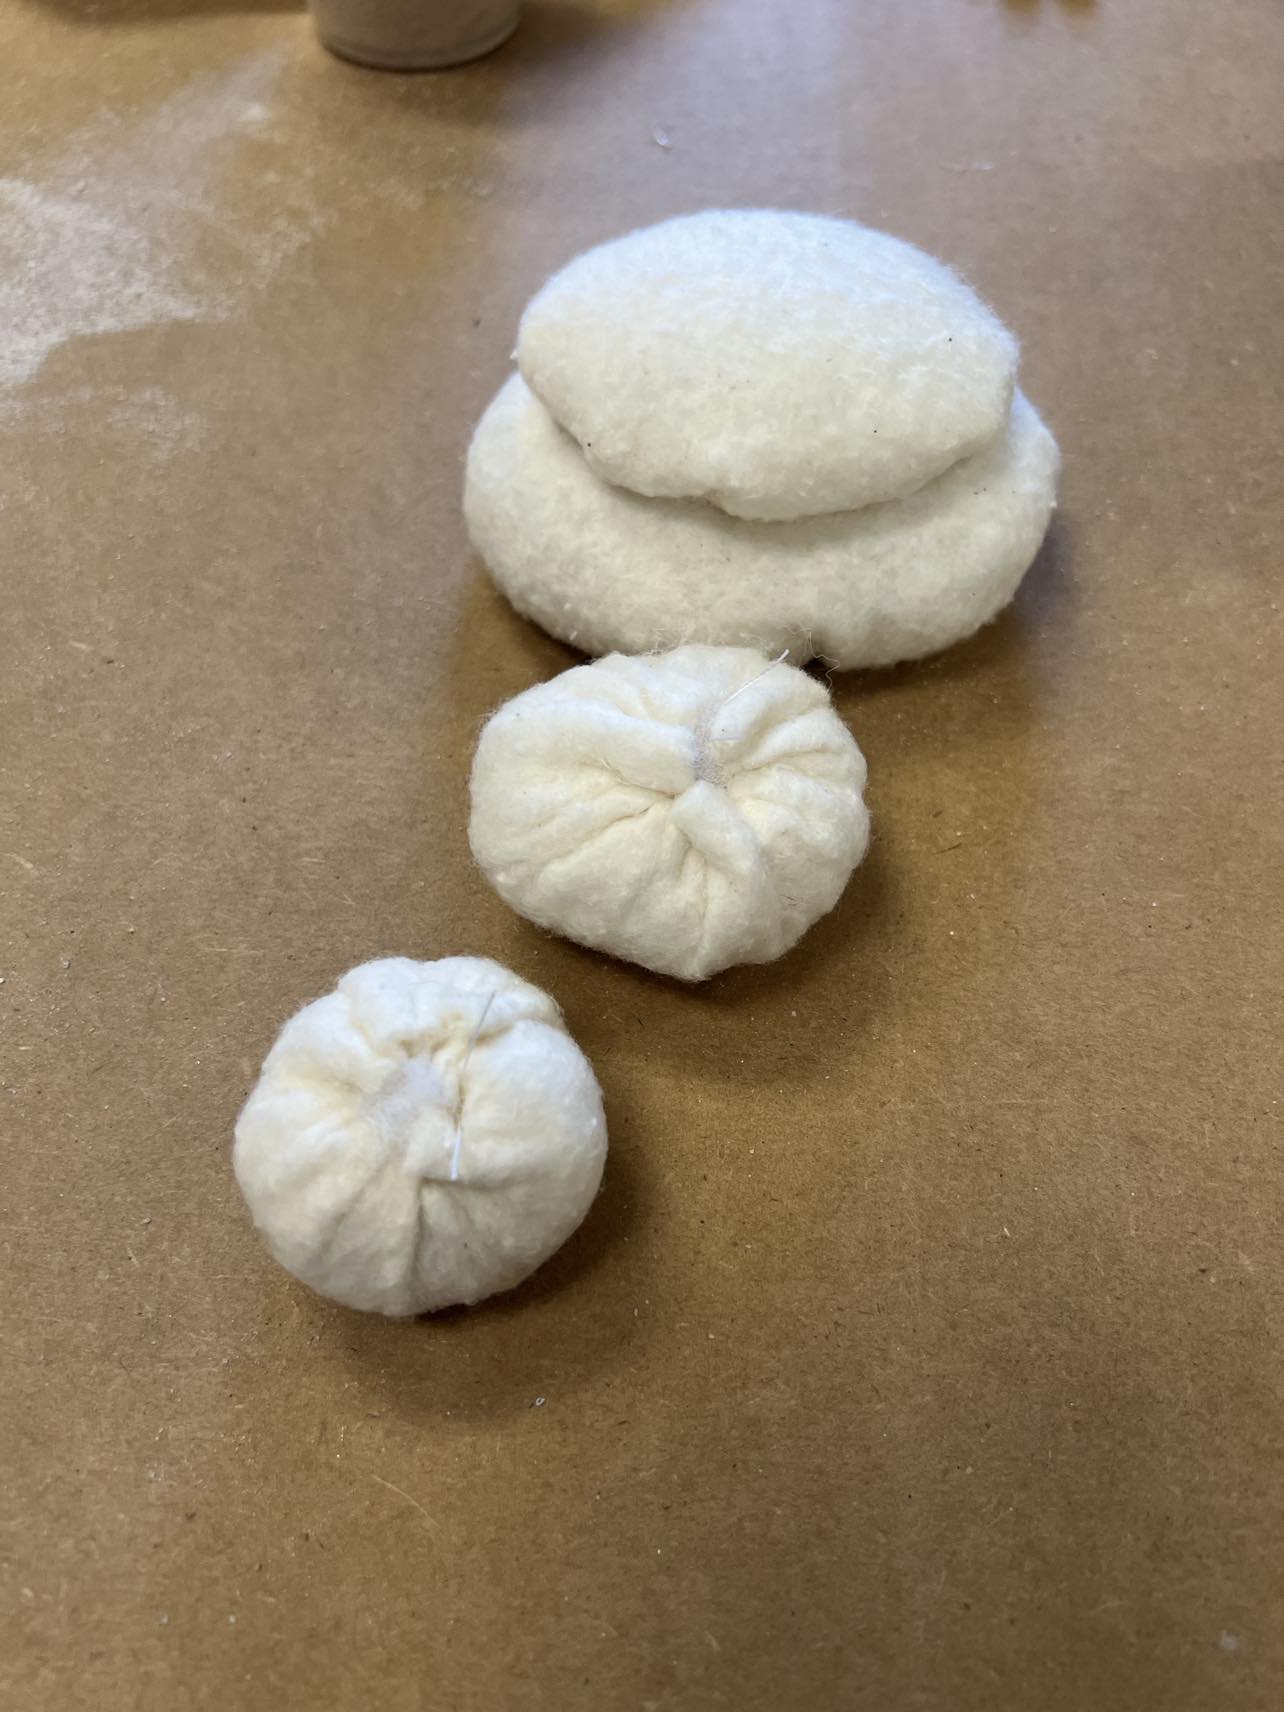
I traced the bowl onto the cotton batting.

I cut the circle out and then did a basting stitch around the end.
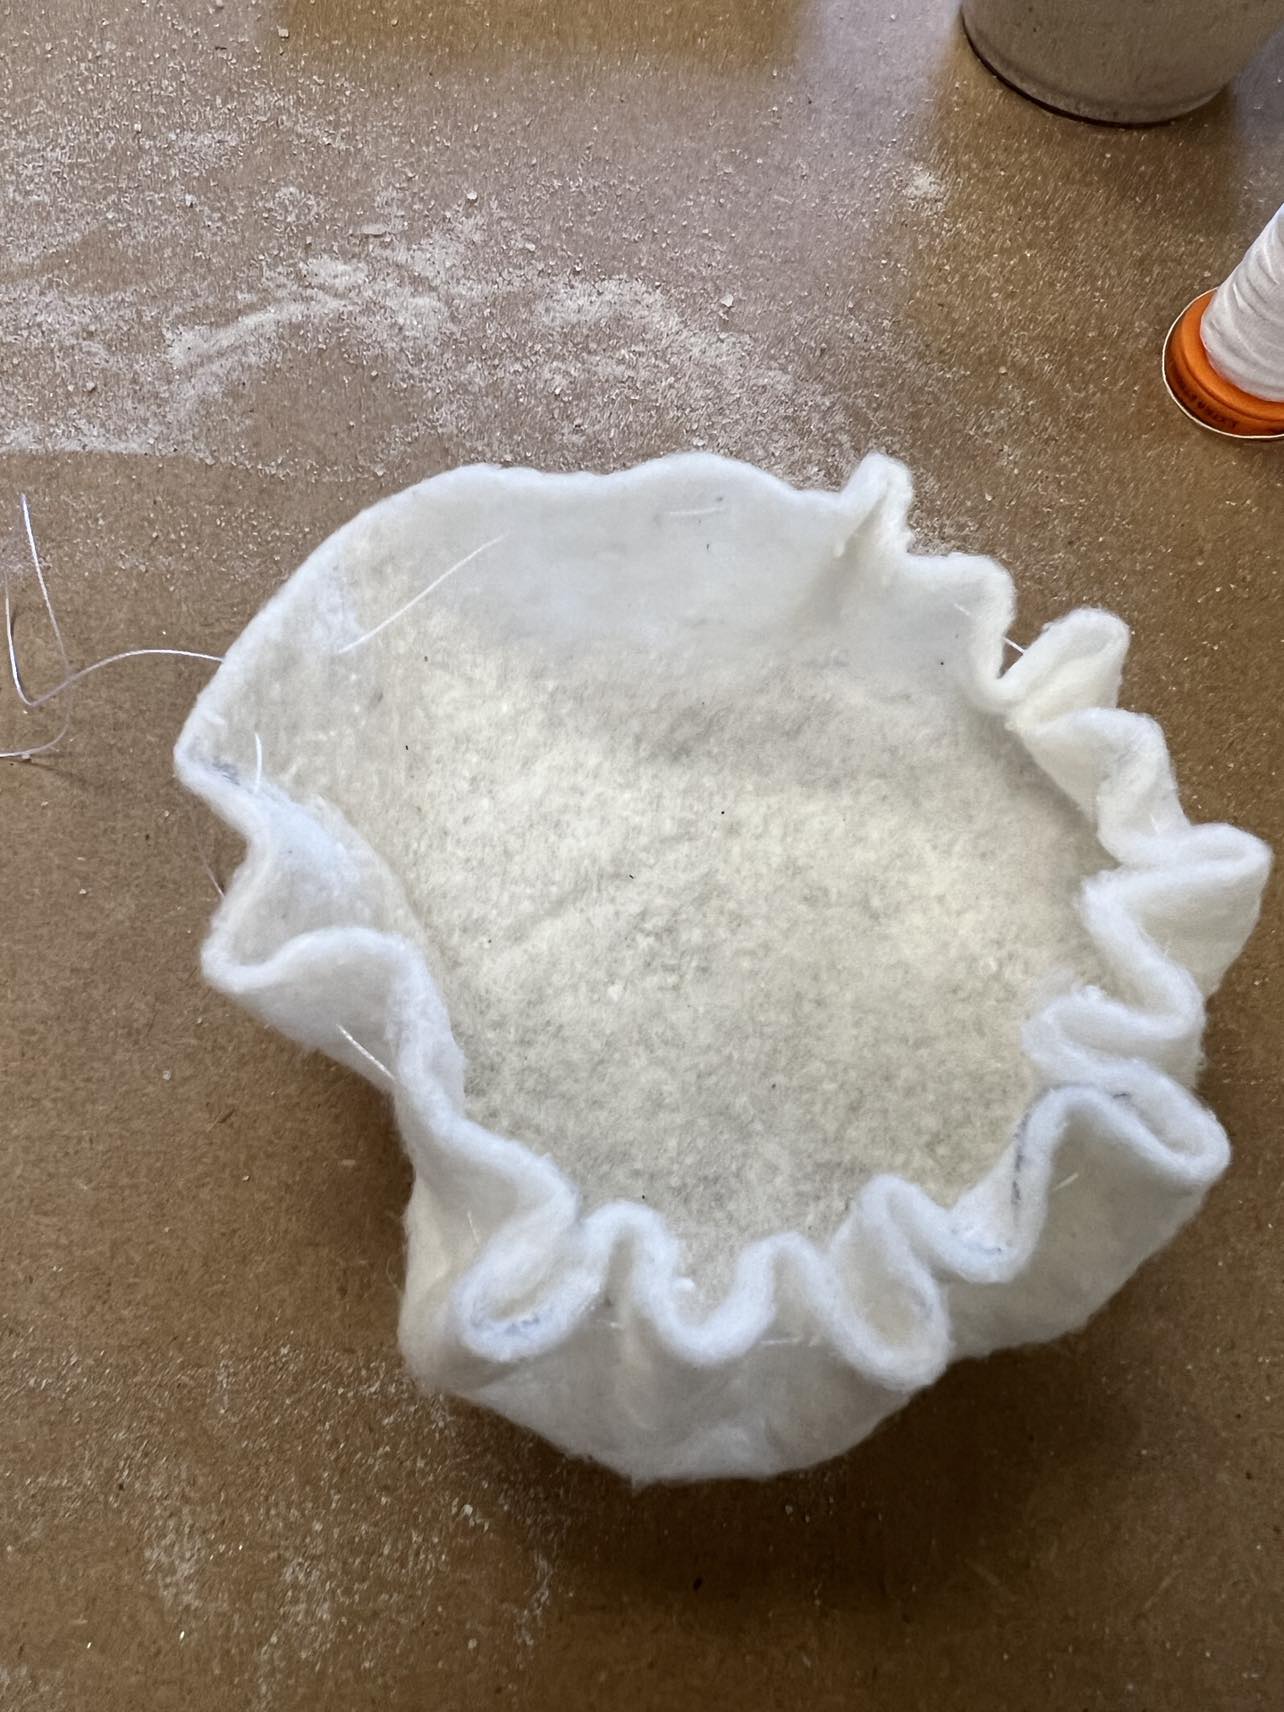

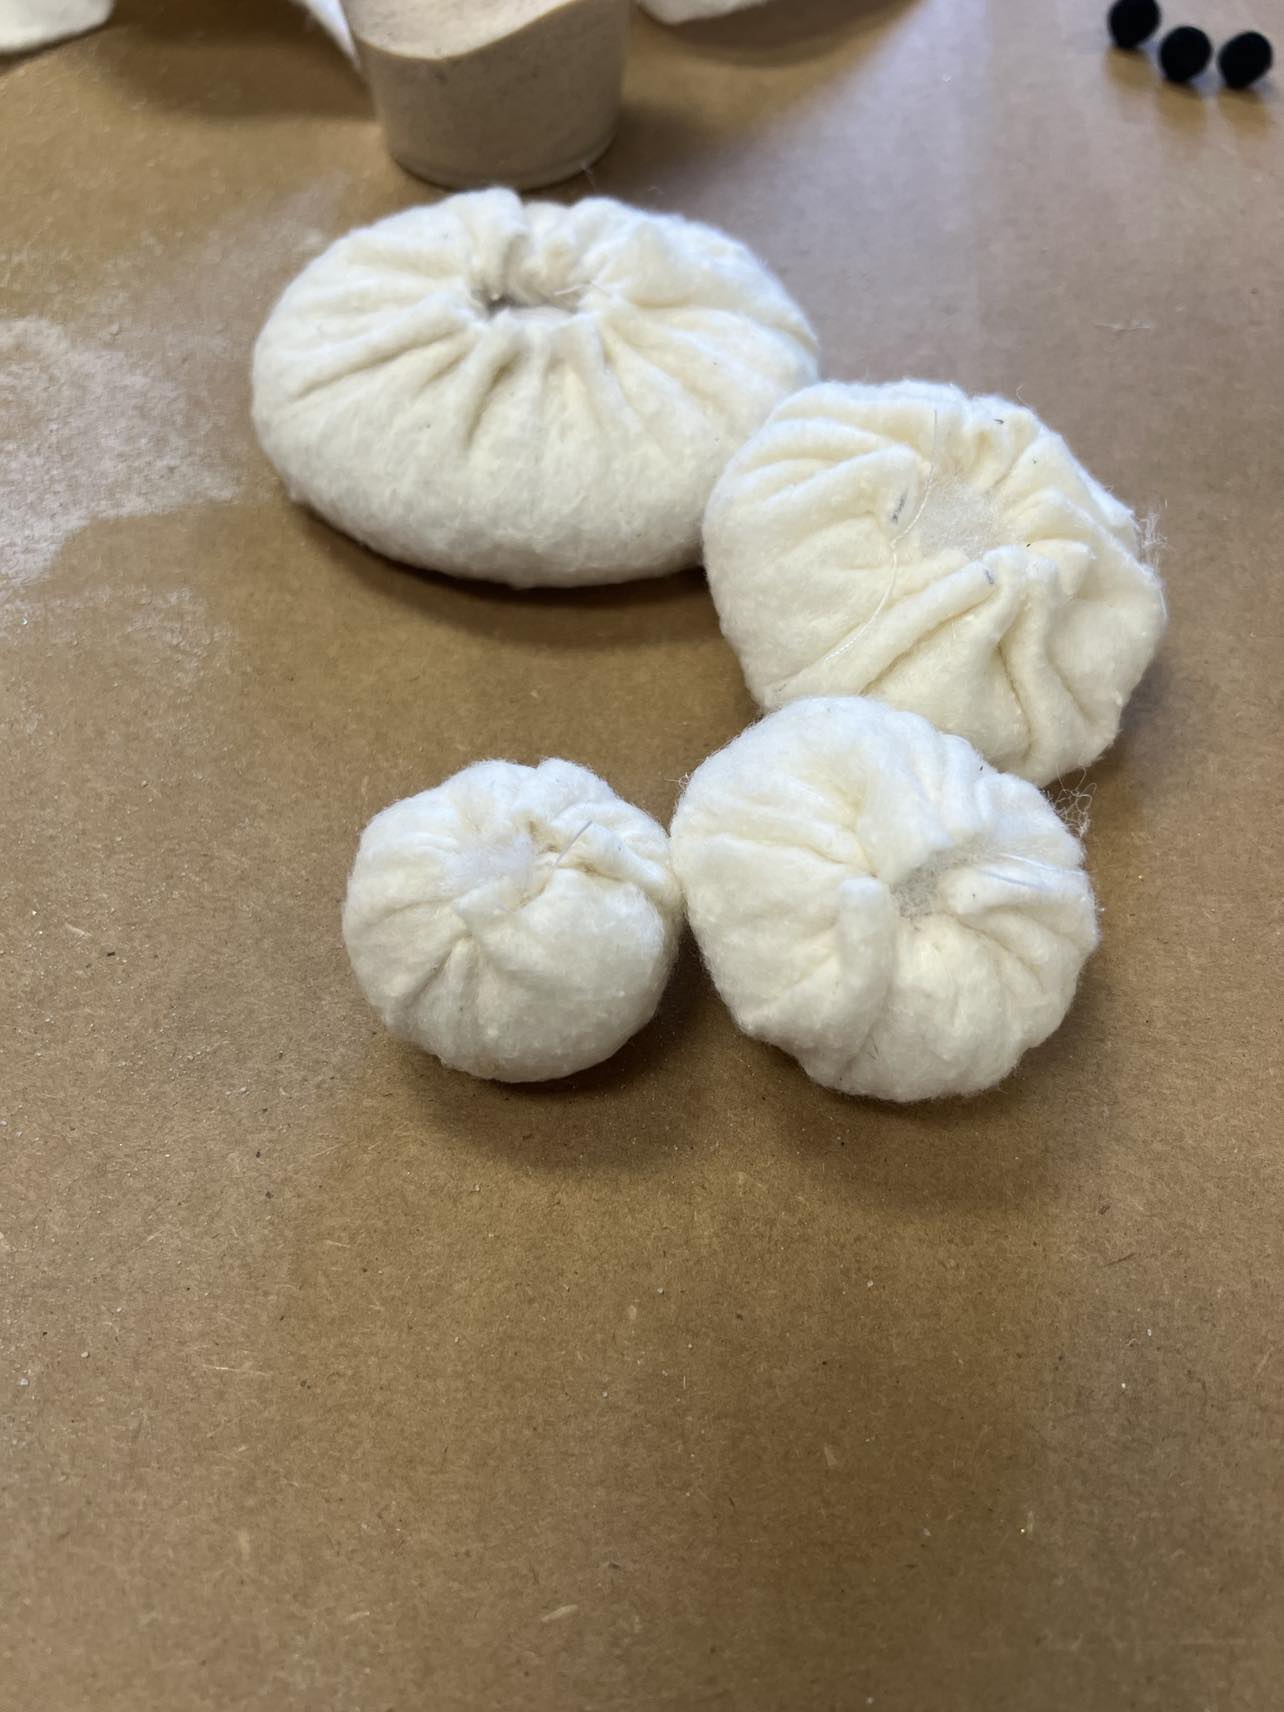
I added the sock of sand and then pulled my thread to close the circle and tied a double knot.
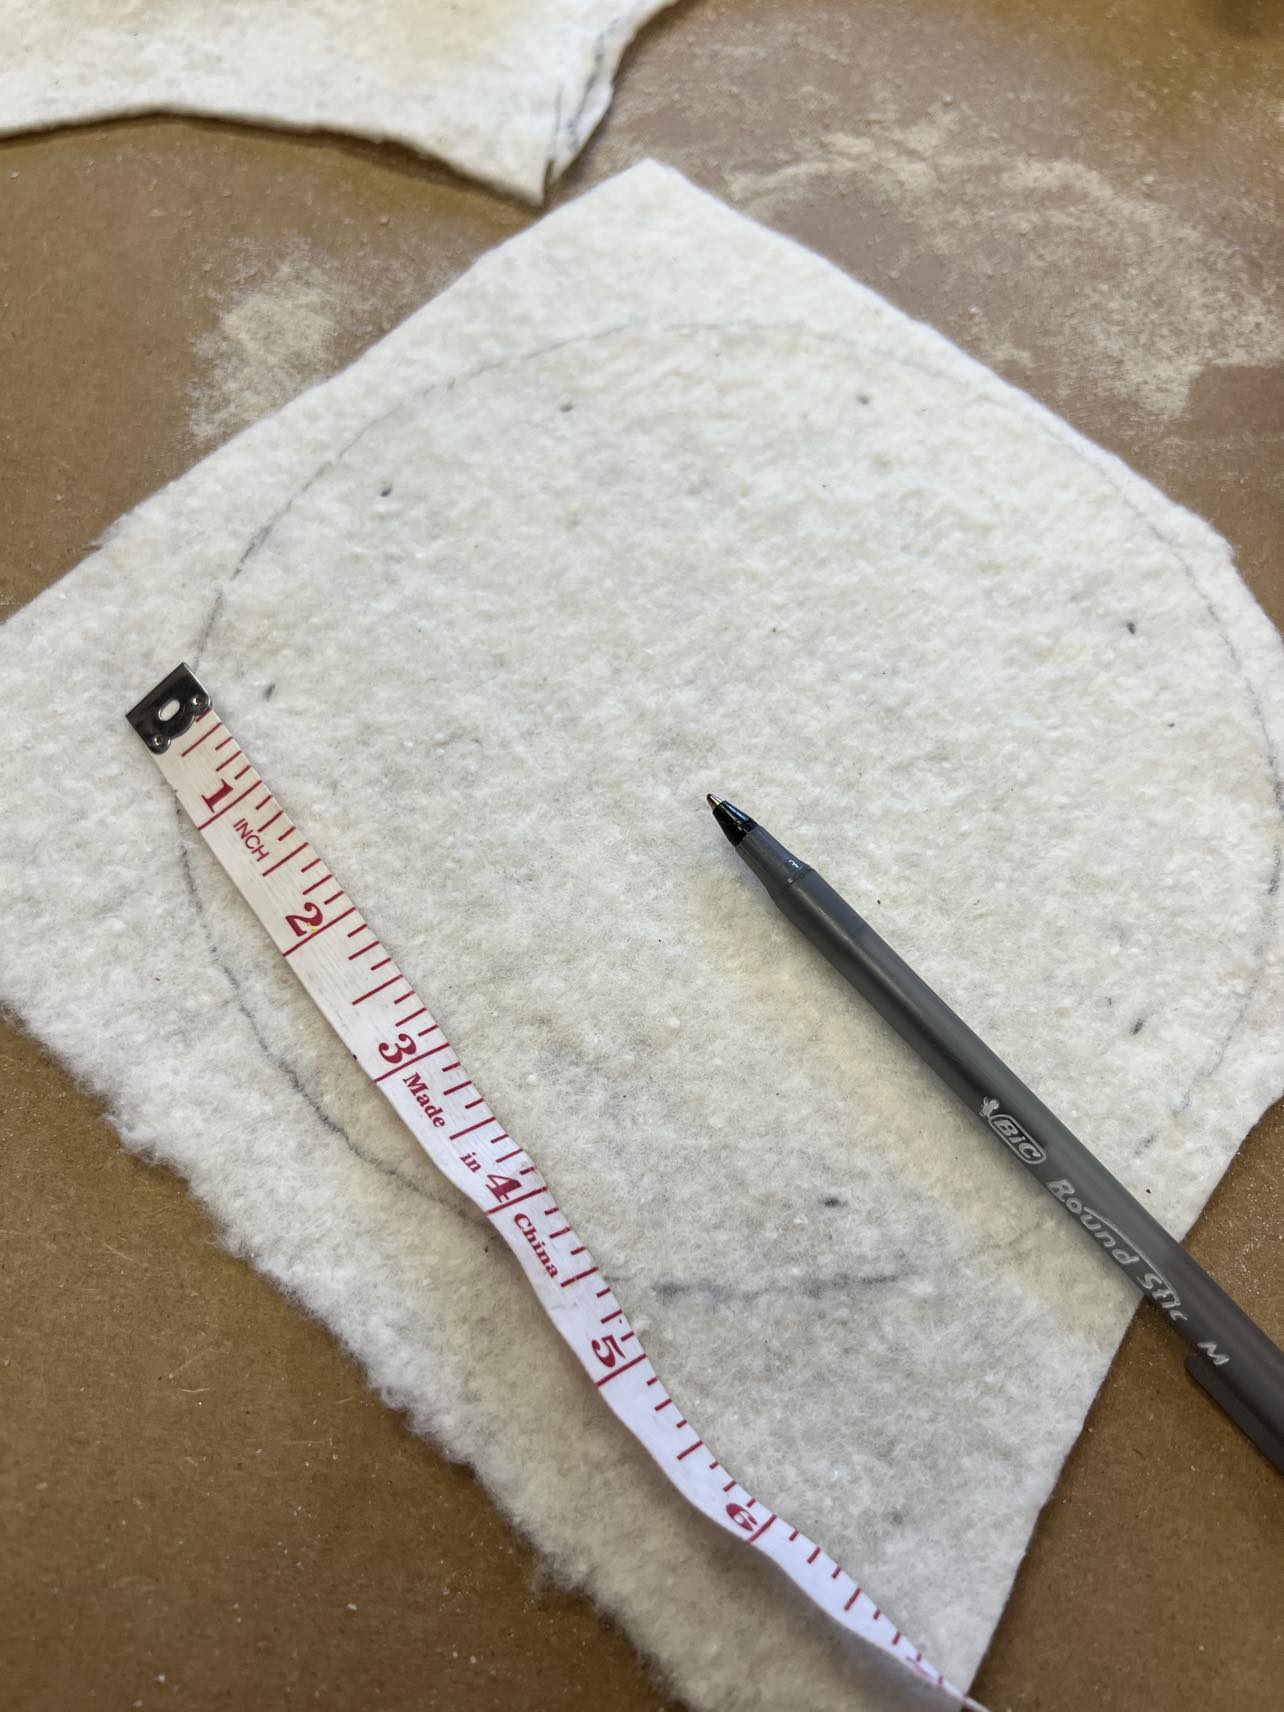
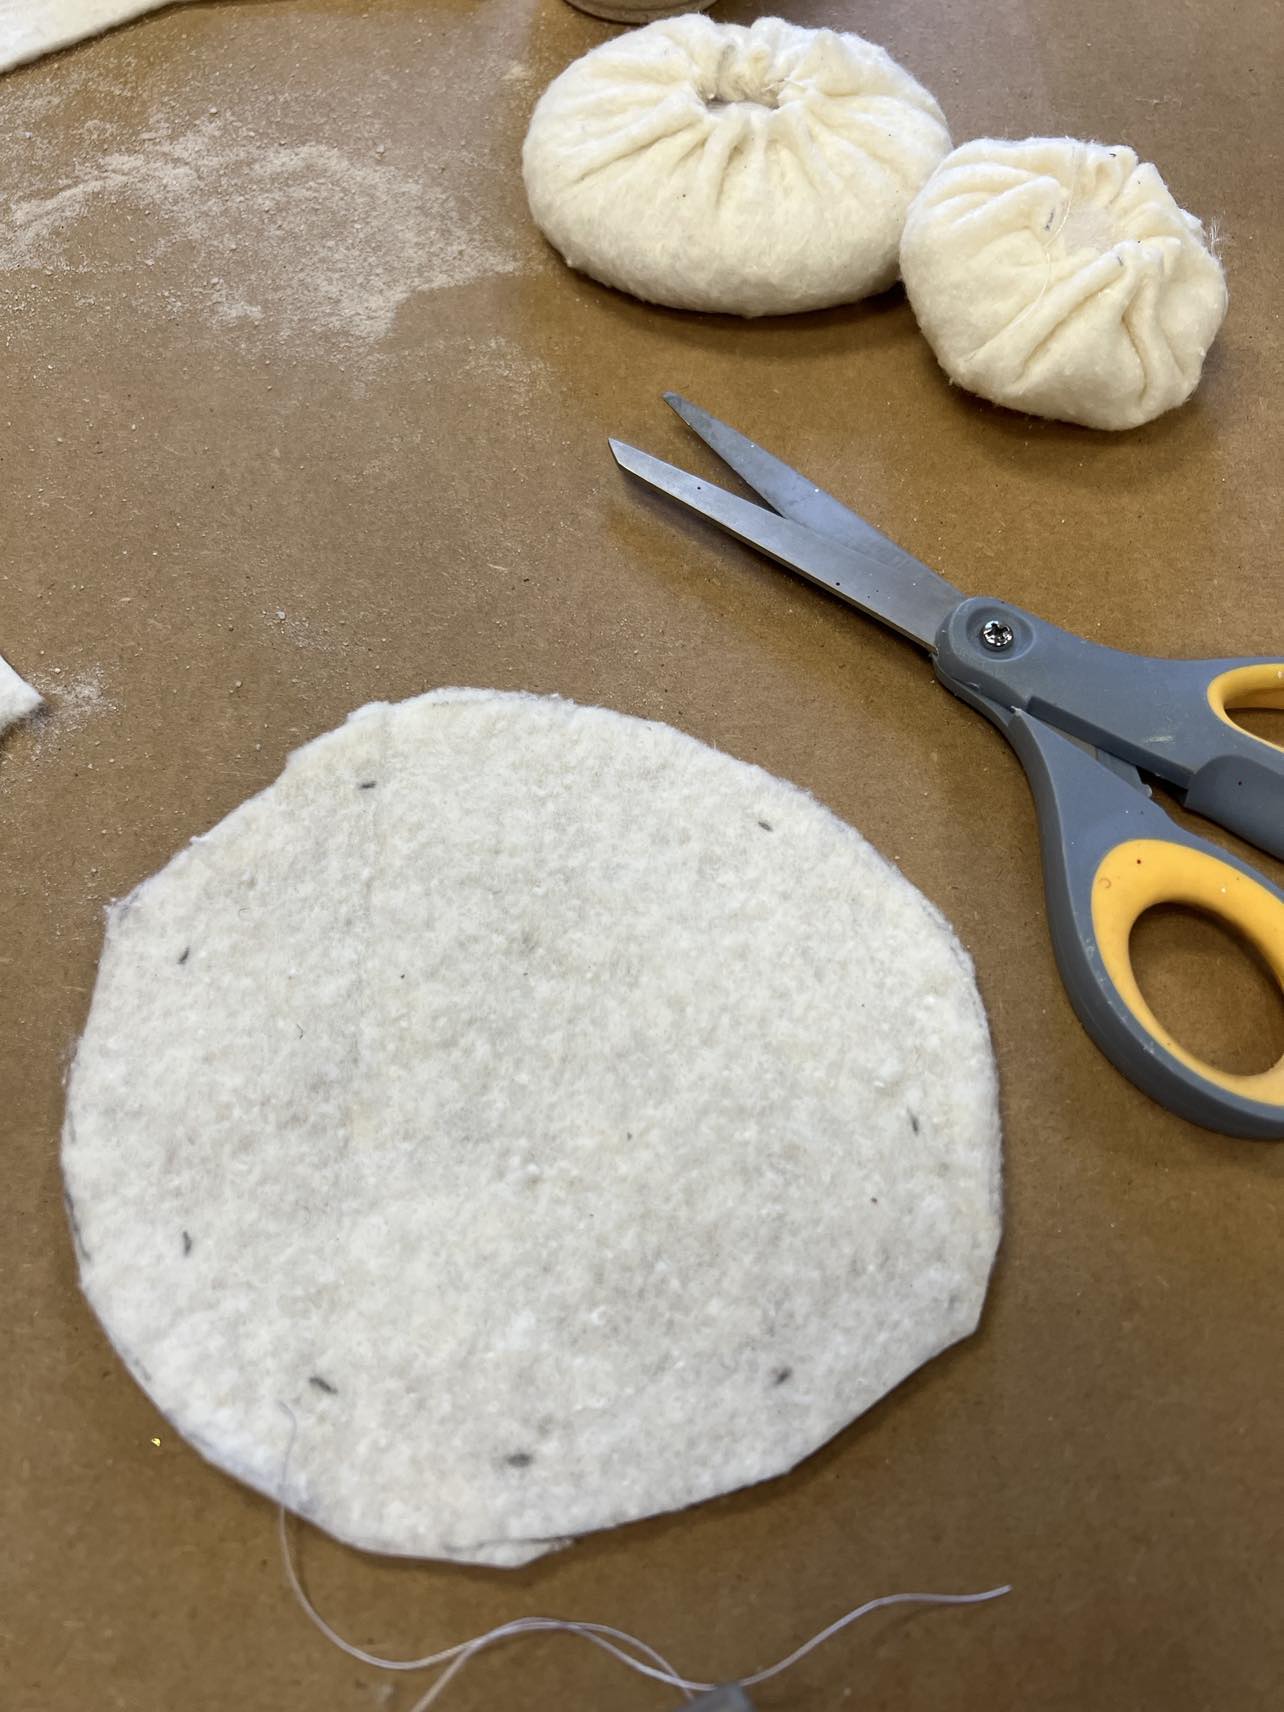
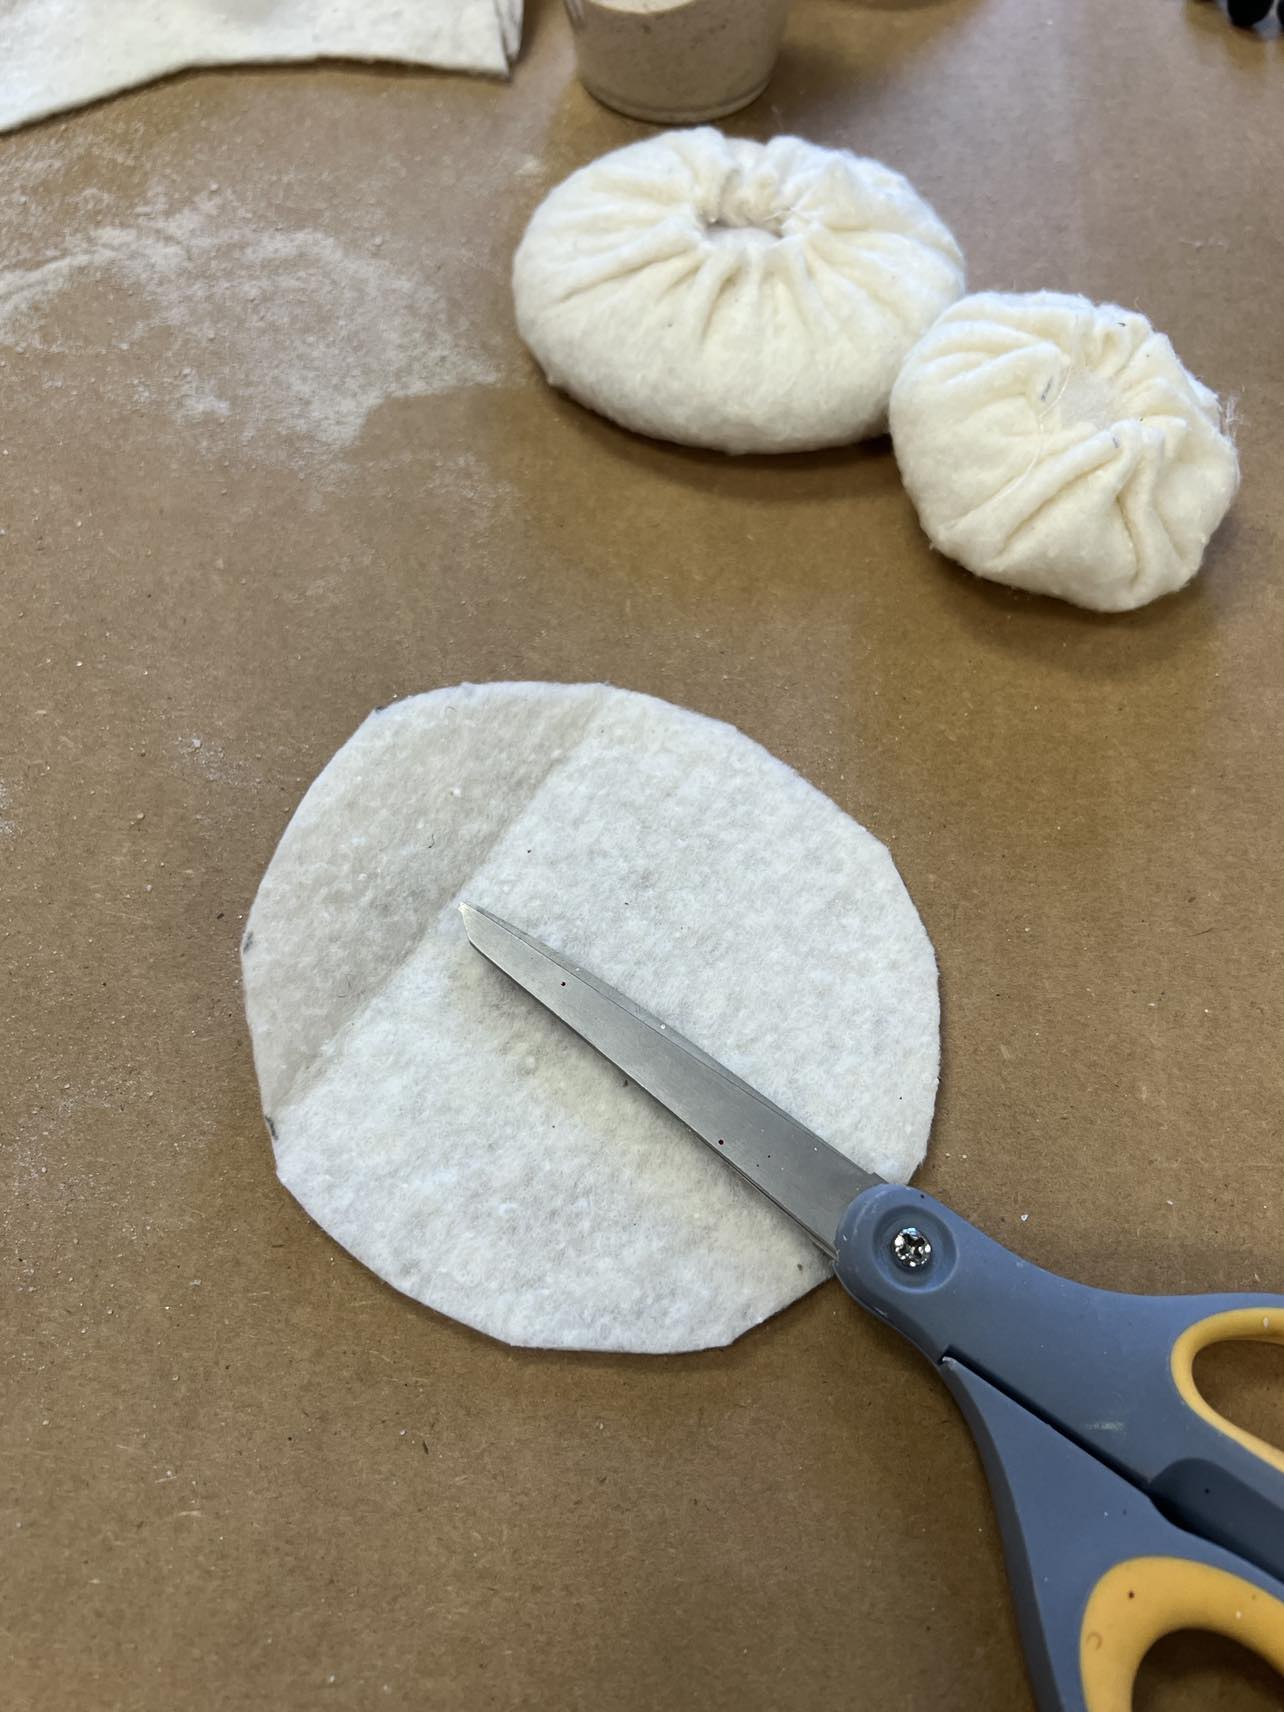
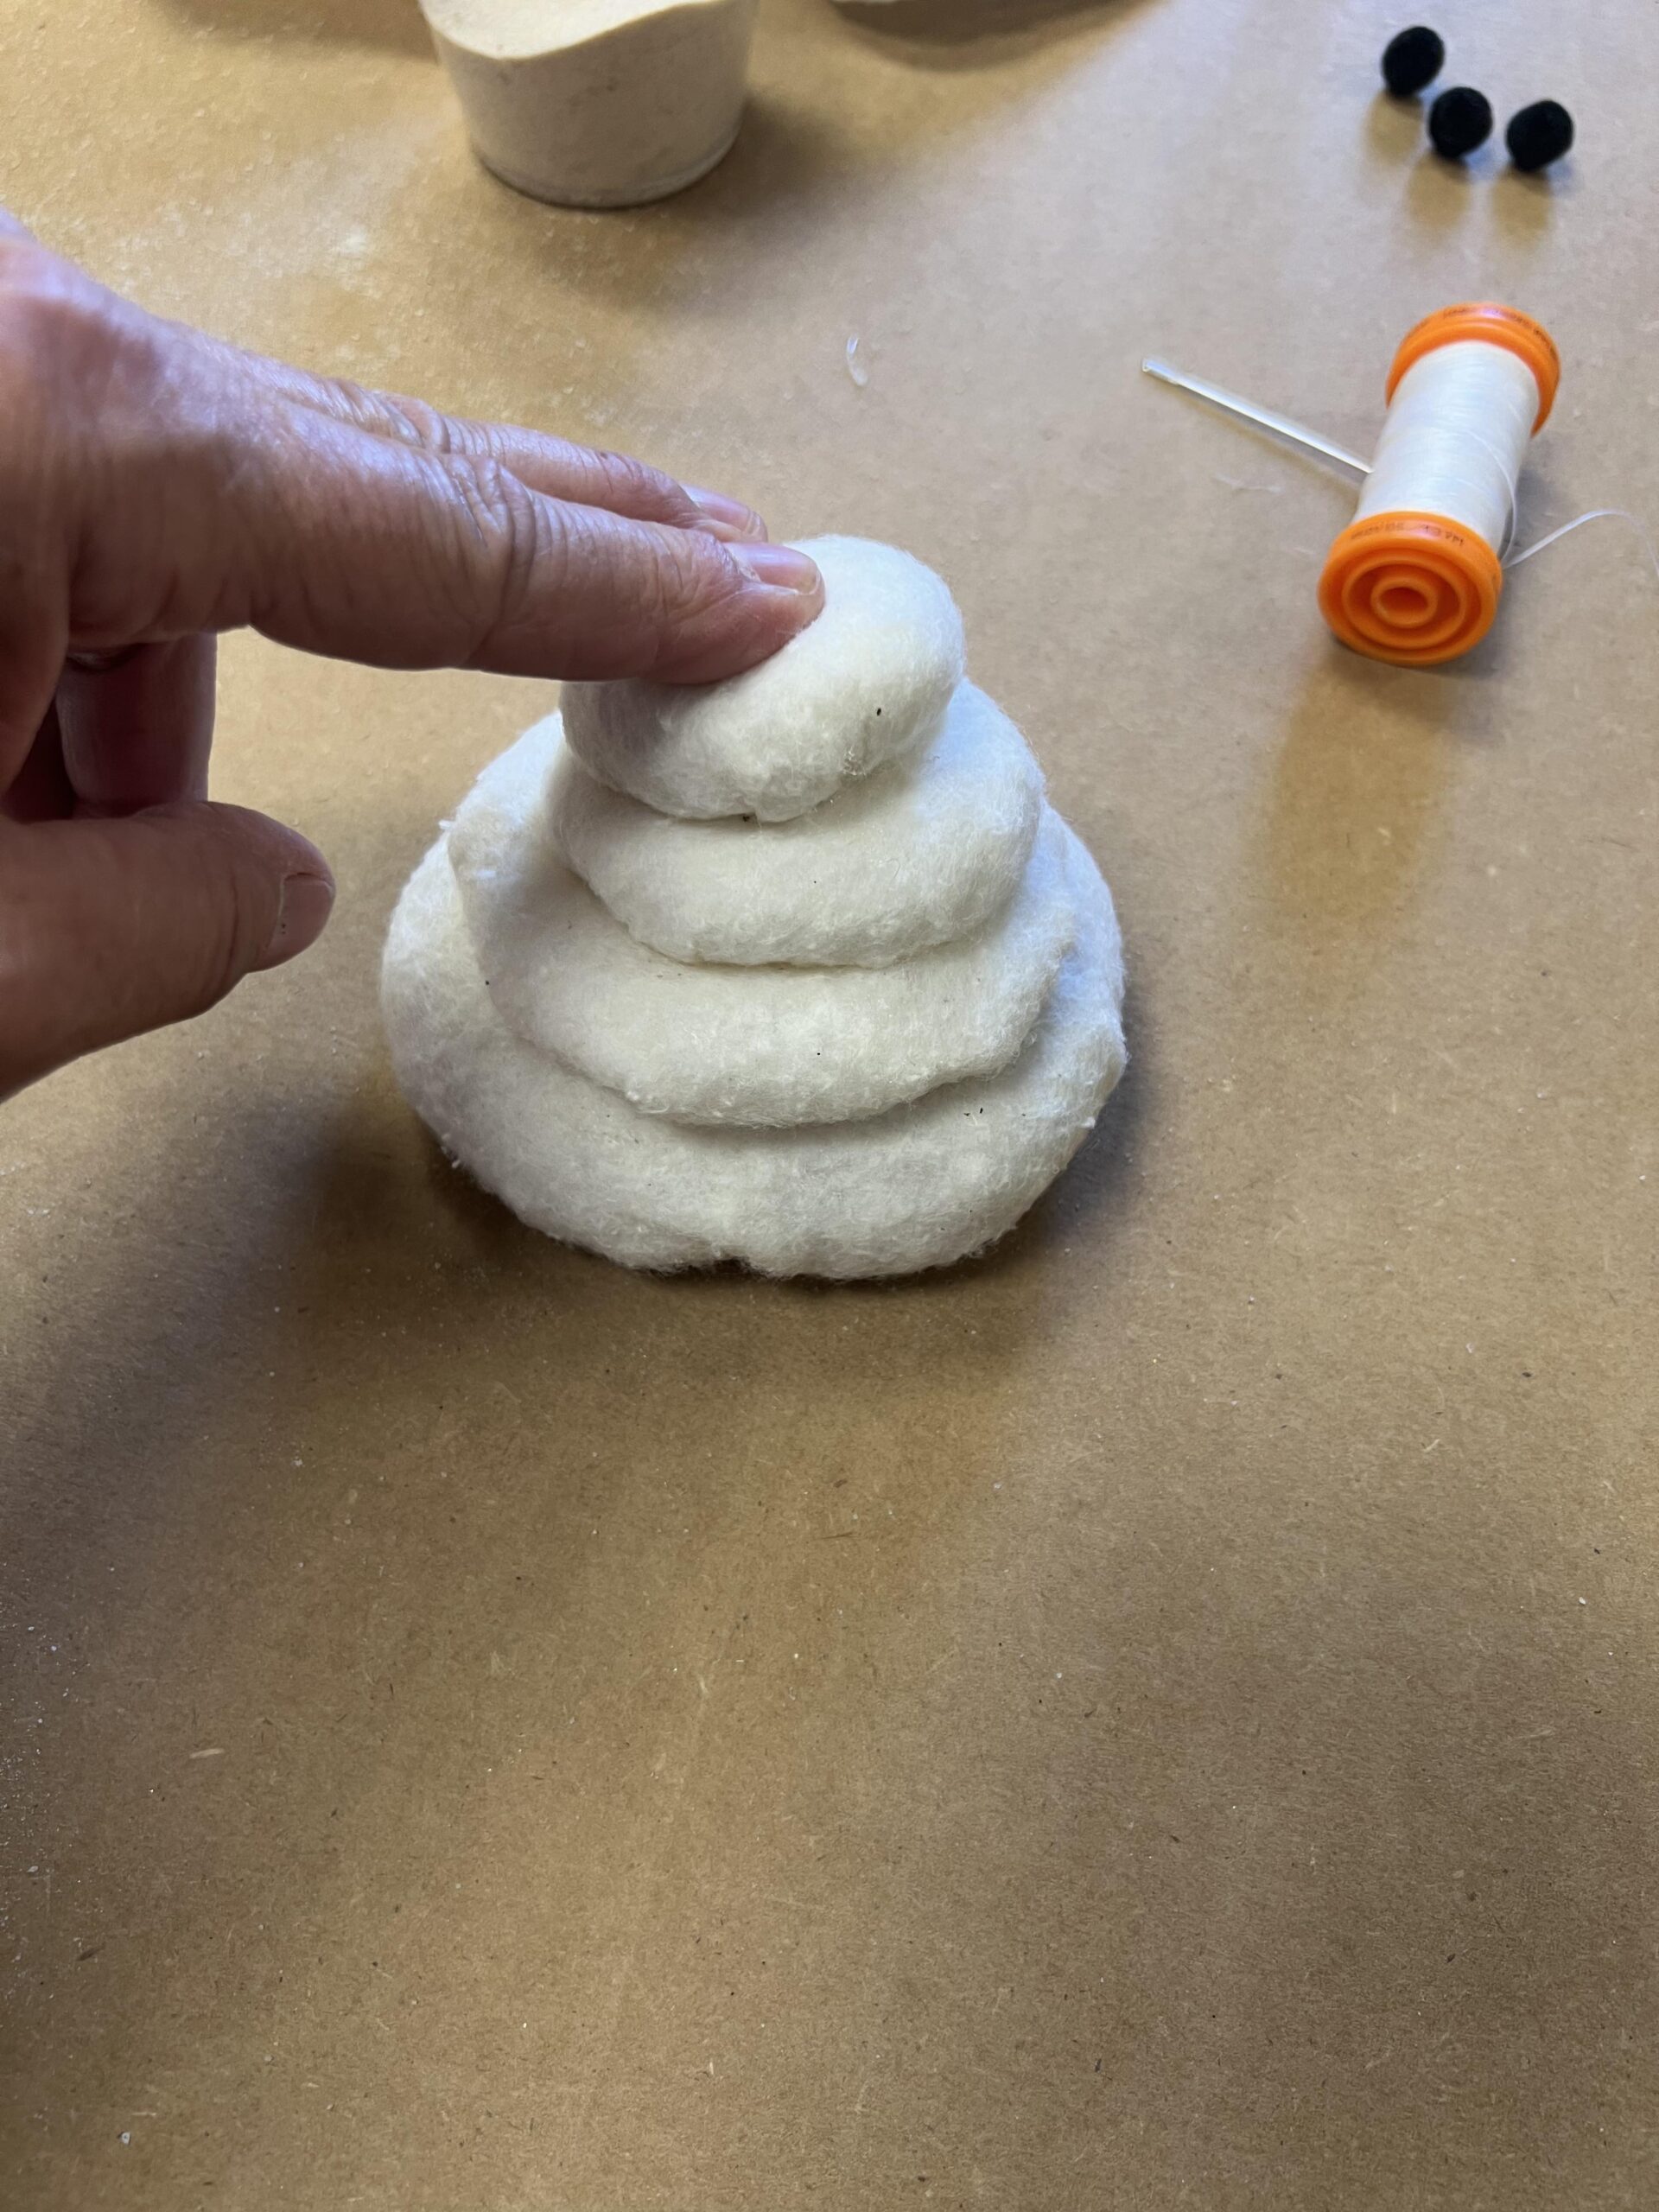
I traced another circle but I cut this one a half inch smaller. You will then want to trace this circle and cut the next circle a half smaller. Each circle will be a half inch smaller then the previous circle.
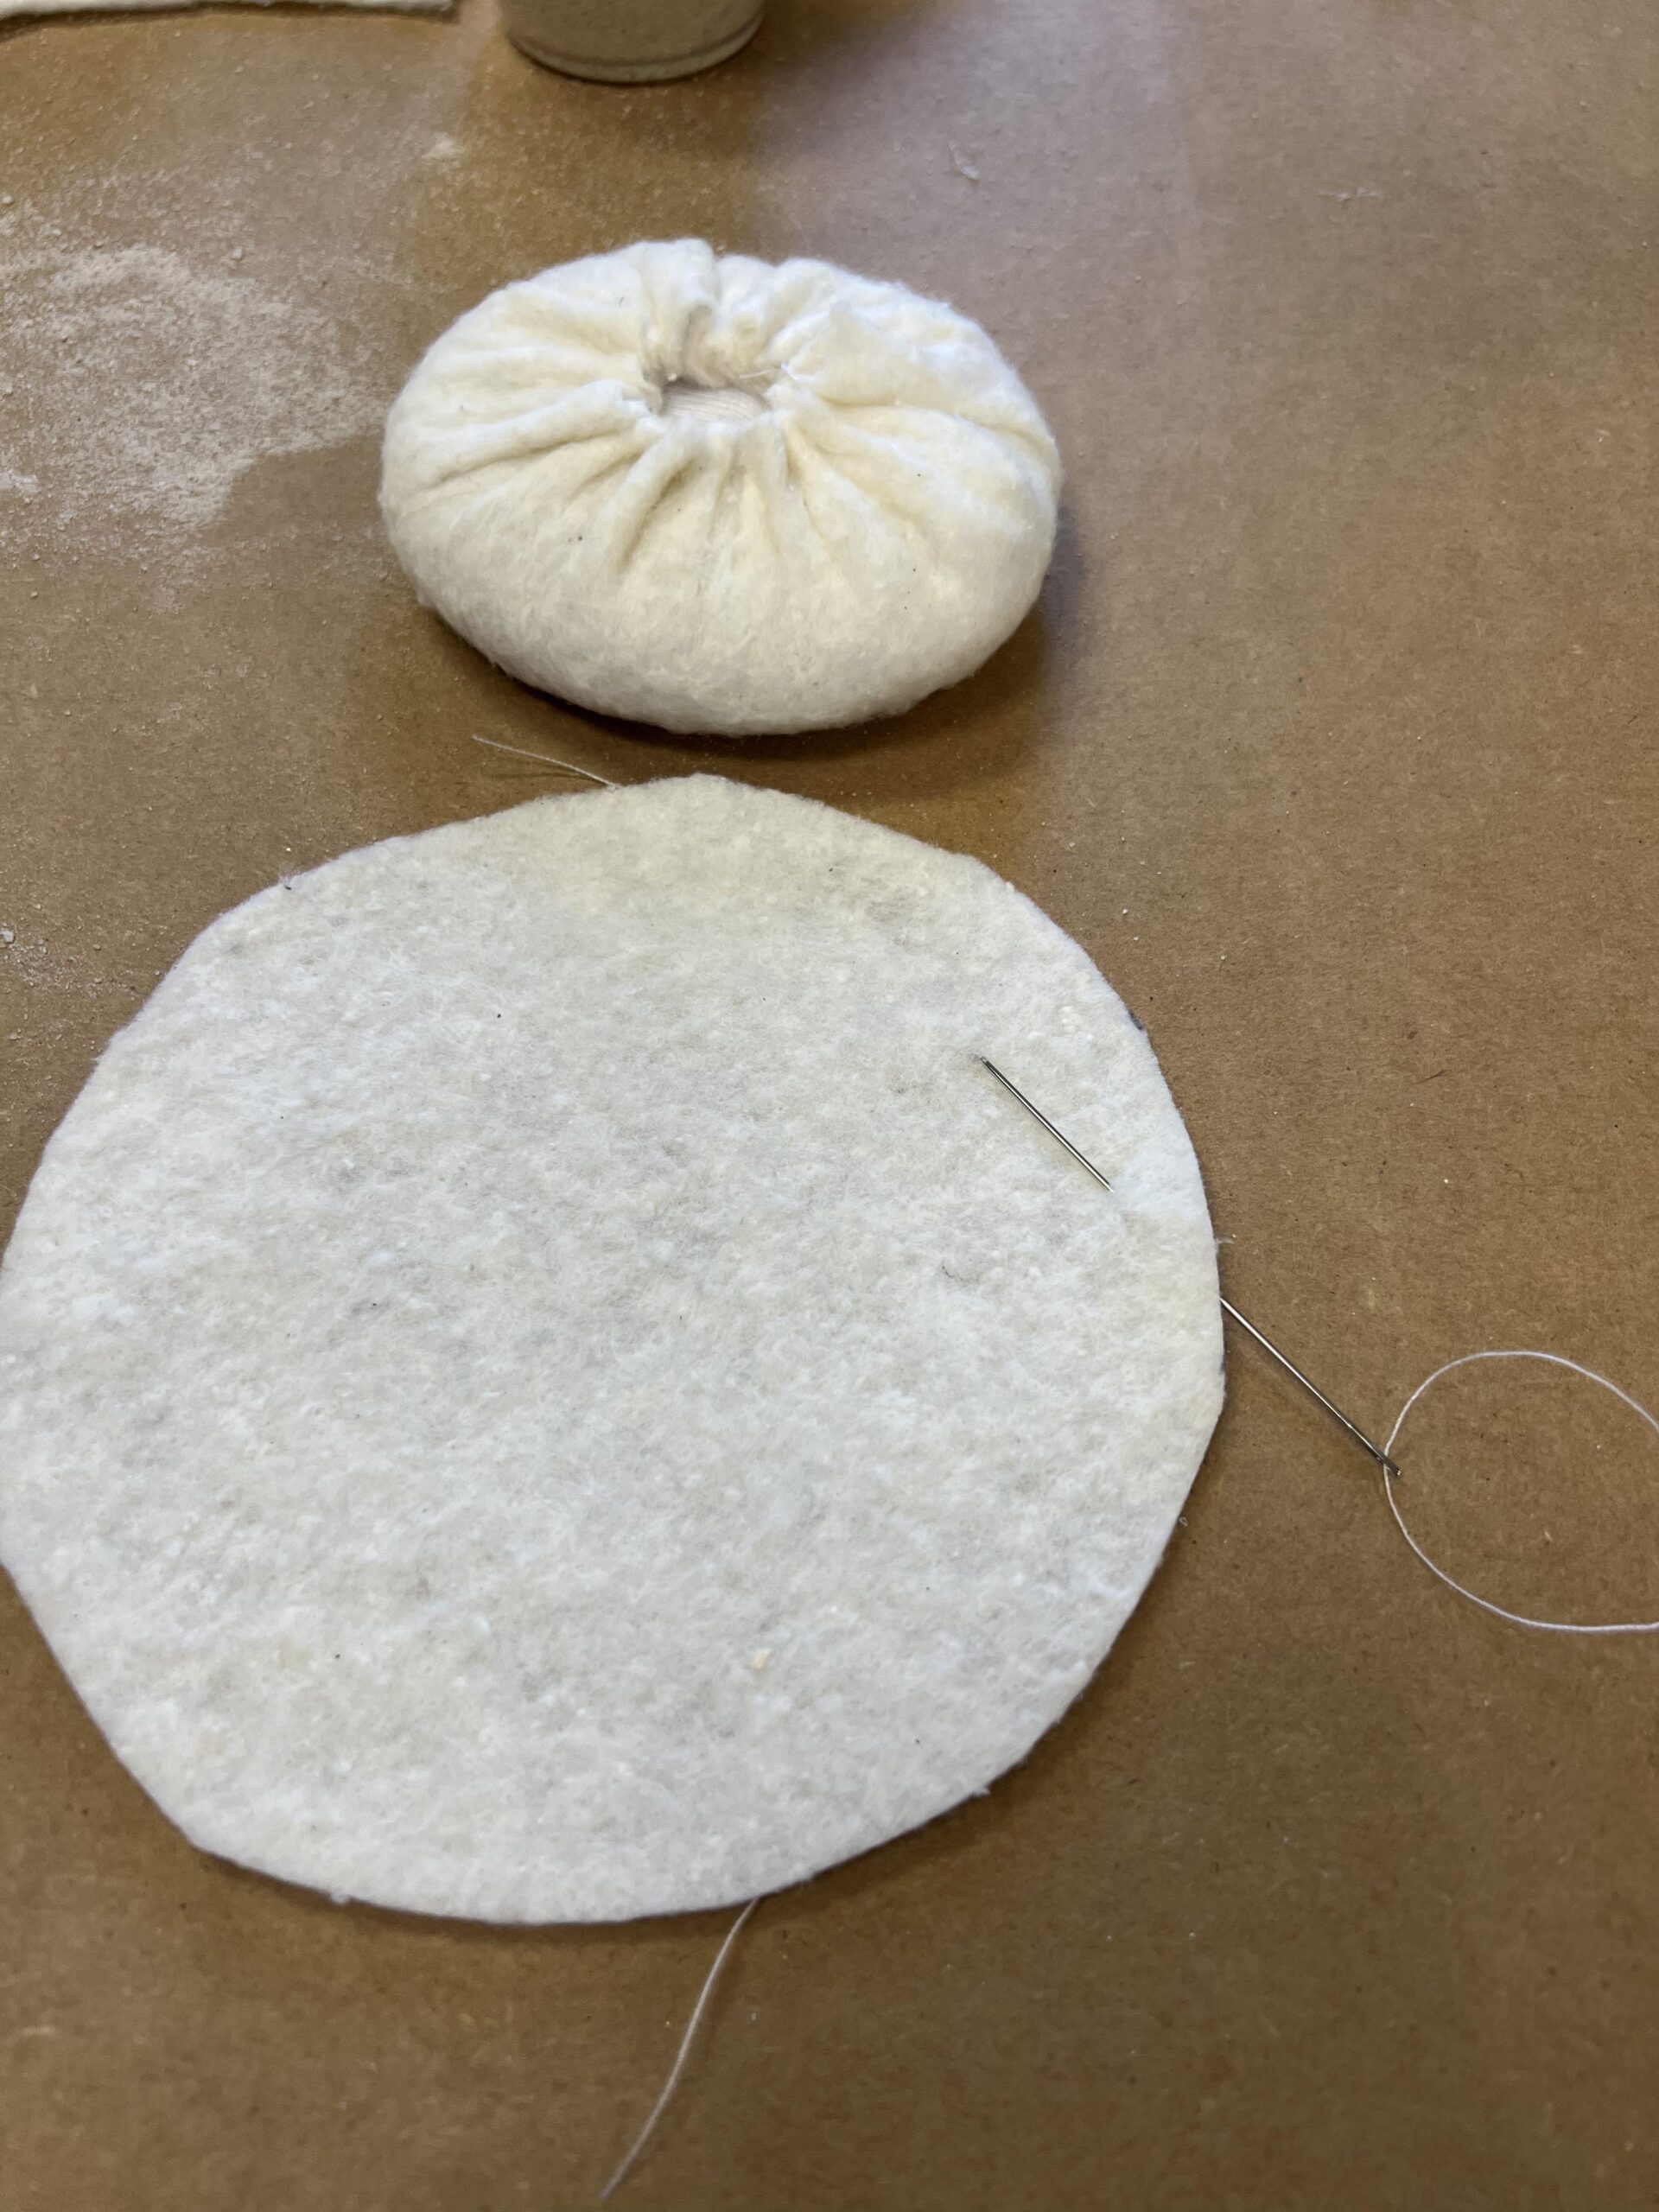
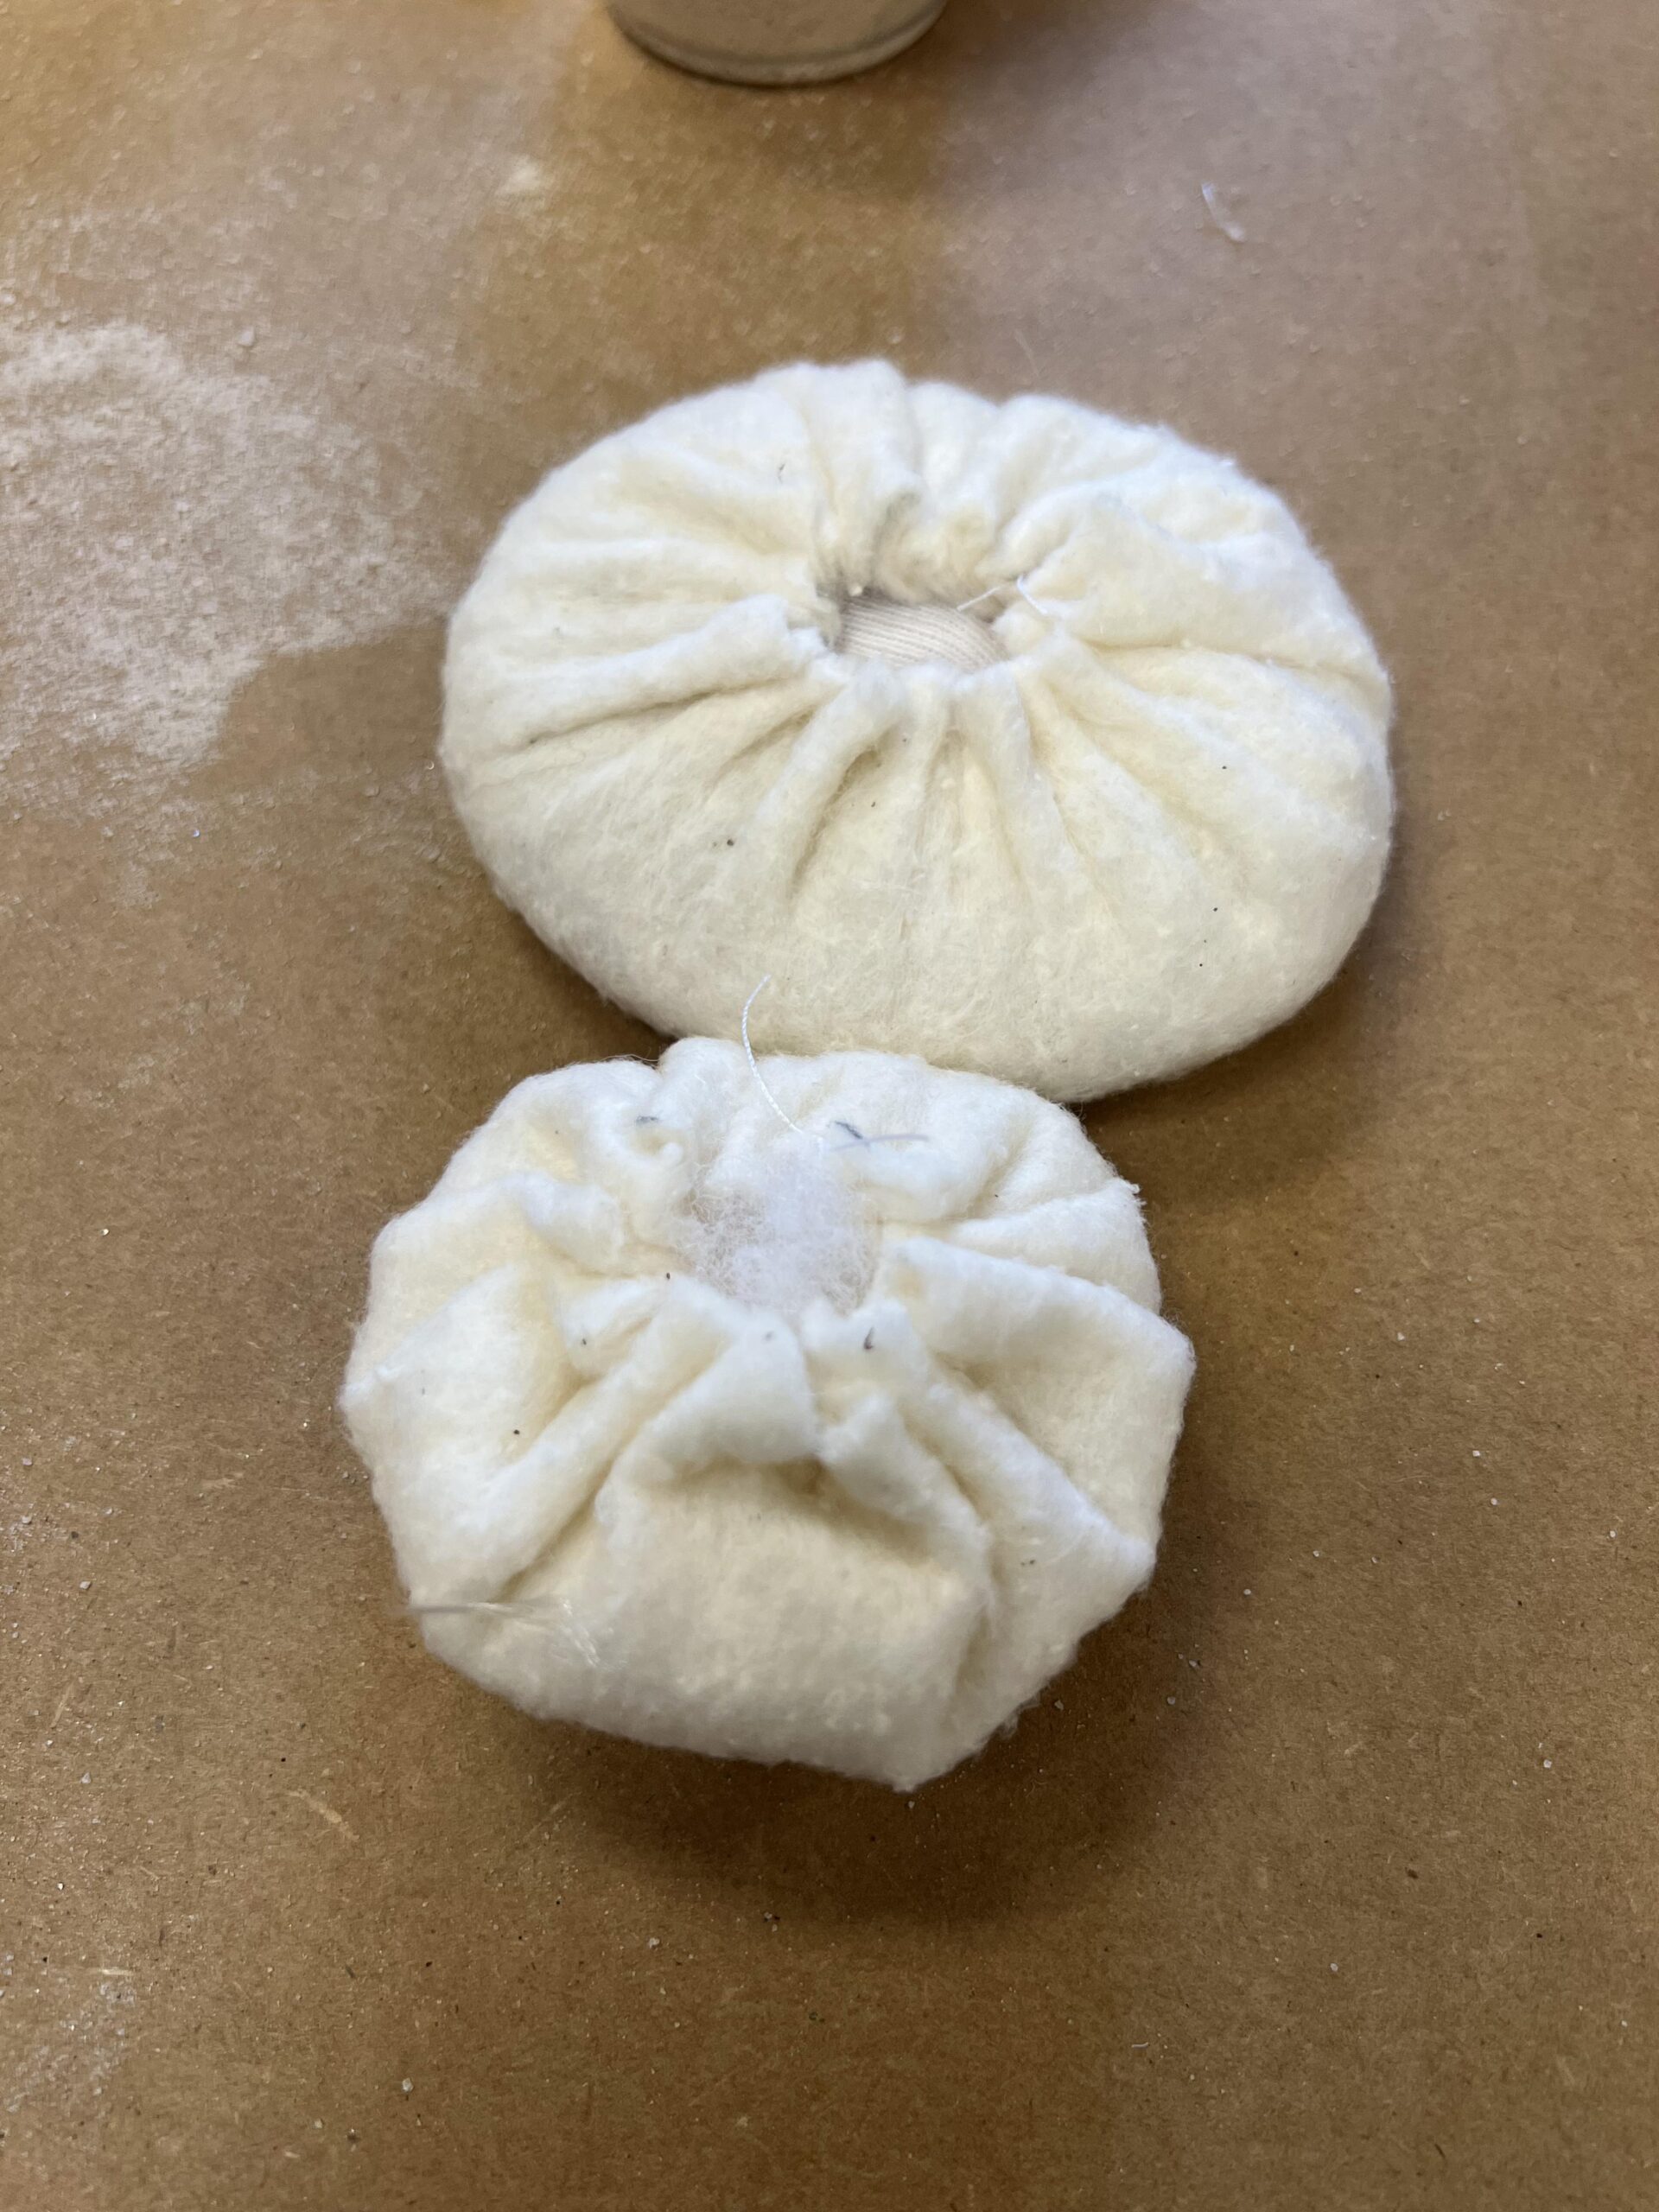
I did the basting stitch to each circle and I added poly-fil to the remaining circles.
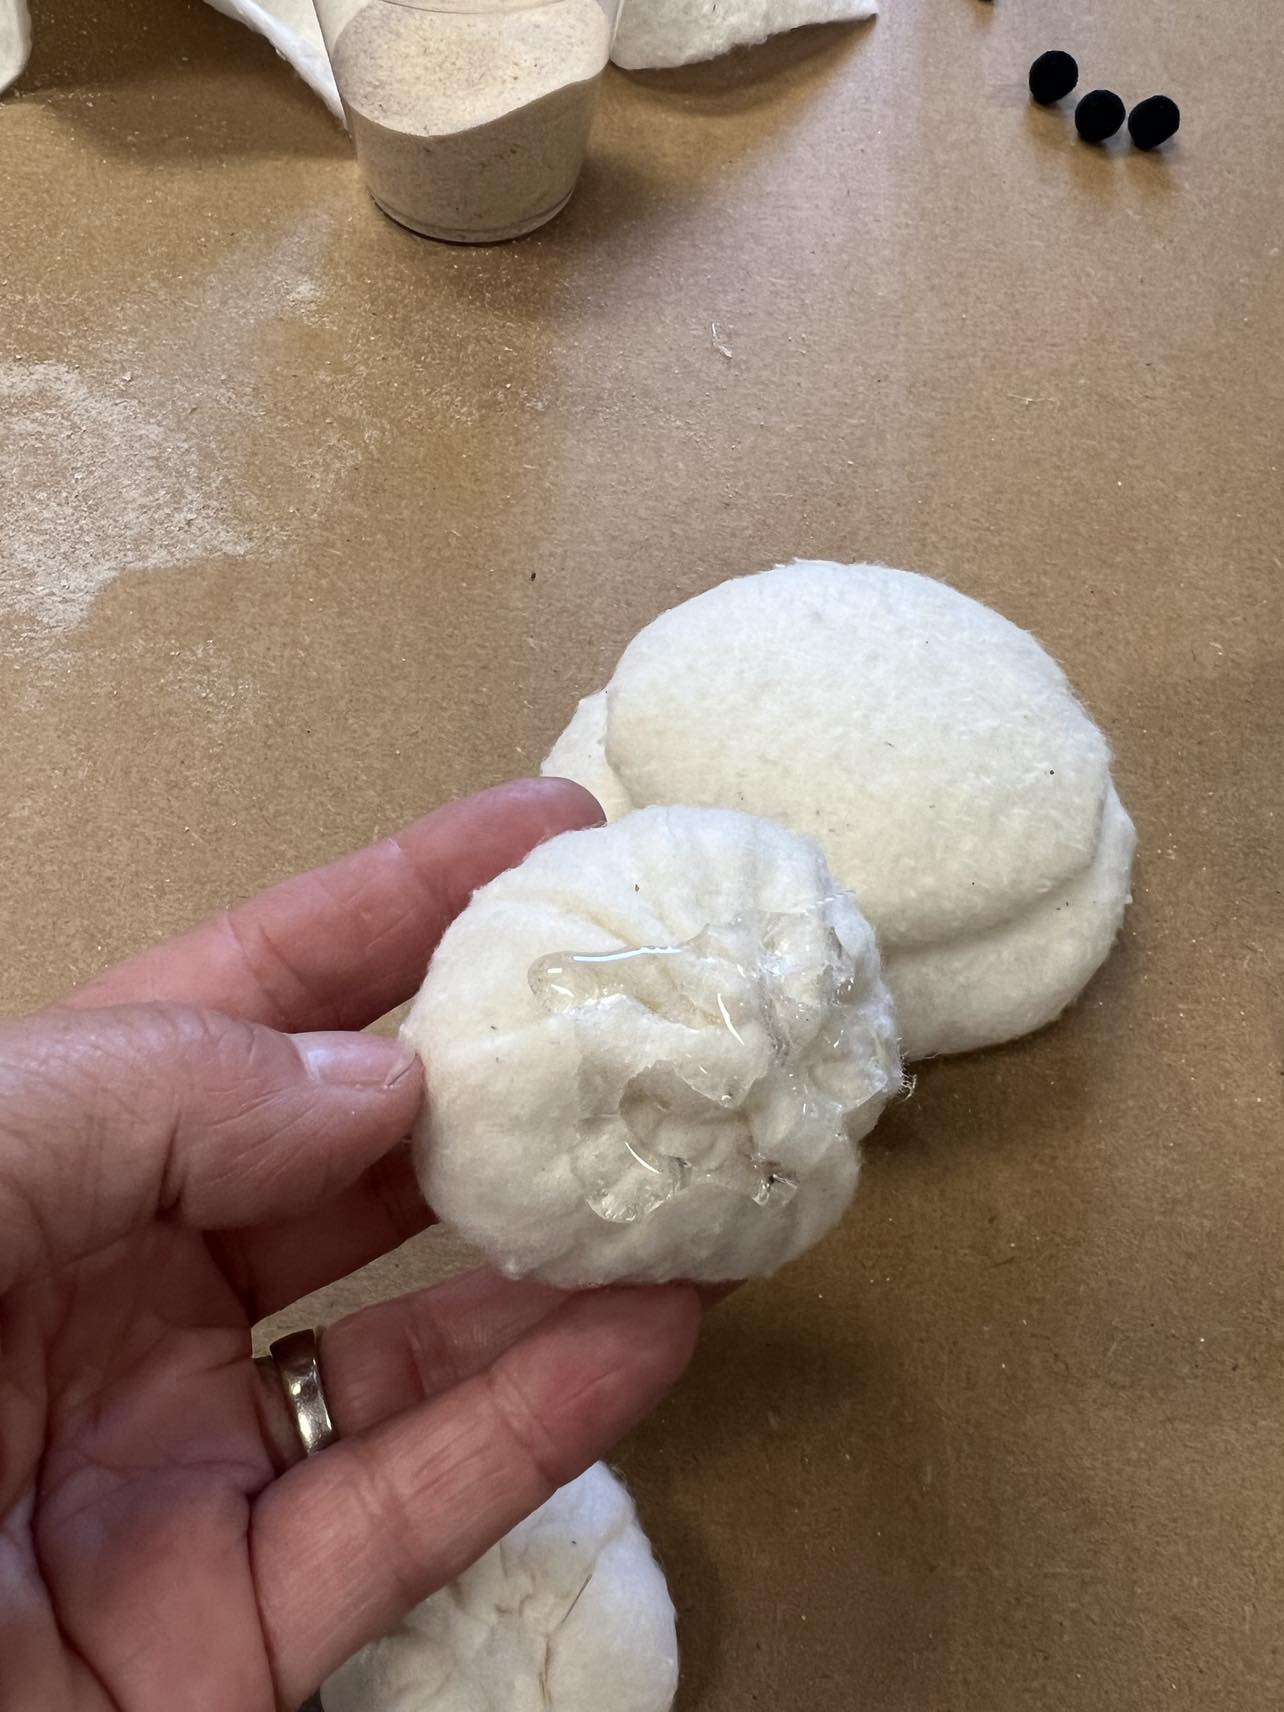
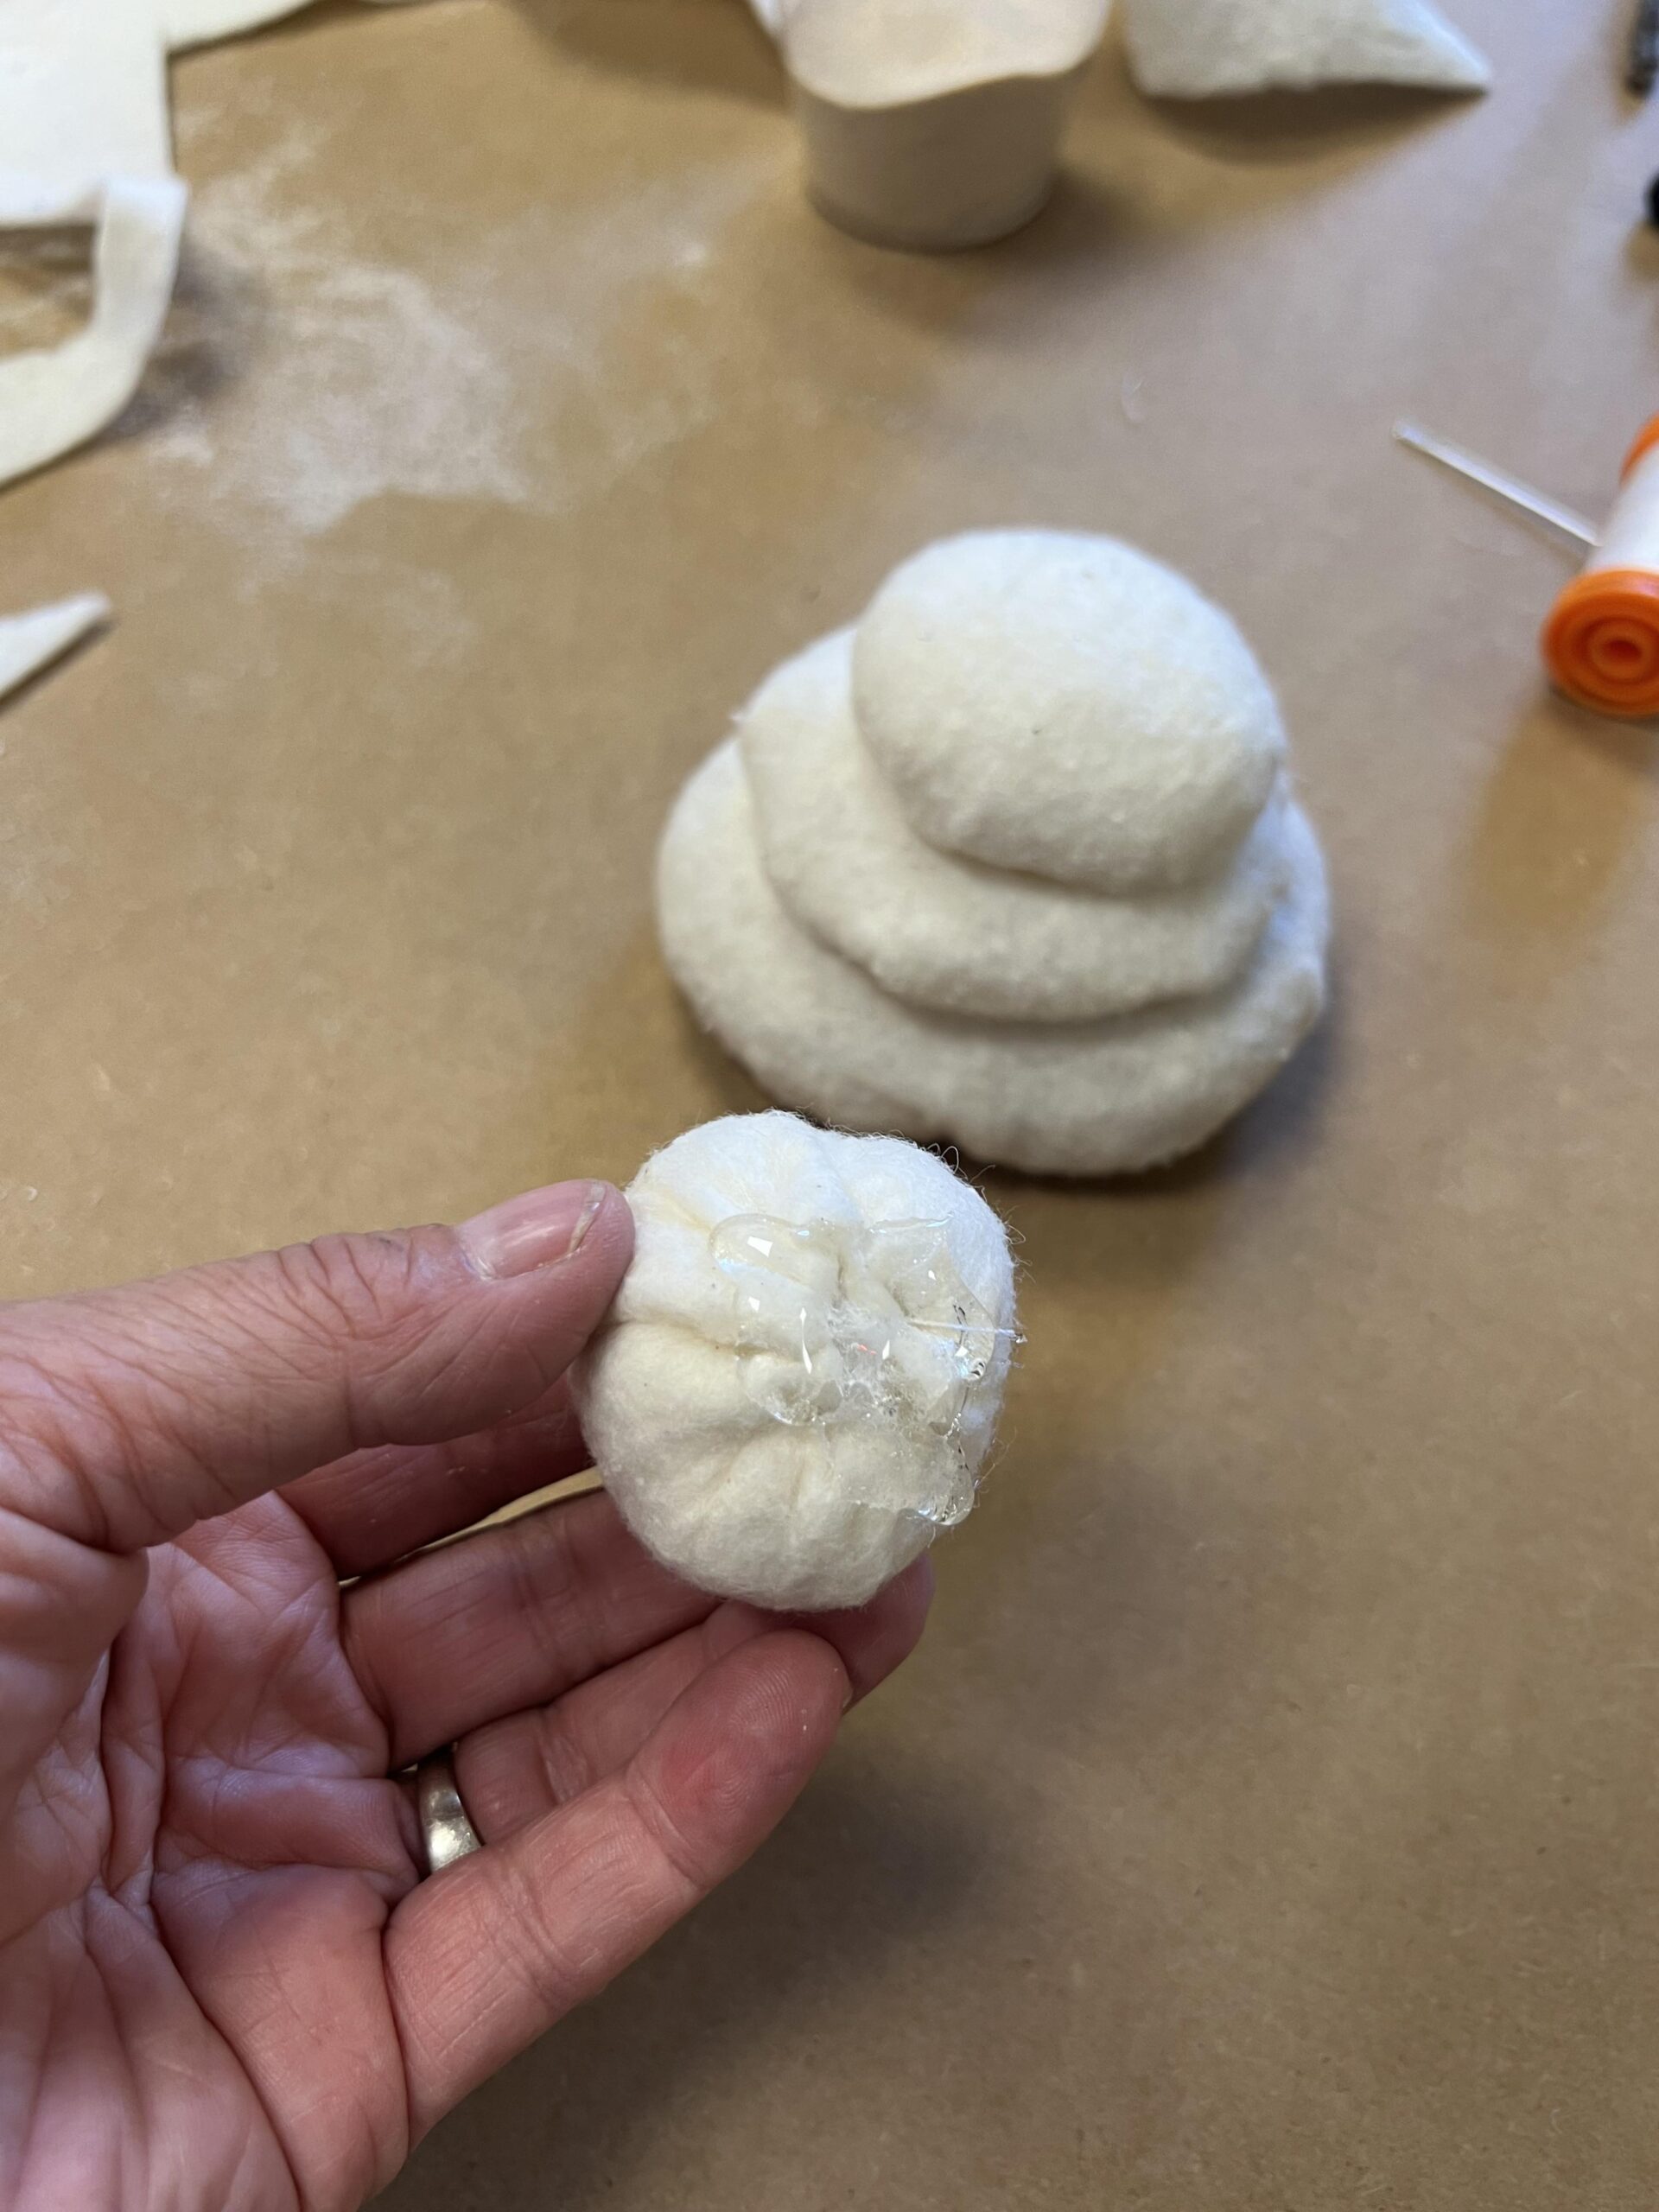
Once I had all four circles stuffed and closed I then glued them together.
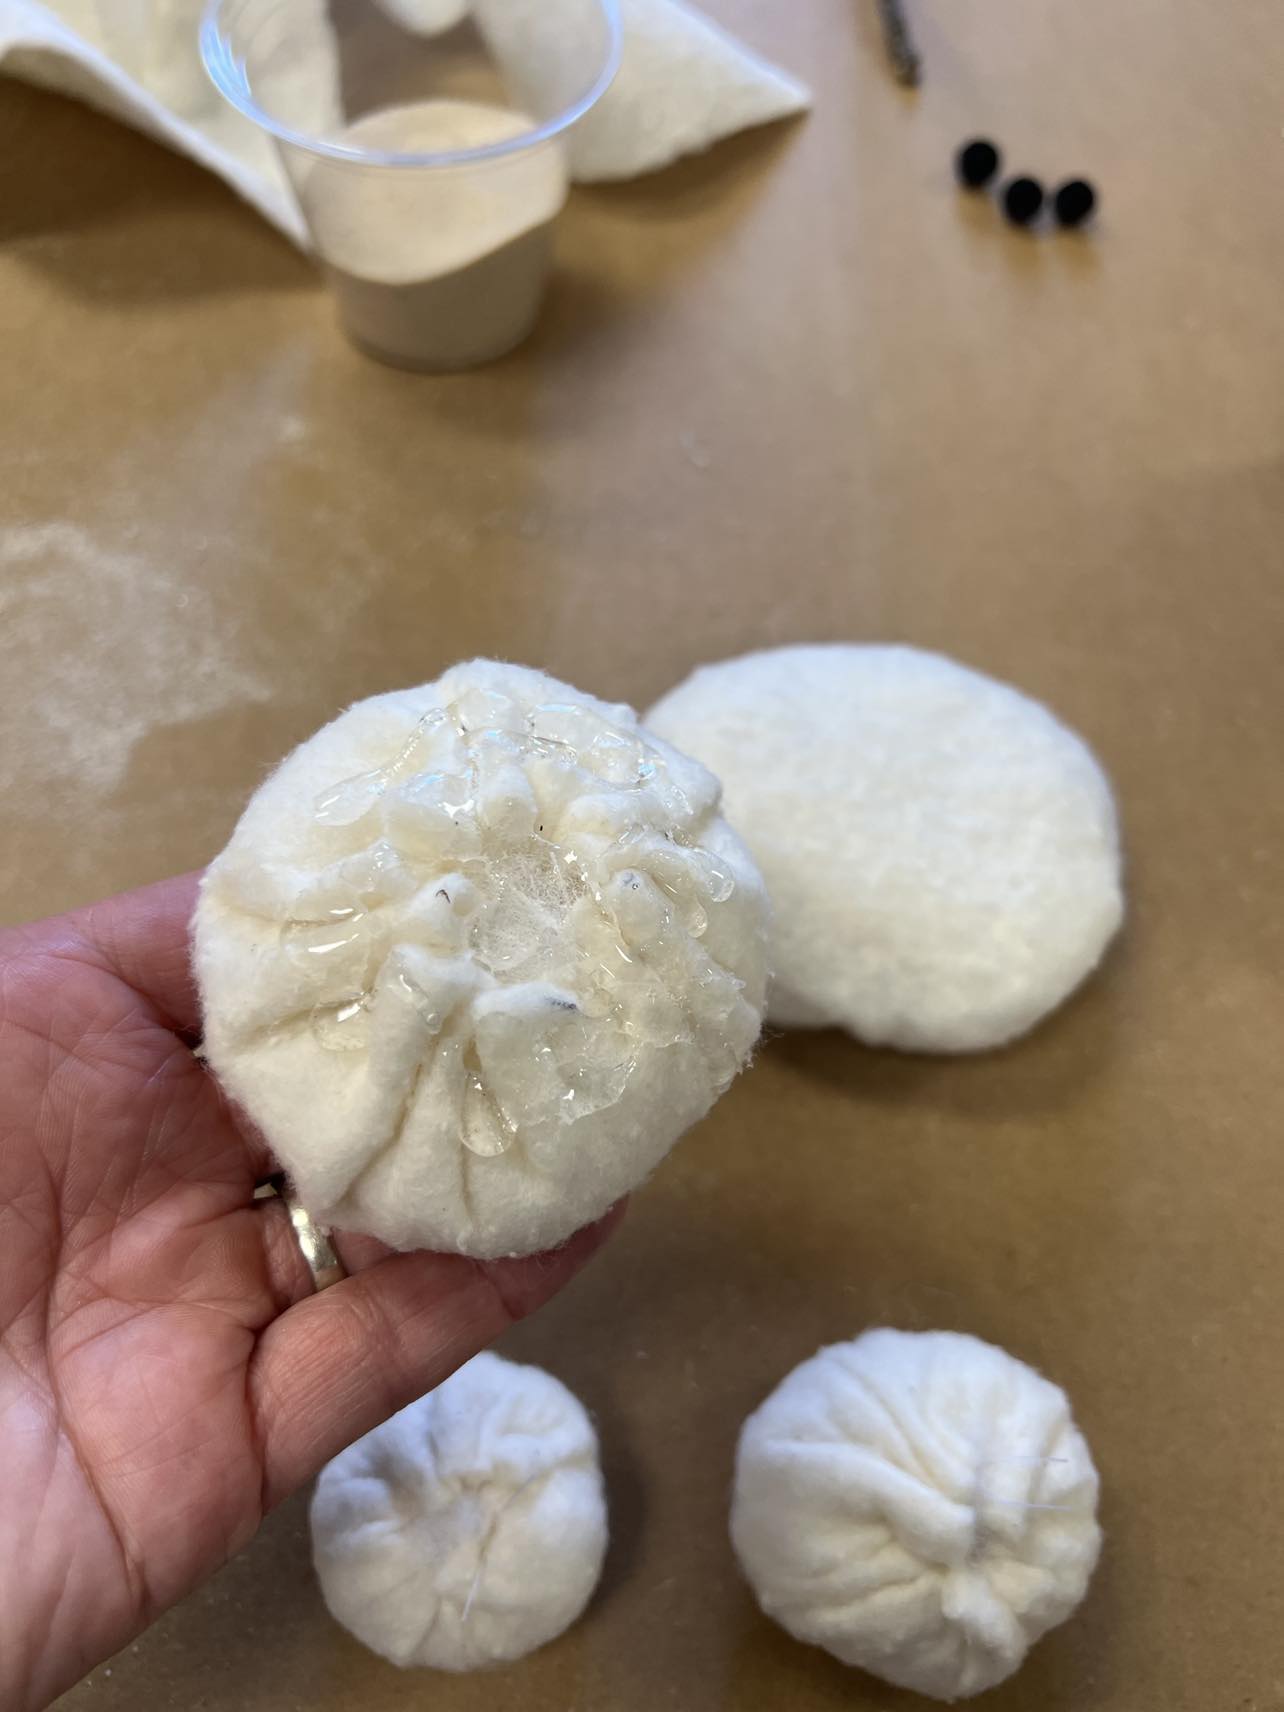
I placed the first circle with the opening facing down and I then added hot glue to the second circle.
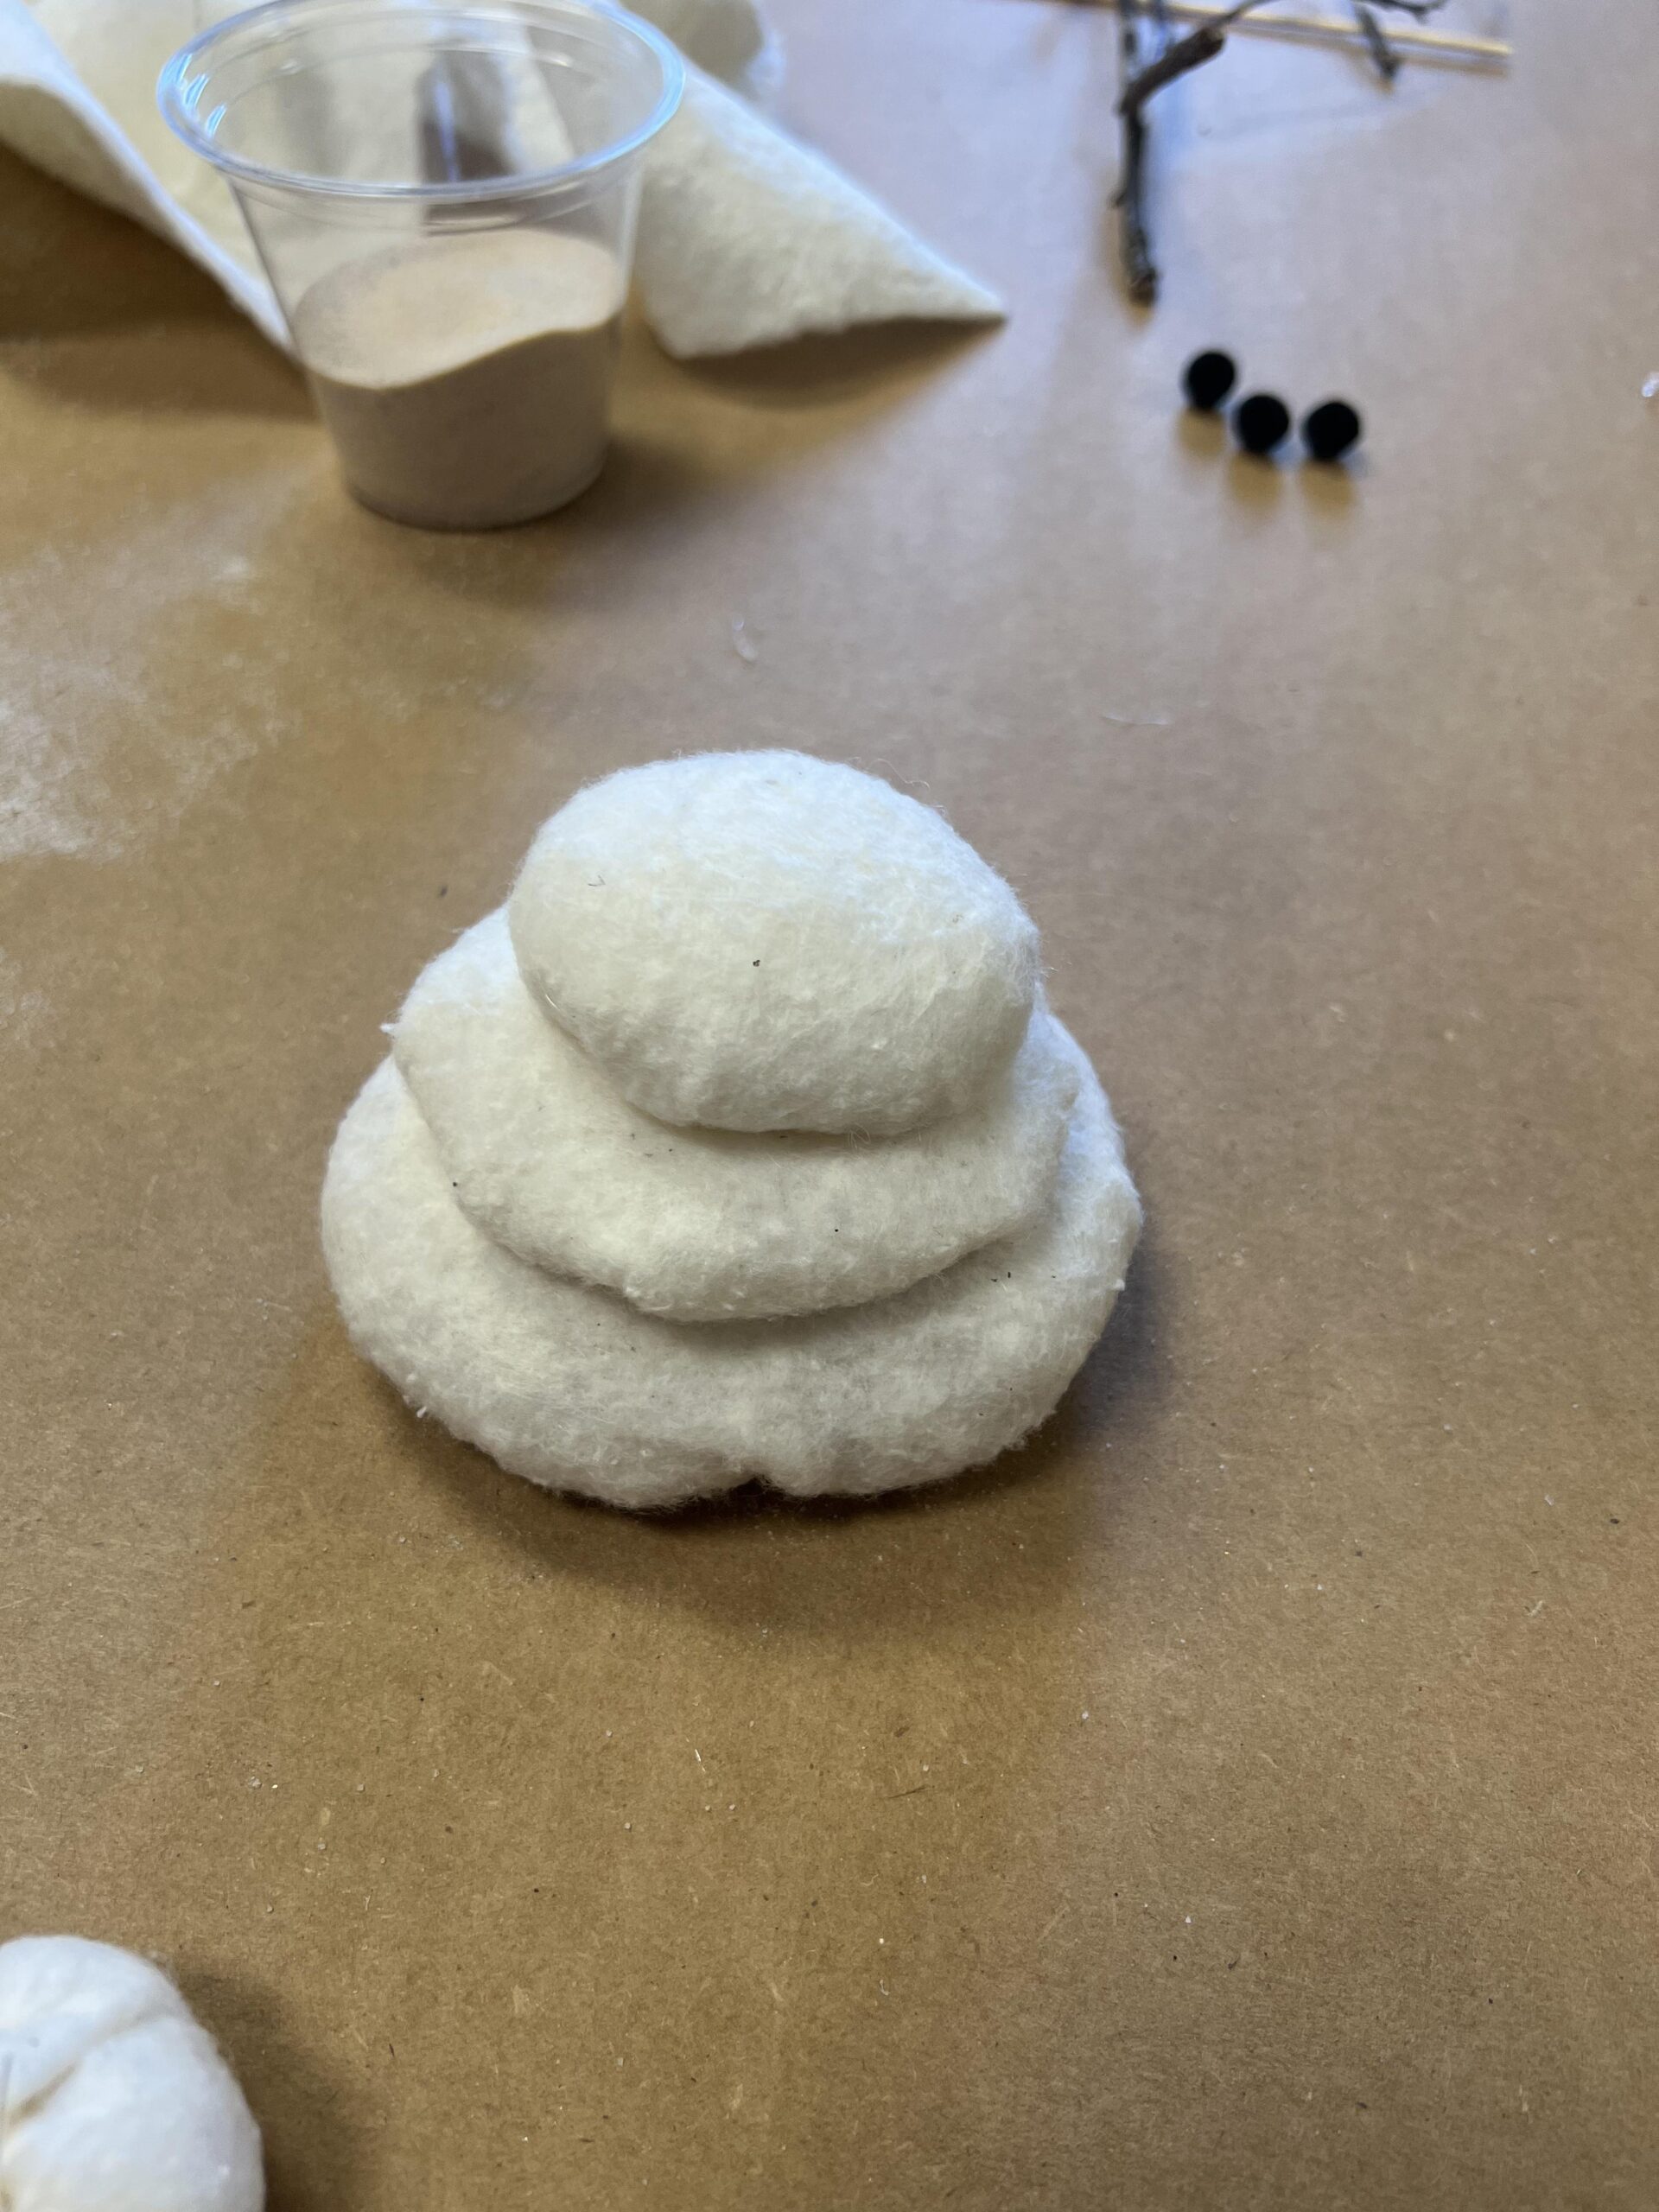
I placed the first two pieces together as shown in photo above.
I added hot glue to the remaining two pieces and placed them on top .
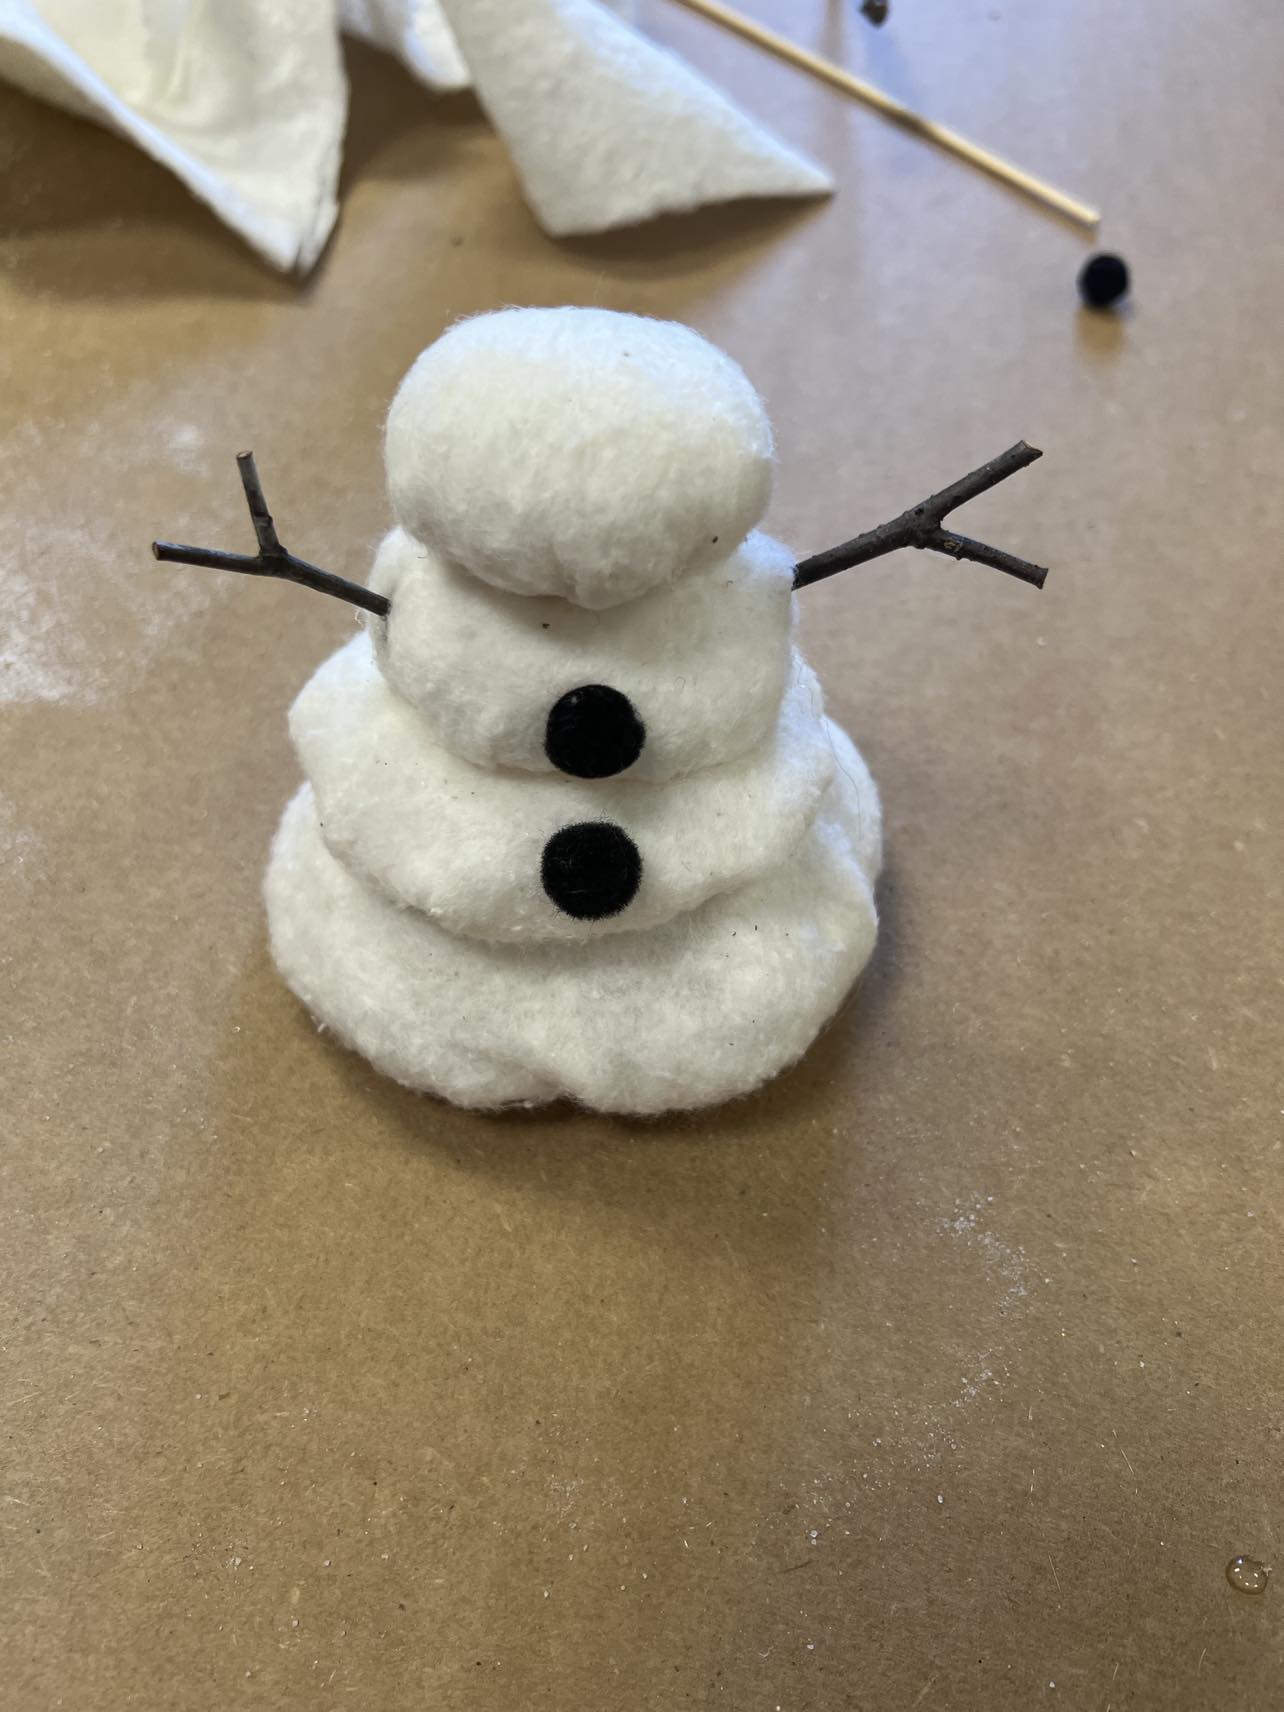
Once I had all four pieces glued together I then glued on the pom pom’s and the sticks as shown in photo below.
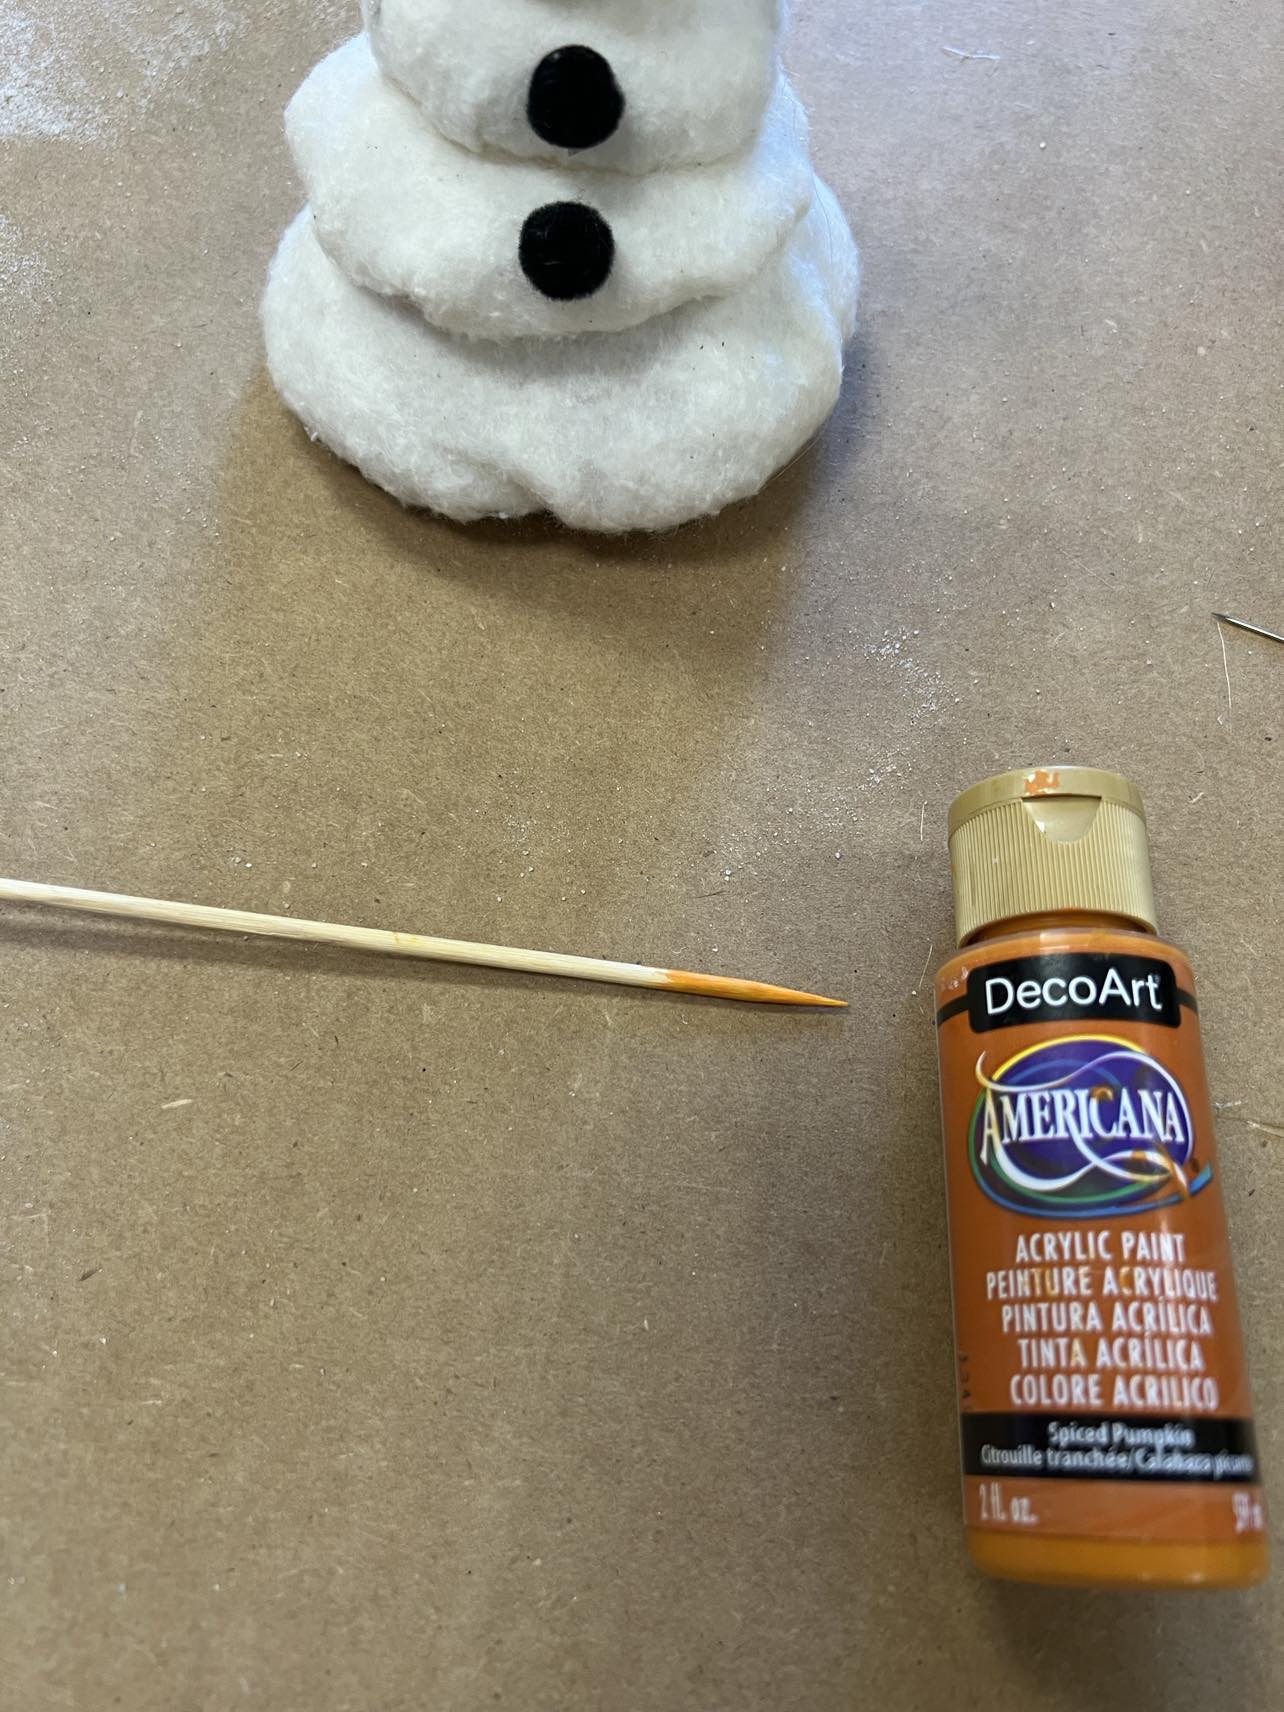
I painted the end of the kabob stick orange for the nose.
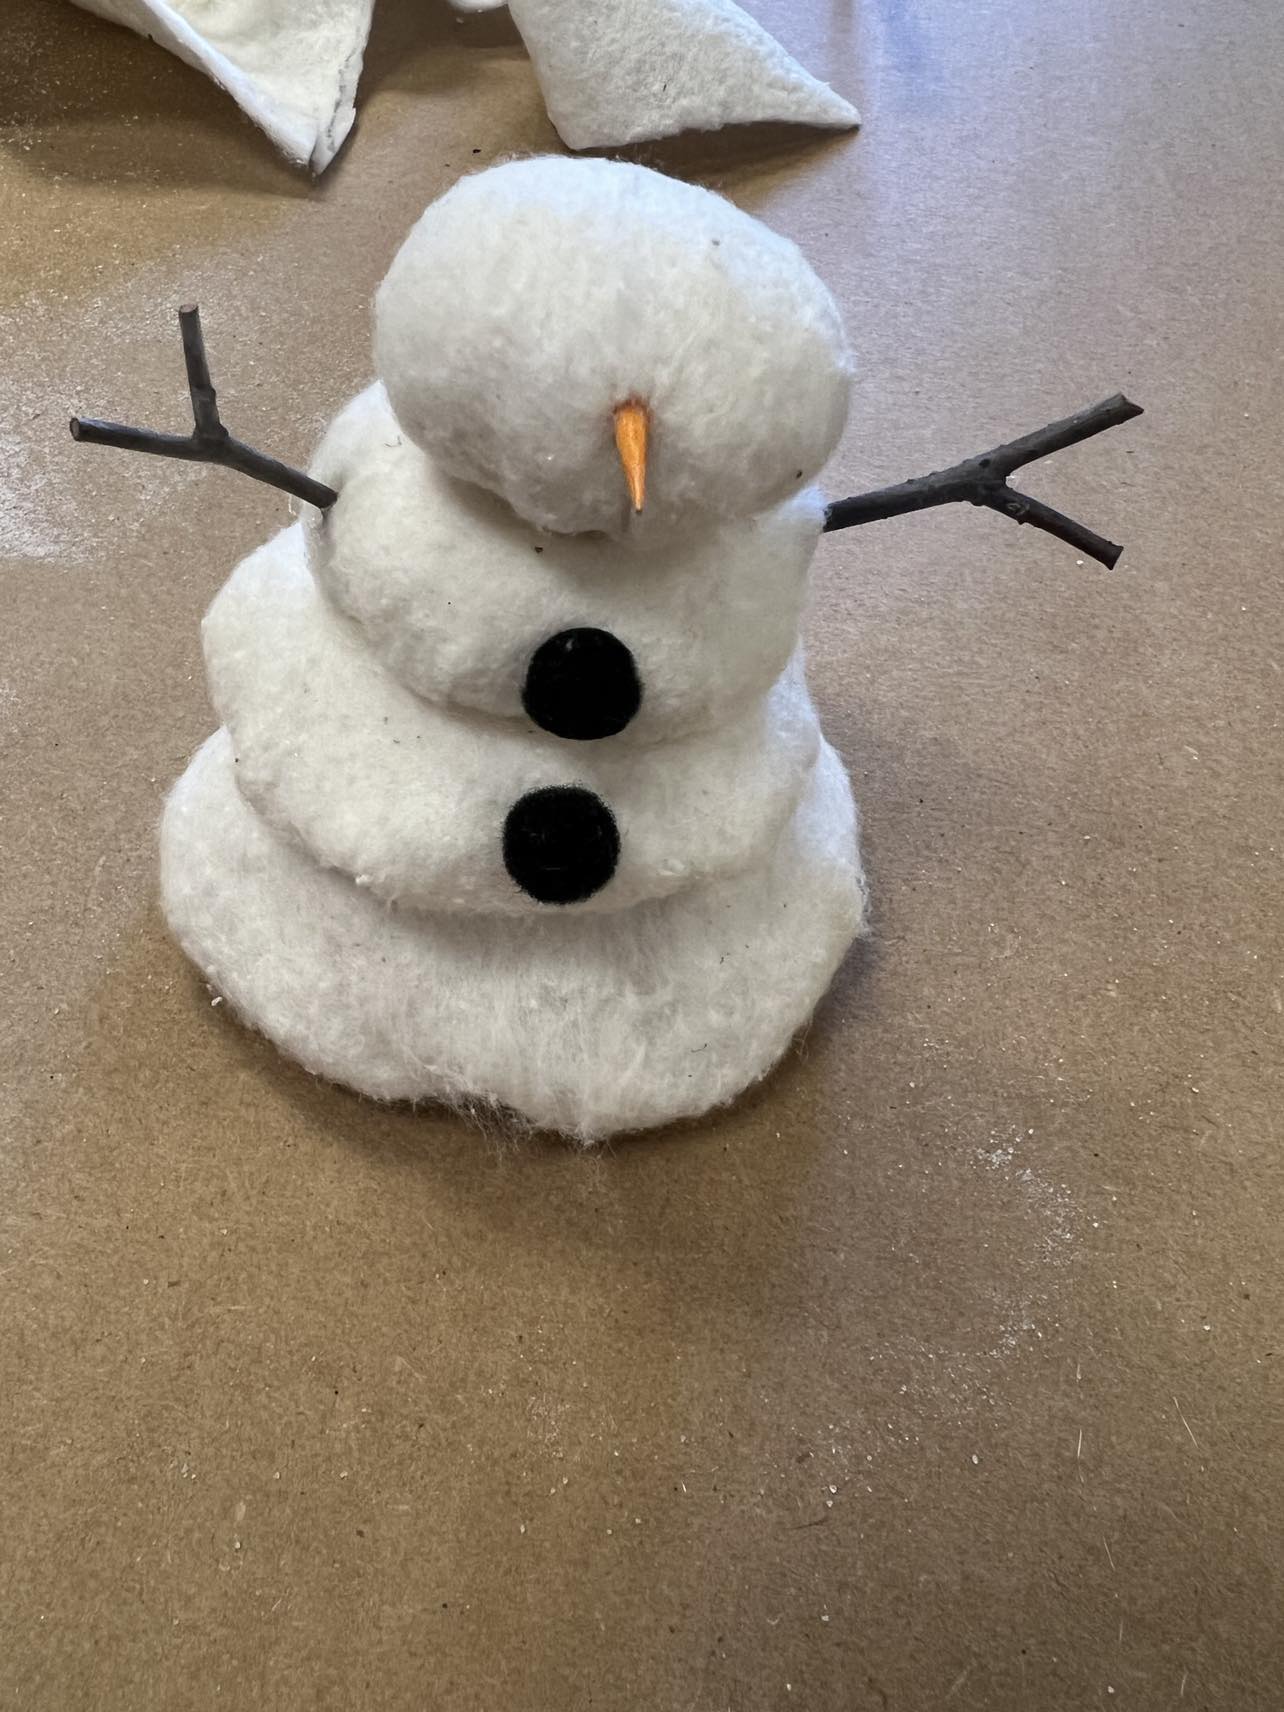
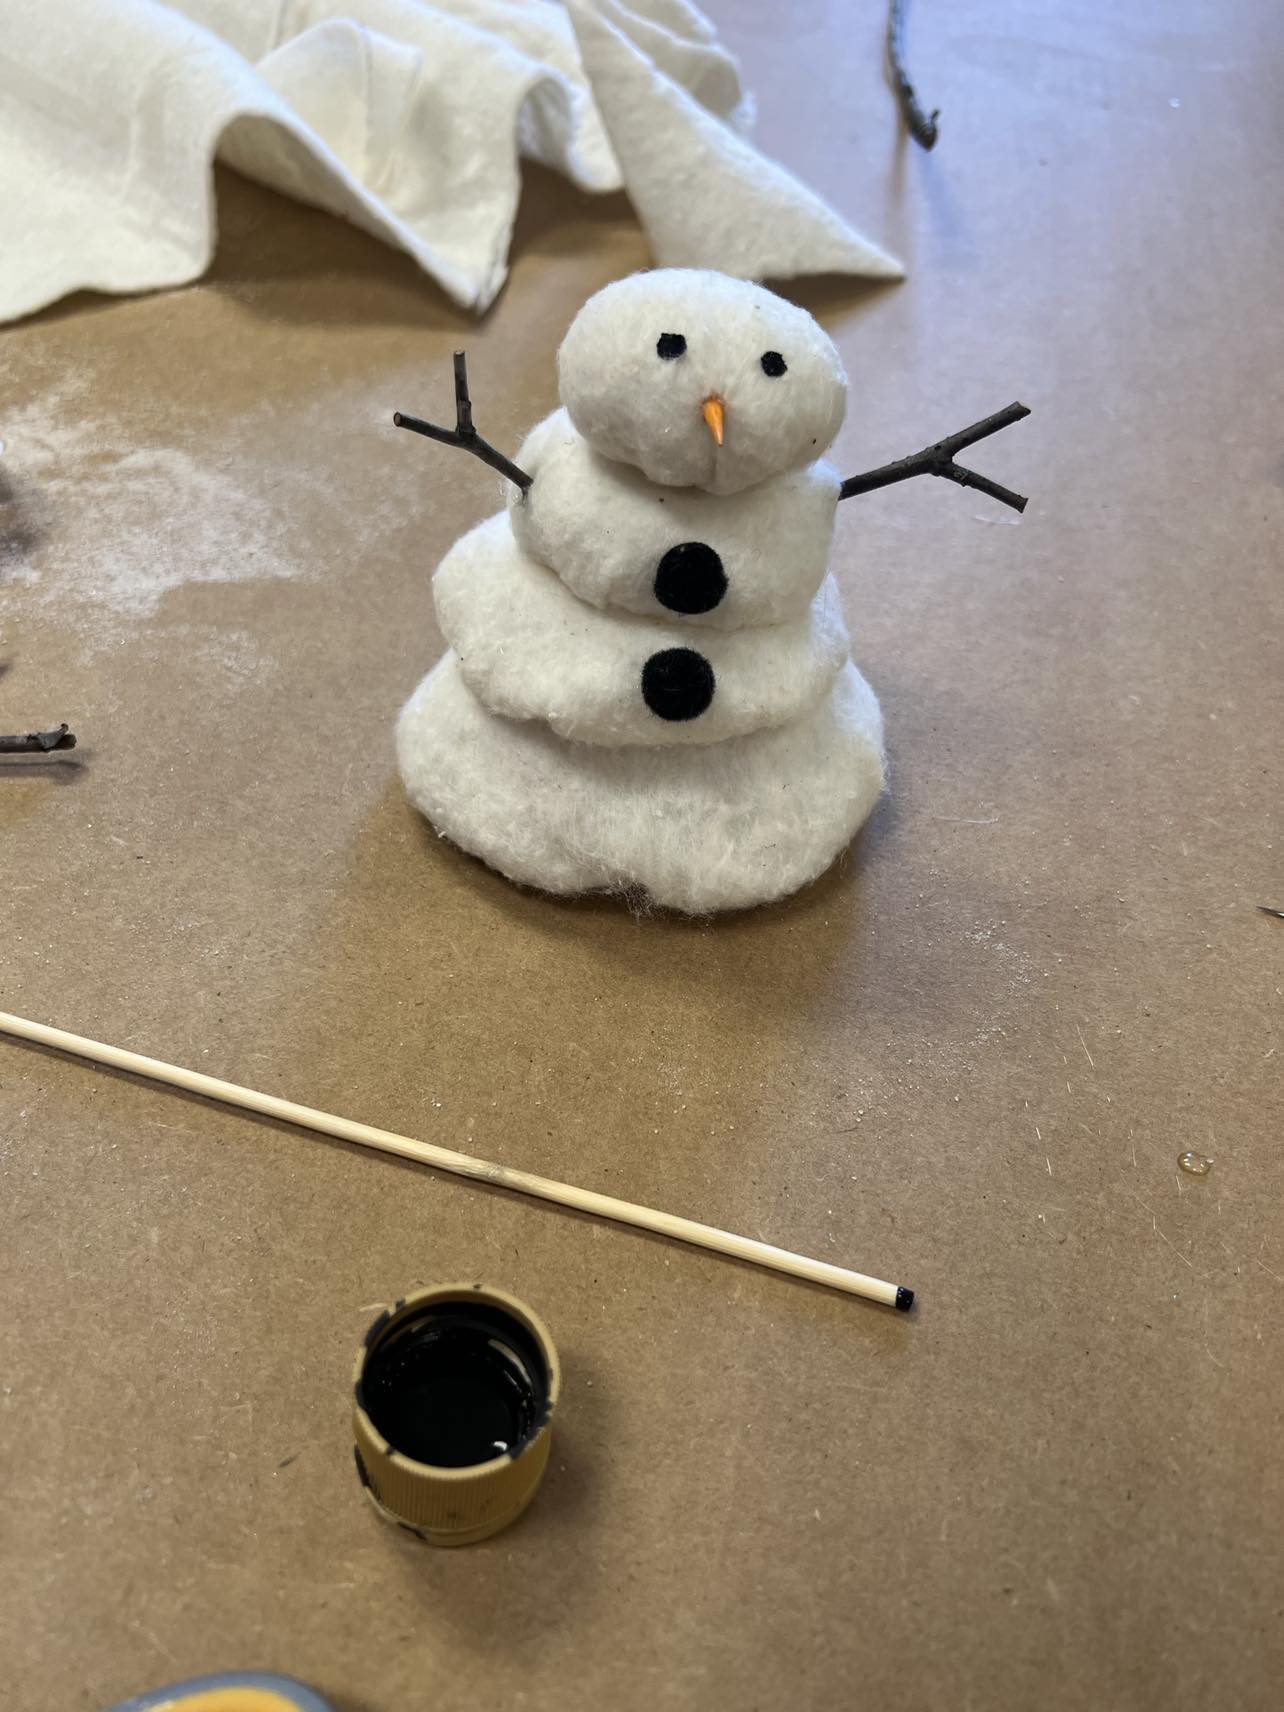
I used the other end of the kabob to help create eyes with the black paint.
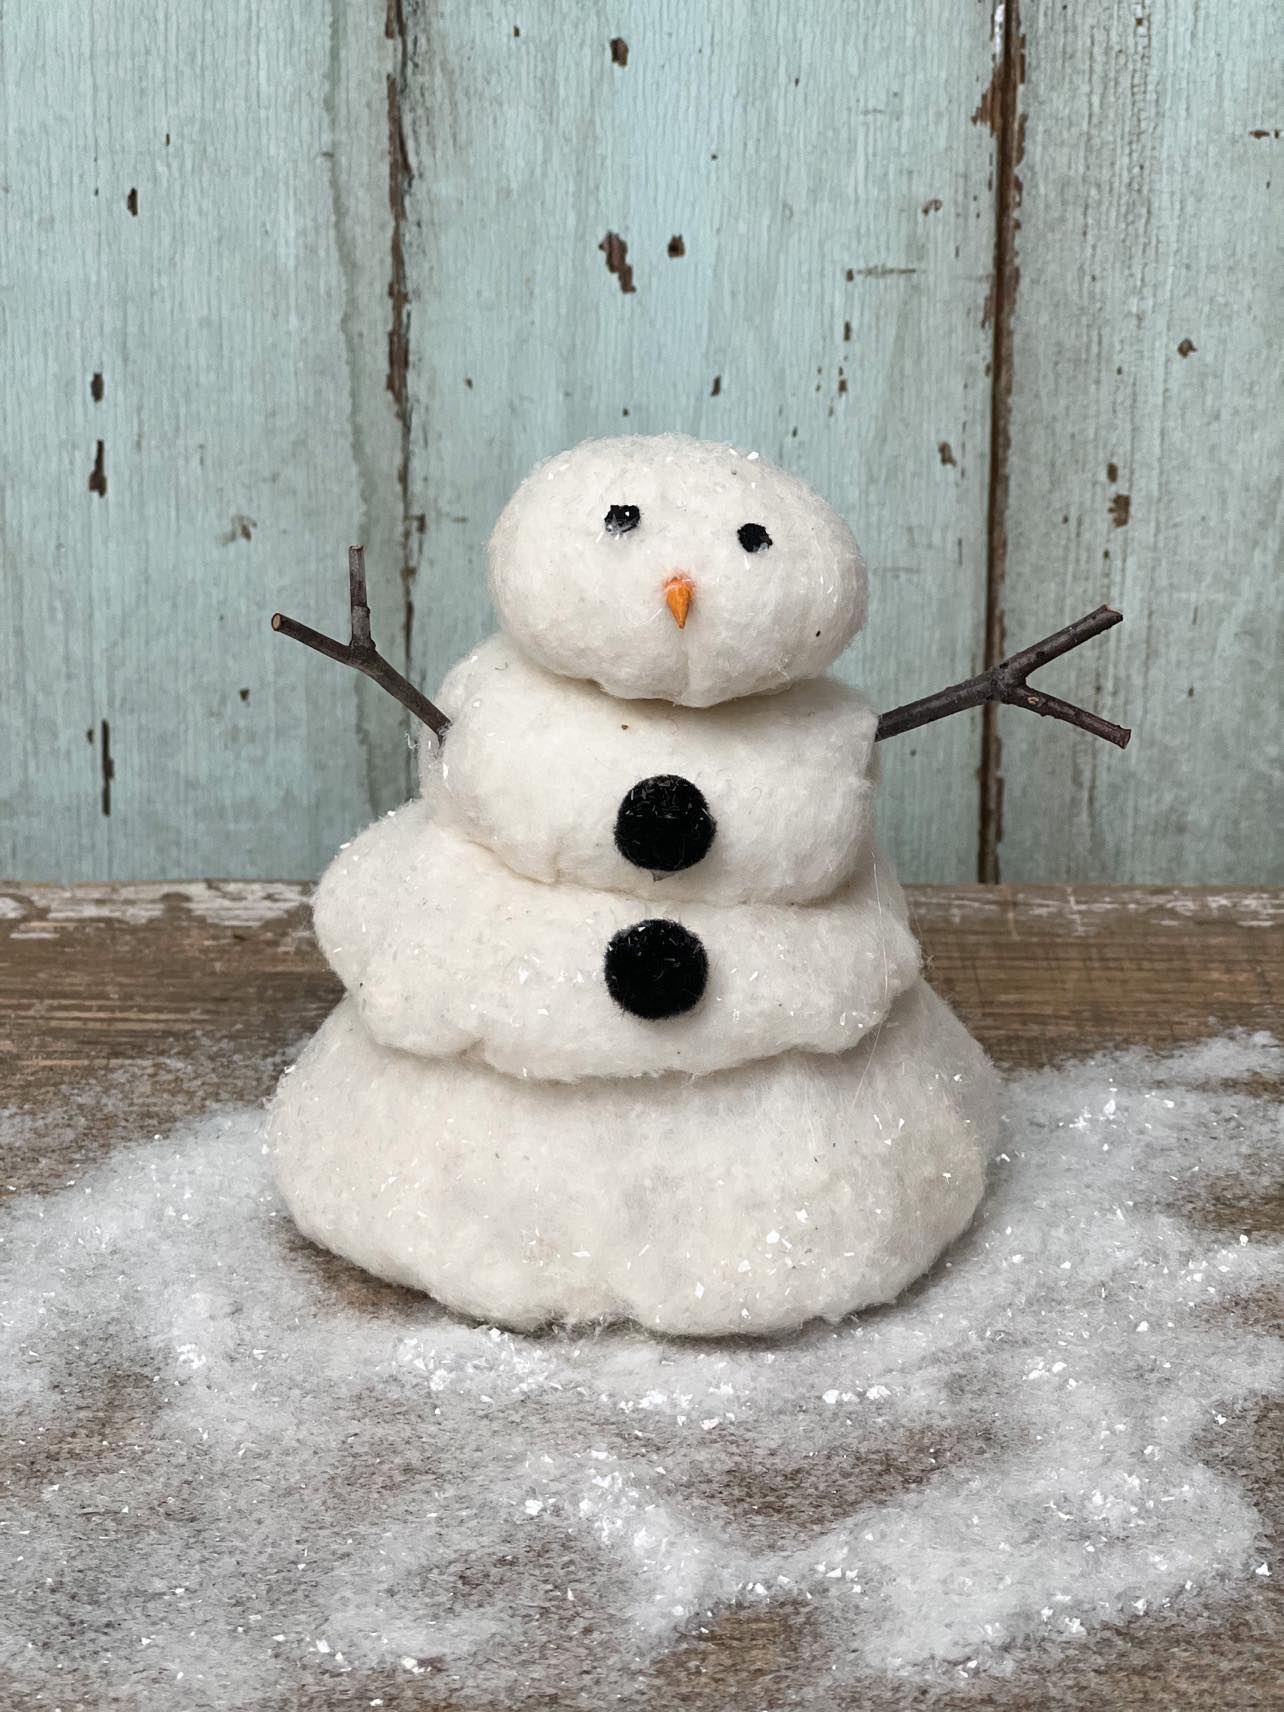
This snowman is so easy to make and I love how you can create him to be all different sizes. I hope you’ll get creative and give this melting snowman a try.