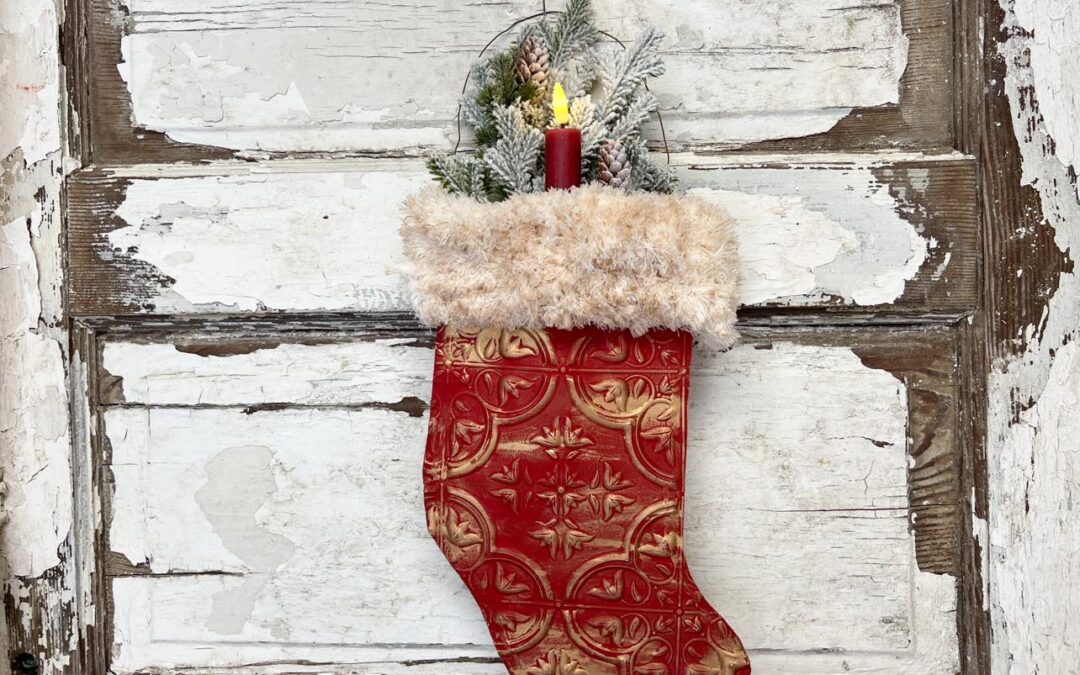
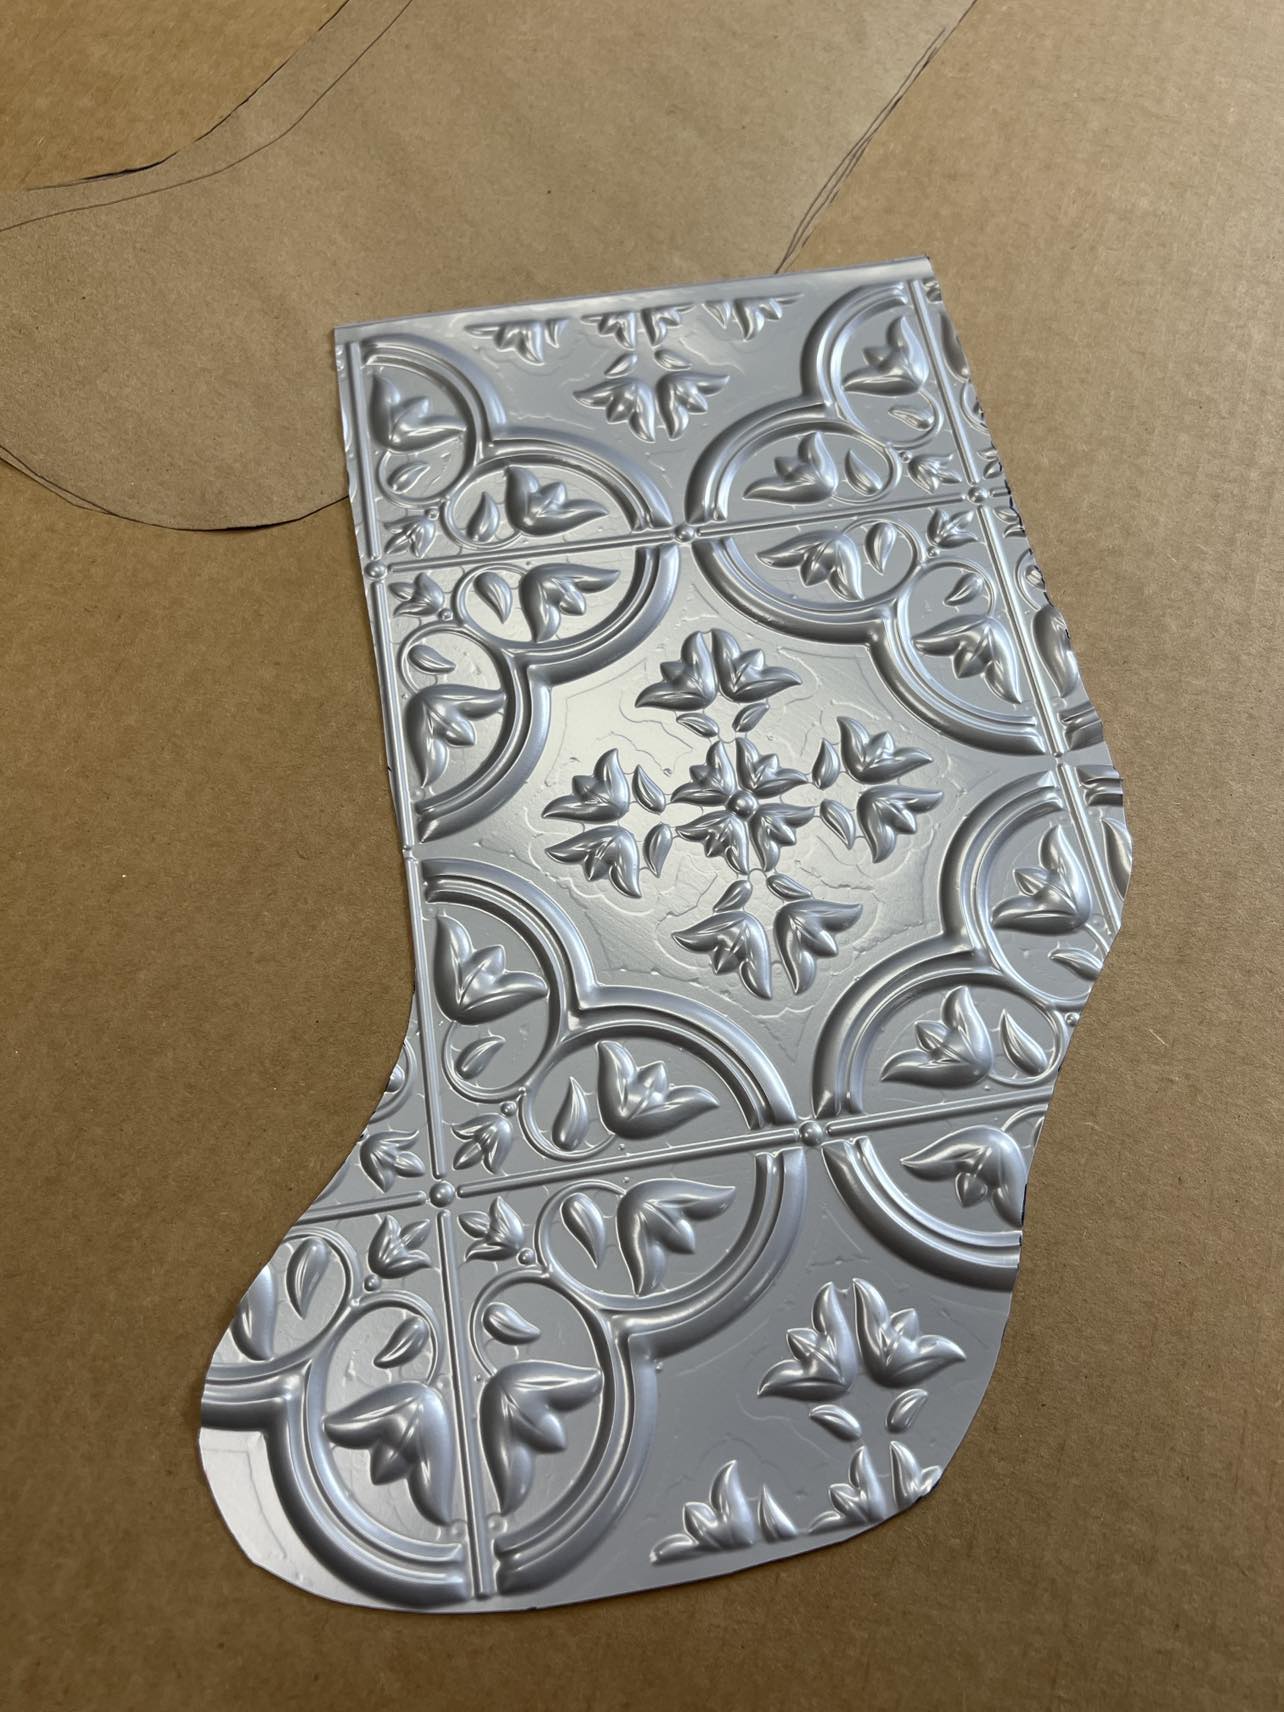
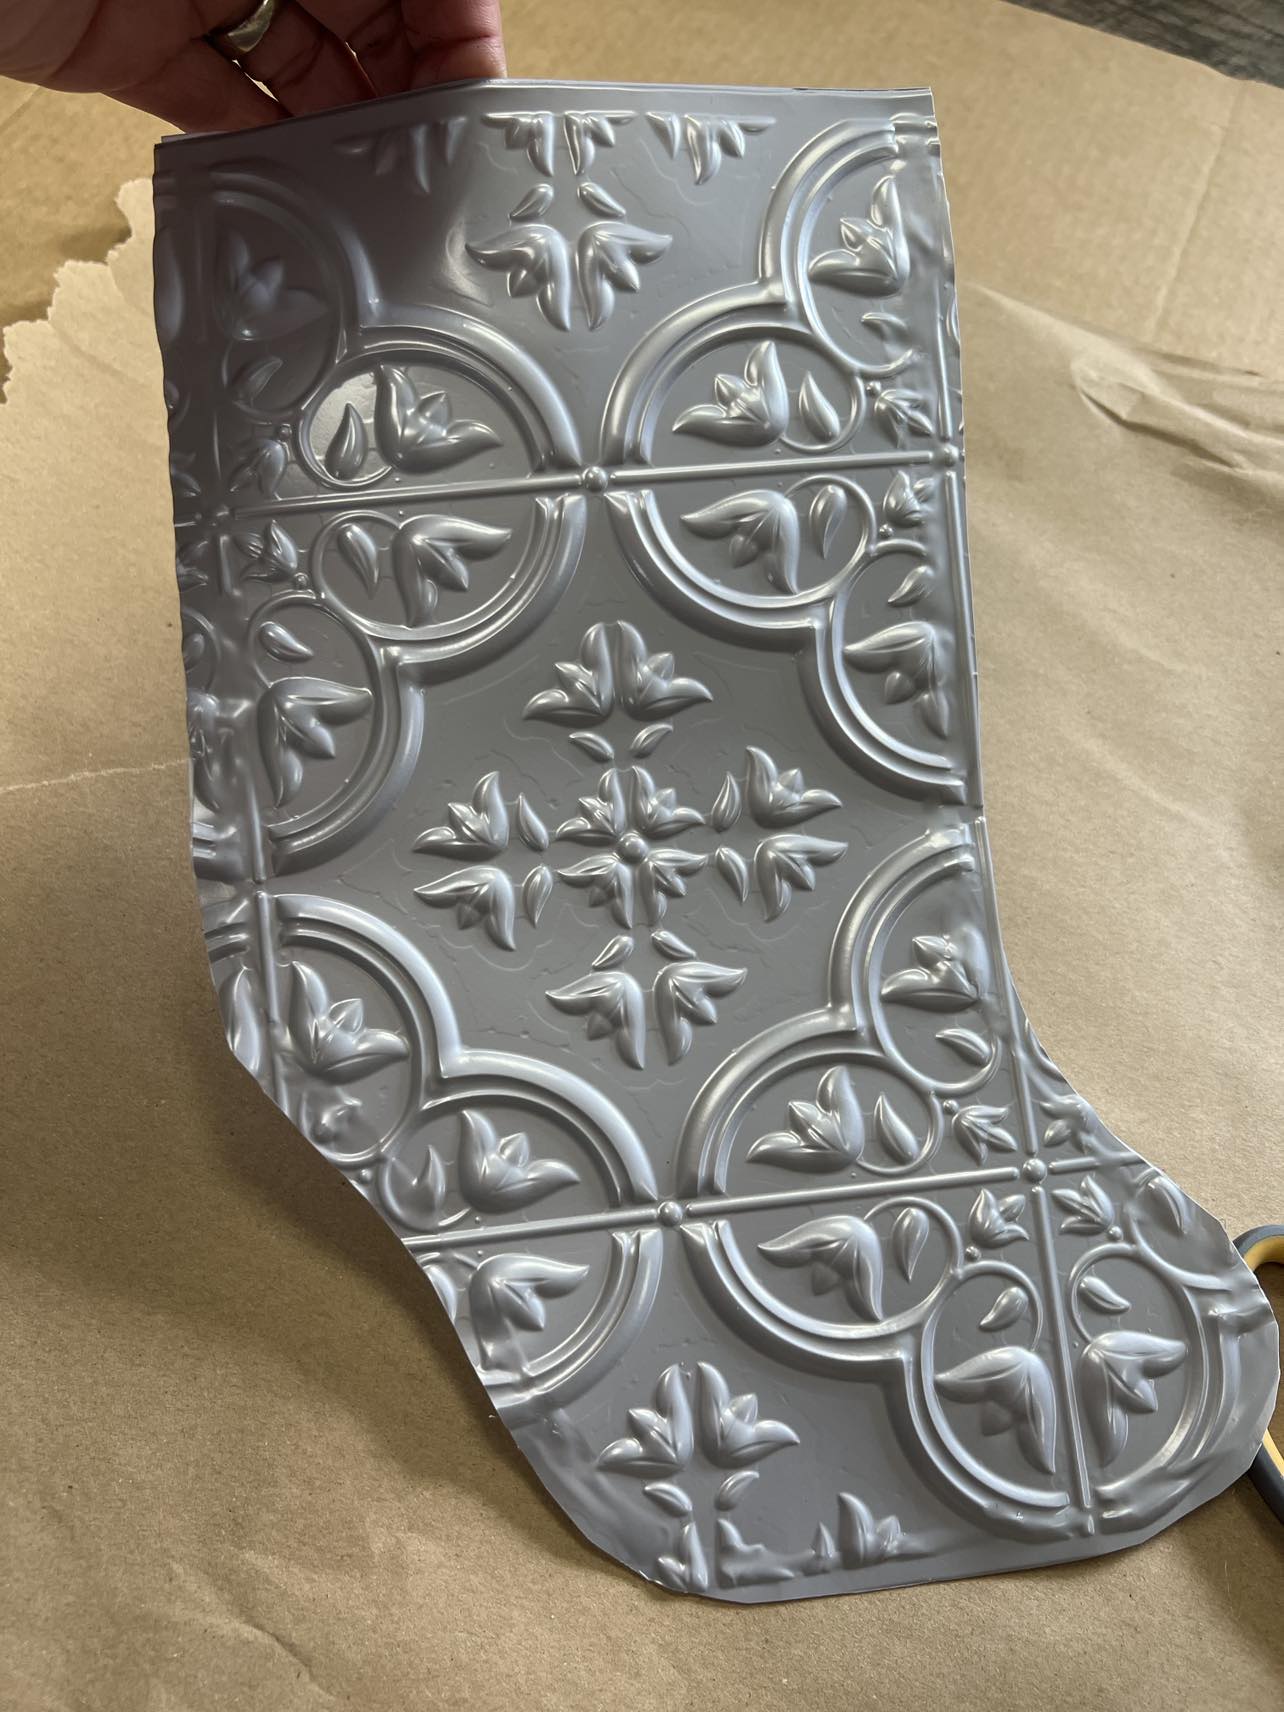
If you’re part of The Shabby Tree then you already know that we like to get creative with Dollar Tree items. We have created a lot of different items out of the Dollar Tree self-adhesive wall tiles. These tiles are very easy to use and I thought it would be fun to use two of them to create a fun and unique stocking.
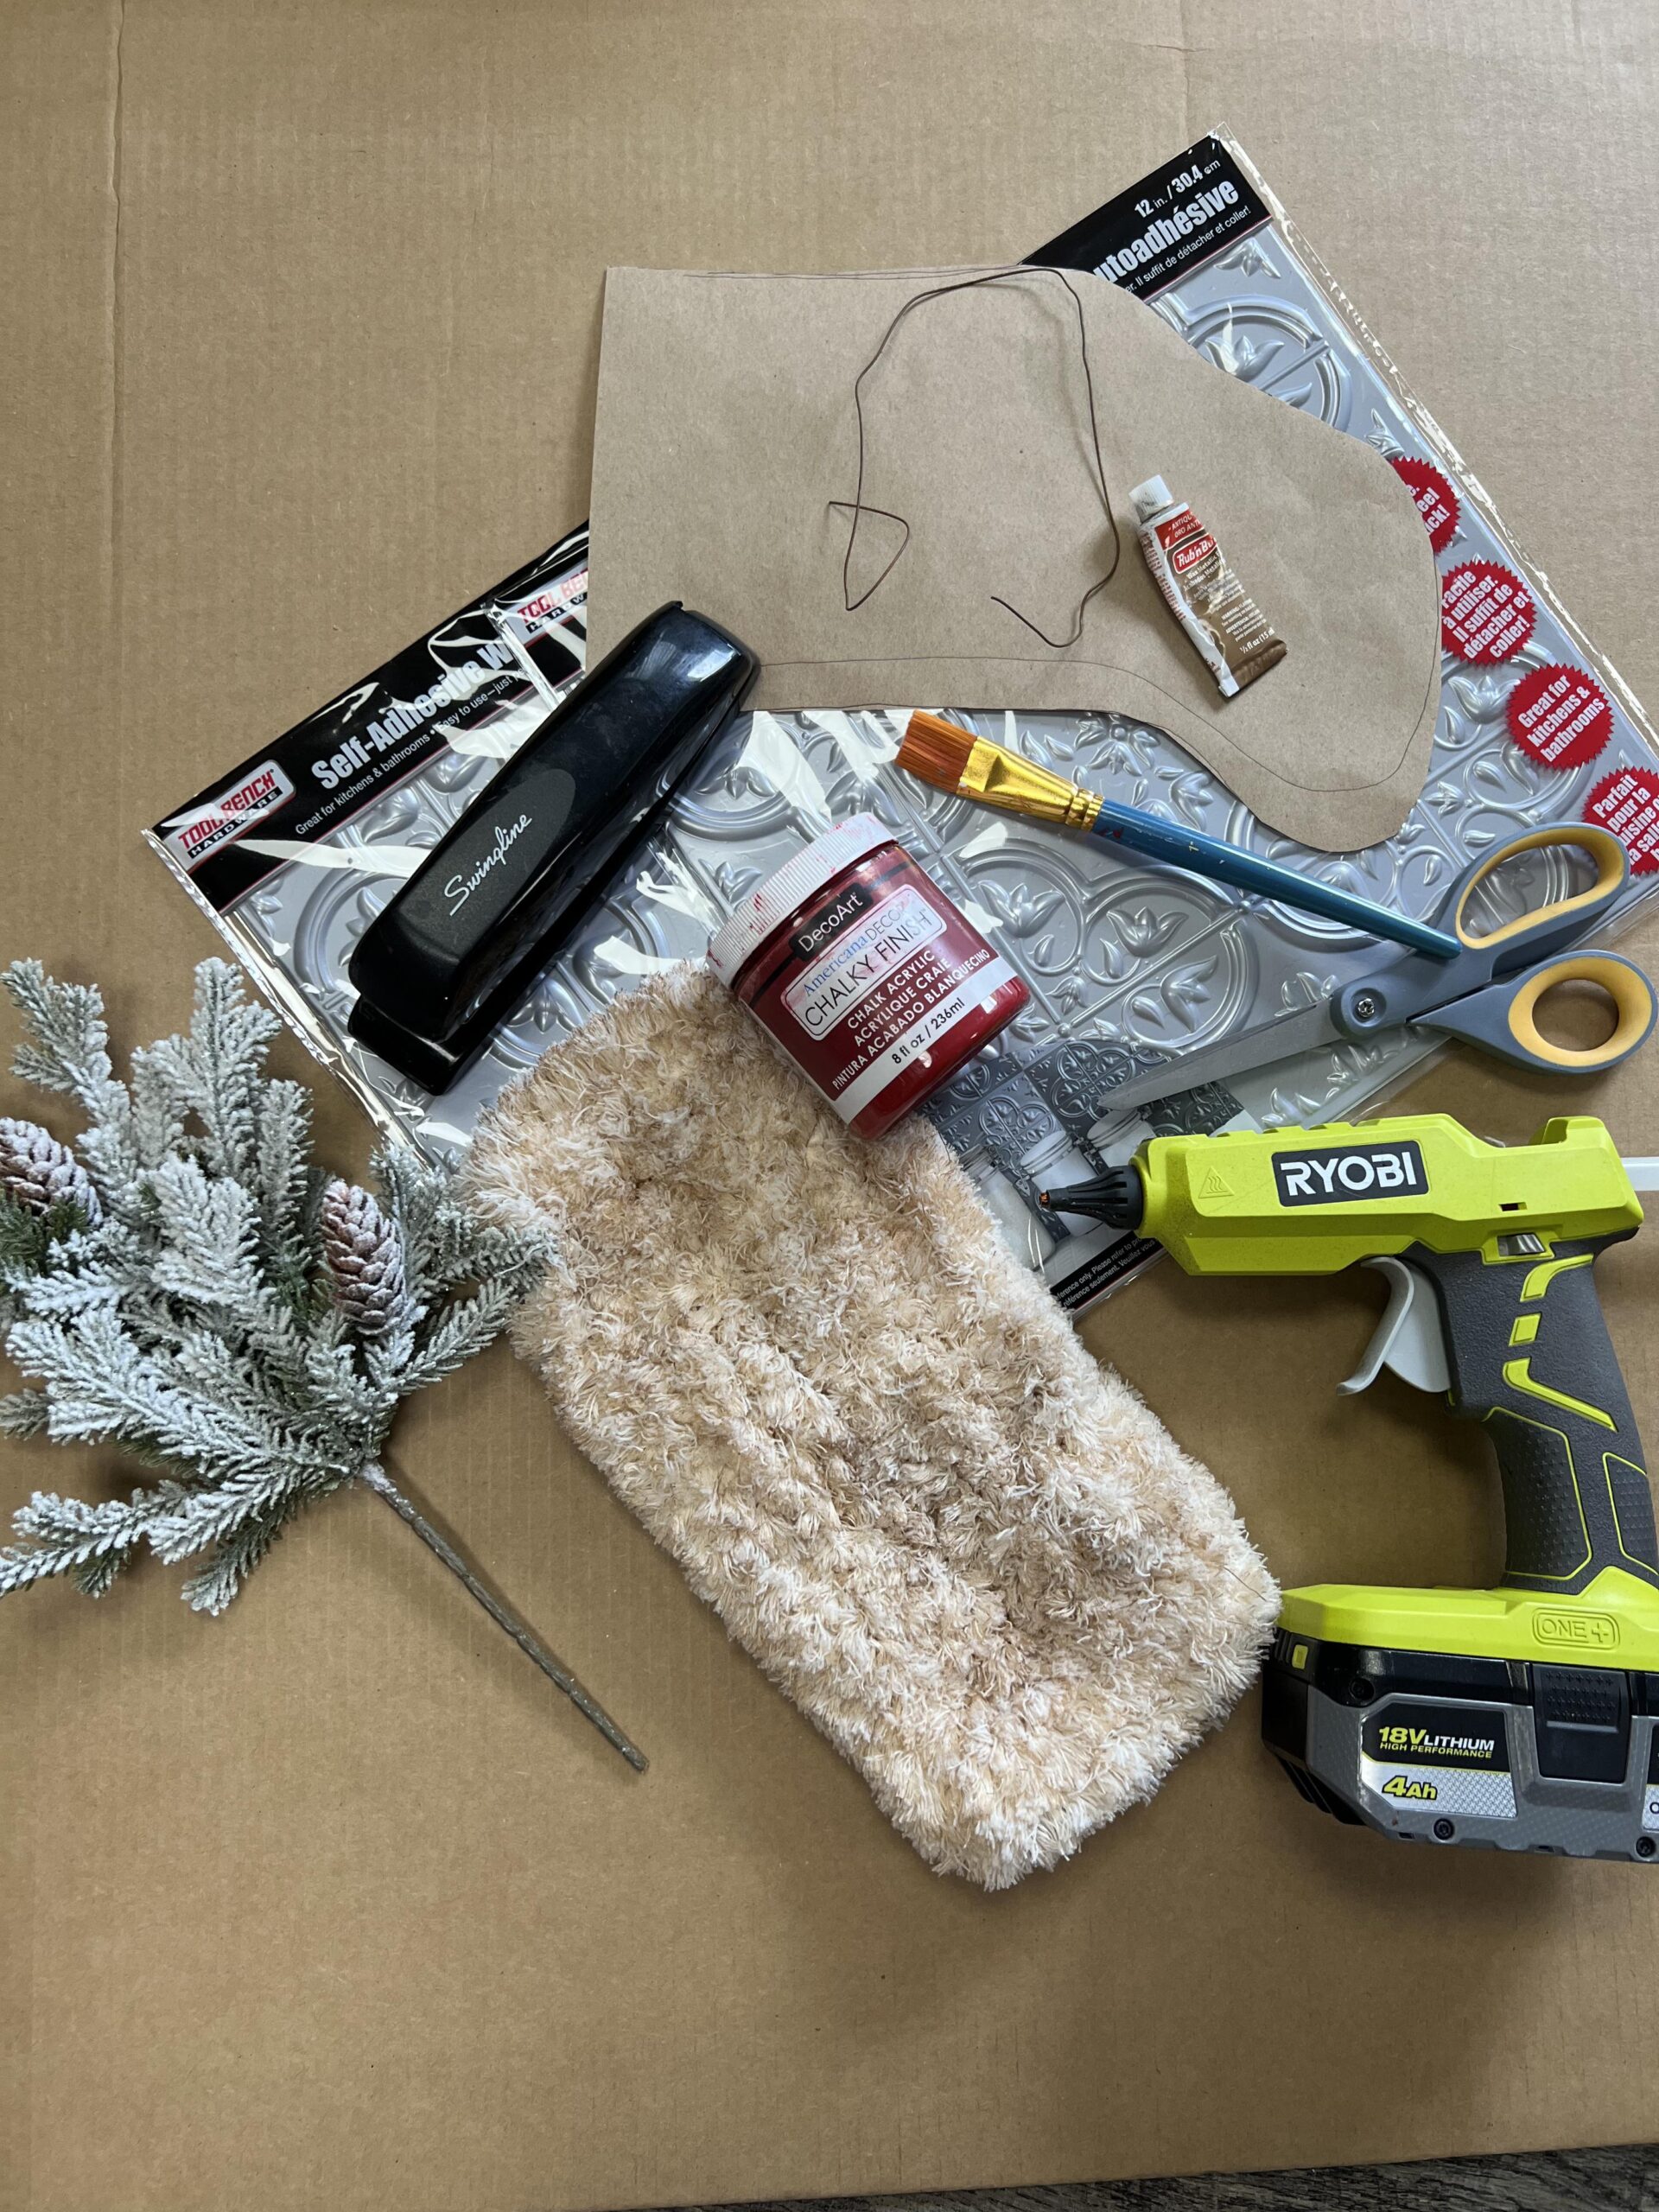
All of the supplies that we’ll be using to create this sticking are:
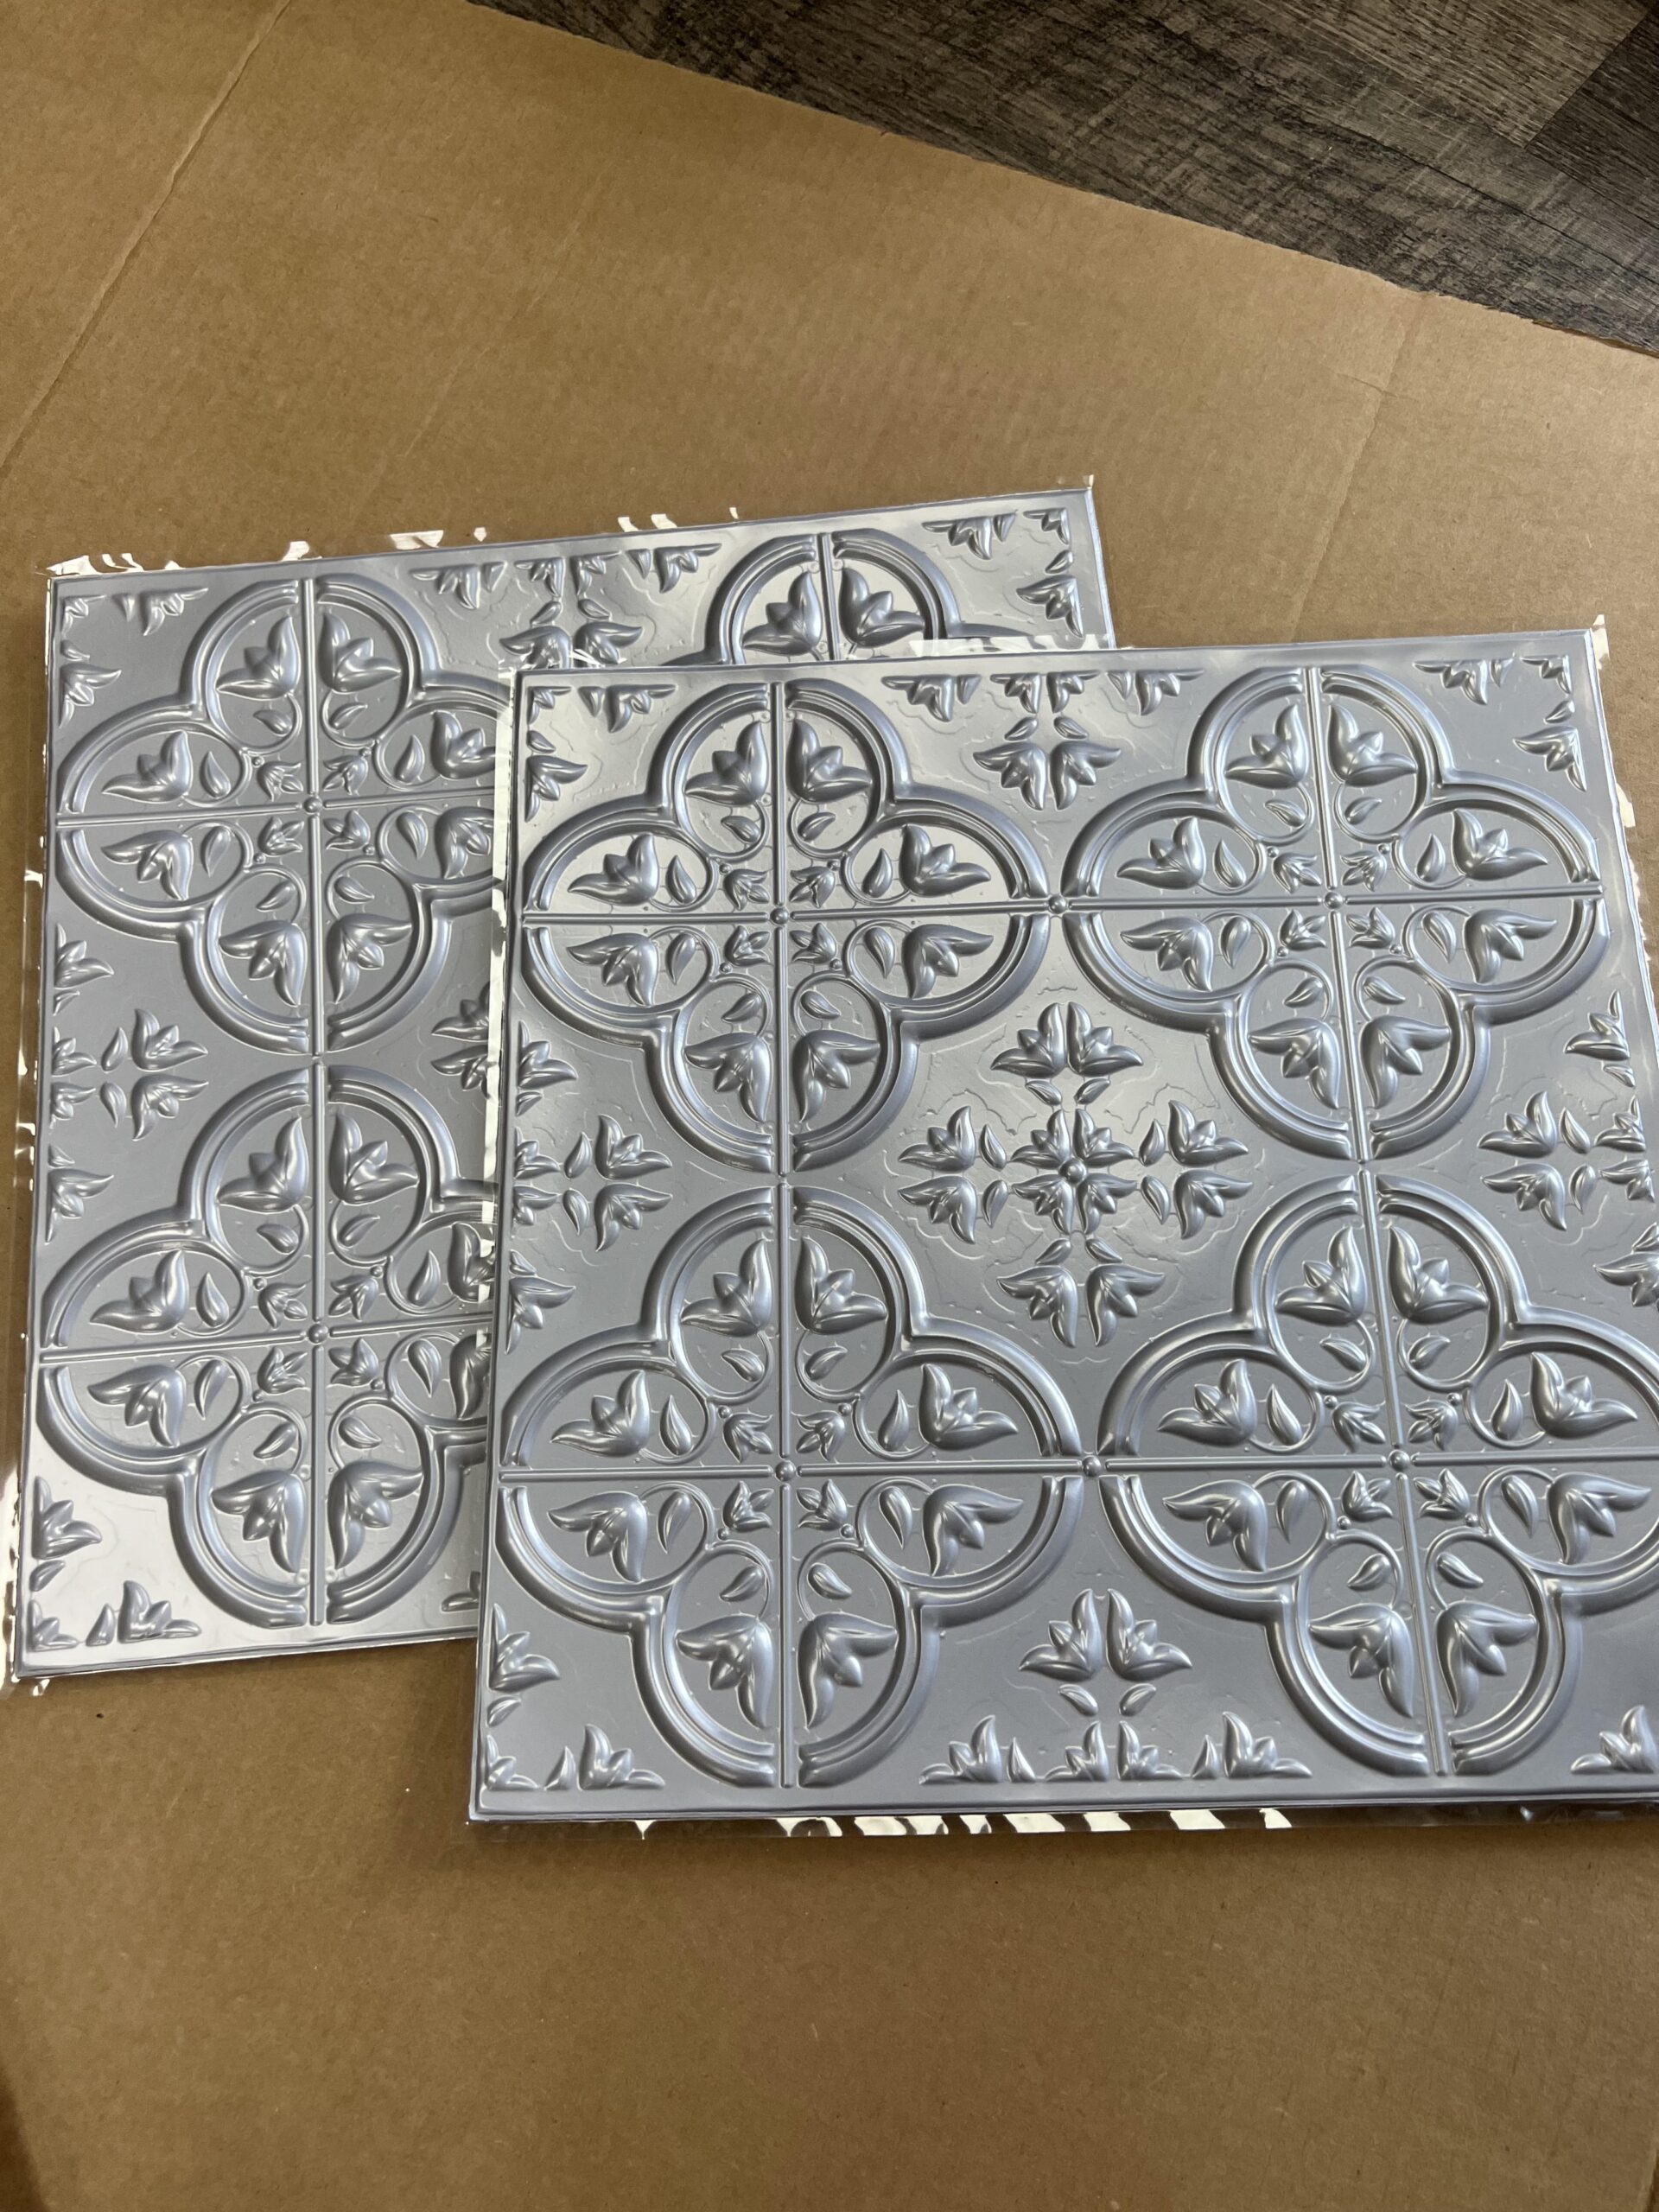
1. Two Dollar Tree self-adhesive wall tiles
2. Hot glue 3. Stapler
4. One Dollar Tree mop pad
5. Red chalky finish paint by DecoArt
6. Paint brush
7. Antique Gold colored Rub’n Buff
8. One piece of wire
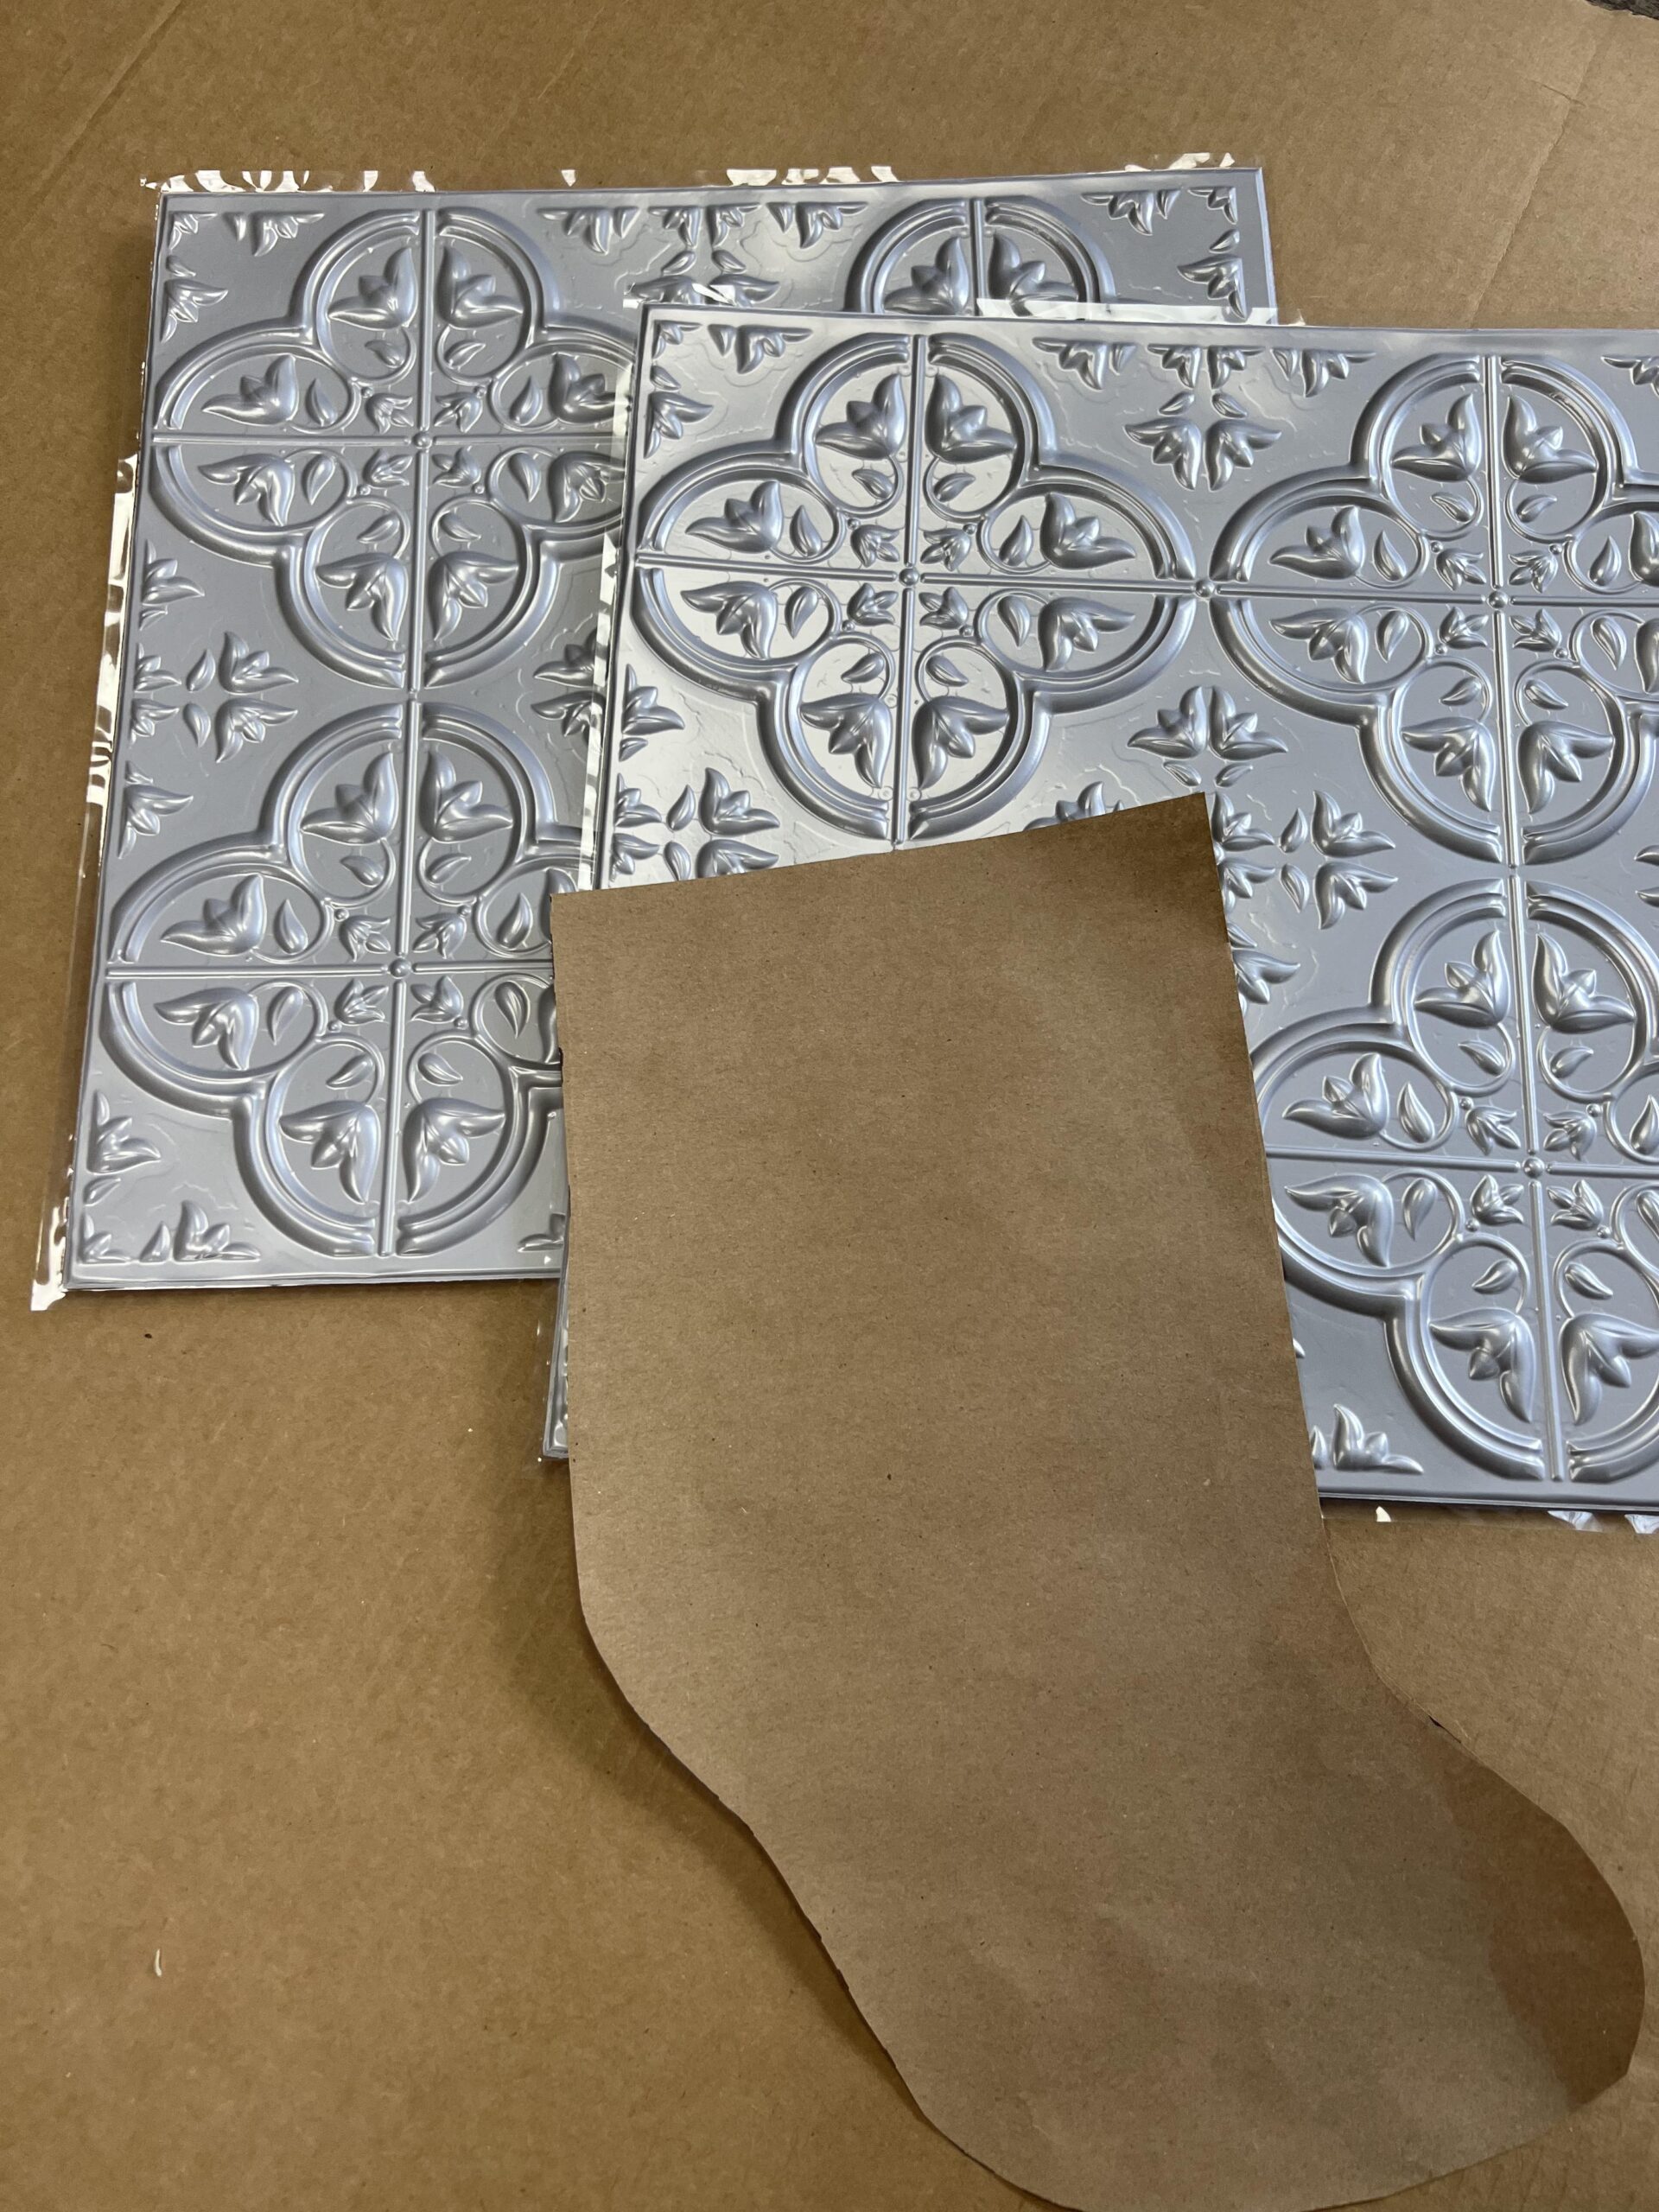
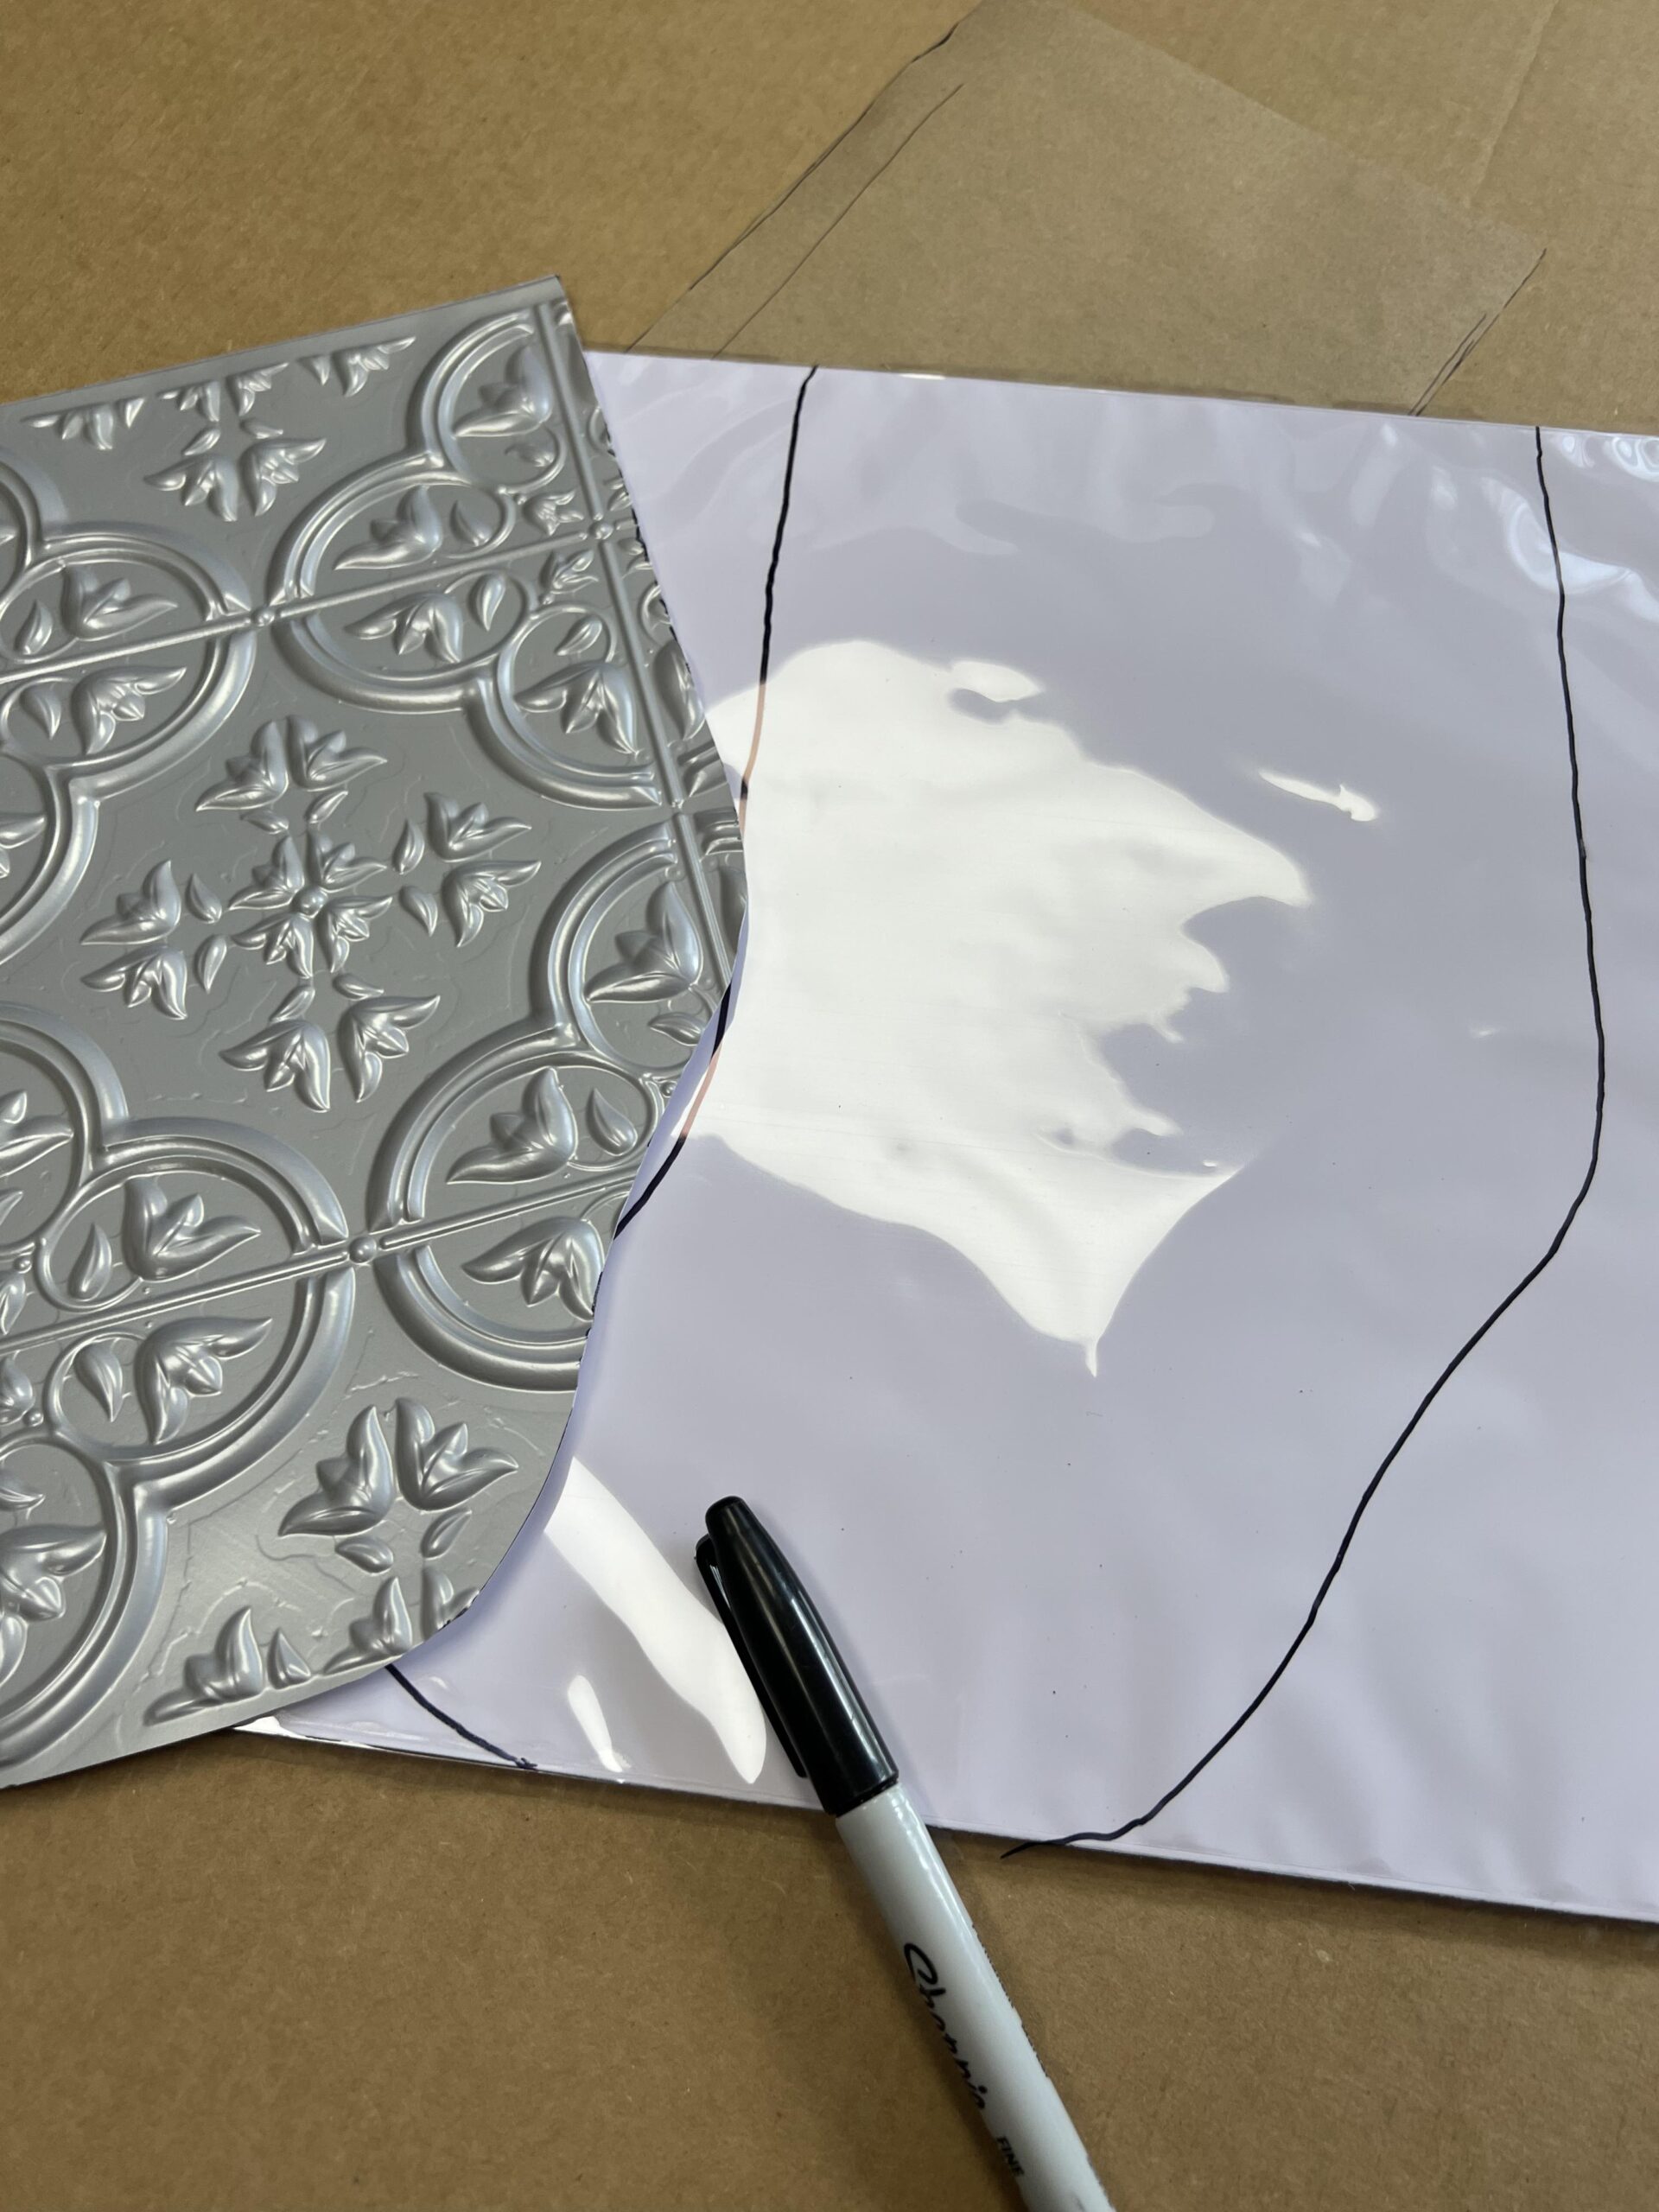
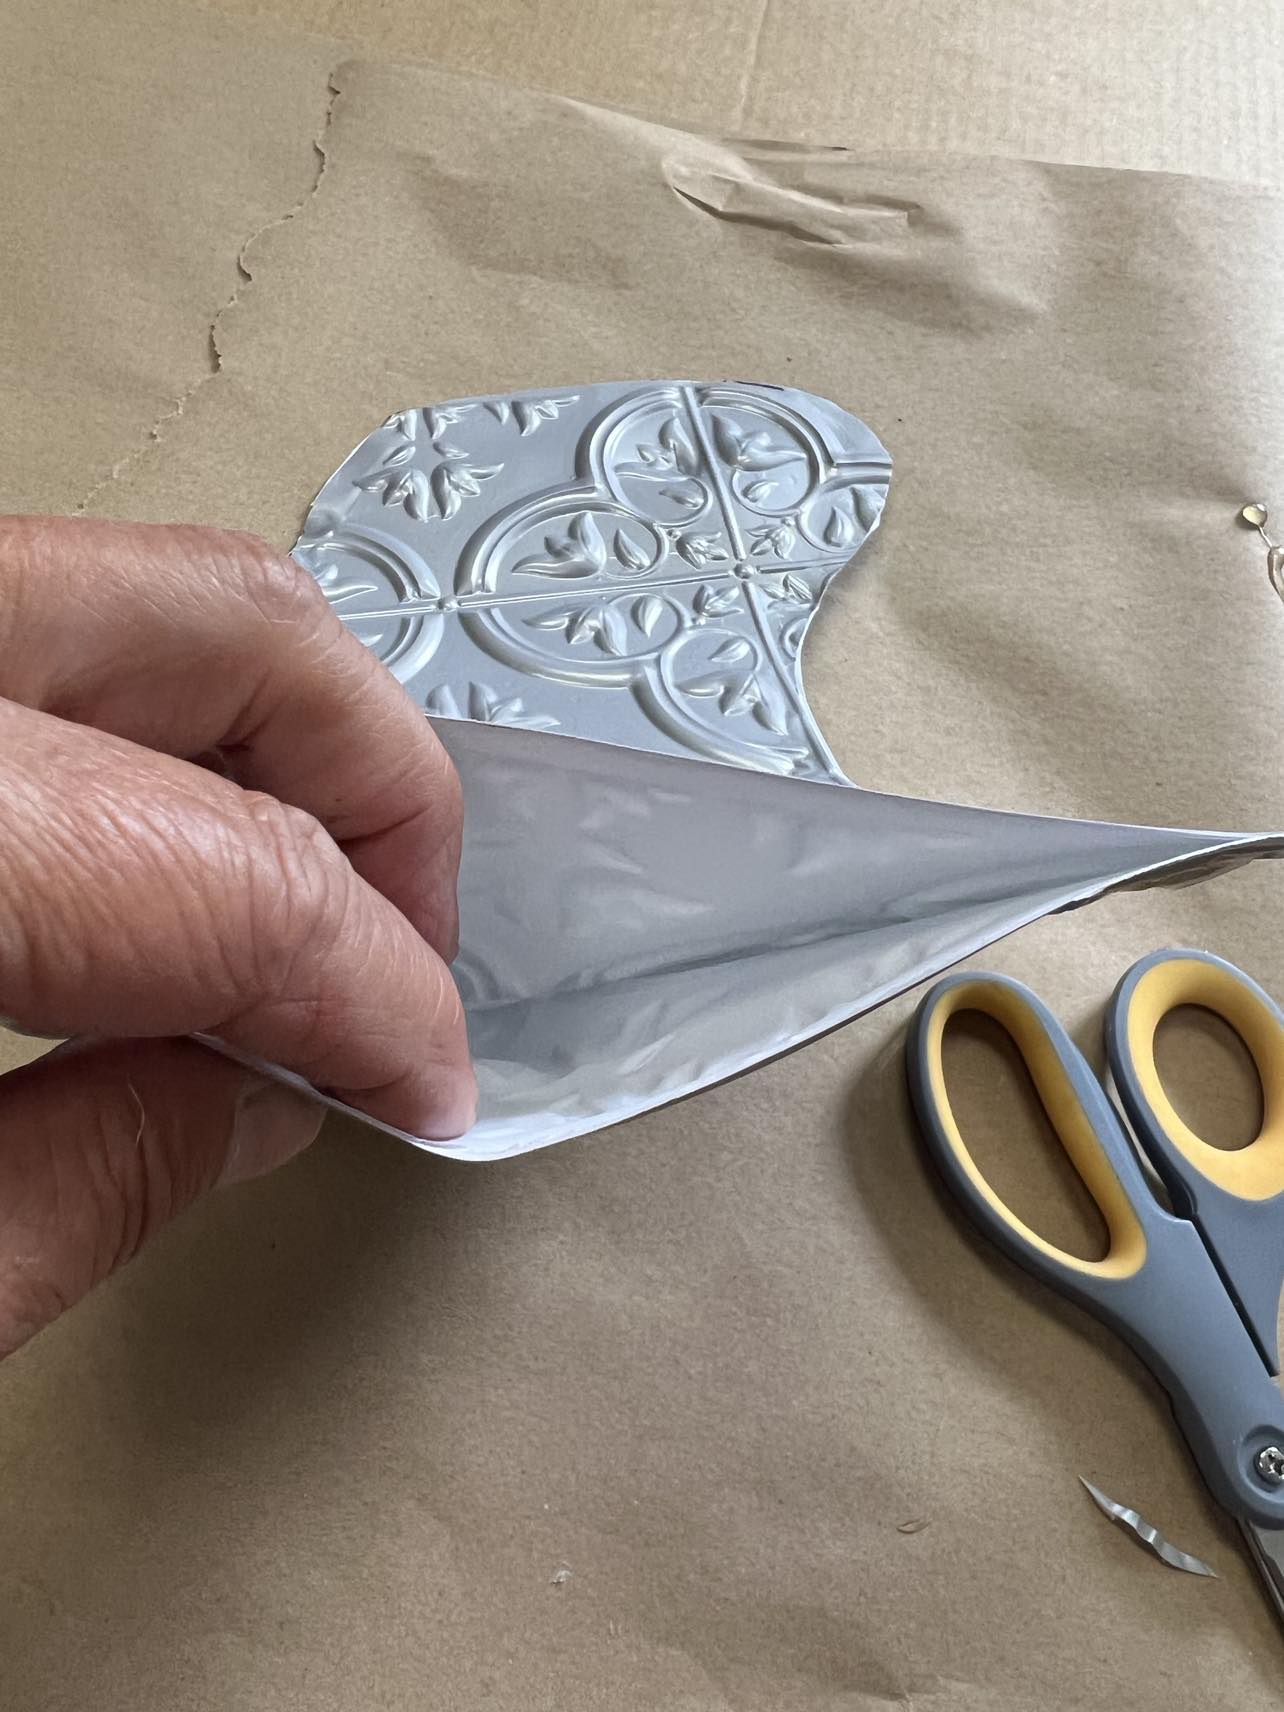
The first step is to cut out your stocking. I used a piece of shipping paper to cut out a pattern first. You can use a pattern or just cut out the shape of a sticking onto both tile pieces.
You need to cut out 2 same size stockings. Be sure to flip the stocking cut outs so that the tile print faces out when you glue both stockings together.
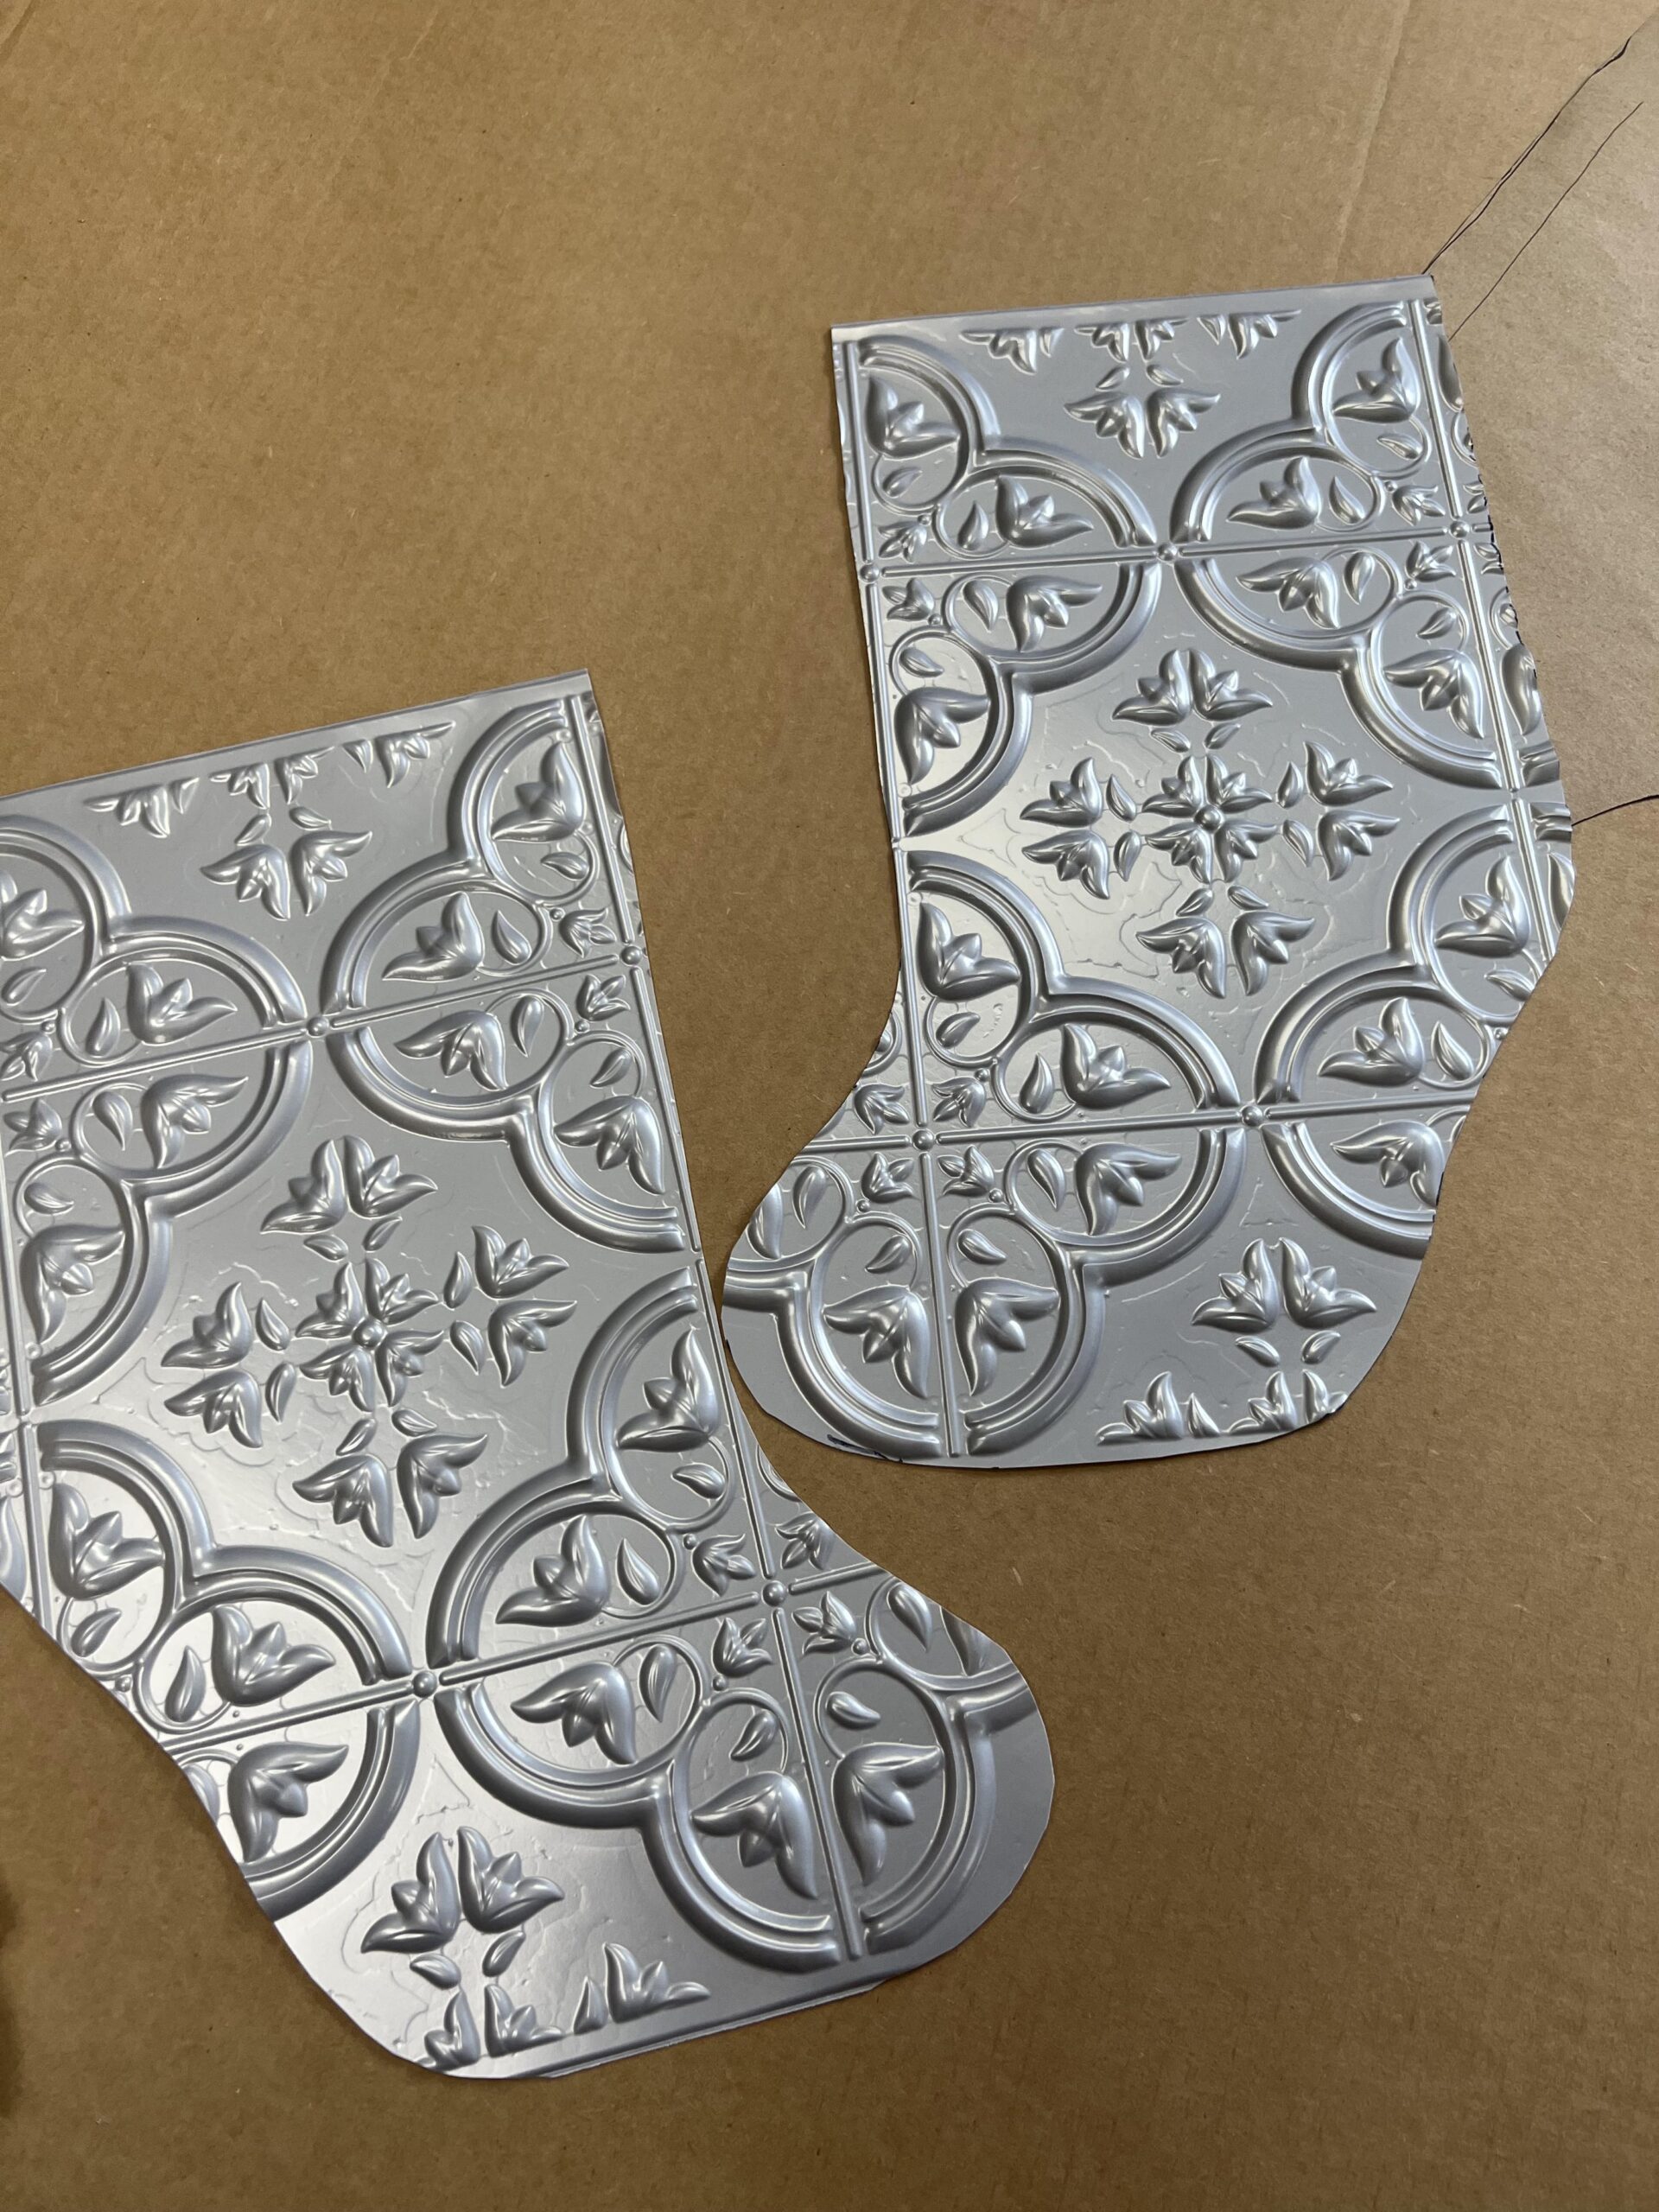
Once you have both stockings cut out you’ll glue them together. Be sure to leave the top of the stocking open.
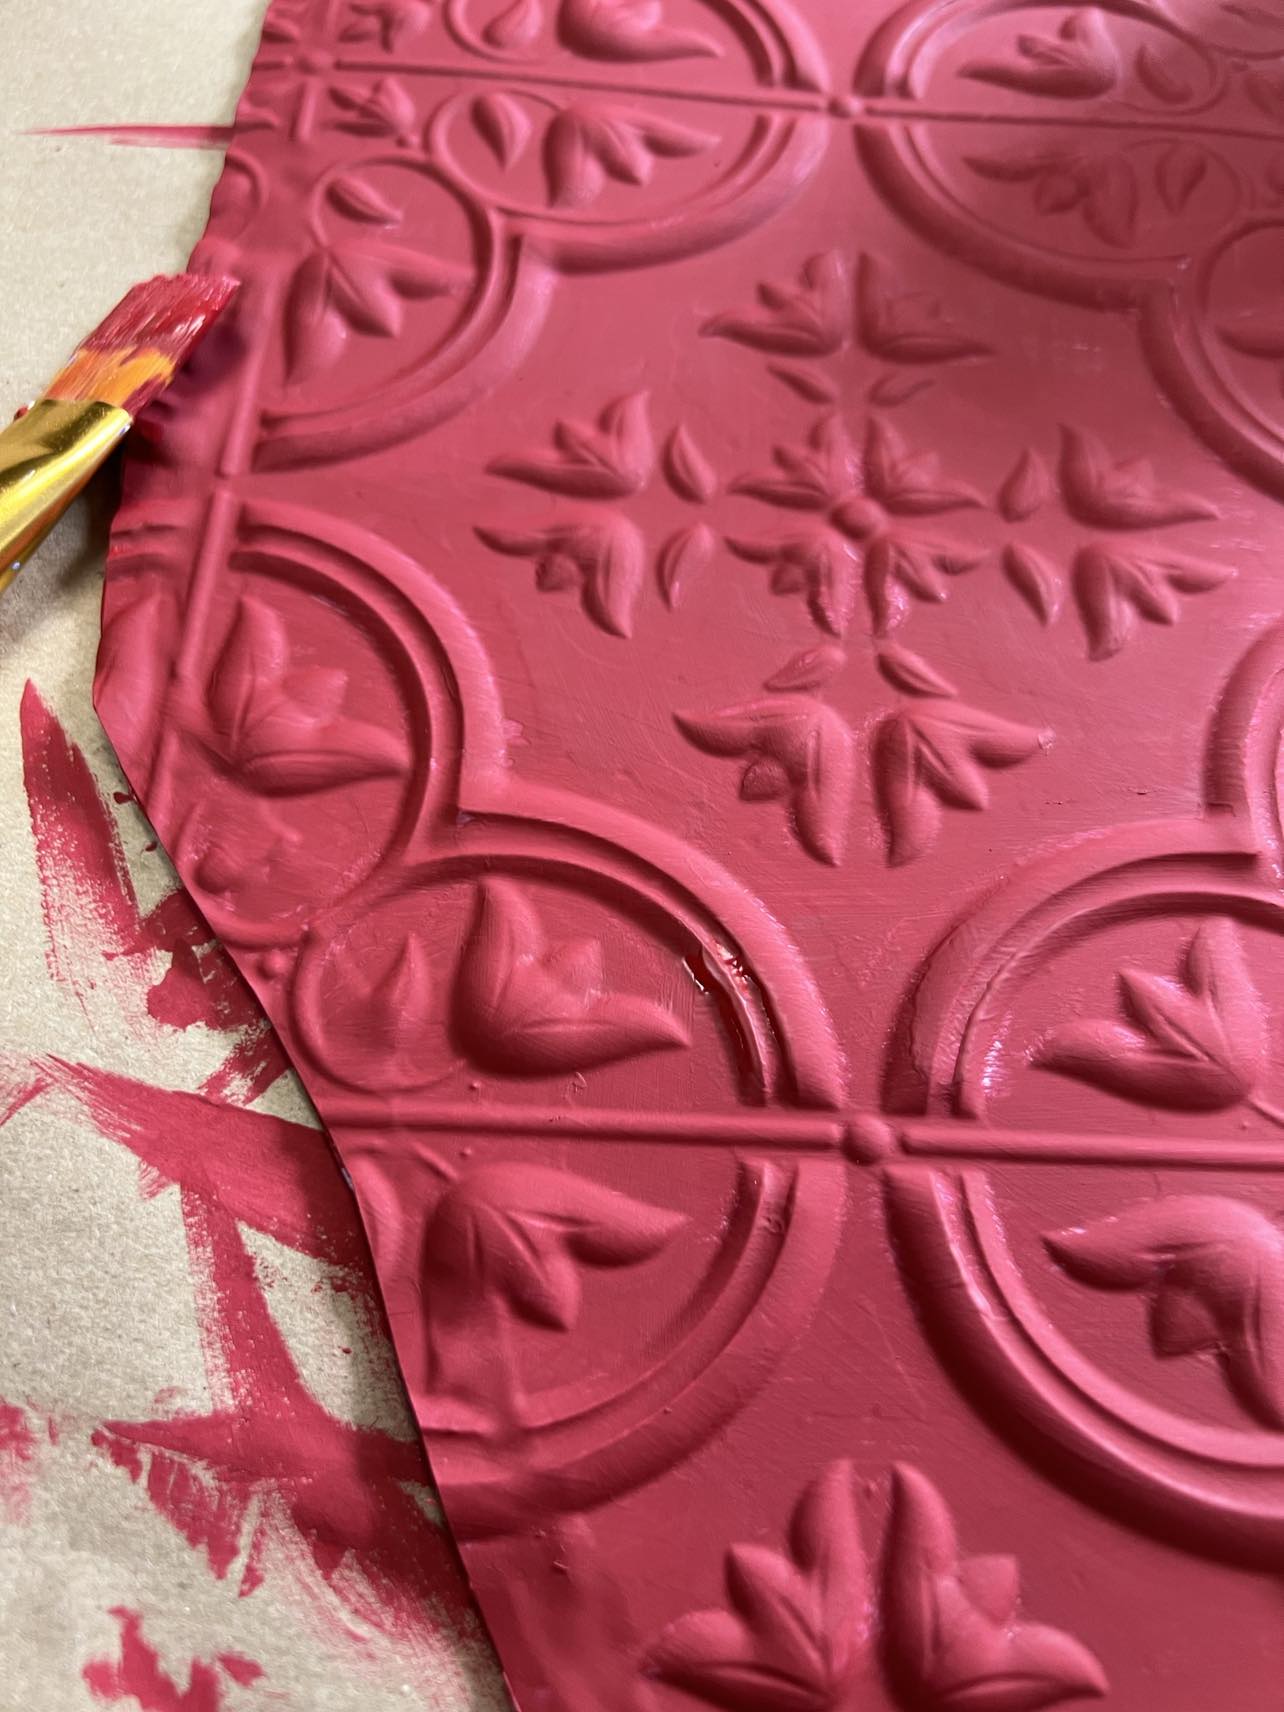
Once you have the stocking together you’ll then paint both sides. I’m using a red chalky finish paint but you can use any color or paint that you want.

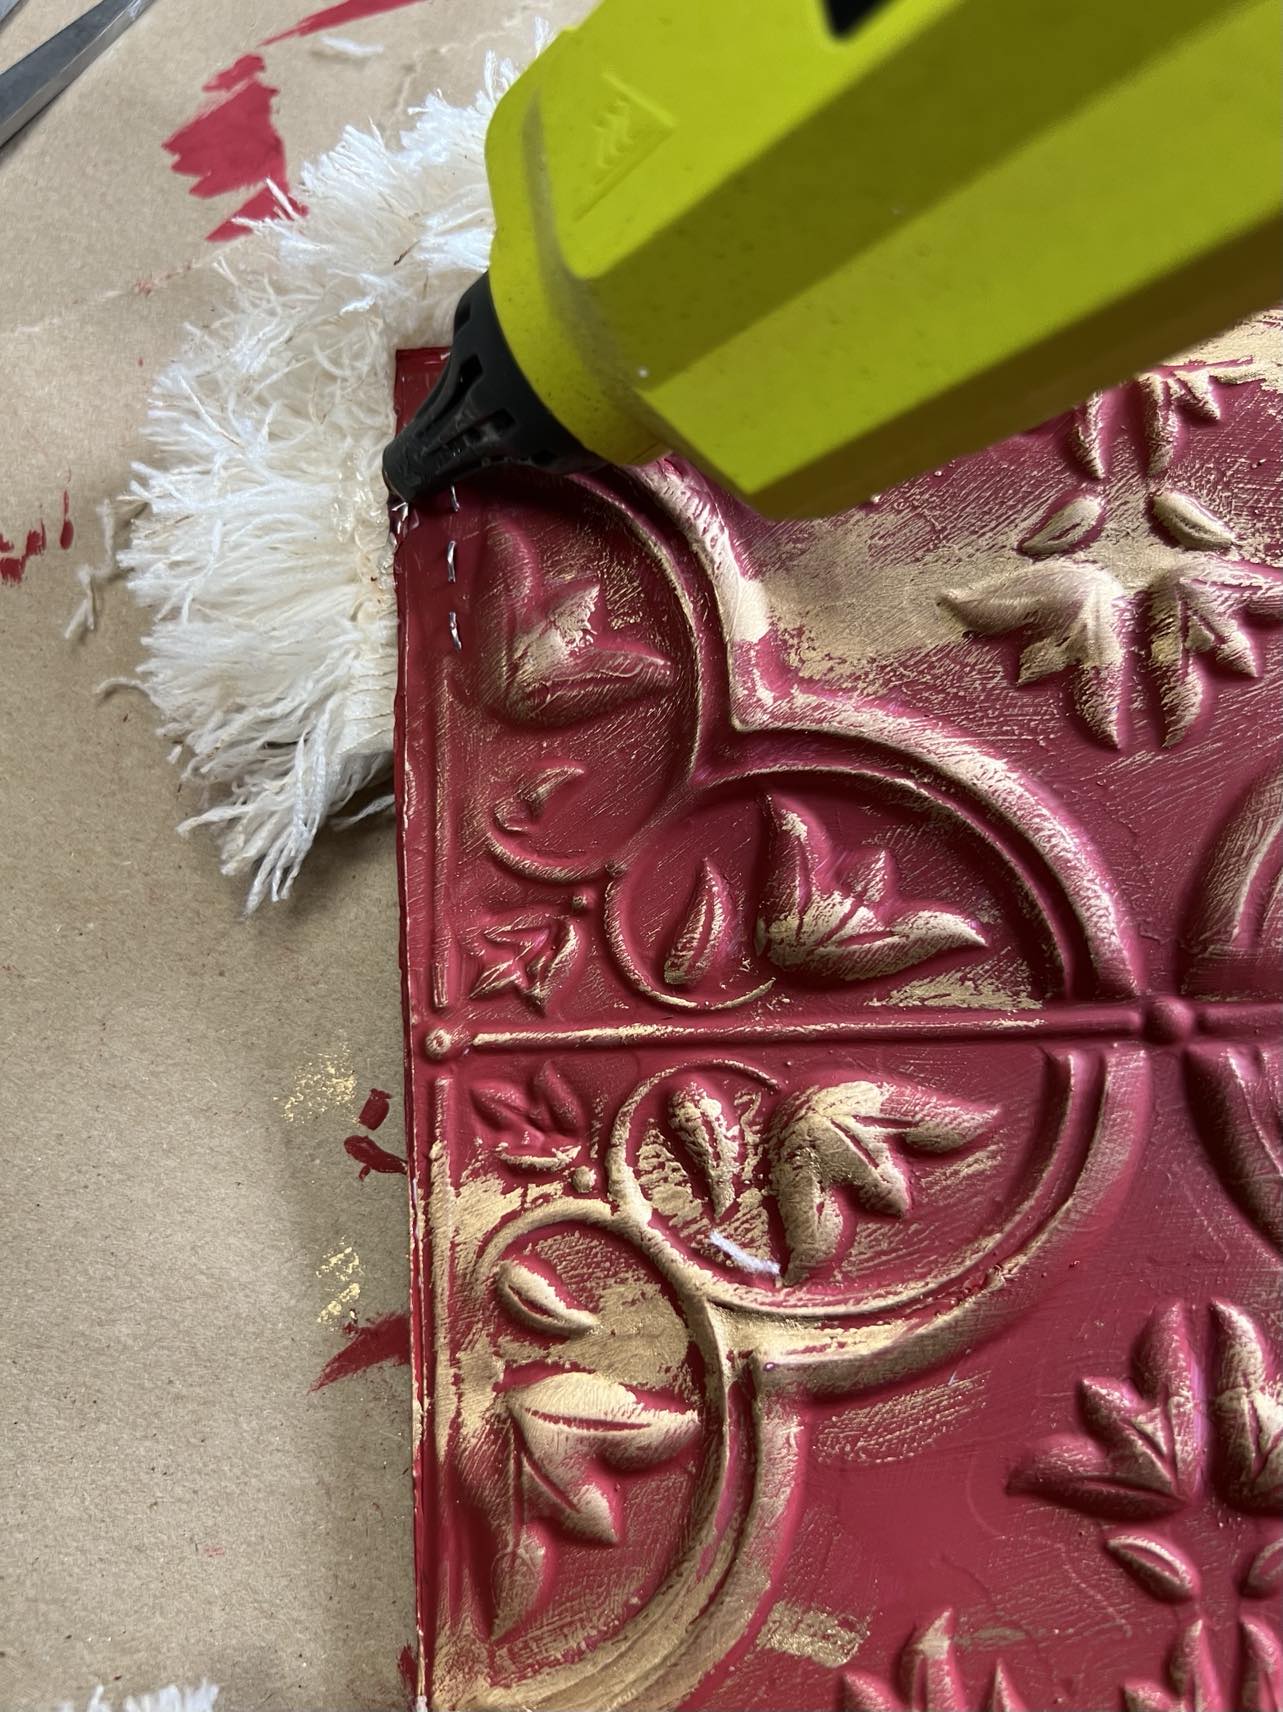
Once I had both sides of the stocking painted I then added some staples to the top sides of my stocking.

I added the staples to help hold my stocking together because I want to add some greenery and a candle to my stocking.

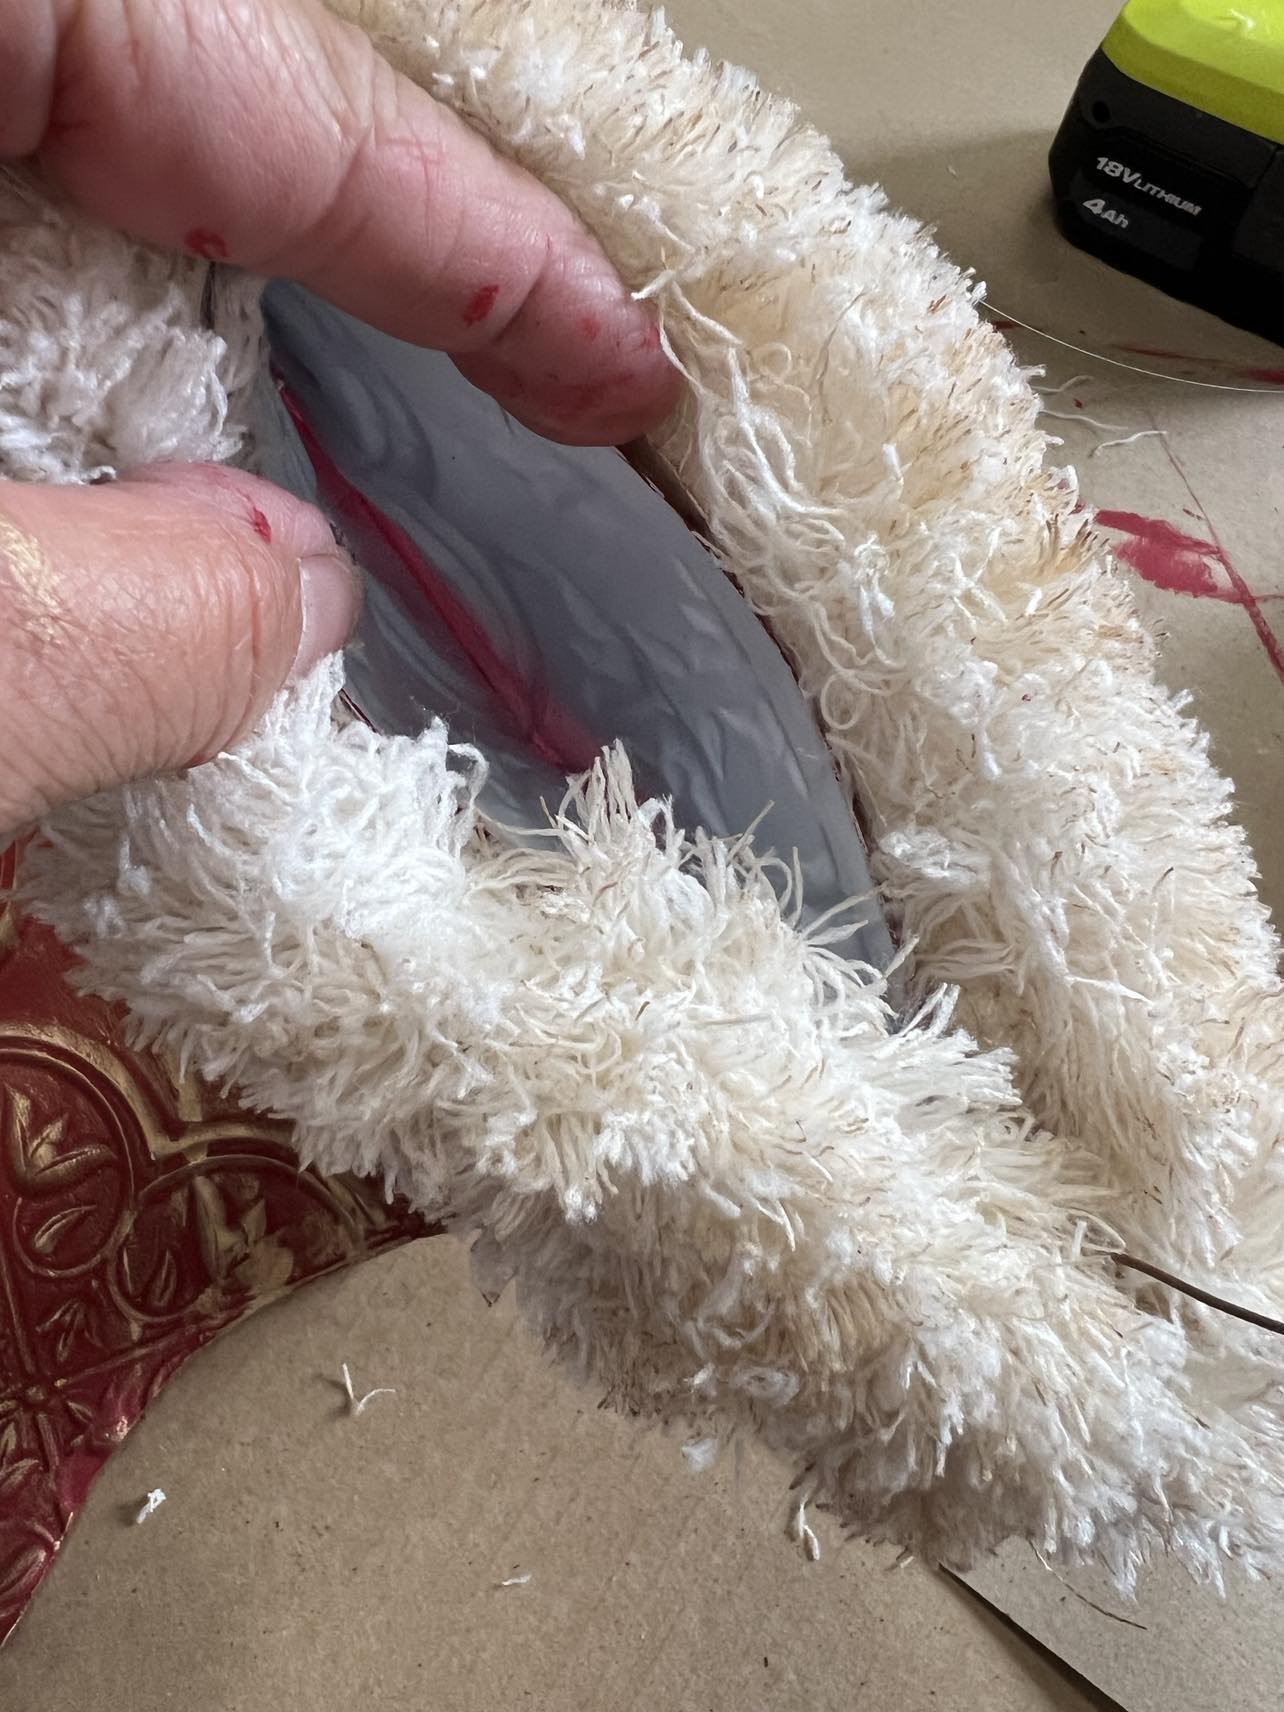
The next step is to cut the mop pad in half as shown in the photo above. I coffee stained my mop pad using some instant coffee. This will give my stocking a more grungy look.
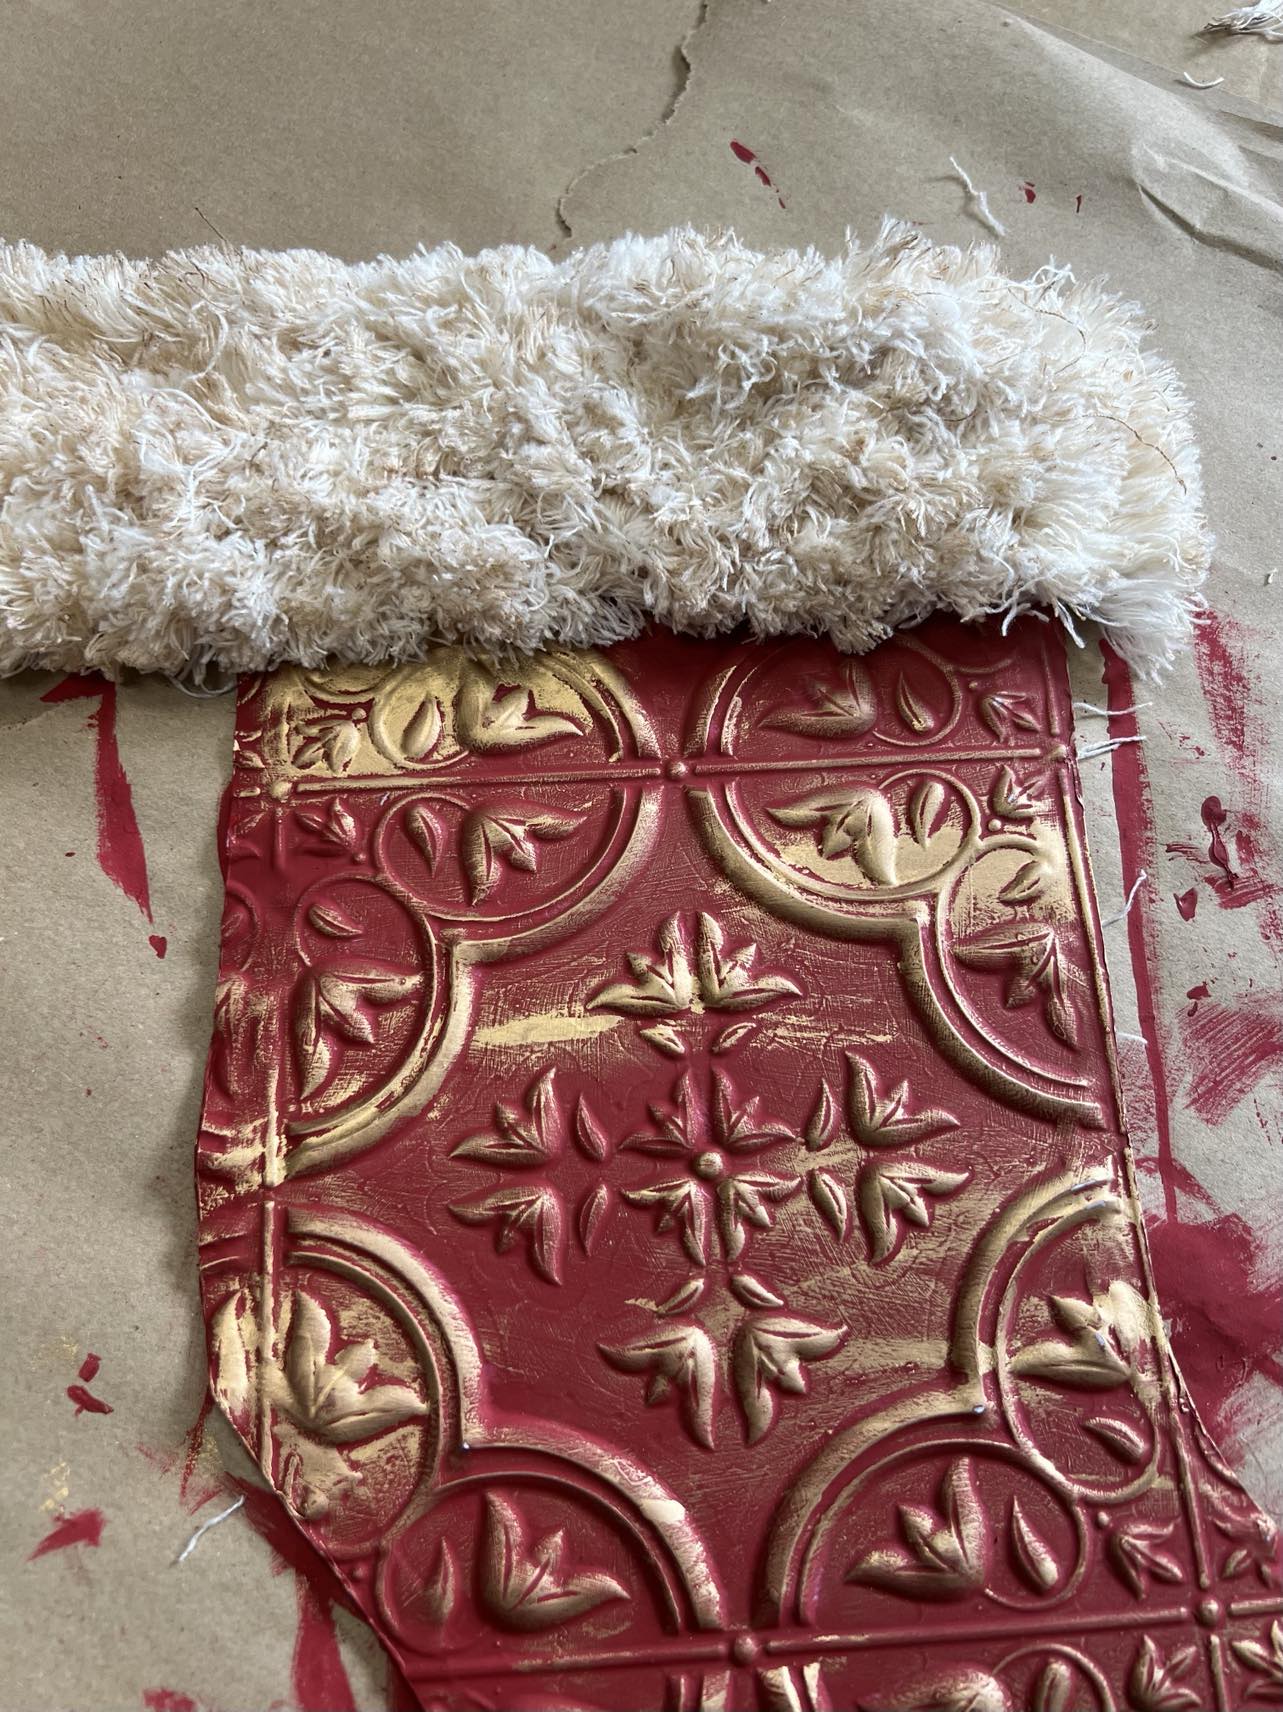
You’ll glue a piece of the mop pad to each side of the stocking. Be sure to have your mop pad come a little further out at each side of the stocking.
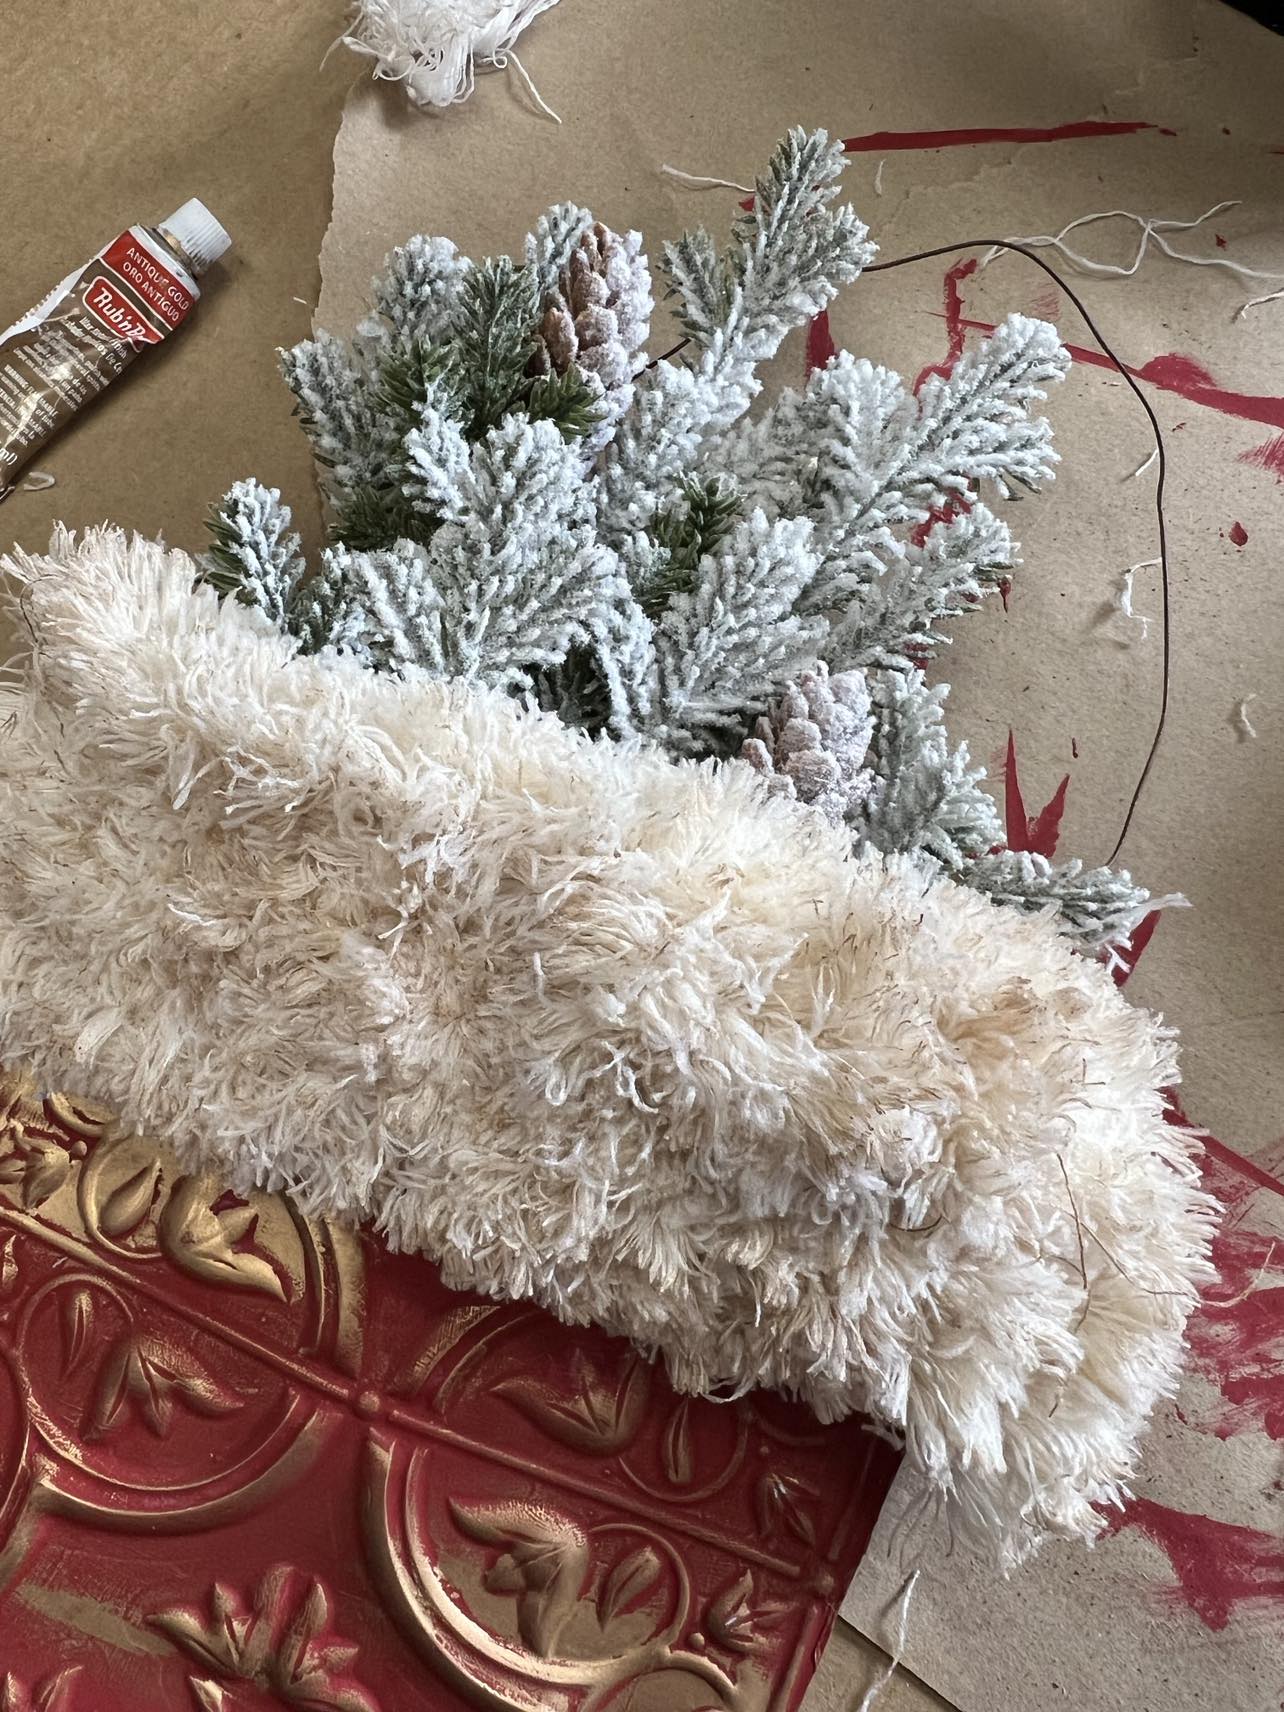
I stuck a piece of wire through the top sides of the stocking for a hanger. You can add some greenery for a decoration.

This stocking is so easy to make and will look great hanging any where in your home. I hope you’ll get creative and give this a try.
