
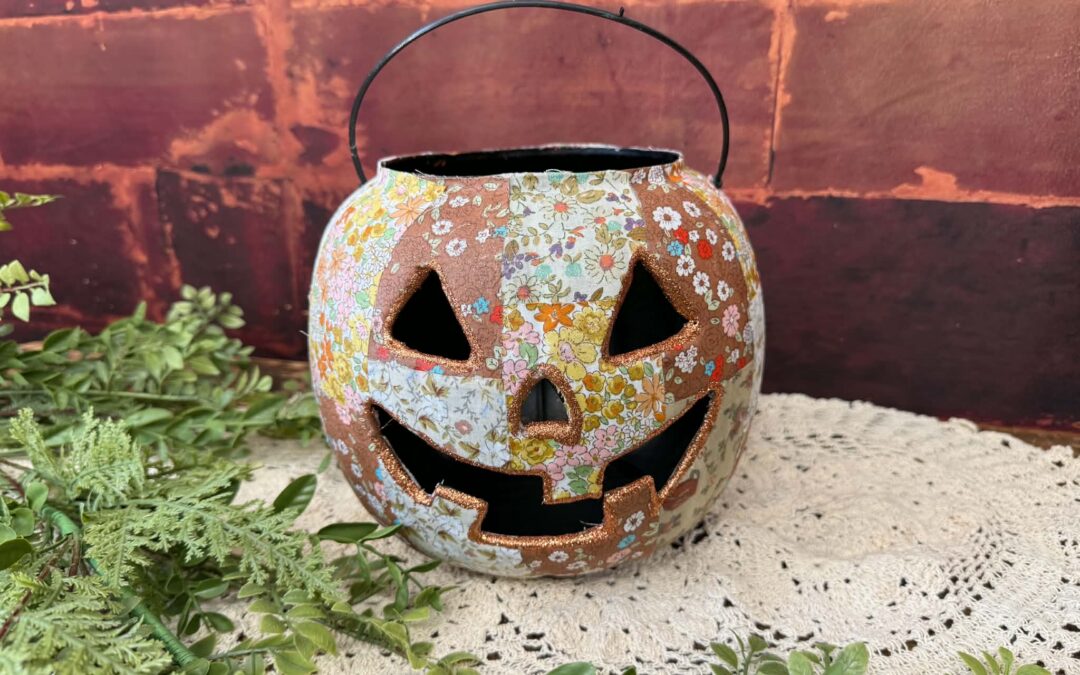
Walmart started putting out their Fall and Halloween decor and I knew I had to grab a few of their plastic pumpkins. This plastic pumpkin is so easy to get creative with and do a fun makeover to. I thought it would be fun to give this plastic pumpkin a fun patchwork look with no sewing involved.
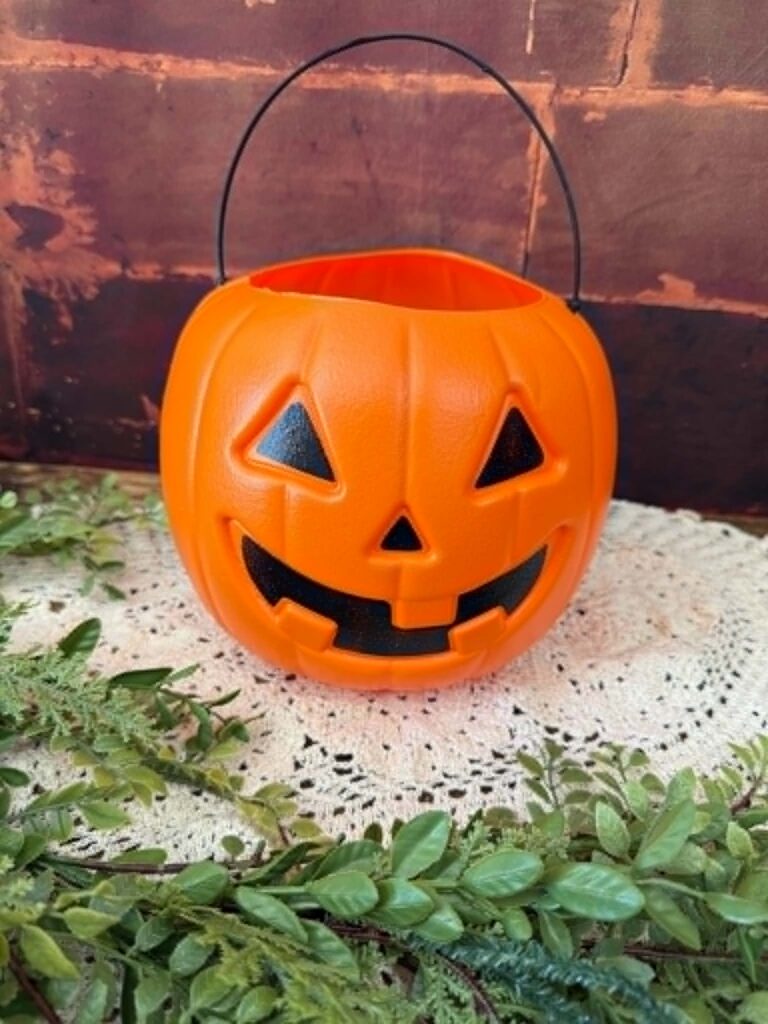
Be sure to grab a few of these pumpkins because they always seem to sell out fast.
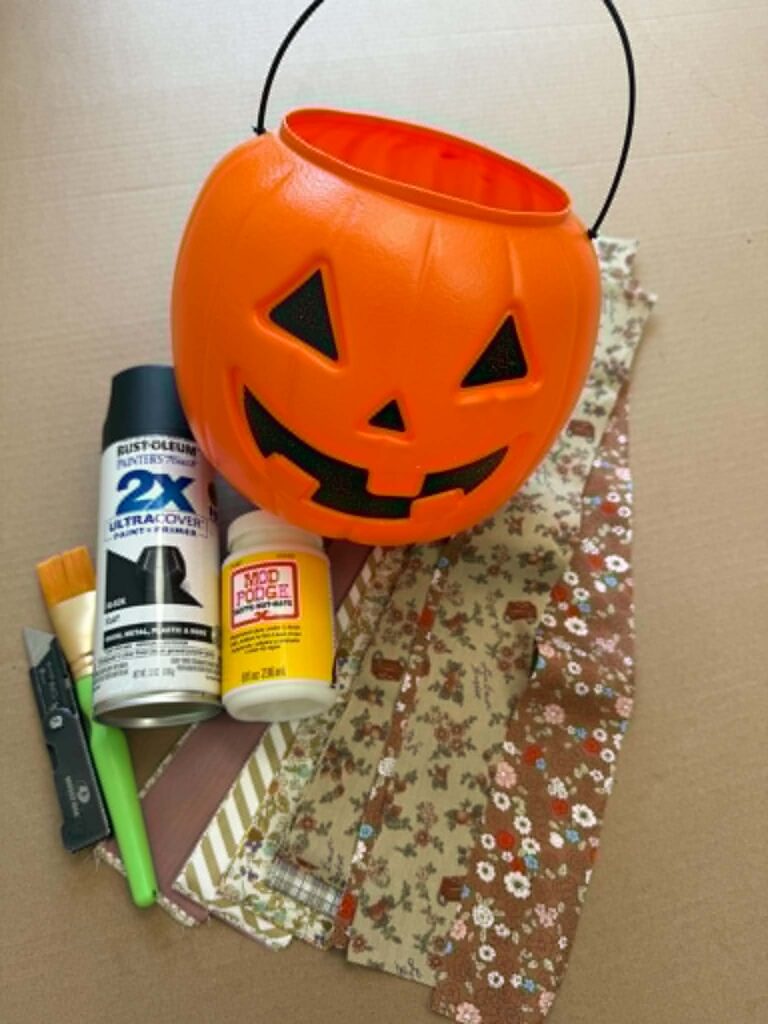
The supplies that I’ll be using for this makeover are listed down below.
1. Black spray paint
2. One plastic pumpkin
3. Mod podge
4. Box cutter
5. Paint brush
6. Fabric strips from our website
7. Elmer’s glue
8. Bronze colored fine glitter
9. Scissors
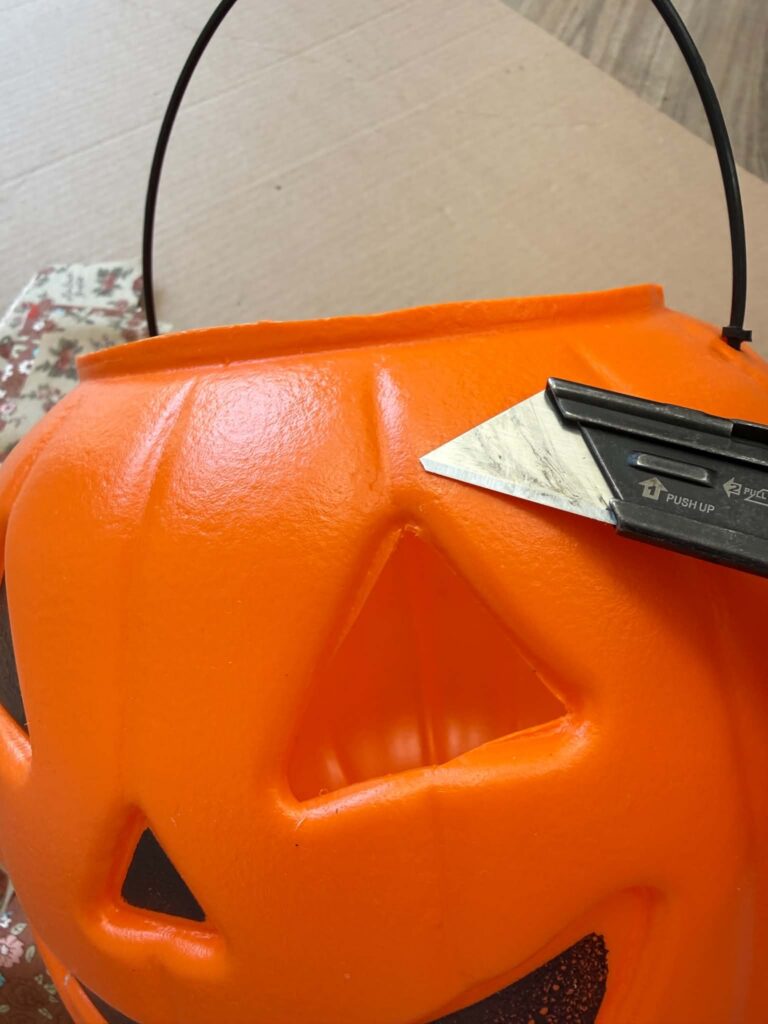
The first step is to cut the face out of the pumpkin. I used a box cutter for this step.
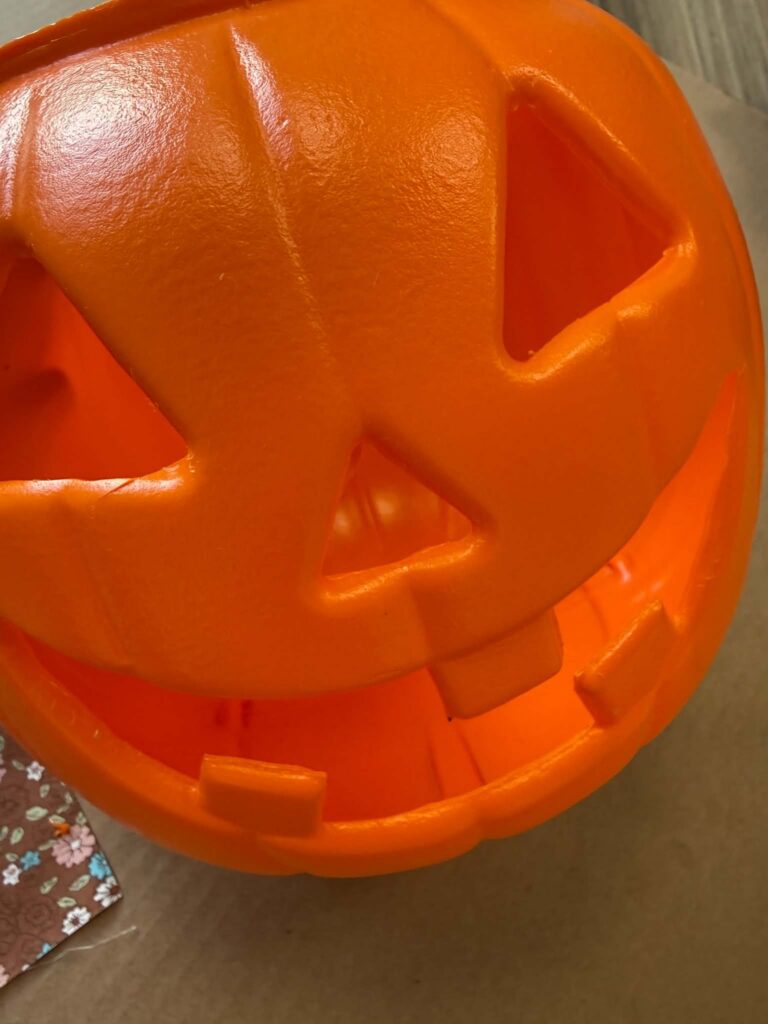
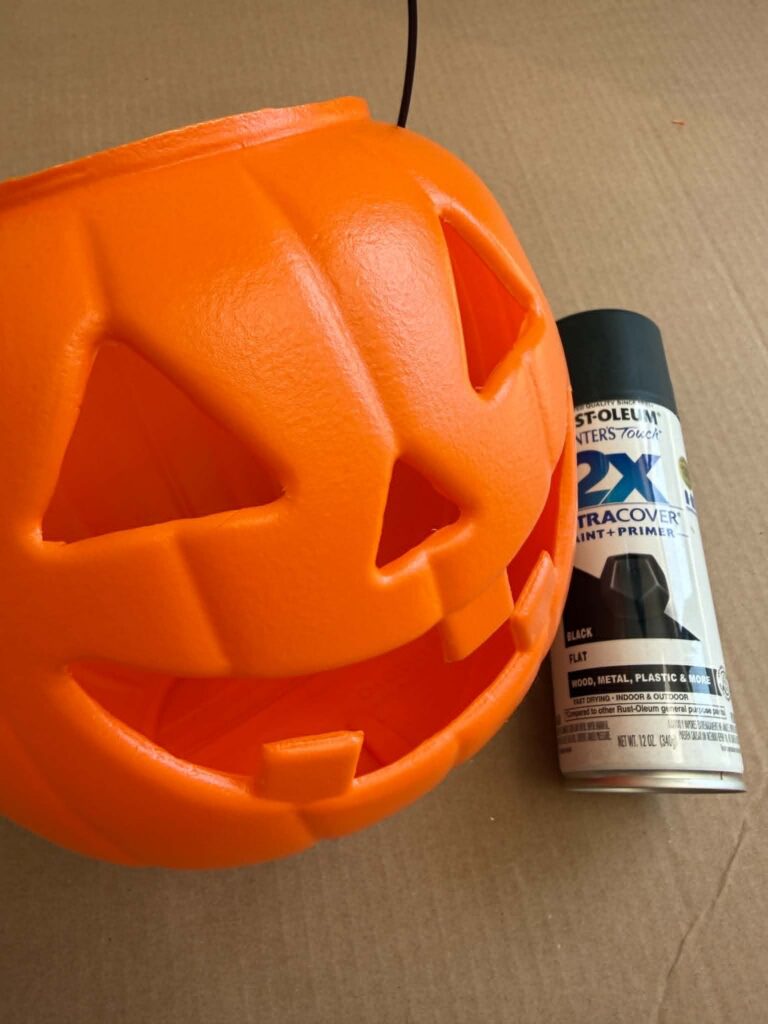
The next step is to spray paint the bucket. You’ll want to do the inside and outside of the pumpkin.
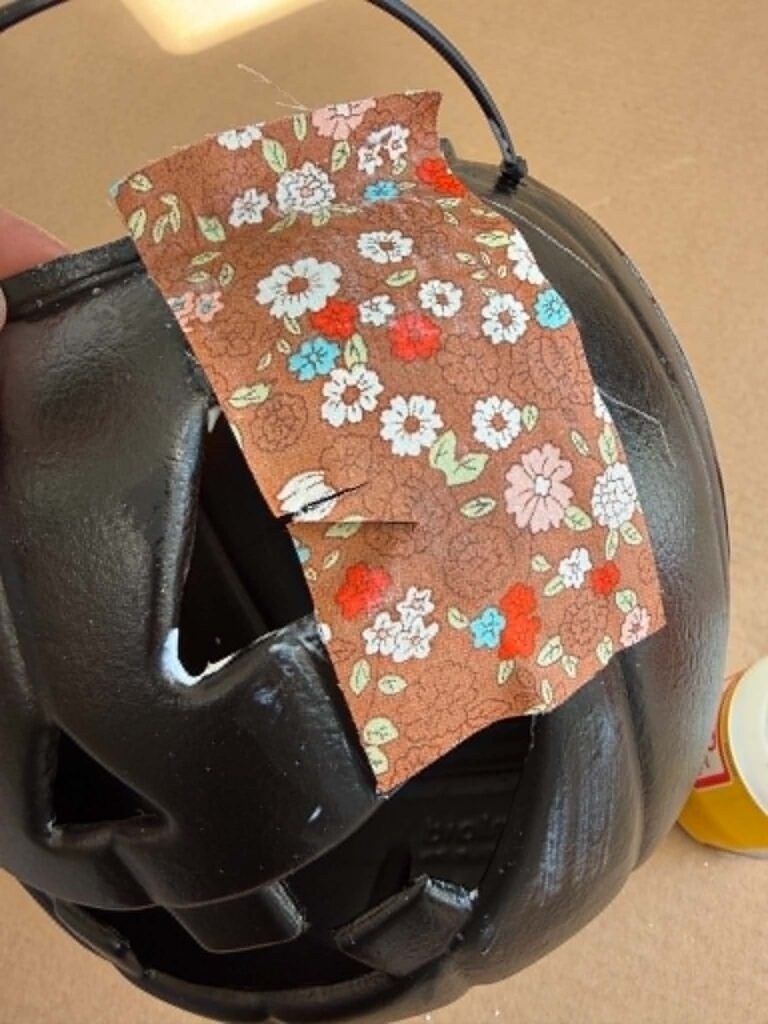
Once the spray paint is dry you’ll then start adding pieces of the fabric. I found it easier to start with the face area first.
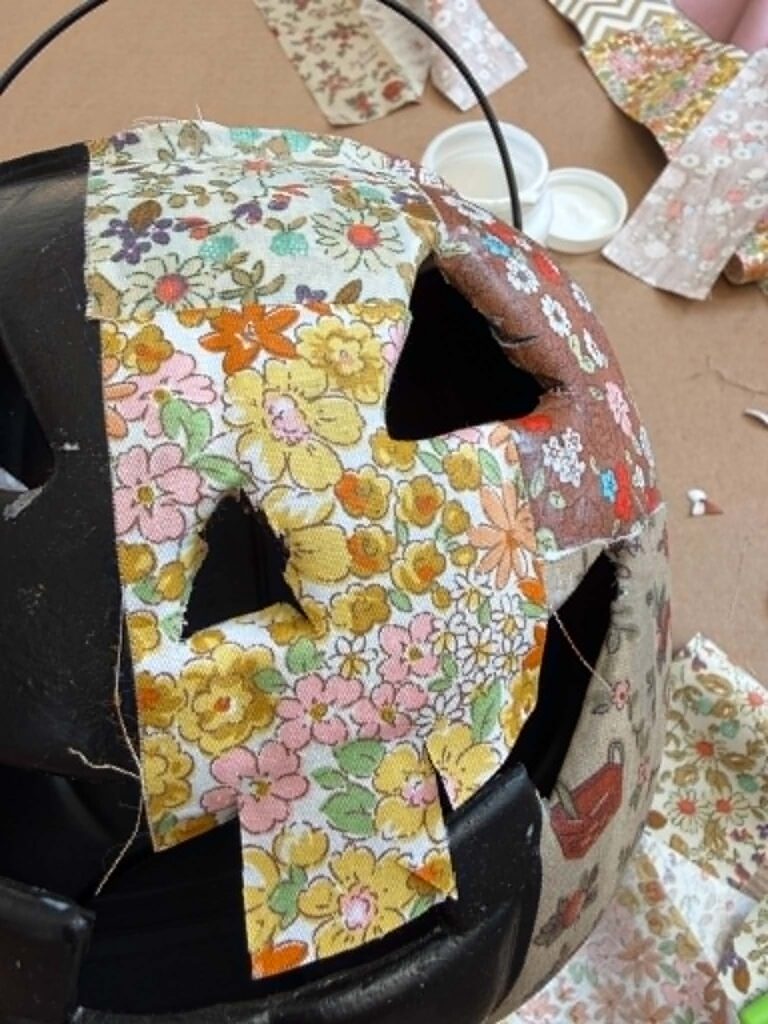
You’ll want to cut the fabric into different-sized pieces. Be sure to add the Mod Podge to the pumpkin, and then place the fabric on top. Once the fabric is in place, add more Mod Podge over the fabric. Be sure to cut small slits into the fabric around the center of the eyes, nose, and mouth. The small slits will allow you to fold the fabric into the pumpkin.
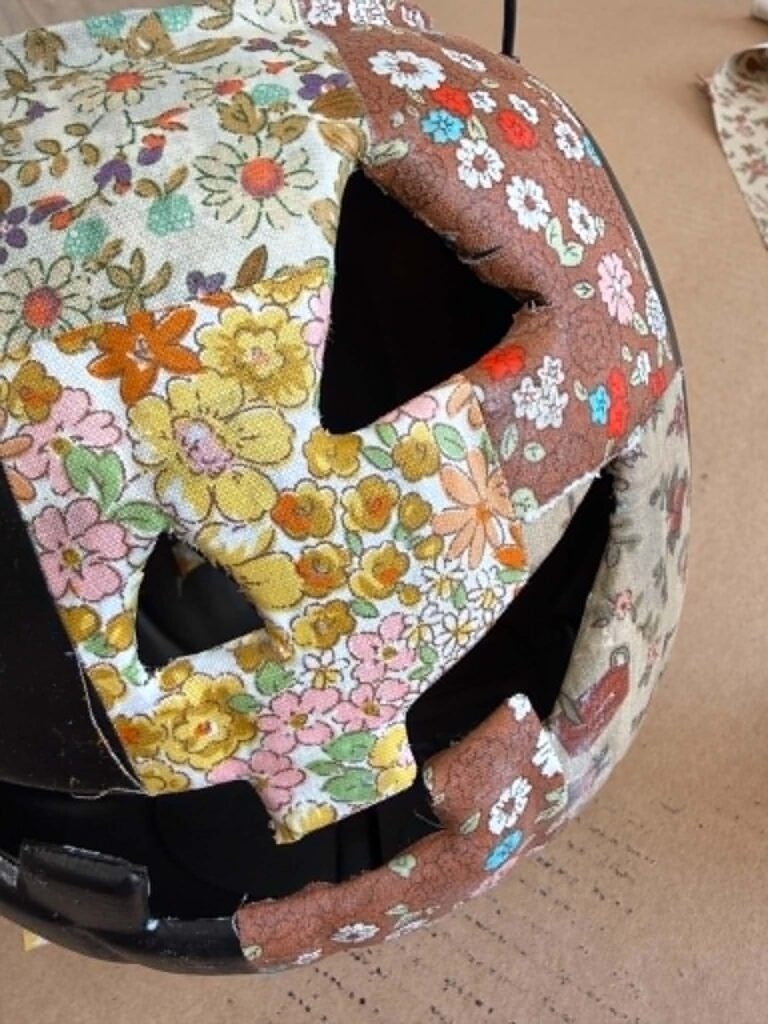
You’ll continue this process going around the entire pumpkin.
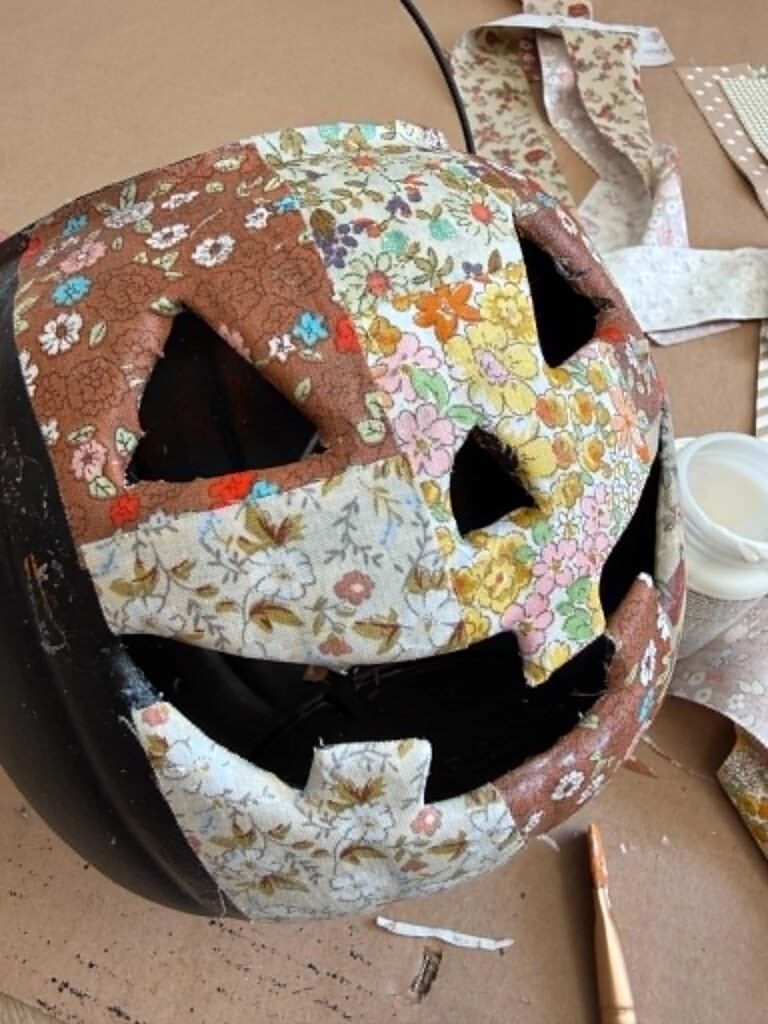
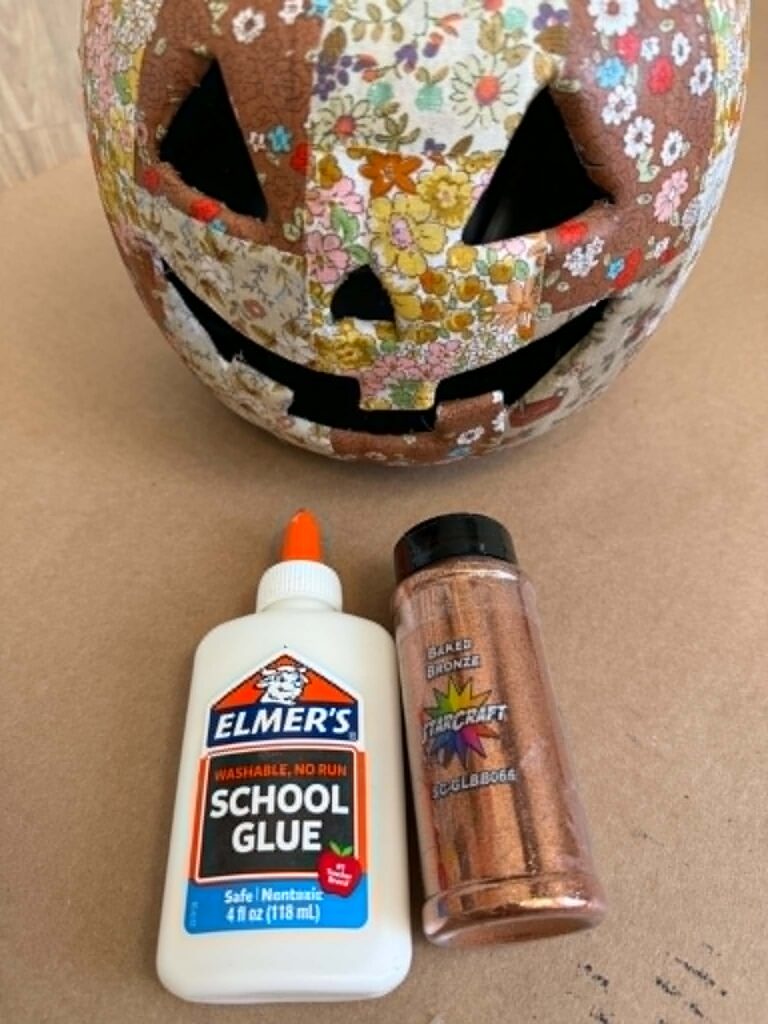
Once the pumkin is completely covered with the fabric you’ll then add some Elmer’s glue and glitter around the edge of the face cut outs.
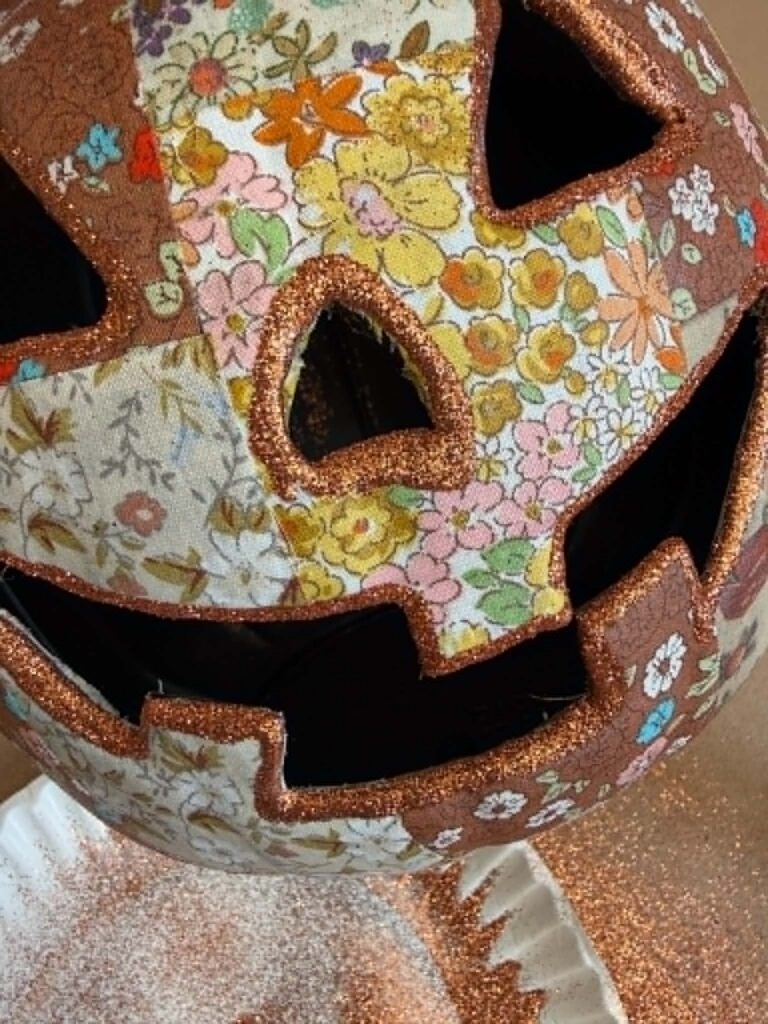
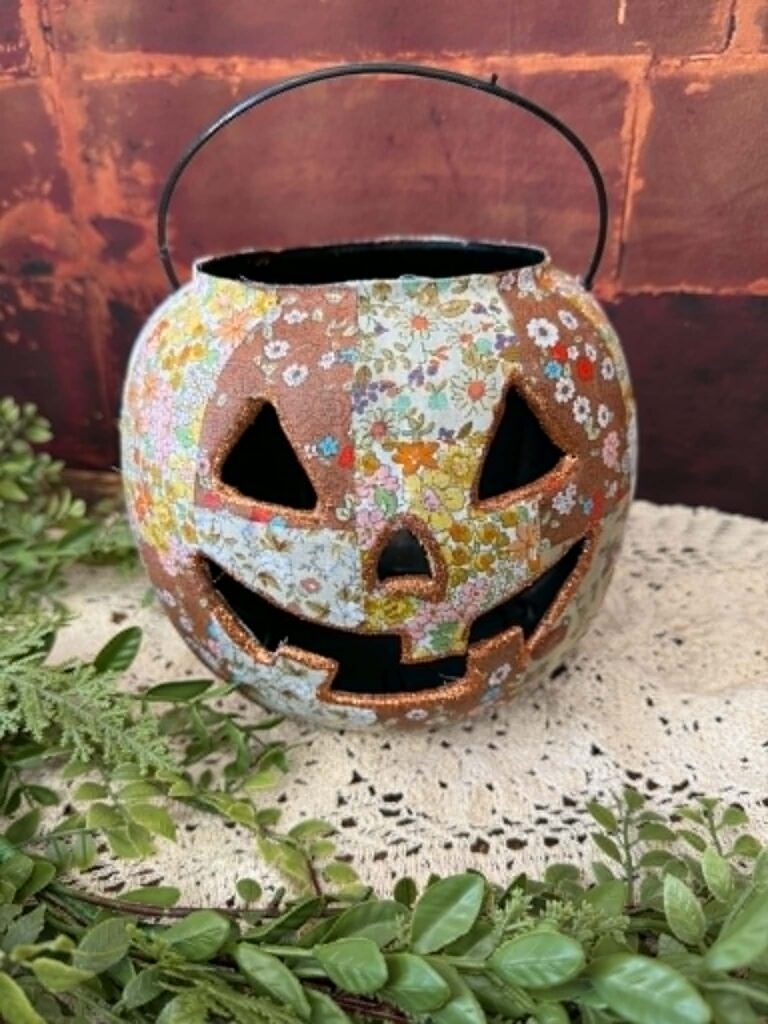
This pumpkin was so much fun to make and will look great any where in your home. I hope you’ll get creative and give this pumpkin makeover a try.
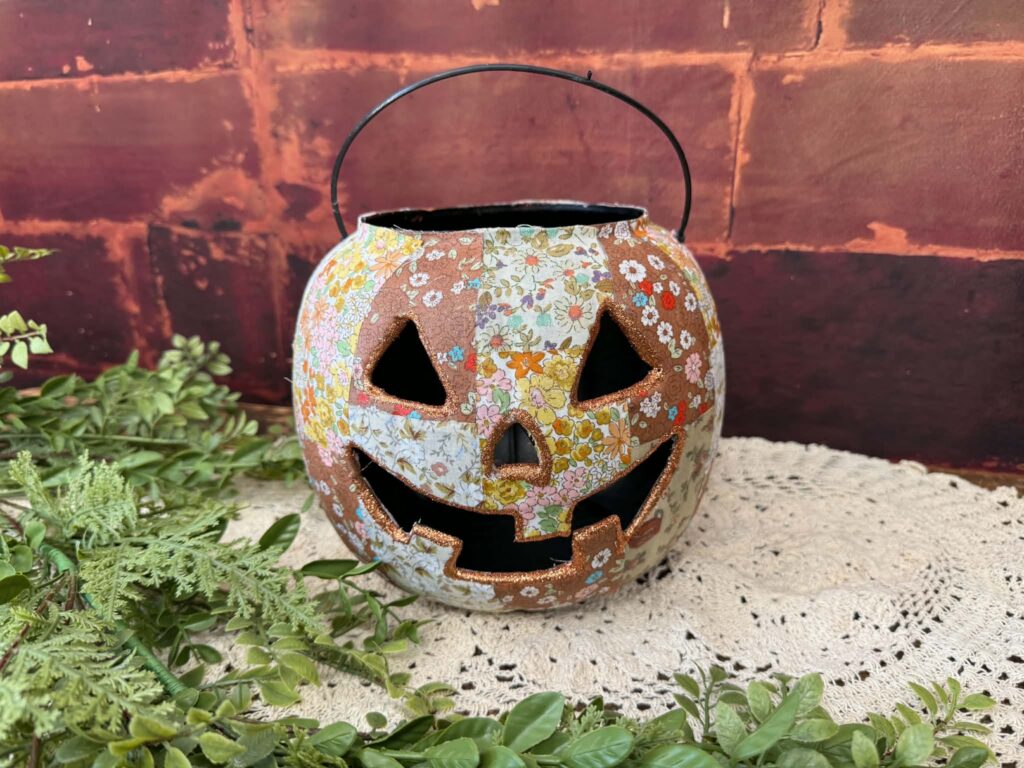

I love it!! She’s so cute!! At a glance it feels like she’s a terracotta pumpkin! 🧡🎃🧡🎃🌲
Super cute!!
Love the quilt pumpkin 🎃 Barb. Can’t wait for Friday night hangout 🥰
What a cute makeover. I love fabric diys. Looking forward to Friday Night Hangout!
Very cute. See you Friday!
Barb I think this is such a cute makeover♥️👍🏻
It looks Really cute! I love
It
Loving the patchwork pumpkin so cute Barb !
Love Love Love it — super cute! Kicking myself that I didn’t get the fabric deals of the day! I look forward to Friday night hangout!
The patchwork pumpkin is so stinking cute ! Love it! 🎃🎃🎃🧡🧡🧡
Love the fabric choice!! Great idea!
Very good idea! It’s pretty!
Wow absolutely love it🎃🎃🎃
I don’t like it Barb…I love it! Looks so easy to do and turned out adorable!
Adorable! Great Transformation!
Love It!
It’s adorable