
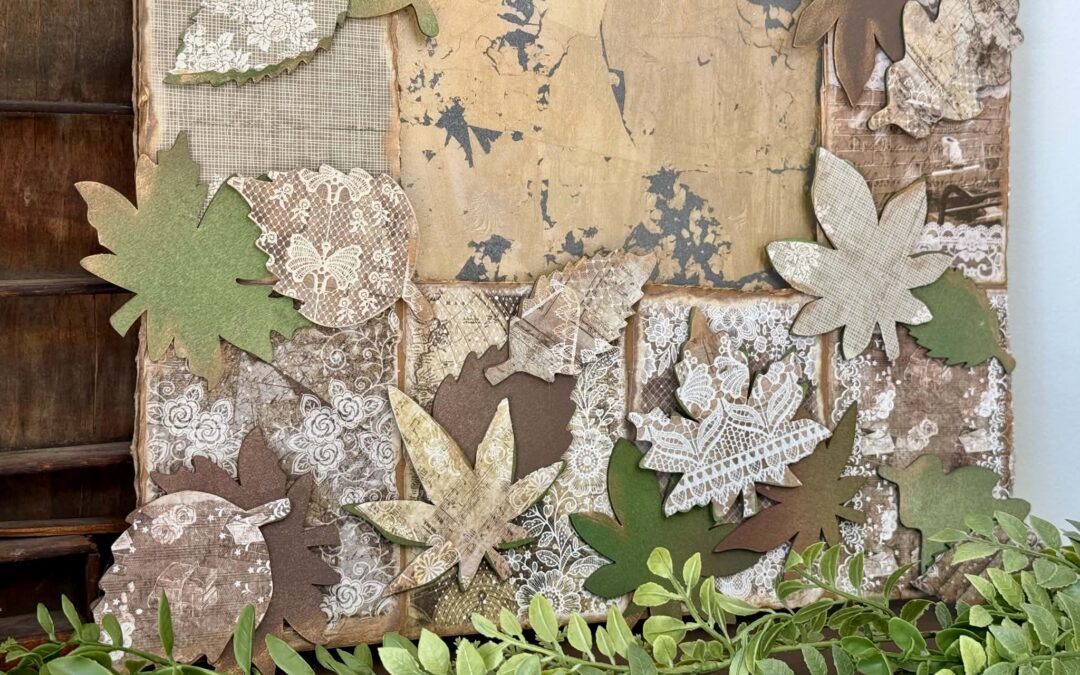
We recently added a fun set of wooden leaves to our website, and I’m excited to get creative with them! This wooden leaf pack also comes with some amazing printed paper sheets. I thought it would be fun to use them to create a cute fall frame decor piece.
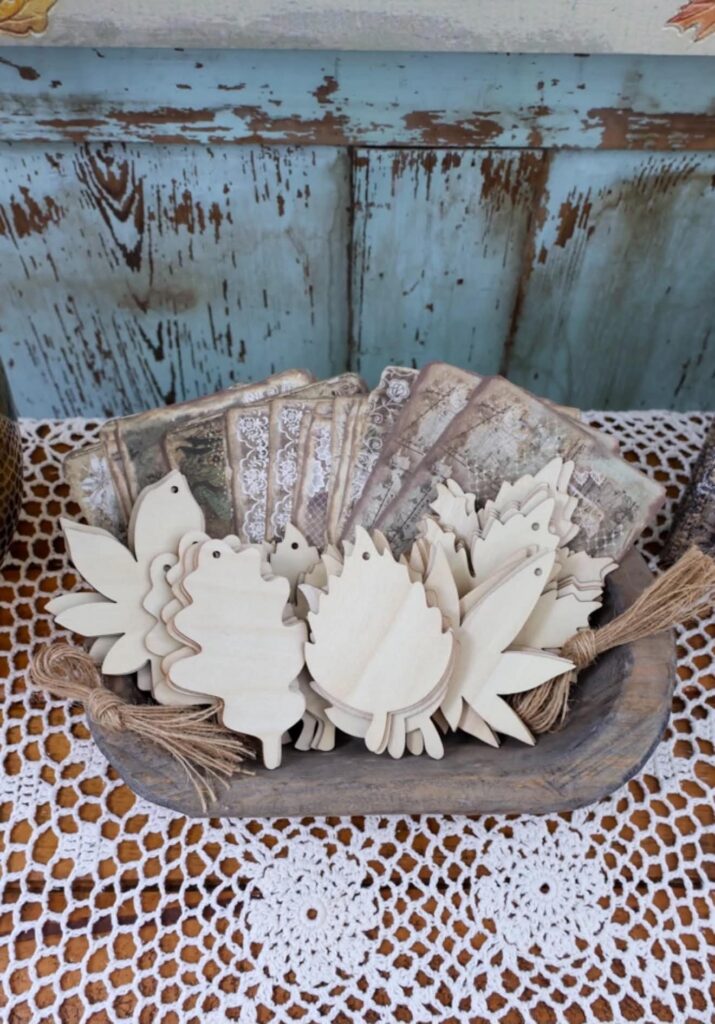
You can find this set on our website by clicking the link down below.
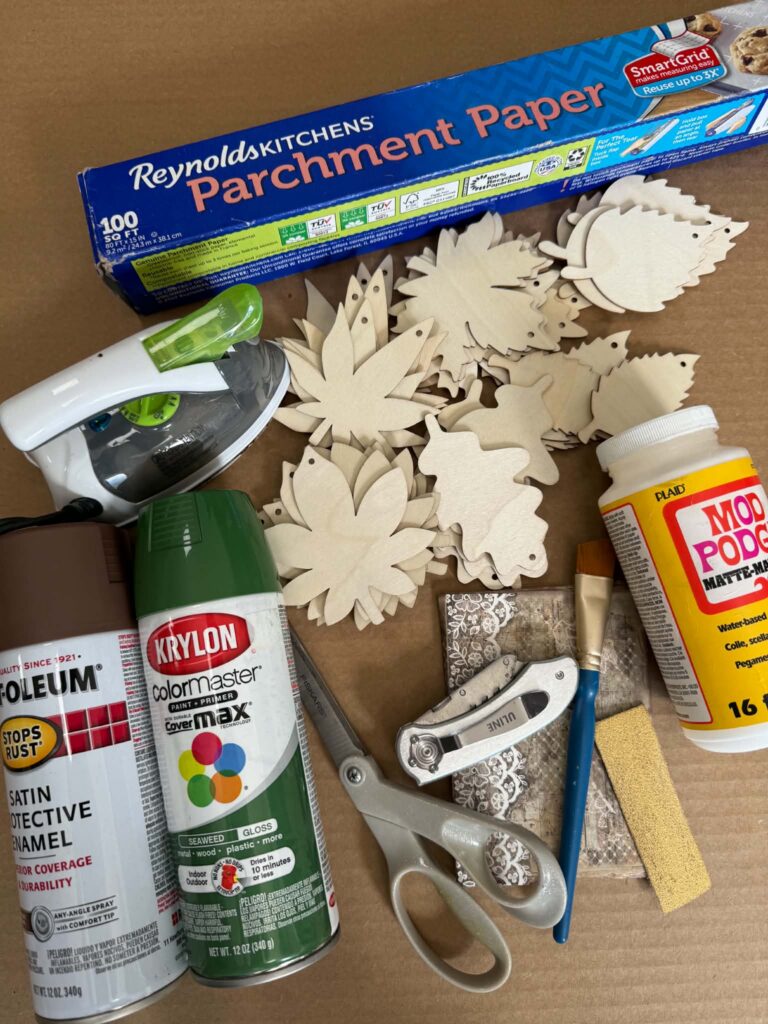
You’ll find the list of supplies that I’ll be using for this craft down below.
1. One pack of wooden leaves and paper from our website
2. Mod podge
3. Cardboard
4. Box cutter or
x-acto knife
5. Antique gold Rub’n buff
6. Paint brush
7. Scissors
8. Small iron
9. Parchment paper
10. Spray paint ( chestnut brown and Seaweed)
11. Sand paper
12. Plastic cutting mat from the Dollar Tree
13. Gold leaf paper
14. Metal Effect Spray Paint
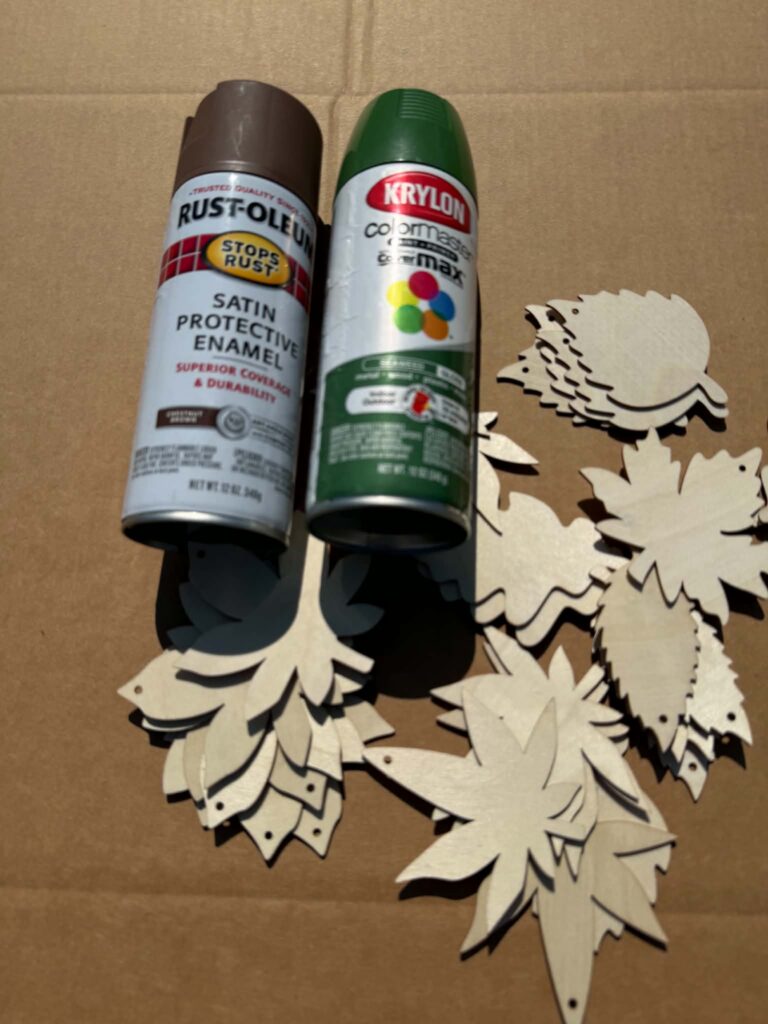
The first step is to spray paint the wooden leaves. You’ll want to paint both the front and back of each leaf. There’s no right or wrong way to color them! I added more green to some leaves and more brown to others.
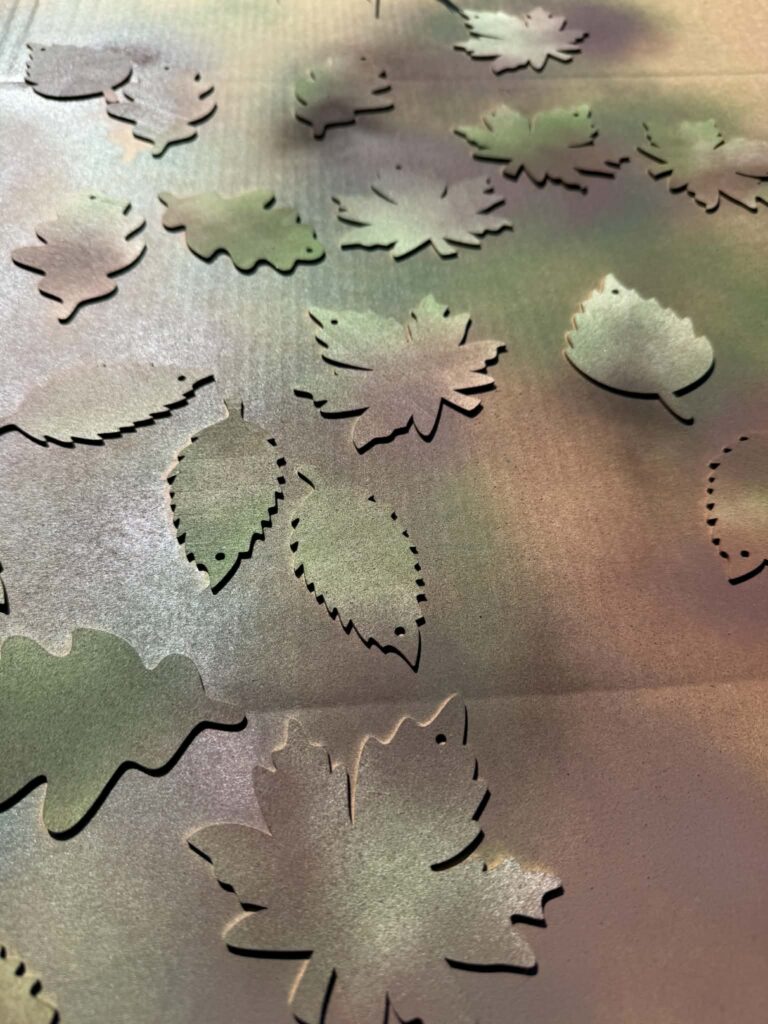
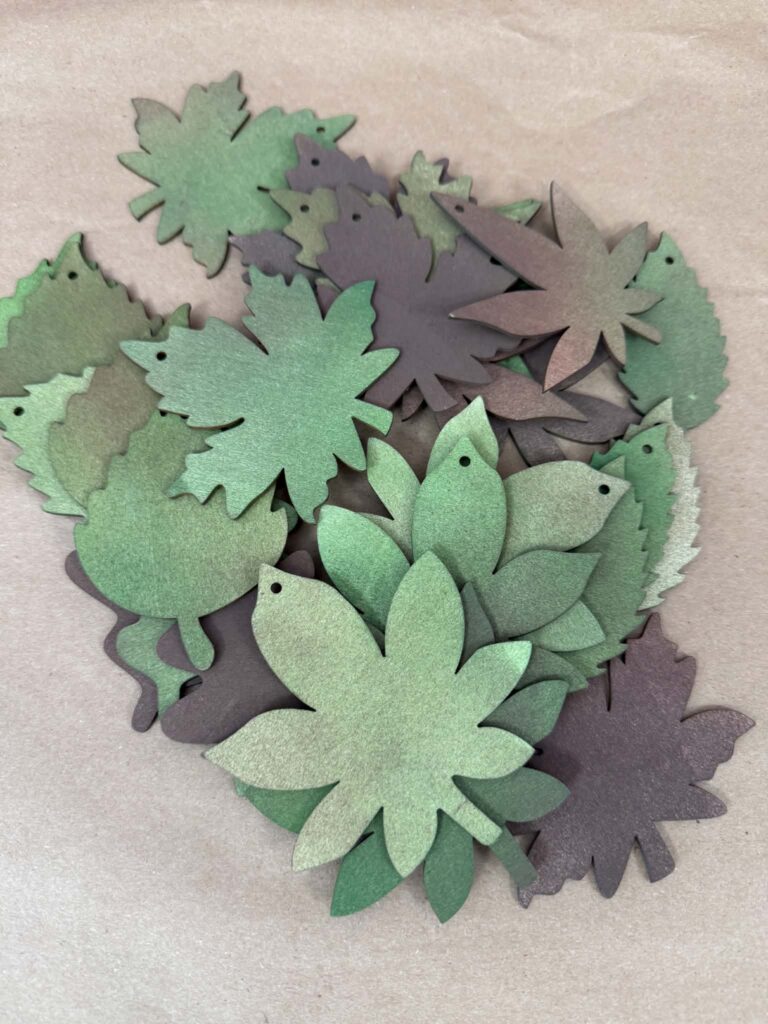
Once the leaves are dry, you’ll want to add some of the printed paper to a few of them.
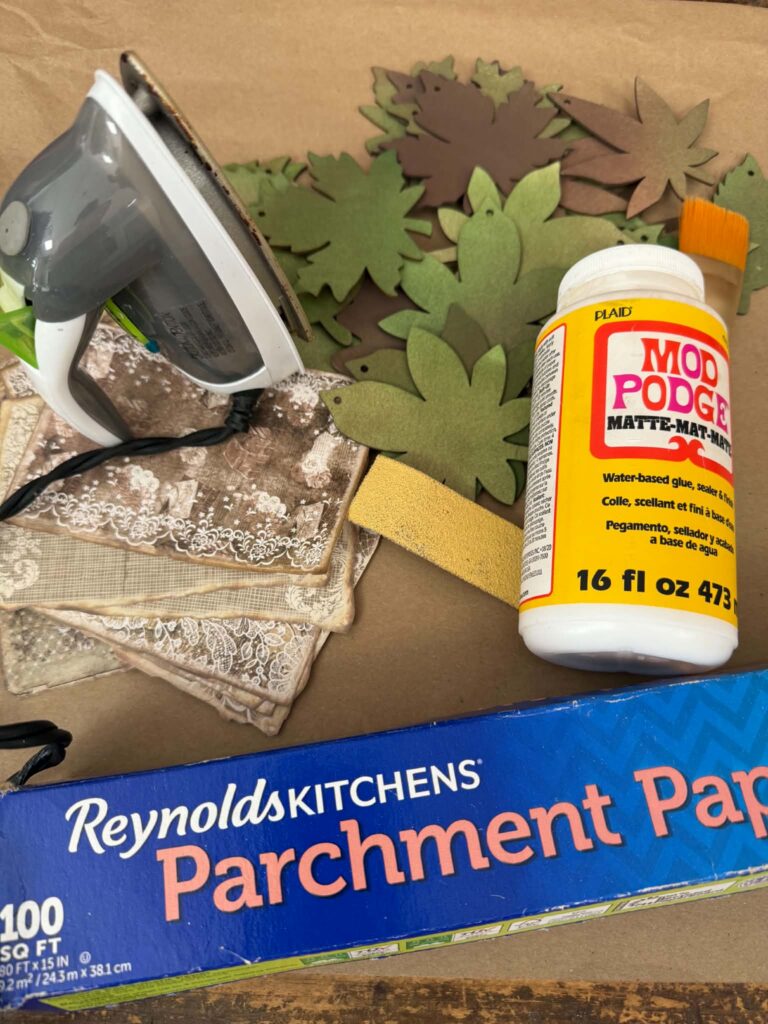
You’ll need Mod Podge, parchment paper, and a small iron for this part.
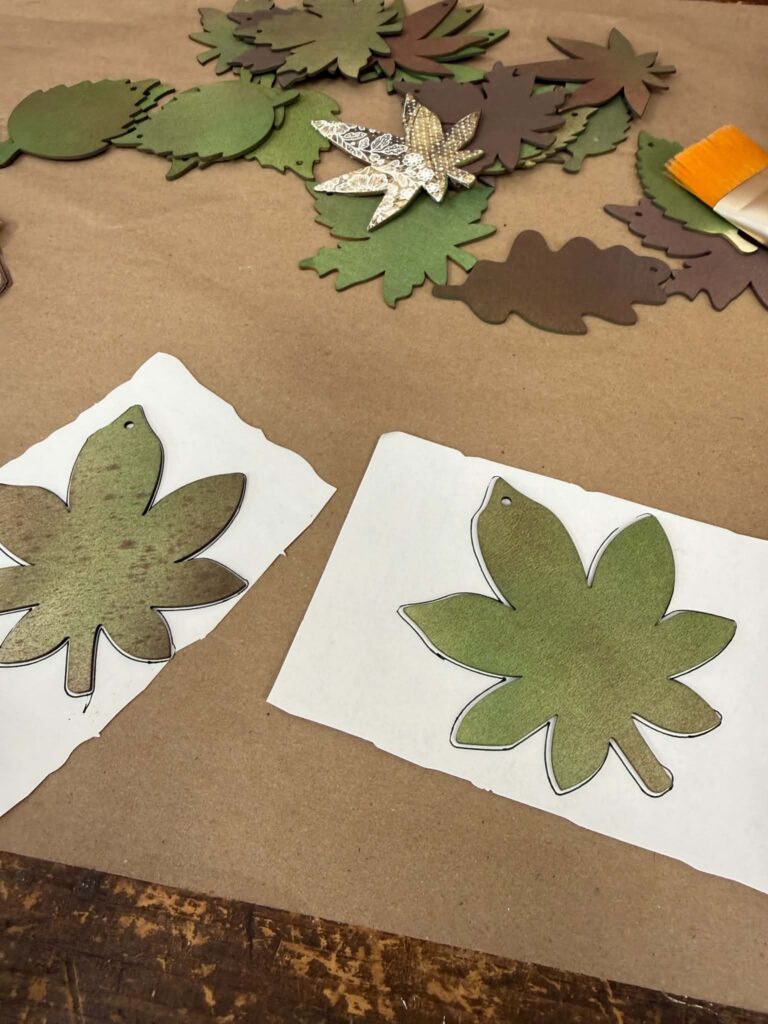
The first step is to trace the leaves onto the paper and then cut them out.
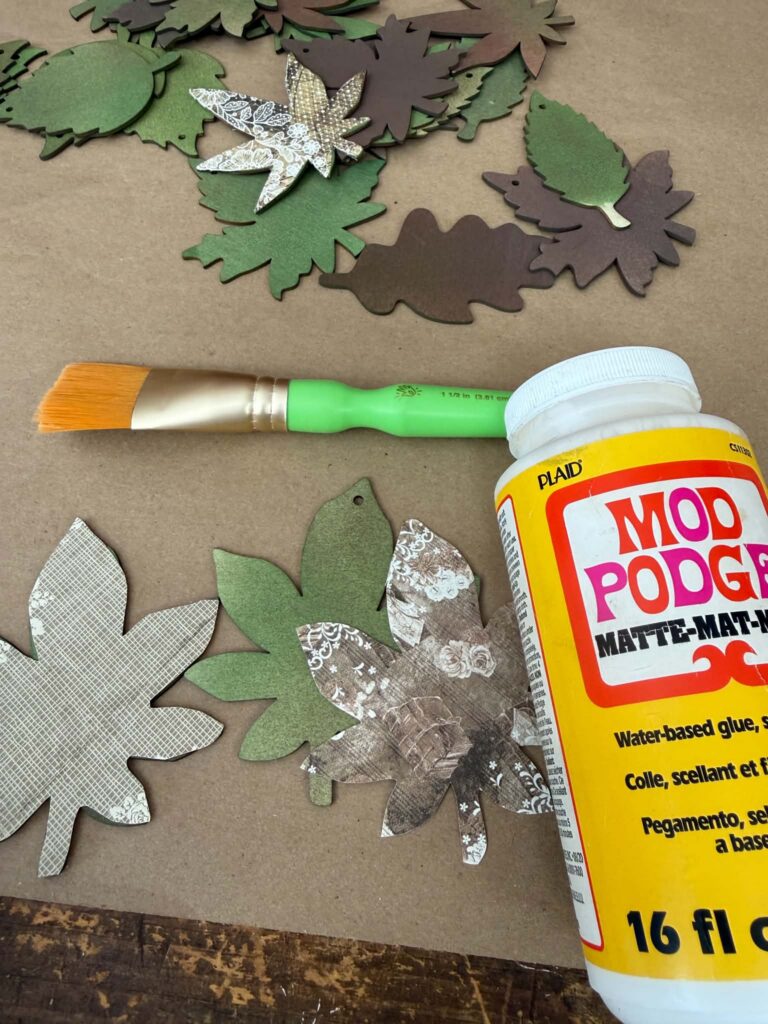
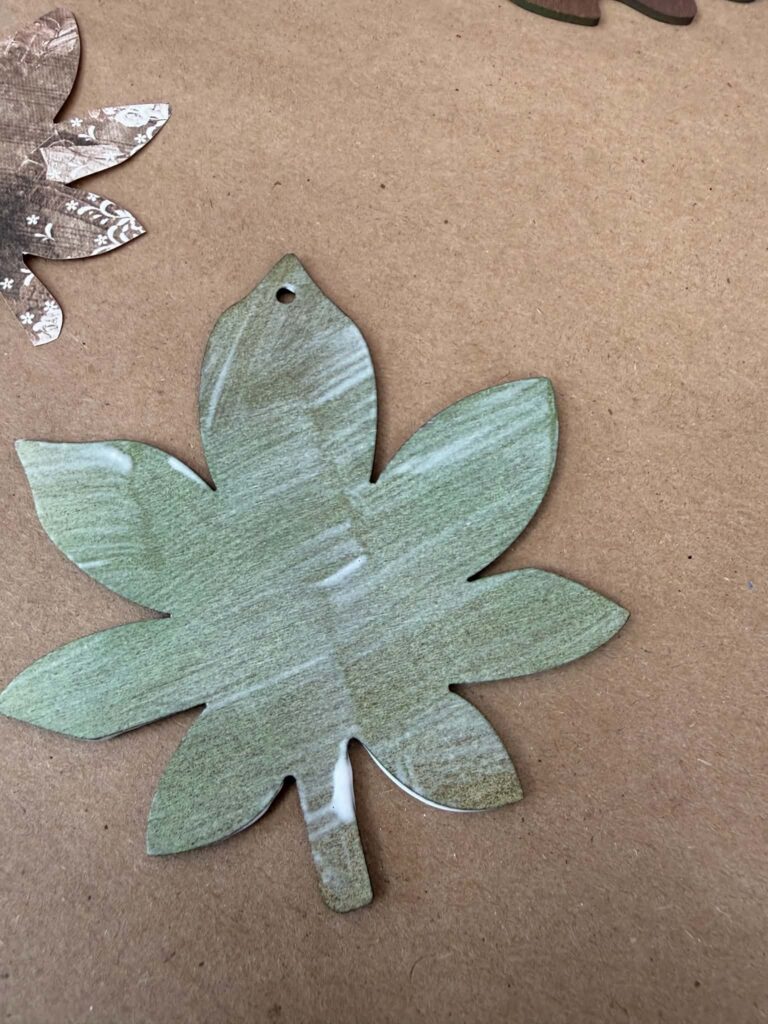
Add a layer of Mod Podge to the wooden leaves, and then place the paper on top.
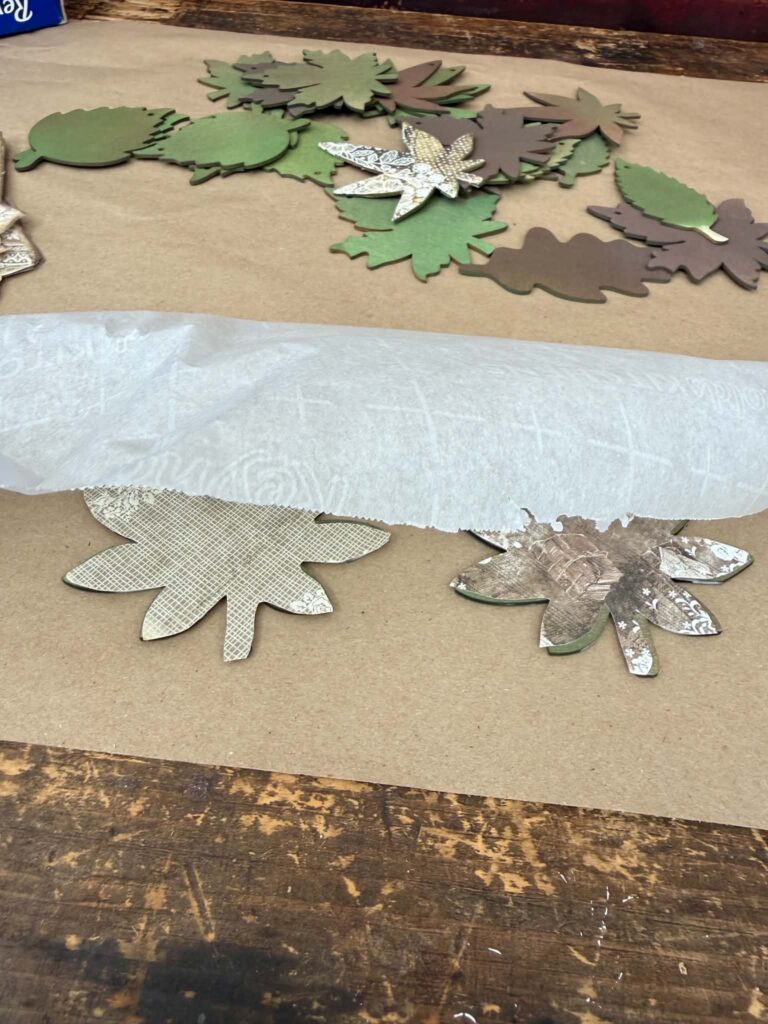
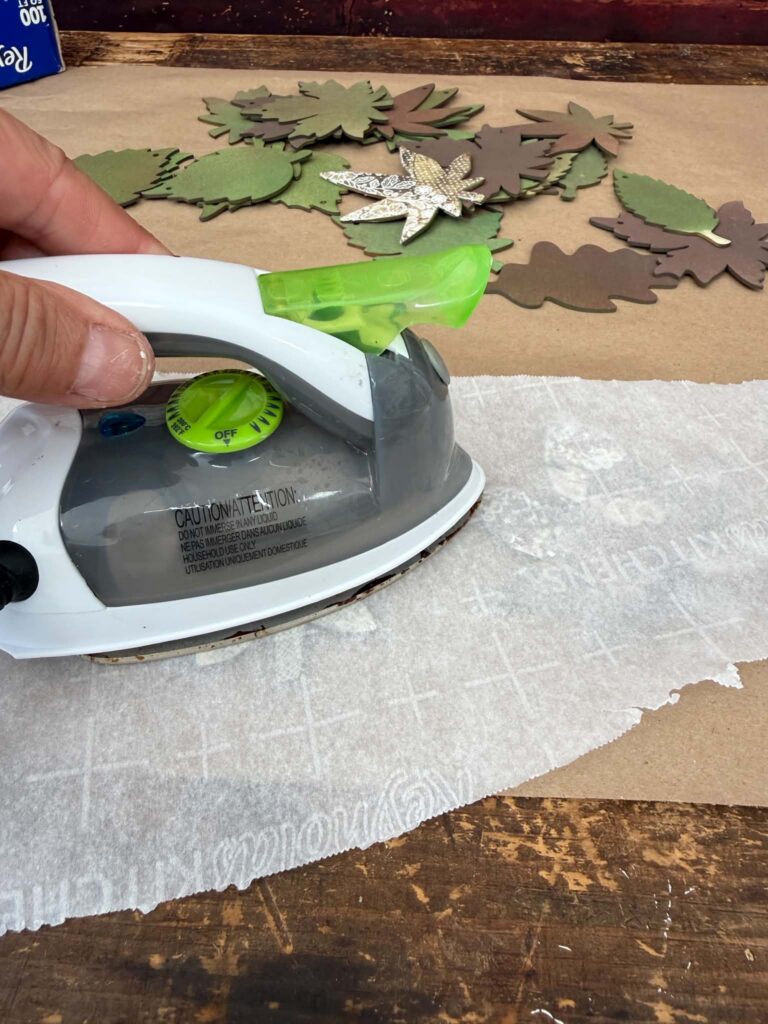
Once the paper is added, place a piece of parchment paper on top and gently iron over it. This will help smooth out any creases and make sure the paper is securely in place.
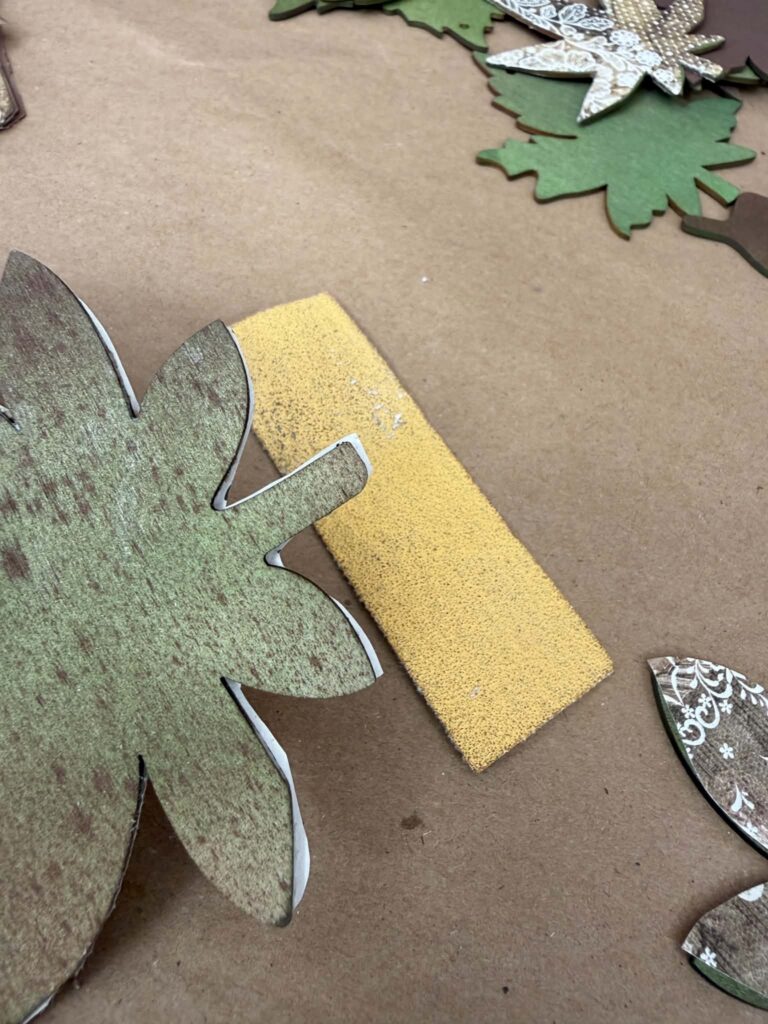
You can use the sand paper to remove any excess paper off of the edges.
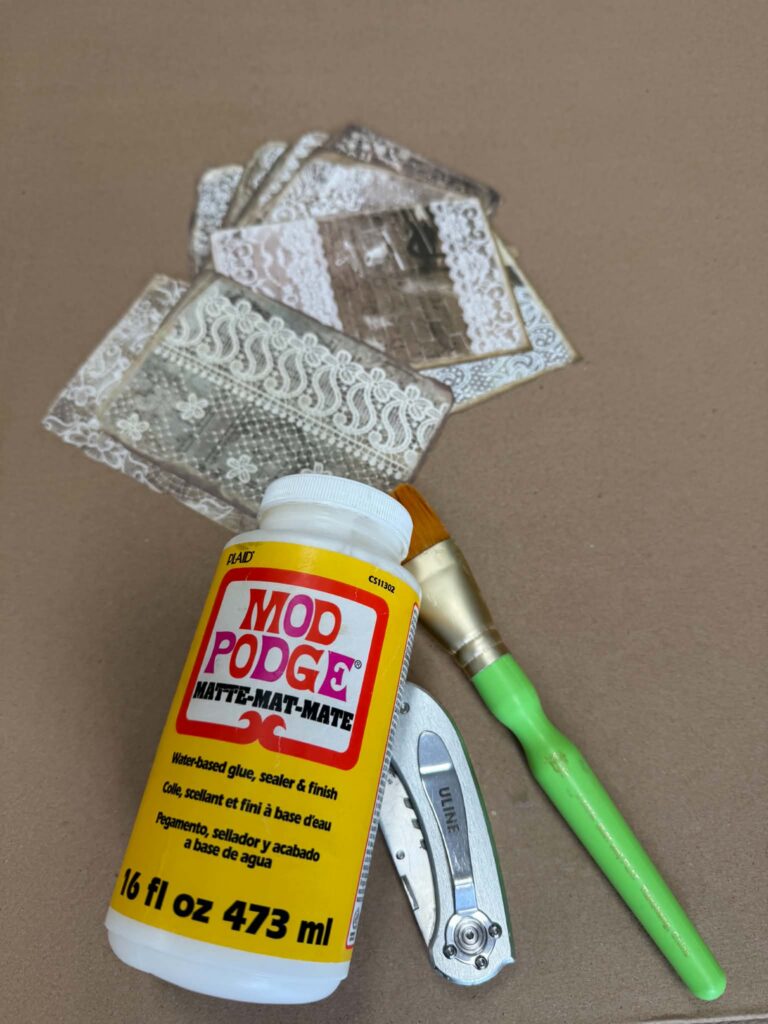
The next step is to create the frame by using the paper sheets and cardboard.
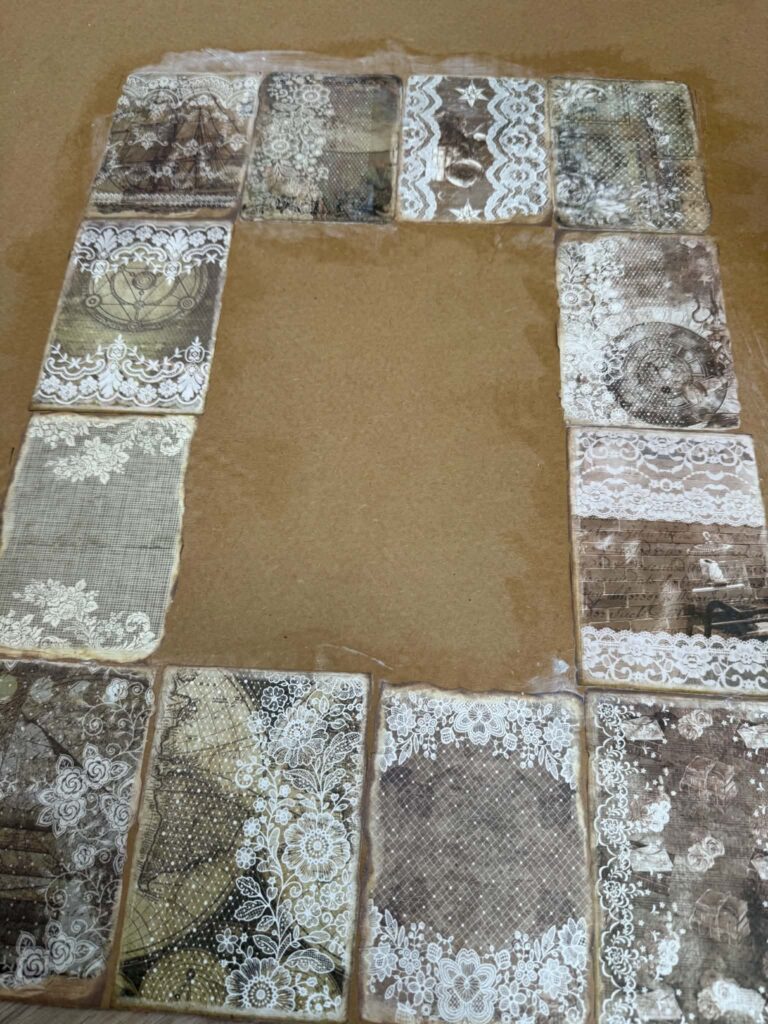
Lay the sheets of paper onto the cardboard to create the shape and size of your frame.
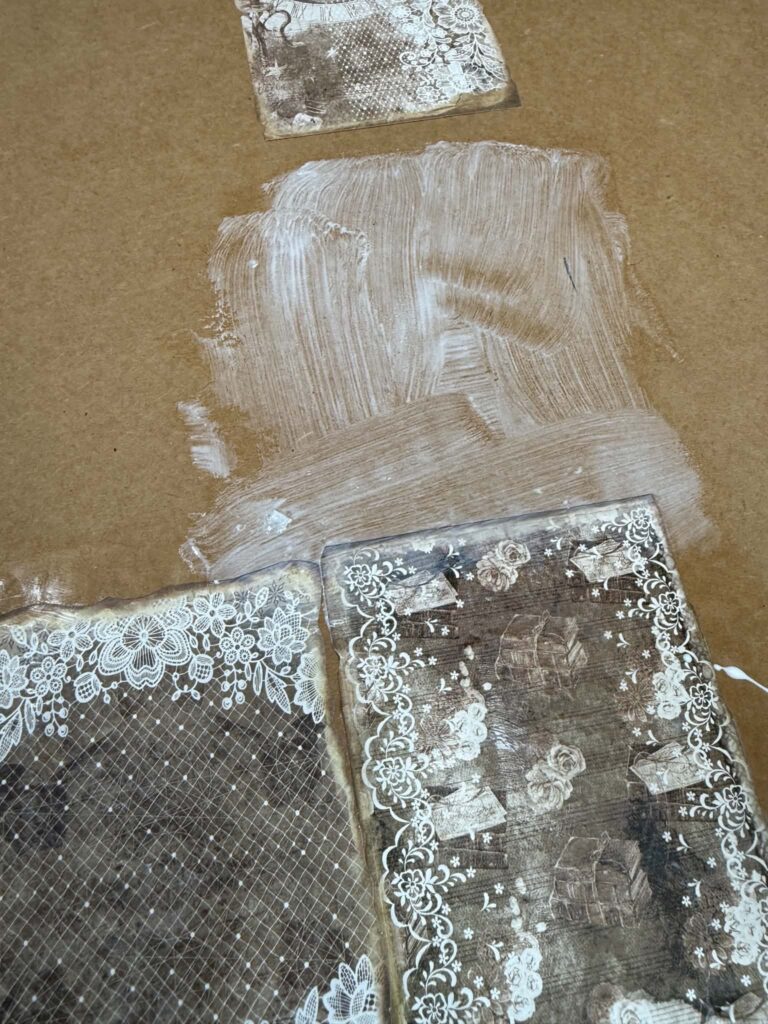
Once you have the shape of your frame, use Mod Podge to attach the paper to the cardboard.
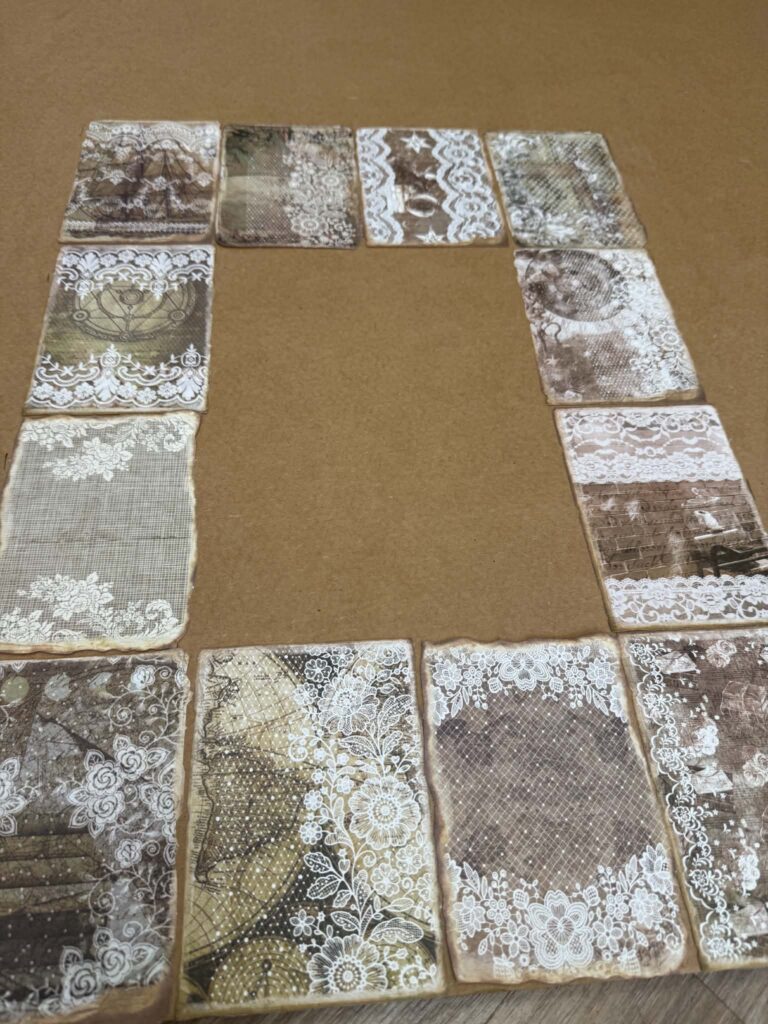
Once the paper is Mod Podged in place, cut out the shape of your frame.
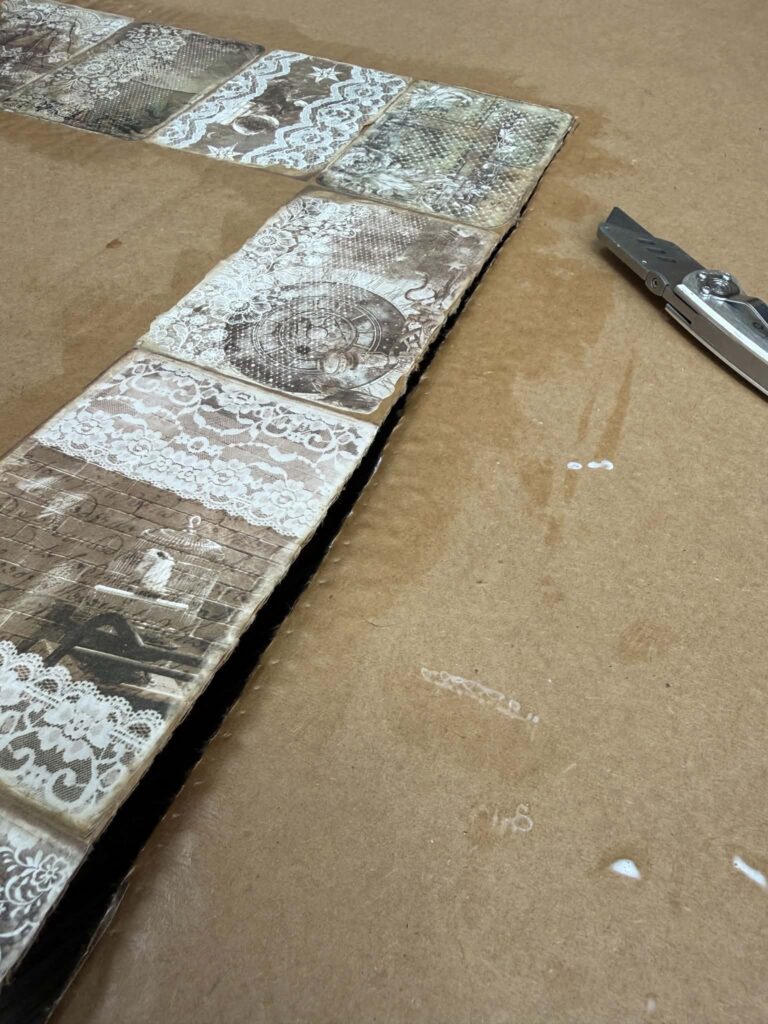
I’m using a box cutter to carefully cut out the frame.
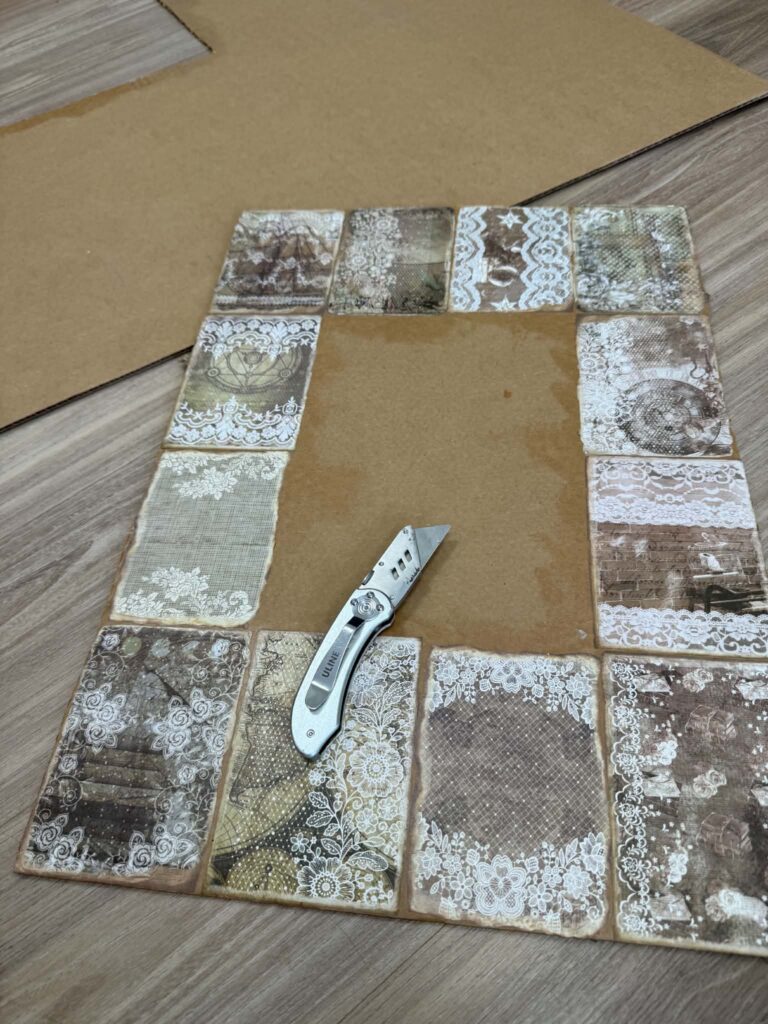
Be sure to cut out the center of the frame as well.
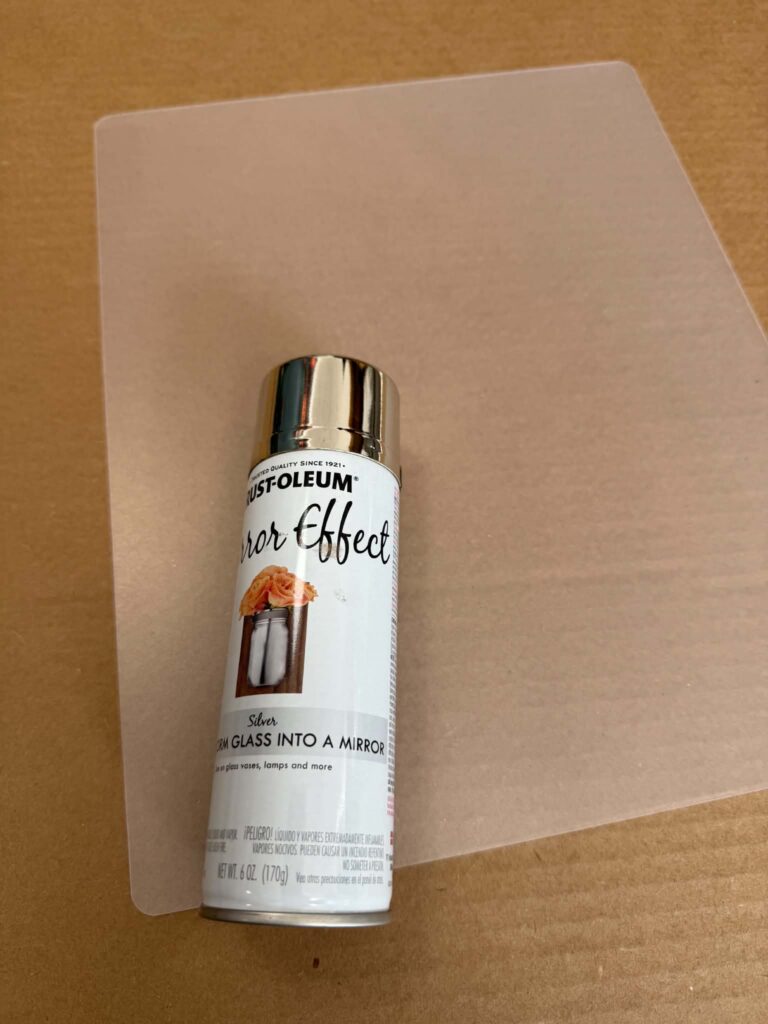
I used some mirror effect spray paint on the cutting board. Once the paint was dry, I glued the cutting board to the back of the frame.
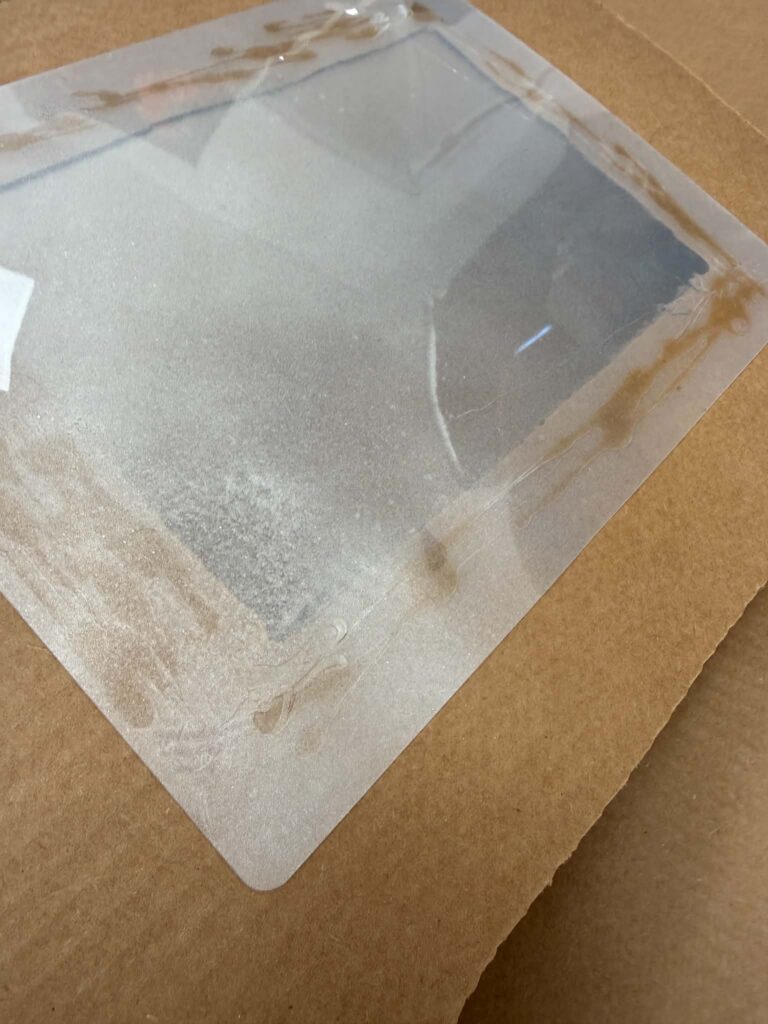
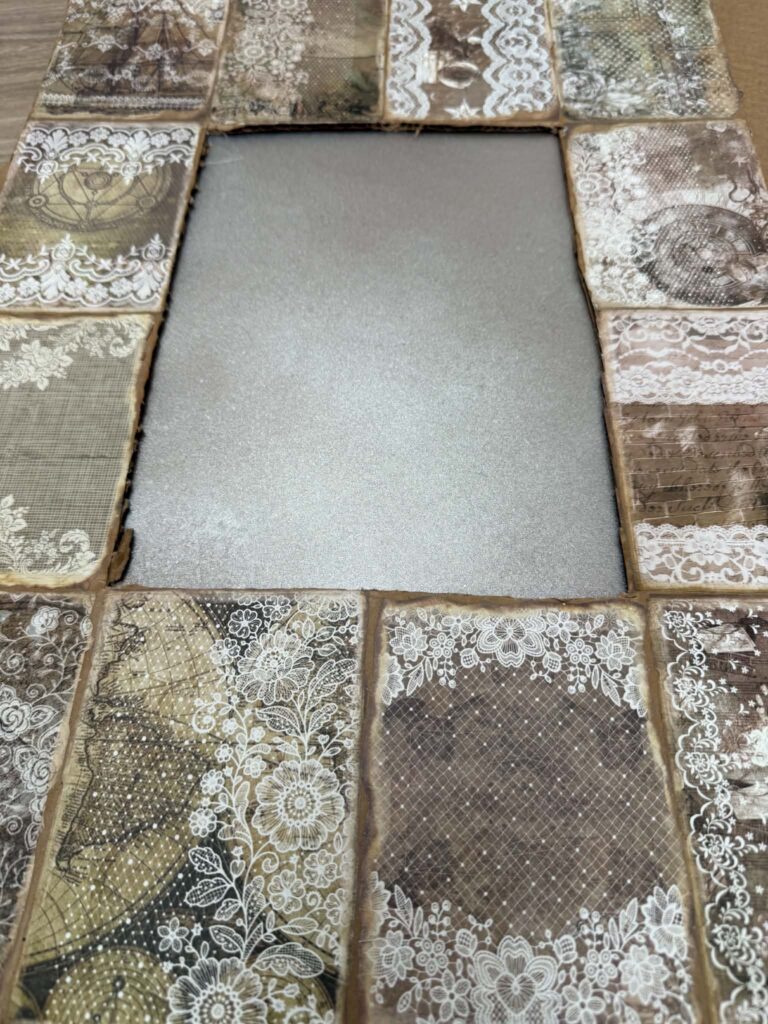
I wanted a stronger statement in the center, so I decided to add some gold leaf paper to the back of the cutting board.
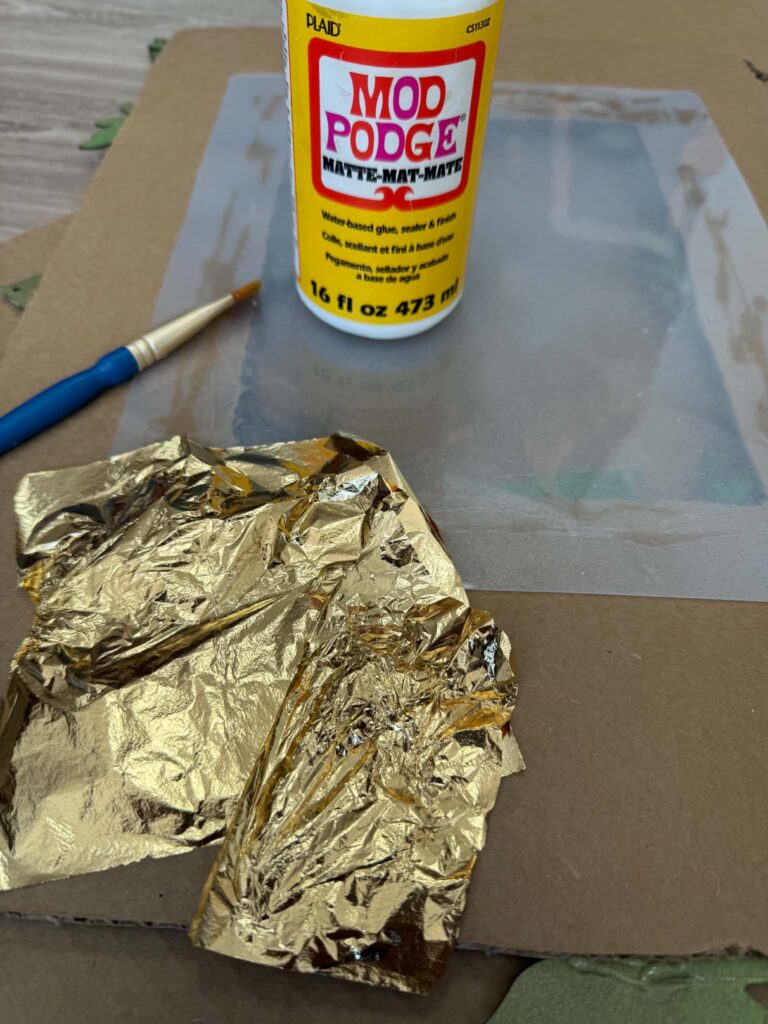
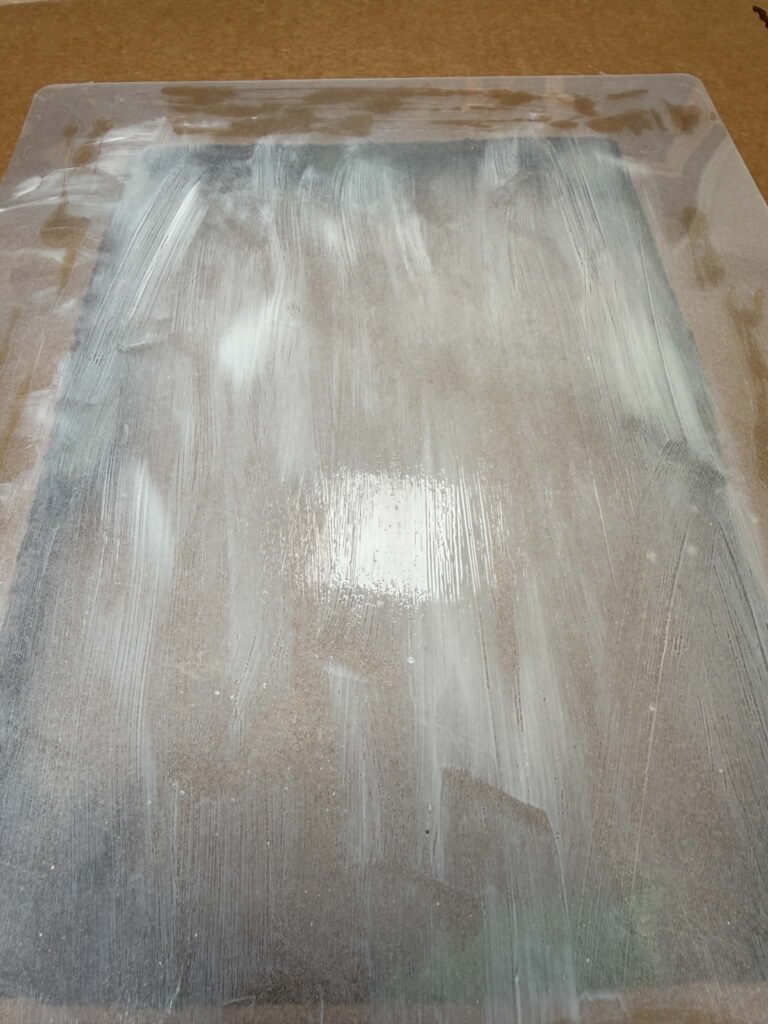
Add a layer of Mod Podge and then place the gold leaf on top. You can remove some of the gold leaf here and there to give it a more aged, vintage look.
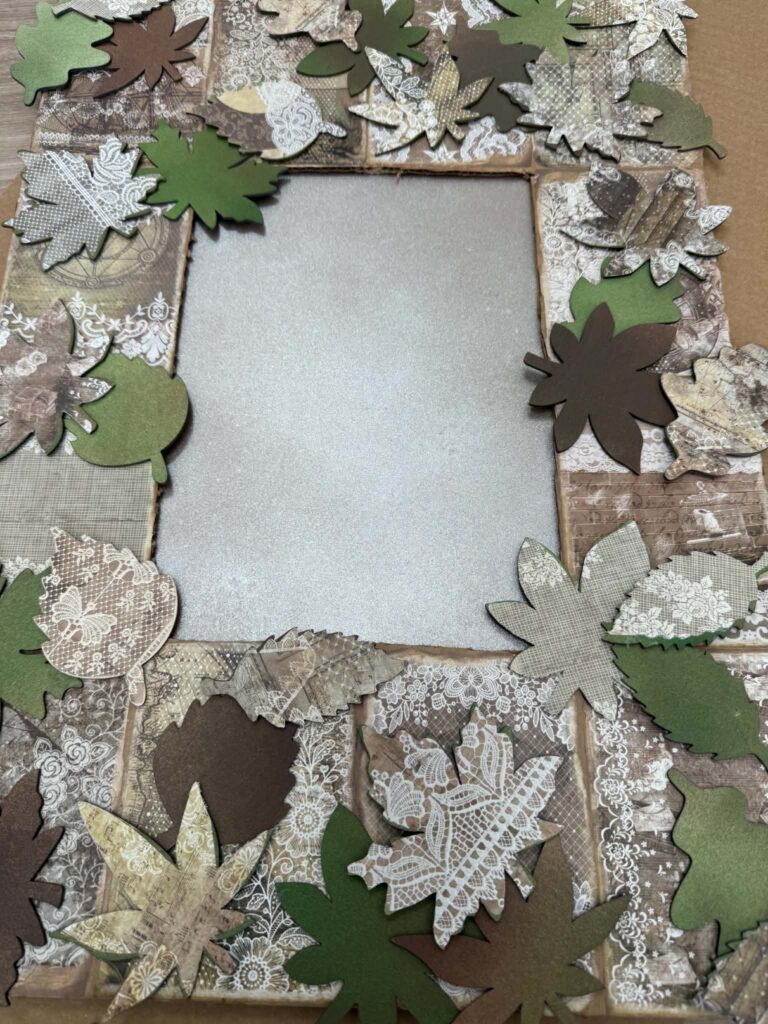
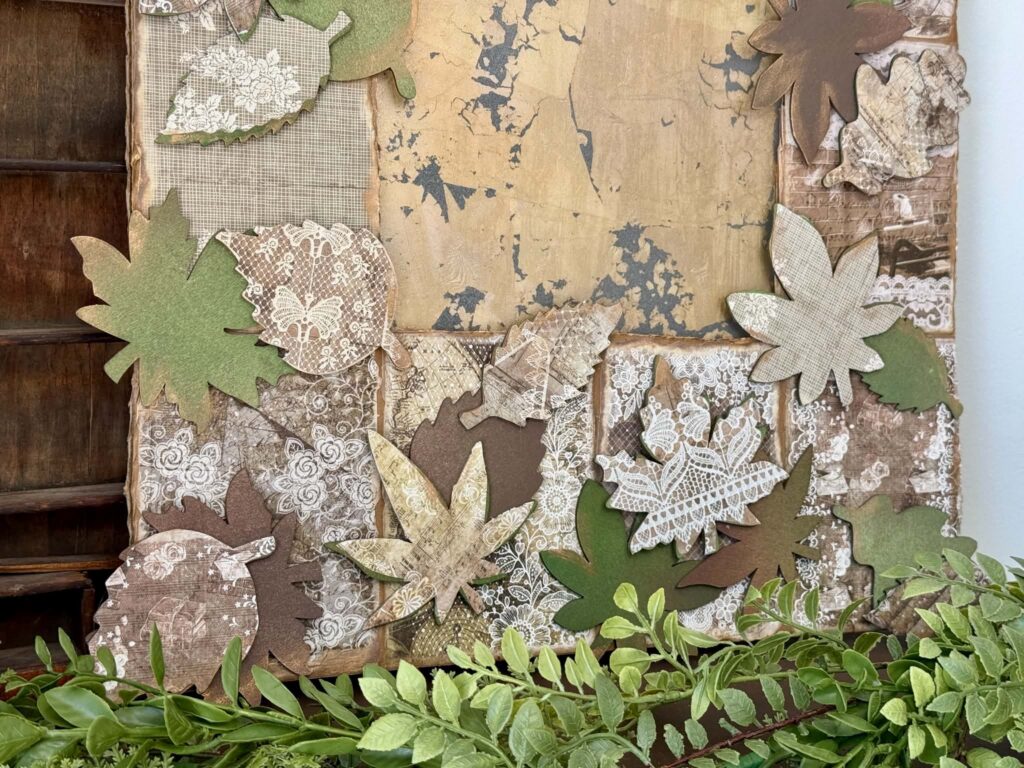
The last step is to add the leaves to the frame. Glue the leaves around the entire frame, arranging them however you like. I used hot glue to hold each leaf in place.
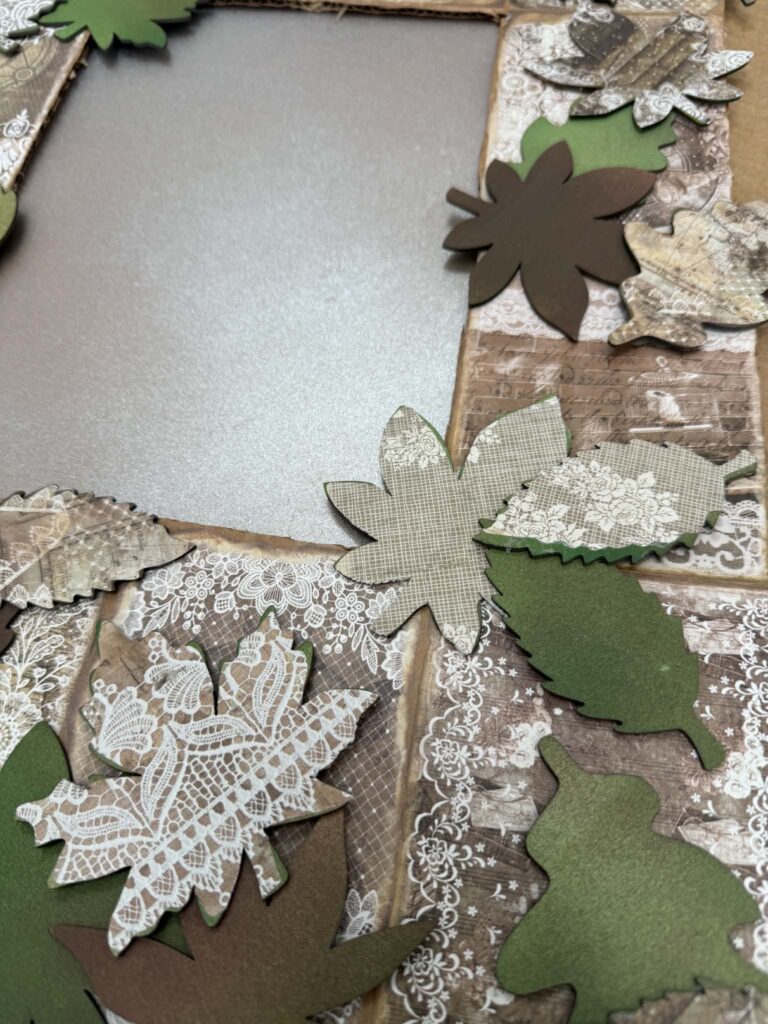
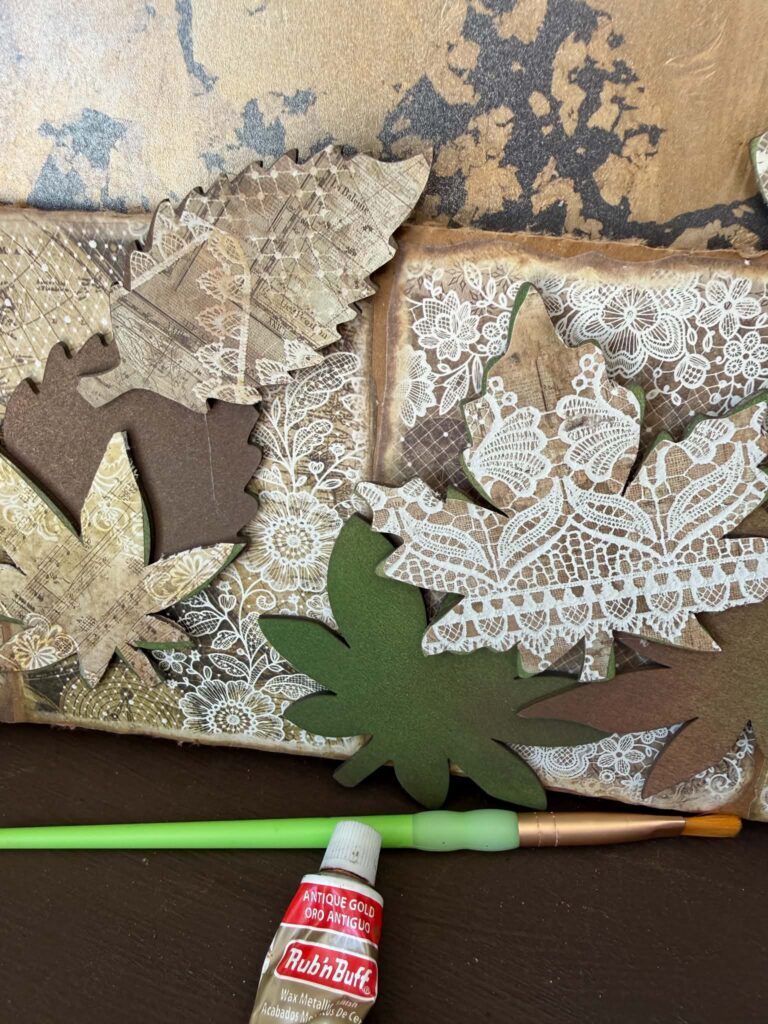
Once my frame was finished, I decided to add some Antique Gold Rub ’n Buff throughout the frame to give it a little extra detail.
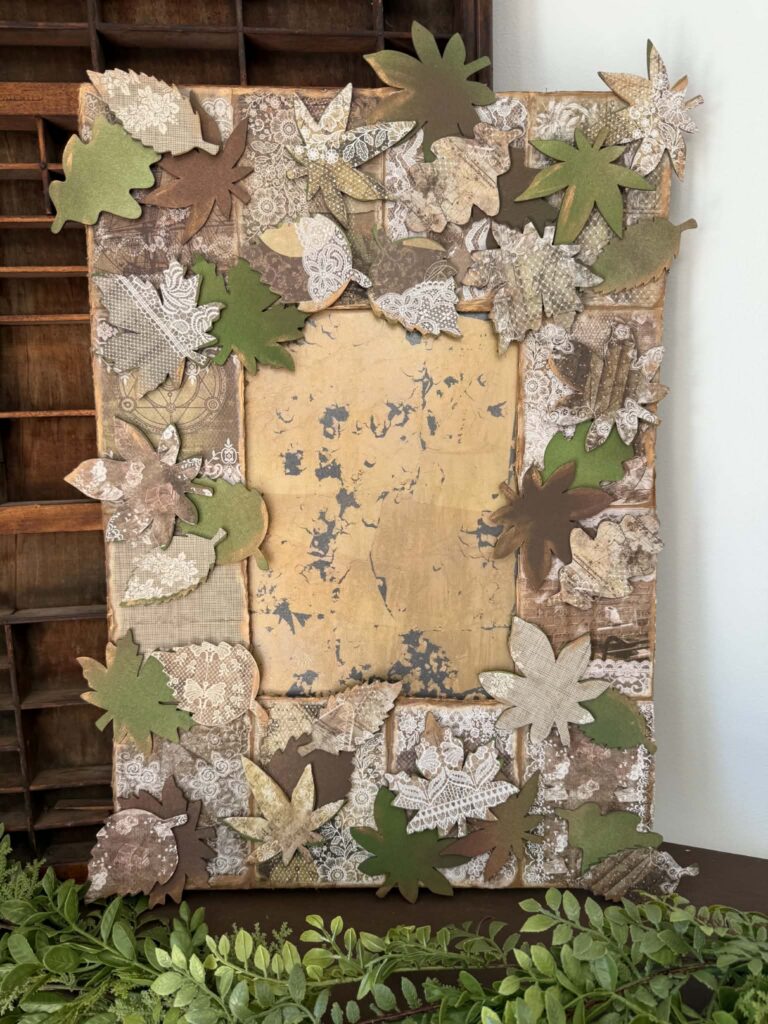
This was such a fun frame to make, and I think it would look great anywhere in your home. I hope you’ll get creative and give this craft a try!

I like how this turned out looks amazing ,very unique 🥰
Beautiful!
Love this😍You’re creativity continues to amaze me!💖🌲
Barb, this turned out really cool.
You are always so creative with your visions.
A beautiful craft Barb I love it!
Barb!! You’ve topped yourself, AGAIN!! I love this frame!! I even like it without the leaves, it has a really antique look to it with the lace!! I will be making this one!!
😘💕
Very pretty
Very pretty!
Love this frame! Looks very high end. Excited to watch you make it tonight.
This turned out amazing, love it ❤❤❤ definitely giving this a try
Barb I love this !! I love how it turned out very pretty very unique!!🩷🩷🩷🩷🩷🩷
Love it Barb
Turned out very pretty!
Love this!! ❤️
Beautiful! Great DIY! I love it!
So pretty and creative
Oh Barb it turned out so pretty
I love it. You’re so talented 🫶🌲🌻
I’m so thankful I found you years ago. You truly have helped me with crafting again. I never would of thought I’d post some of my crafts
Thank you