
If you love getting creative with unique home decor, you’re going to want to try this DIY candle craft! We’re combining a decorative LED wax candle with a handmade 3D casting resin appliqué to create a one-of-a-kind piece you can use all year long. Whether you’re dressing up a candle for a seasonal centerpiece or just adding a little flair to your everyday decor, this project is simple, fun, and full of charm. Let me show you how easy it is to take a plain candle and give it a beautiful resin makeover!
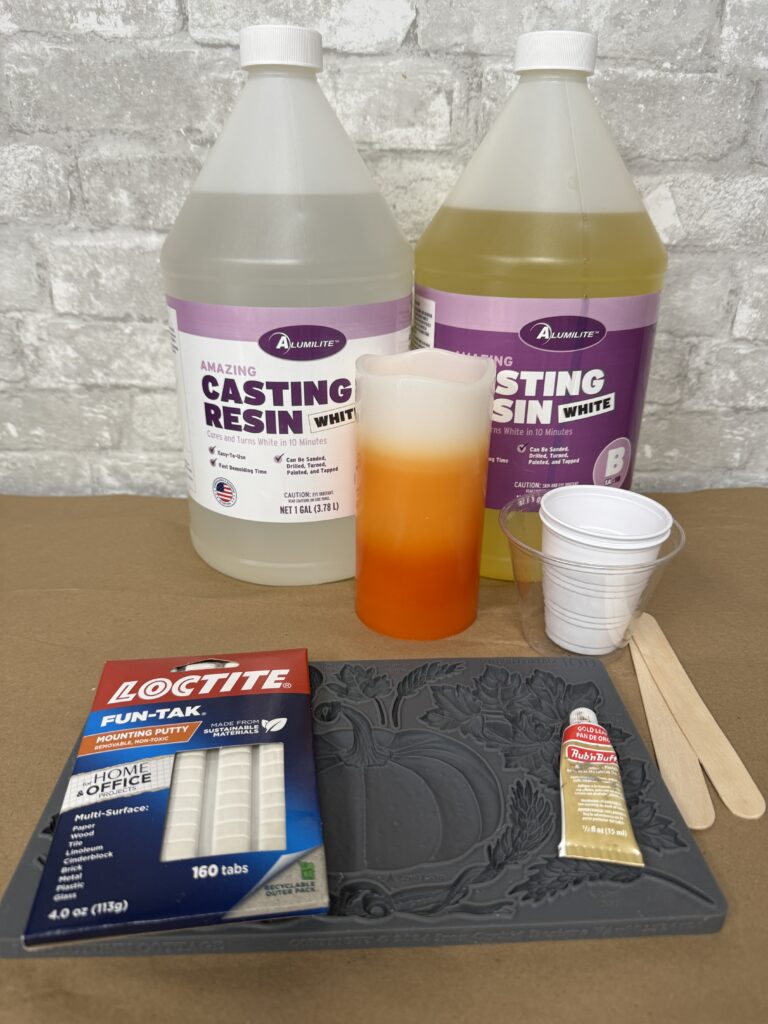
Here is a list of the supplies I used:
1. Casting Resin
2. Silicone Mold From IOD
3. Disposable Cups
4. Wooden Sticks
5. LED Candle from our website
6. Rub N’ Buff Gold
7. Loctite Fun-Tak
Here is the link to the casting resin I used, I bought the bigger one because we use it all the time here, but they do have a smaller version: https://www.amazon.com/dp/B08R5B7XH4?linkCode=ssc&tag=onamztheshabb-20&creativeASIN=B08R5B7XH4&asc_item-id=amzn1.ideas.3P1T9U2GJA6TW&ref_=aip_sf_list_spv_ons_mixed_d_asin
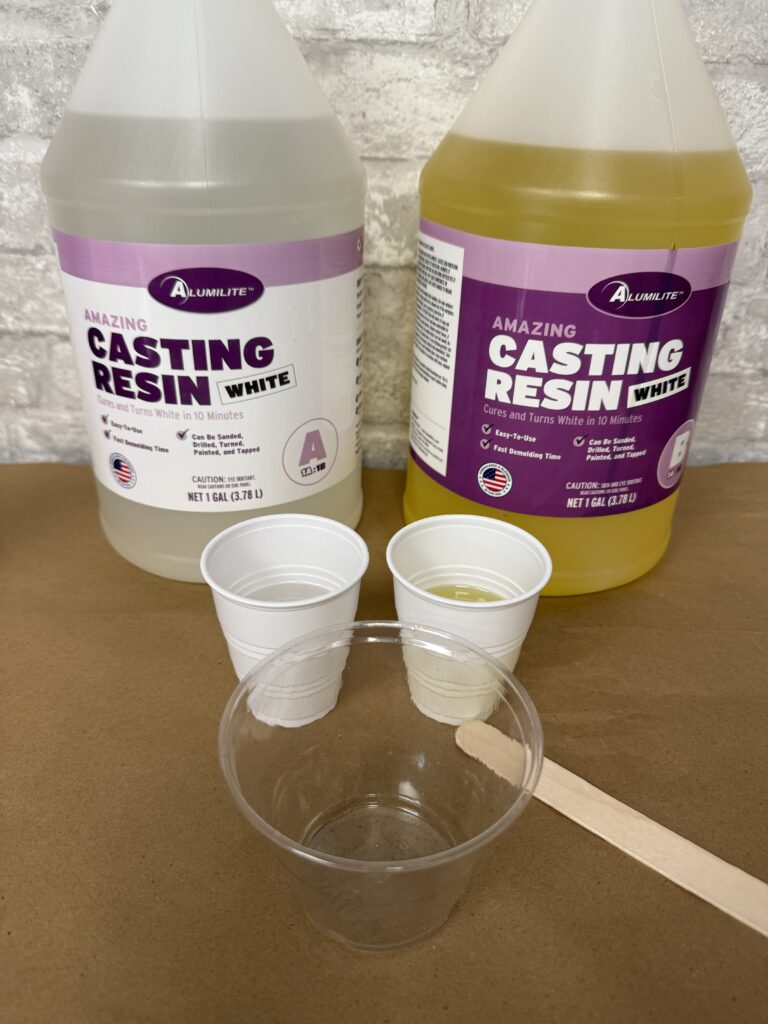
First, I combined equal parts of Part A and Part B of the casting resin. You’ll want to work quickly during this step—once the two parts are mixed, the resin starts to cure fast, so be ready to pour right away.
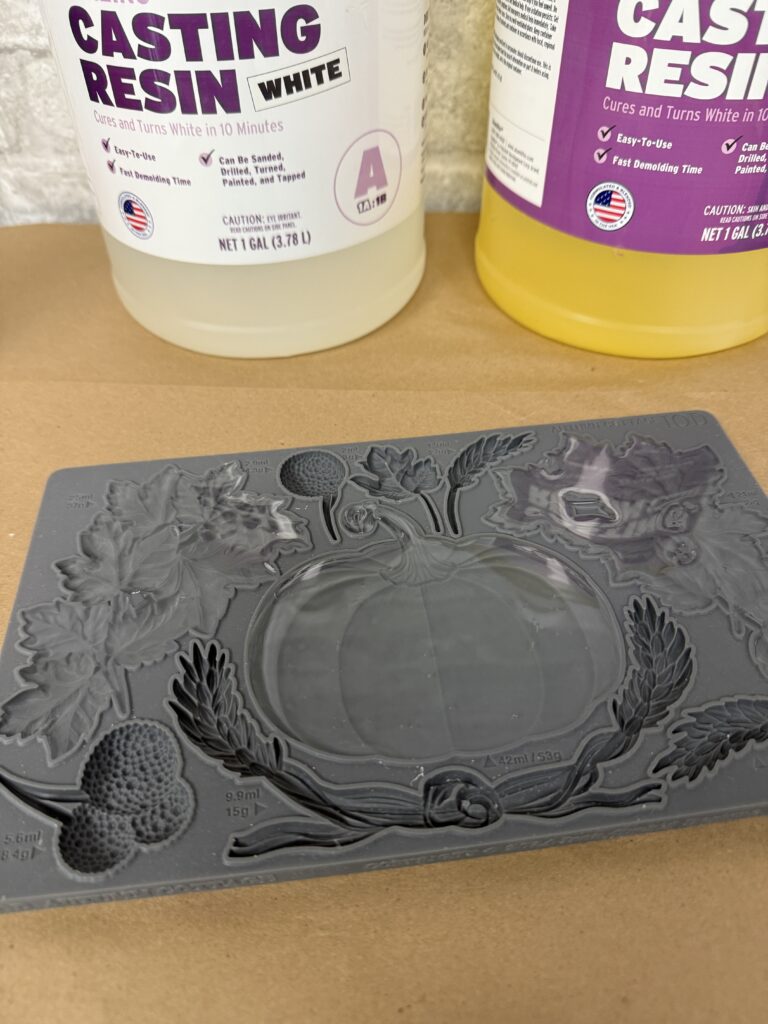
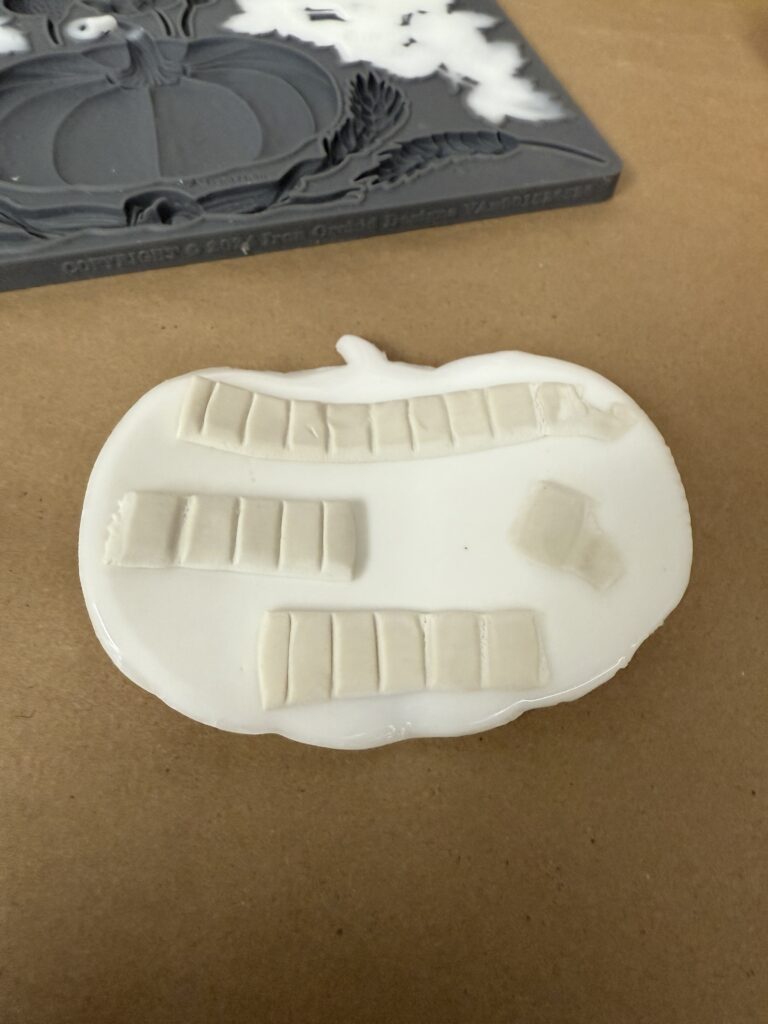
I’m using the Autumn Cottage IOD mold for mine, but that’s the fun part—you can use any flat silicone mold you like! That means the possibilities are endless, whether you’re crafting for fall, Christmas, or any season in between. I quickly poured the casting resin into the mold, and just a heads-up—when you first pour it in, the resin will look clear. Don’t worry, it’ll start to change as it cures!
Here is the link to the mold that I used: https://rstyle.me/+9gA7HbV1Ur1Mhomf0t9vxw
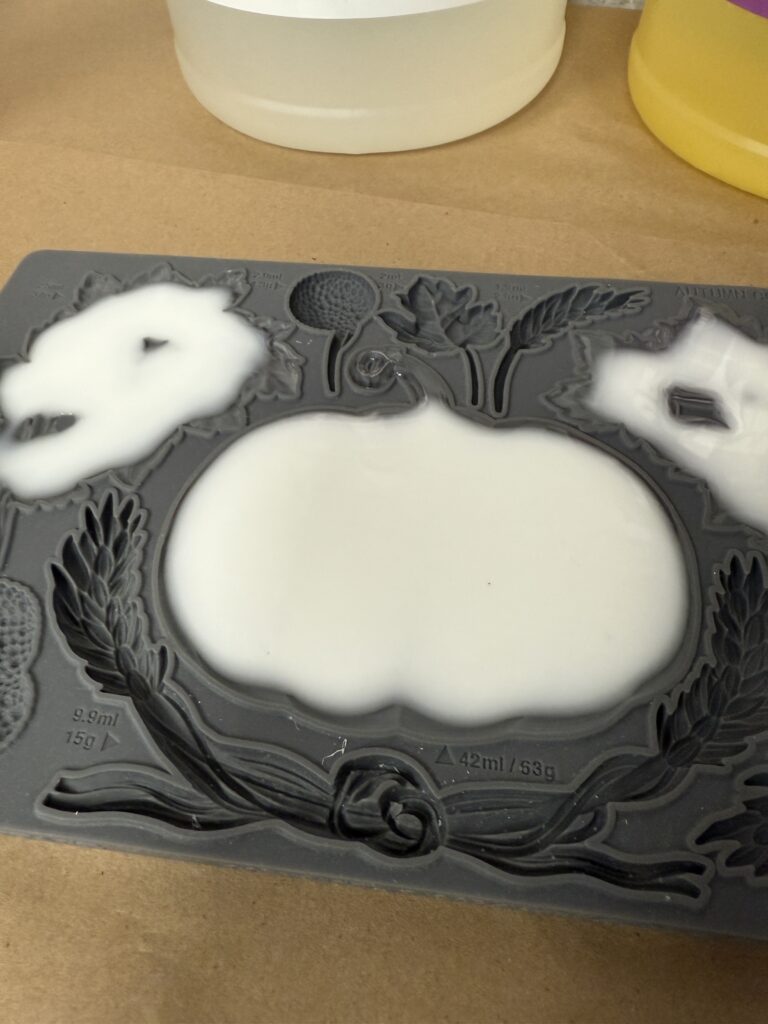

Once it’s fully cured, the resin will turn solid white and should pop right out of the mold with no trouble.

When the casting is still warm and slightly bendable, that’s the perfect time to shape it. I gently curved mine to match the shape of the candle so it would sit flush once attached.
I added Loctite Fun-Tak to the back of the embellishment. I really like using this because it’s not permanent, which means you can easily swap out the embellishments for different seasons or occasions.
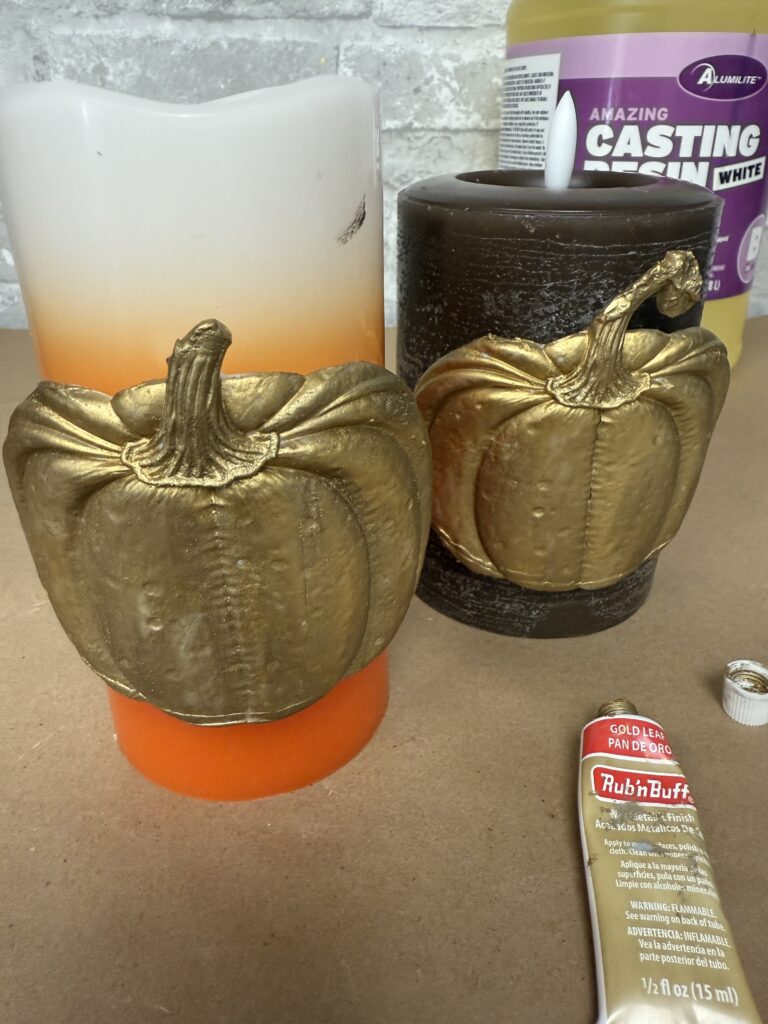
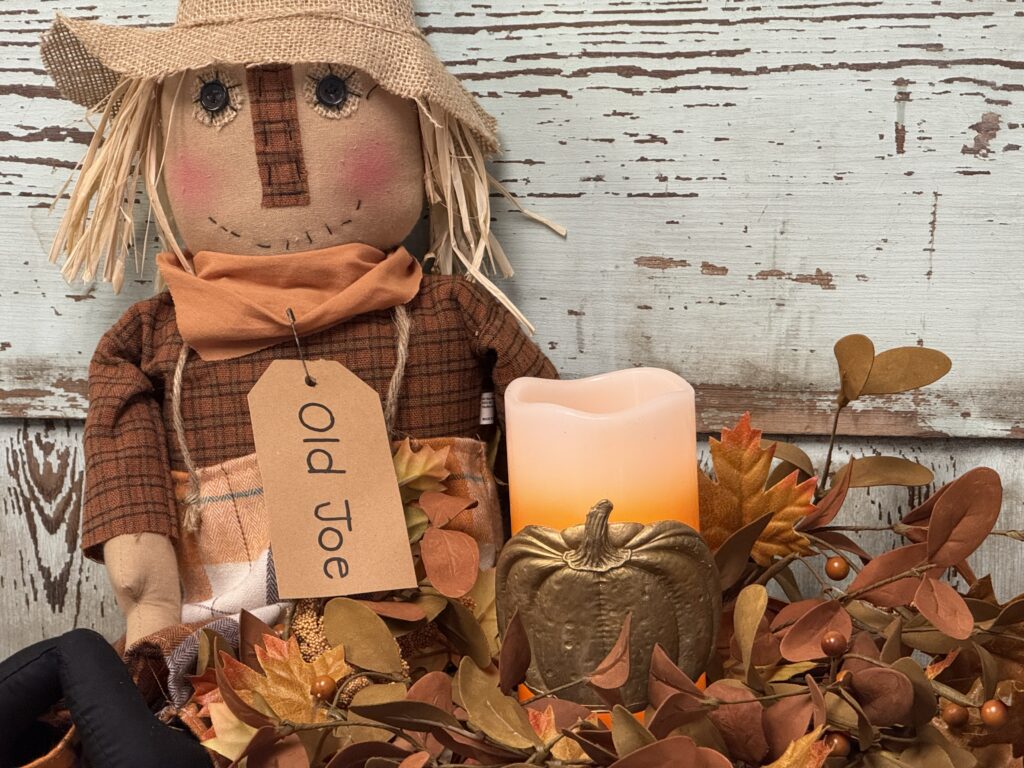
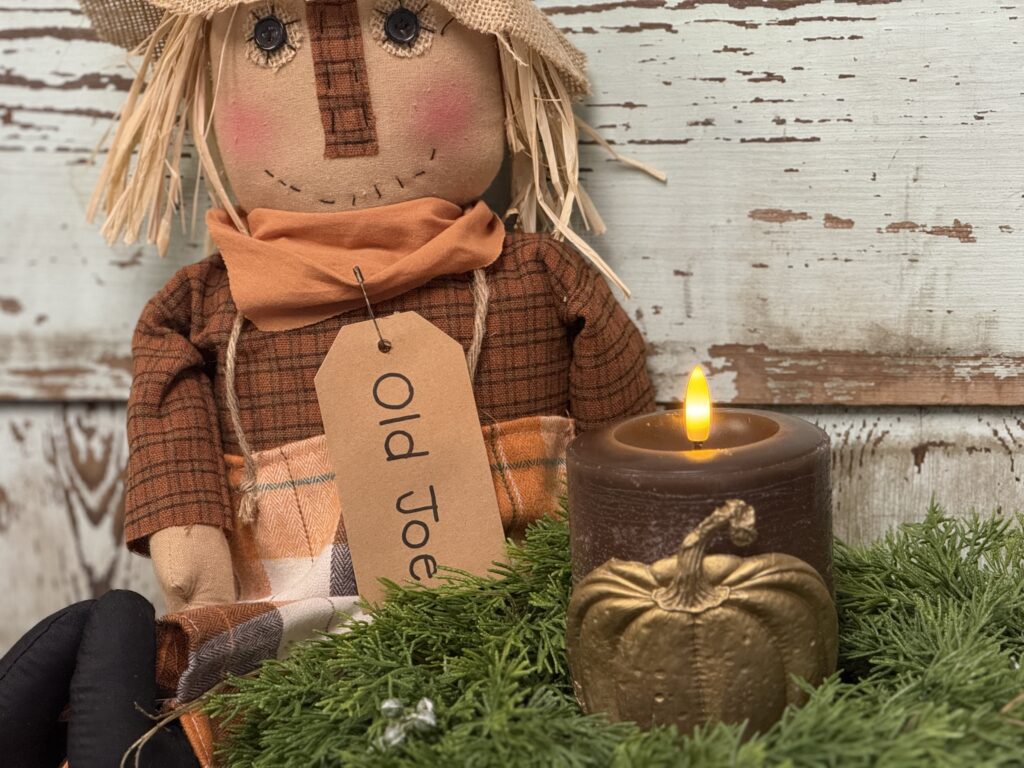
Next, I added a bit of Rub ‘n Buff to my pumpkins for a metallic touch. You can do the same or use paint instead—whatever fits your style and the look you’re going for!
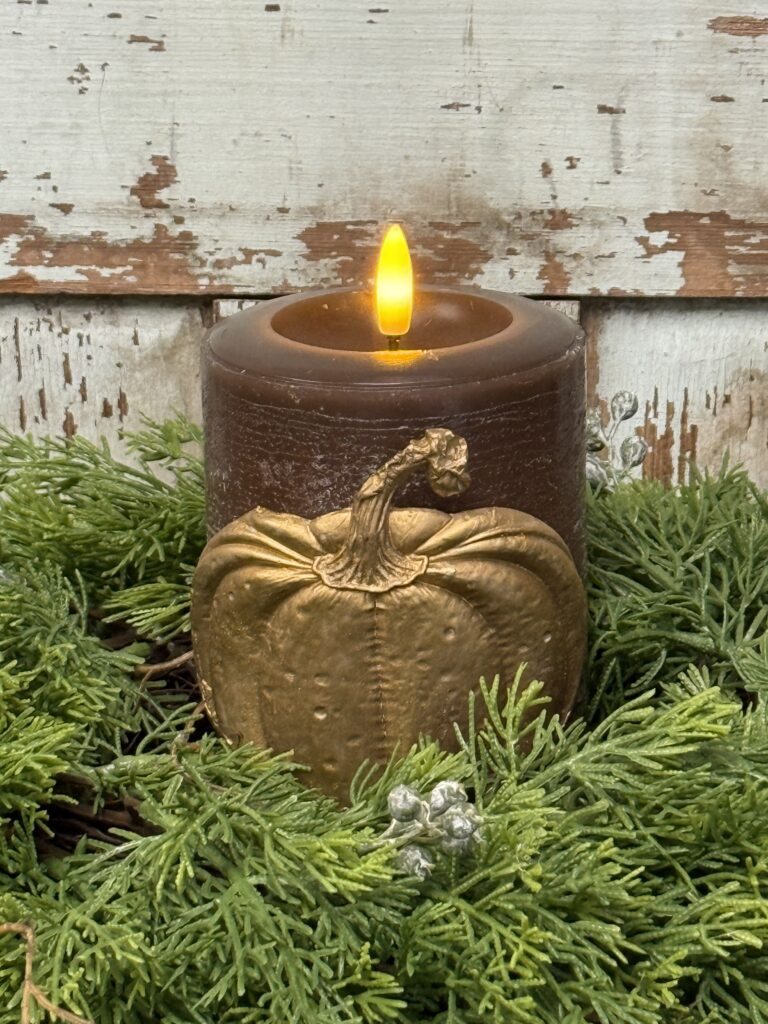
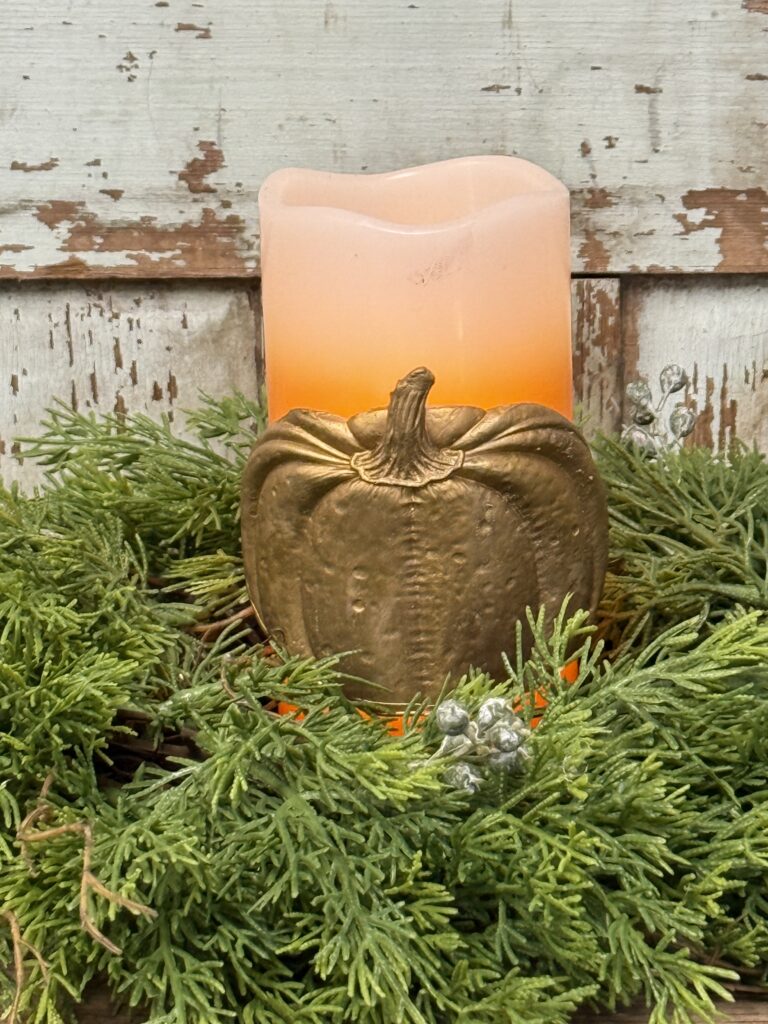
I found the brown candle at HomeGoods, but you can grab the candy corn one right from our website—just click here: https://theshabbytreeboutique.com/candy-corn-led-pillar/
And that’s it! This is such a fun way to dress up a plain candle and give it a custom look for any season. Whether you go with pumpkins, snowflakes, or florals, the possibilities are endless with resin appliqués. I hope this inspires you to get creative and try something new—you never know what you’ll end up loving until you give it a try!
This blog may contain affiliate links, which means I could earn a small commission if you make a purchase through them—at no extra cost to you. Thanks for supporting what I do!
Love the pumpkin i love working with this resin . But I need this mold but dont know where to get it?
Pretty dang cool!
Barb……Your creativity never stops and I just love that!! You craft to live and you love to craft….. that’s your new motto, sweet lady!!
Wow! Perfect way to make candles interchangeable! You never cease to amaze me with all your great ideas
Oh Barb, this turned out fabulous. So fun to be able to change our candles throughout the year. Thank you again for your inspiration. 🧡🧡🌲
Barb, this came out amazing can’t wait for tonight. Love it so creative. 🤗💗
Love this! Awesome creation!