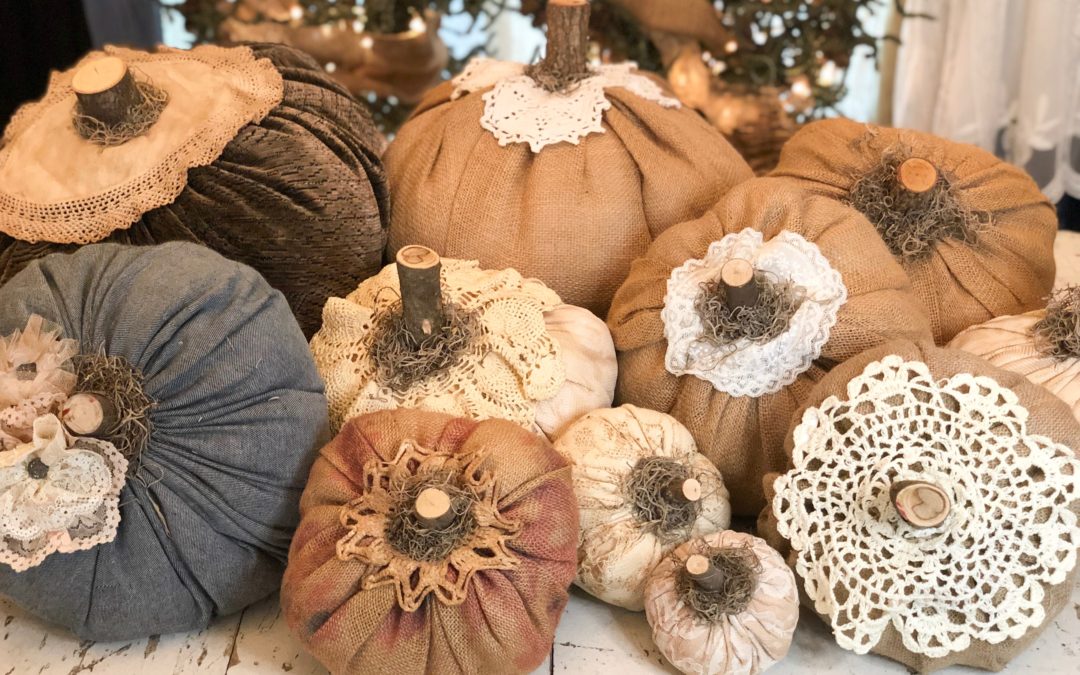
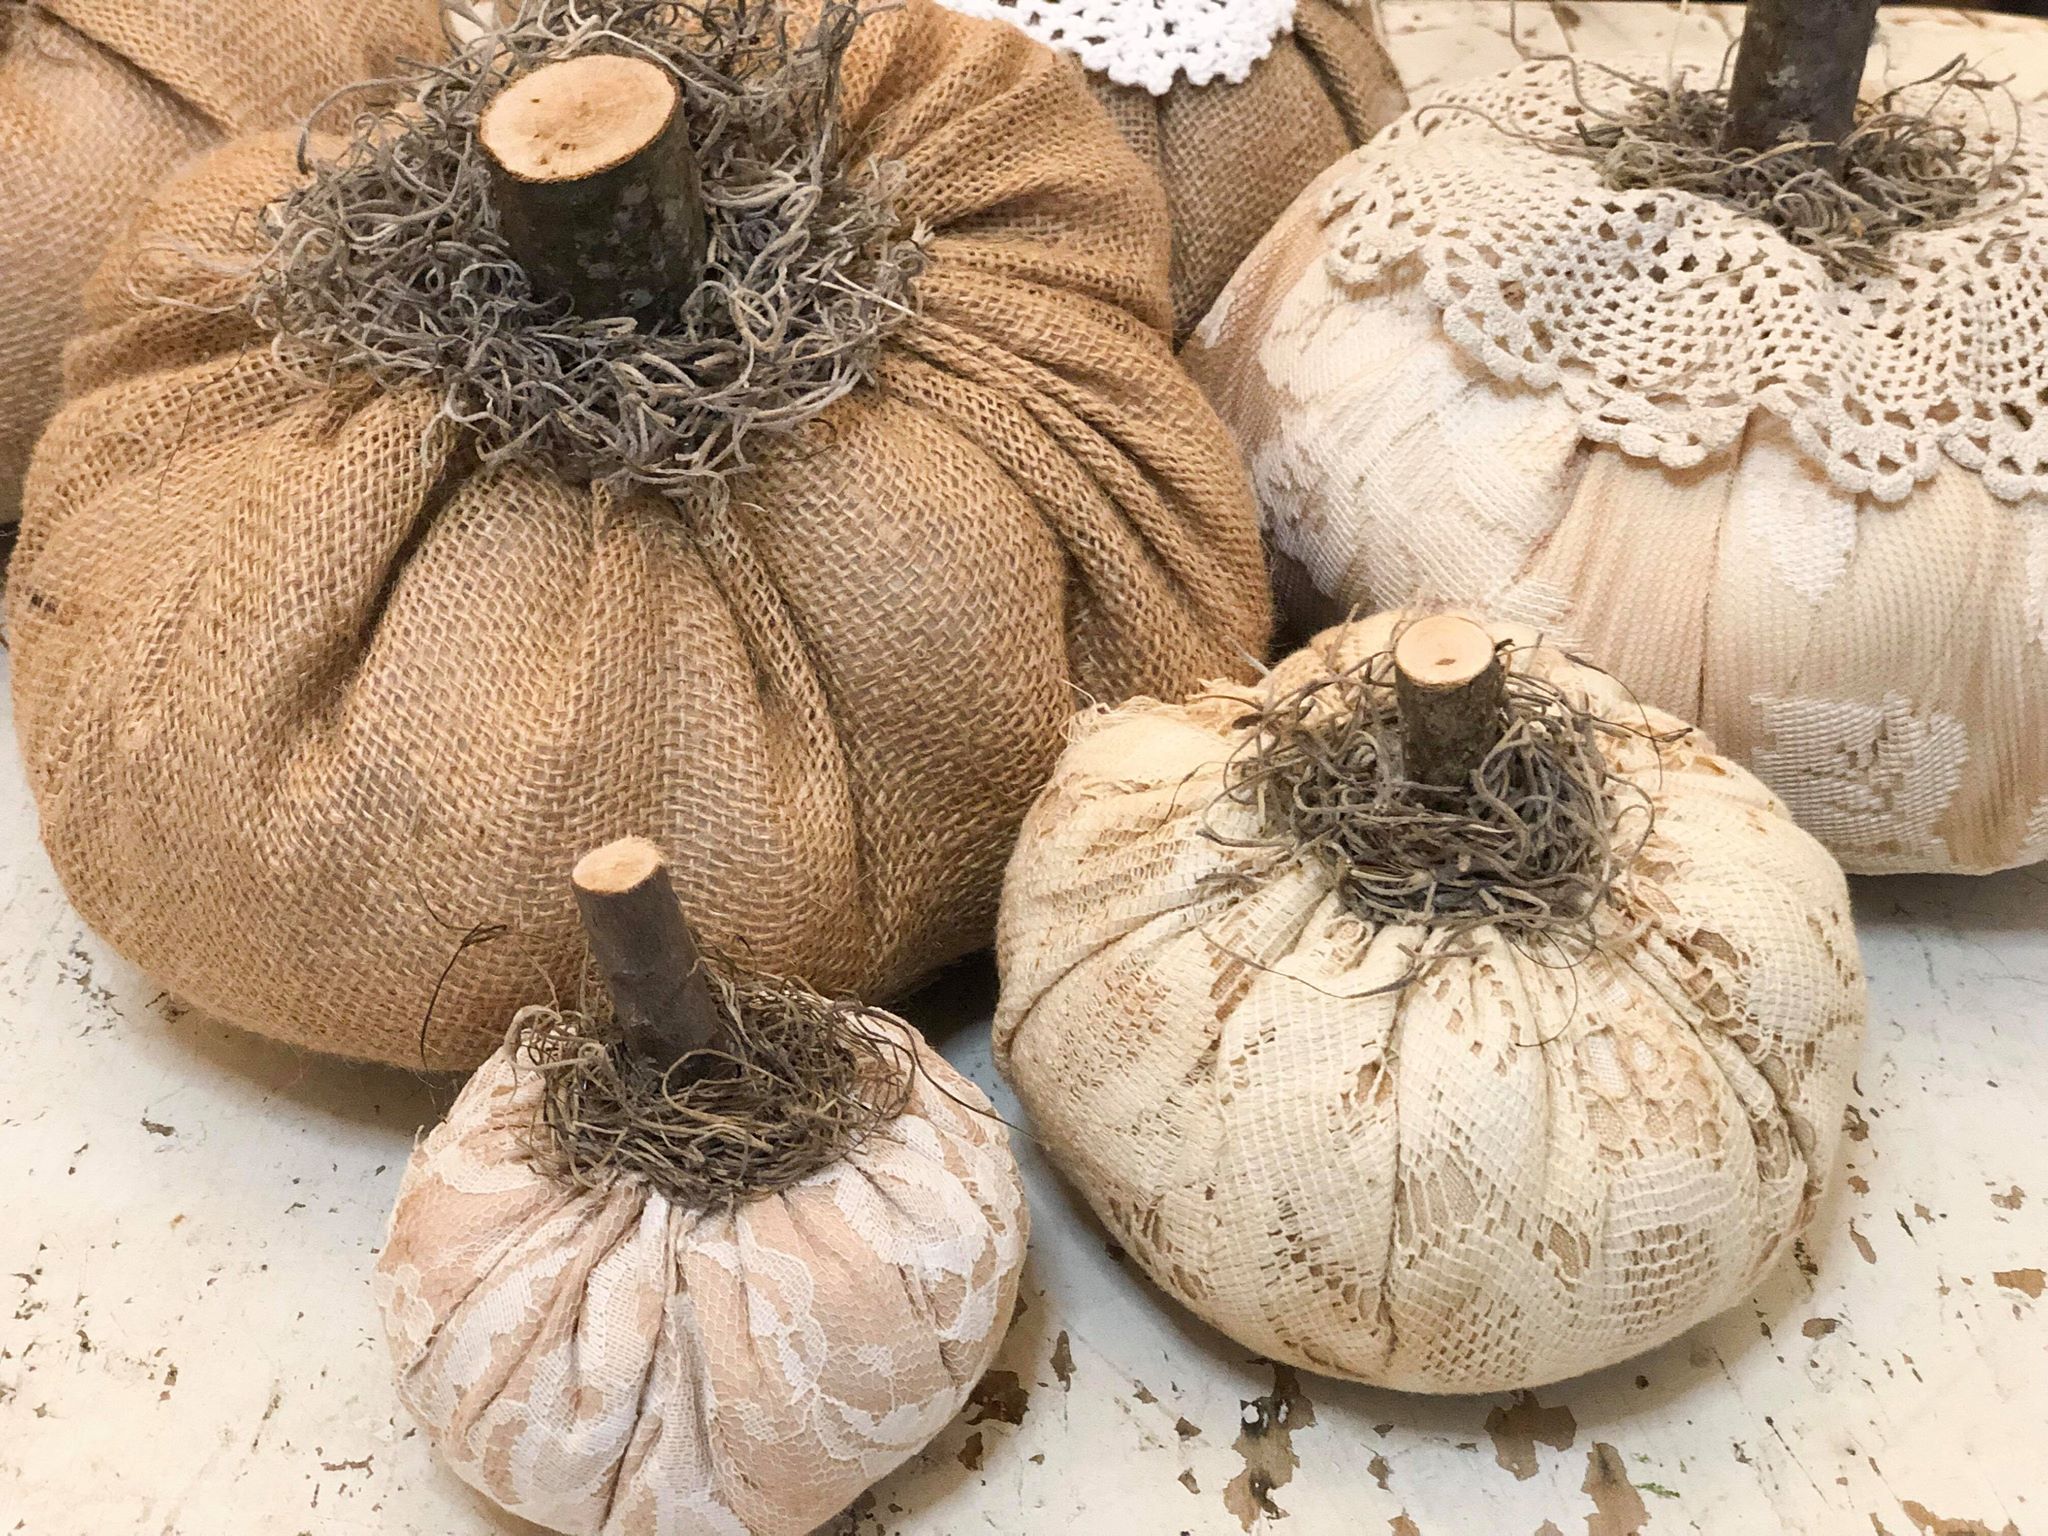
I love fall and I just love decorating for it. One of my favorite things to decorate with for fall are pumpkins. I know you can find pumpkins in almost every store but I like to have certain sizes and certain colors for each pumpkin. I have been decorating a lot with lace and burlap and decided to try making some pumpkins with it. If you want a simple and quick way to make a fabric pumpkin then you need to give this project a try.
The supplies you will need are:
1. Material you can use any print or type of material you want)
2. Stuffing
3. A hot glue gun
4. A marker
5. Spanish moss
6. Twine (you could also use dental floss in place of twine)
7. Scissors
8. A twig for the stem
9. A needle (your needle must have a wide opening to thread twine through)

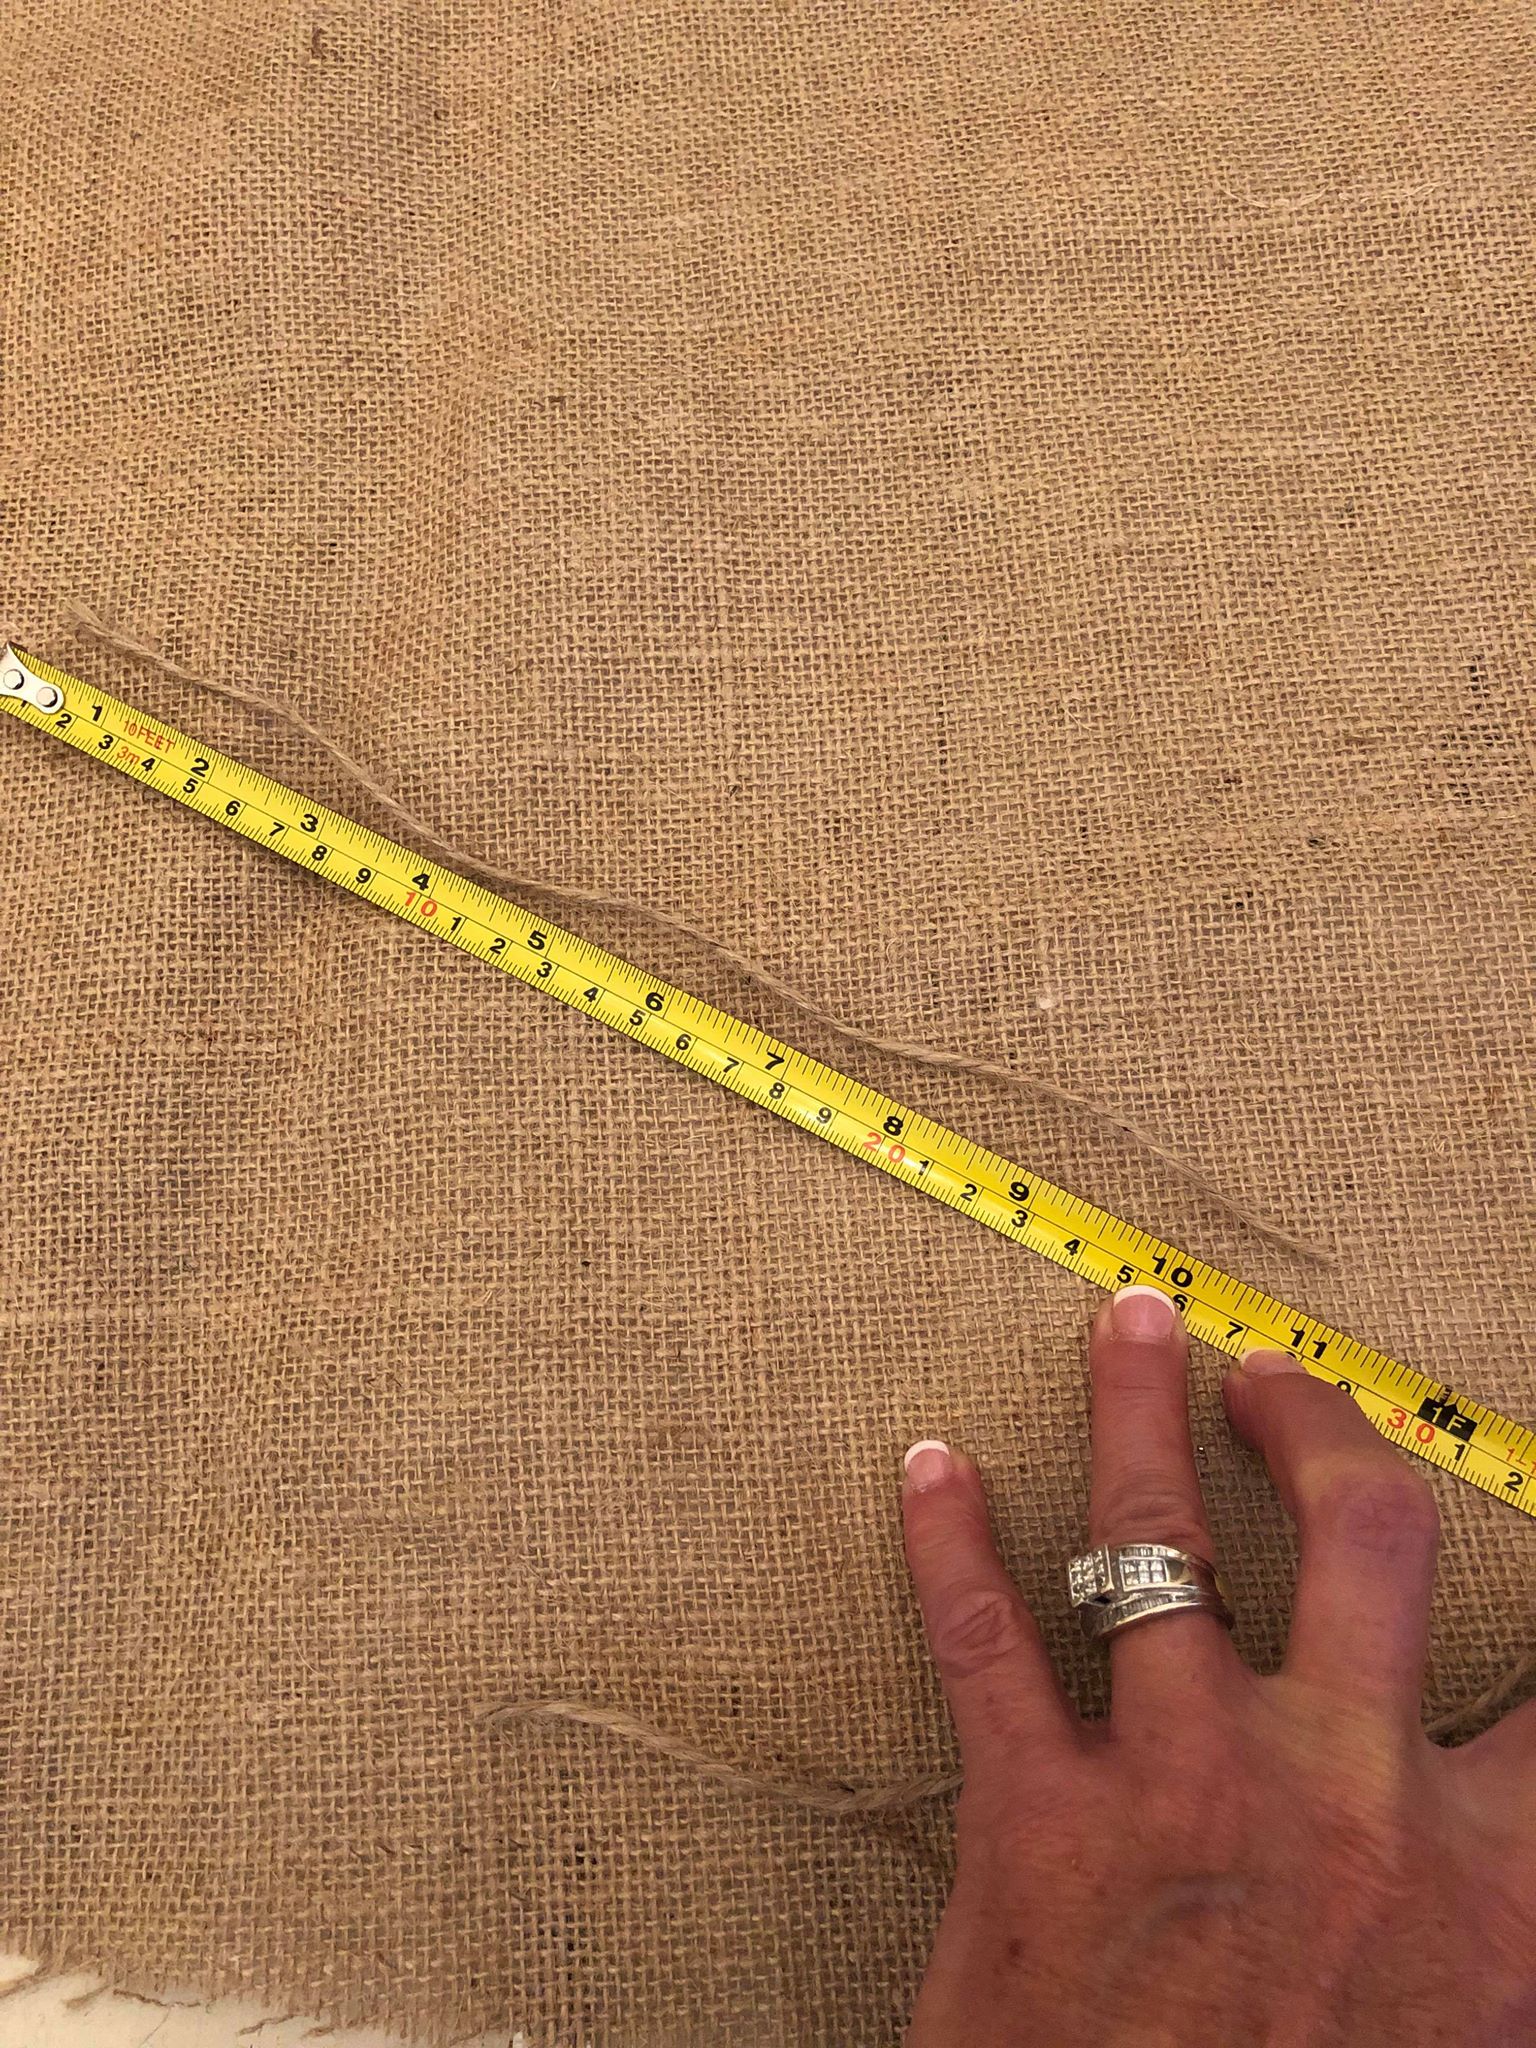
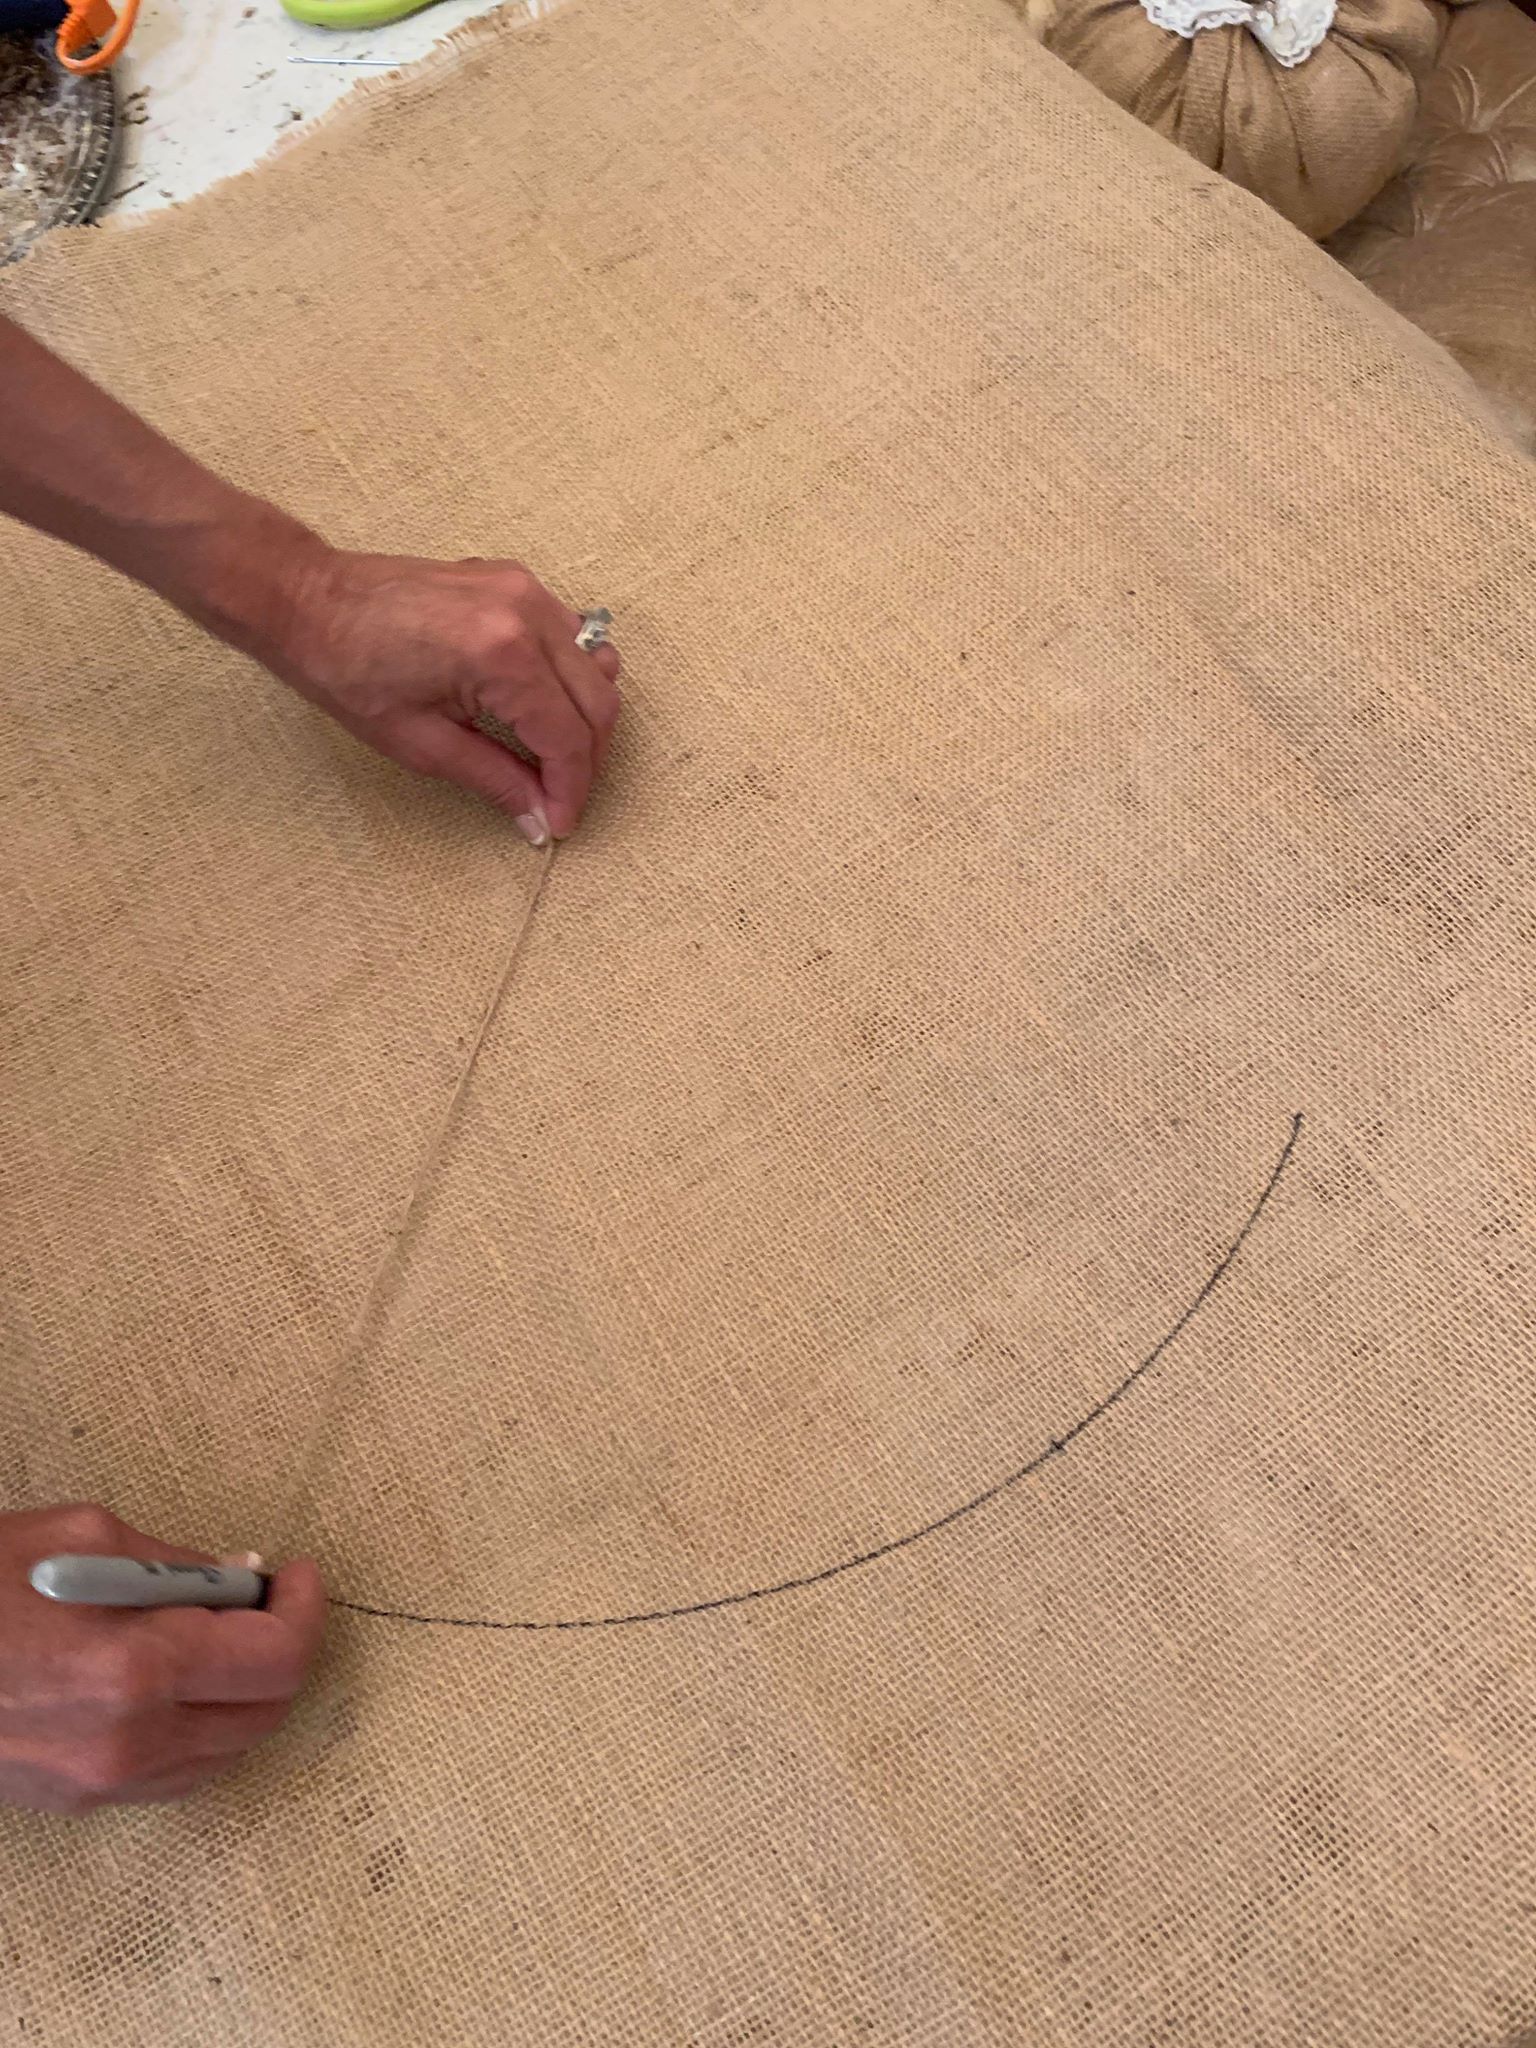
The first step is to cut a piece of twine. I cut an 11 inch piece of twine which makes an average size pumpkin. This piece of twine is going to form our circle which will make our pumpkin. The longer your piece of twine, the bigger your pumpkin will be.
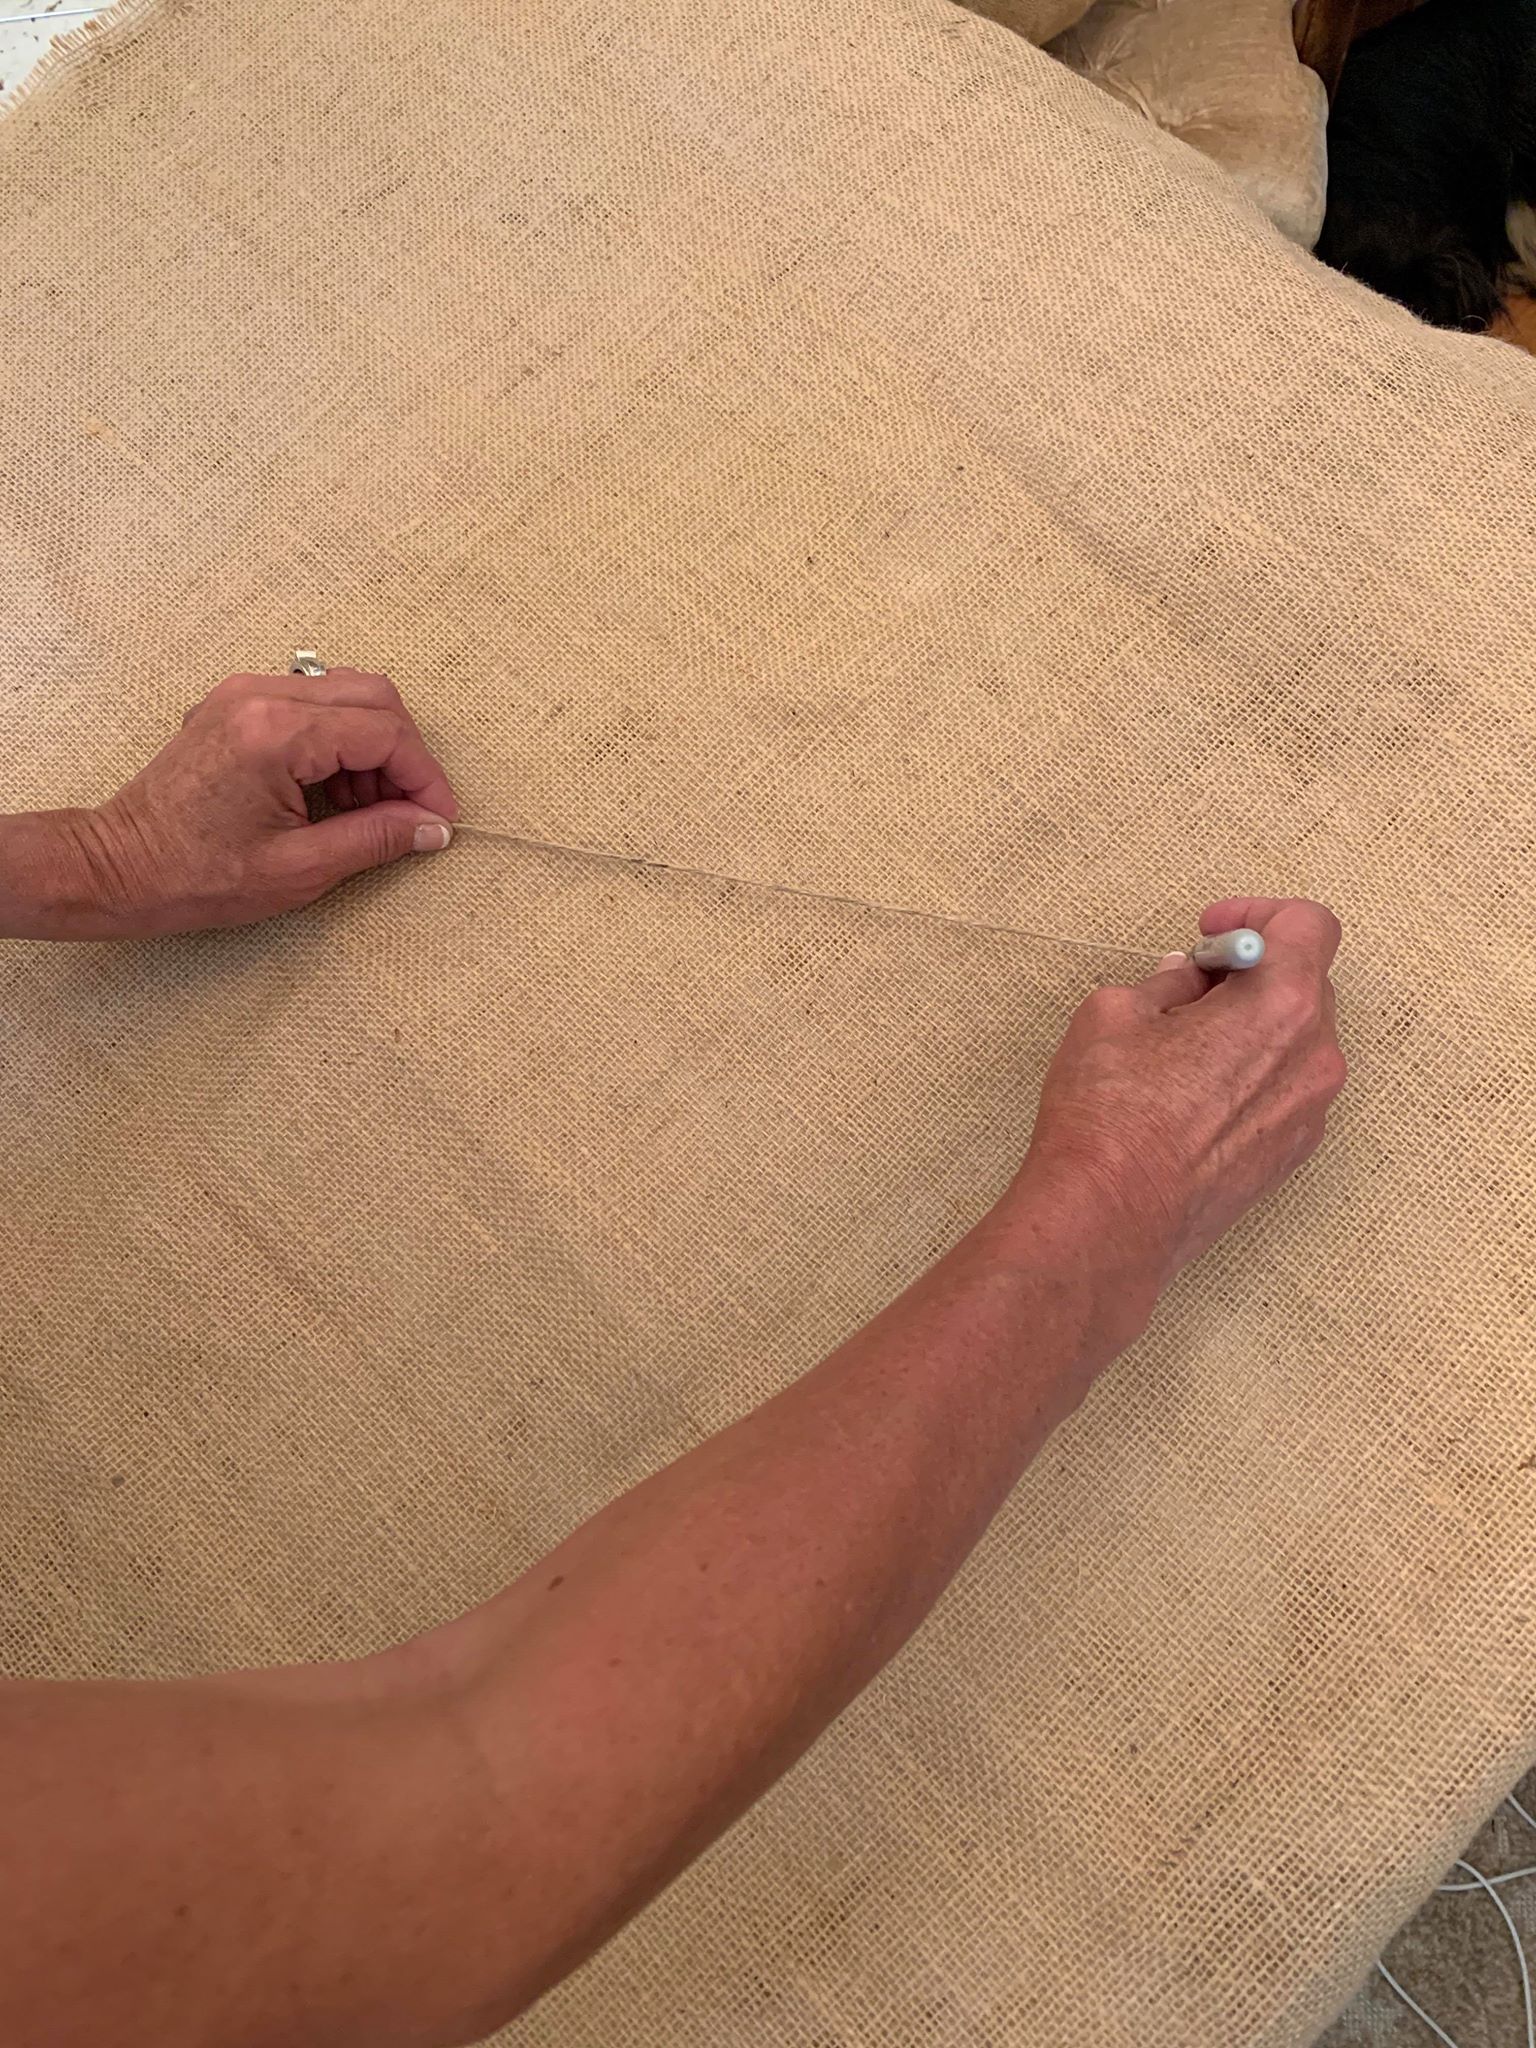
You need to lay your material down and pick up your piece of twine. I take one hand and stabilize one end of the twine into my material. Then I take the other end of twine and the marker in my other hand and rotate around to form a circle.
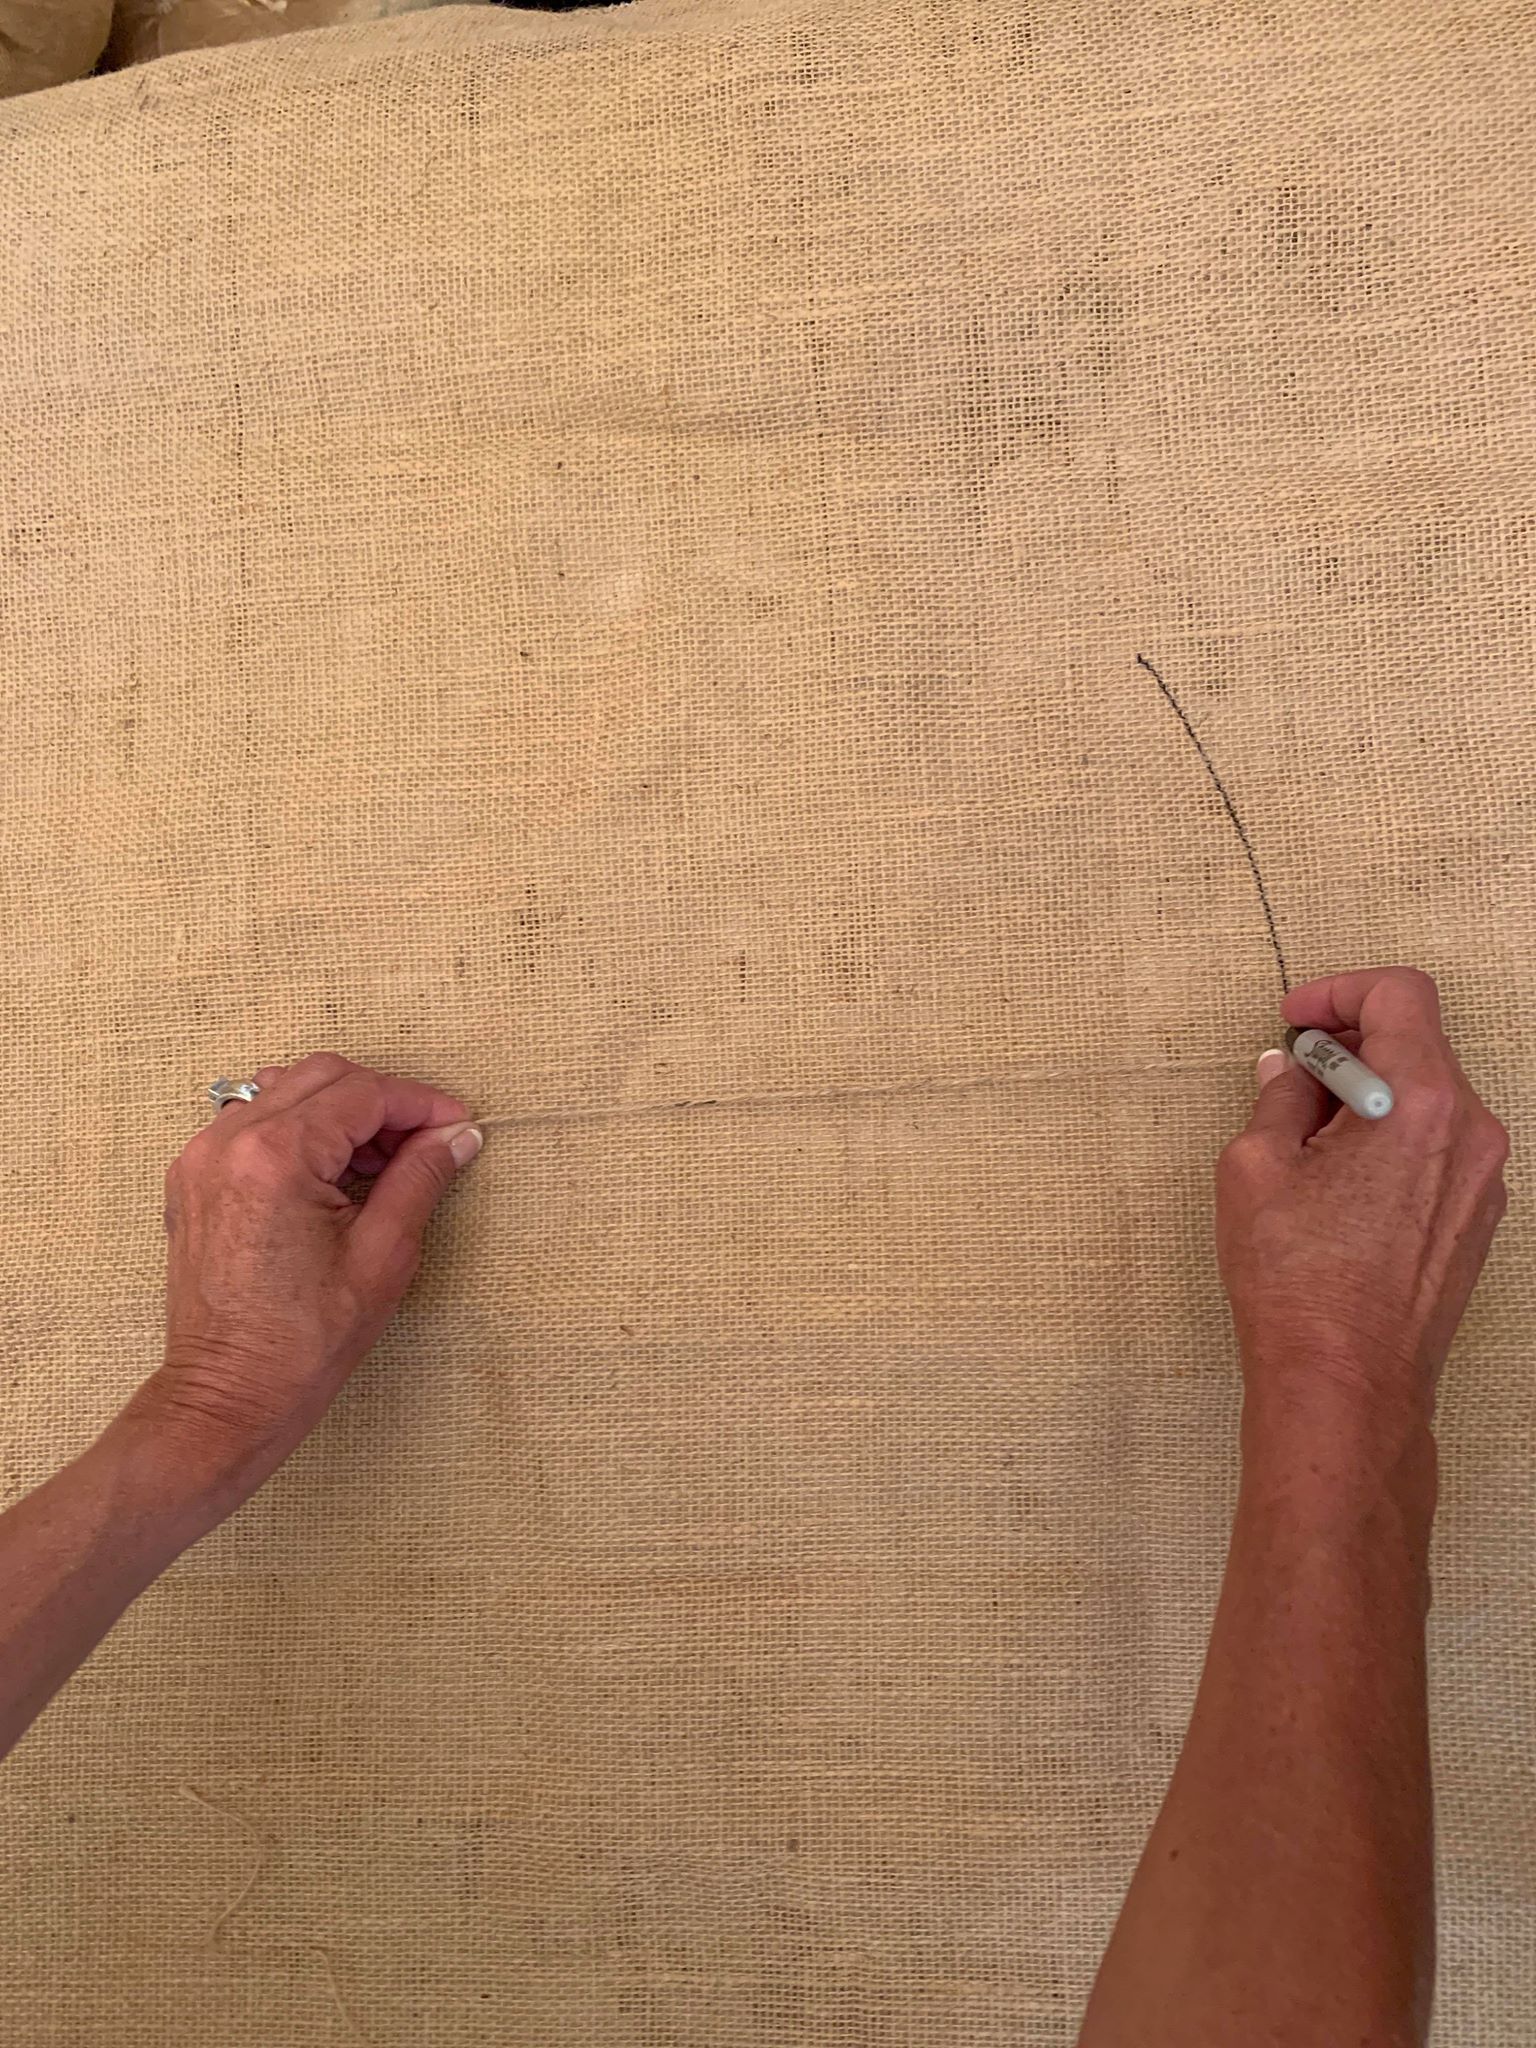
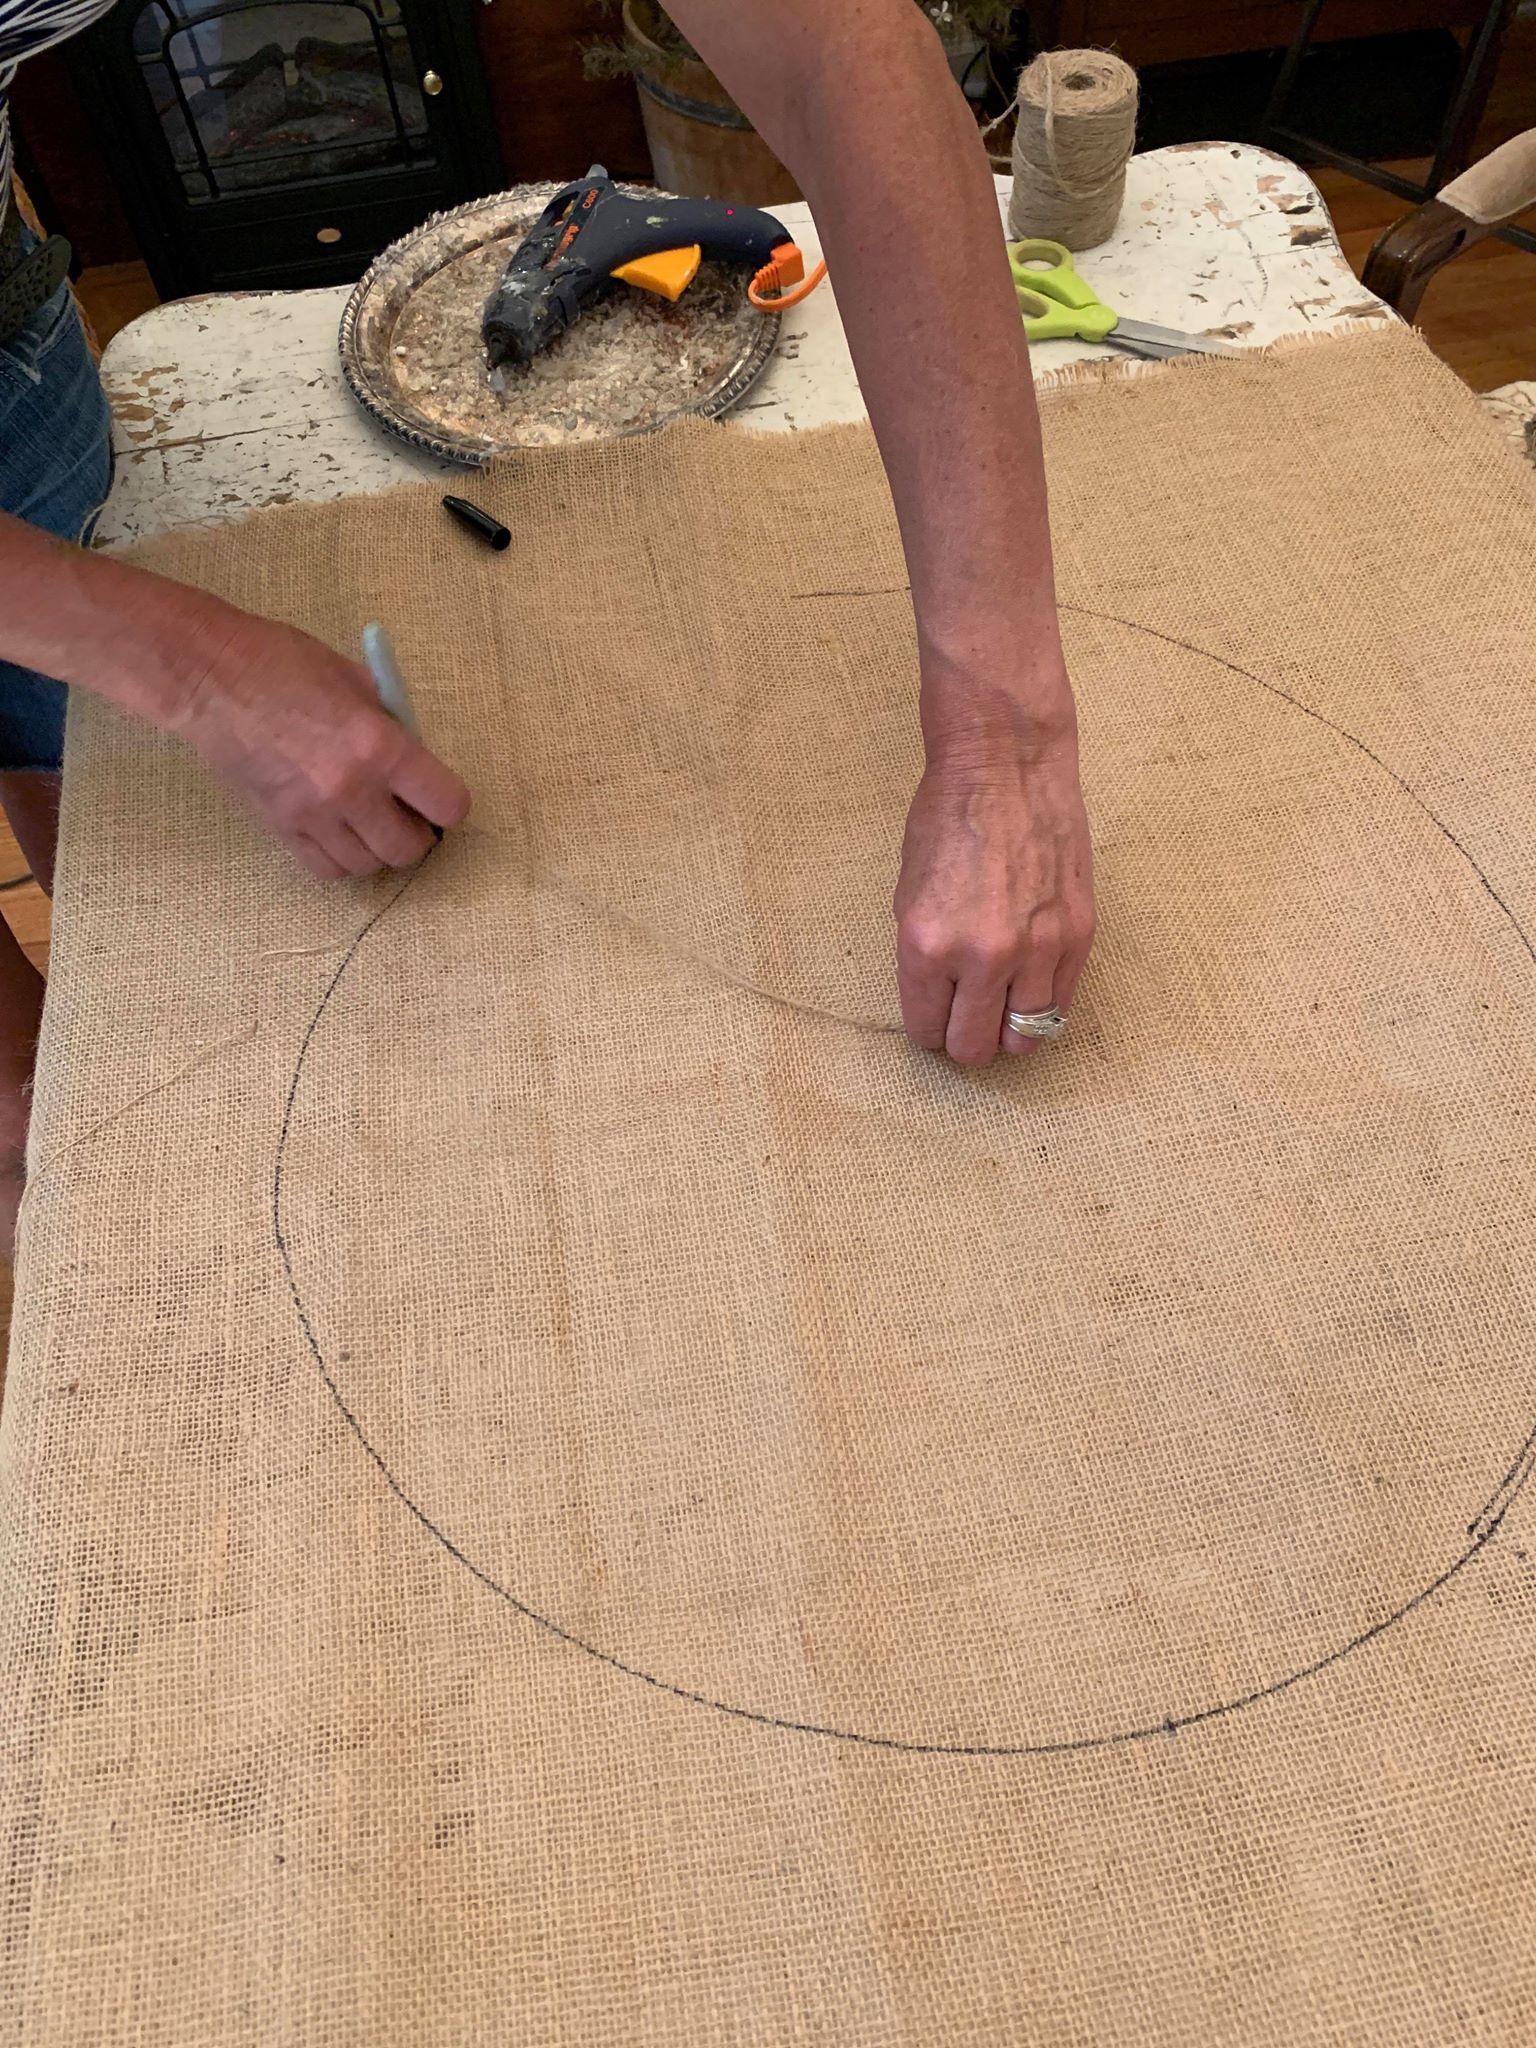
Once you have completed a circle you then need to cut it out.

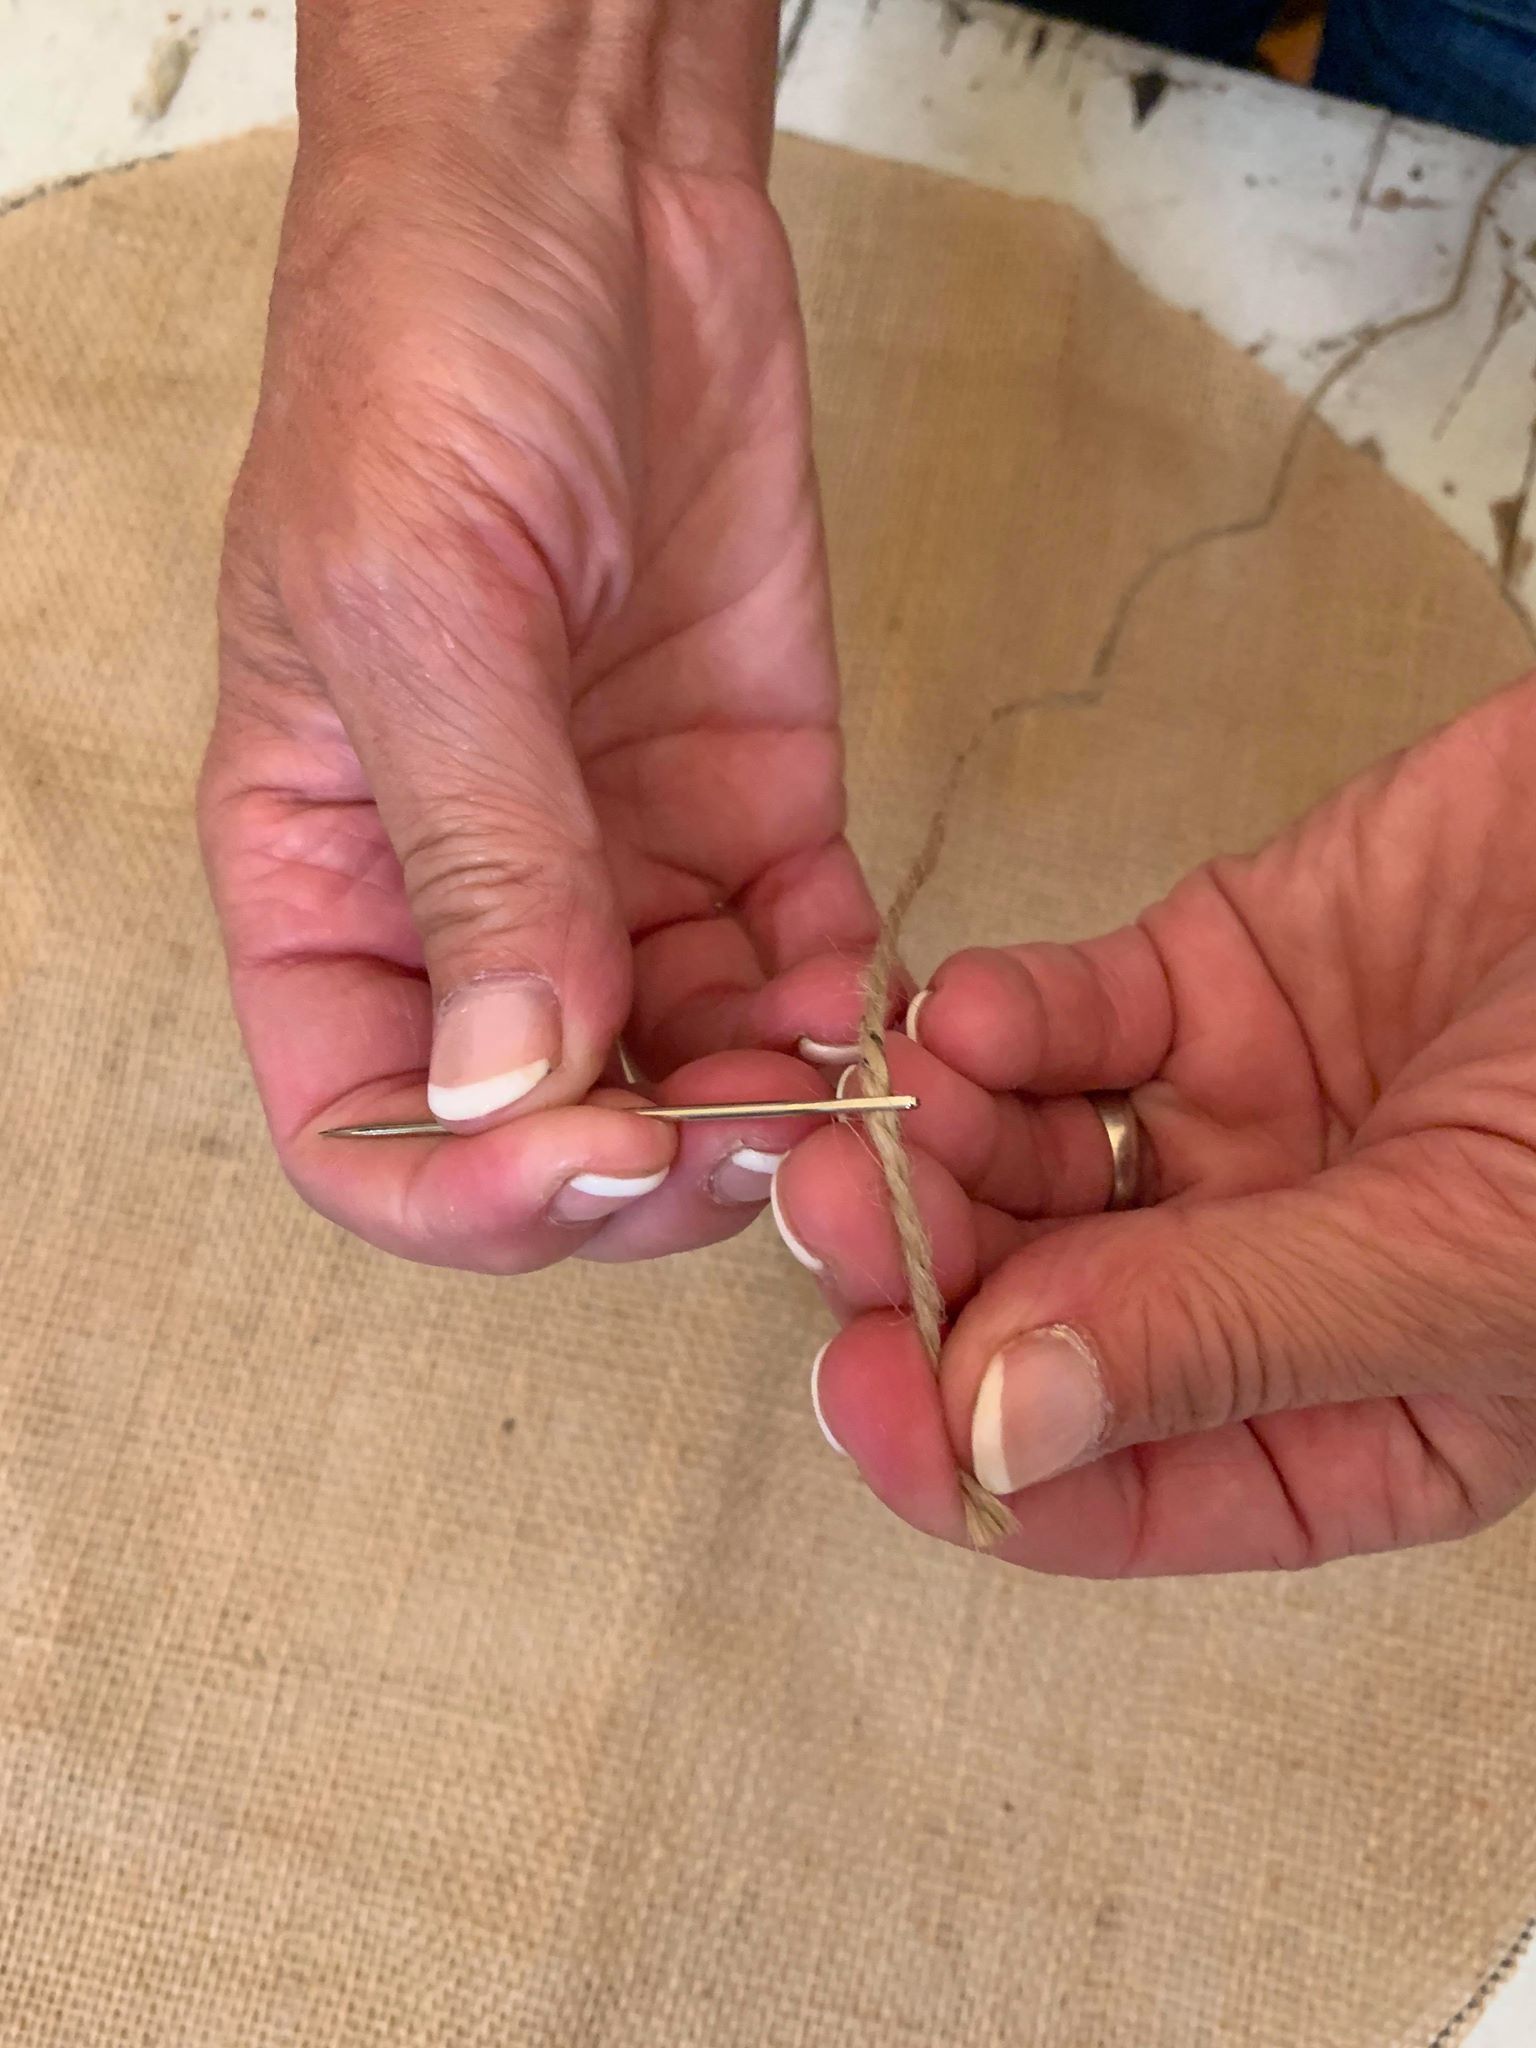
Once you have your cirlce cut out it’s time to sew a basting stitch. You need to thread your needle with your twine and do a basting stitch around the whole circle. If your material is printed be sure your material will be facing down because this will be the outside of your pumpkin.
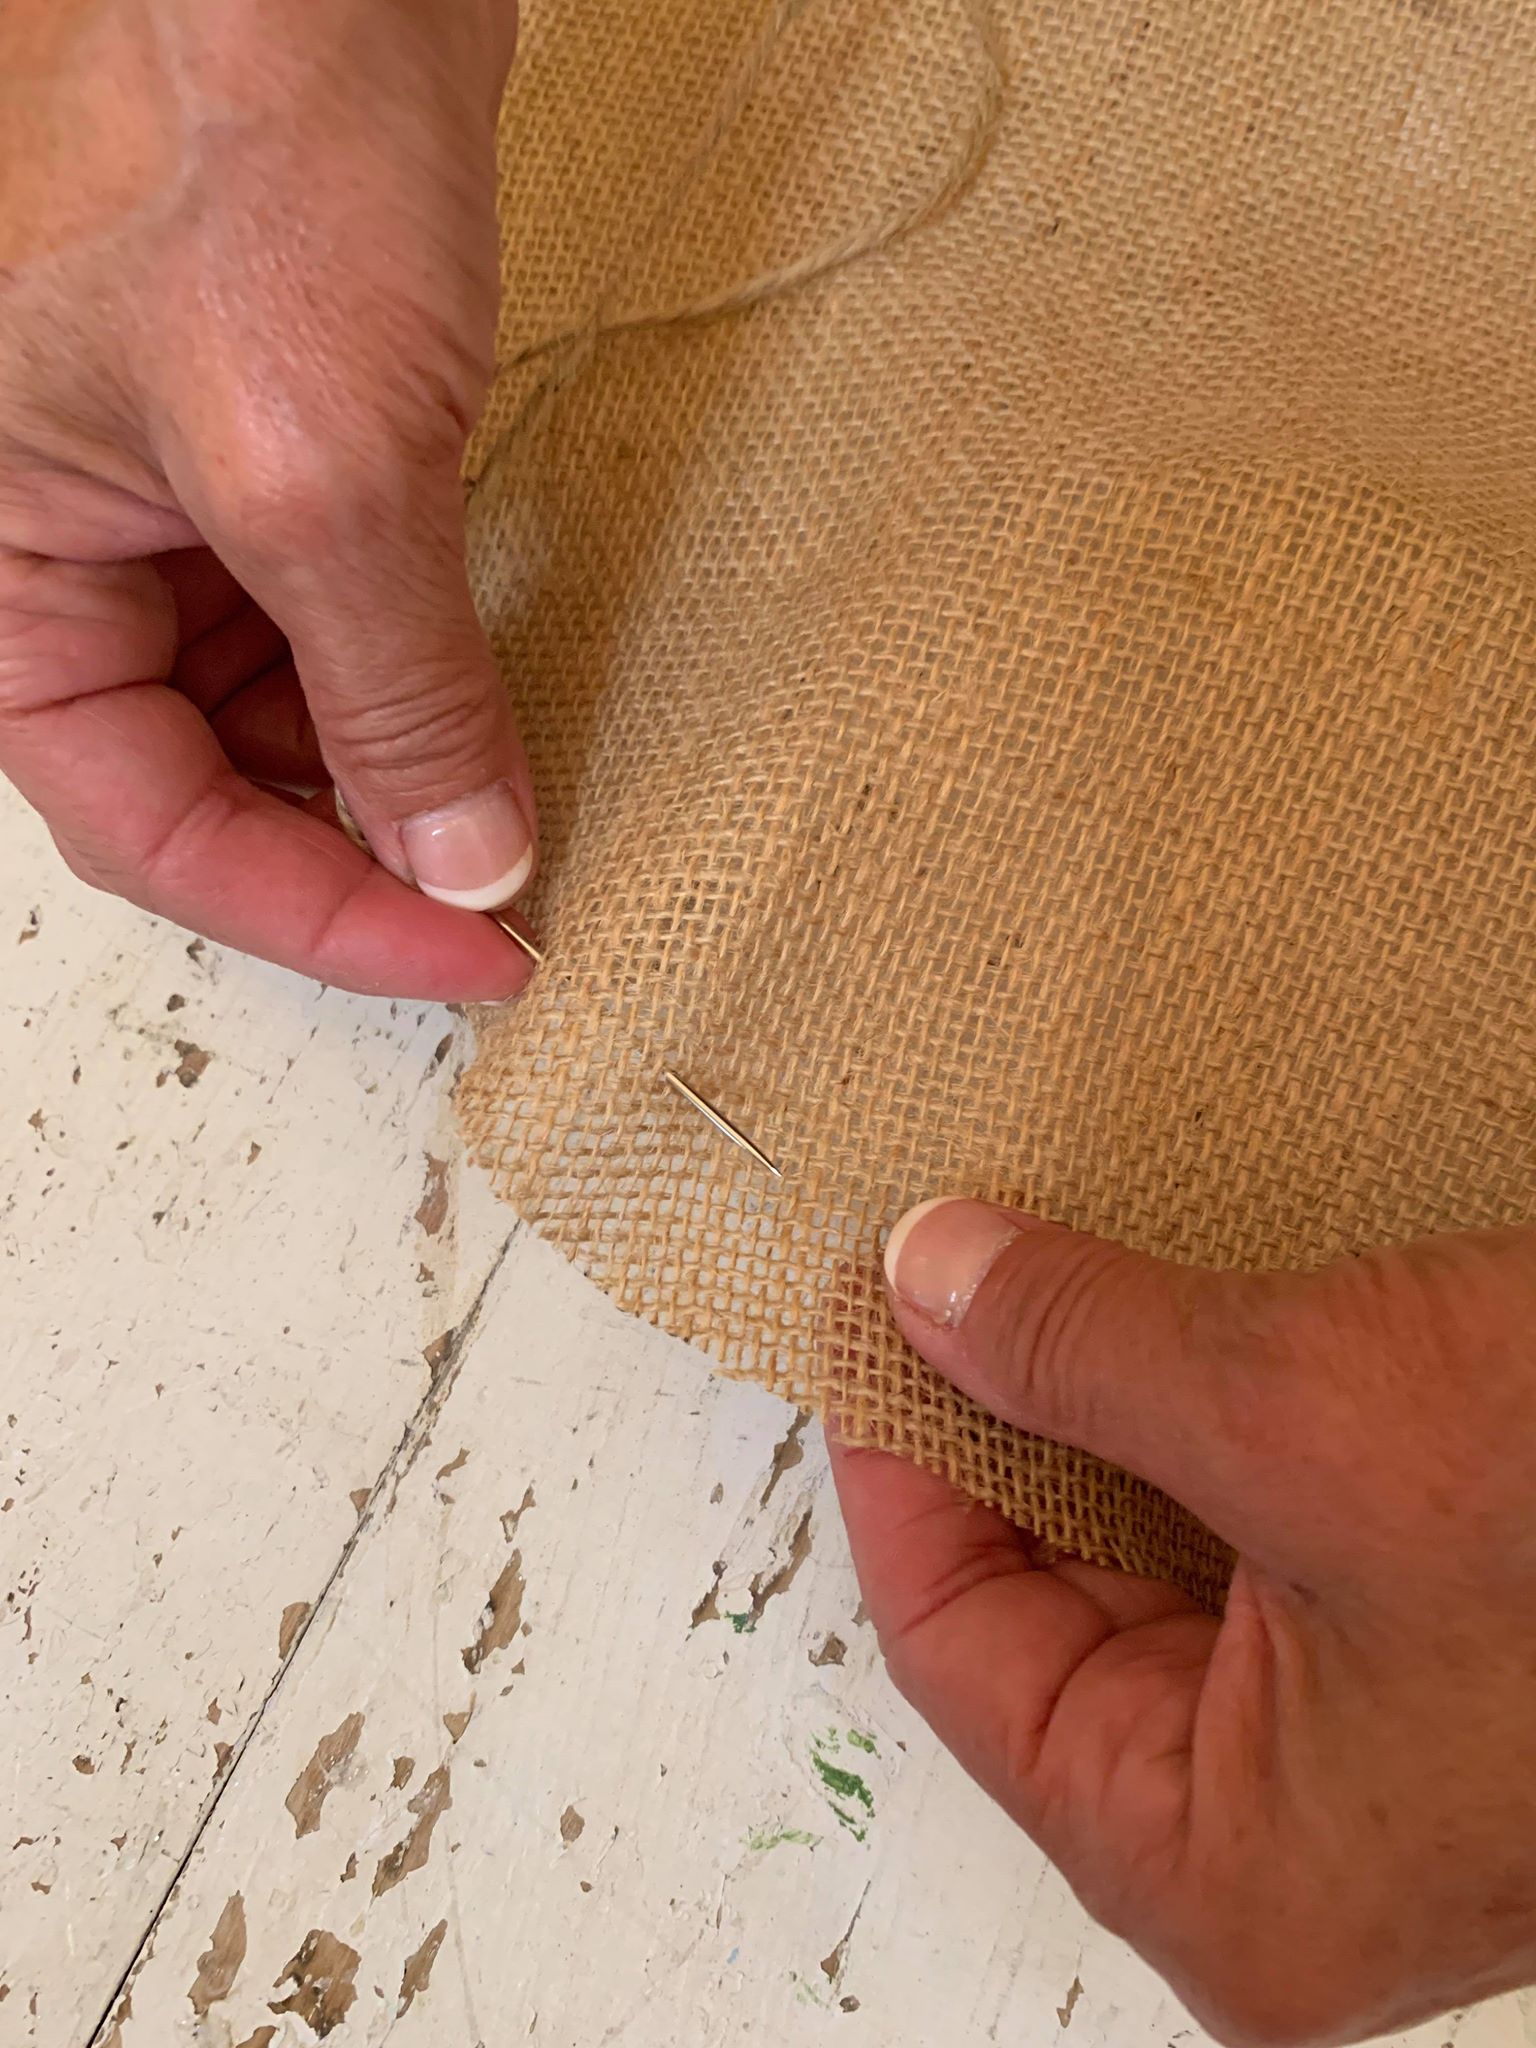
When you have completed the basting stitch completely around your circle you need to make sure your 2 end pieces are coming out of pumpkin. Having your end pieces coming out makes it much easier to pull.
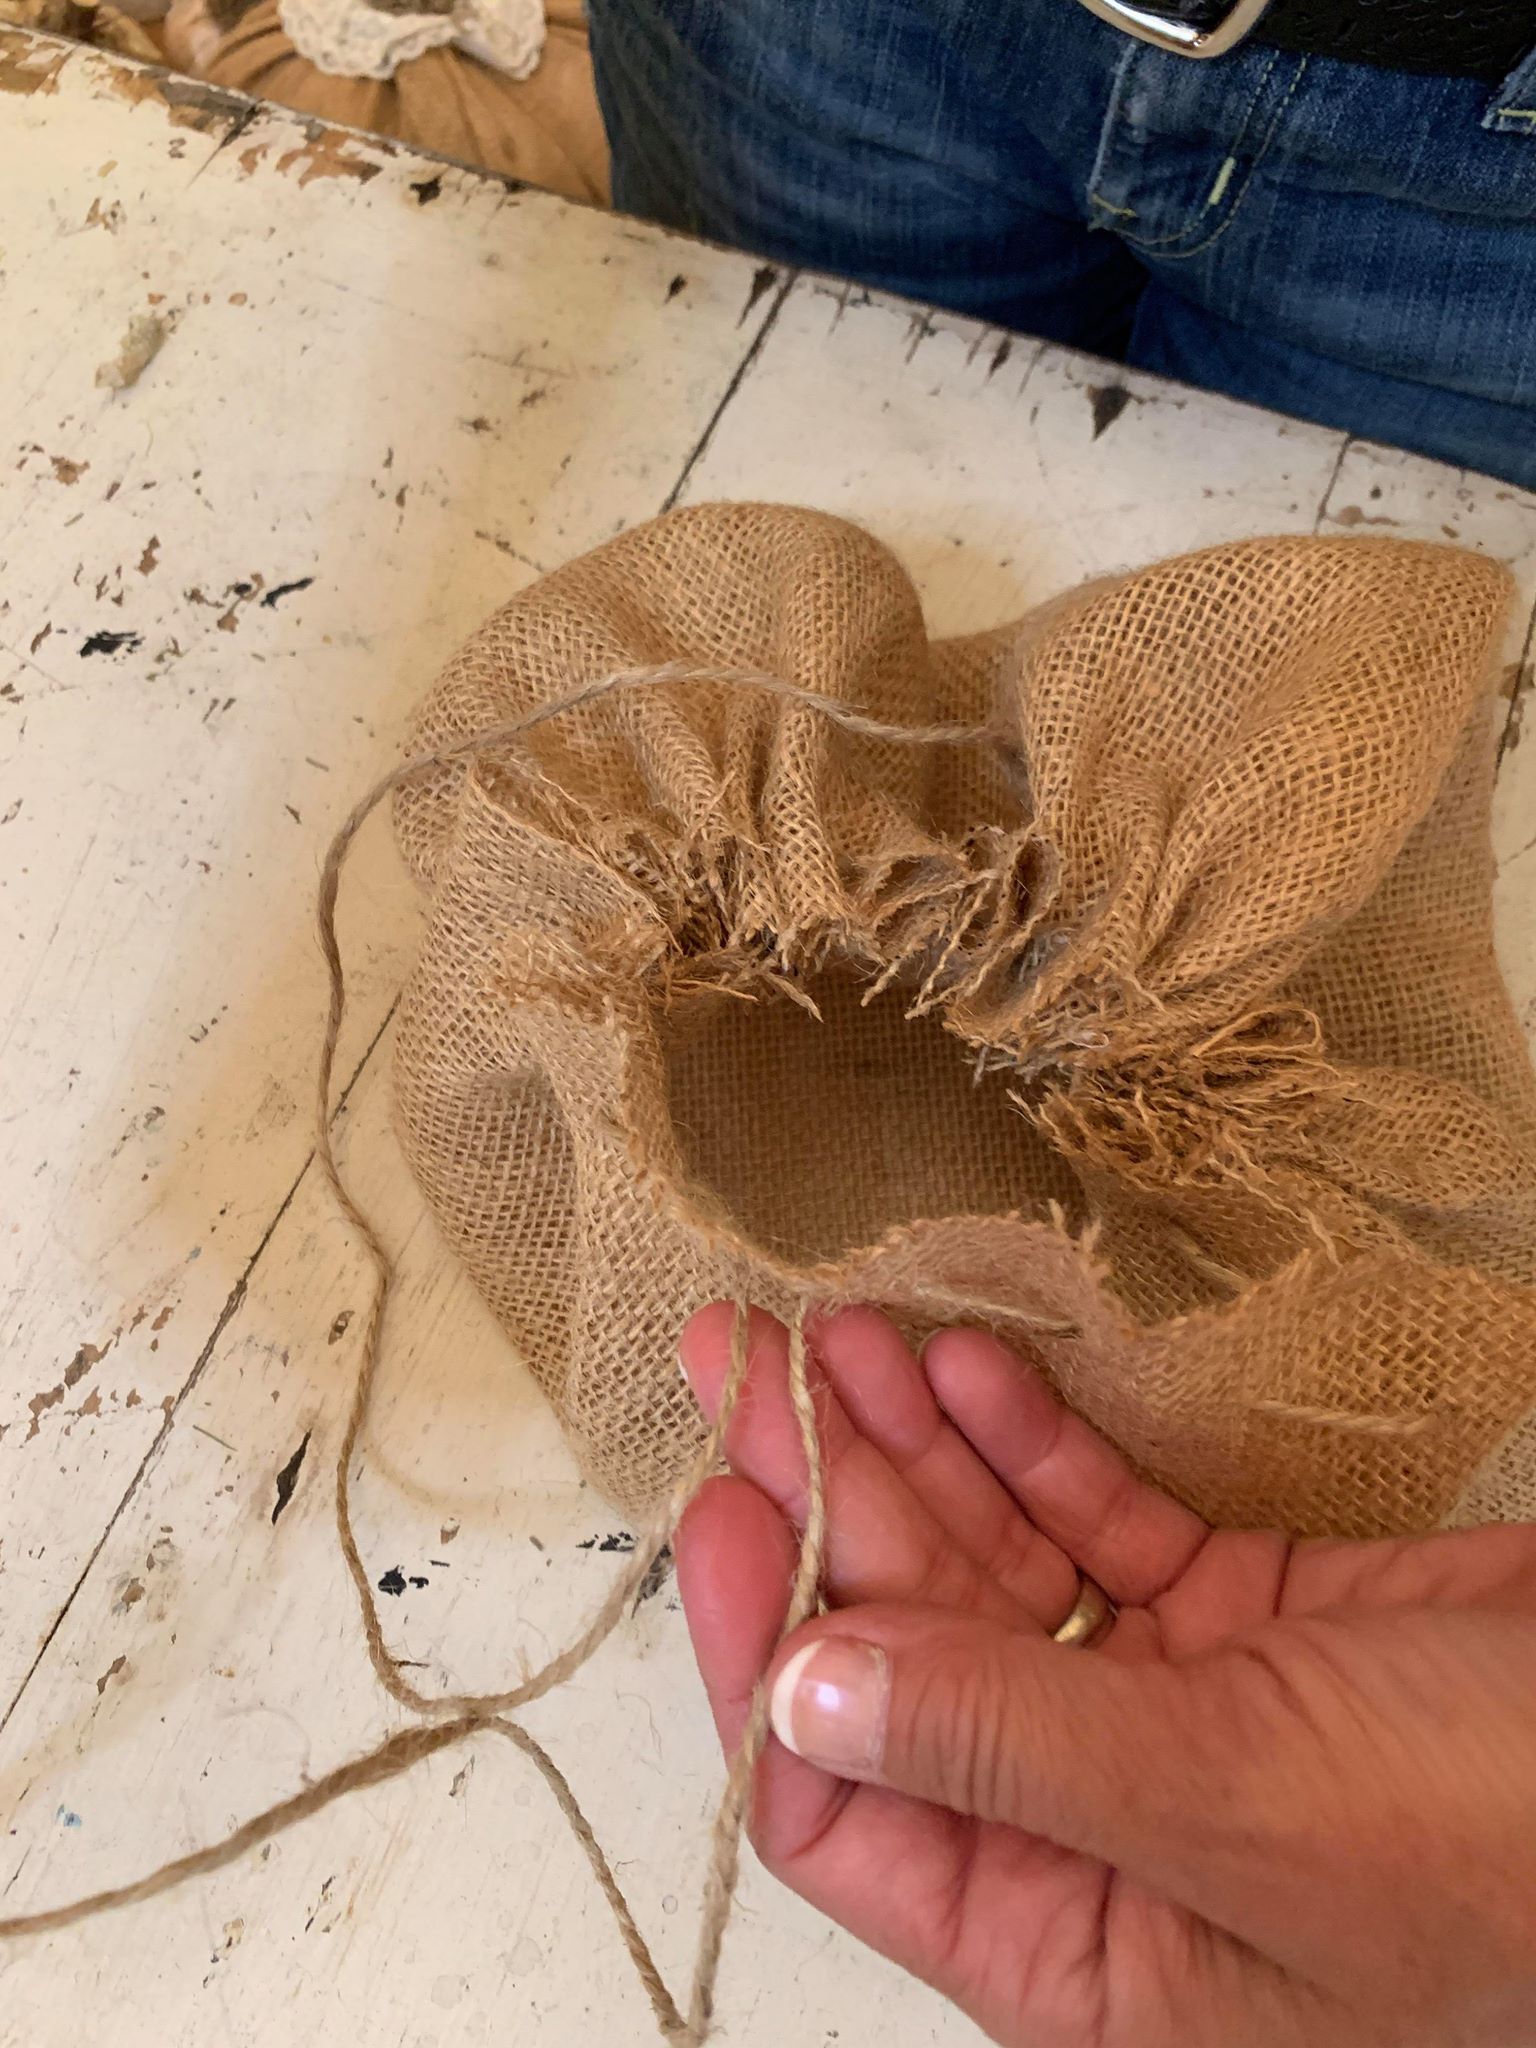
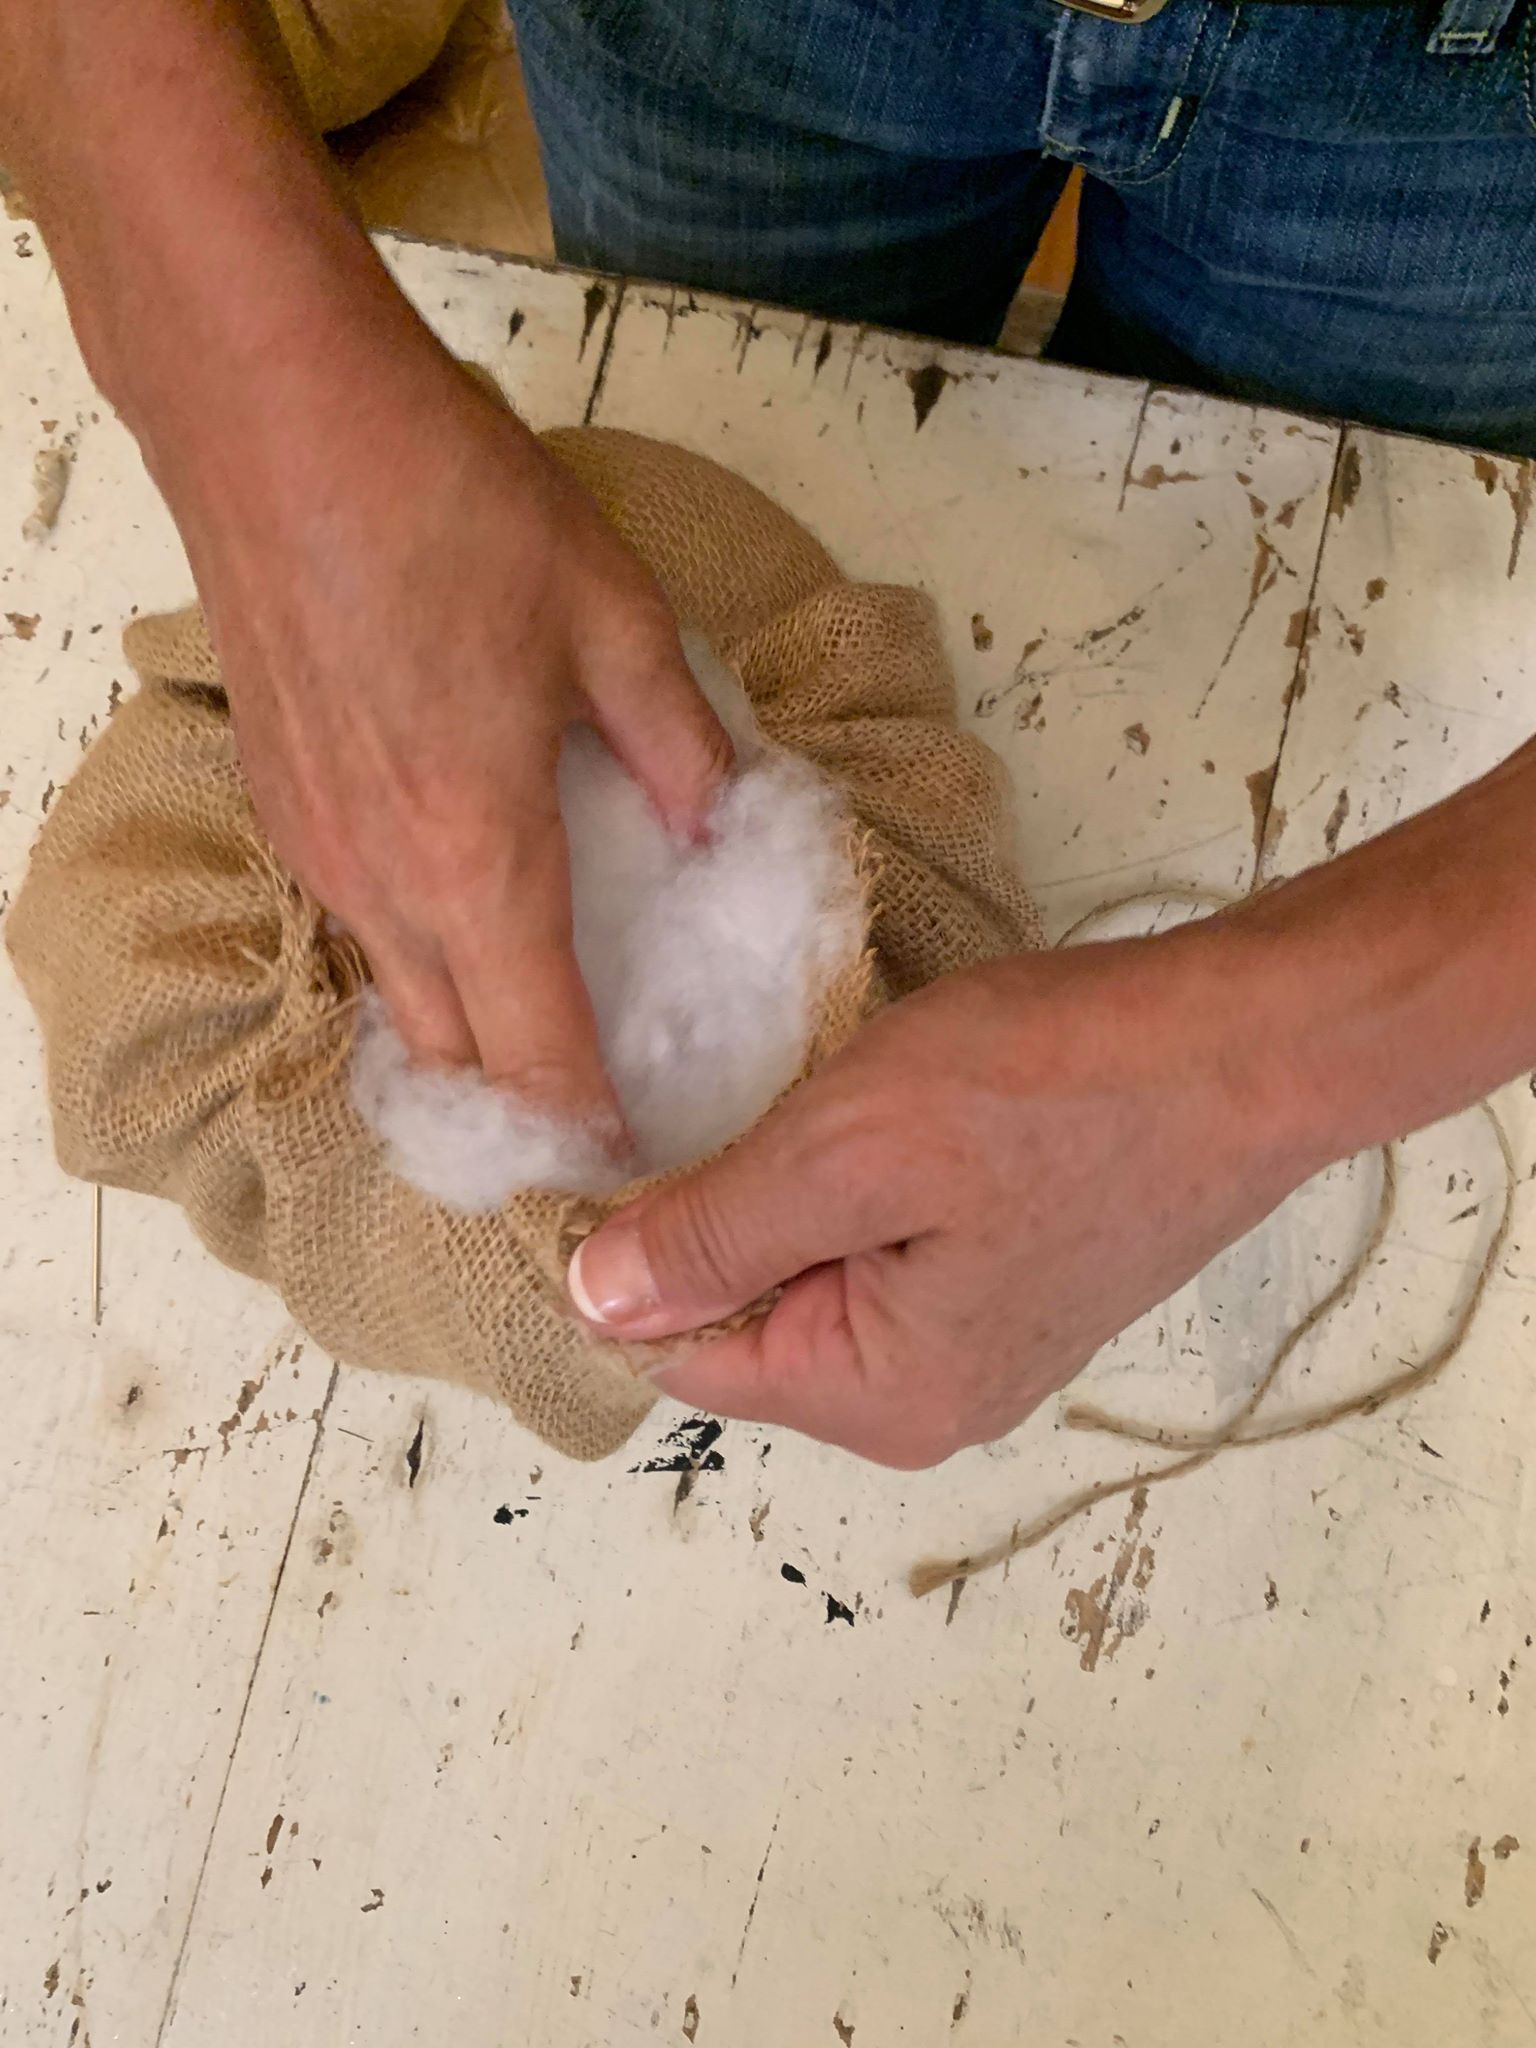
Now it’s time to add your stuffing. I added enough stuffing to make my pumpkin full but not over stuffed. Once you have stuffed the pumpkin pull both pieces of twine to close your opening.
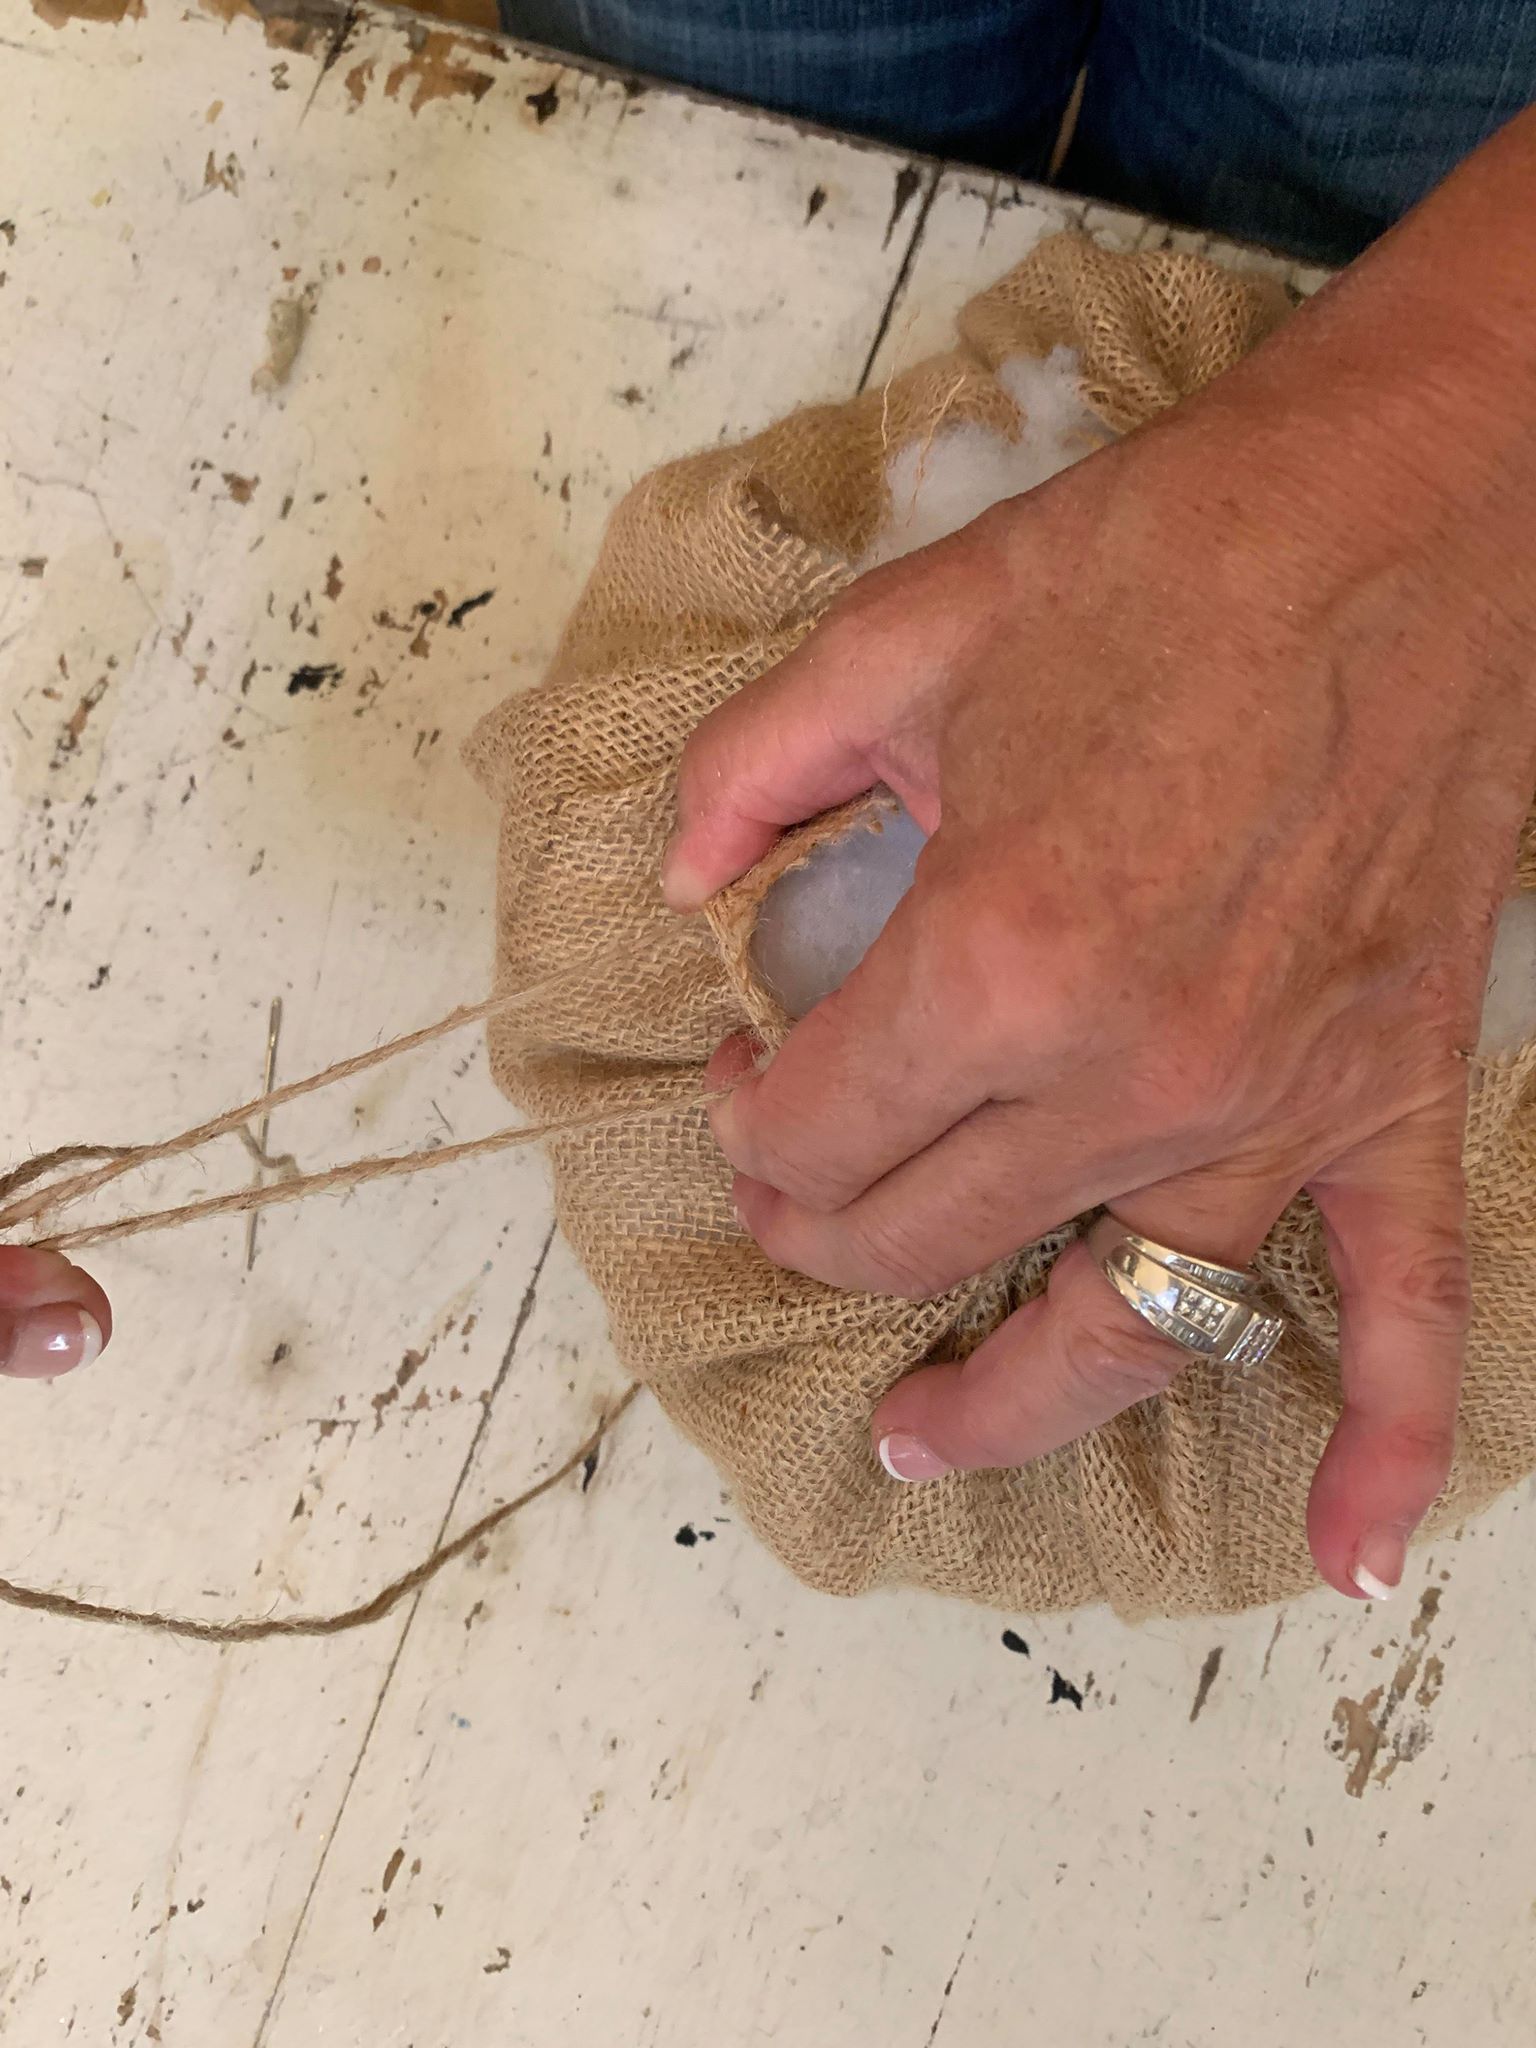
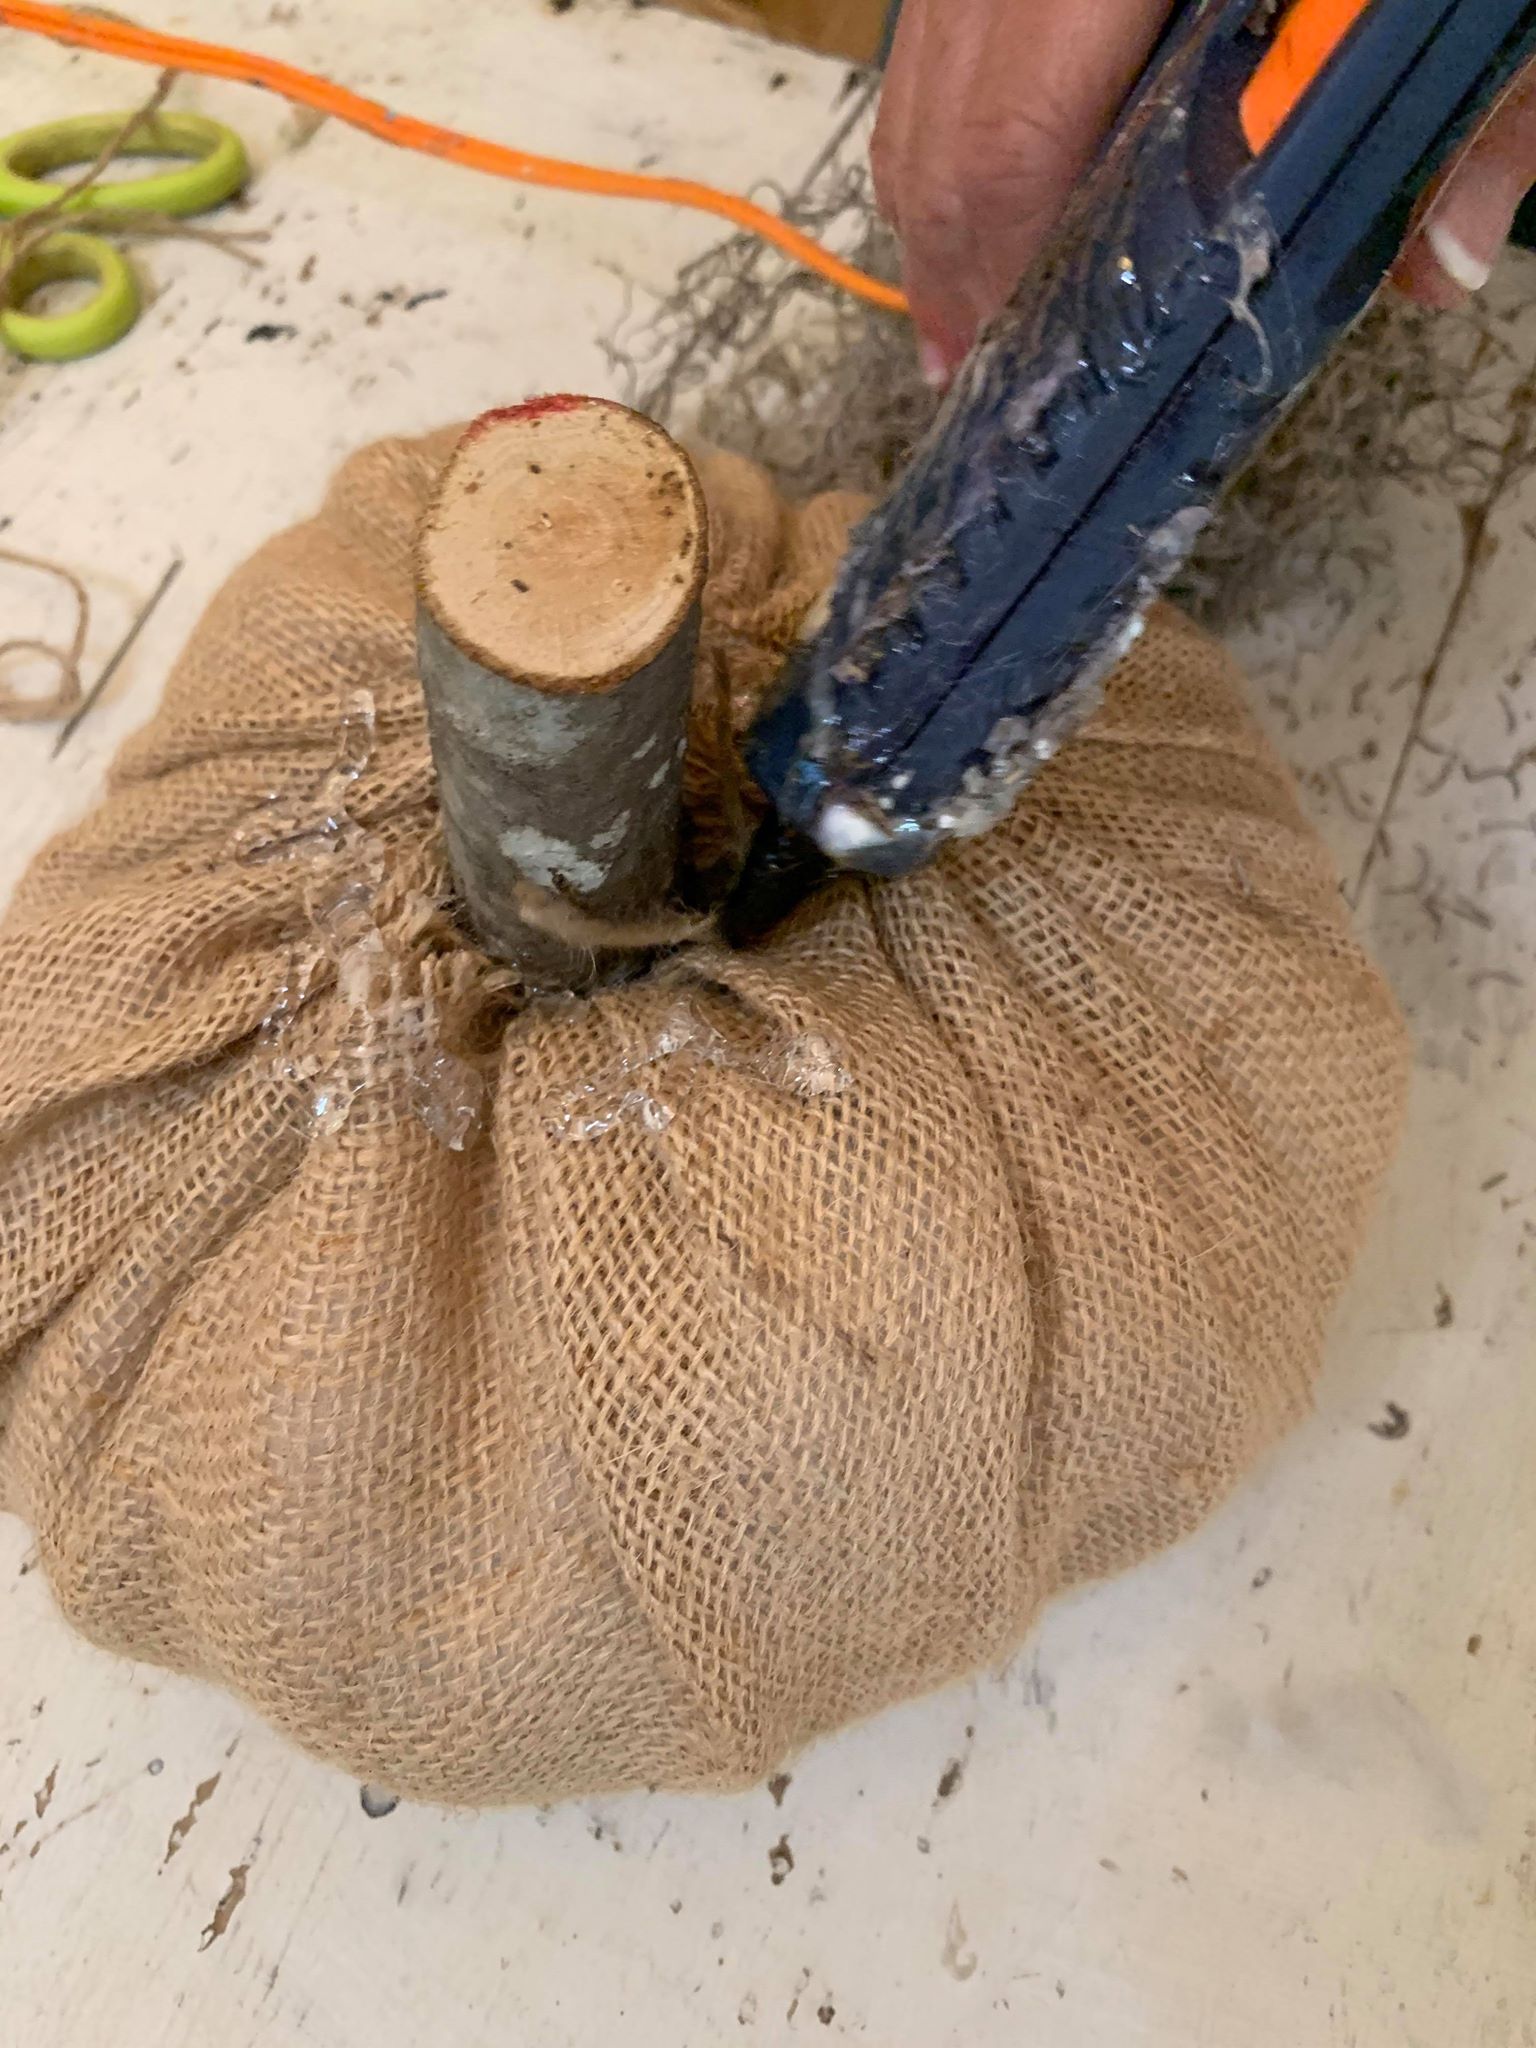
You want to close the opening but be sure to leave a little space to put your twig in for the stem. Next, you want to double knot your ends.
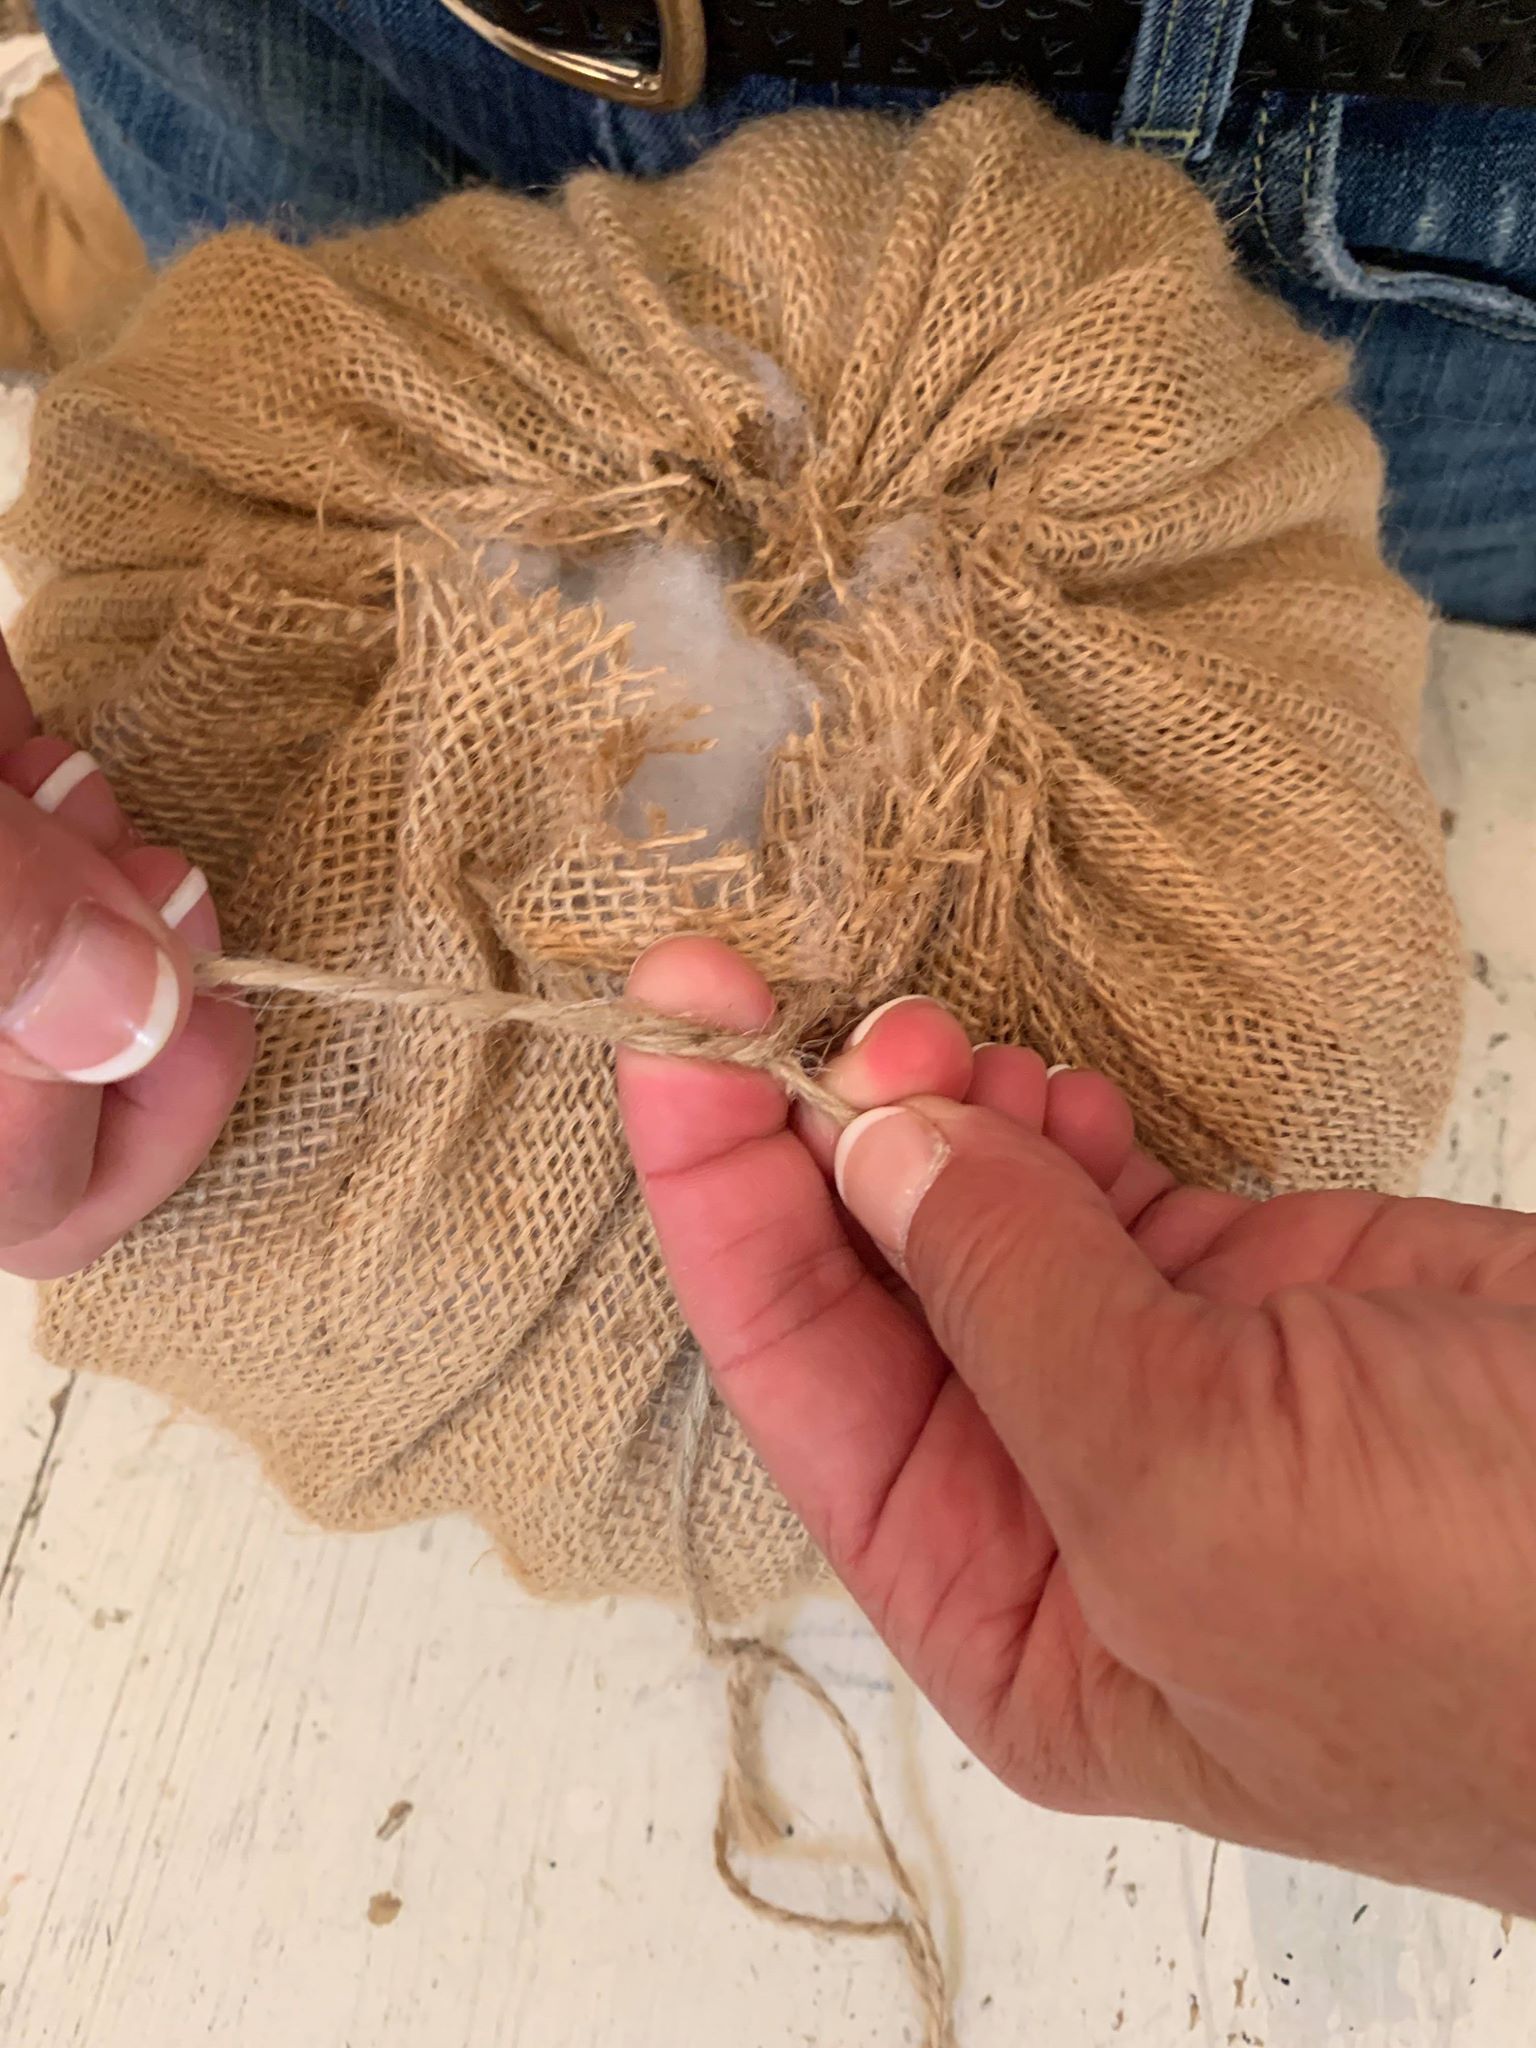
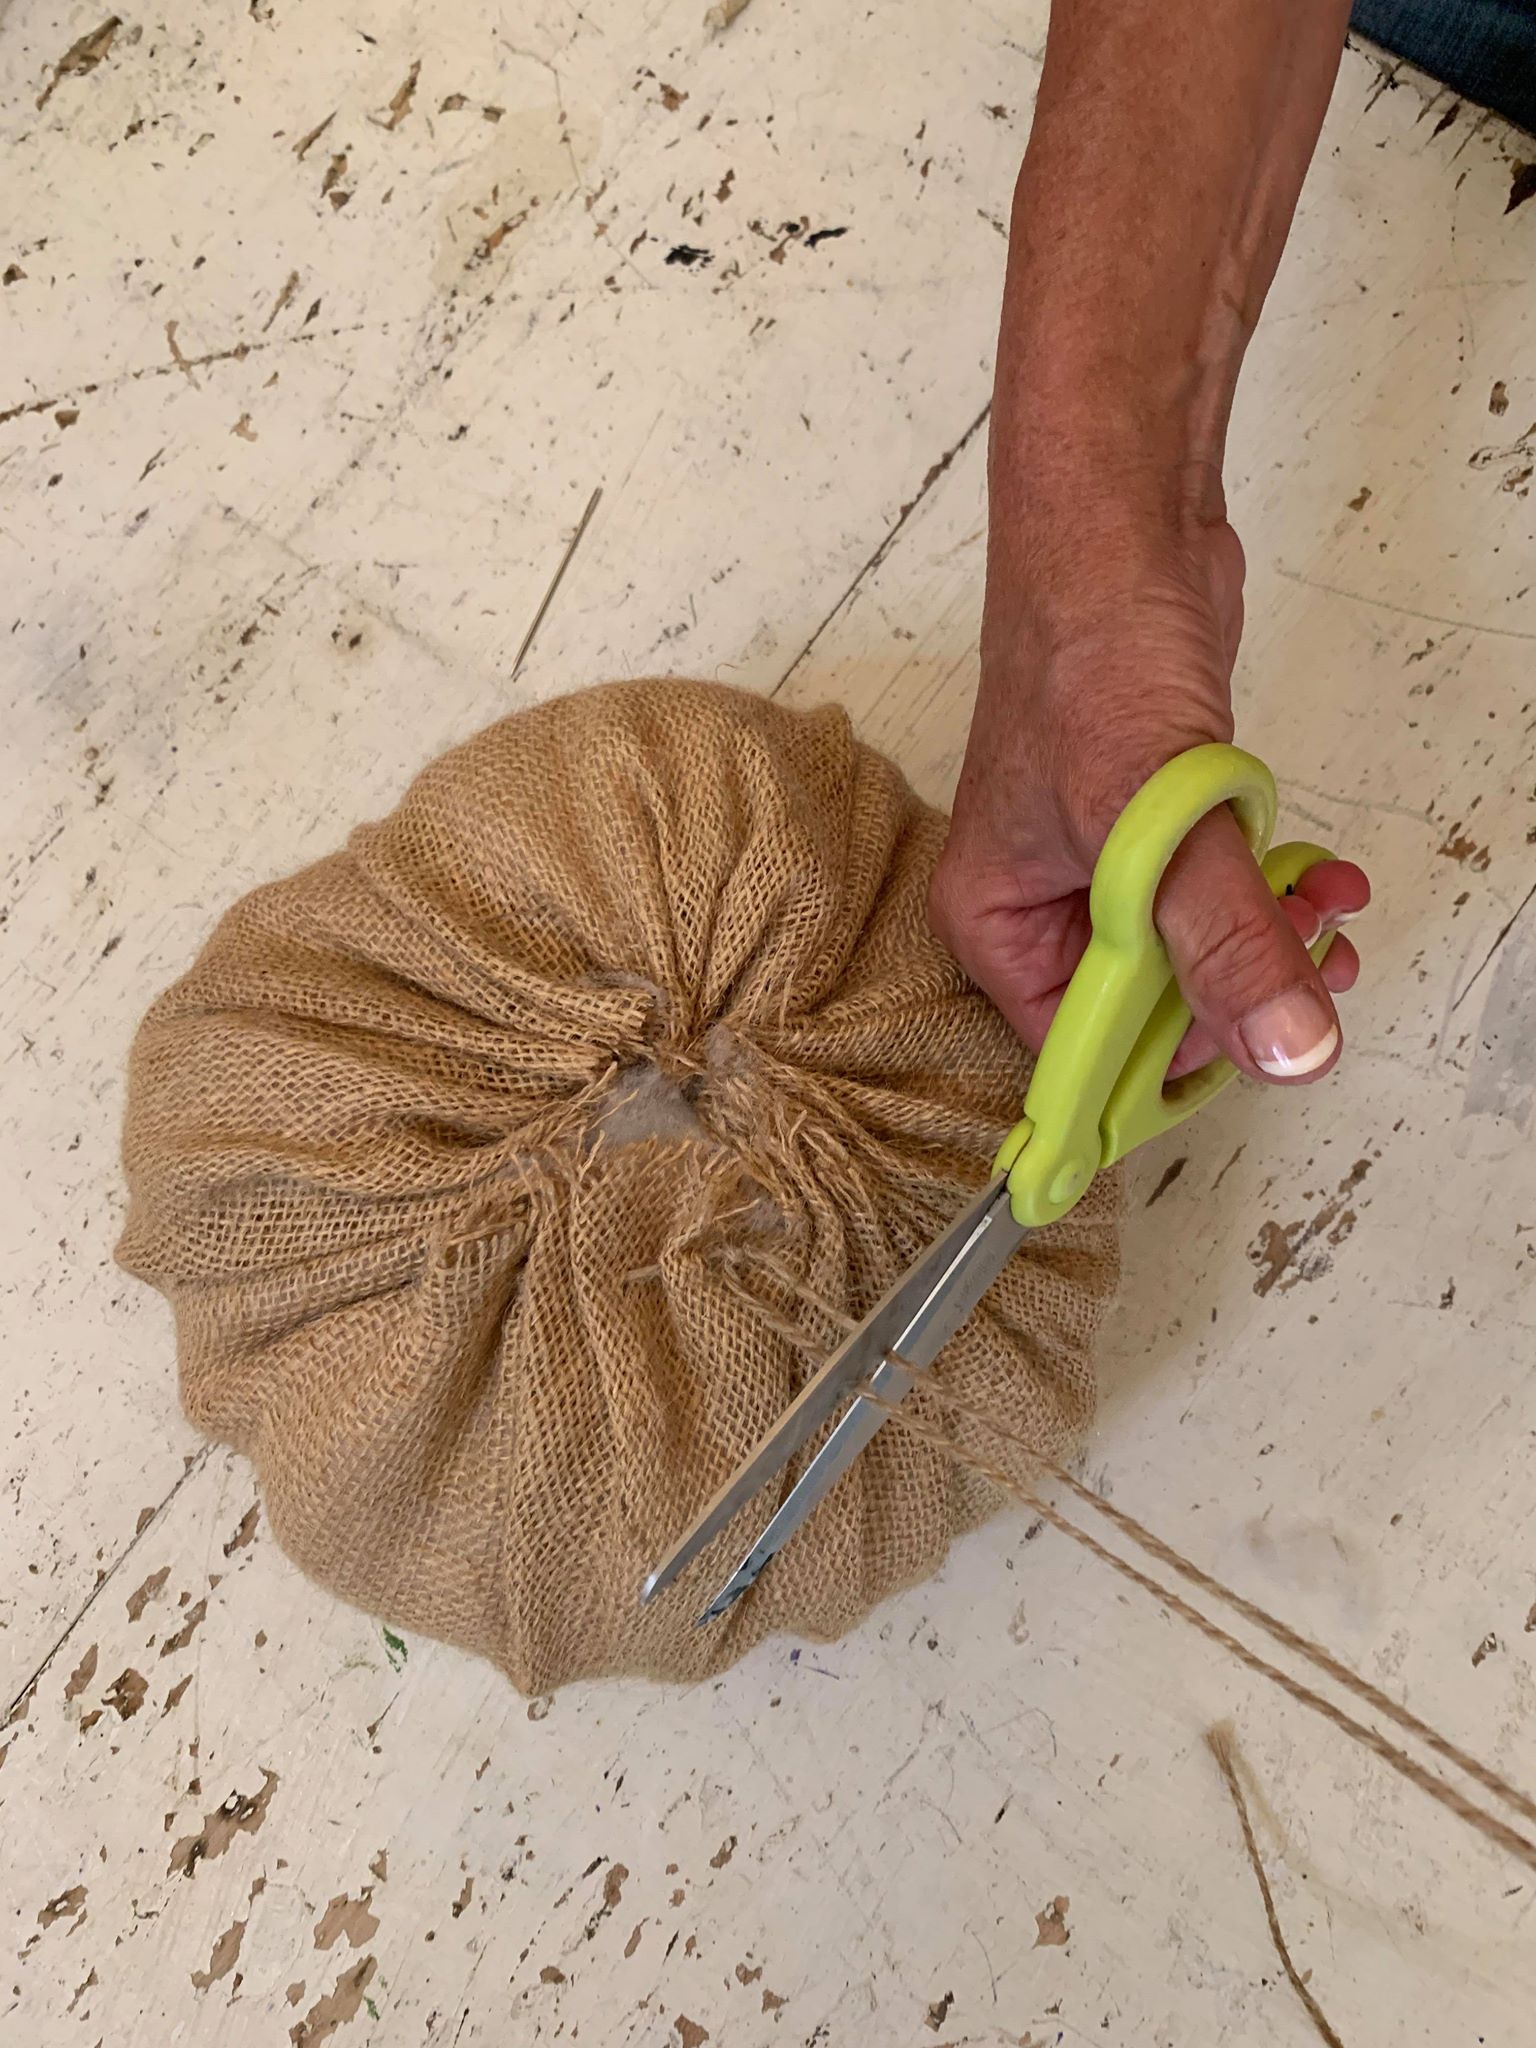
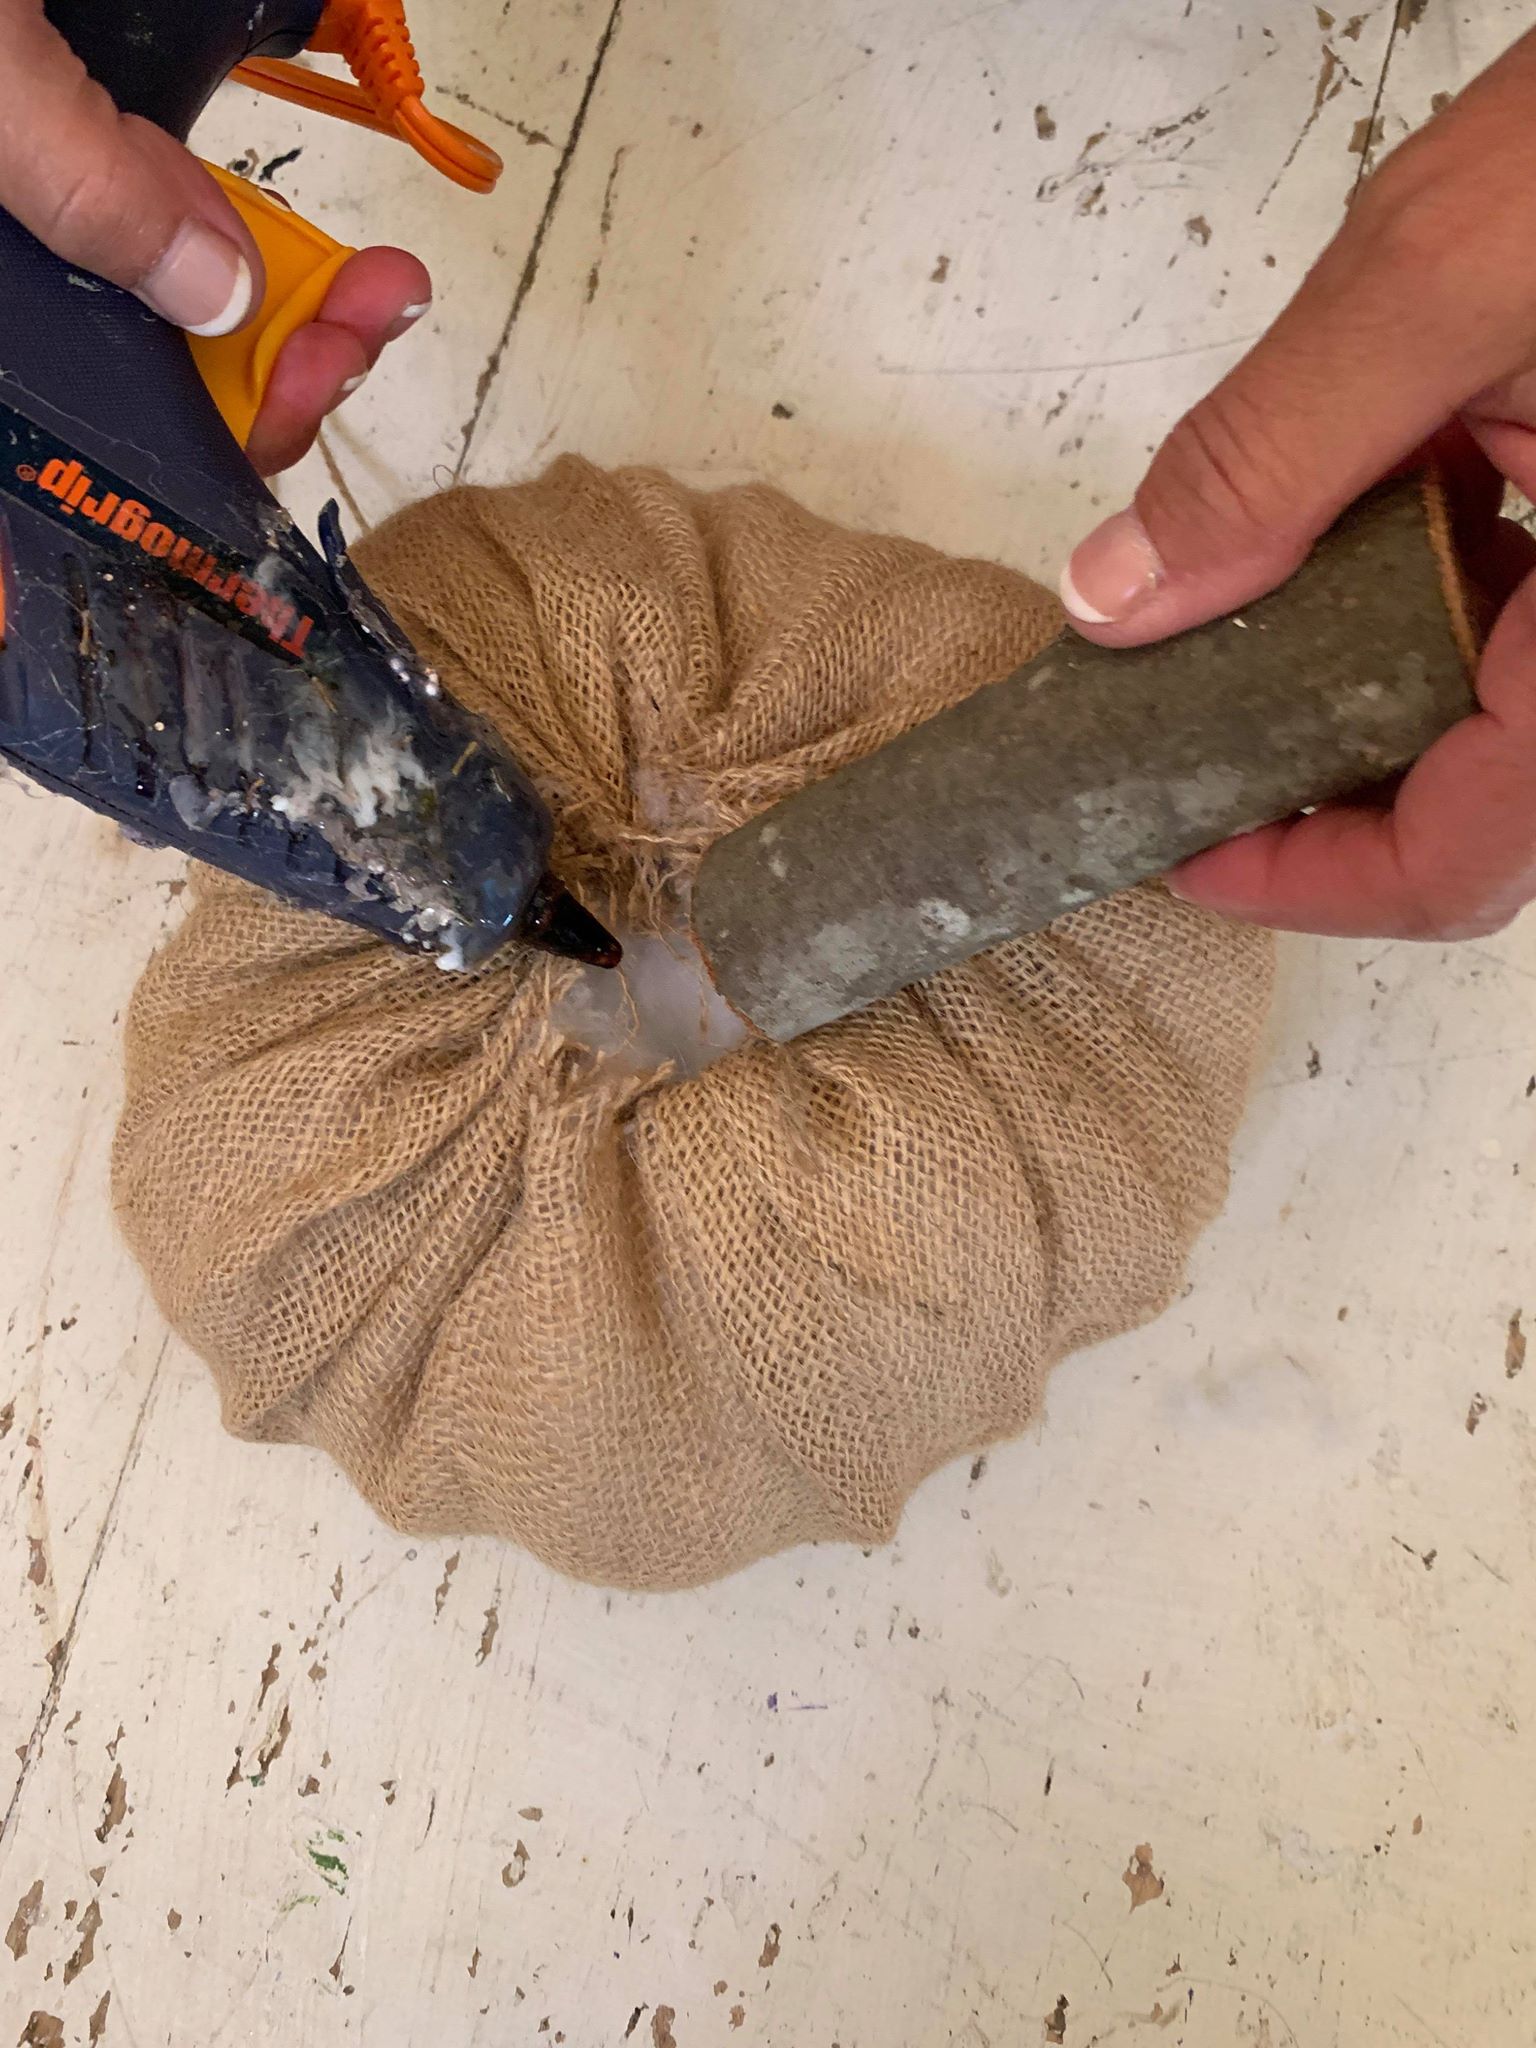
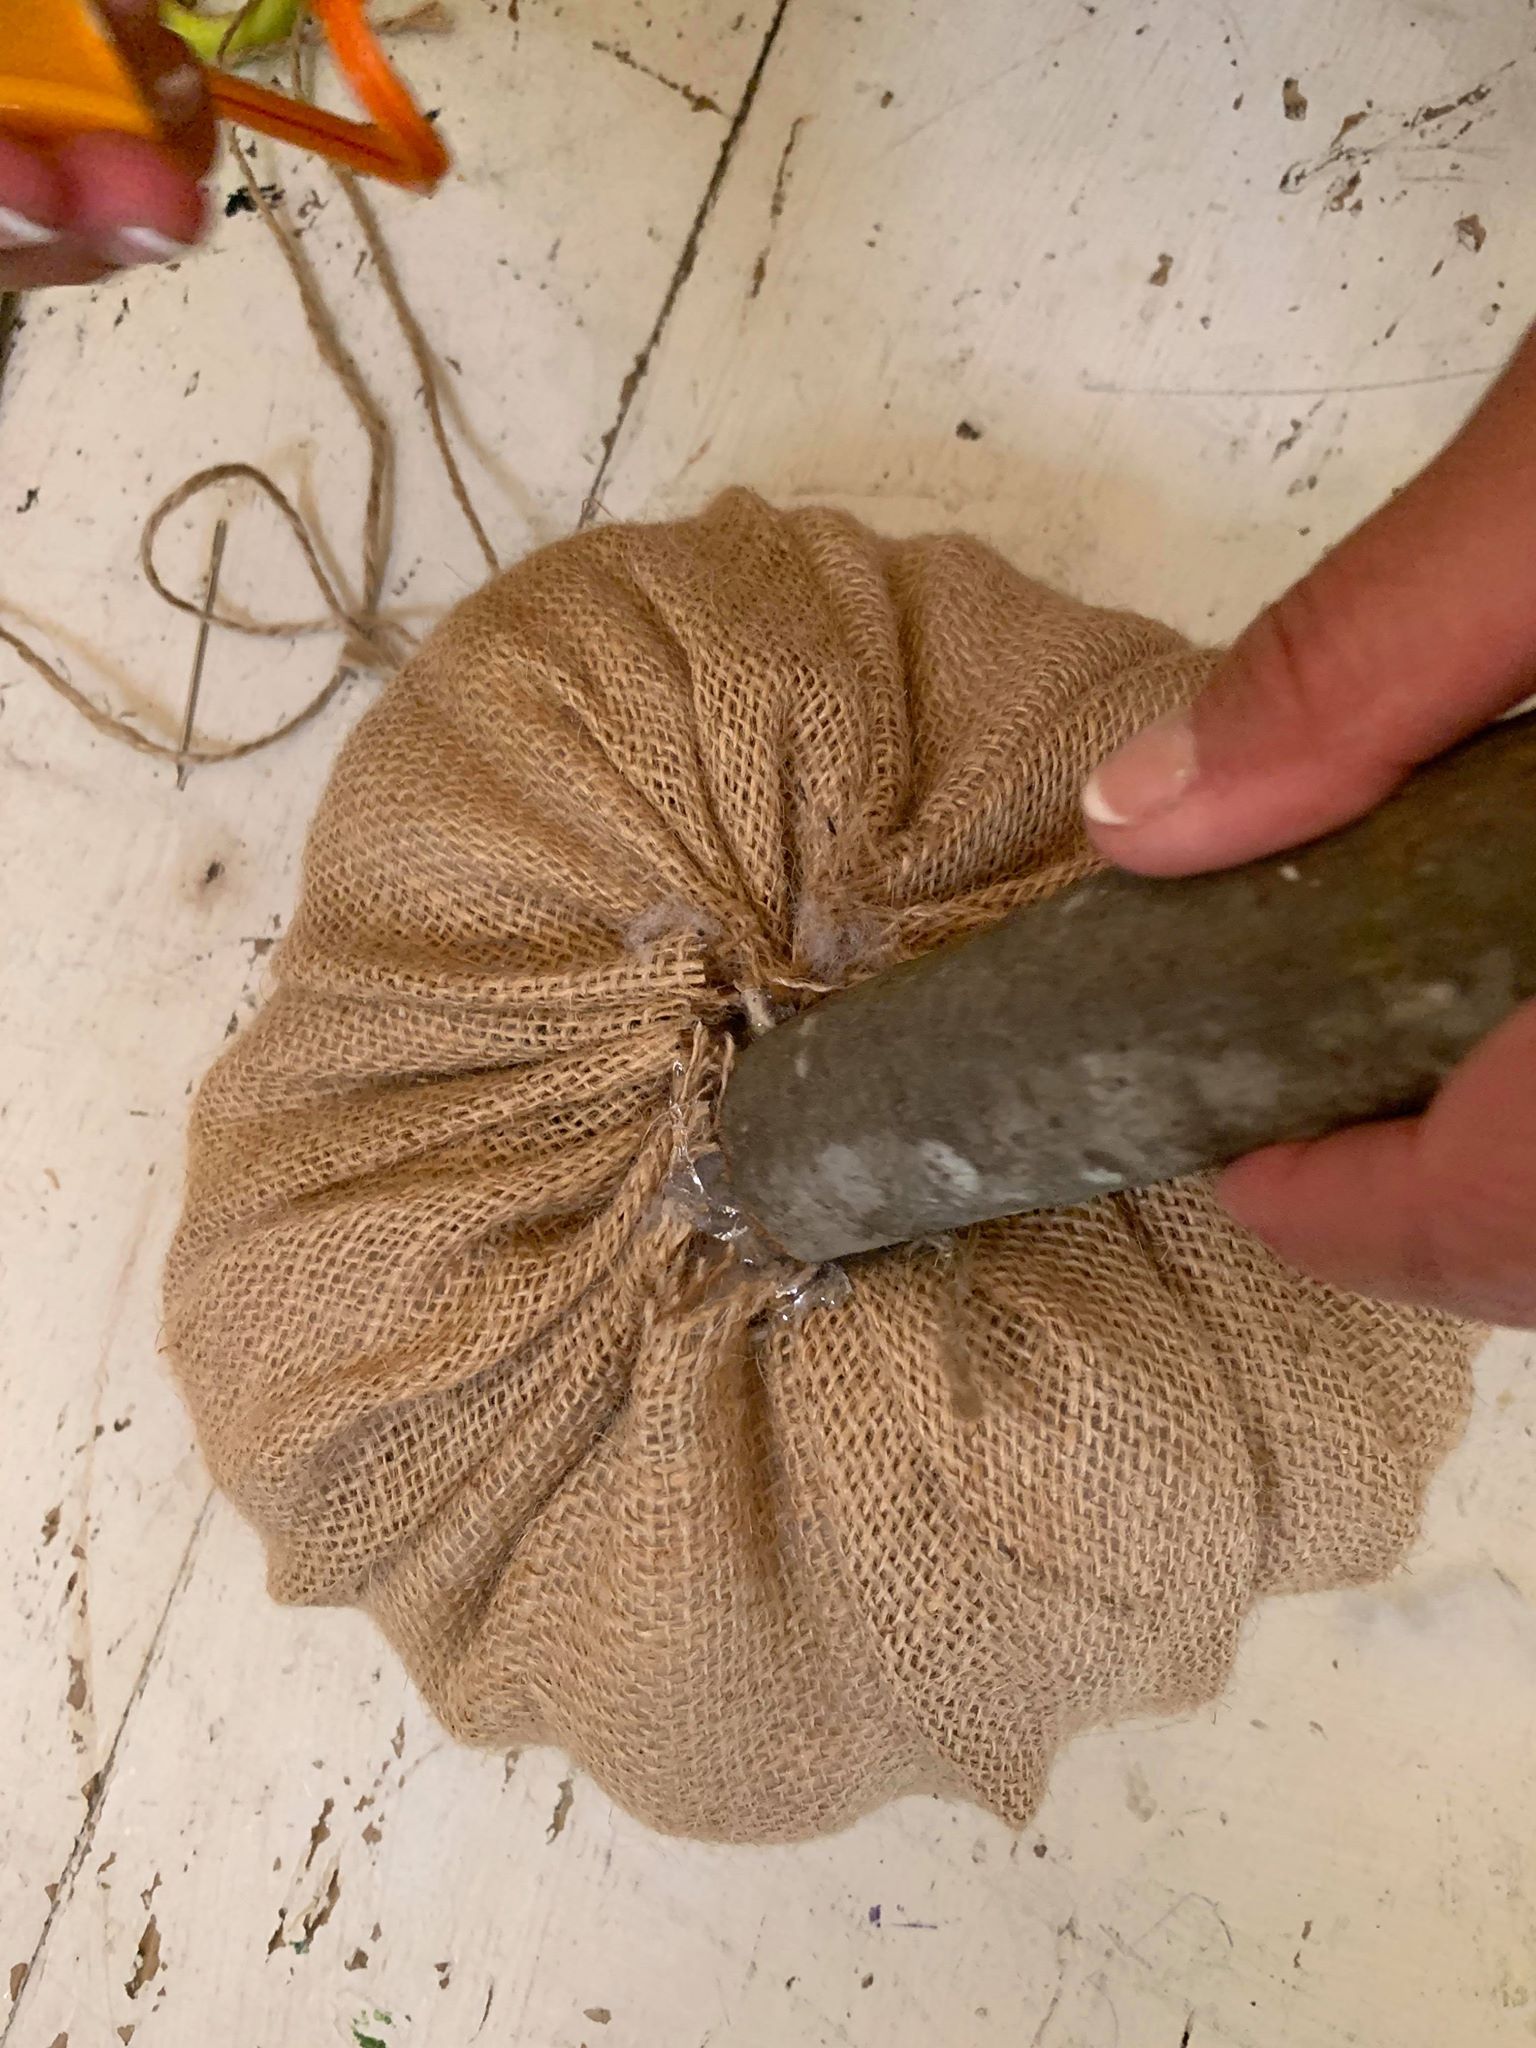
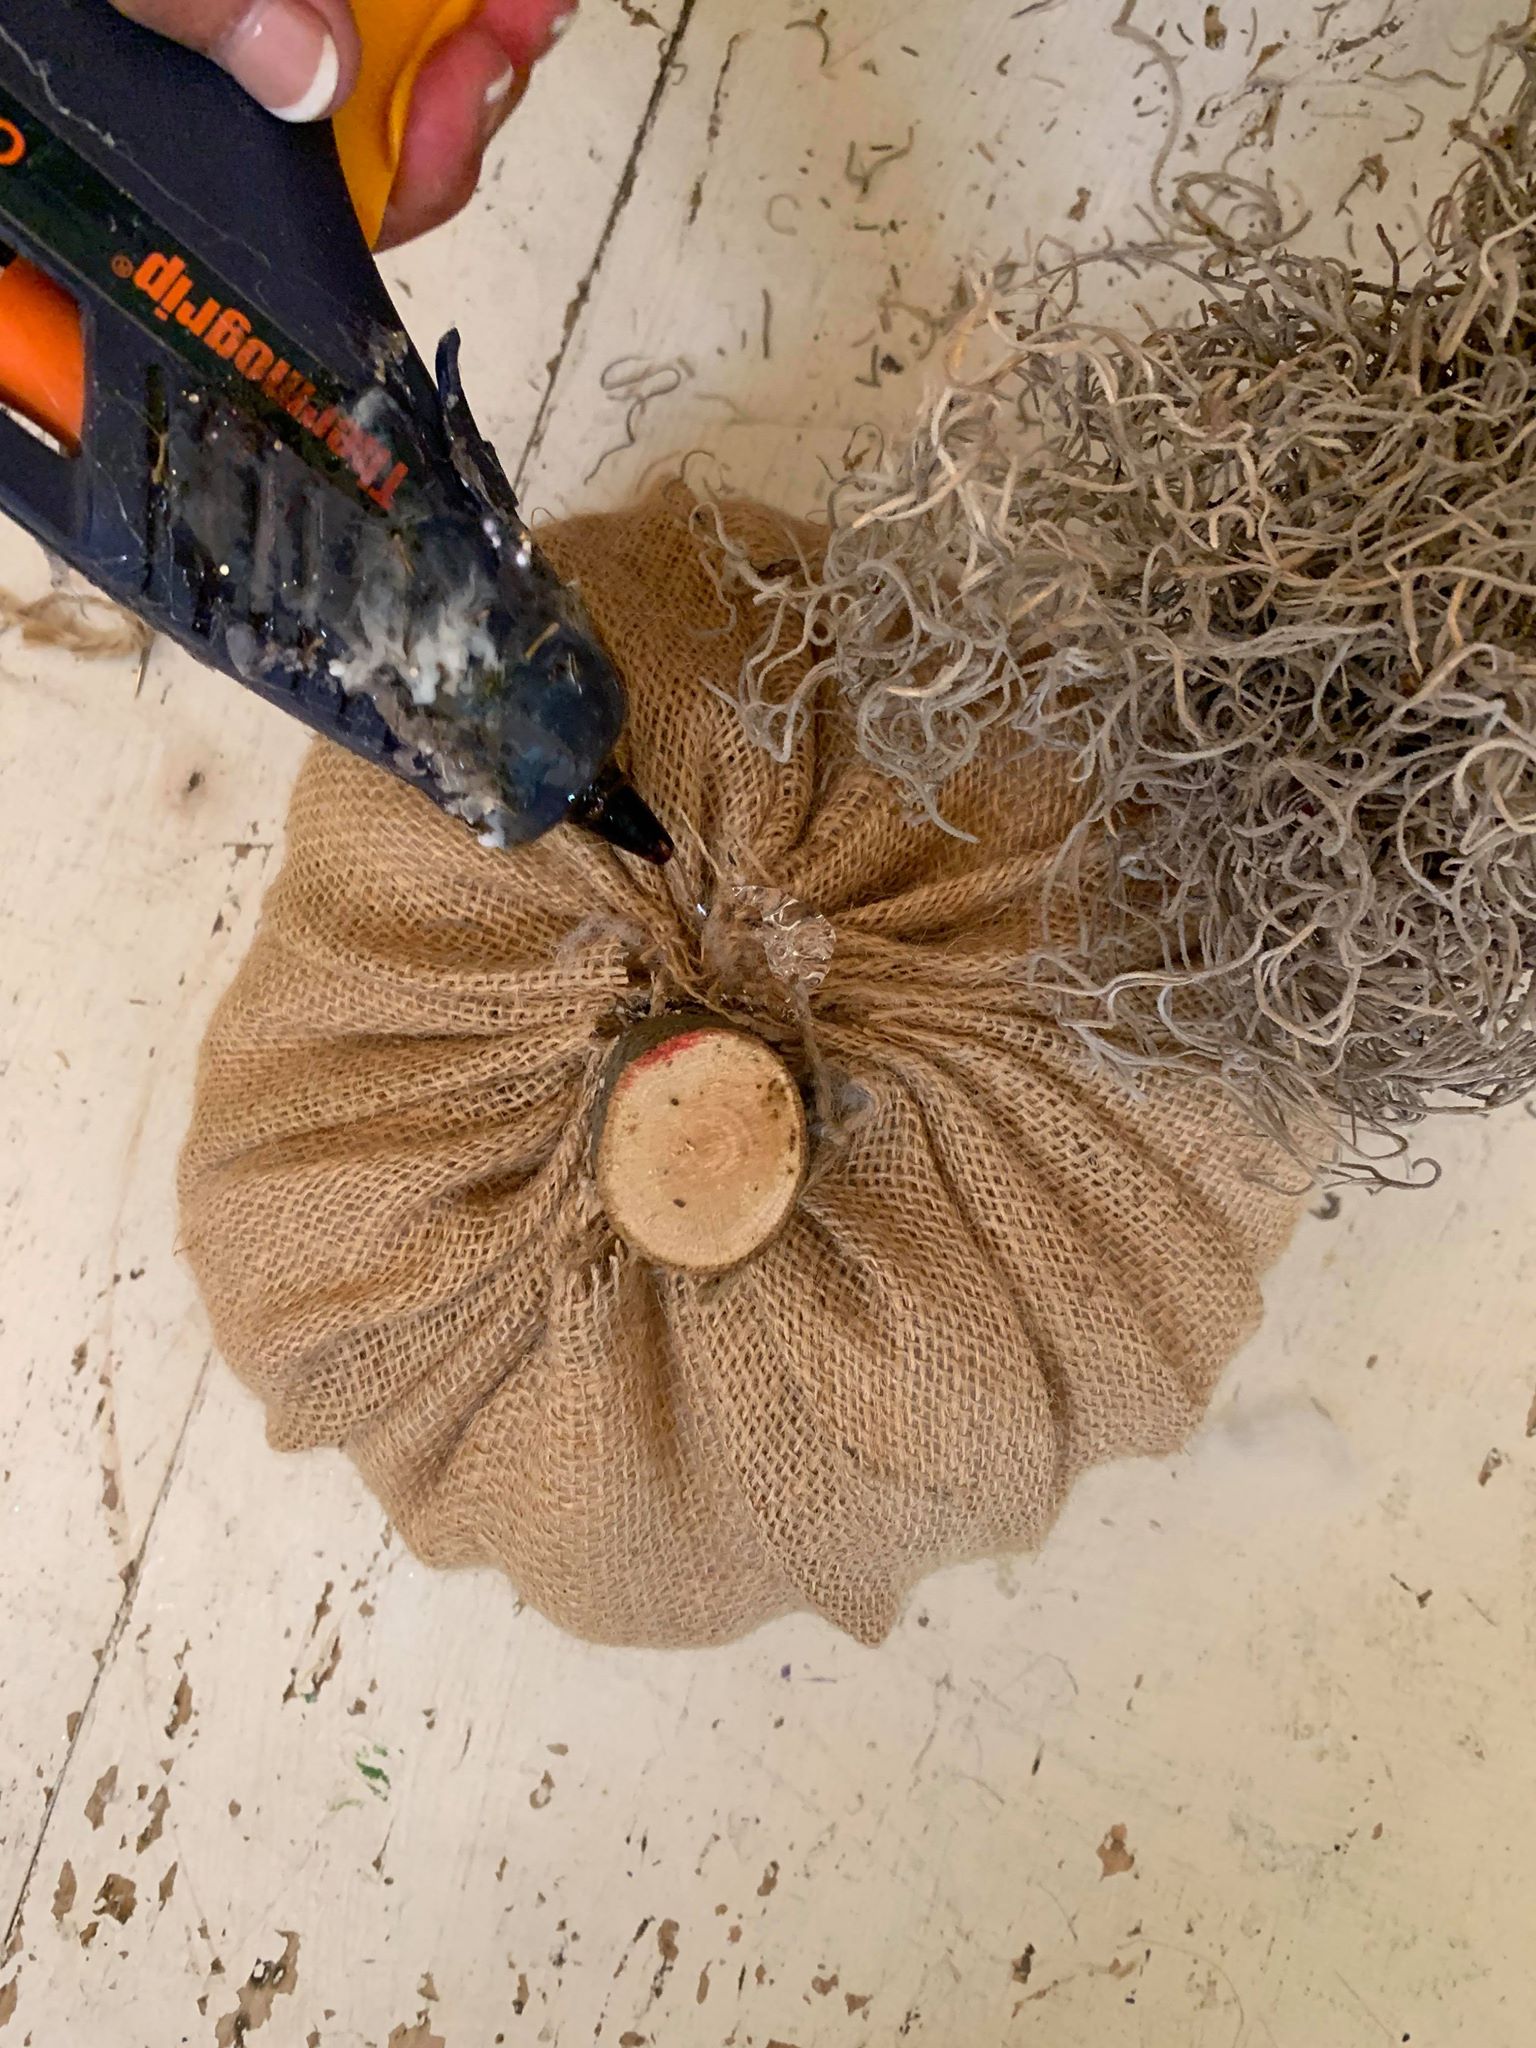
After you have knotted your two pieces of twine, cut the ends off and glue your stem in.
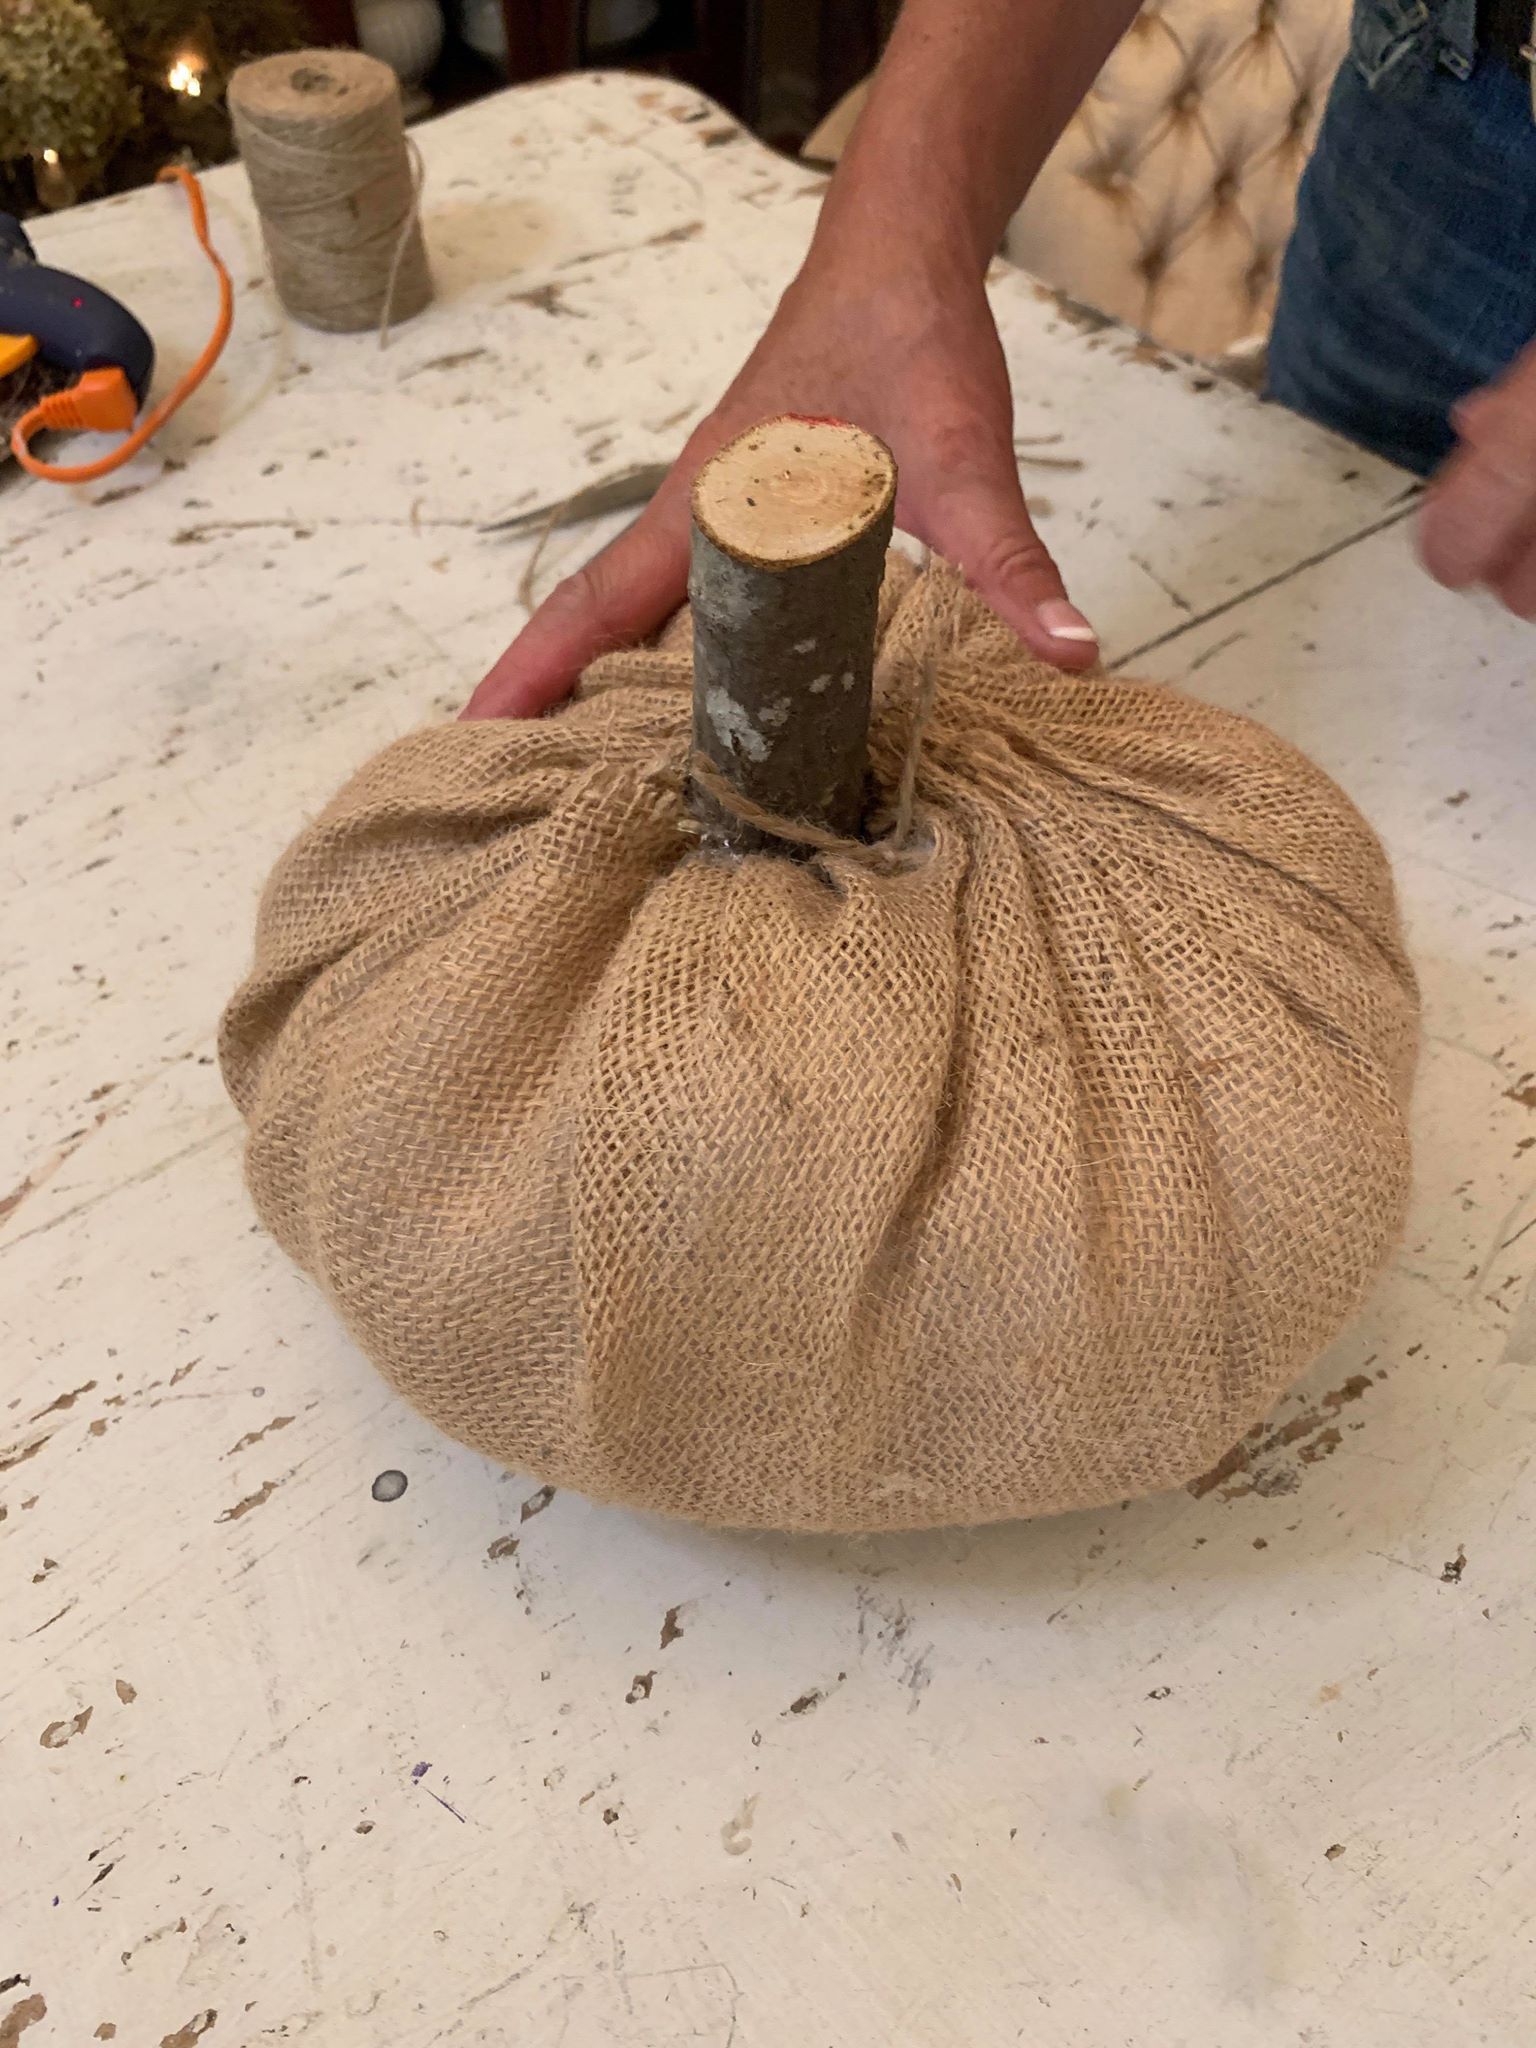
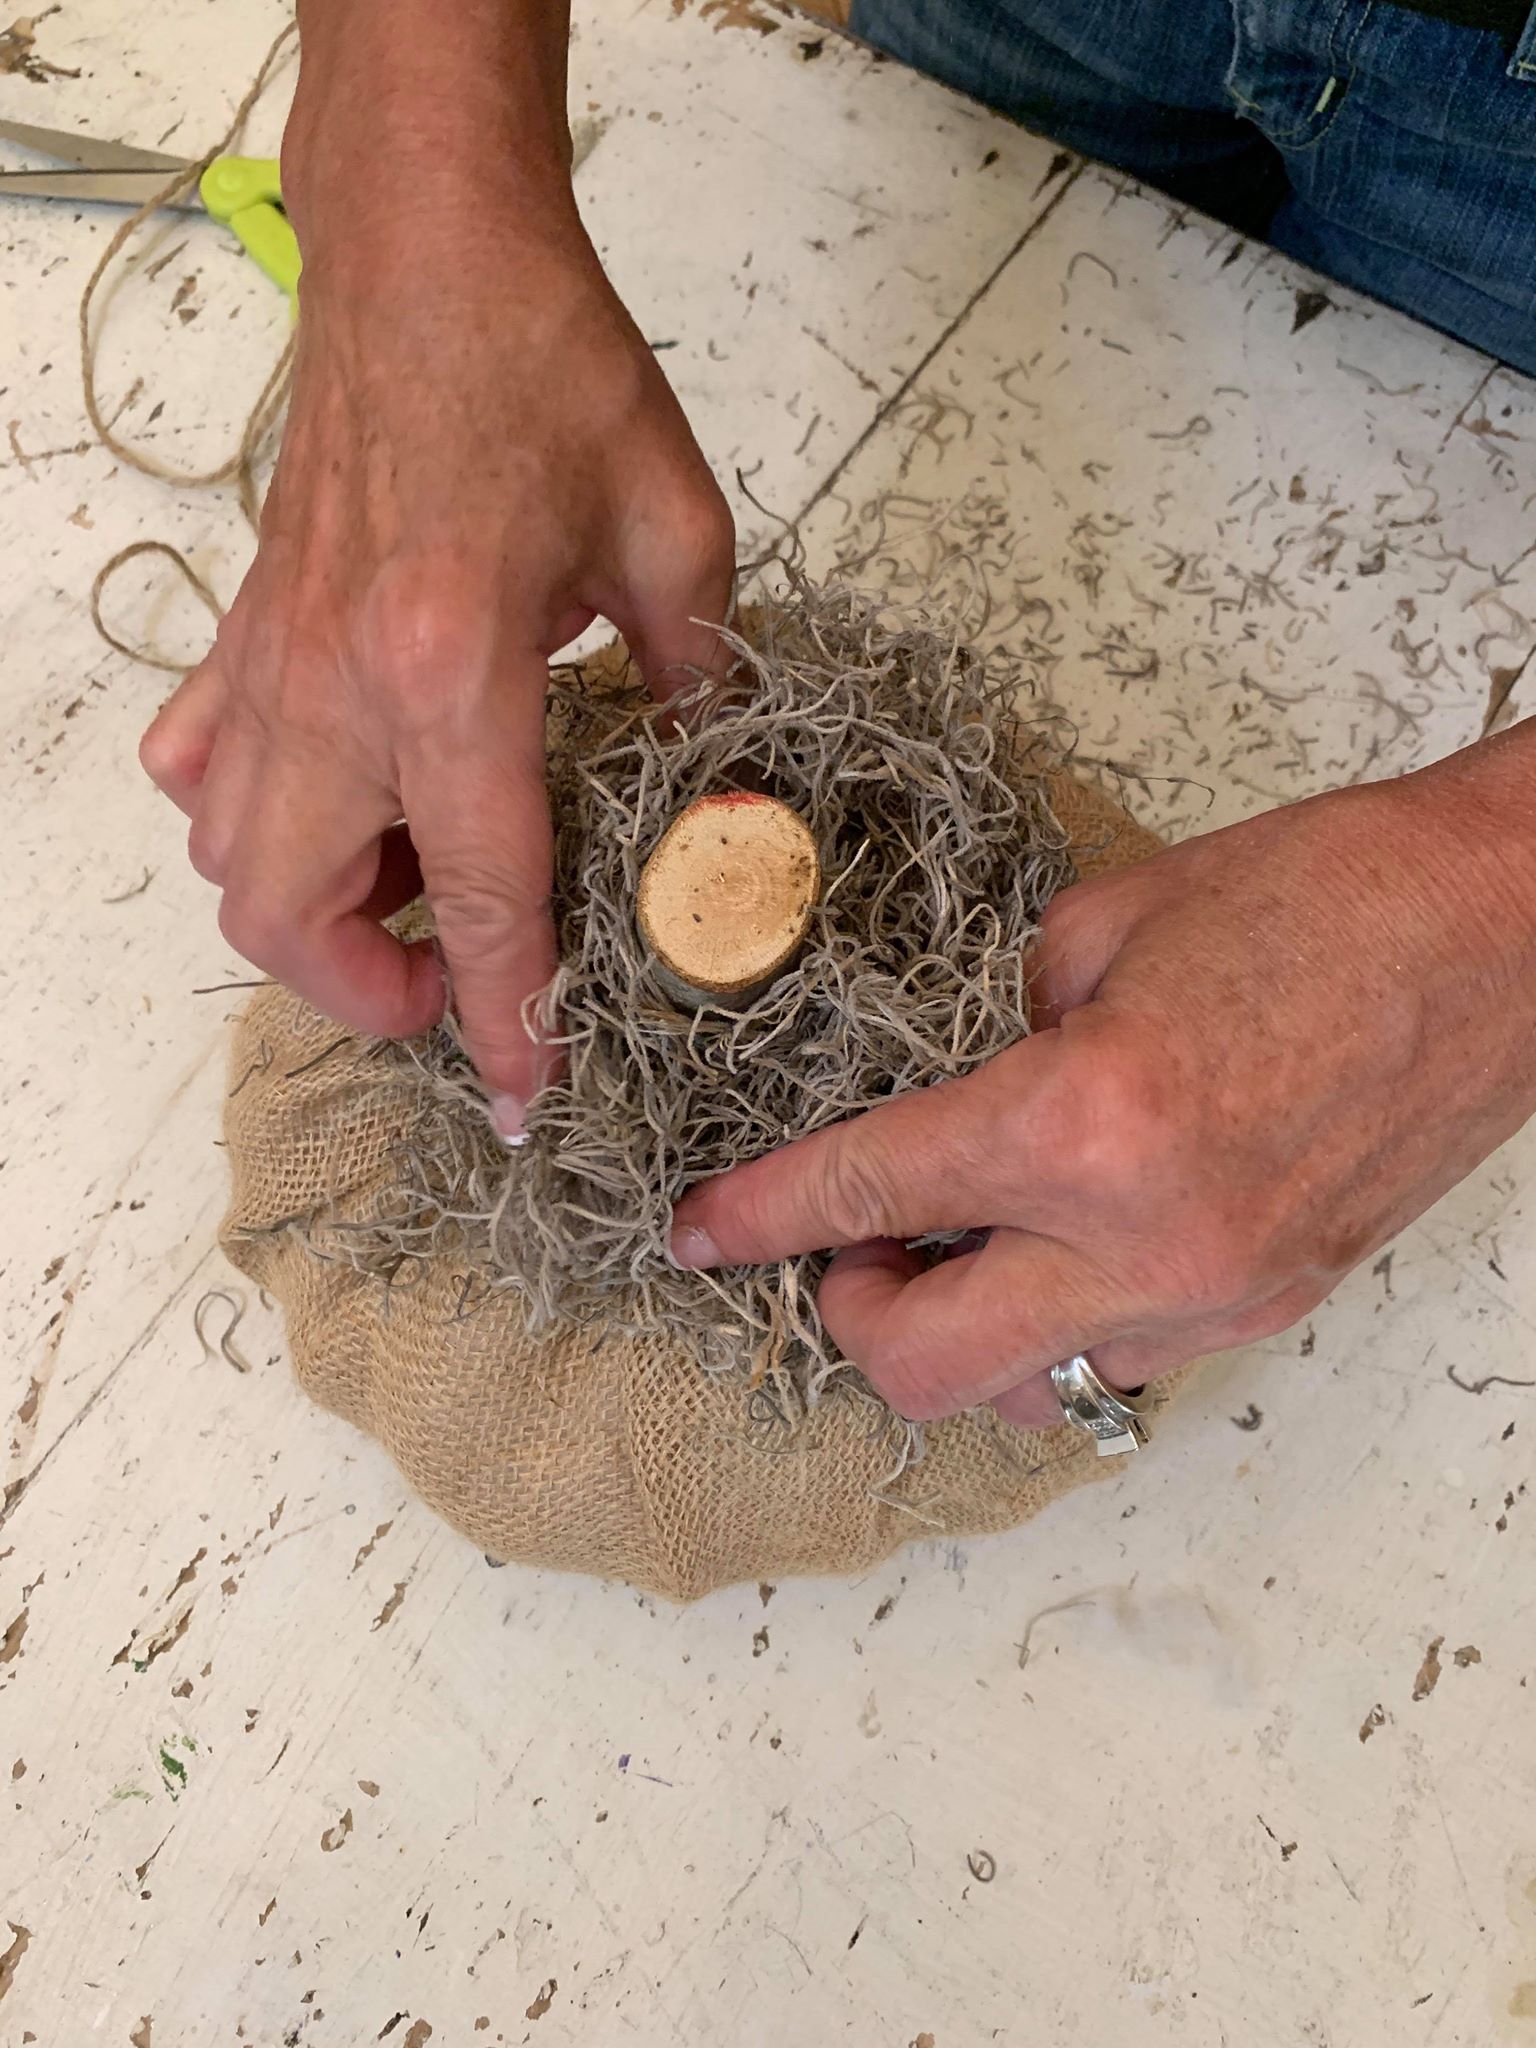
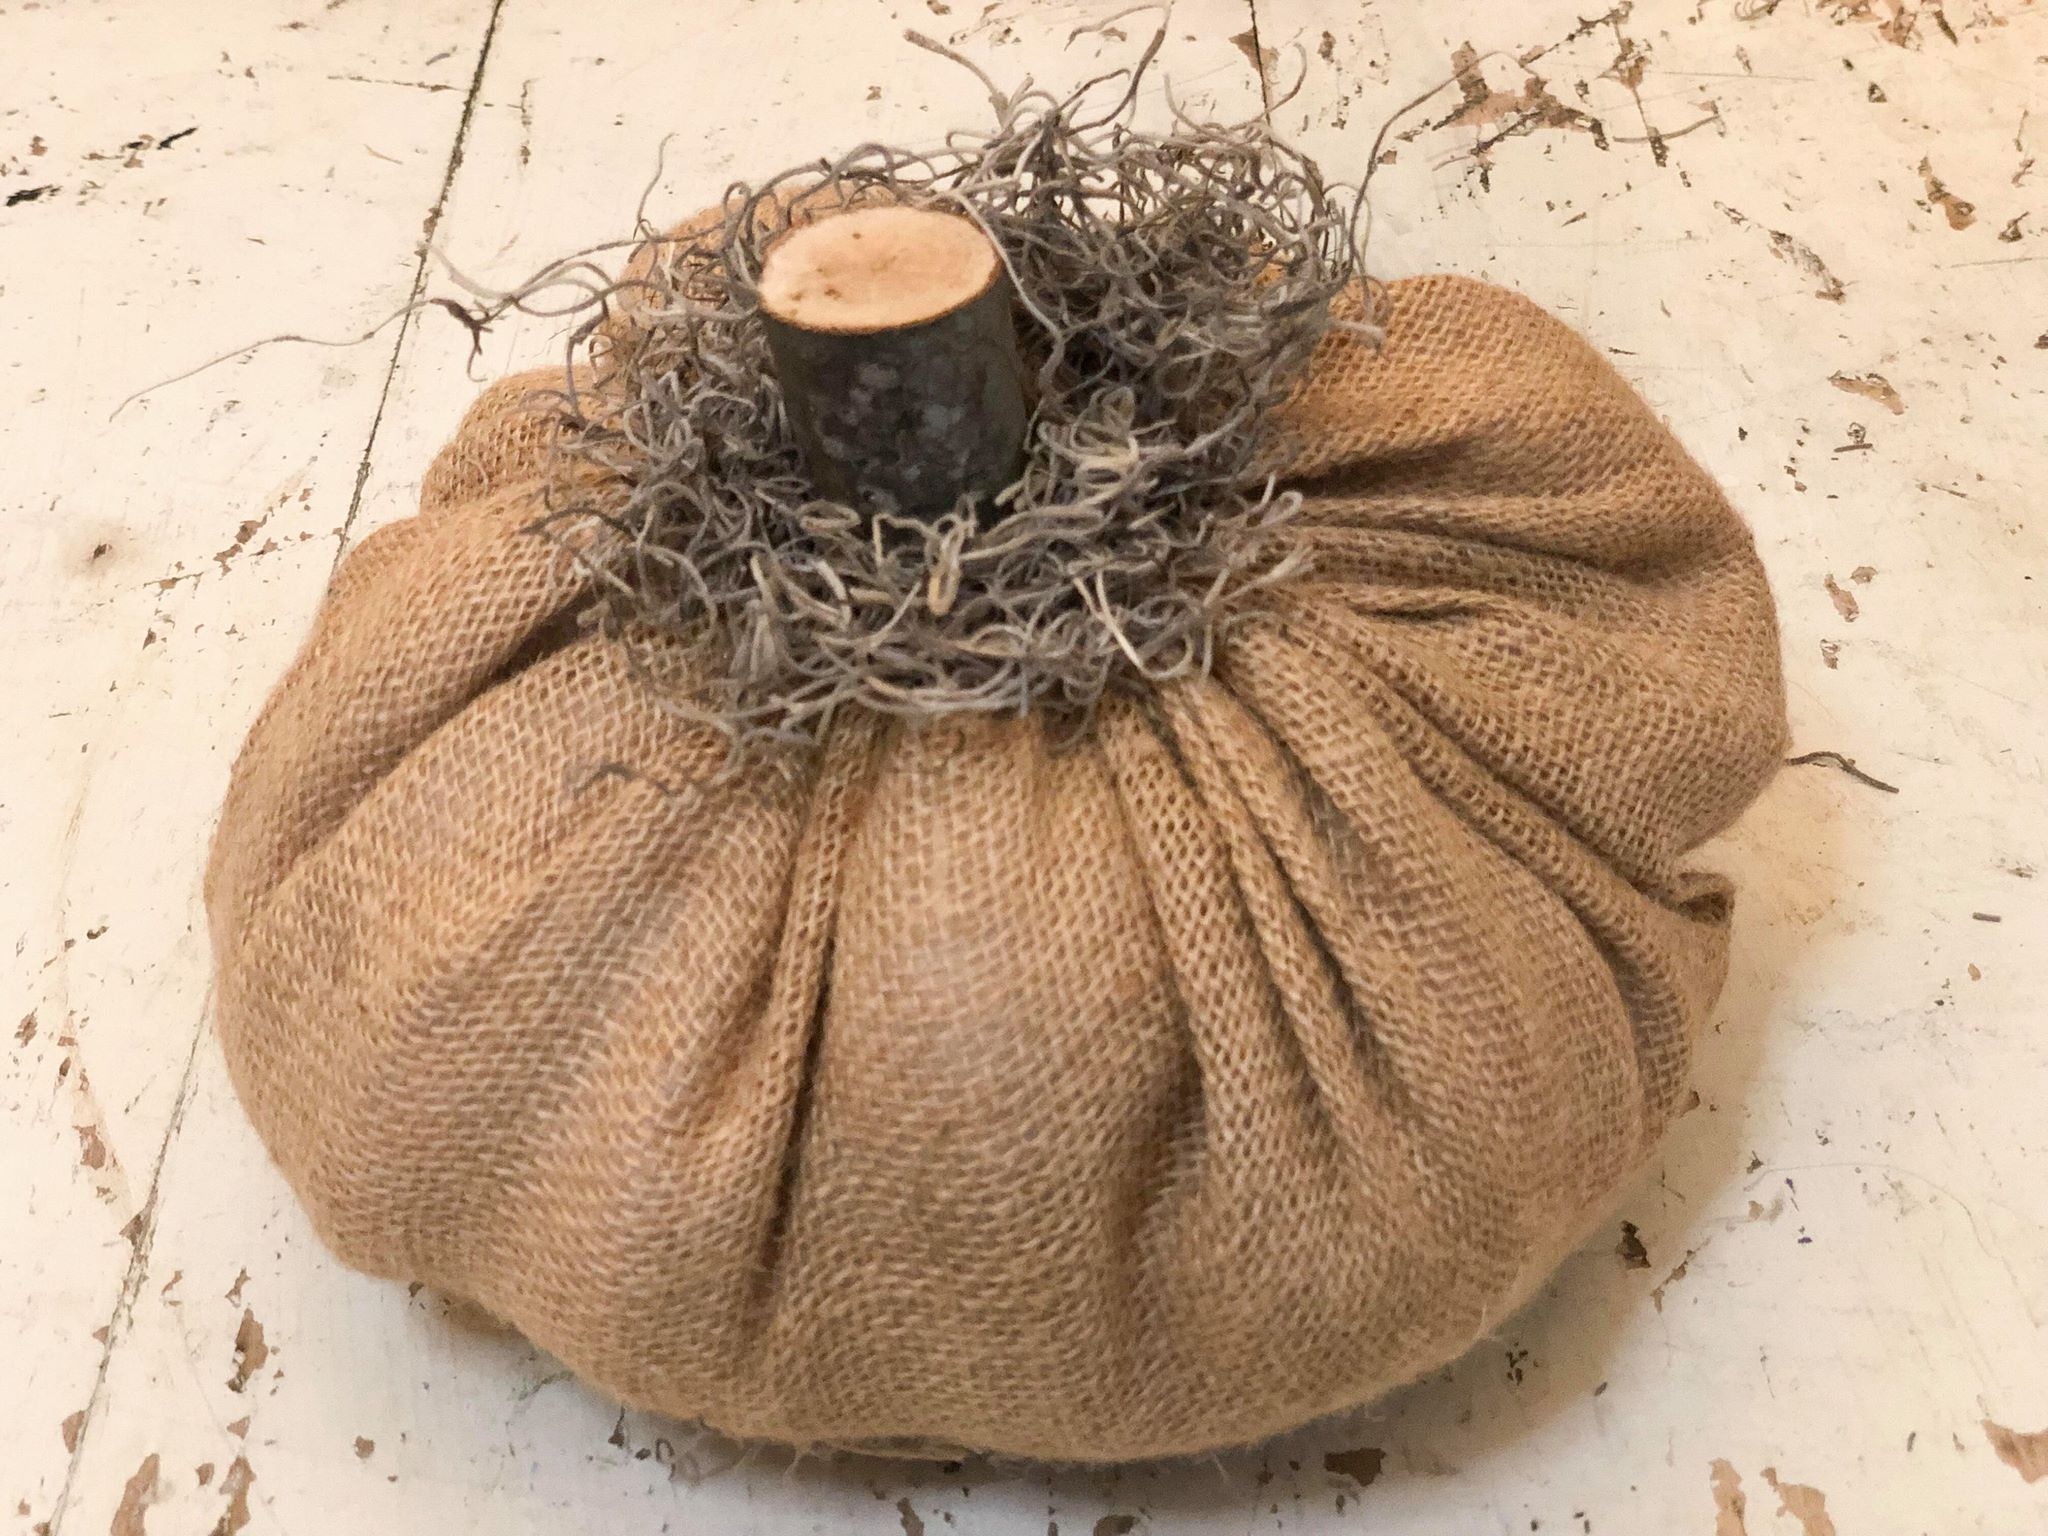
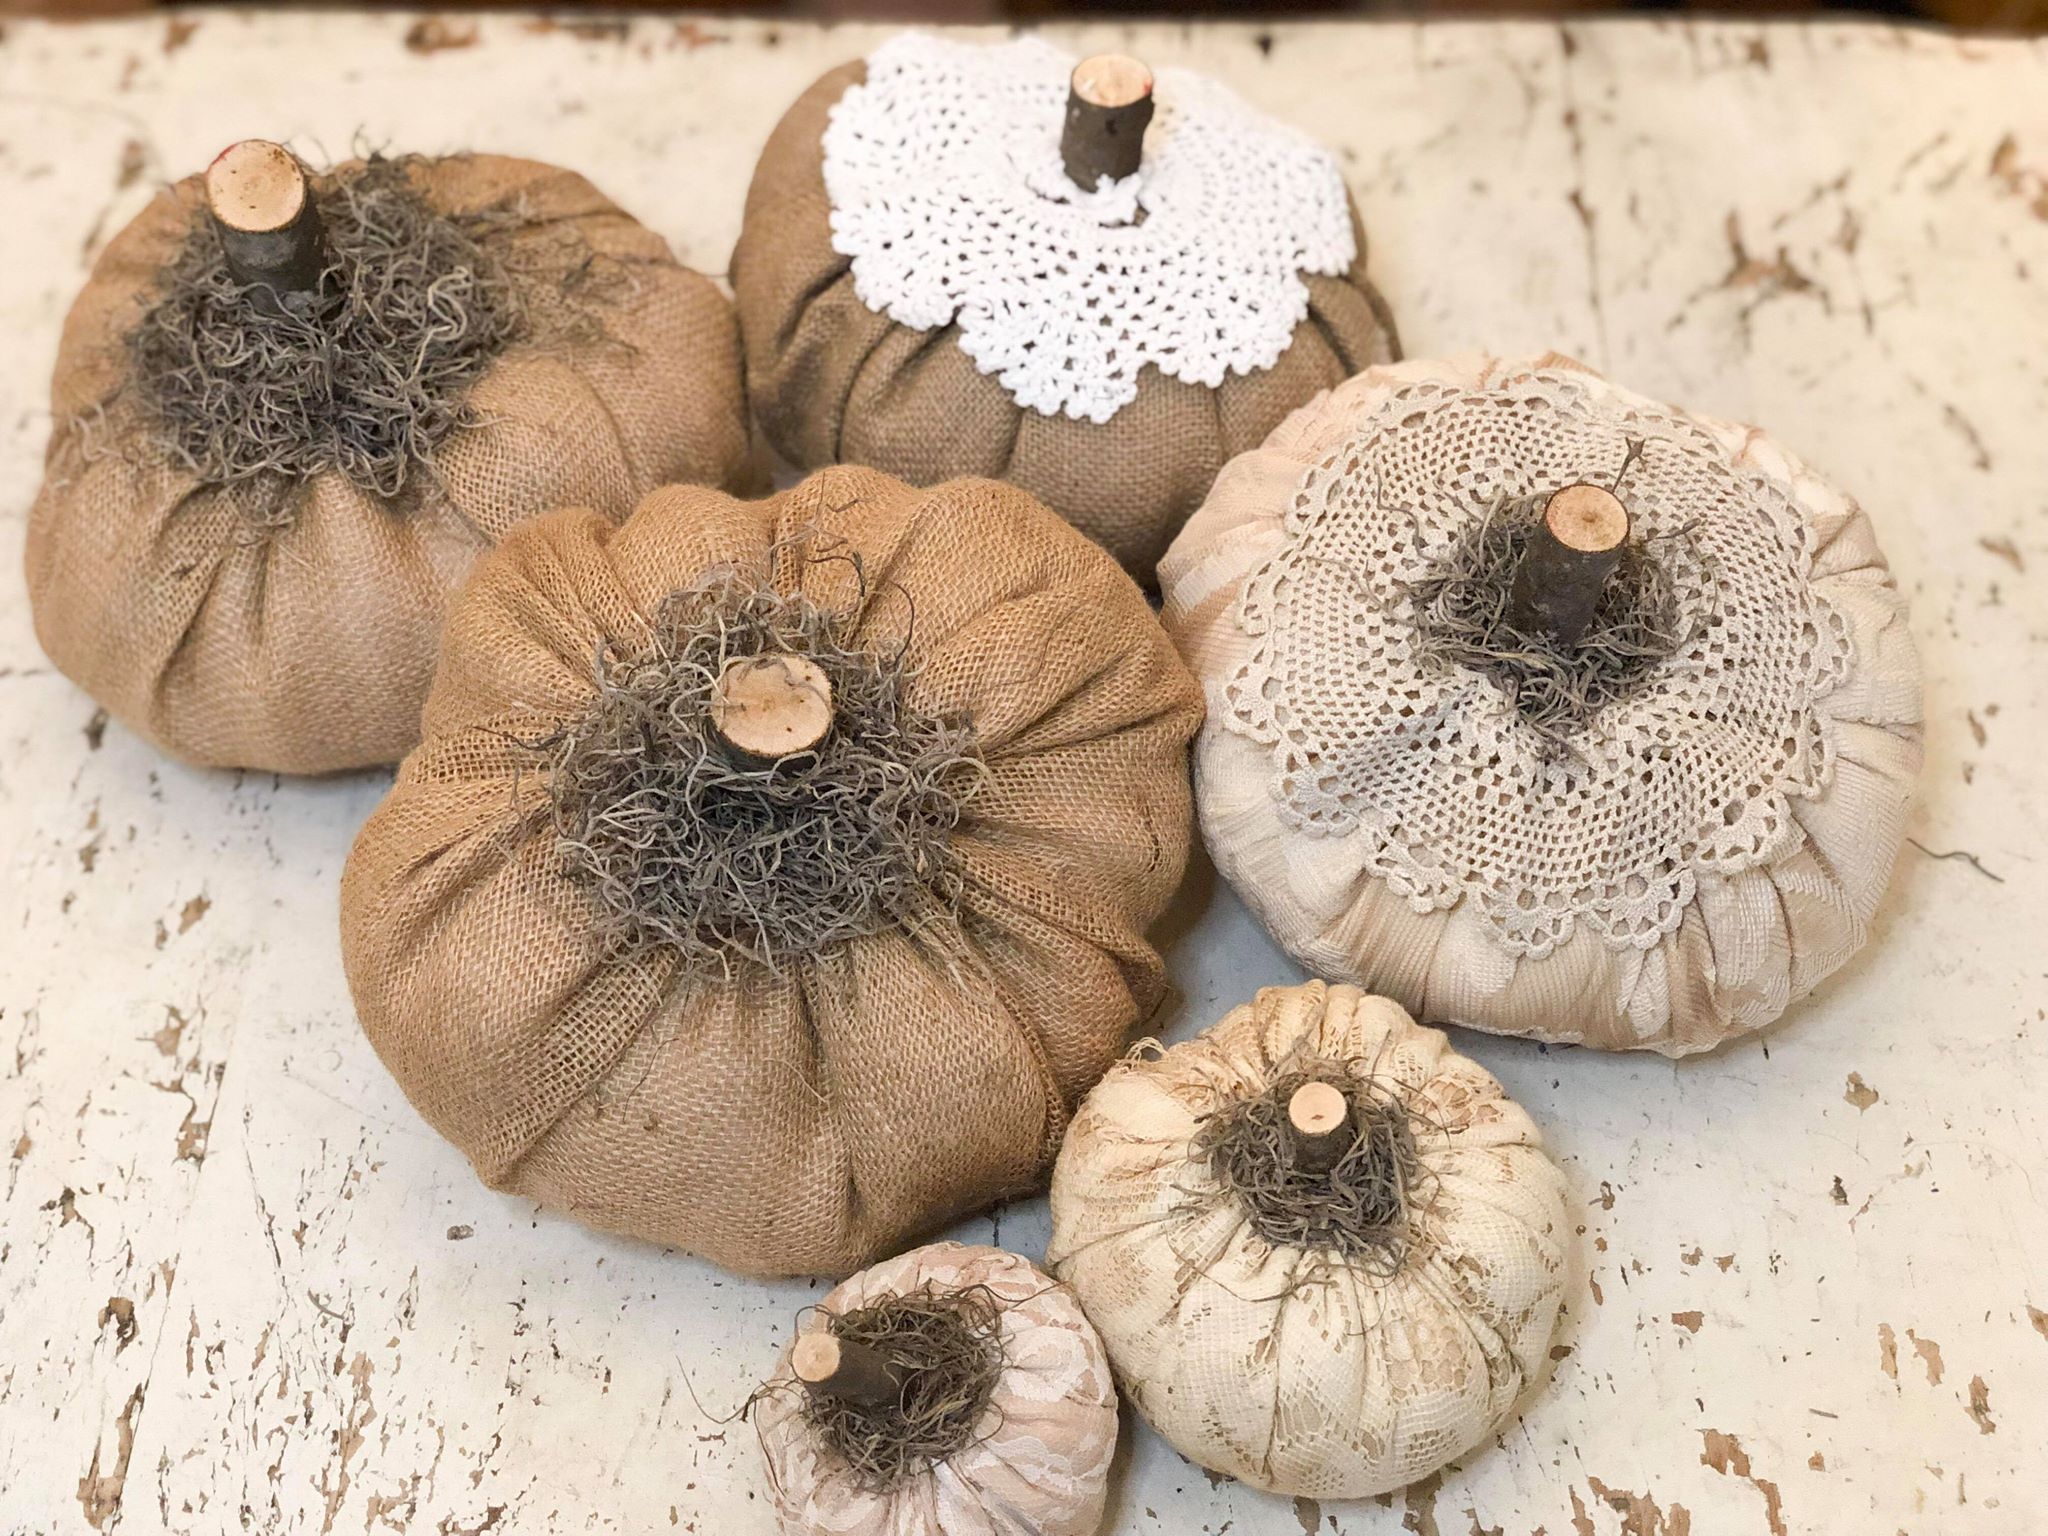
Next, take some Spanish moss and glue it around the top of the stem.
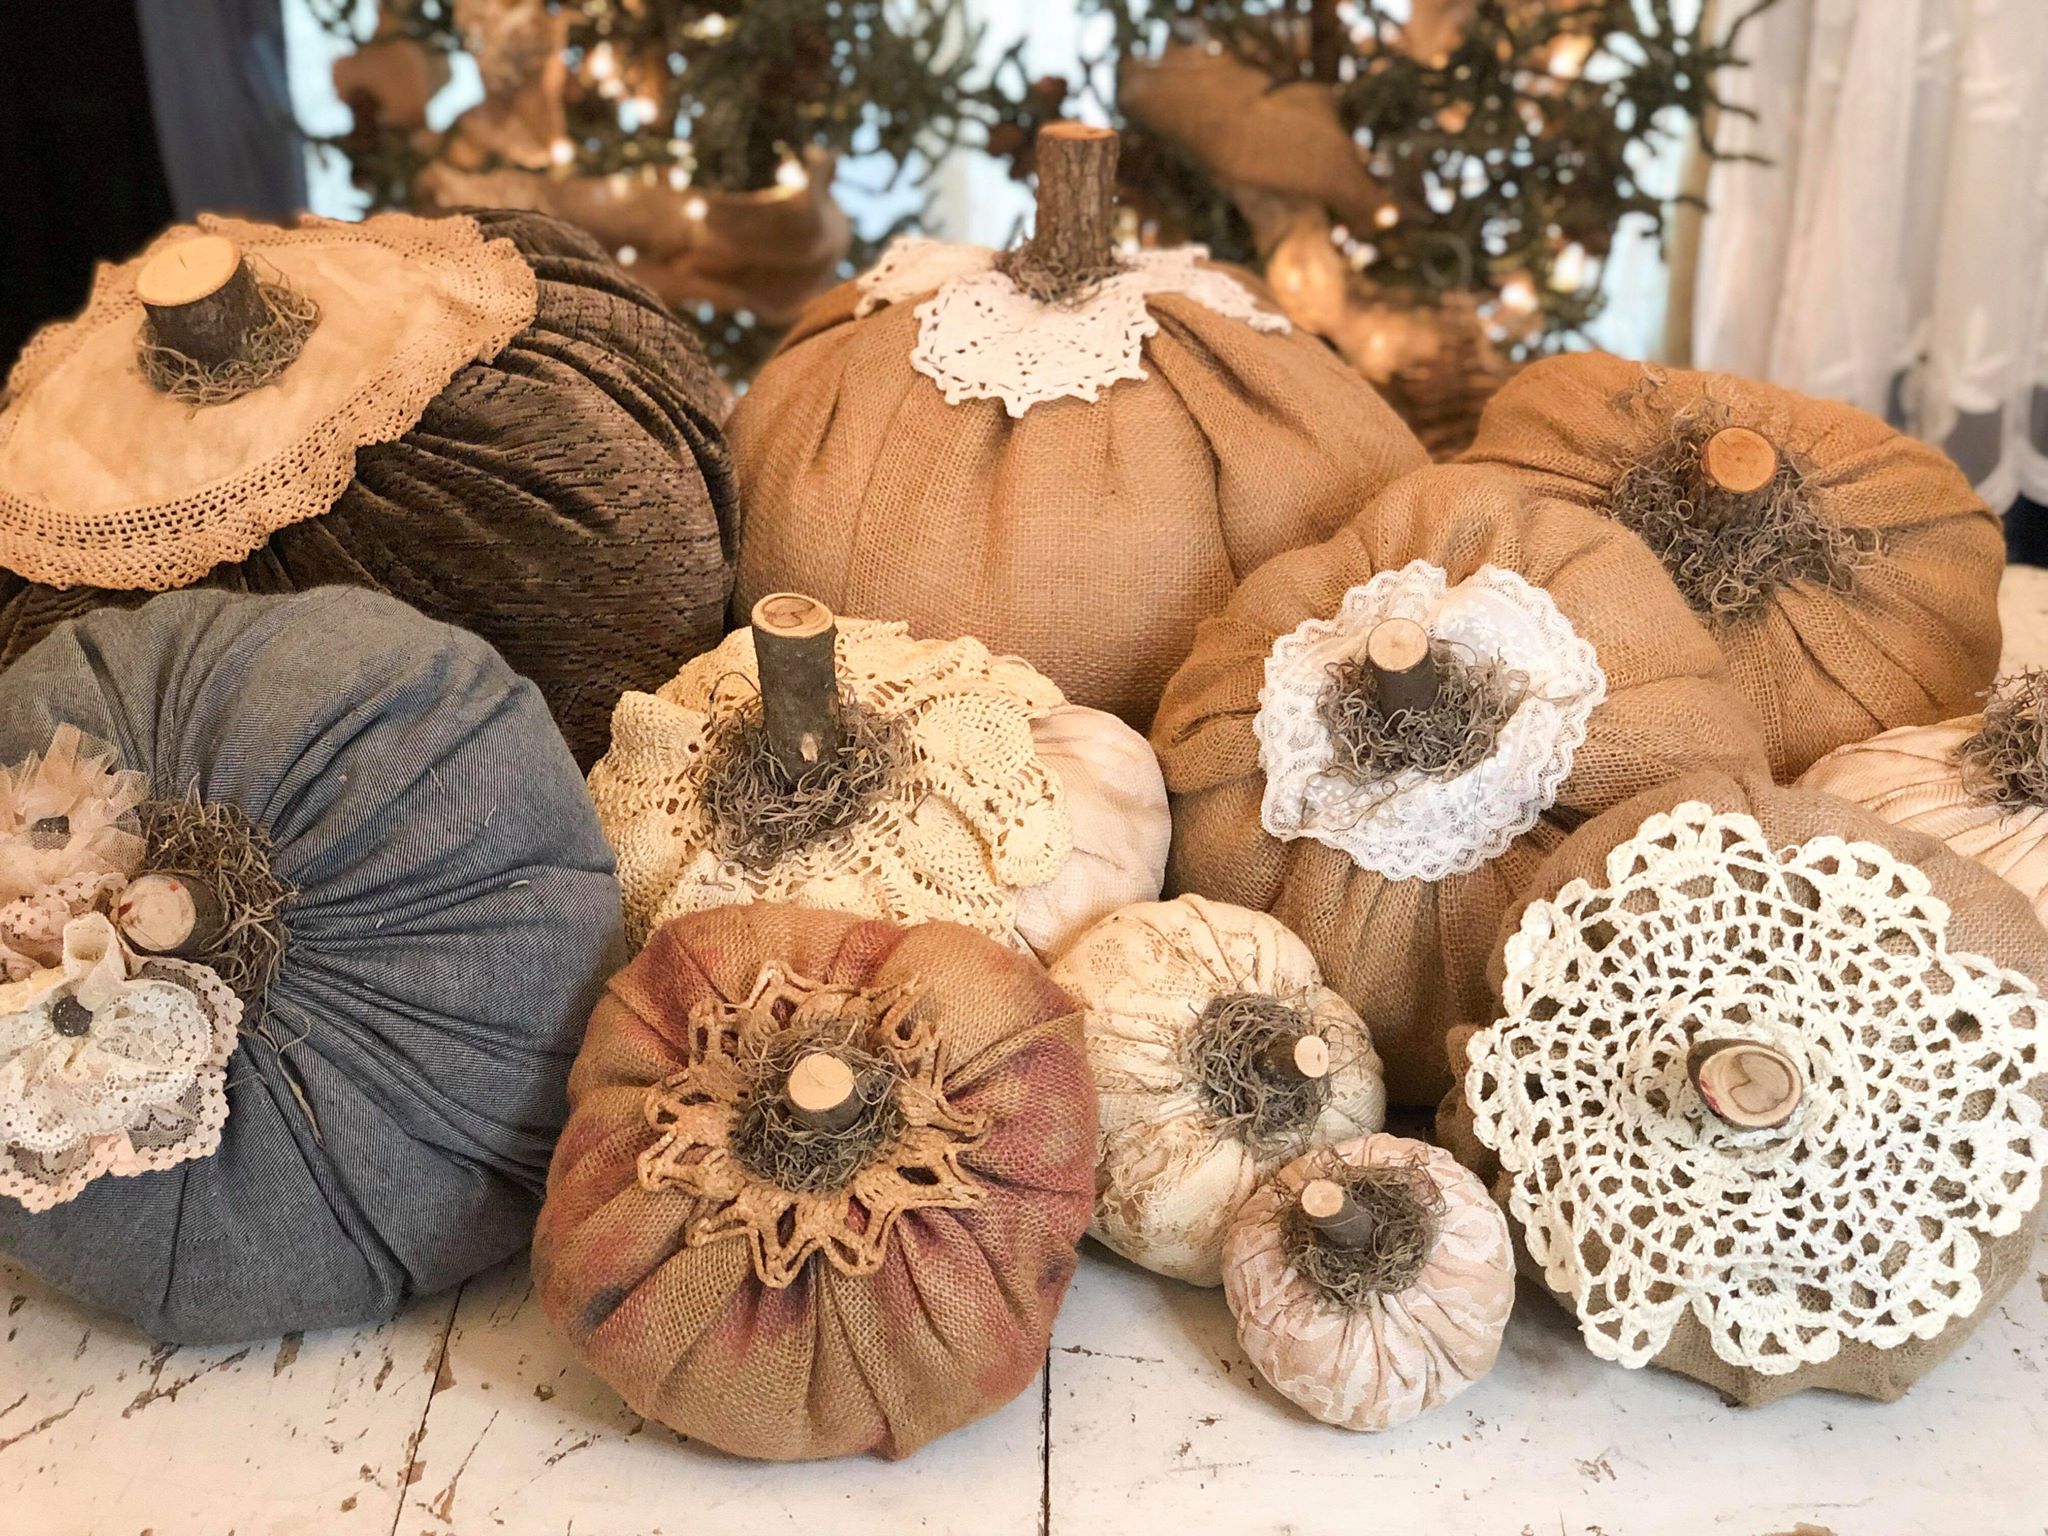
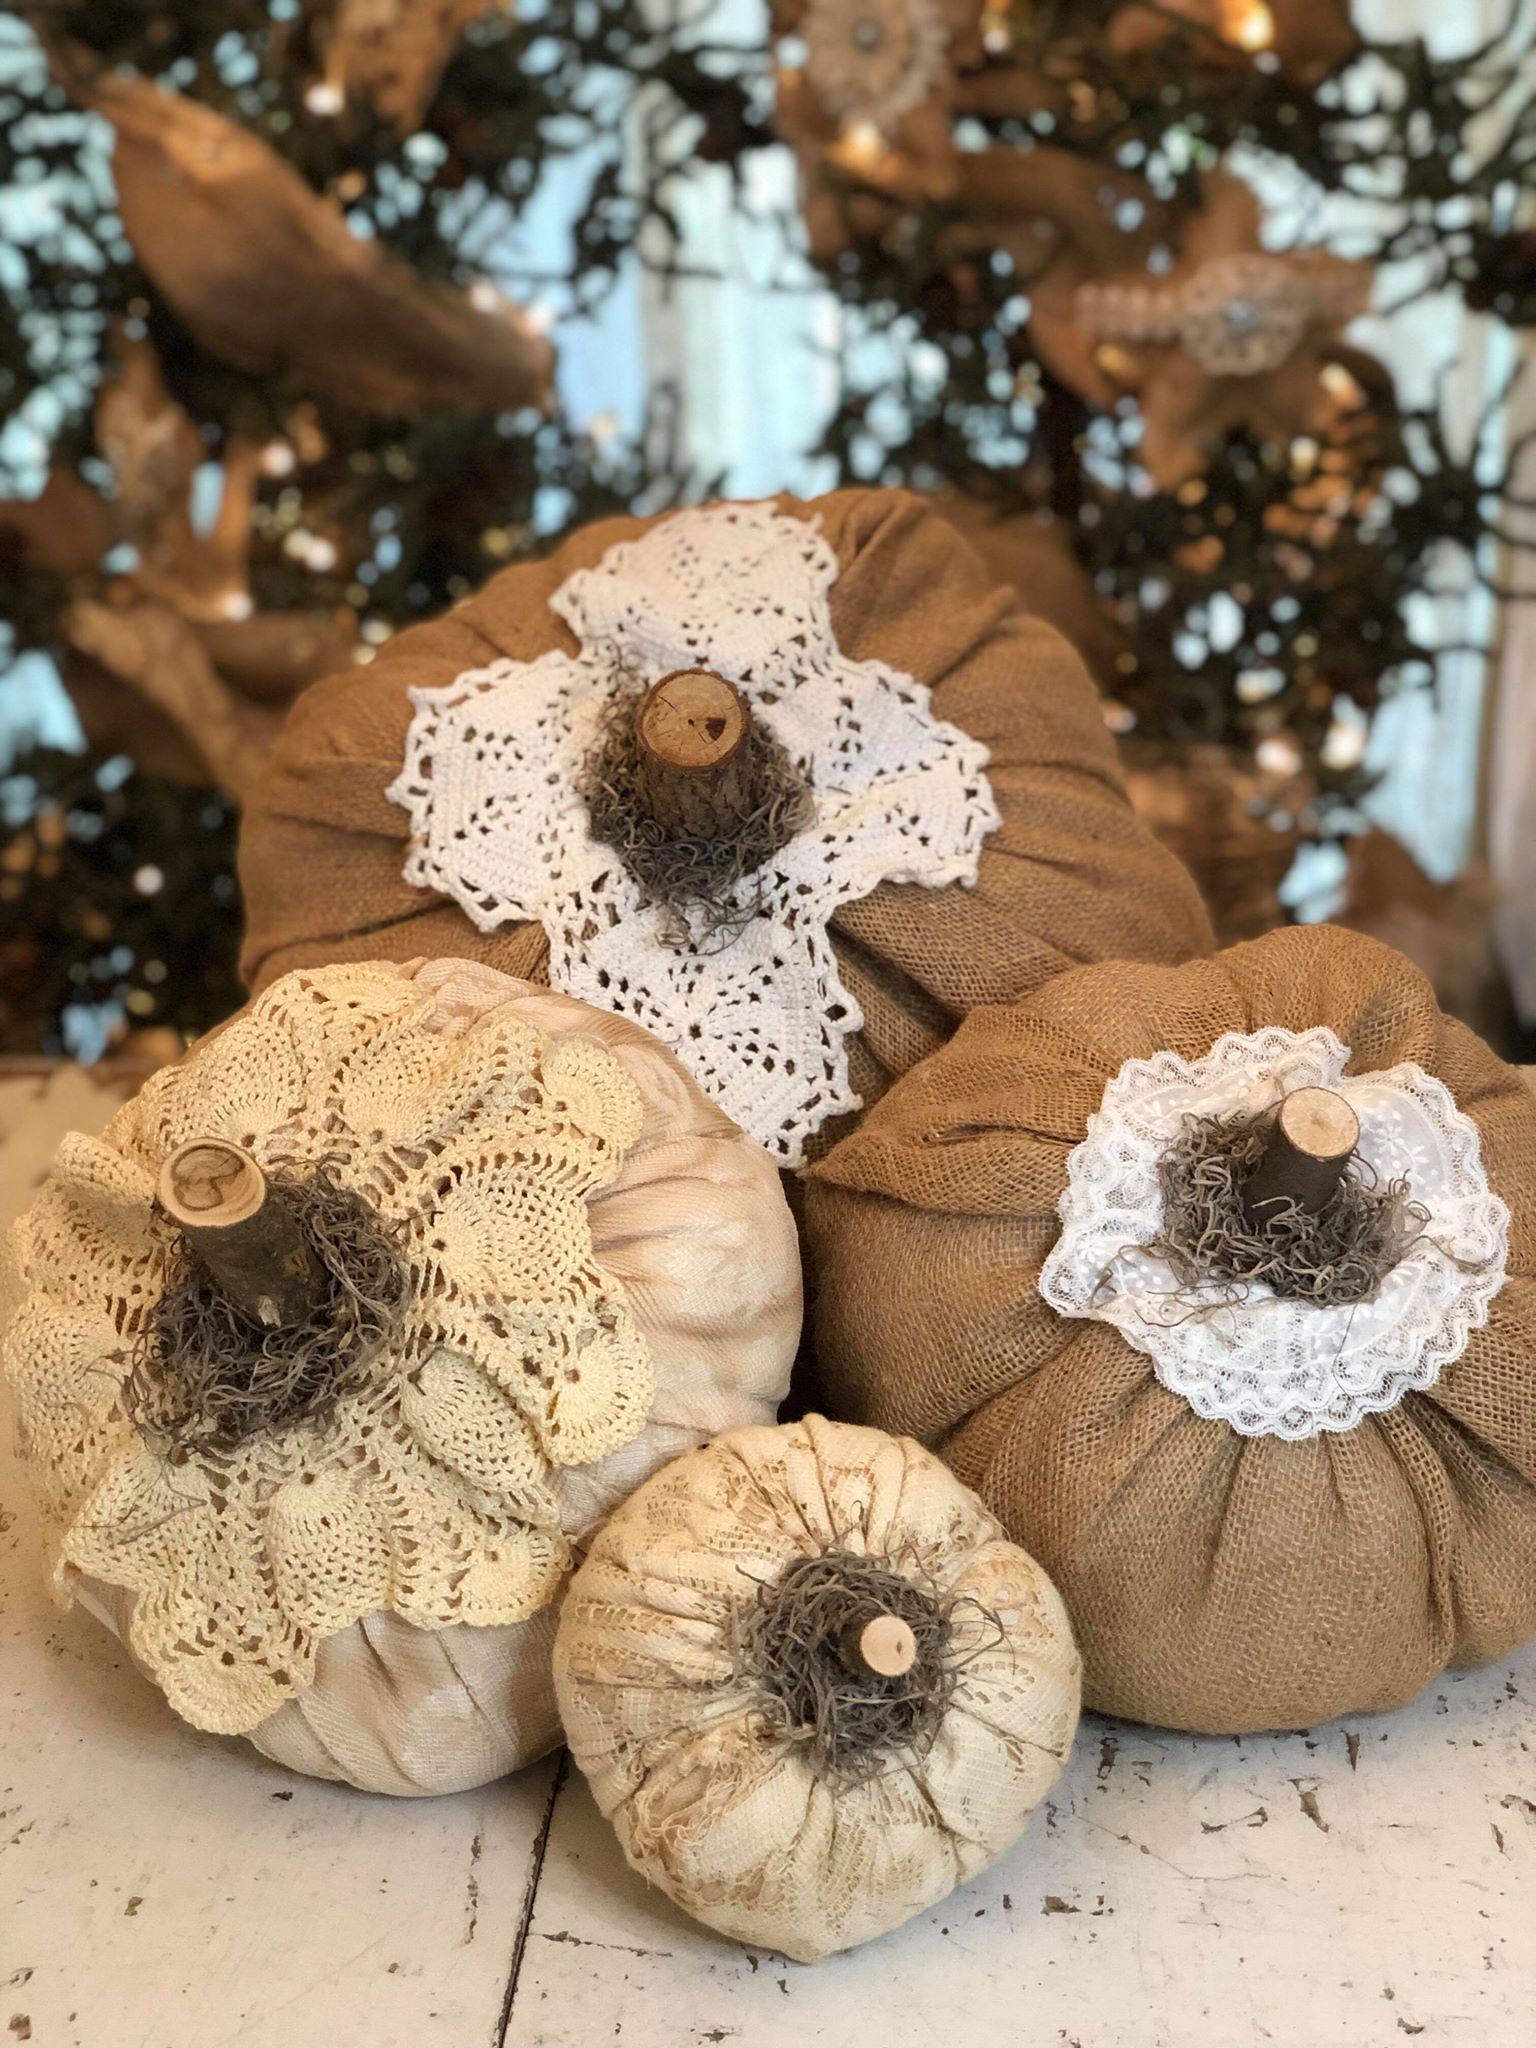
This pumpkin is so quick and easy to make. I love it because you can make a variety of sizes as well as different colors and prints. You can also add a variety of different things such as moss, doilies, ribbons, bows or foliage to the top of the pumpkin. These pumpkins allow you to be as creative as you’d like and I really hope you all give them a try!
Love boats and all around them !
Great fall project. Thanks
Love is love , like that song !! https://japook.com
I really enjoy reading through on this website , it contains good articles. “Those who complain most are most to be complained of.” by Matthew Henry.
I am new to your blog. I love to do crafts and haven’t been for quite awhile. Love your ideas and I absolutely love shabby chic. Any ideas for Florida people. I love the seashore look. Sailing boats and turtles or any animals. Looking forward to all you do. Thank you!,
I love this pumpkin and it was so easy to make! Thank you Barb for the easy step by step directions, I love all your unique crafts!
I have MS and Scleroderma and had to stop working a couple of years ago. Been spending too much time alone. Now, with my “new crafting friends,”!I feel motivated and excited about making new fun things. Thank you for all the great projects. ❤️
this is so easy loveall your crafts
I try to make them as easy as possible for y’all. The cheaper the better too. Thank you for watching and following!
Love this new blog! I have watched non stop for days . Thank goodness I found this.
Thank you Donna! That means so much. I hope you have fun trying them or just watching <3
Made some fabric pumpkins today. Mine are more colorful than yours but I’m very please with them. Tried to submit pictures on FB but was unsuccessful. Love you site.
Genny I am so happy you tried the craft. I wish they would let you post a photo I am sure they are perfect.
I just started following your blog and page and love all the crafts you make and pass on the instructions to us.I cant wait to make one of these. Thank you for sharing!!!!
Thank you for commenting Connie. It means so much and I am so happy you enjoy the blog and my pages.
Ohmygosh! I simply cannot wait to make this! ❤️
I hope you have fun and my instructions help!
So glad I found Shabby Tree, i can’t stop watching your videos and made my list for supply shopping 😊
Thank you so much Sandra. I love reading comments like this. It makes me so happy!
I went out today junking, picking up different fabrics , lace, old sweaters etc. I think the most I spent was $2.00 for 3 yards of fabric. I am so excited to start on my 1st pumpkin. My Mom was a major crafter and I never had time but you have inspired me. Thank you and I look forward to get that crafty feeling.
Getting materials together to mak e pumpkins. I am so excited. Thanks. So glad to finally find your blog. I pulled out my lil 3 foot pencil tree to decorate with lil pumpkins and candy corn. I better check my paint. Oh yes need roll brown paper from dollar tree too. Thank you so much. Have needed something to get me going again. You are it. 💕
I can’t stop watching you since I found you about a week ago
Thank you so much Cindy! It means a lot <3
Adorable, easy, inexpensive stuff. Thank you for perking this old lady up to get back into crafting again.
I am so happy you found us Patricia and thank you for following <3
I am new to you blog and I love it, you are so creative
Thank you Linda <3
I made my first pumpkin using a lace doily,2 for a dollar at DG, dipped in tea.
Just read how to make these beautiful pumpkins I am excited to make them
Hello
Did you cut out the Center of the Doilies to make roon for the stems?
Thanks
Absolutely beautiful!