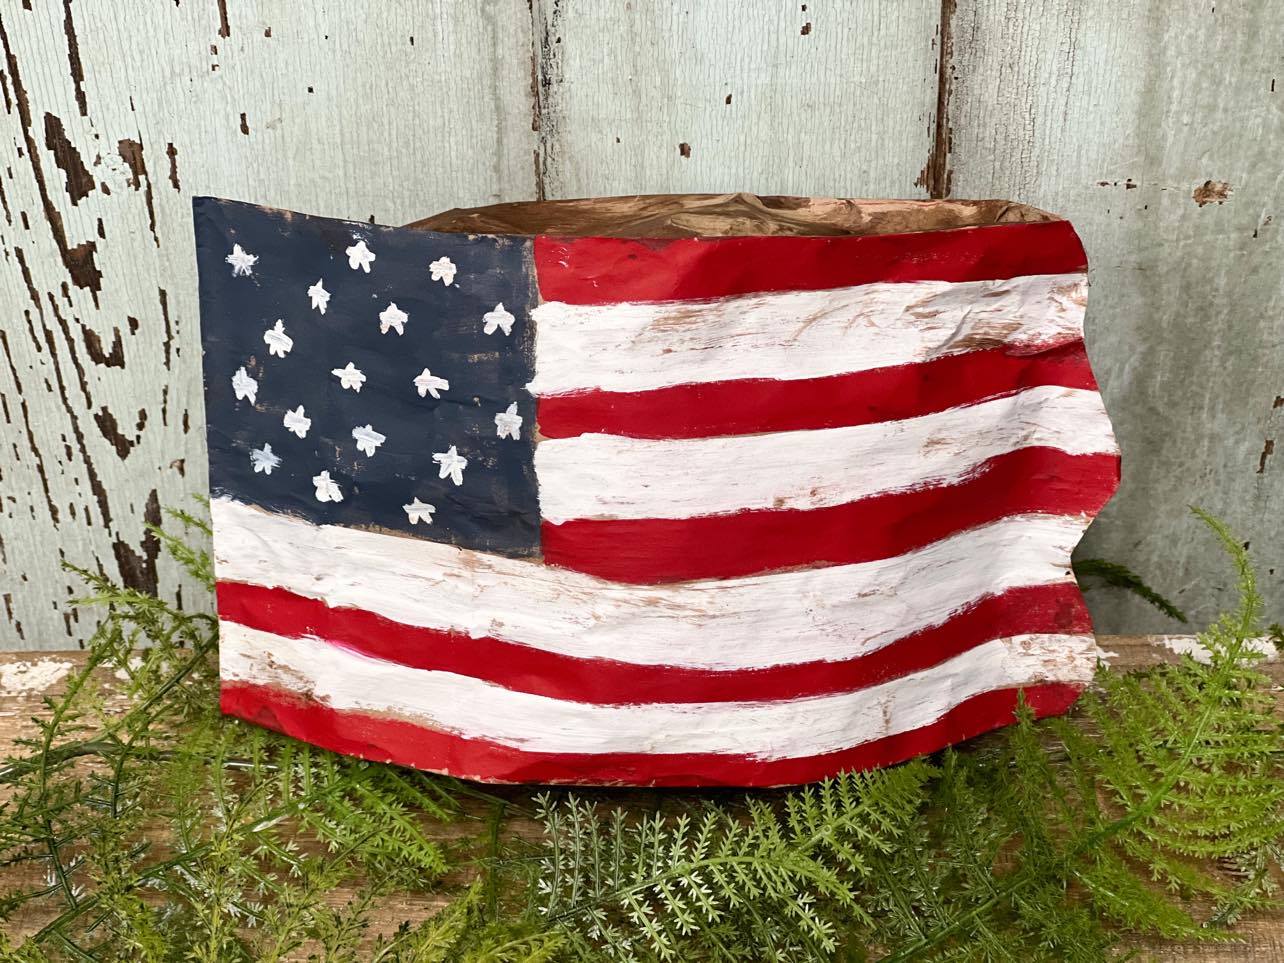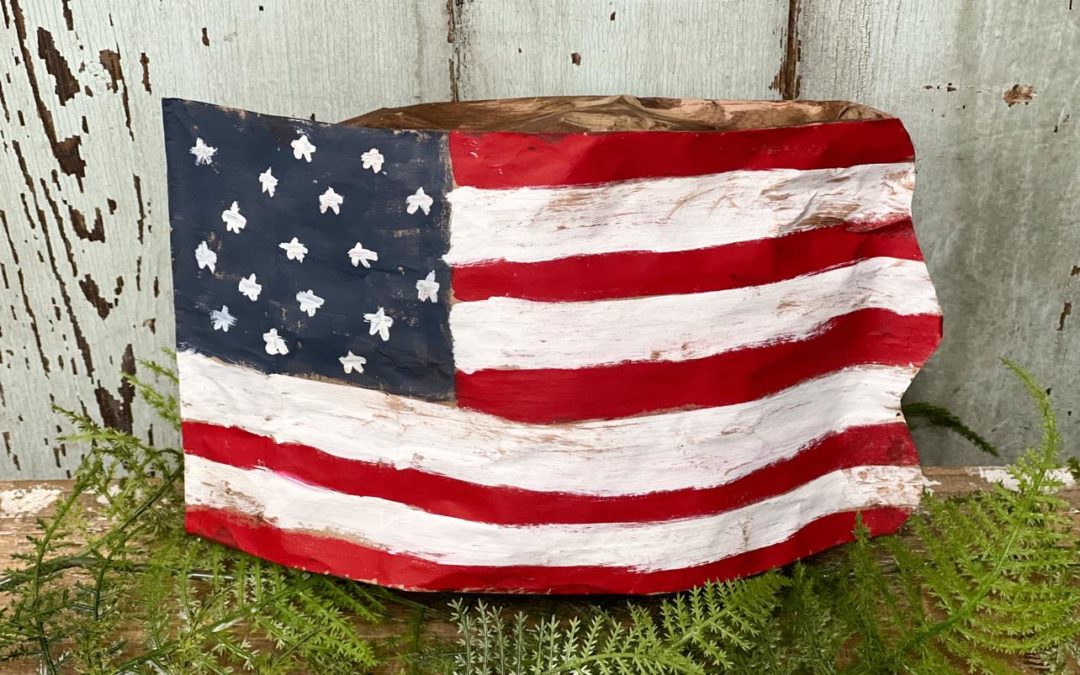
We are always trying to get creative with everyday items here at The Shabby Tree. It is time to start creating some decorations for summer. I have been pulling out all of my Americana decor and I thought it would be fun to create a flag. Since we like to use a lot of everyday items for our crafts I thought we can create a fun and unique flag out of a paper bag.
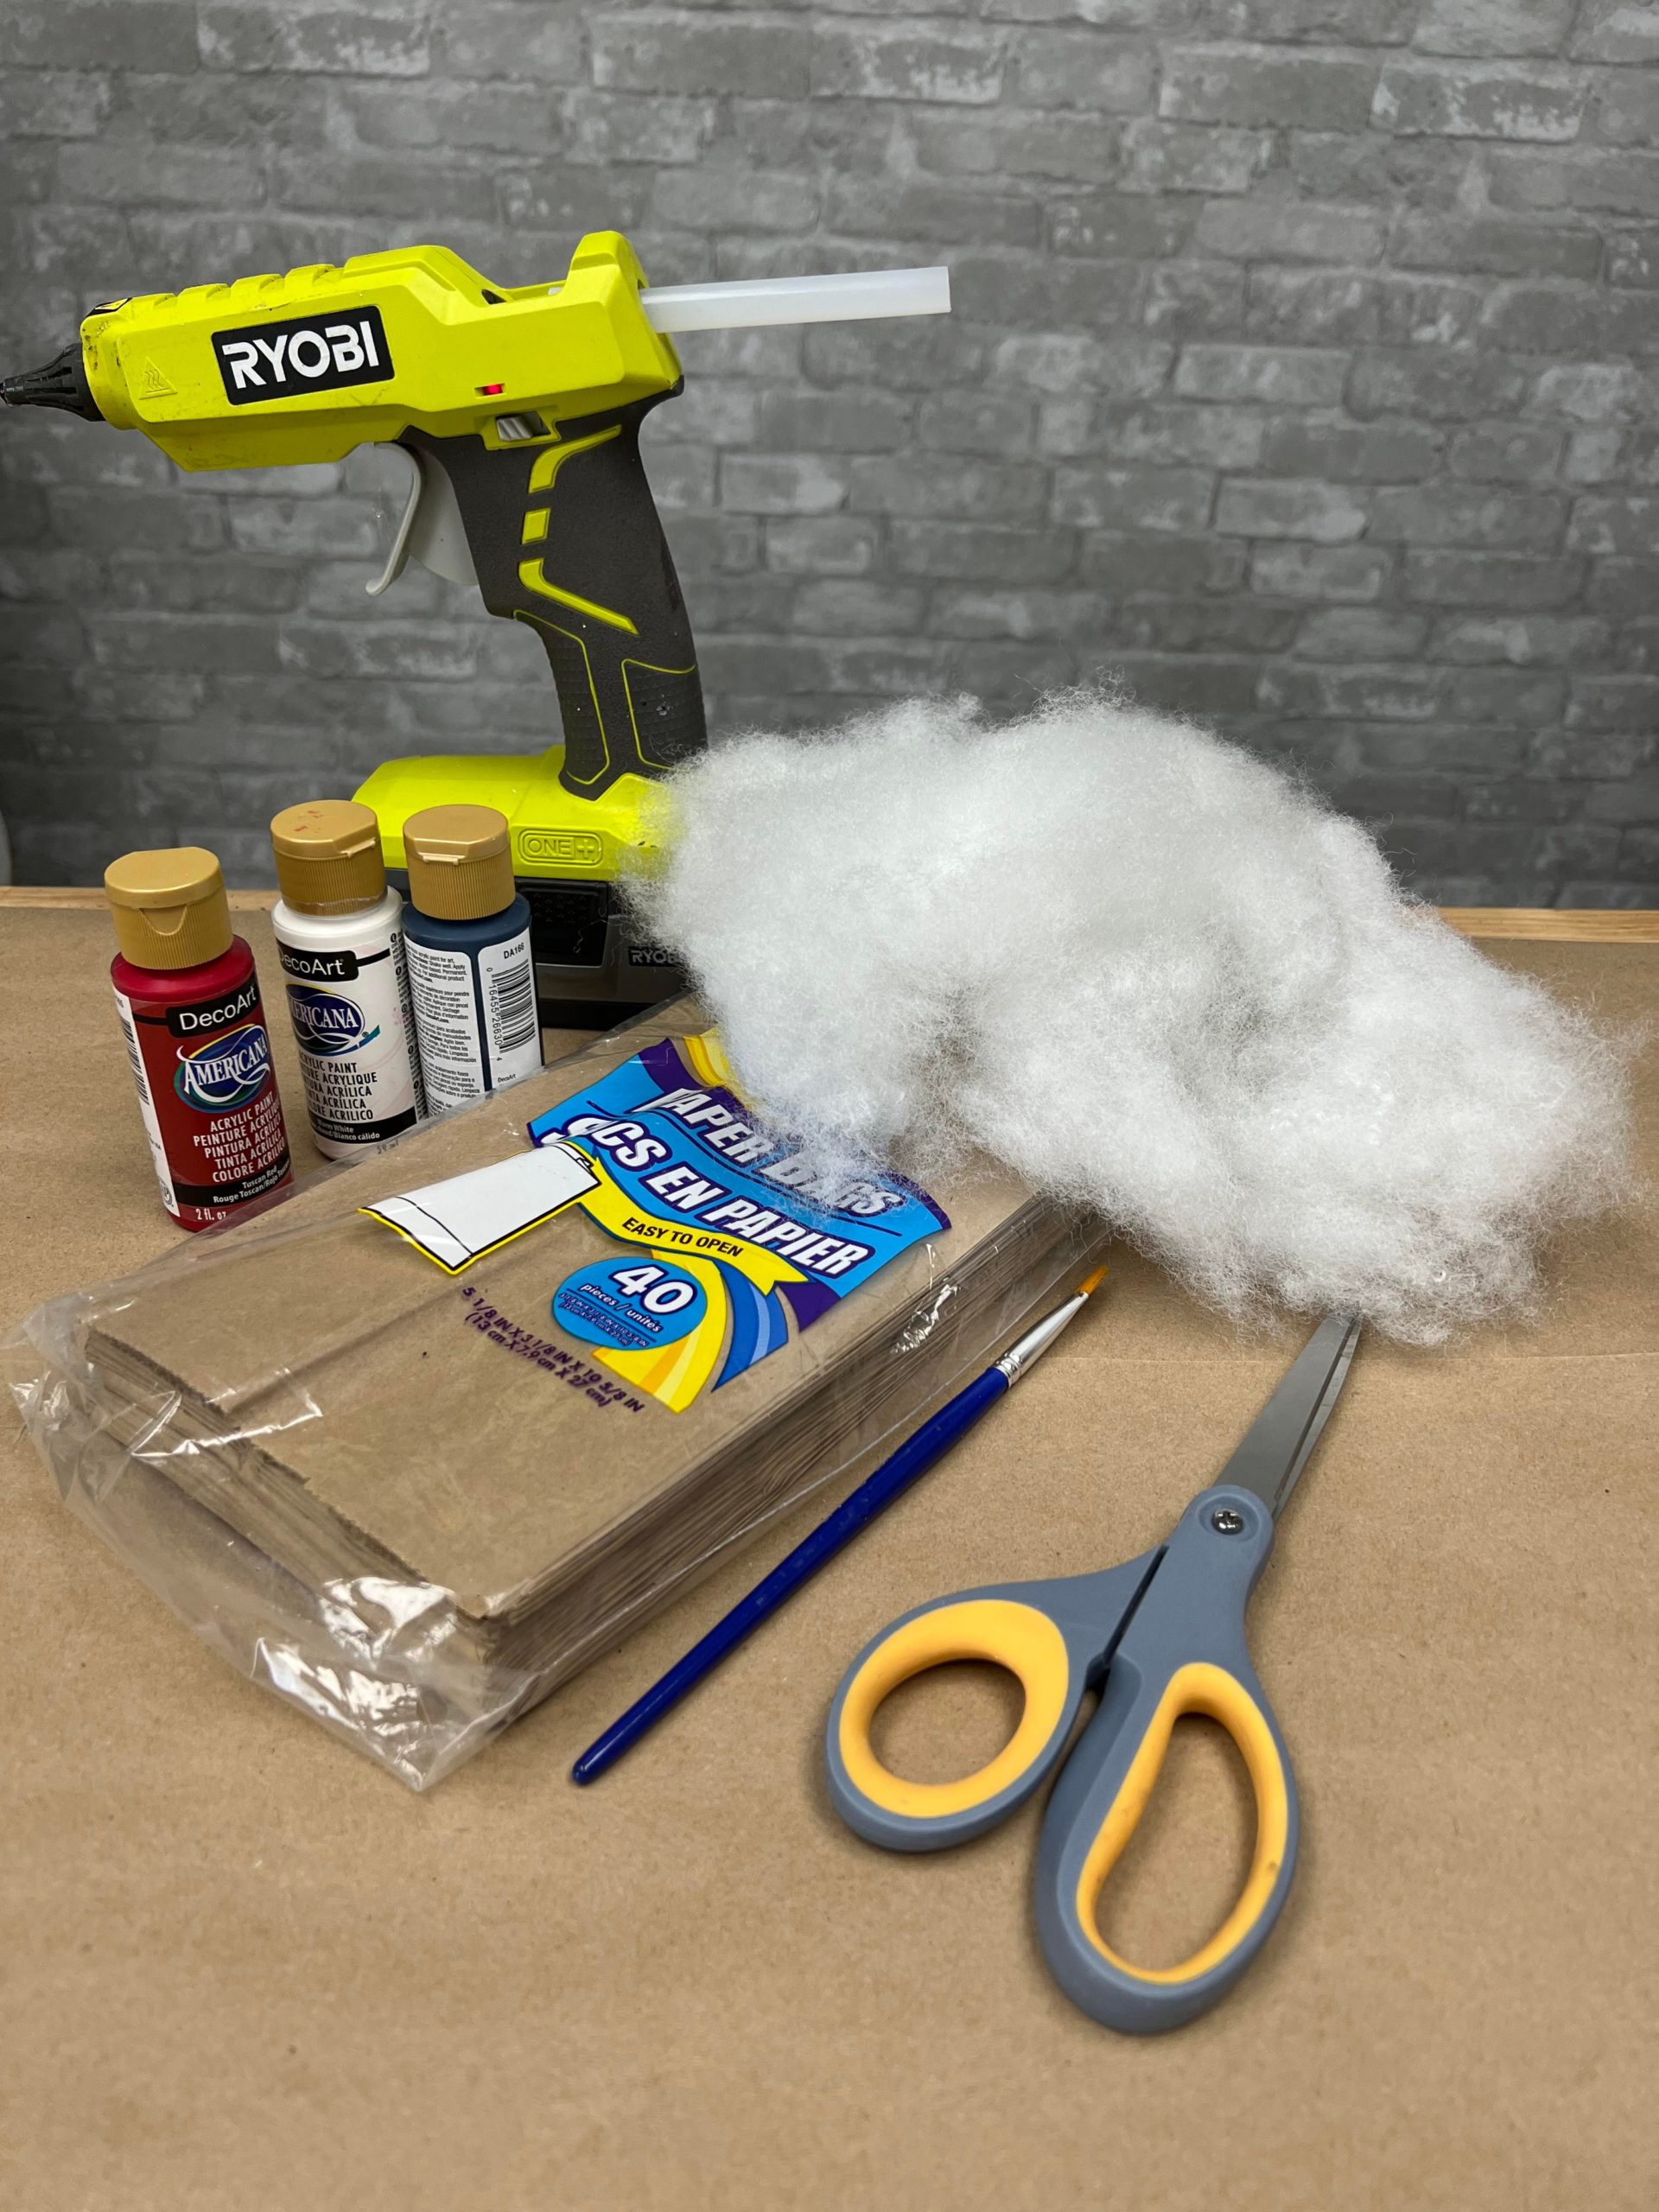
The supplies I will be using are:
1. Brown paper bag ( lunch bag) 2. Walnut colored Gel Stain by DecoArt
3. Americana acrylic paint by DecoArt ( Warm White, Tuscan Red and Deep Midnight Blue)
4. Hot glue
5. Paint brush
6. Scissors
7. Poly-fil
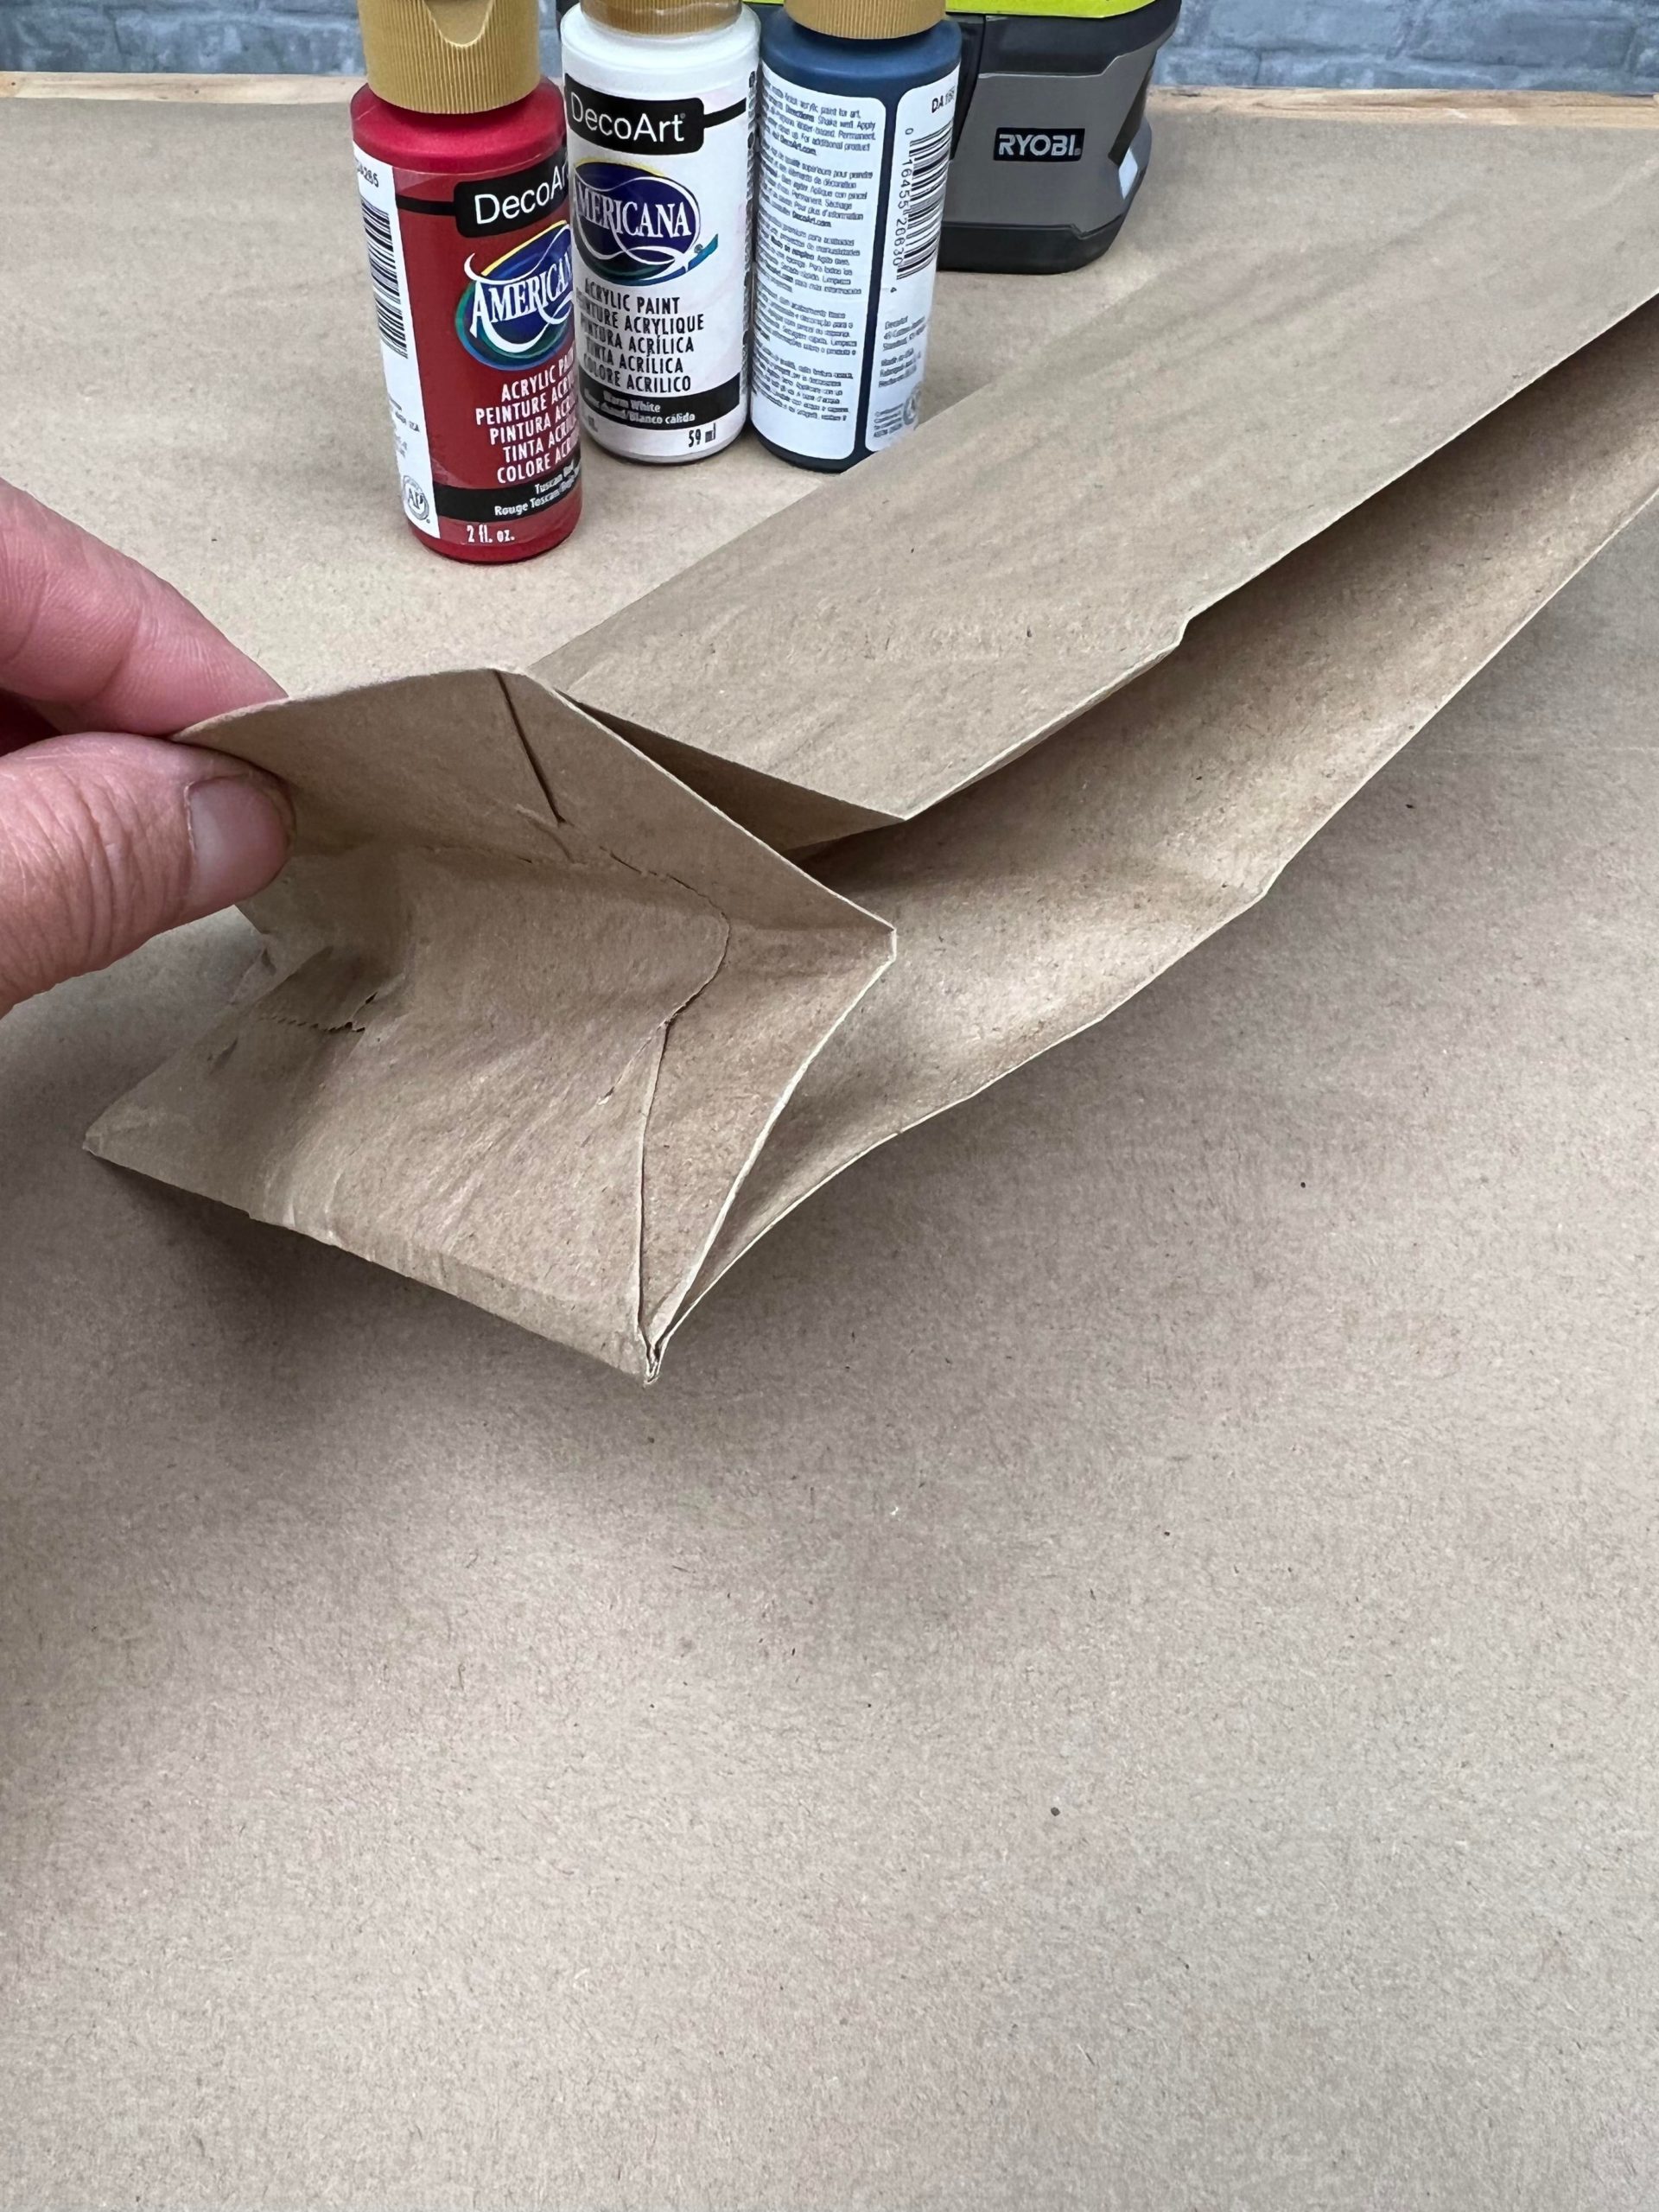
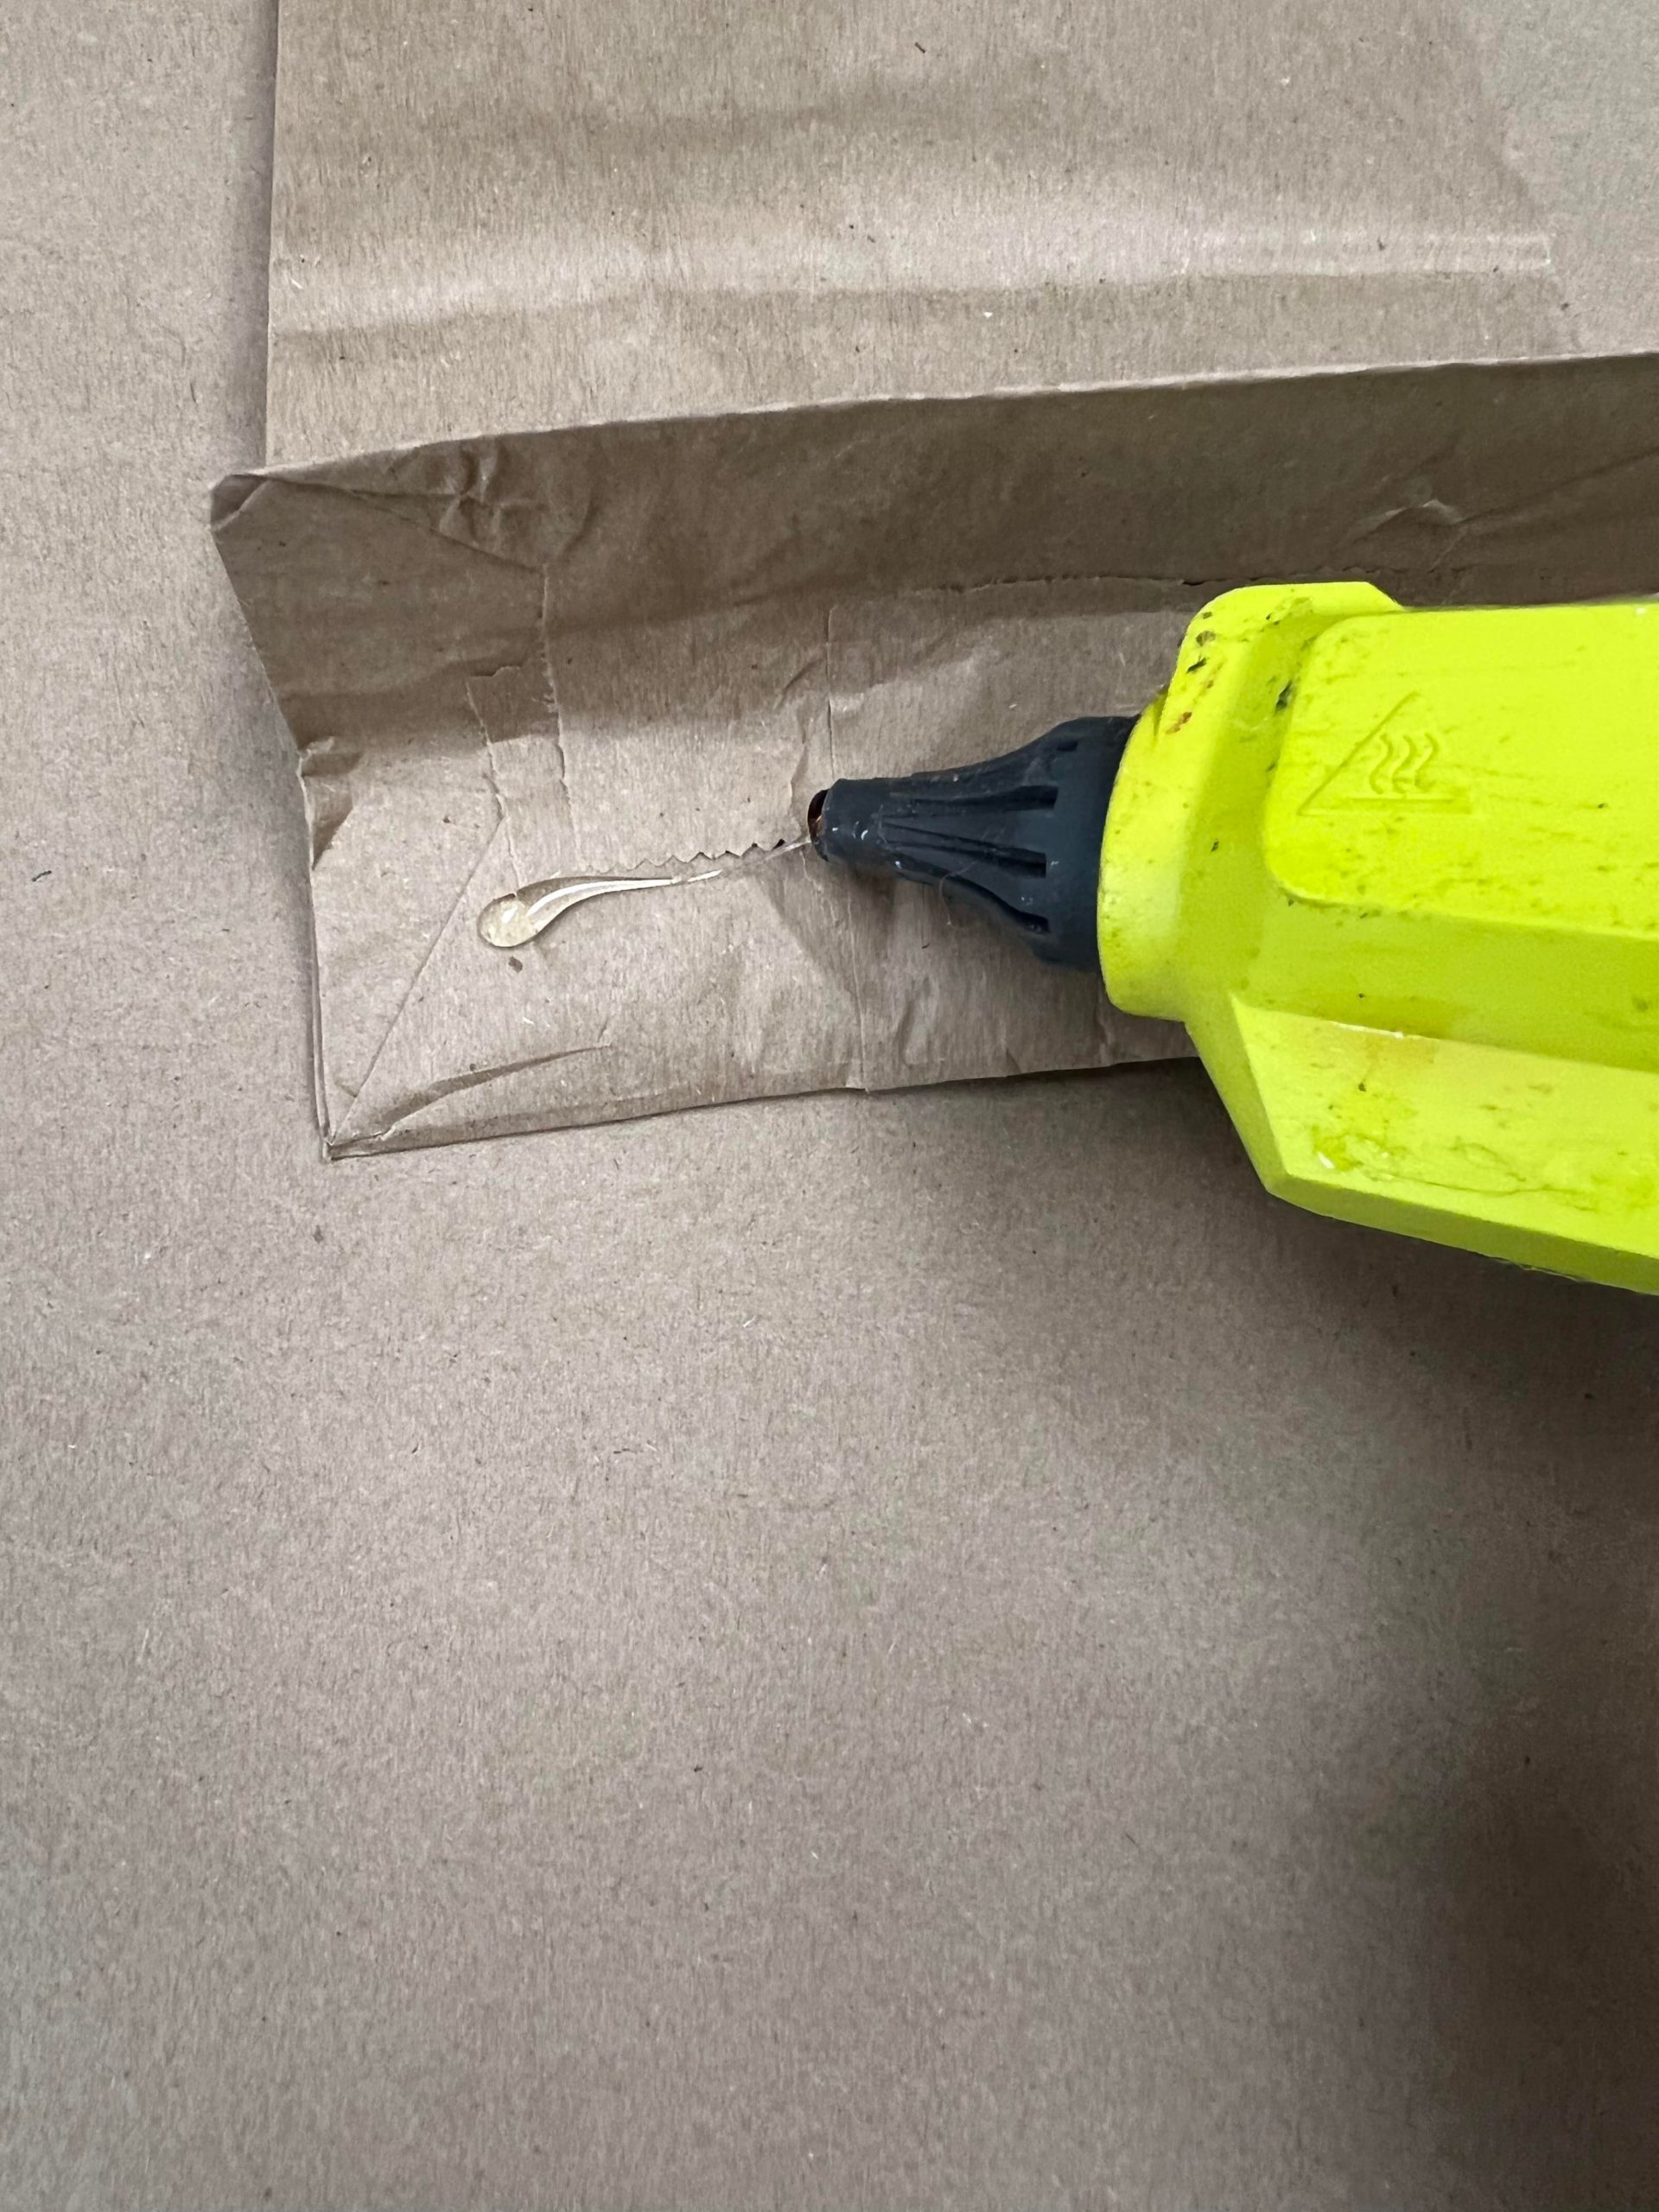
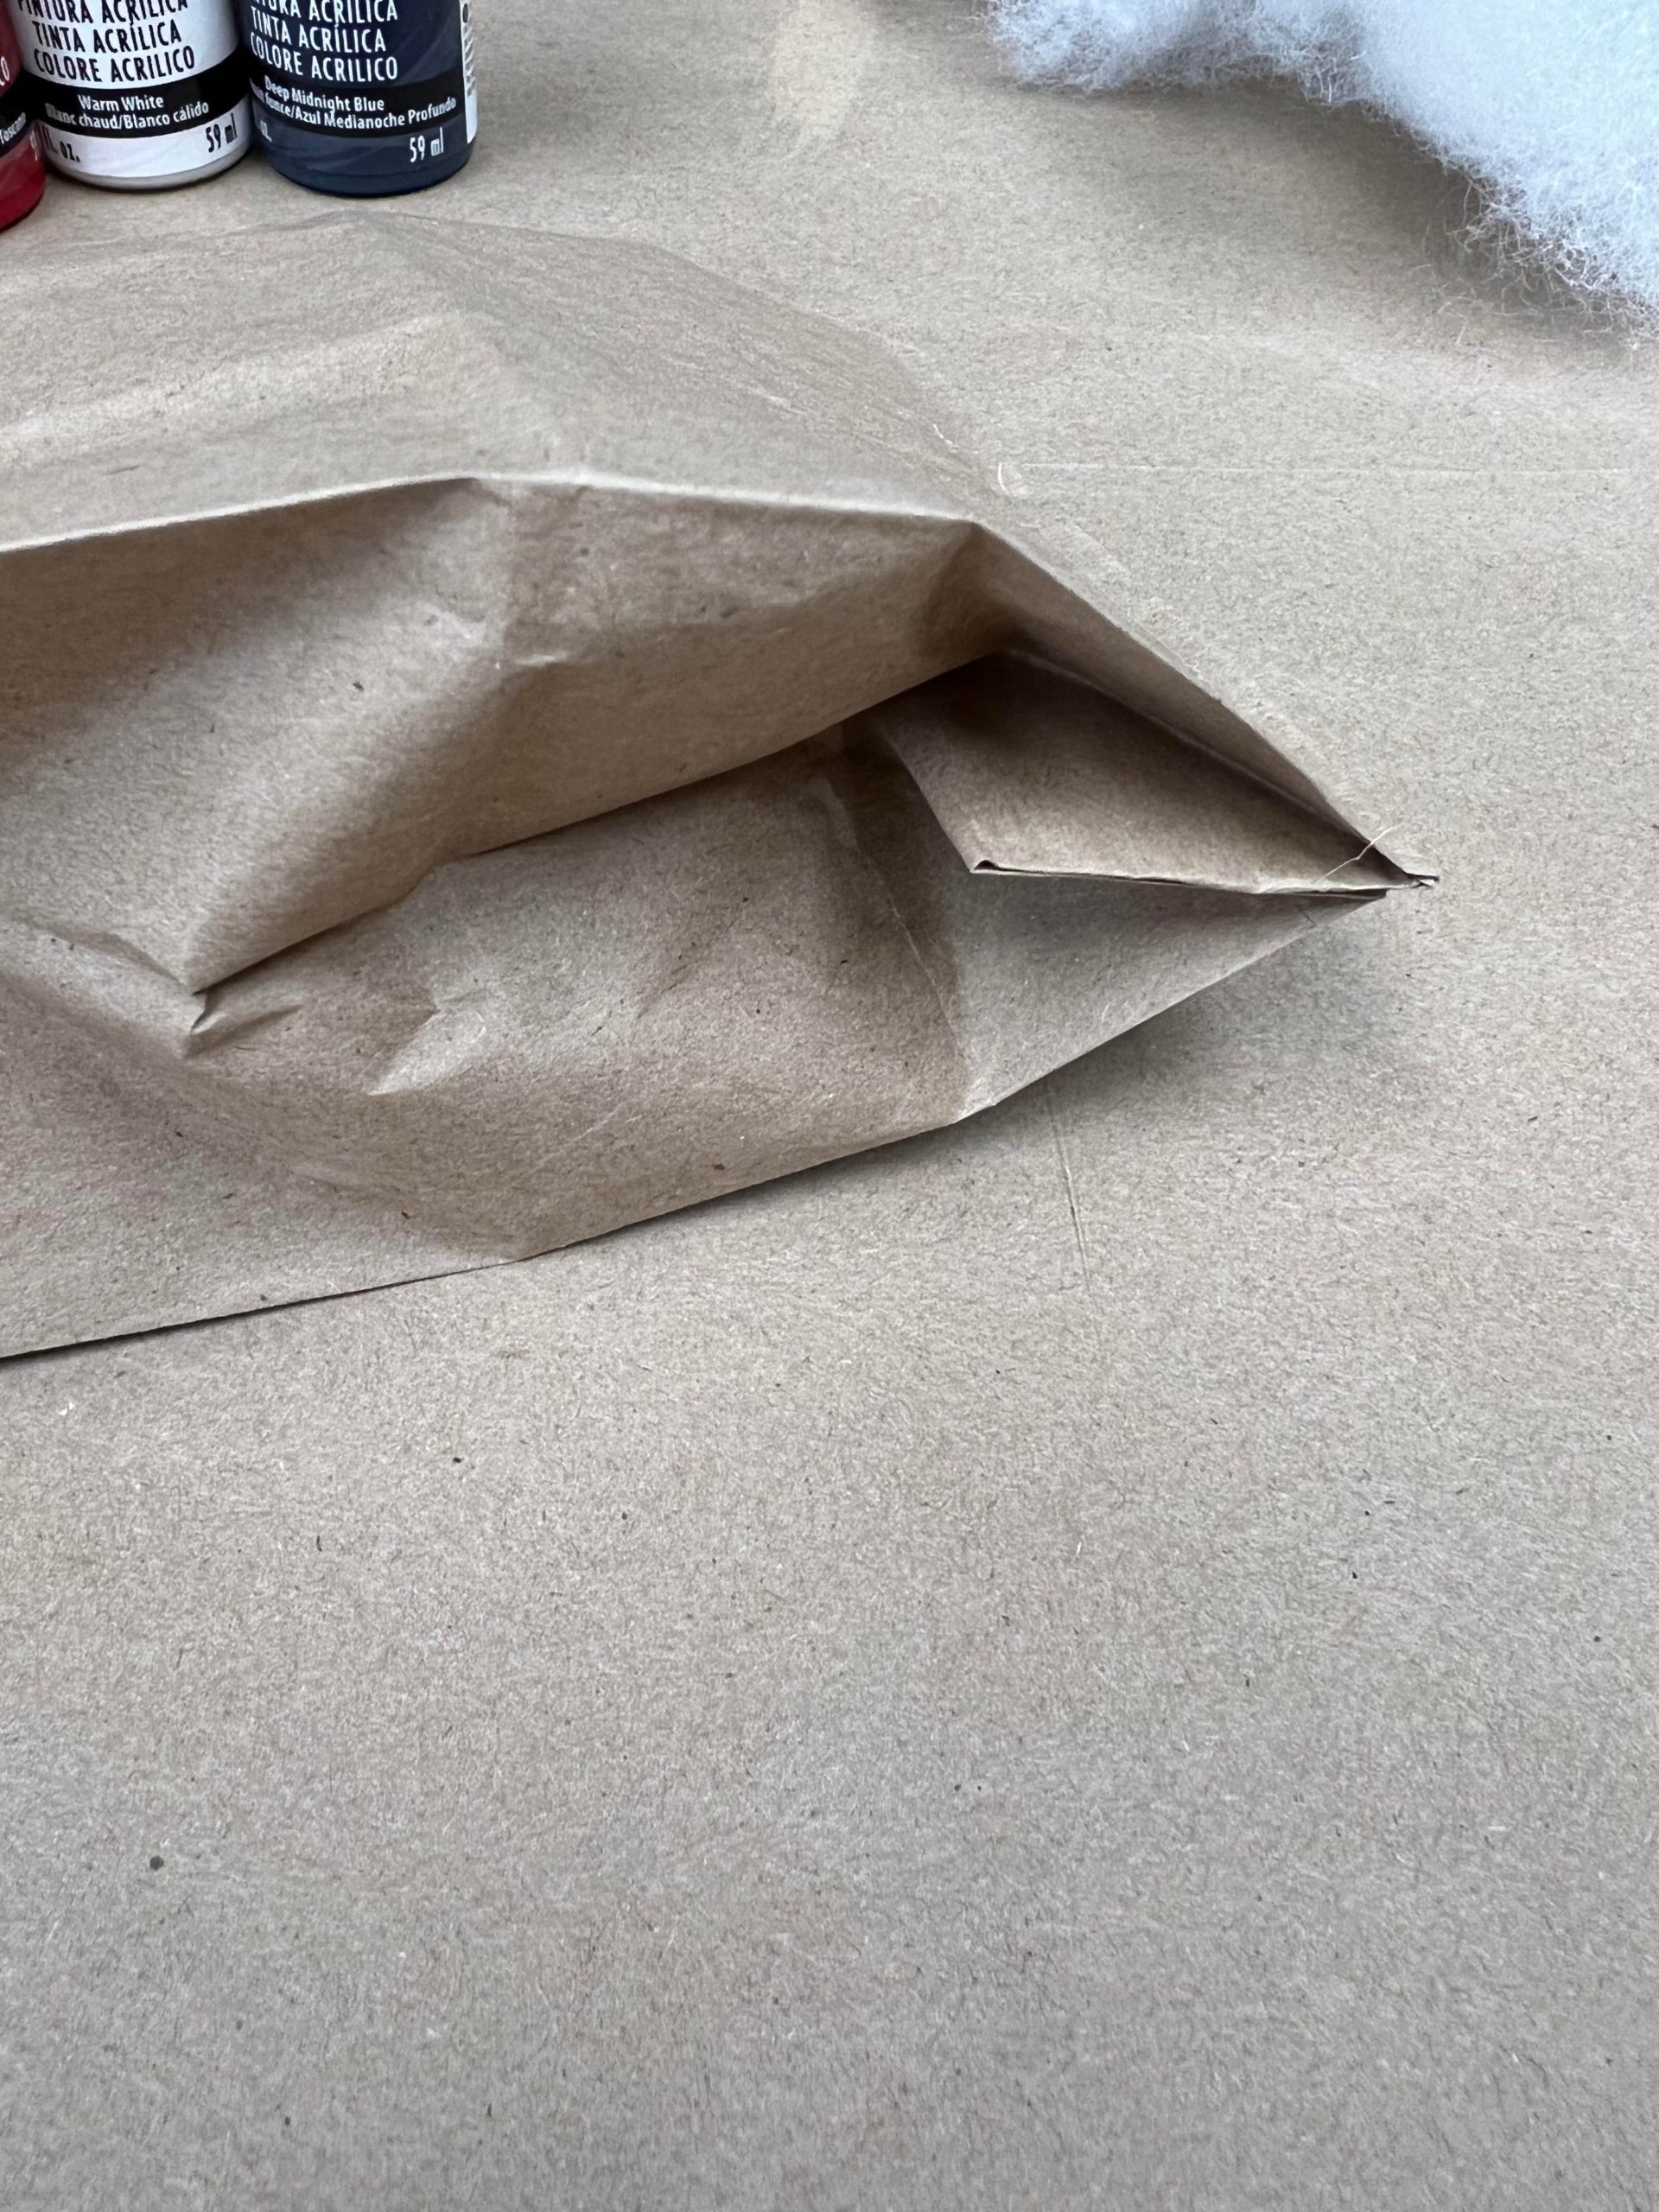
The first step is to push the center section of the bottom of the bag in as shown in photo above.
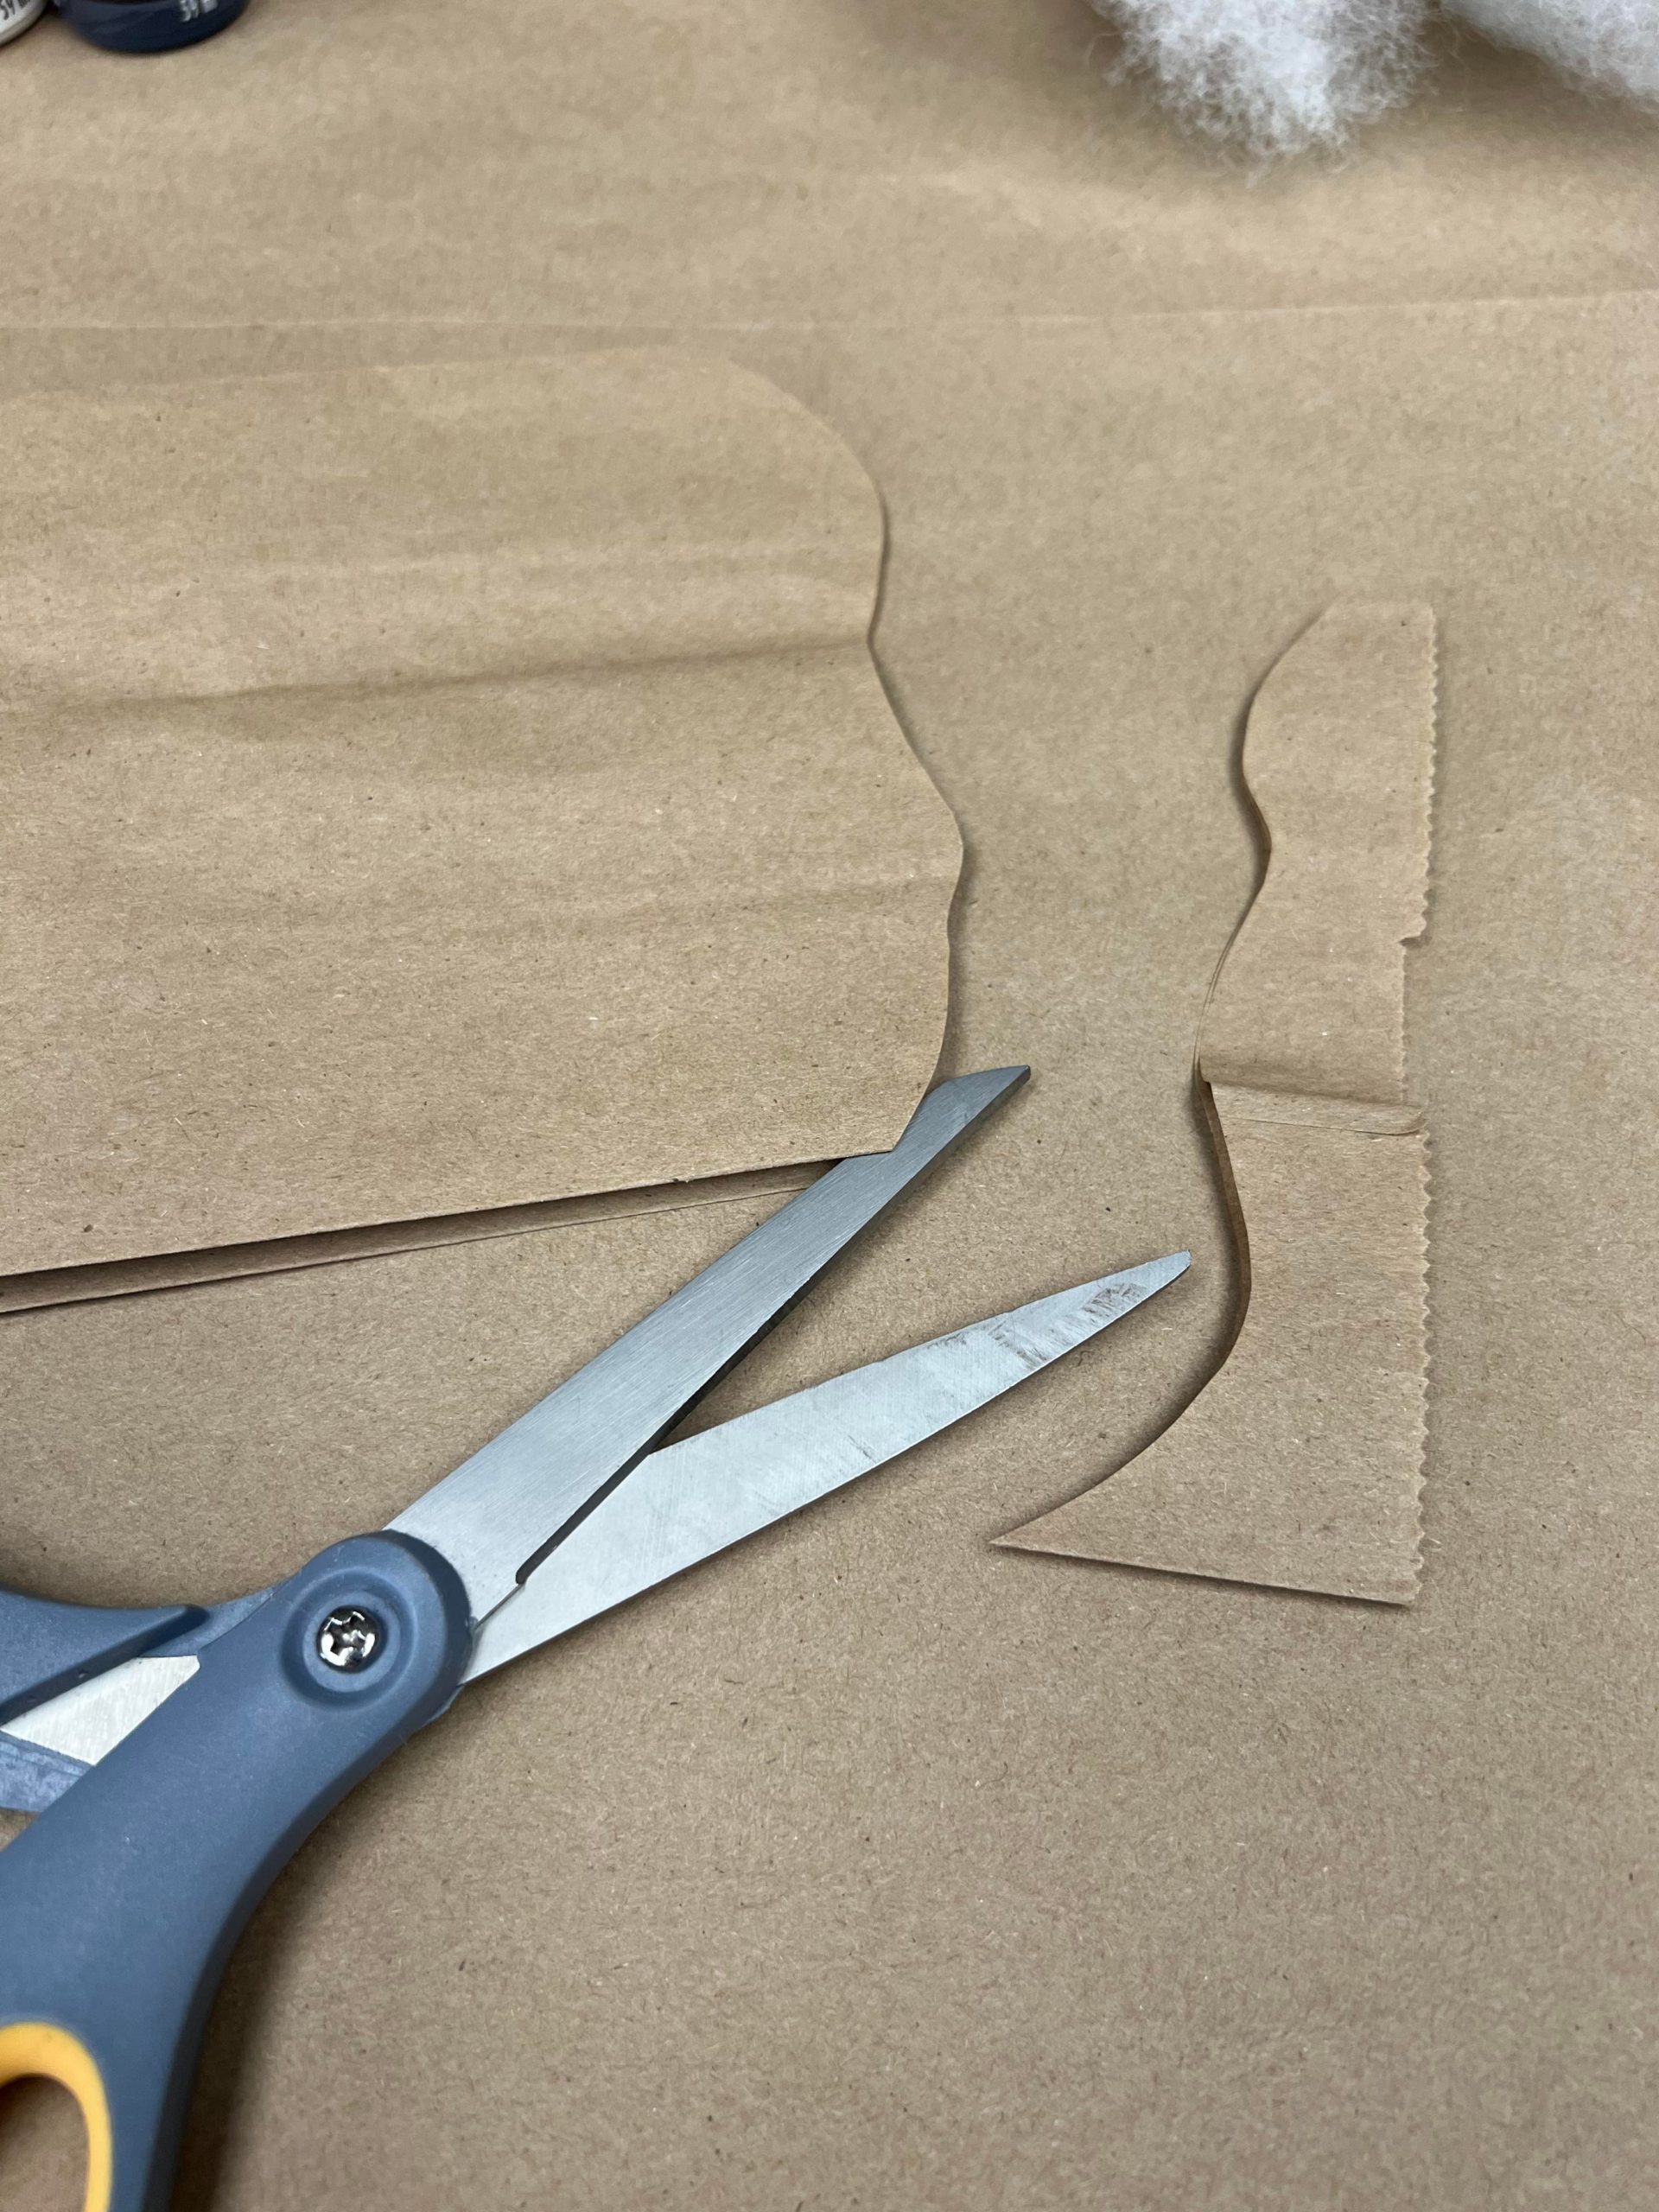
Once you have the bottom glued in place you will then flatten out the bag and cut the other end as shown in photo below.
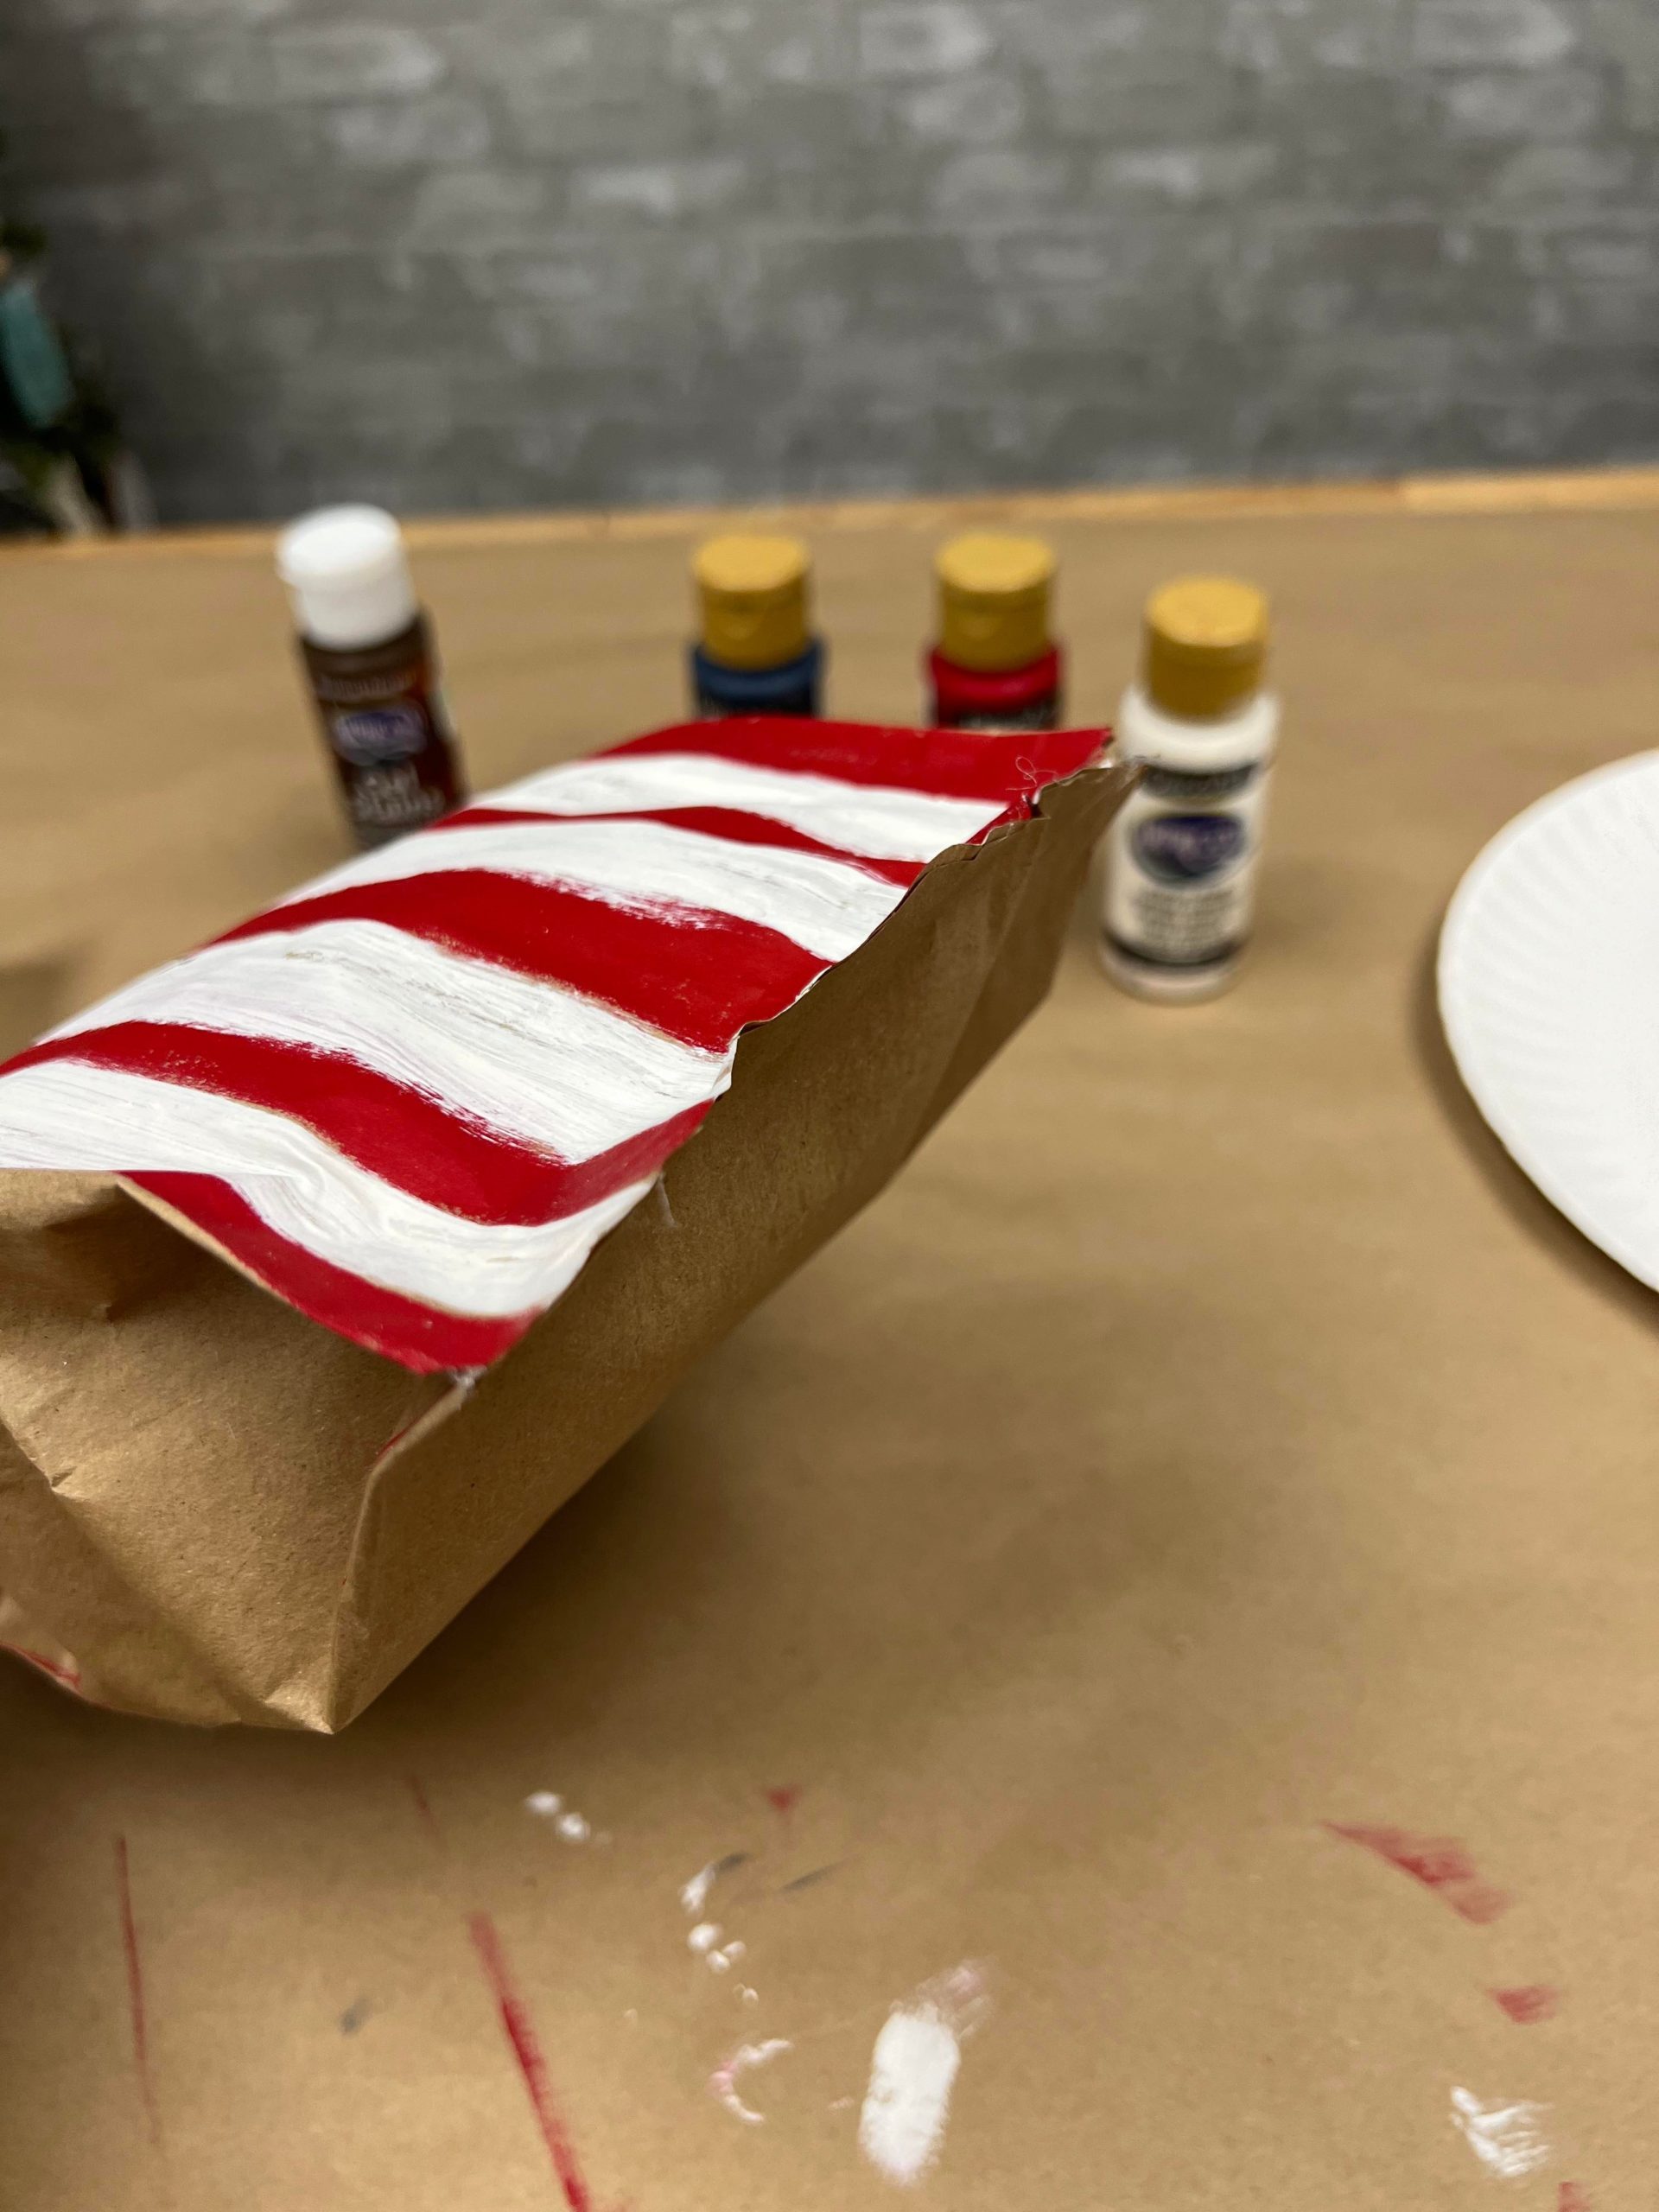
The next step is to paint the top of the bag.
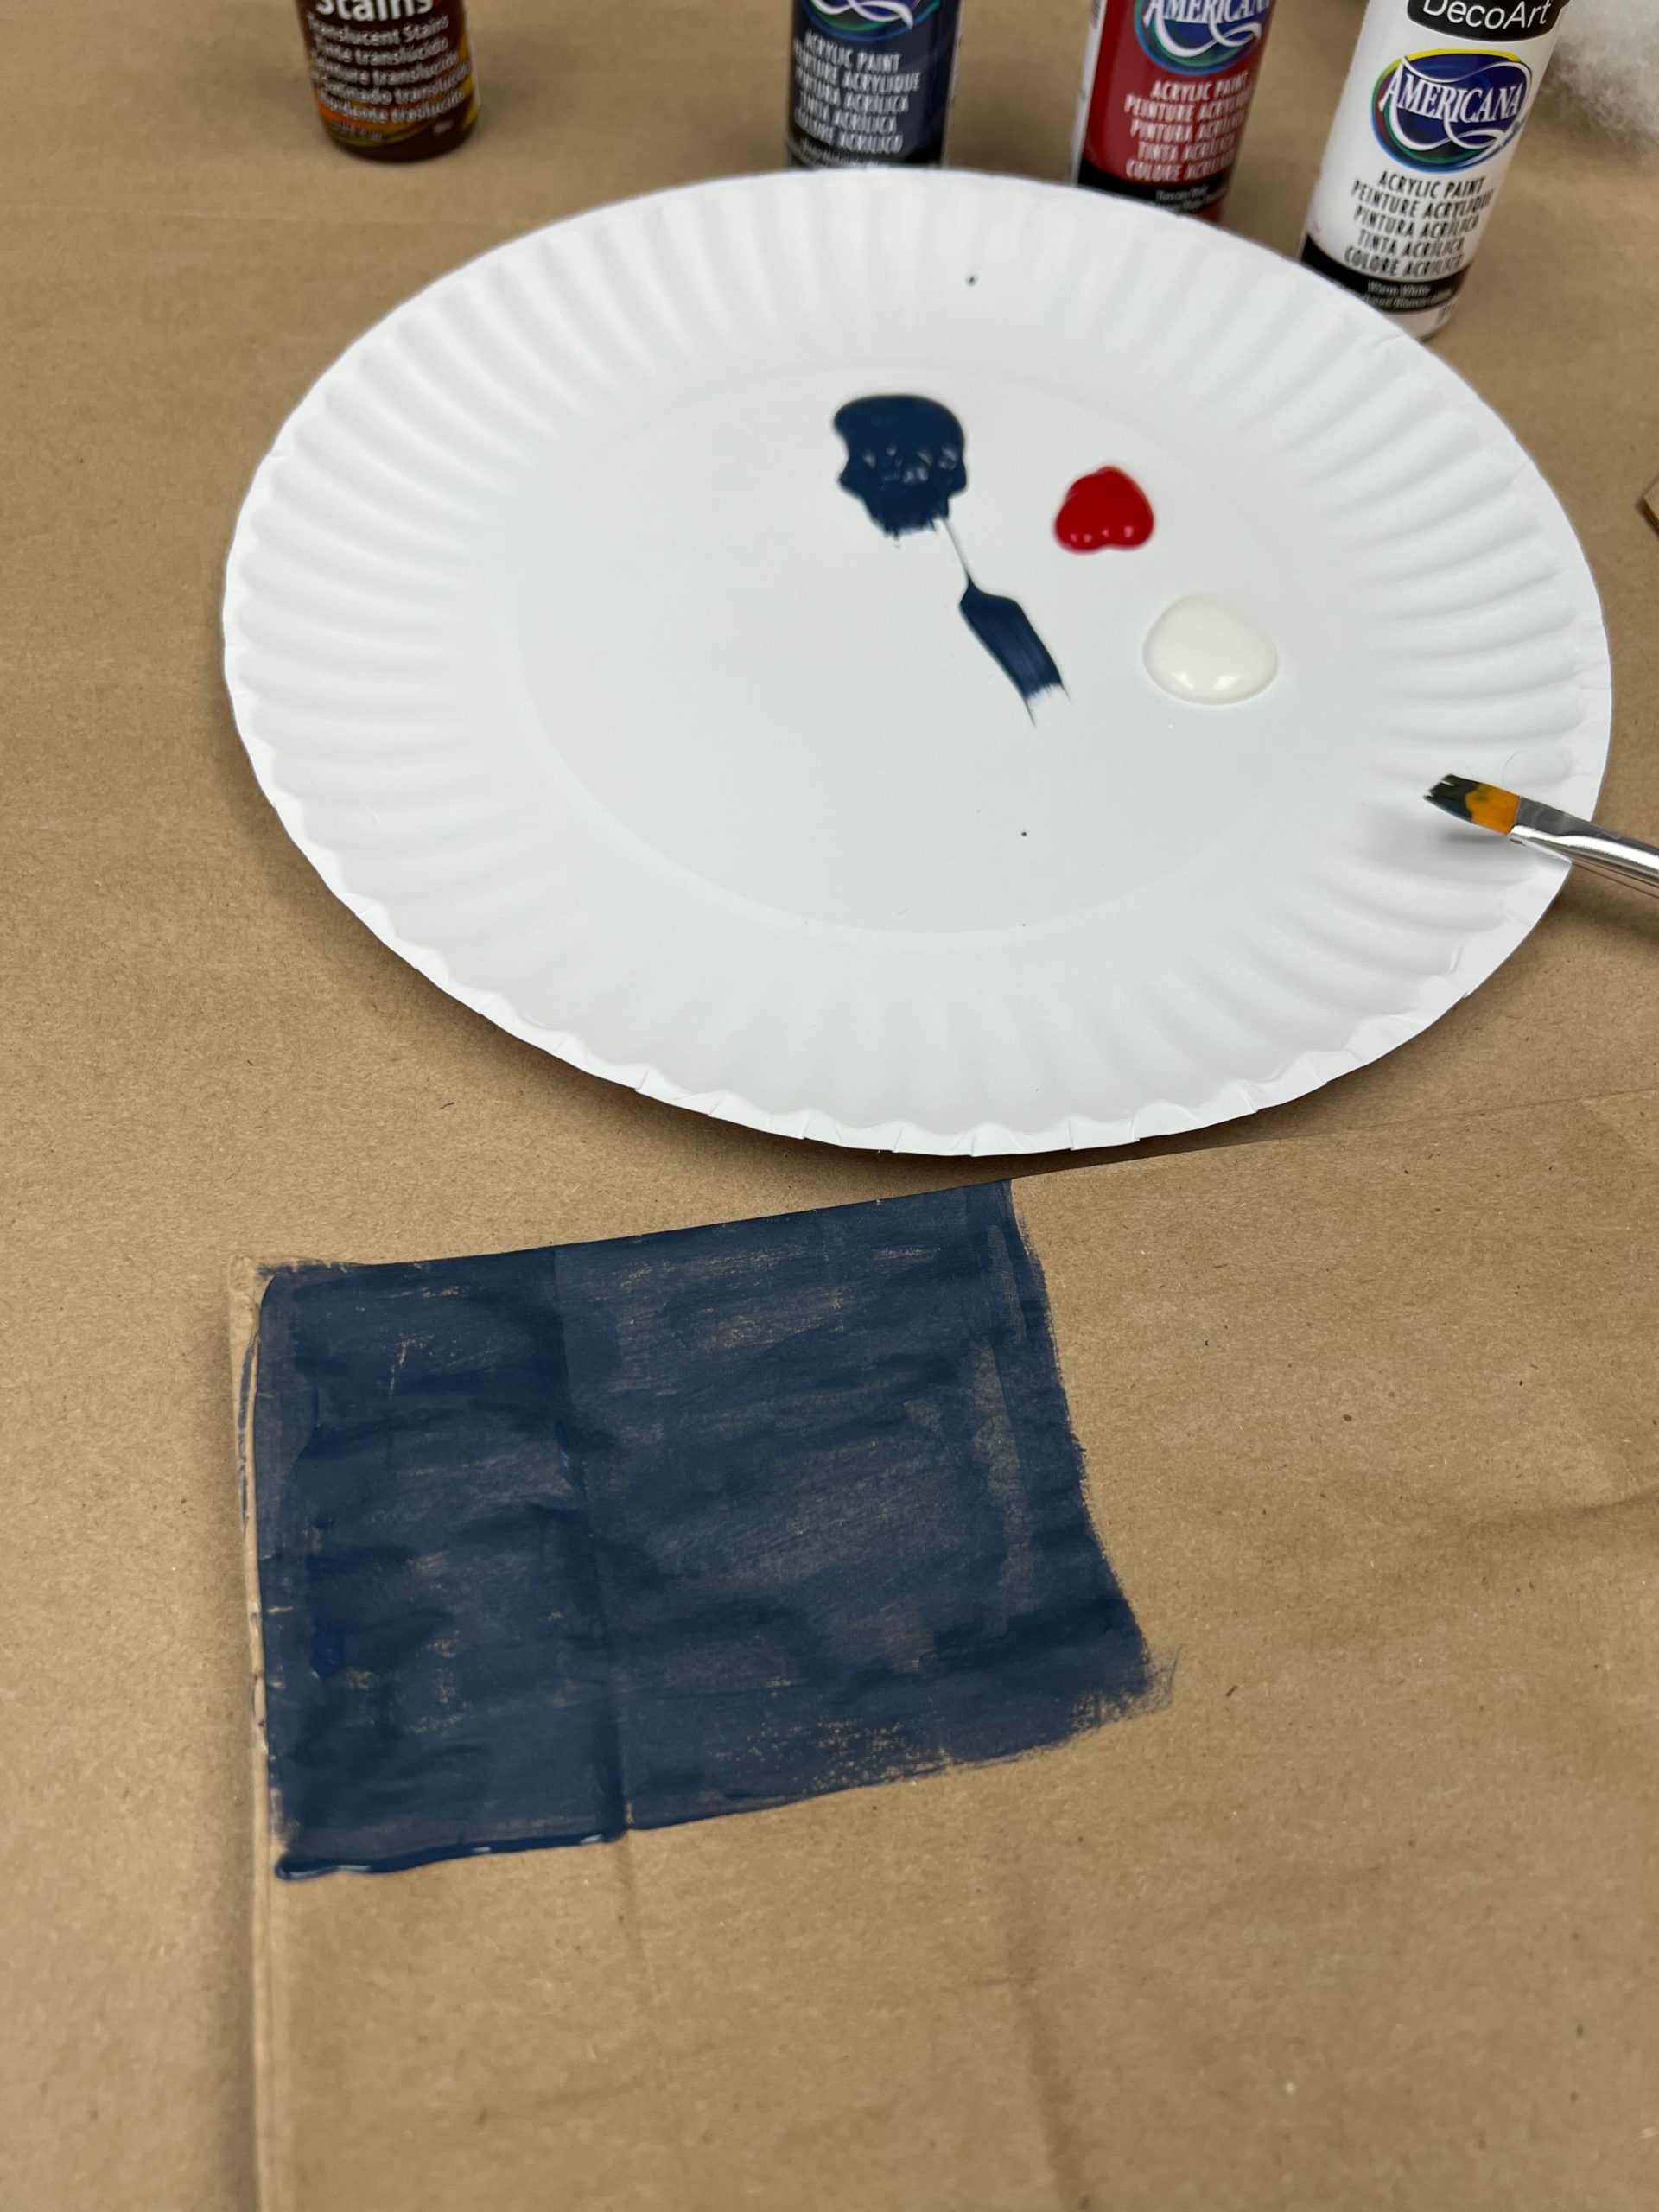
You can paint your flag print any way that you want. I painted the blue first and then added the red and white stripes.
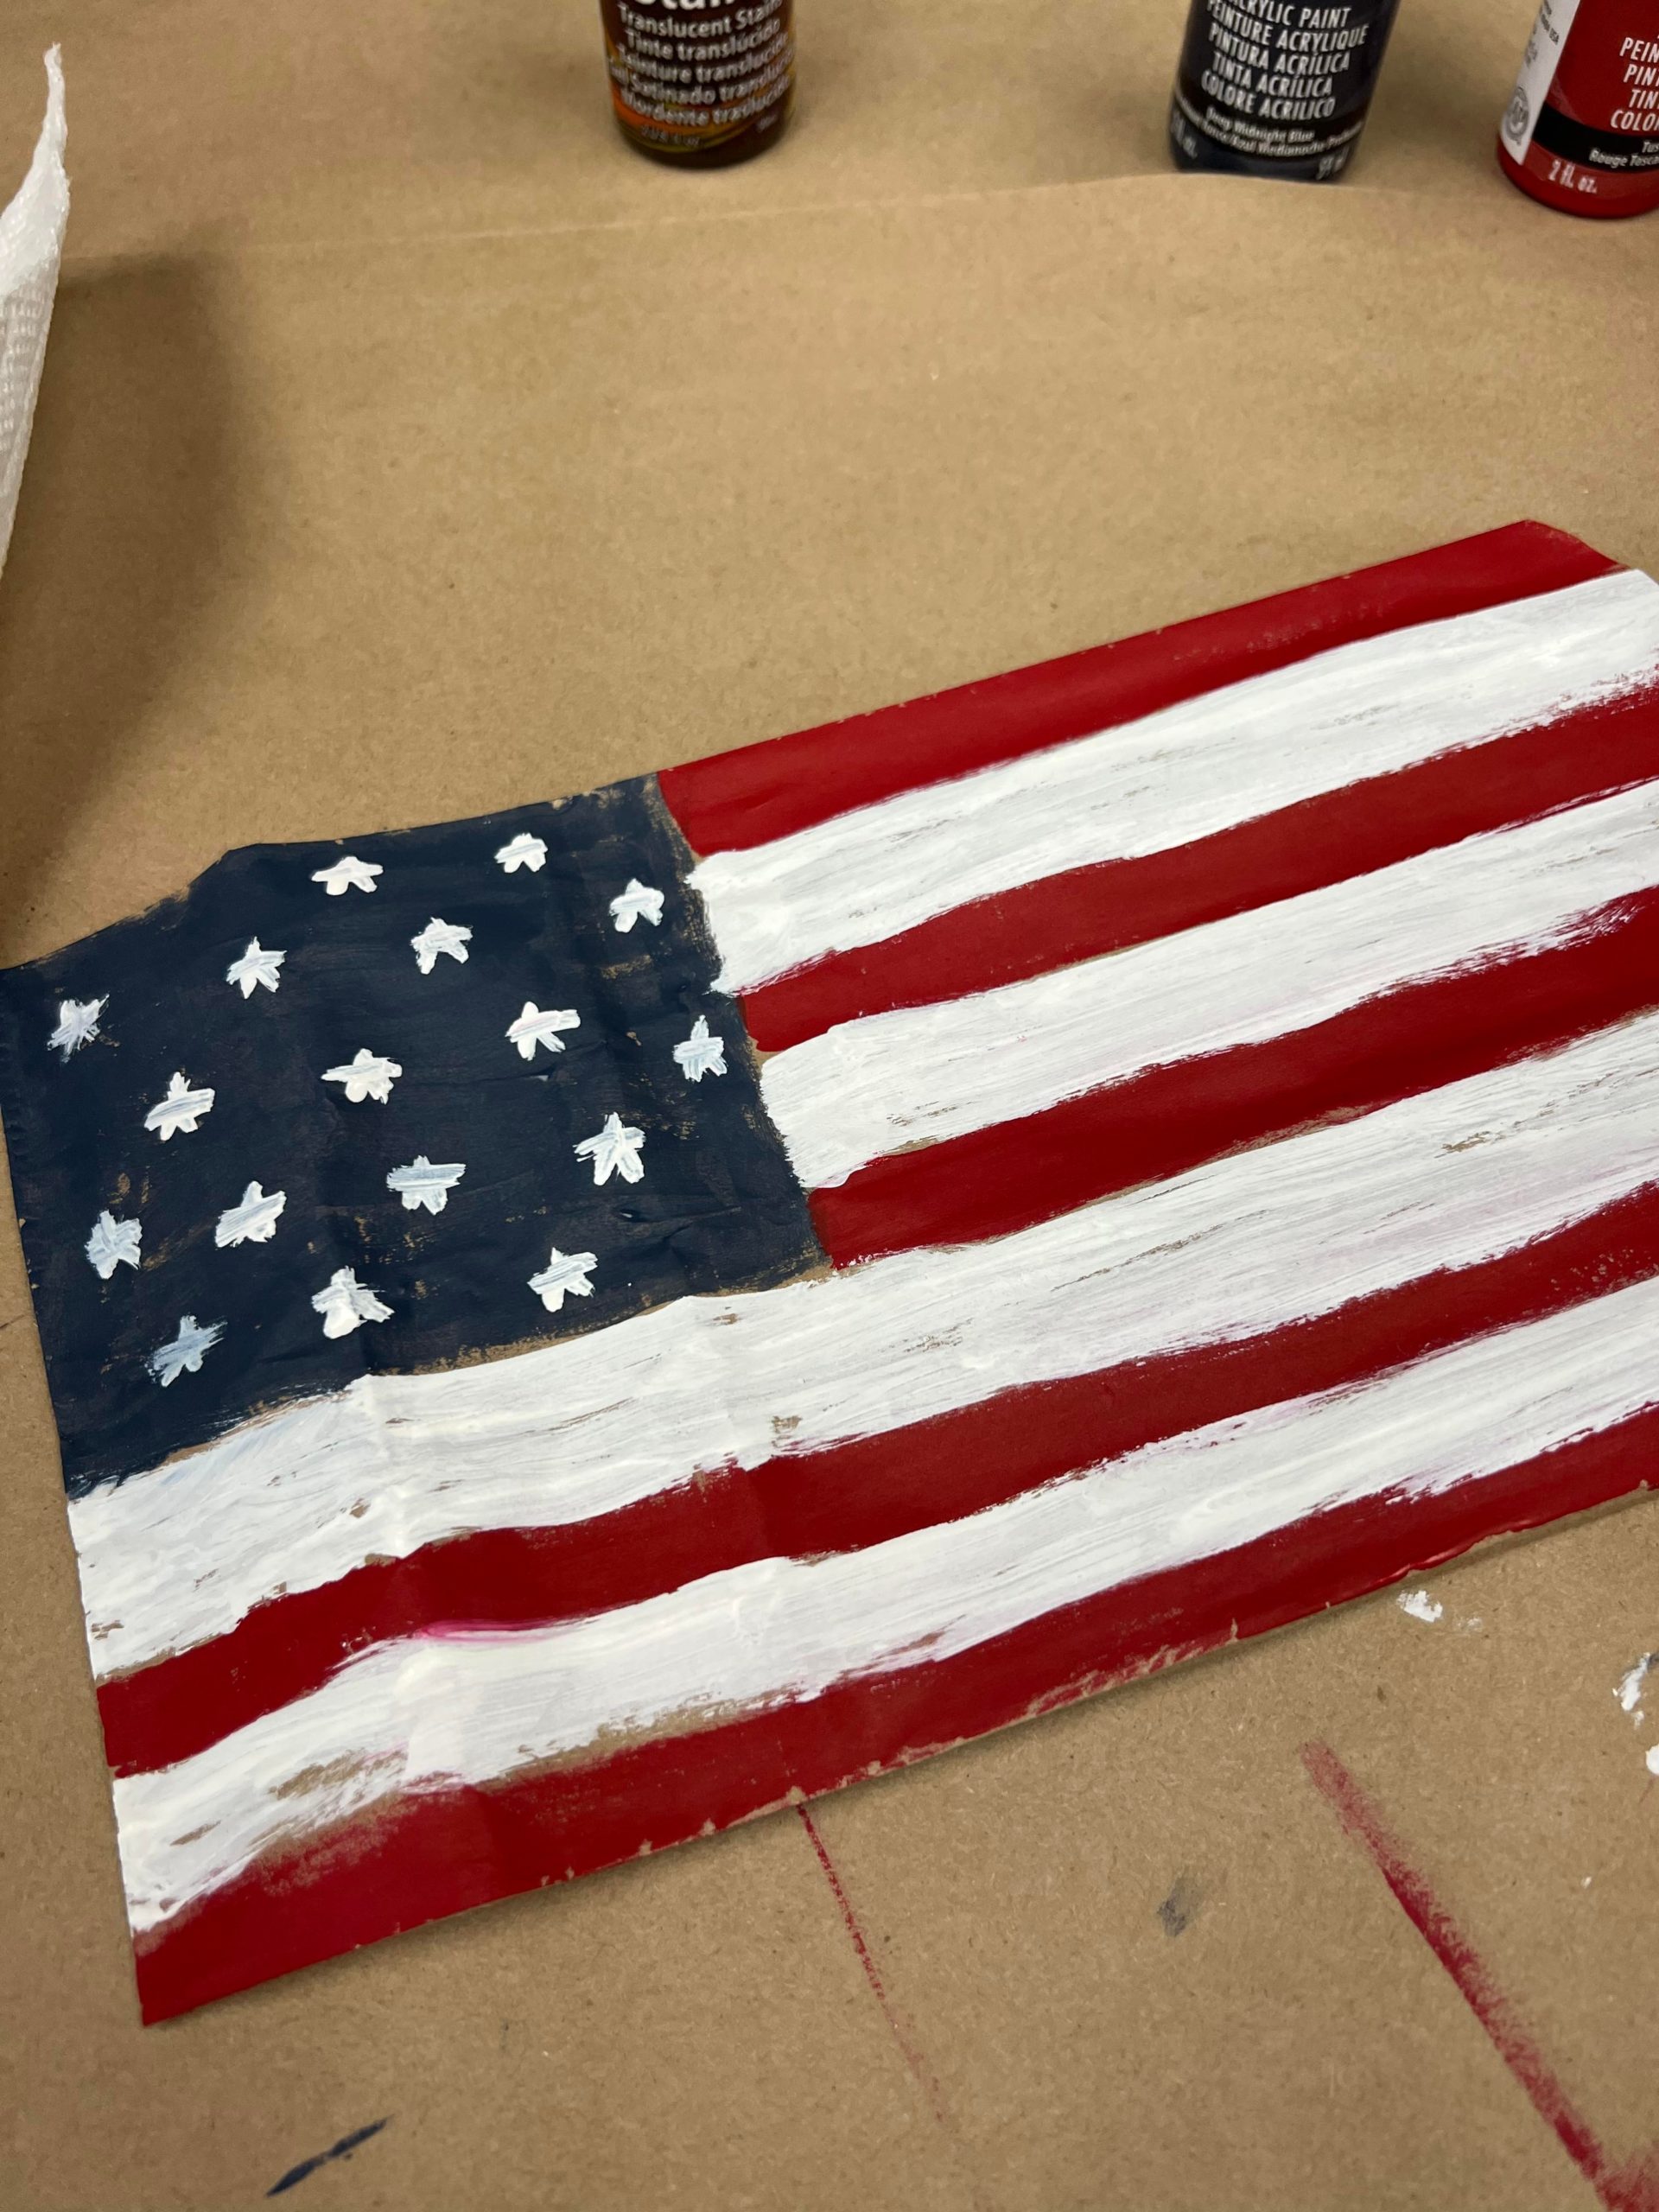
I painted some small stars onto the blue.
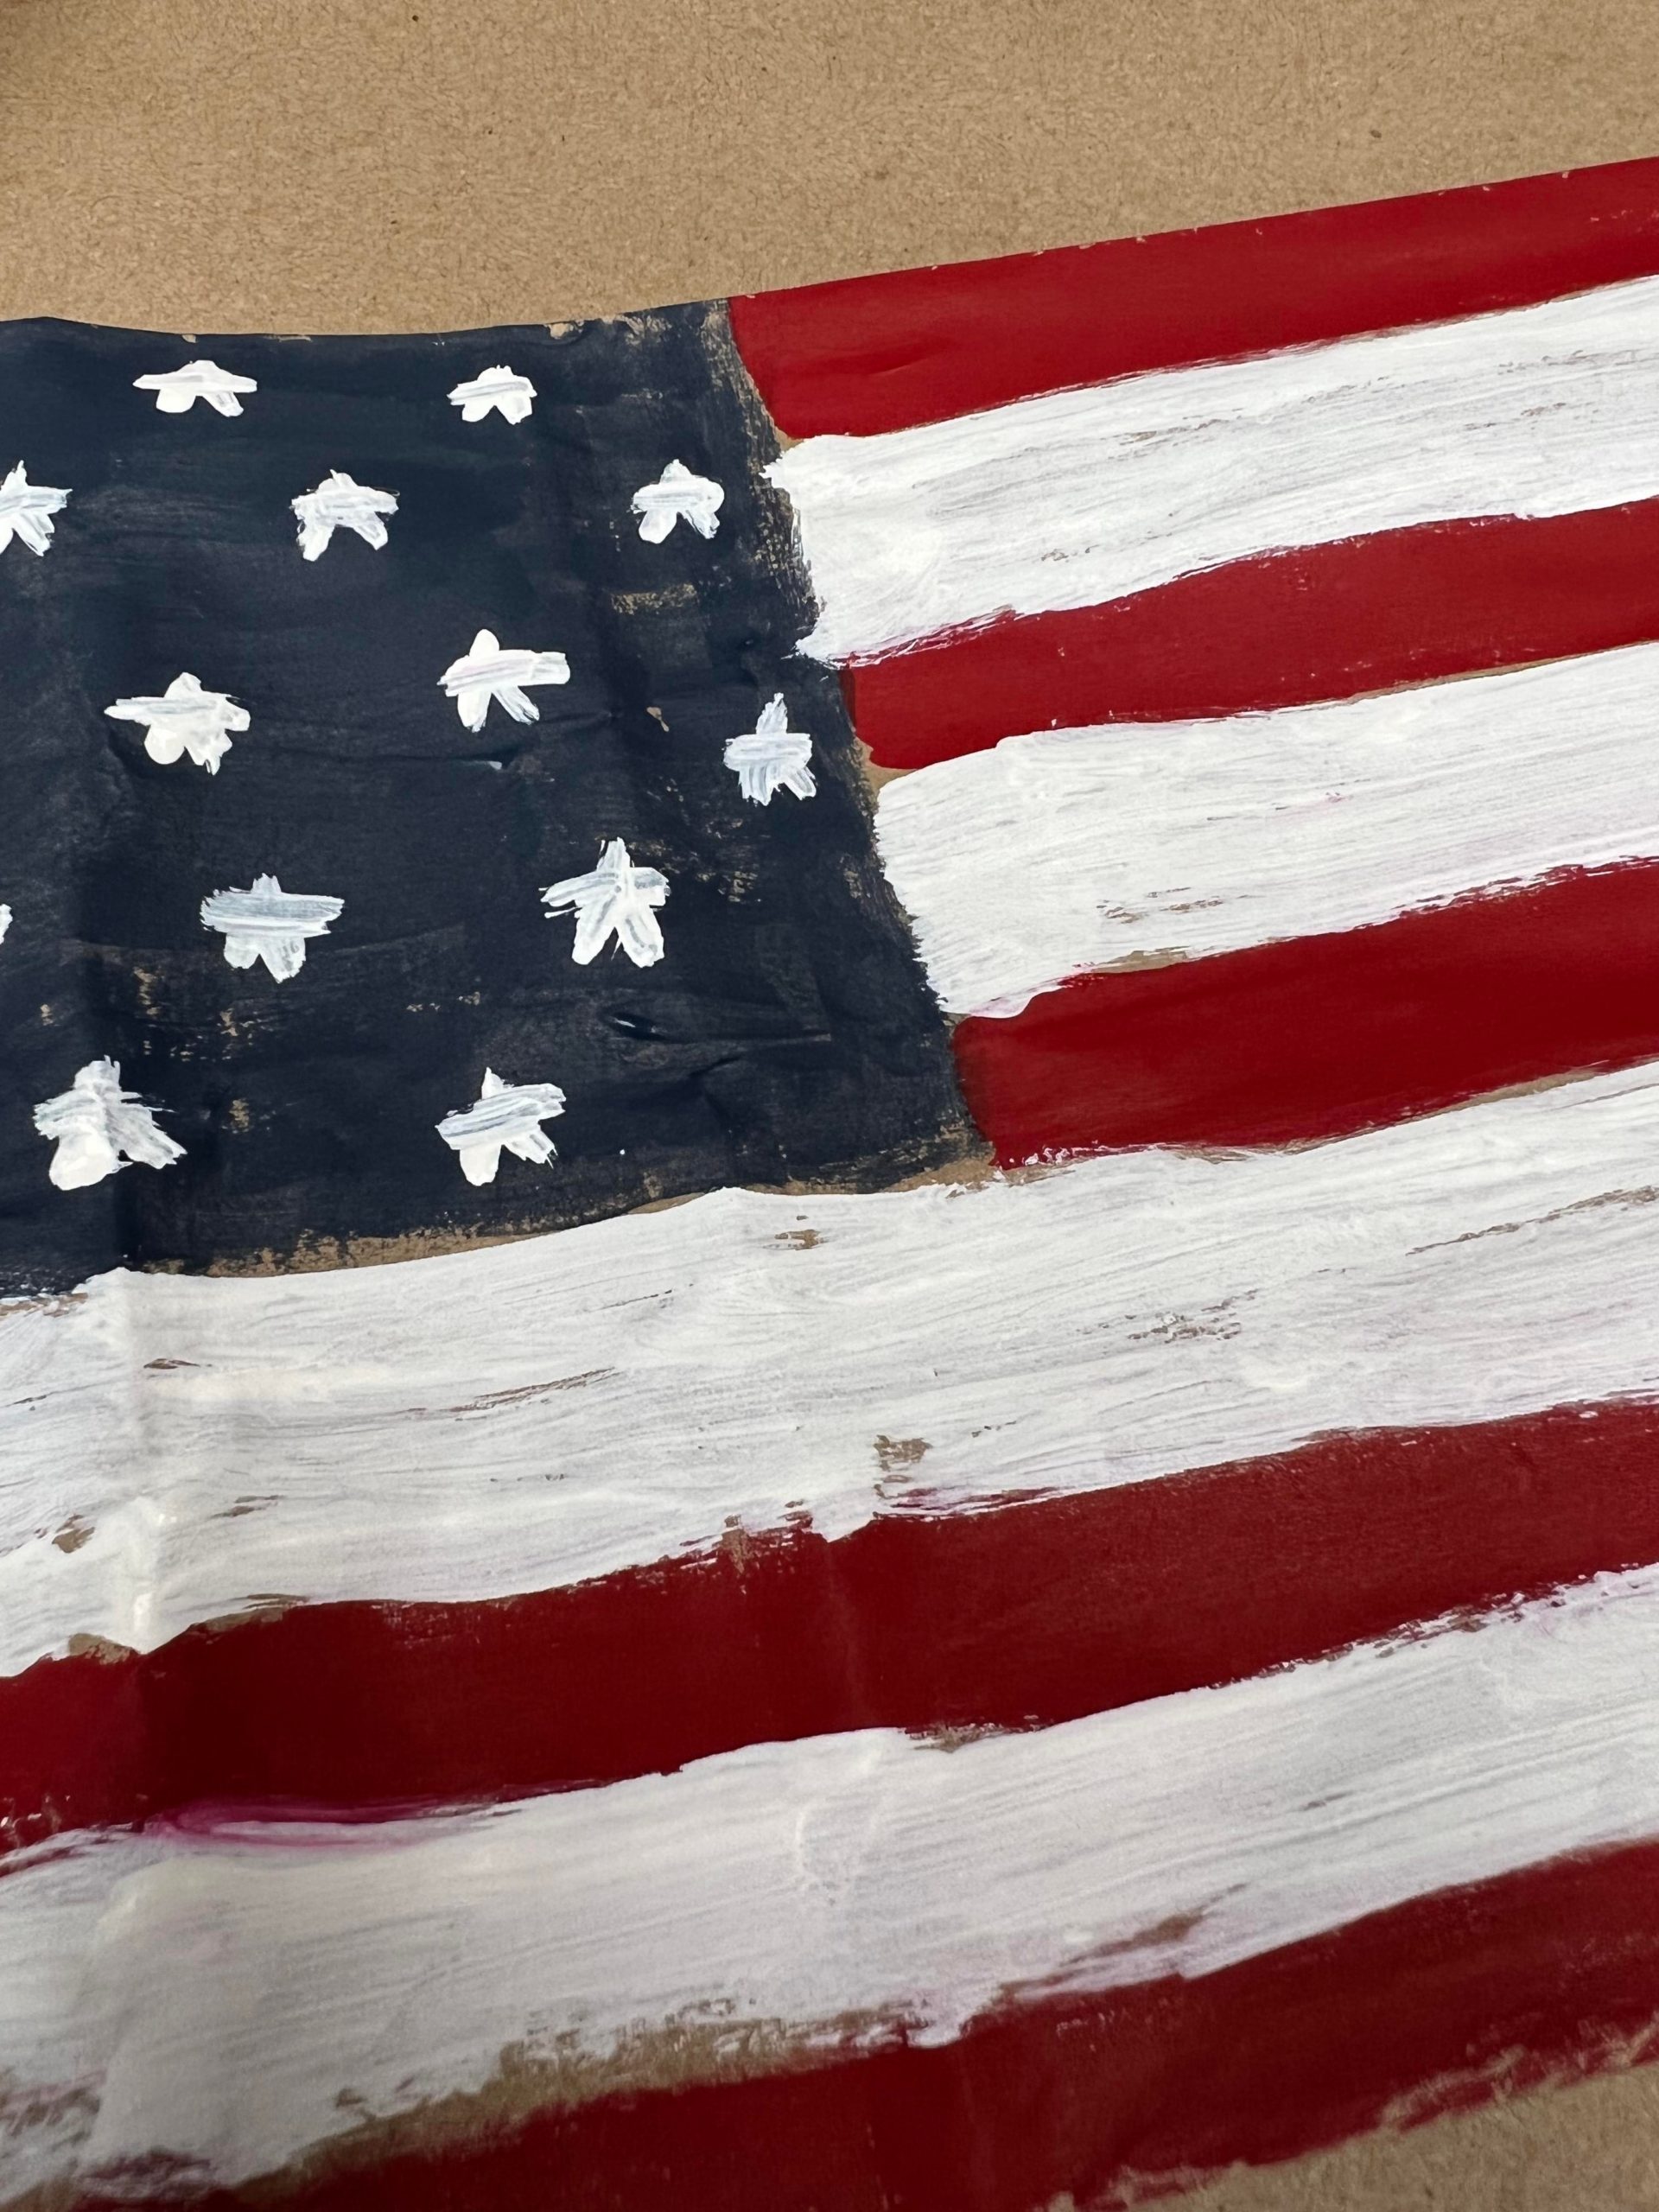
I want my flag to have a rustic look so I did not make my painted strips perfect. Once you have your flag painted you will then add the poly-fill.
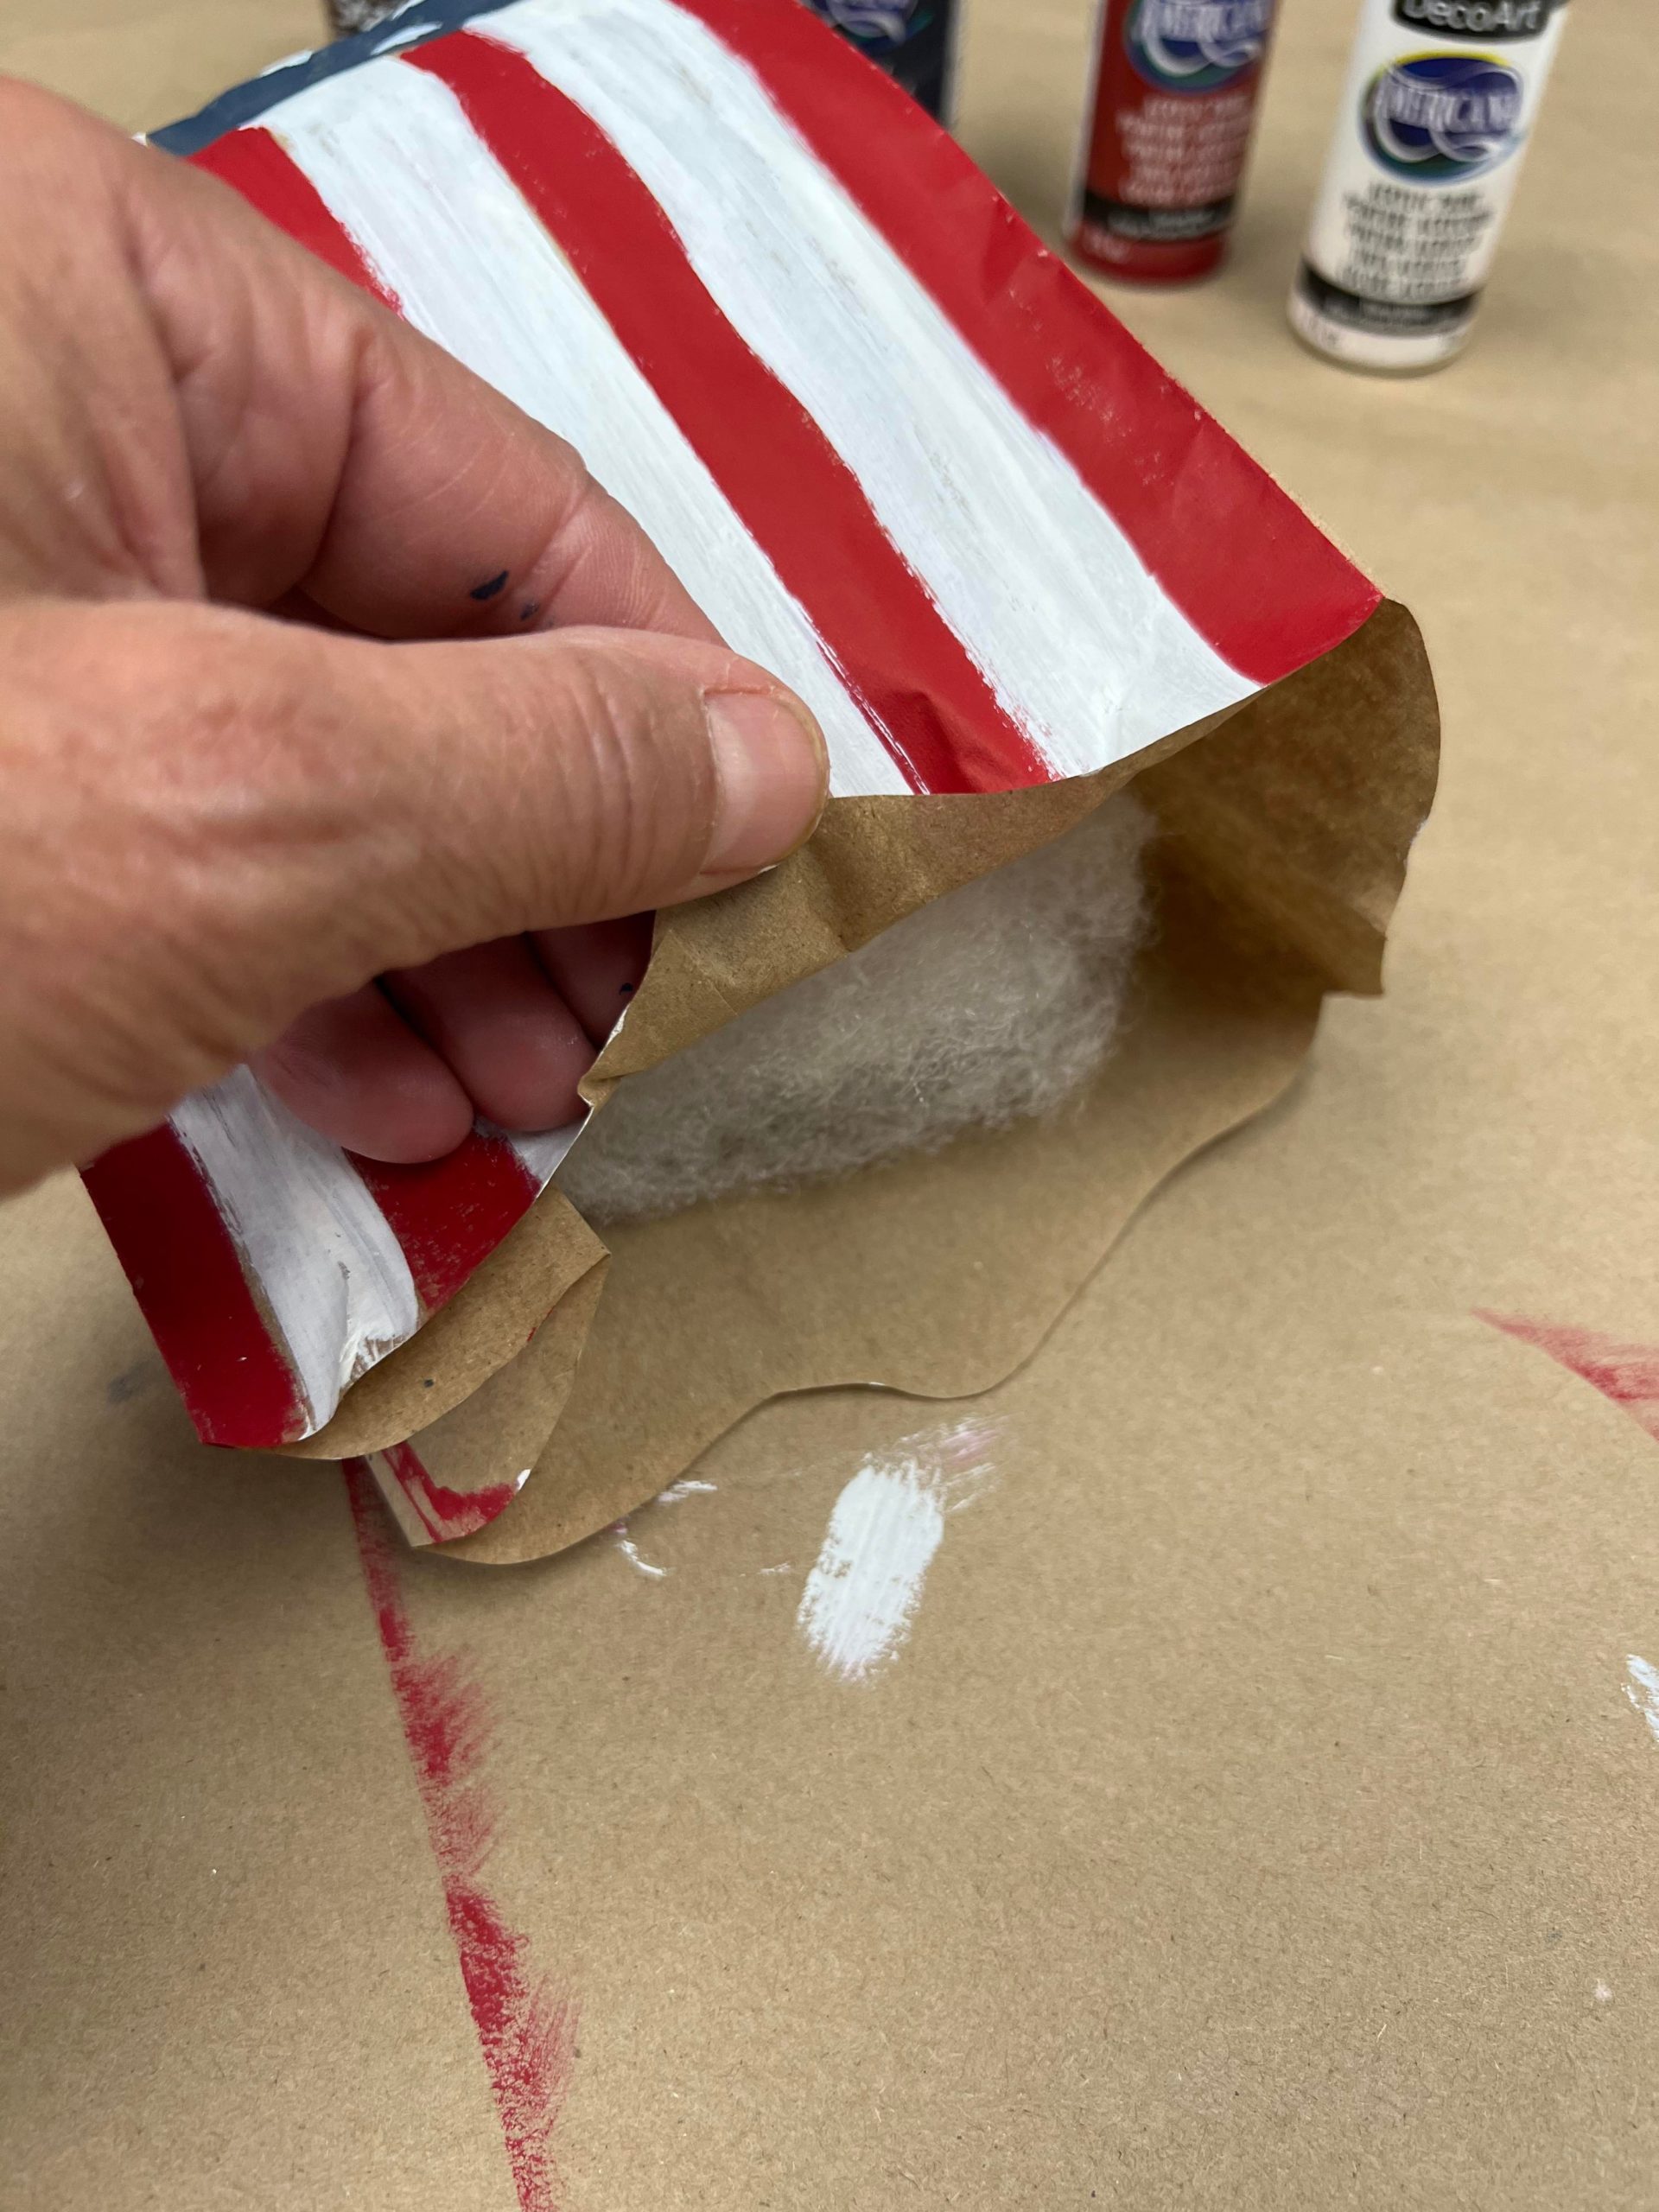
Once you have the bag lightly stuffed you will glue the end closed.
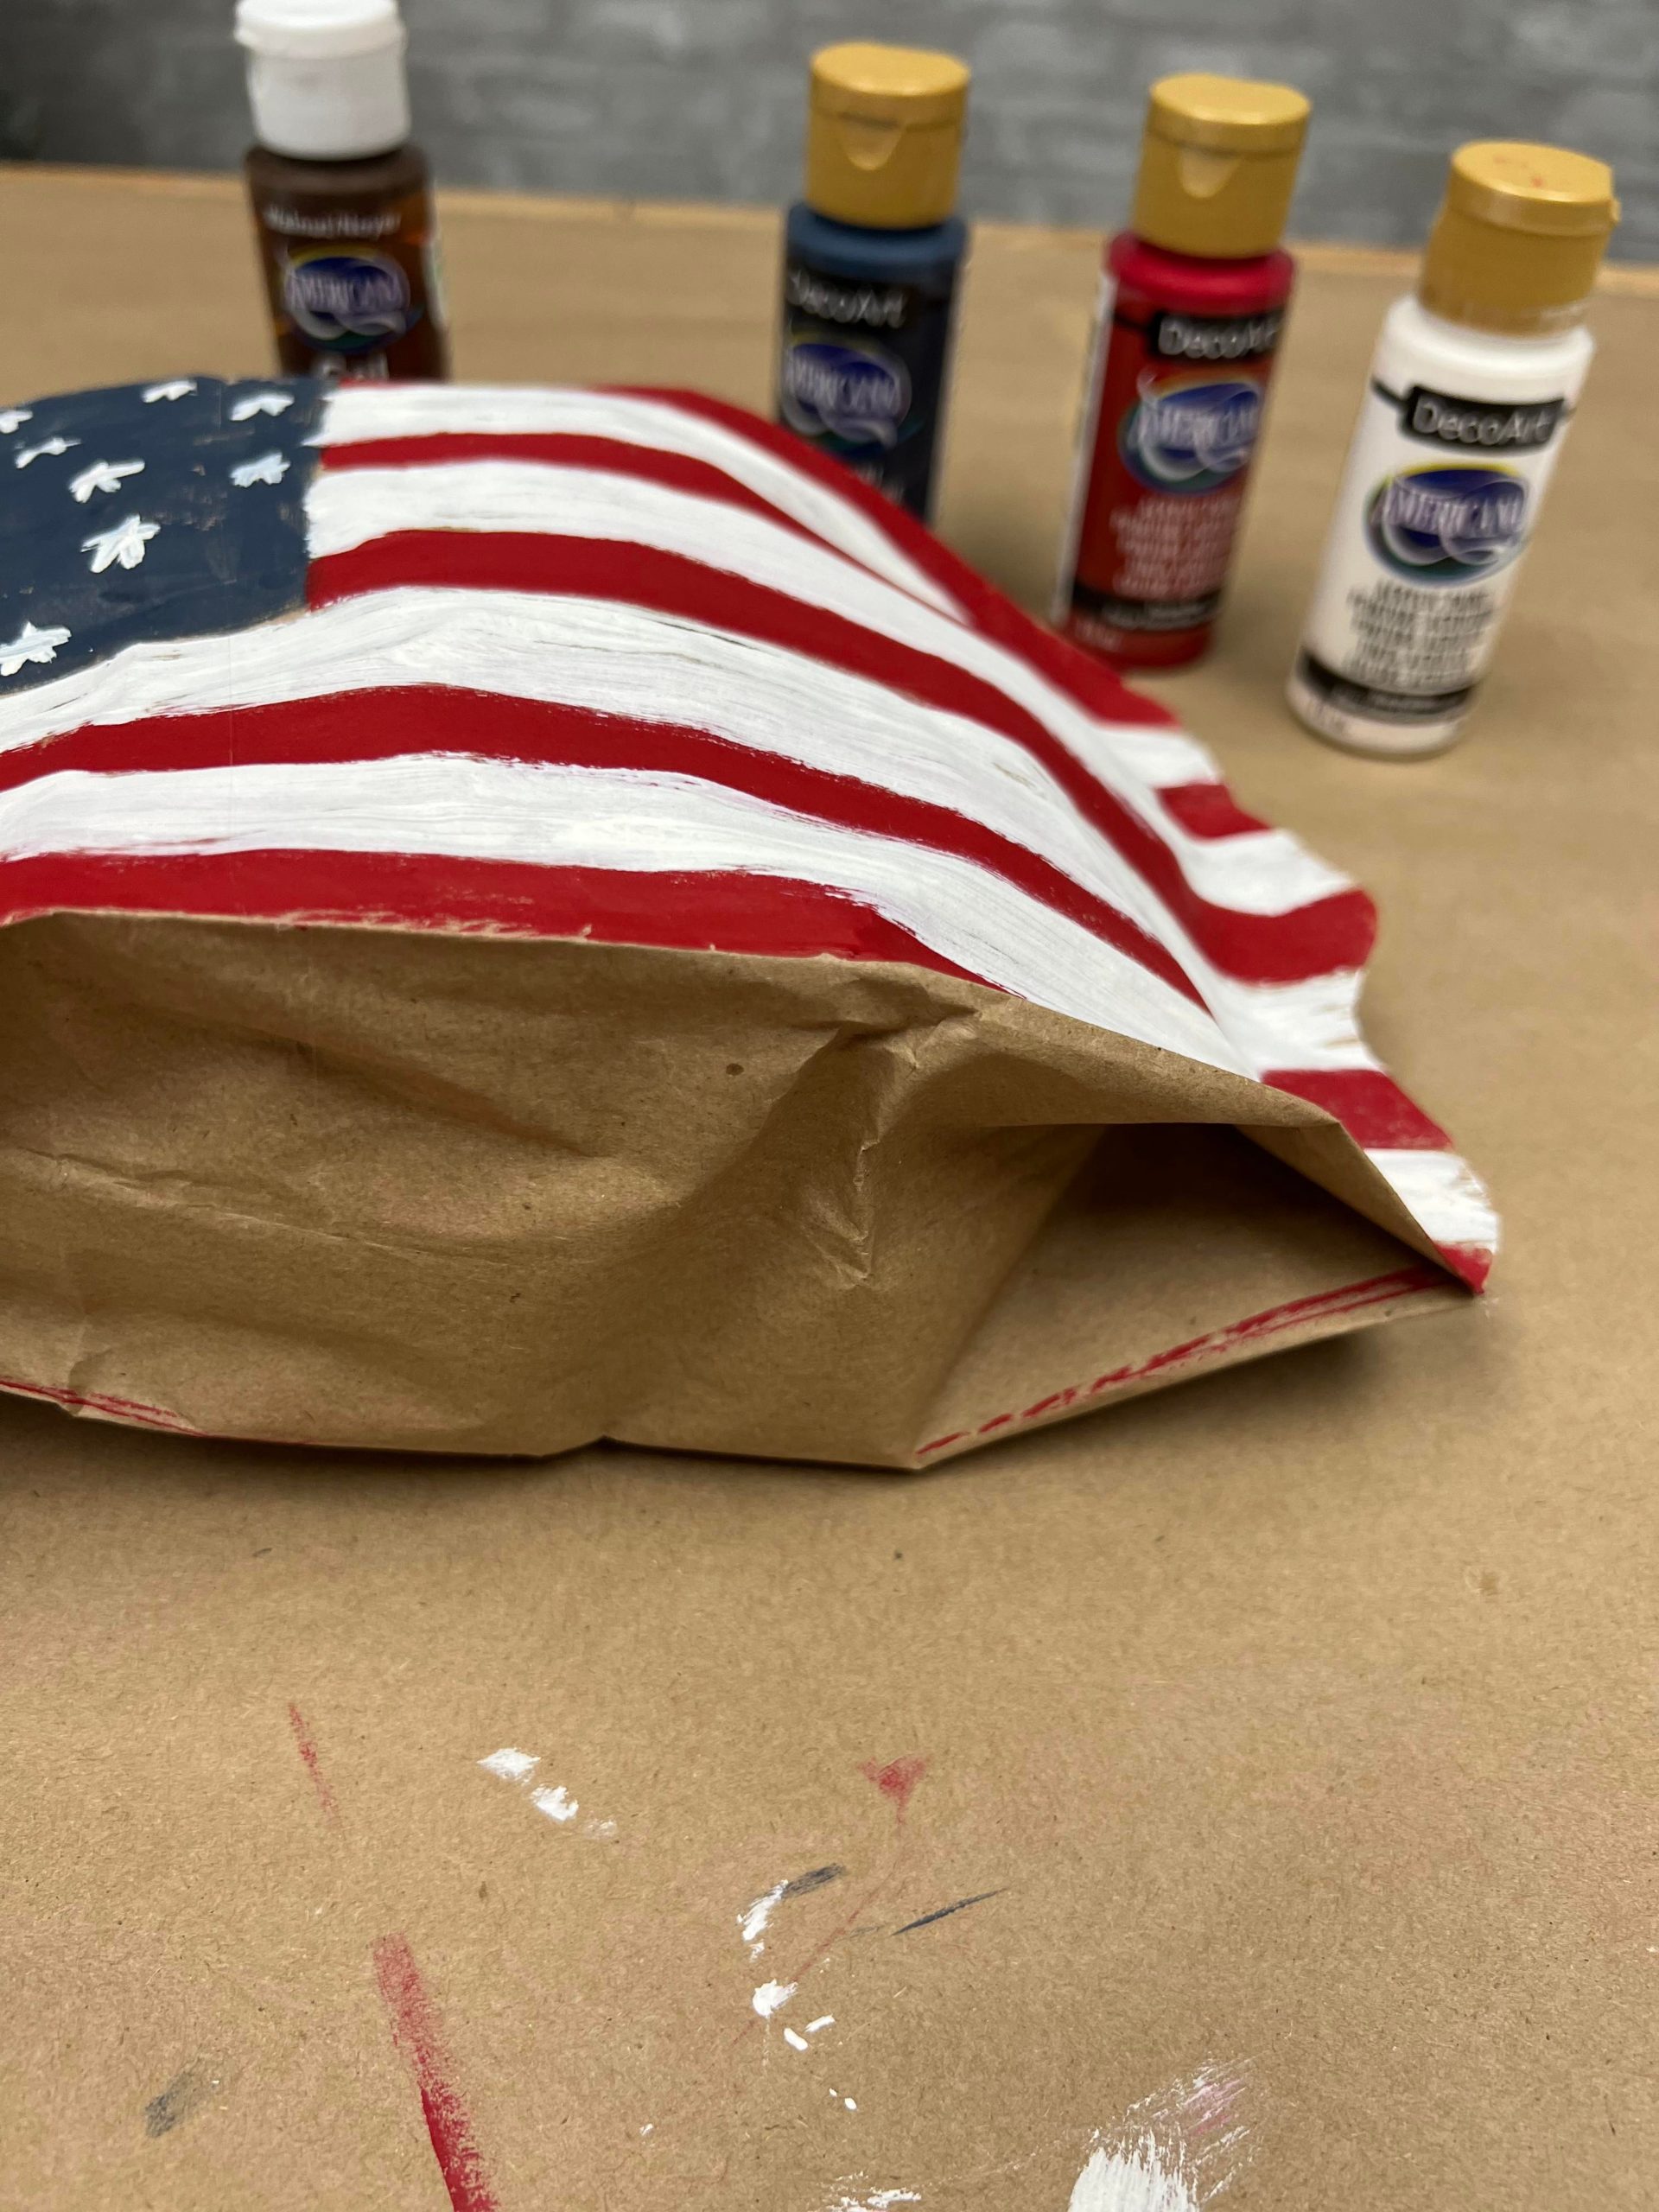
Once I had the flag painted and glued I then added the Walnut colored Gel Stain to the rest of the bag.
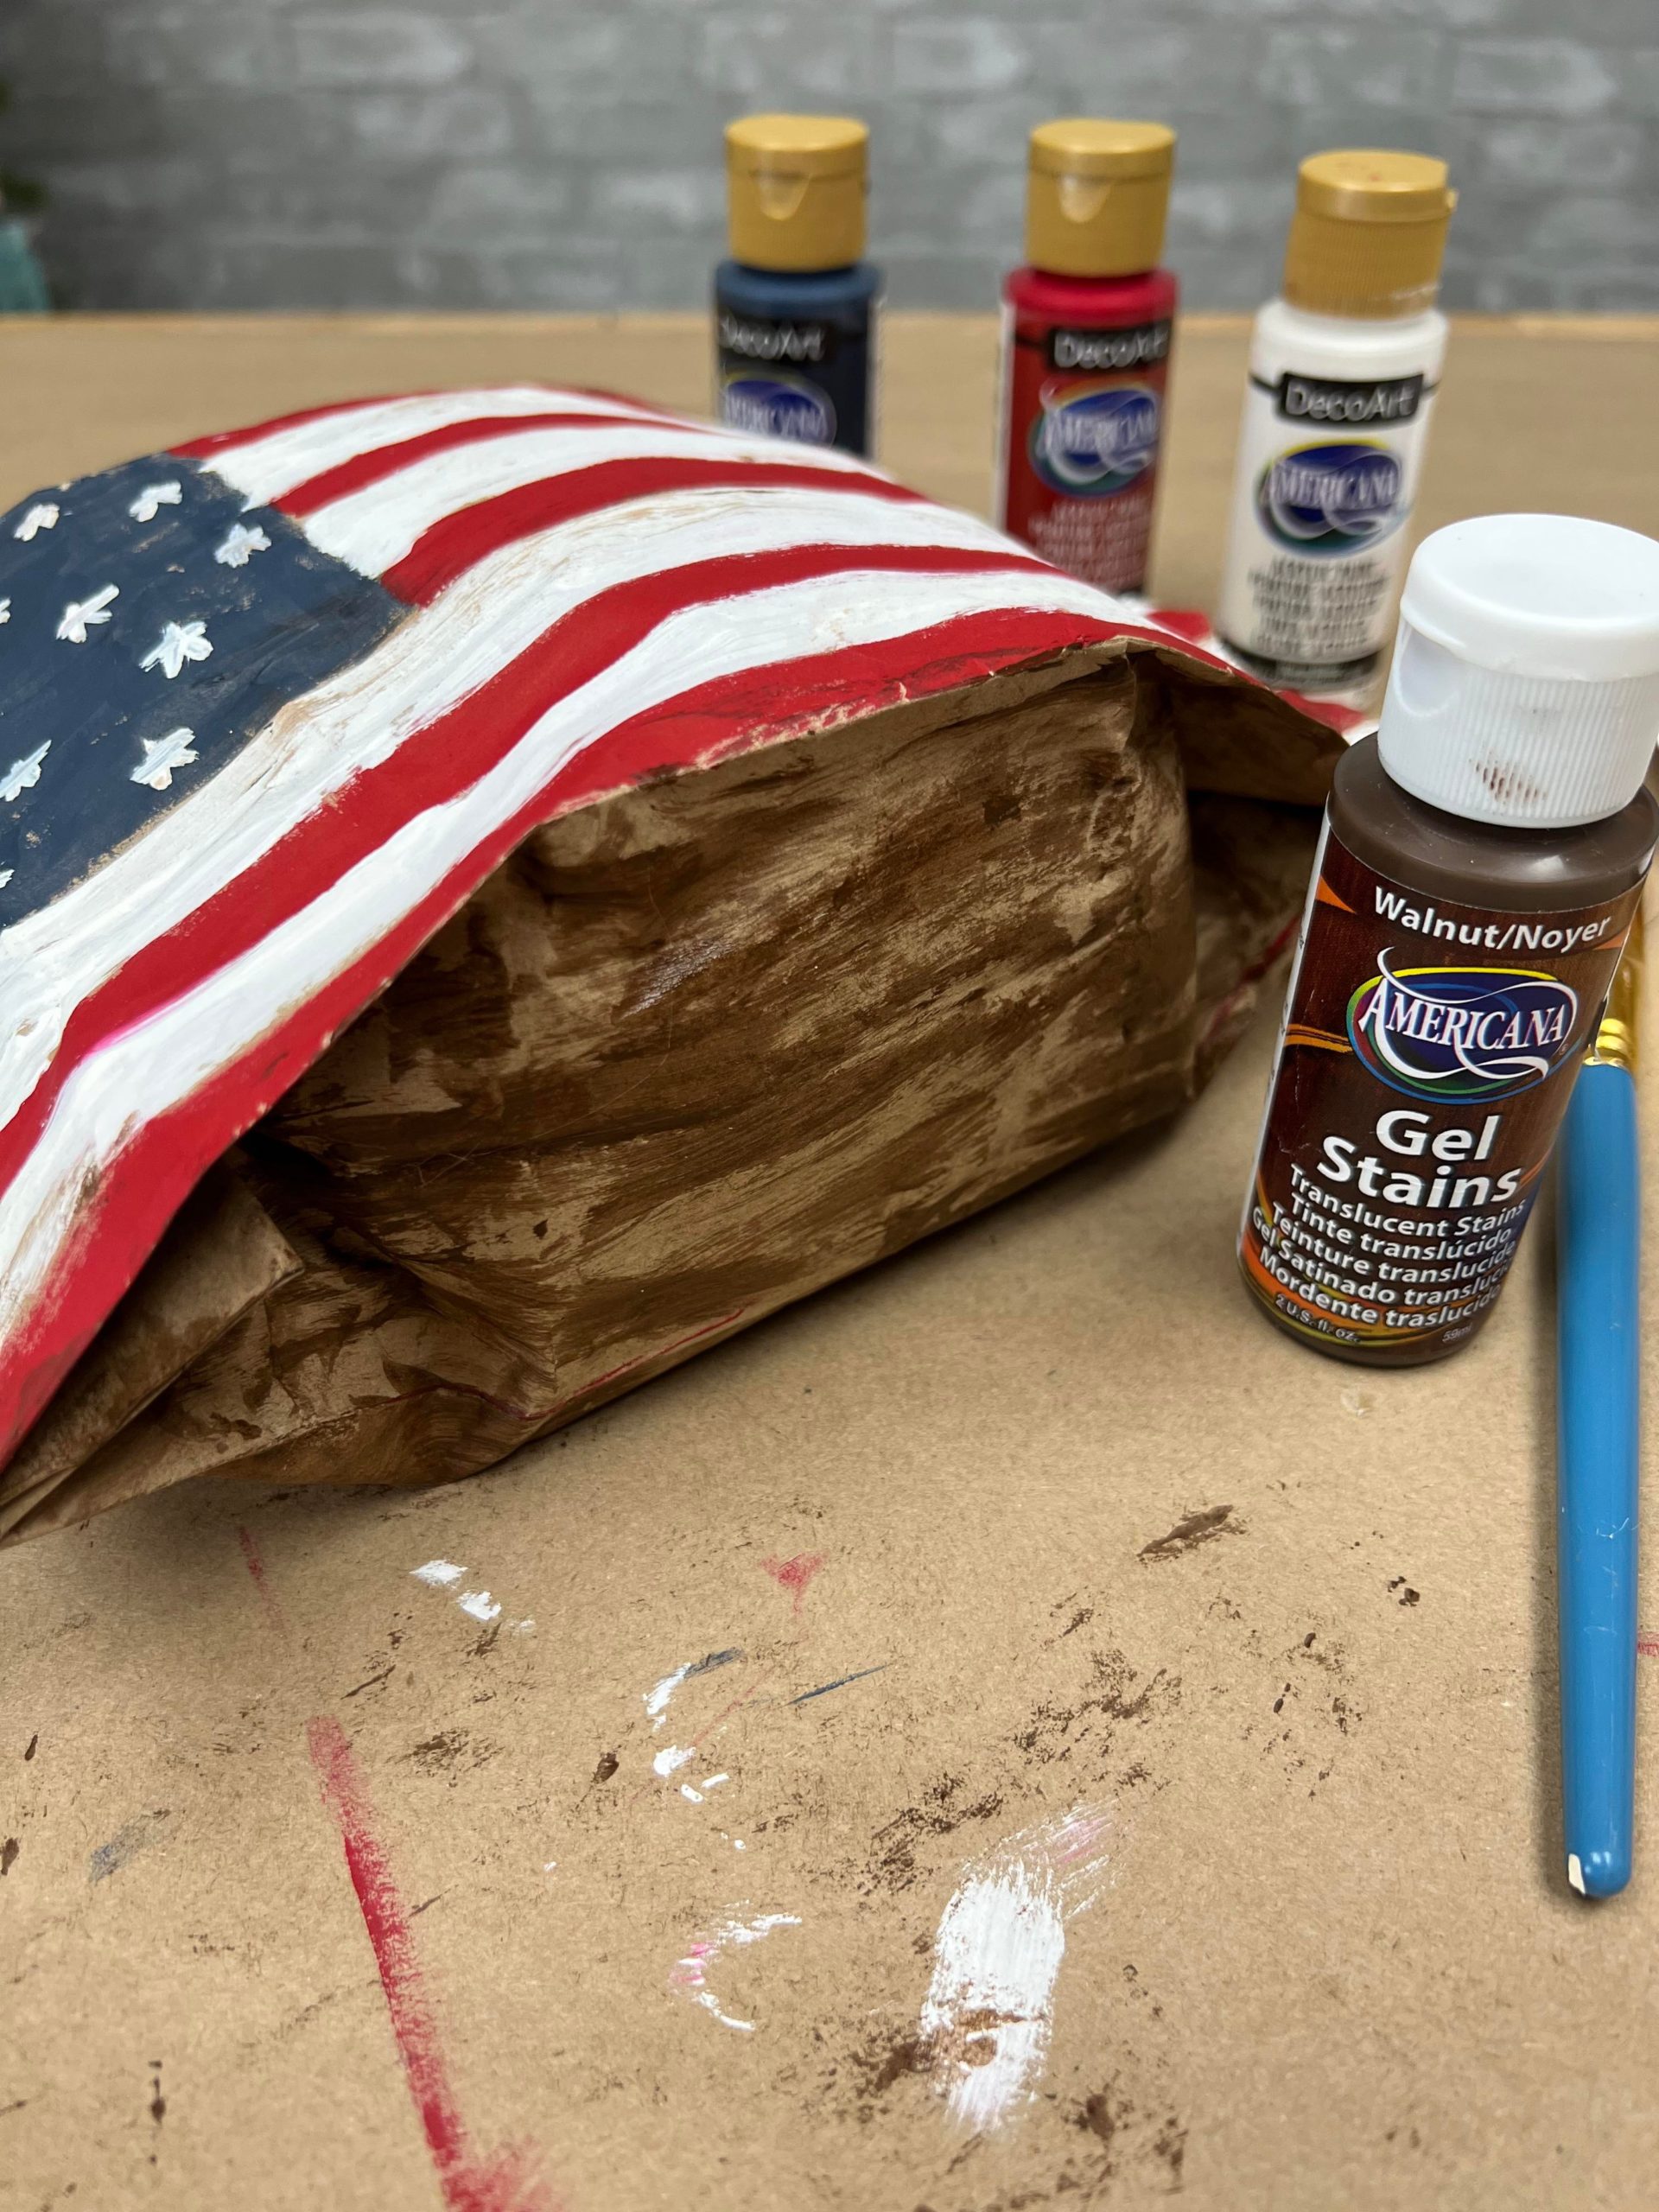

I lightly added some of the gel stain to the flag print.
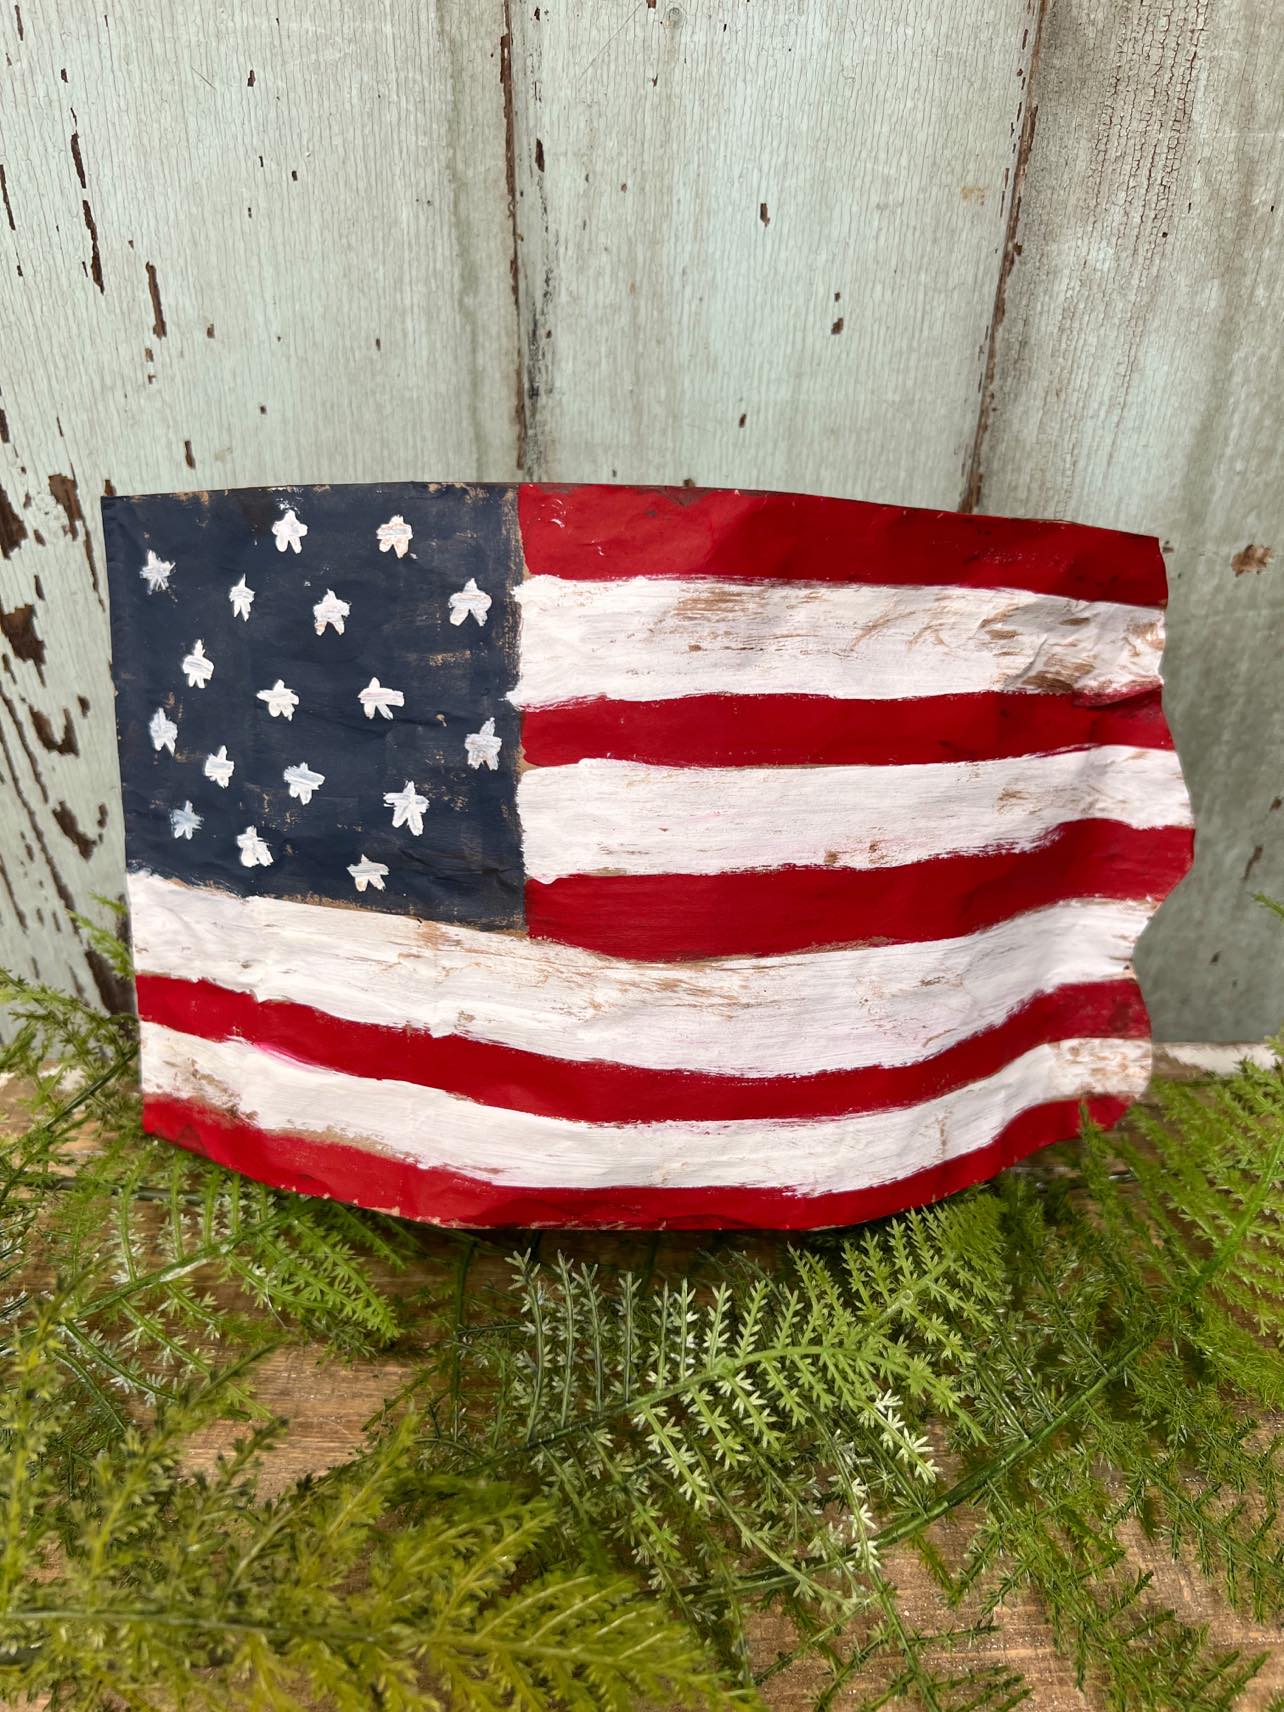
This flag is so easy to make and can be added any where in your home. I hope you will have fun and give this a try.