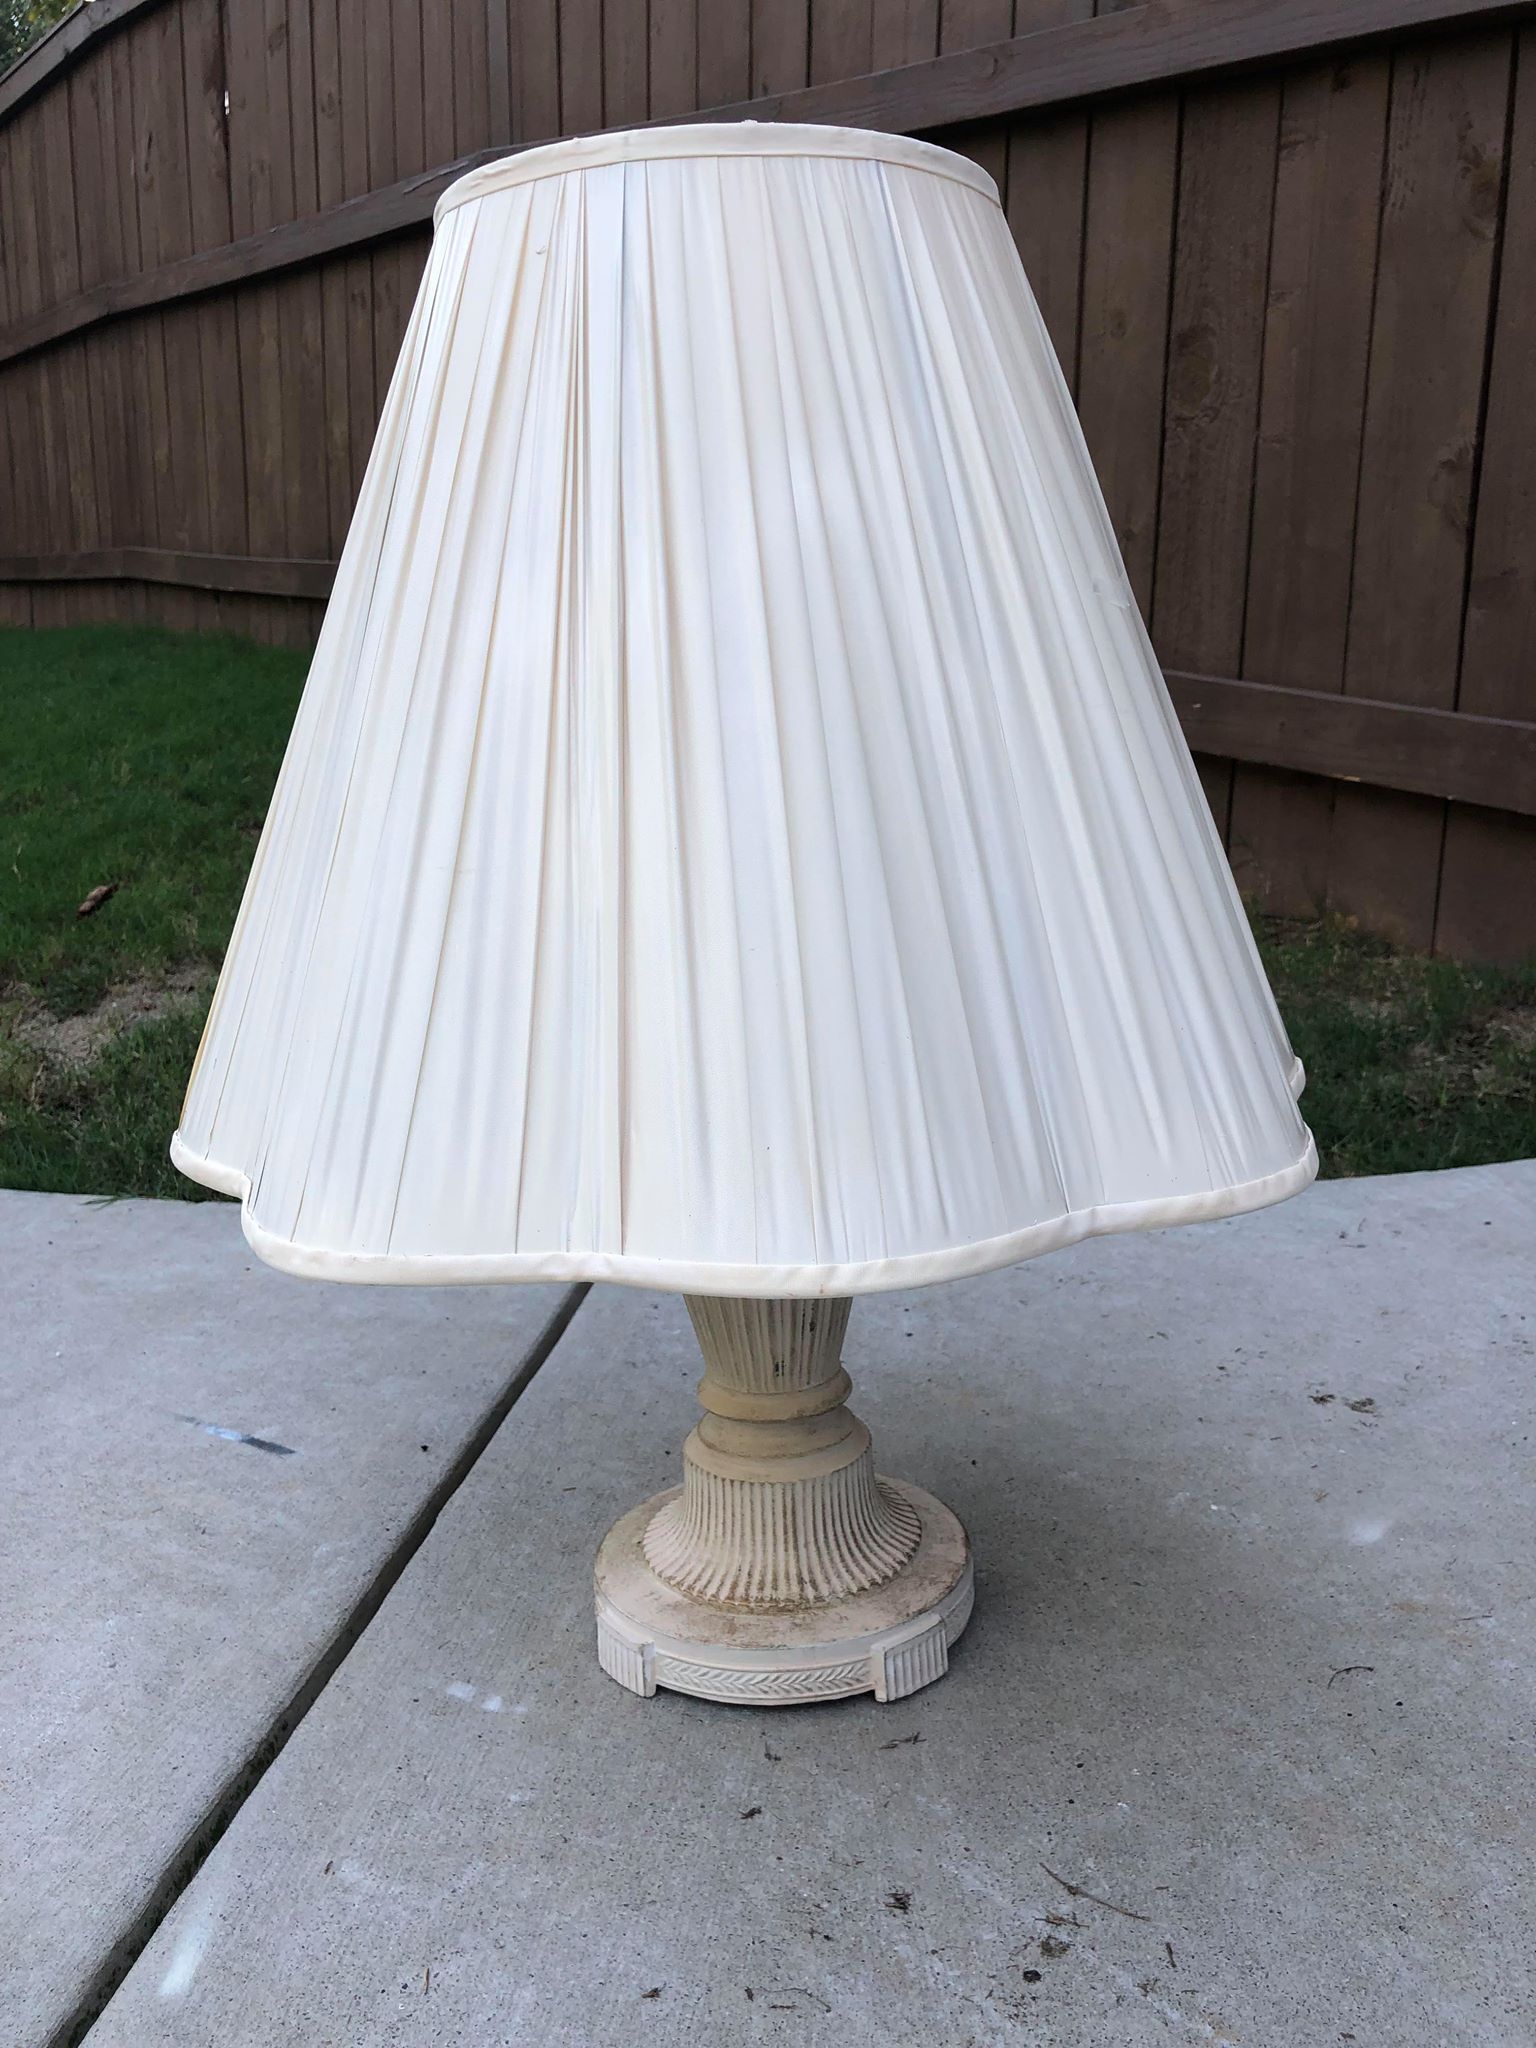
If you want something fun and unique then this DIY is for you. I am always in my local Goodwill and I have been finding a lot of lampshades recently. I seem to be obsessed with trees and I keep them up in my home all year long. After accumulating a lot of lampshades I knew I had to somehow make a tree. This can be done numerous ways but I wanted to keep it simple and easy!
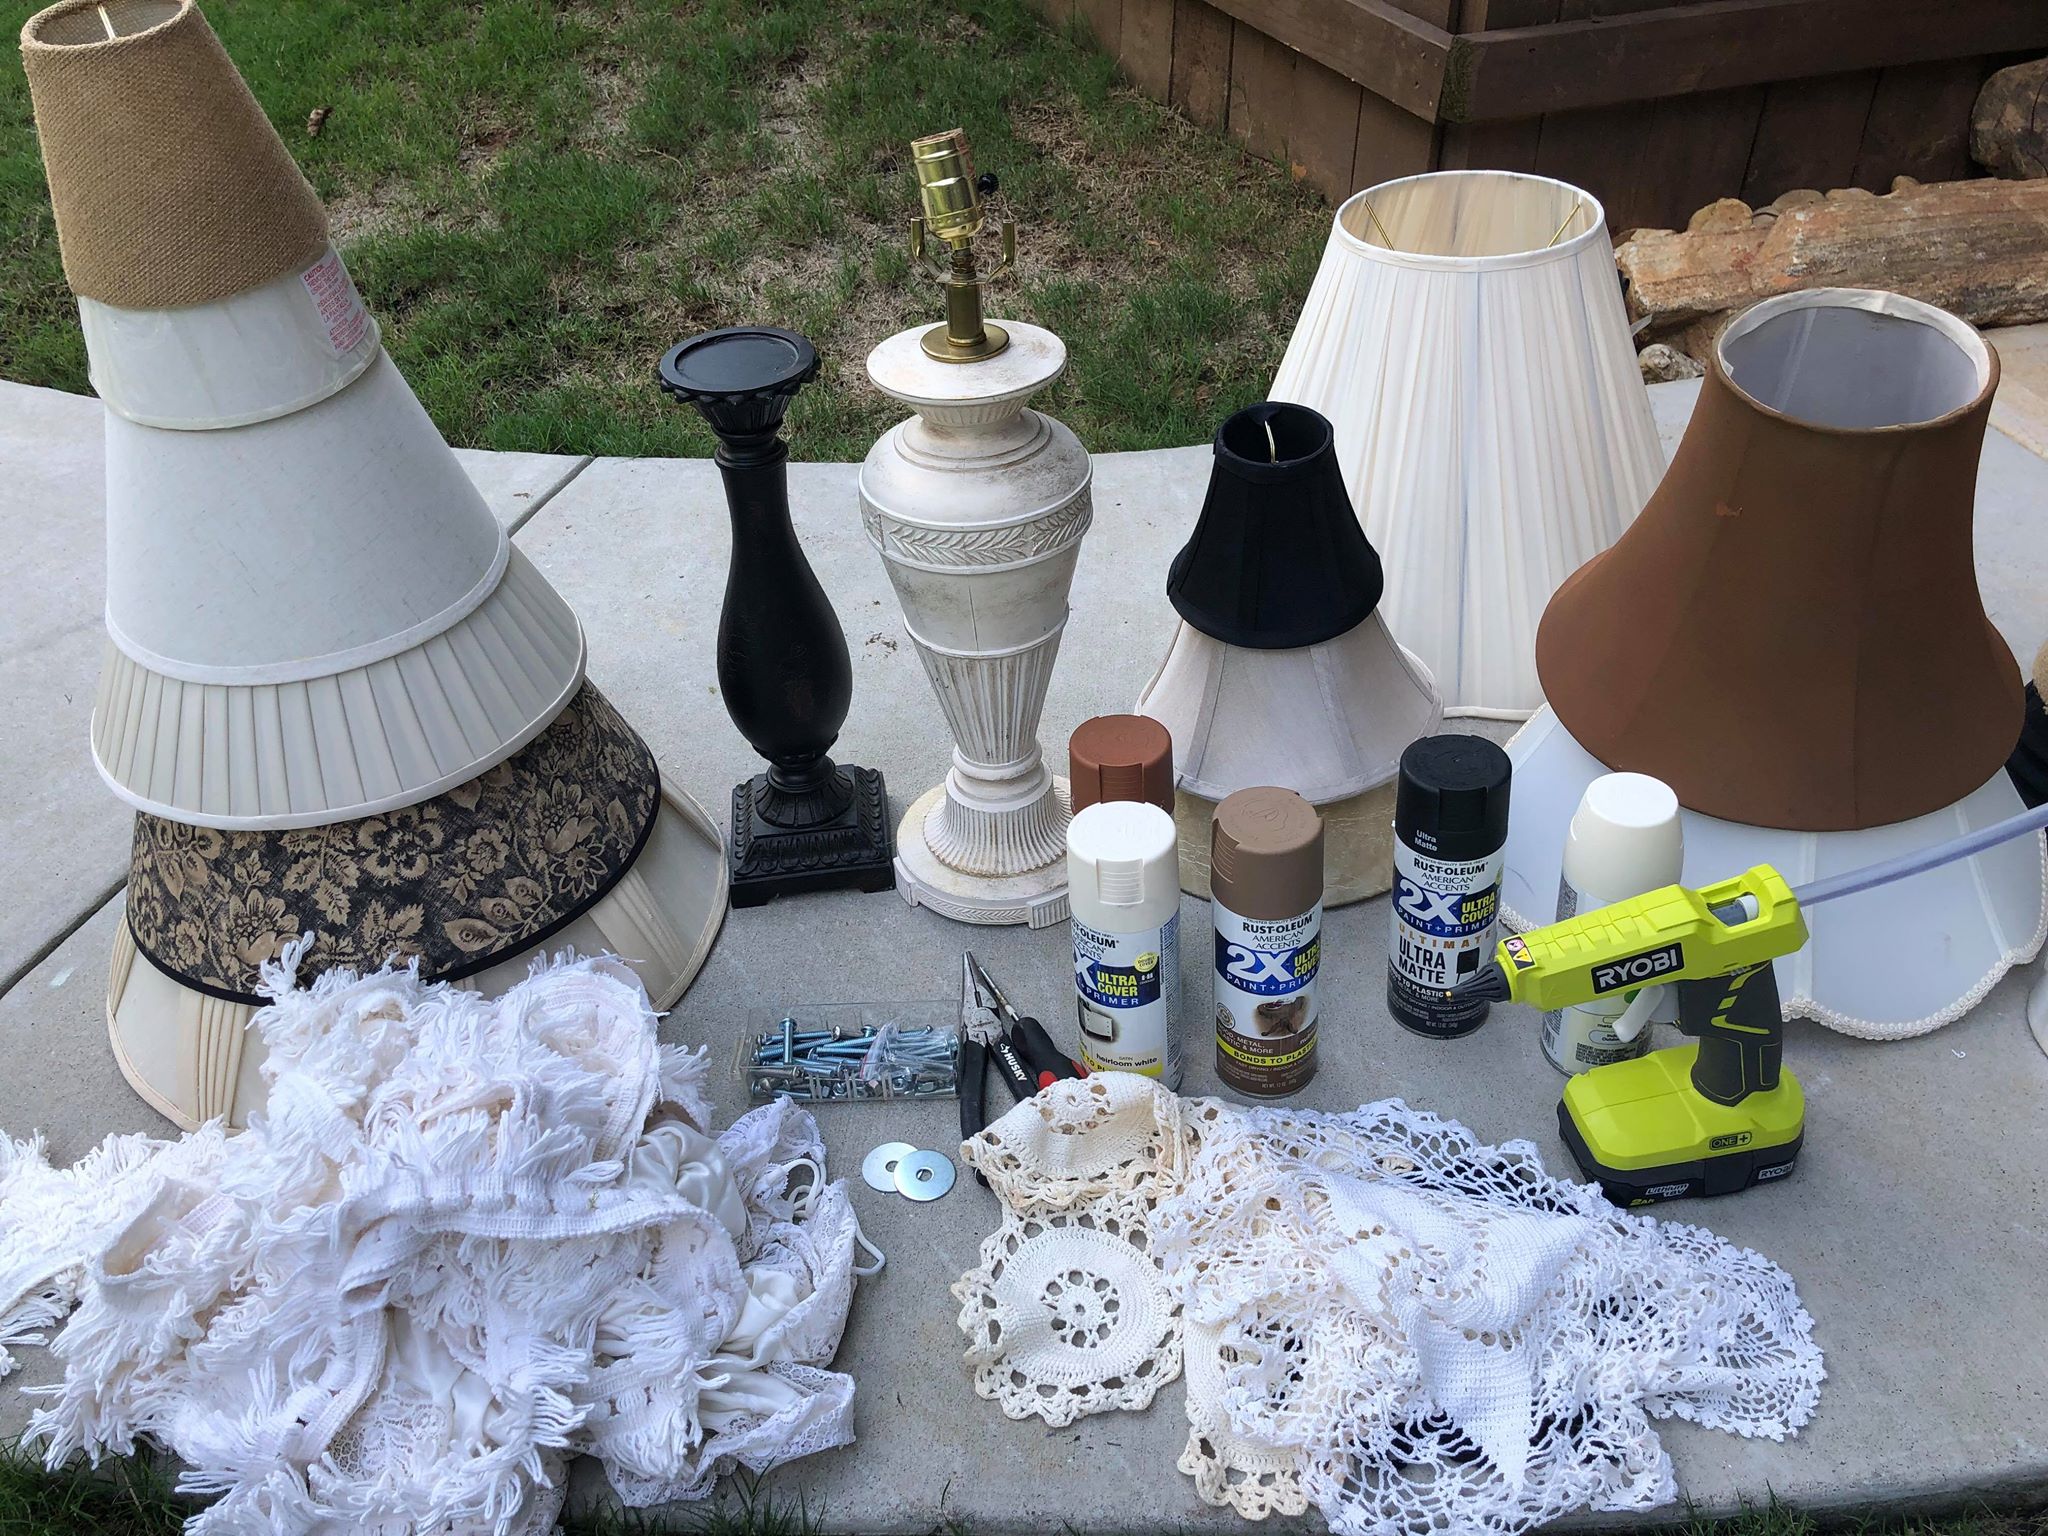
The supplies you will need are:
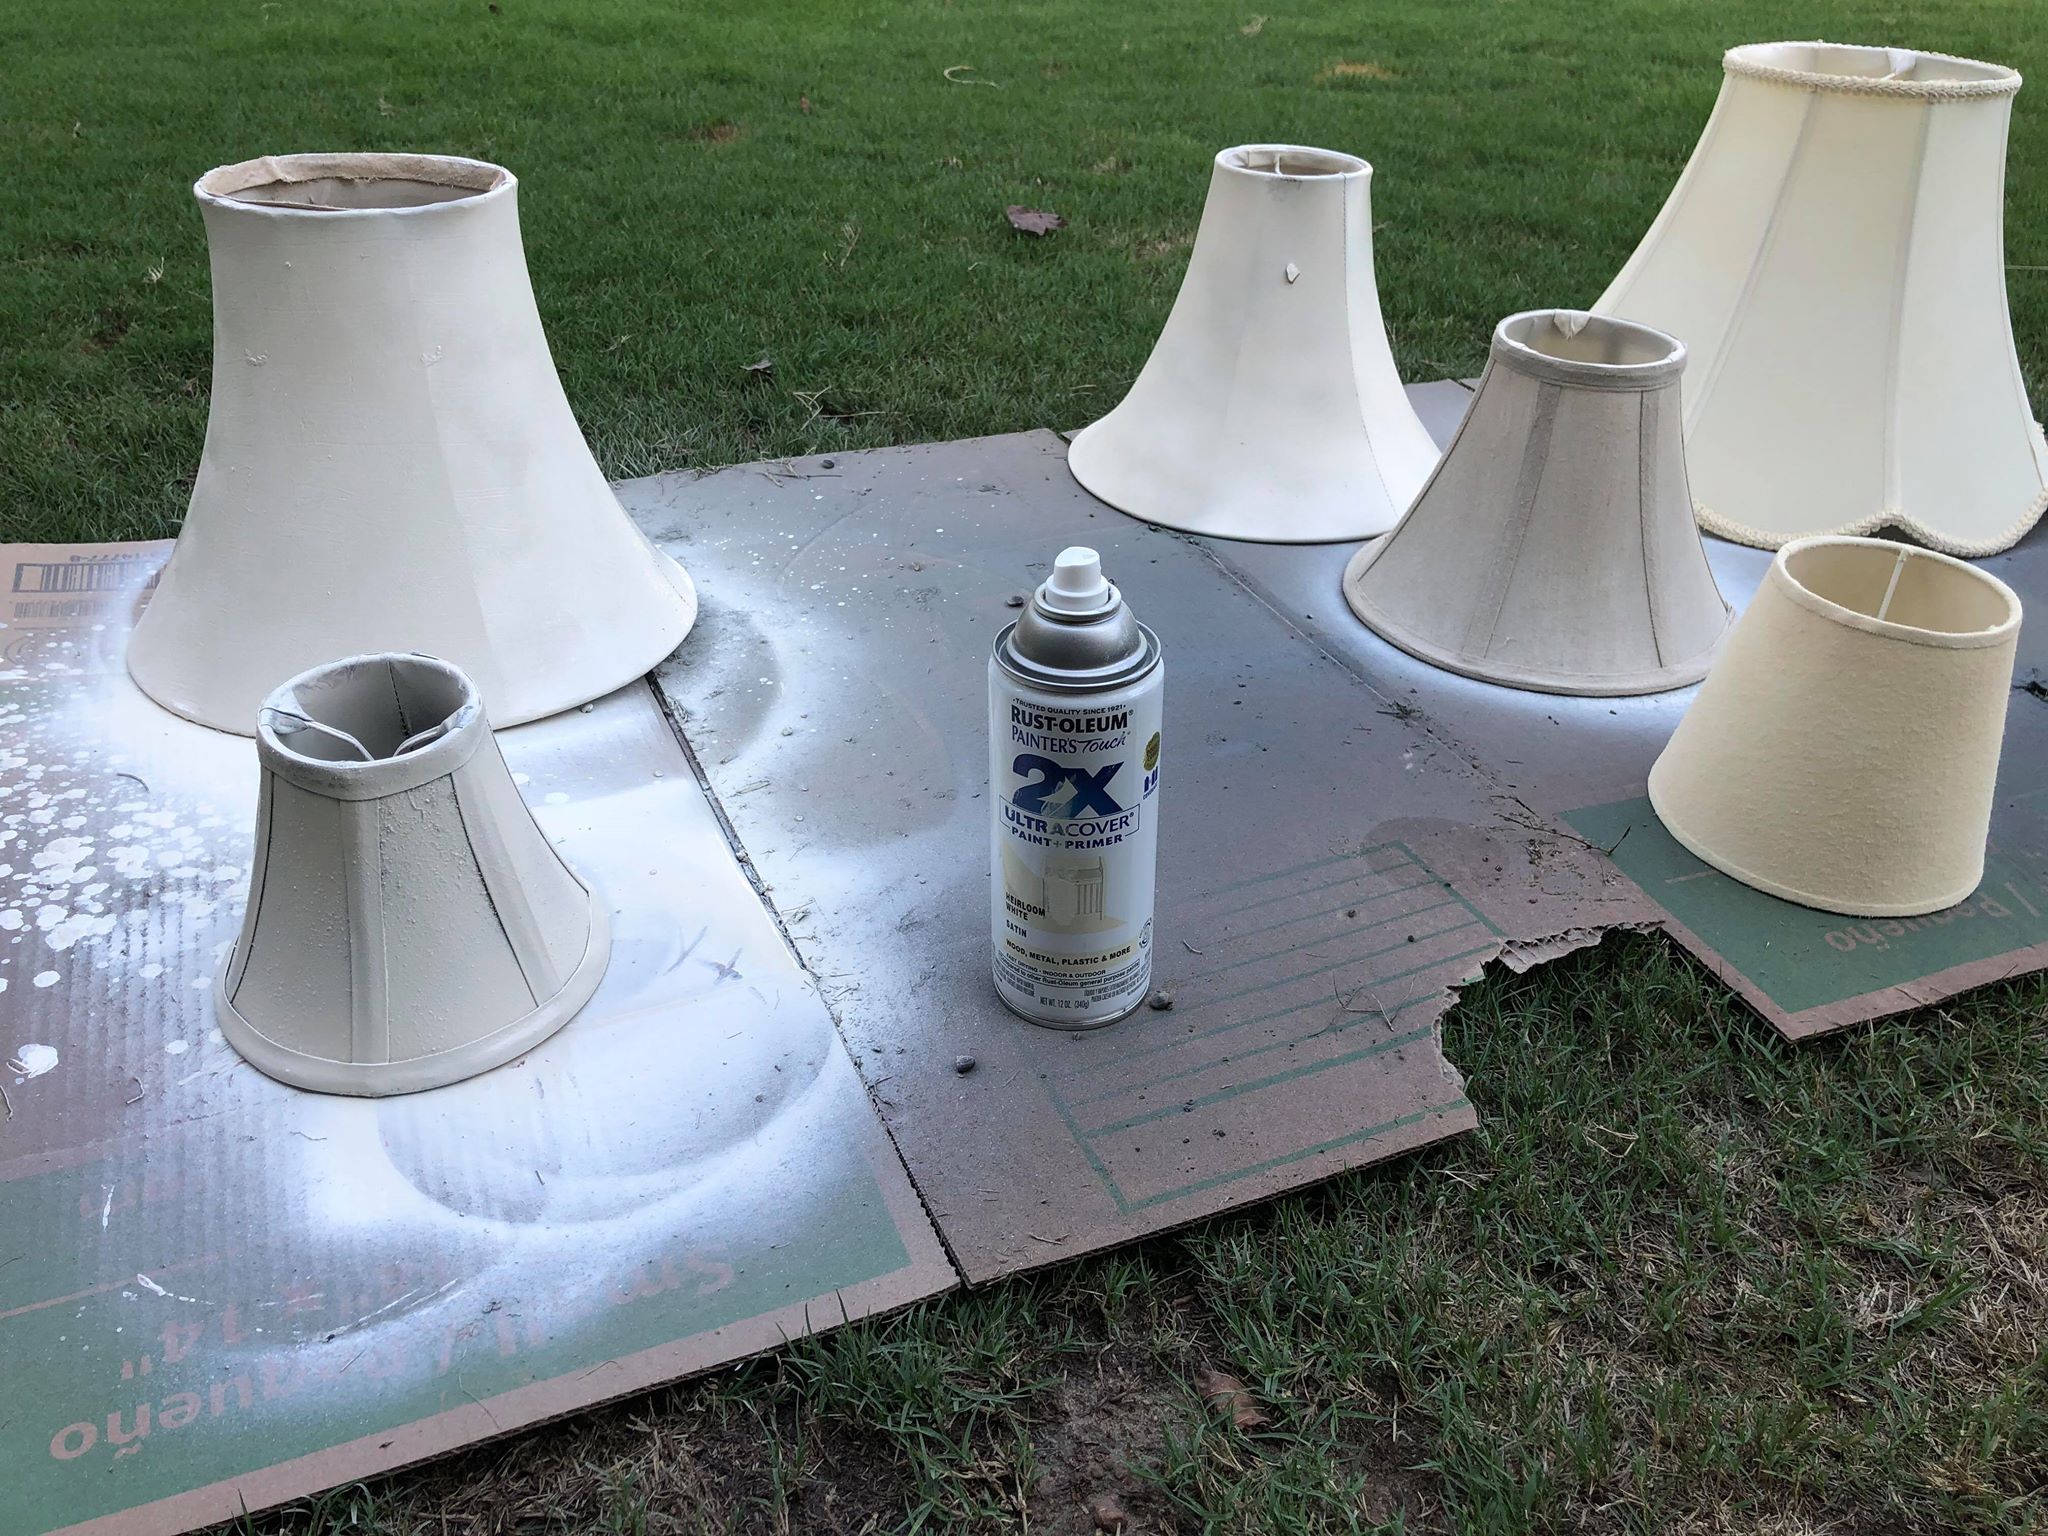
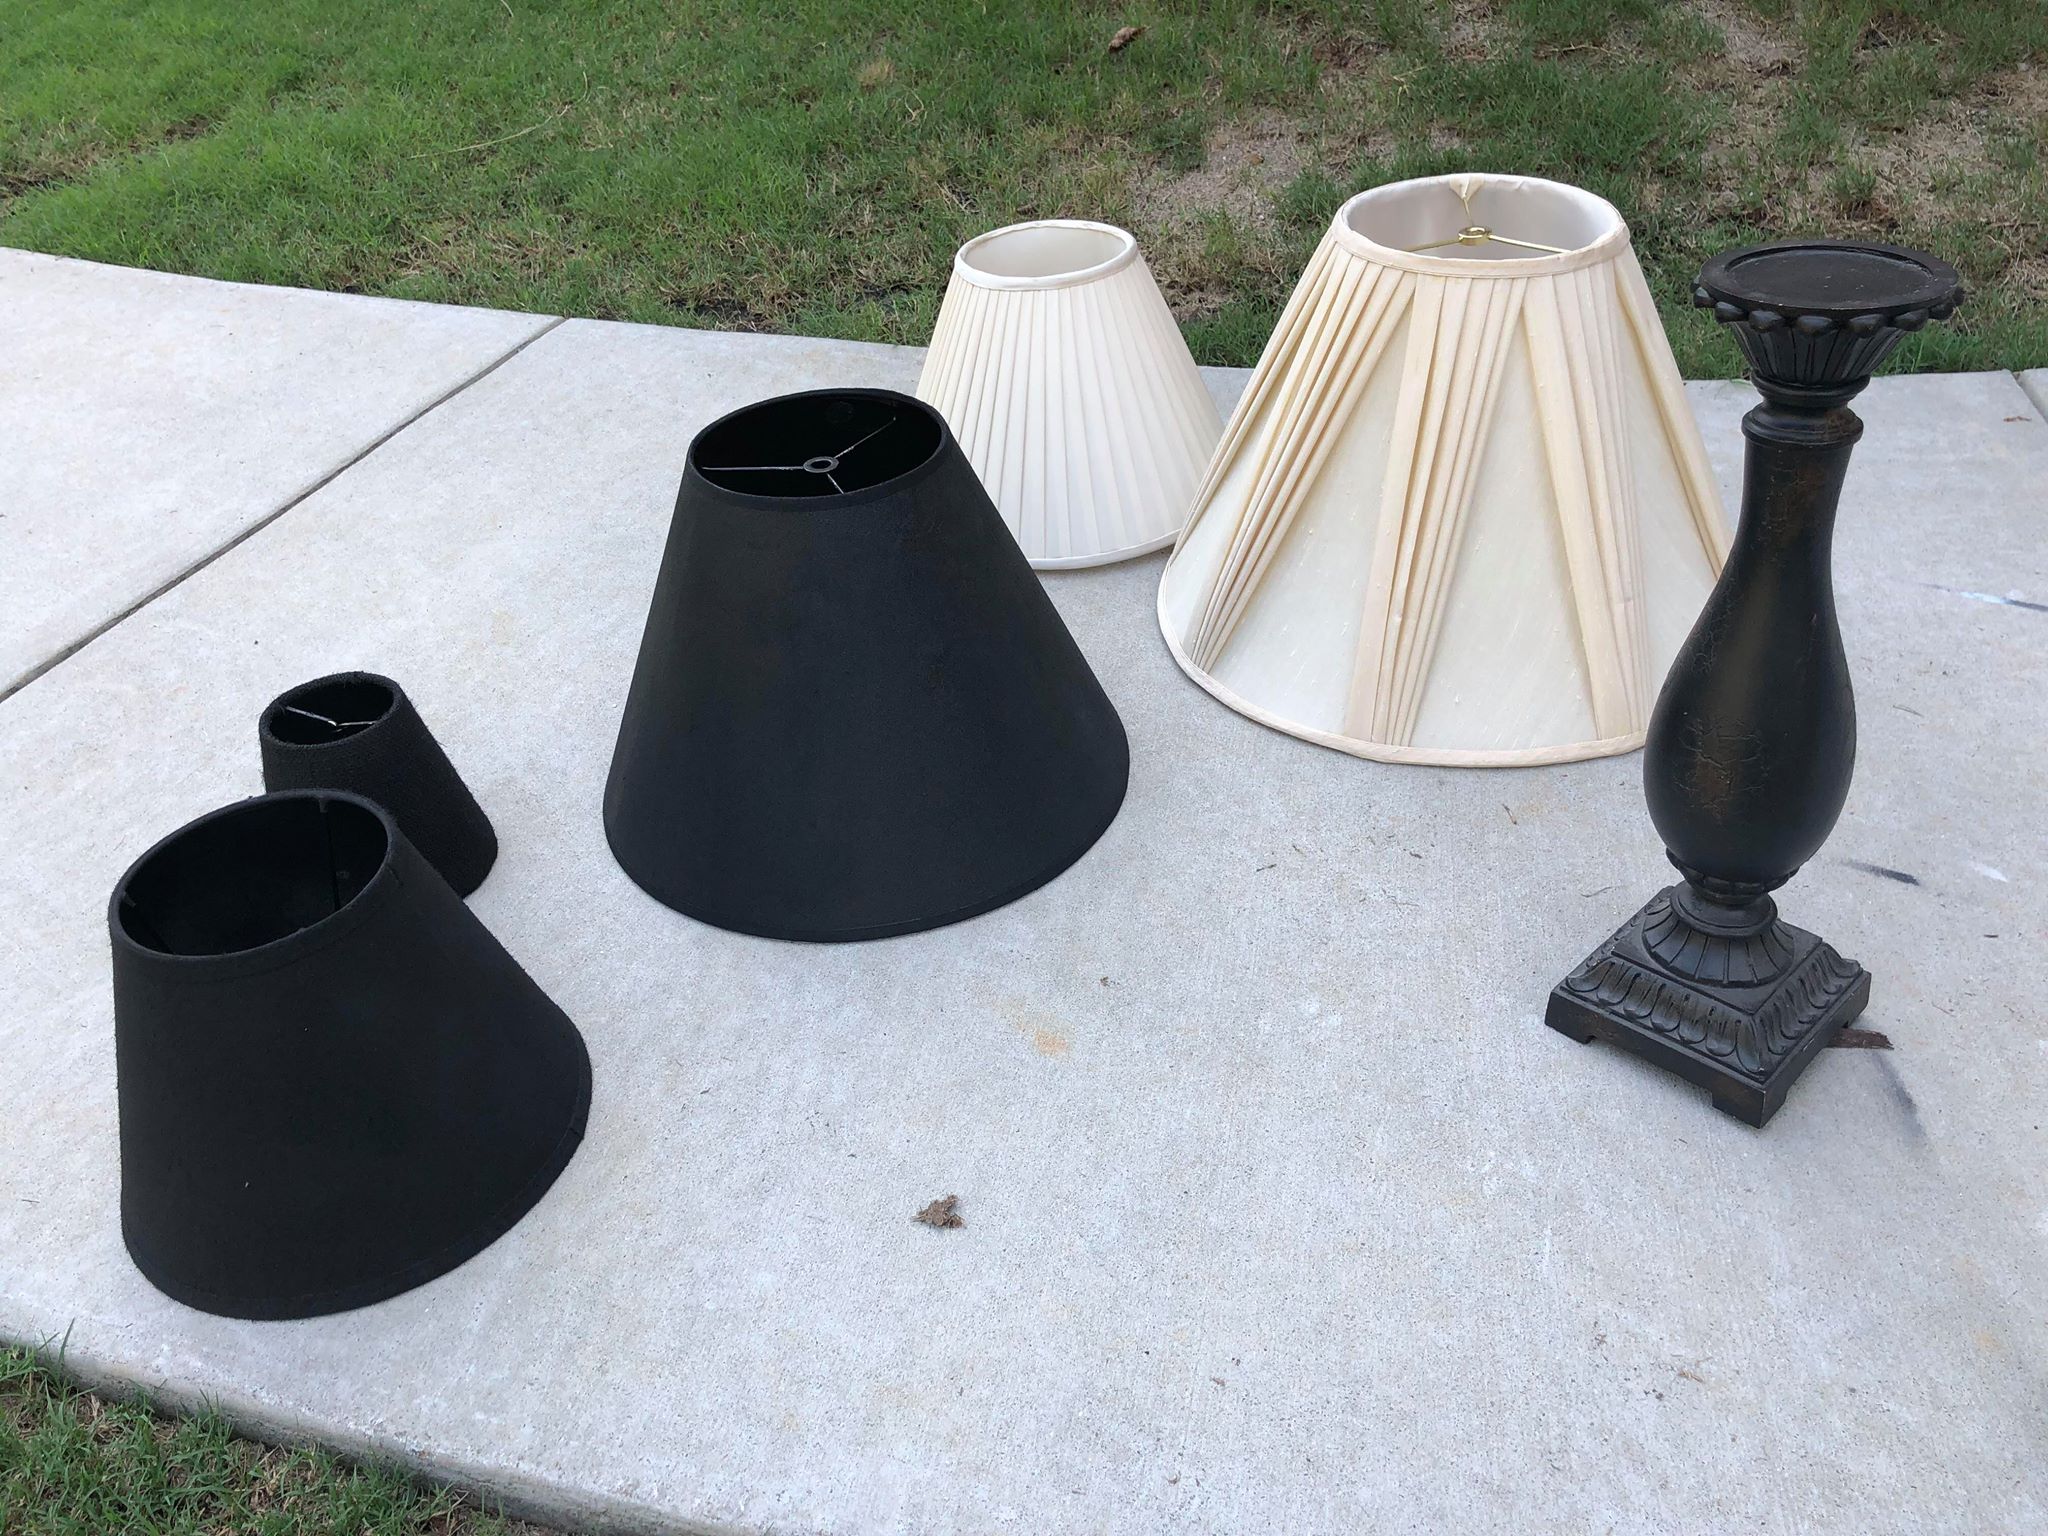
1. Lamp shades (they will need to be a variety of sizes)
2. Spraypaint
3. Glue gun
4. Scissors
5. Lace or doilies
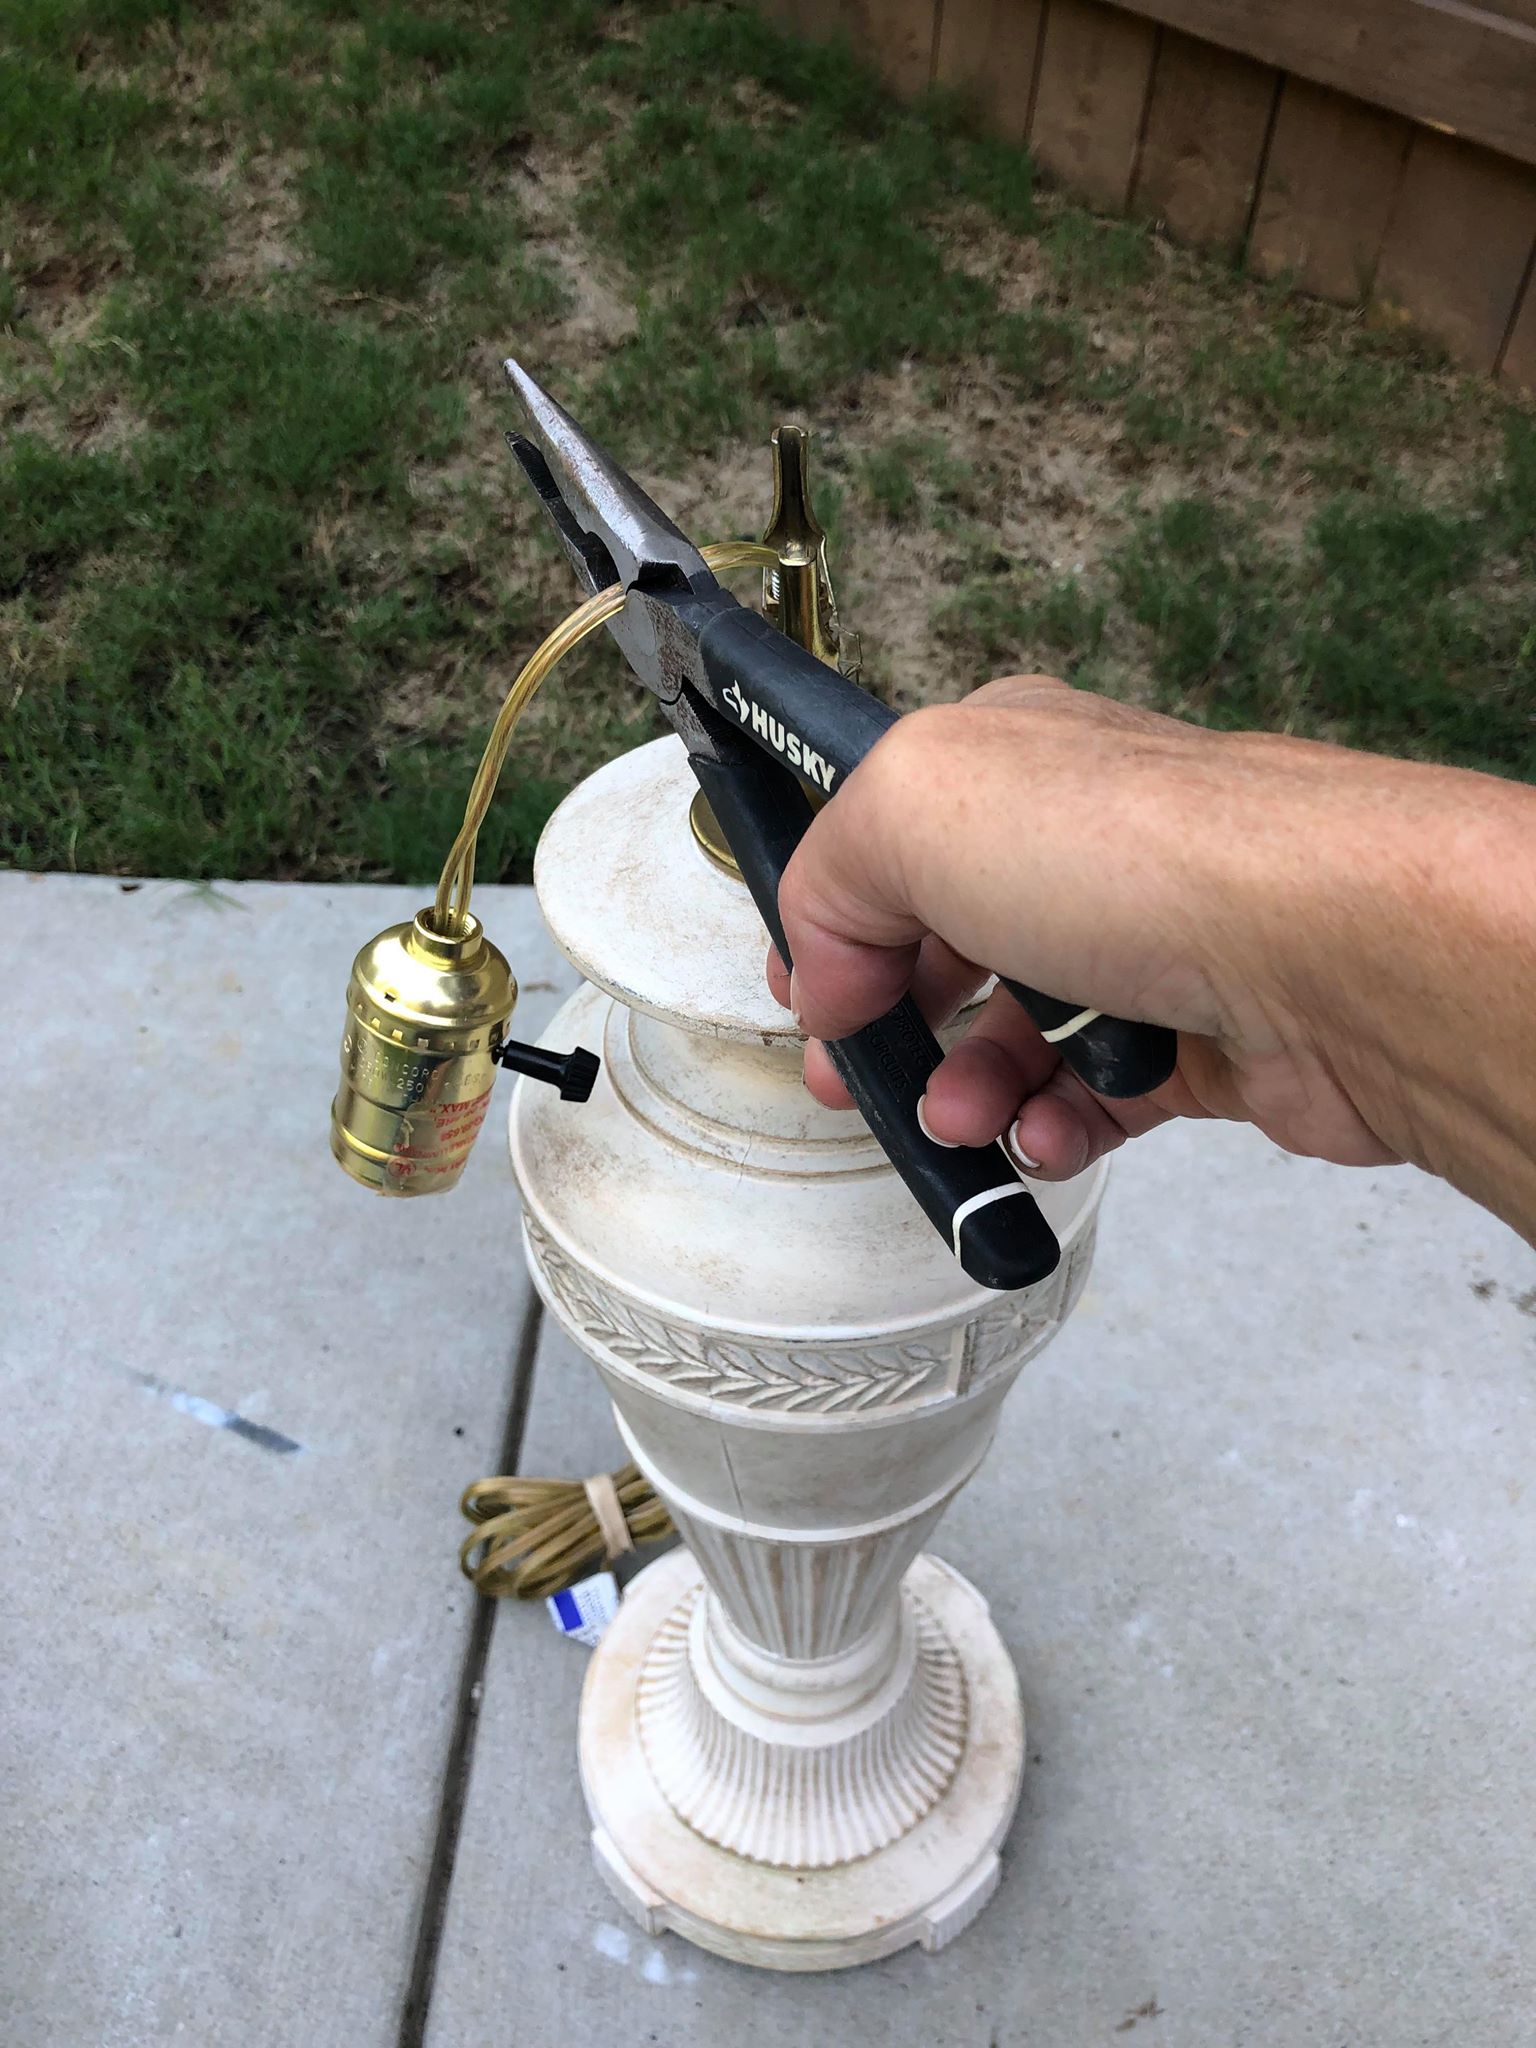
6. Drill
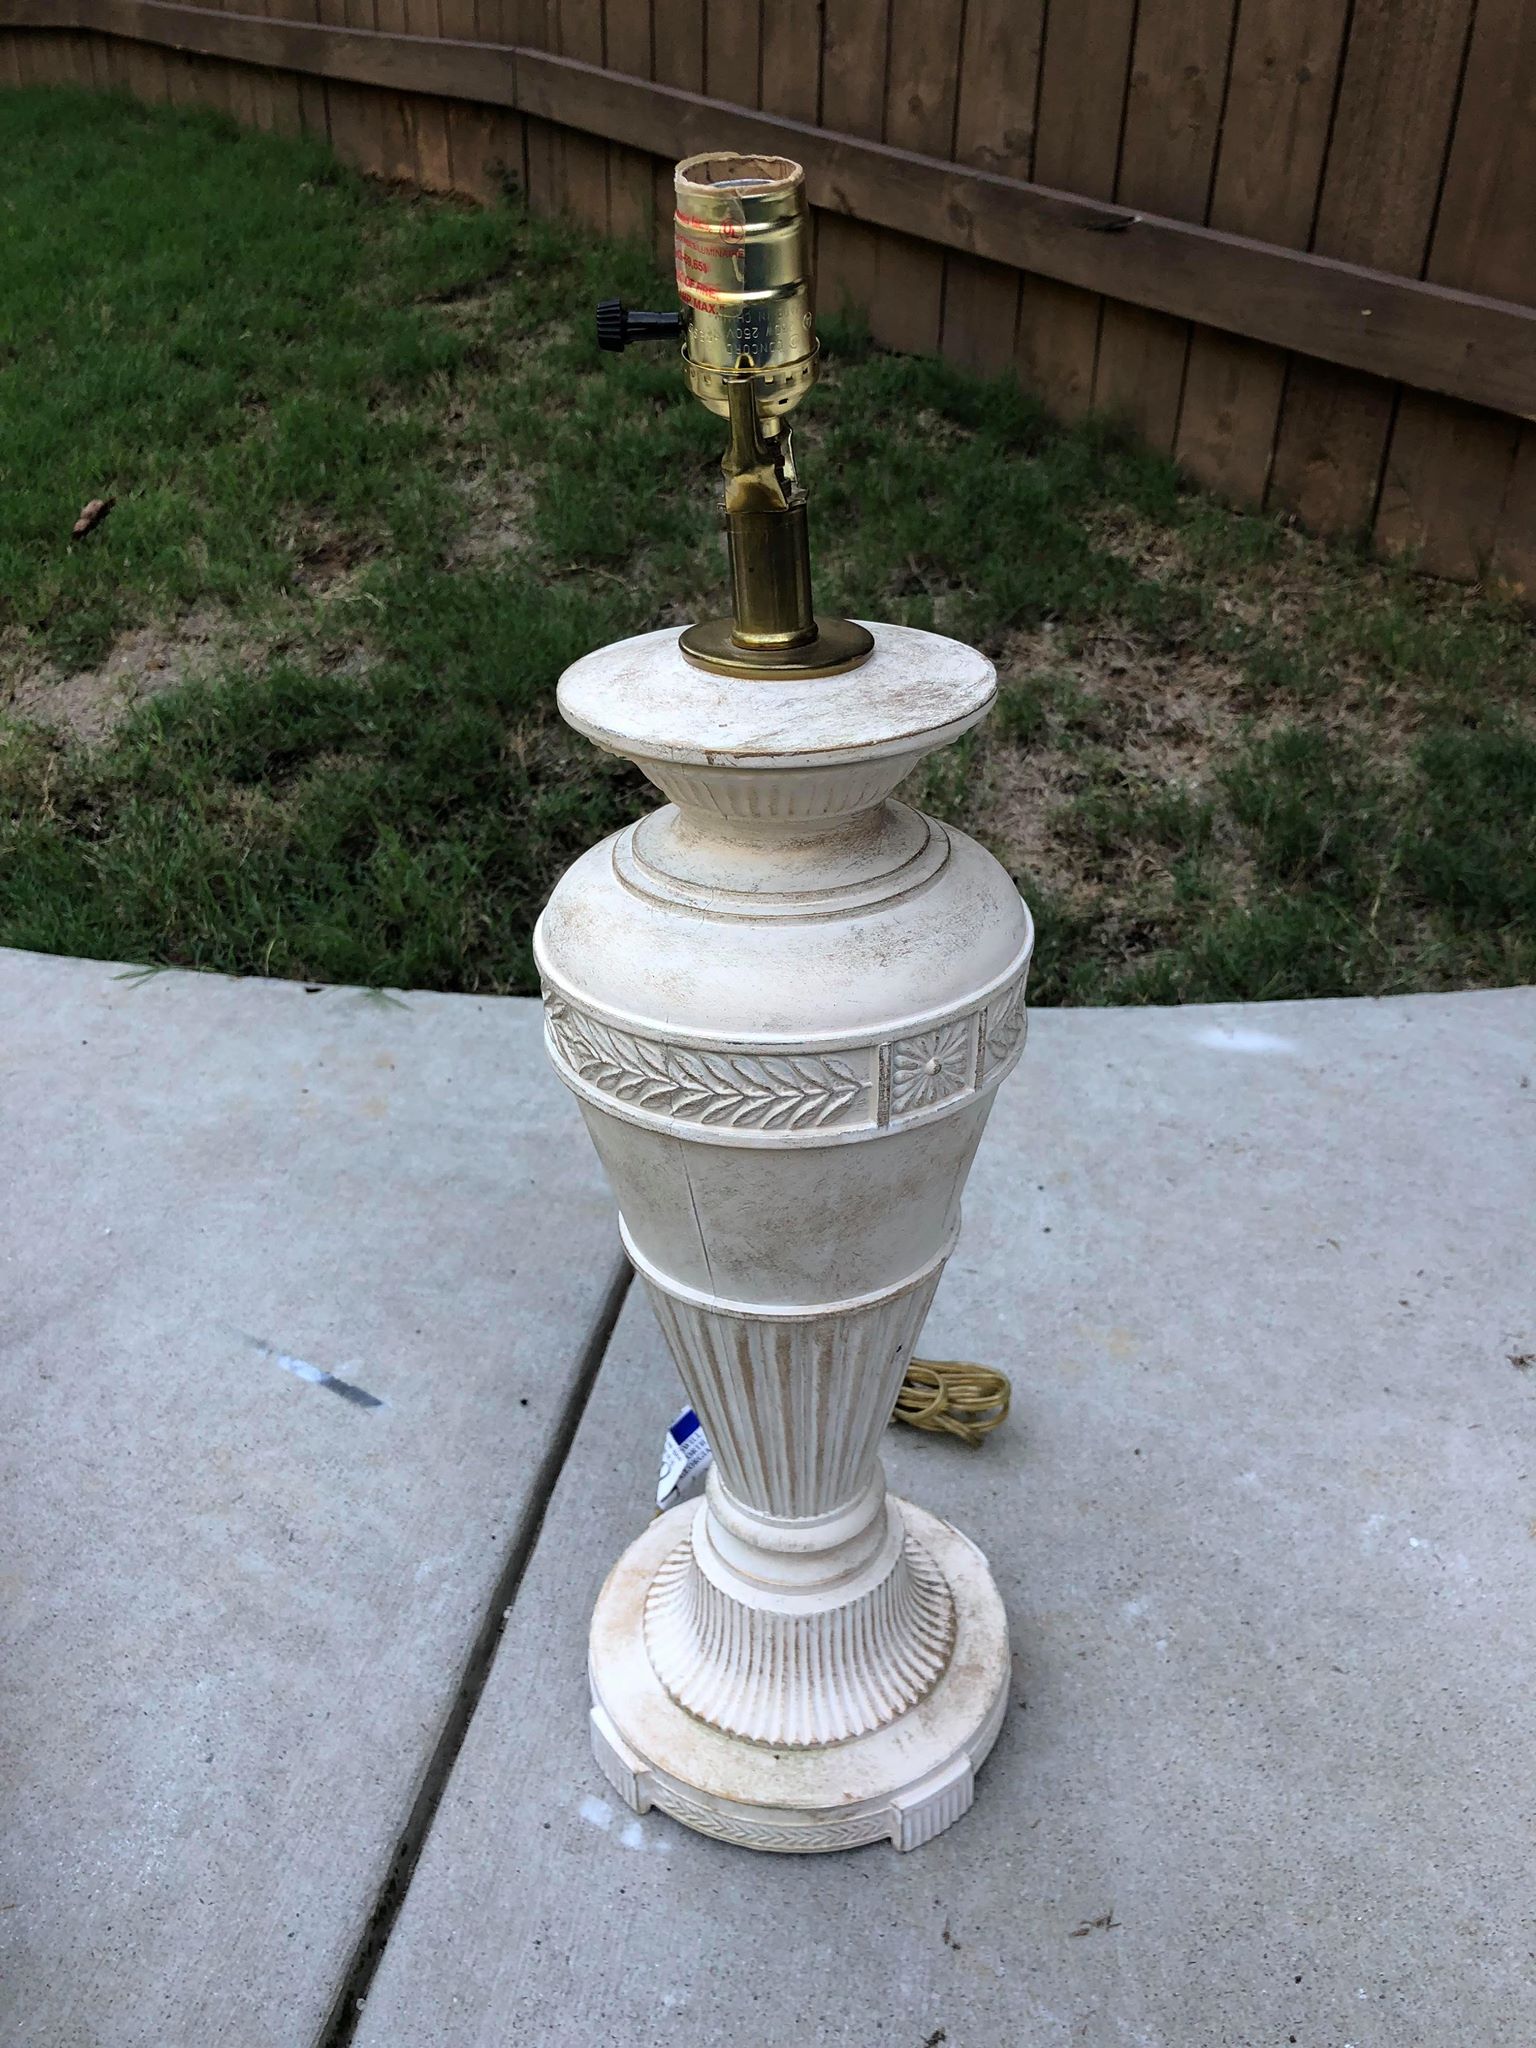
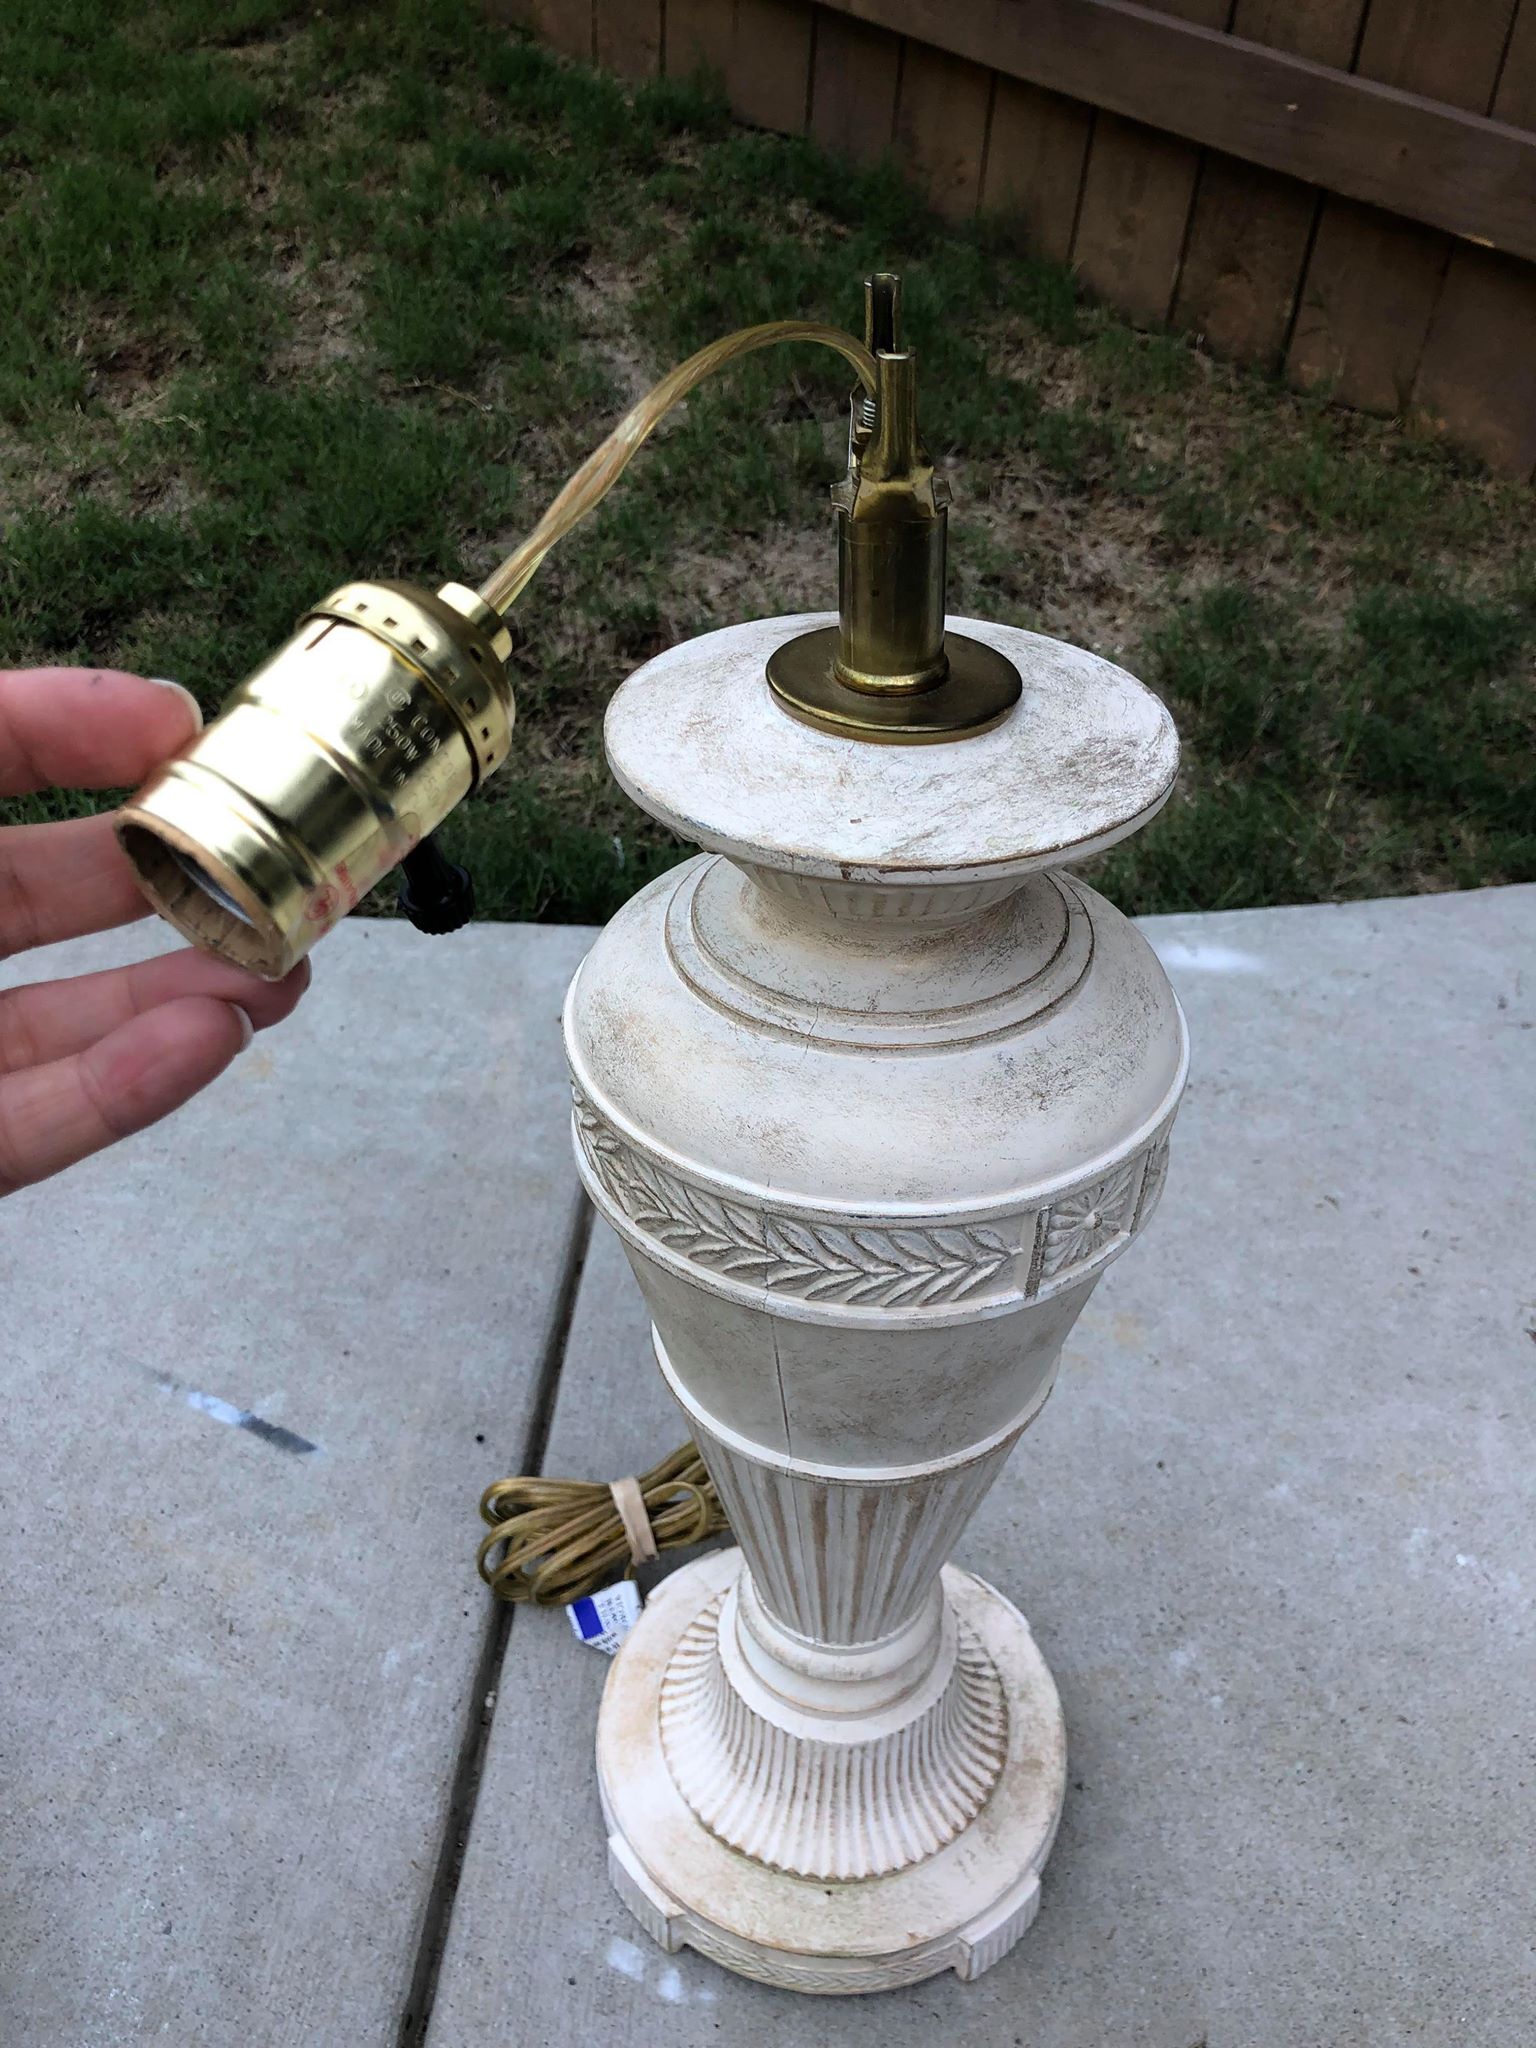
7. Candle holder, lamp base or anything that you want to be the base of your tree.
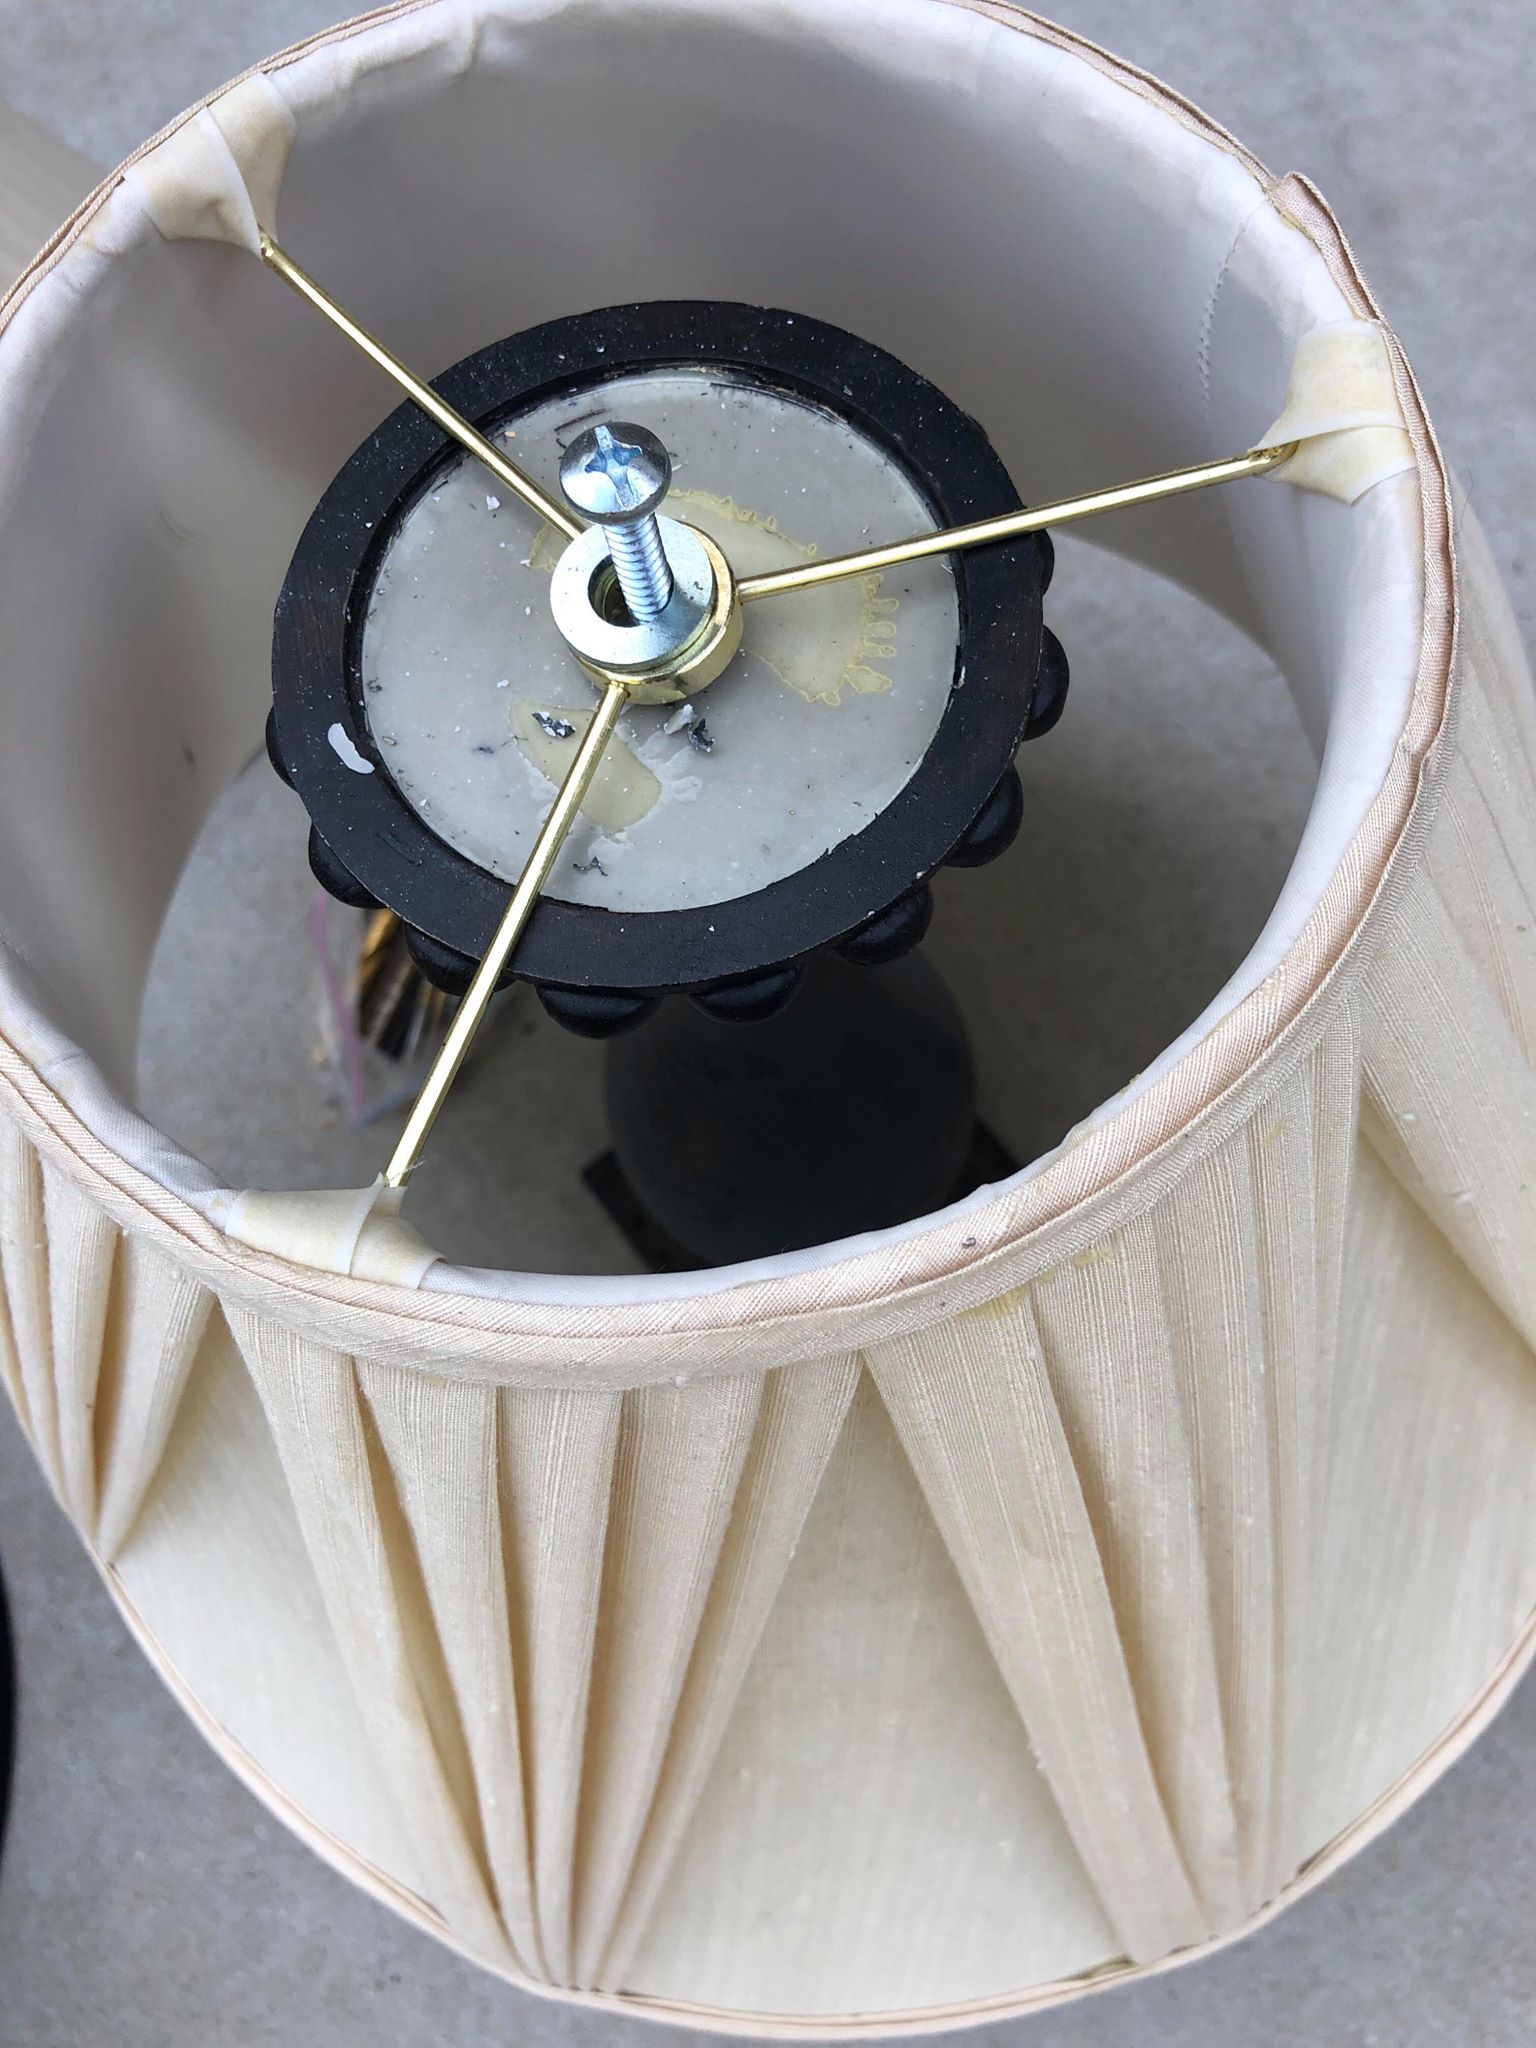
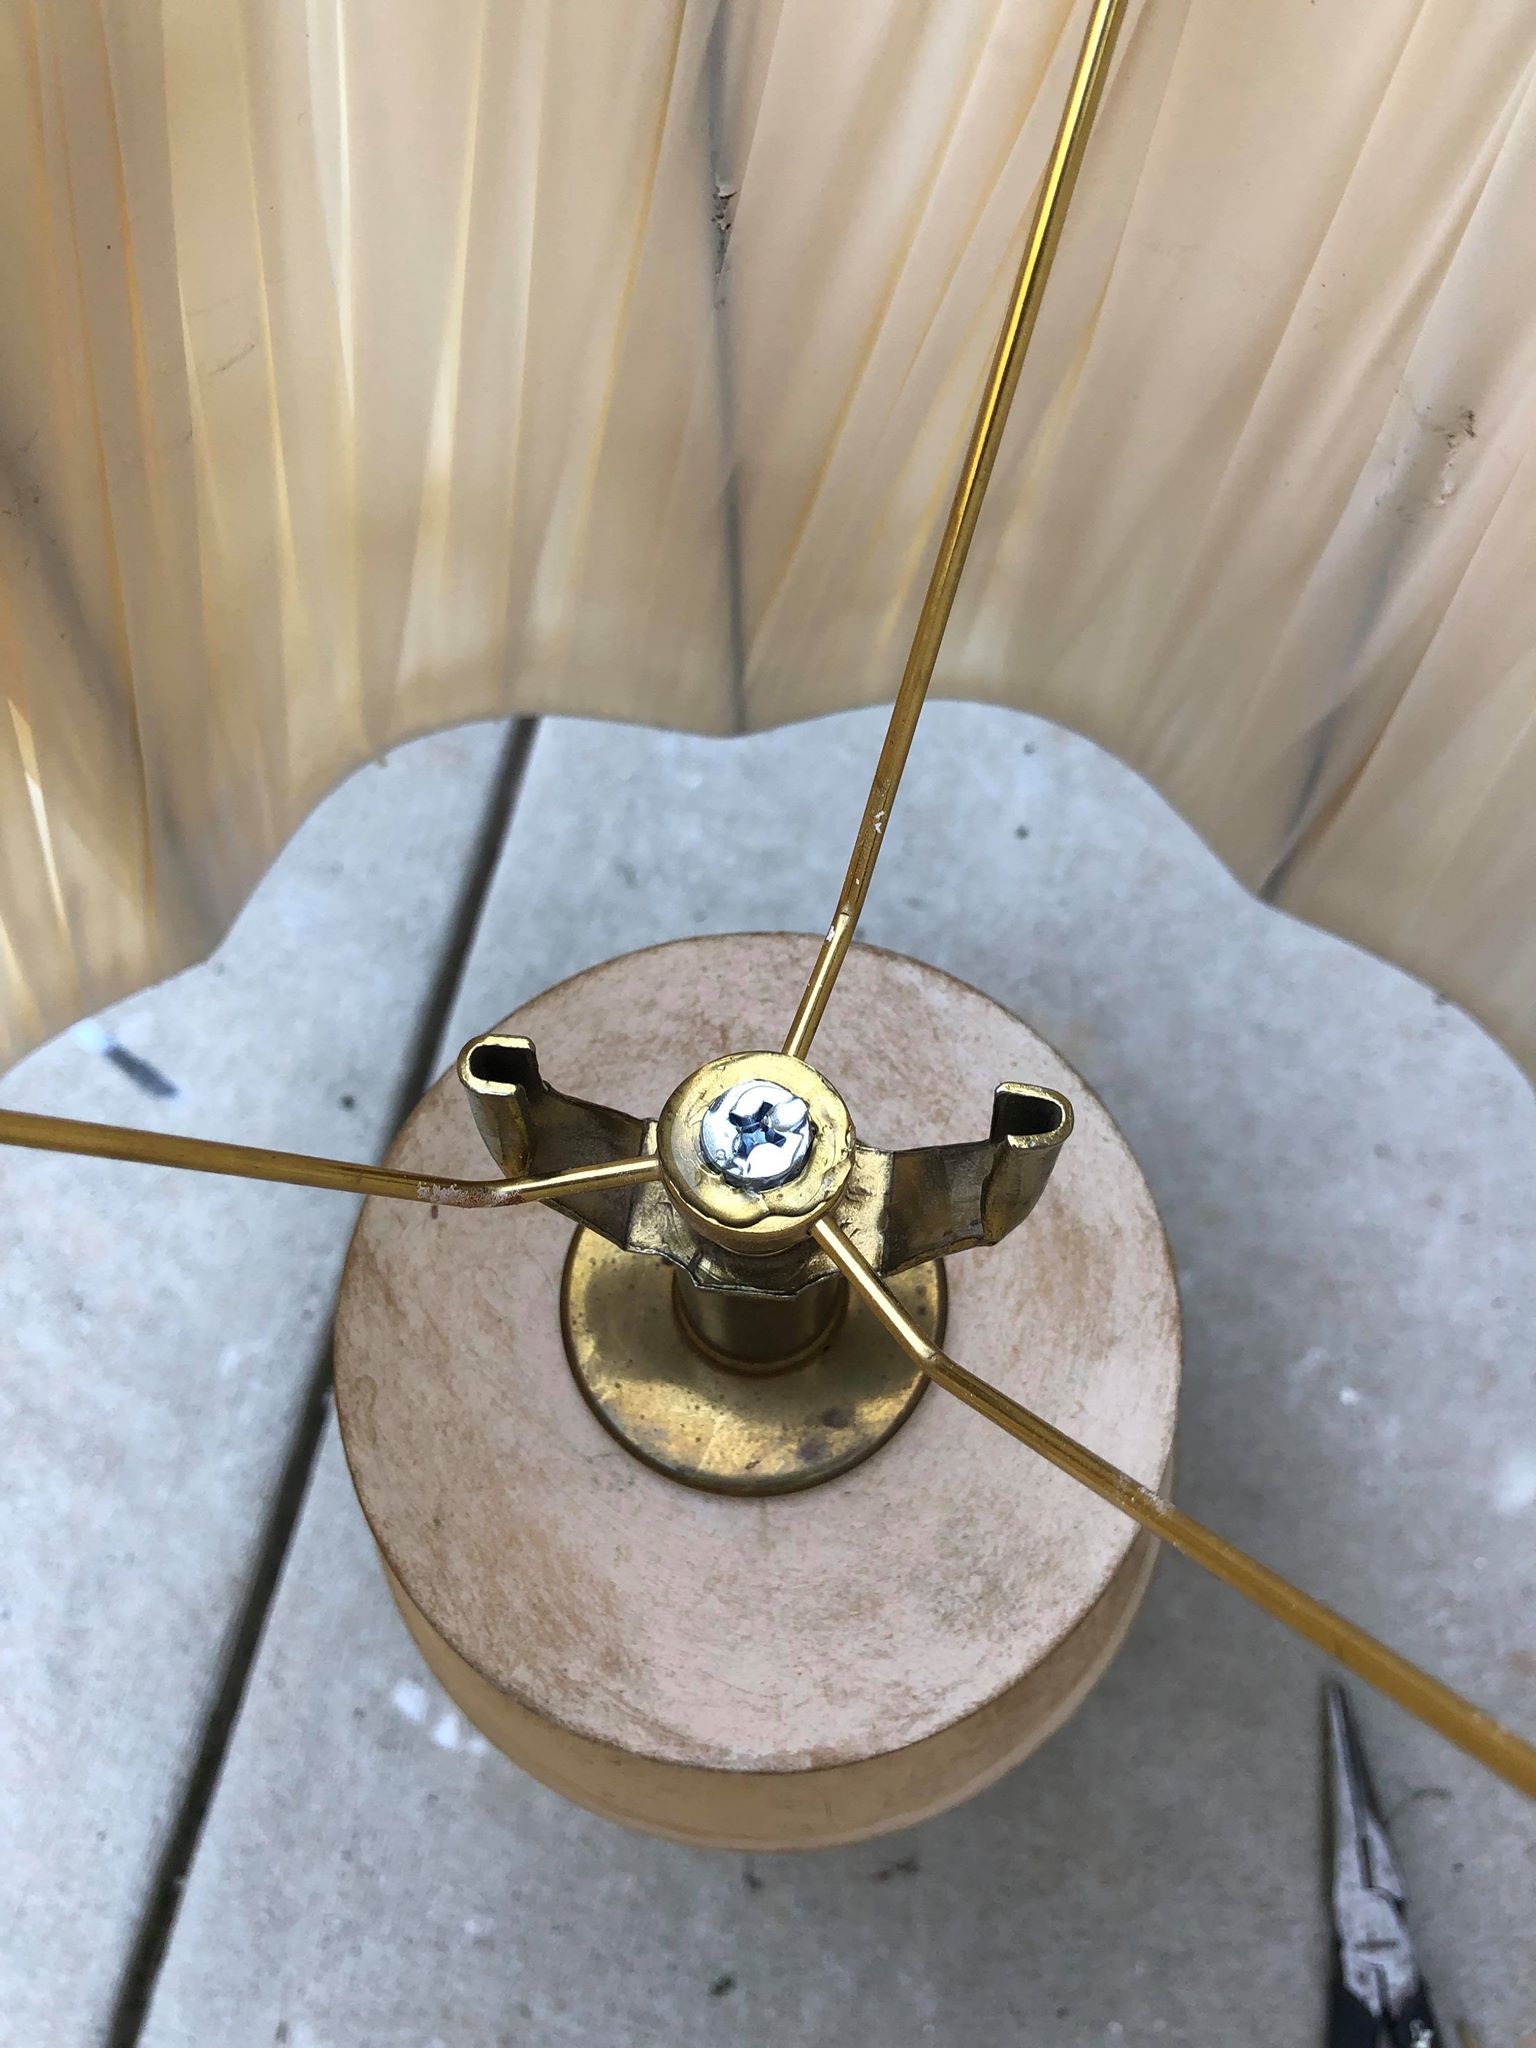
8. Screws and washers (the size will depend on the size of hole in lamp shade.
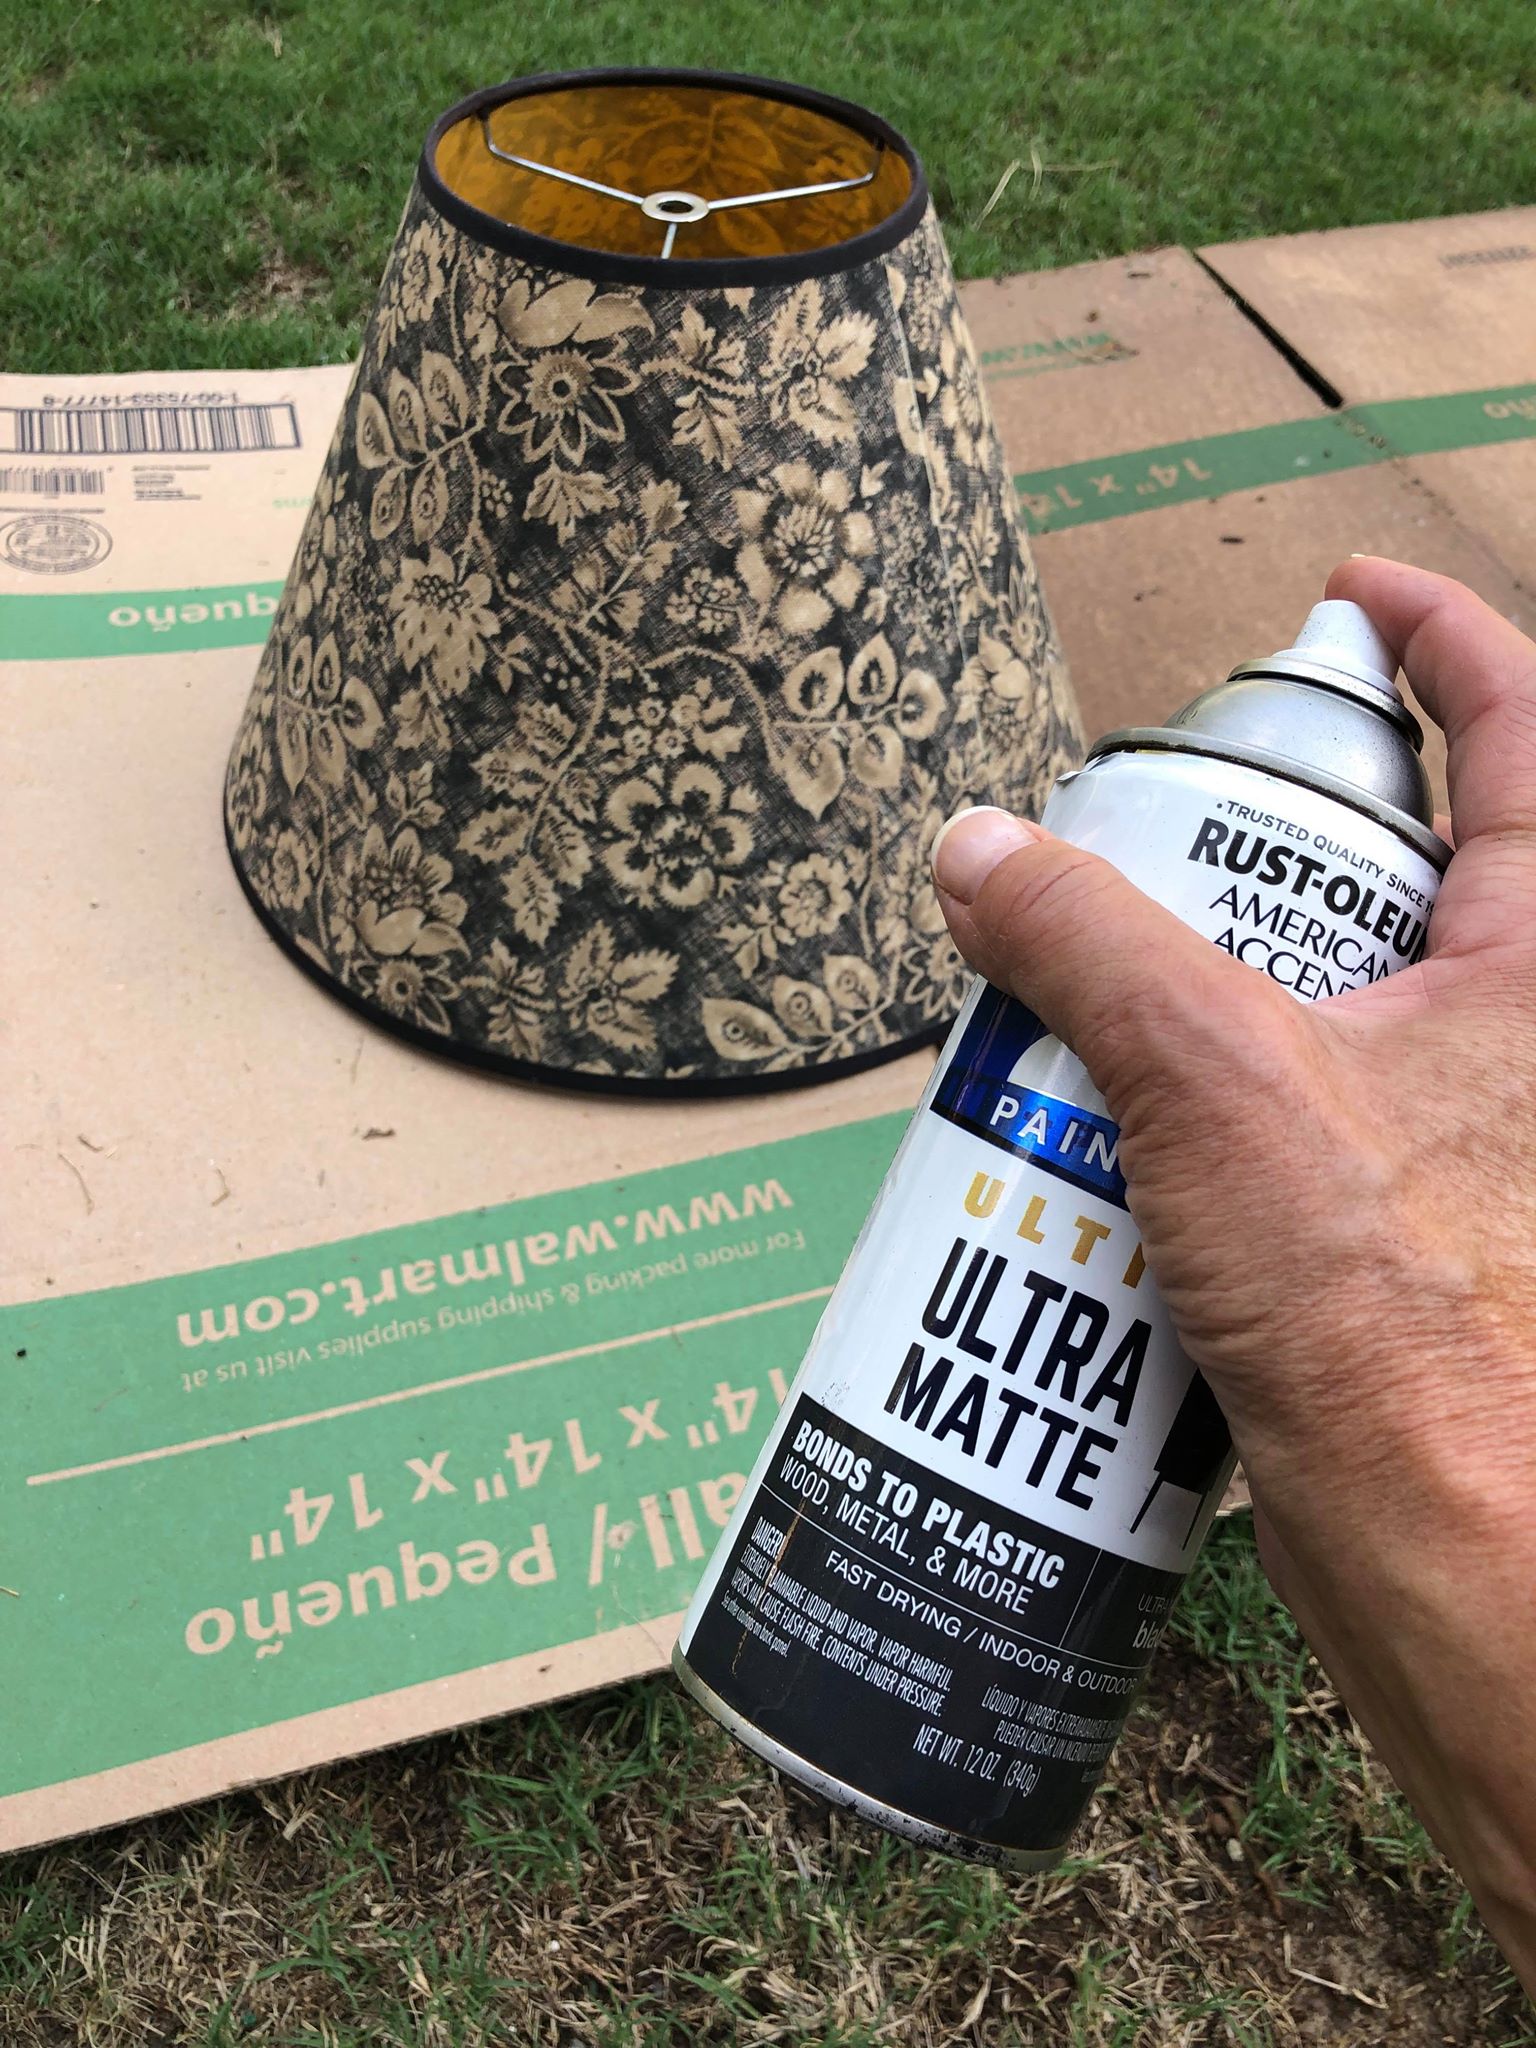
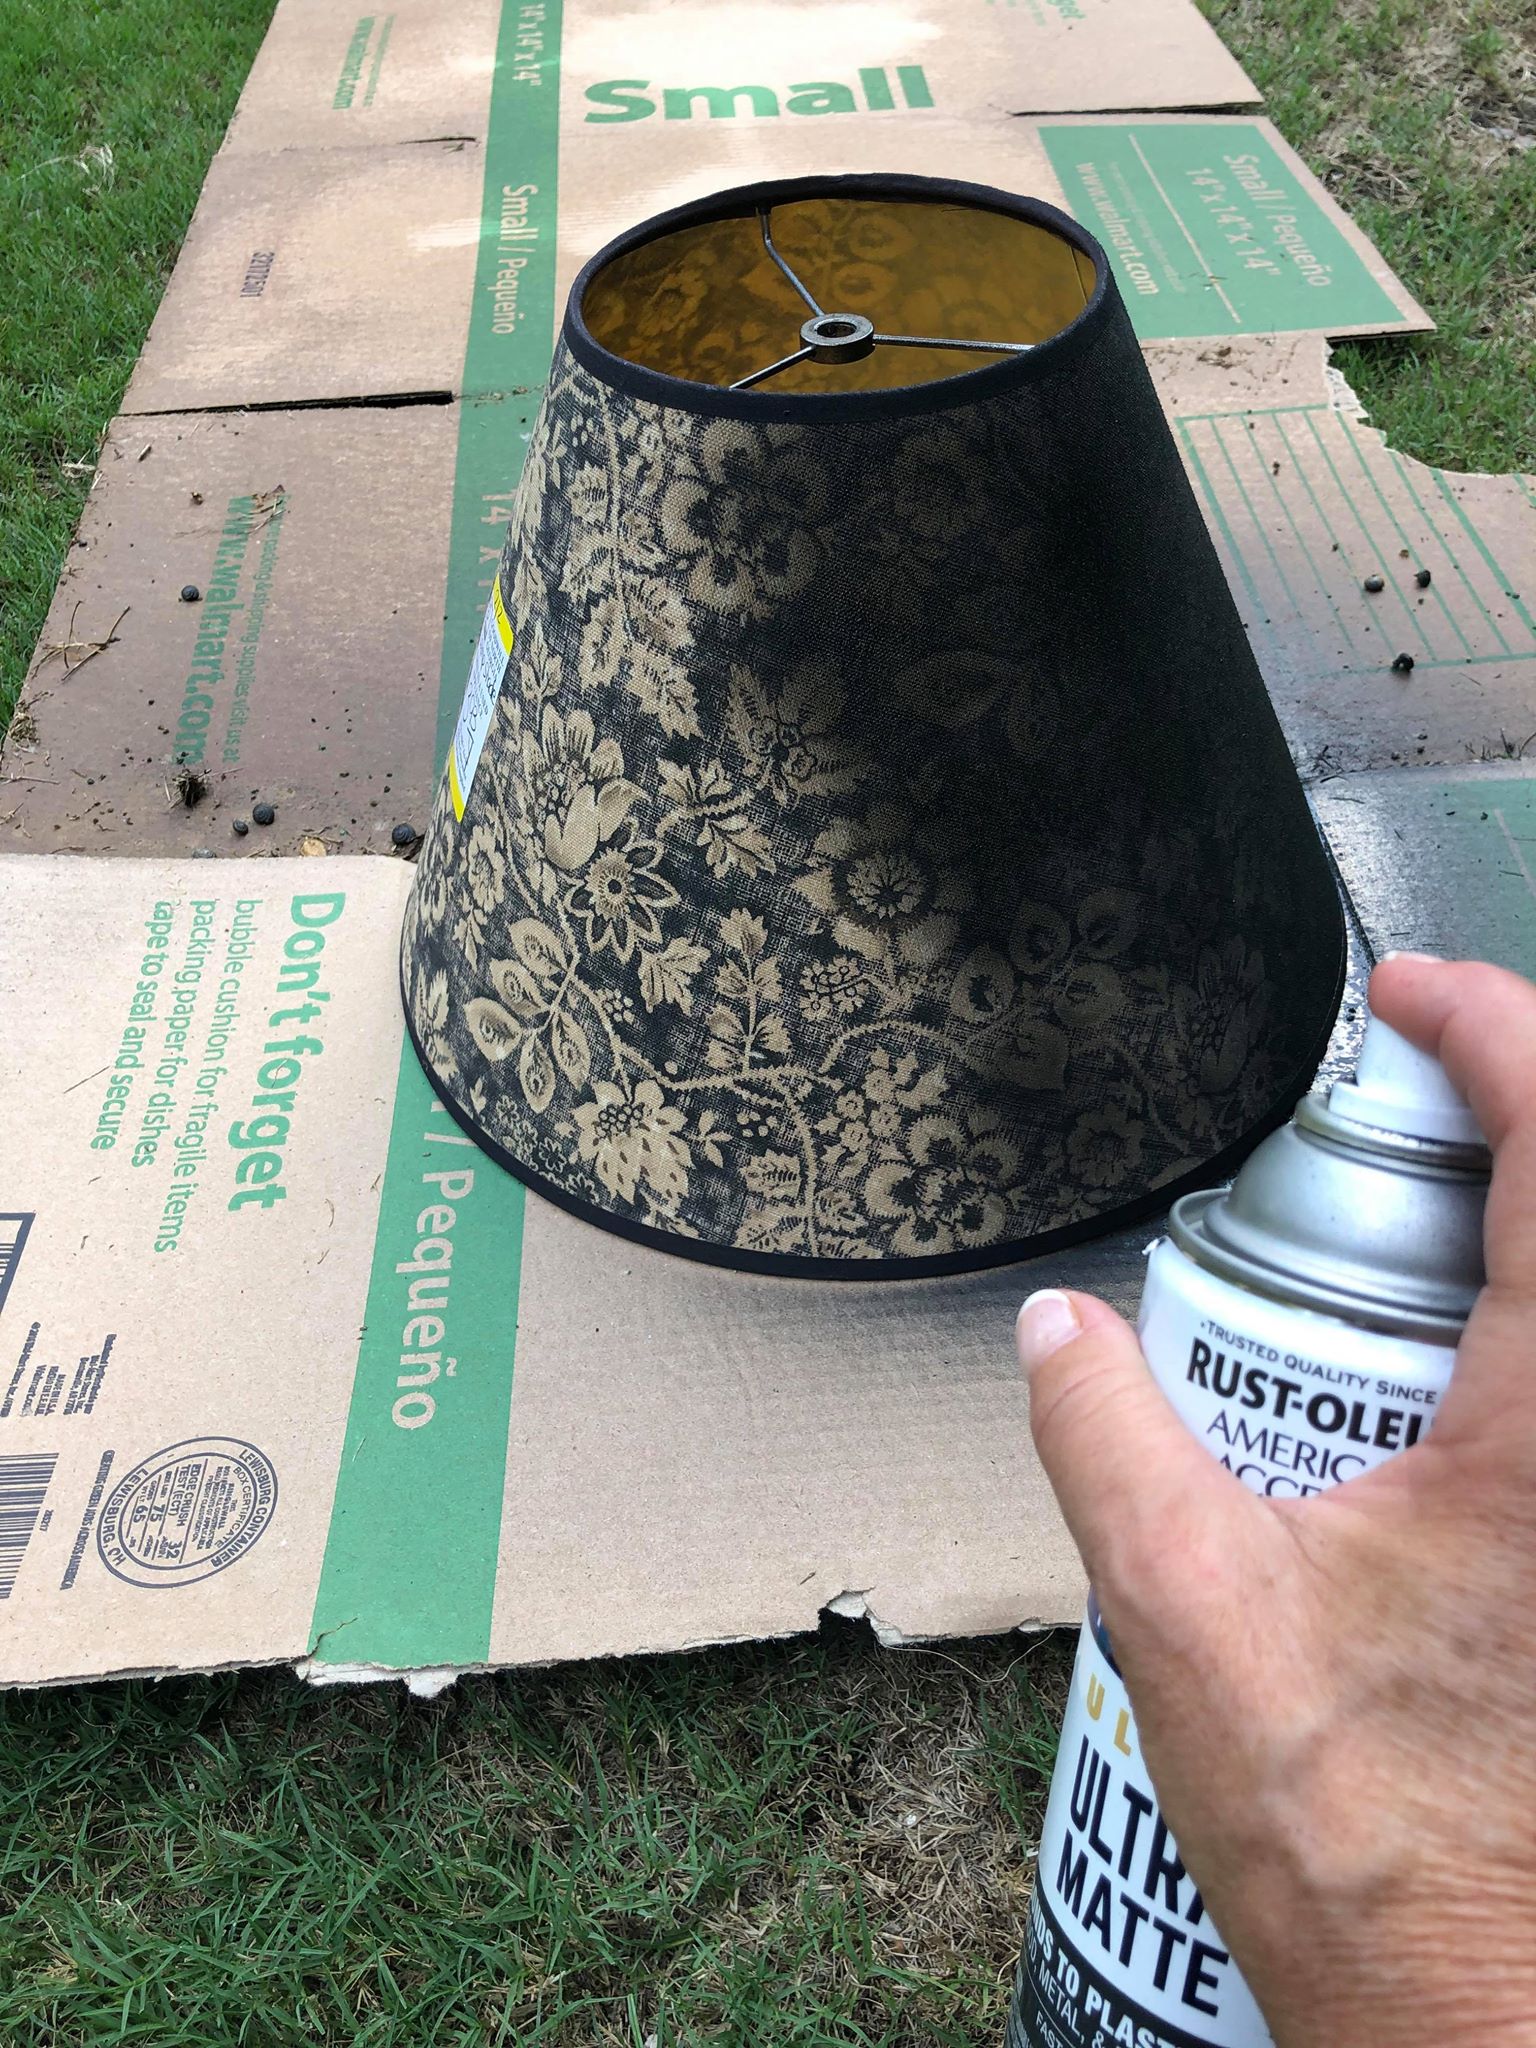
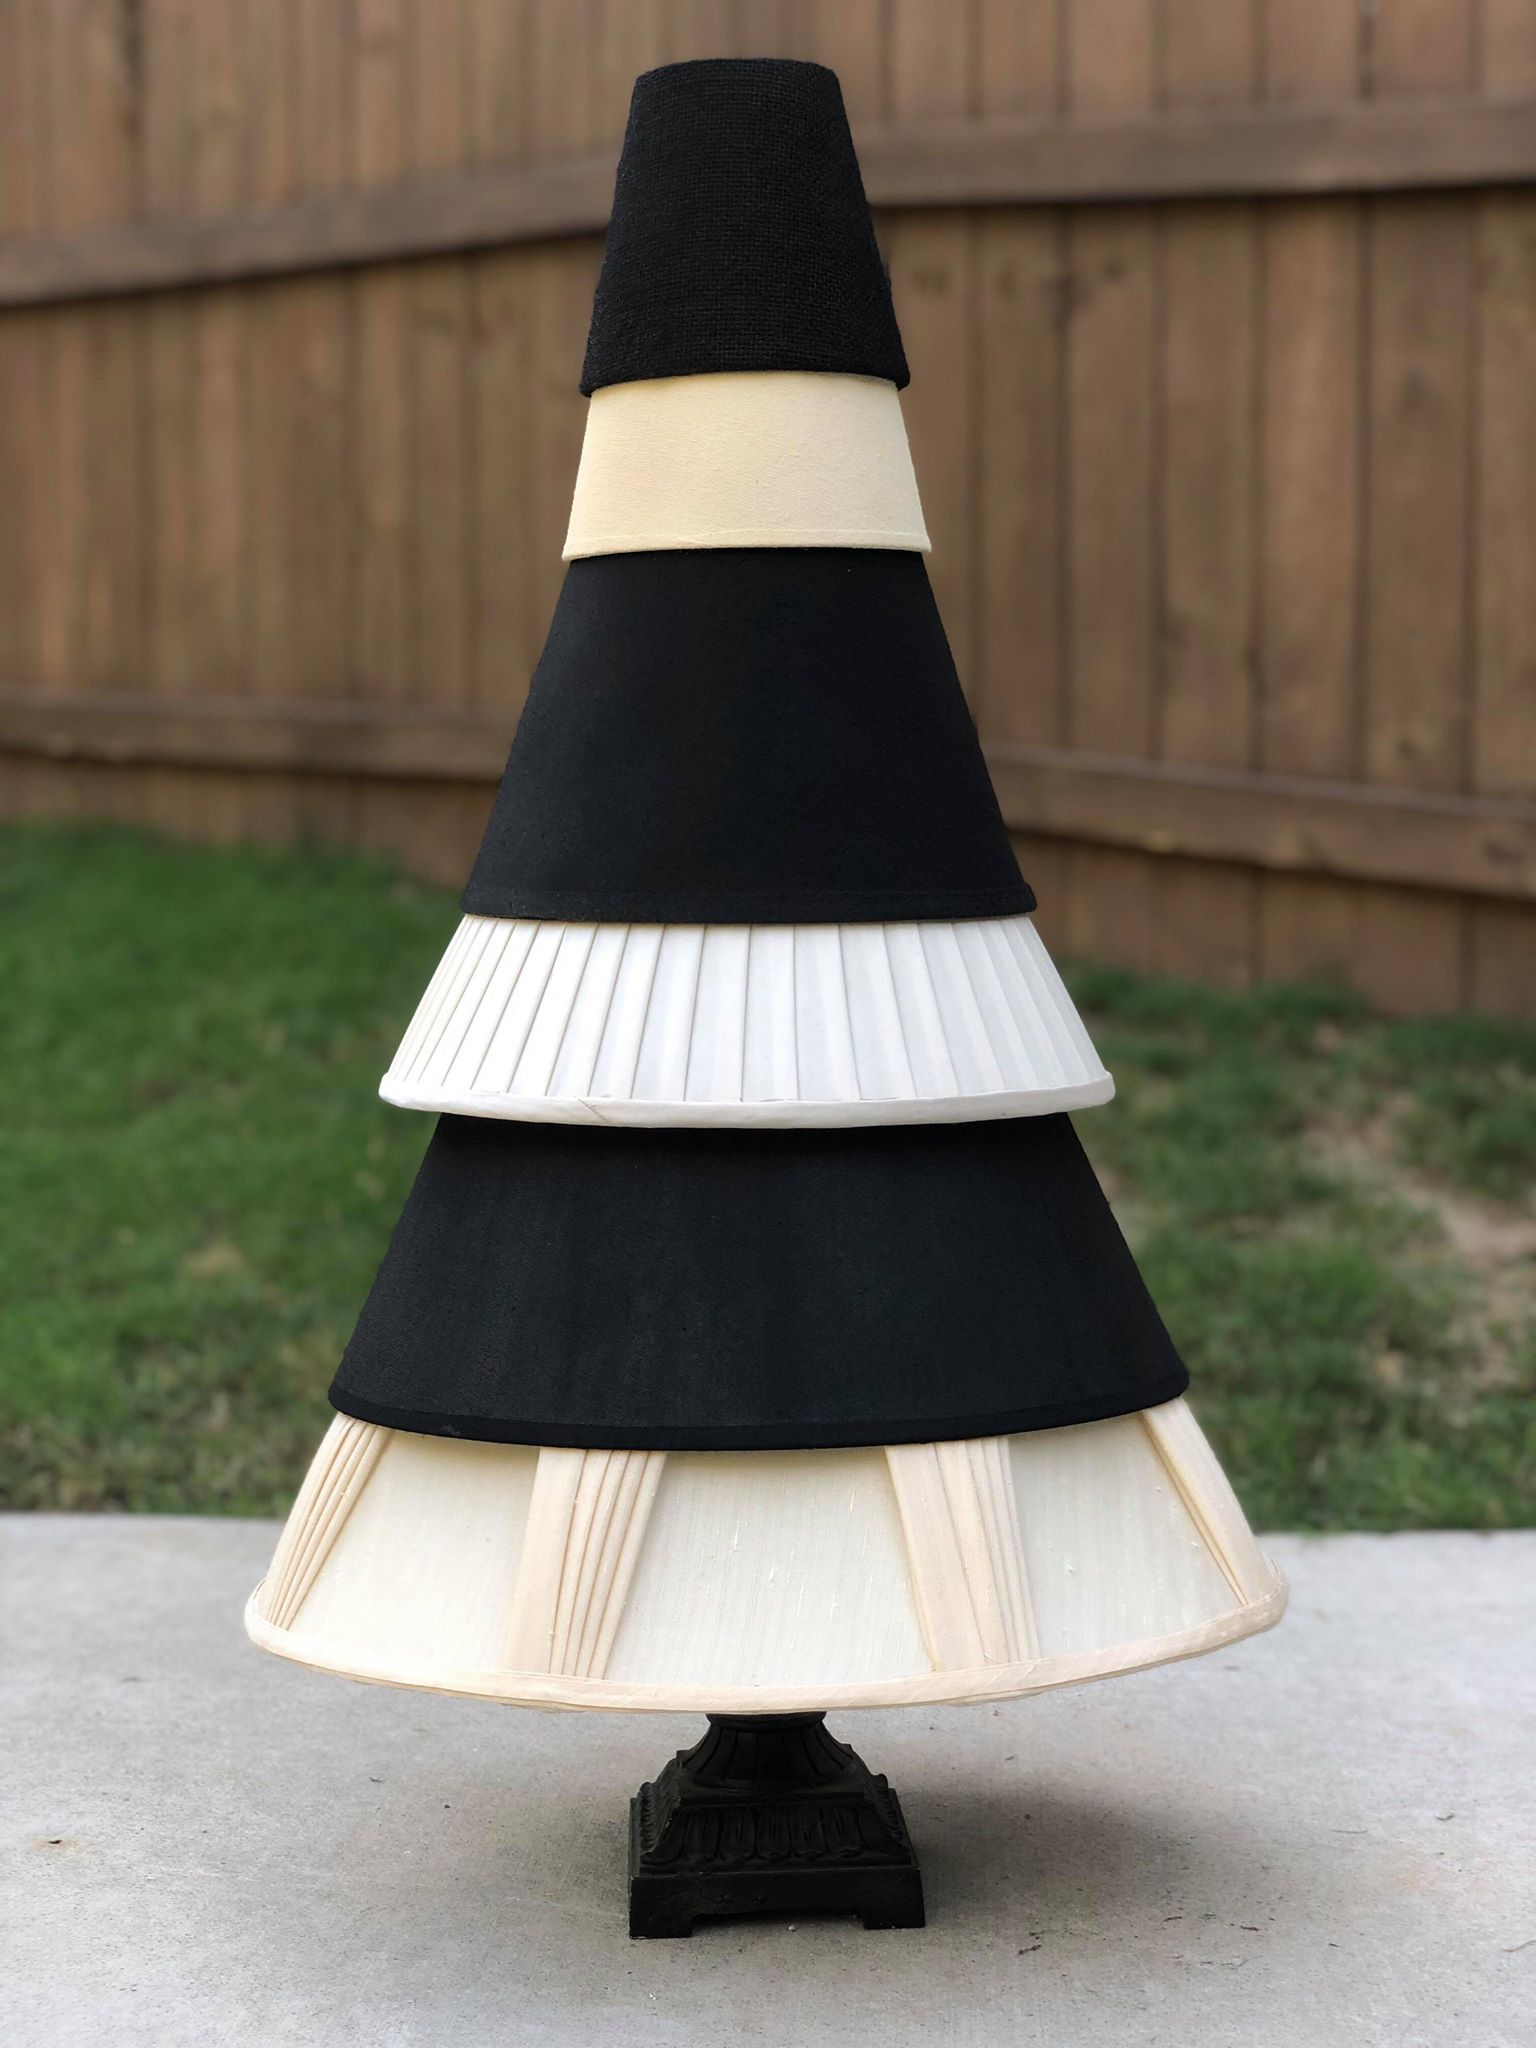
The first thing you will need to do is decide what colors you want your lamp shades. I spray painted some black and cream.
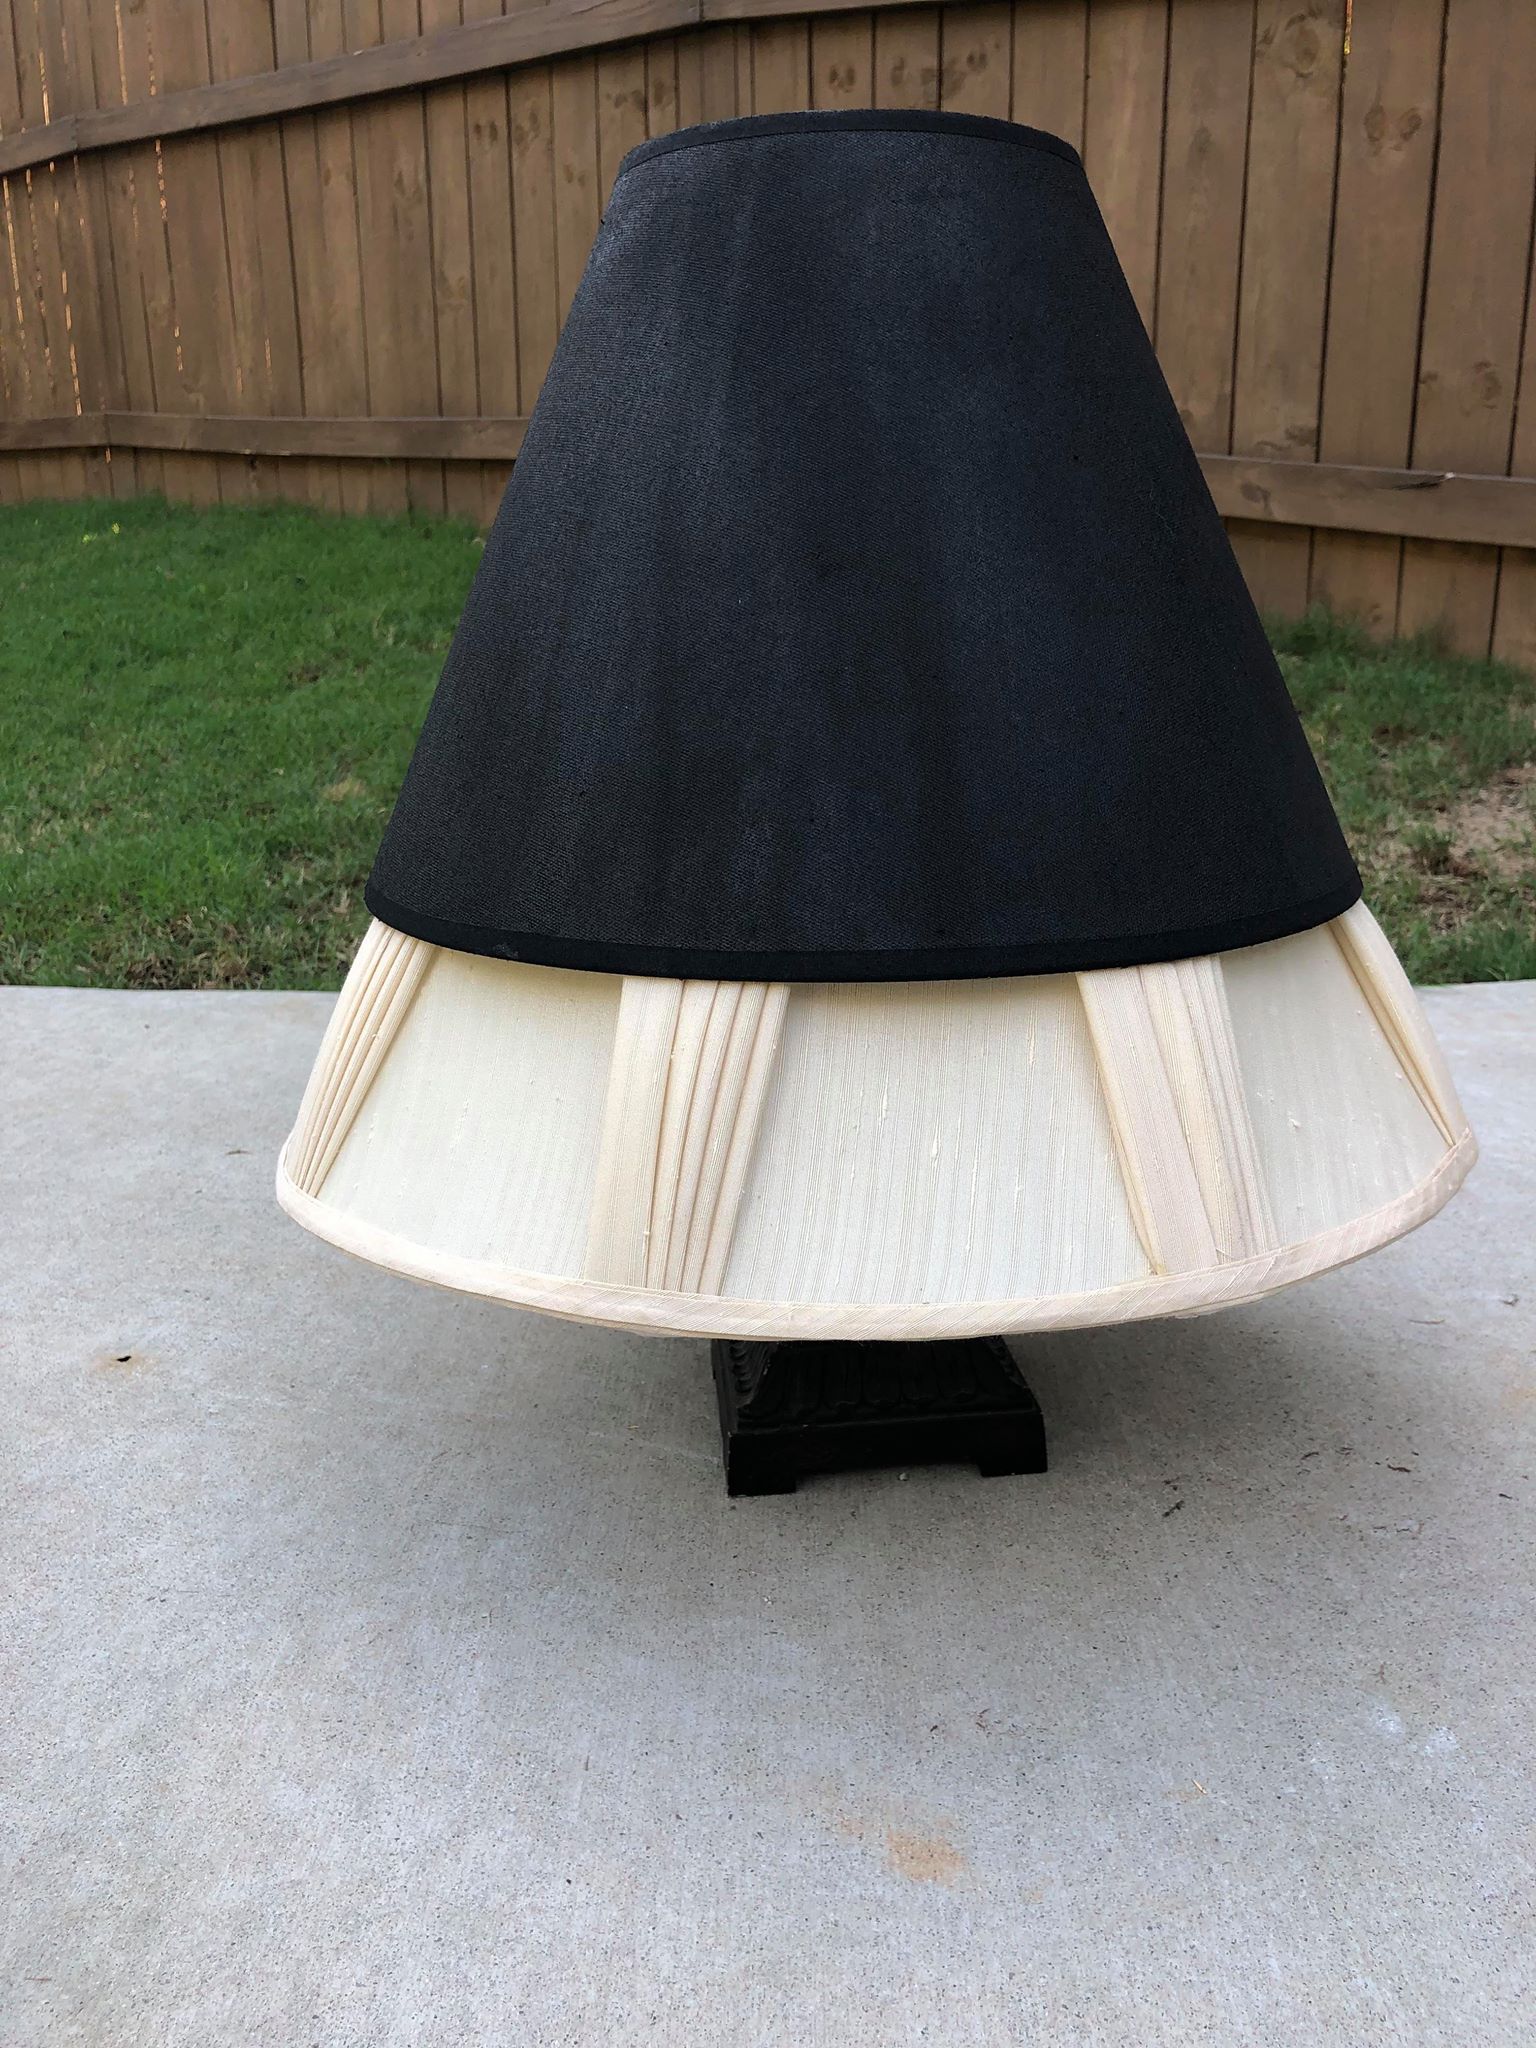
After your lamp shades are completely dry you need to decide how you want to stack them. These will be stacked from biggest on bottom to smallest on top.
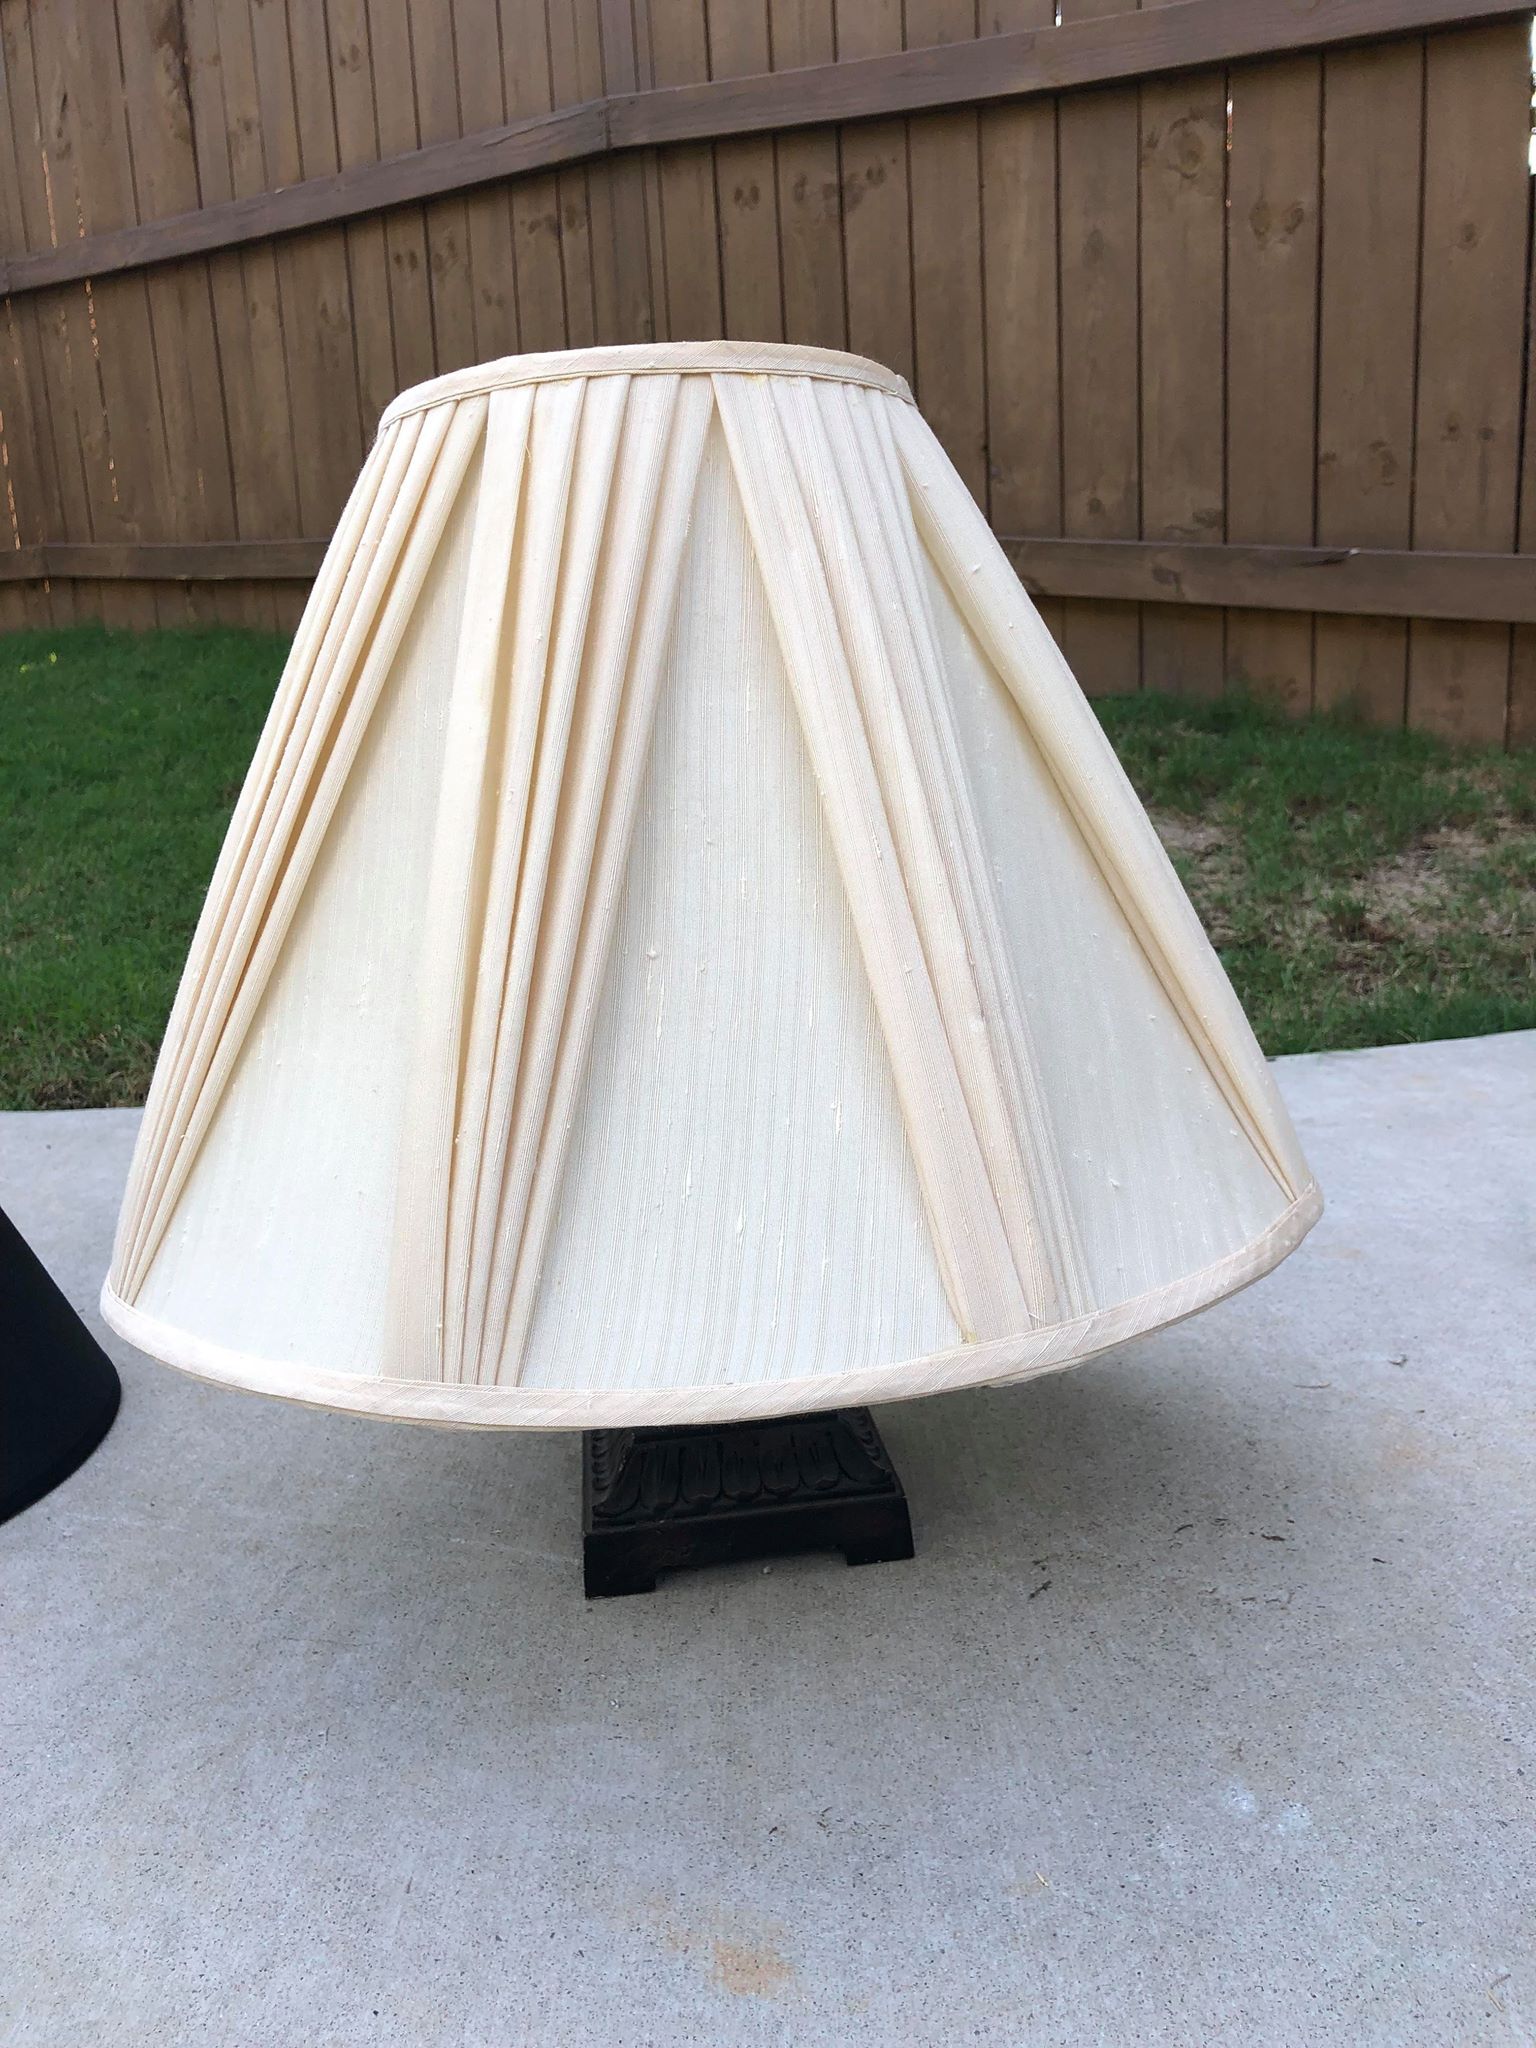
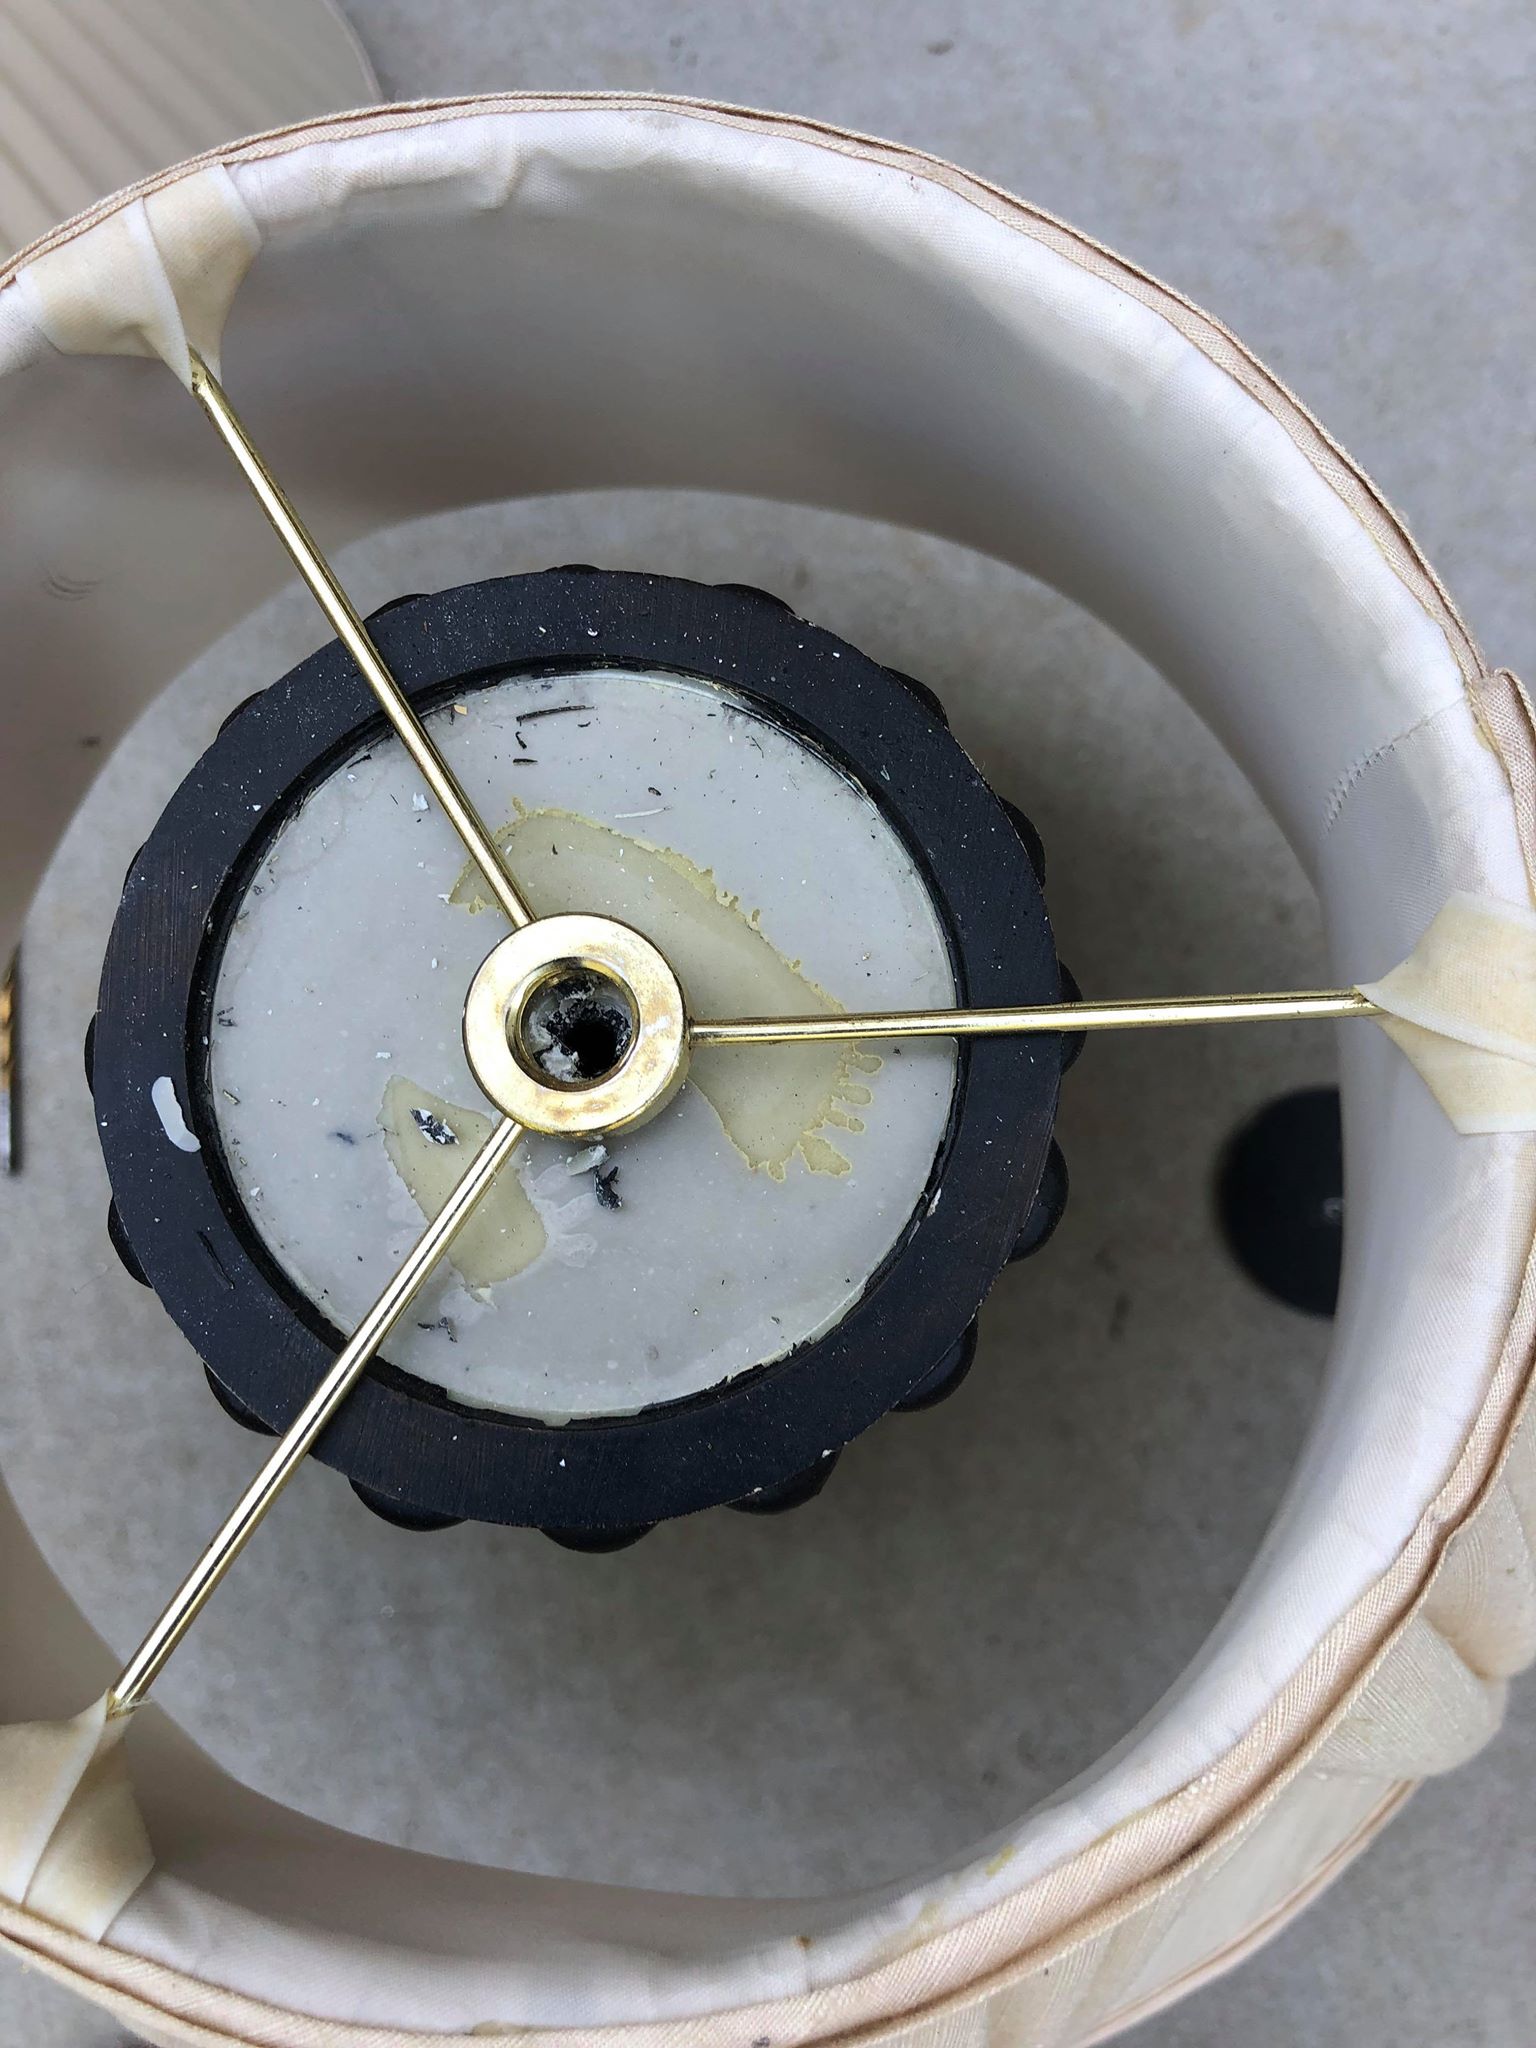
You will stack these on whatever type of base you decide to use. I will be using a candlestick for one. I will drill a hole through the center of the candlestick. I will then place my biggest lamp shade on top of candlestick and screw a screw through the hole of lampshade.
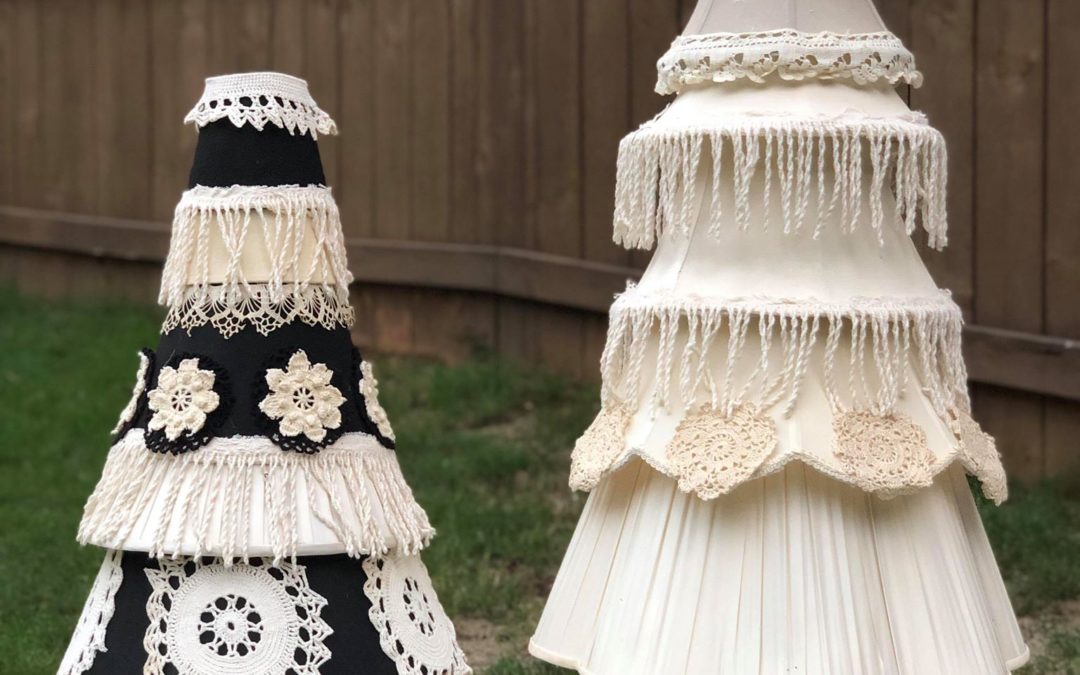
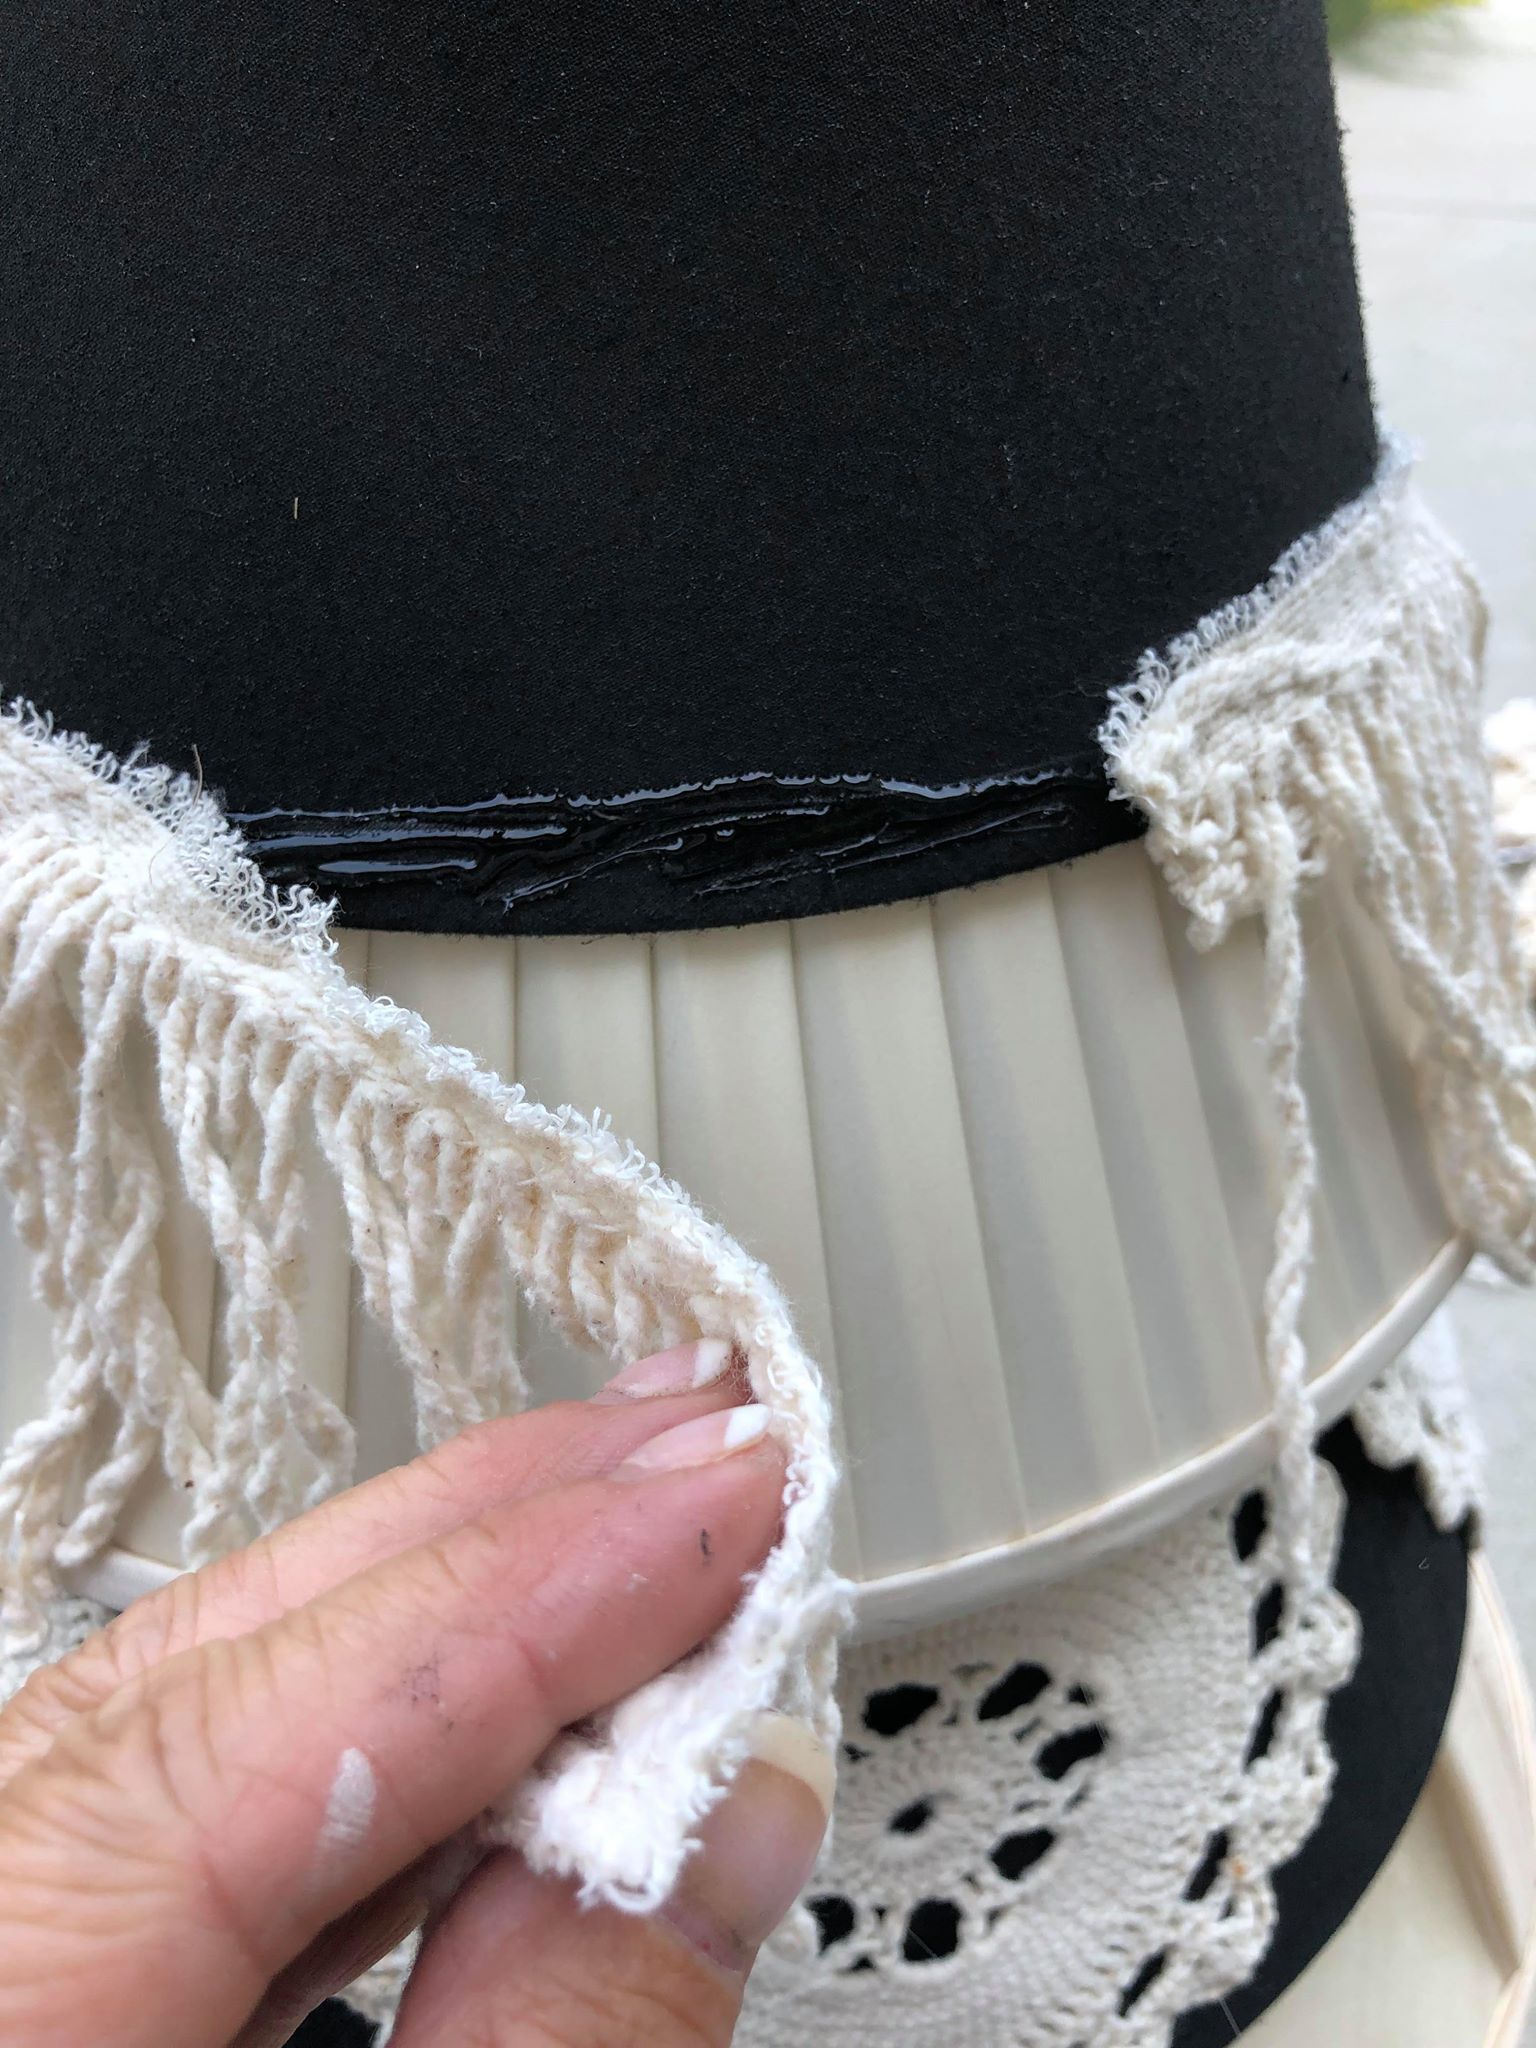
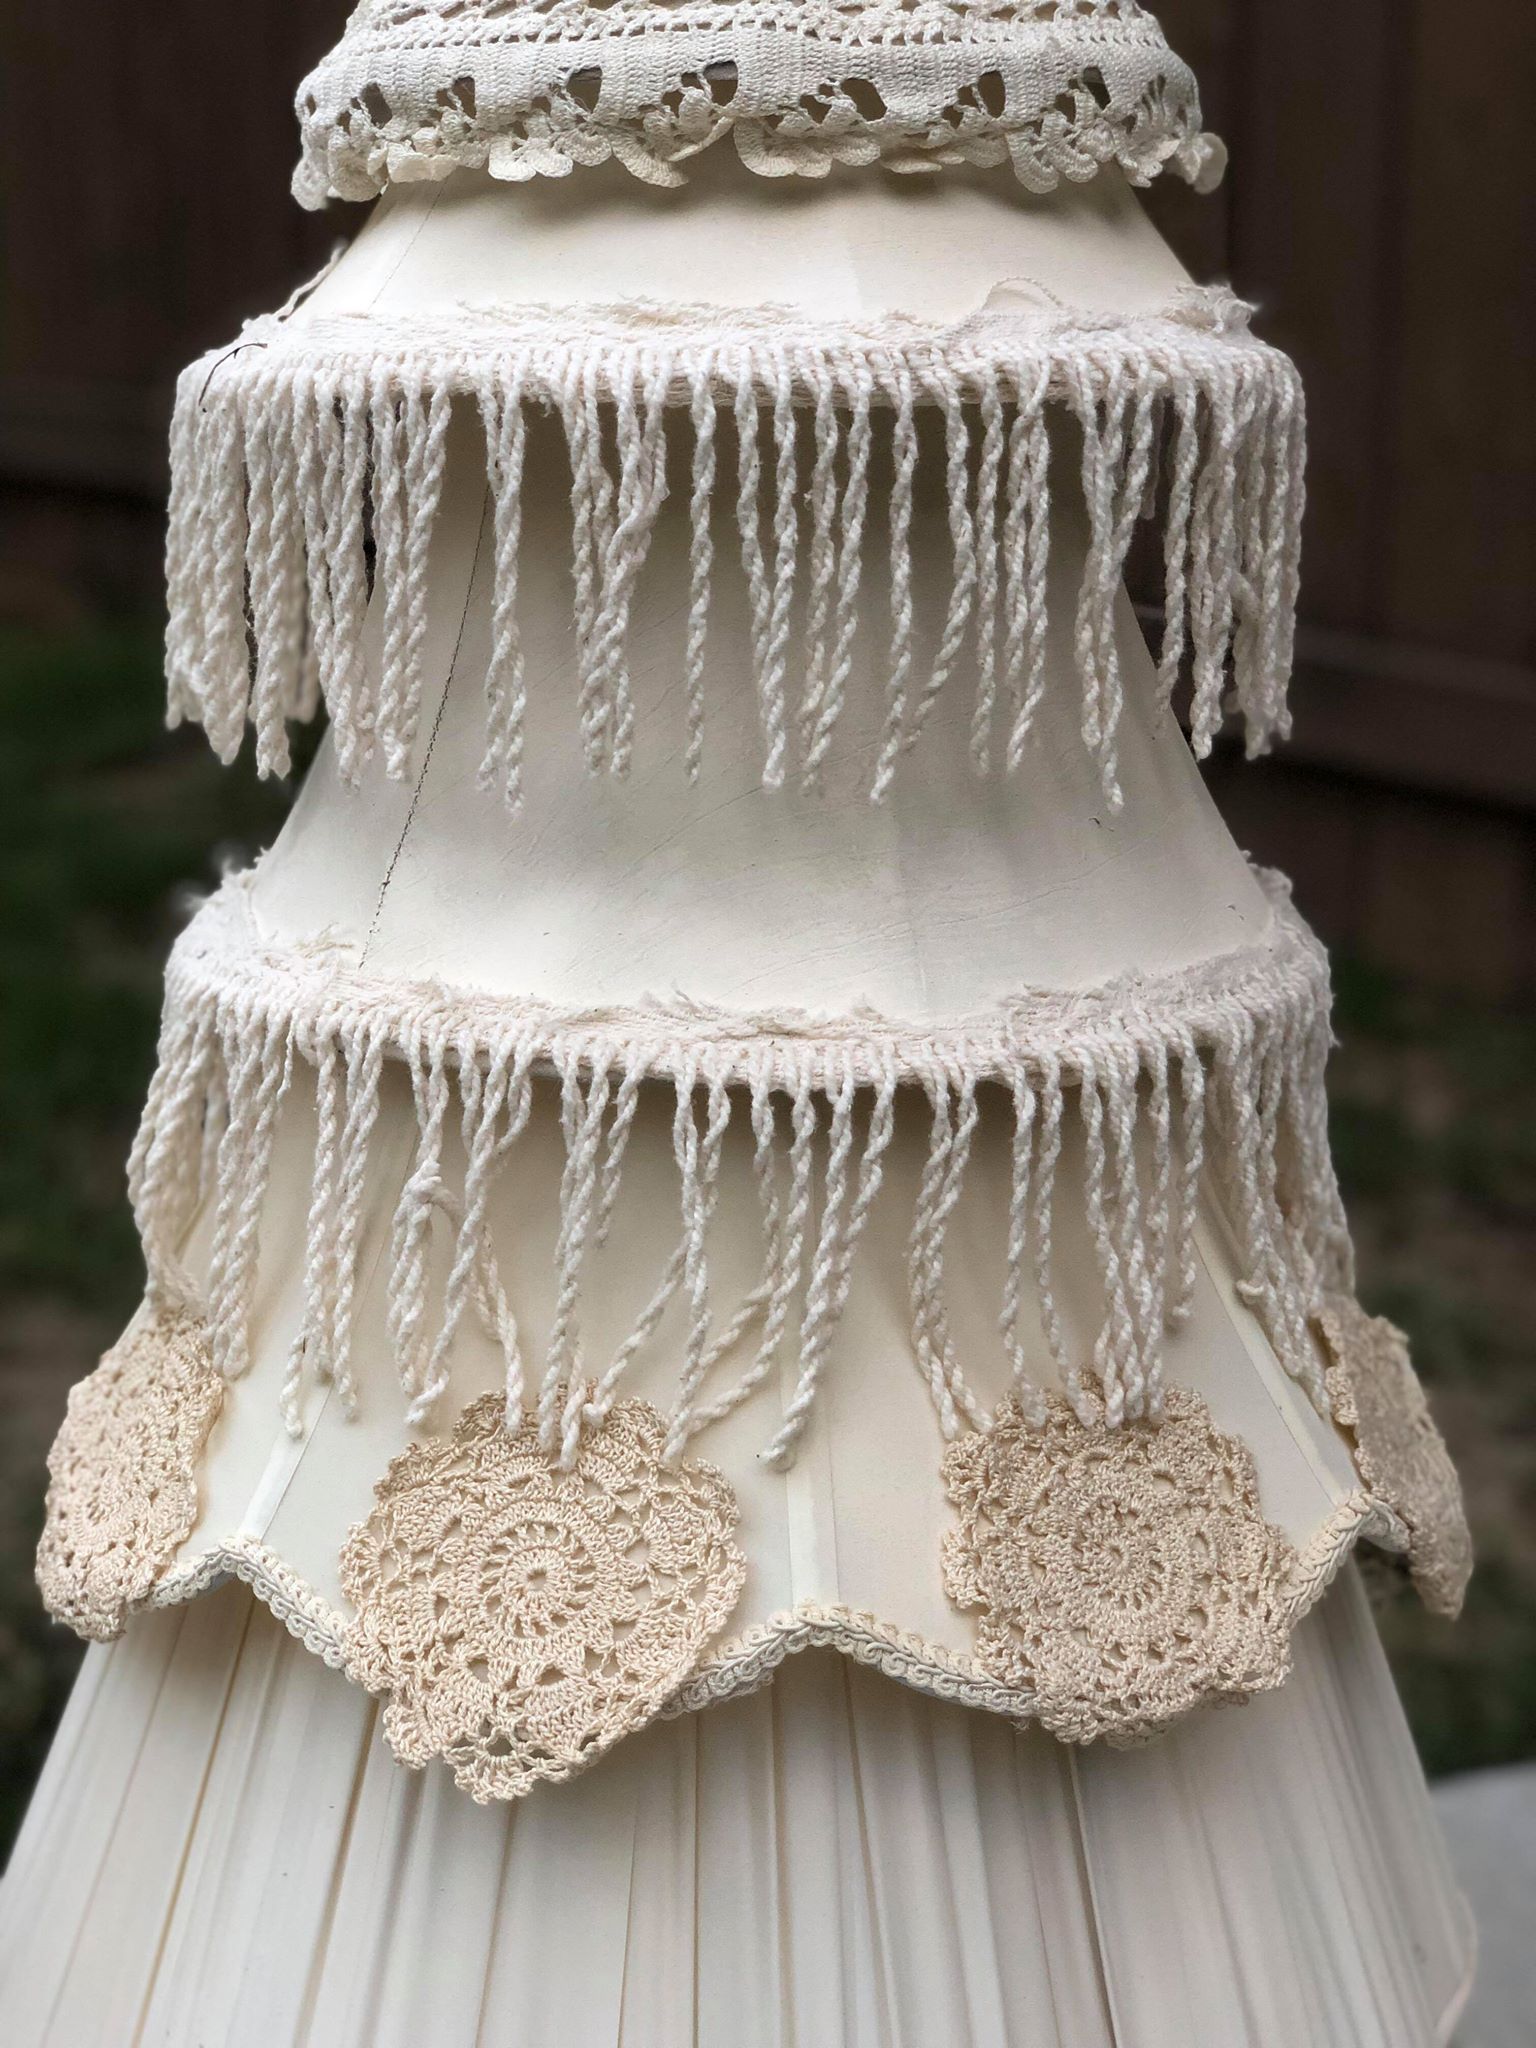
After my bottom lamp shade is secure to my base I then pile the others on. I wanted a little more decor to my tree so I added lace and doilies. I just hot glued the doilies and lace to the lamp shades.

I did the same process to my second tree except for this one I used a lamp base instead of a candle holder. I took the top part of the lamp shade off so that my tree sits lower down onto the lamp base.
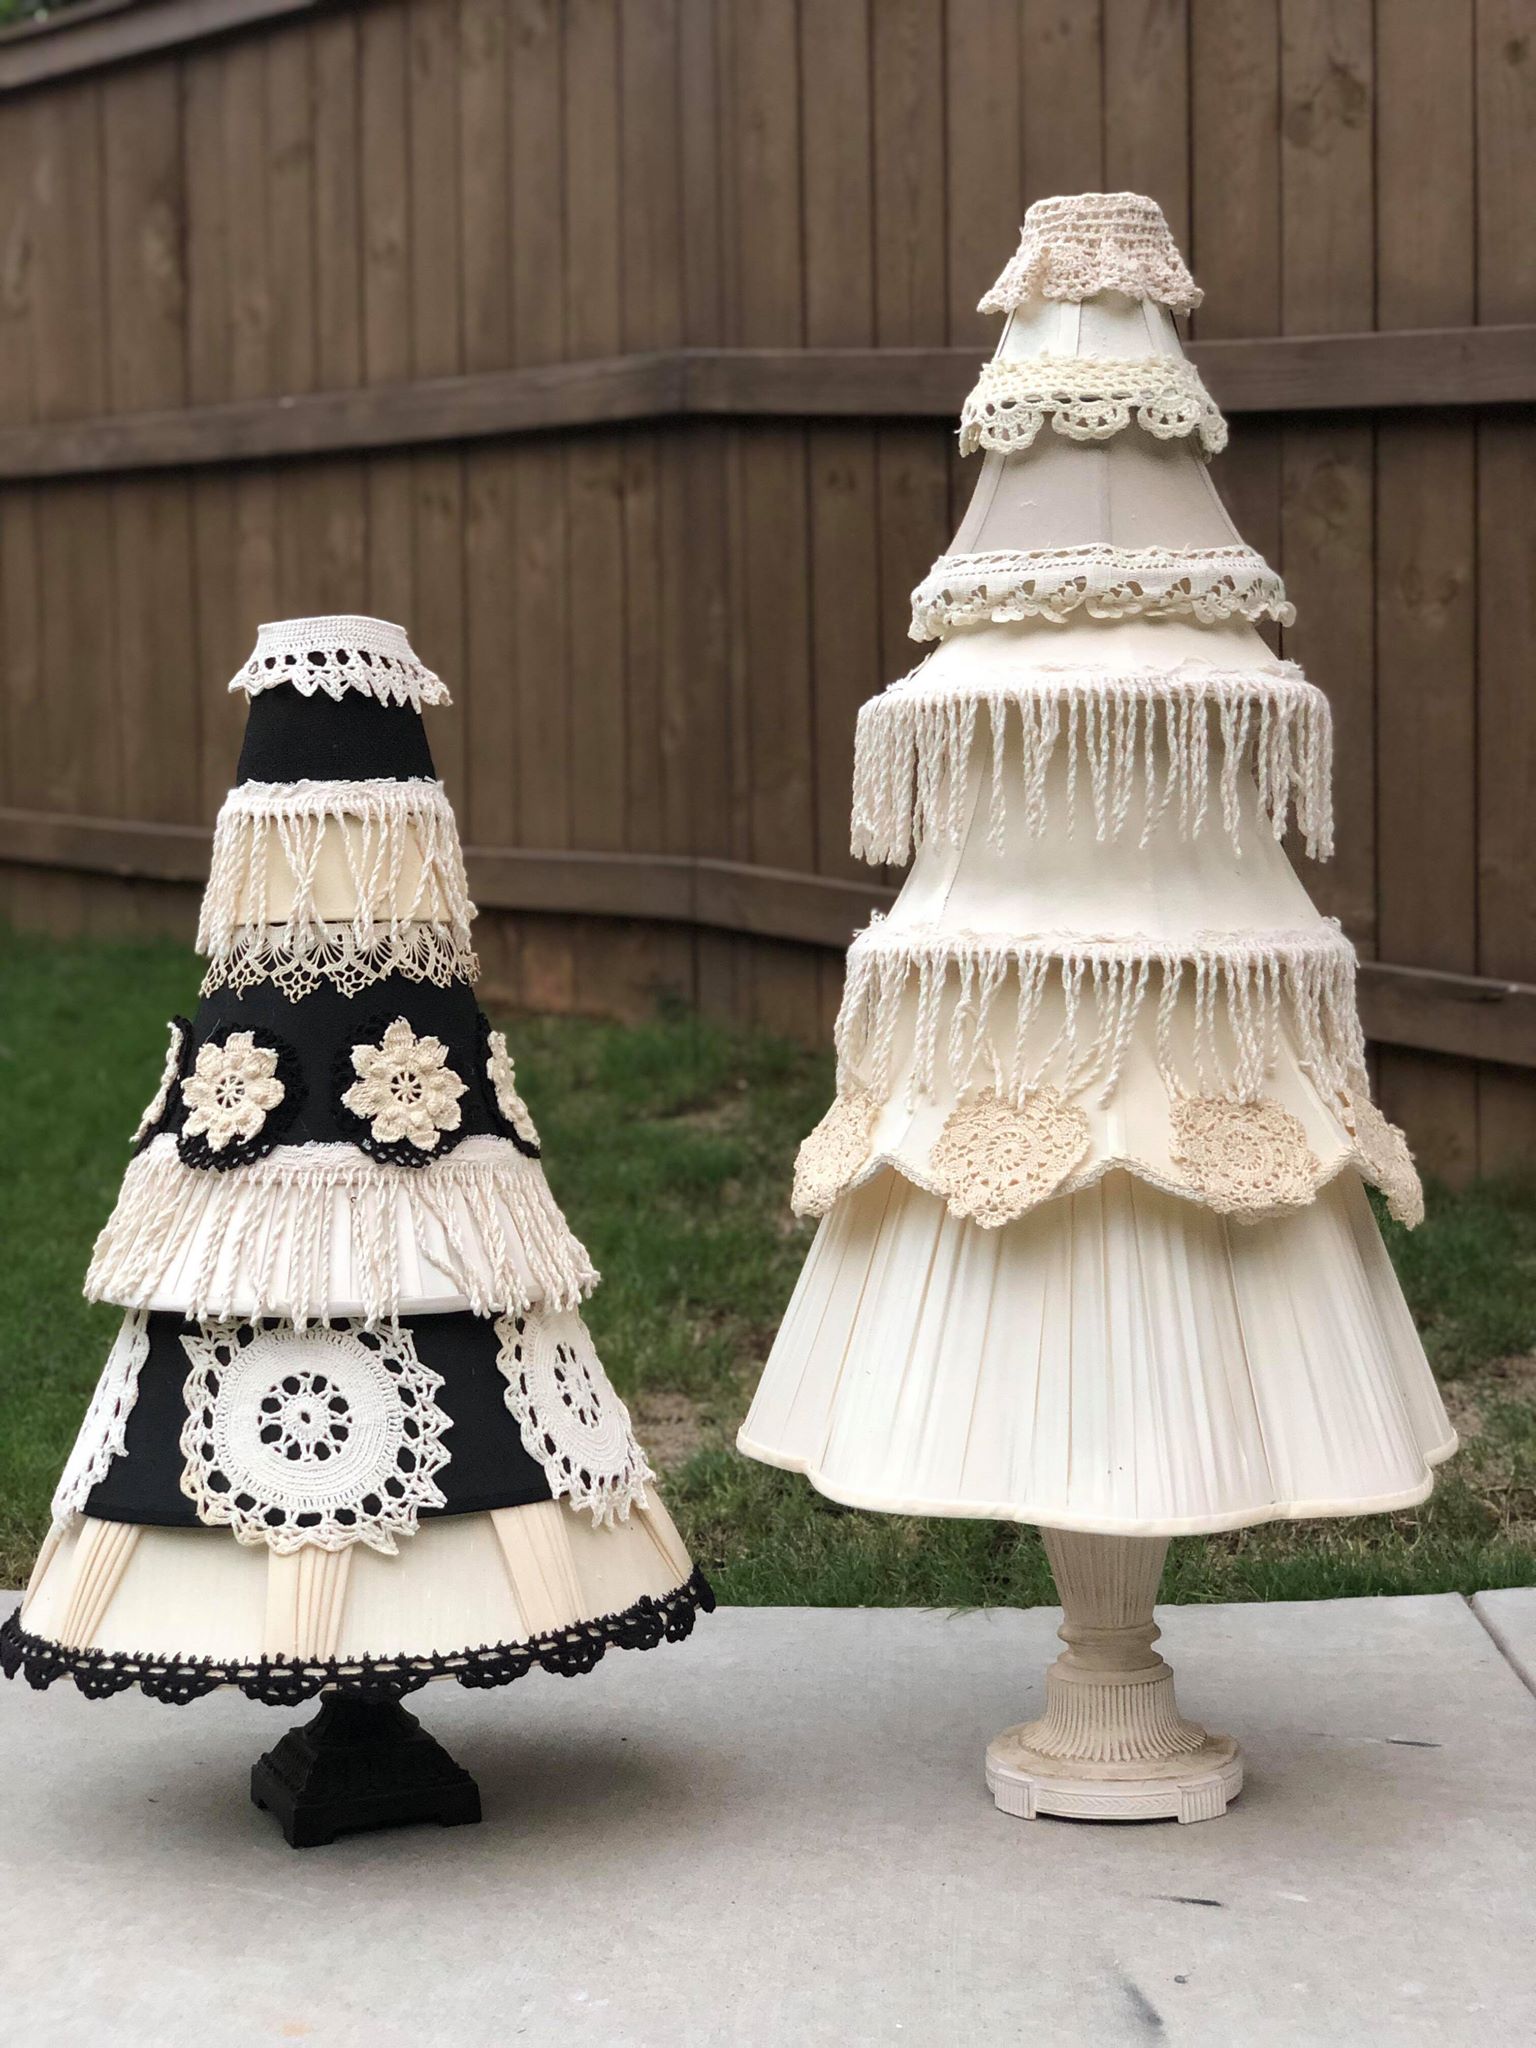
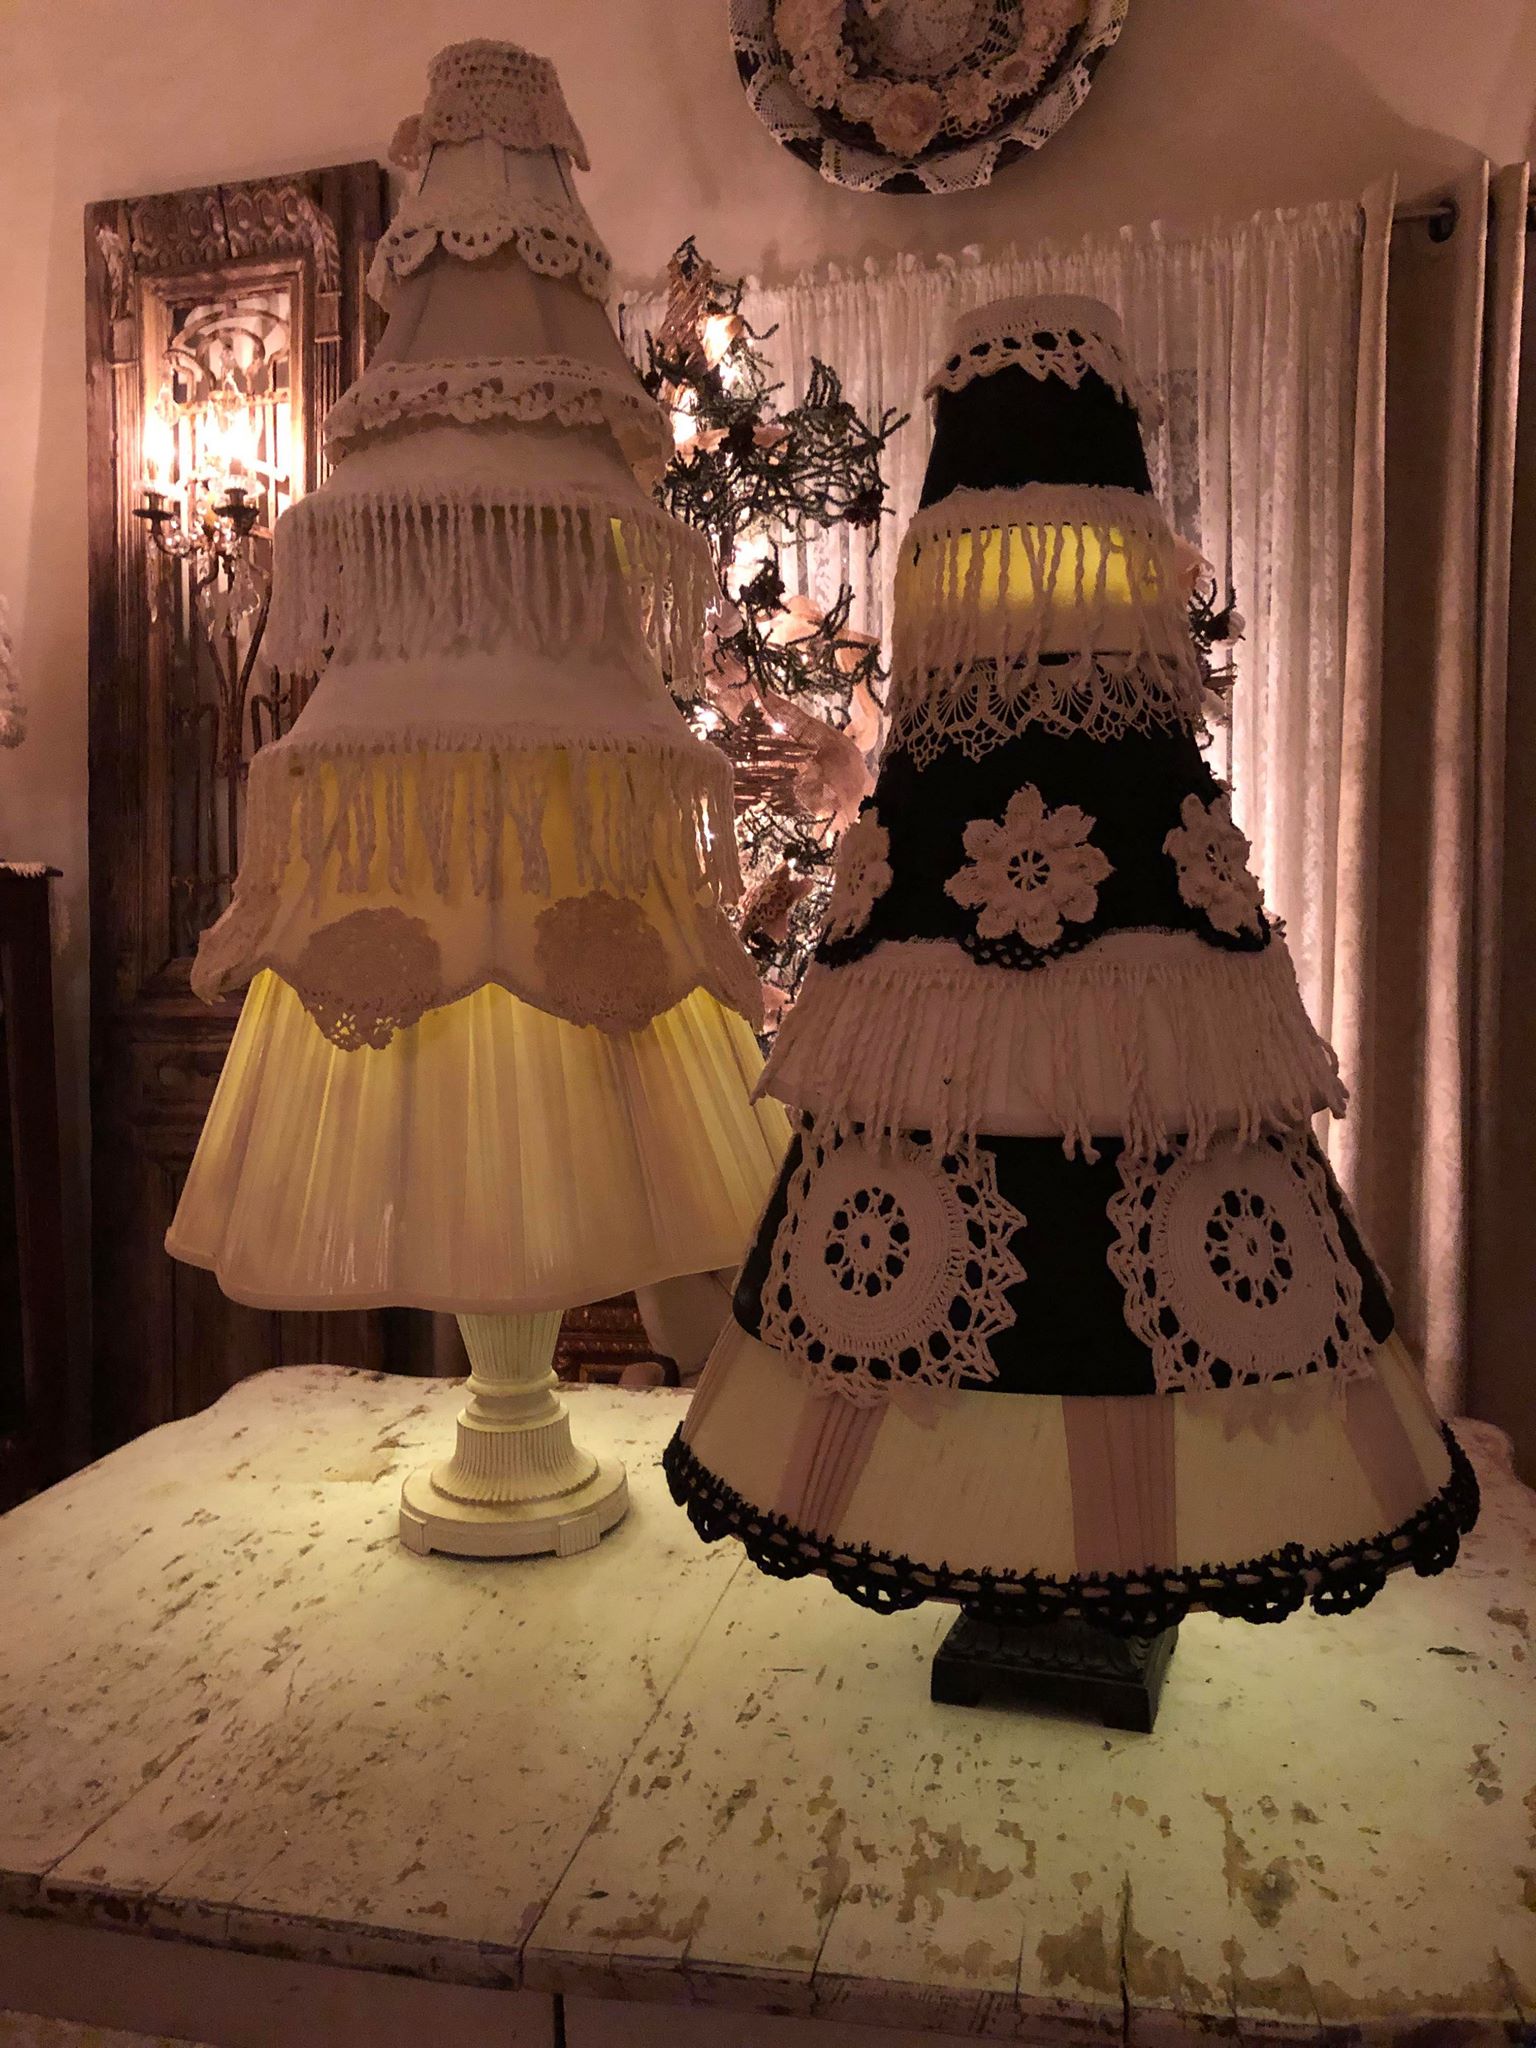
I did not glue any of my lampshades to each other so that it can be stored away easier. I love how these turned out. You can add a strand of battery operated lights to the inside of the shades. This will give it a pretty glow at night.
They’re beautiful!! 🌲🌲
Today, I went to our local Good Will store and purchased five lampshades. Barb, you have inspired me to begin a winter project as soon as the holidays are behind us. I plan to cover the shades with my mom’s wedding gown and additional trimmings. I’ve always wanted to find a creative way to display her gown and veil. Stay turn. Once I complete it I’ll send photos. Wish me lots of luck!
I like the material tree that is in the background of most of your in house daily pics. Please give instructions. Tks
I have so enjoyed watching you make so many things, it’s so nice to get ideas that I can make that will not cost very much to make and will look like they are a little expensive. Thanks so much for all you do to make it fun and exciting for all of your viewers 🌲🌲♥️♥️
Wish I had a big enough place to make one.
I love these!!! Your creativity amazes me!! What did you use for lighting under the tree?
Amazing. Thrift Store here I come.
Thursdays are 50% off all day.
Ms.Barb you have a very creative artistic mind.
Thank you for sharing with us.
Love this idea and all the crafts you share (The Garden Gate)
Beautiful Barb and the idea is great.
Love your creativity!
I love love these lamp shade trees especially lite up. You amaze me with your ideas.
What did she use for her light?
I share my husbands email.
These are great! I think I can even do it!
I love love how the lamp shade trees turned out. They are Beautiful…so unique!
Well, I am loving these. They turned out amazing and would never have envisioned this, but I am a believer !! Heading to my basement 1st.to shop and then Goodwill to make one of these. Thanks for being our creative friend and getting us gals back doing what we love. 🌻
Love these and all your crafts! Moving soon and plan to incorporate many of your ideas into my new home.
Love crafting! Especially easy and quick ones!
Thanks!
I Love how they turned out !
They would make a great Christmas present for someone on your hard to find list ! Just 💖 them !
I love you design
Just descovered your show had a all season tree once. At 80 you have inspired me to let my creatively lose you have helped me get started again going to make the lampshade tree thanks so much
Barb,
They are so unique and beautiful. You are amazing.
Love your videos and all your tips. Have turned my neighbor,friend,niece on to your site. Keep up the great ideas.
They remind me of a few things, the Victorian era, a wedding cake and a wedding dress. I love them they’re beautiful!
I absolutely love these lampshade trees.I’ll definitely be trying this.You amaze me with all your ideas.I made the hearts with twine and gave some to a few of my friends.Also getting ready to make the bunny head ornaments.Love love love watching your videos.
I agree totally!!!! AMAZING BARB!
I love those they turned out amazing! Thank you for sharing!