I recently made a DIY wooden tray here at The Shabby Tree and I wanted to find a way to create a fun and easy tray that was a little smaller. I know most people have some type of picture frame throughout their home and I just knew it would make an easy frame for a tray! This DIY is so easy to create and I love that it is something you can use throughout your home all year long.
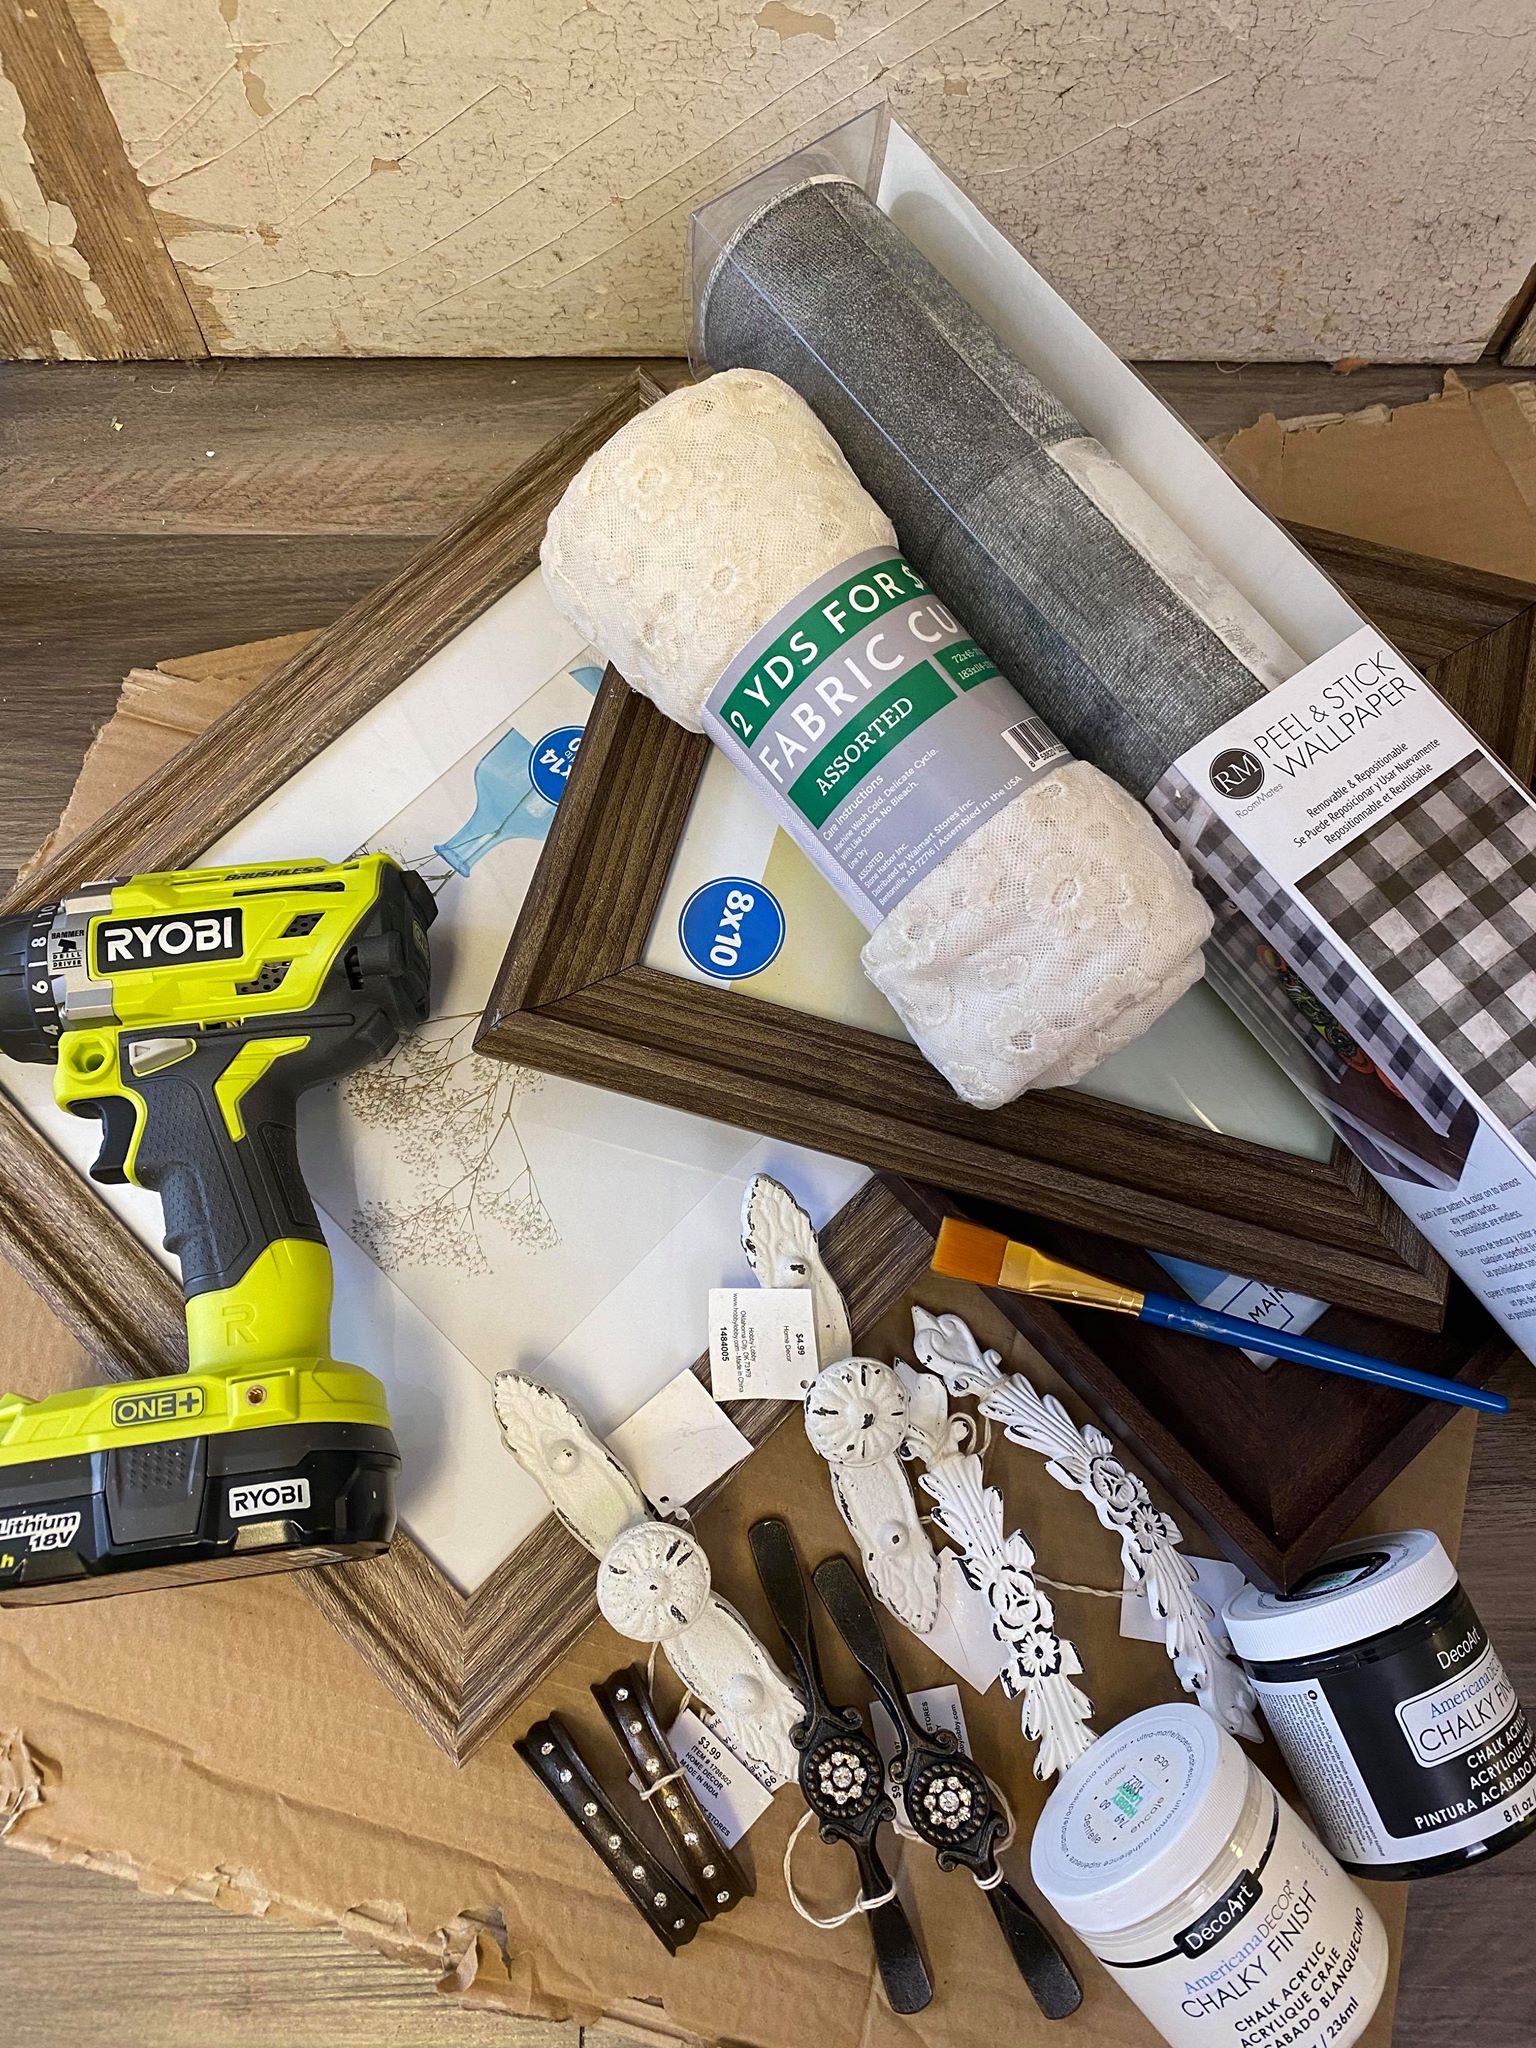
The supplies you will need are:
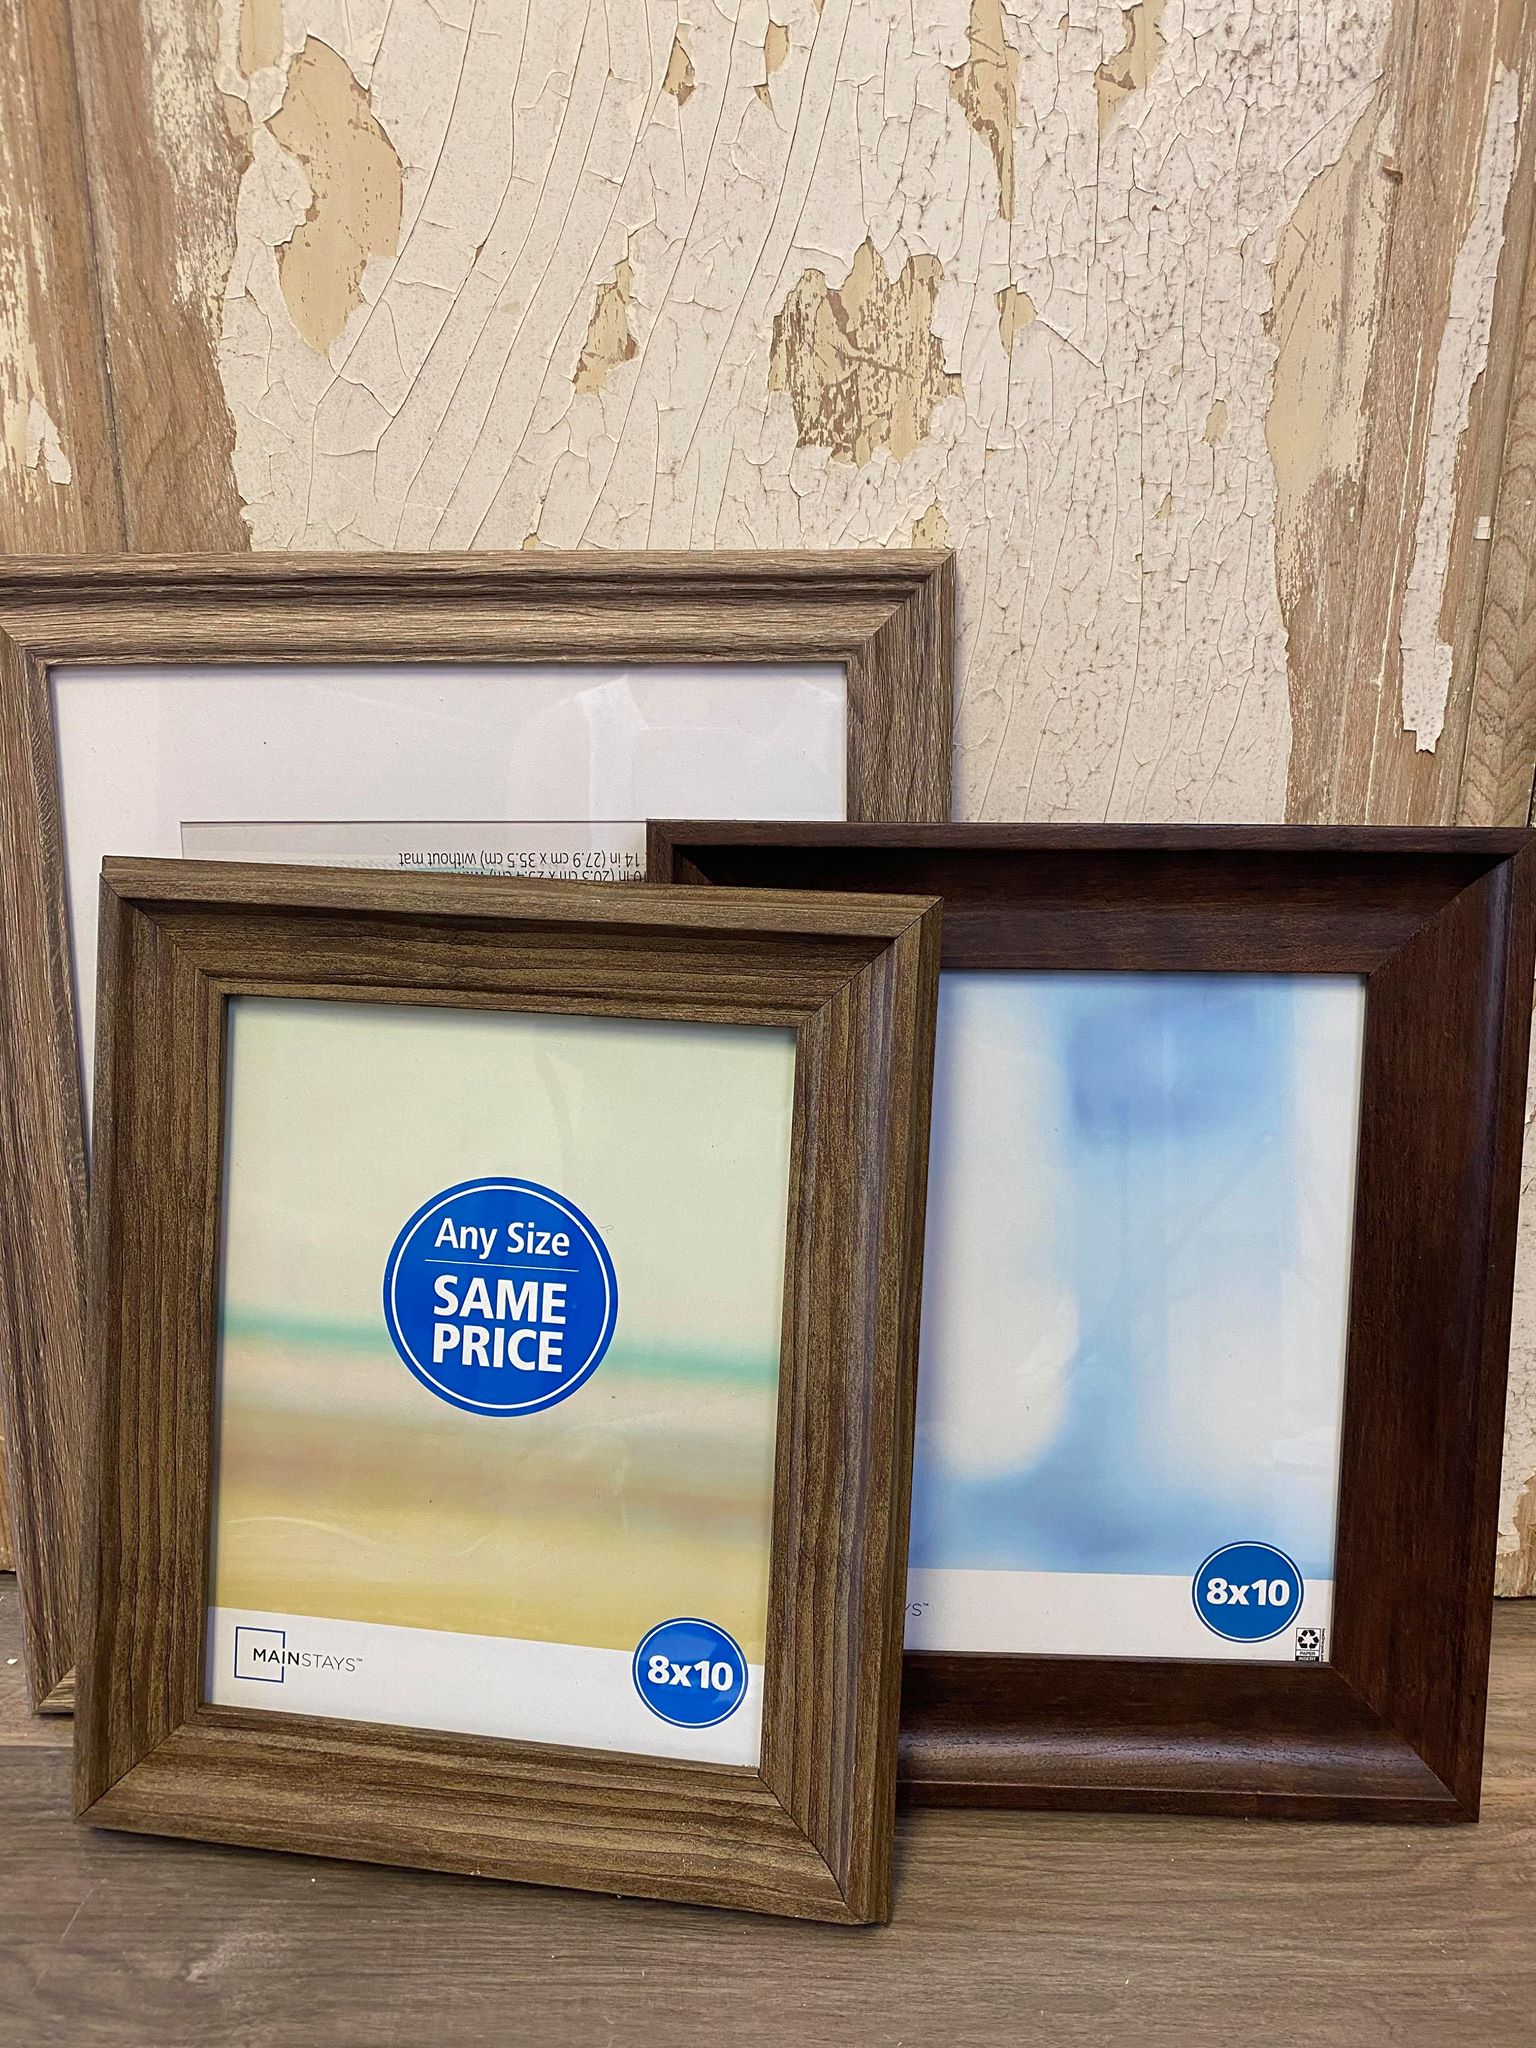
1. Picture frame
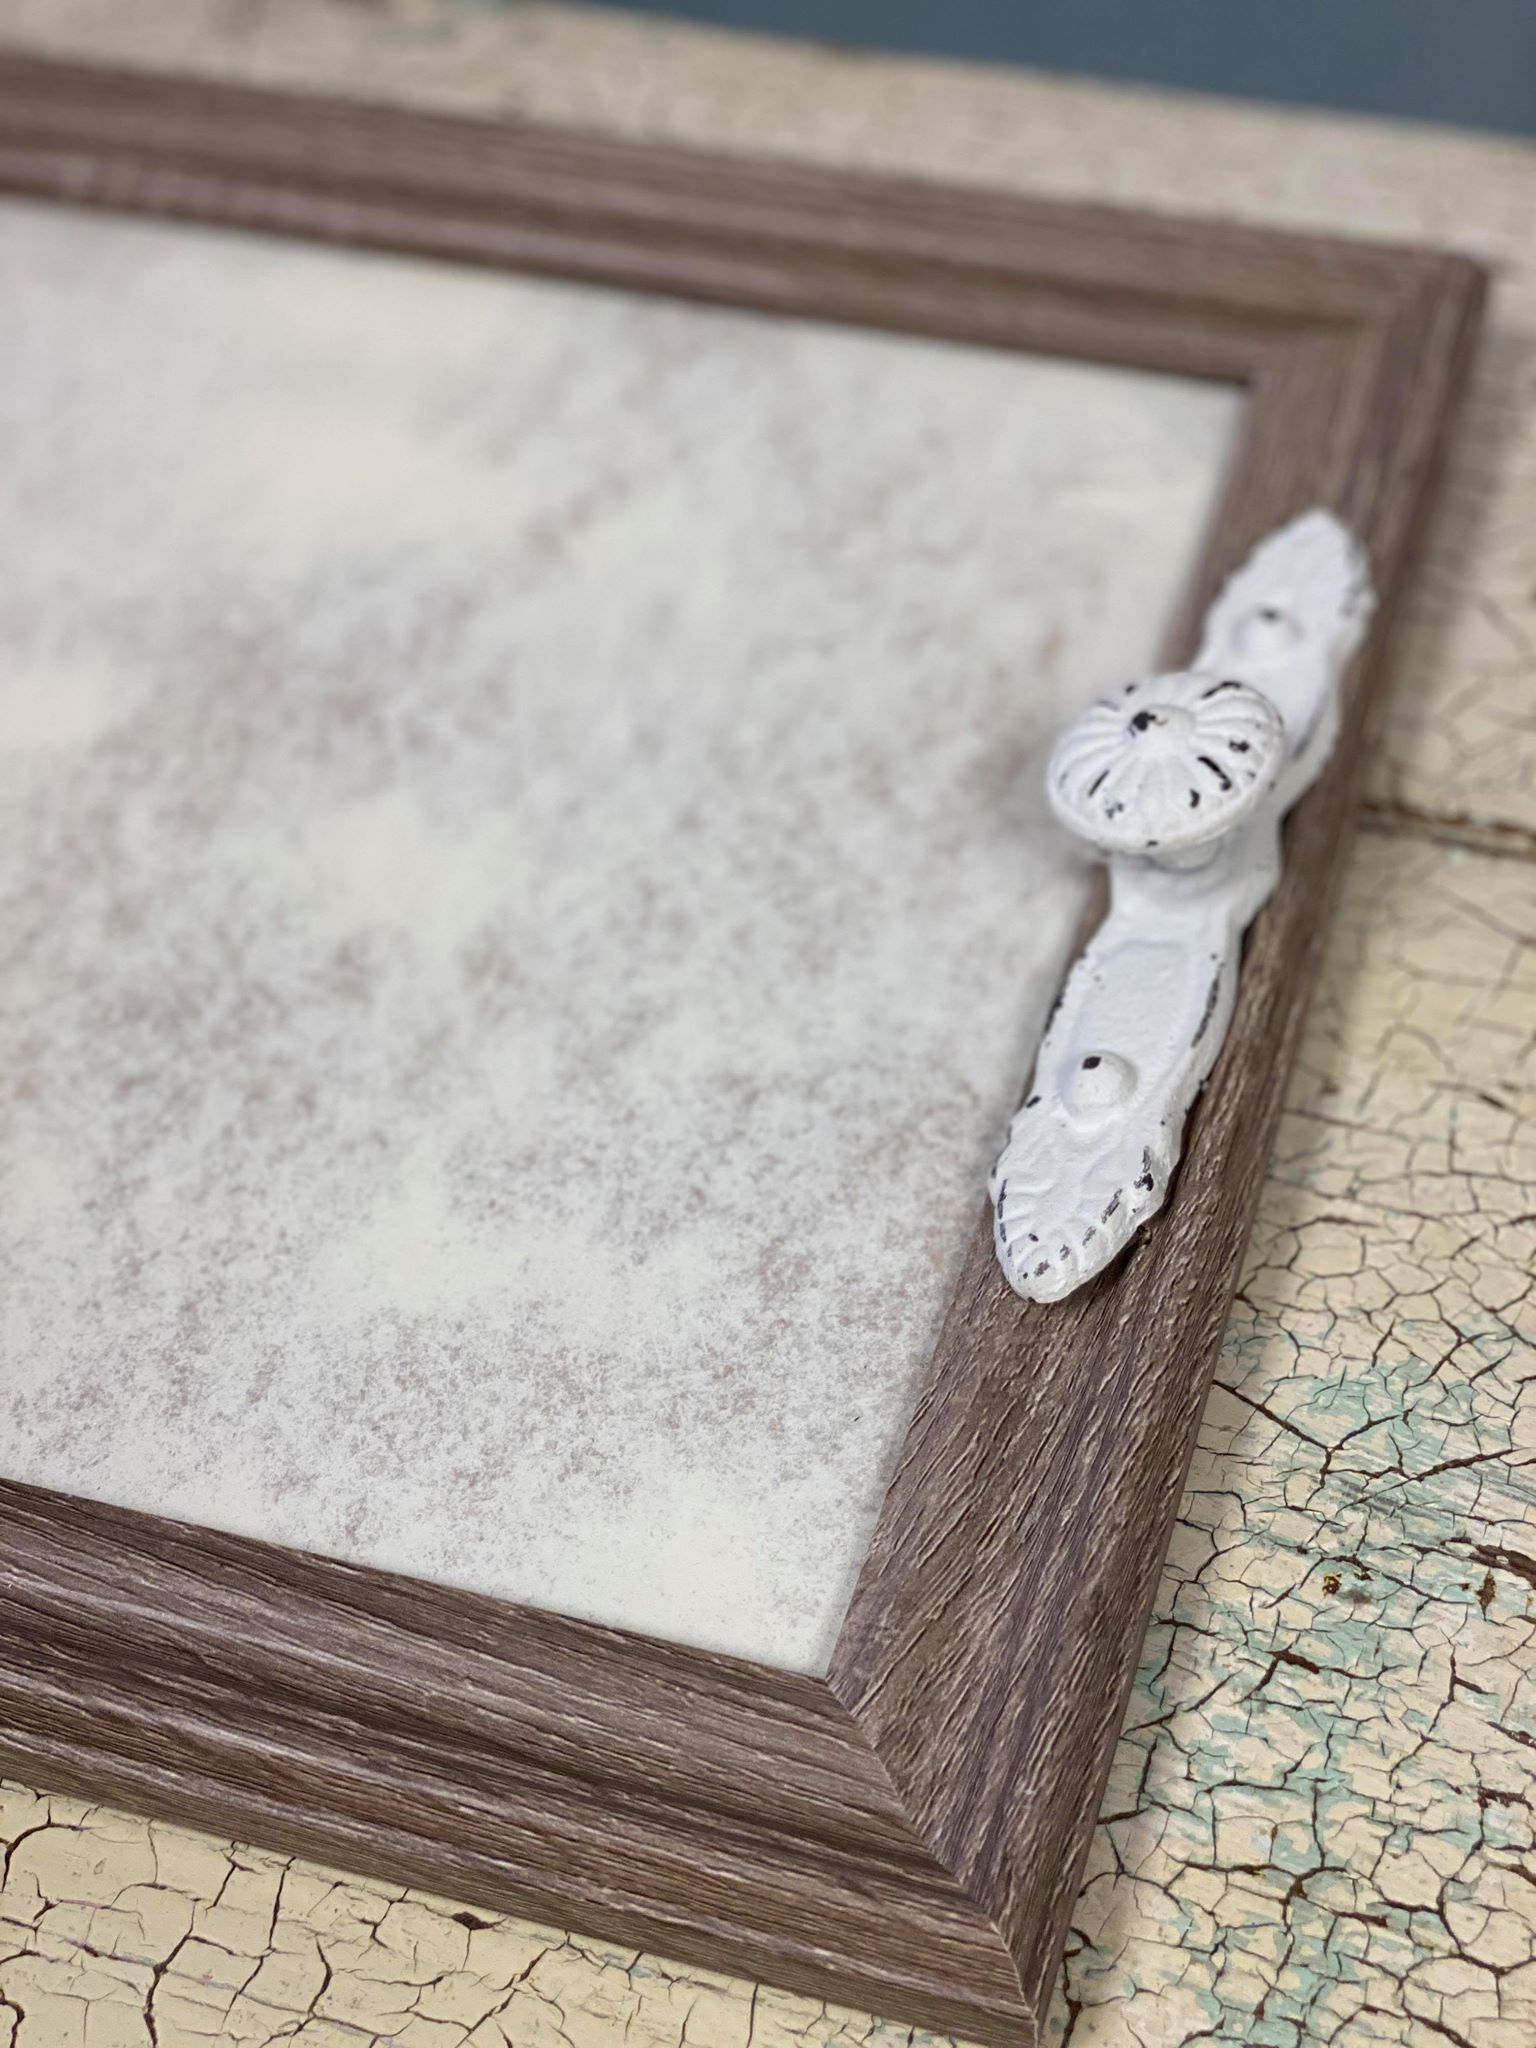
2. Knobs (I found a variety of knobs from Hobby Lobby)
3. Paint (I’m using a black and cream chalk paint)
4. Drill
5. Paint brush
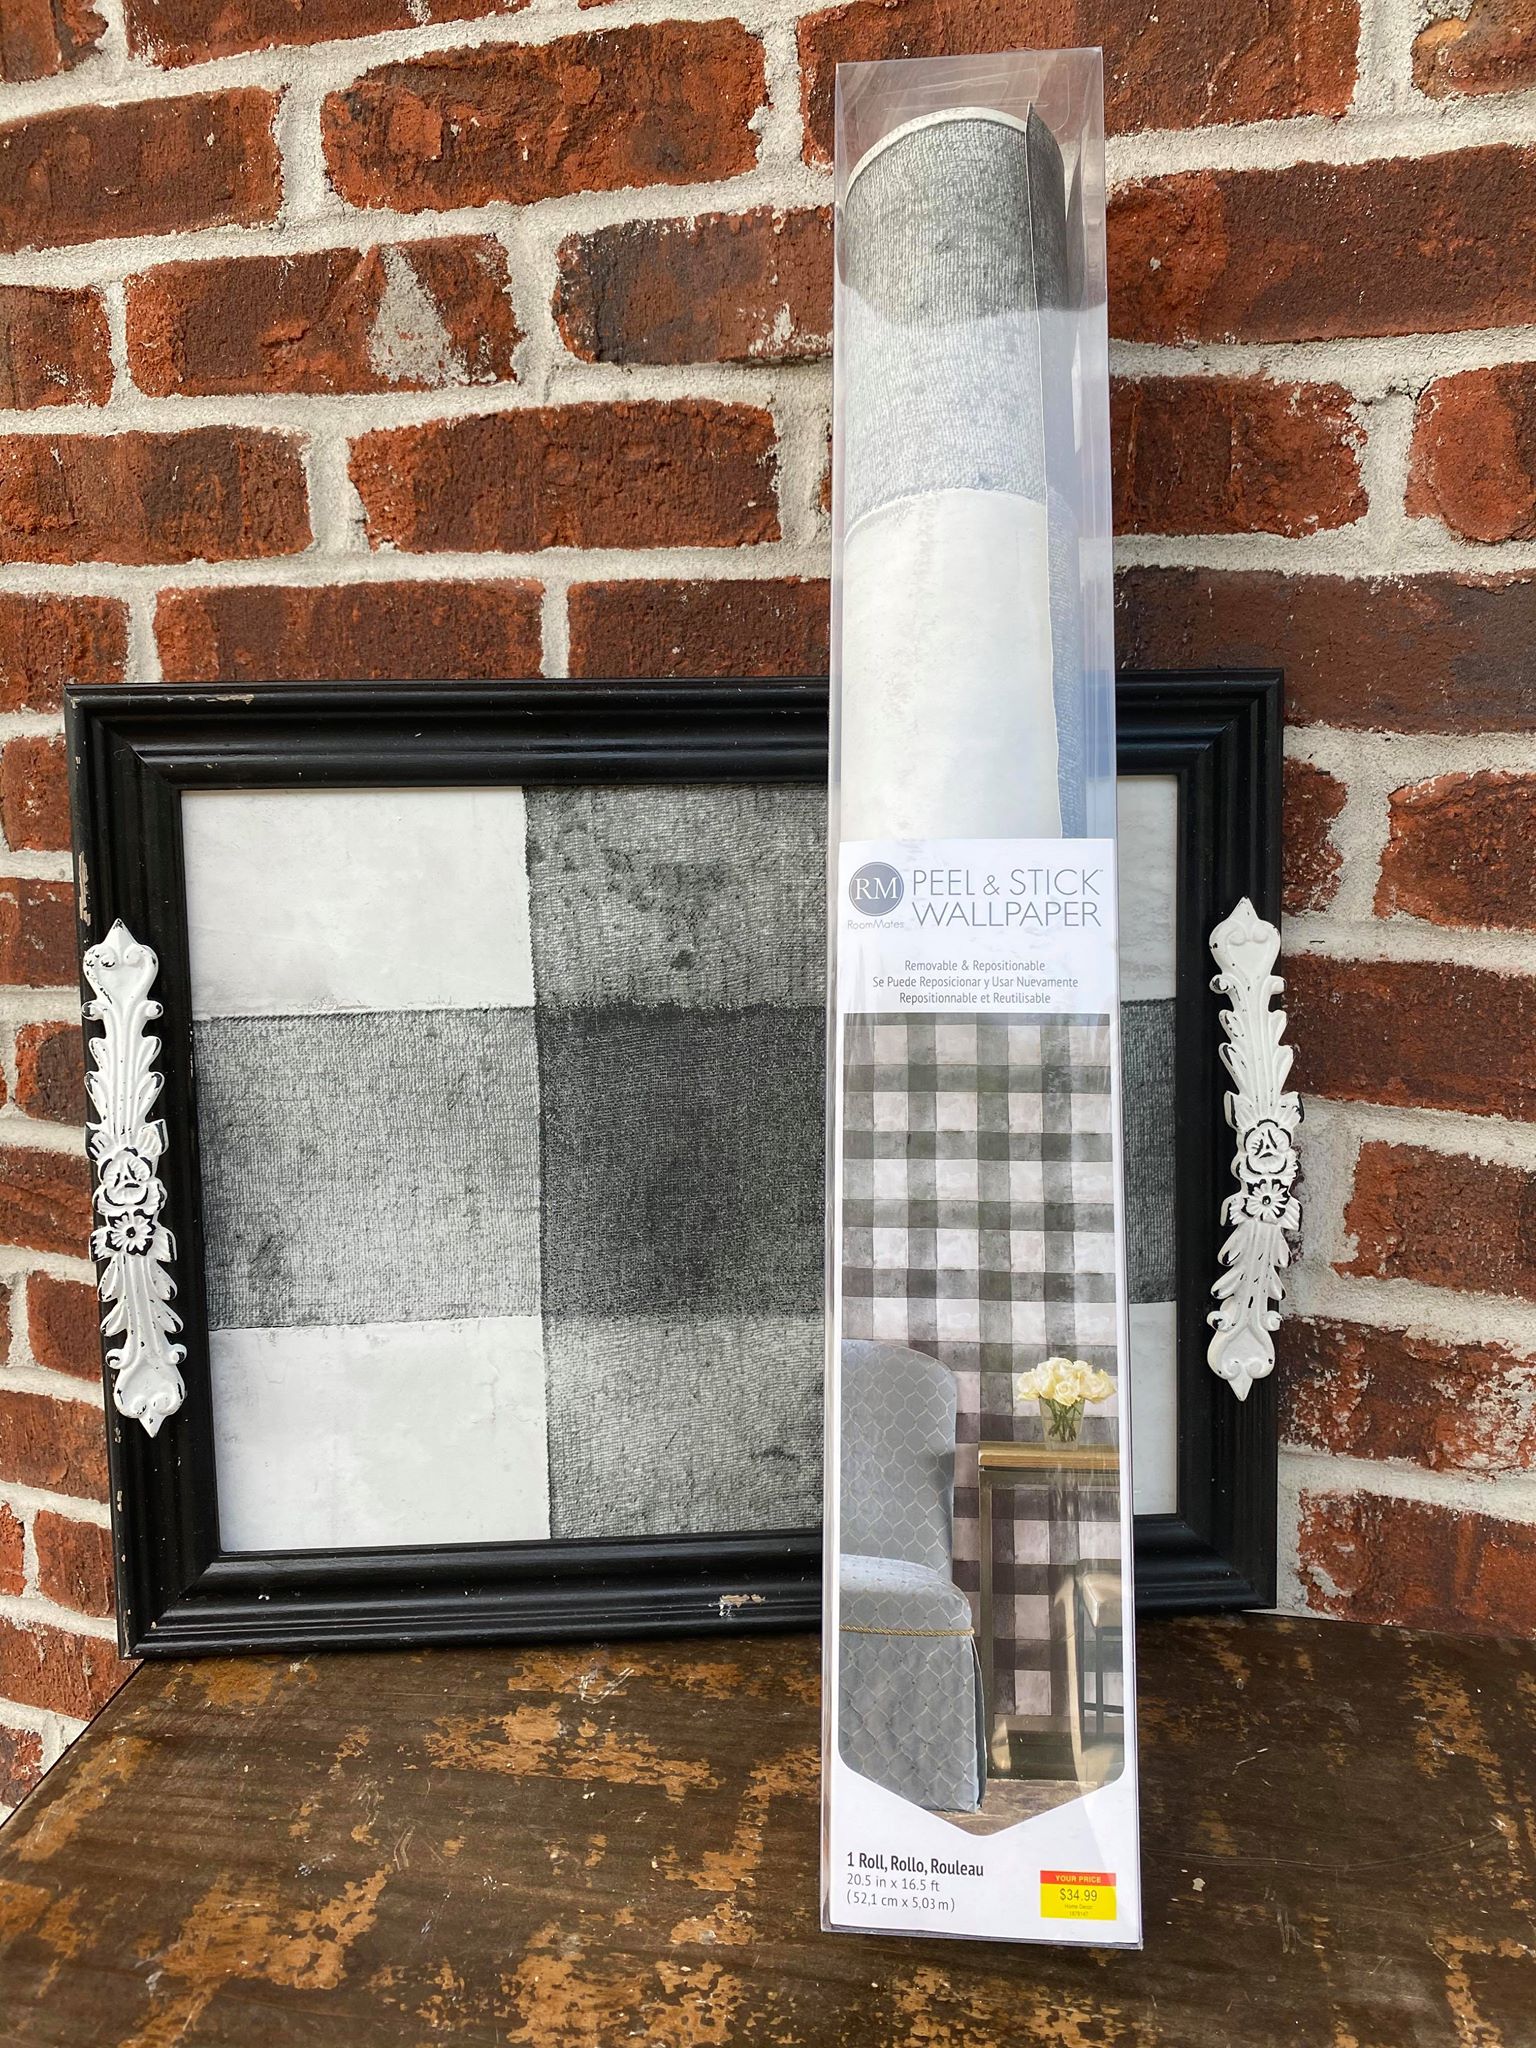
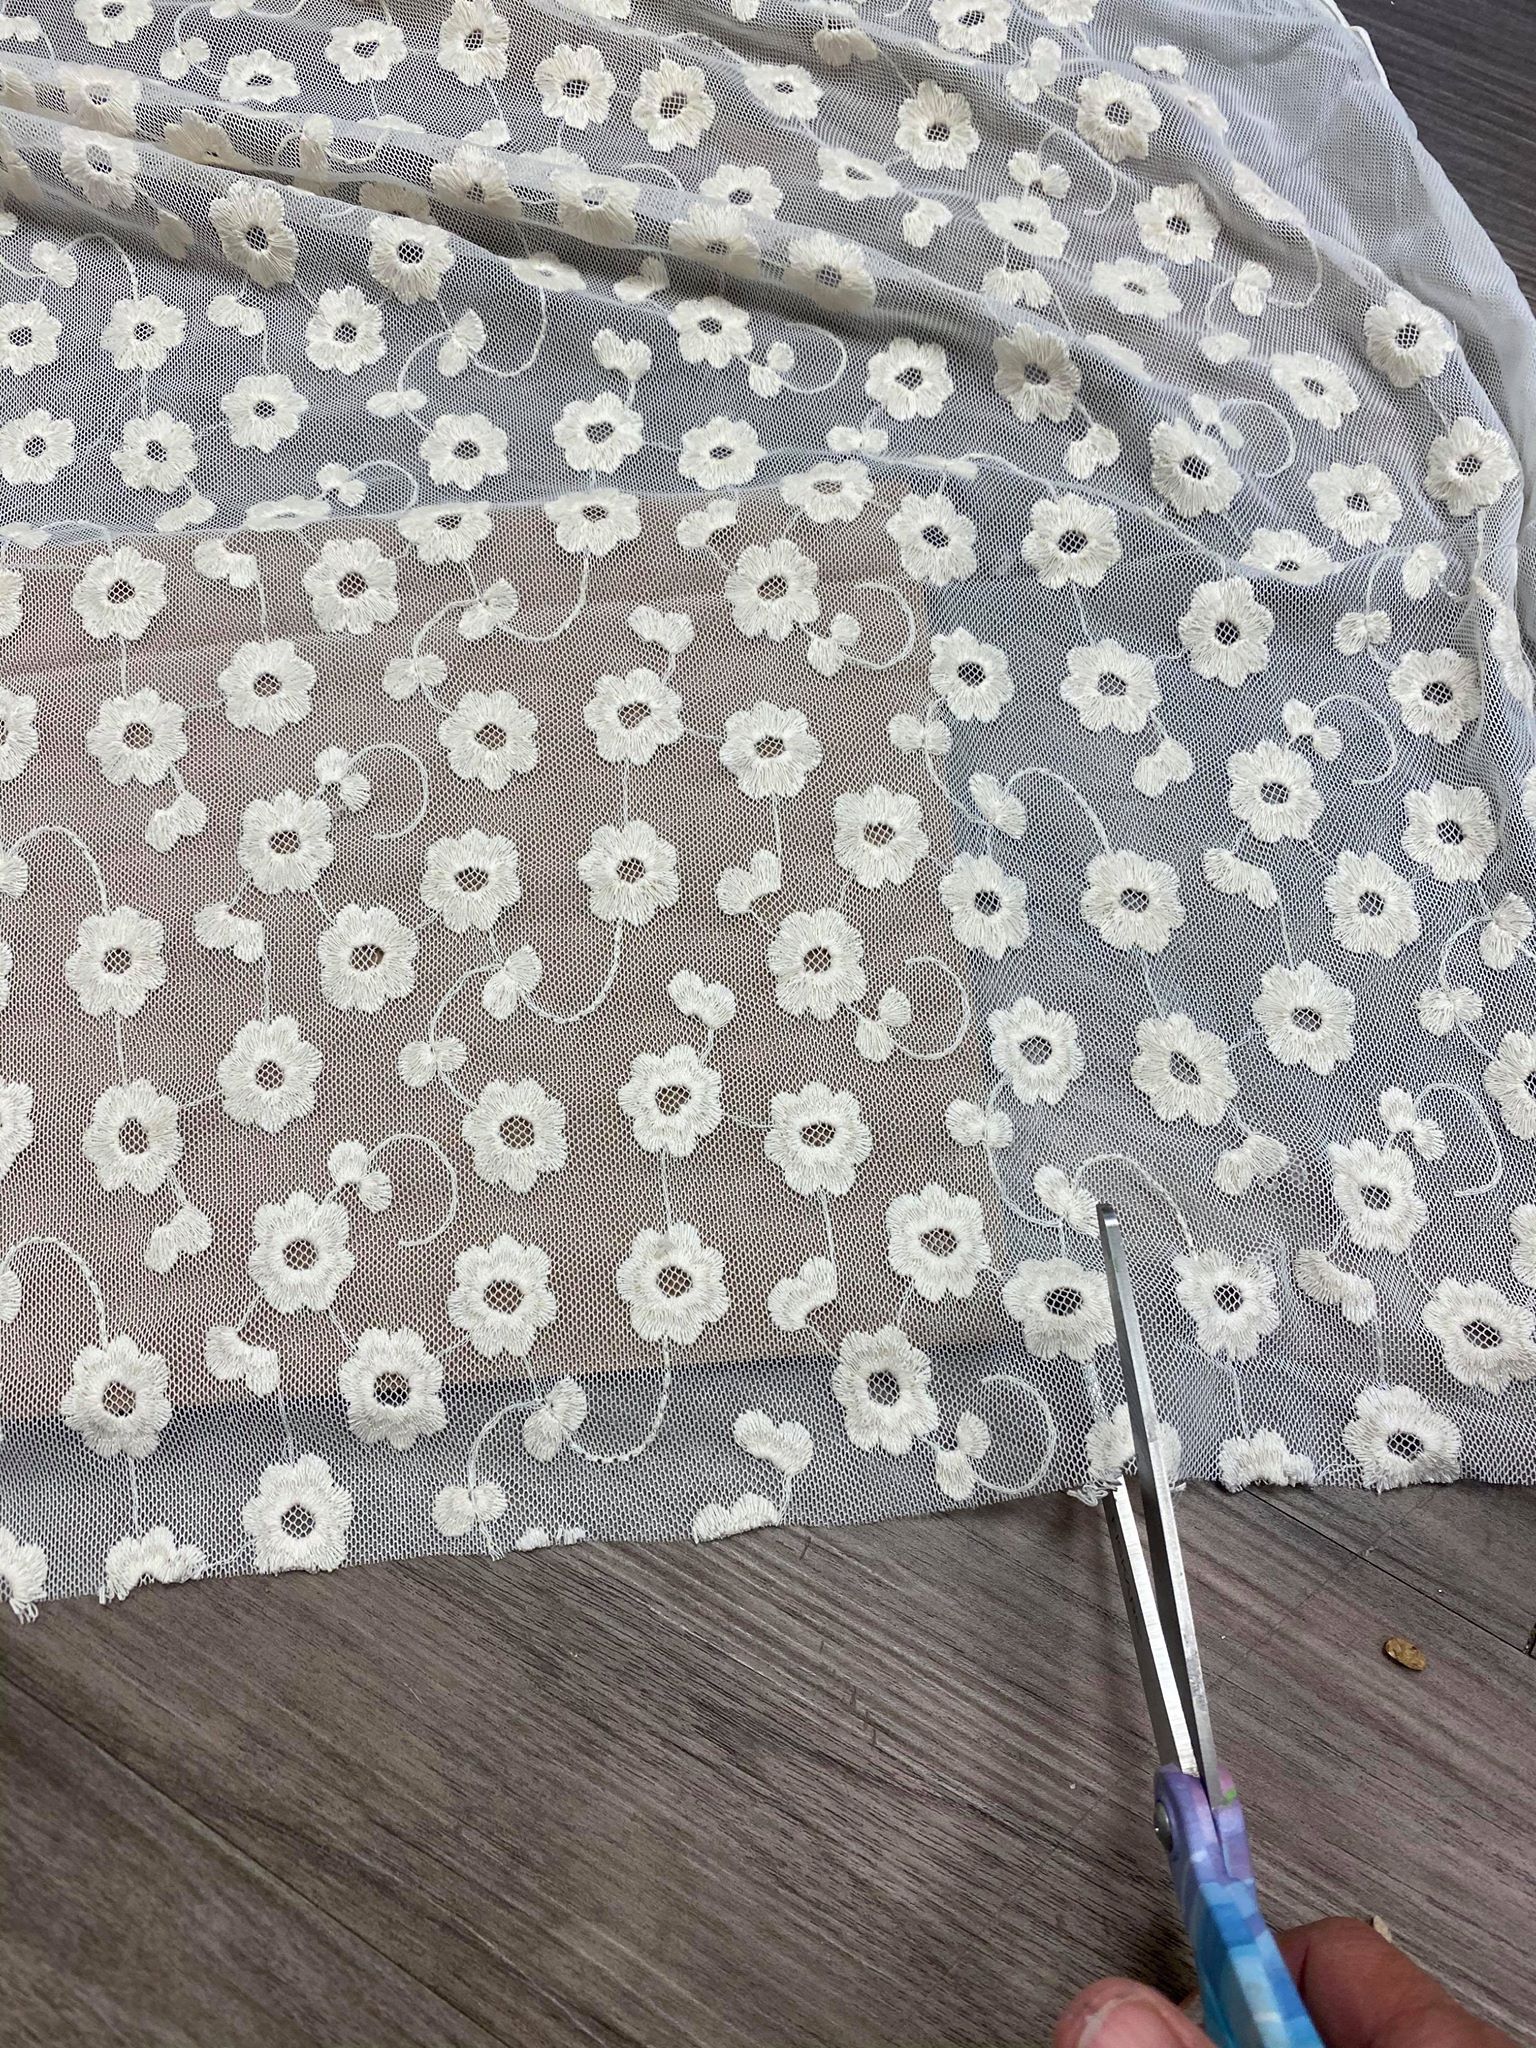
6. Lace or peel and stick wallpaper
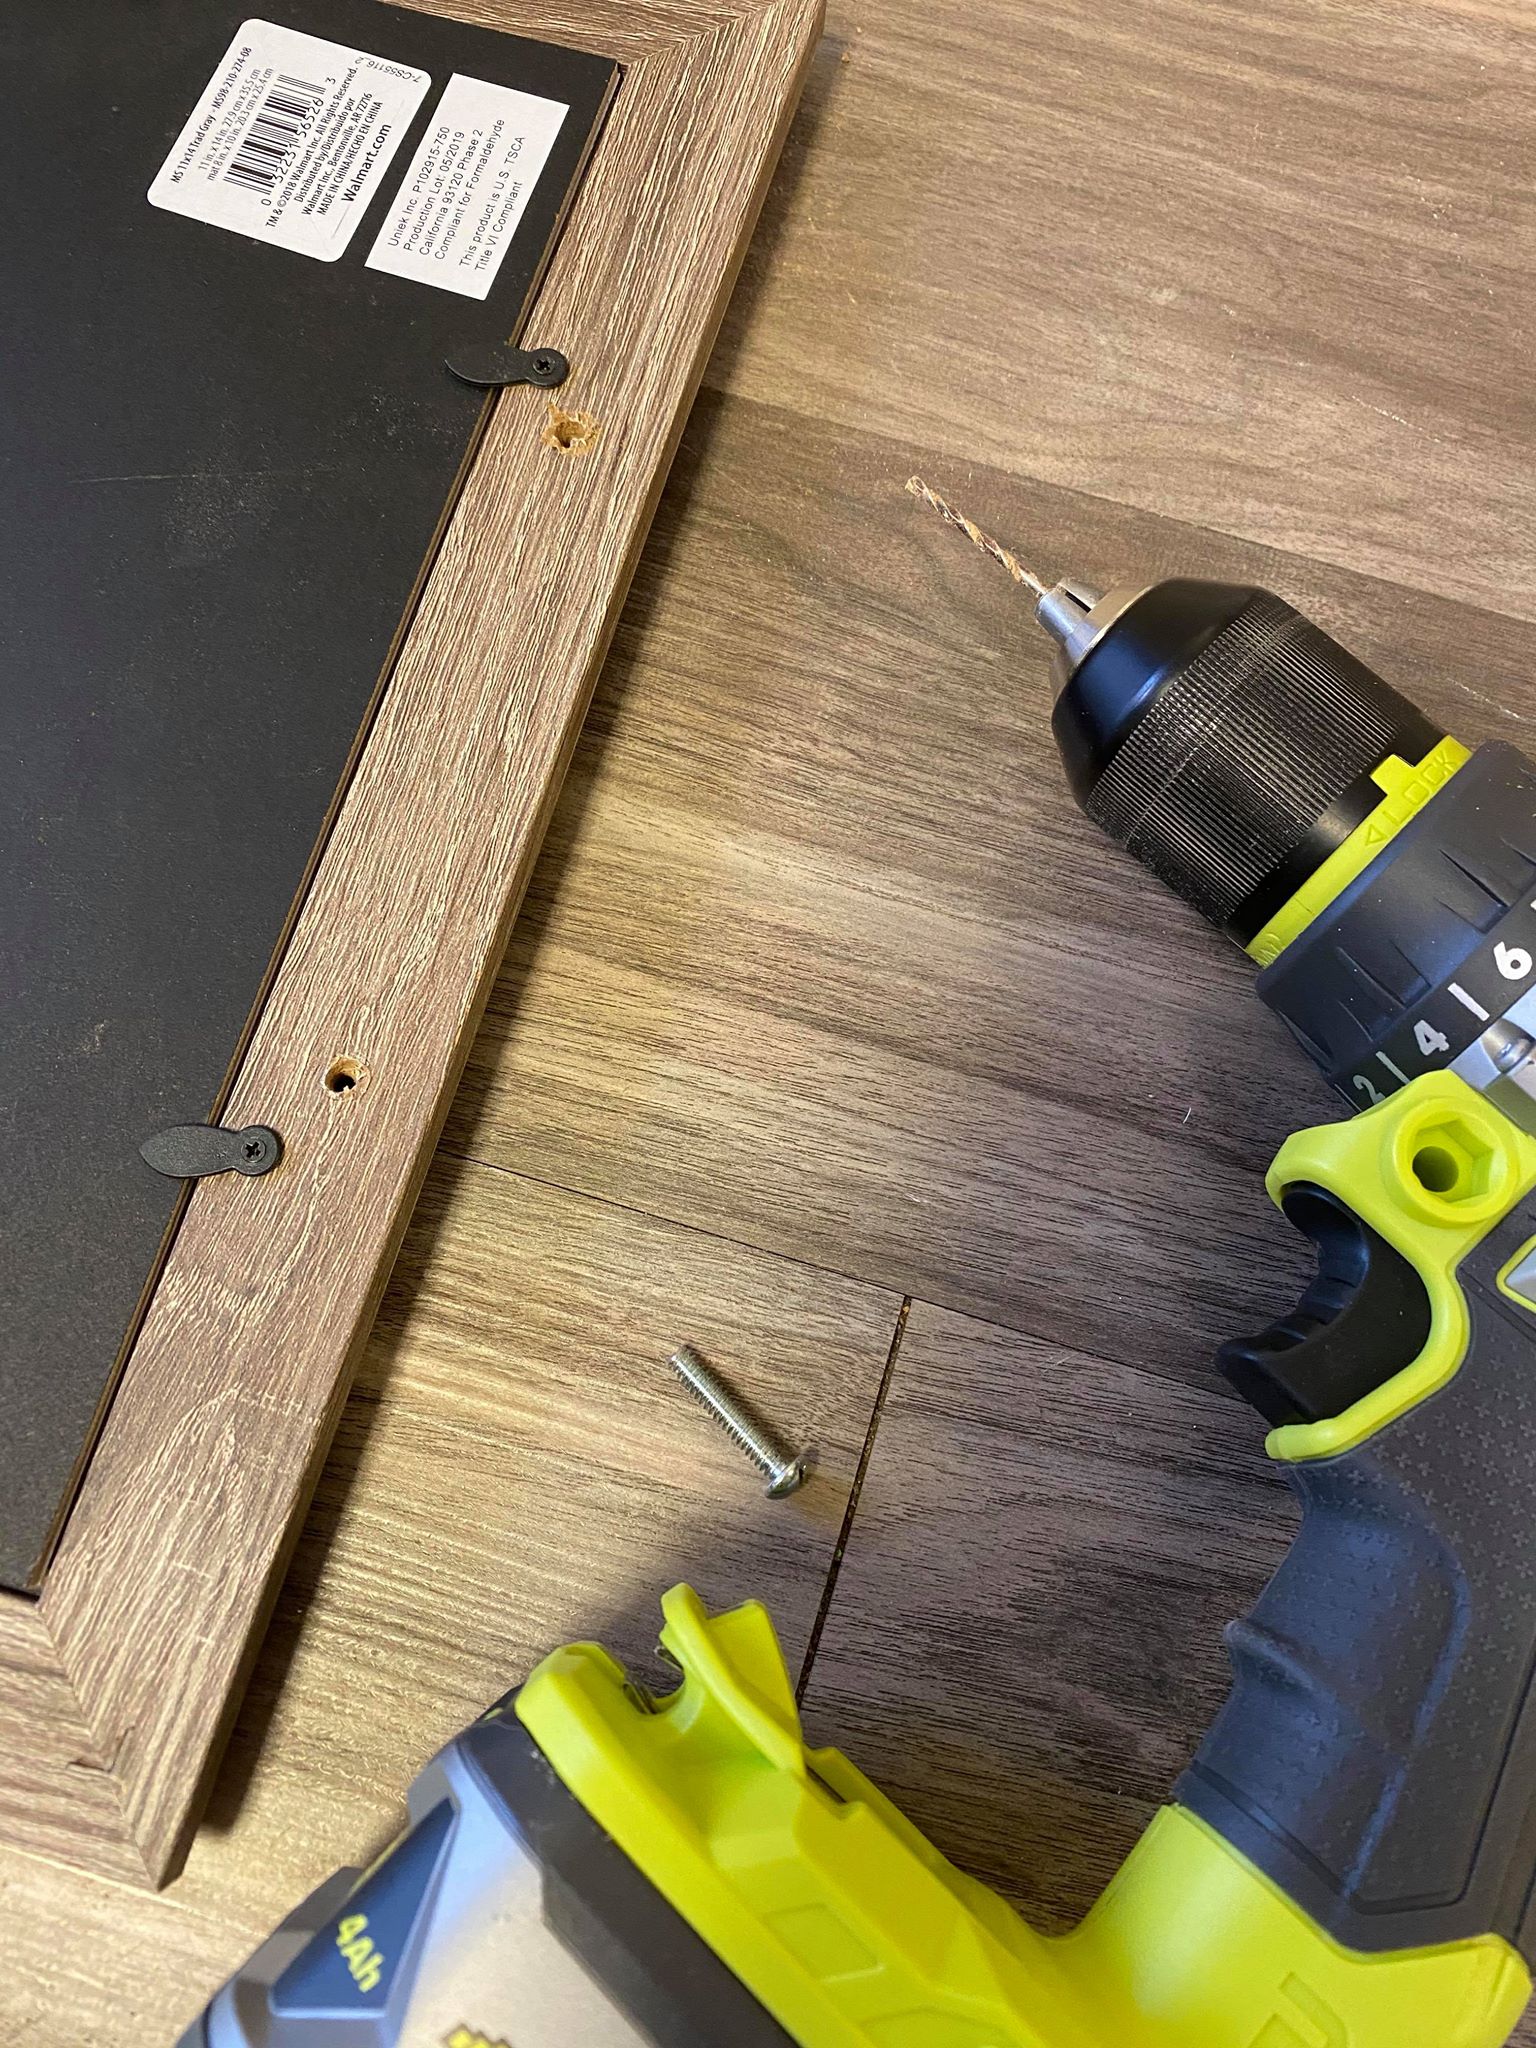
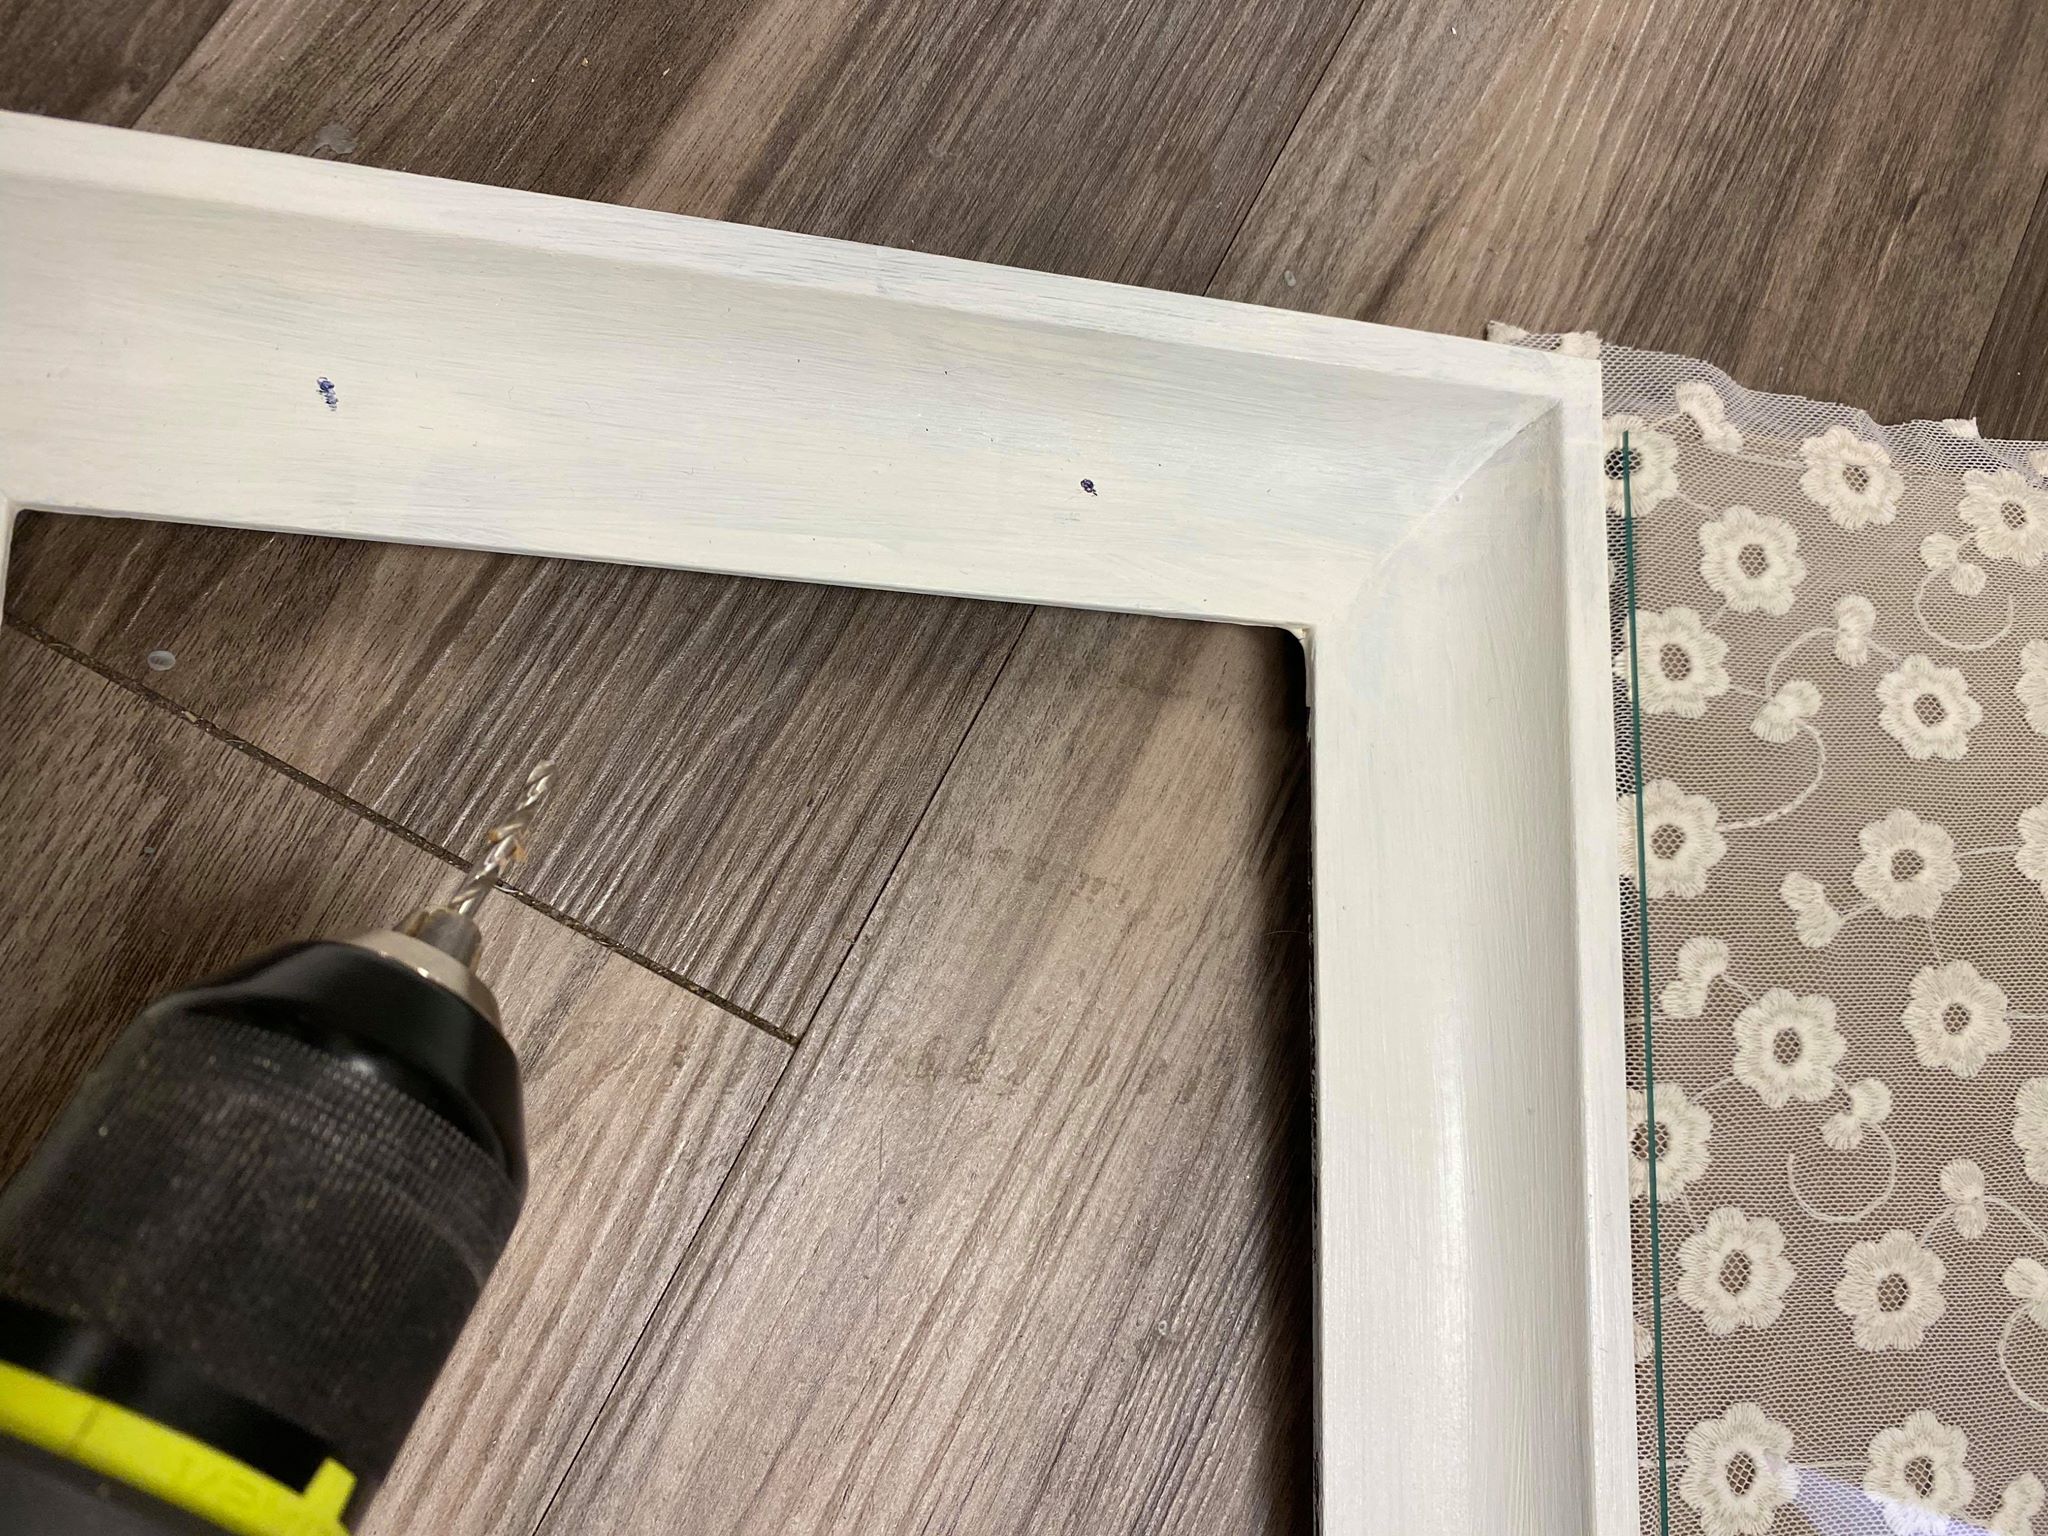
The first step is to drill your holes for your knobs.
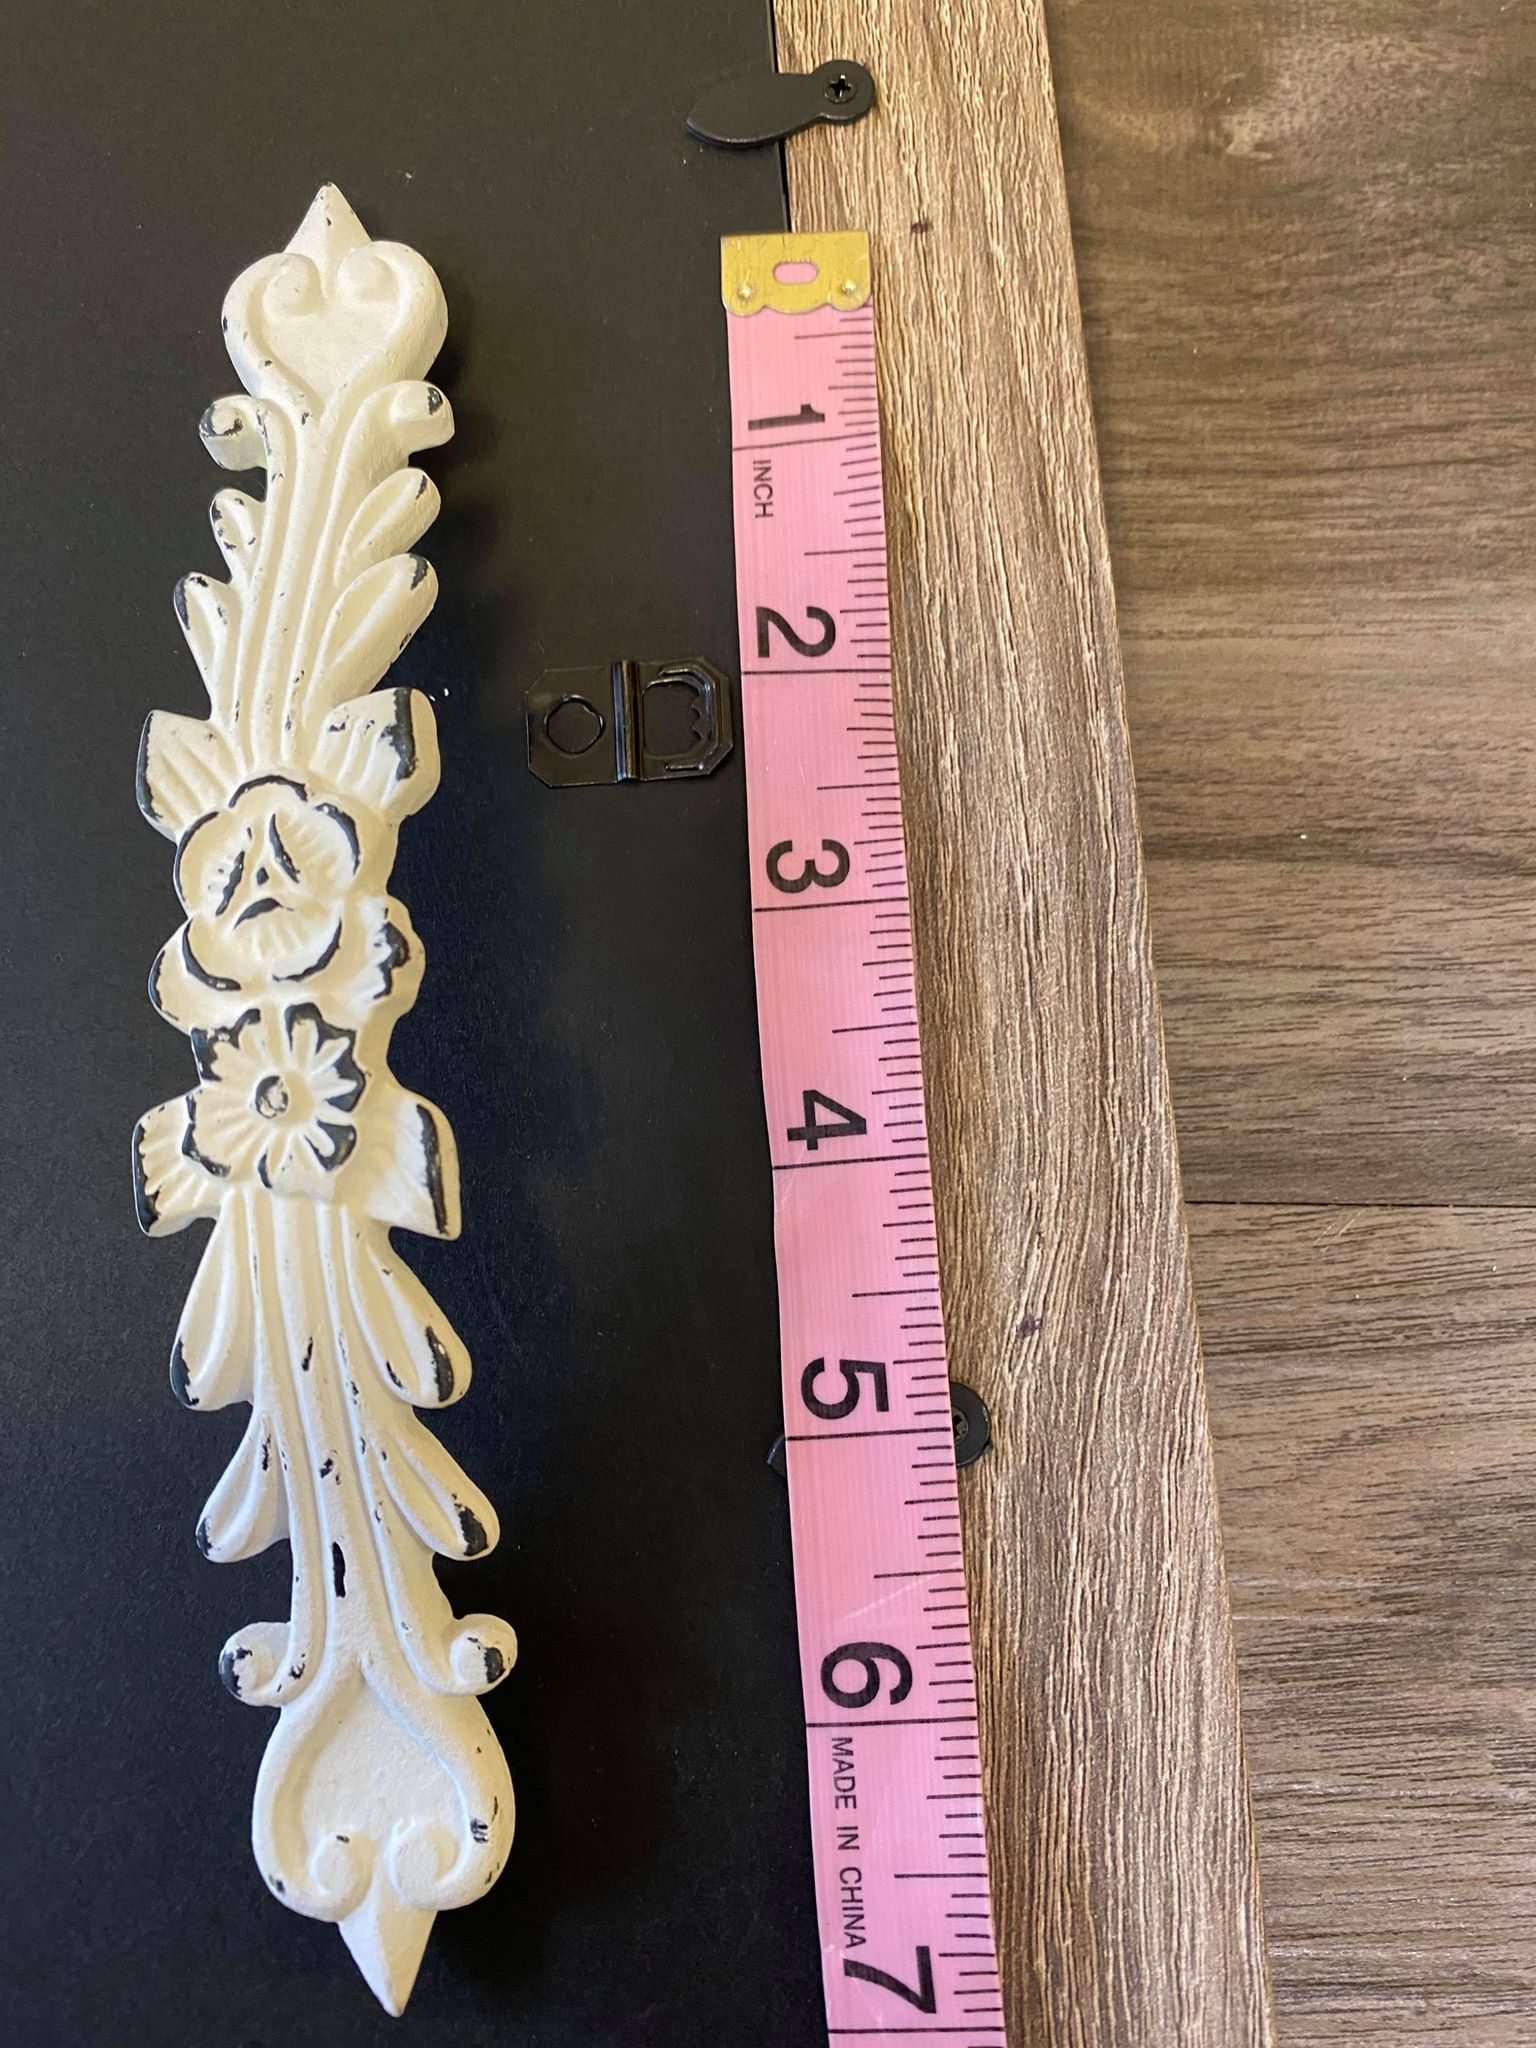
You will need to measure where to drill your holes for your knobs.

Once my holes were drilled I then painted my frame.
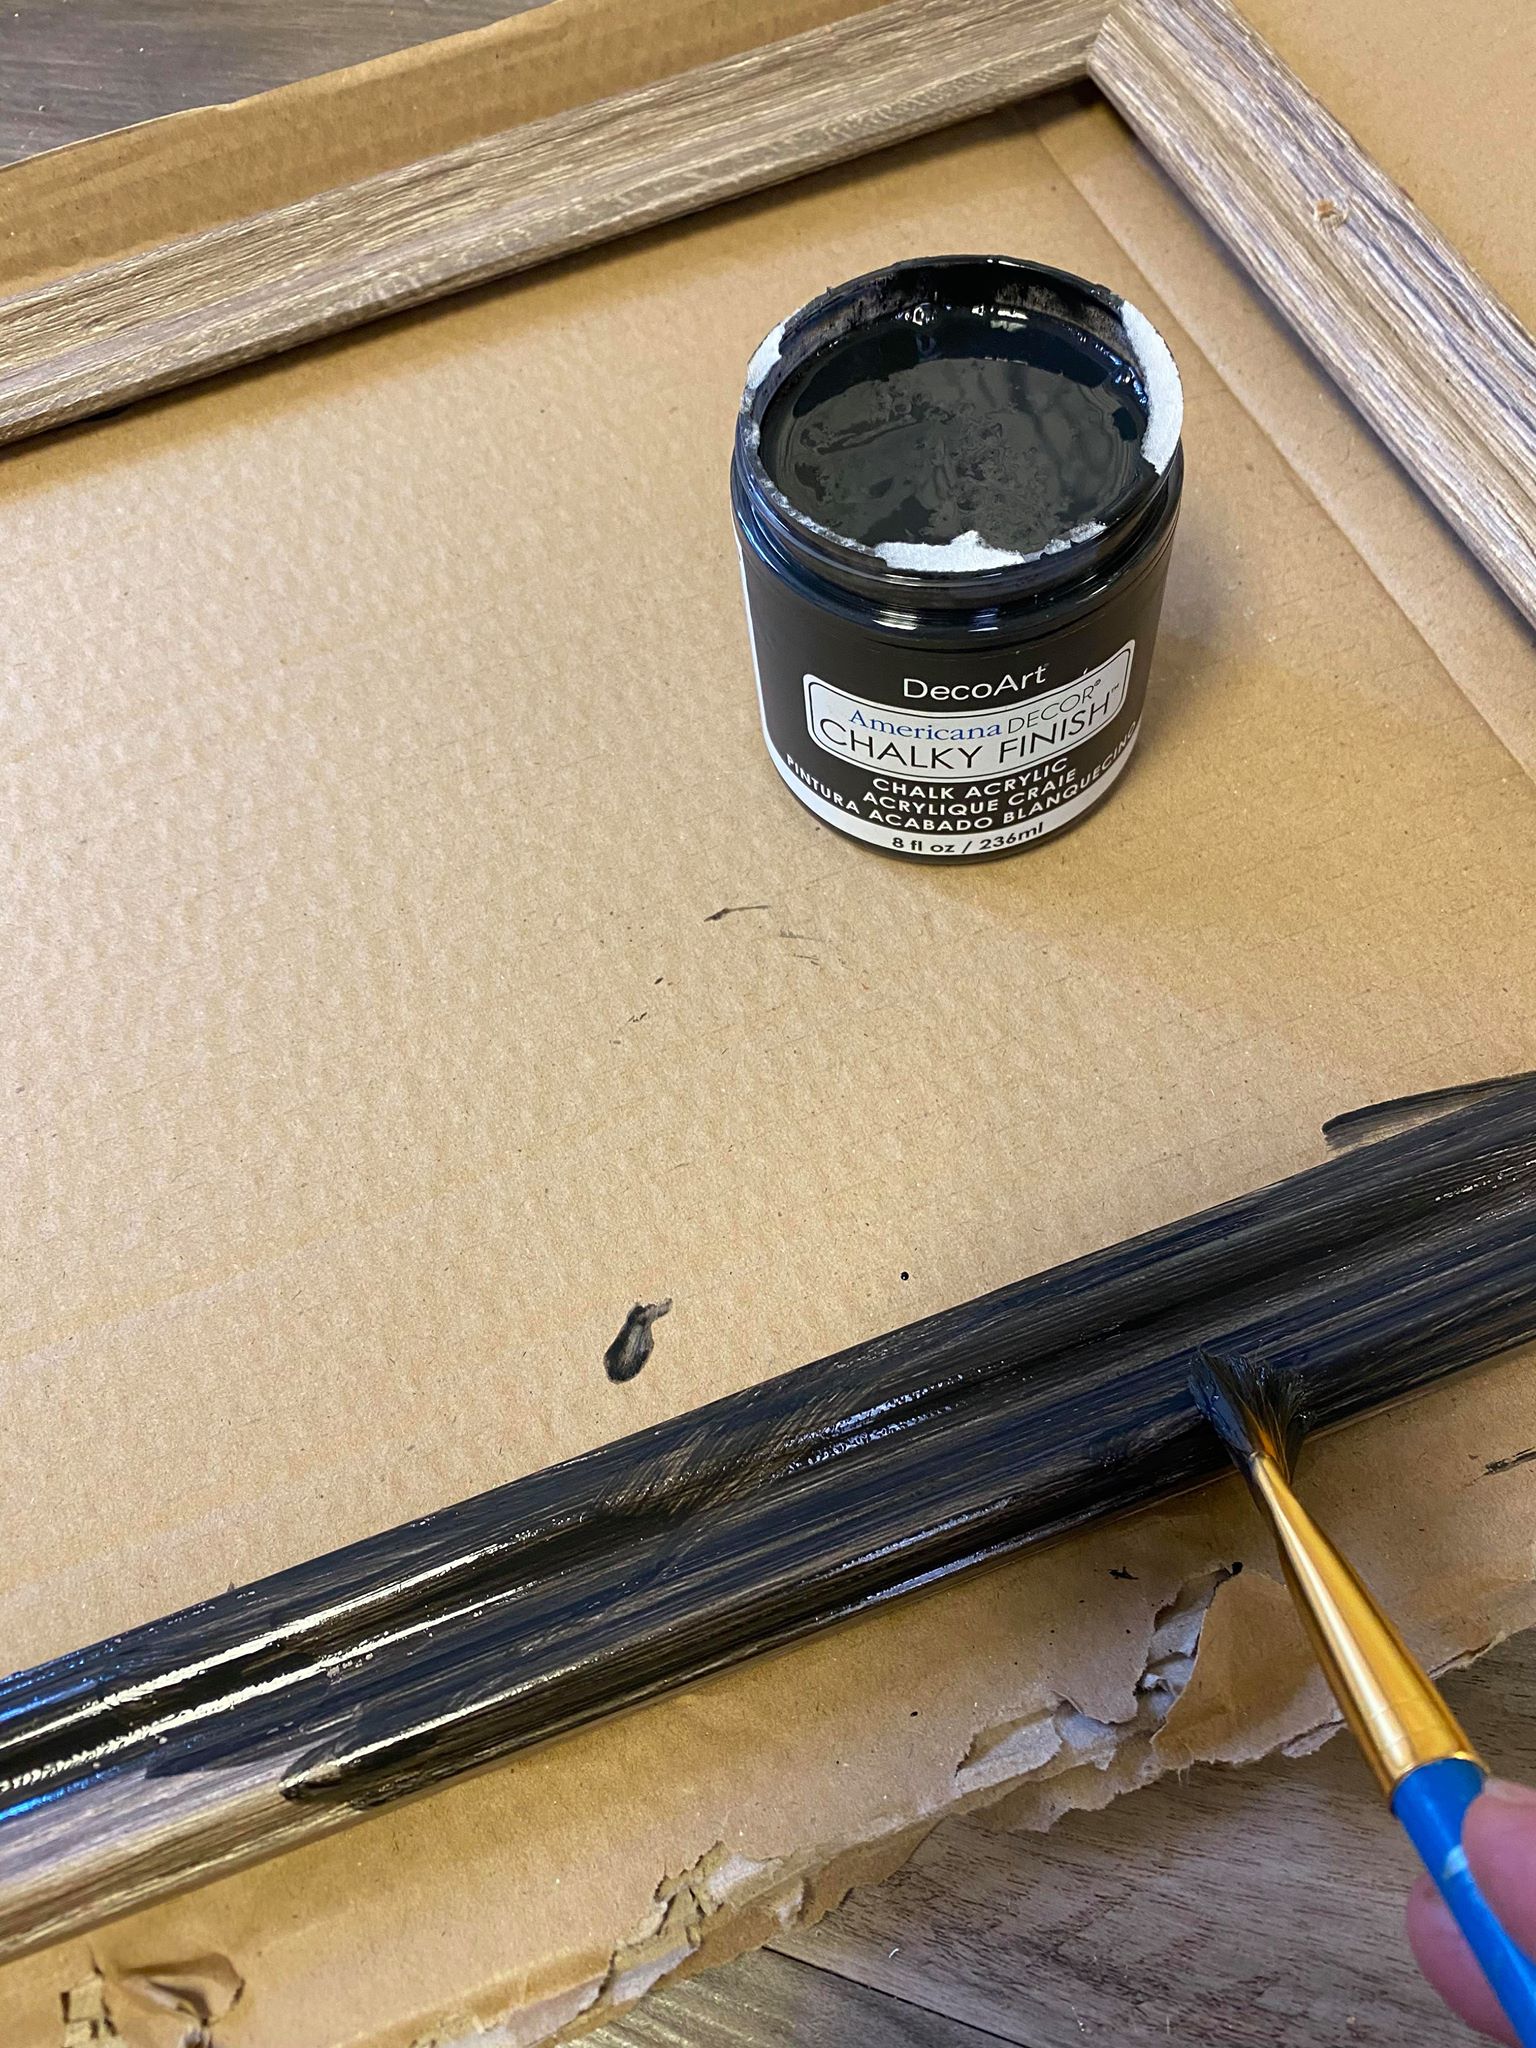
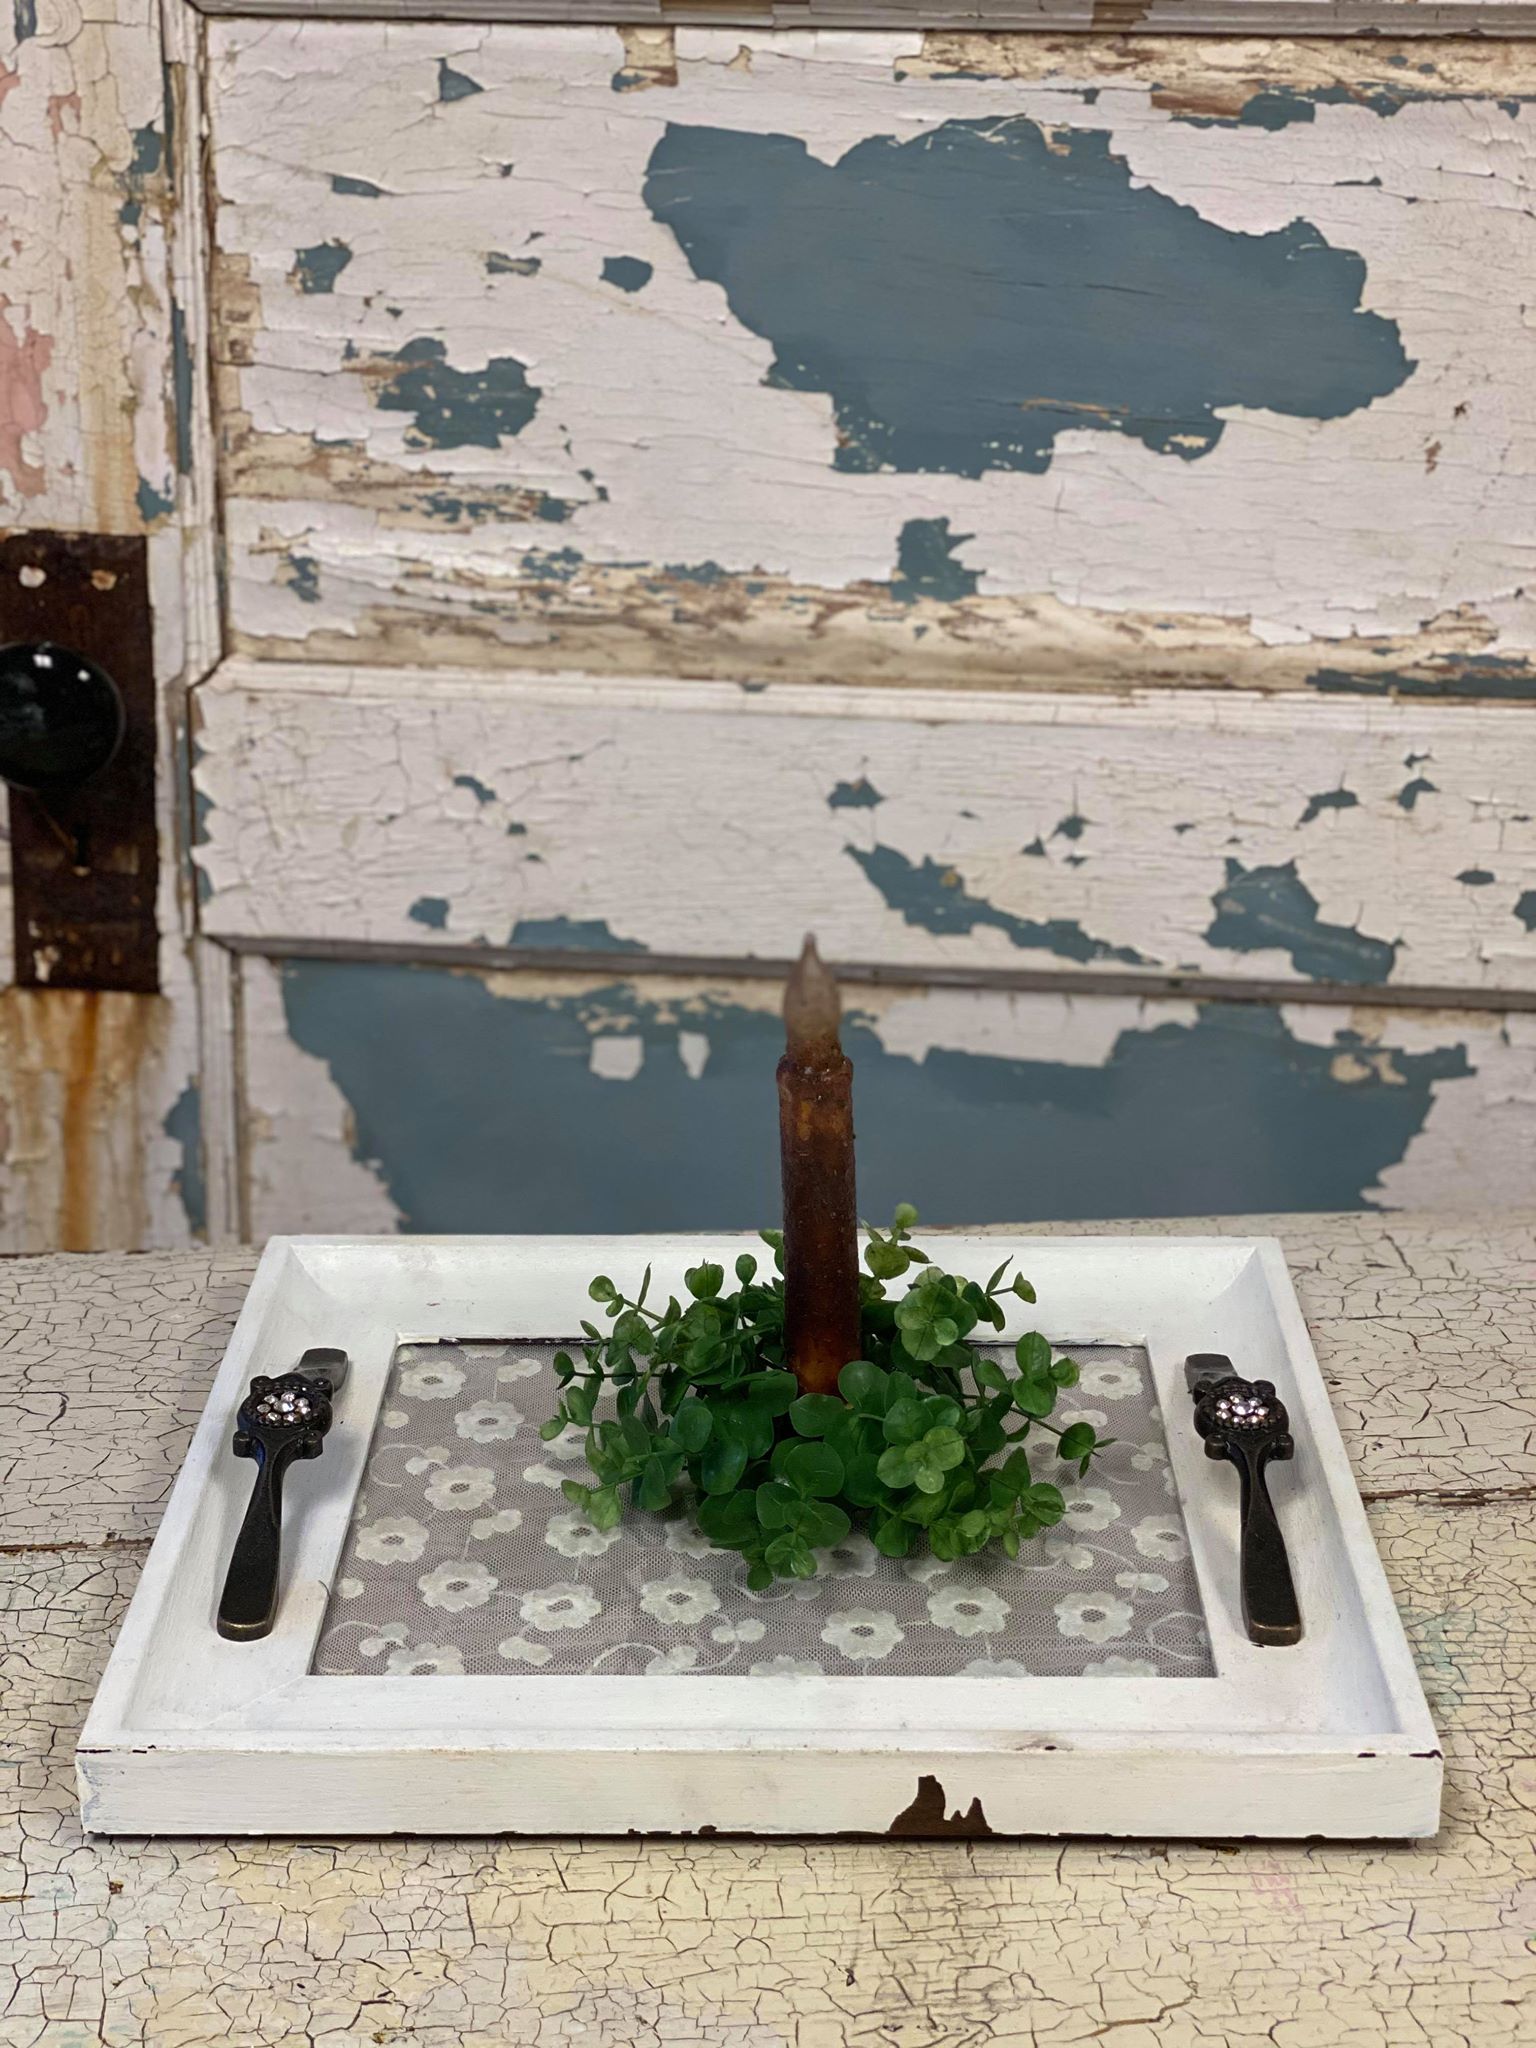
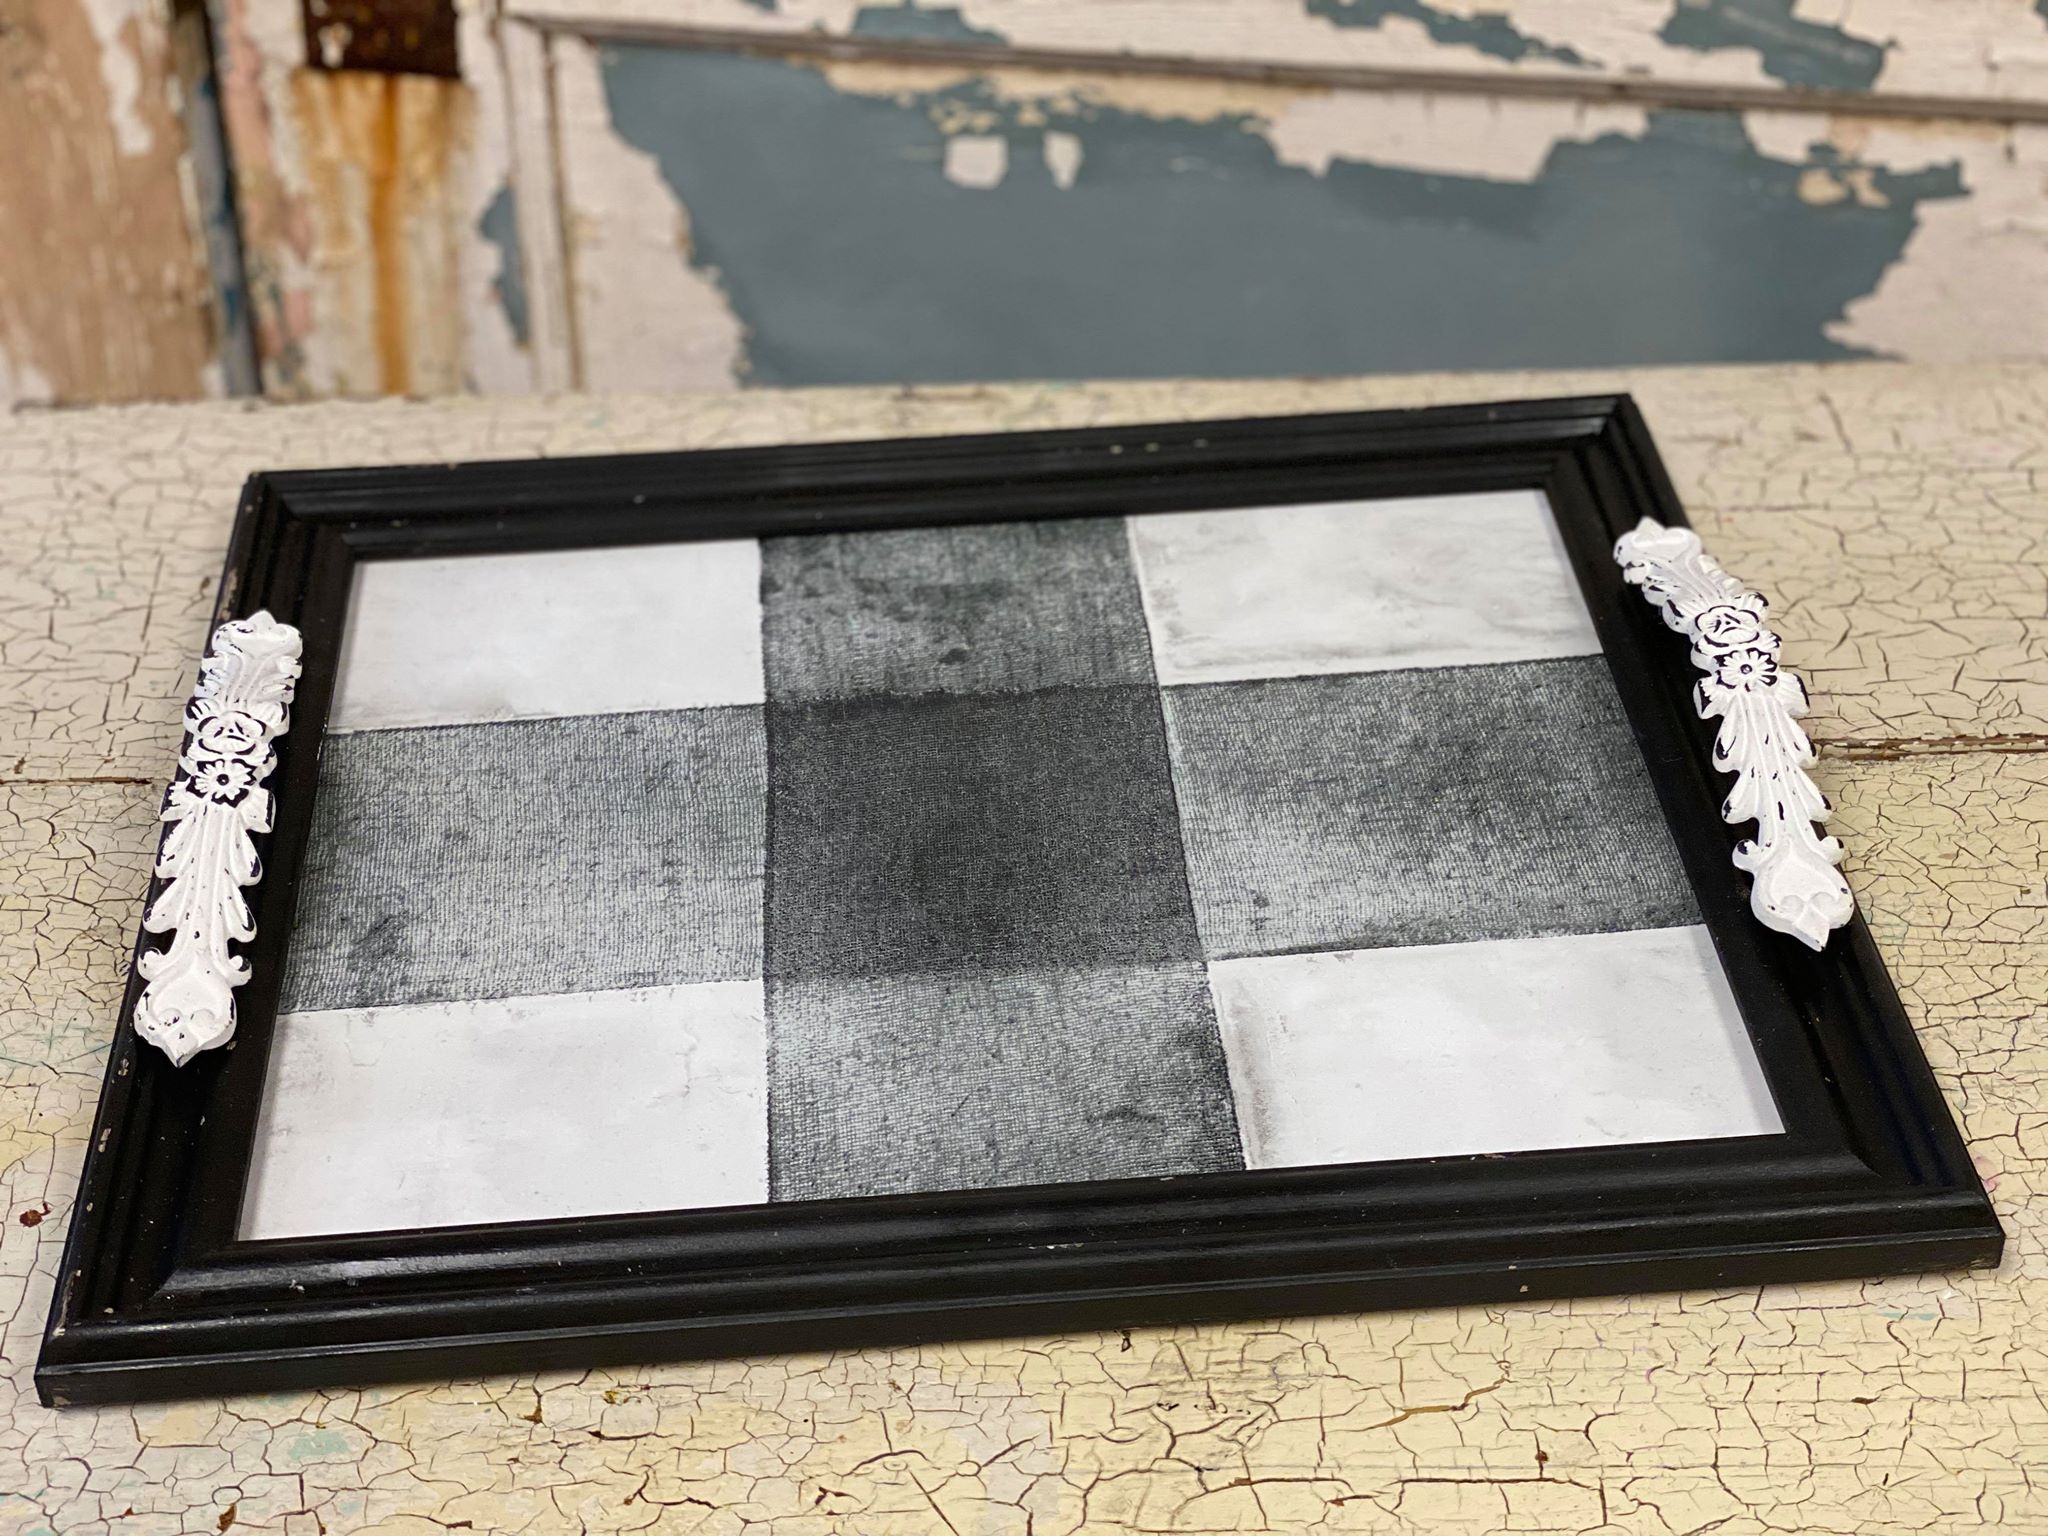
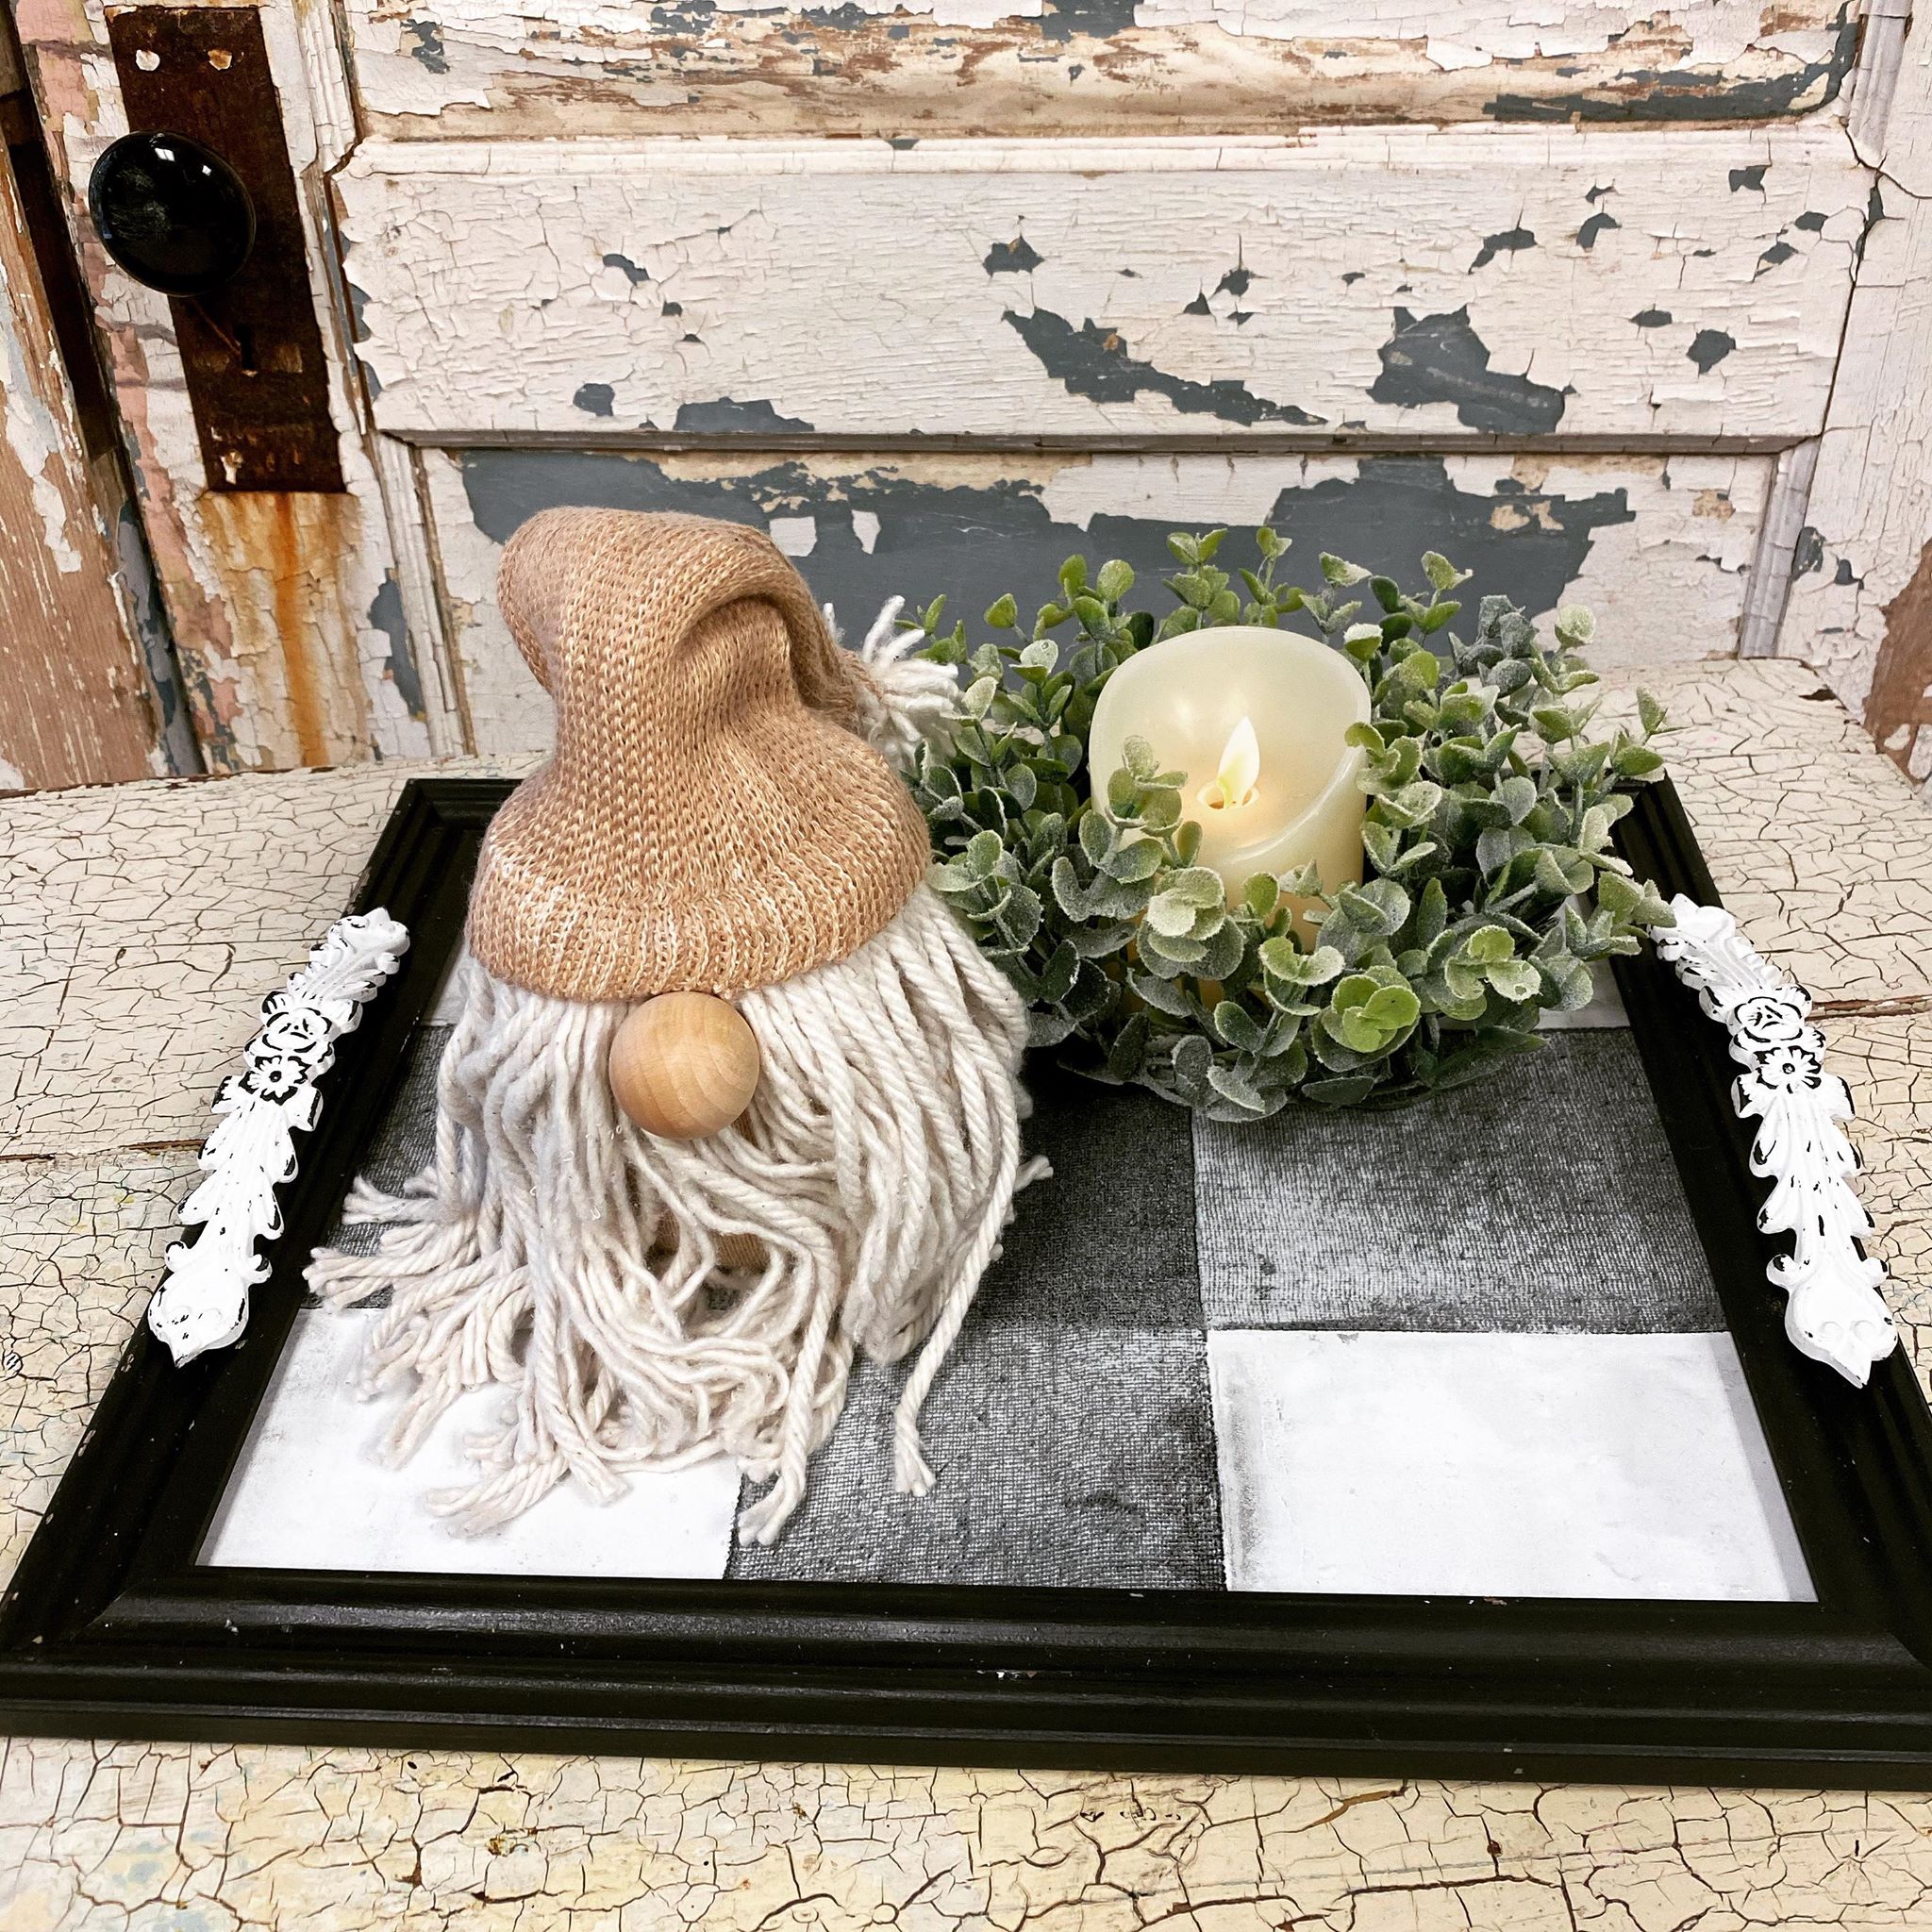
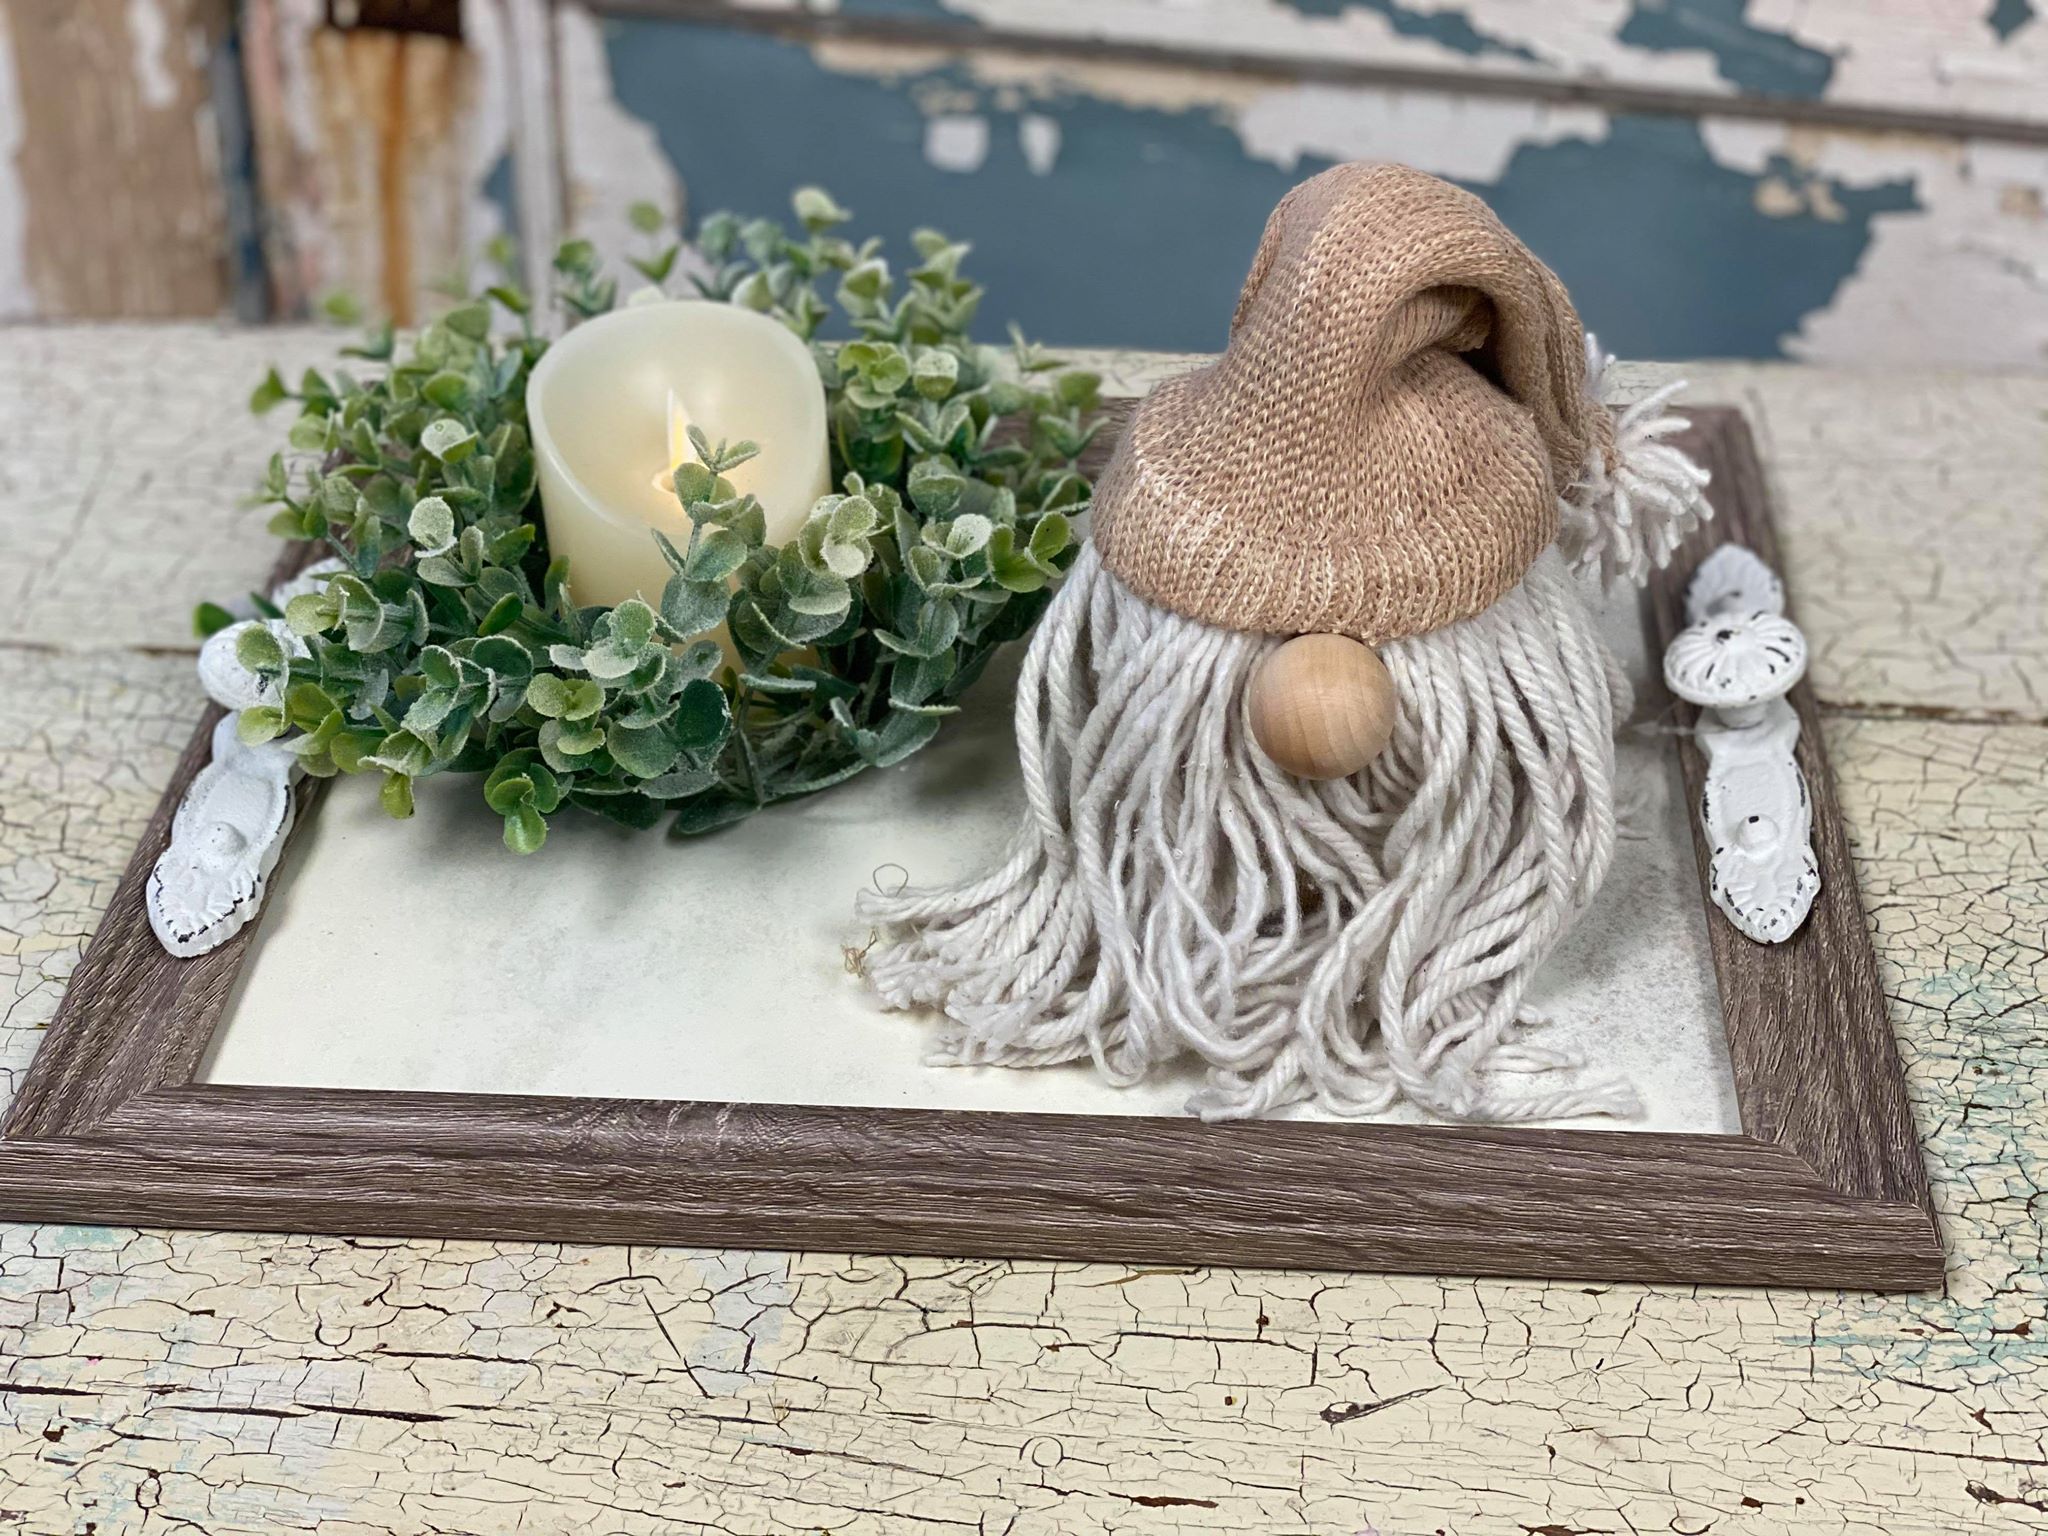
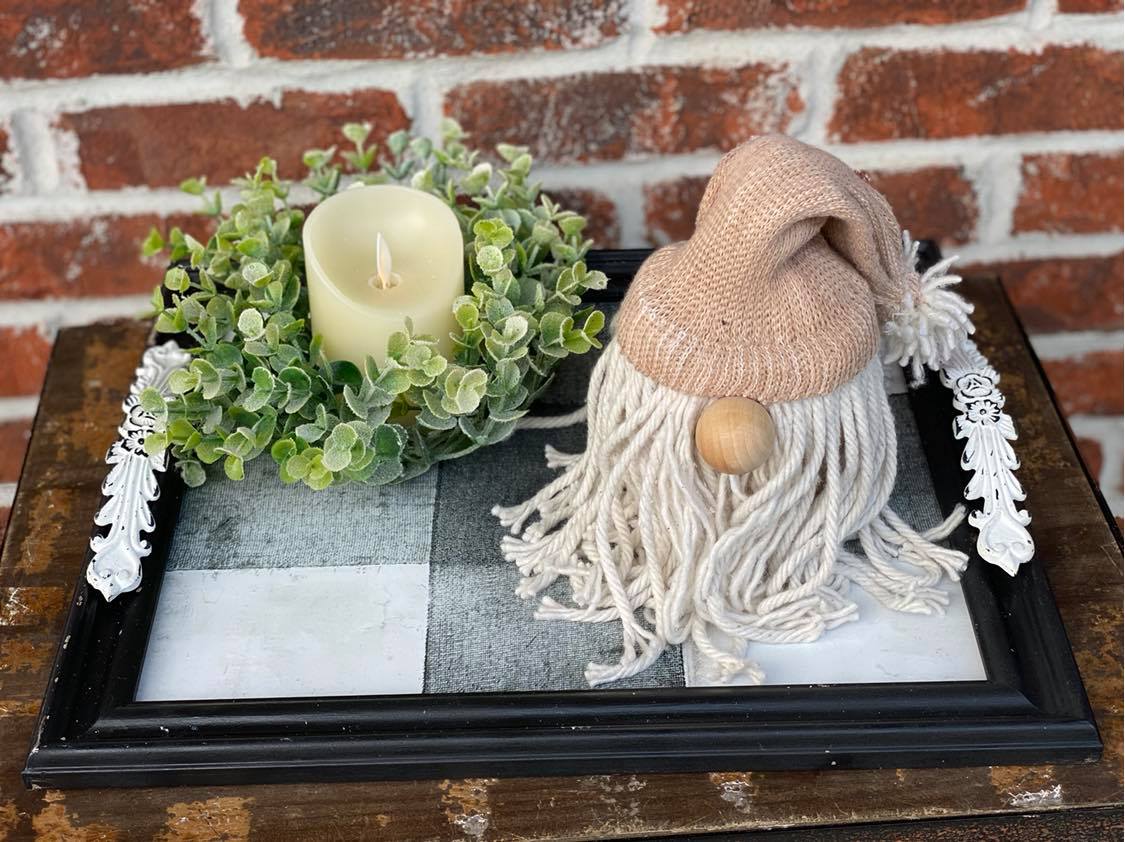
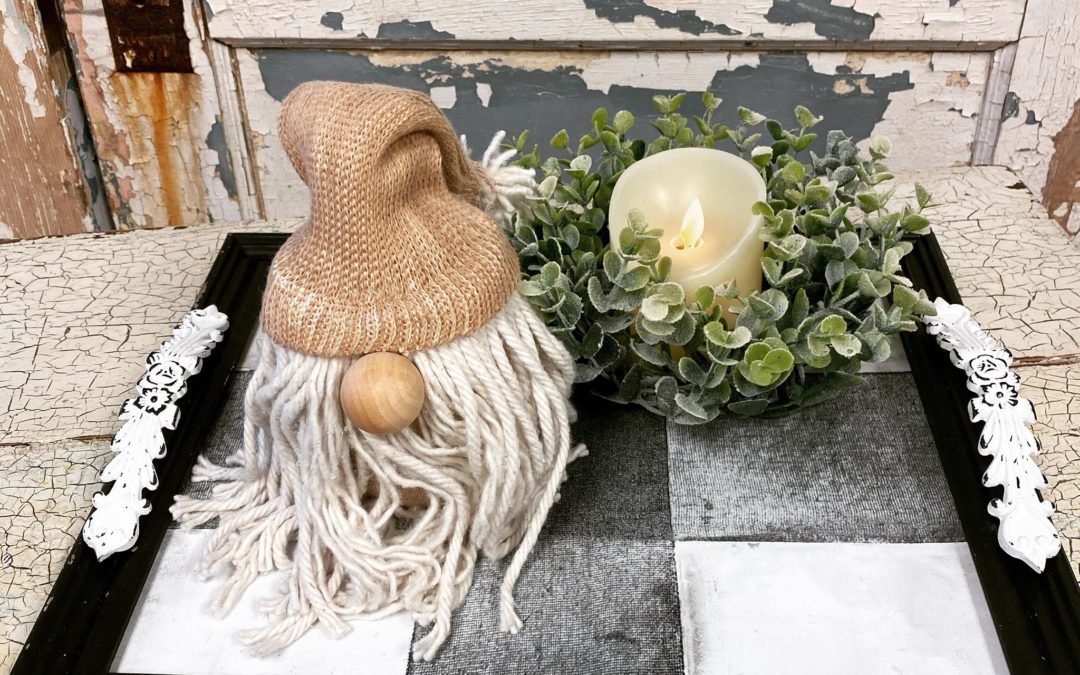
You can paint the frame or leave it as is. I painted one of my frames black, I painted one of the other frames cream, and I left the third fram the way it was.
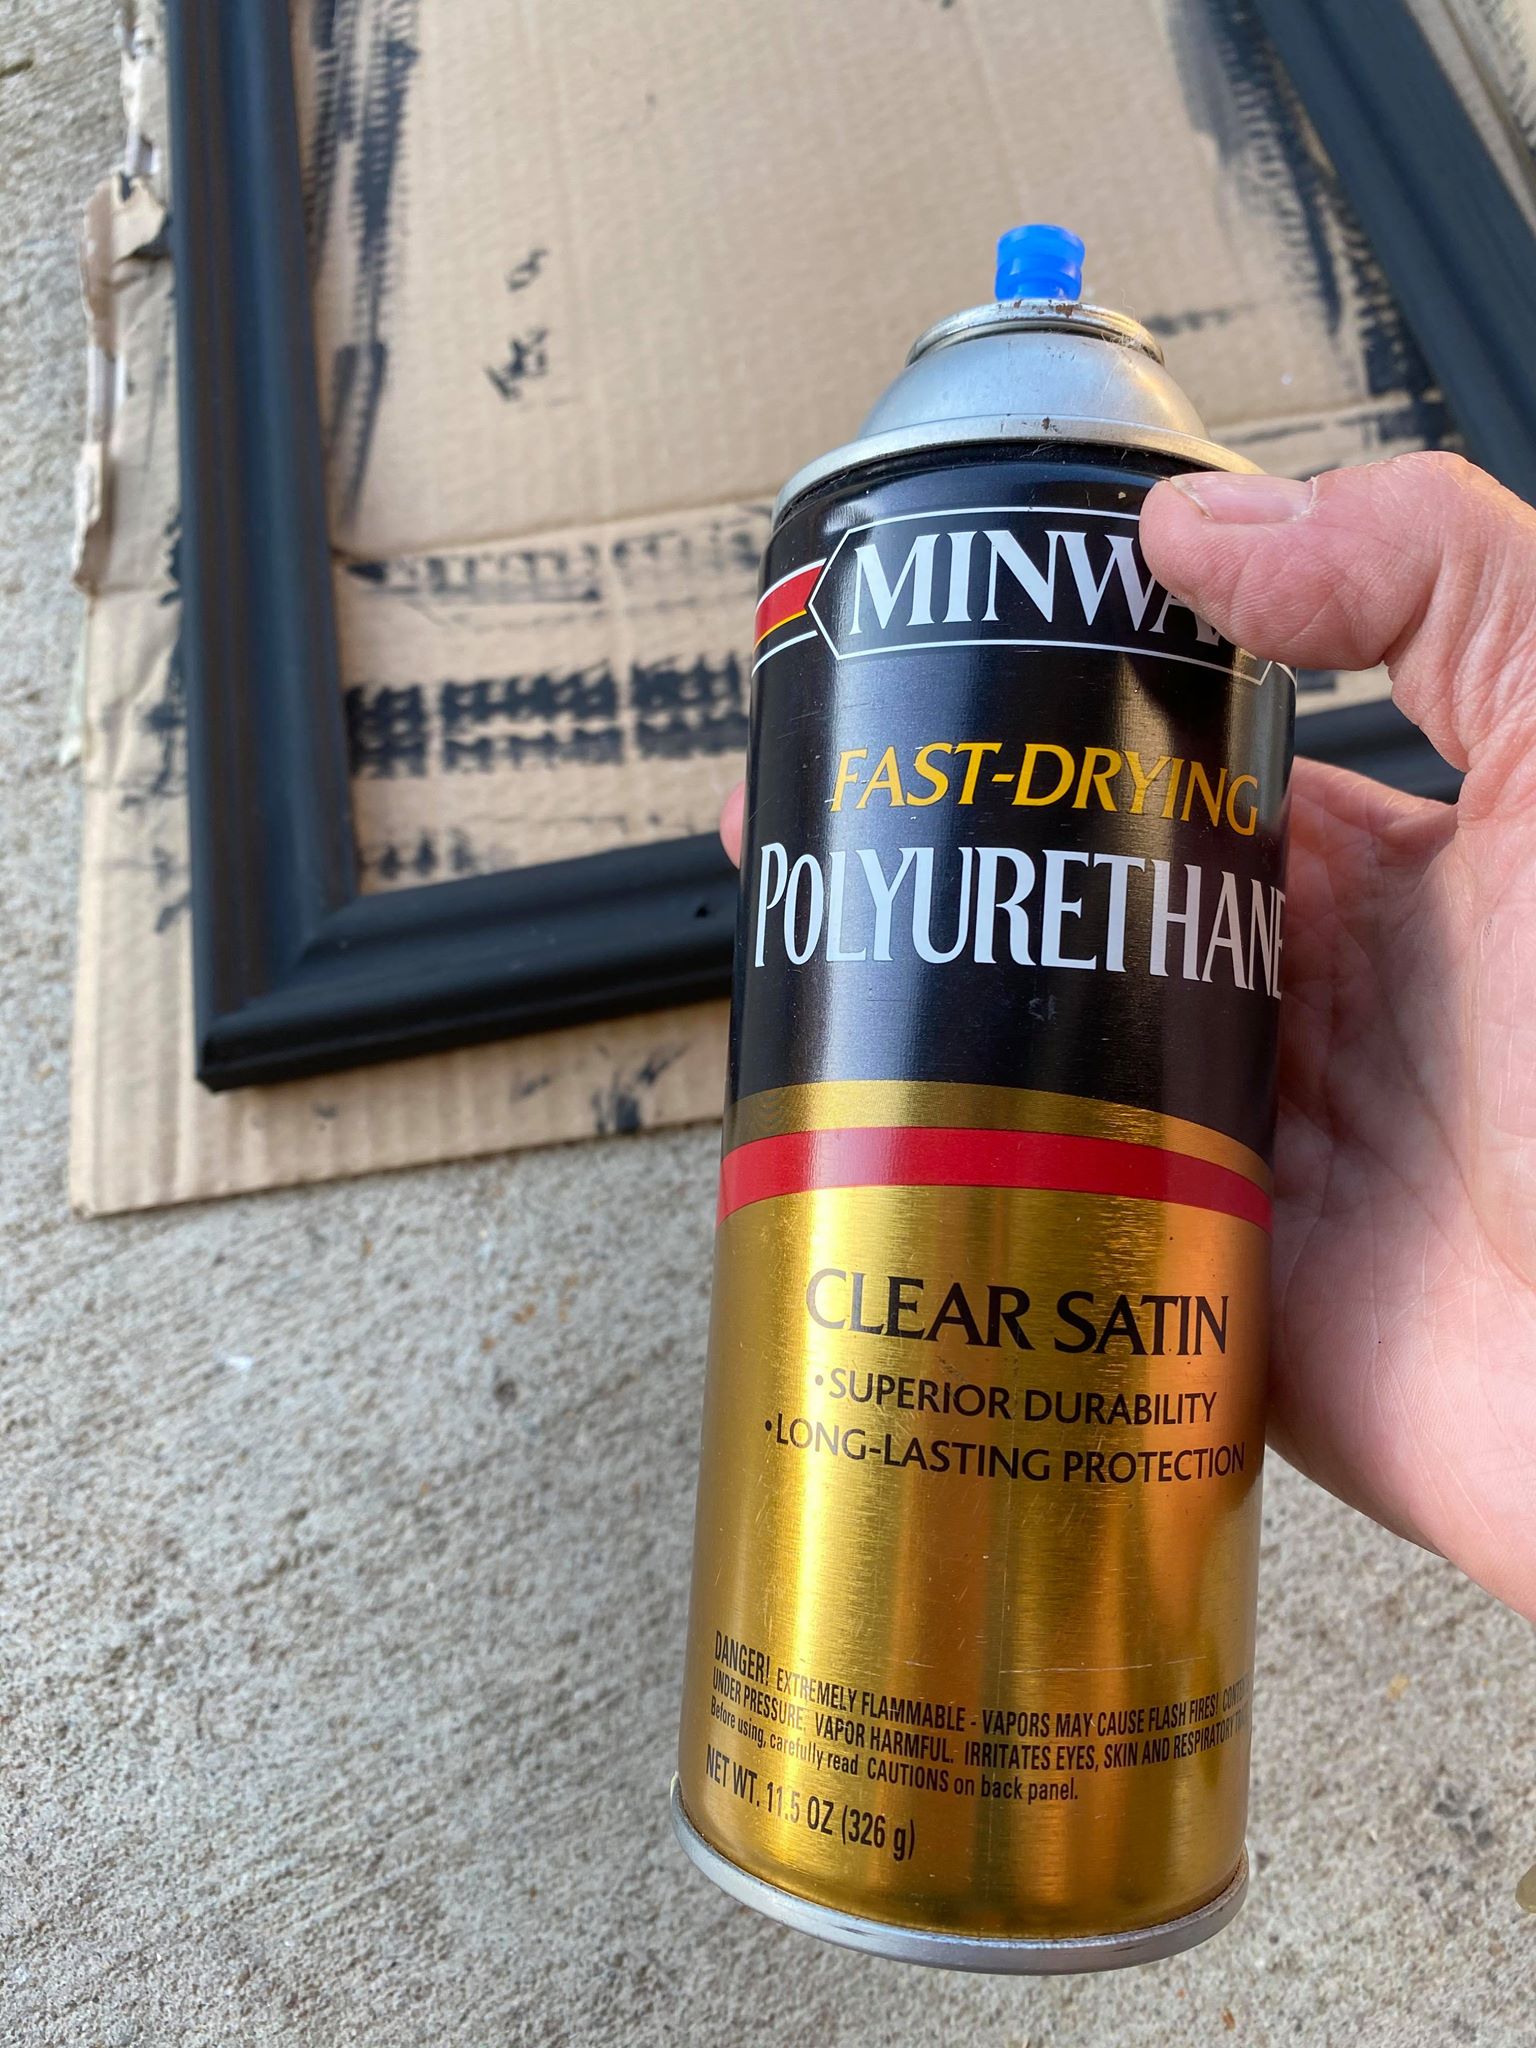
Once the frames were dry I then lightly gave them a coat of a polyurethane spray.
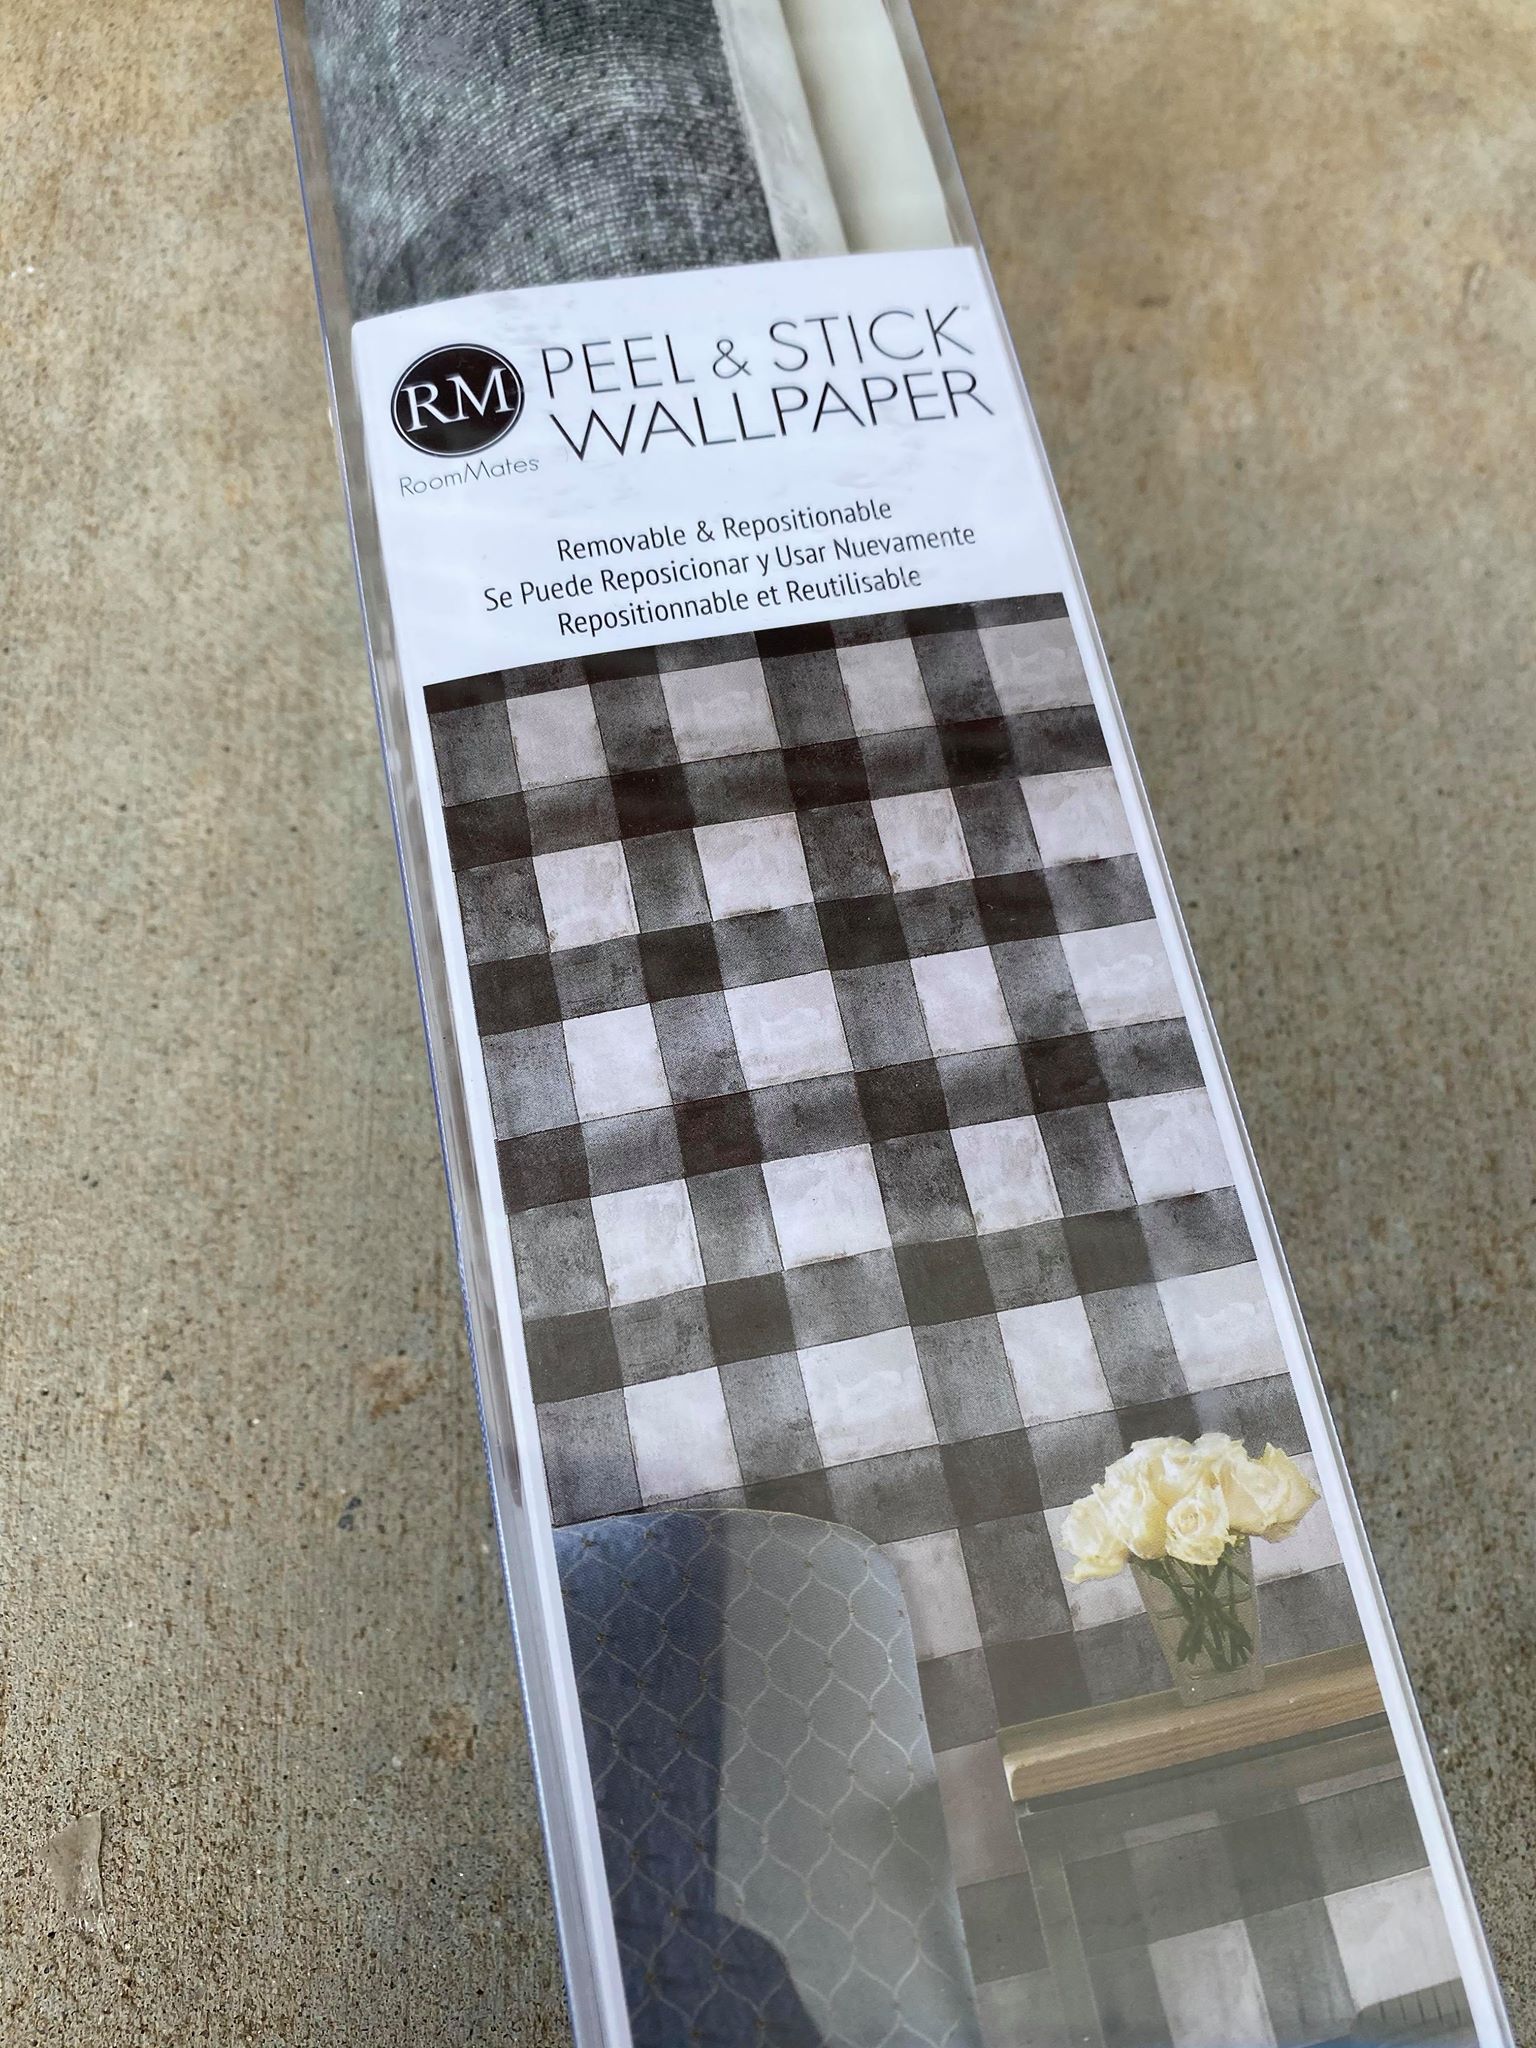
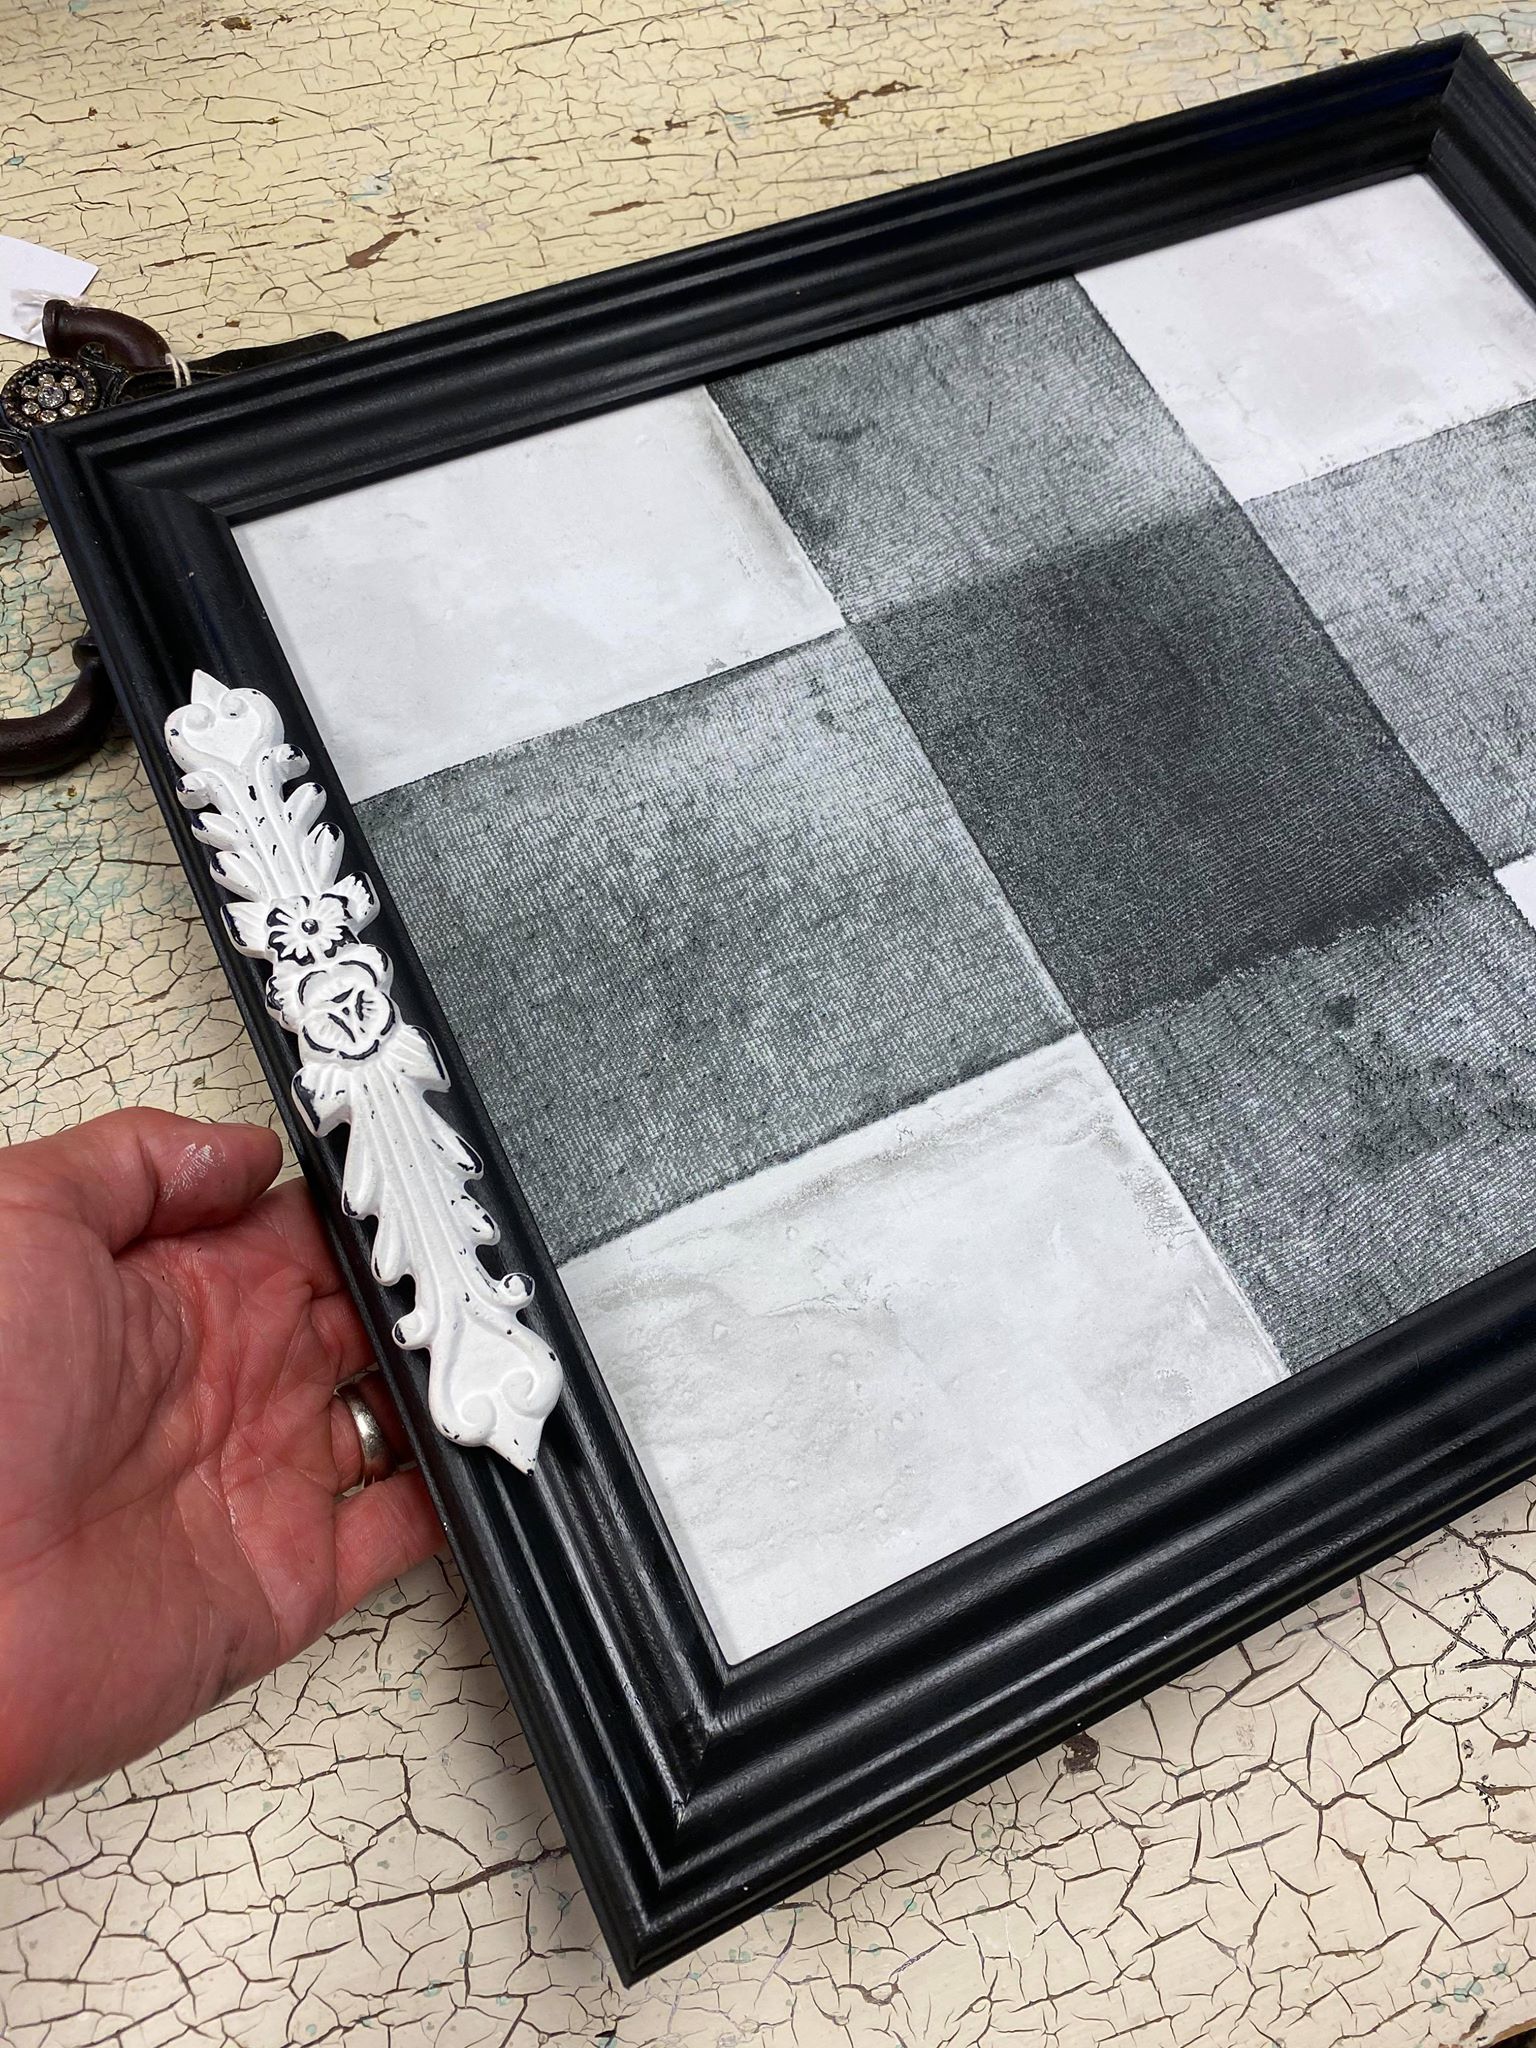
I wanted to make each tray different. I added a peel and stick wallpaper to the glass of the frame I painted black.
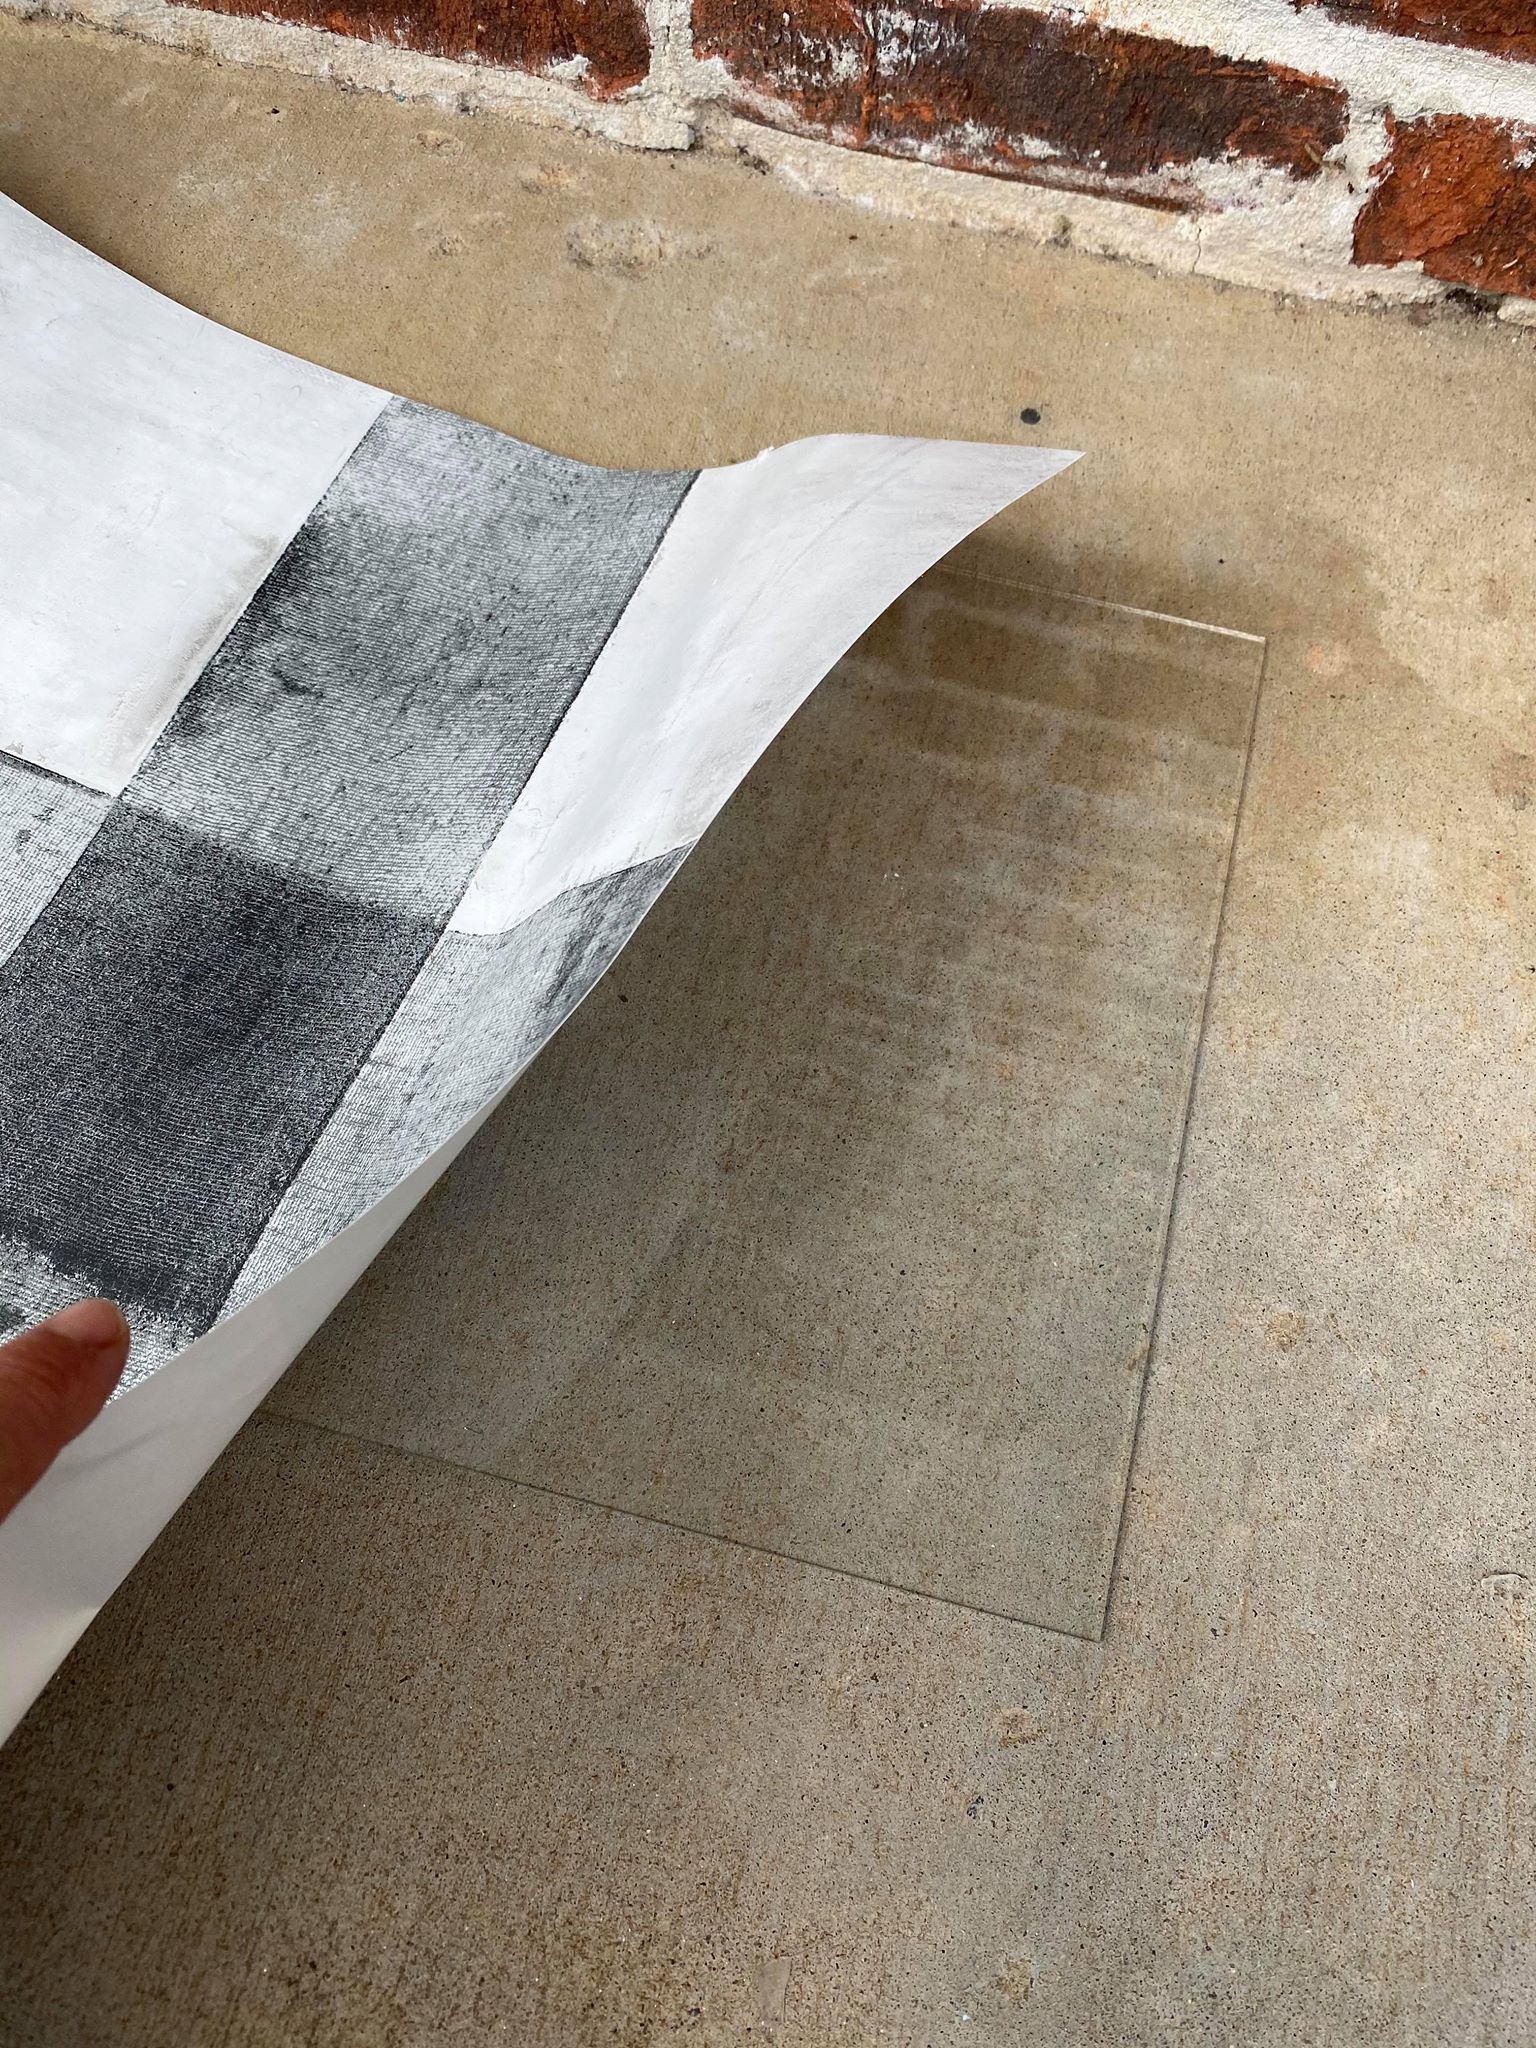
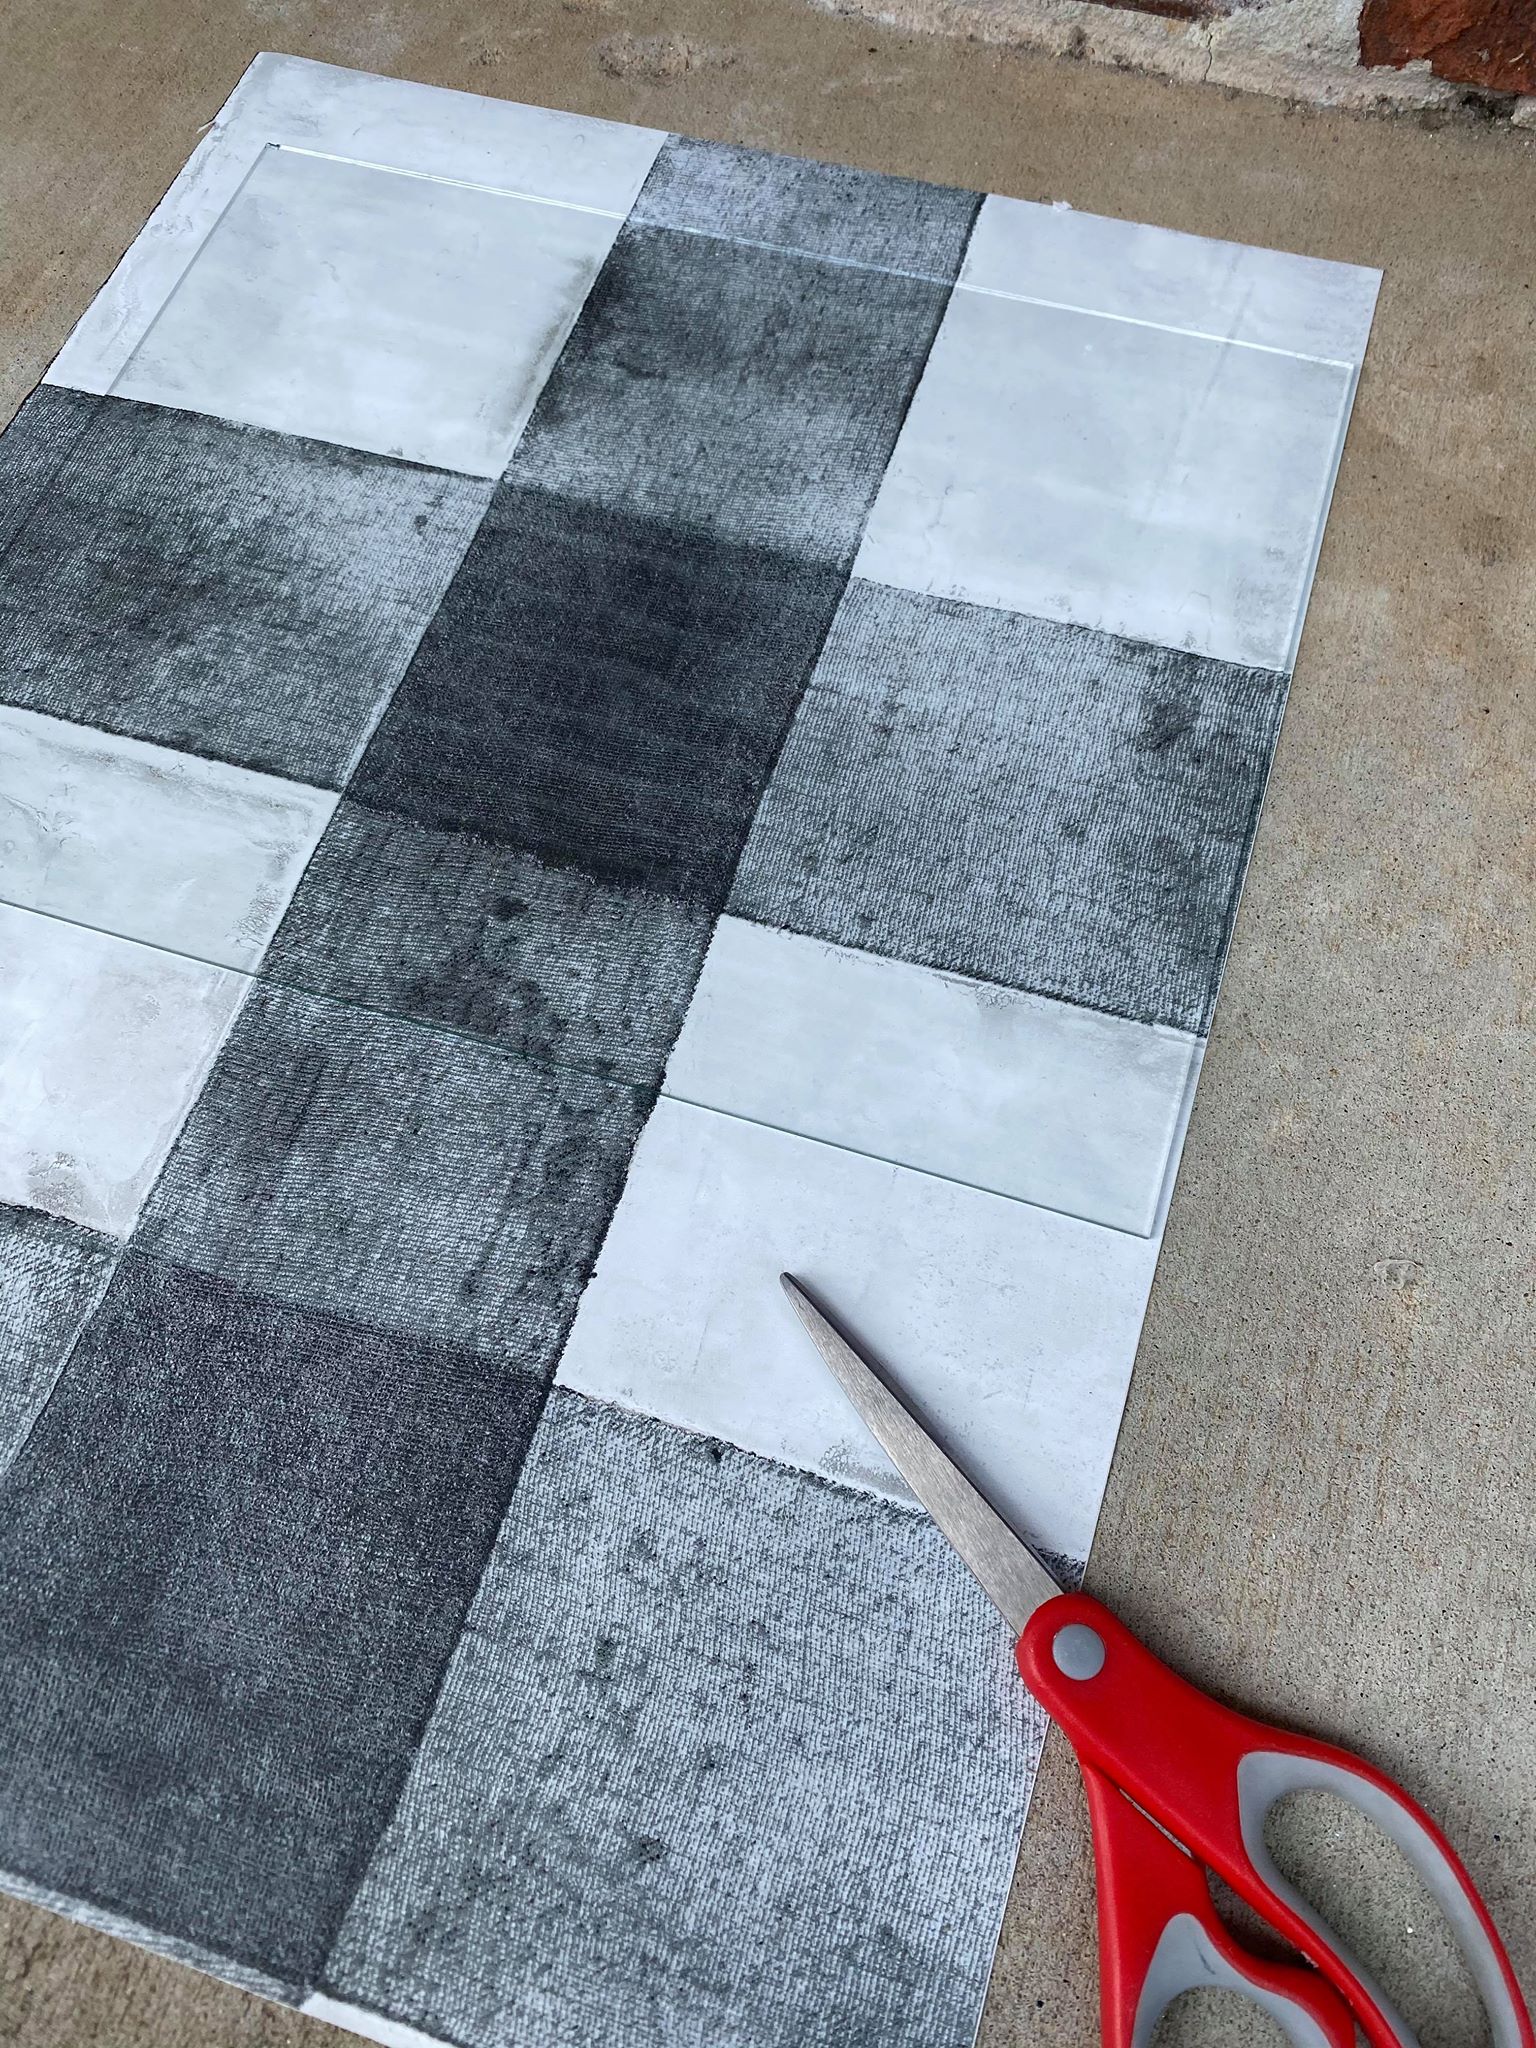
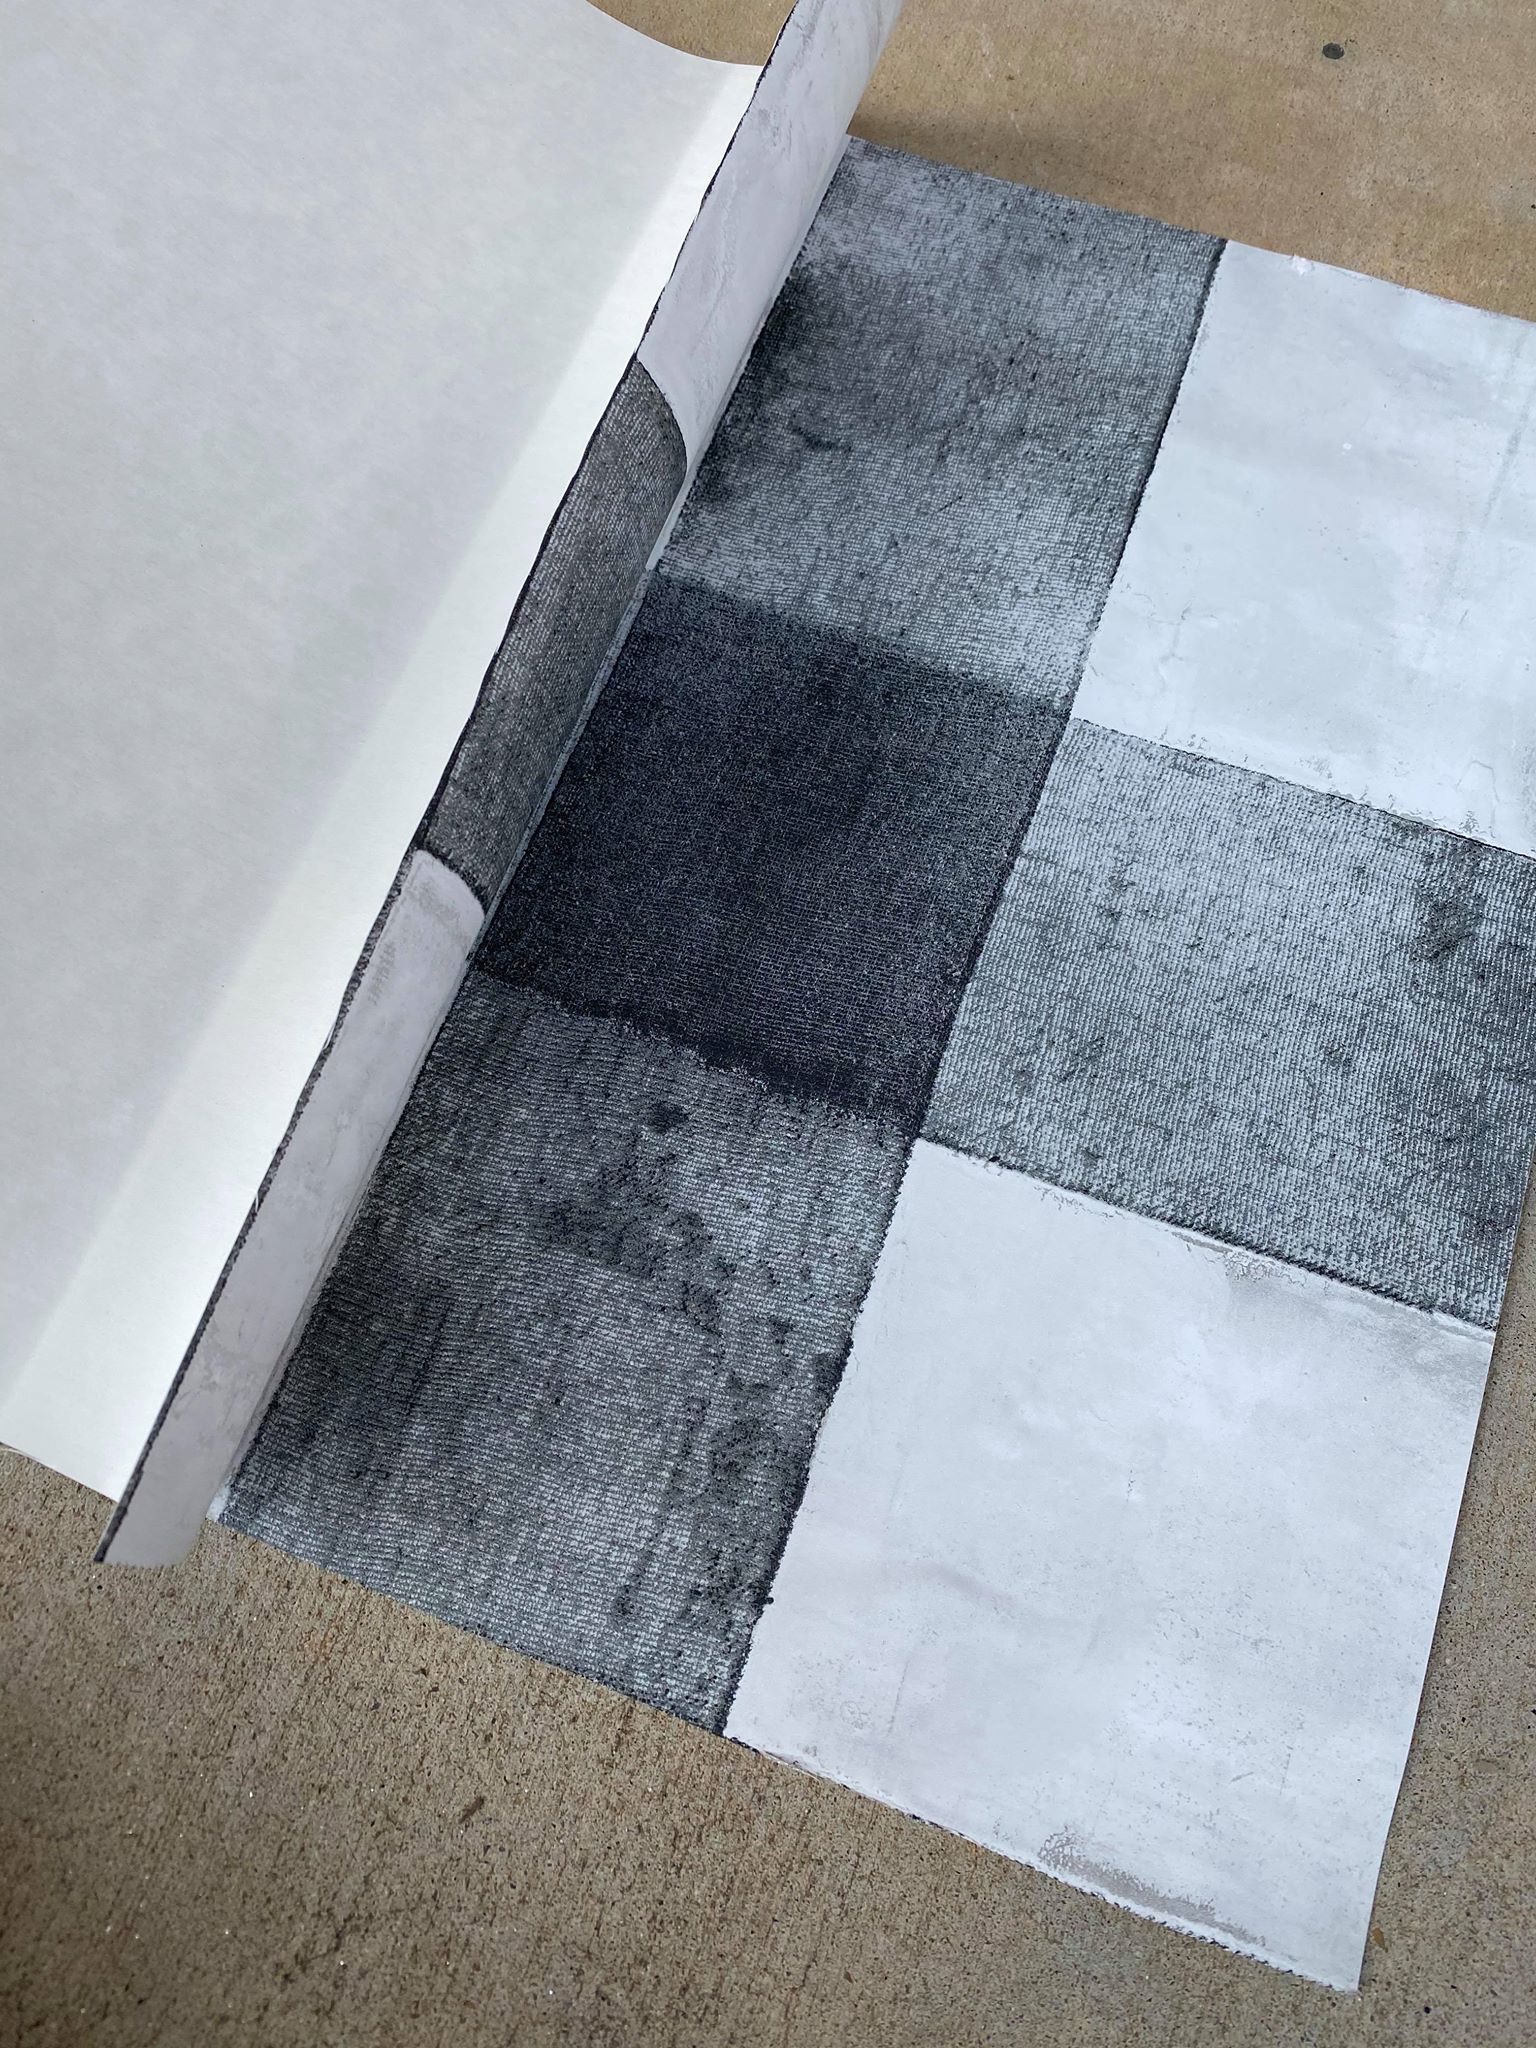
I took a small plastic card to rub along the wall paper to get it all flat and get rid of any air bubbles.

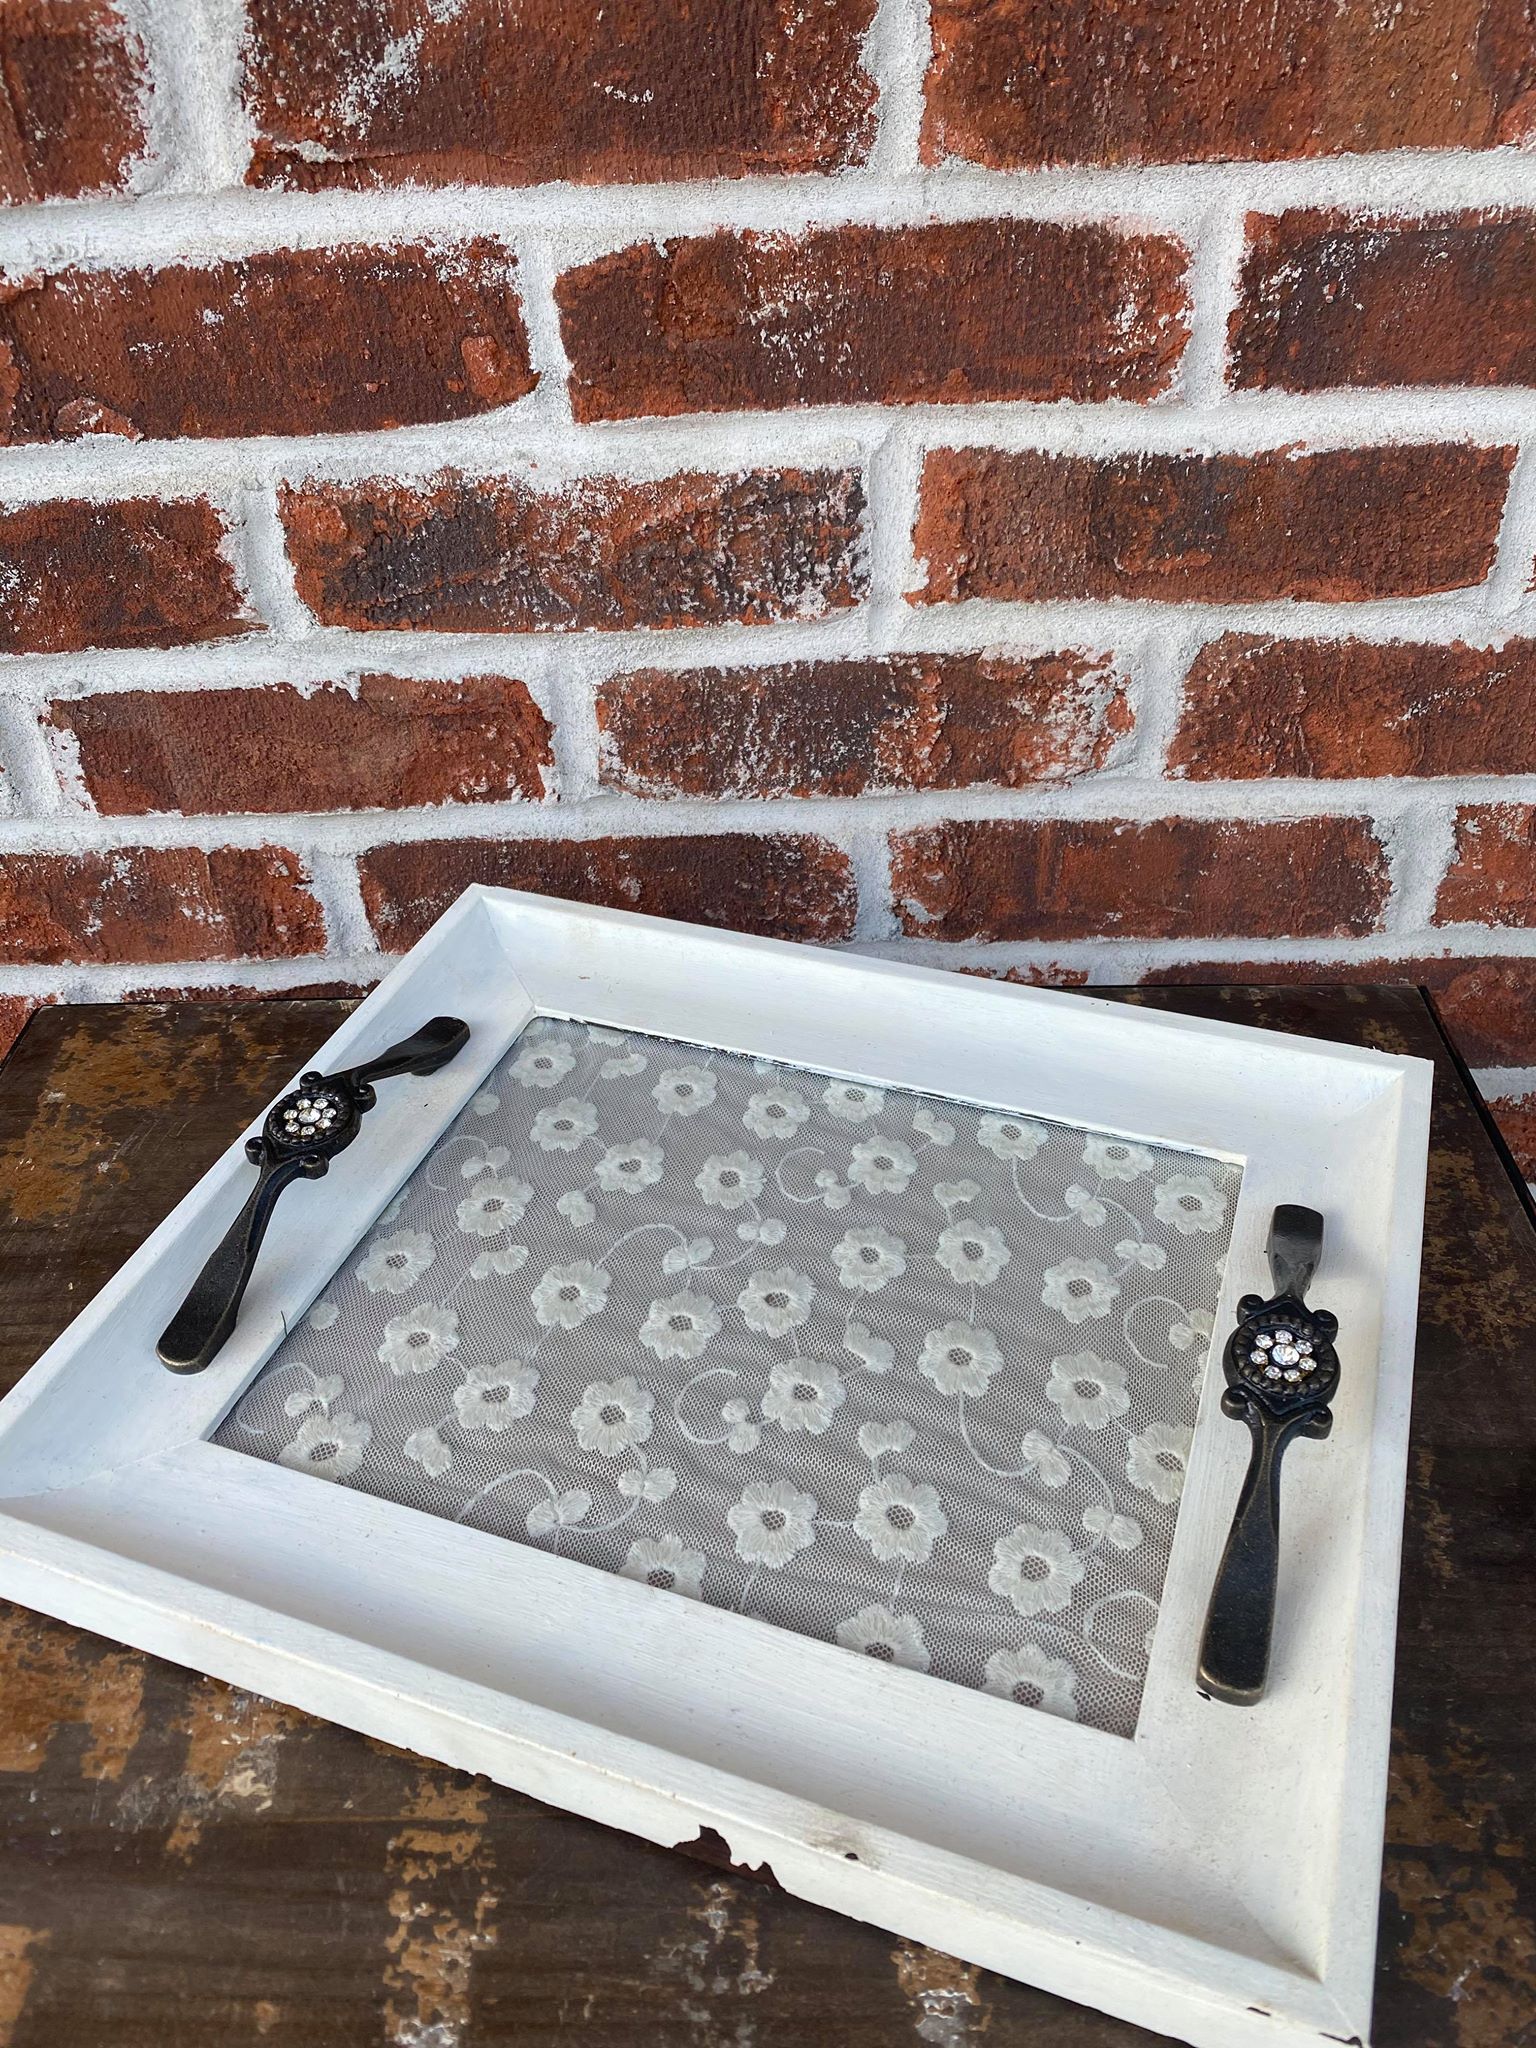
It is now time to place your knobs onto your frame. My knobs came with screws which I will insert into the back side of the frame.
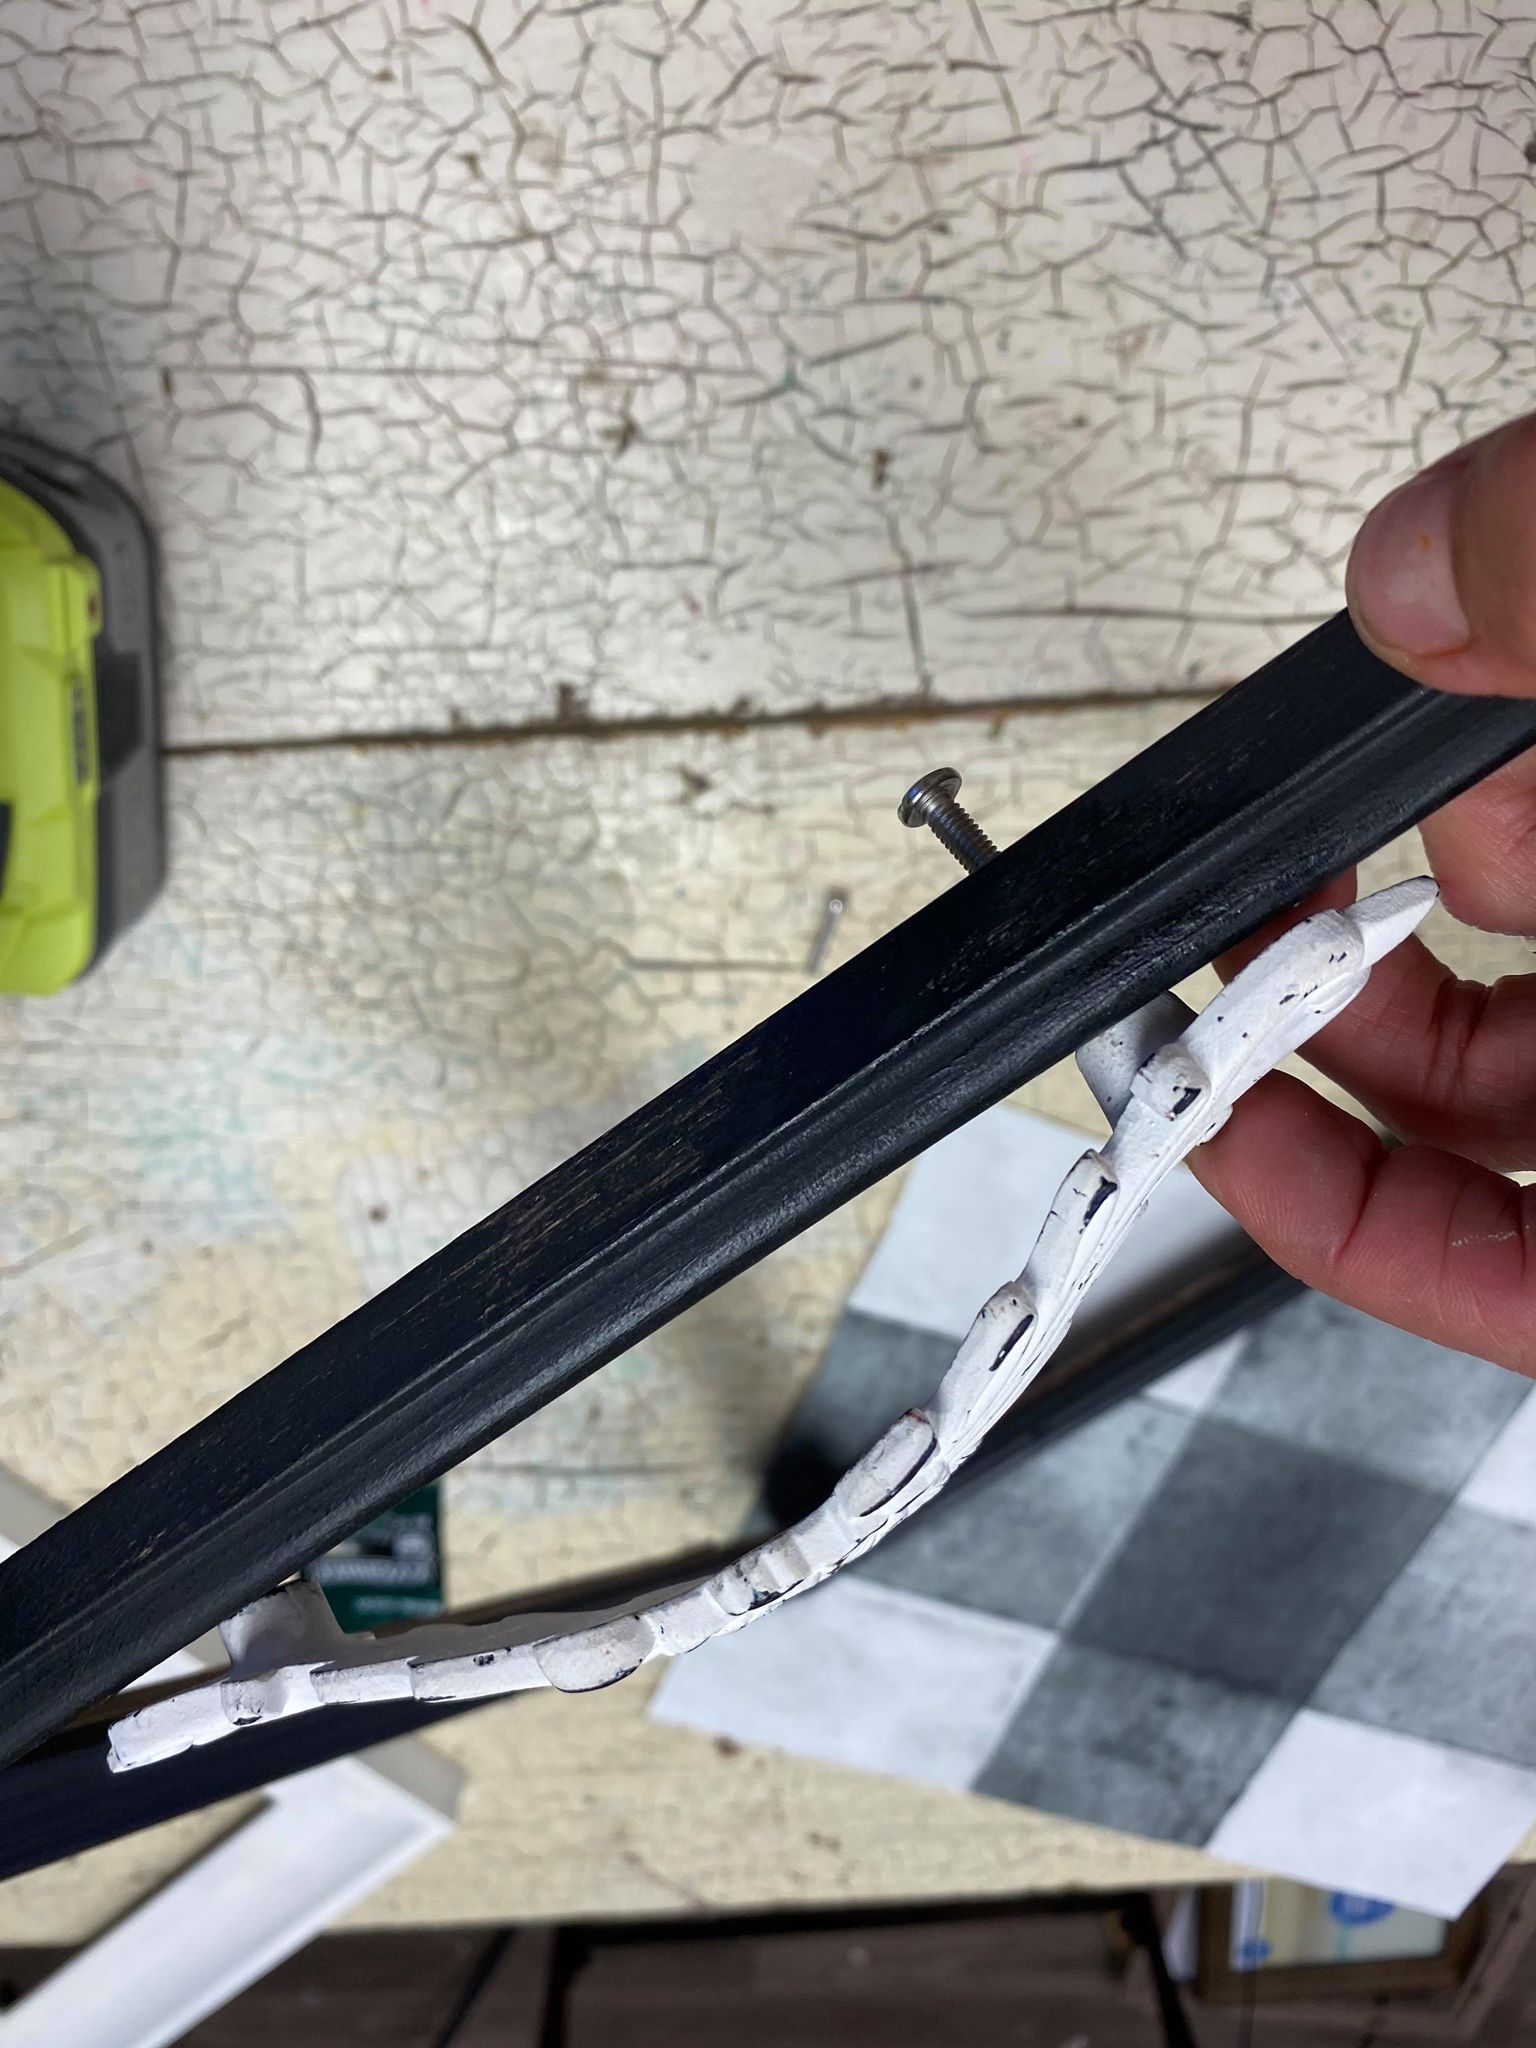
You will screw the knobs onto the frame and then insert your glass back into the frame.
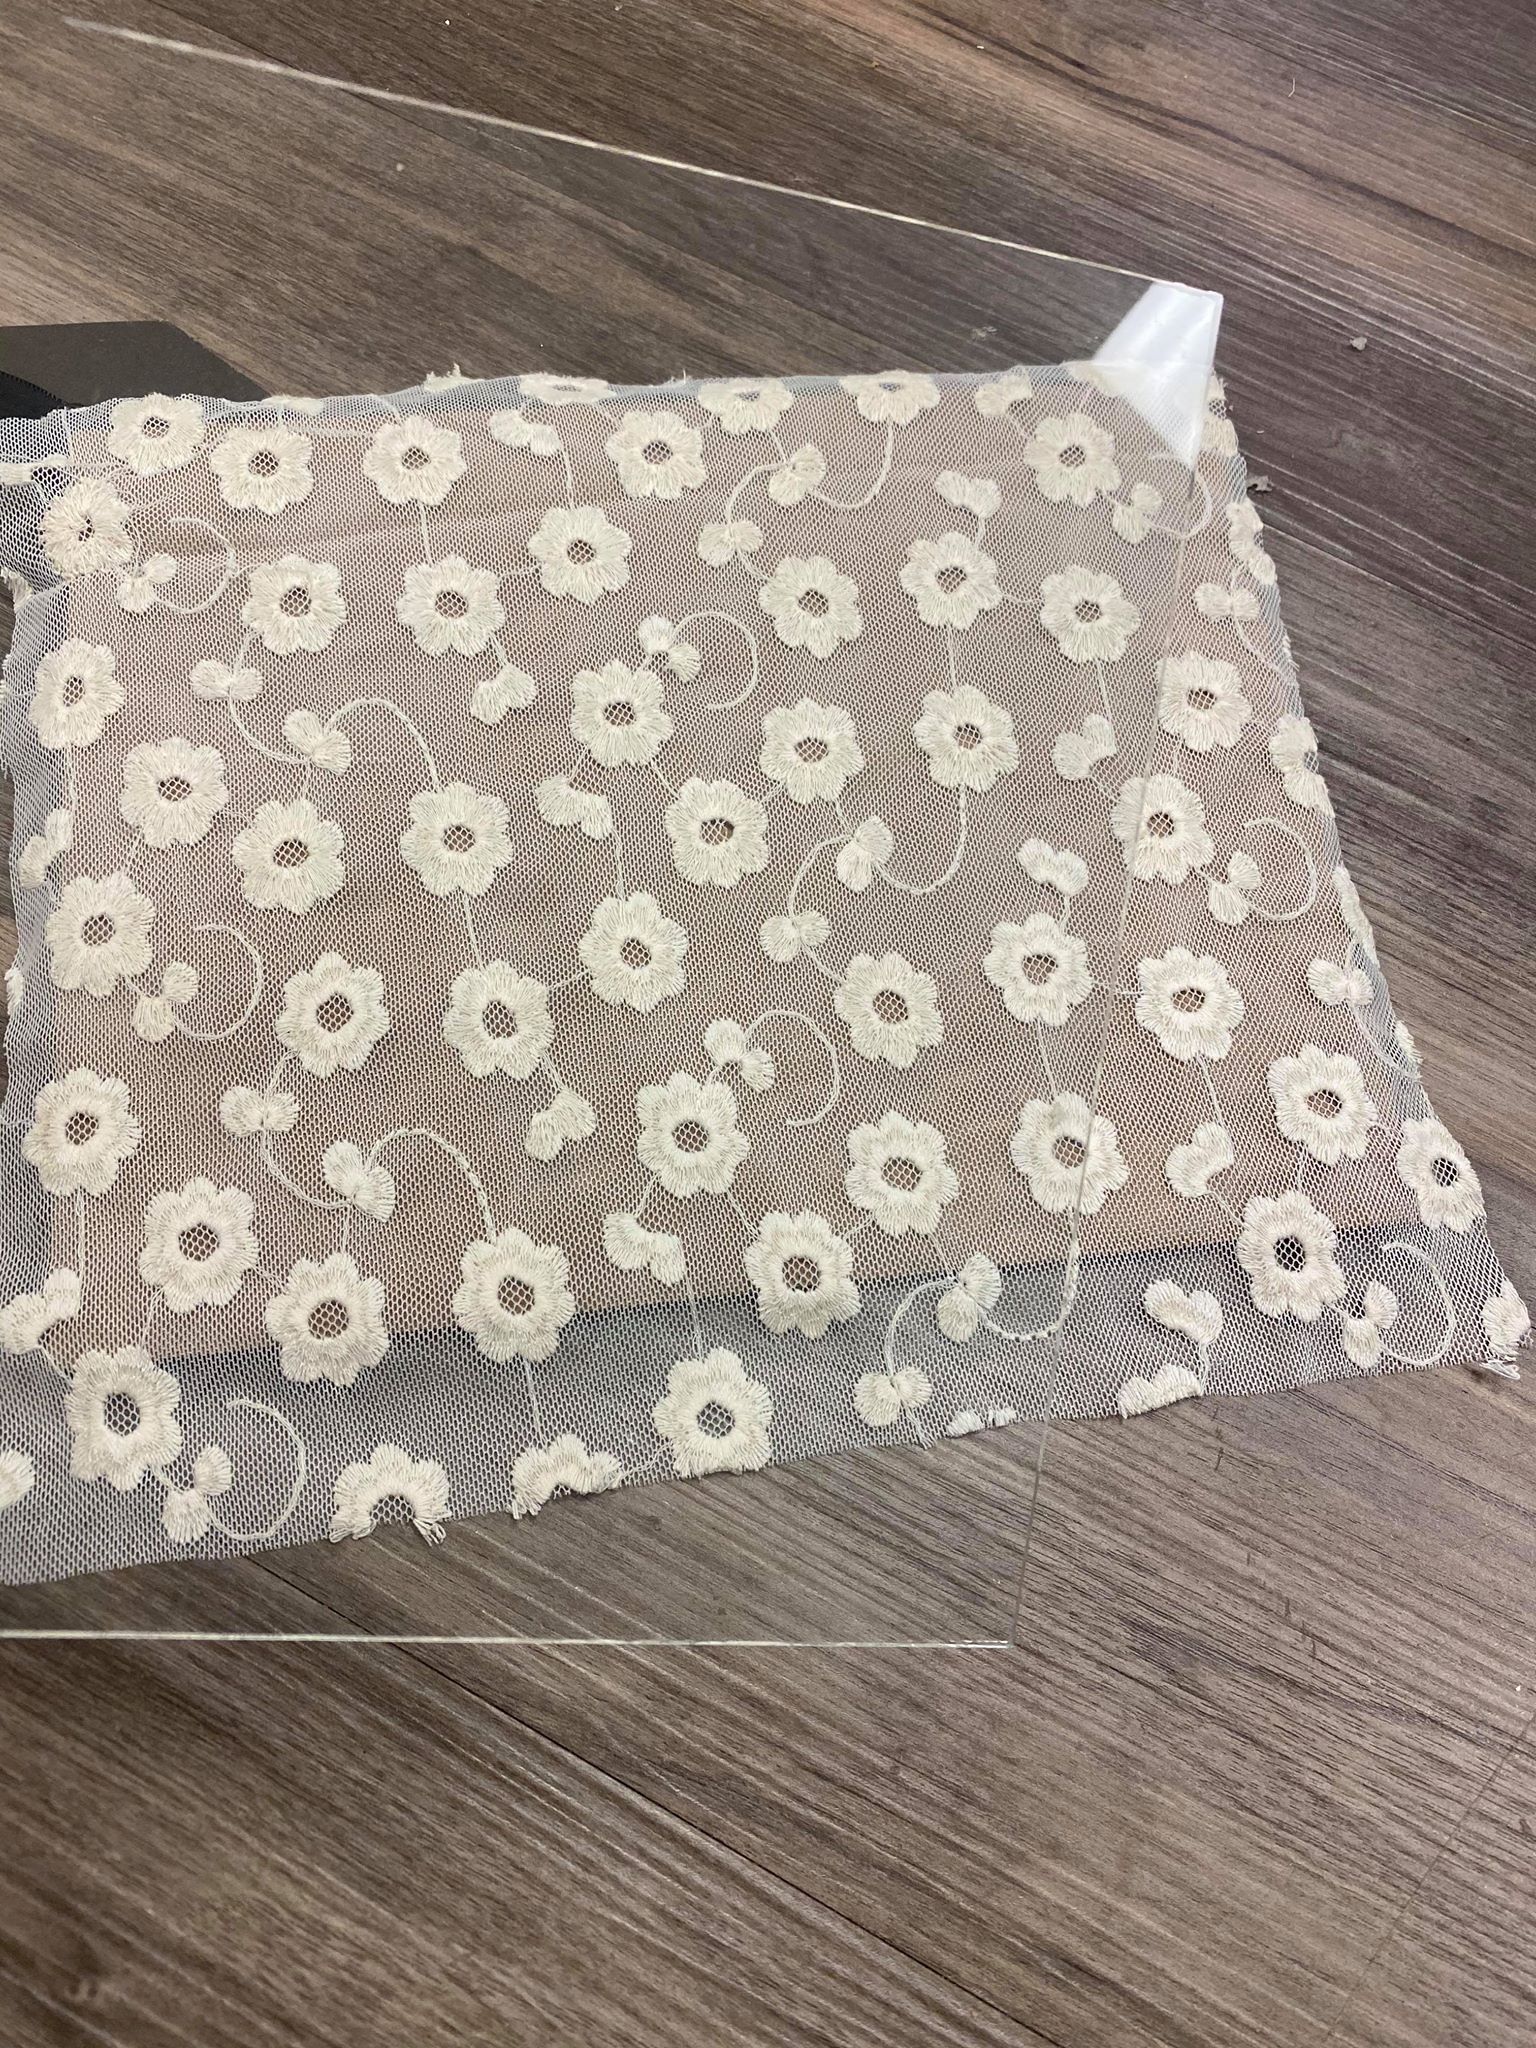
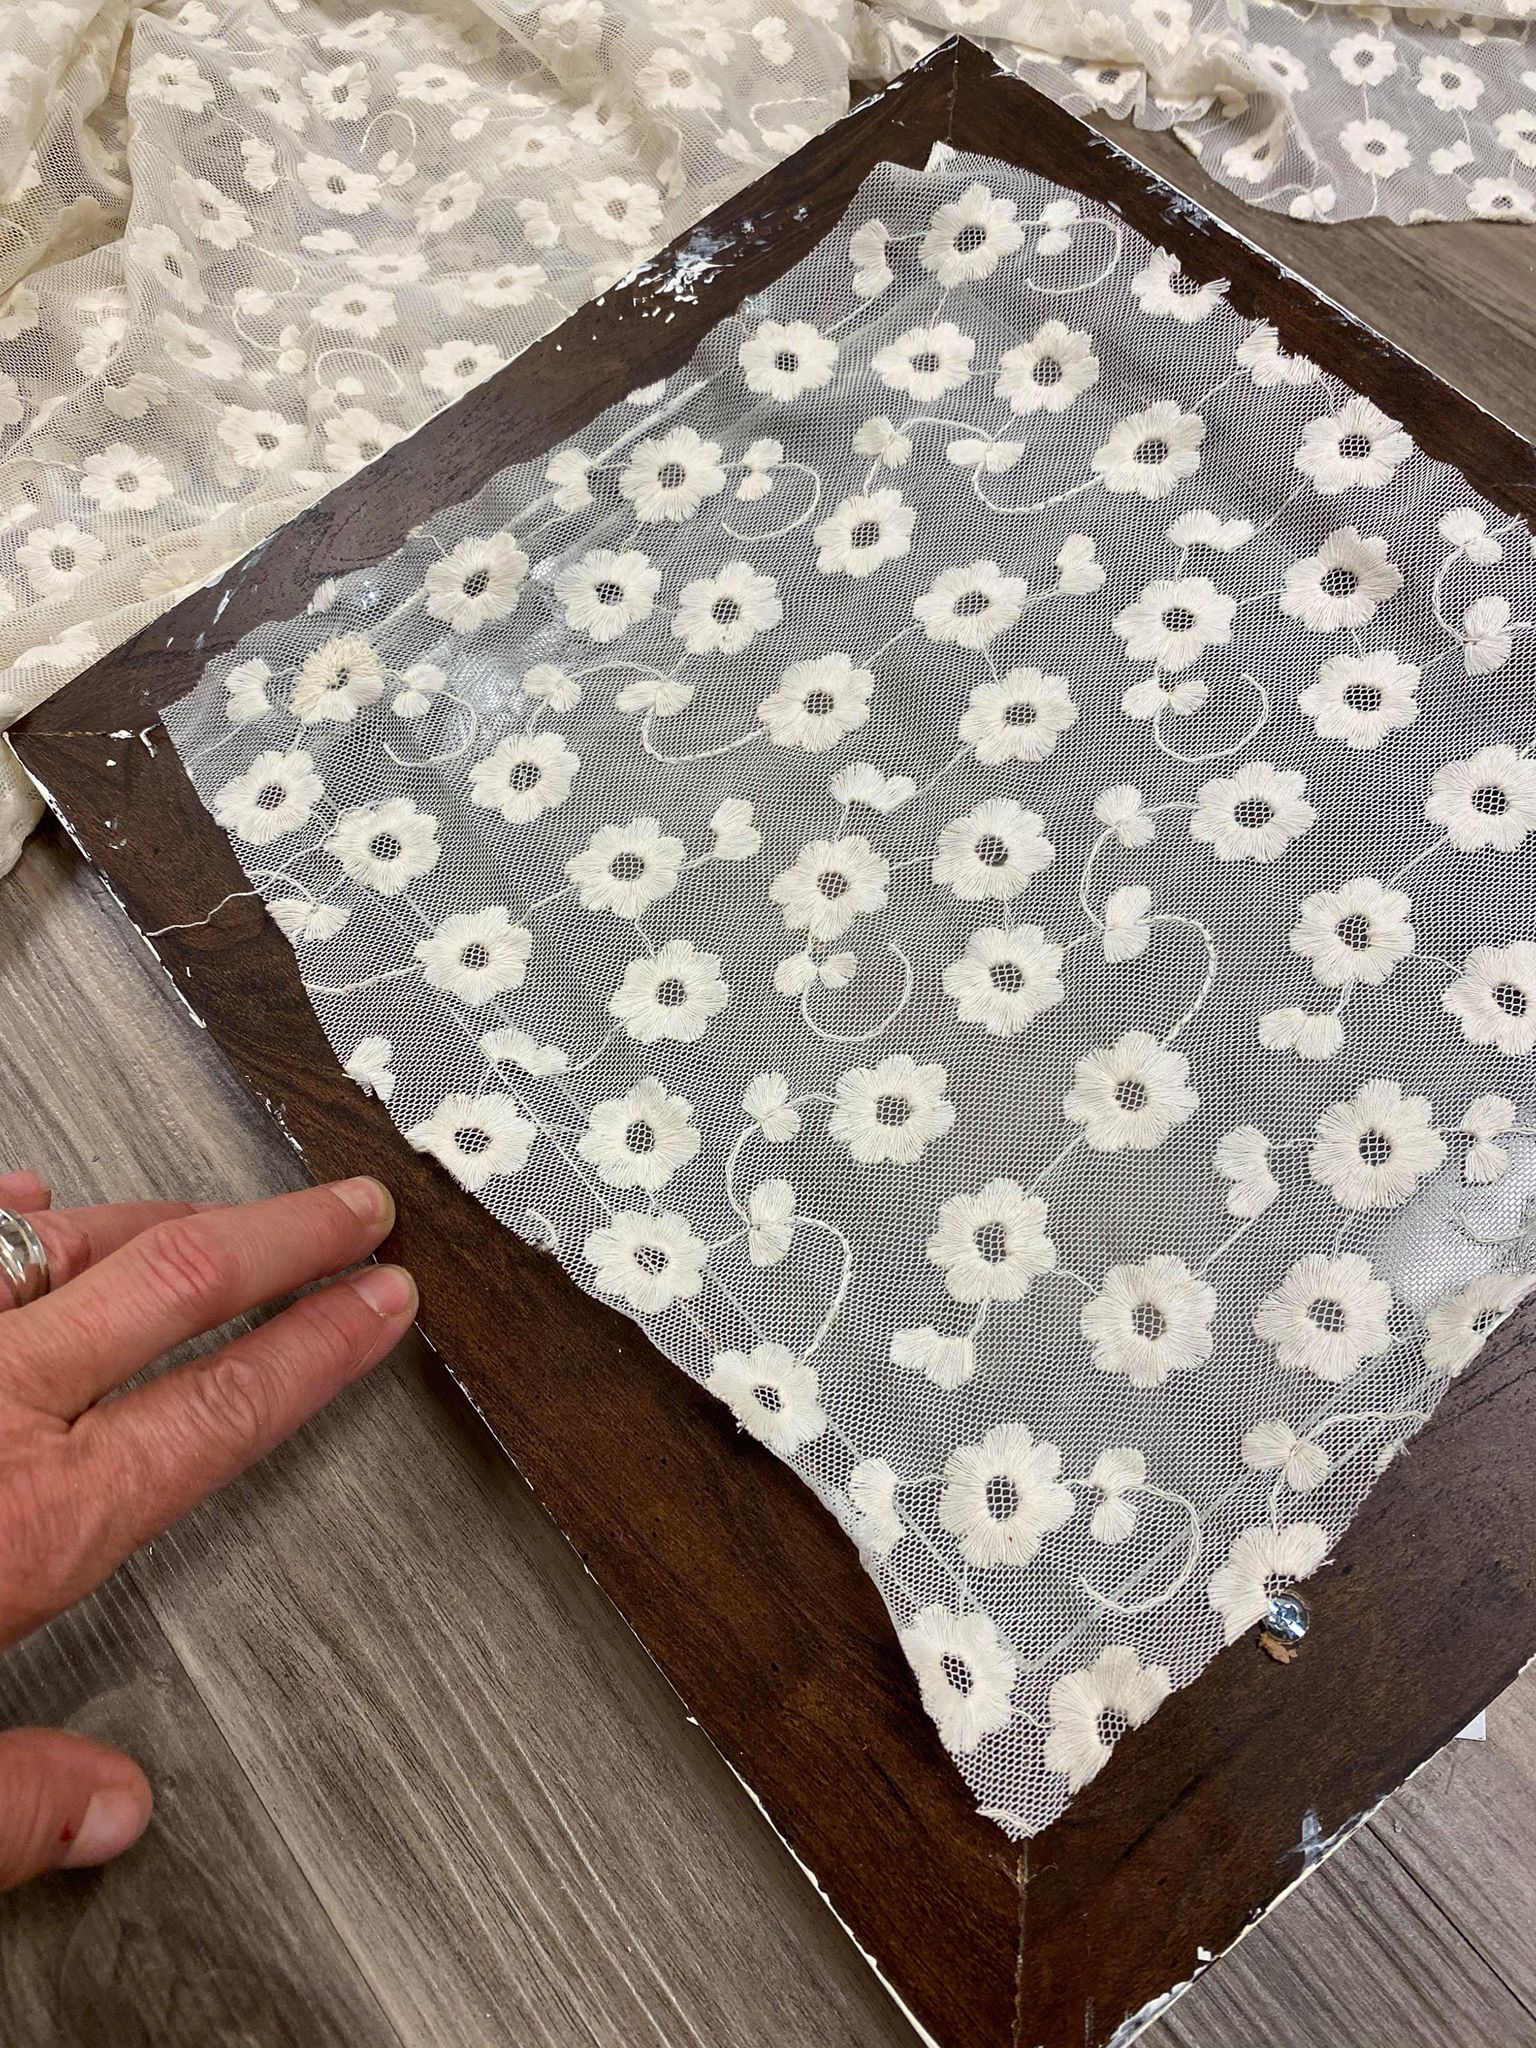
I did things slightly different to my other 2 frames. The frame I painted cream was a smaller frame and I added a piece of lace behind the glass.
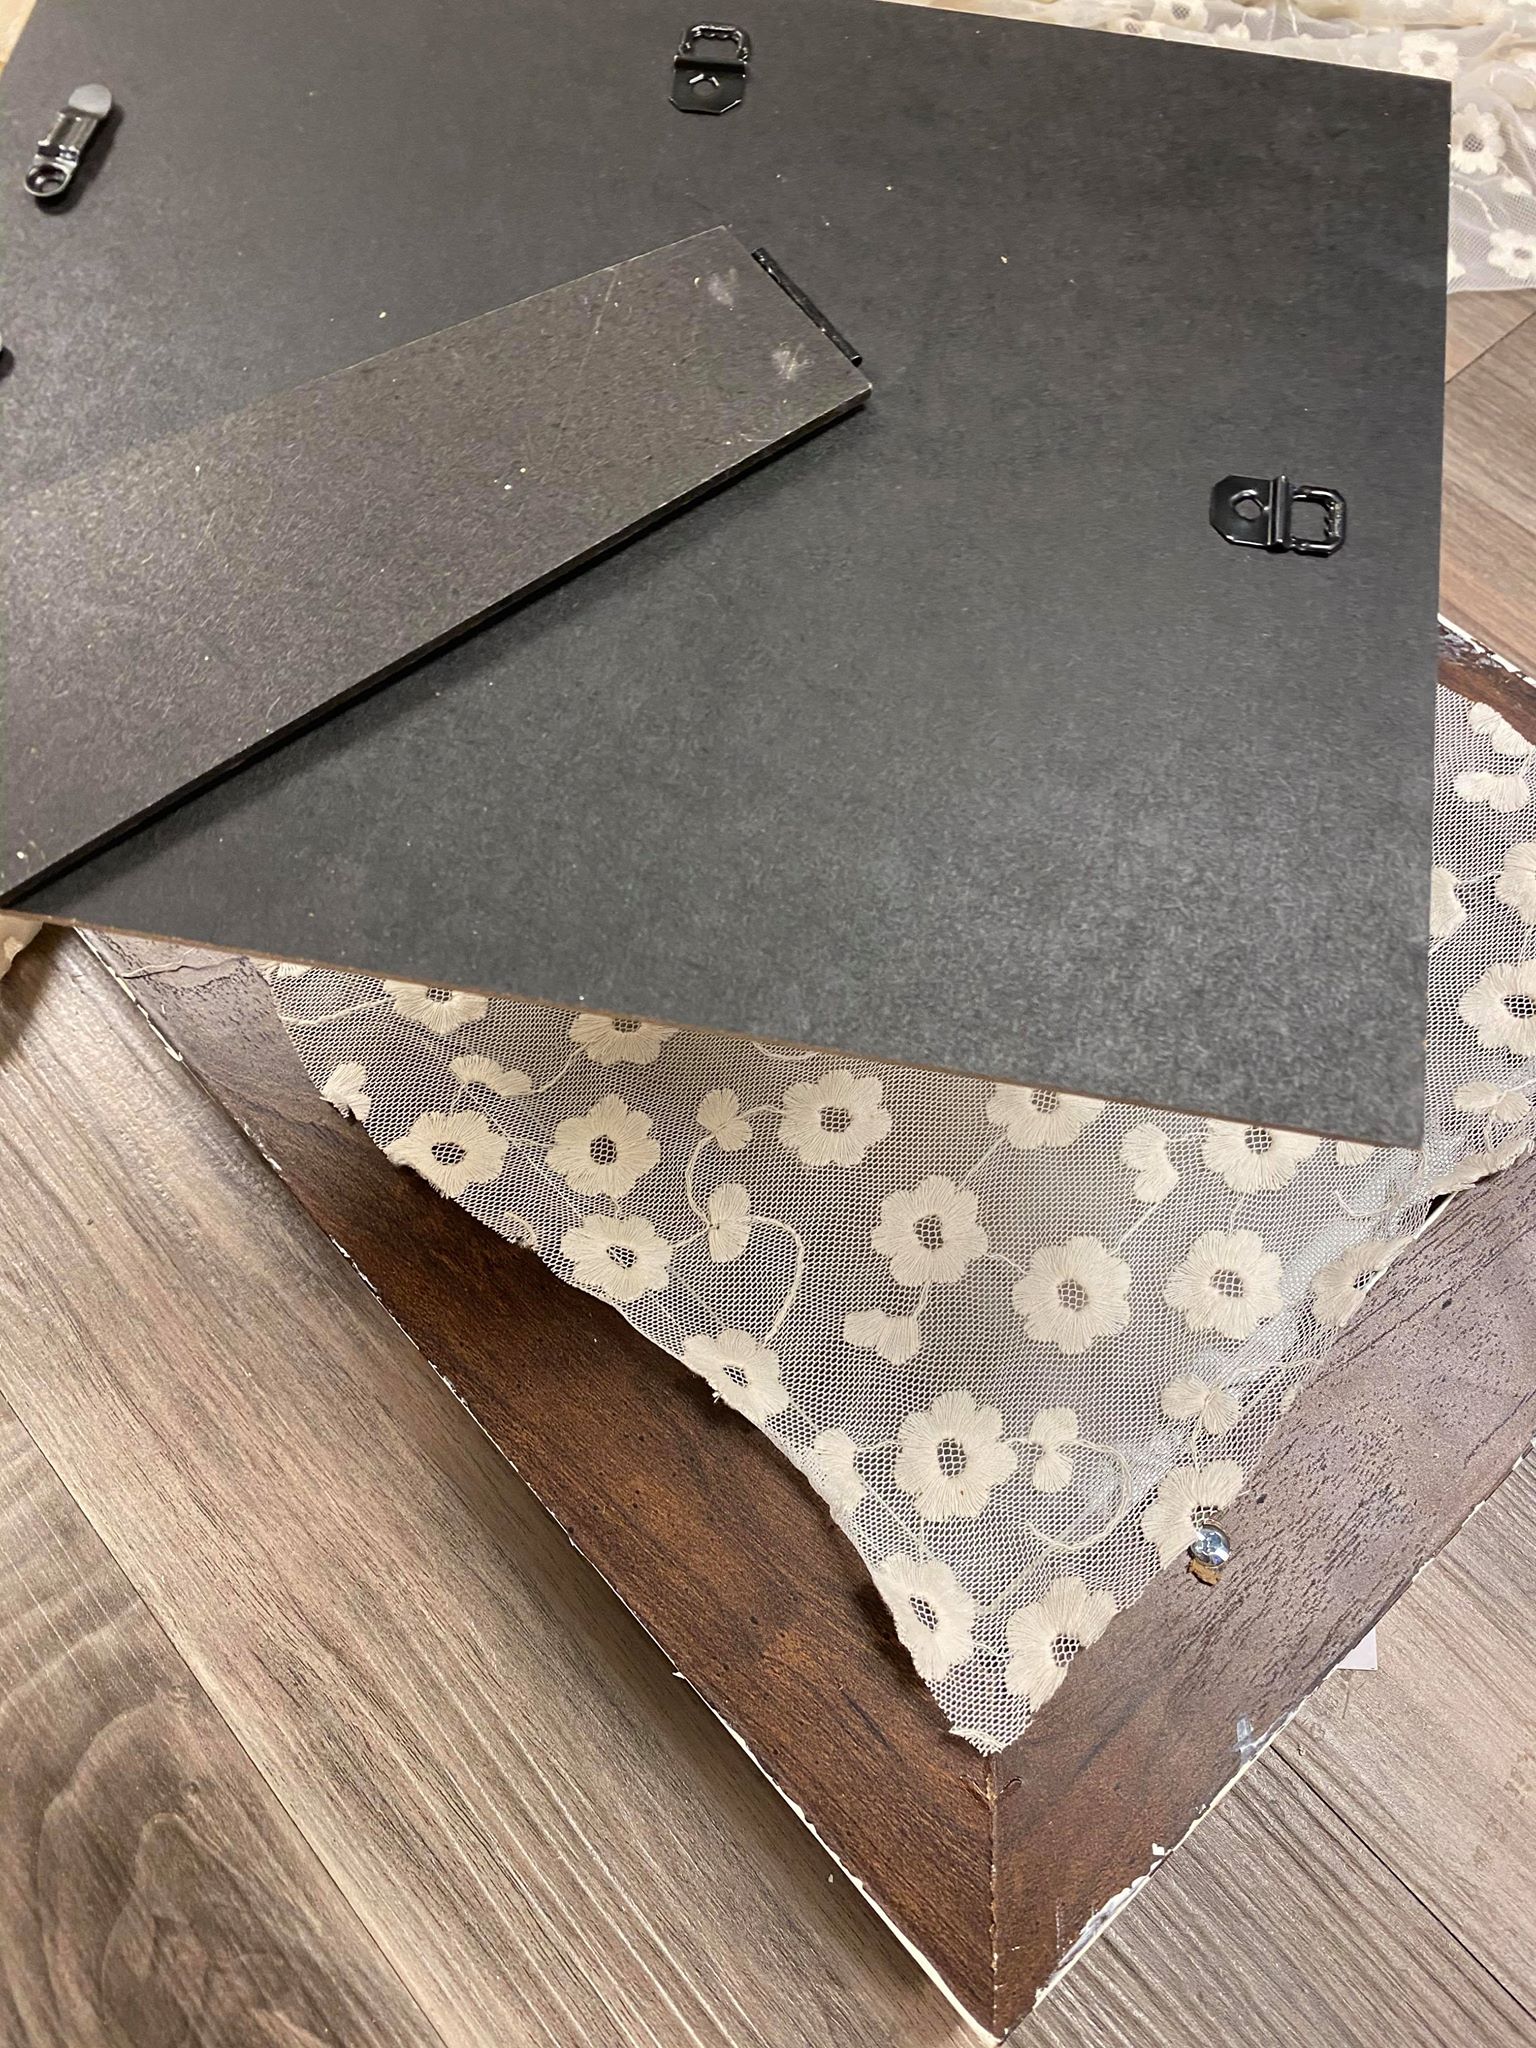
My third picture frame I left the frame as is and I spray painted the back piece of the frame. I left the glass out of this frame and left just the back piece in the frame.
There are so many different ways to create these trays. These are so cute to use throughout your home and display some items on them.