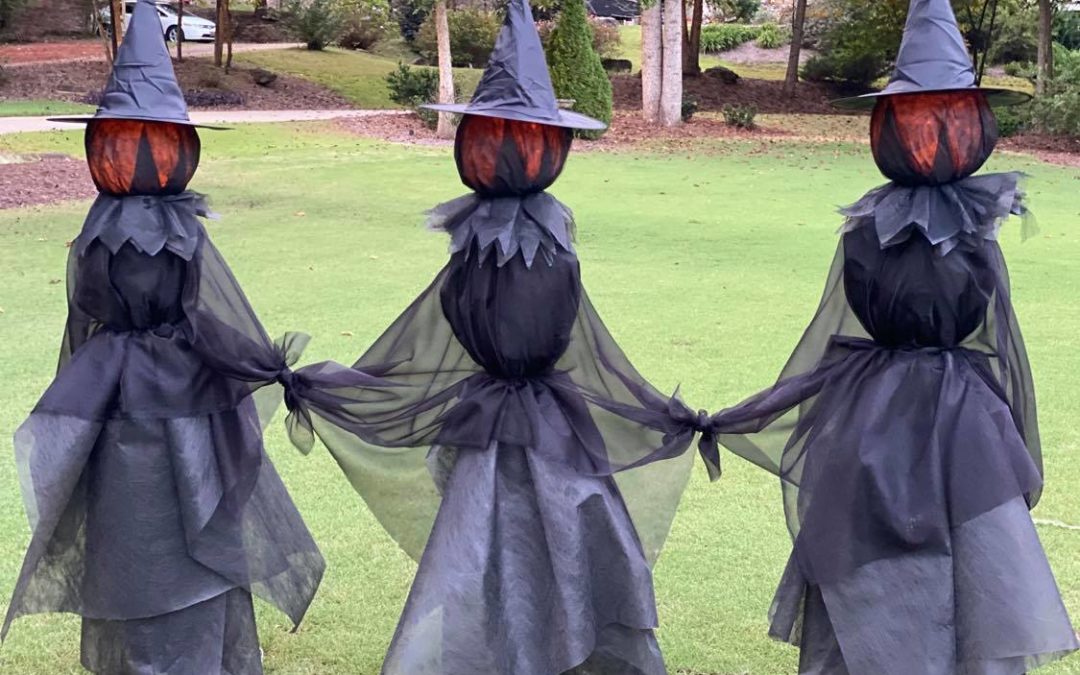
Okay fall and Halloween are here and you guys know I love decorating my yard. I have been seeing a lot of fun and unique witches all over Facebook and I wanted to try and create one using a plastic pumpkin bucket. We have done a variety of DIY’s using a plastic pumpkin bucket here at The Shabby Tree and I just knew this would make a great head for a witch! You can create this witch in a variety of ways I just want to show you that if you get creative it is very easy to make a fun witch for your yard.
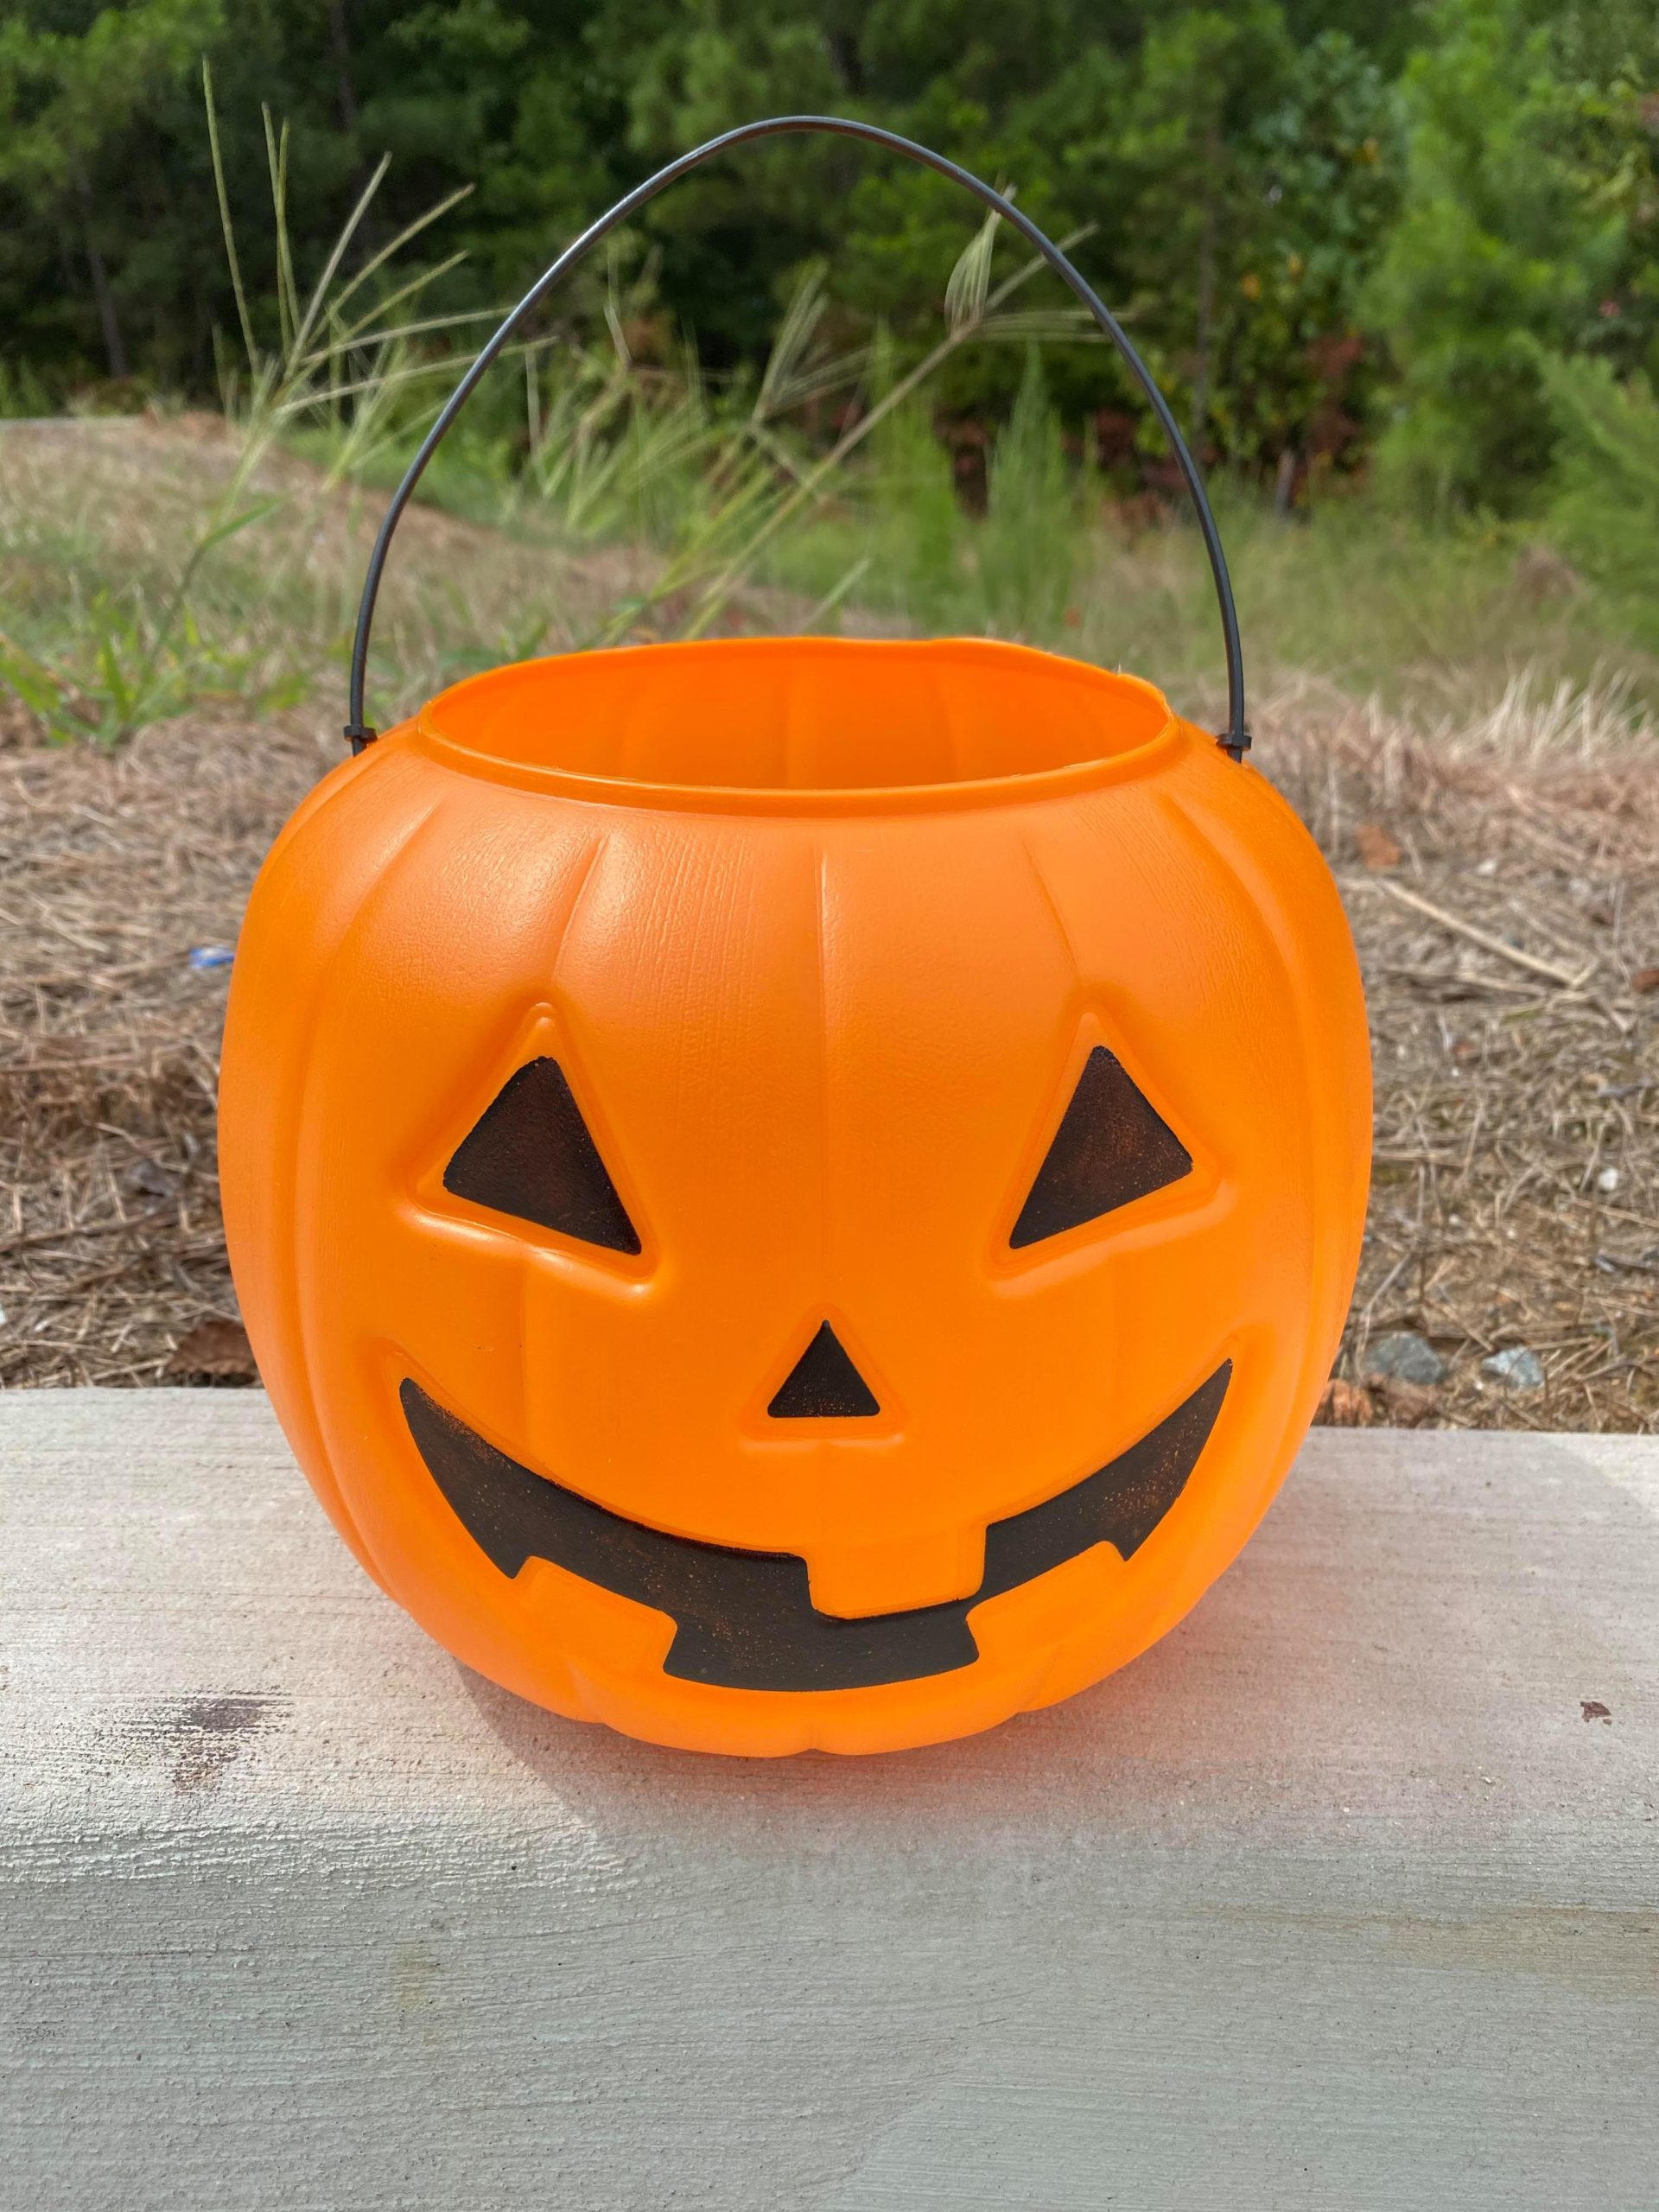
I will be using a variety of items to create this witch but my main item is a plastic pumpkin bucket. I found my buckets in Walmart.
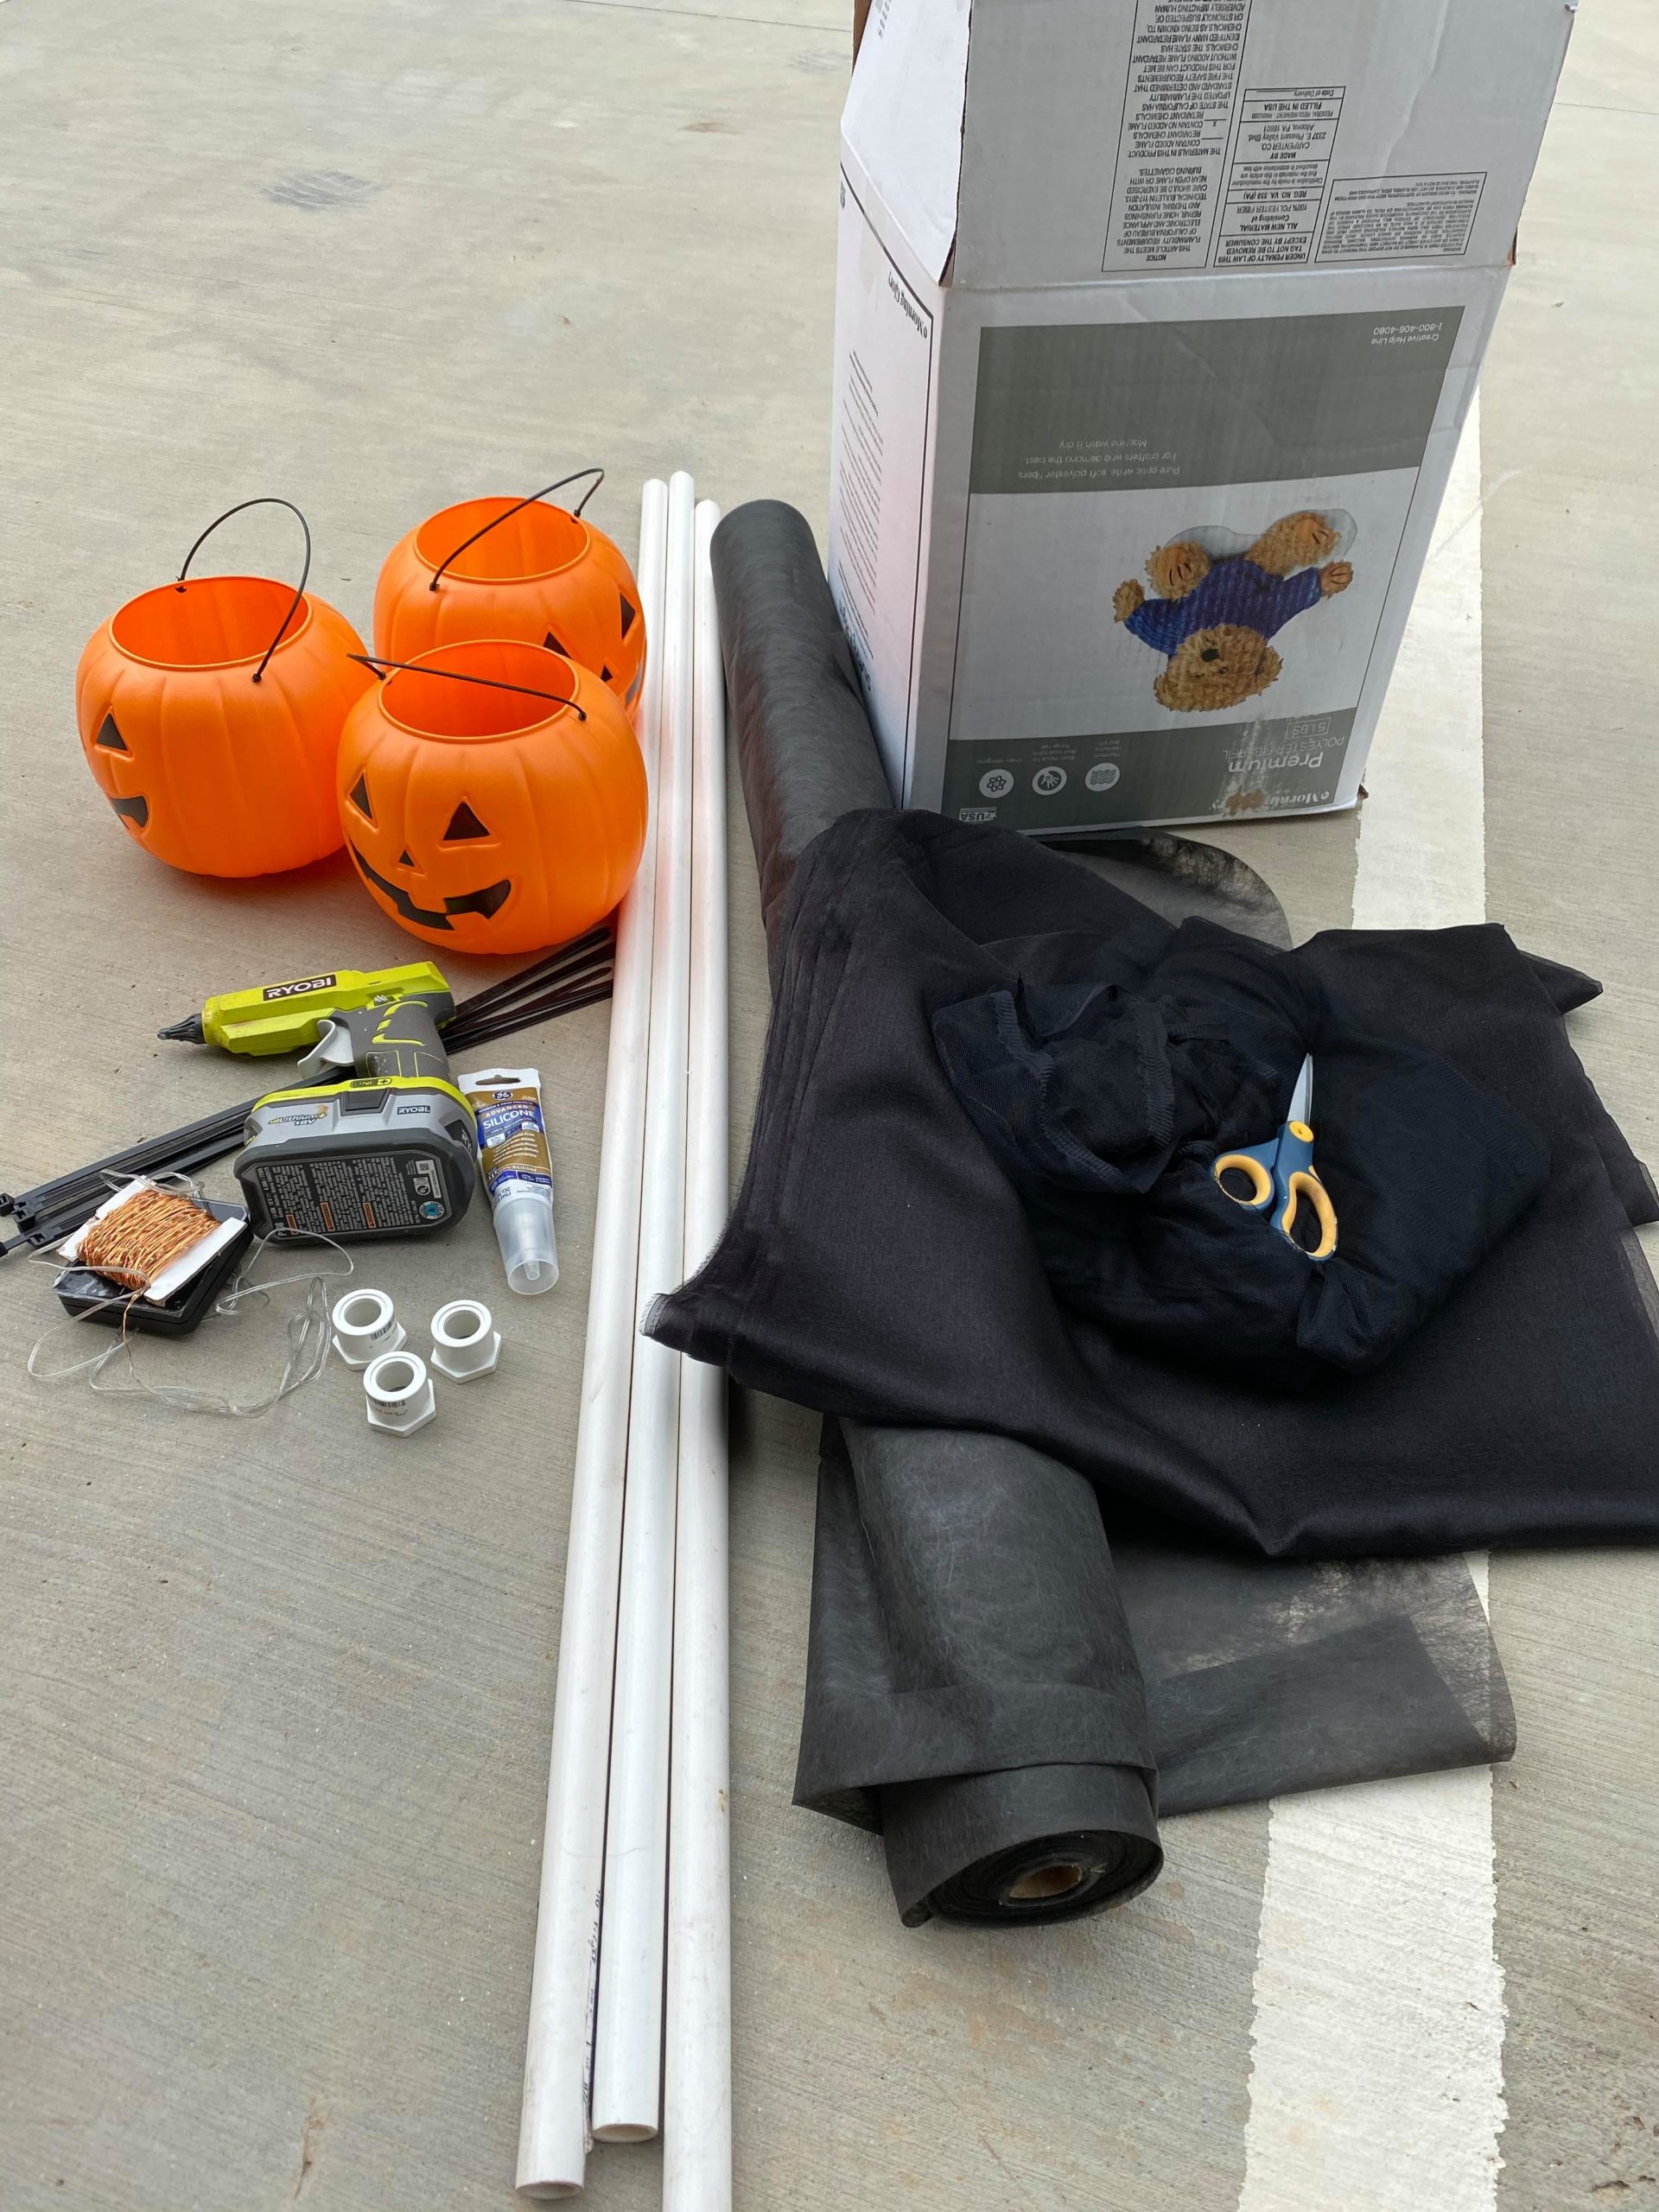
I will be making three of these witches so that I can group them together in my yard. Some other supplies I will be using are:
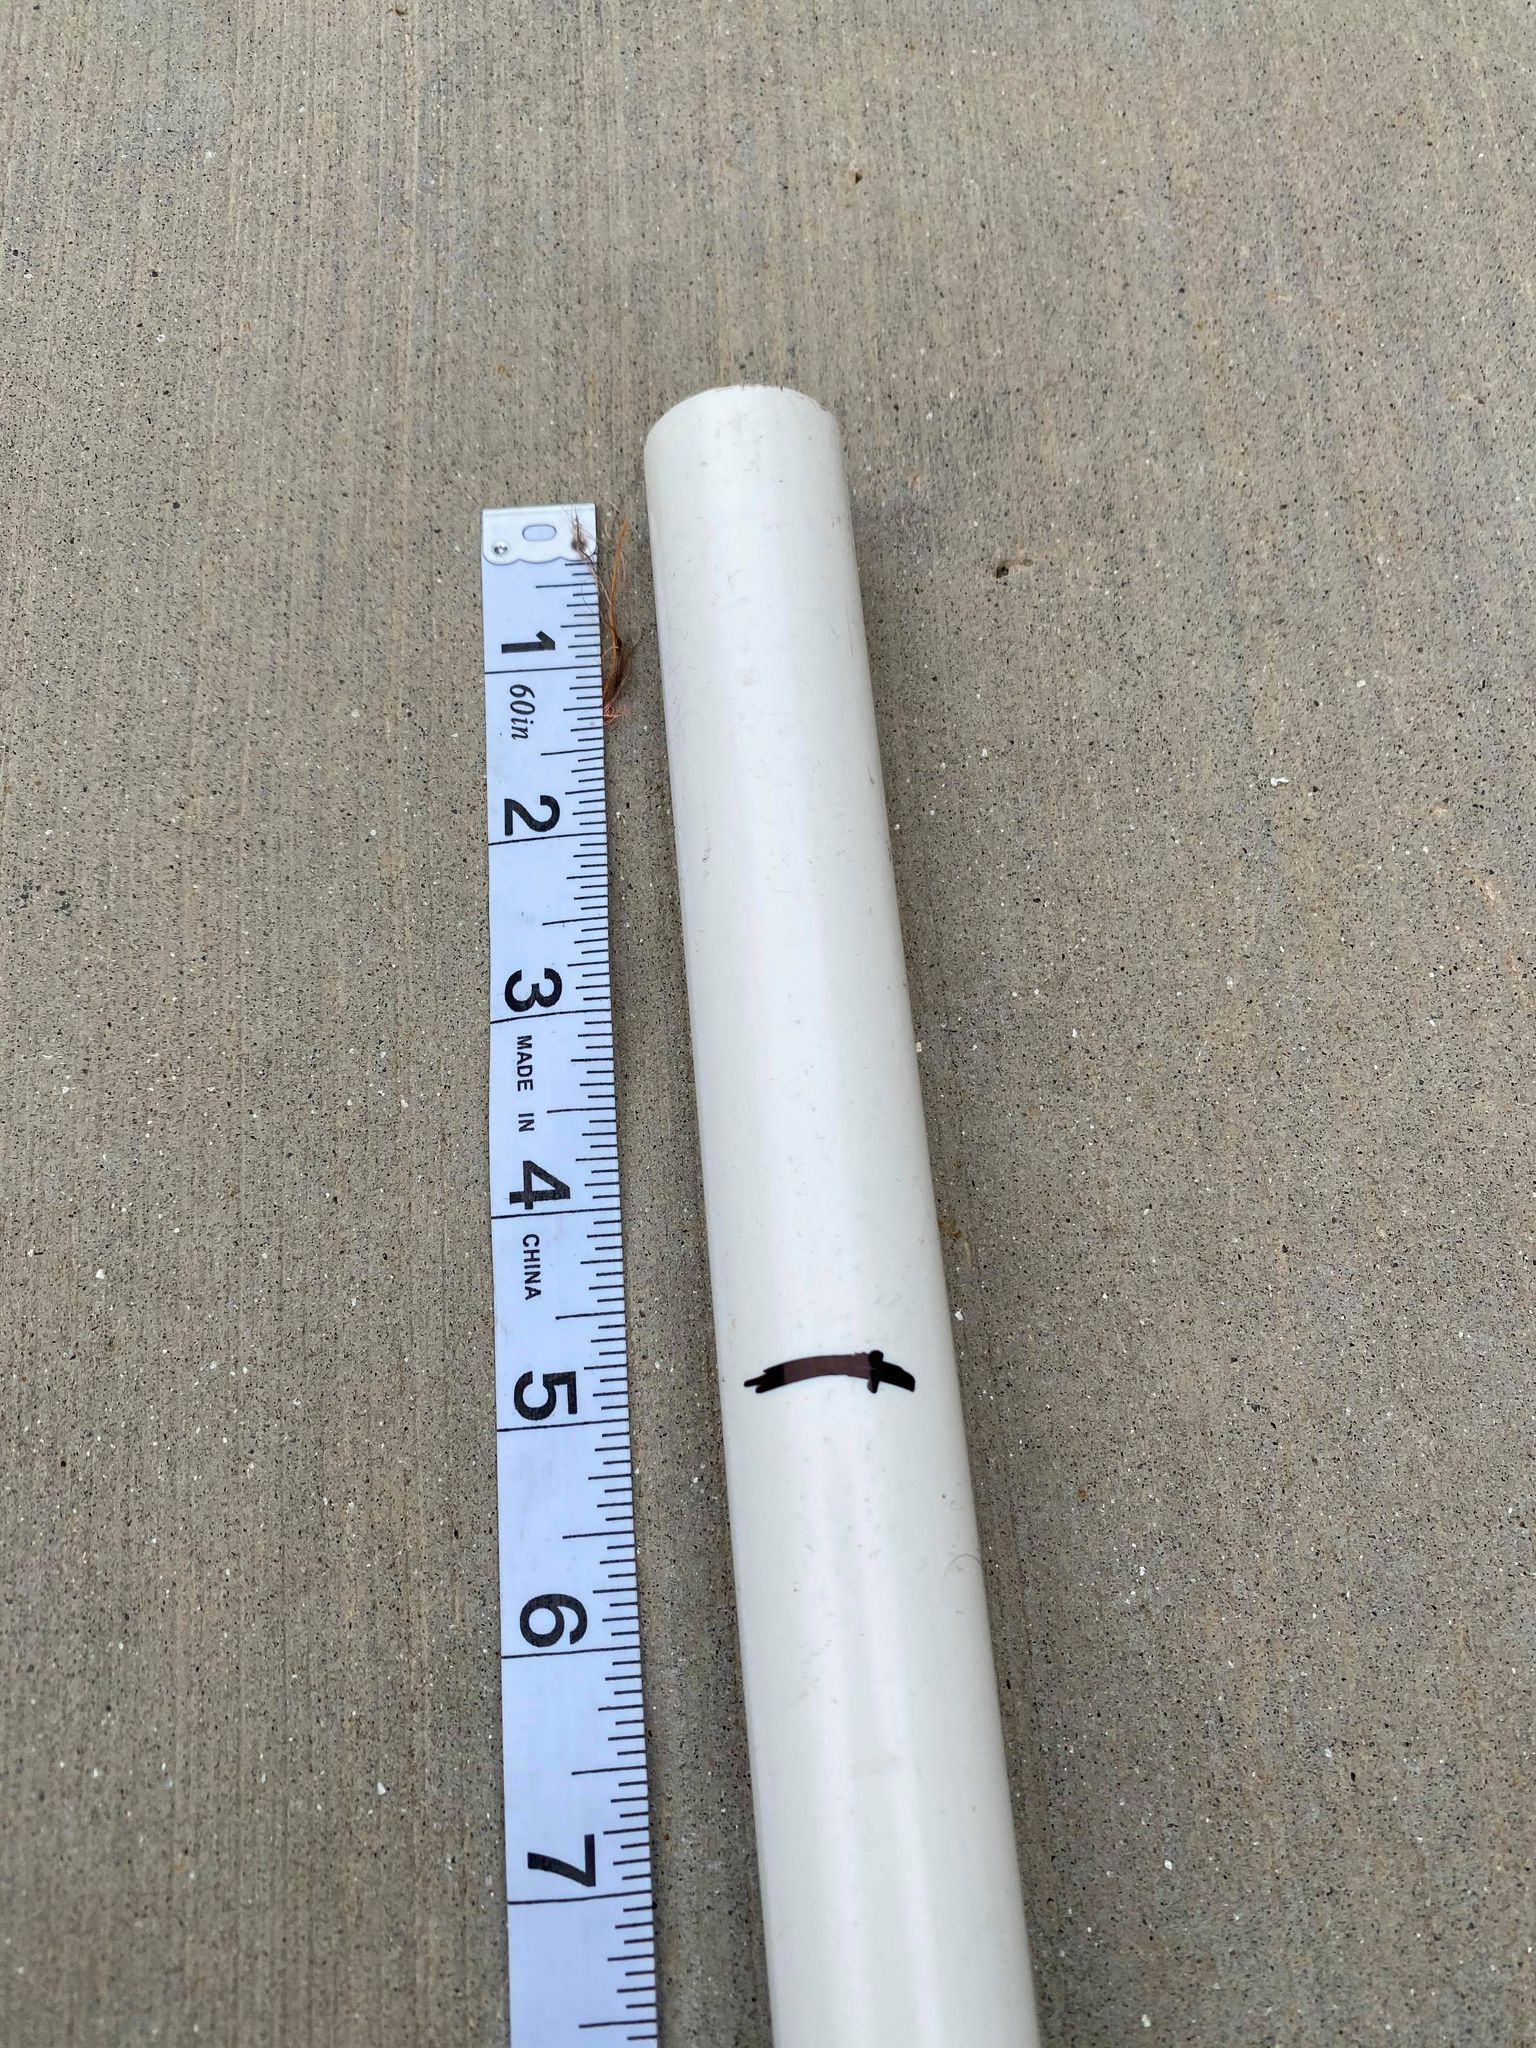
1. Three 5ft long pvc pipes. I’m using 3/4” pvc.
2. Three plastic pumpkin buckets
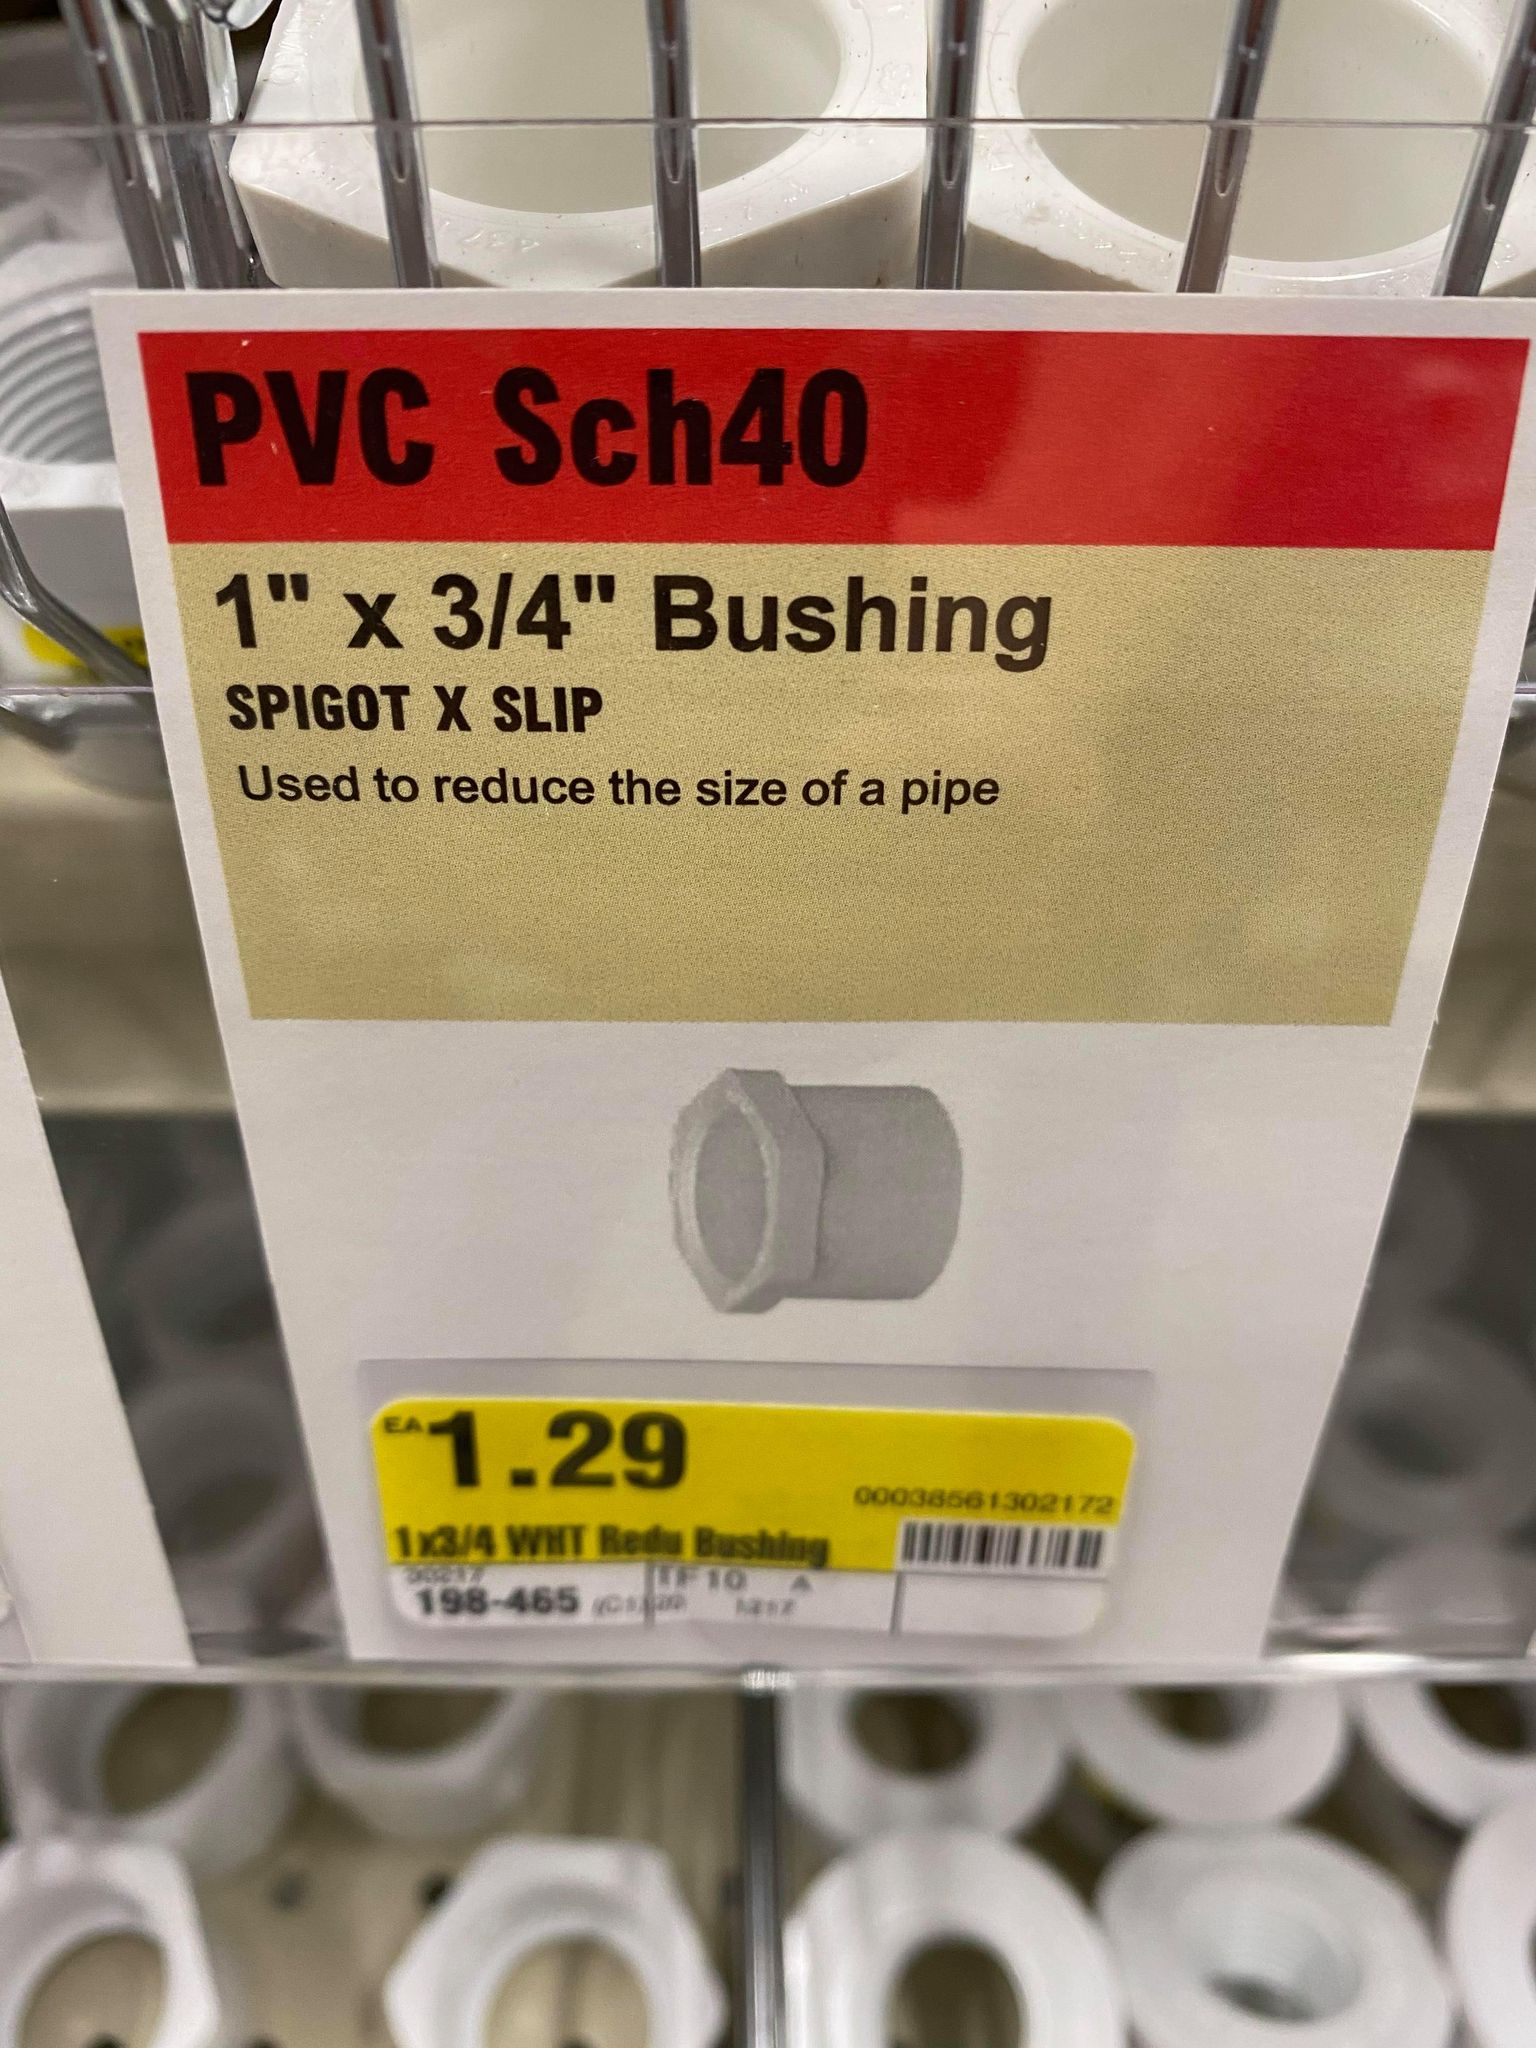
3. Three 1” by 3/4” bushing (I found these in the hardware store by all of the pvc pipes)
4. Black string or black zip ties
5. Glue gun
6. Three witch hats
7. Scissors
8. Yard fabric (how much you need will depend on how tall you make your witch and how many witches you make. I bought a large roll in Home Depot)
9. A soft tulle (I bought 3 yards but I’m making 3 witches)
10. A soft sheer black fabric (you can use any type of material you want. I found a soft sheer fabric in Hobby Lobby. I bought 4 yards but remember it will all depend on how big your witch is)
11. Poly fill stuffing
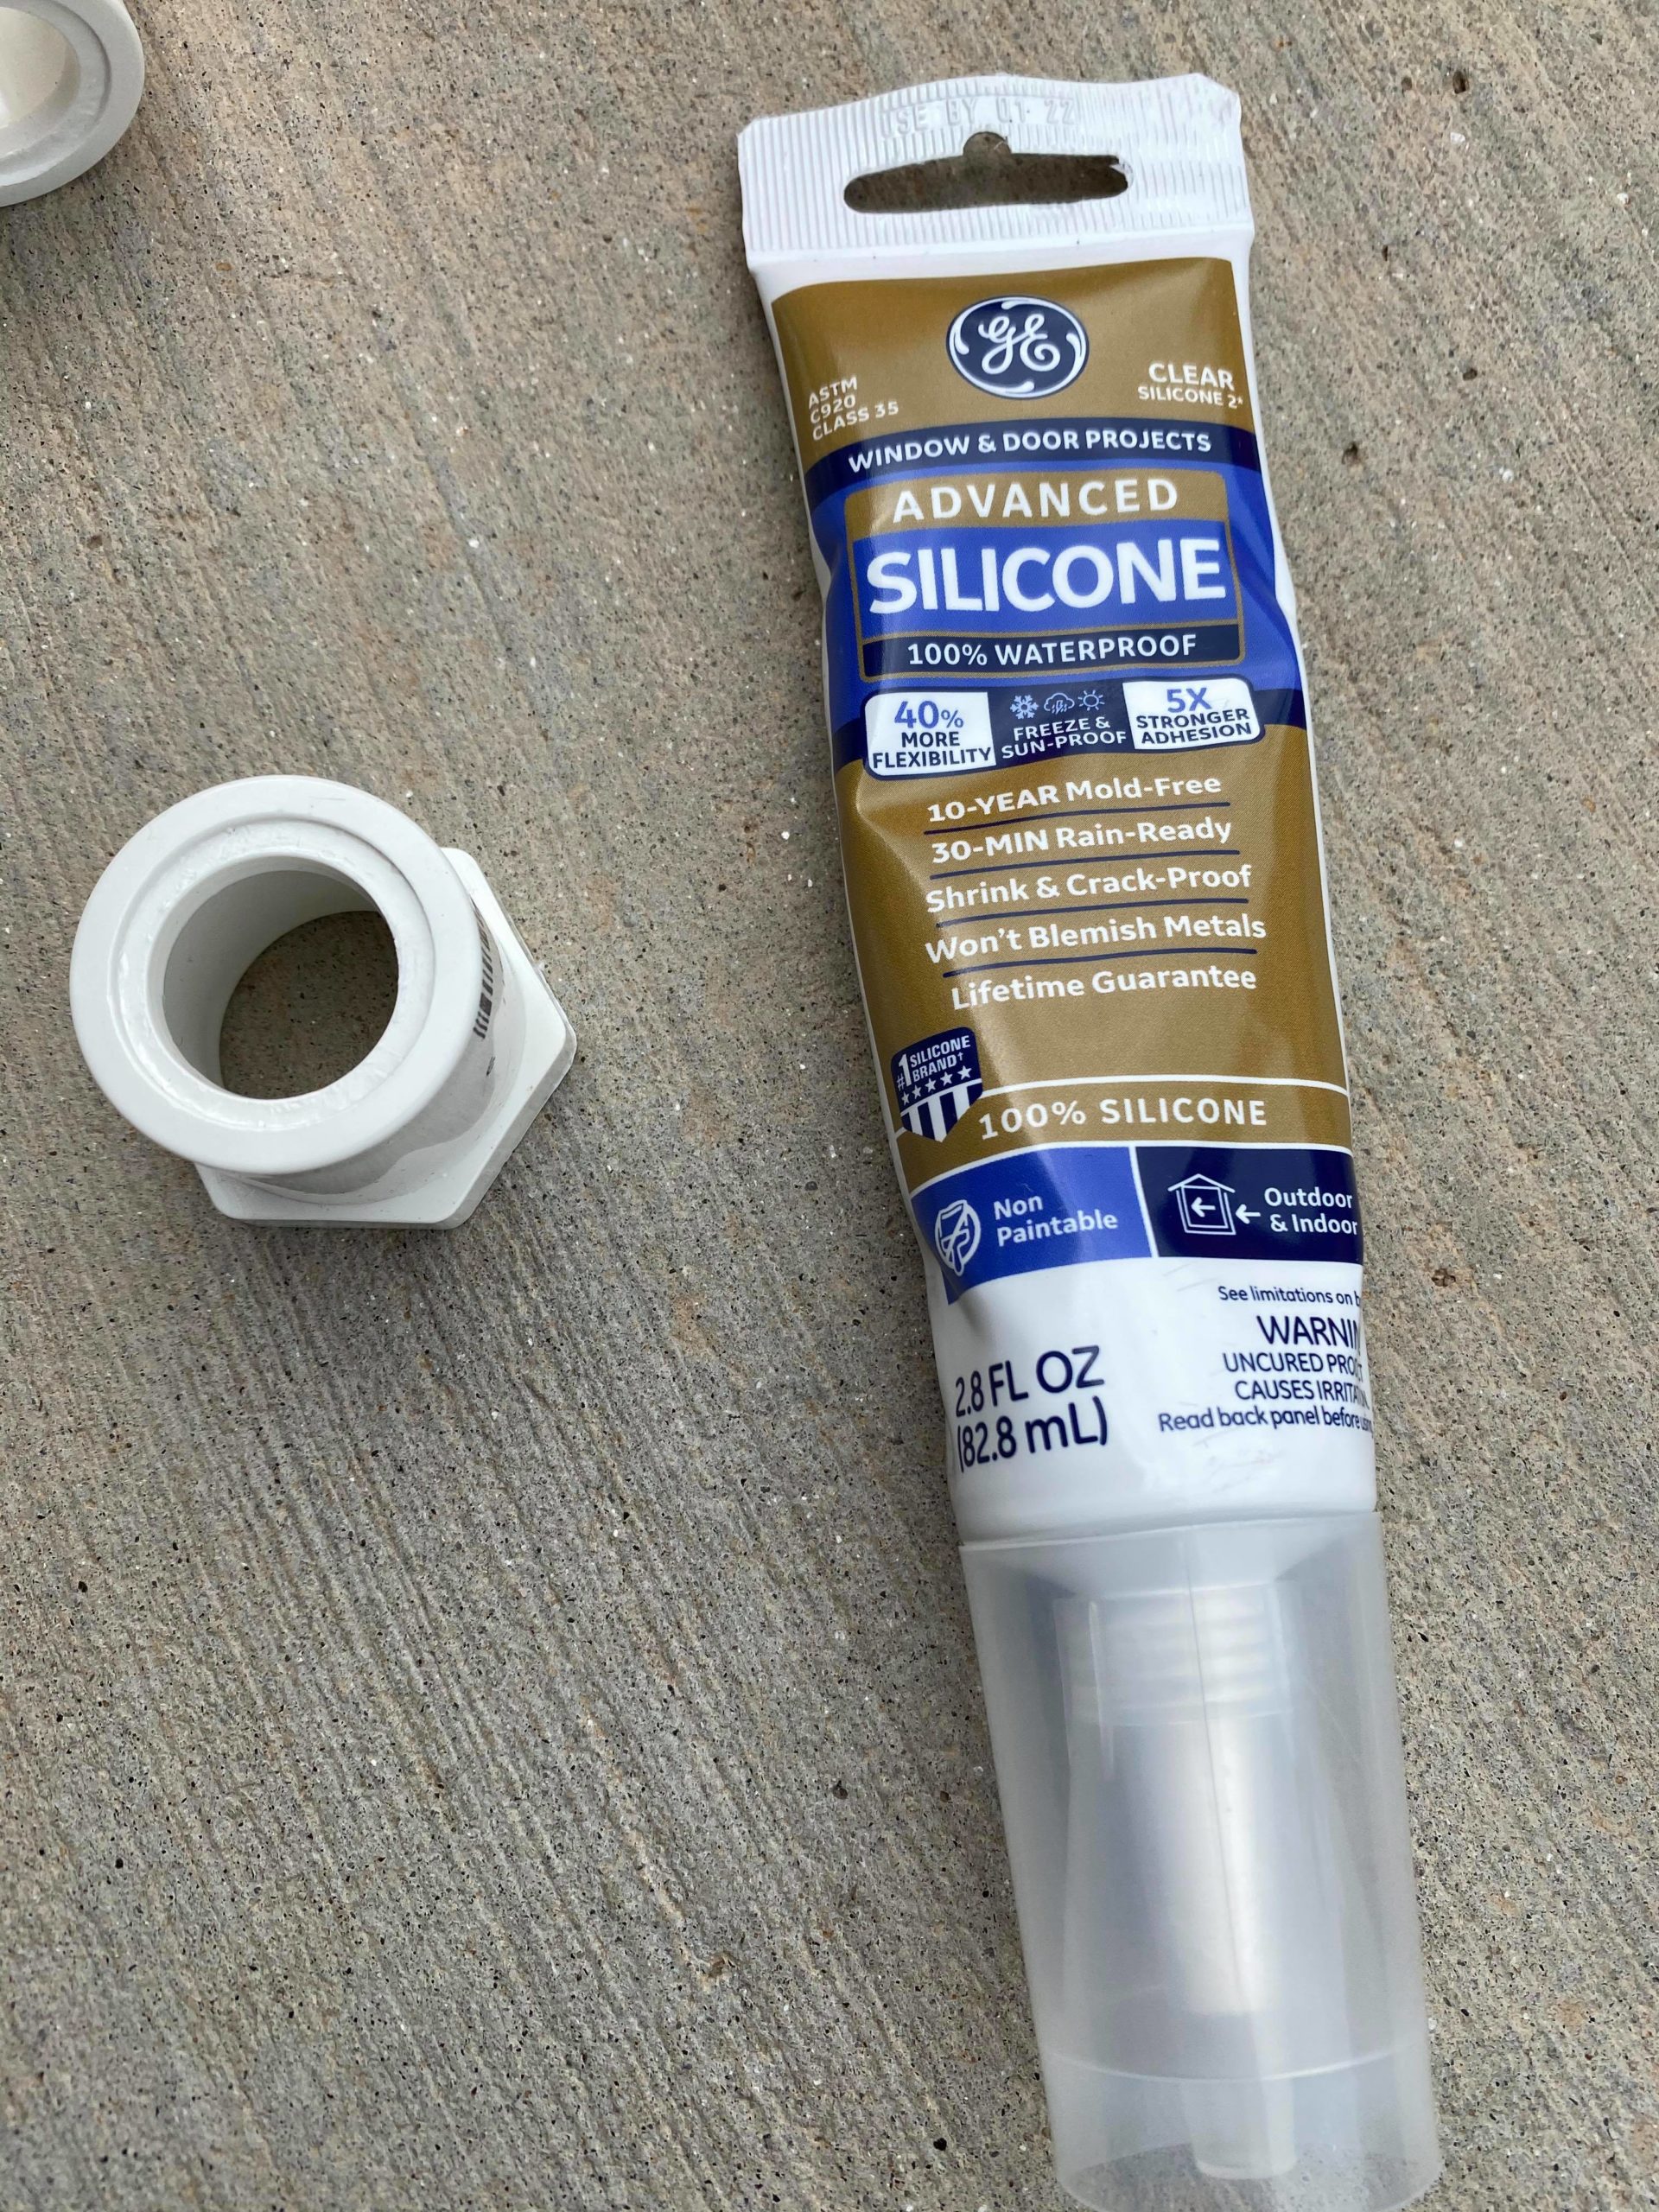
12. Silicone
13. Strand of solar lights (optional)
14. Box cutter and duct tape
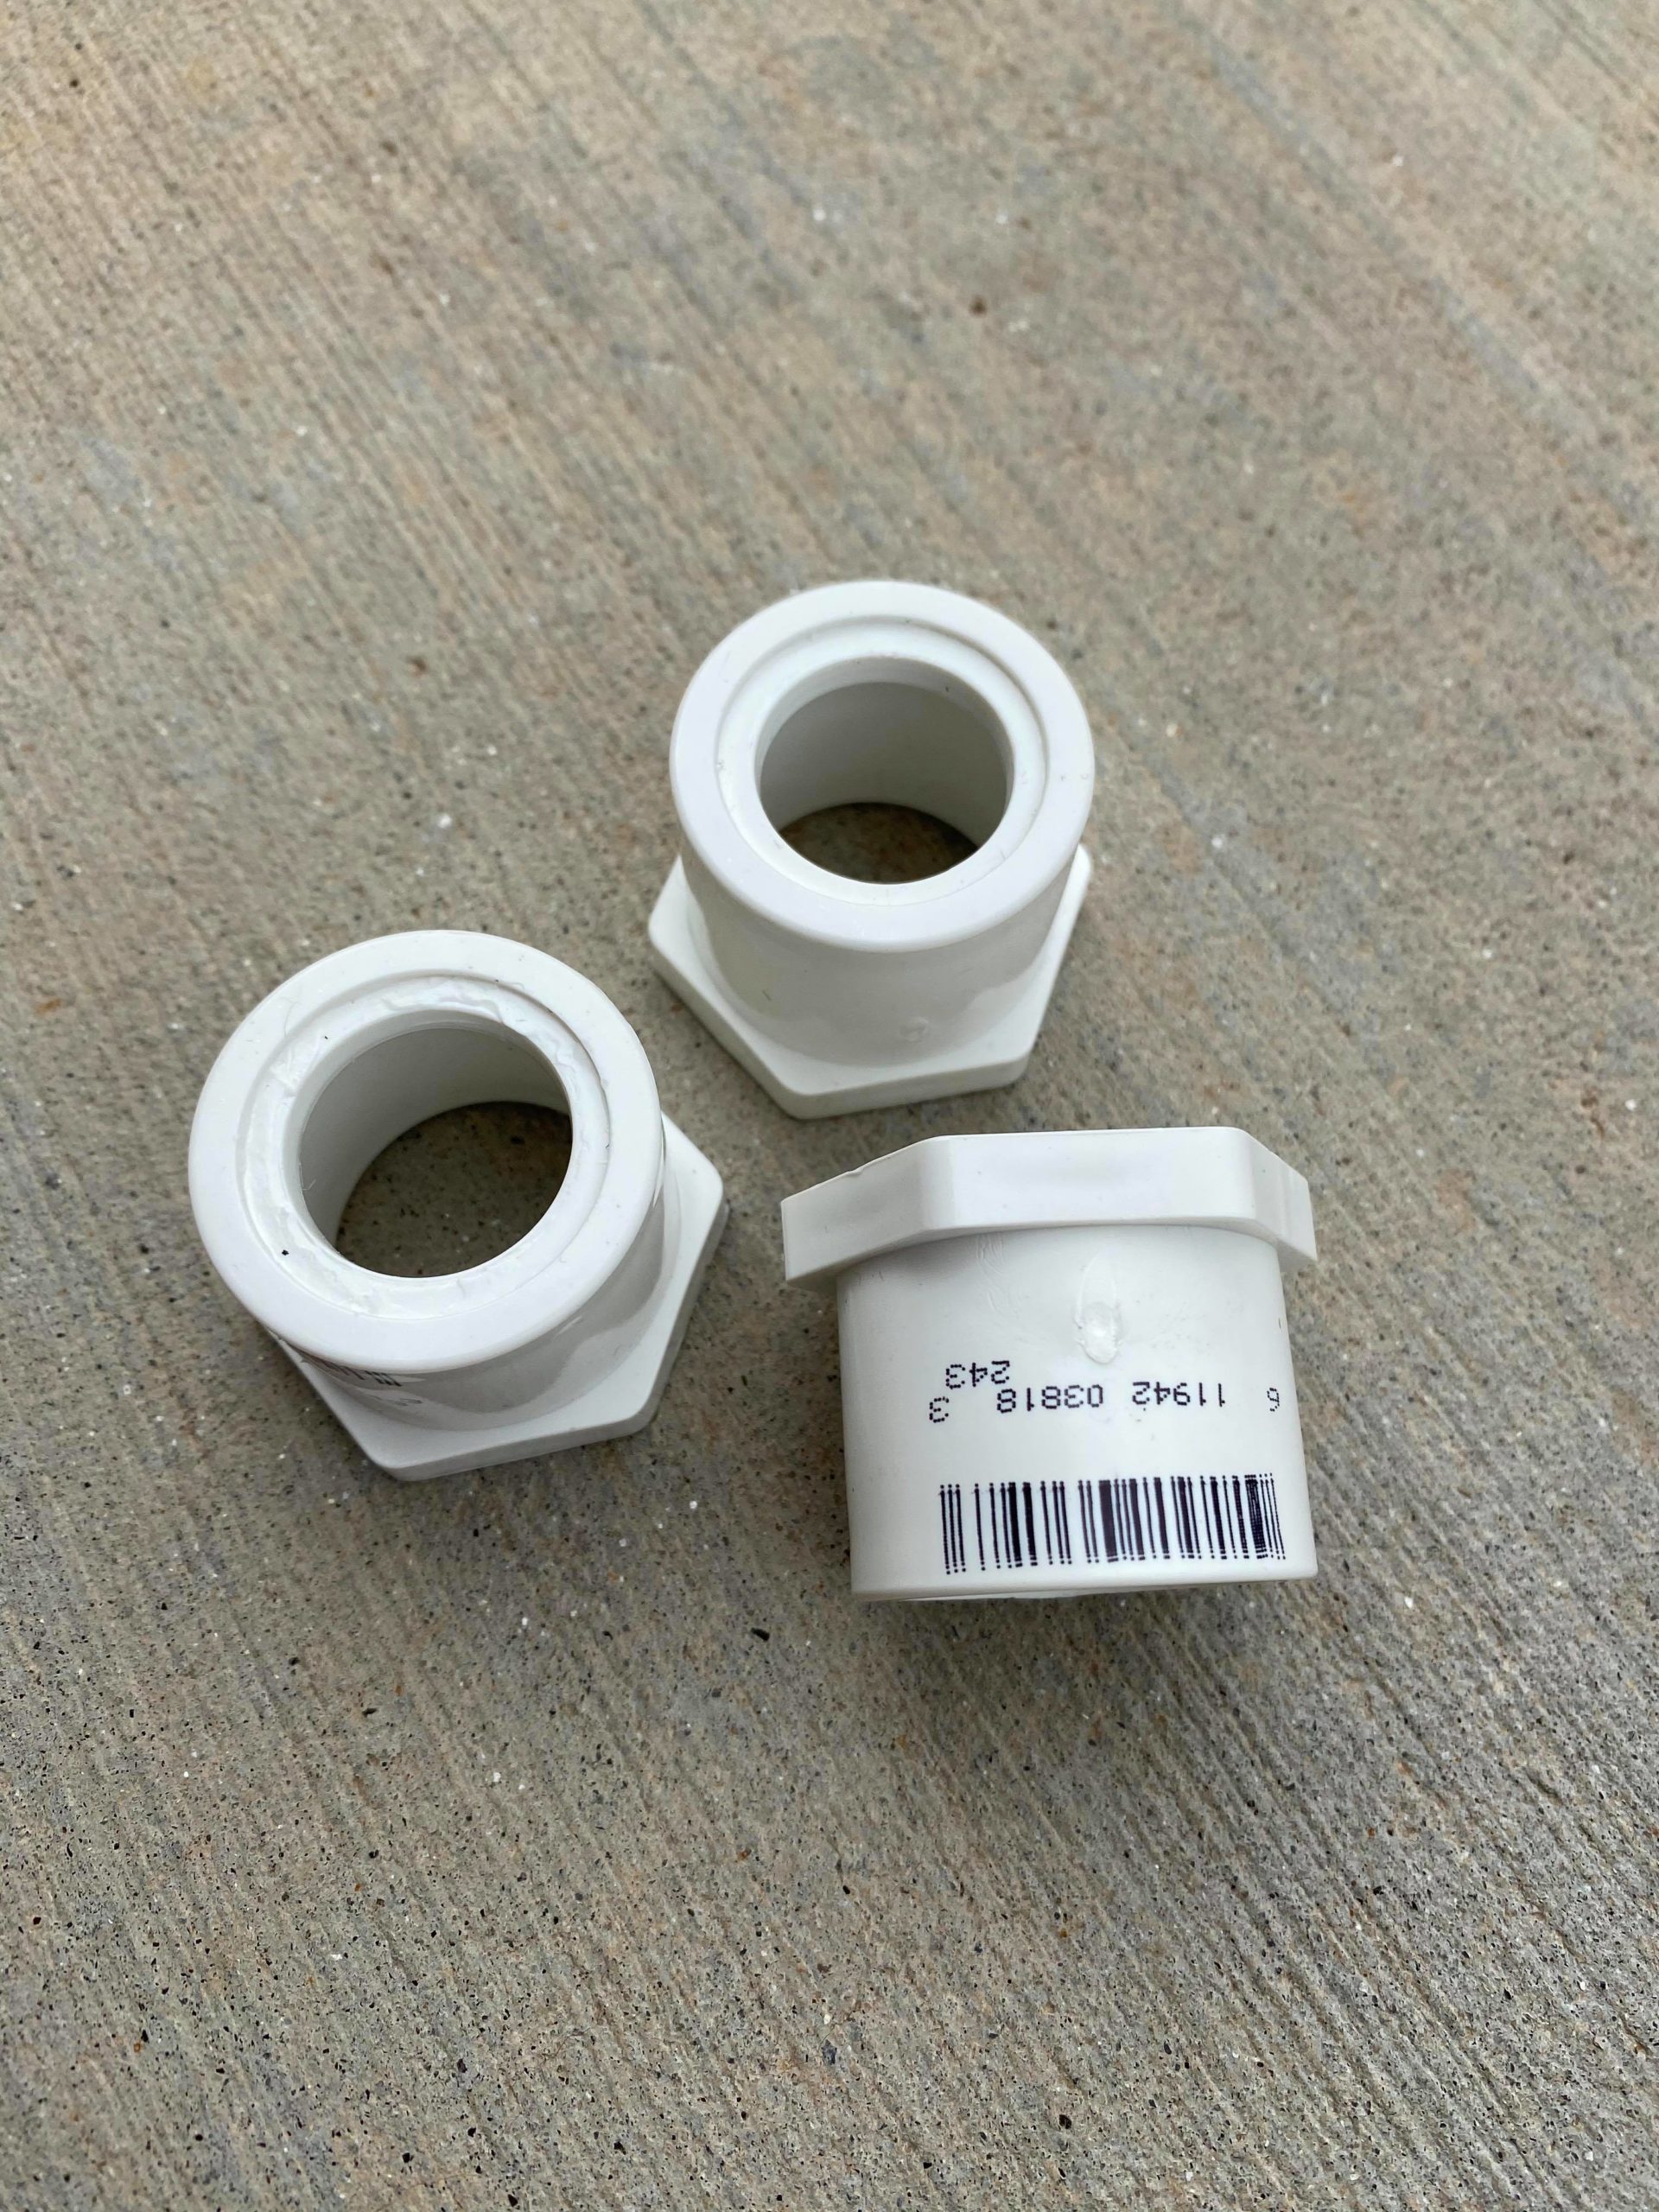
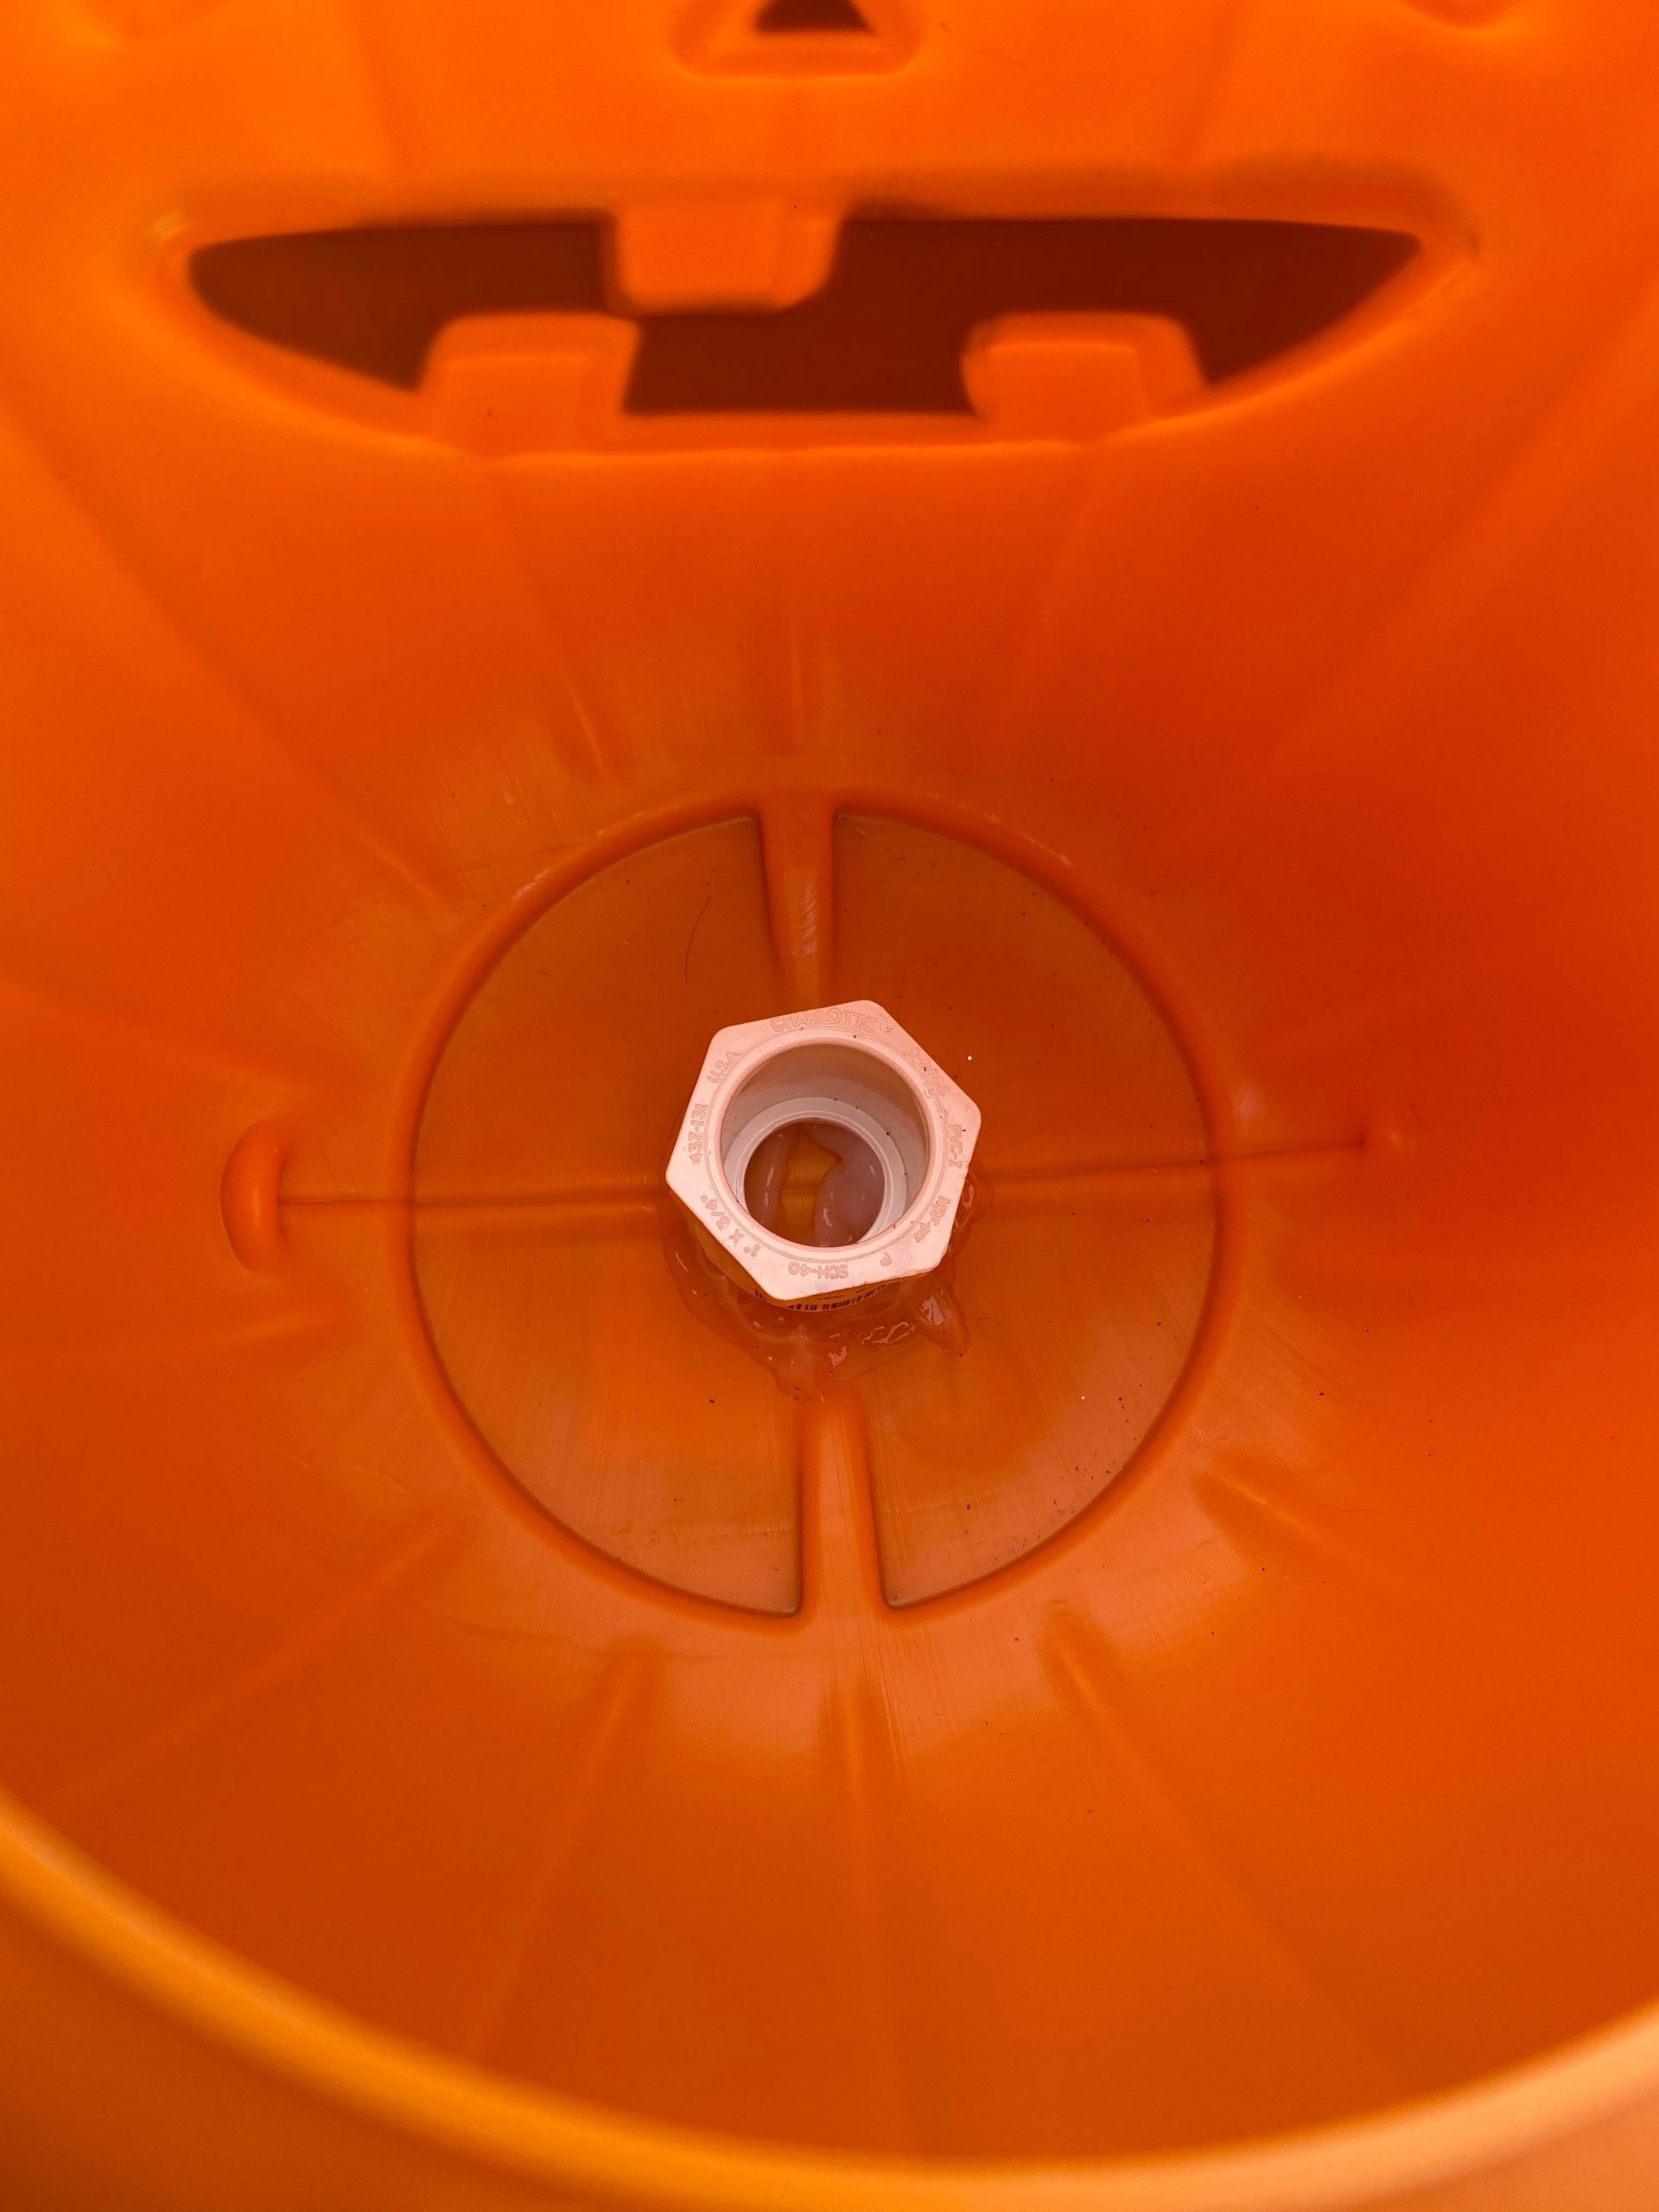
The first step is to attach the bushing to the inside of the pumpkin bucket. I attached this using silicone. Your pvc pipe will fit into one end of the bushing. Be sure to add the silicone to the other end and apply it to the bottom inside of the bucket. You want to be sure that when it is dry that your pvc pipe will fit into the bushing.
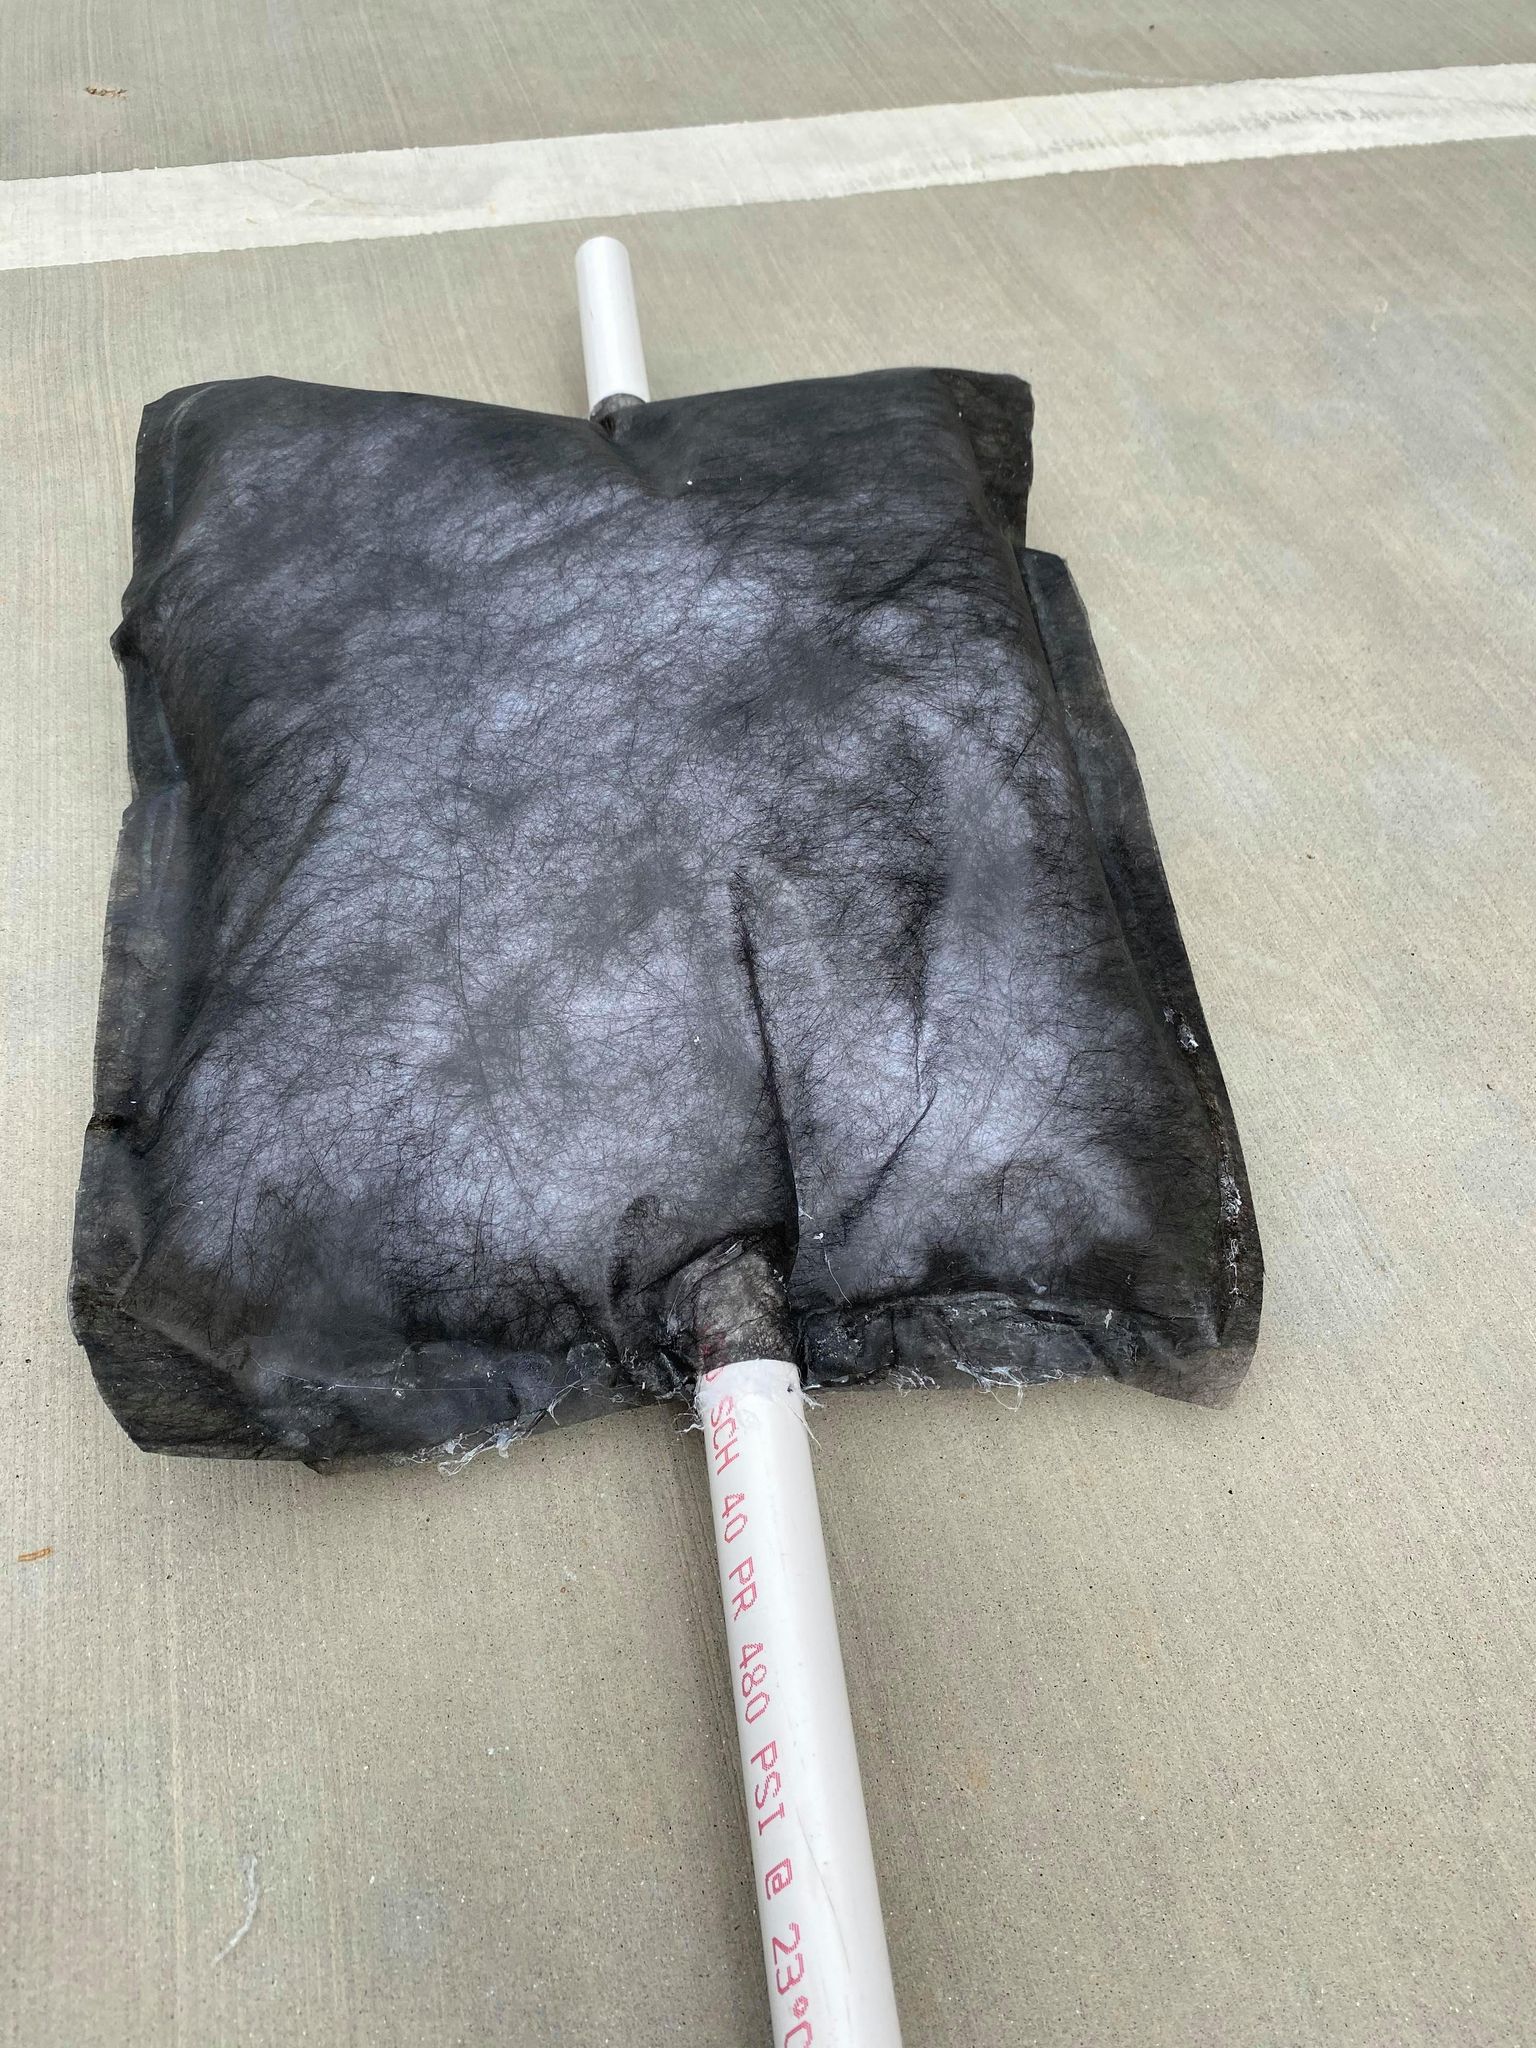
Now it is time to make the center chest for your witch. I cut 2 pieces of the yard fabric and glued the center to the pvc. I then glued all around the edges and stuffed with poly fill. Your will then glue the opening shut.
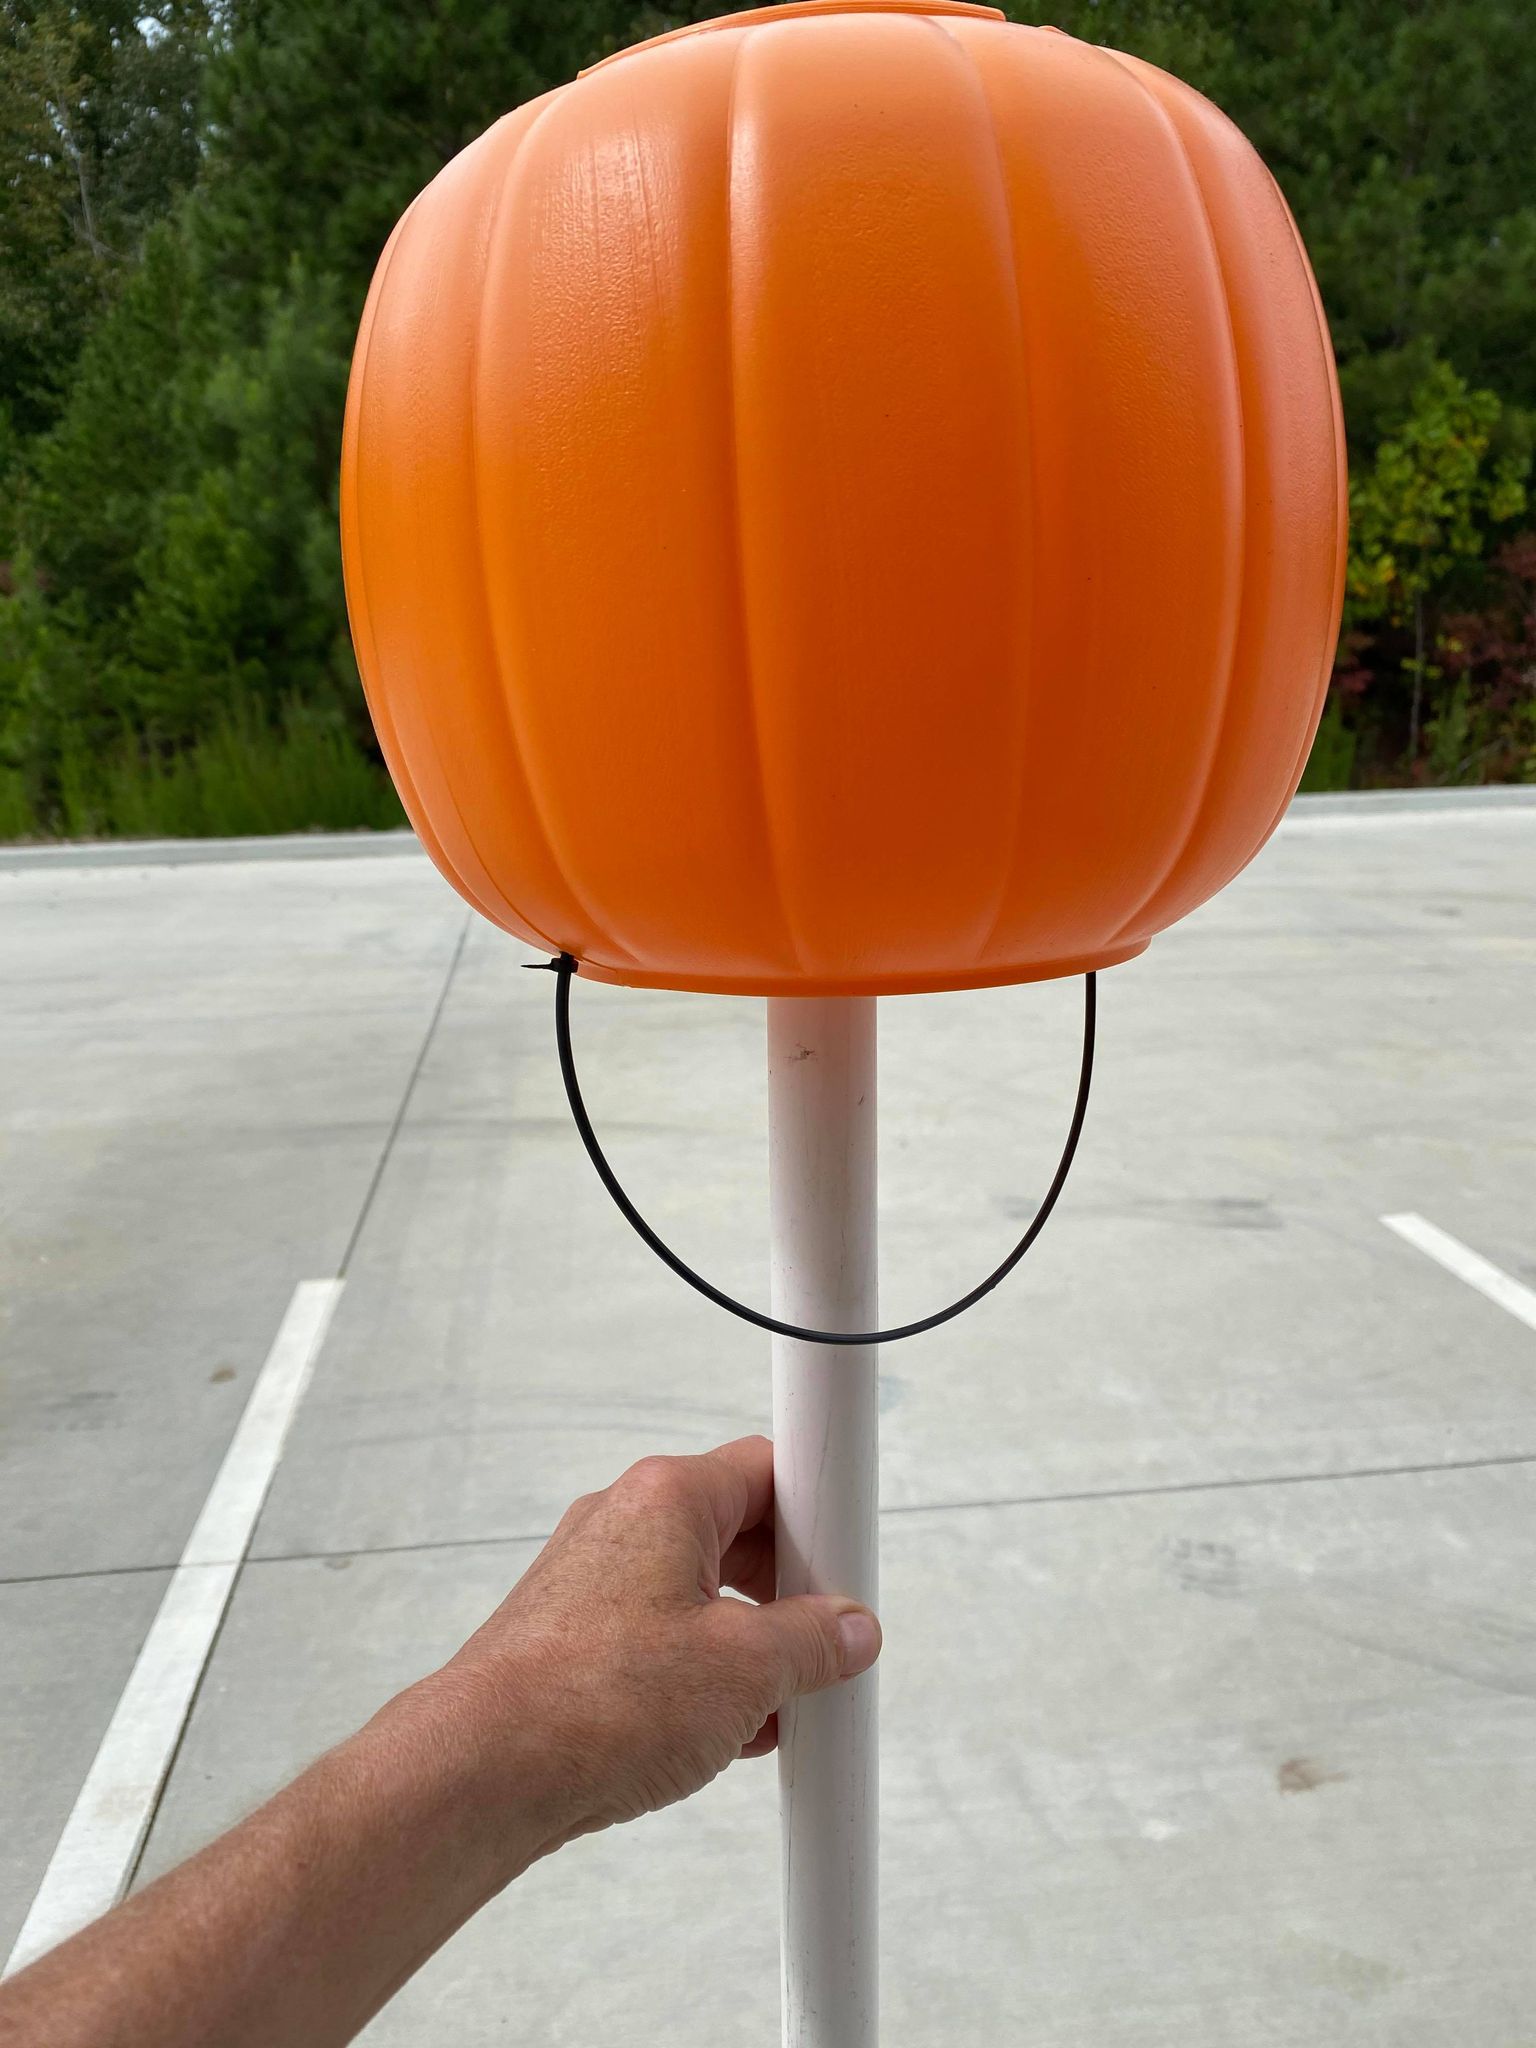
I came down the pvc about 5 inches so that my bucket has room to be placed on top.
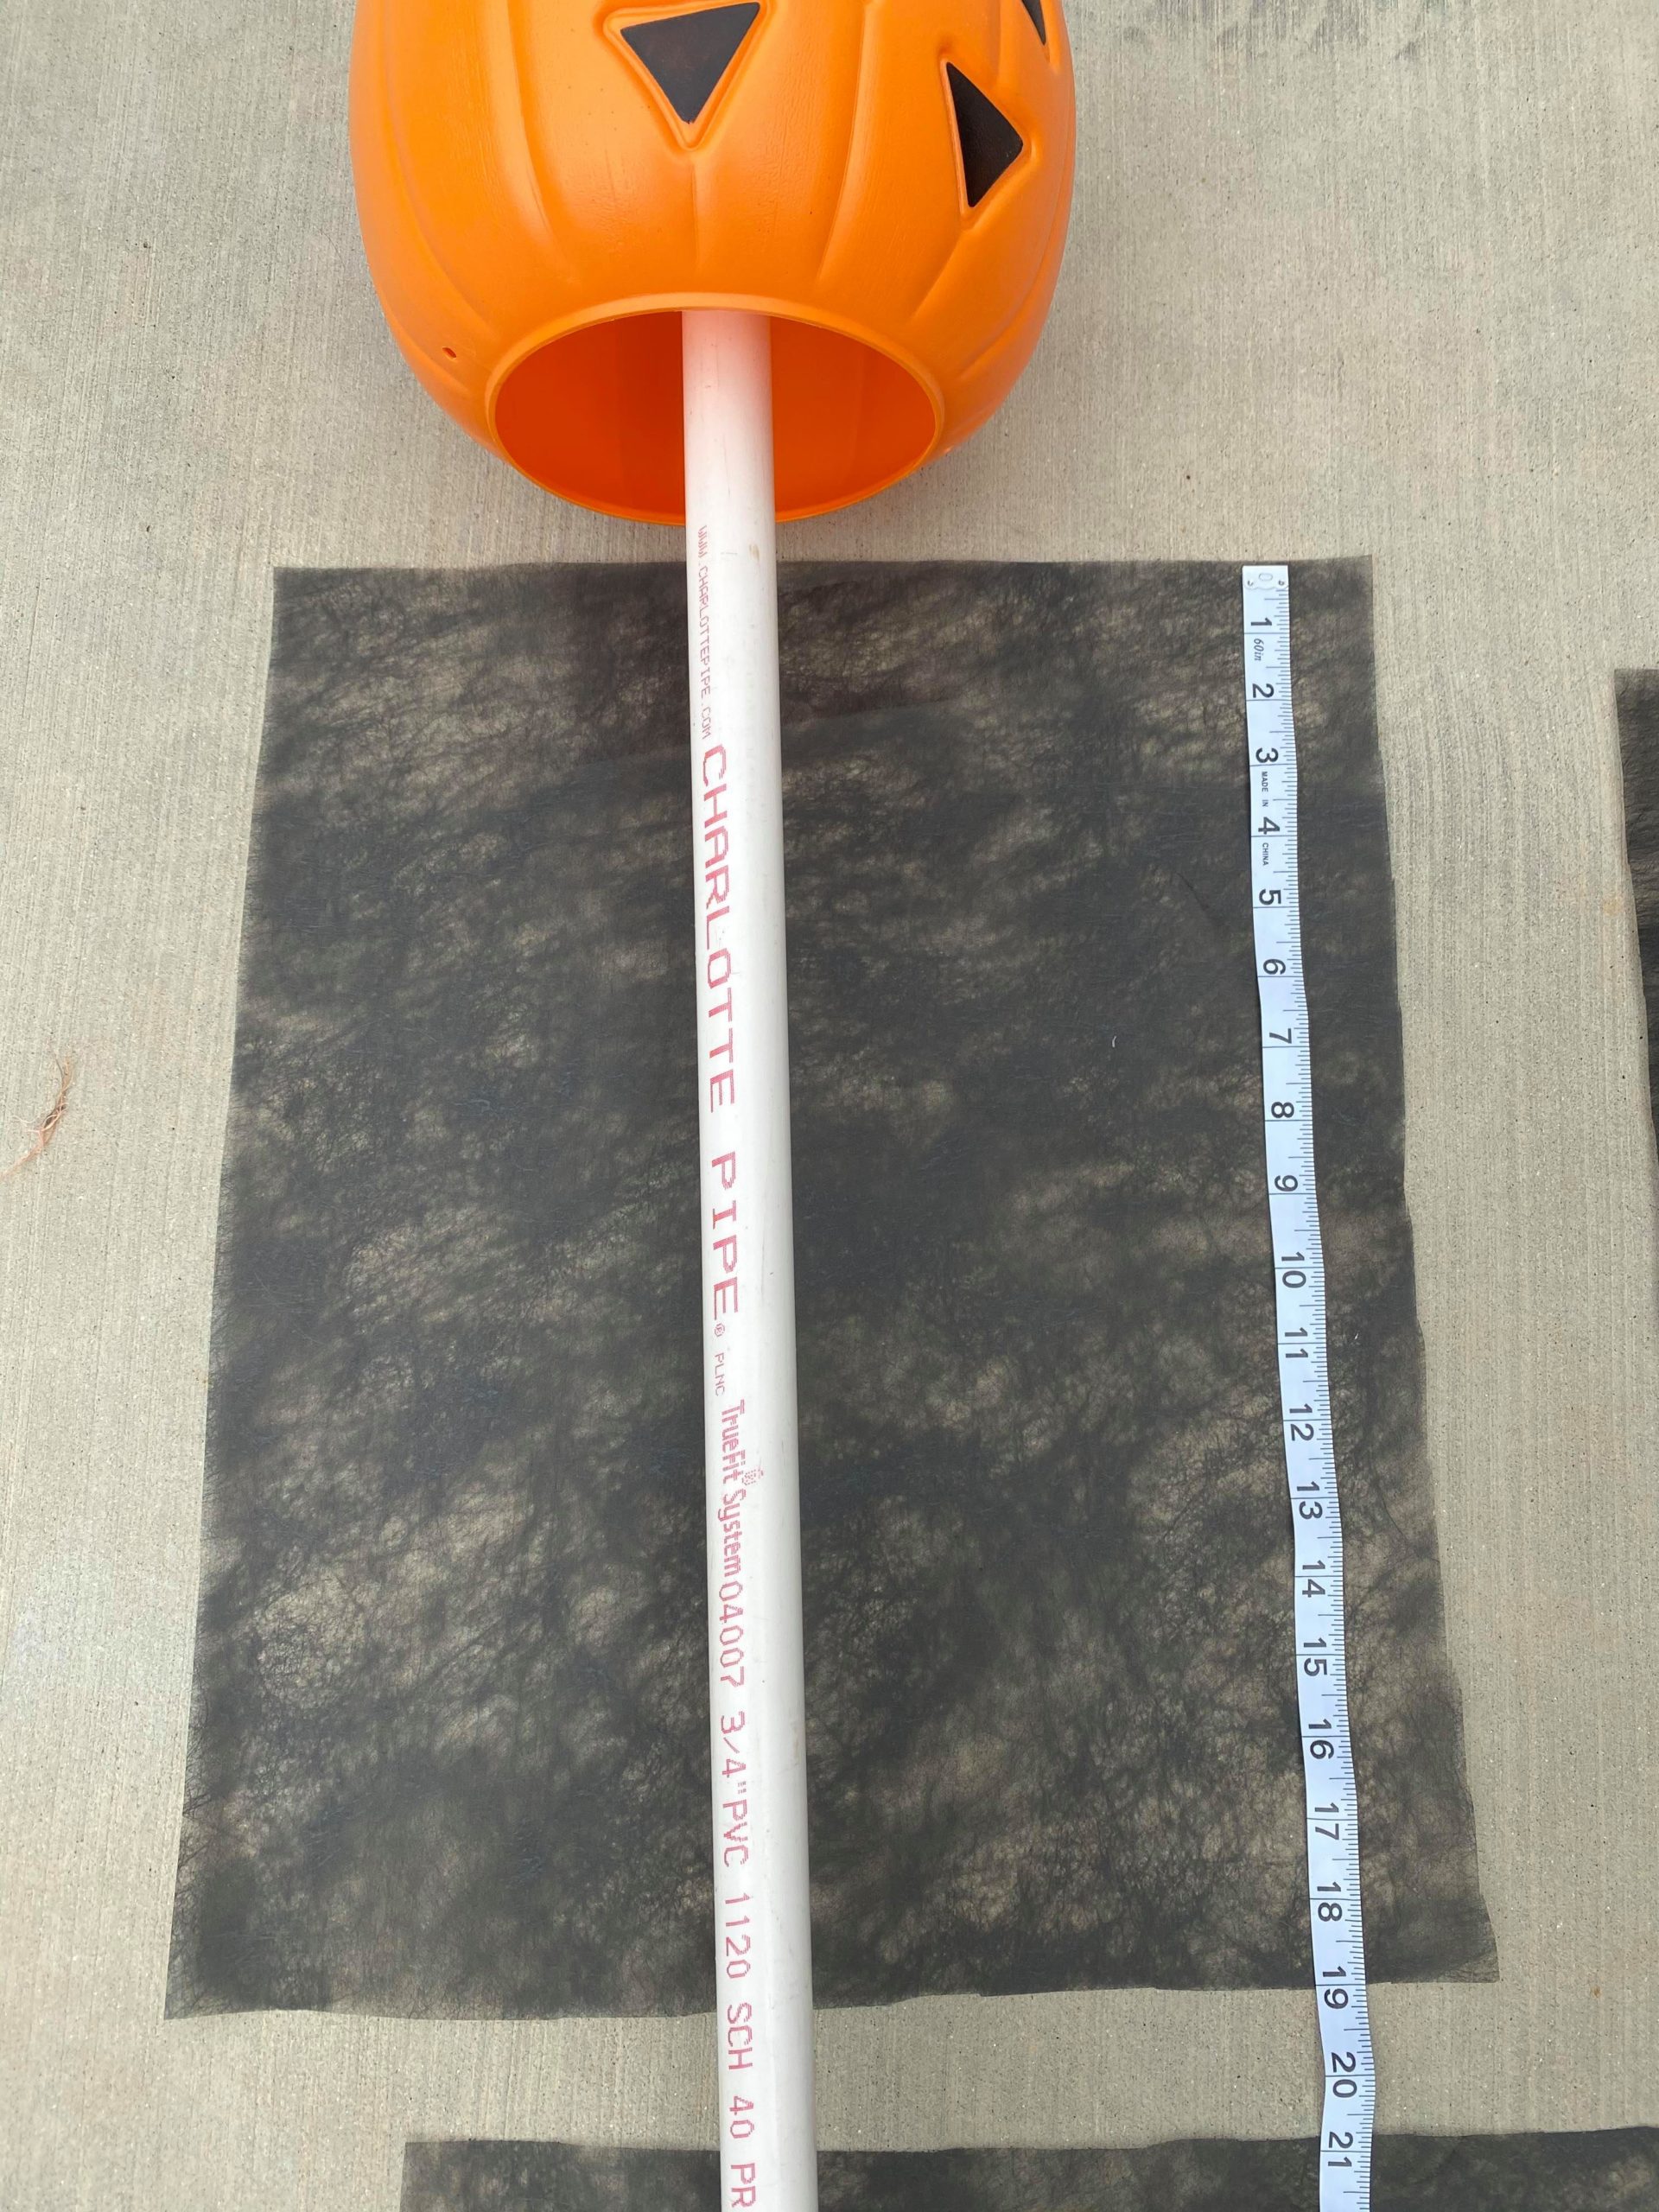
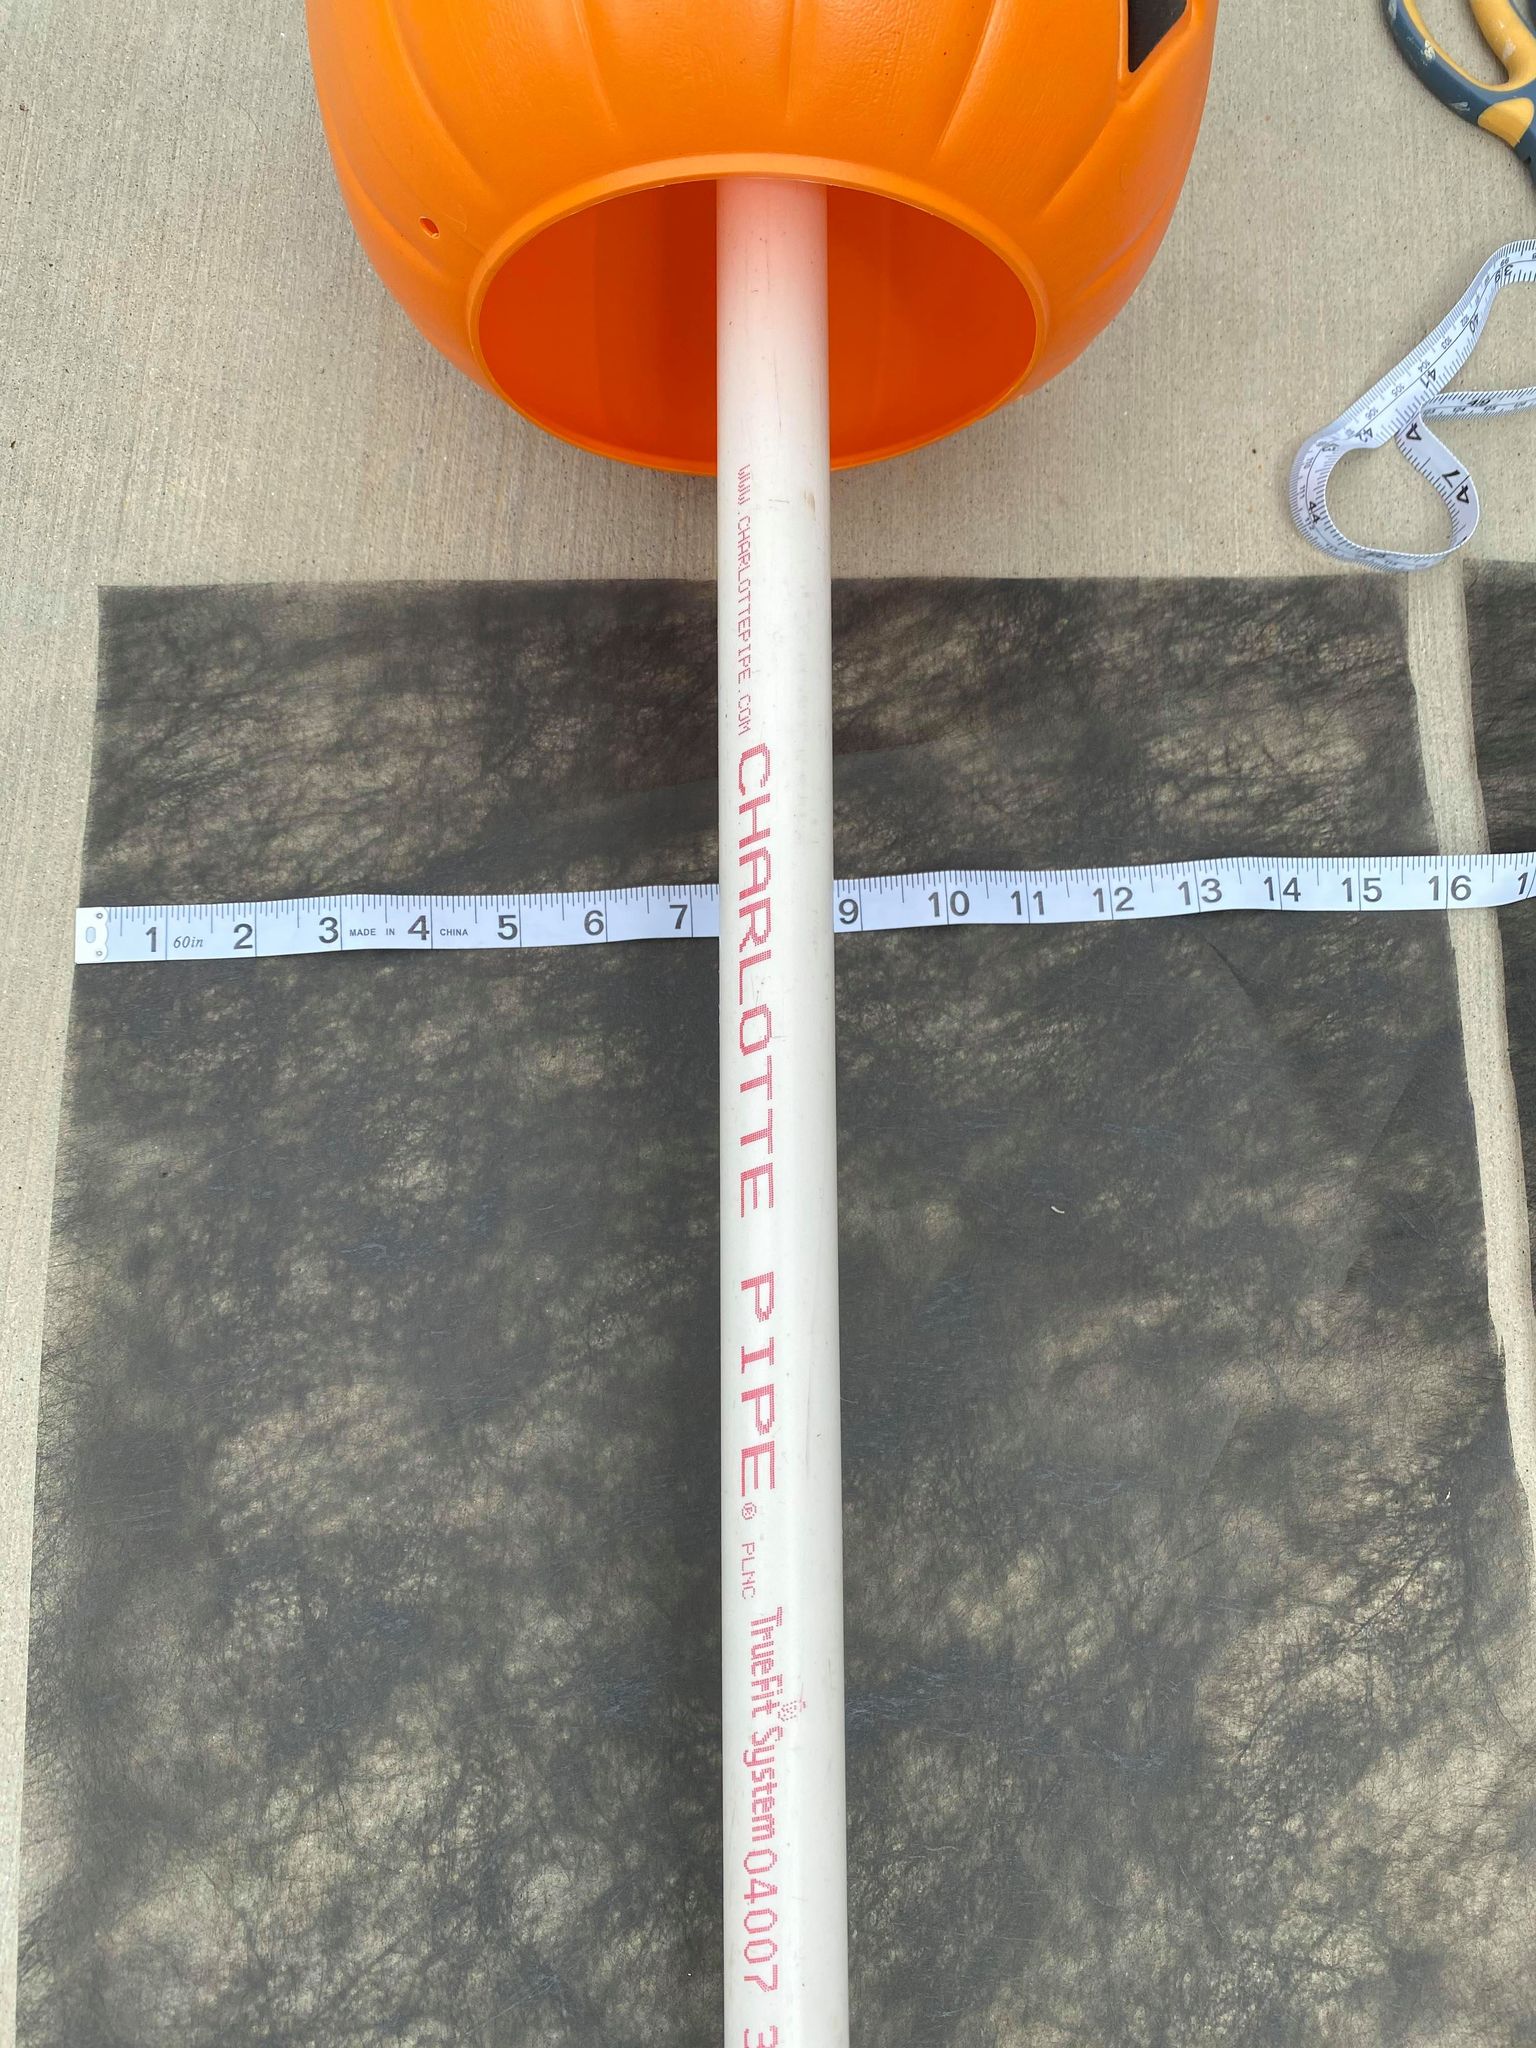
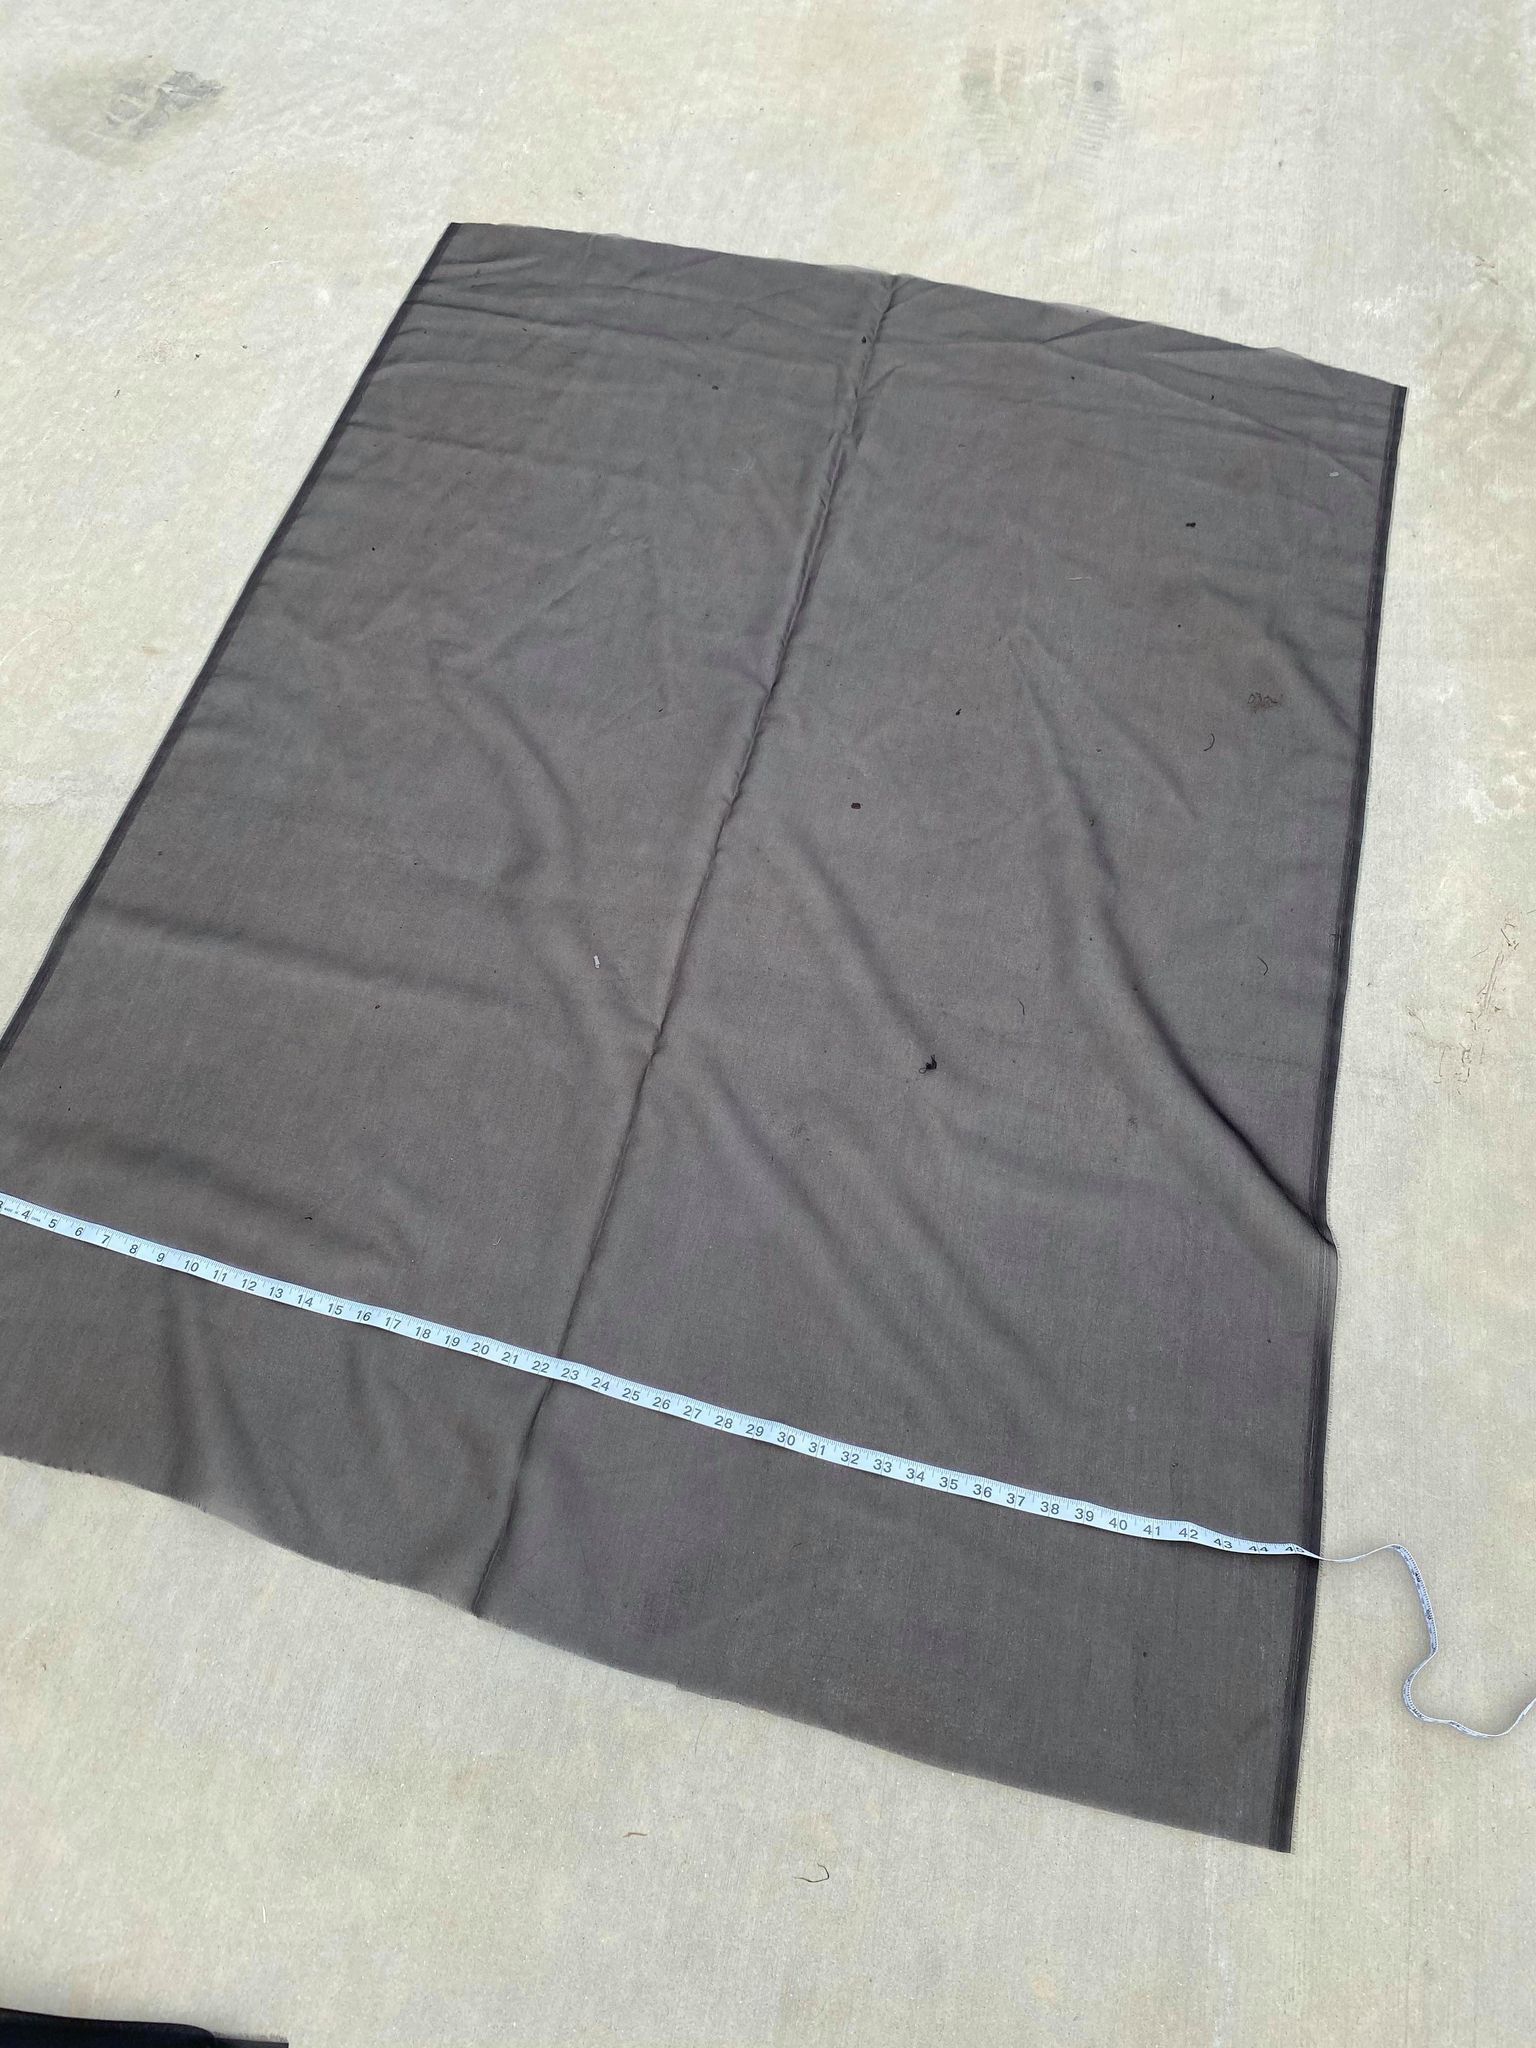
I cut the yard fabric 16 inches wide and 19 inches long.
The next step is to wrap a piece of yard fabric around the pvc. This will begin to form the dress for your witch.
I then cut another smaller piece of yard fabric and cut a whole in the center to side it over the pvc. This will help to create a fuller dress for the witch.
I then cut a piece of the sheer black material to add on top of this. I did the same thing and cut a hole in the center and placed it over the pvc.
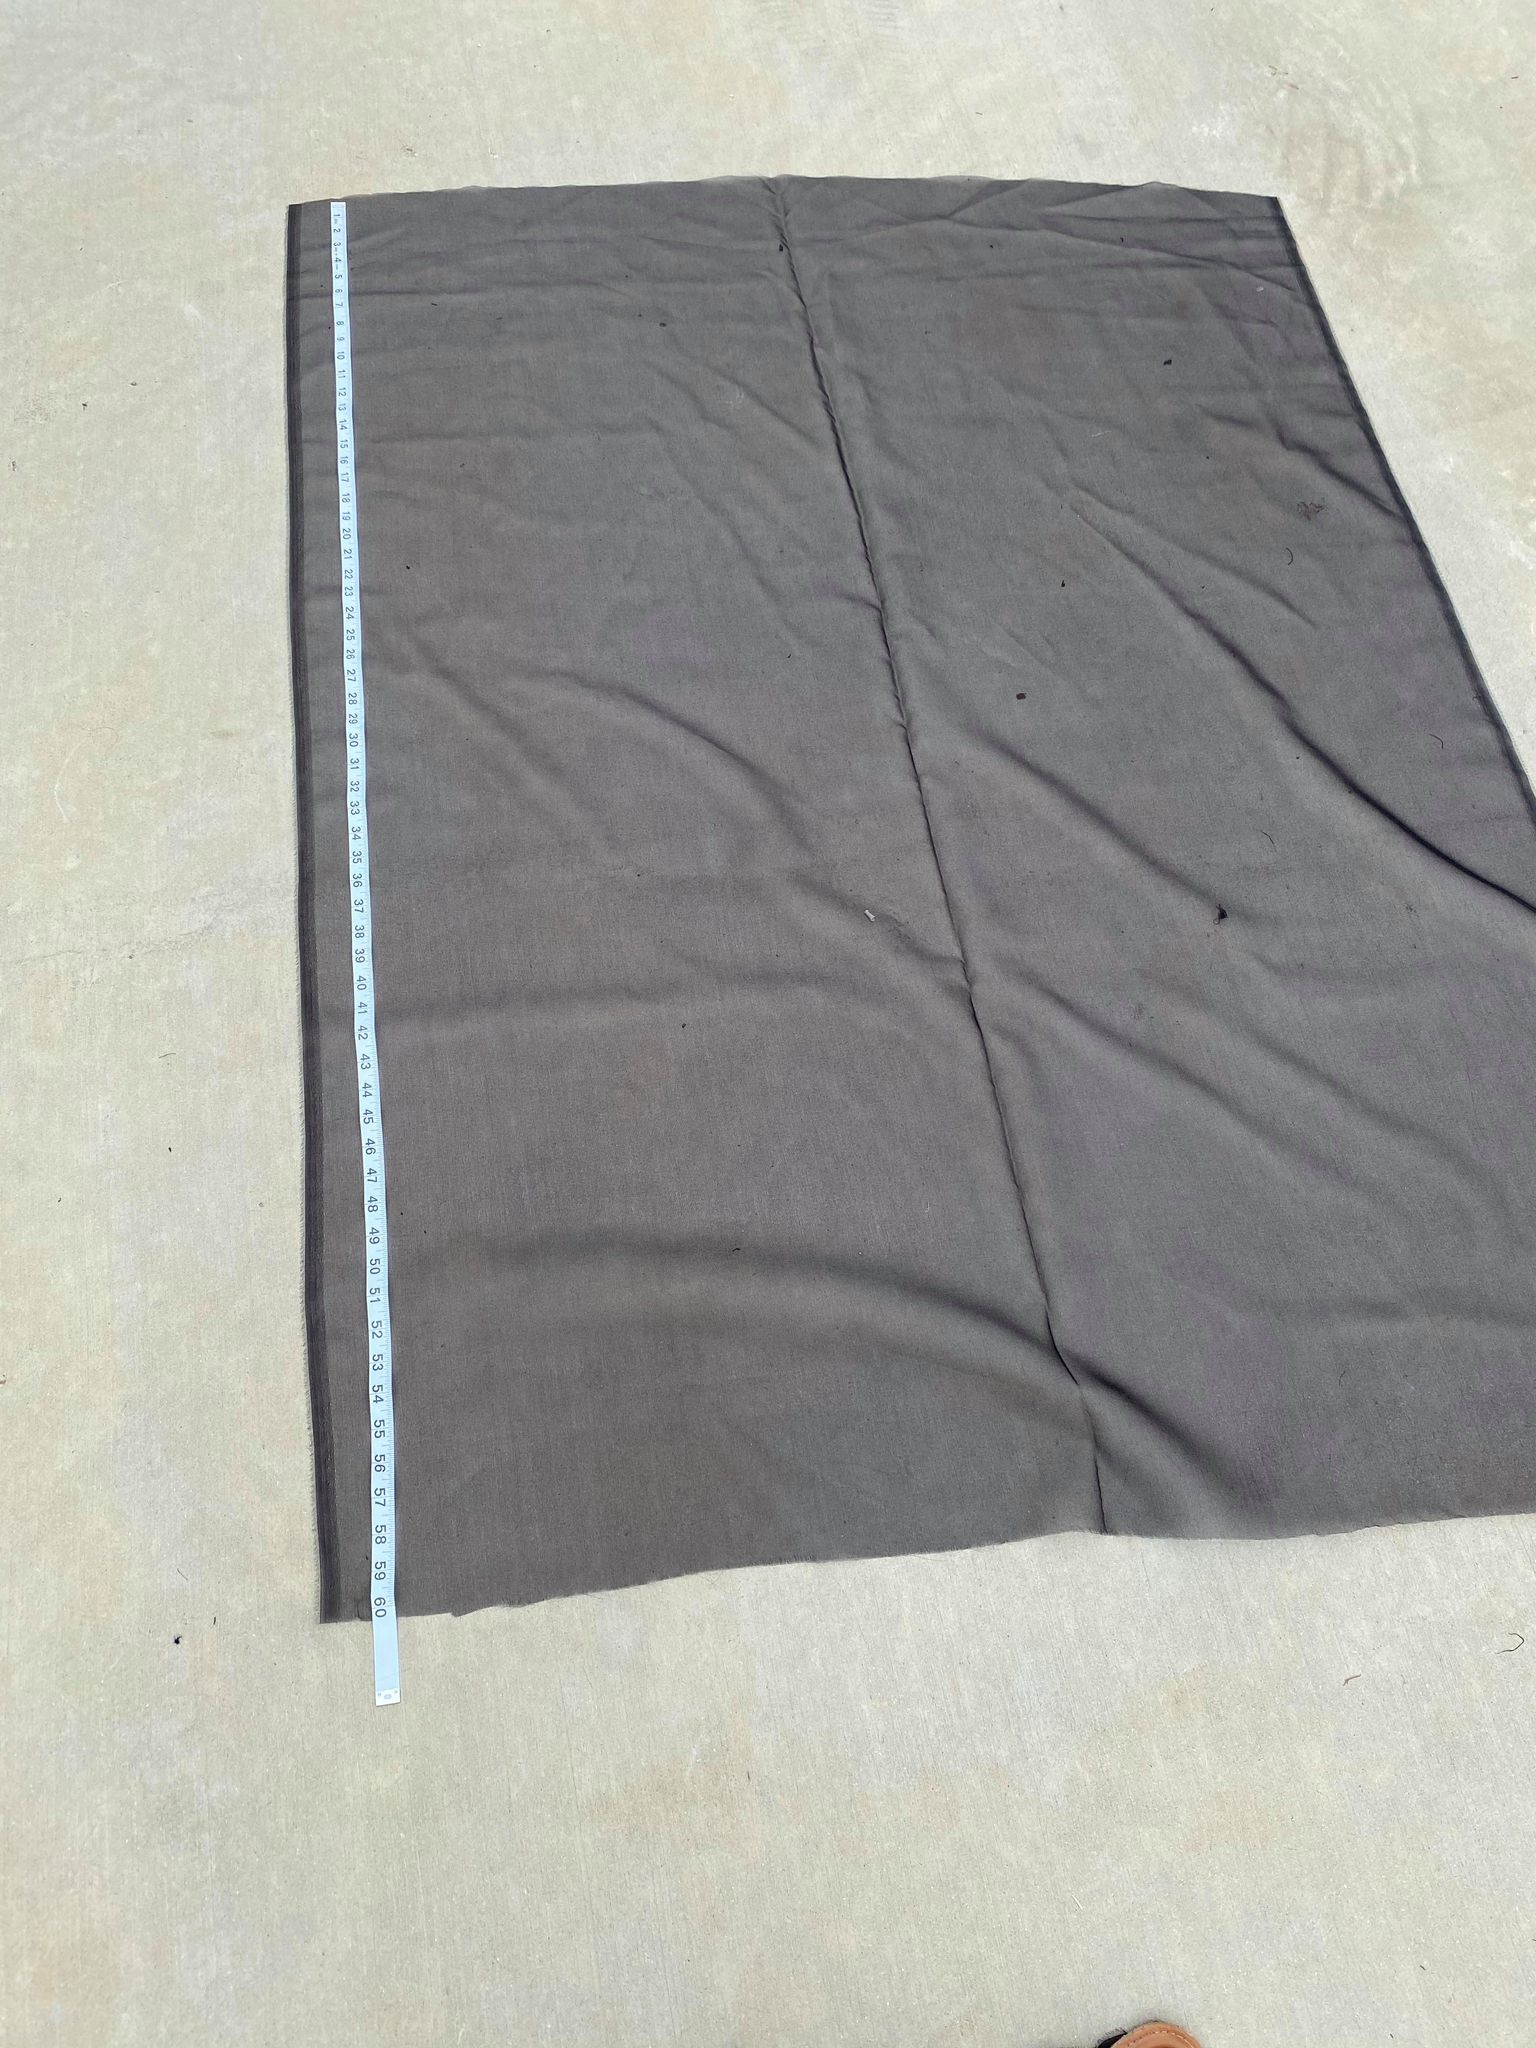
I cut the sheer material 60 x 45 because I want to be able to stretch it out for arms.
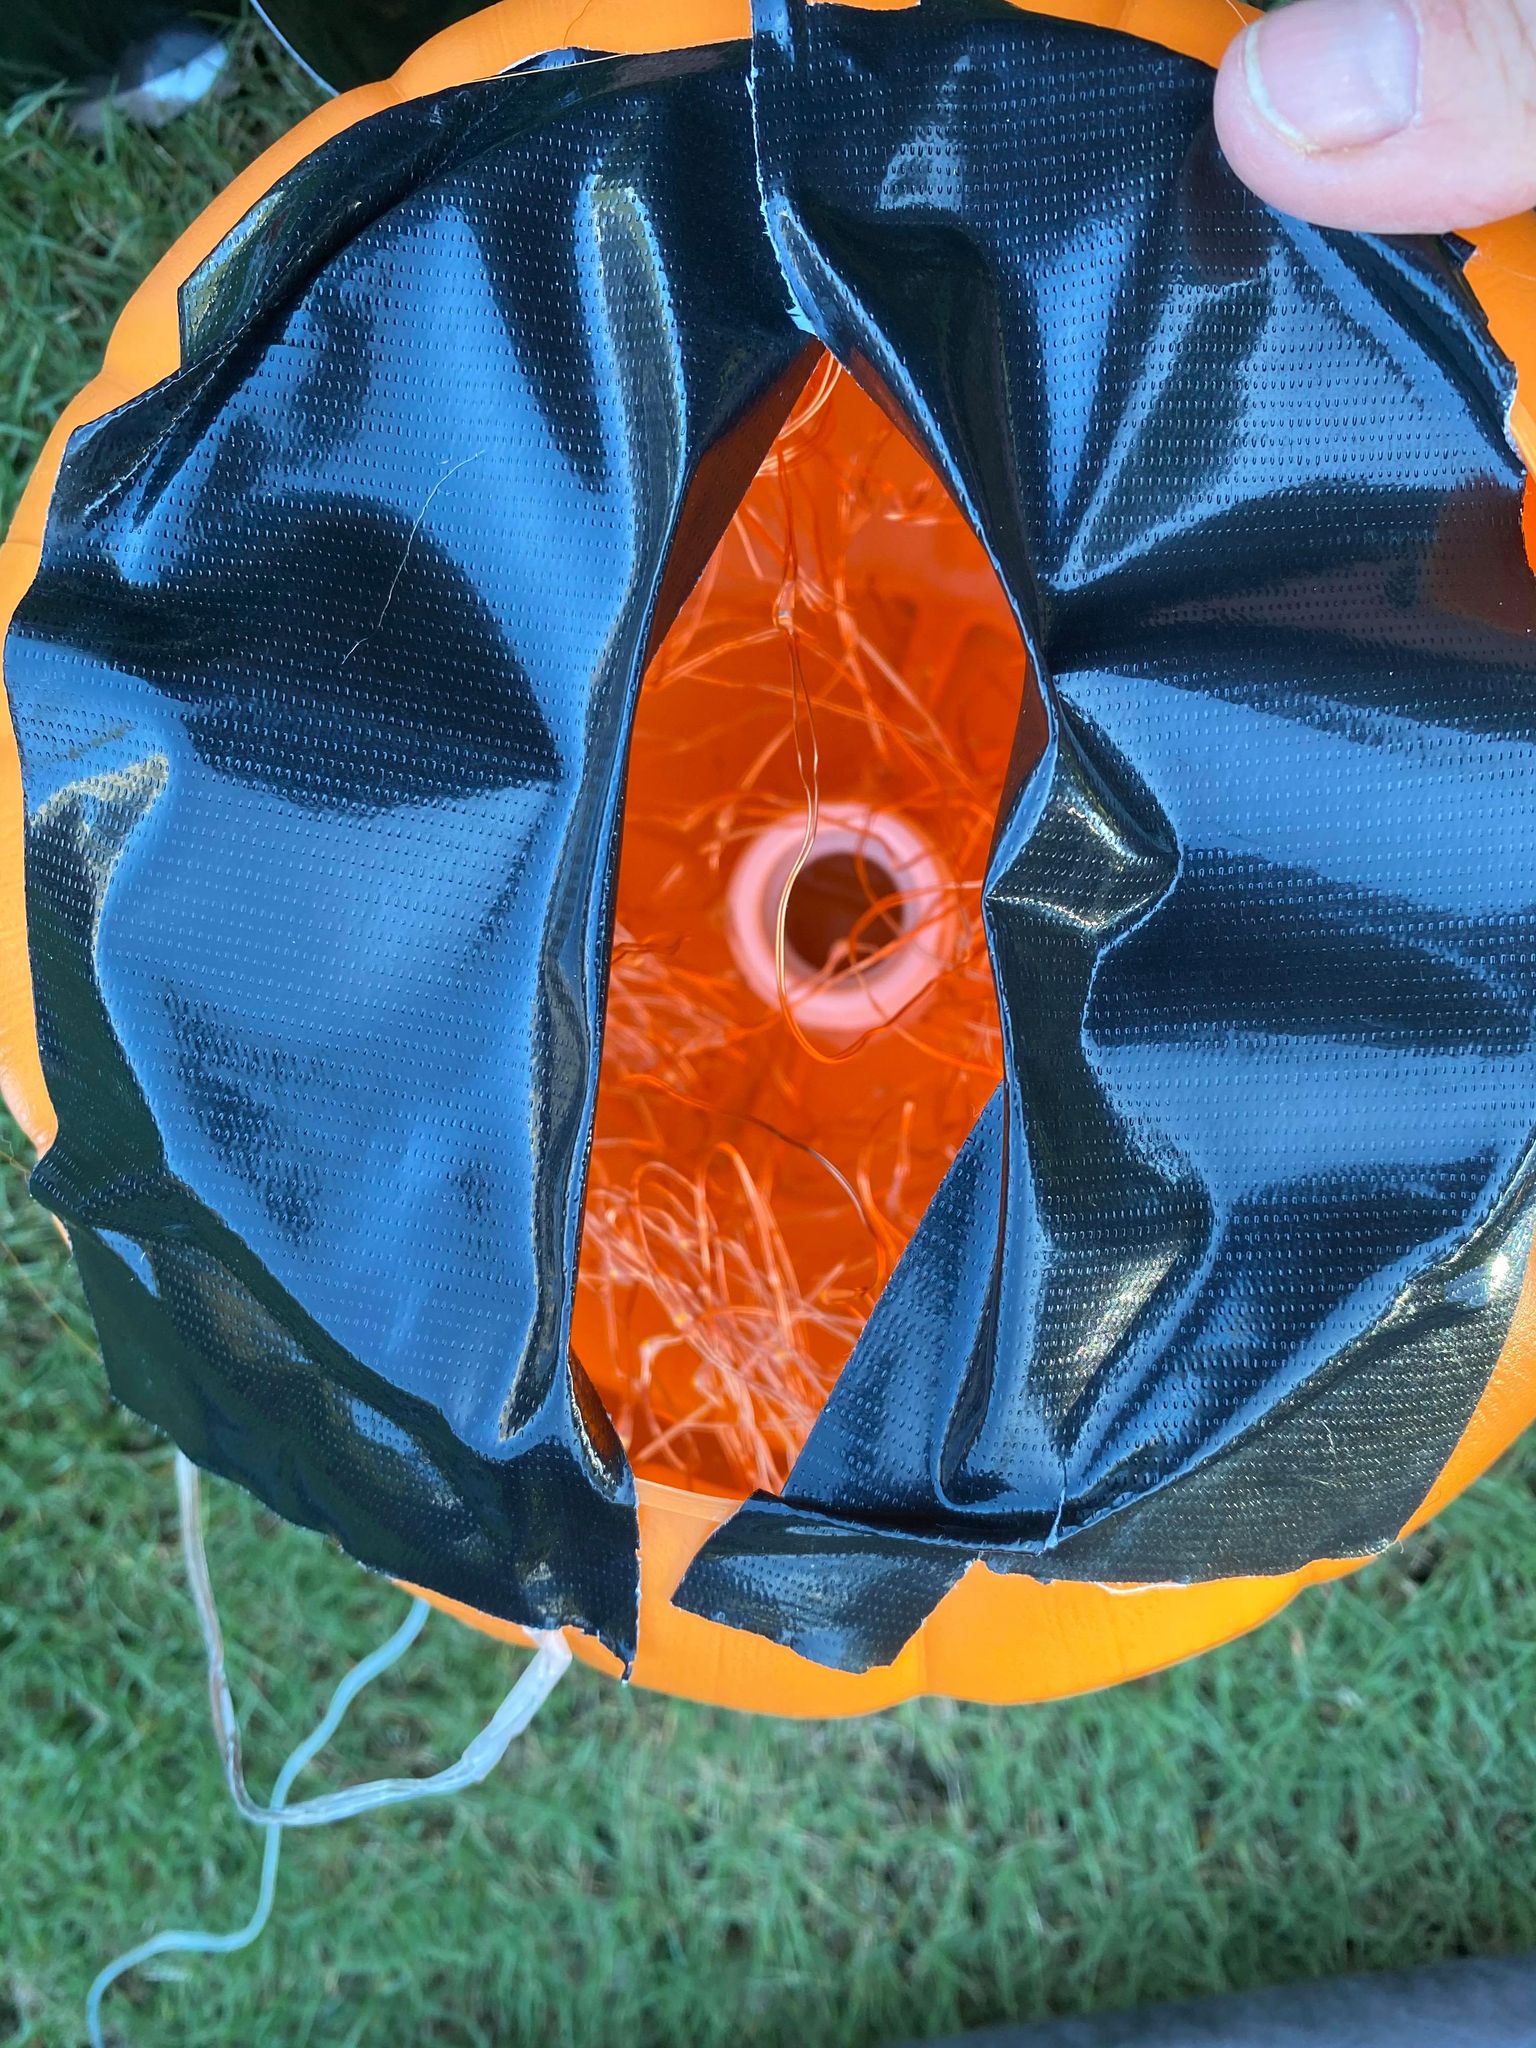
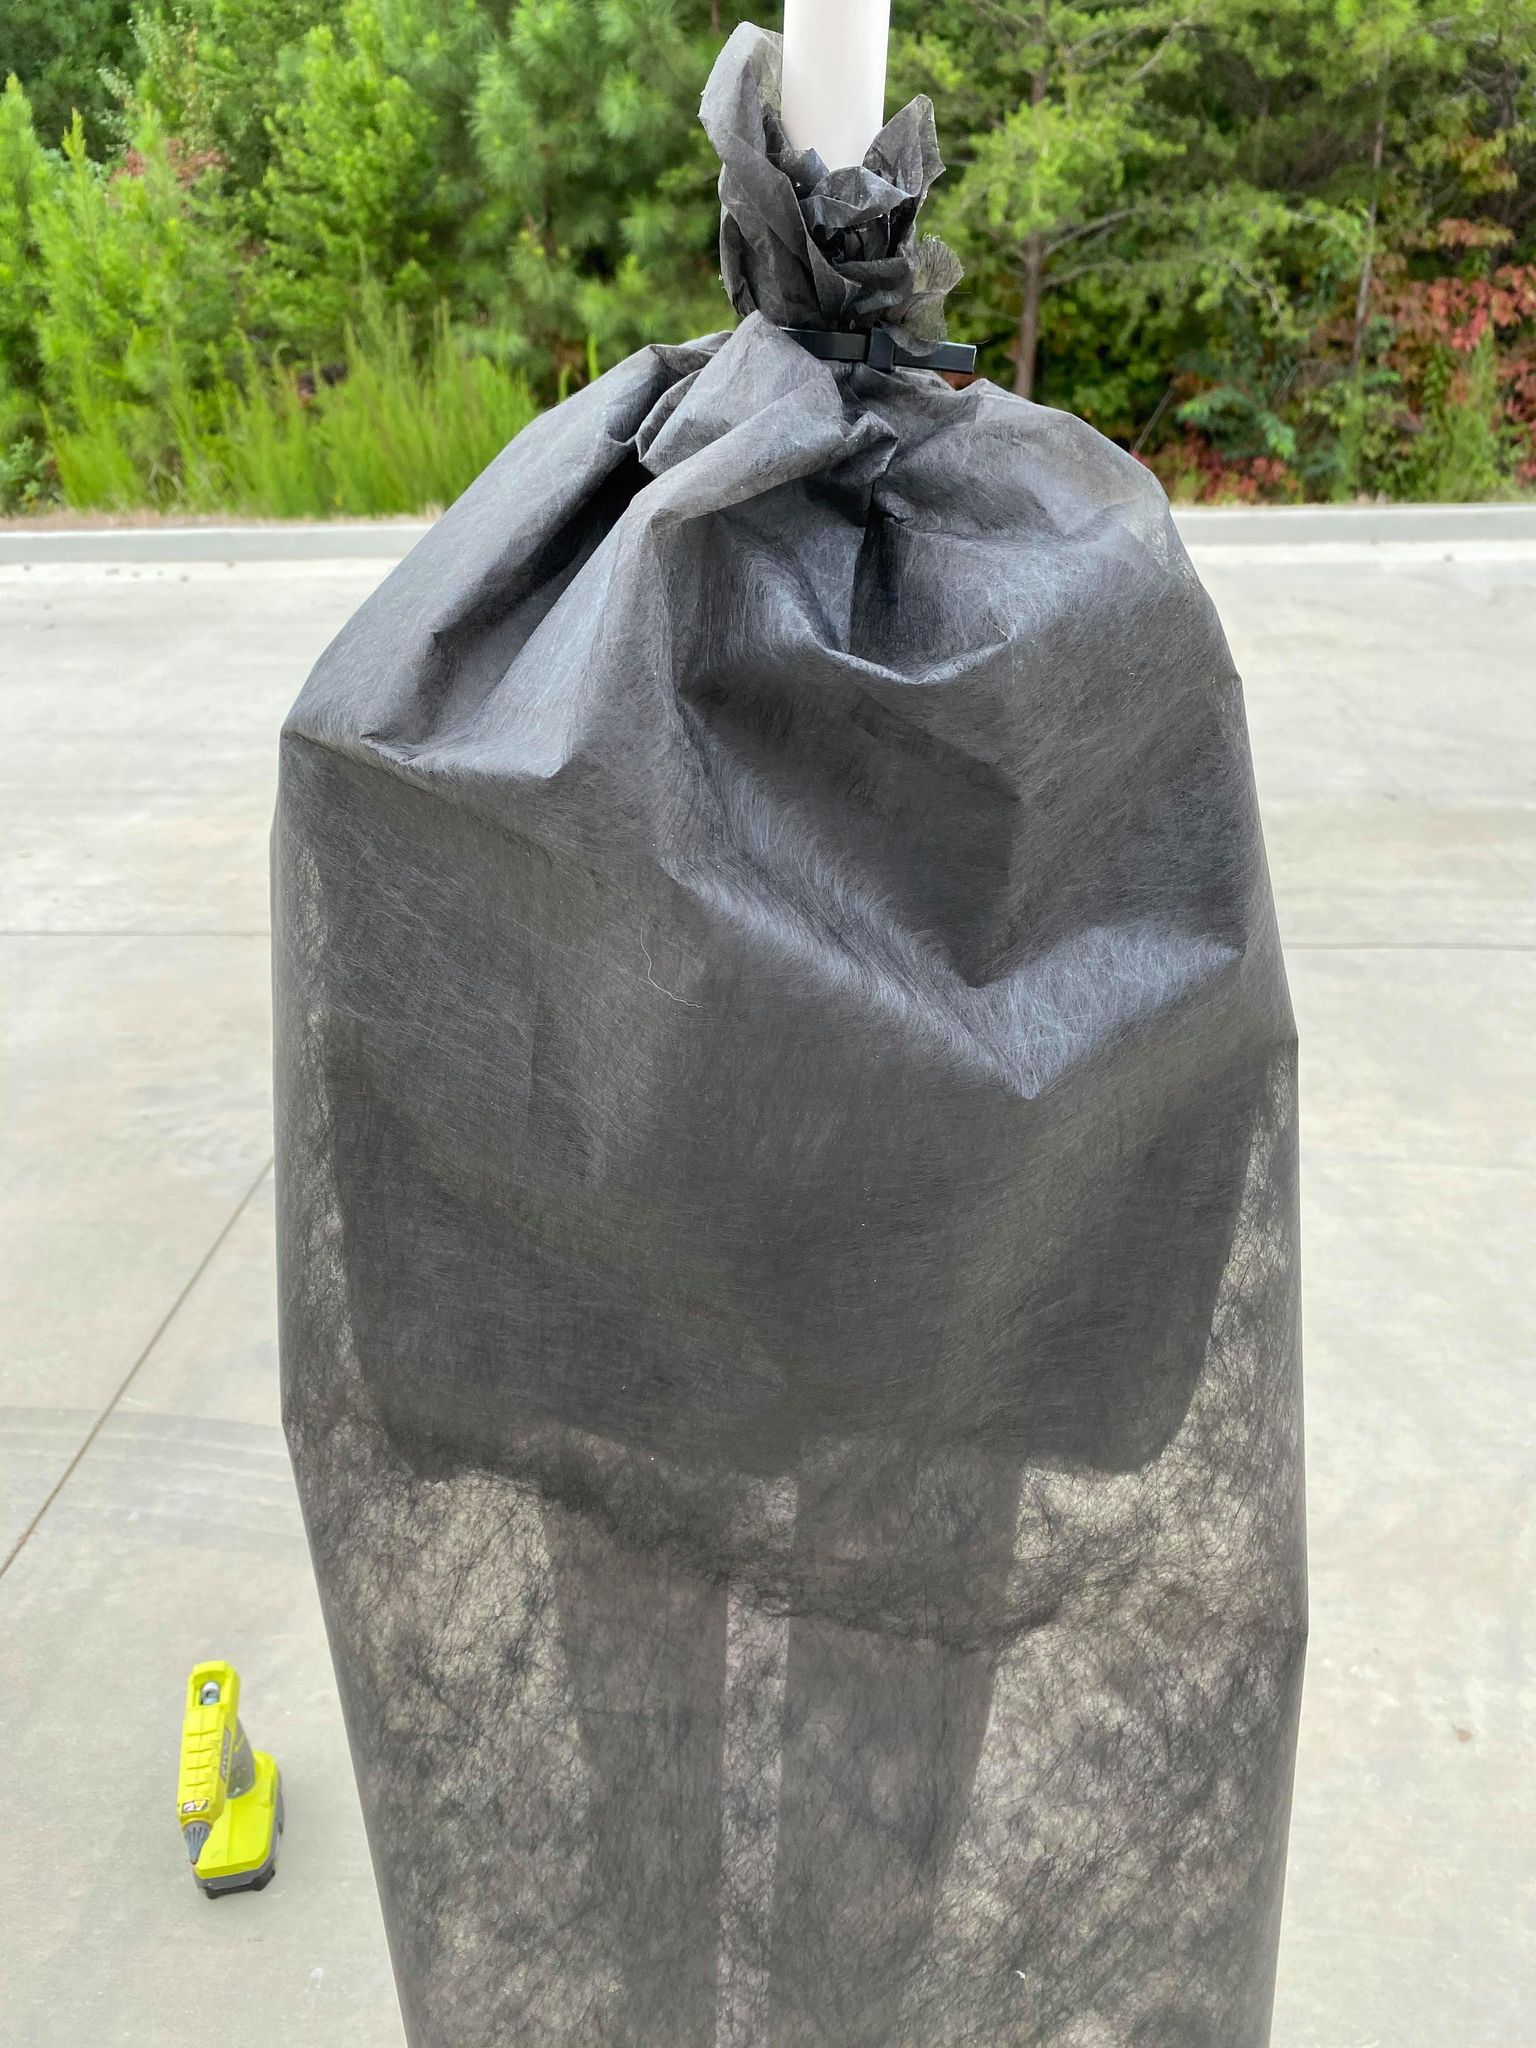
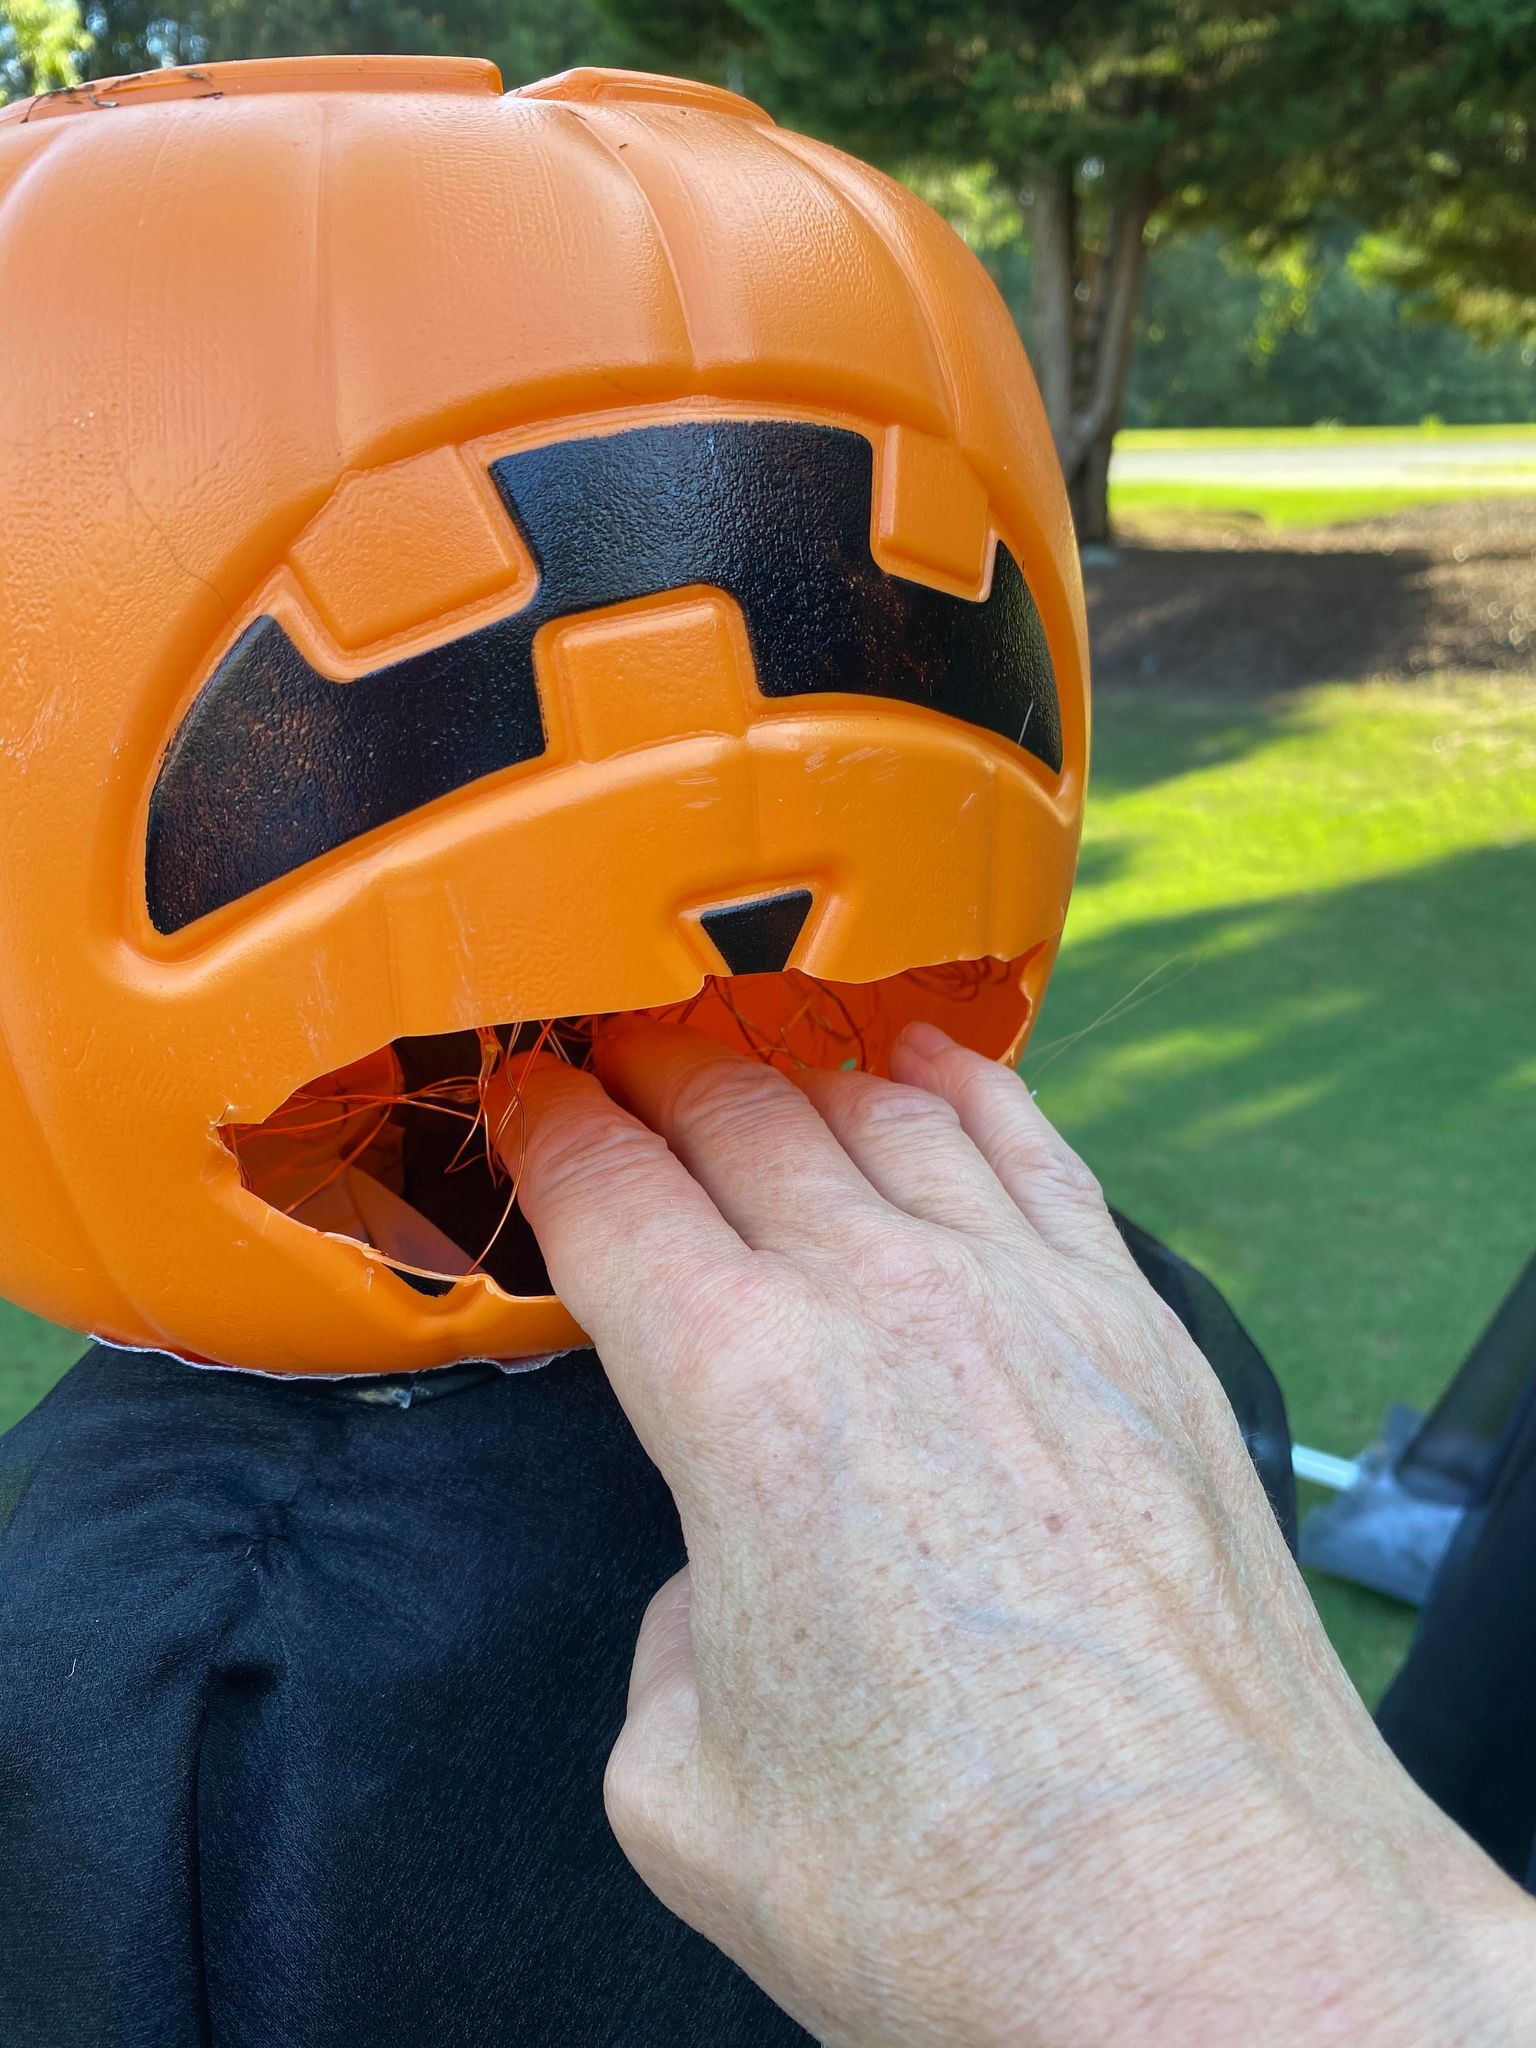
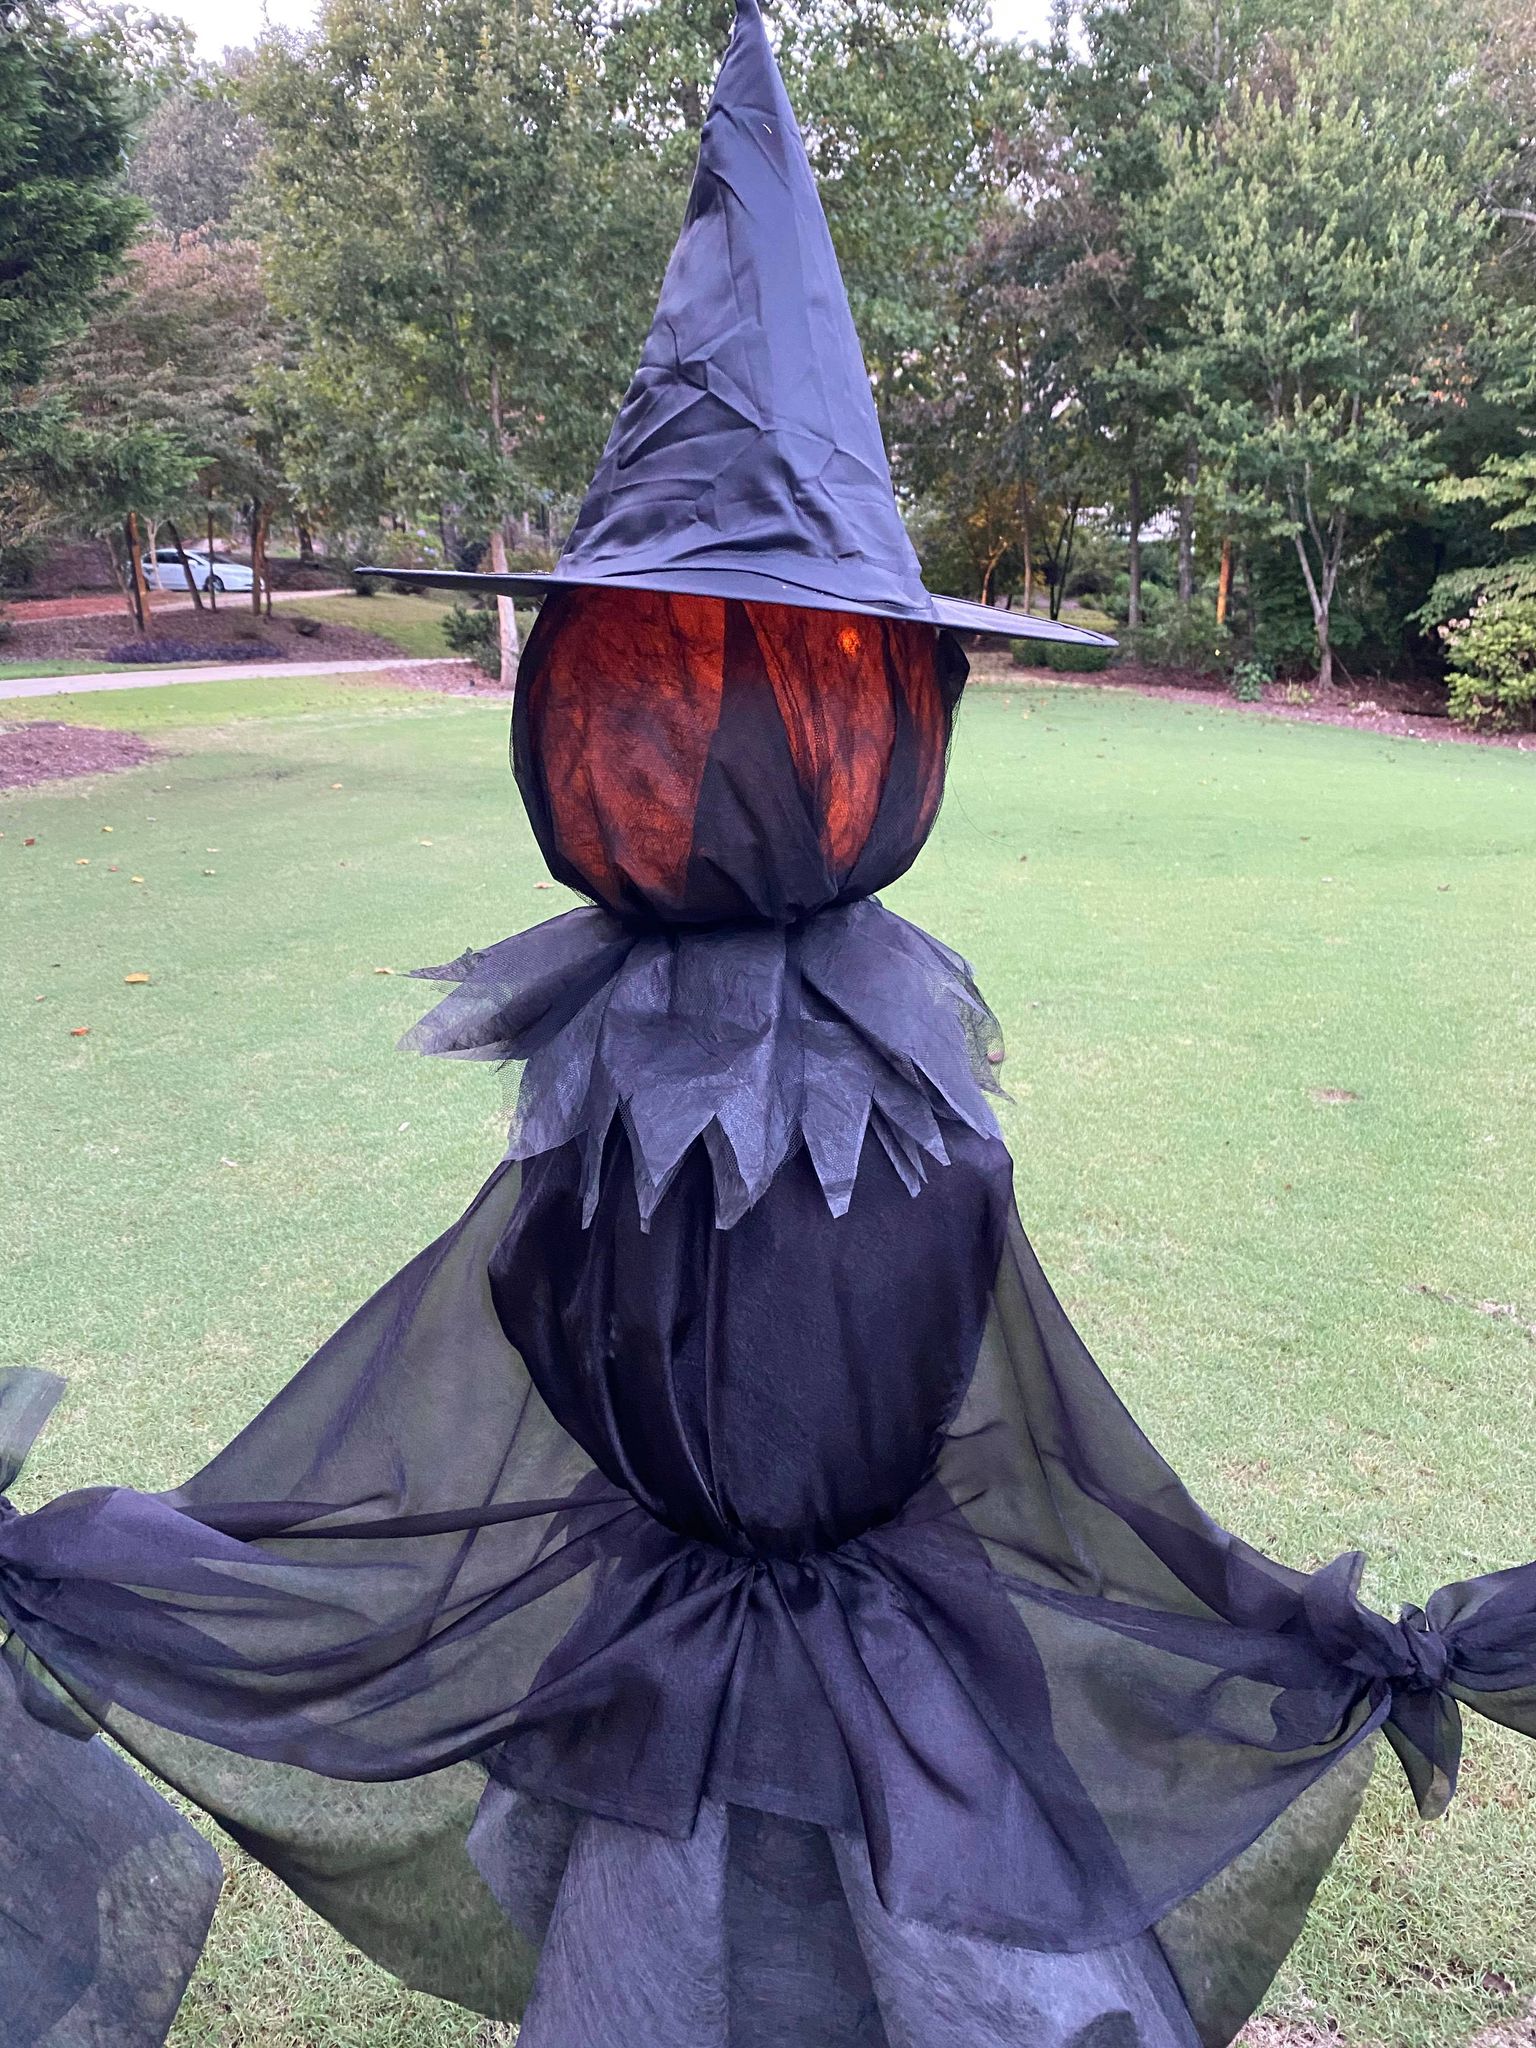
I added my solar lights into the bucket and I added some duct tape to help close off the large opening.
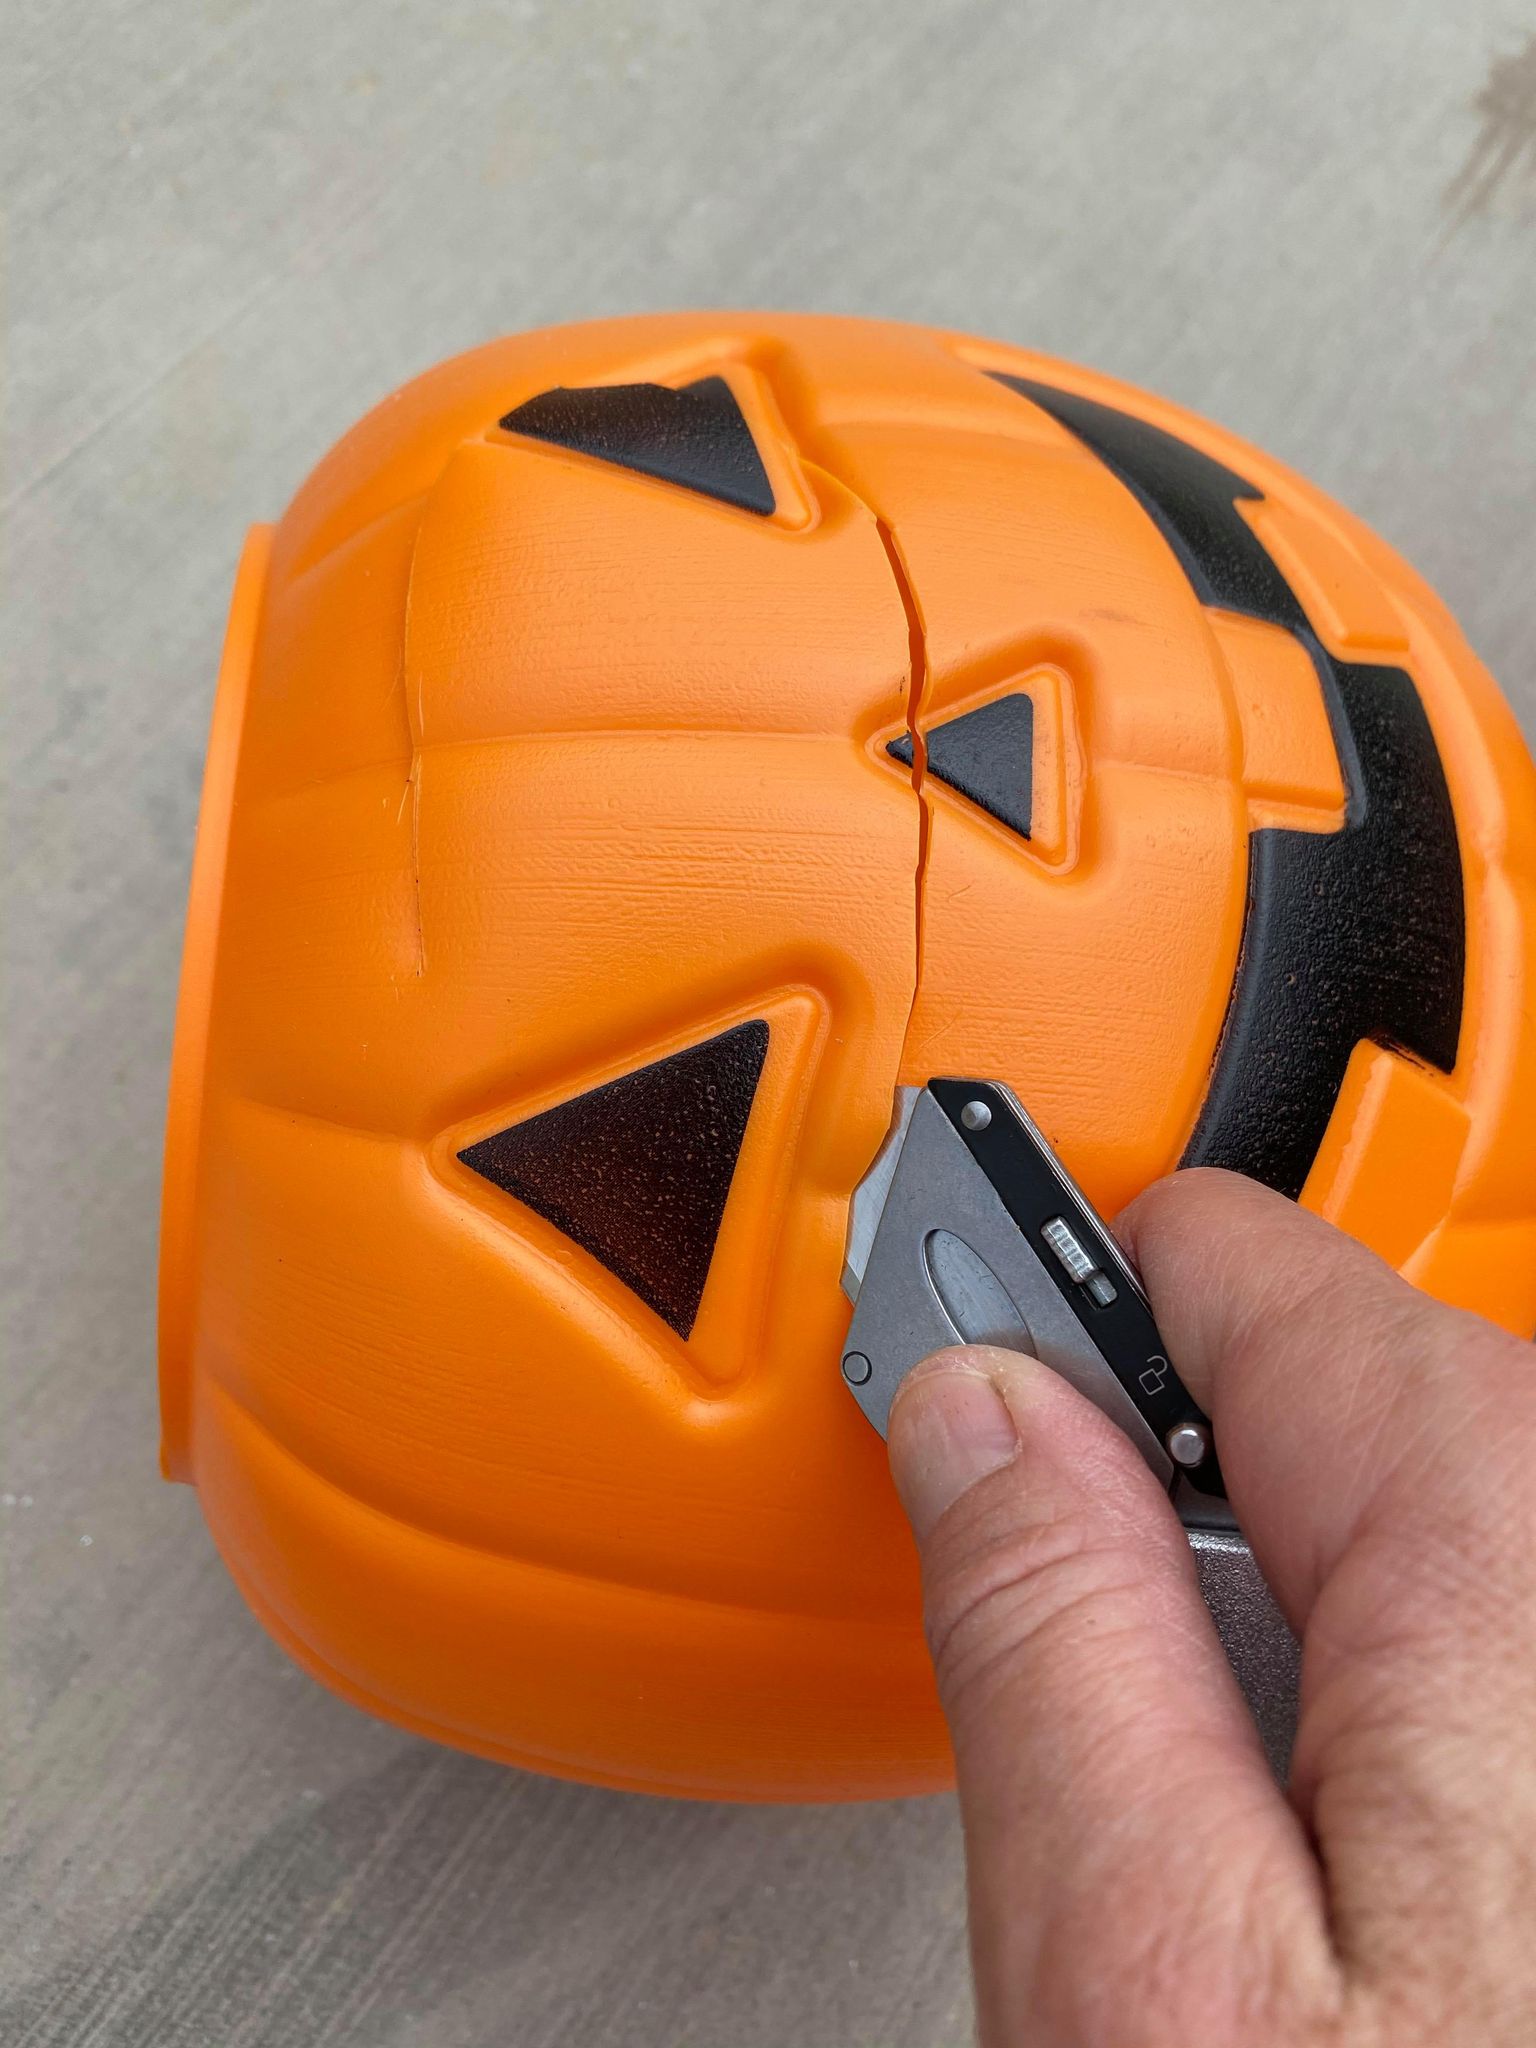
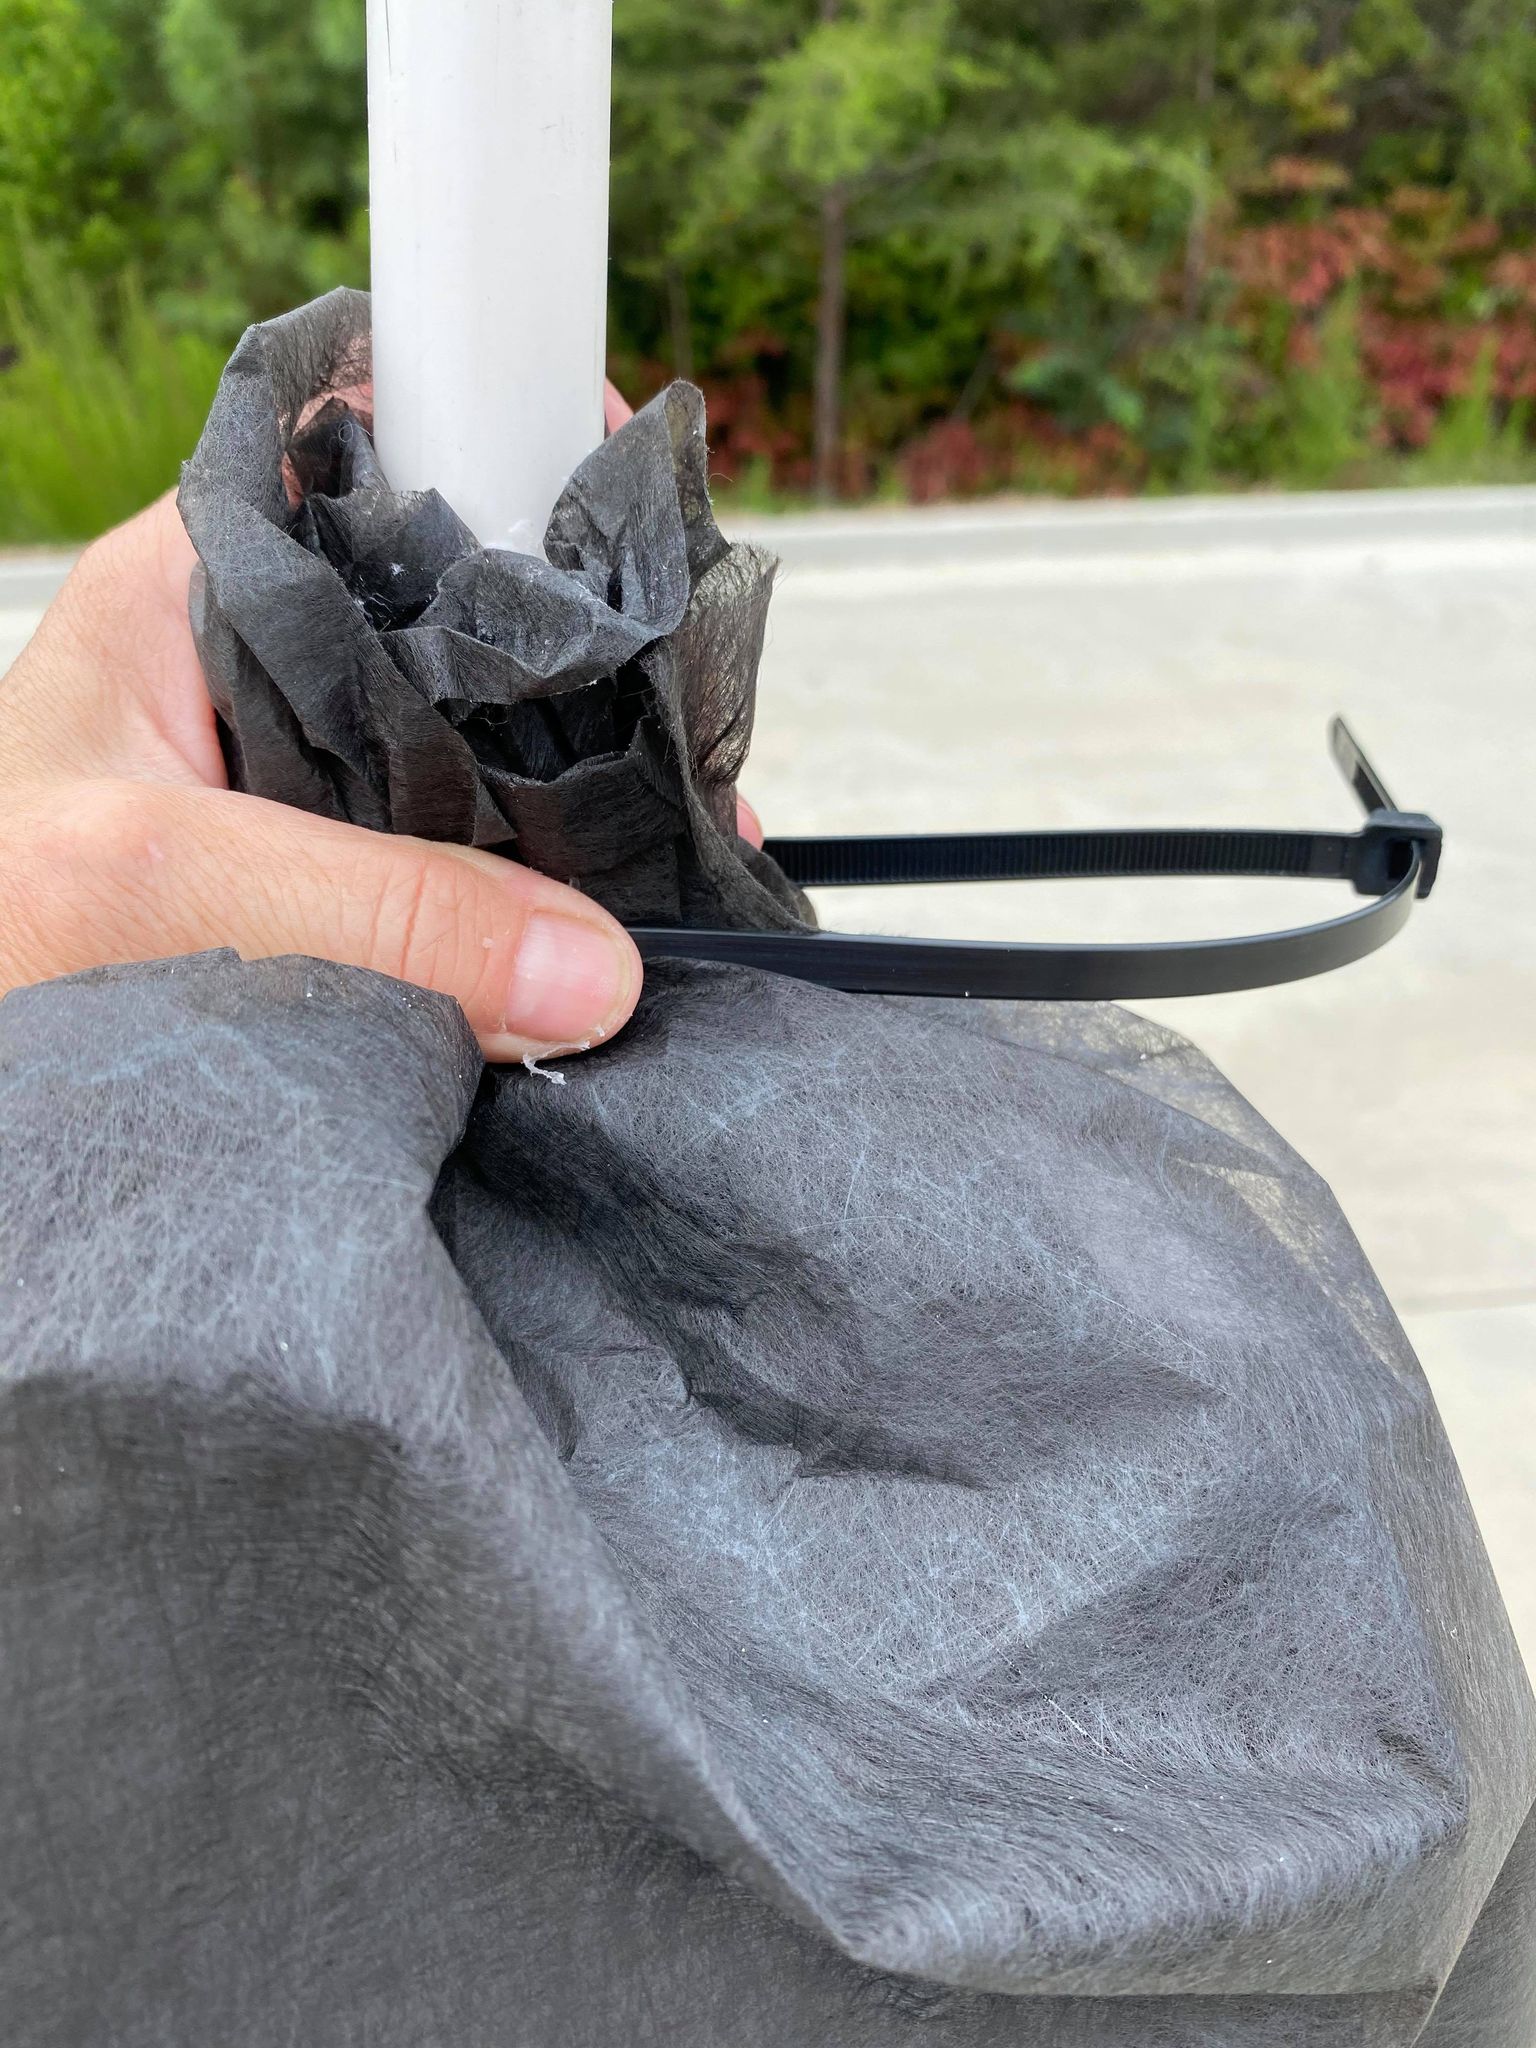
I used the box cutter to cut an opening in the bucket. I want the face to be the back of my witches head and I’m cutting an opening so I can insert my hand when placing the bucket onto the pvc.
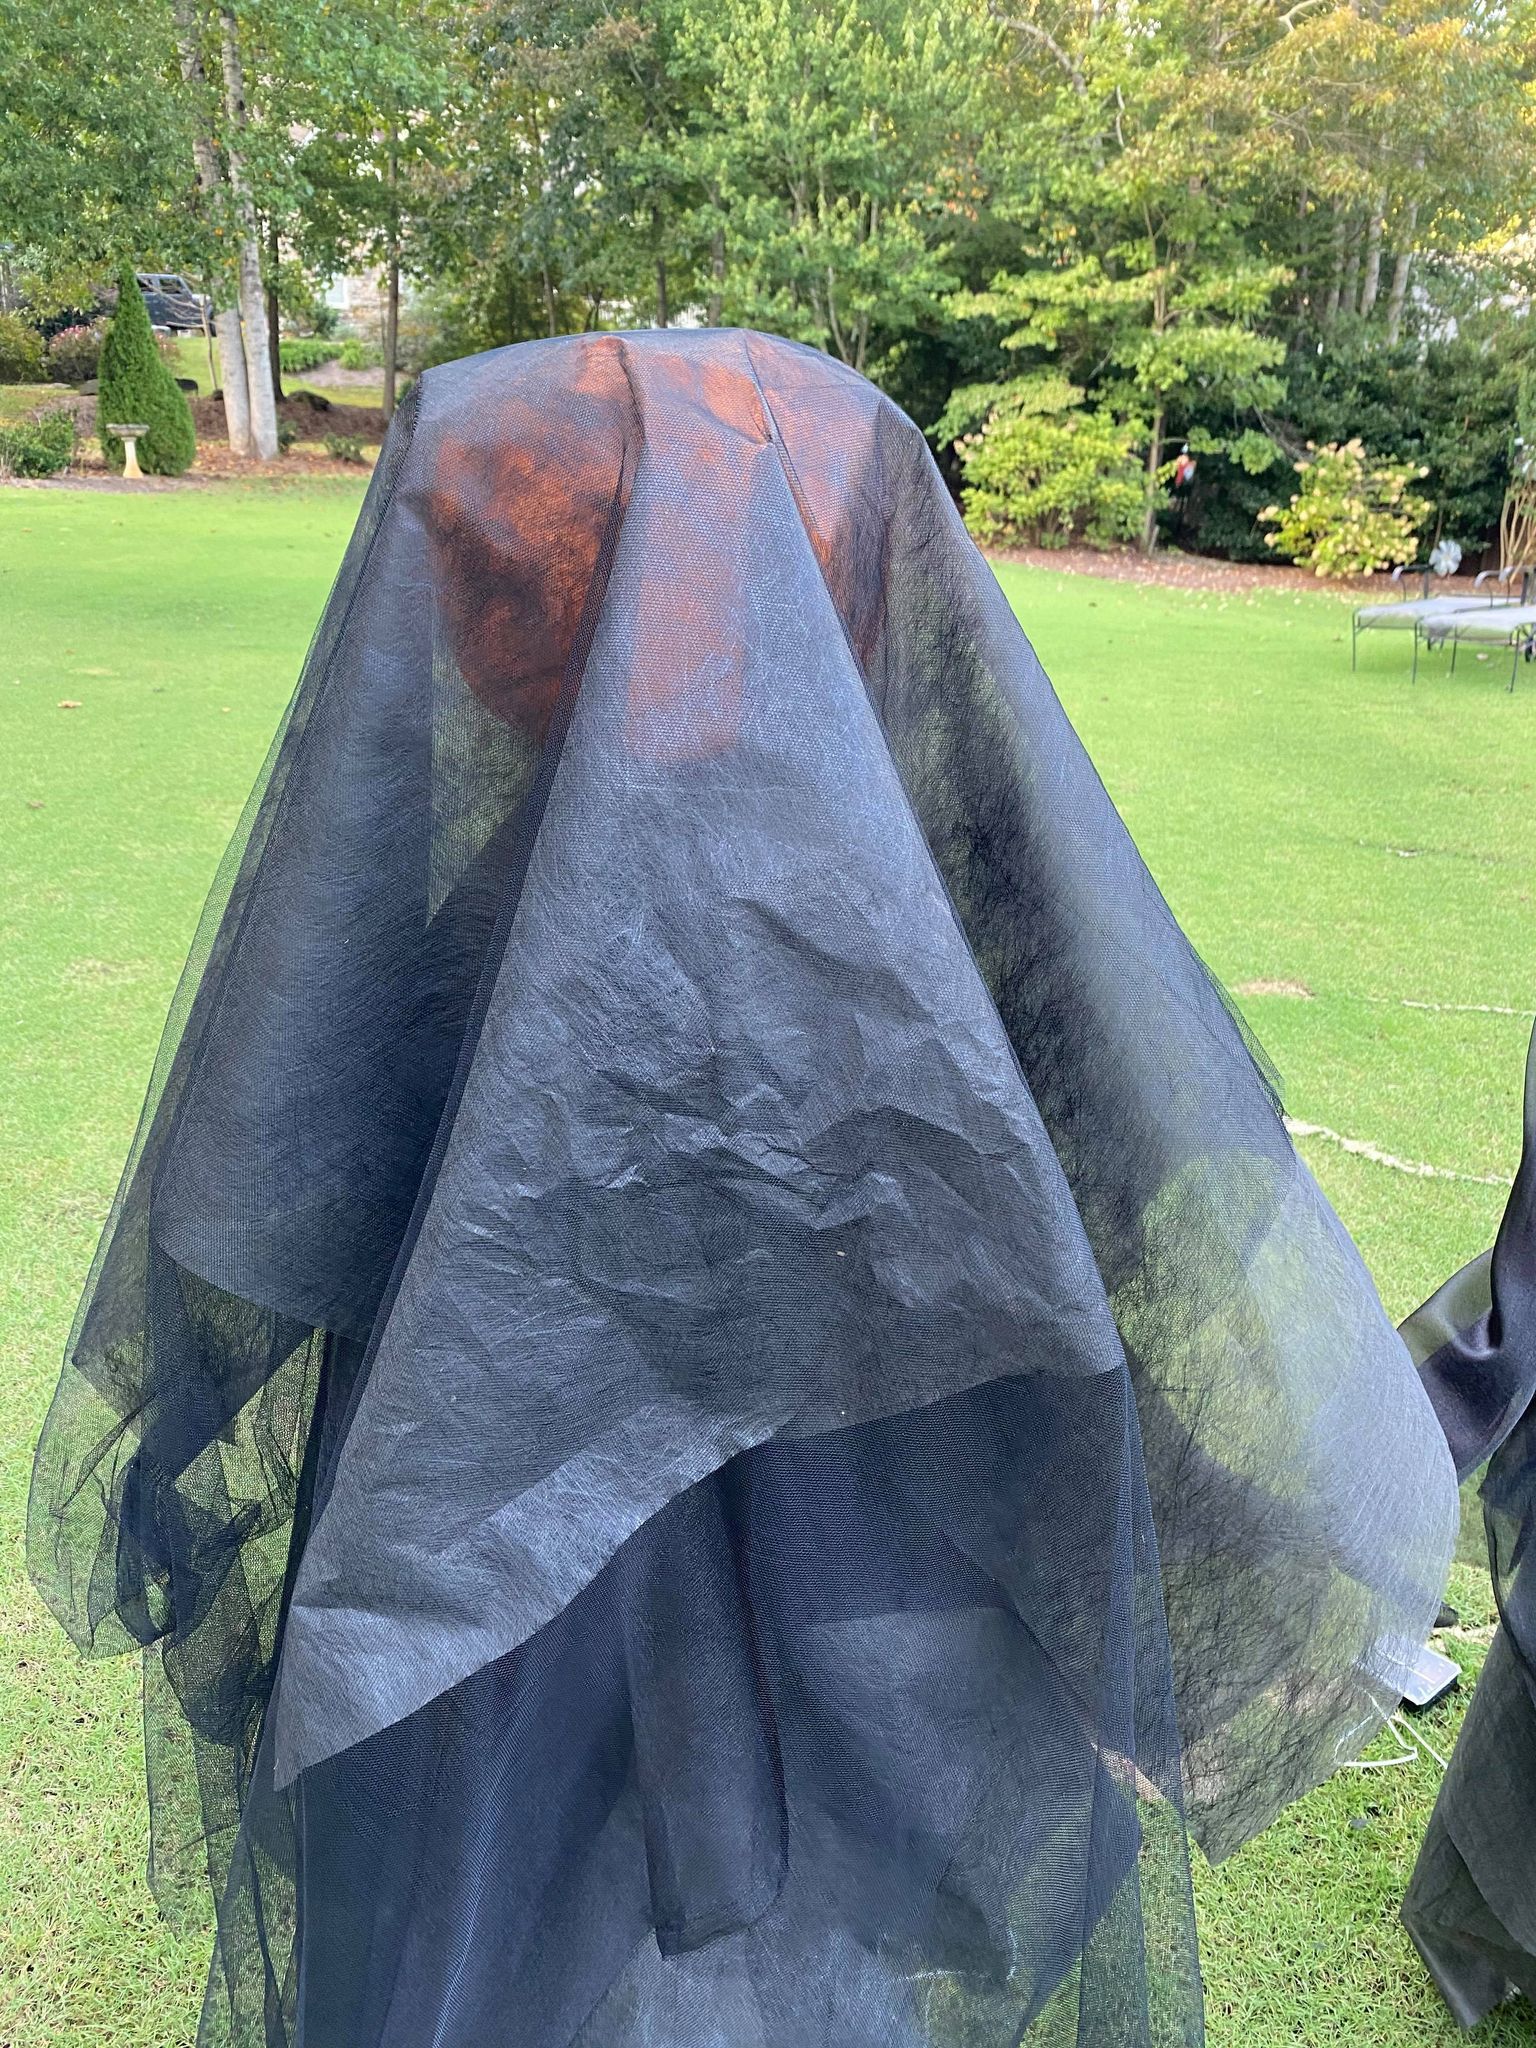
I then placed a piece of yard fabric and a piece of the tulle over the bucket.
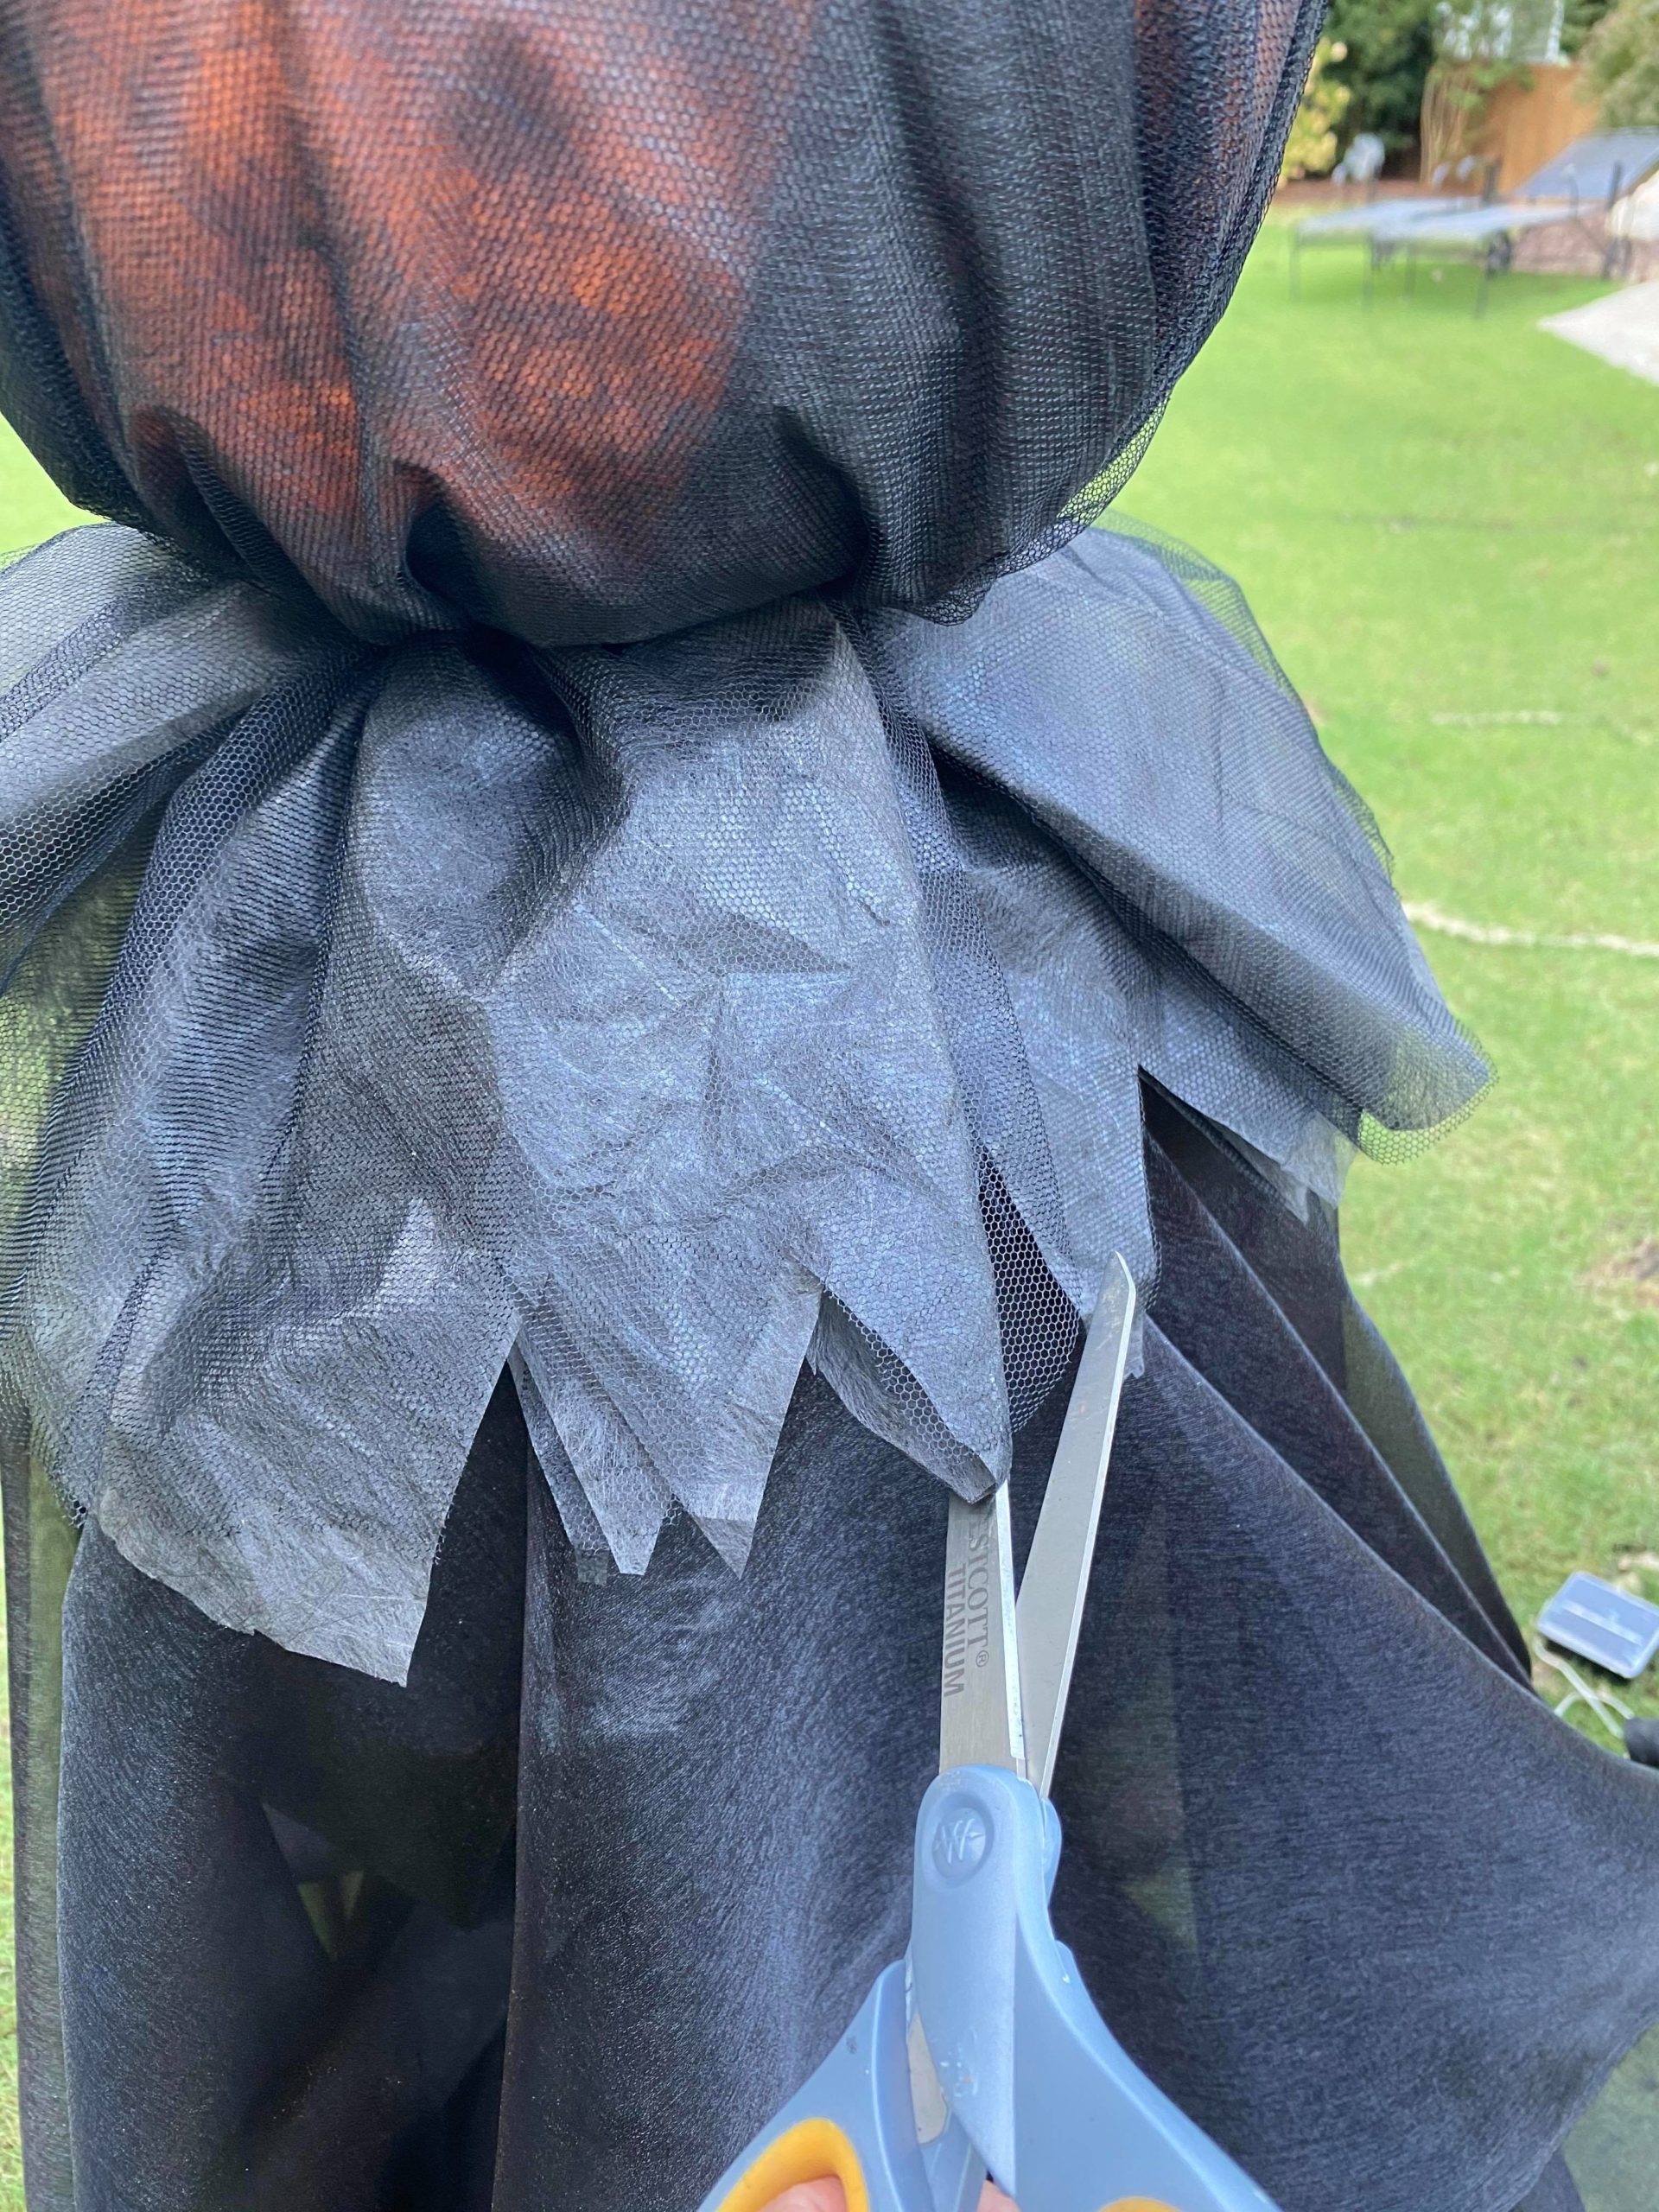
You will add a zip tie or sting to form the neck of your witch. I then took the scissors and cut around the neck area.

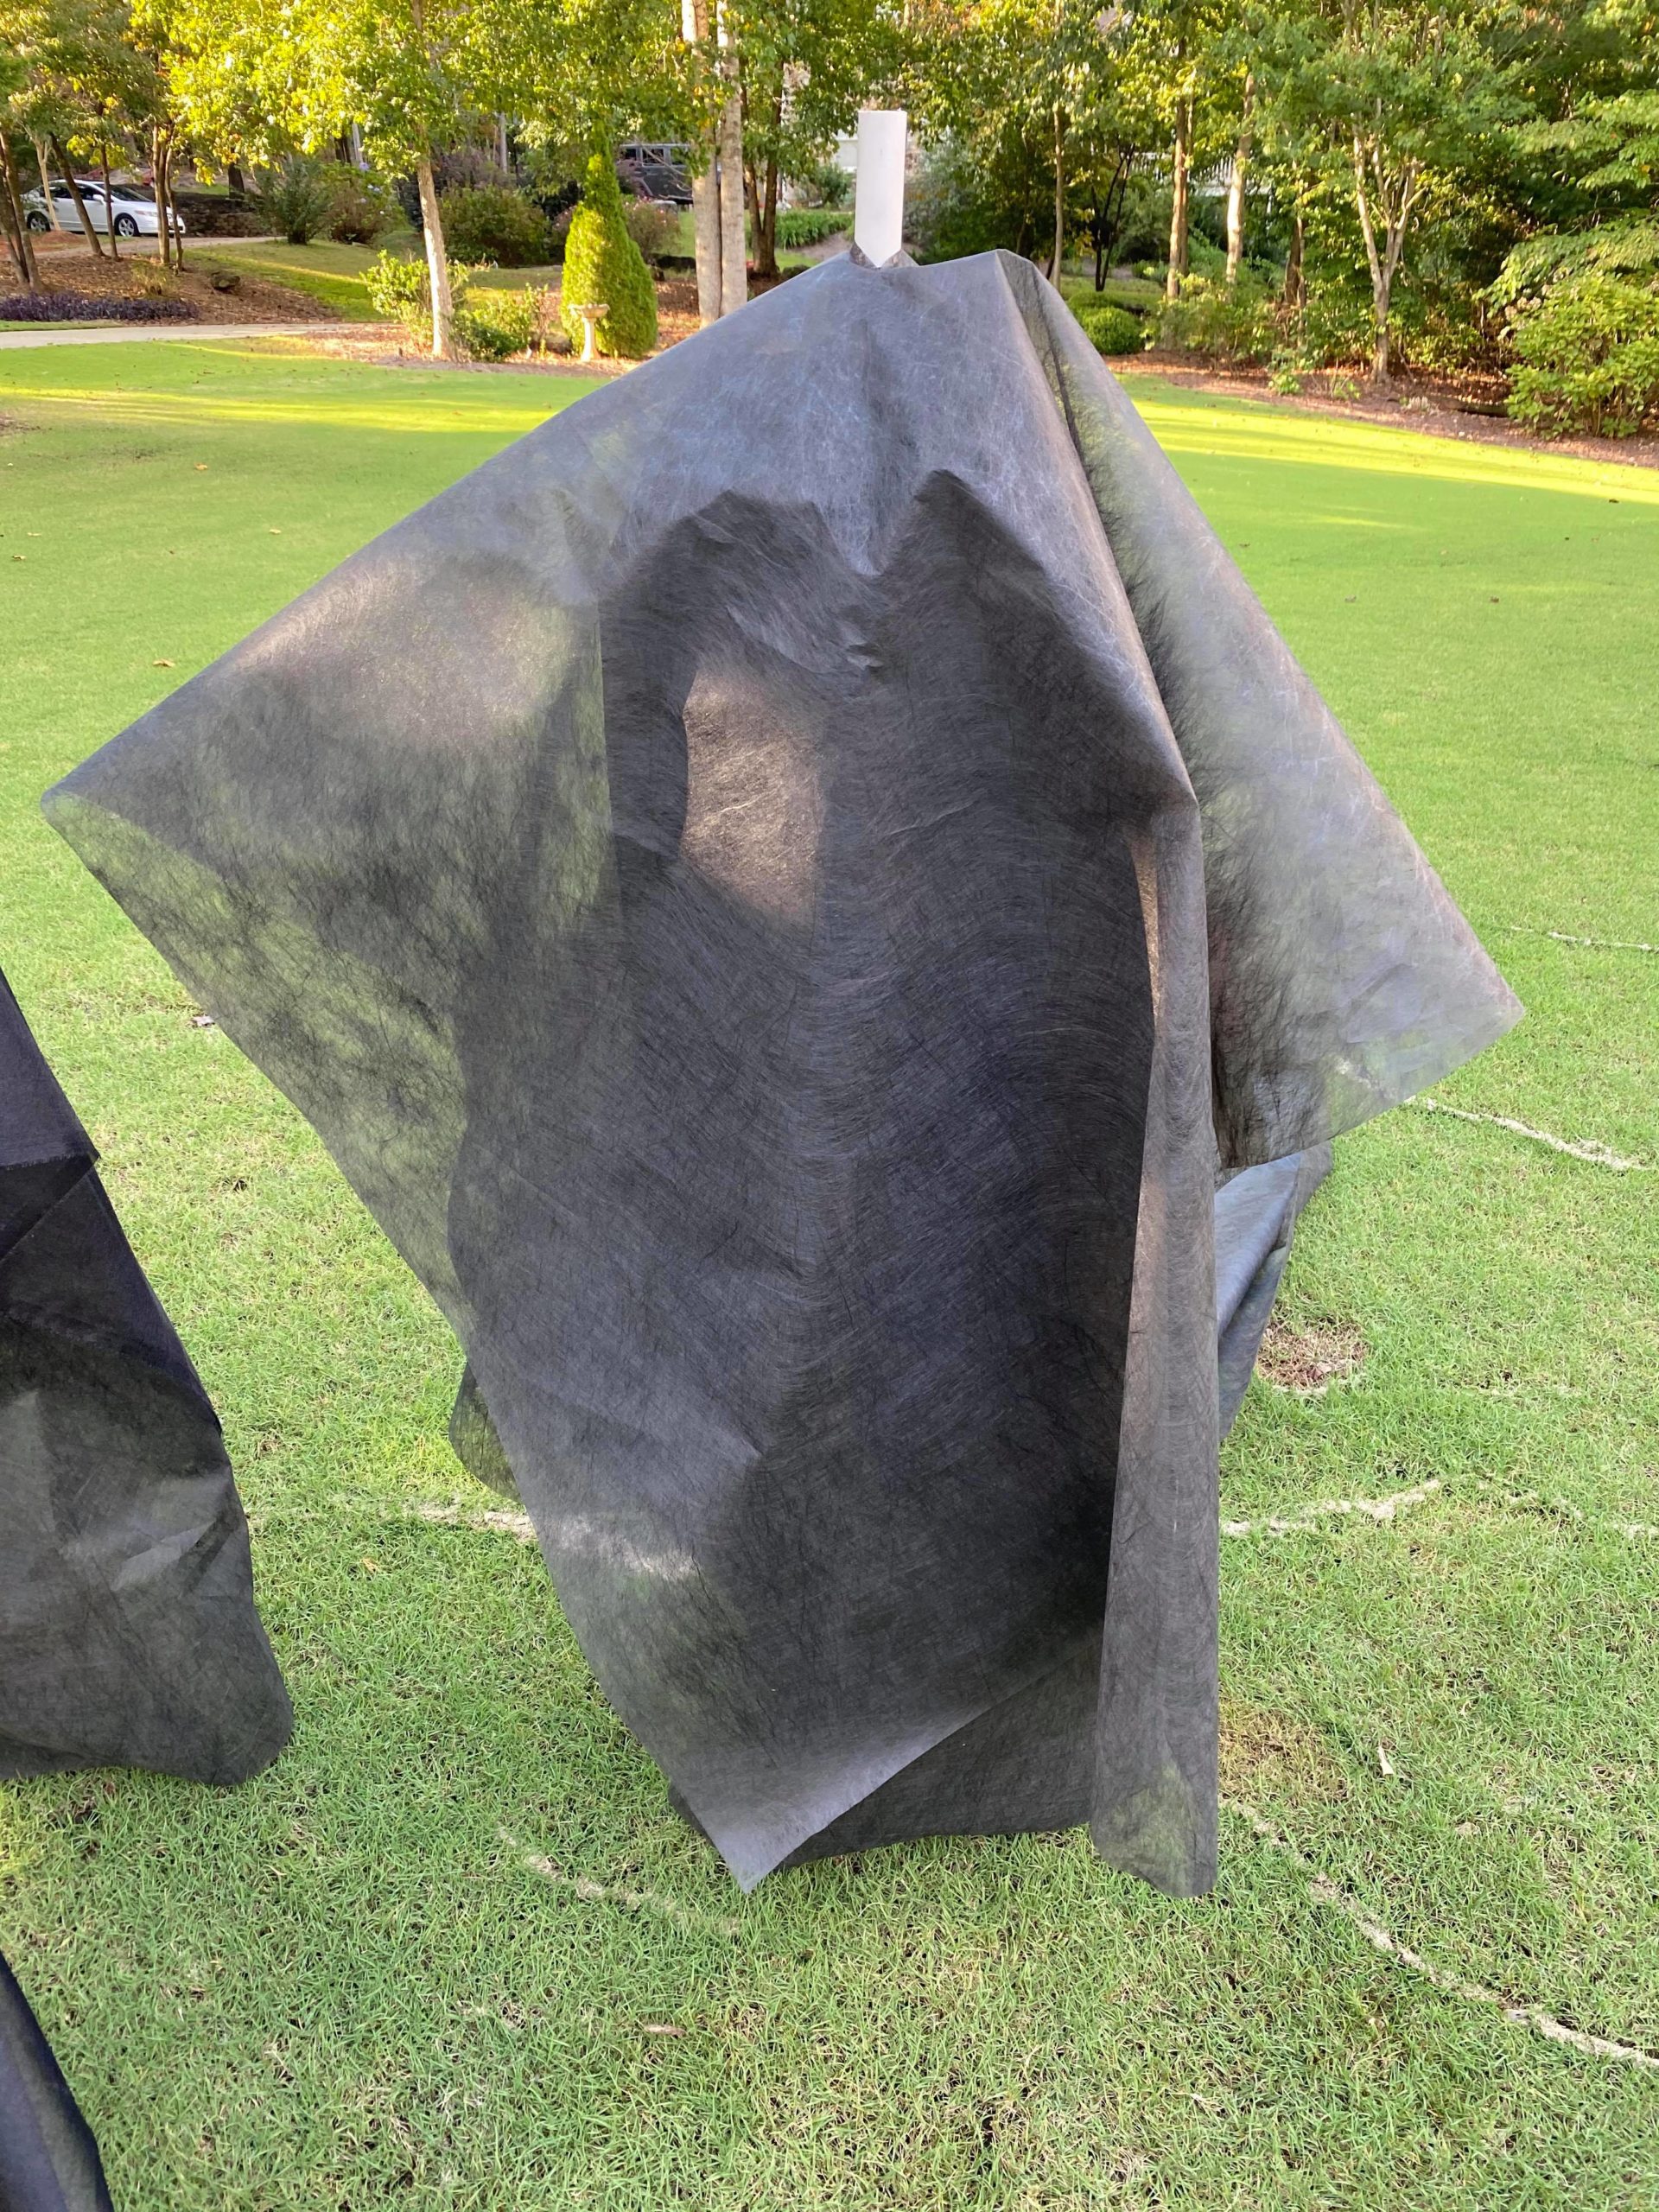
I added another zip tie around the waist of my witch. I stuck the zip tie through the side of the fabric so that I can create arms to my witch.
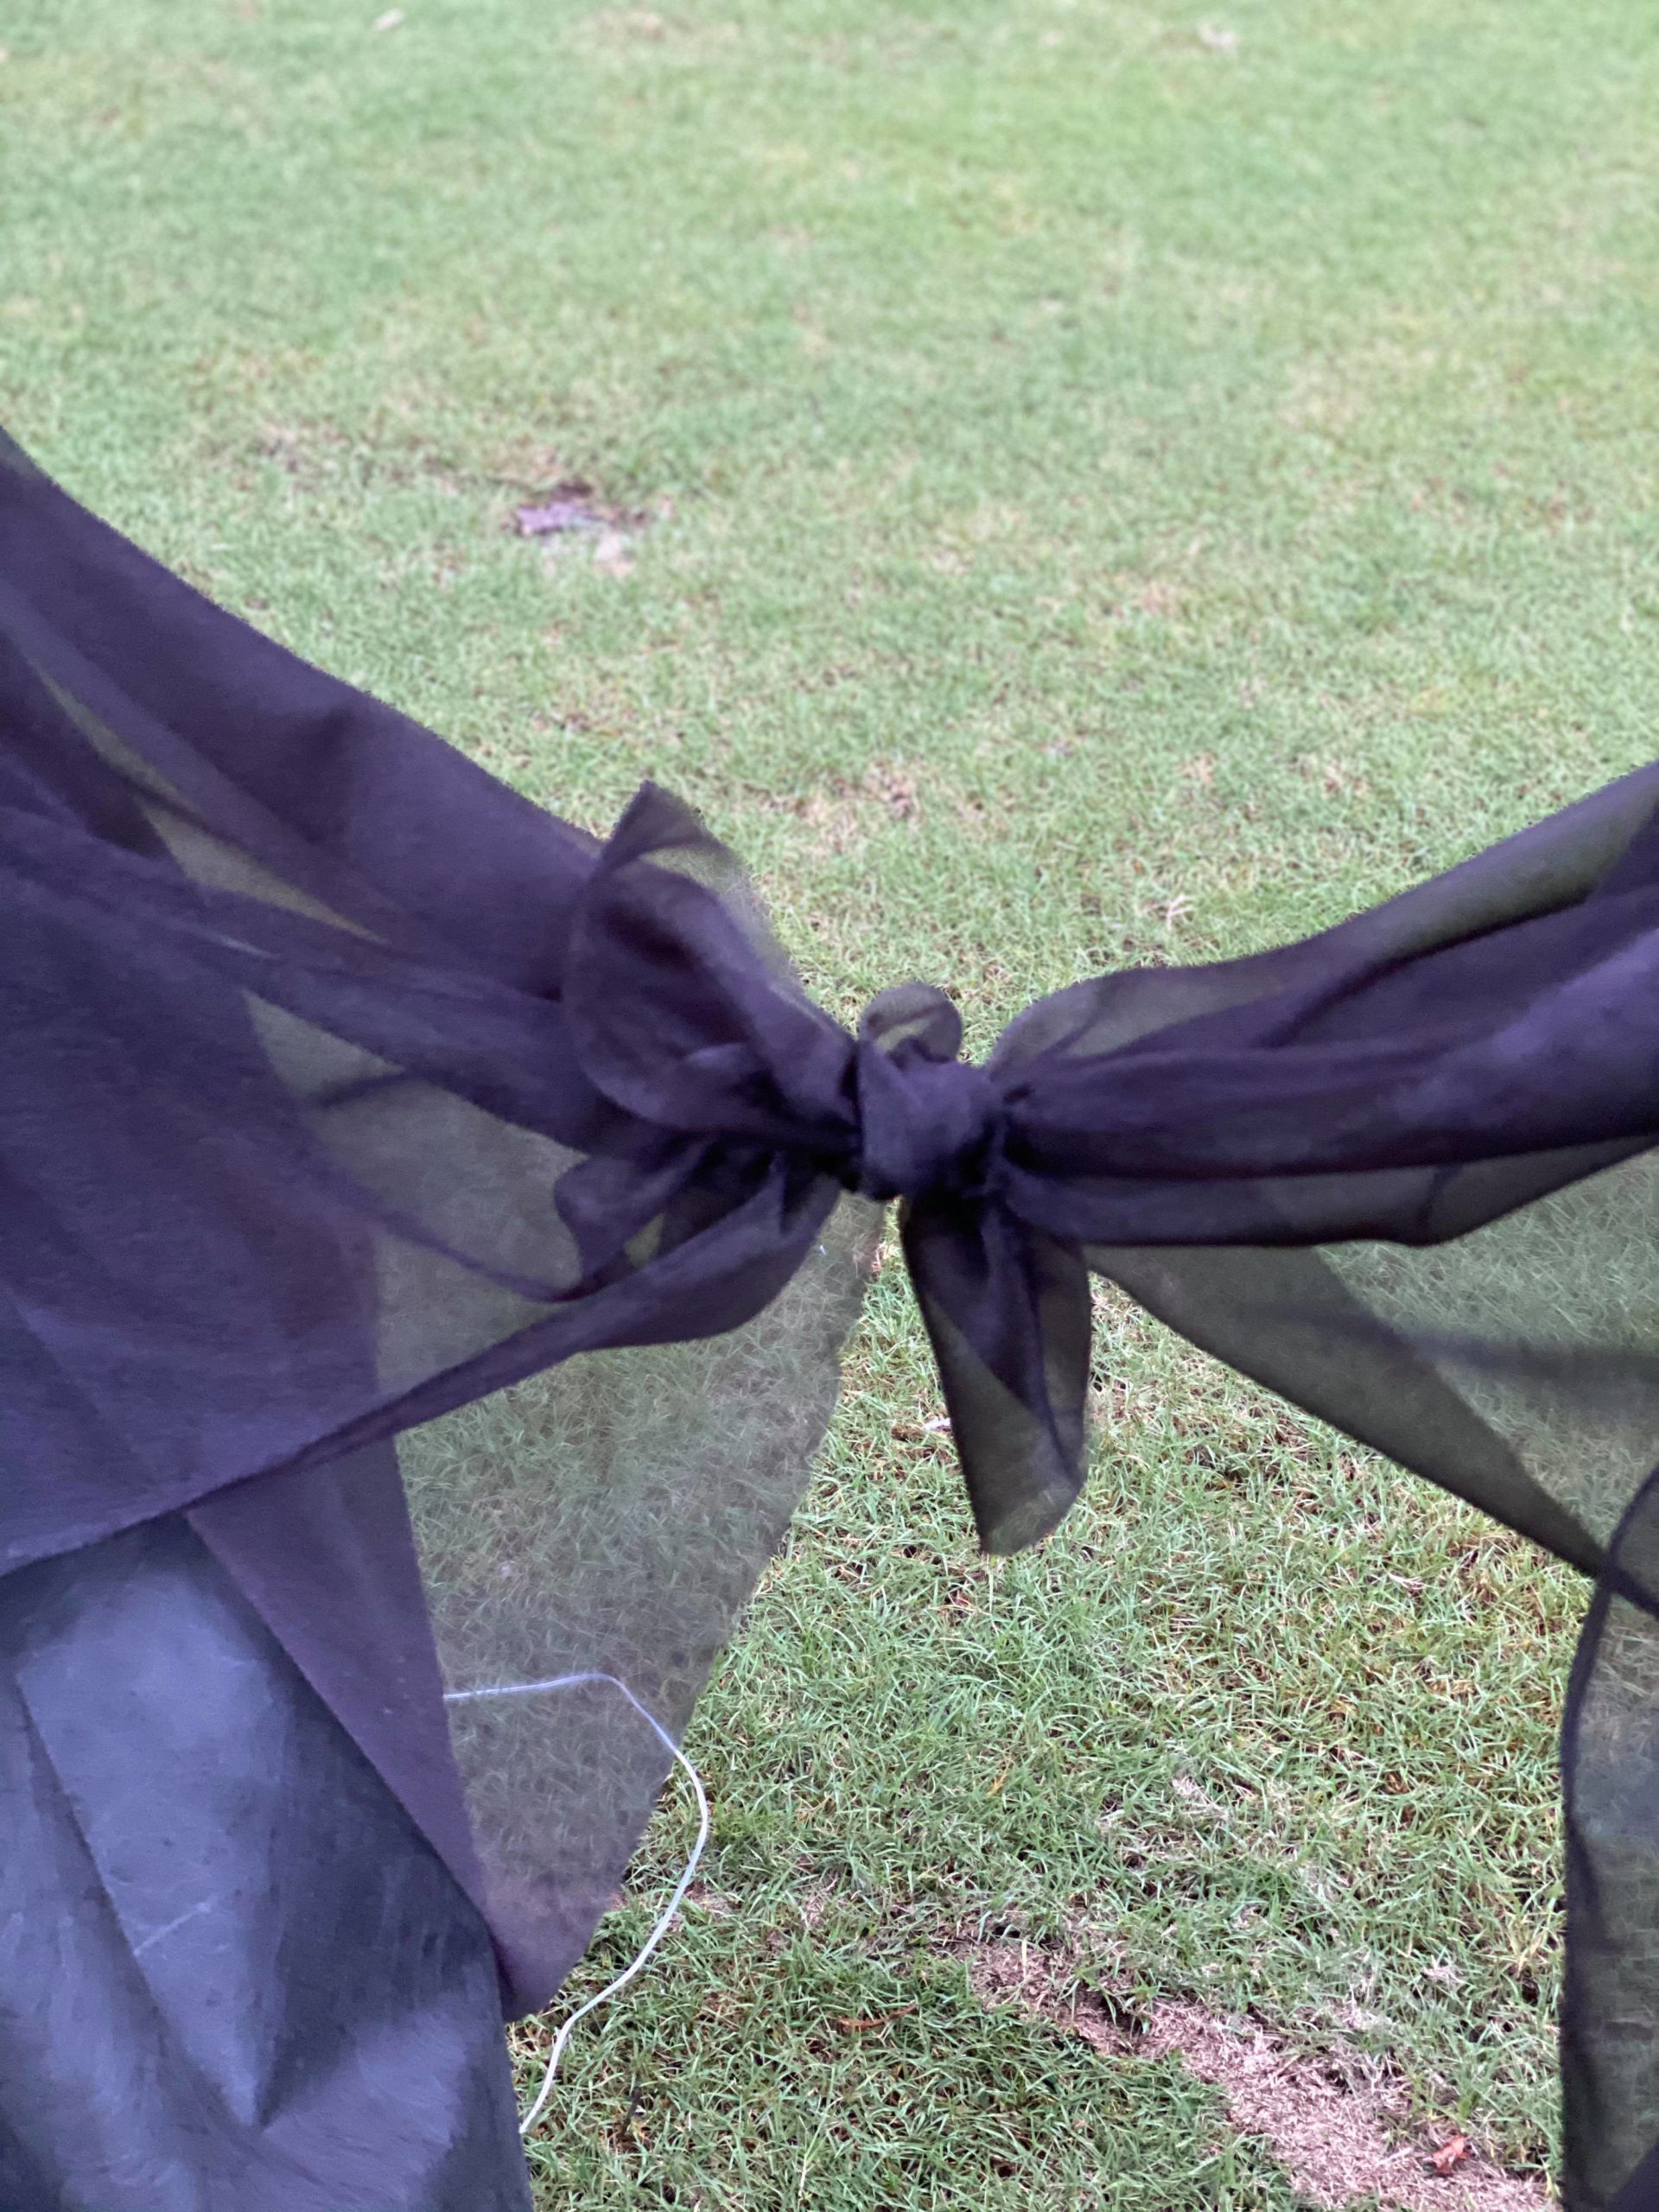
I am making 3 witches and want to be able to knot their arms together.
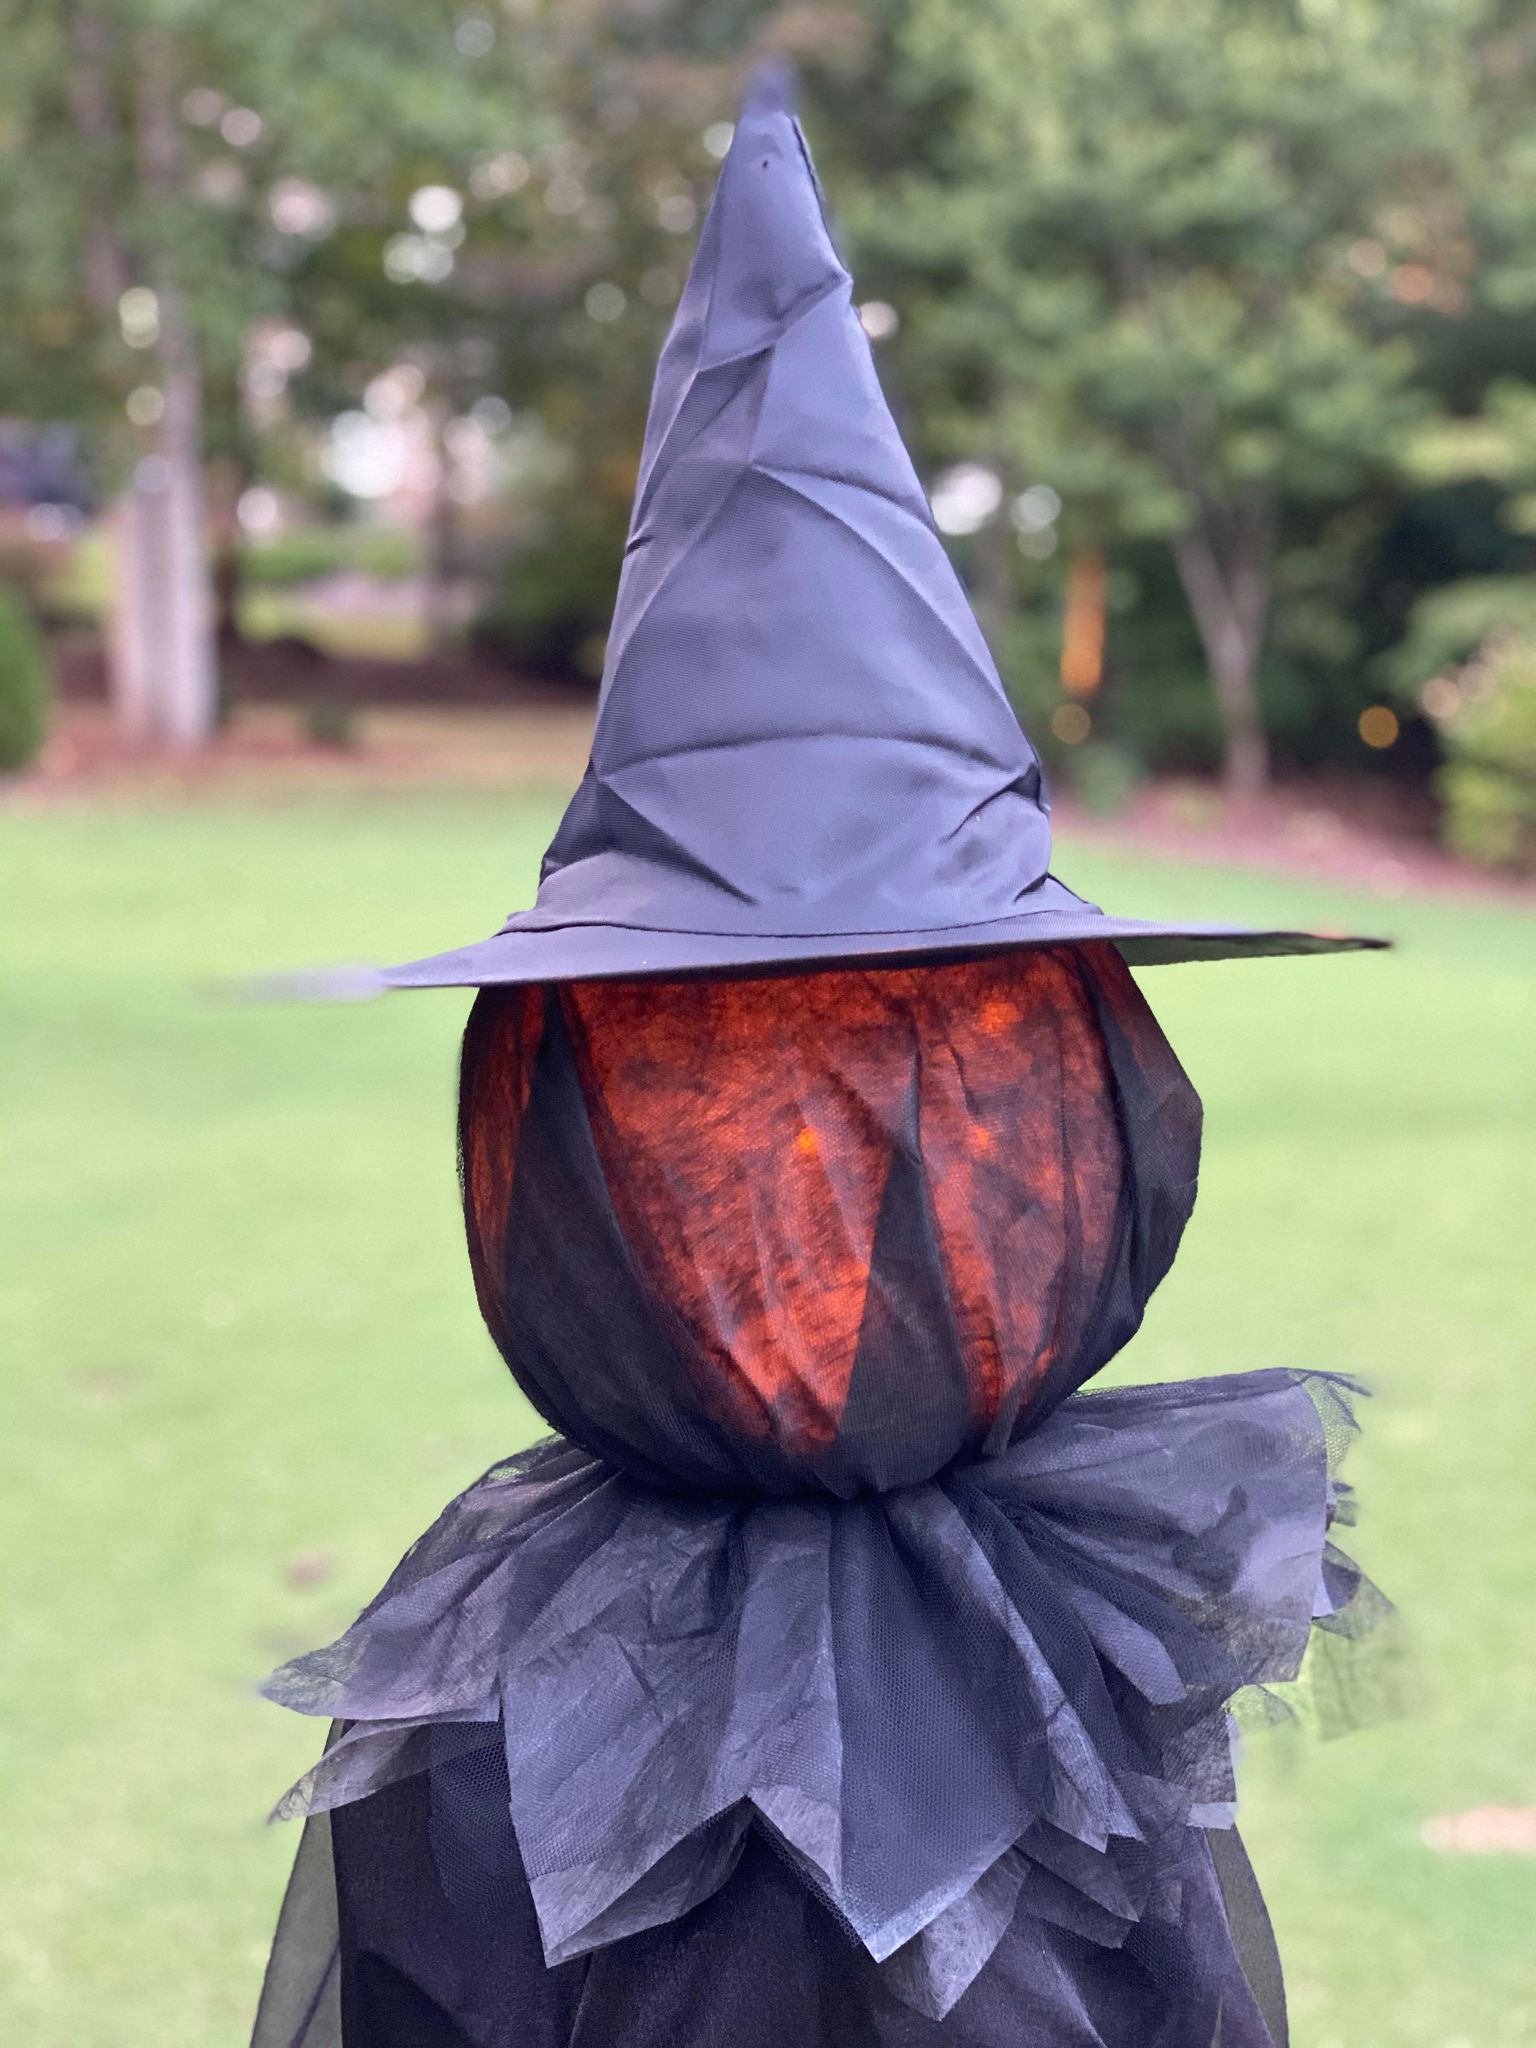
I used hot glue to attach a witch hat to the top of the bucket.
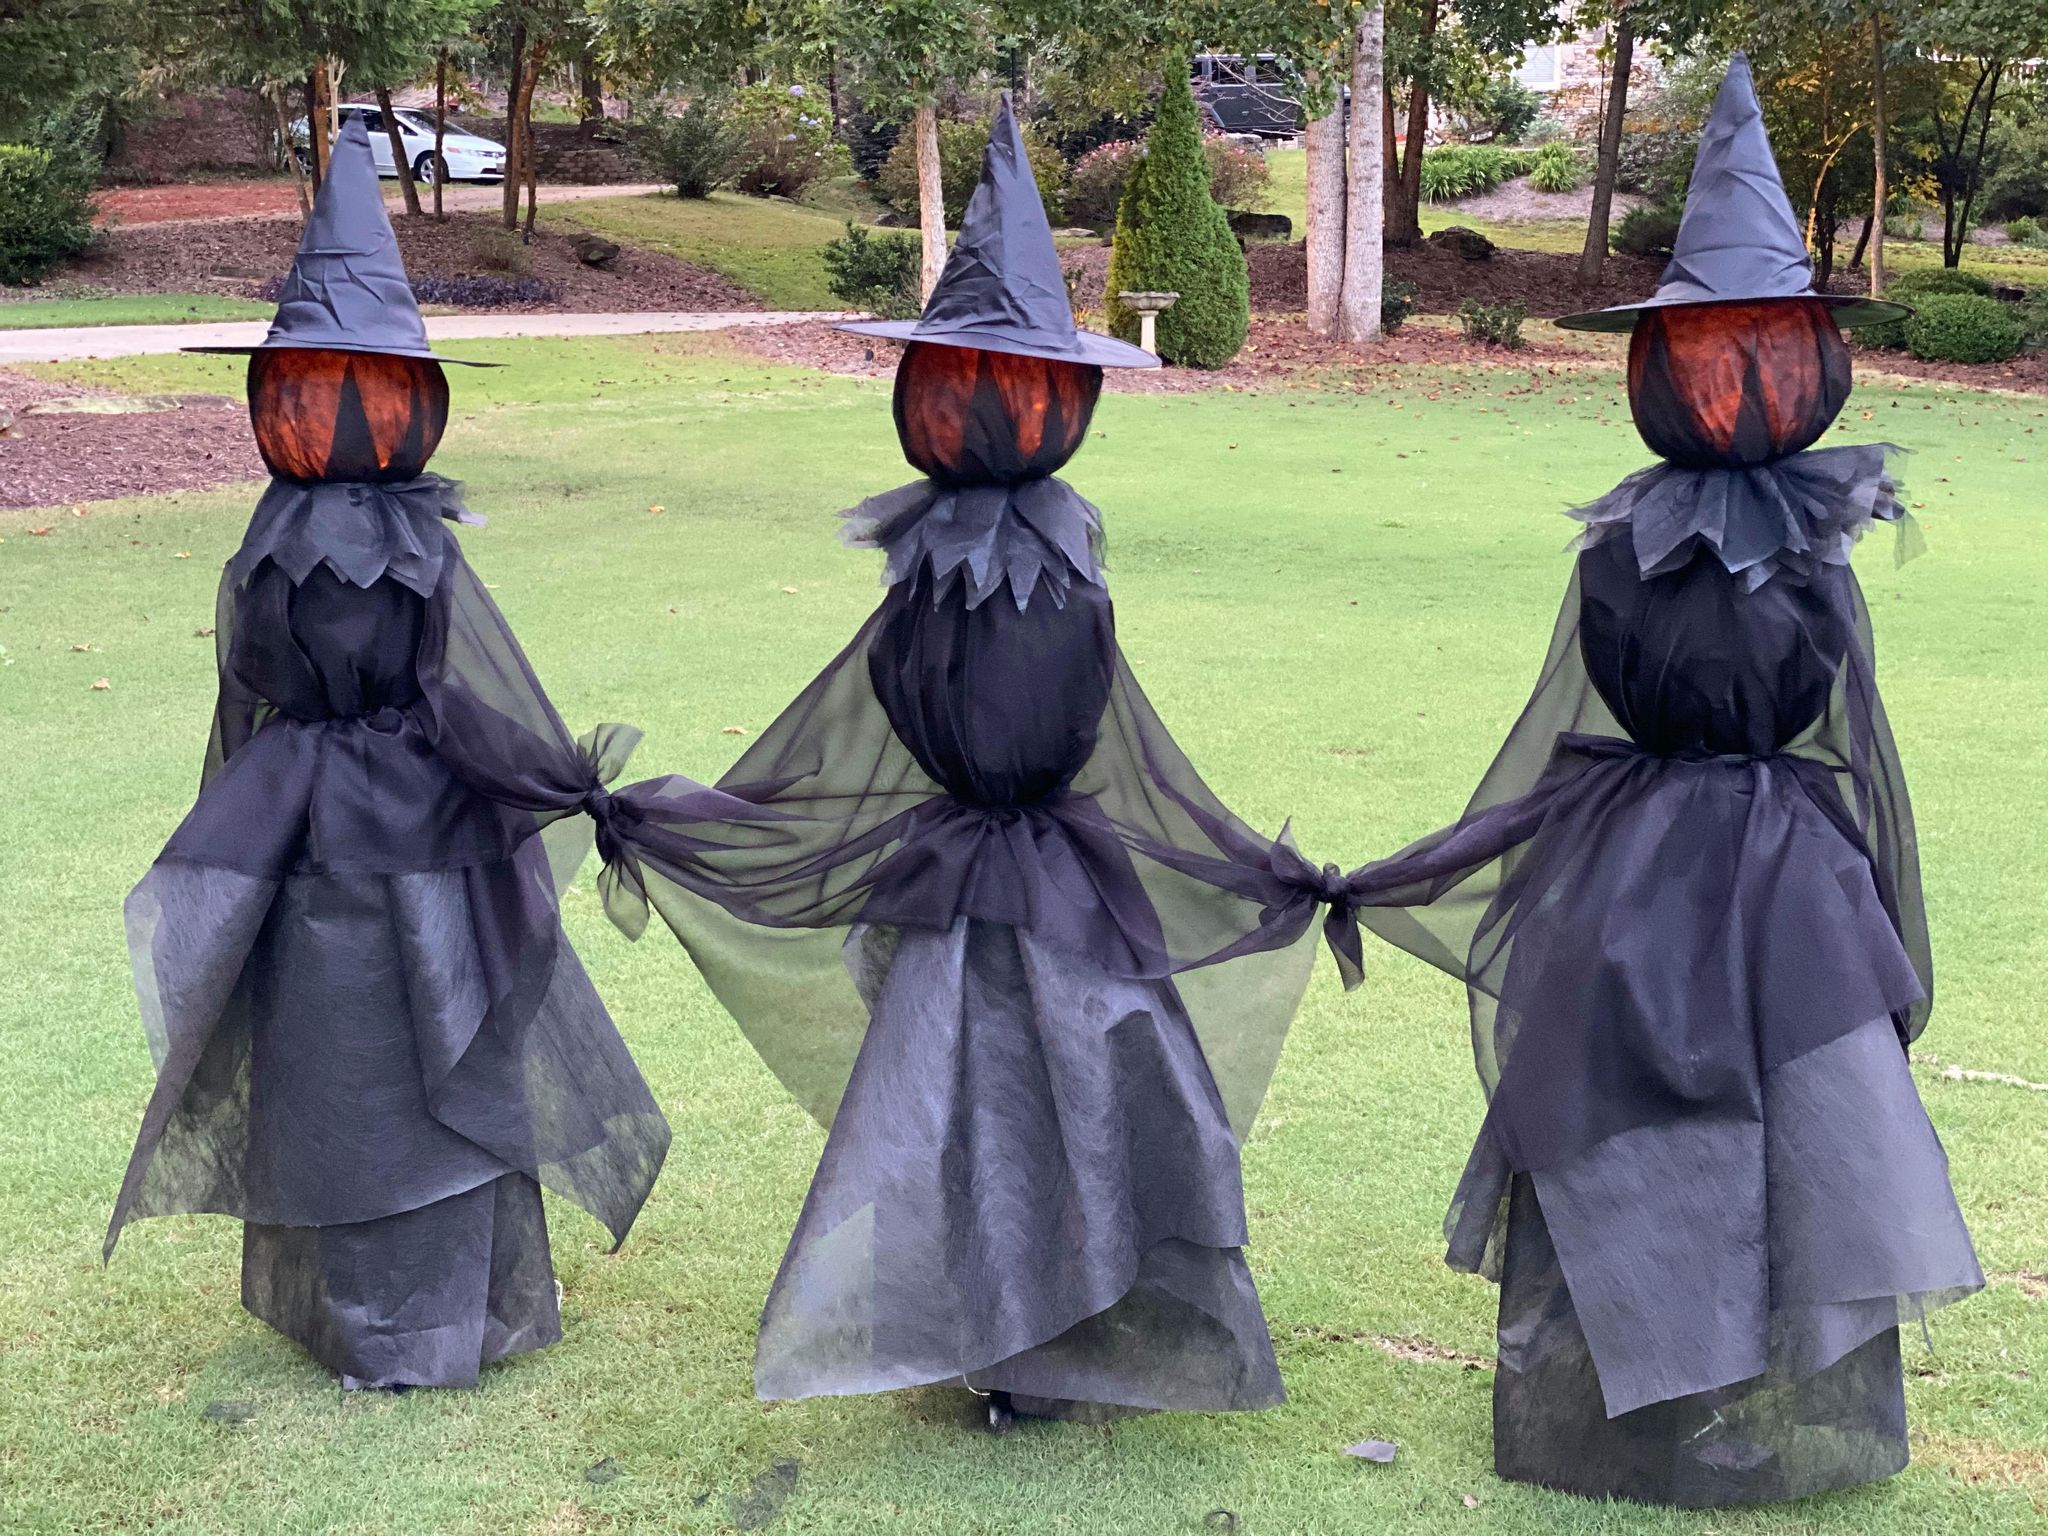
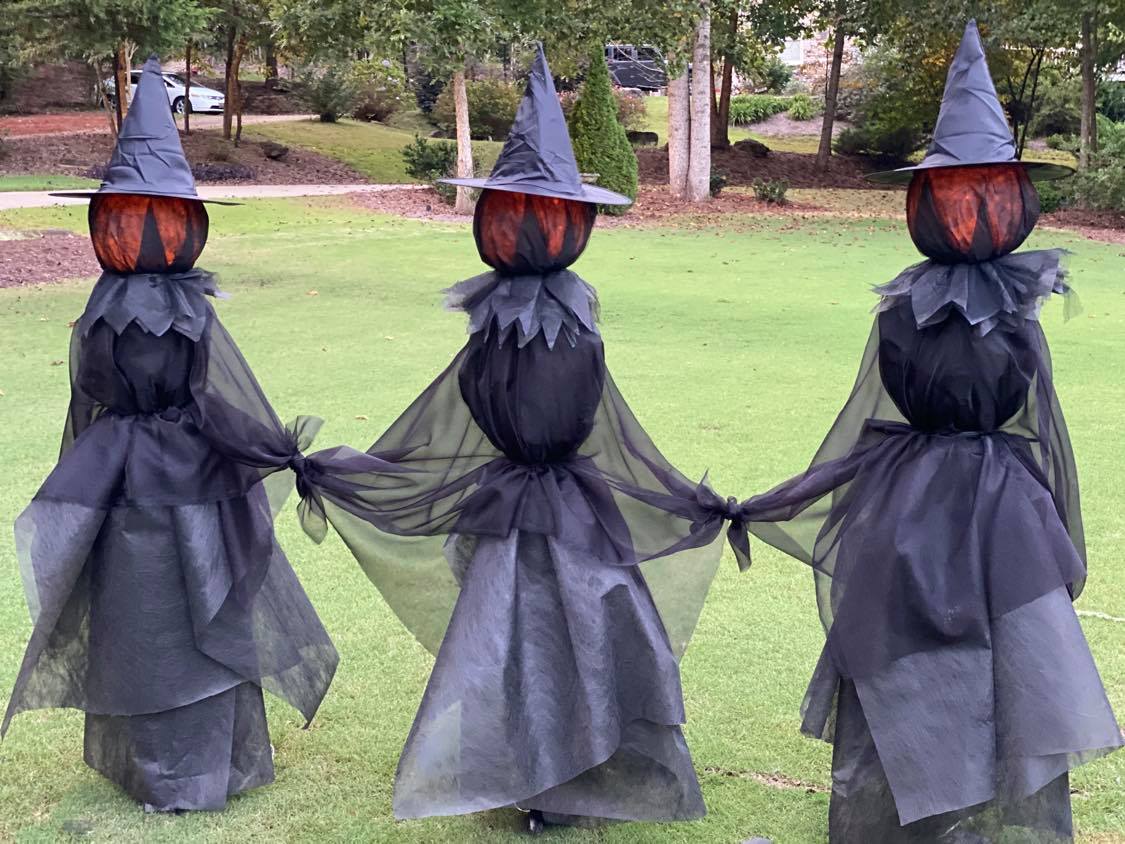
These turned out amazing and if you love Halloween I hope you will give them a try!