Fall is quickly approaching and It’s time to start decorating. We have been making a lot of pumpkins here at The Shabby Tree so I thought it would be fun to make a scarecrow.
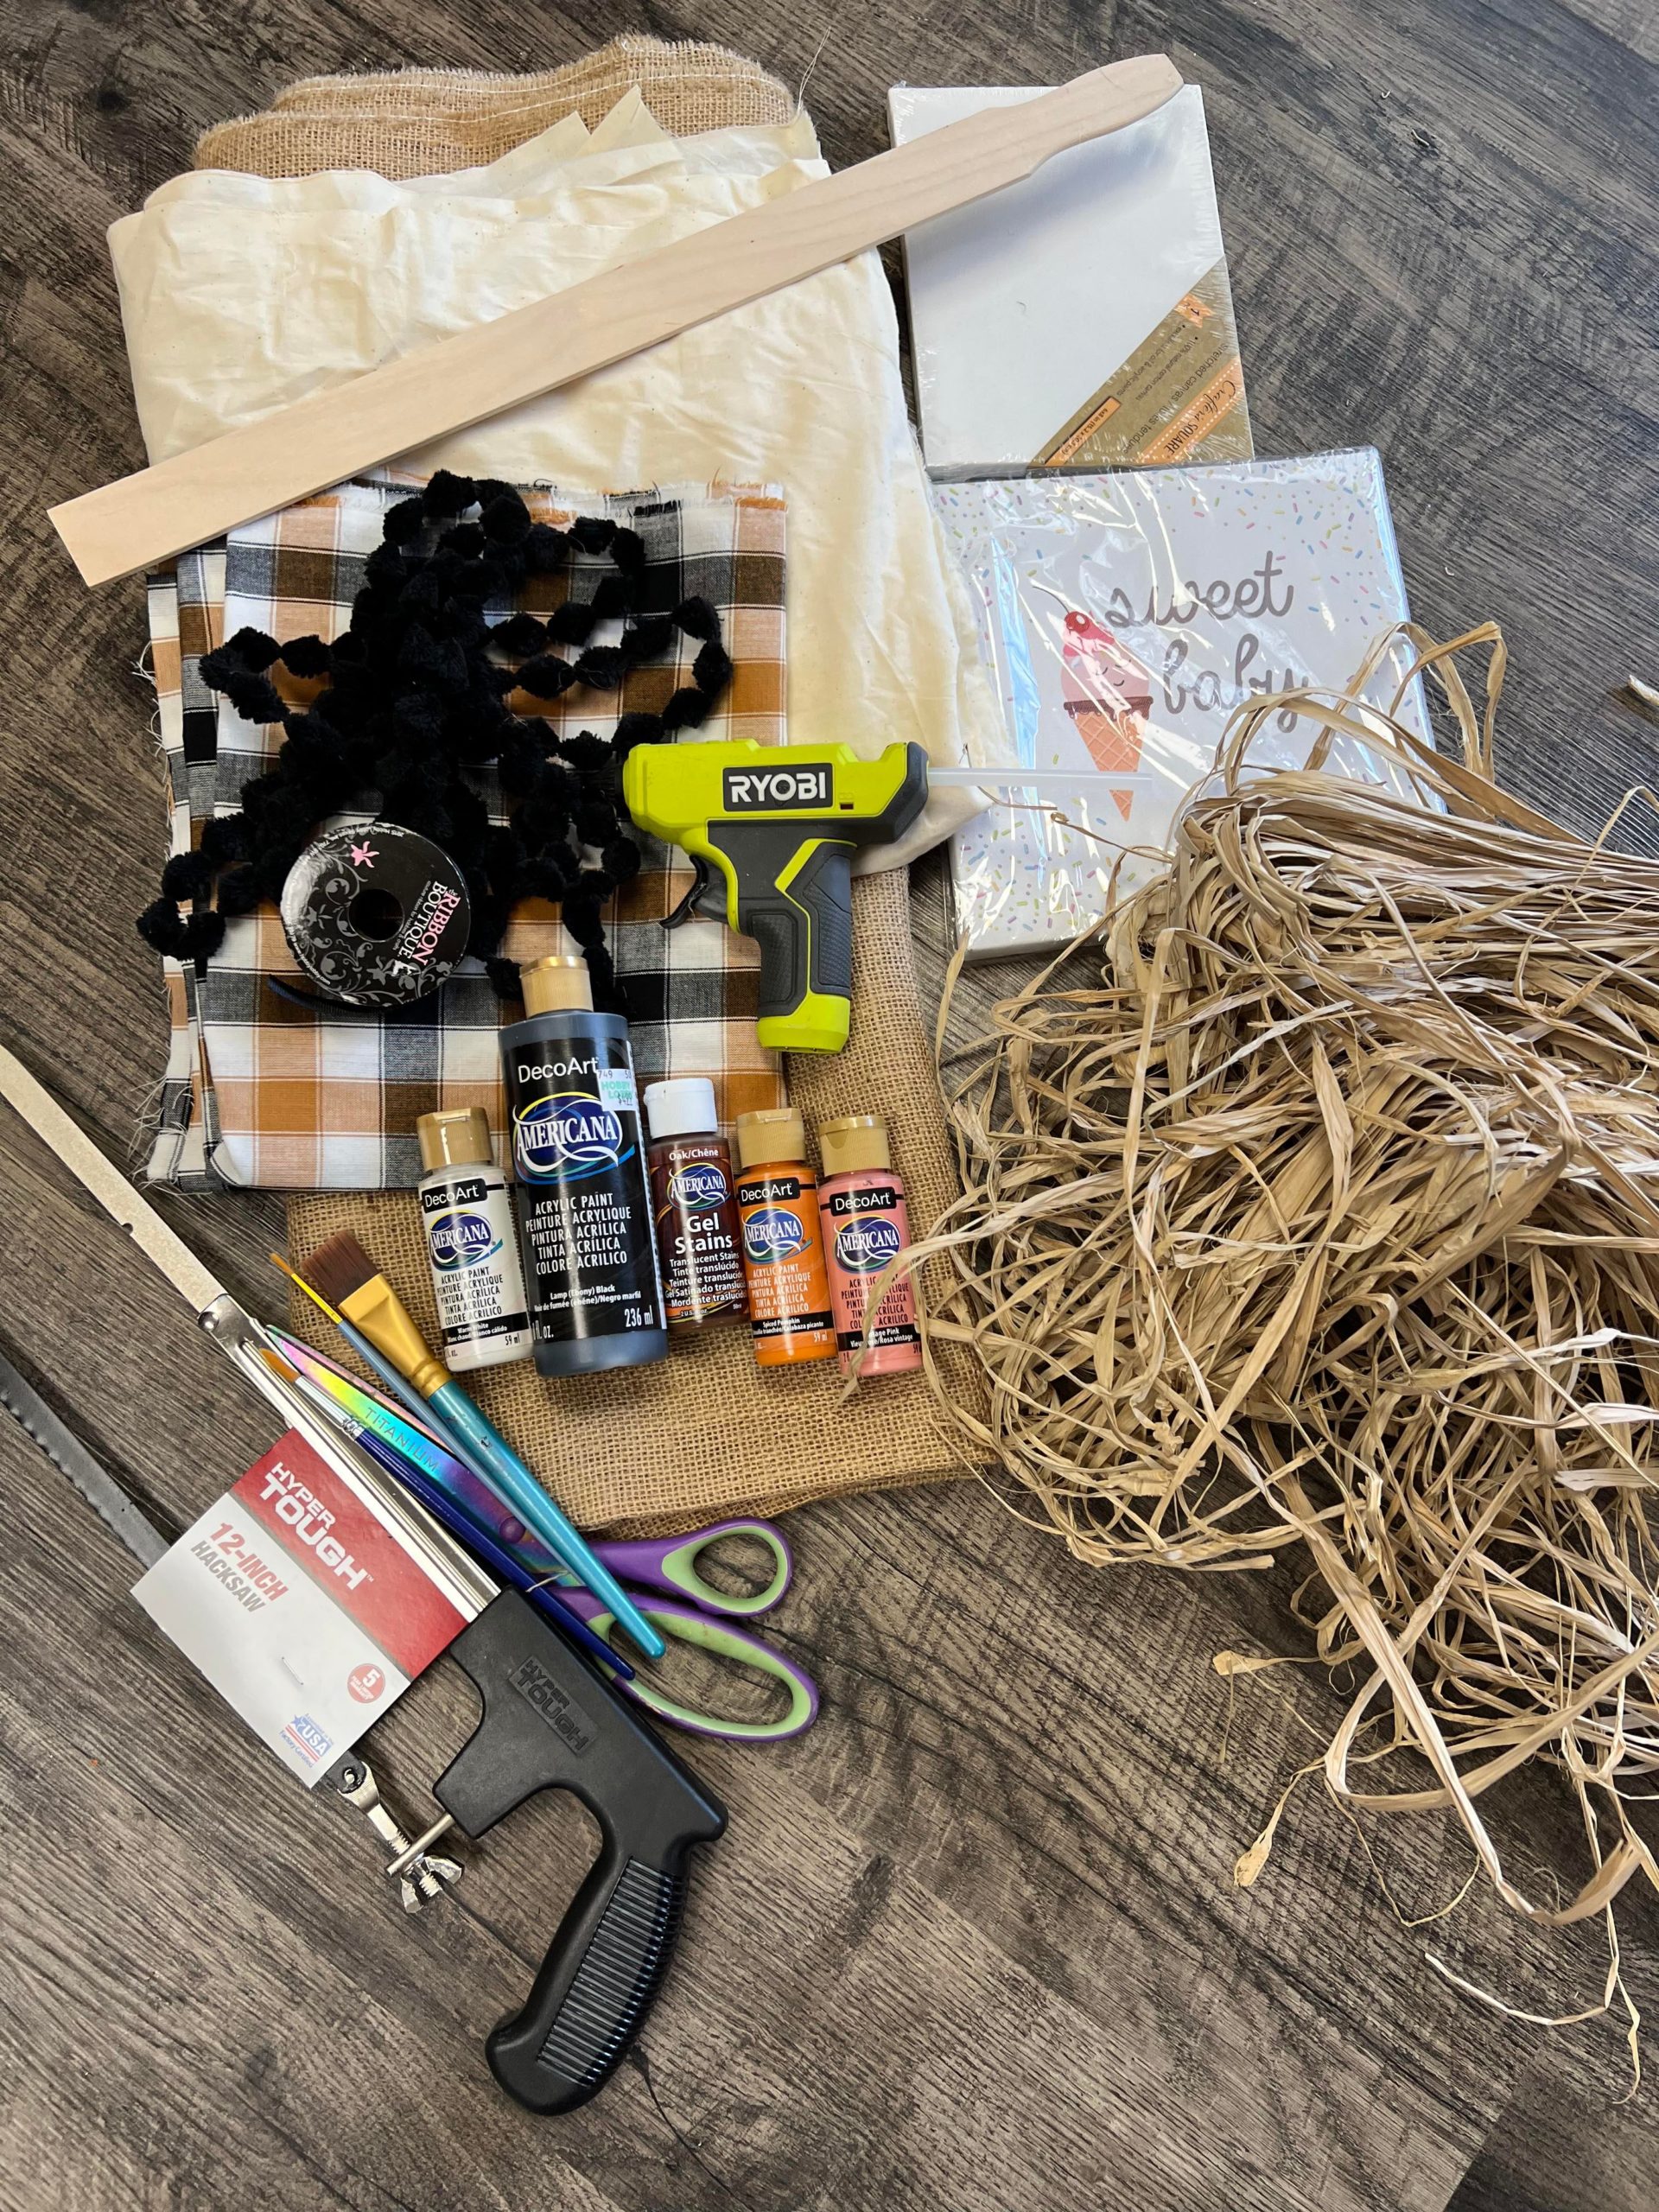
The supplies that I’ll be using are:
1. Raffia
2. One square canvas 8.5 x 8.5
3. One 6×8 canvas
4. Hot glue
5. Scissors
6. Material and ribbon for rag bow
7. Paint brush
8. Oak colored Gel Stain by DecoArt
9.Acrylic paint by DecoArt ( colors Warm White, Black, Spiced Pumpkin and Vintage Pink)
10. One long stir stick
11. Burlap
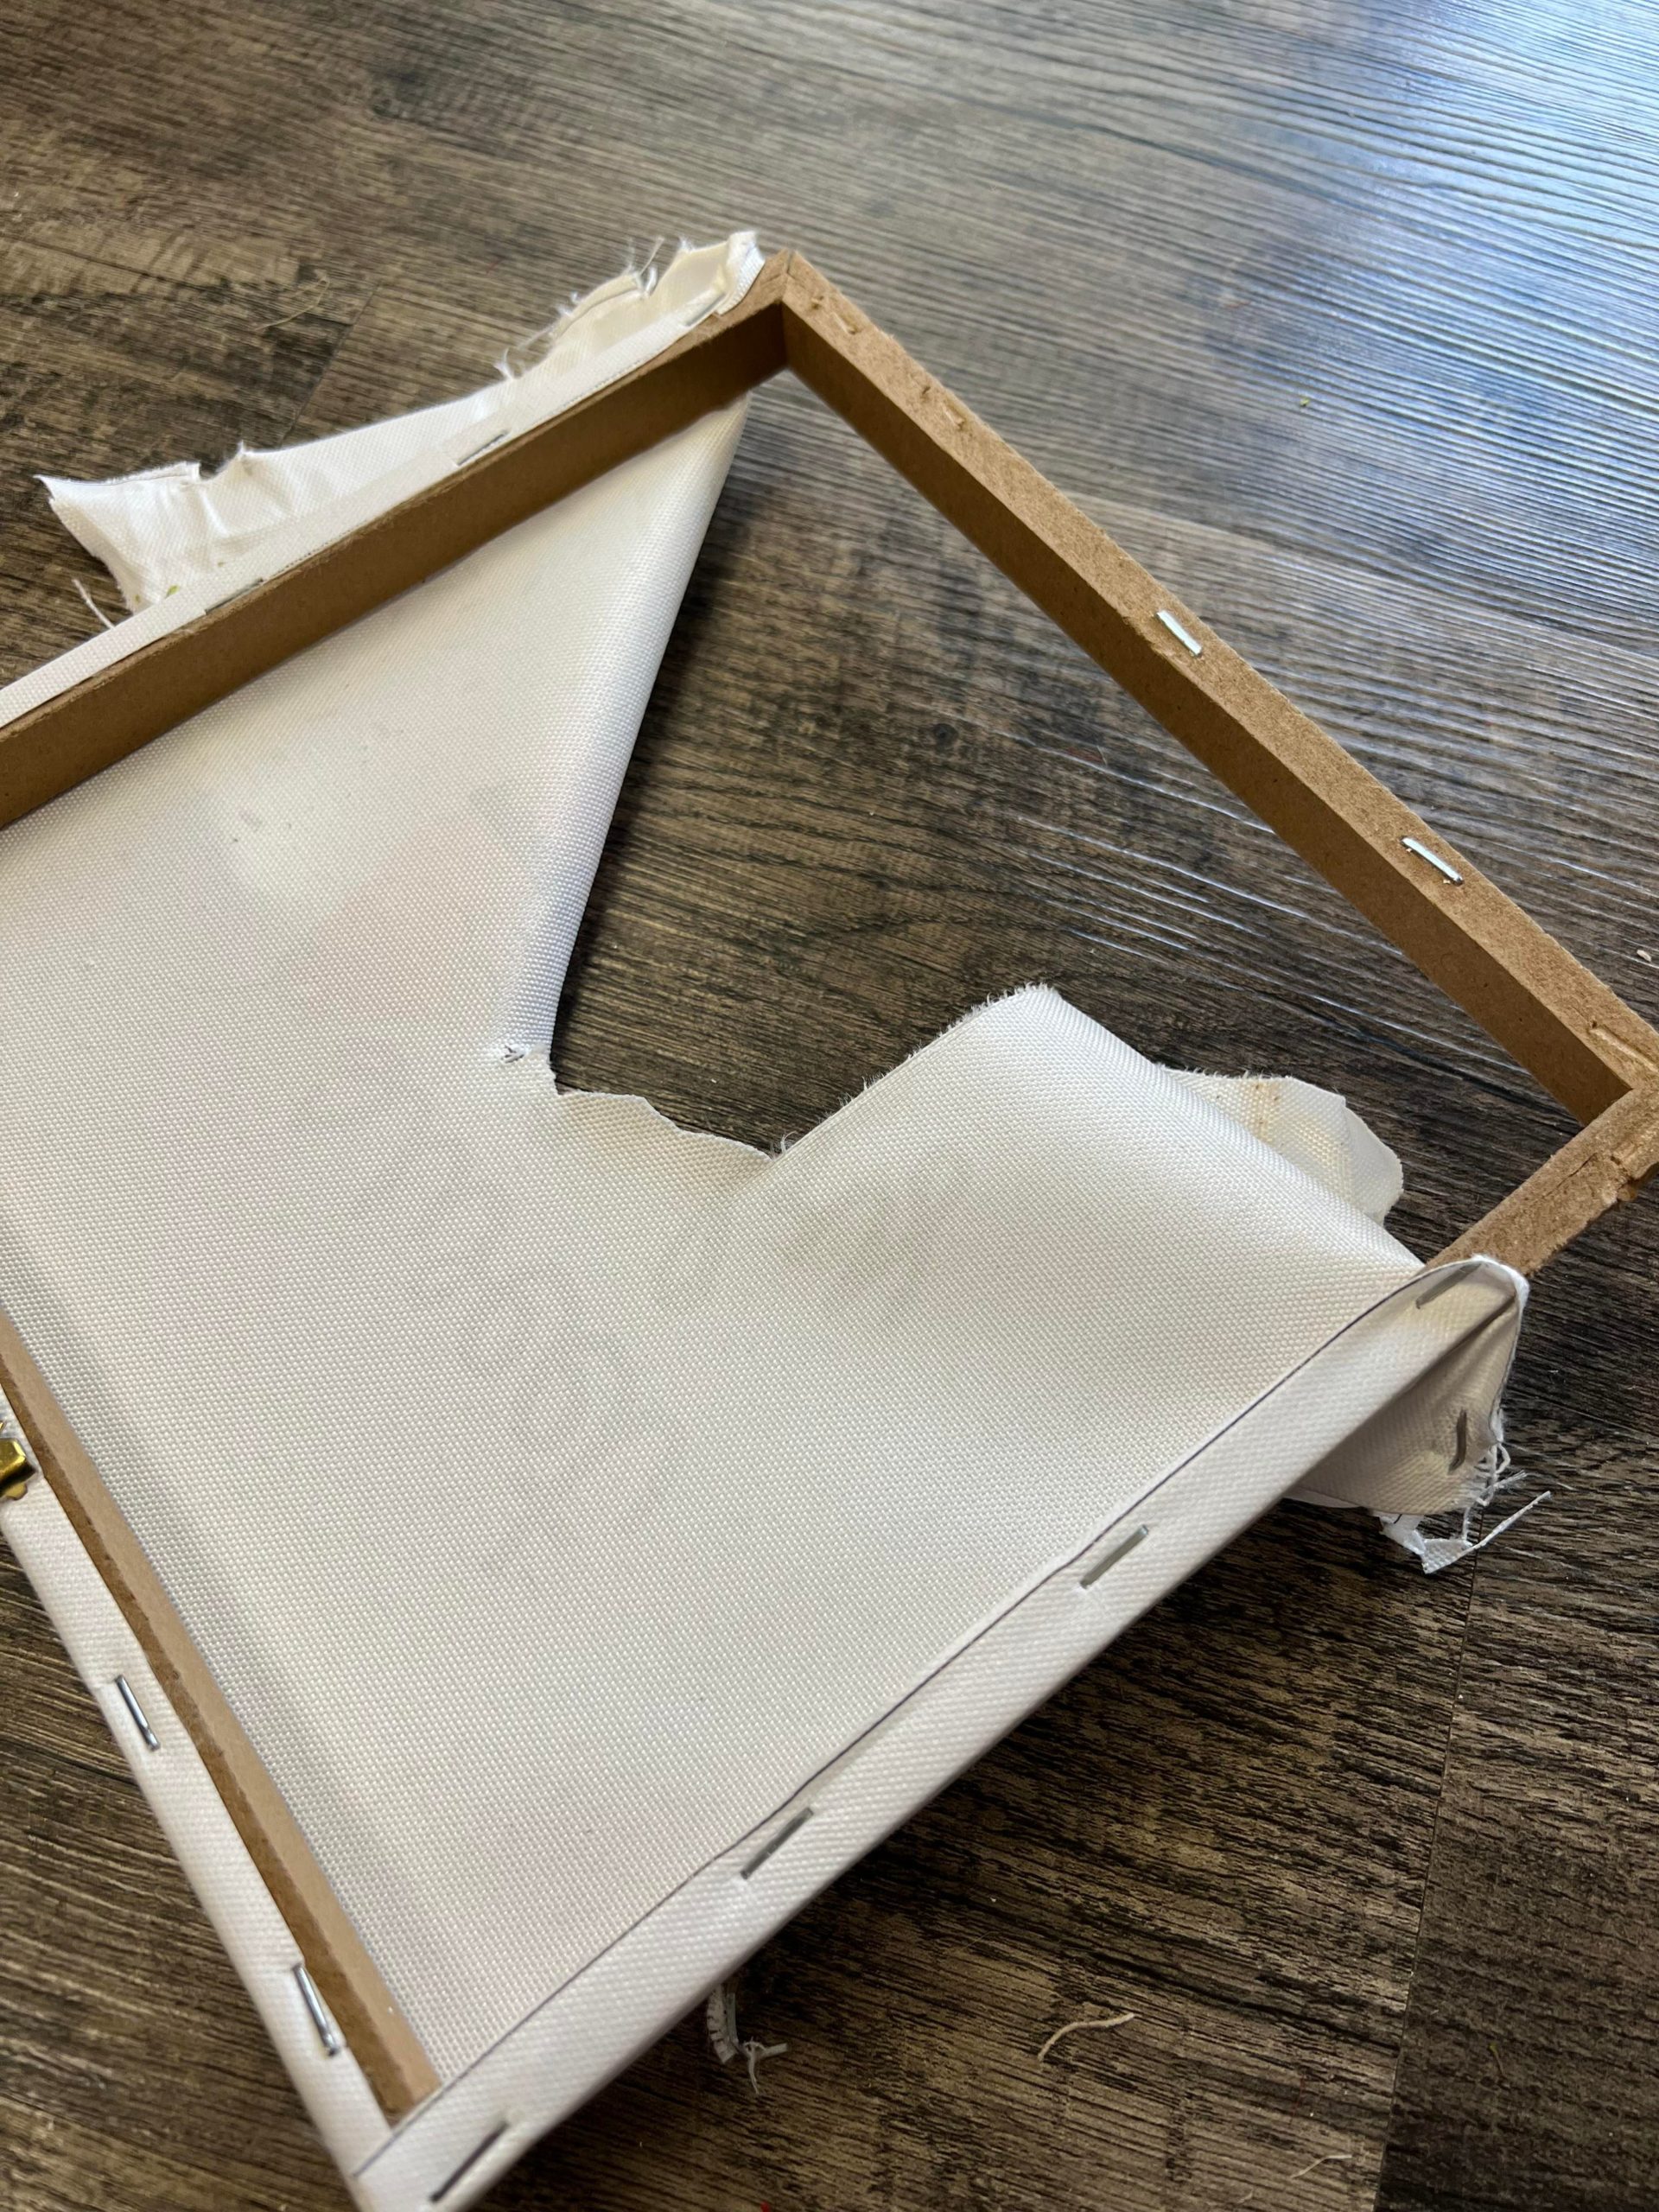
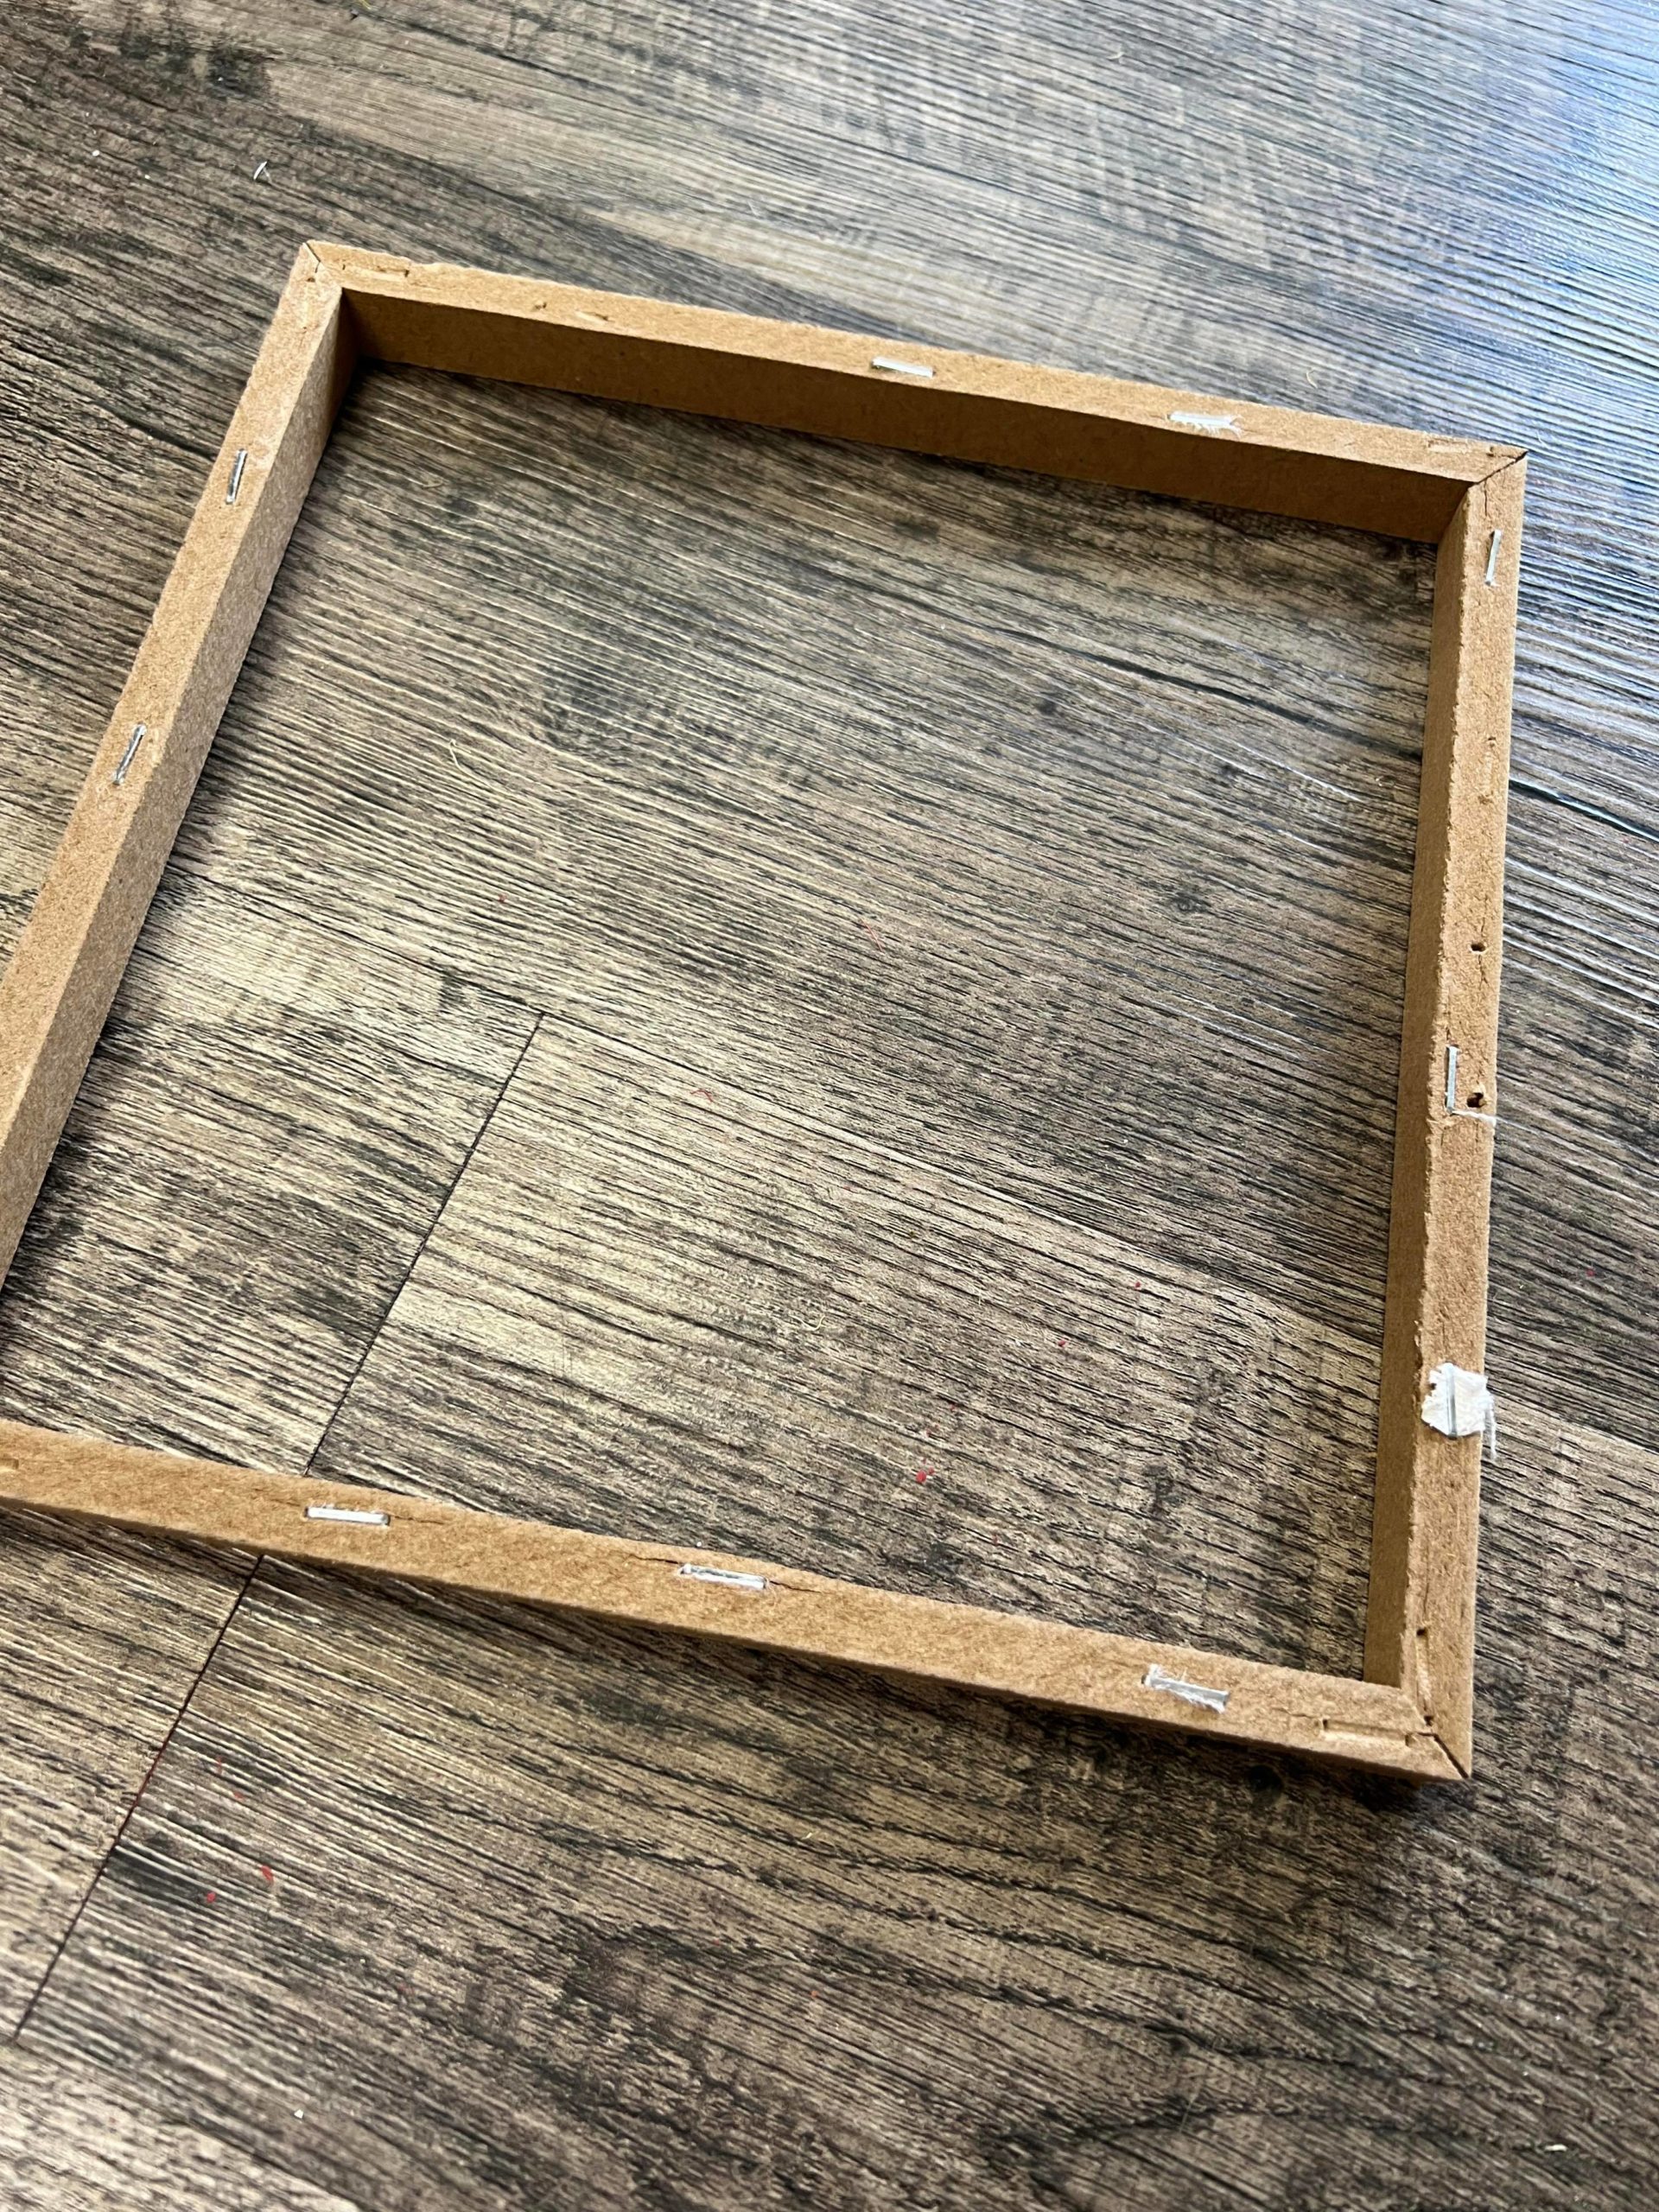
The first step is to remove the canvas from the square canvas.
Once you have the canvas removed you will want to cut a piece of burlap .
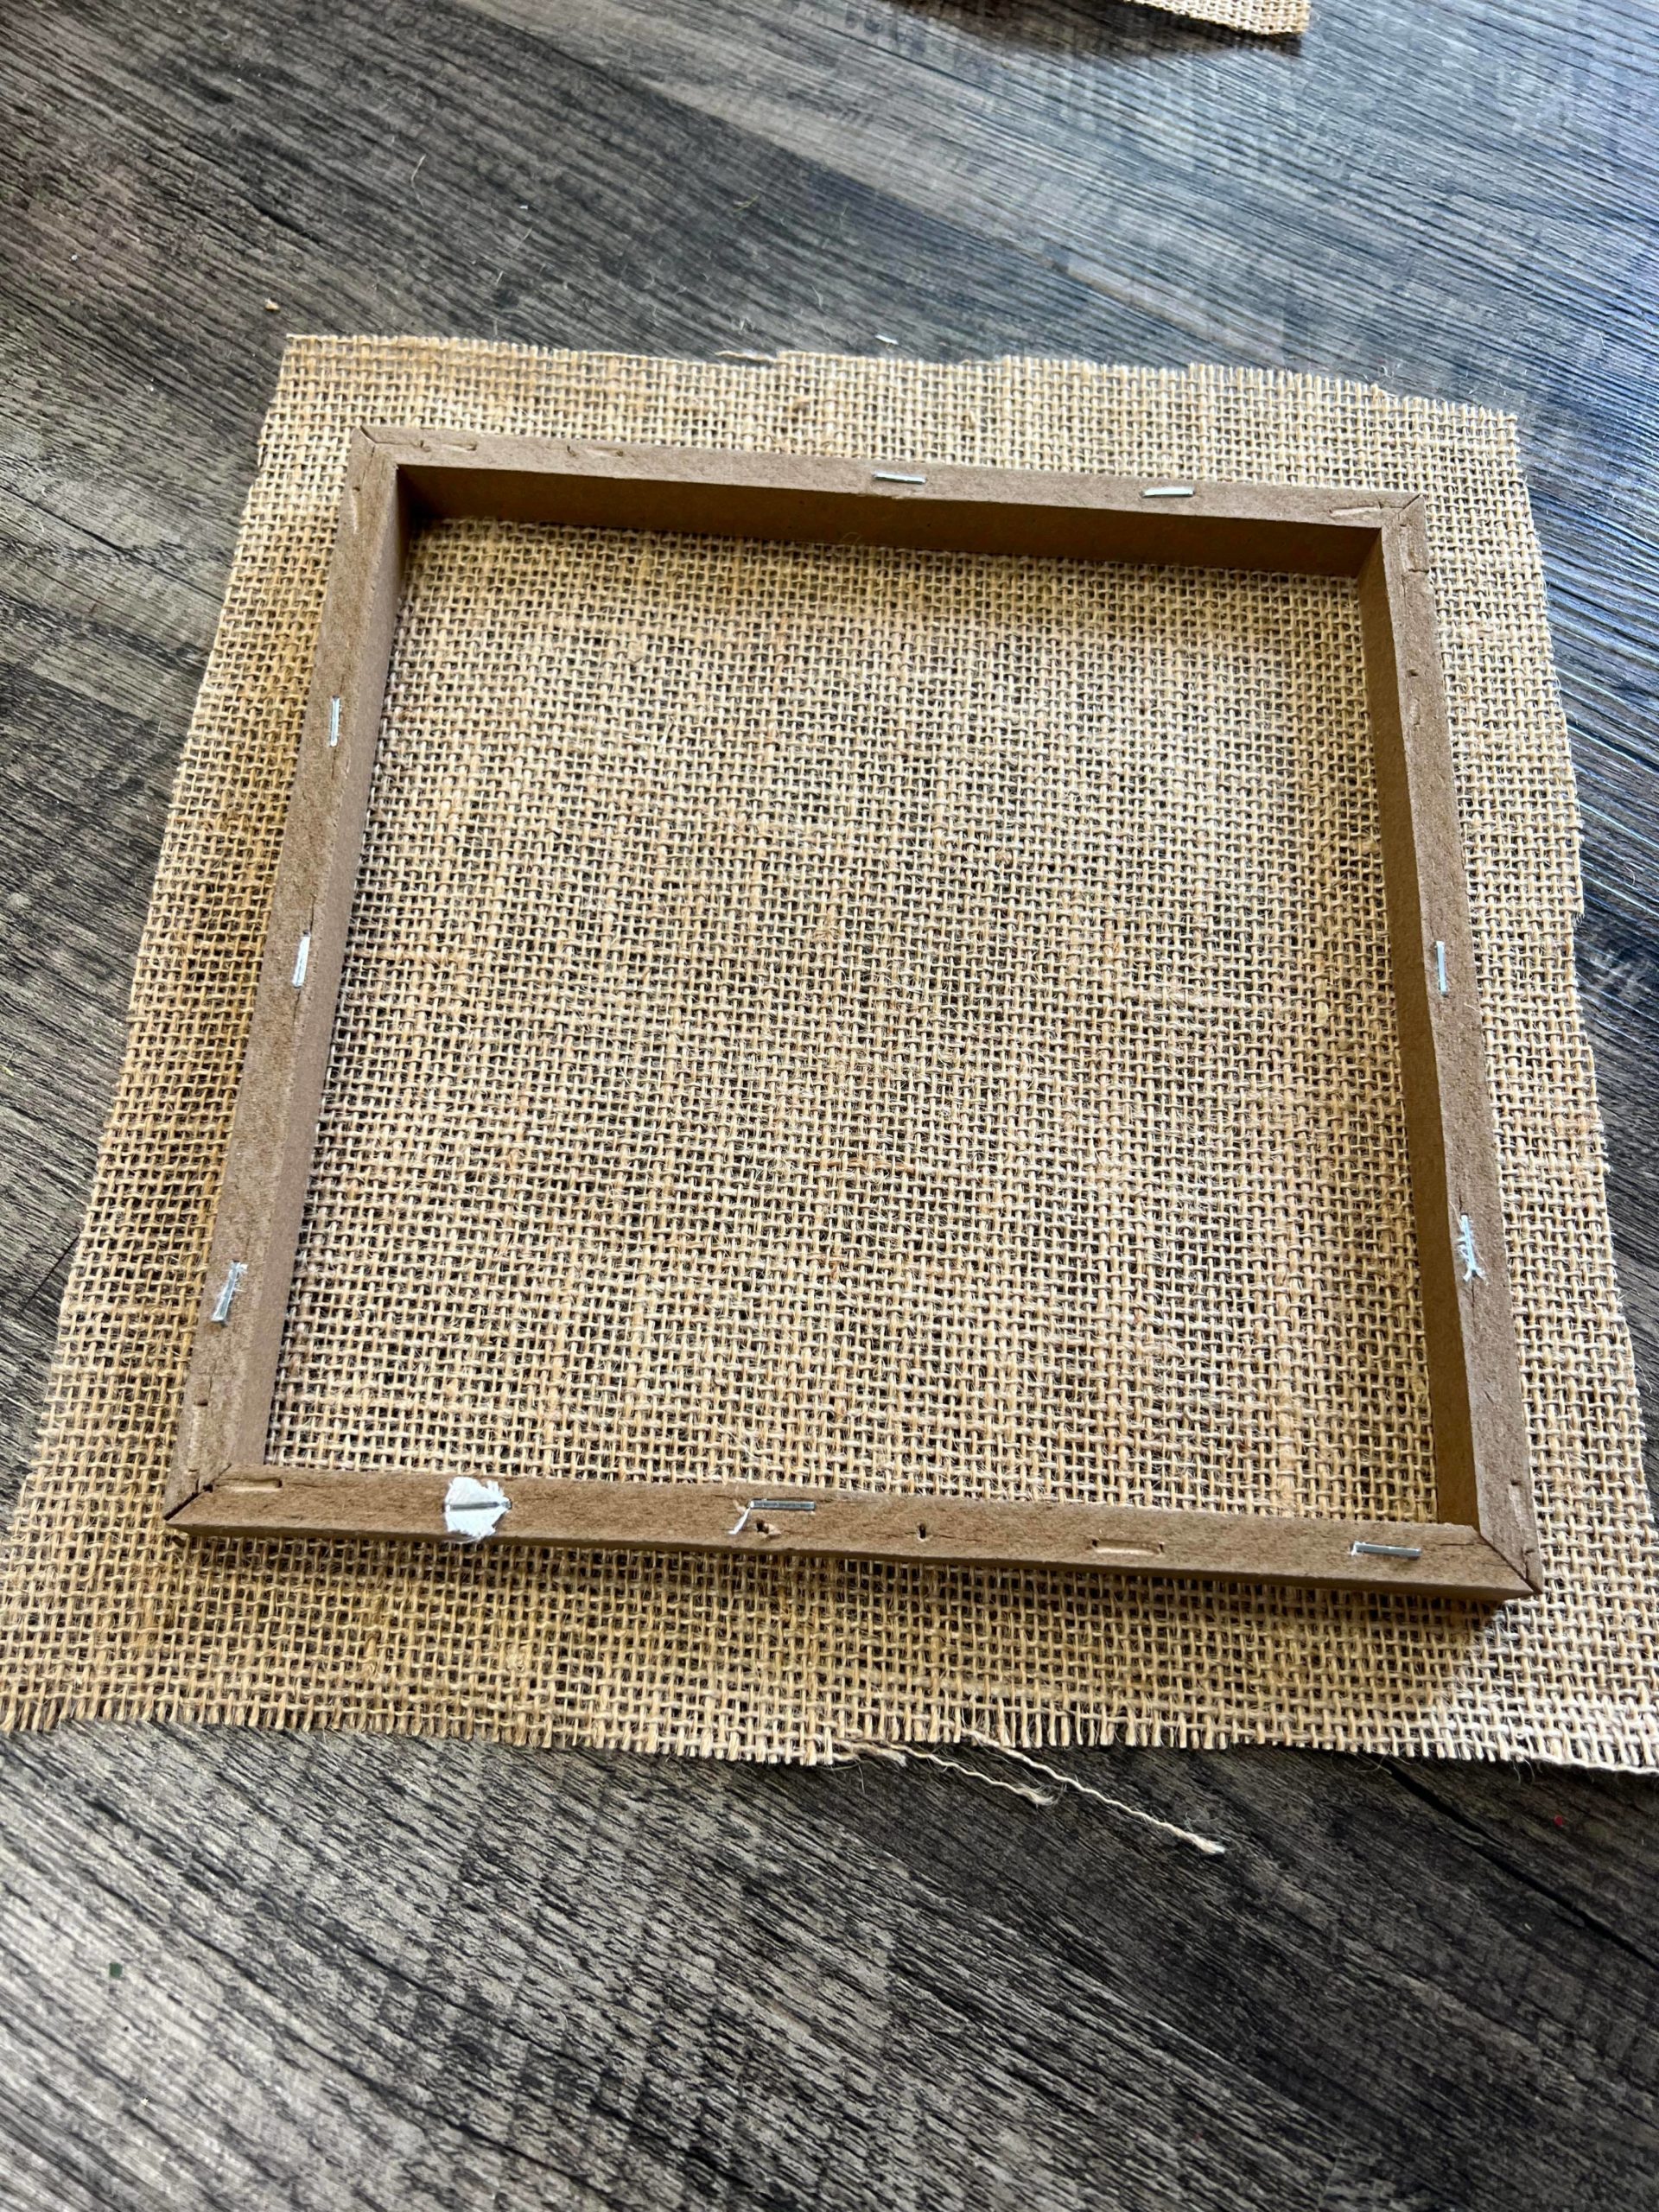
Be sure to cut your piece of burlap larger then the size of the frame.
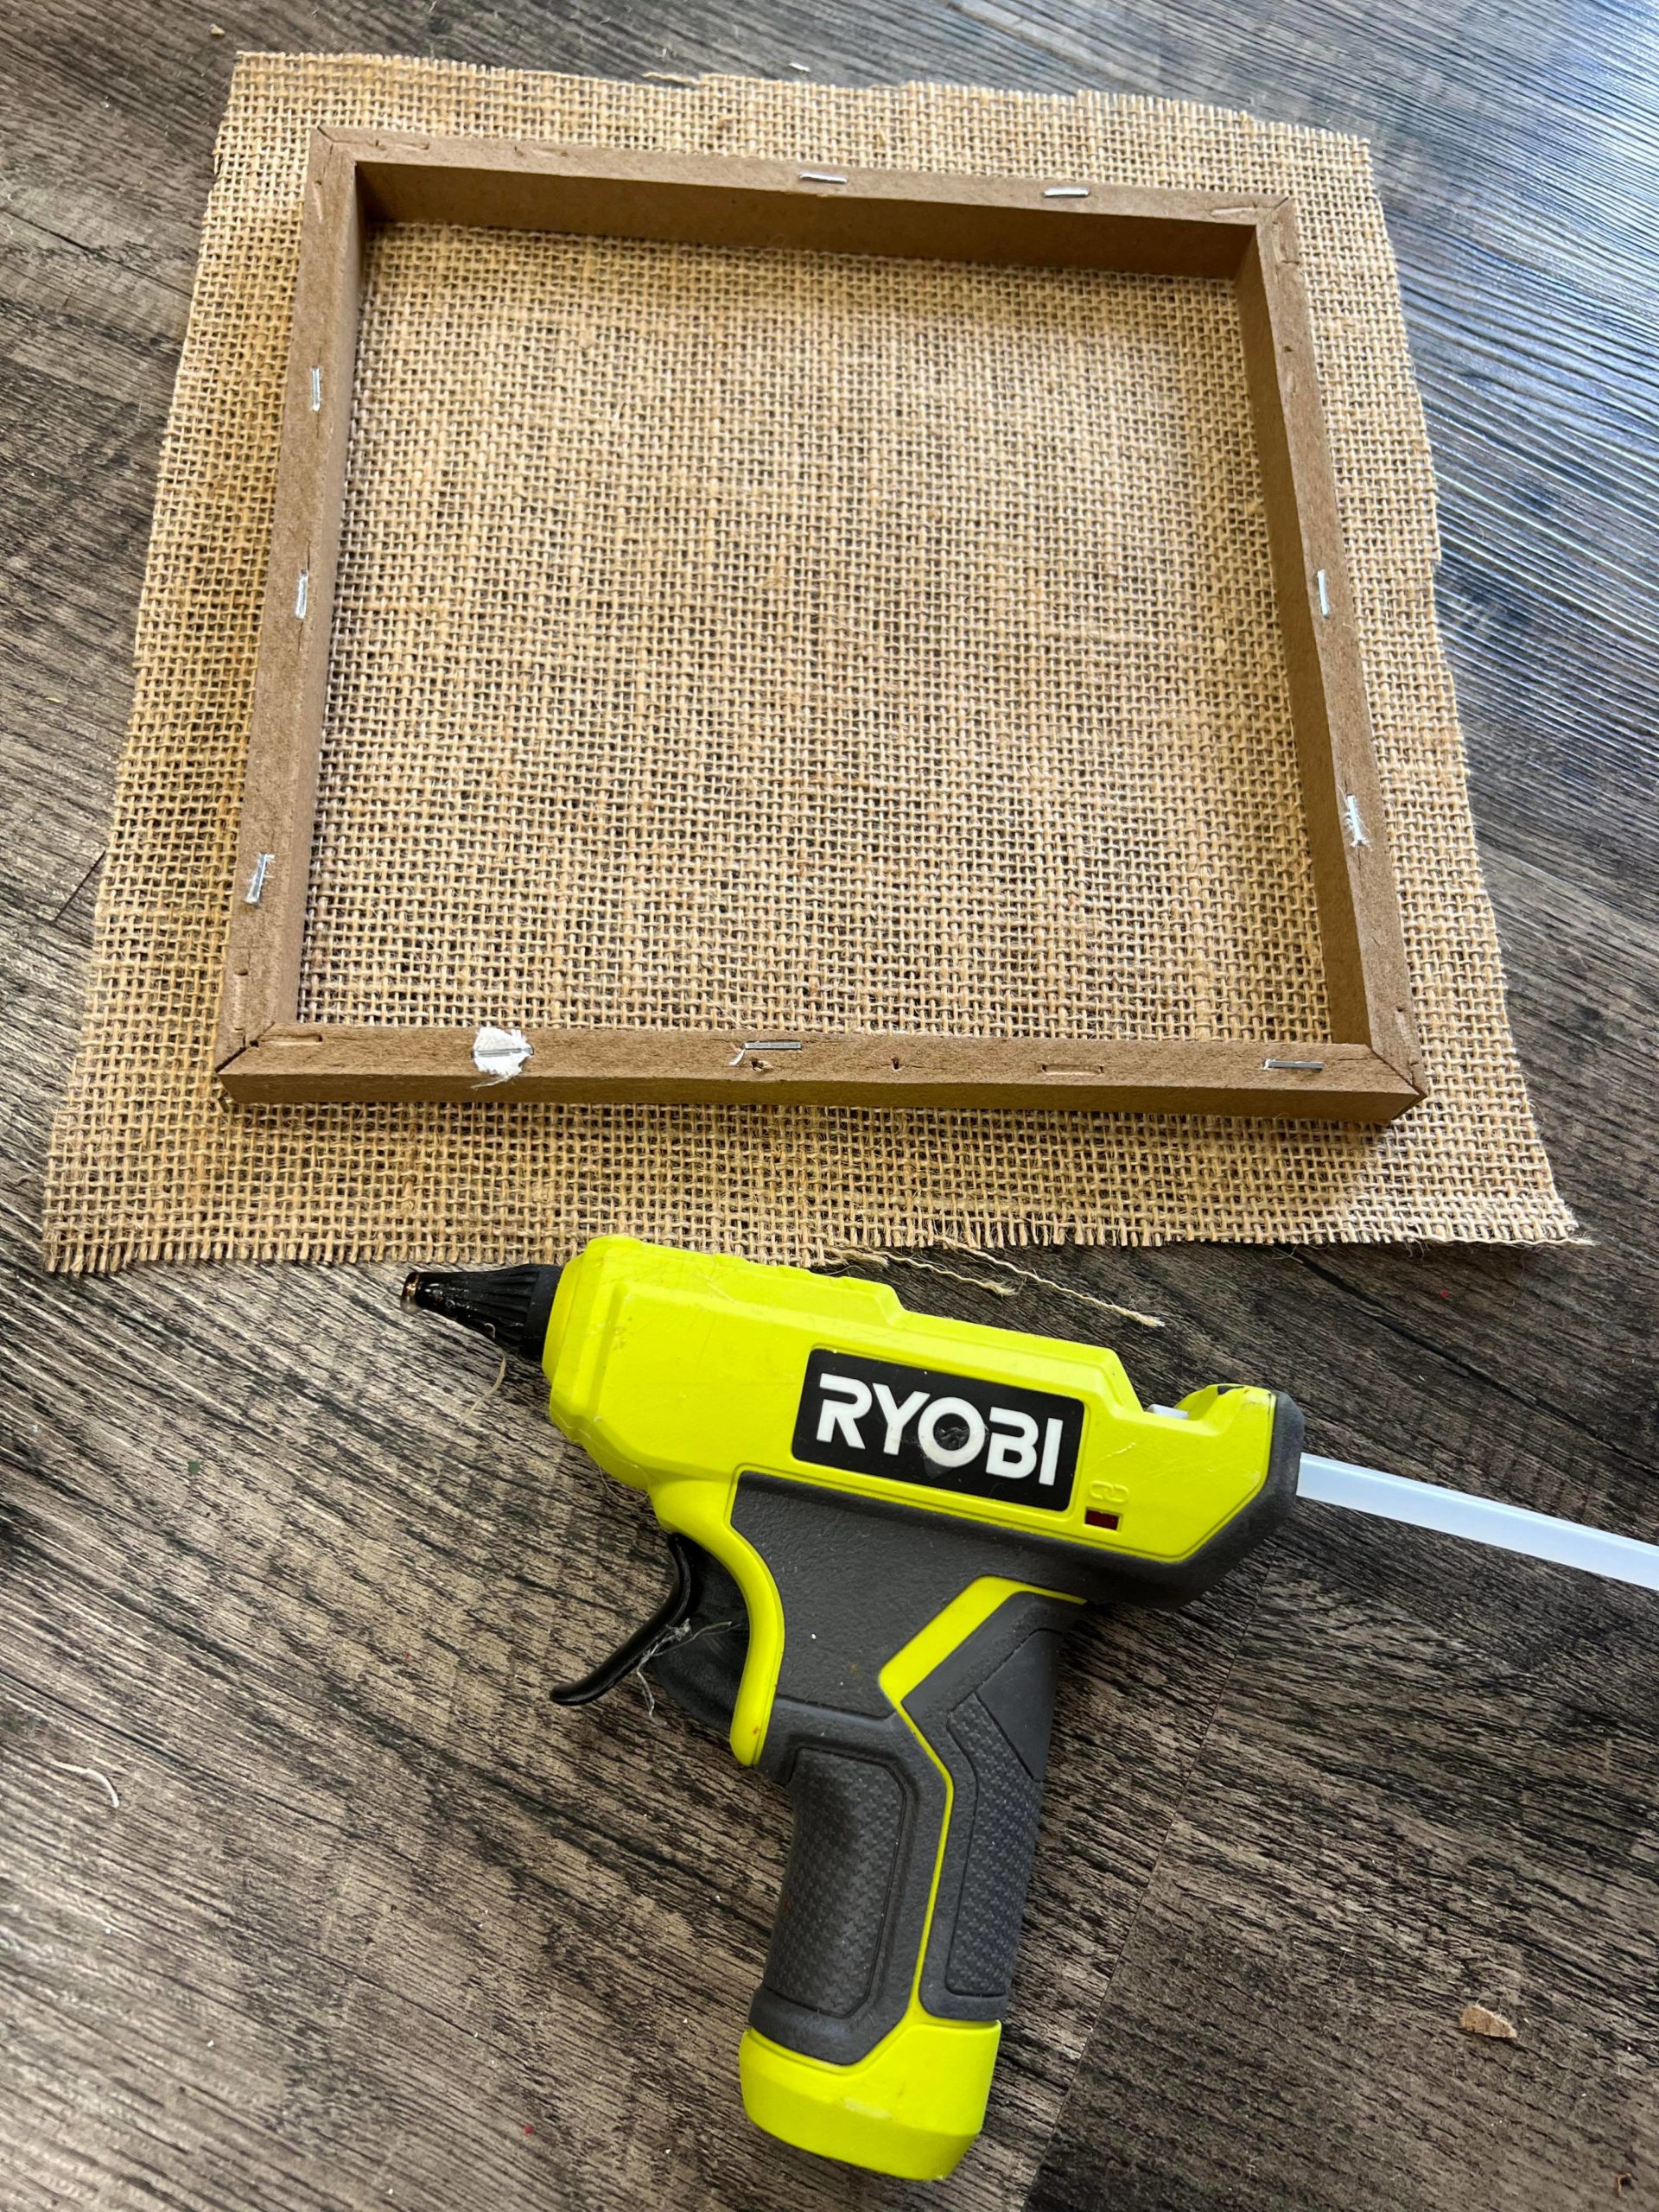

You will glue the burlap to the frame. Be sure to pull it tight when glueing.
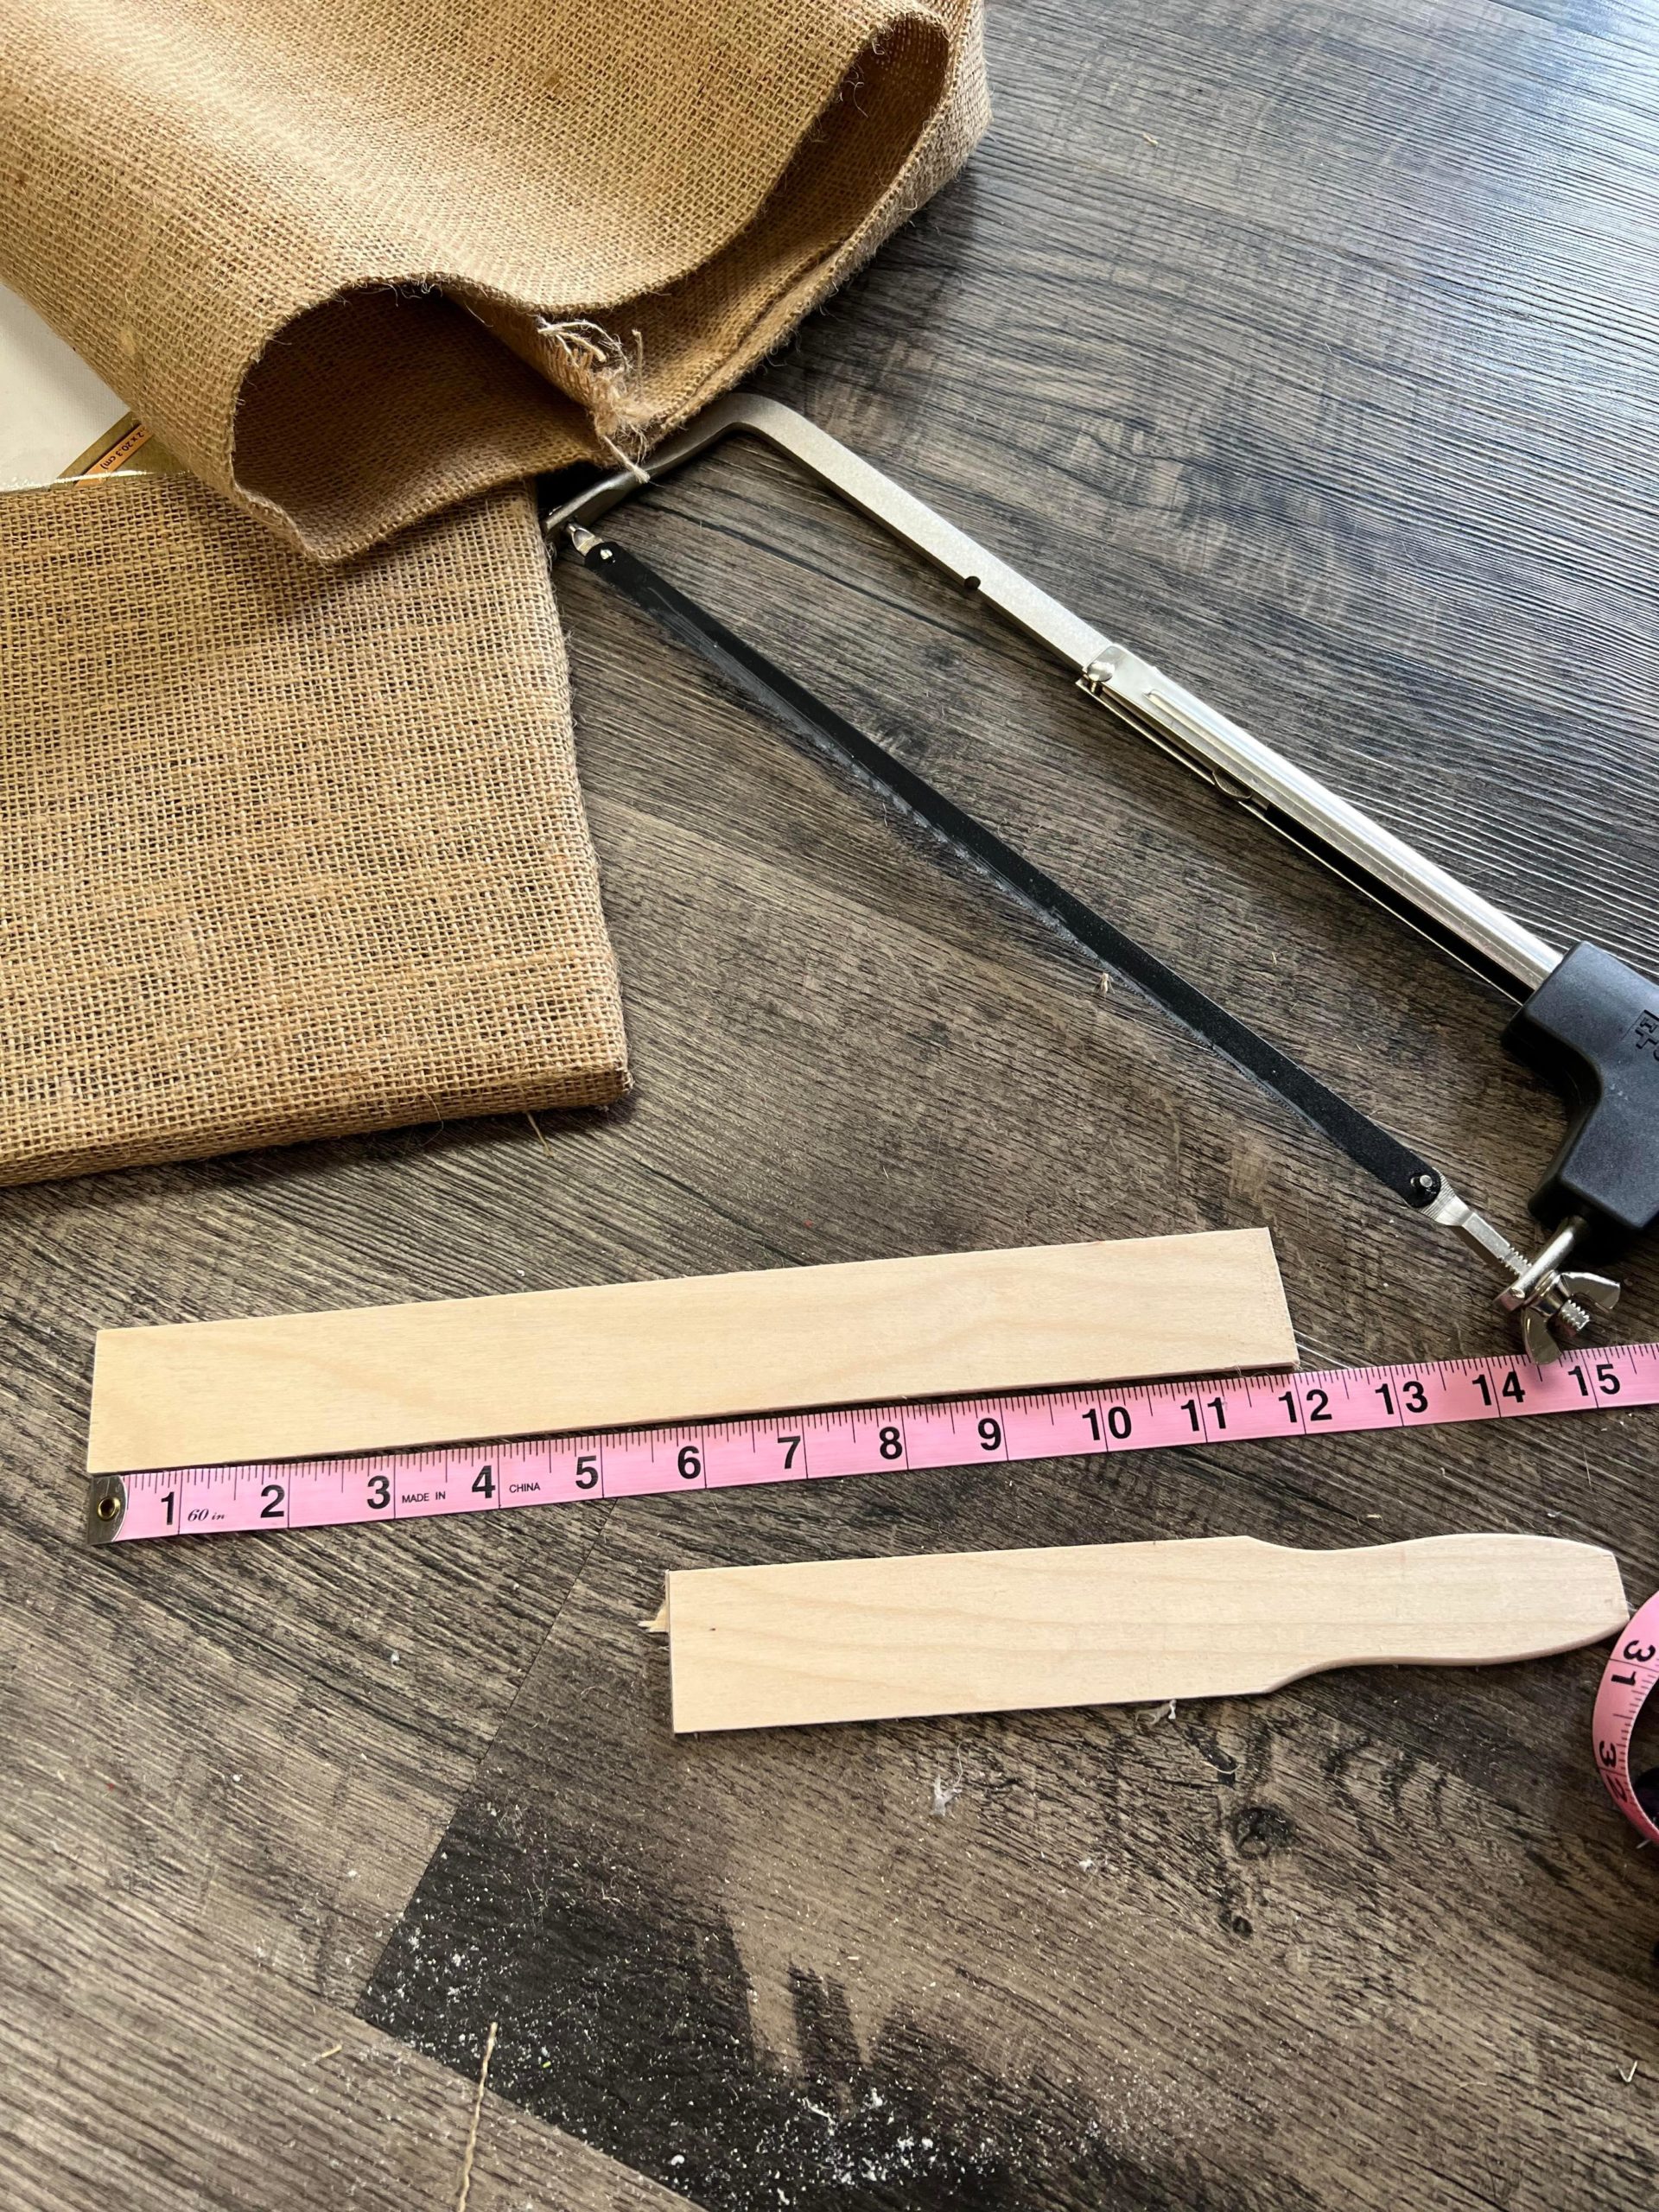
Once you have the burlap in place you will then want to cut the stir stick. I used a Hacksaw to cut the stick 12 inches long.

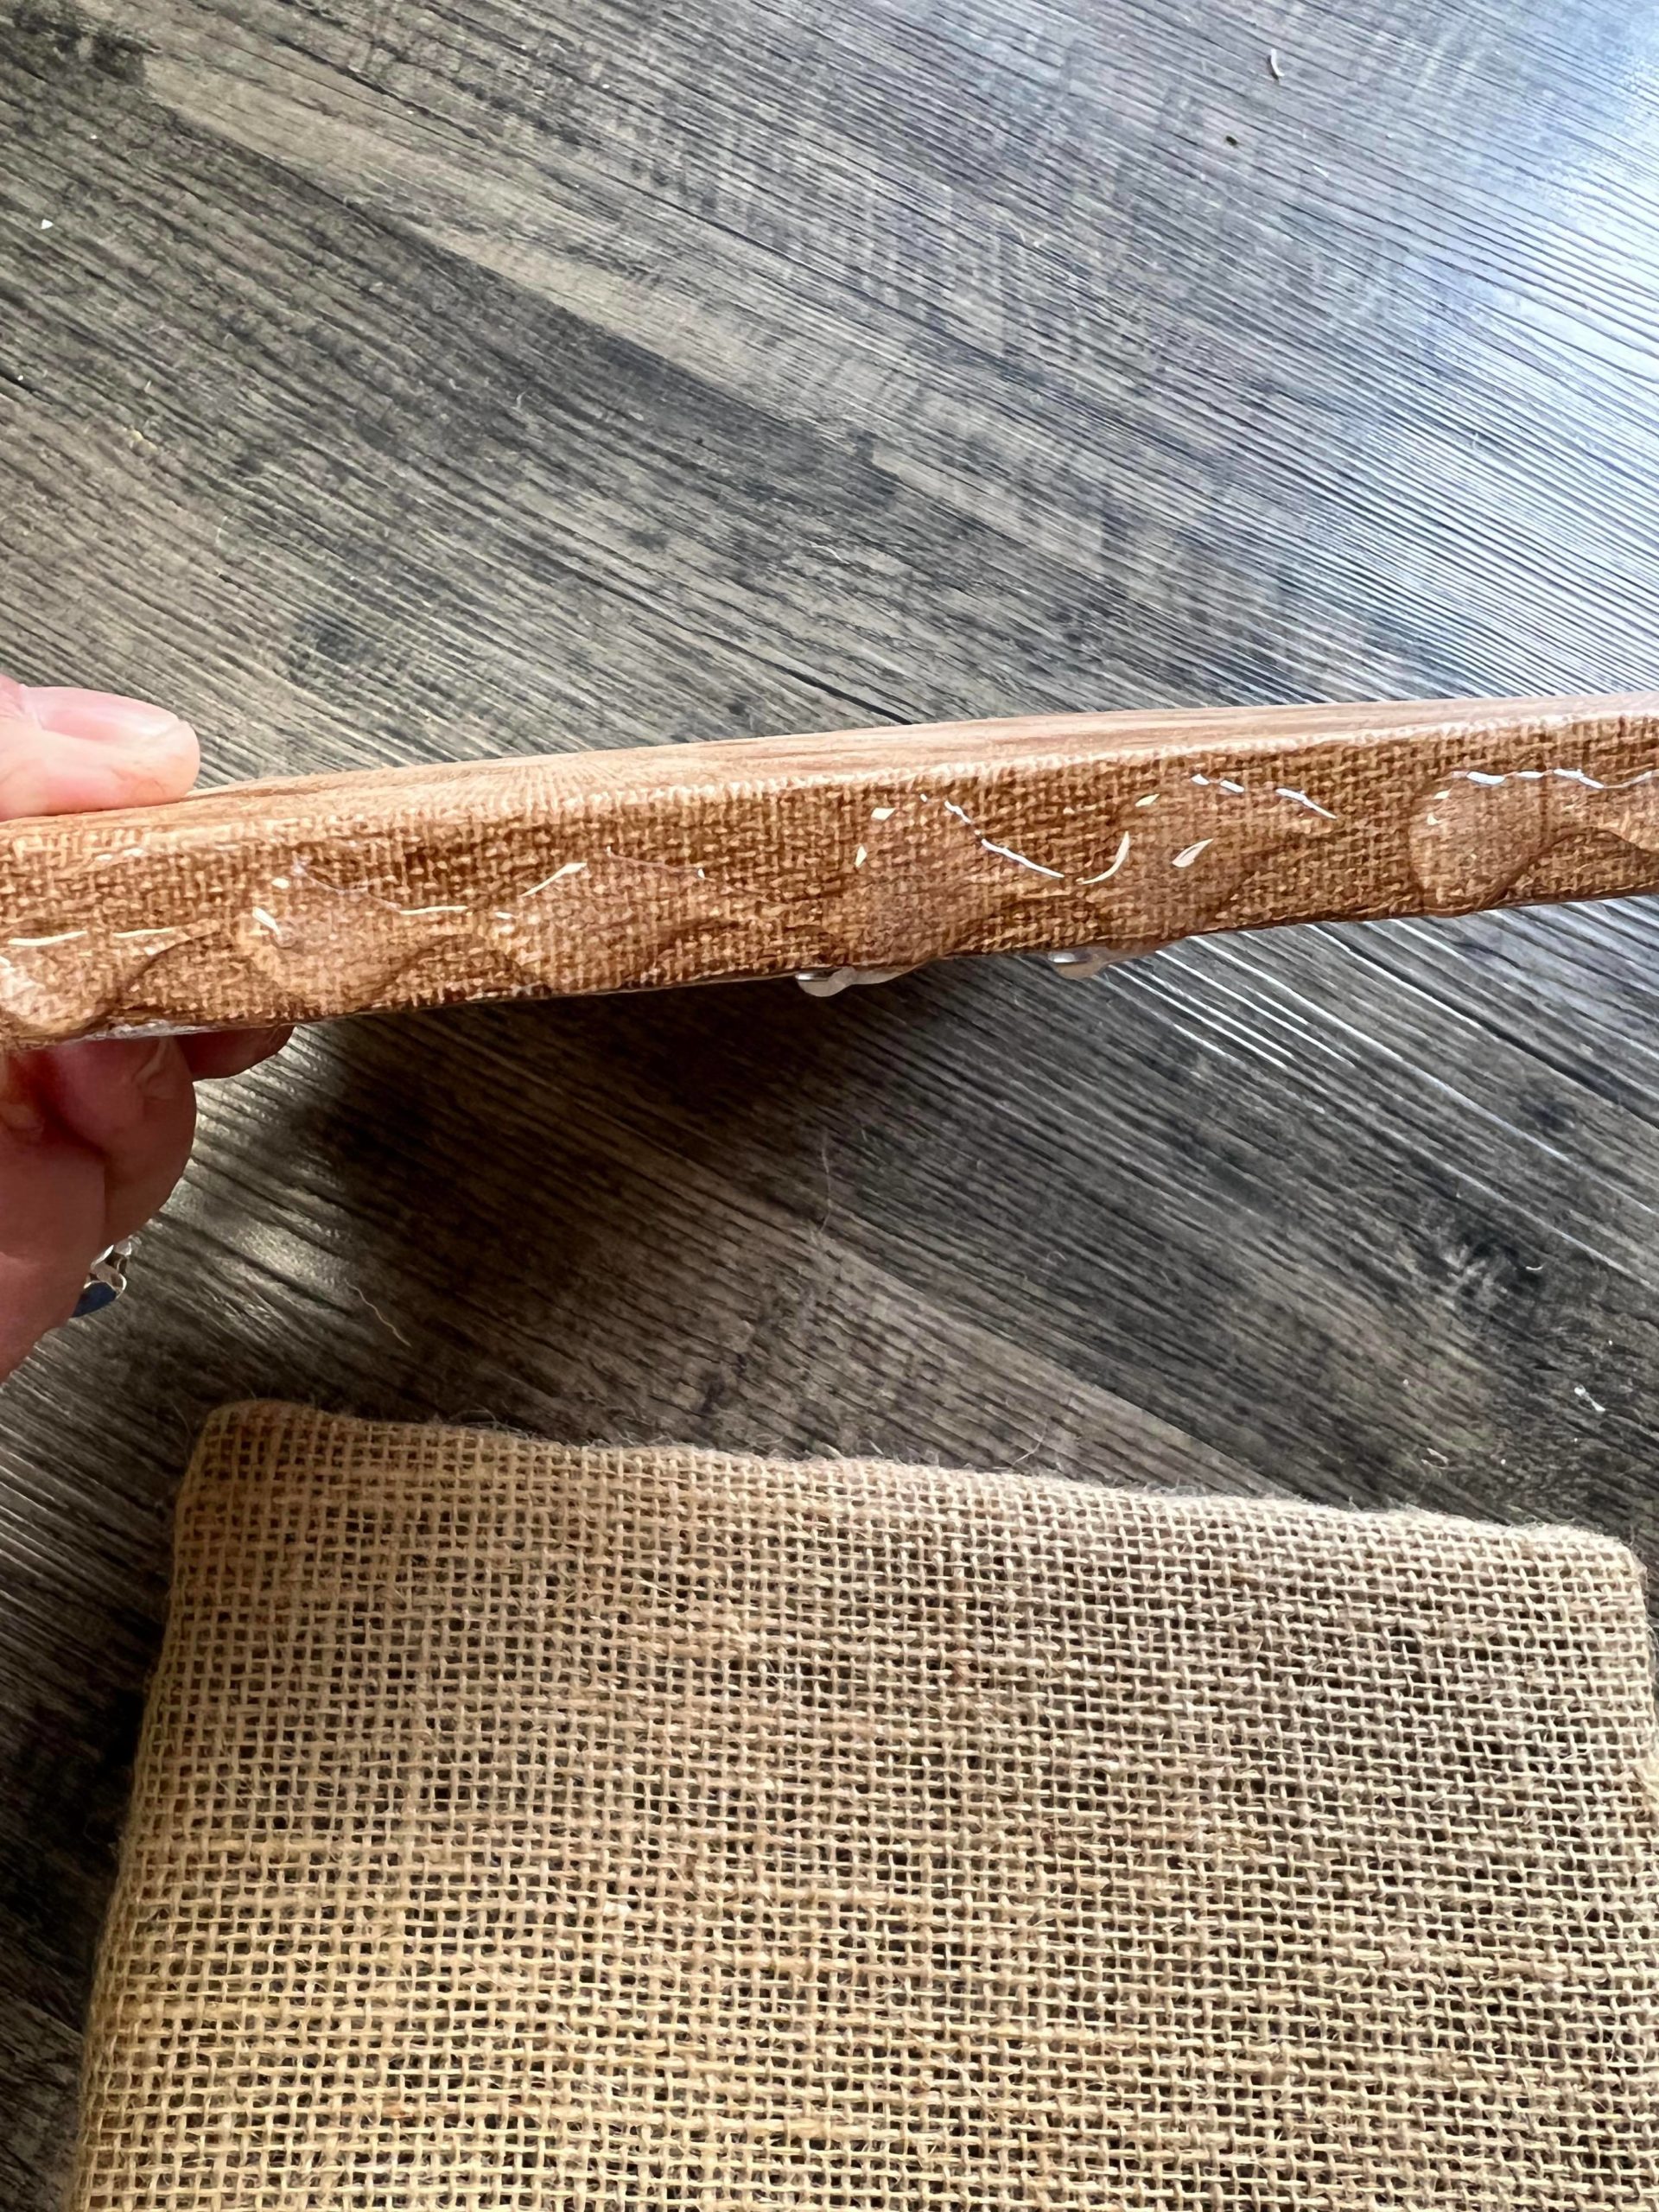
I painted both the 6×8 canvas and the 12 inch stick with the Oak colored Gel Stain.
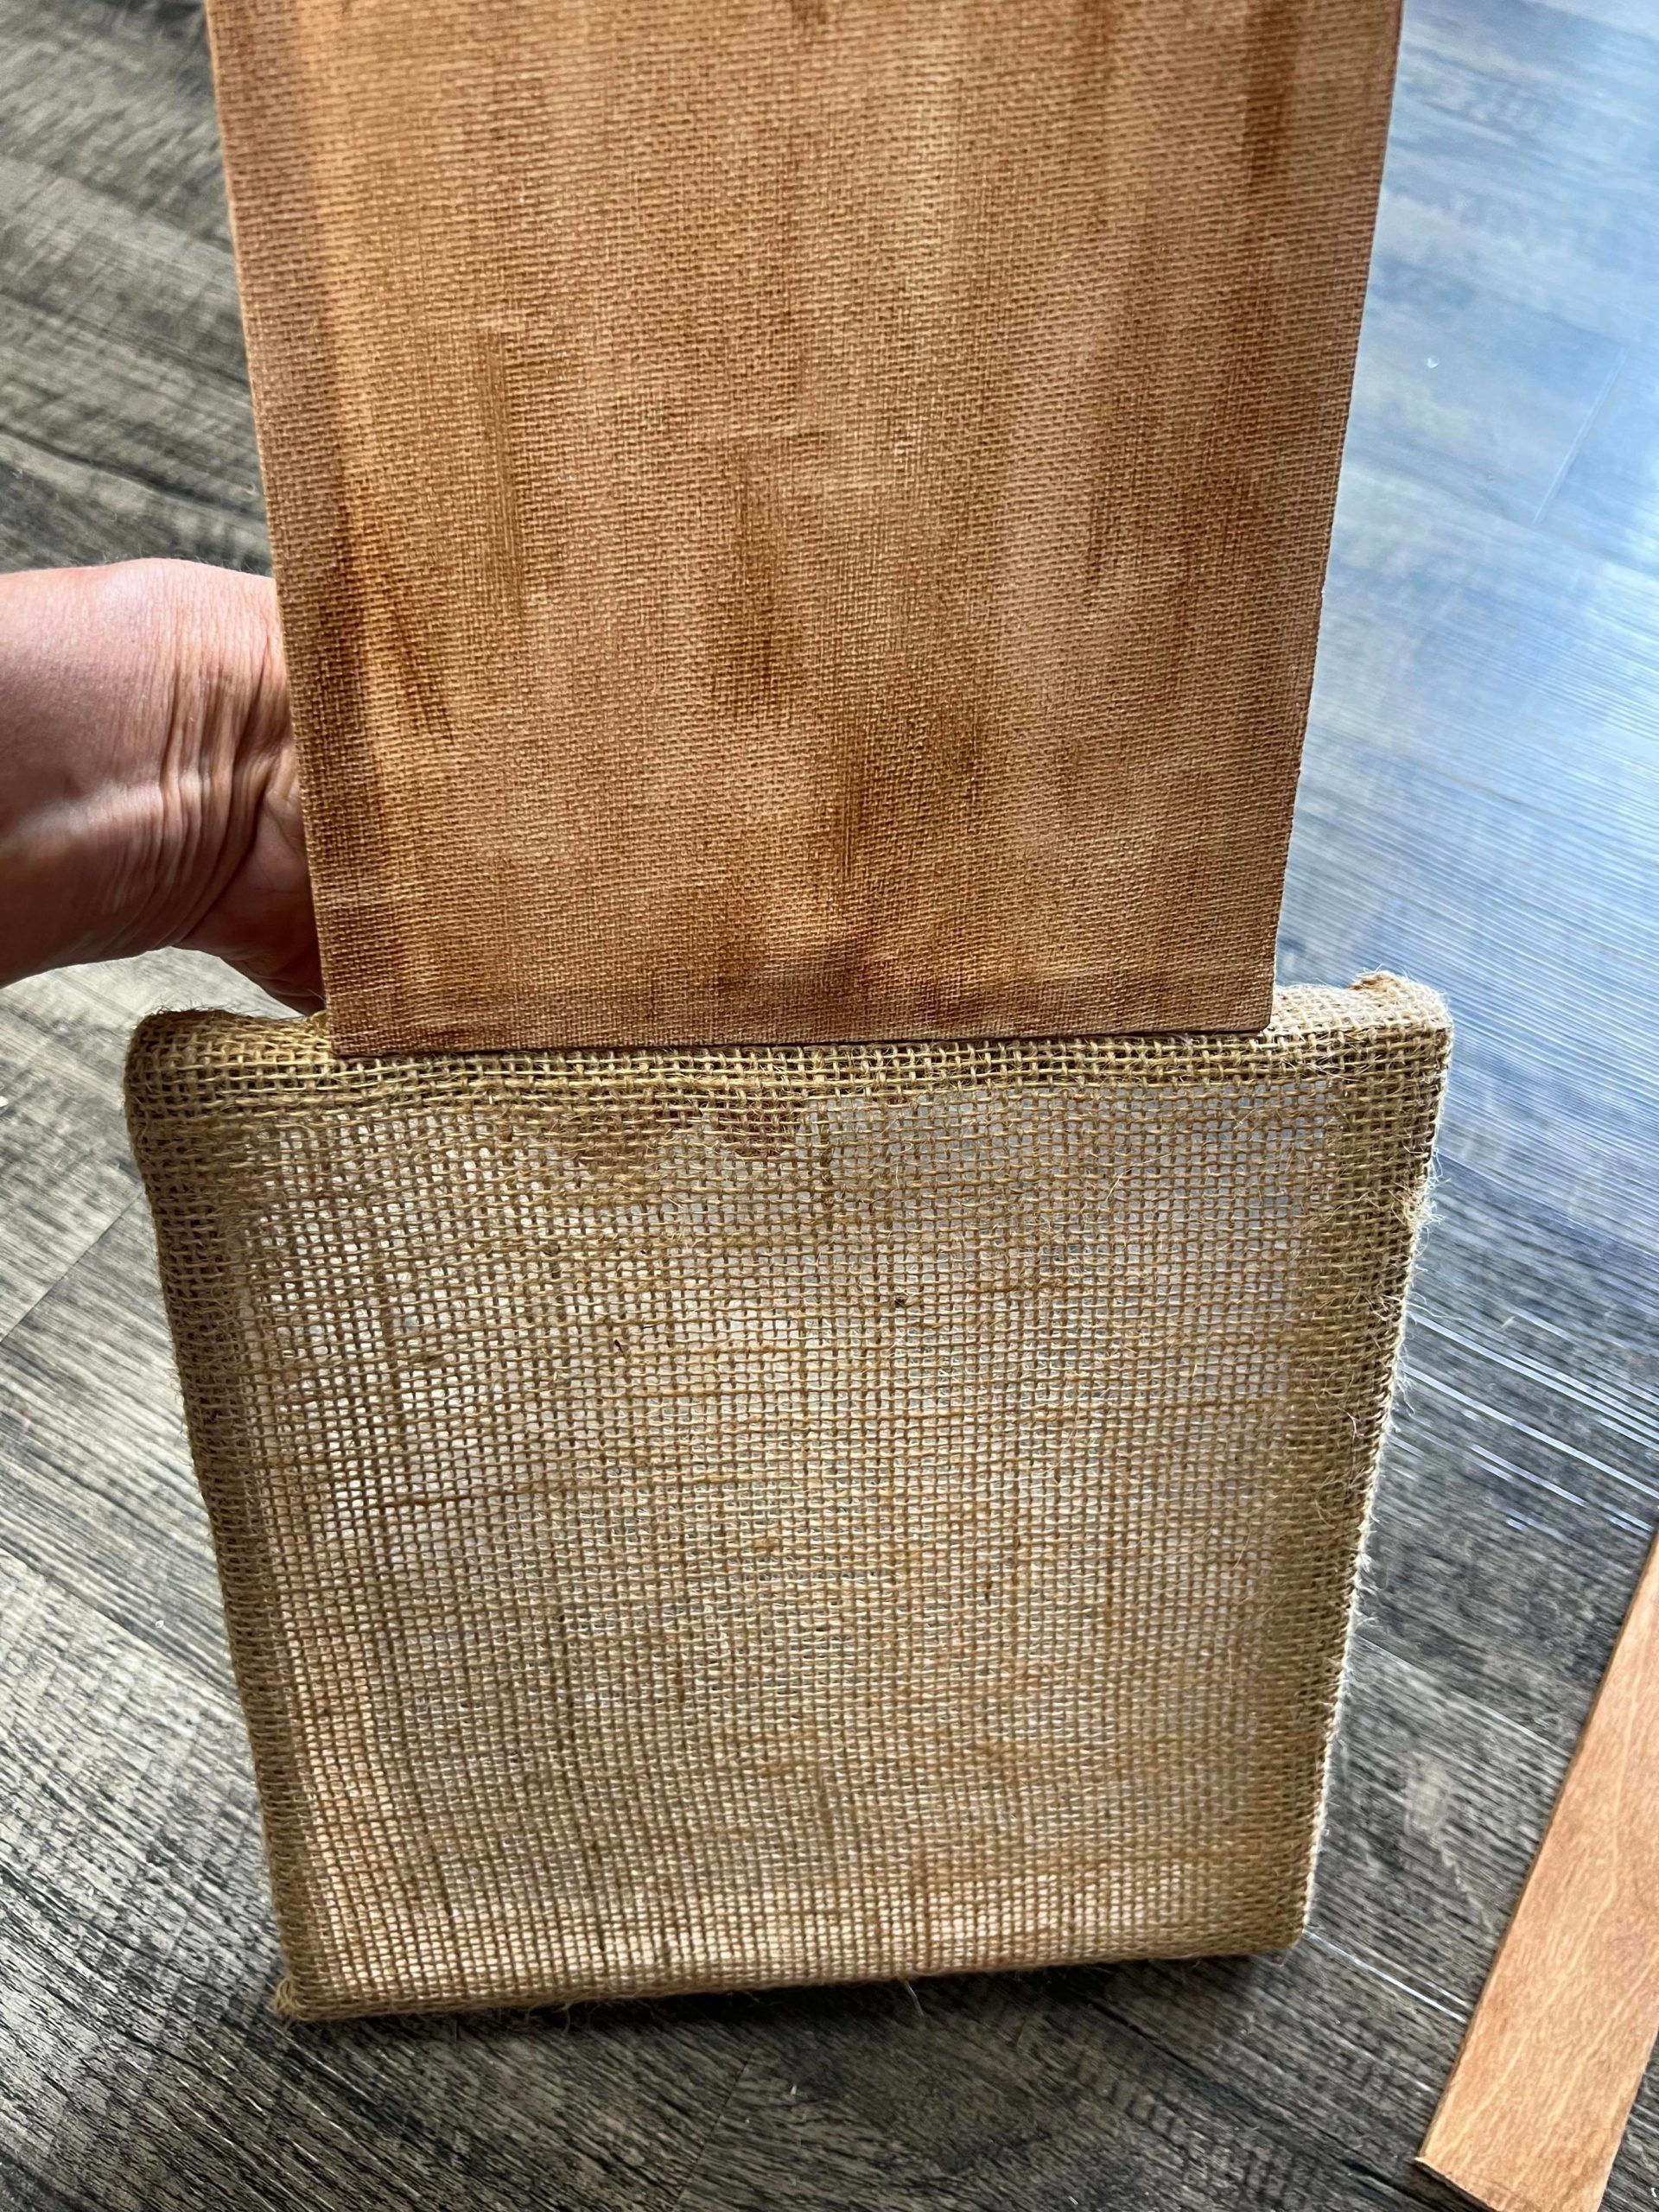
You will glue the 6×8 canvas to the square canvas as shown in photo below.
Once You have the 2 canvases glued together you will then start glueing on some raffia.
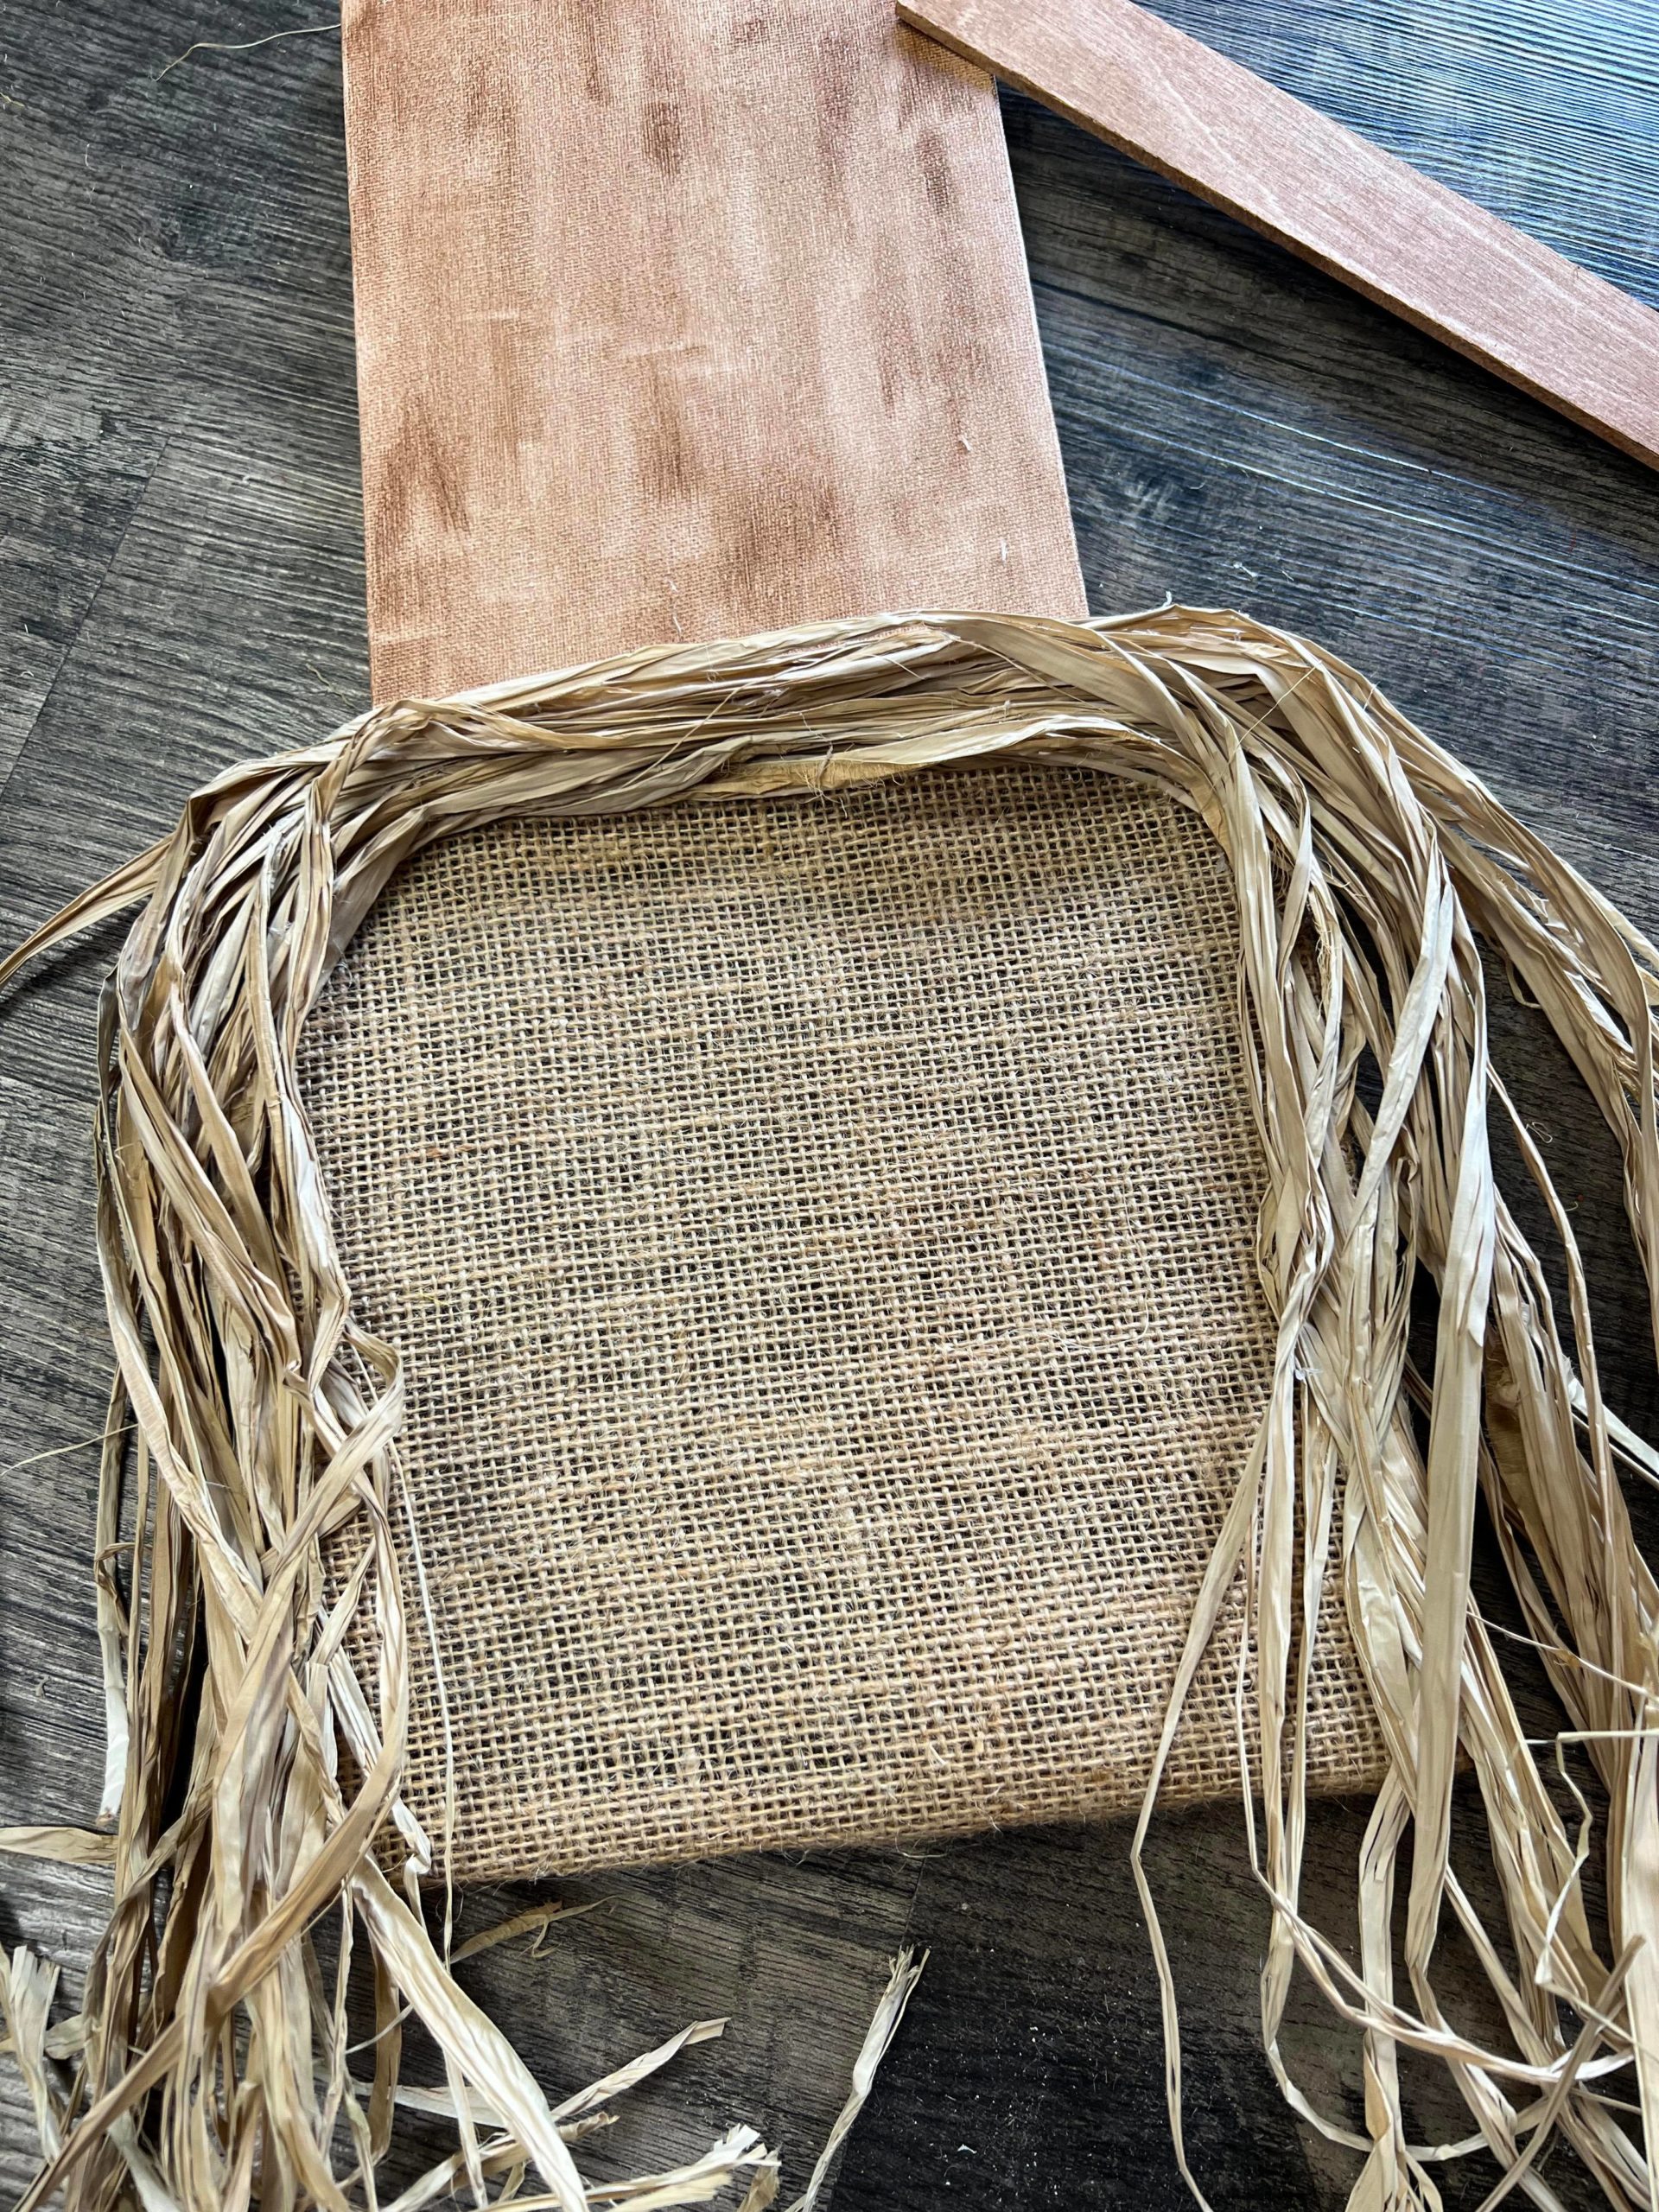
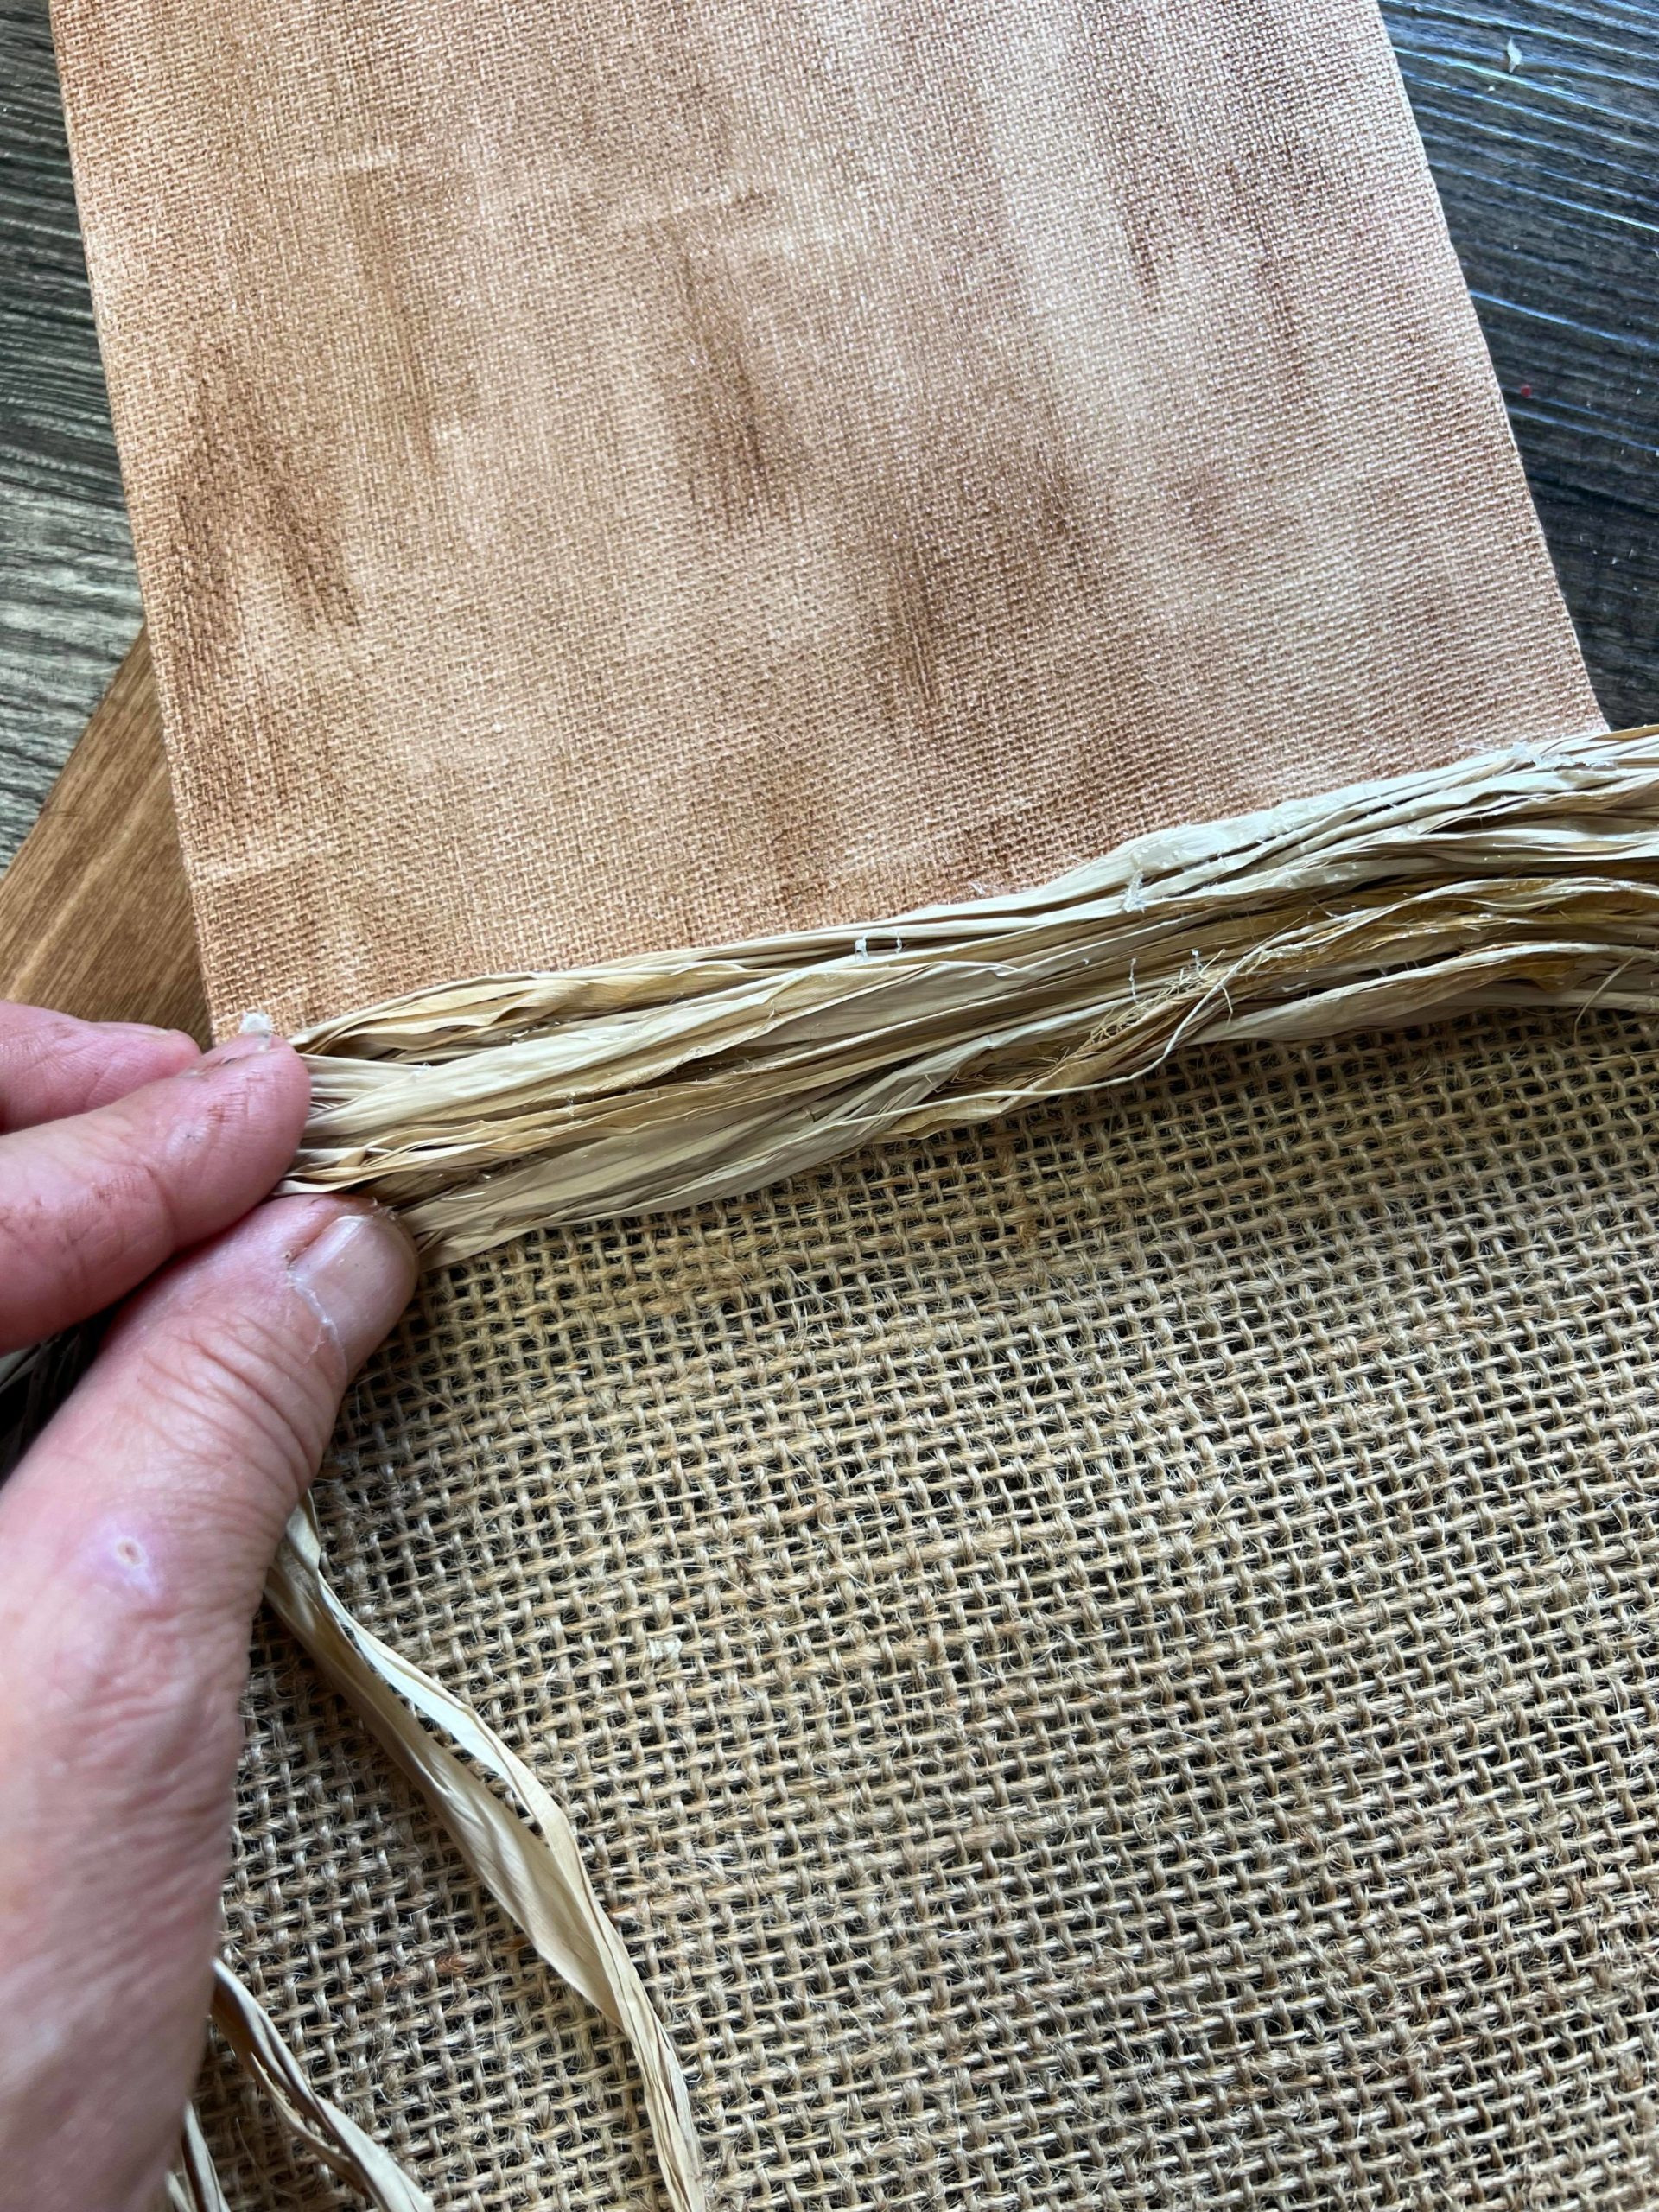
Be sure to add a lot of hot glue to hold all of the raffia in place.
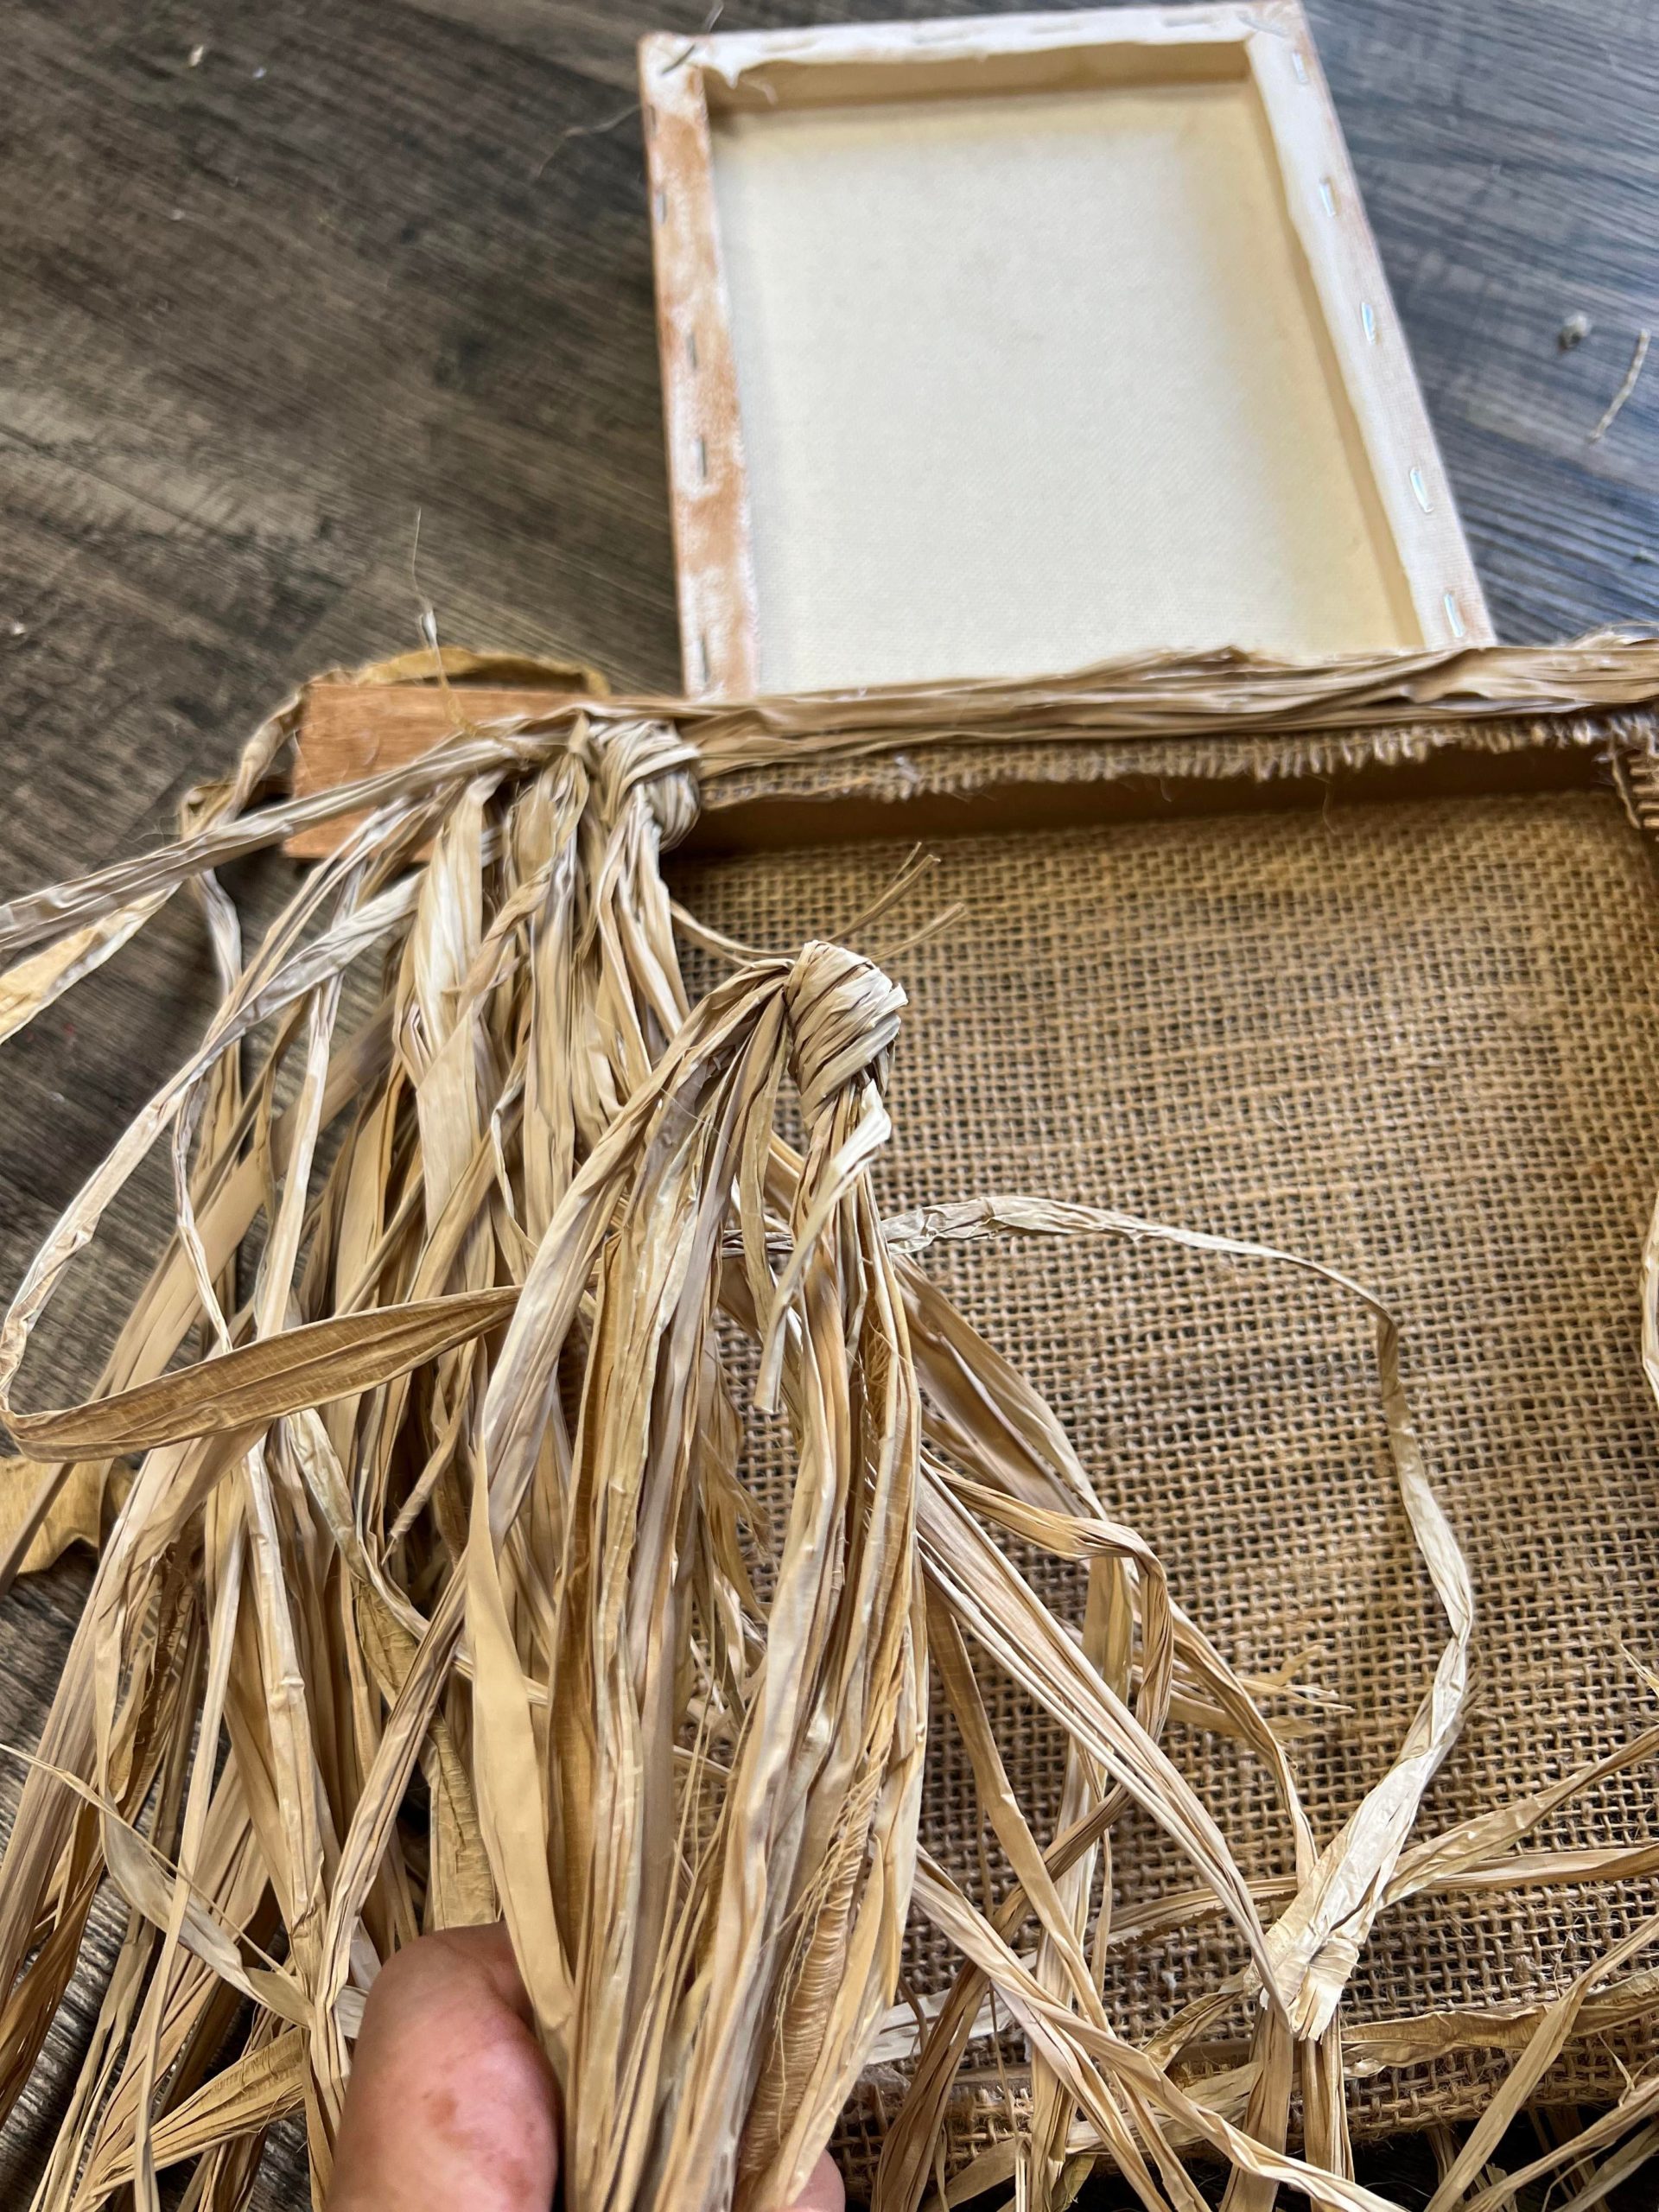
I tied some raffia into knots and then glued them to the backside.
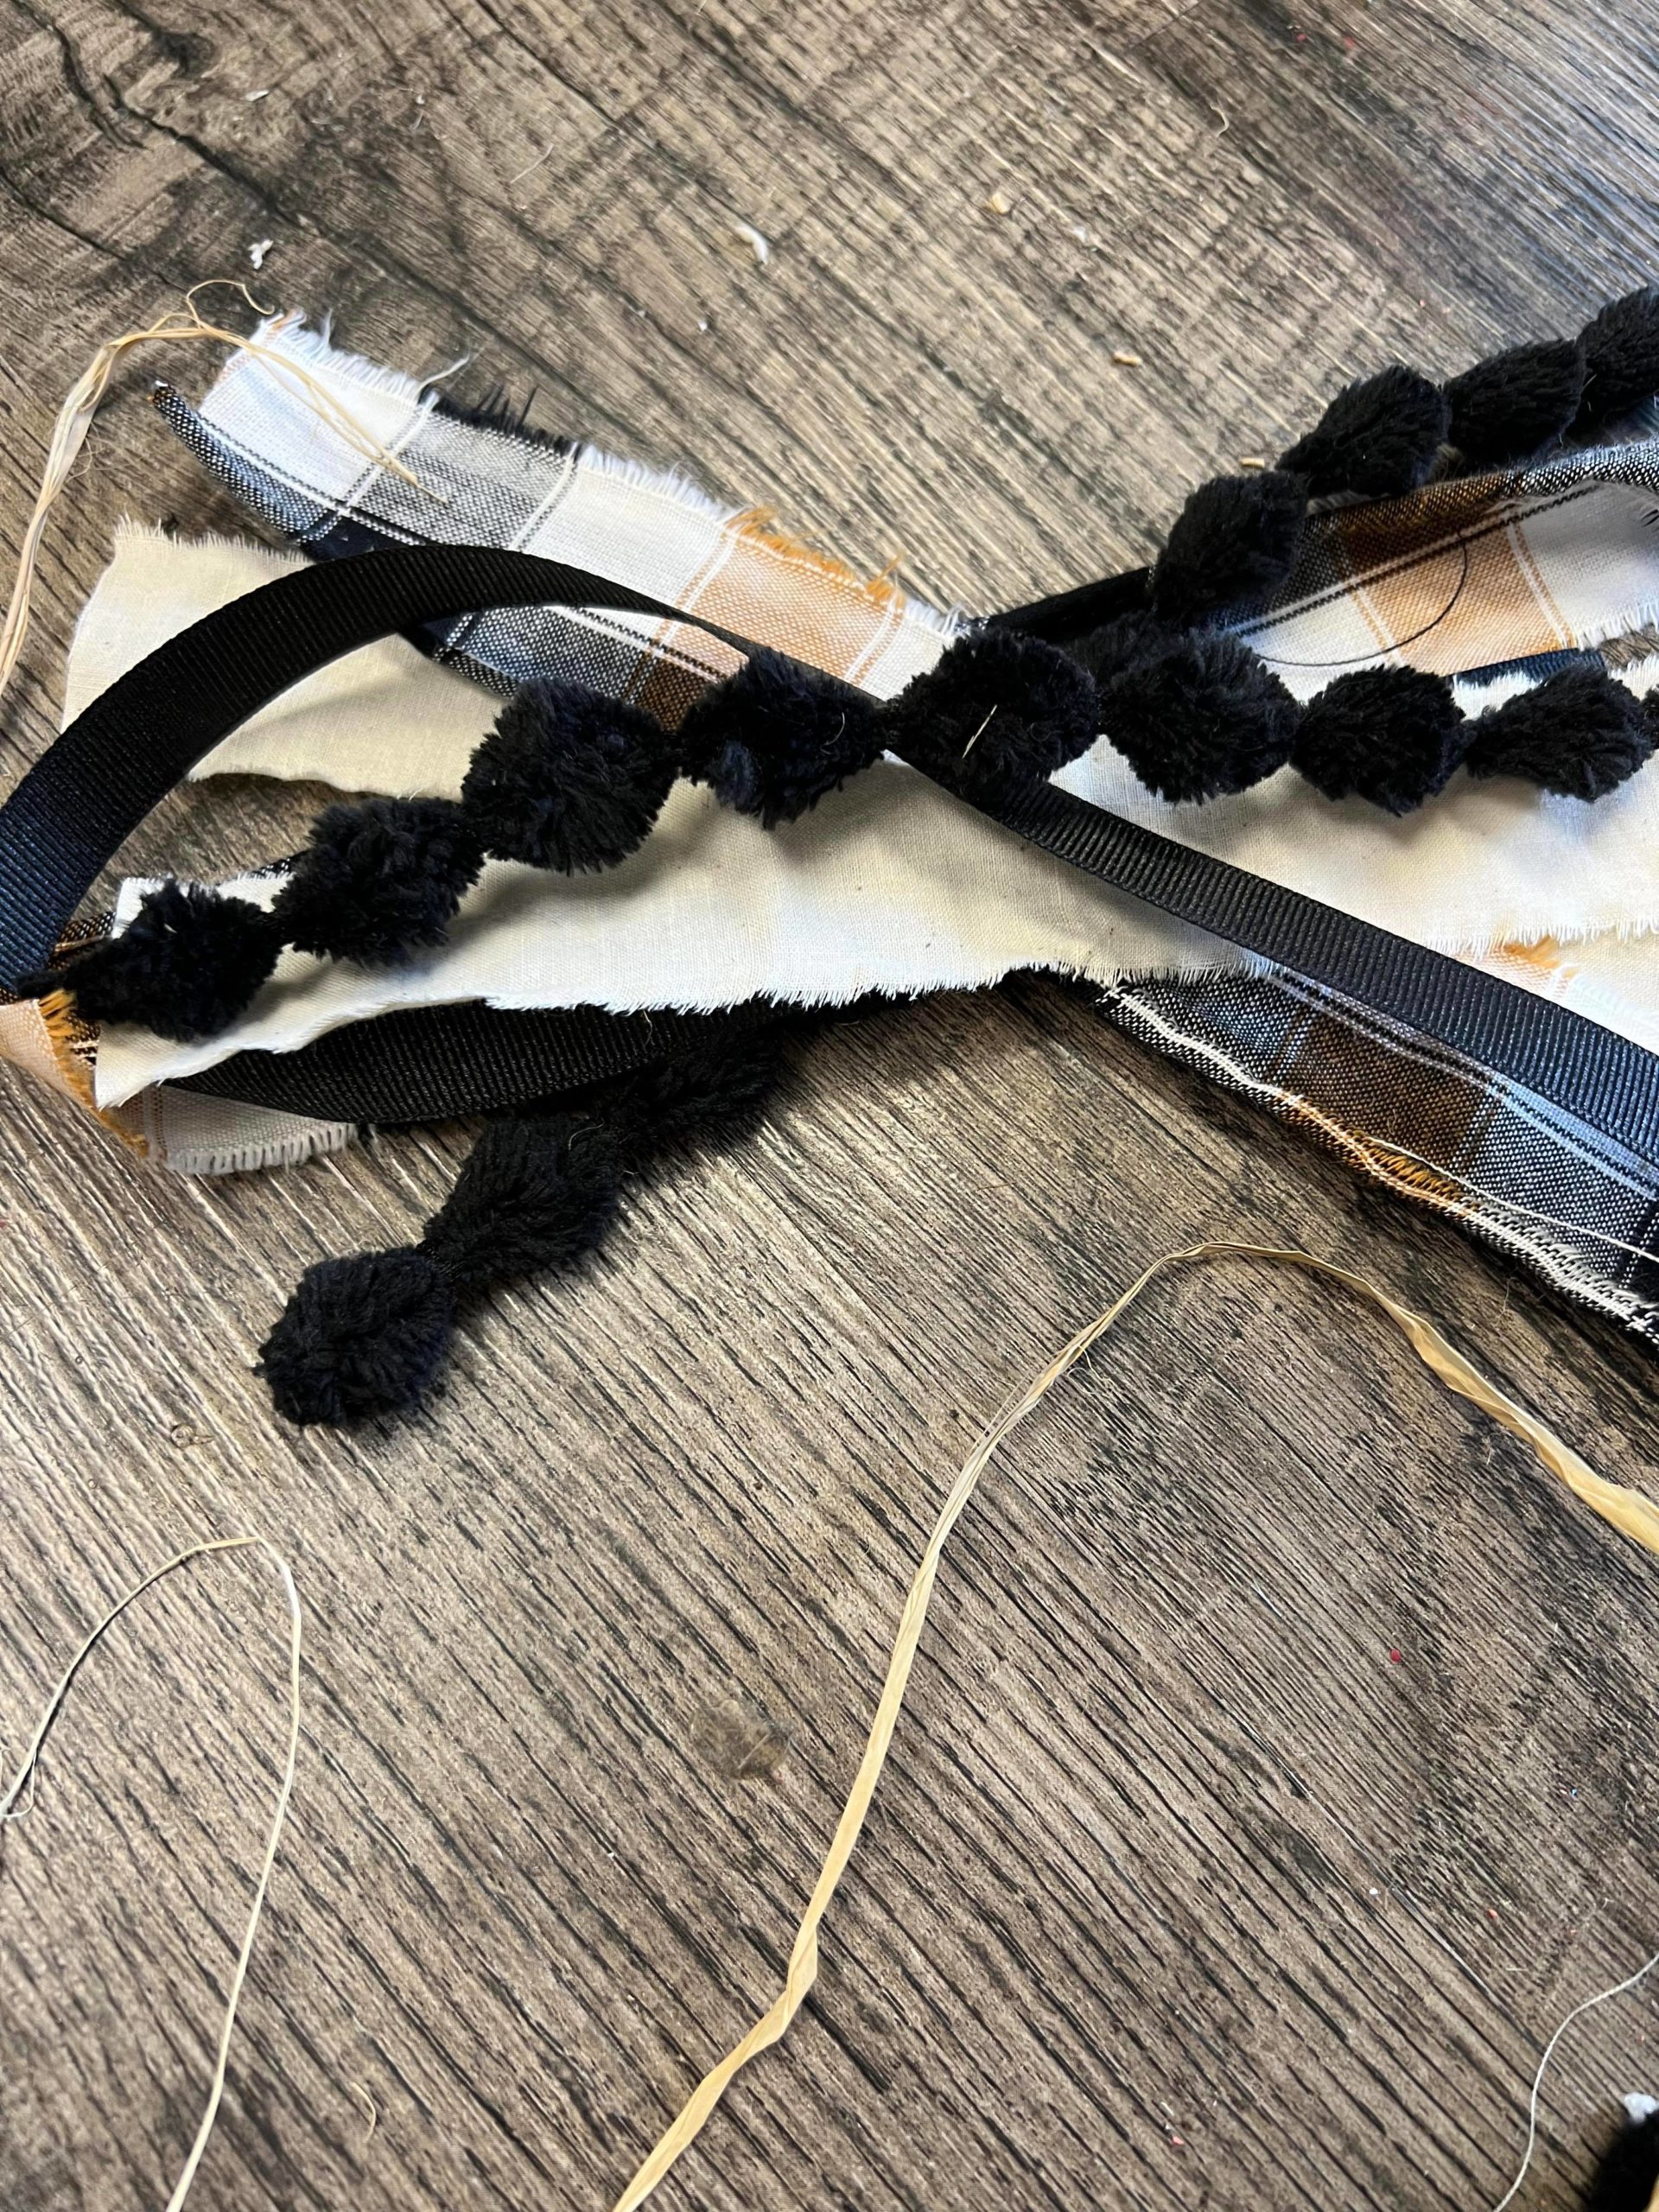
I cut a few strips of material and ribbon to create a rag bow.
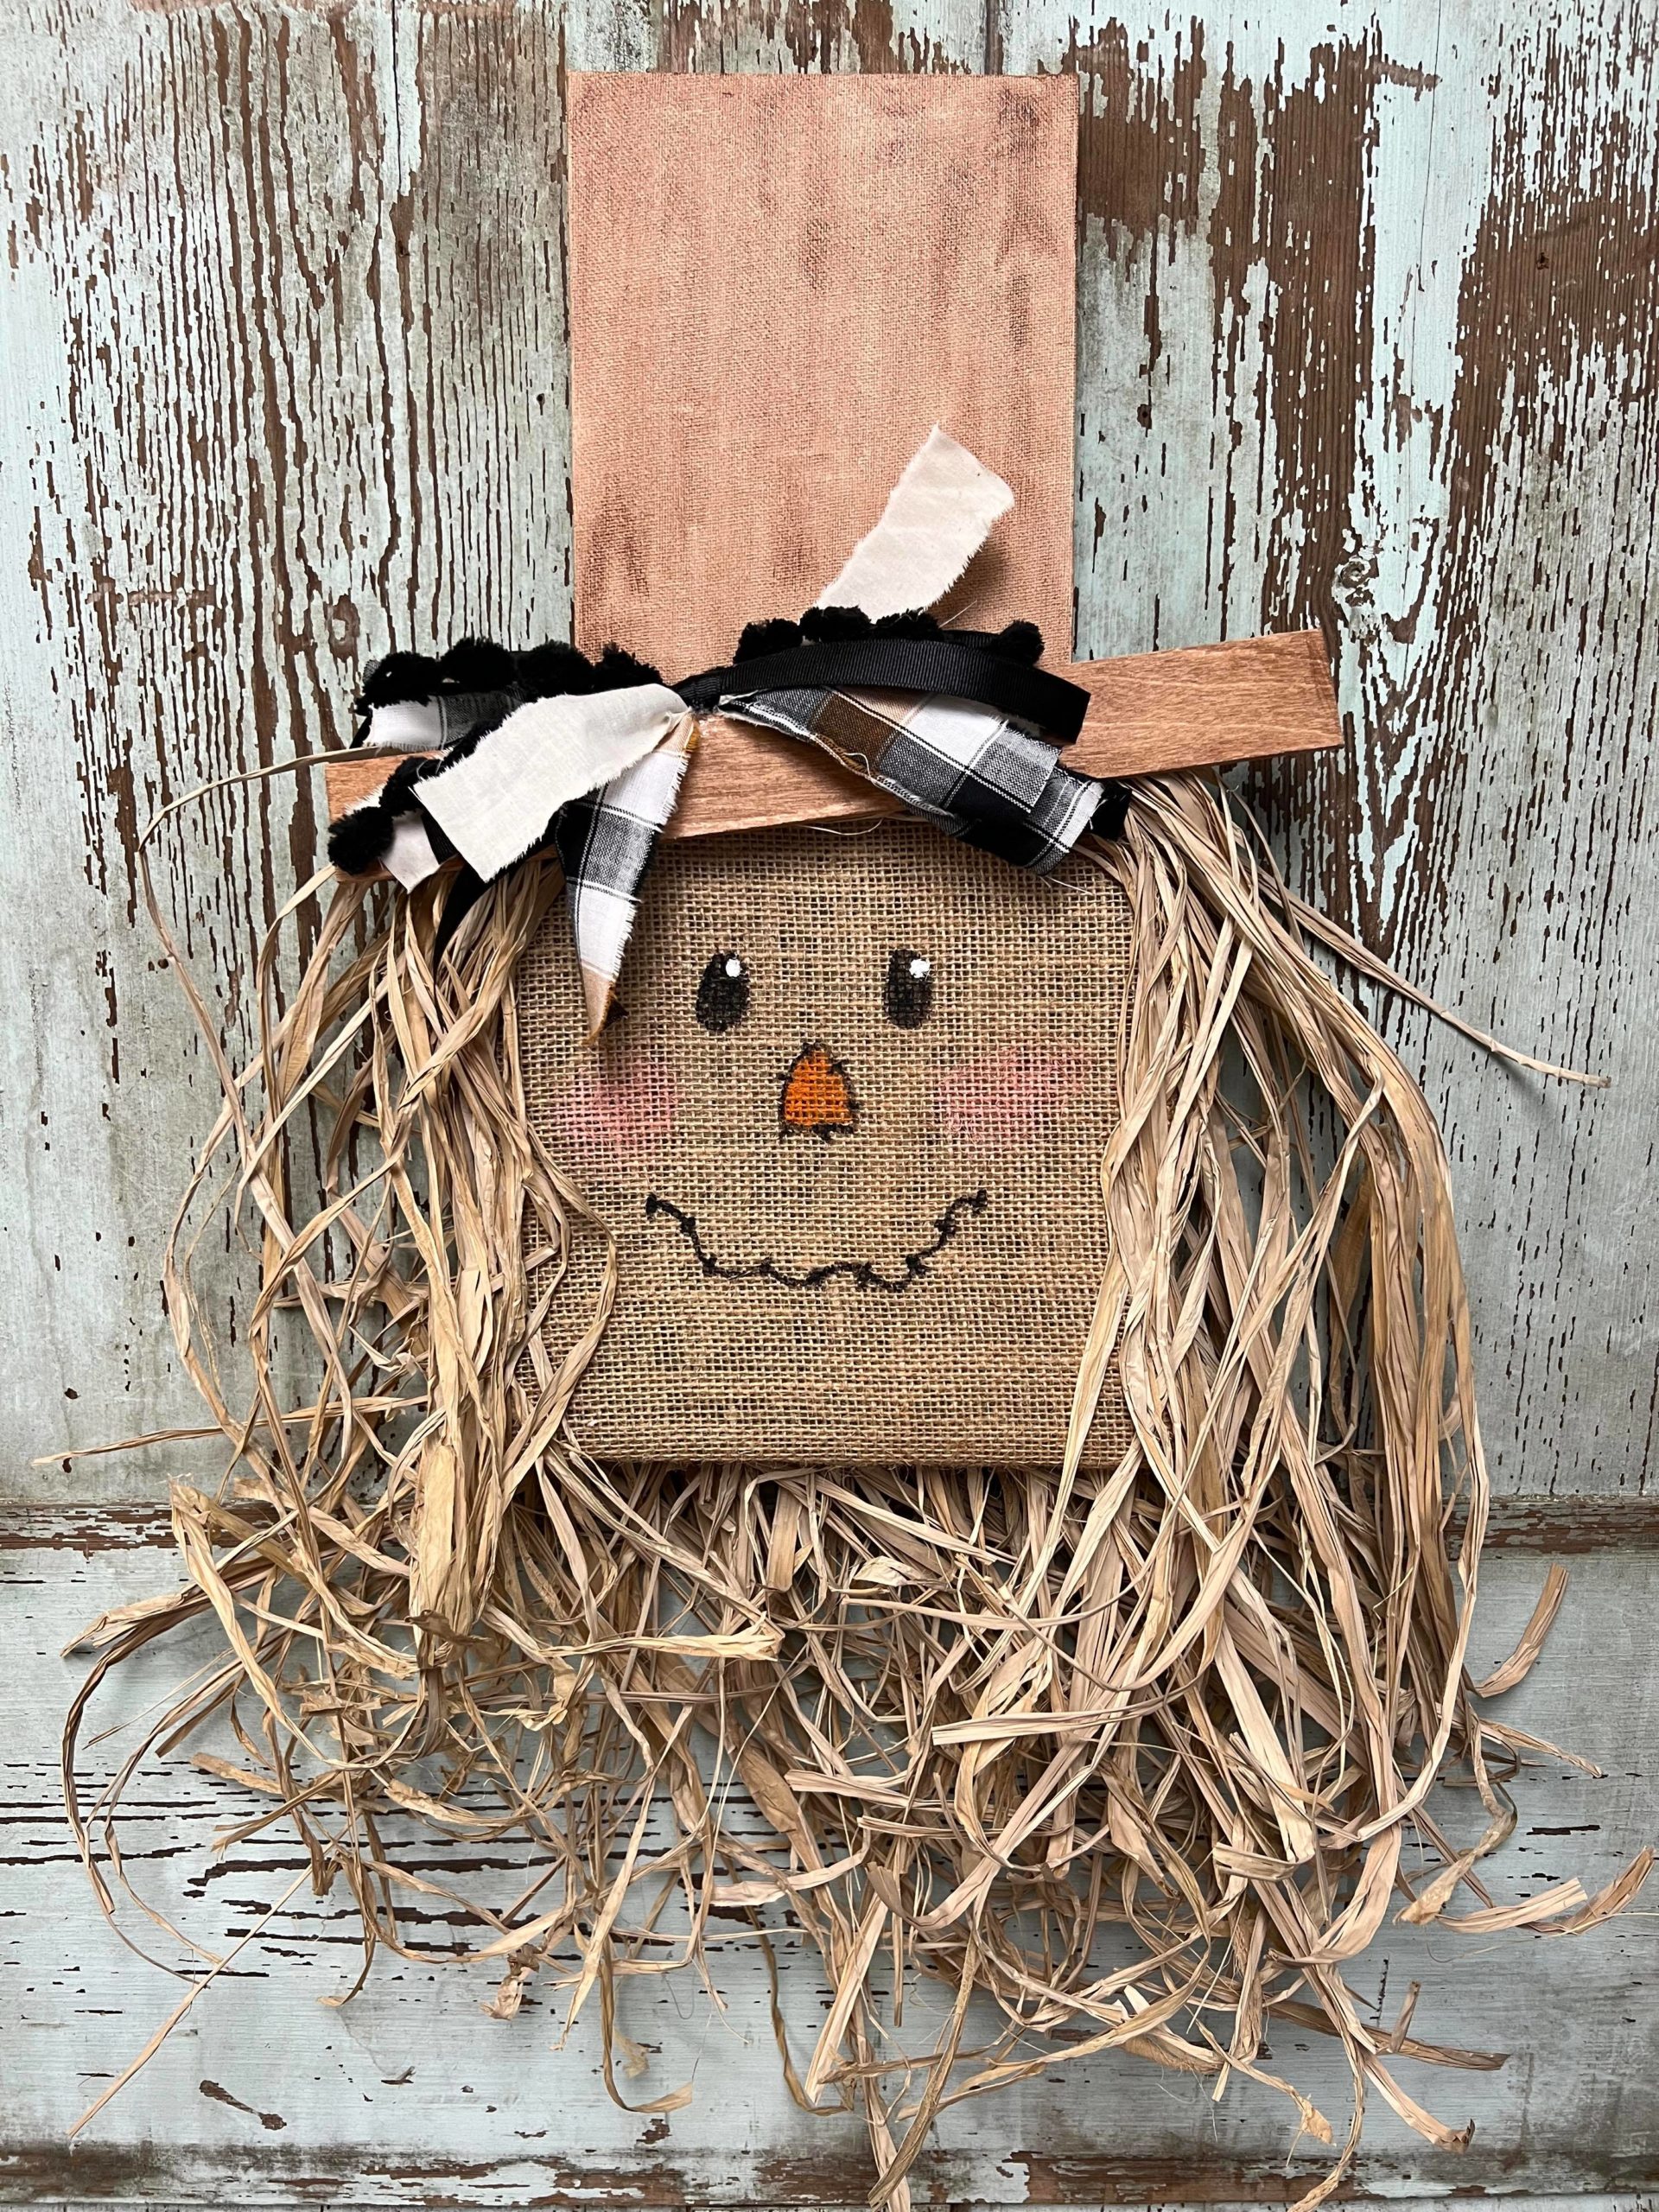
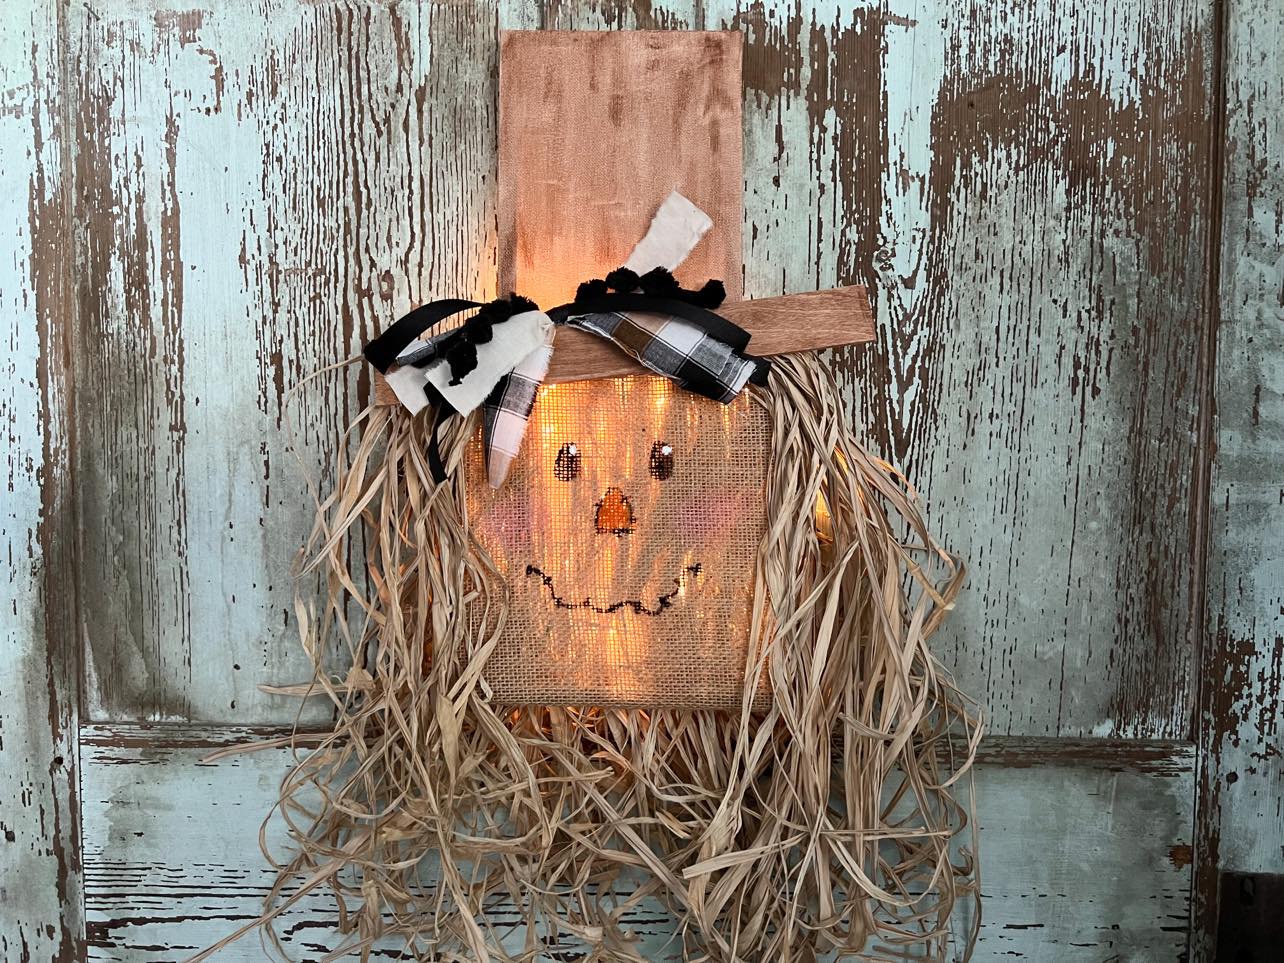
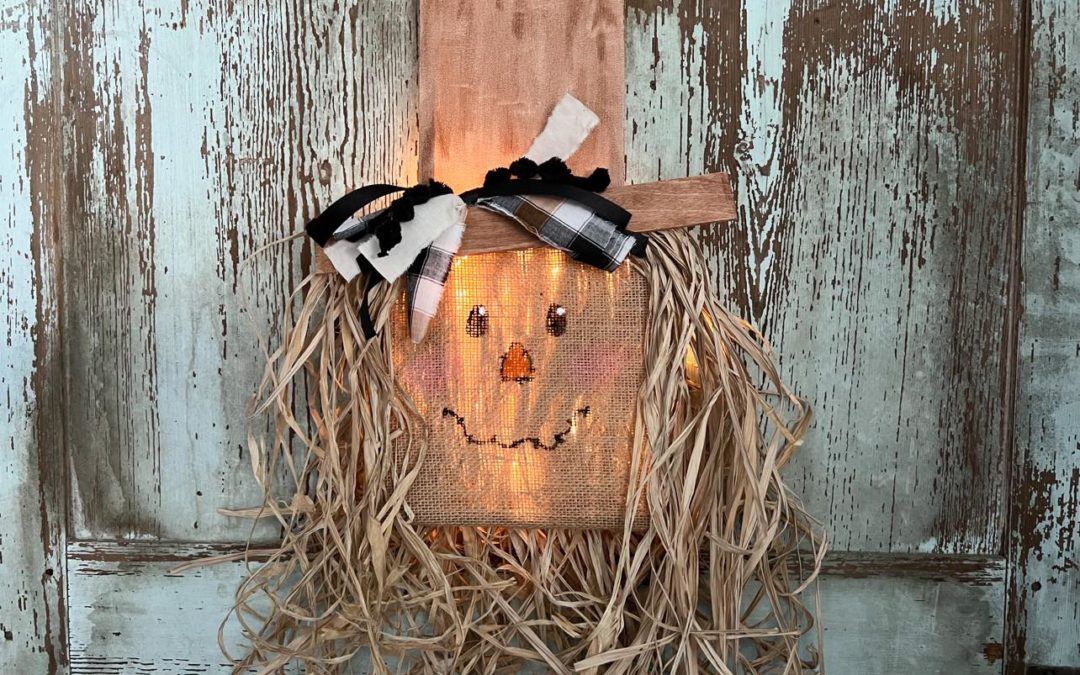
I glued the wooden stick across the front and then glued on the rag bow.
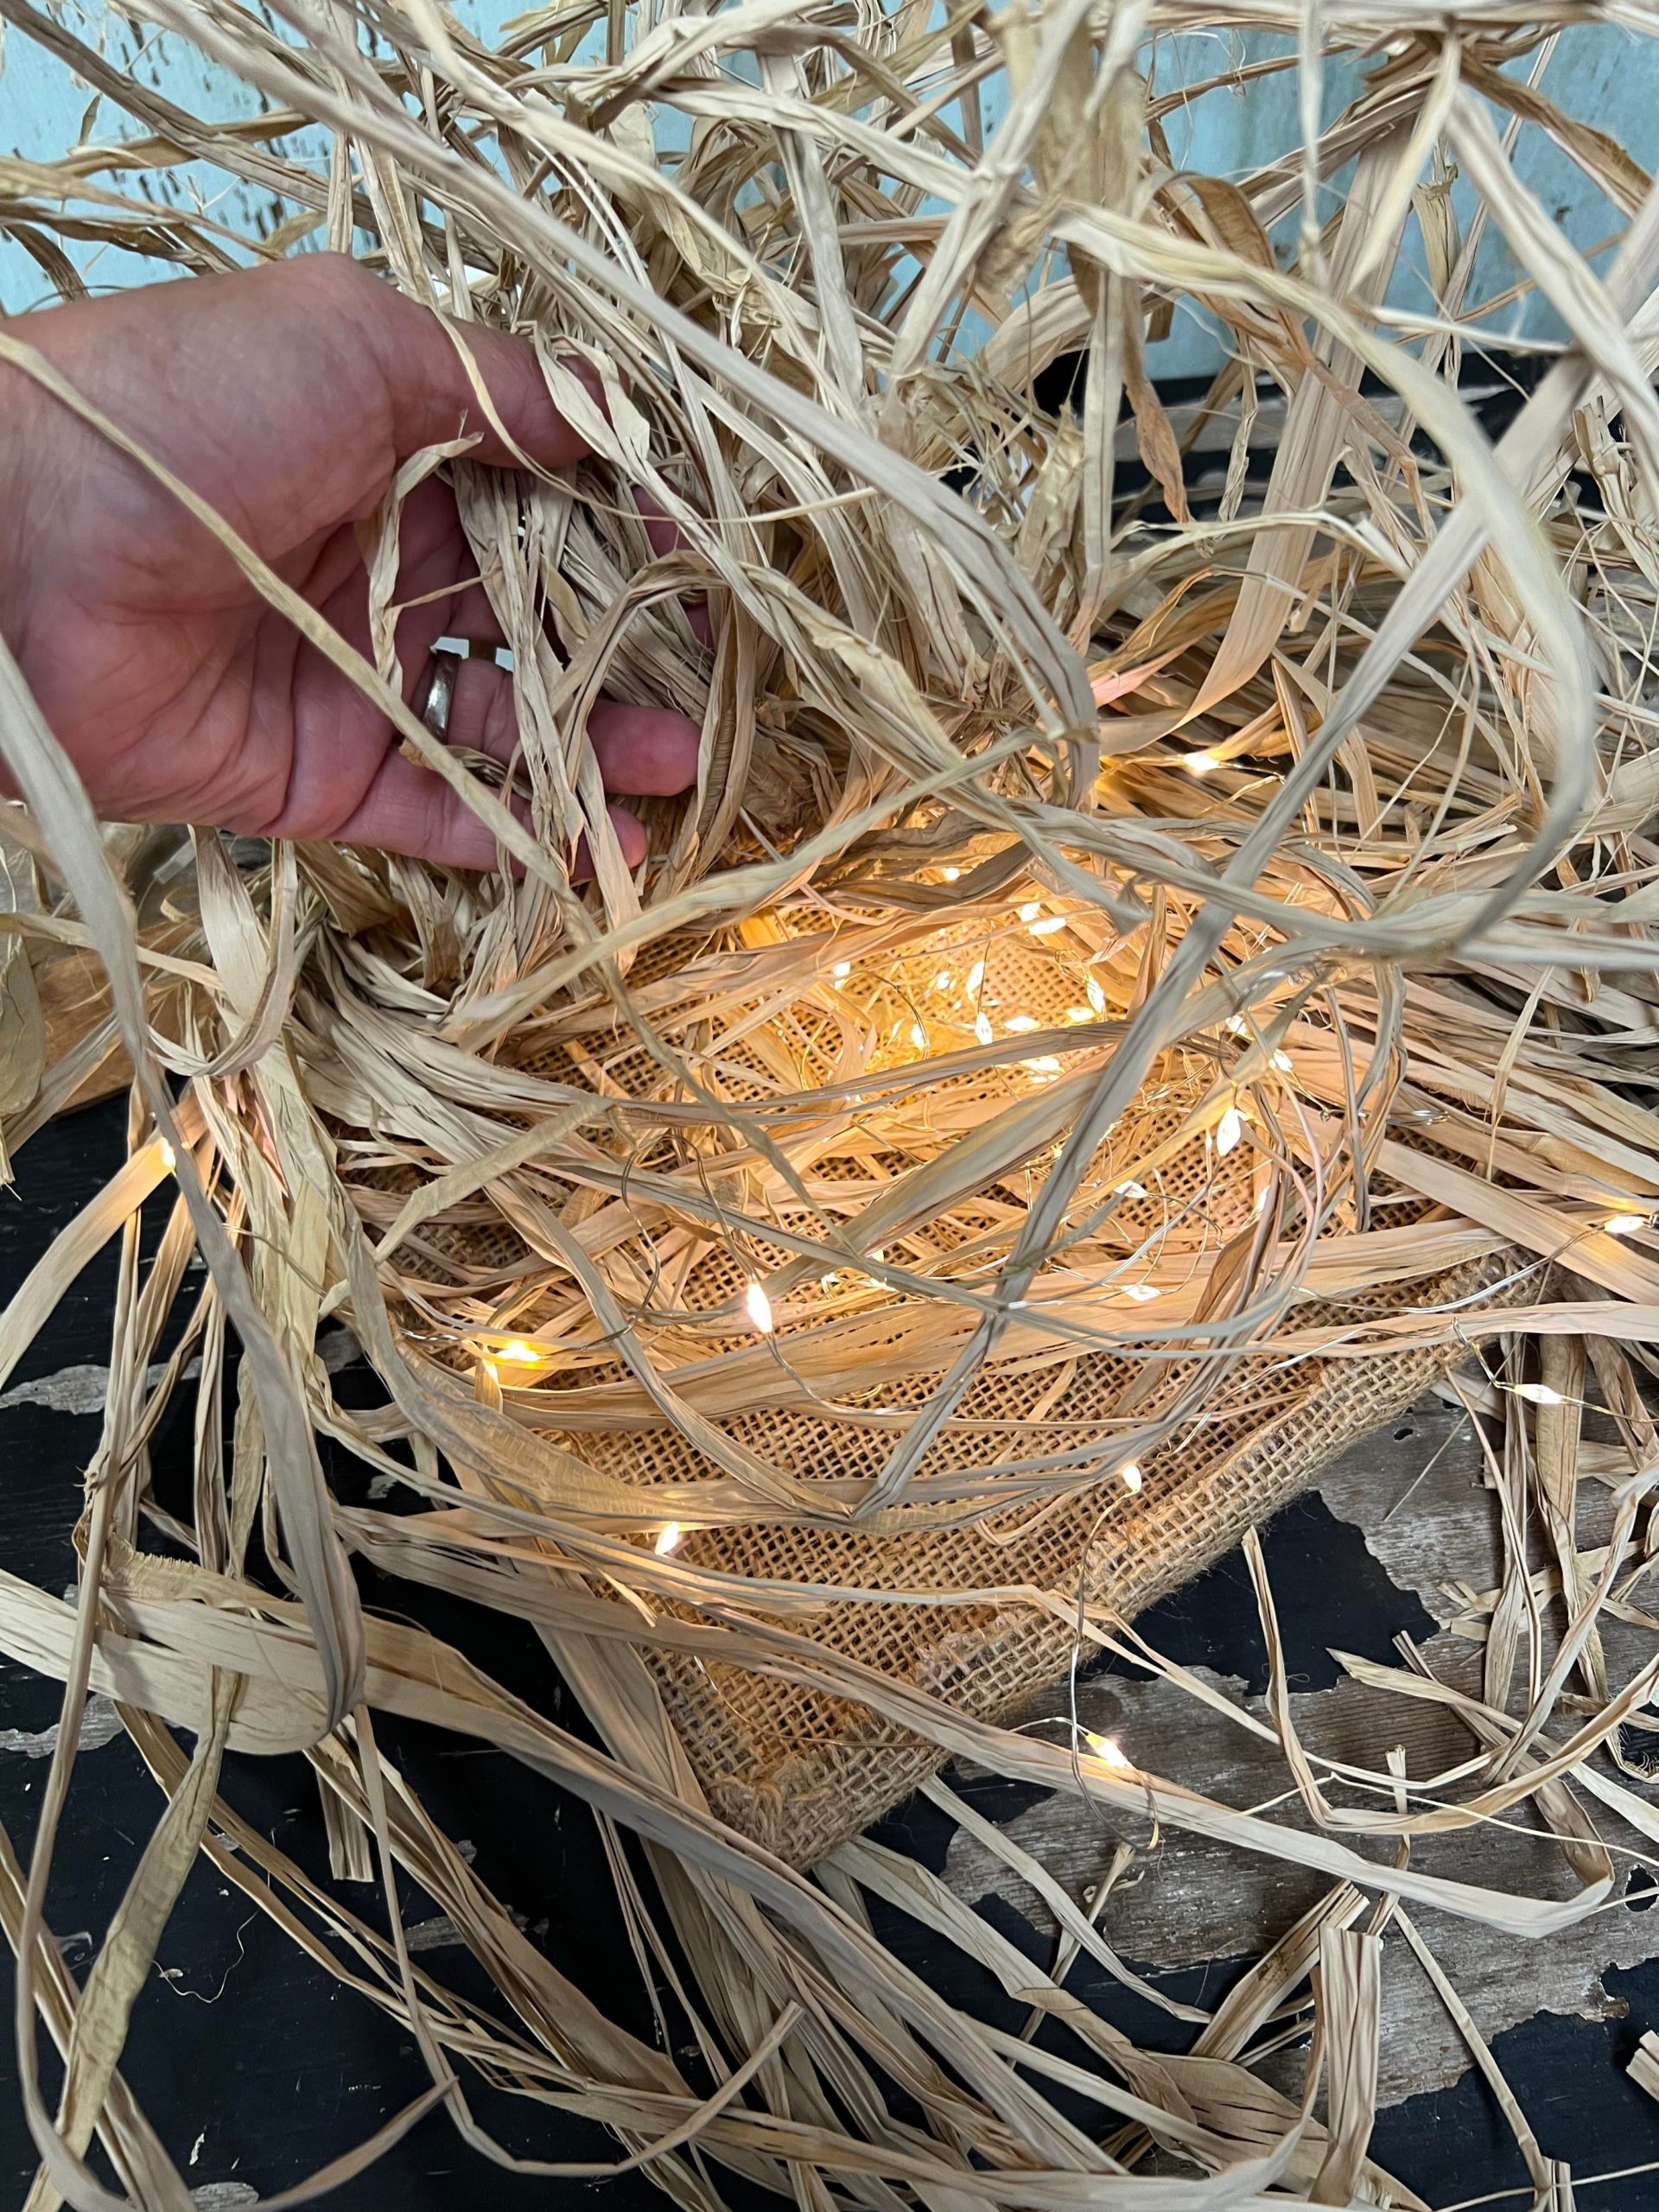
You can add a strand of battery operated lights to the back side.
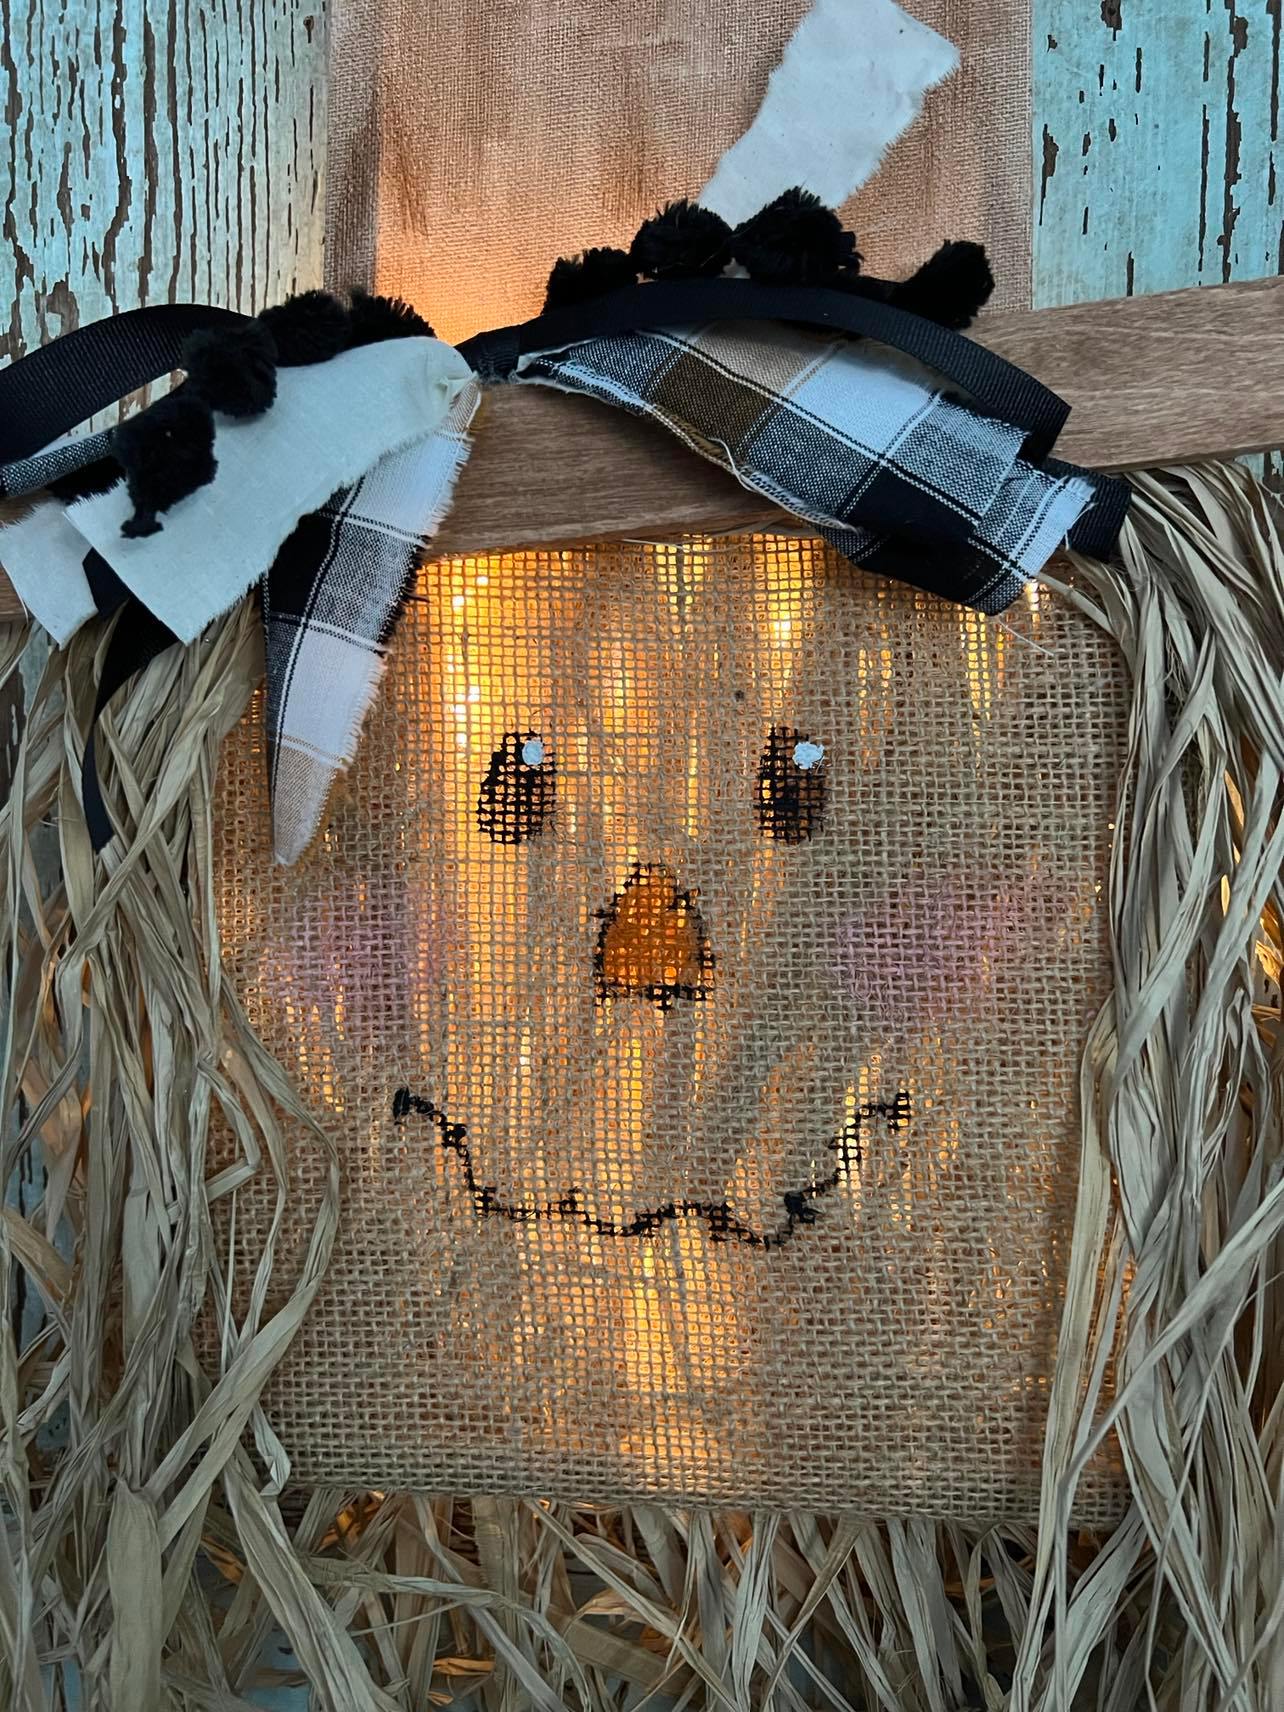
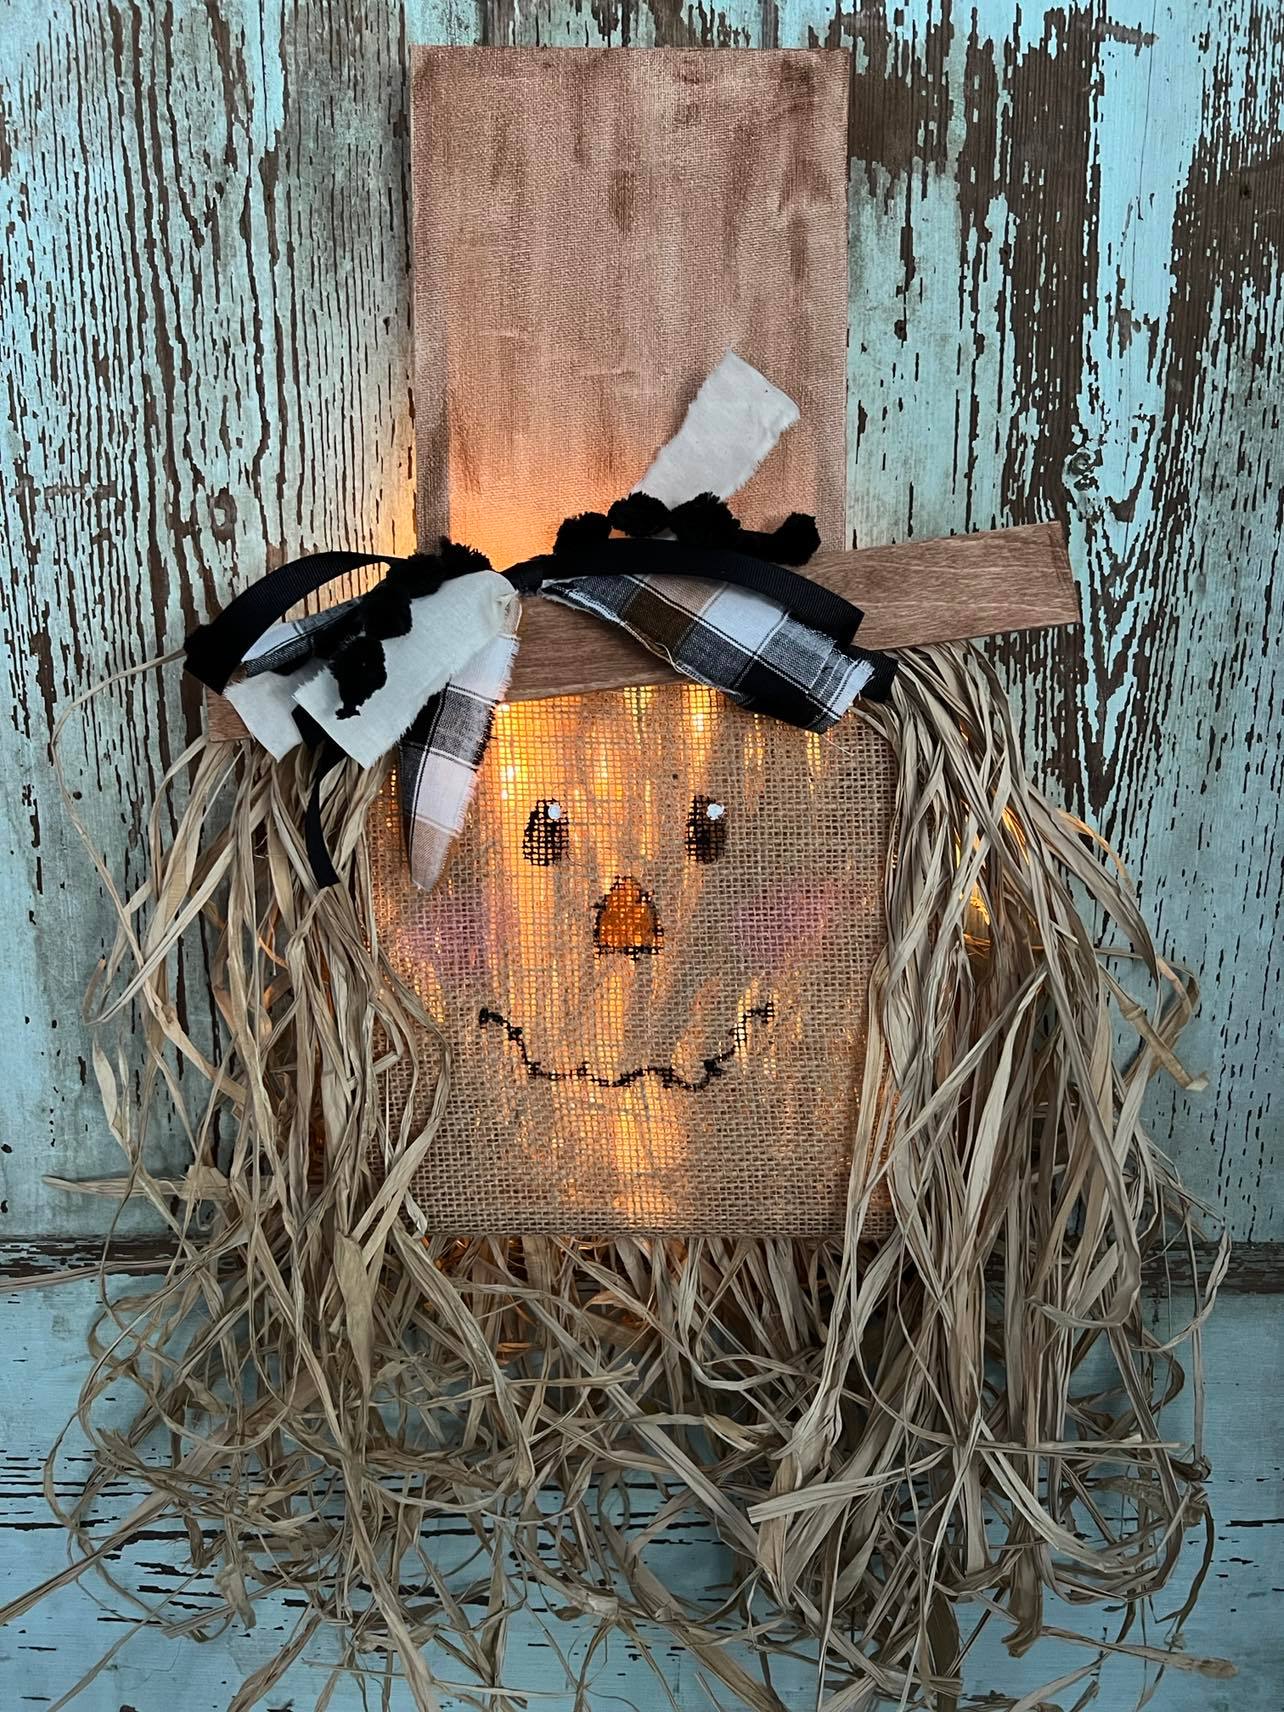
This scarecrow was so easy to make and looks so cute lit up. It can be placed any where in your home but would also look great on a front door. I hope you will get creative and give this a try.