I have been ordering a lot of doilies from Amazon lately and I want to find a way to use some of them. We seem to use doilies on a lot of our crafts here at The Shabby Tree. I thought it would be fun to use a few and create a tree.
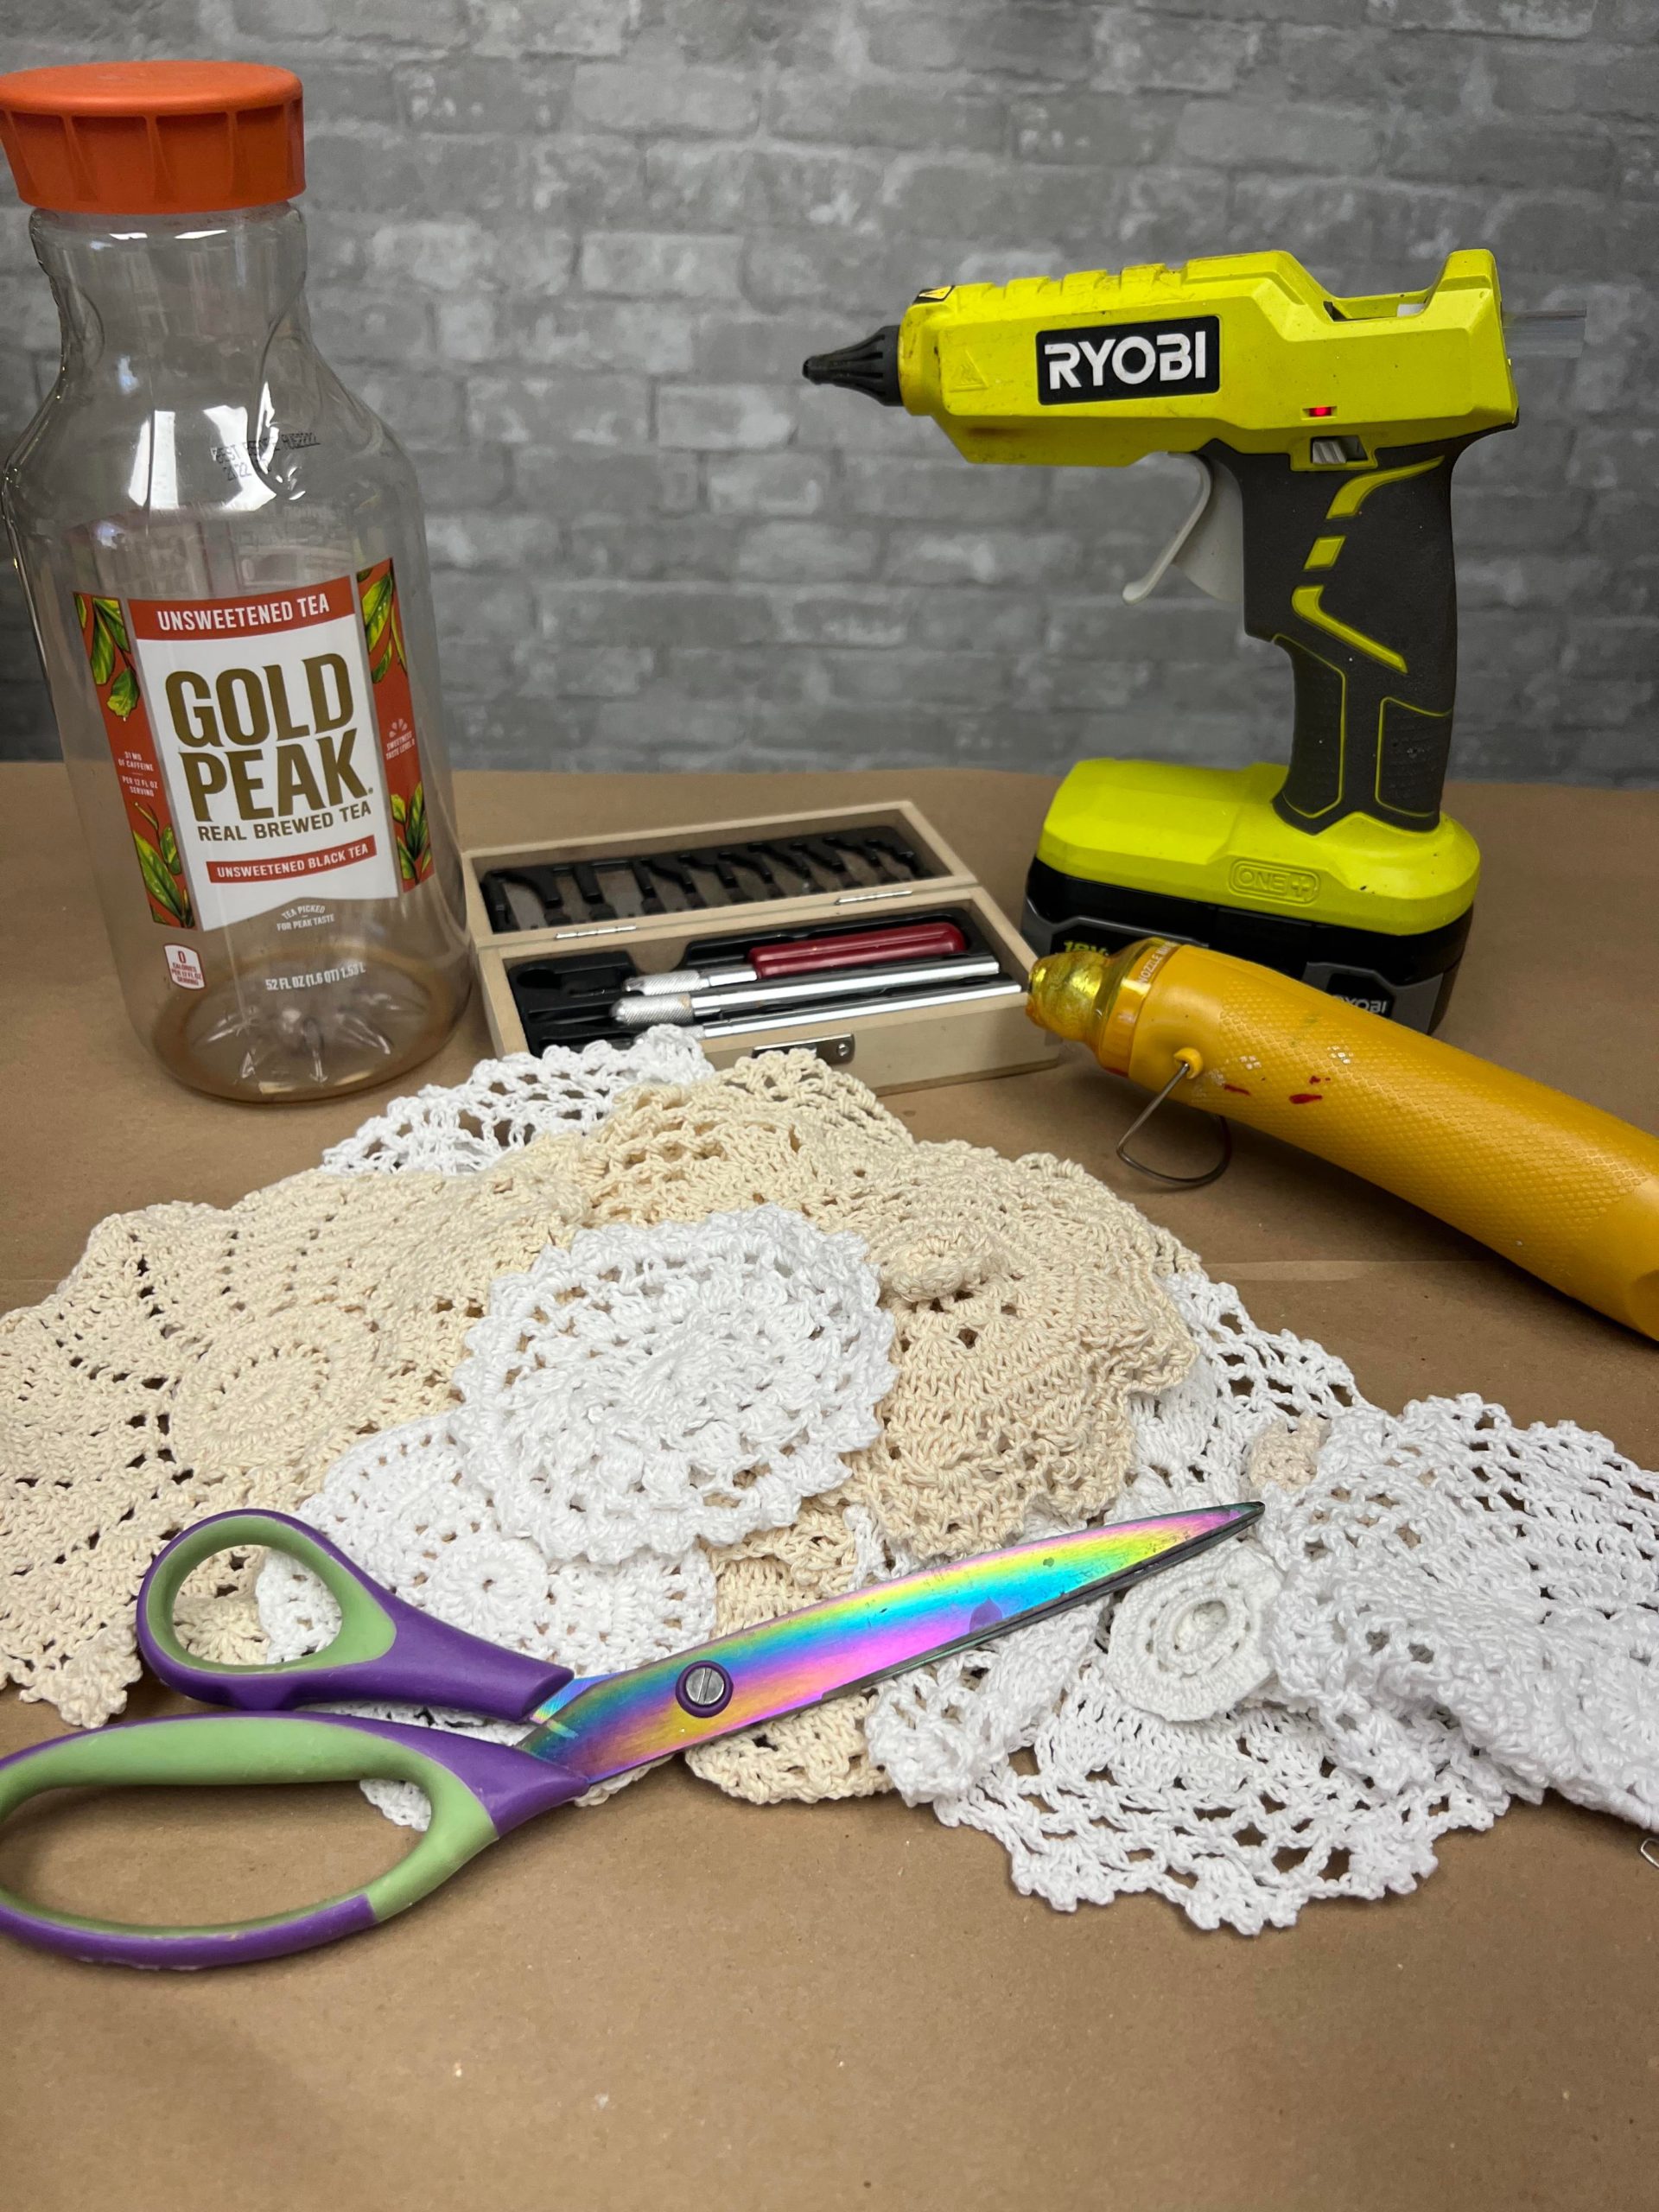
The Supplies that I’ll be using are:
1. Total of 14 doilies and you will see the sizes down below.
2. Hot glue
3. X-acto knife
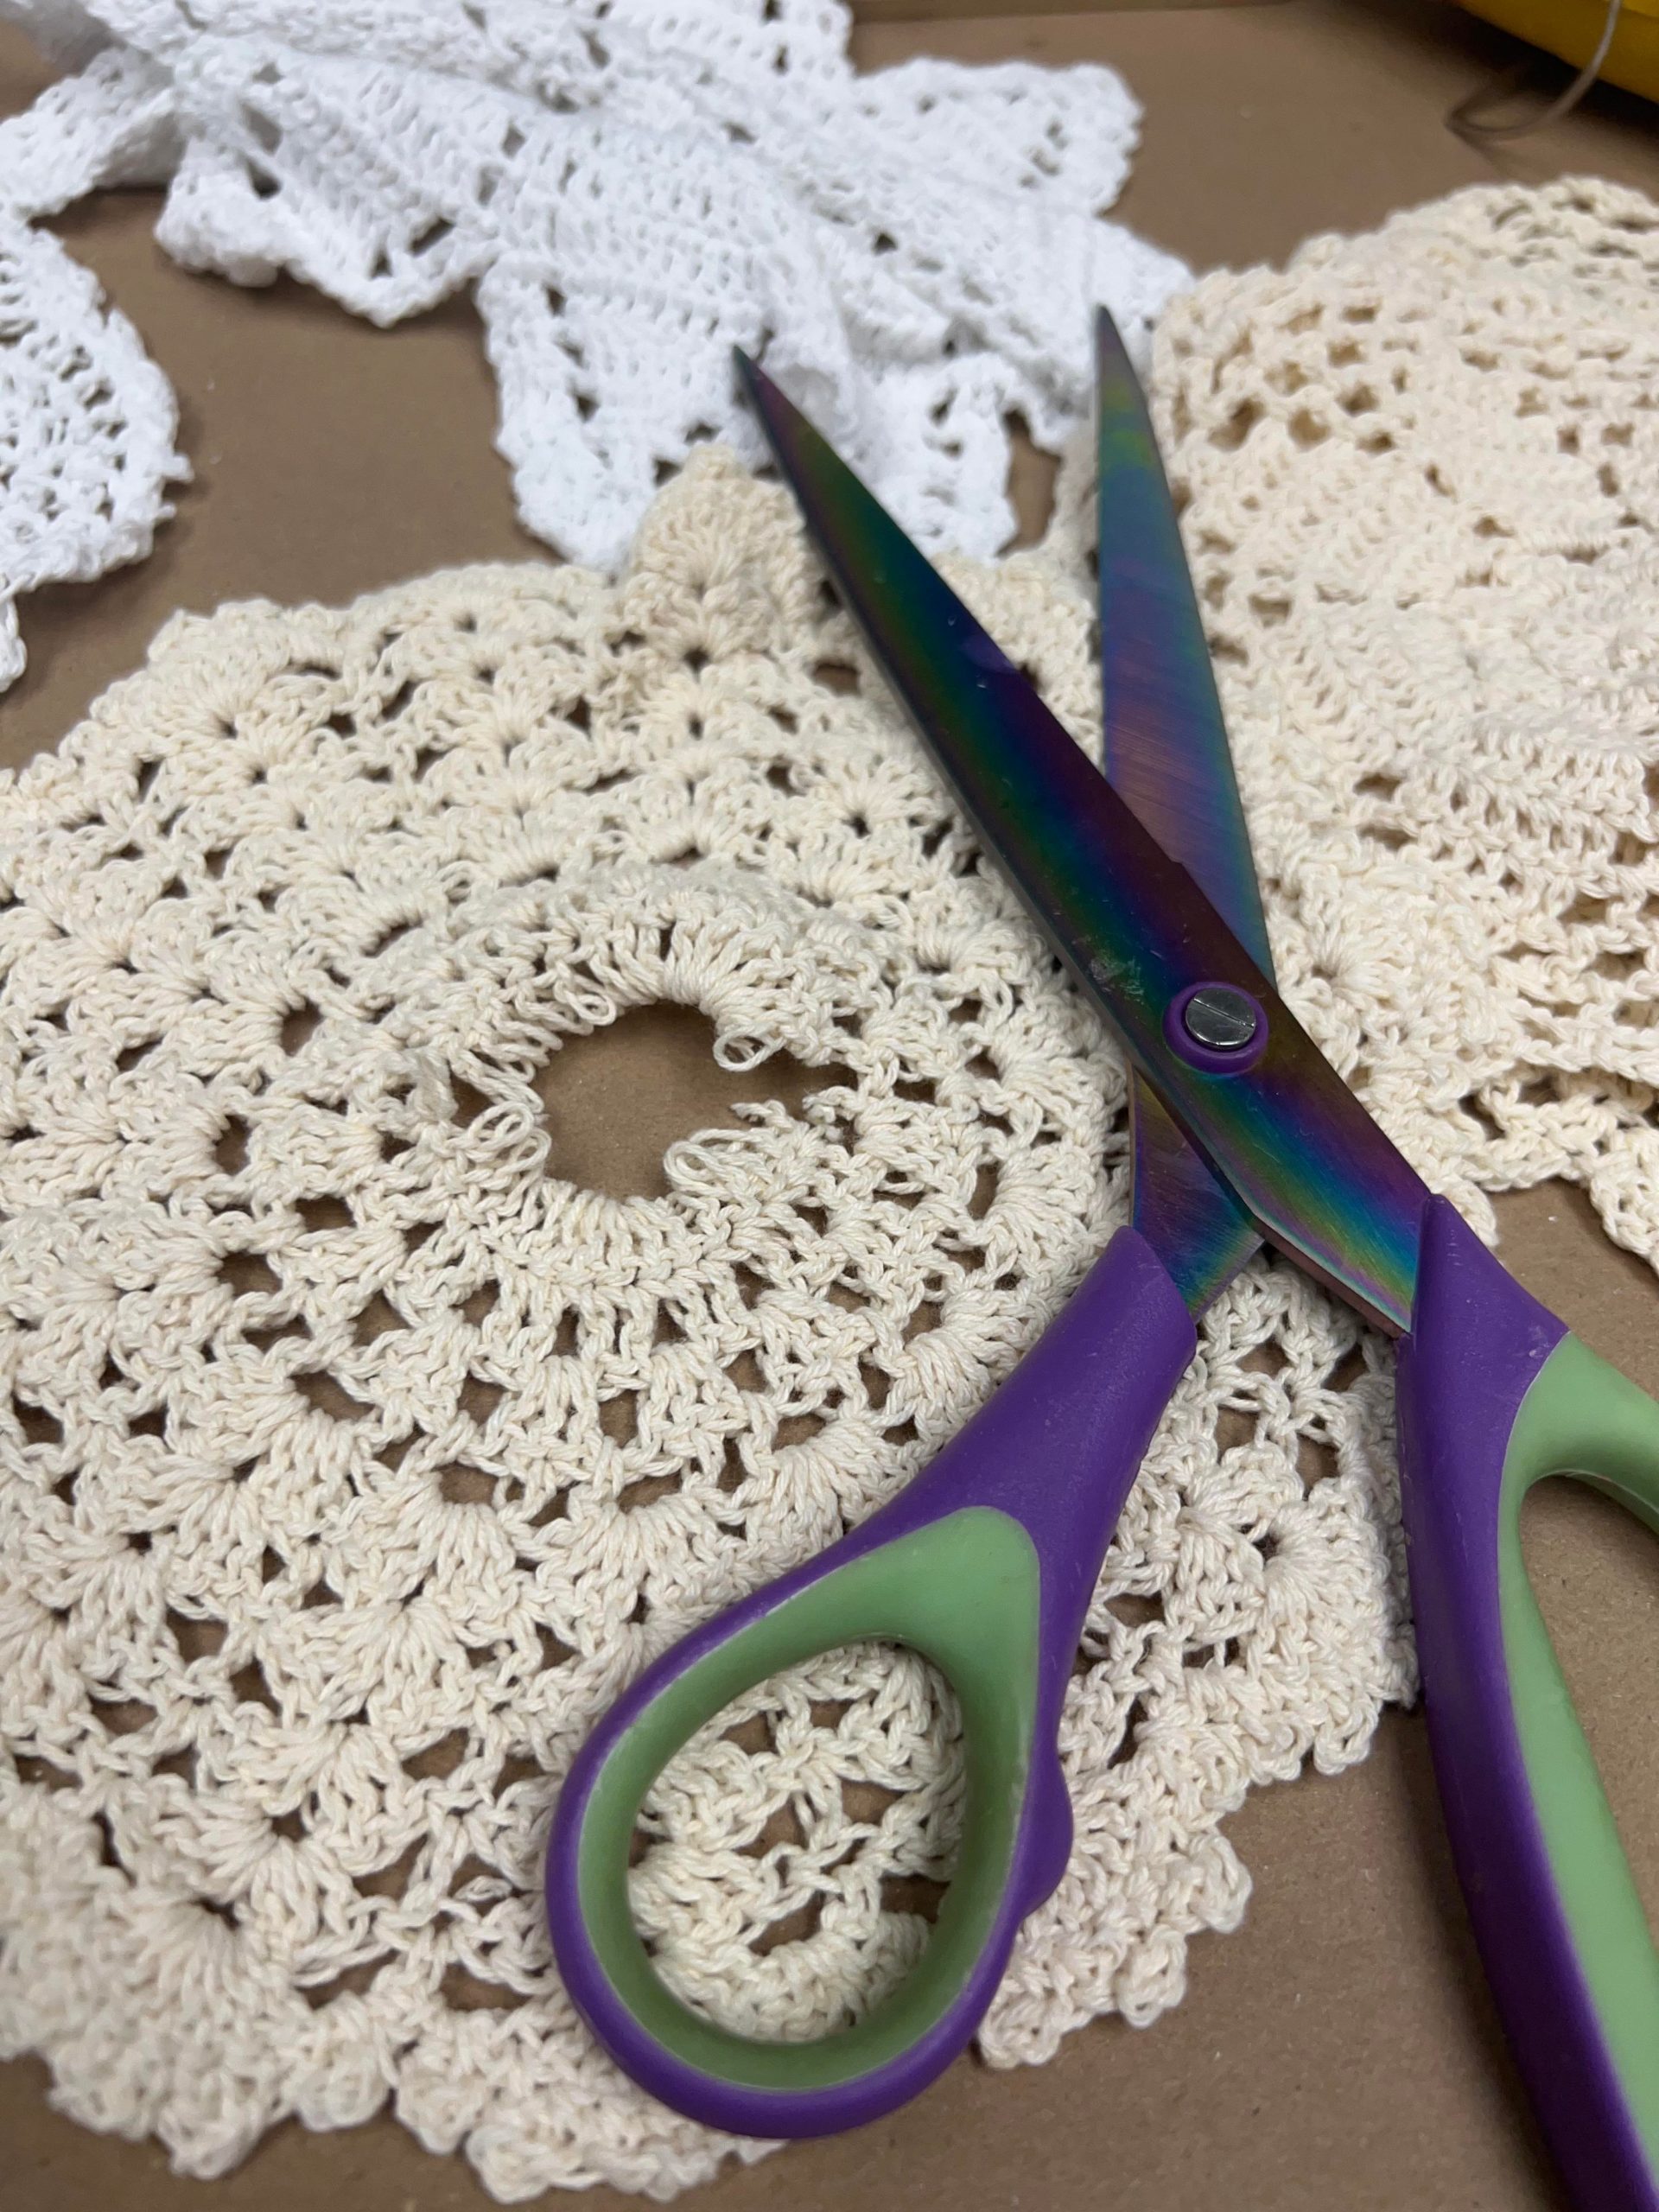
4. Scissors
5. Heat gun
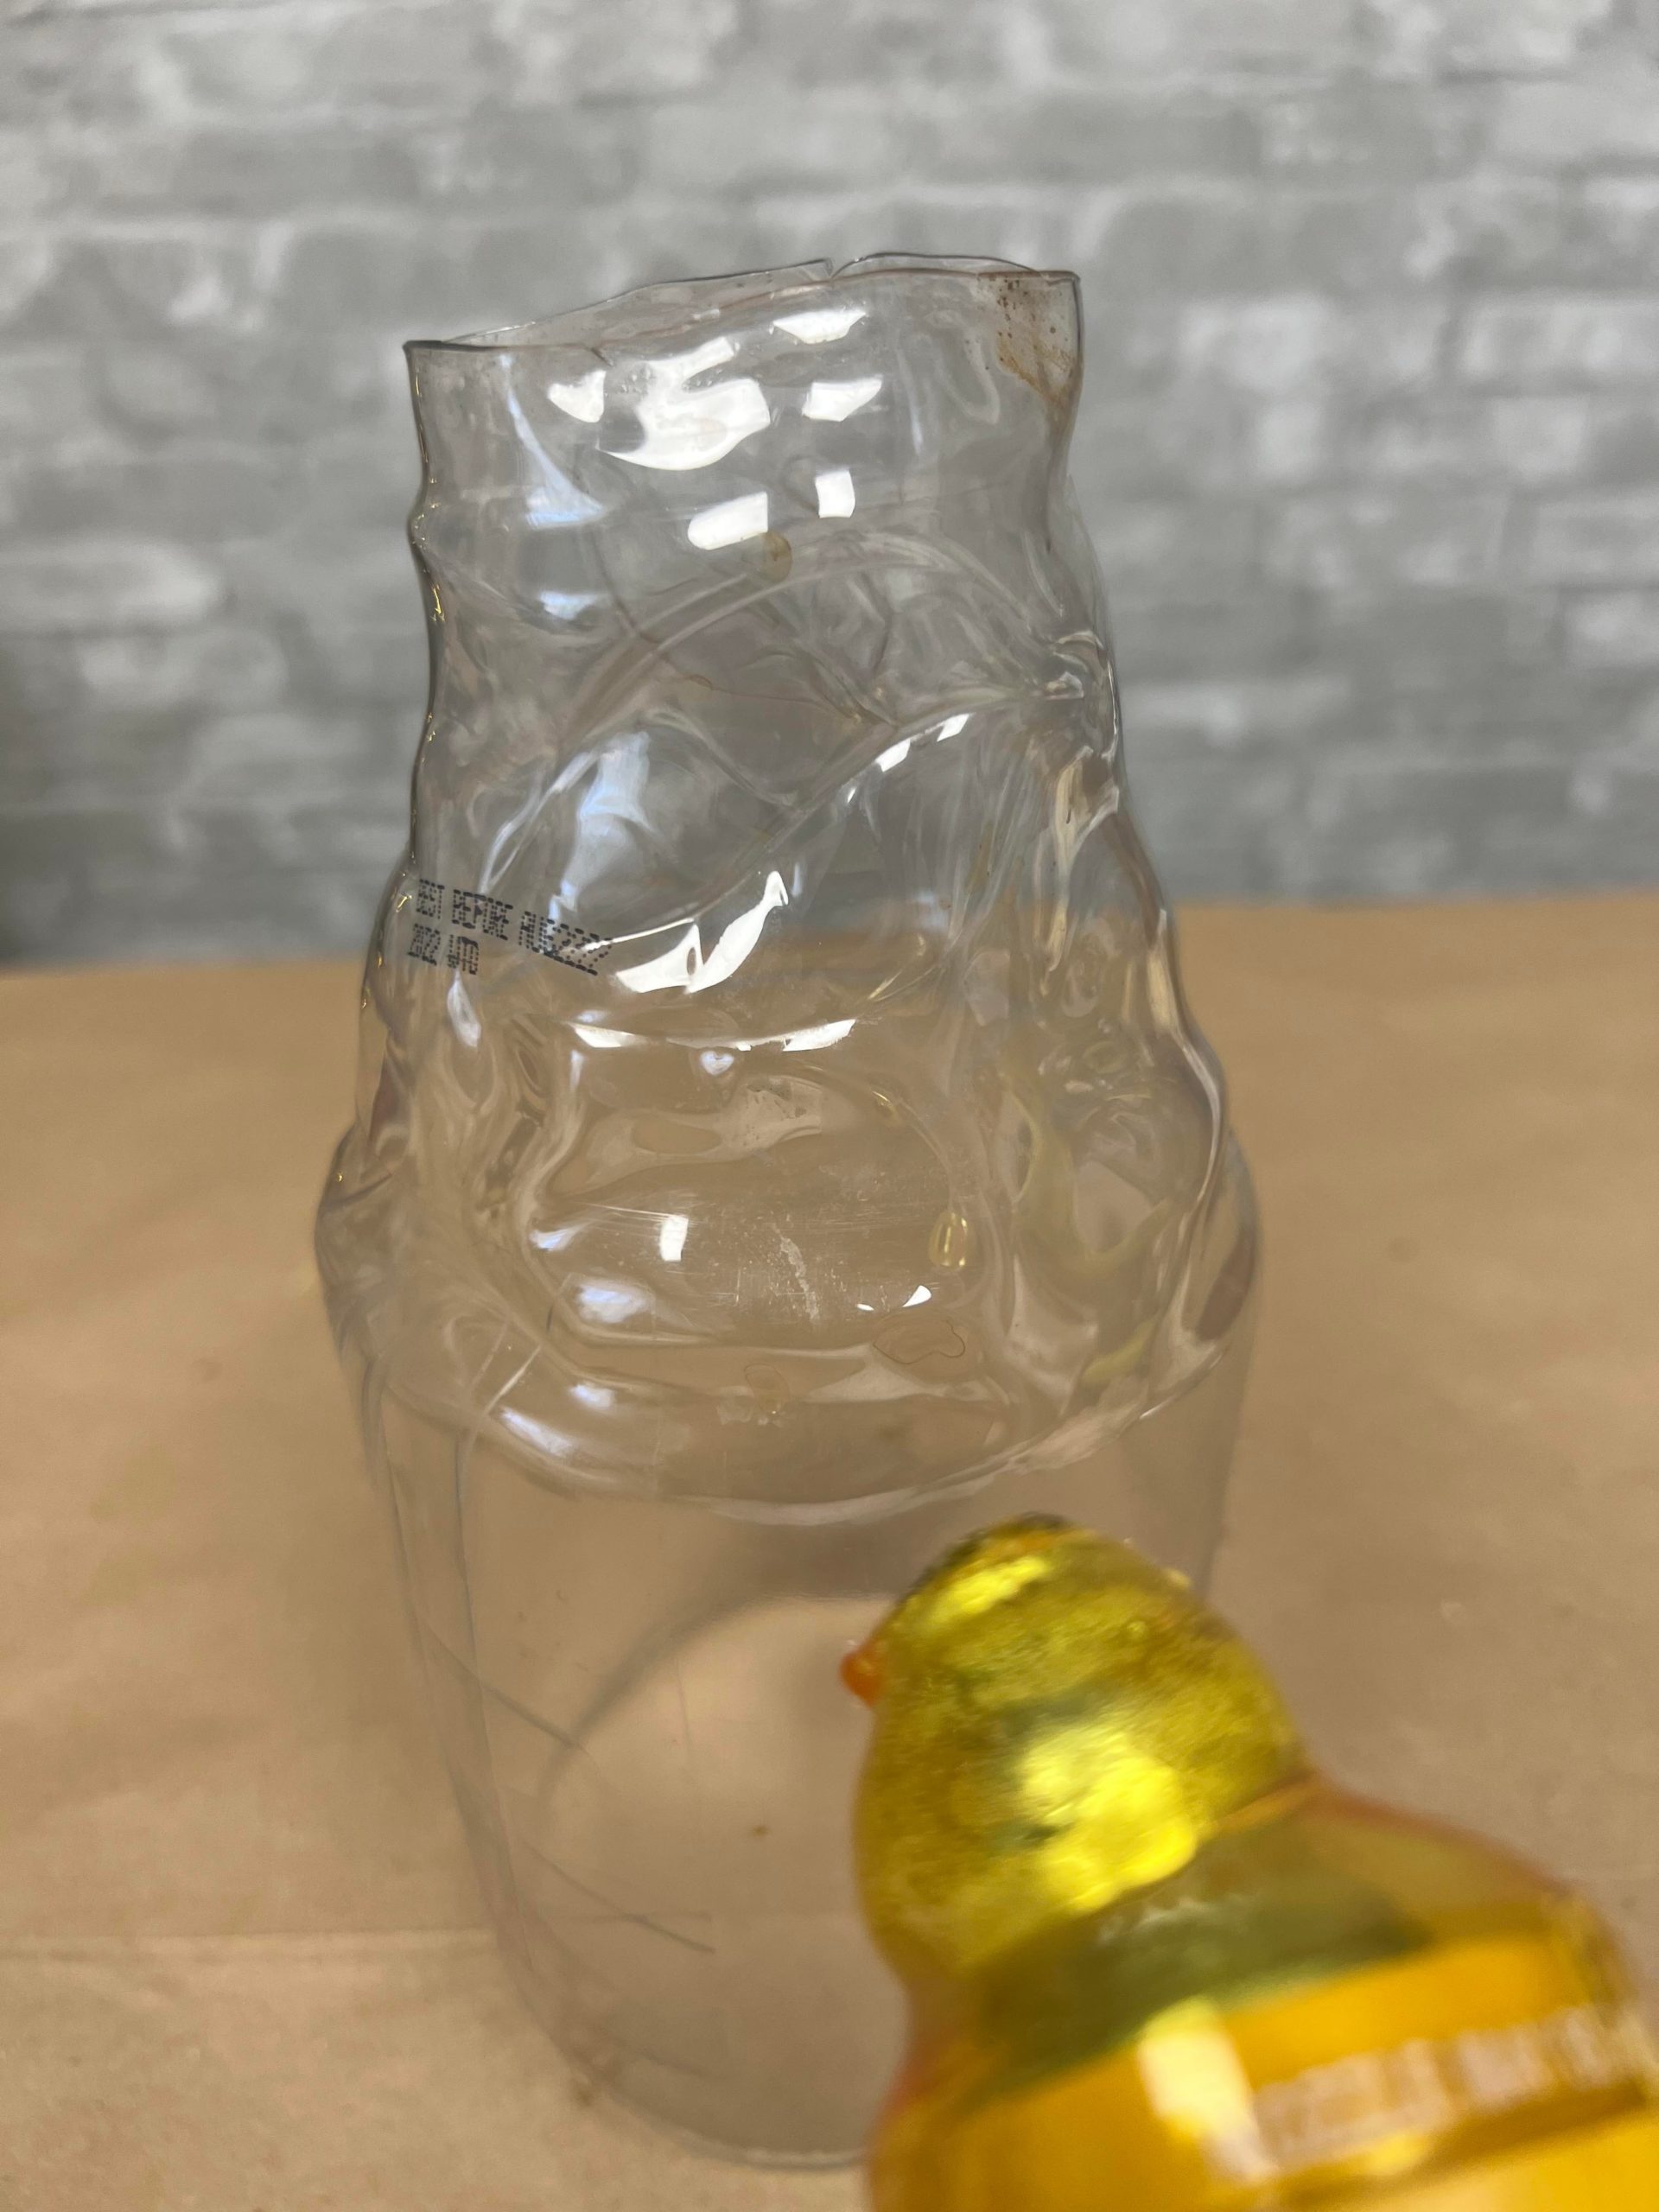
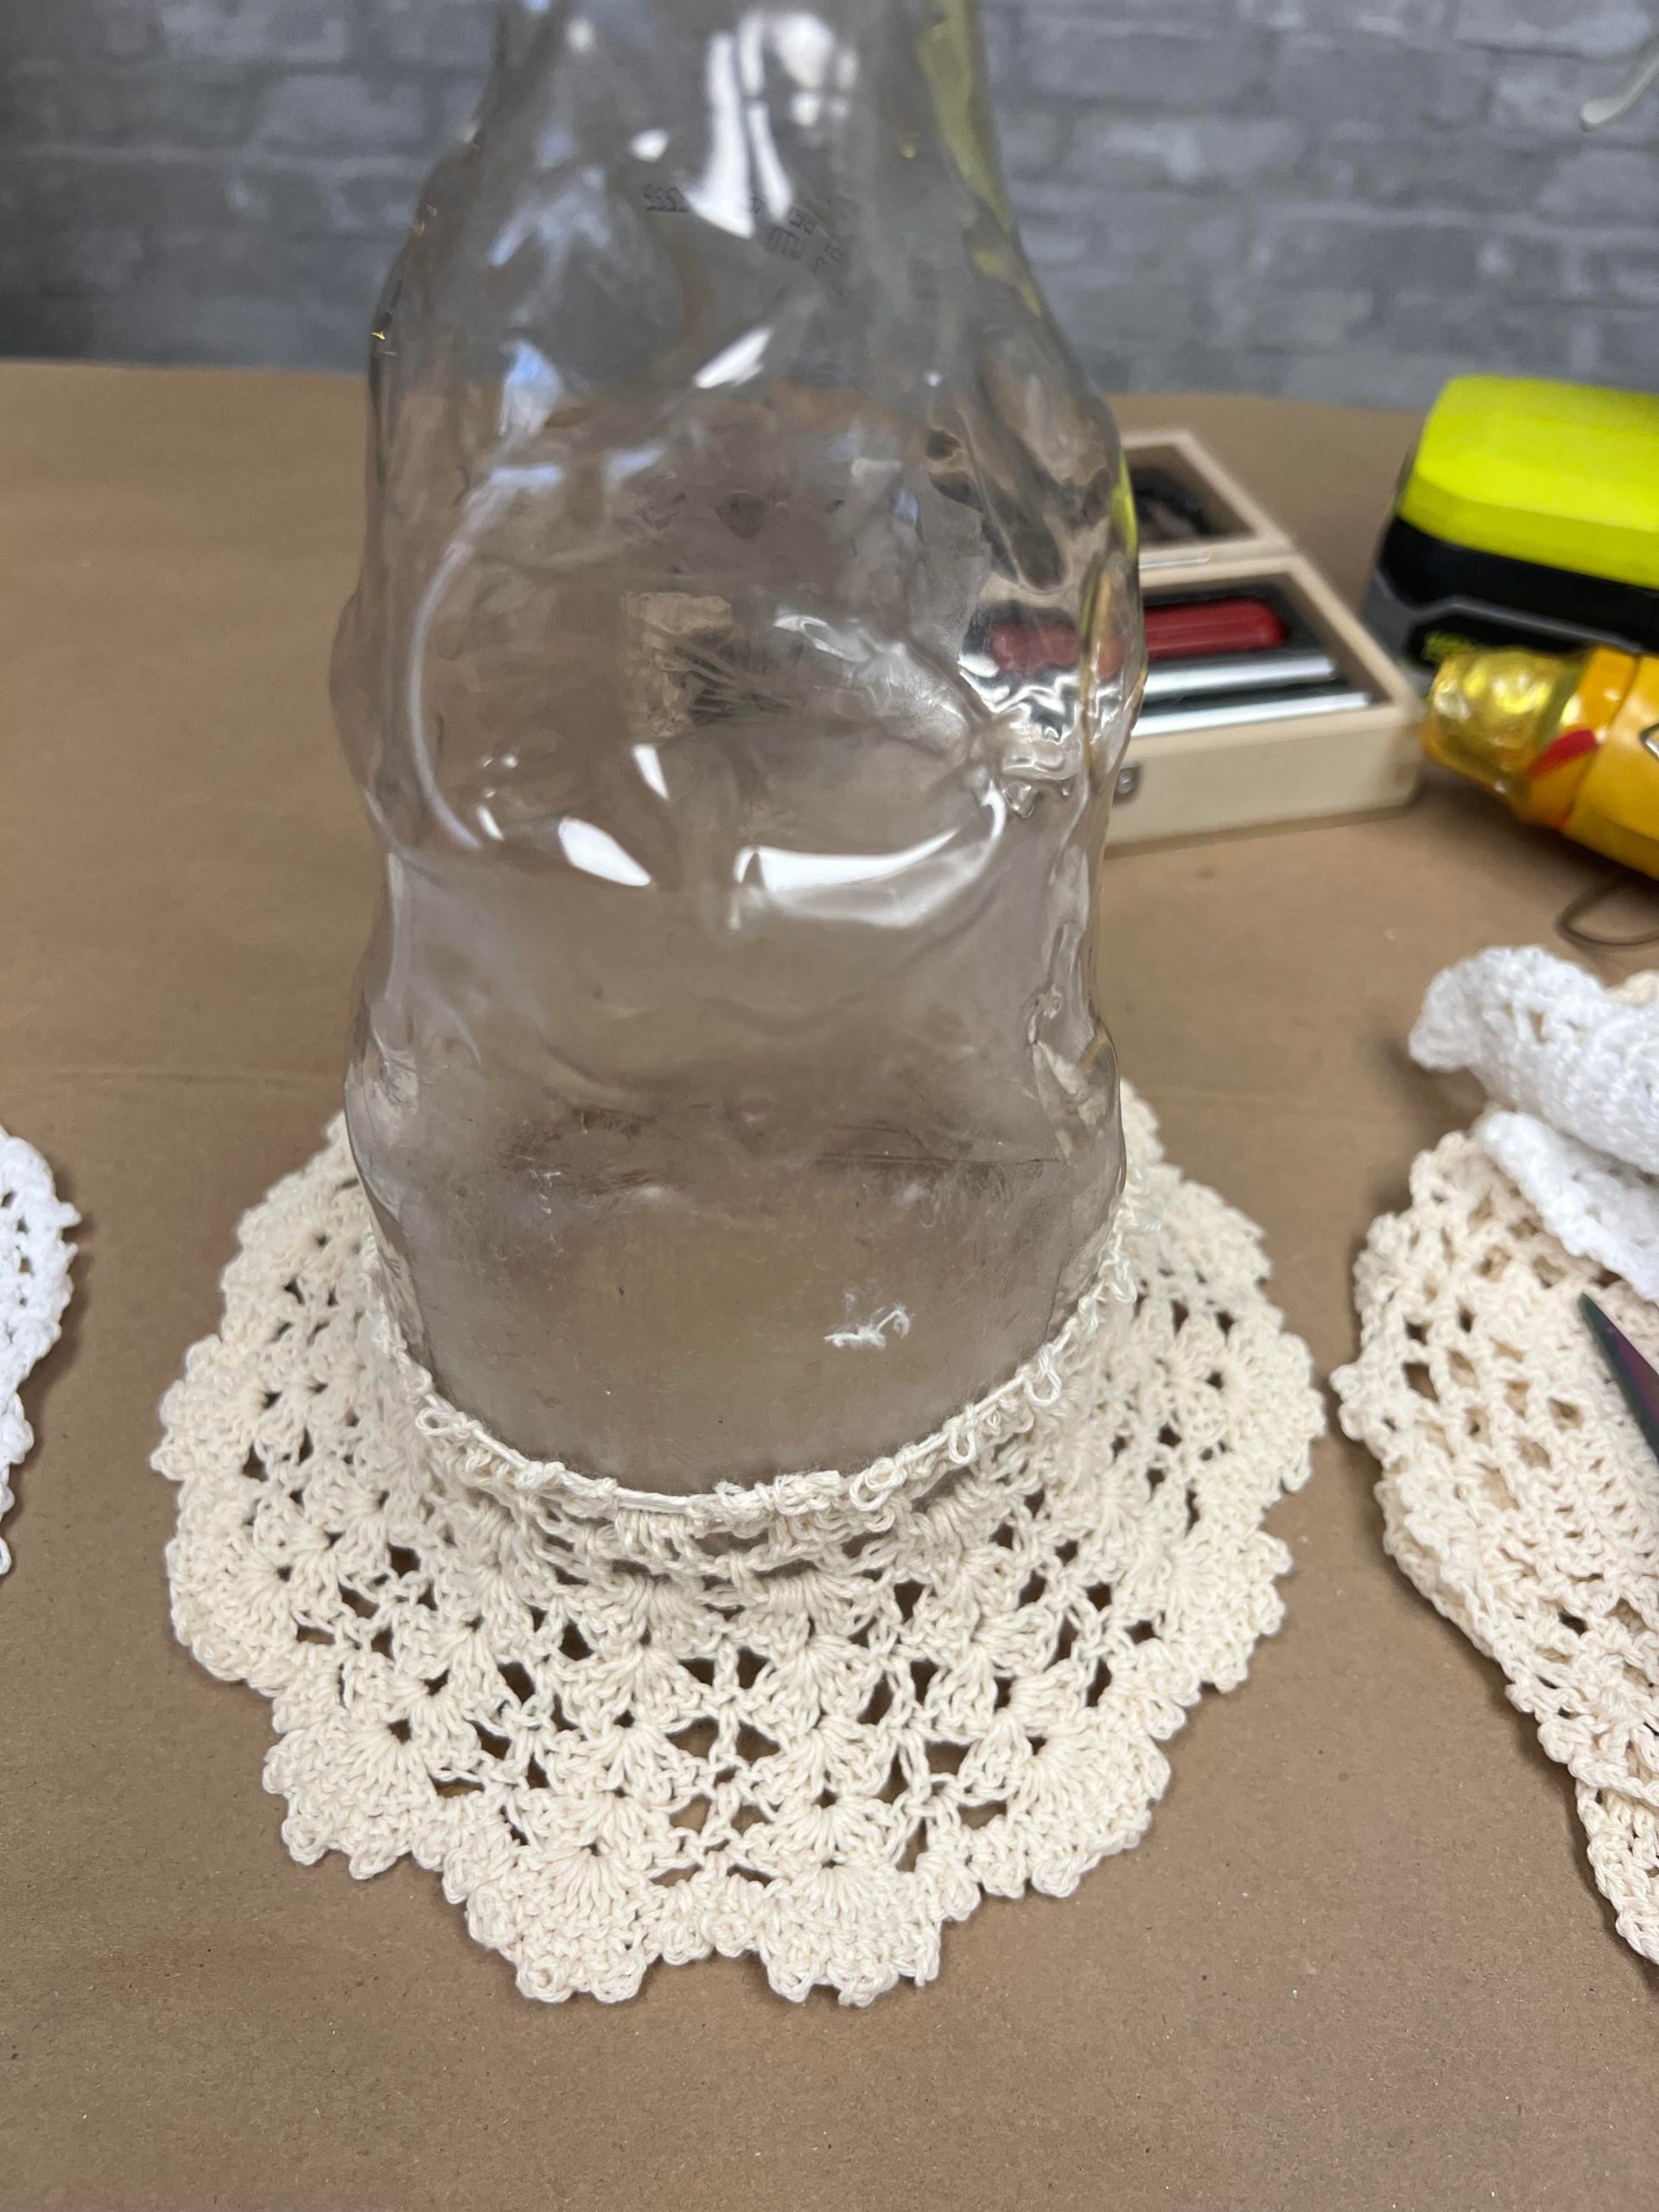
6. One 52oz recycled Gold Peak tea container

The first step is to use the cut the top and bottom of the container off.
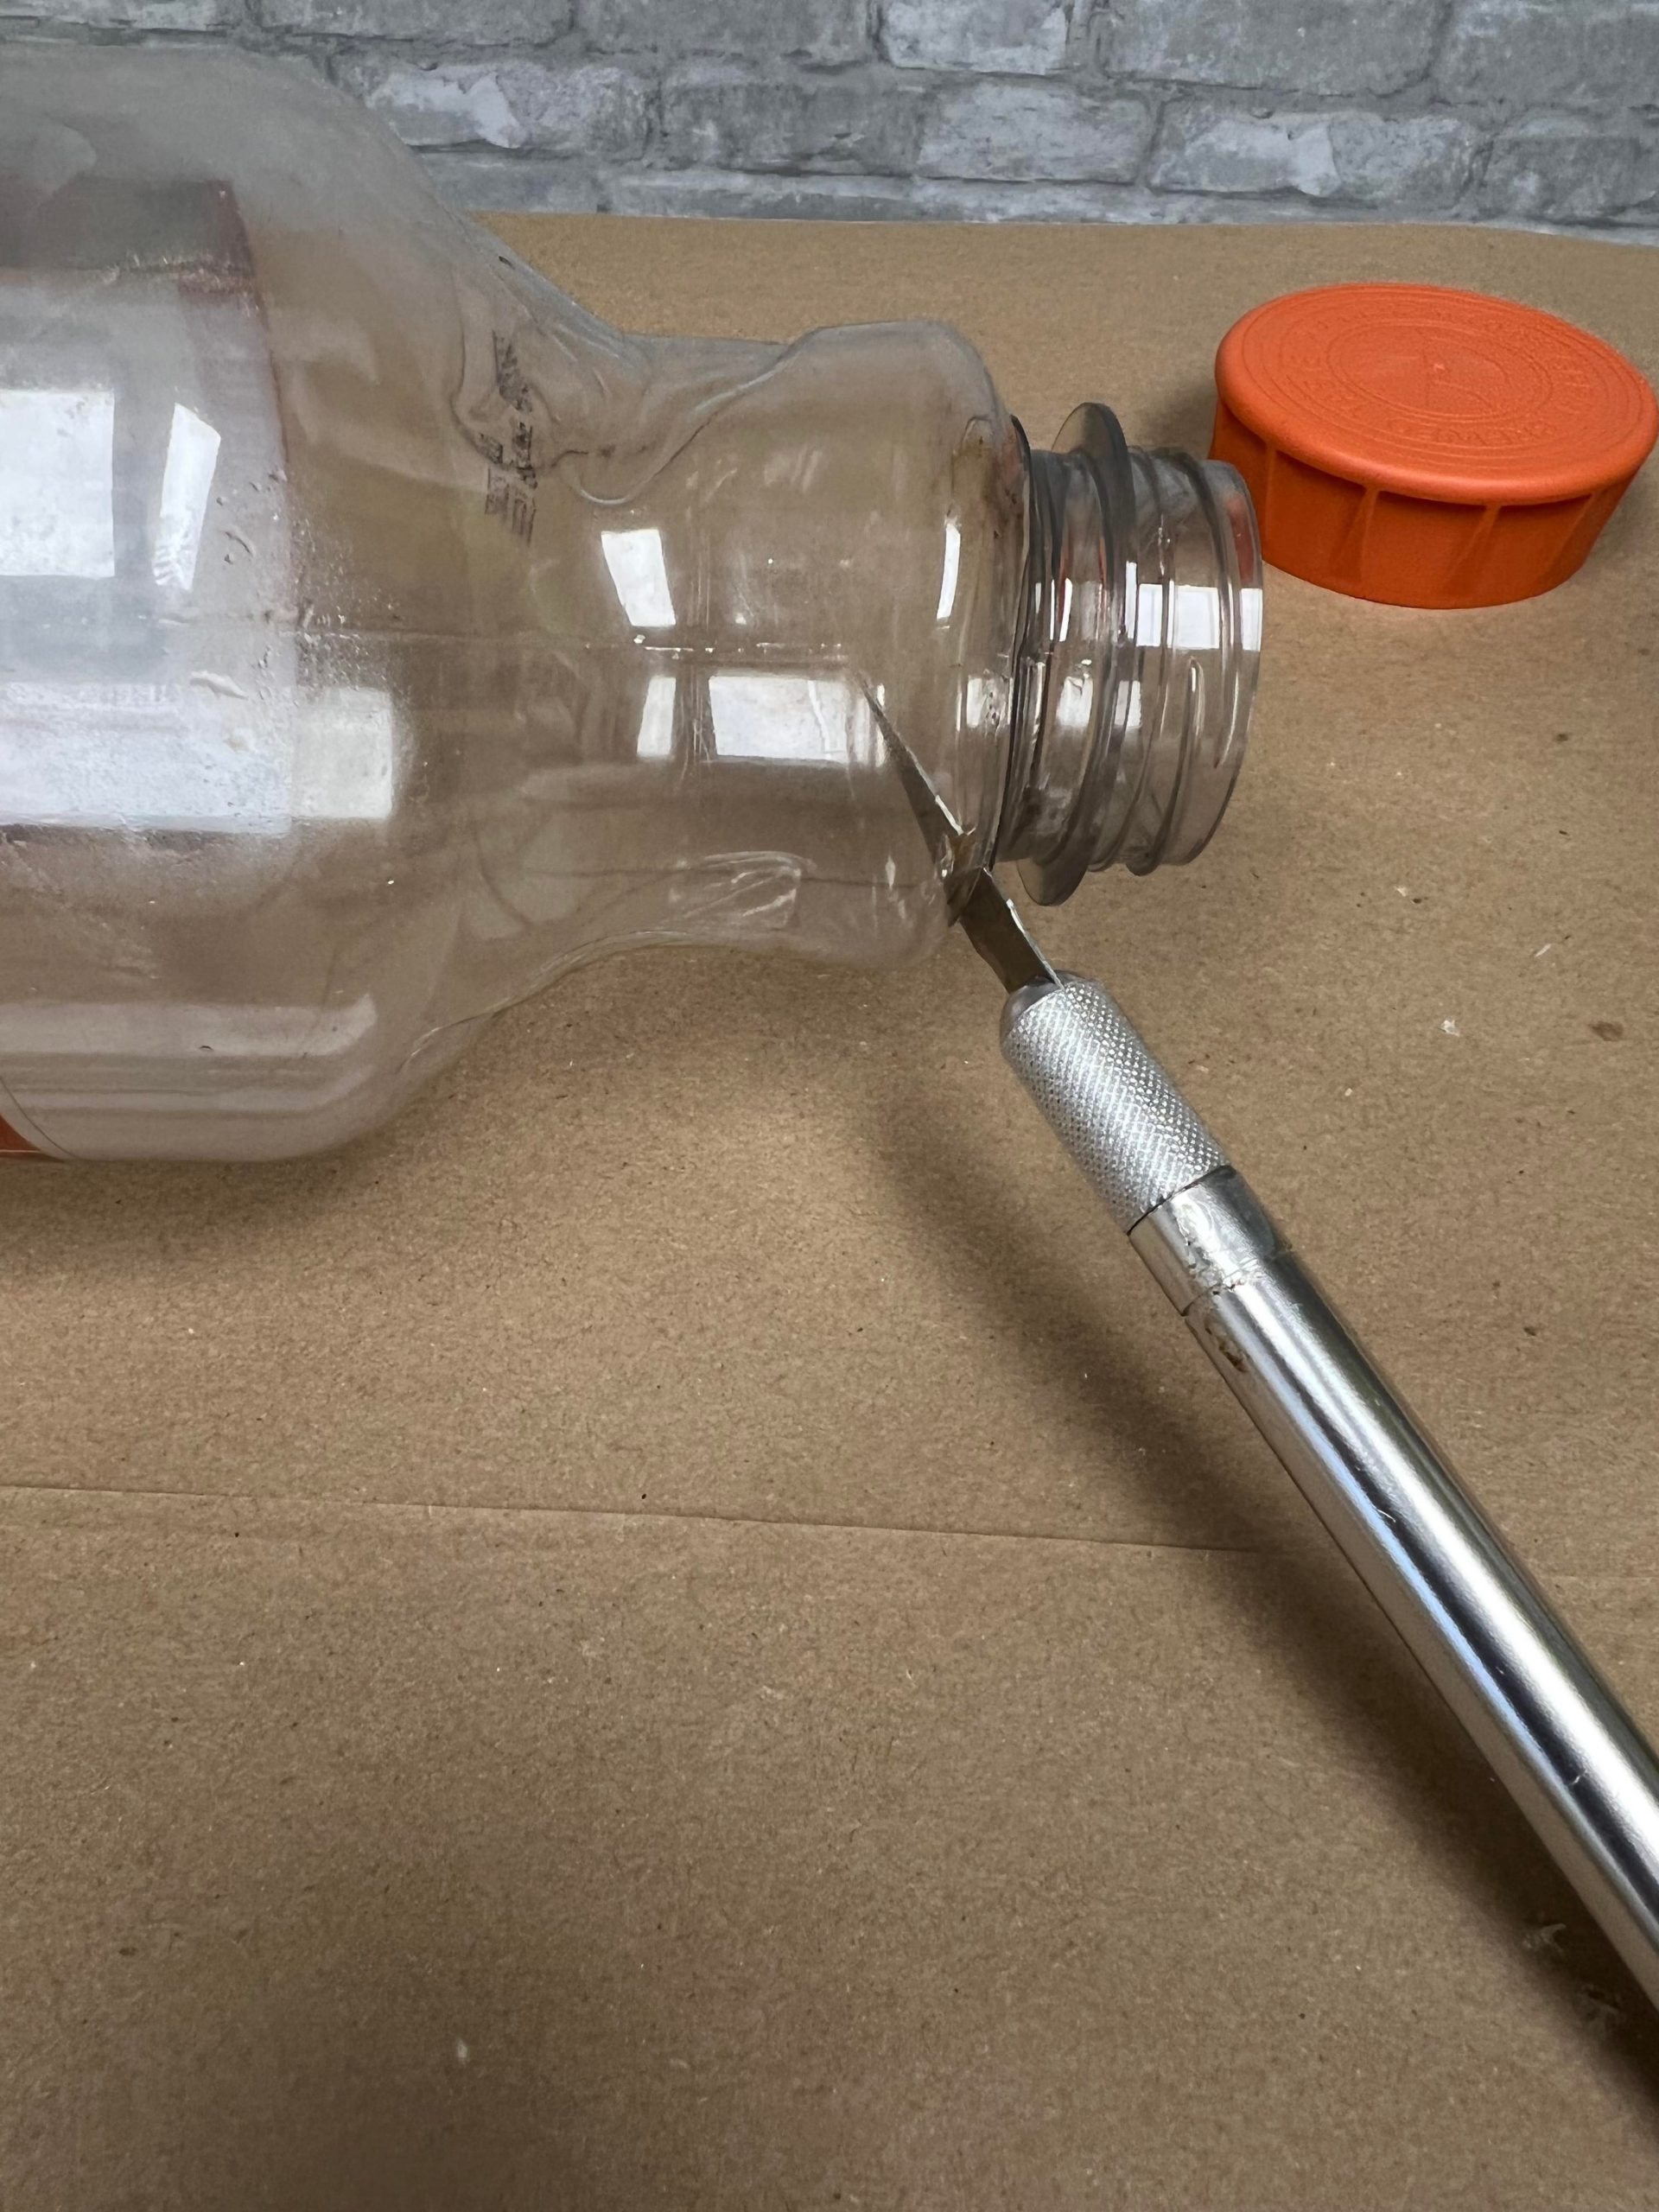
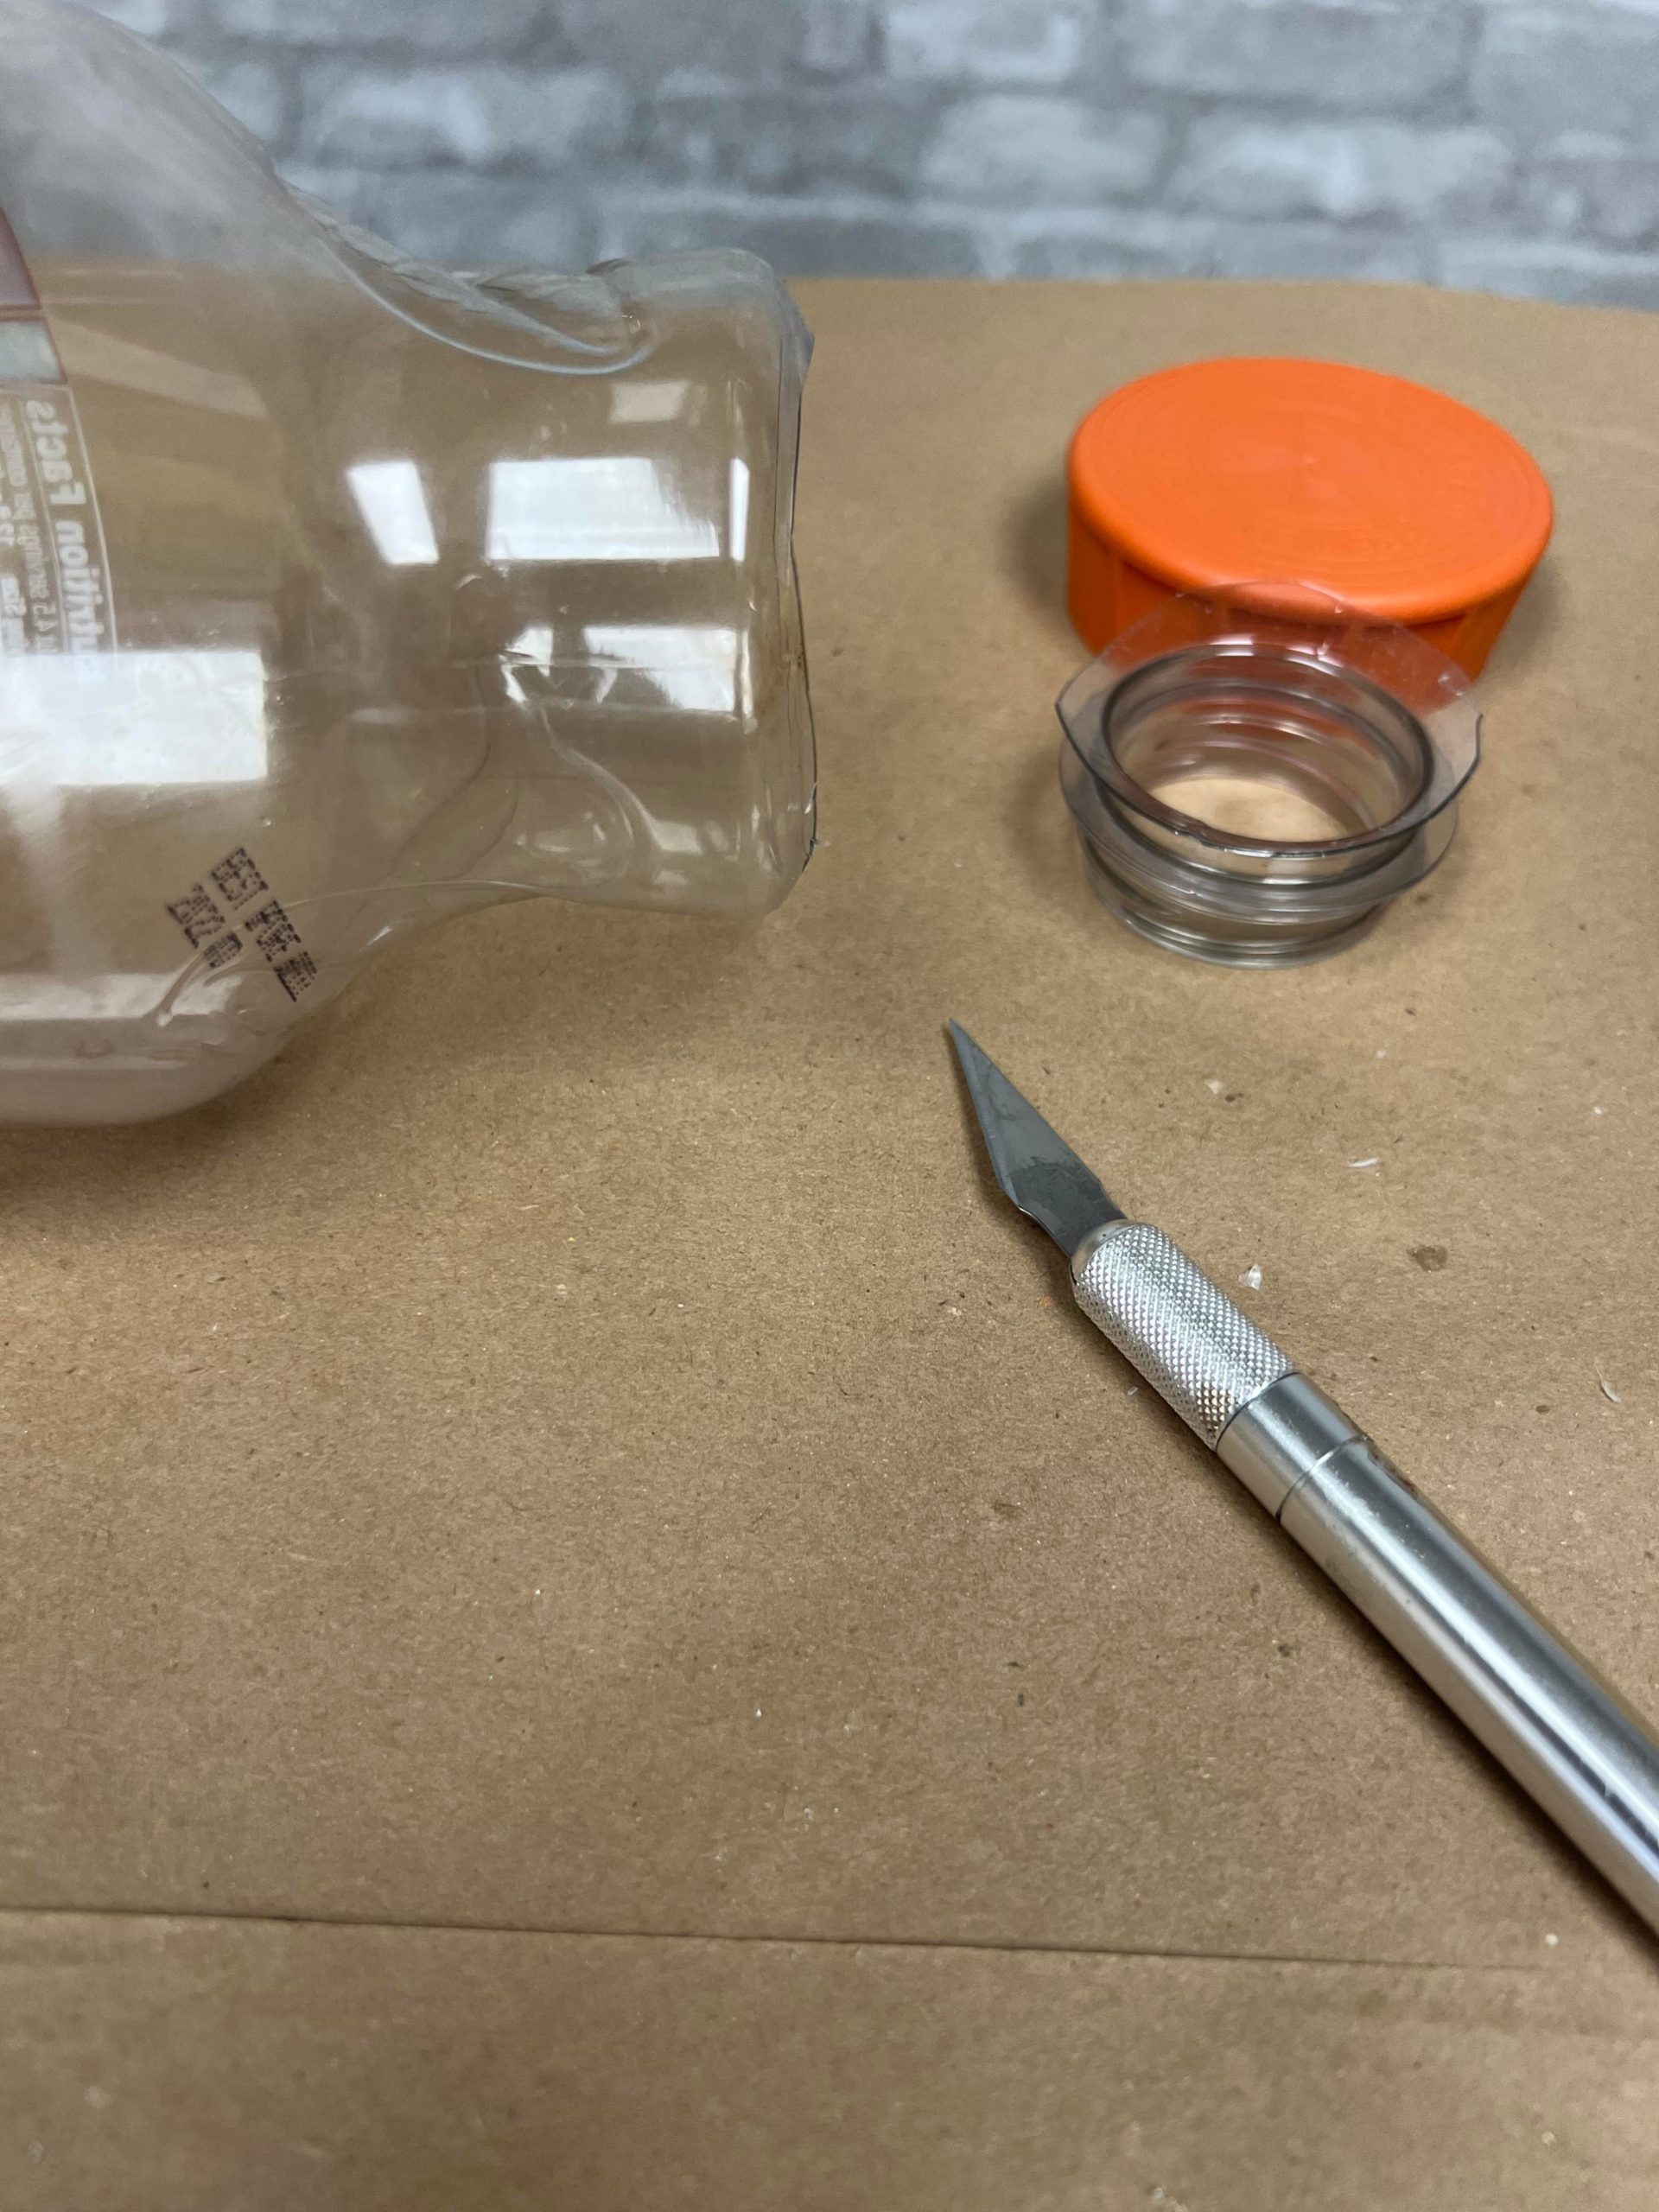
This is very easy to do with an x-acto knife.

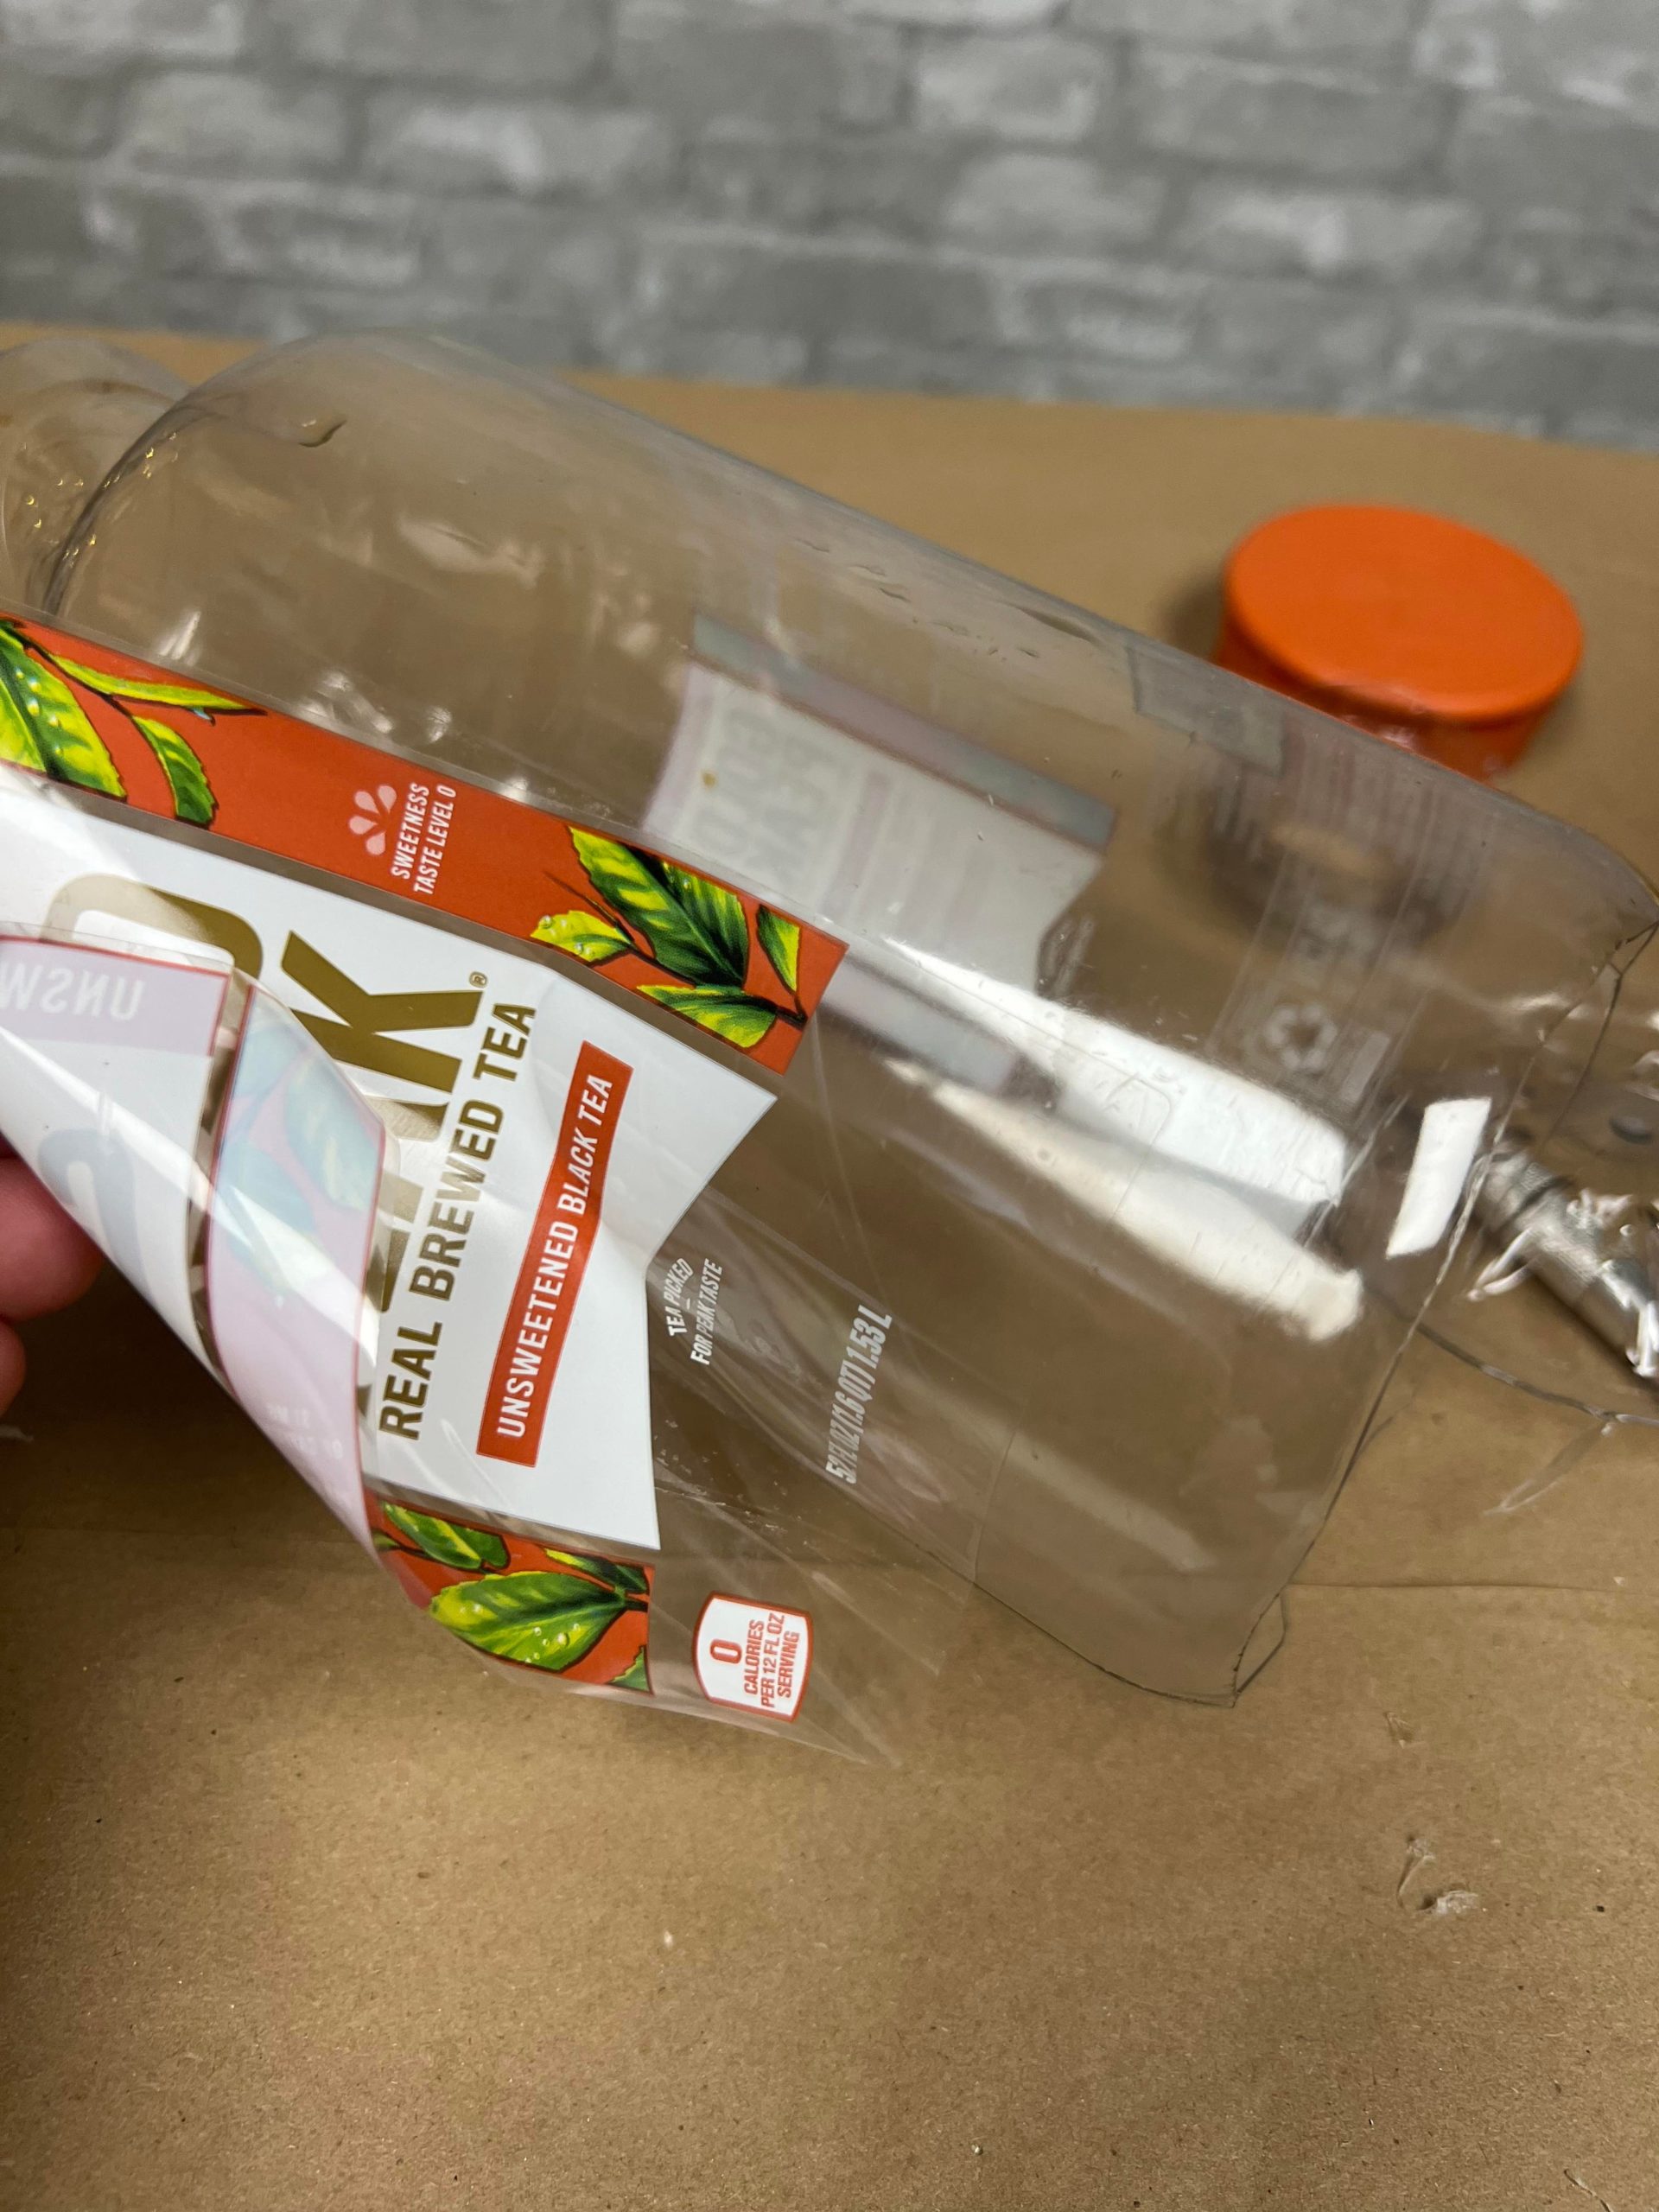
Once you have the top and bottom off then remove the labels.
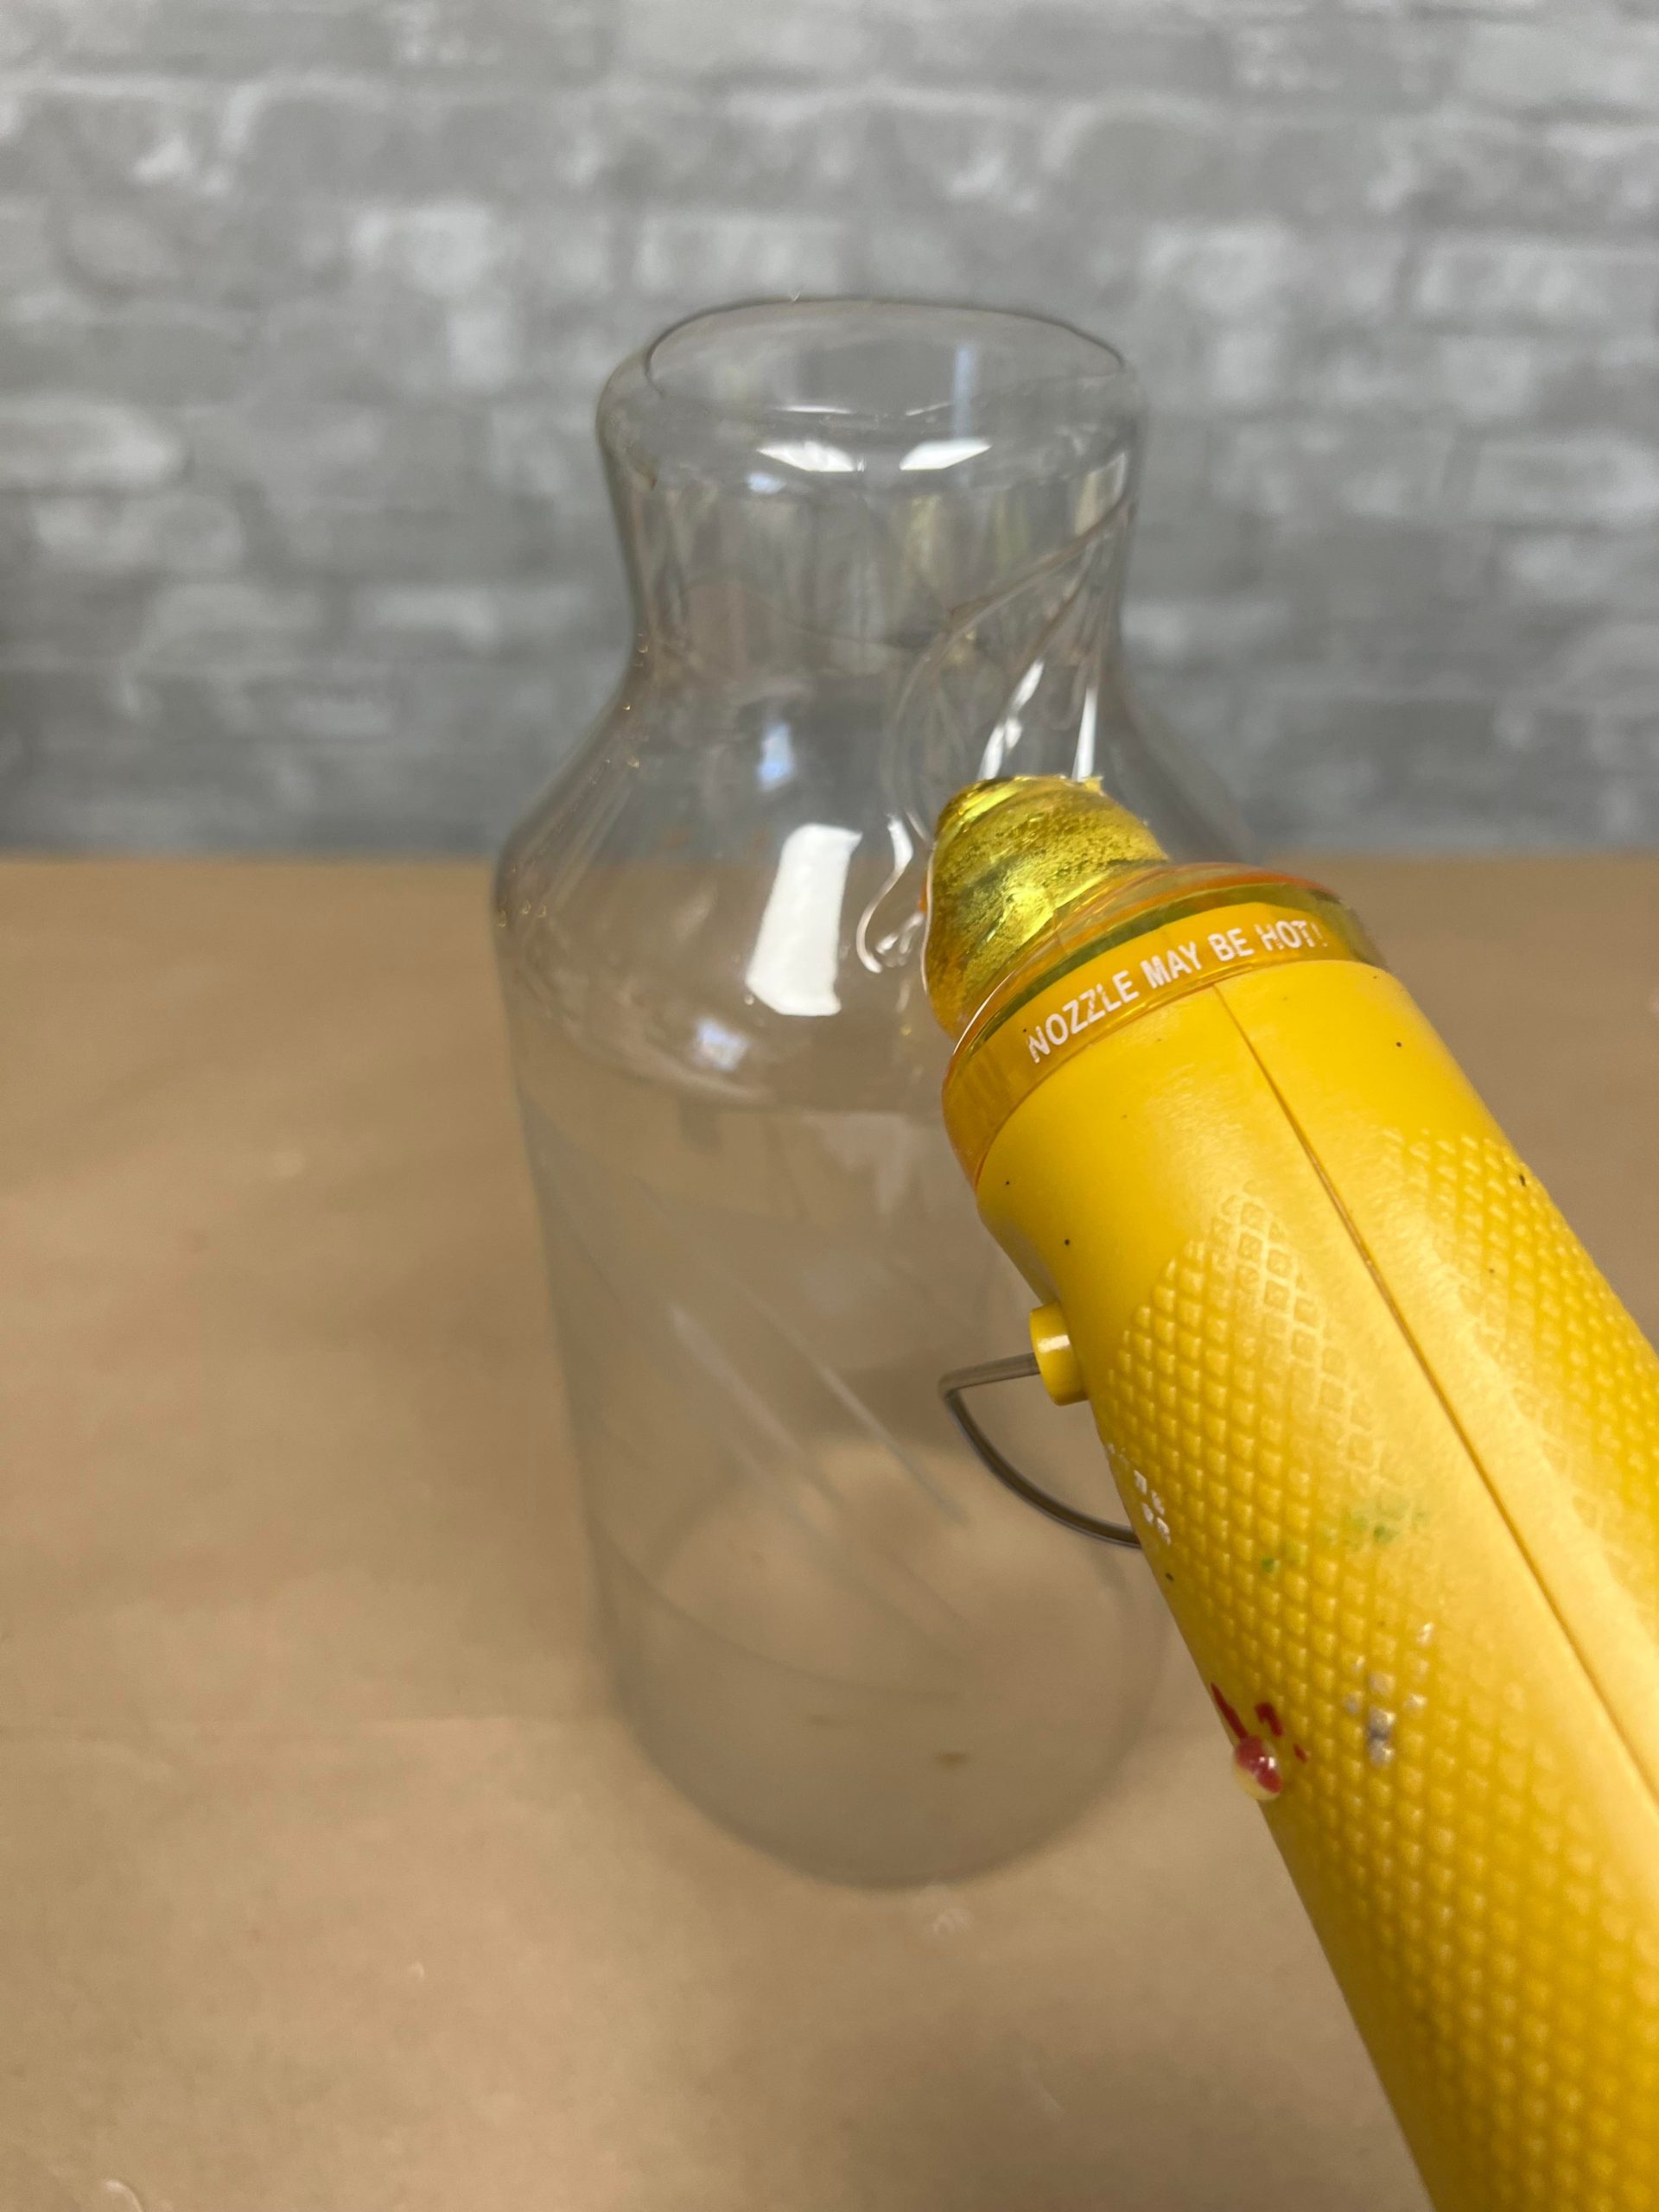
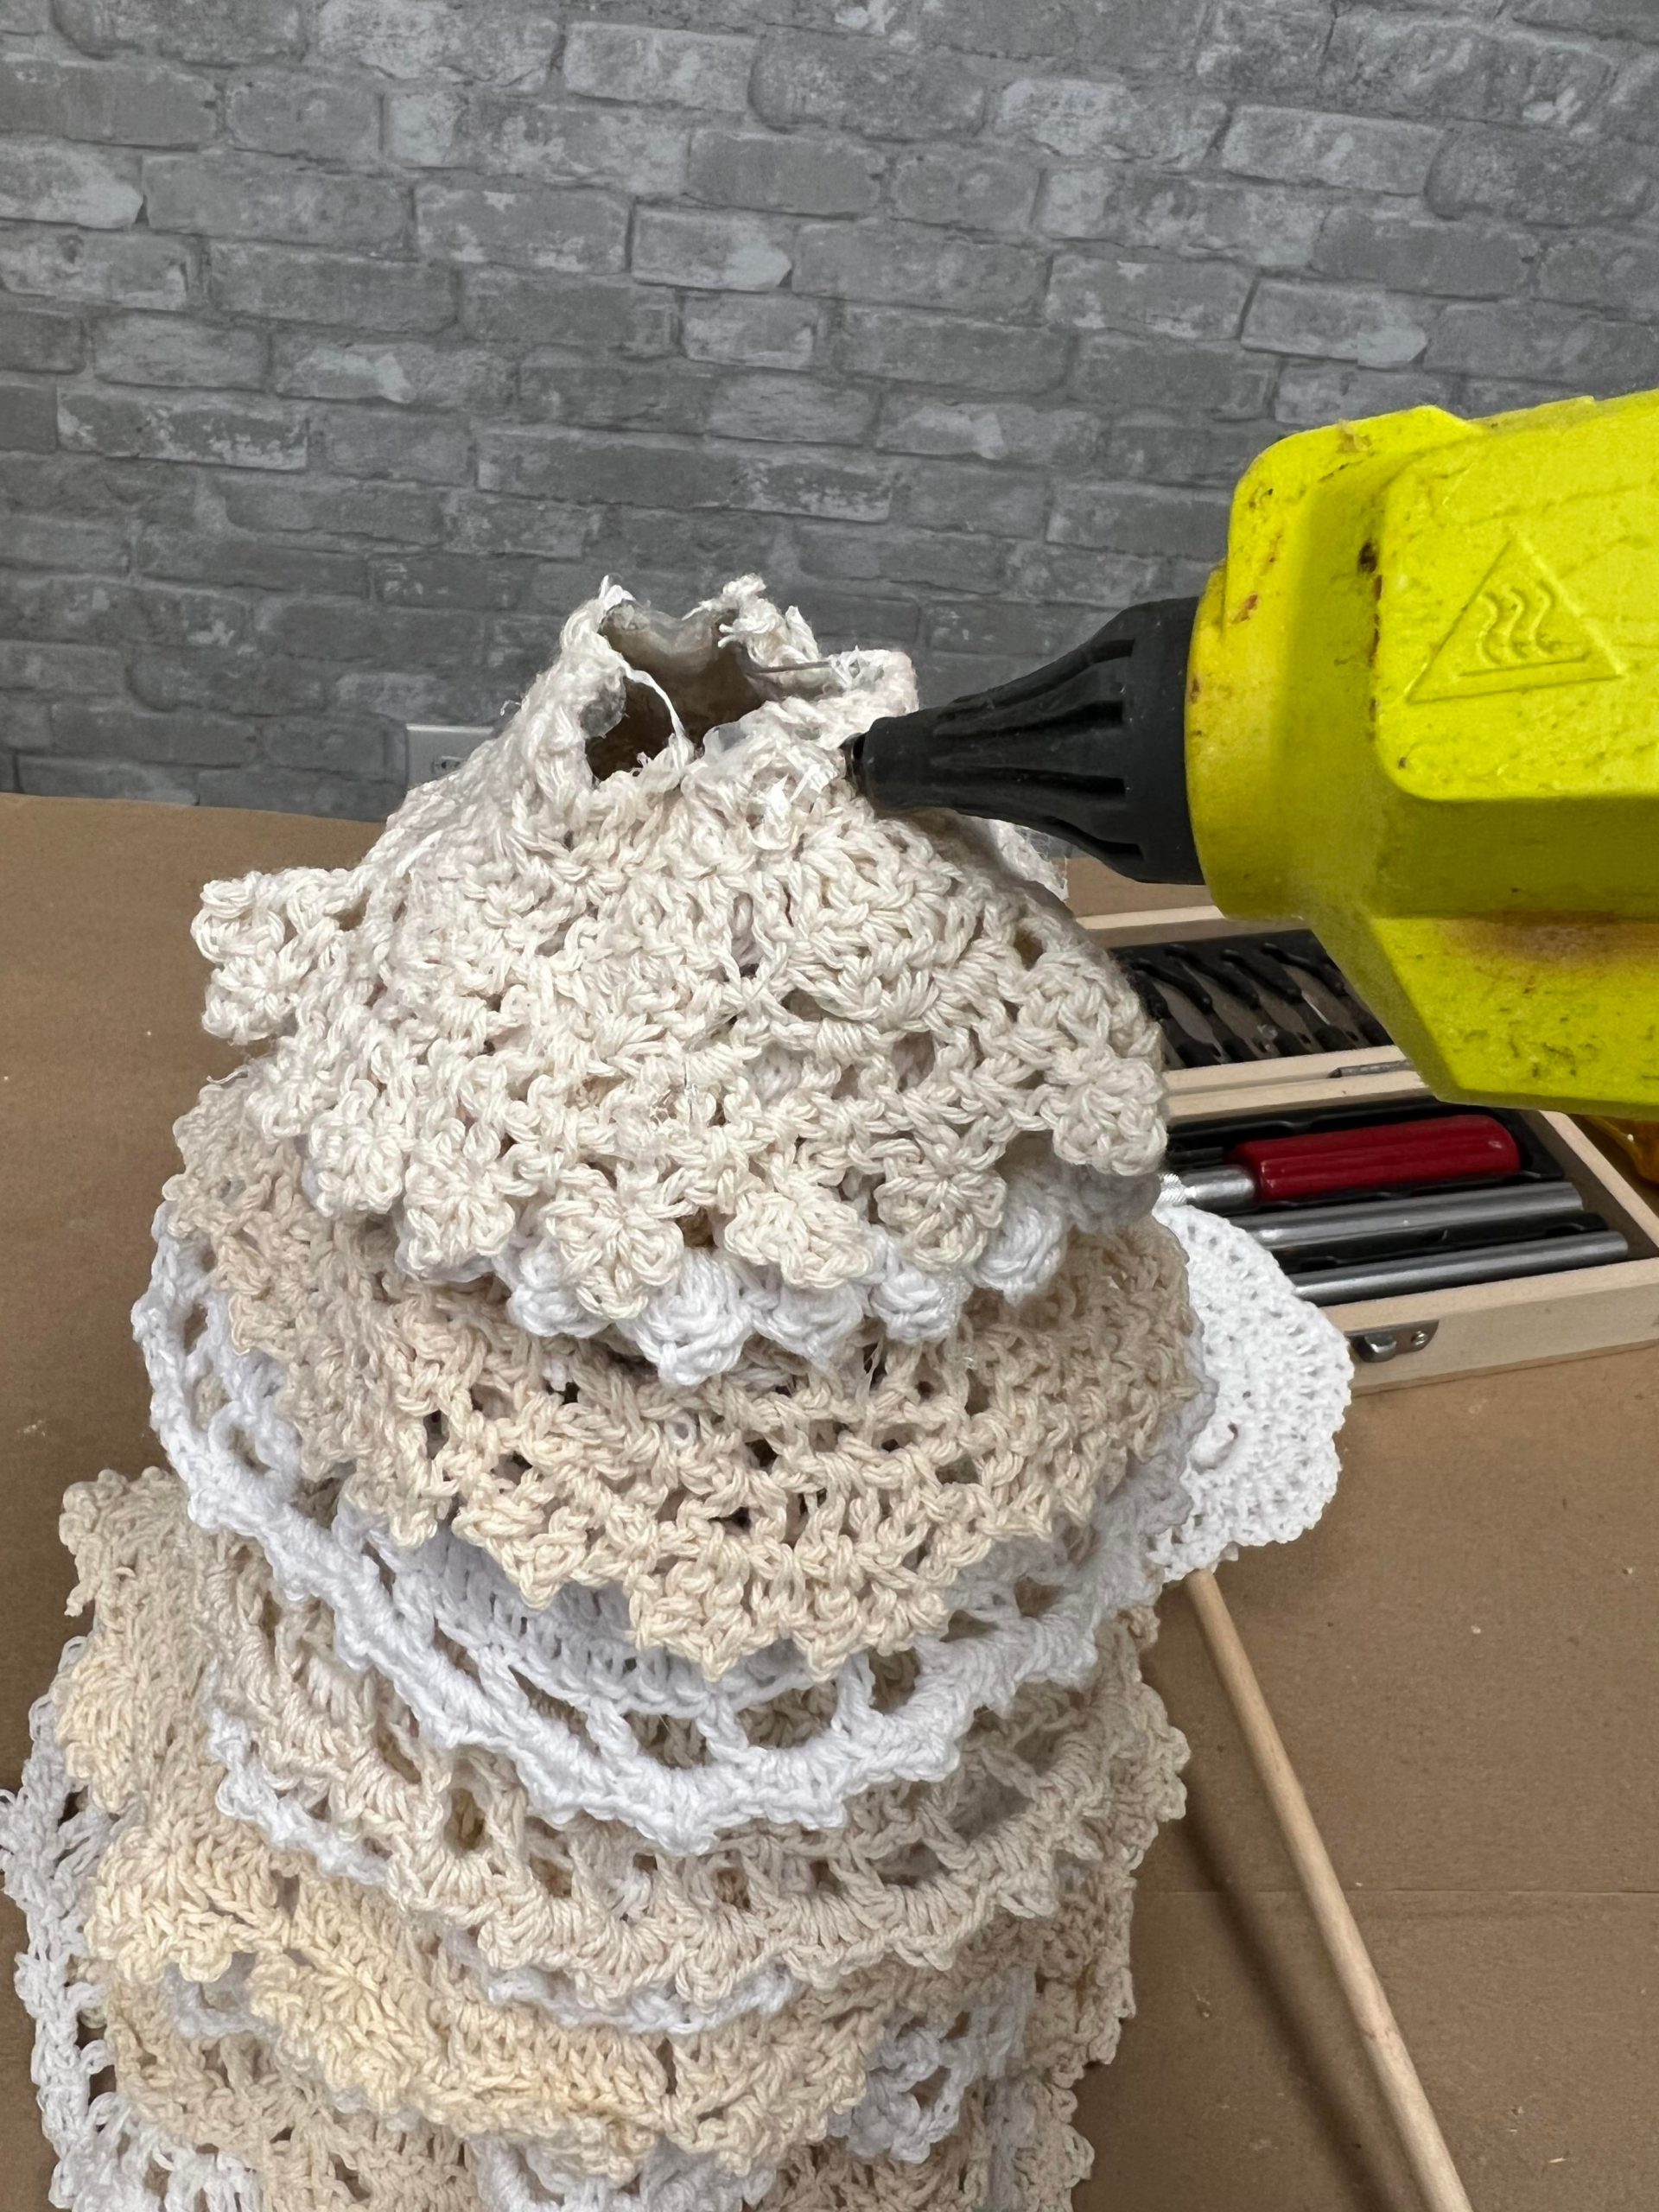
You will want to use the heat gun to melt the container to form a cone shape.
This is very easy to do but you just have to take time to see how you want to form your cone shape.
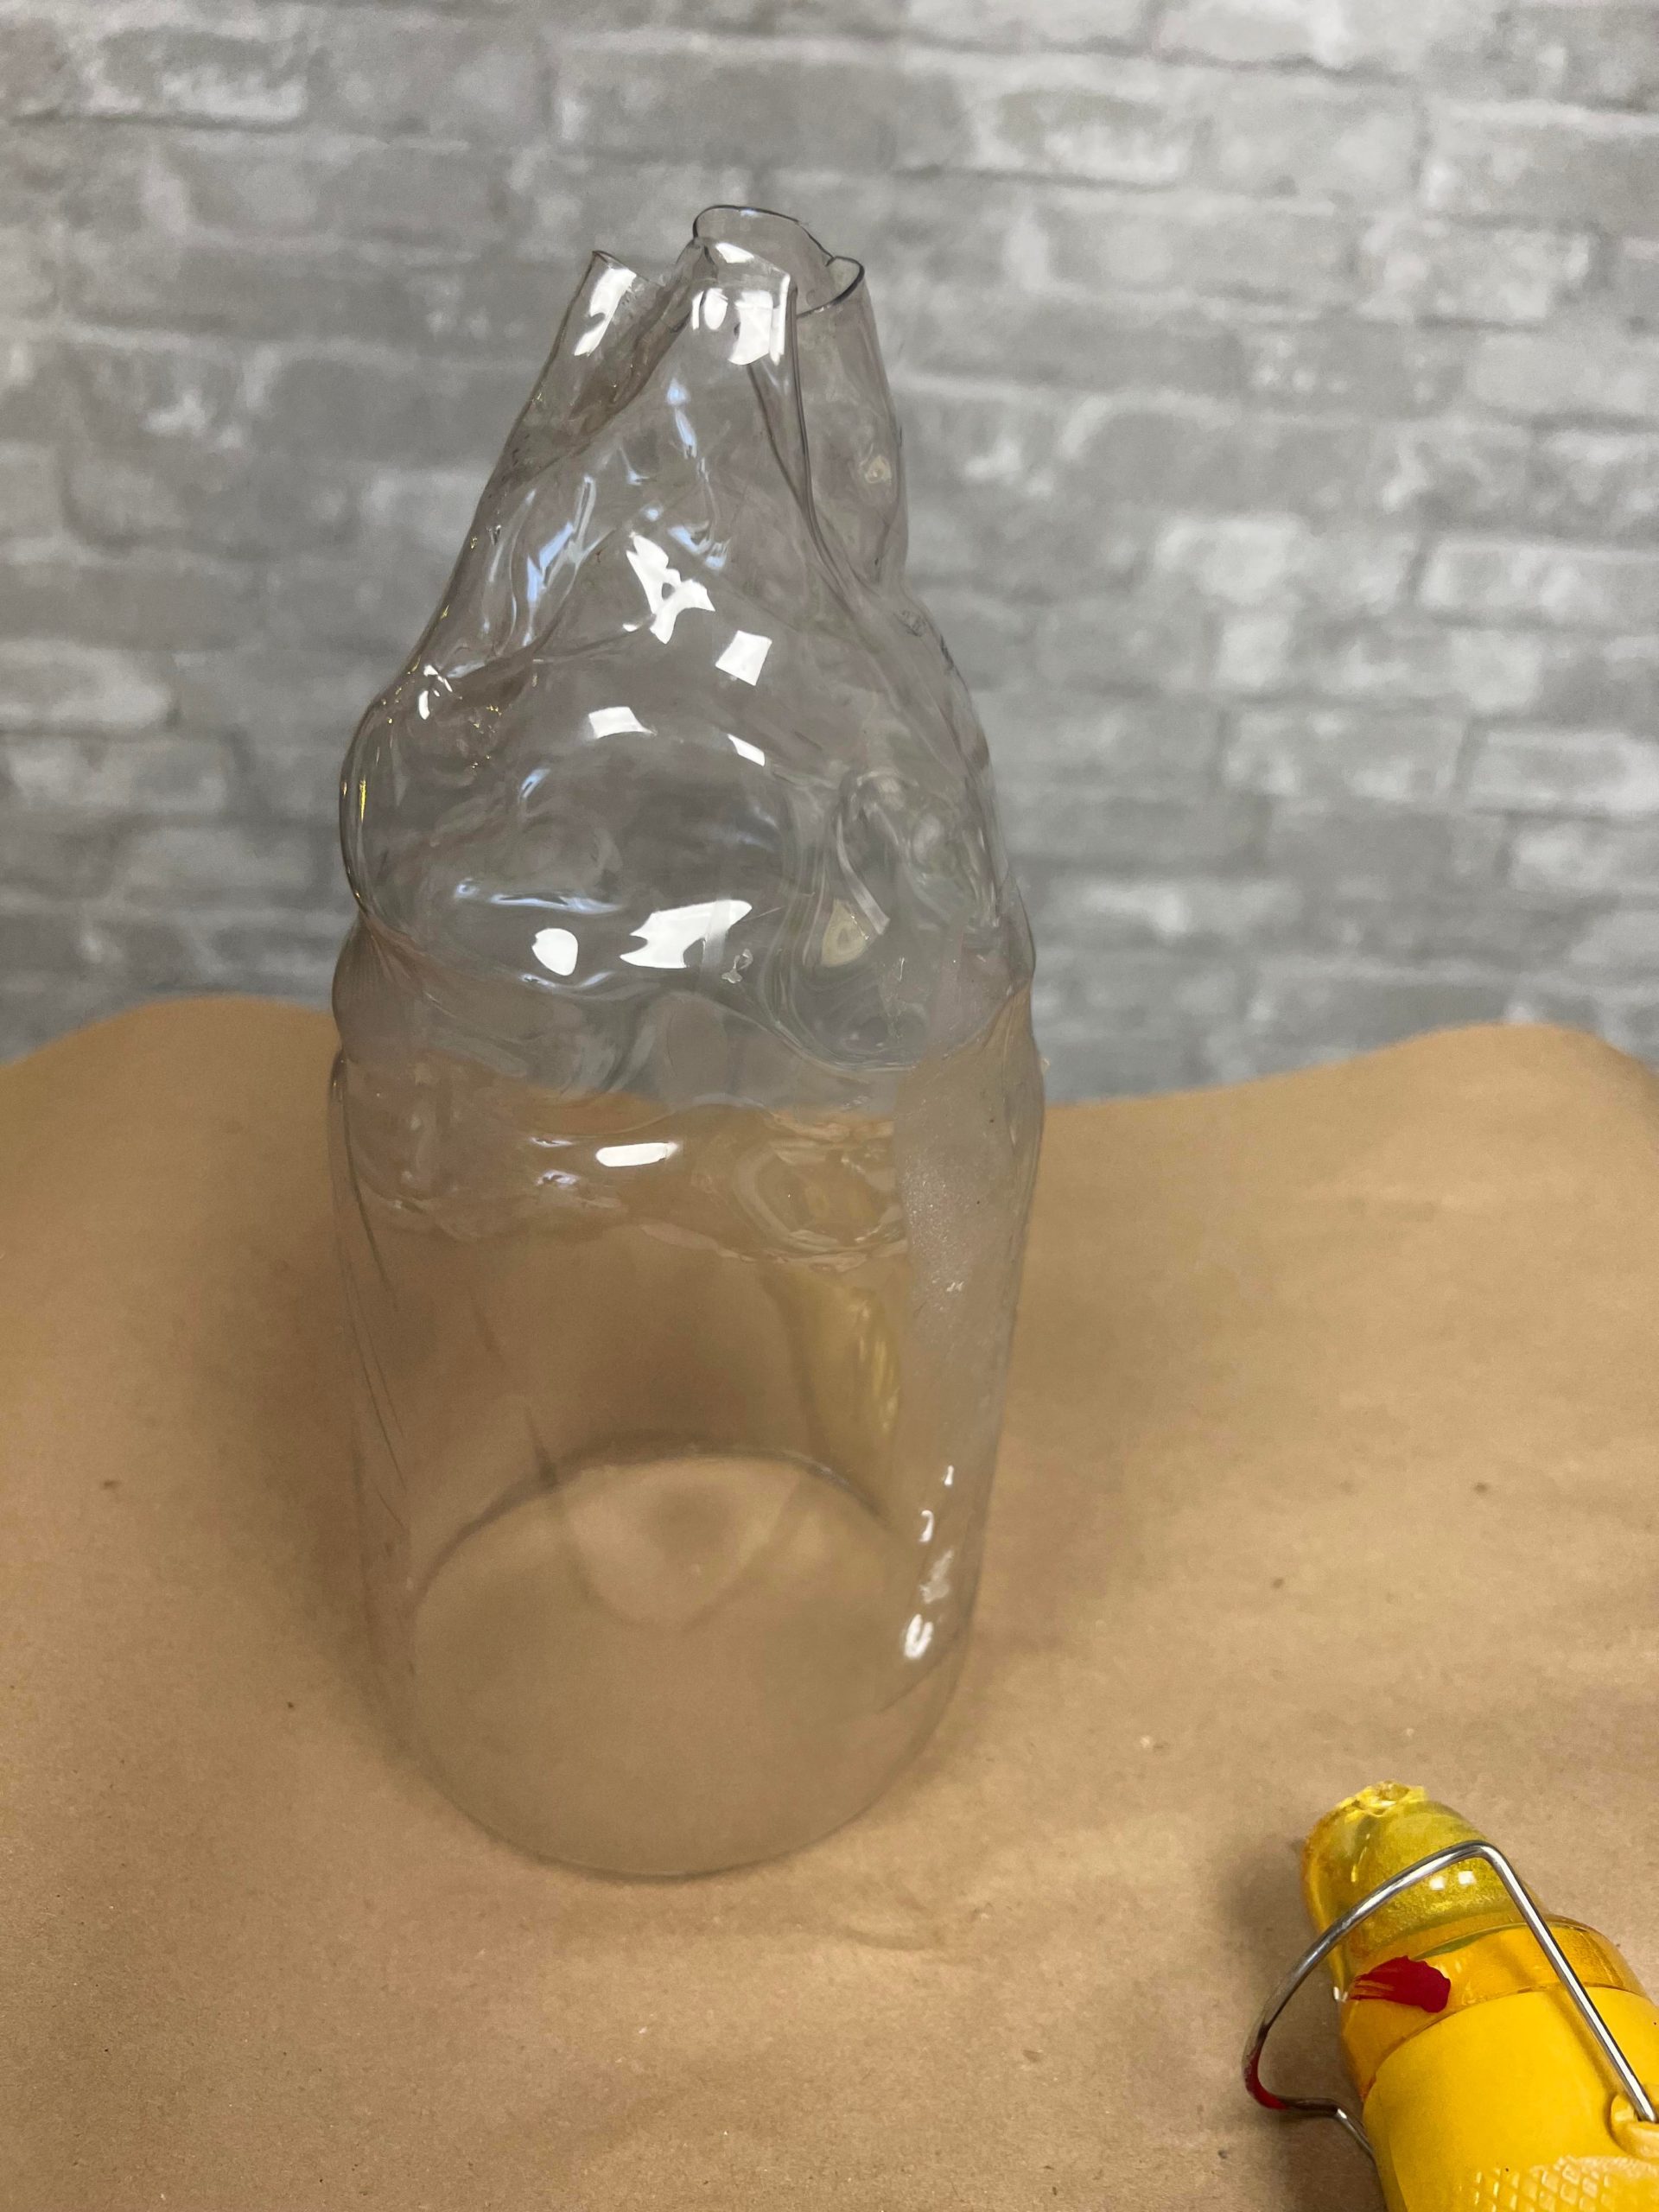
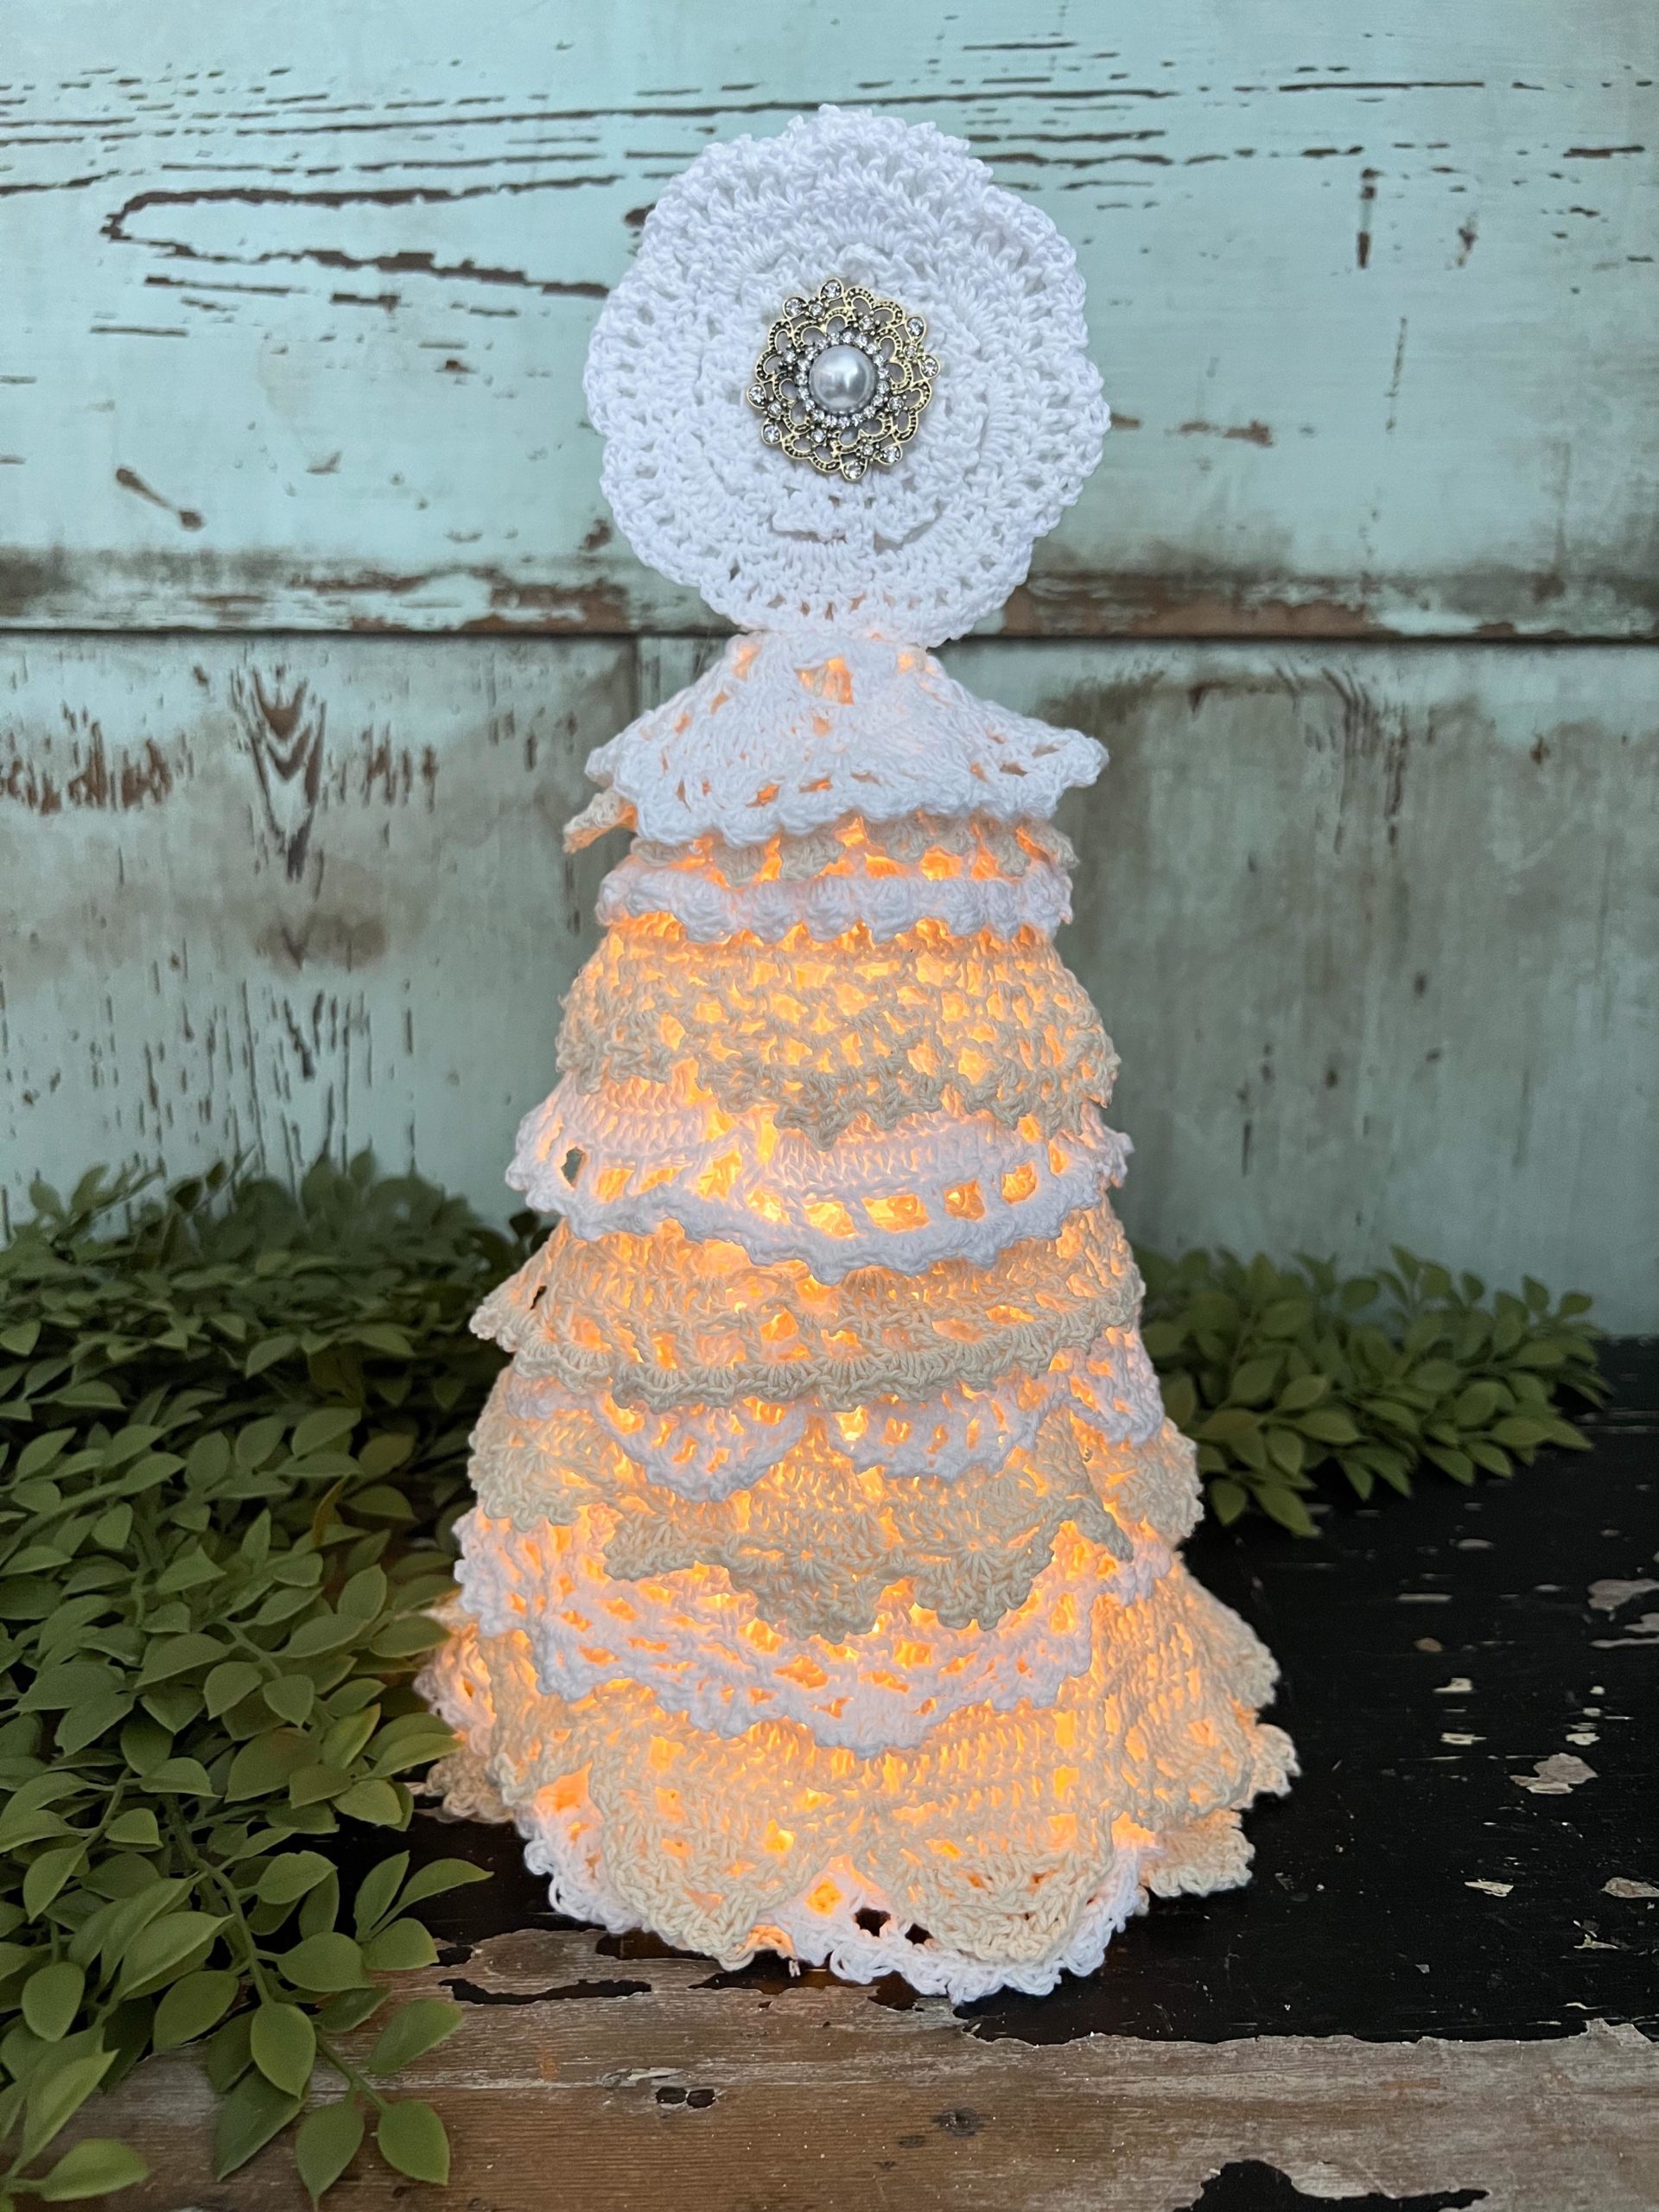
Once I had my cone shape I then started to add the doilies.
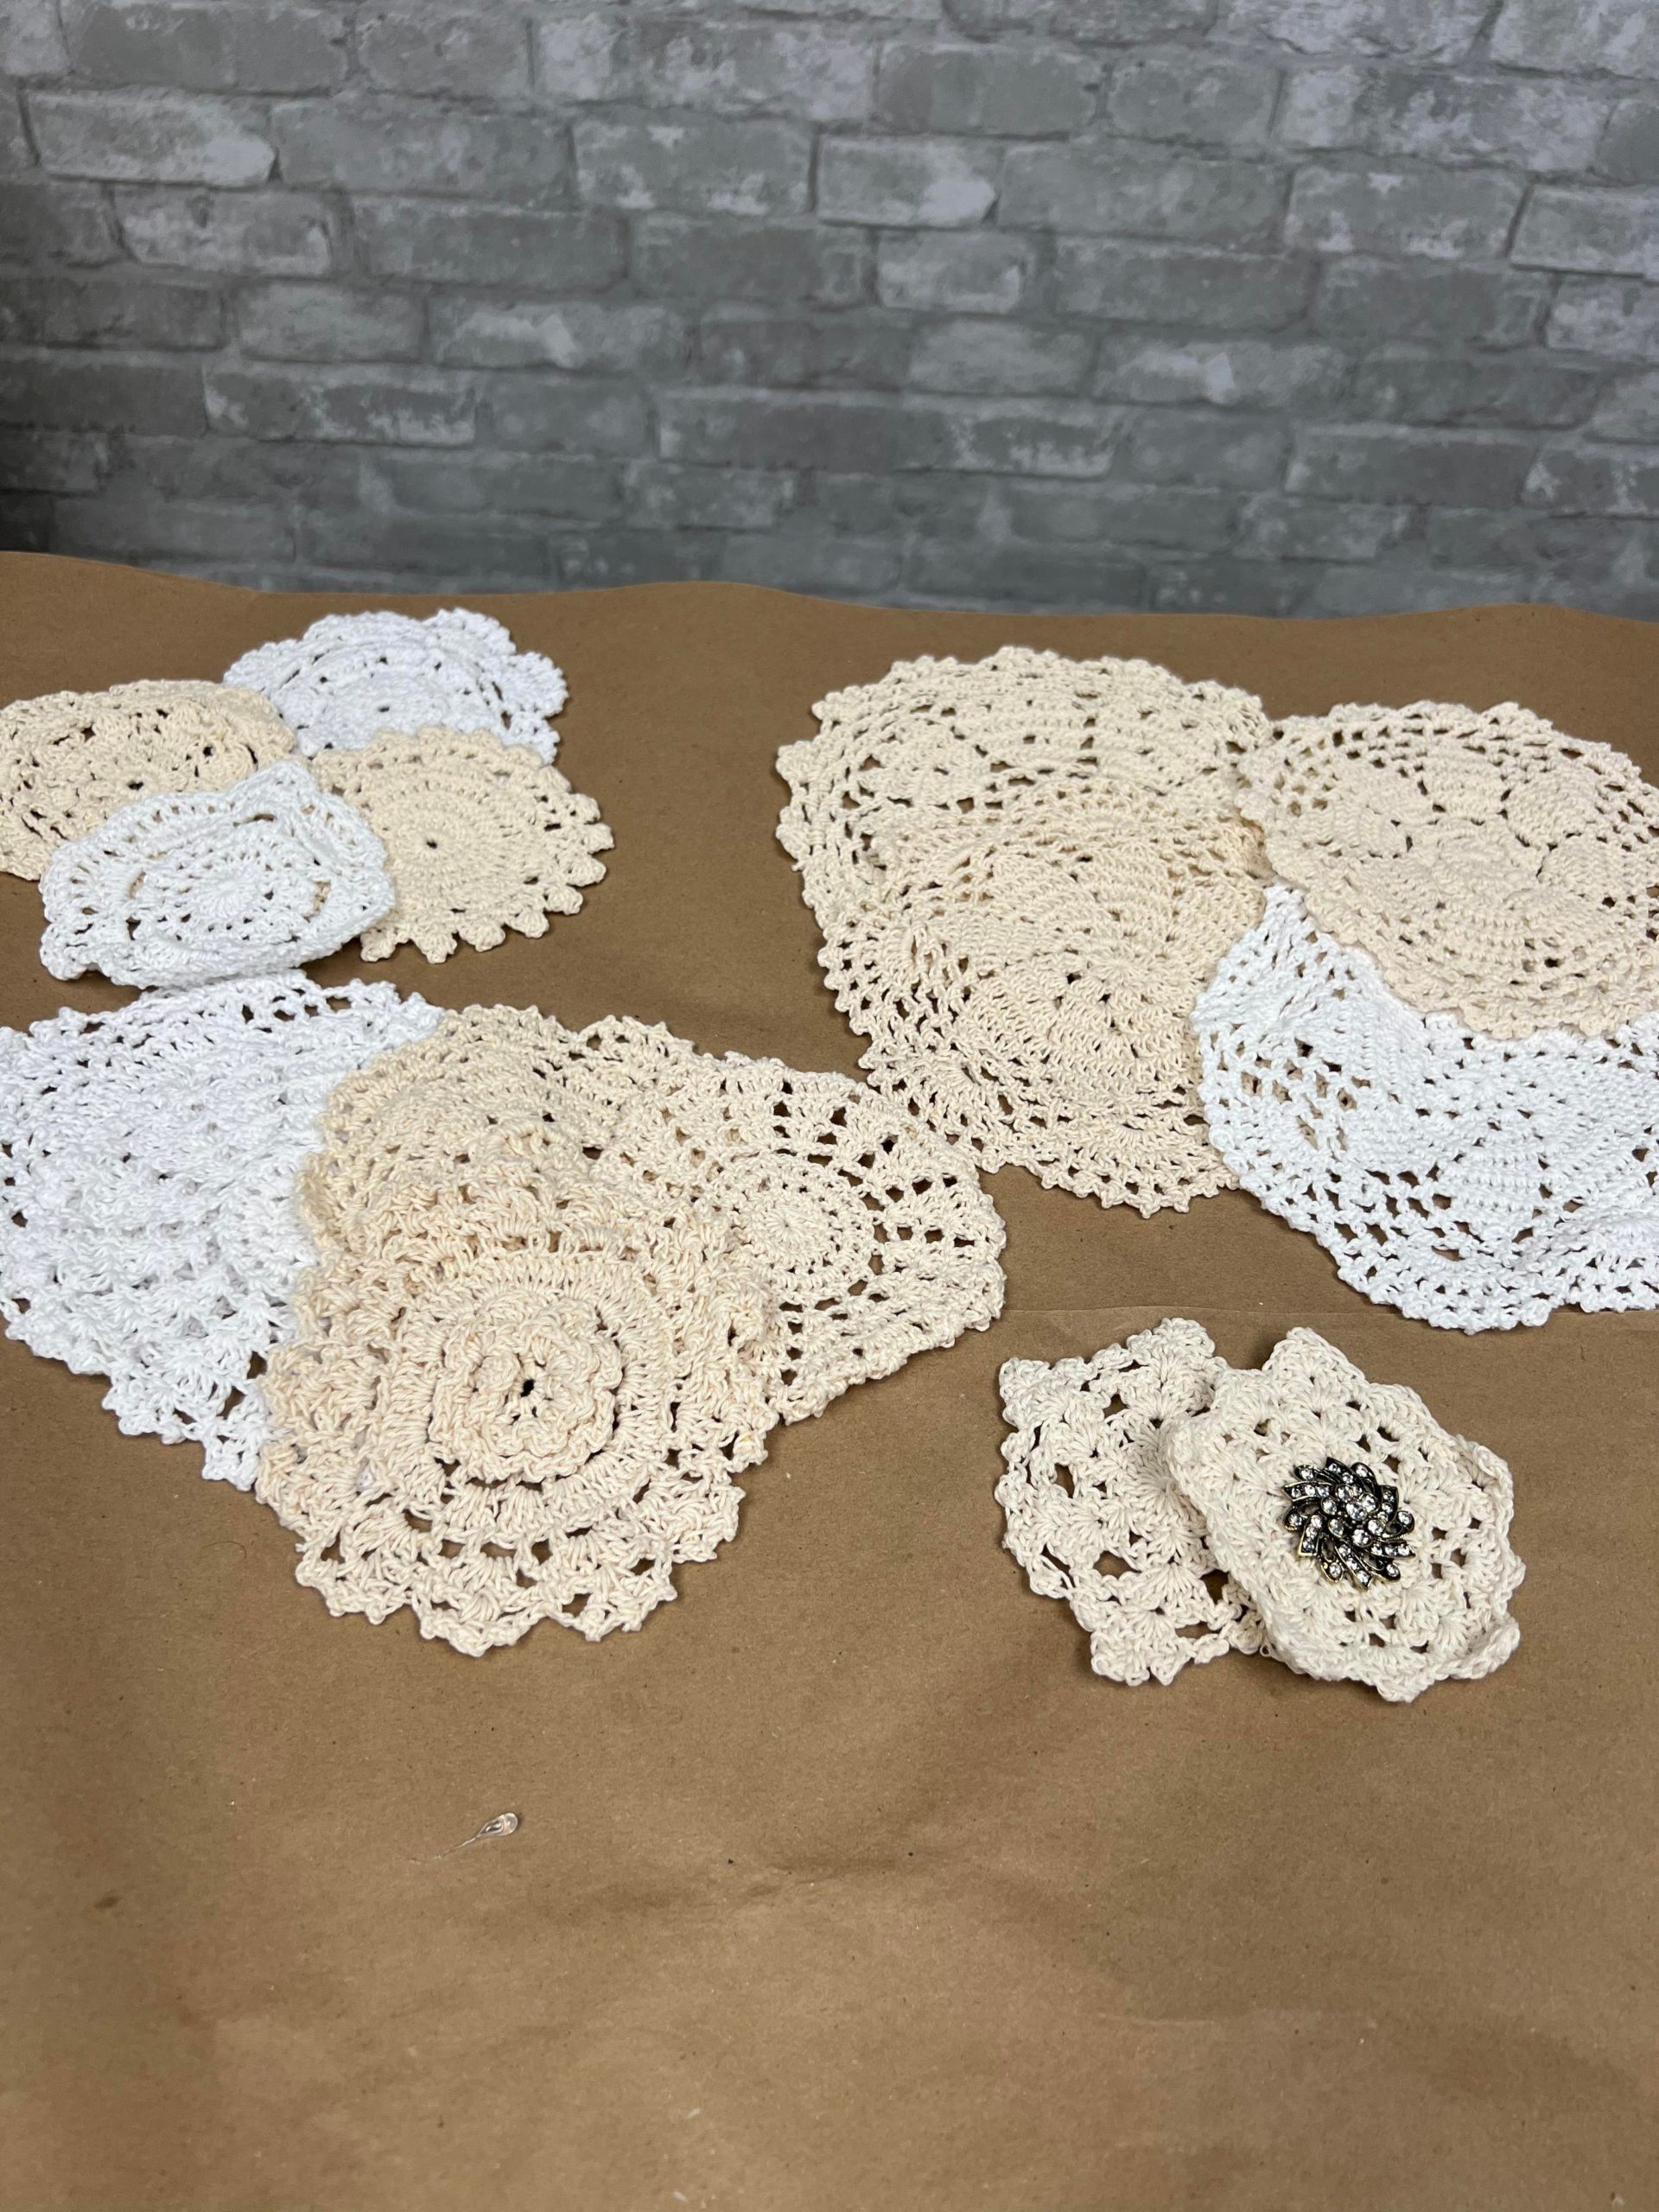
The first doilies that I added were about 6.5” round.
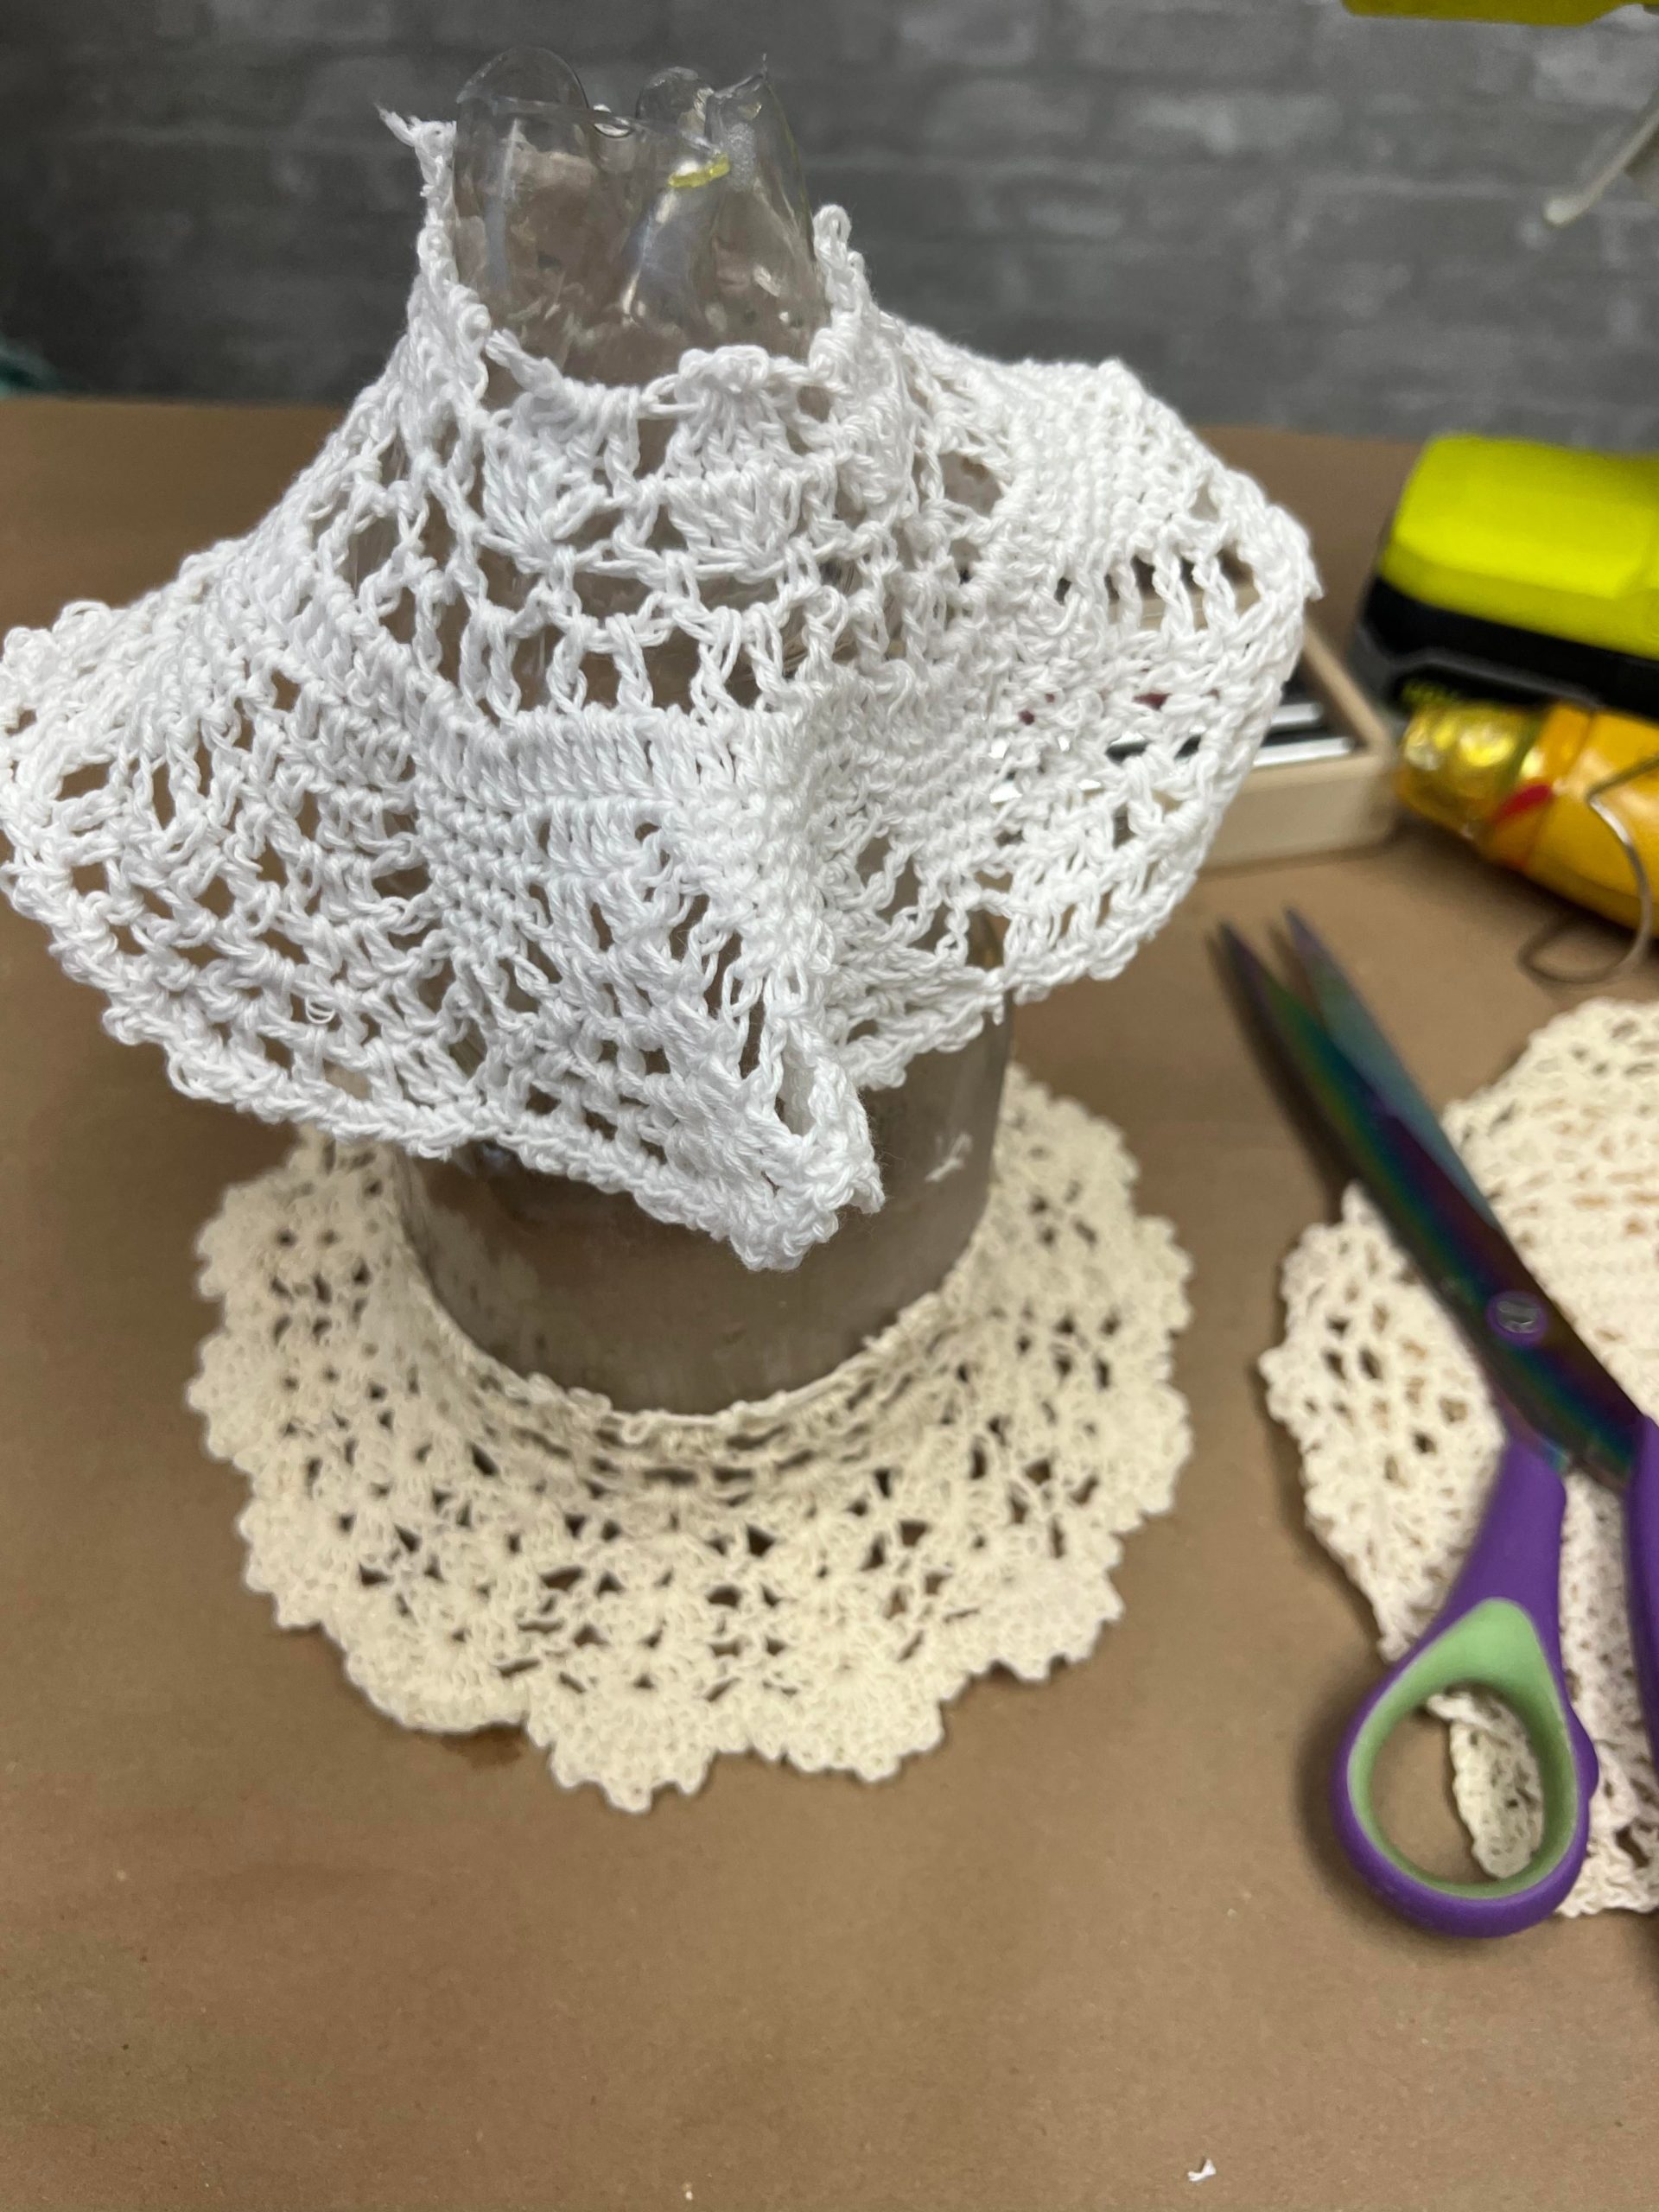
I did the same process to the next doily.
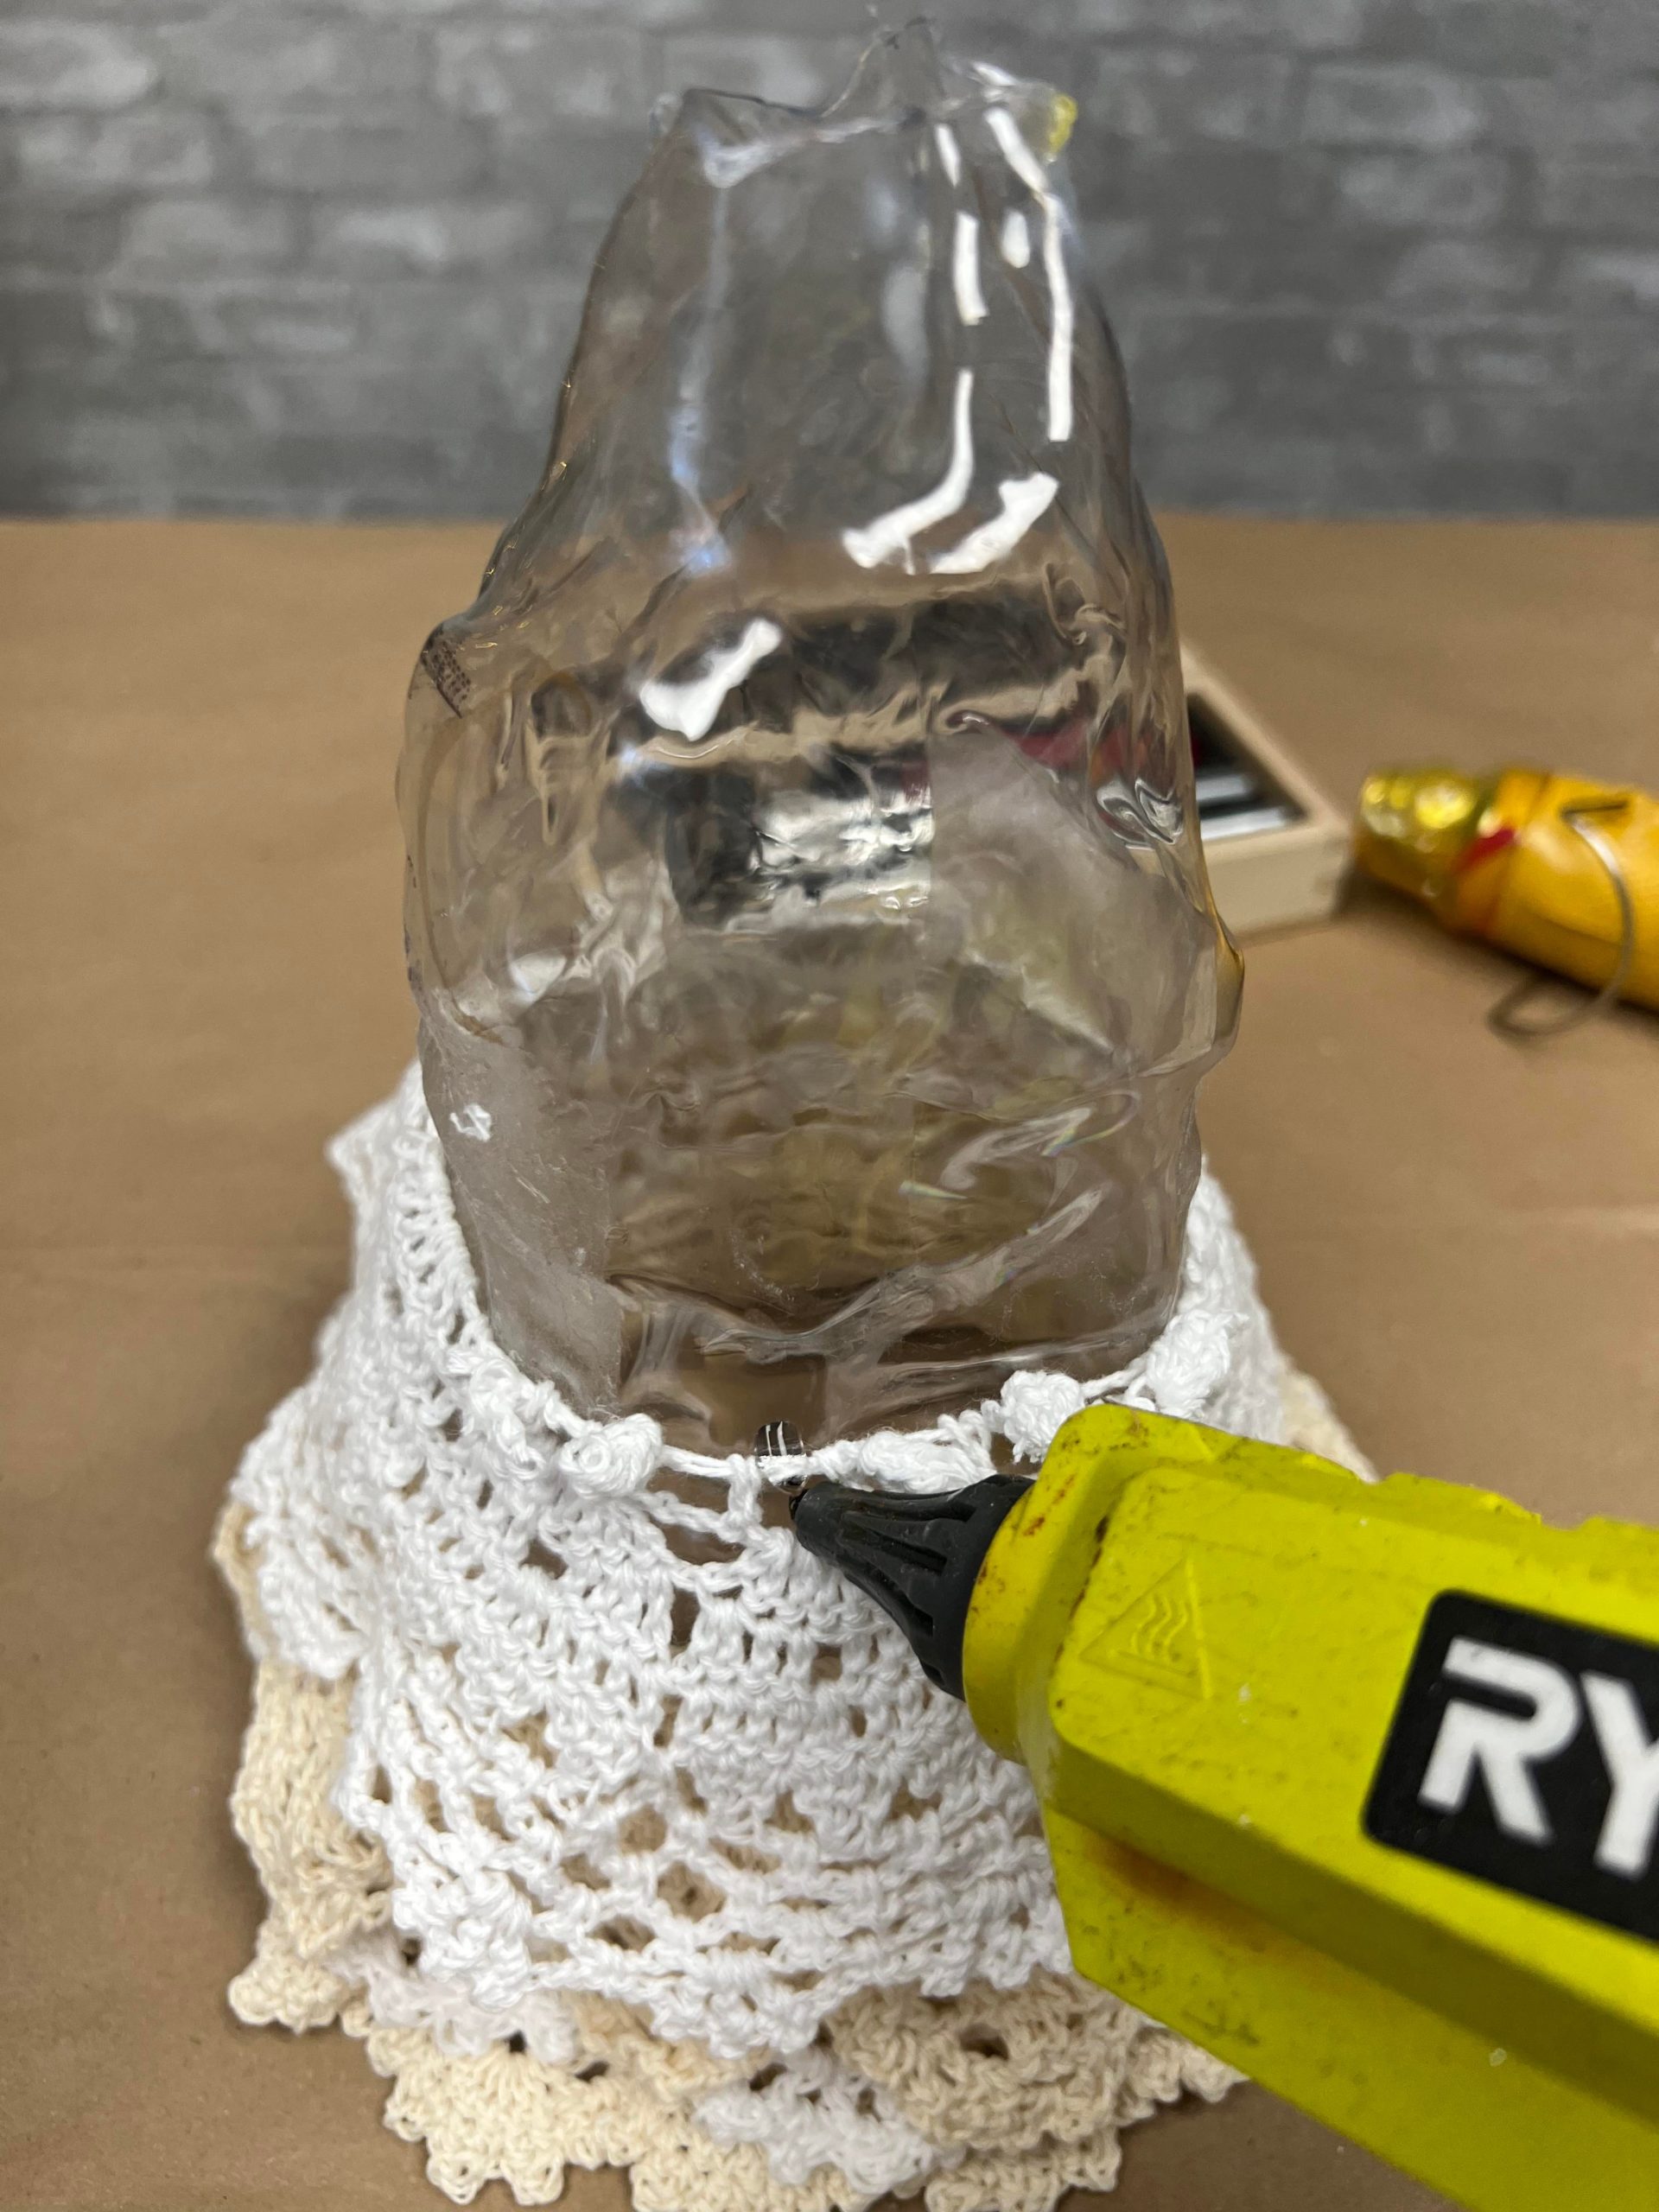
You can add a small amount of hot glue to the edge of the doily to prevent it from moving.
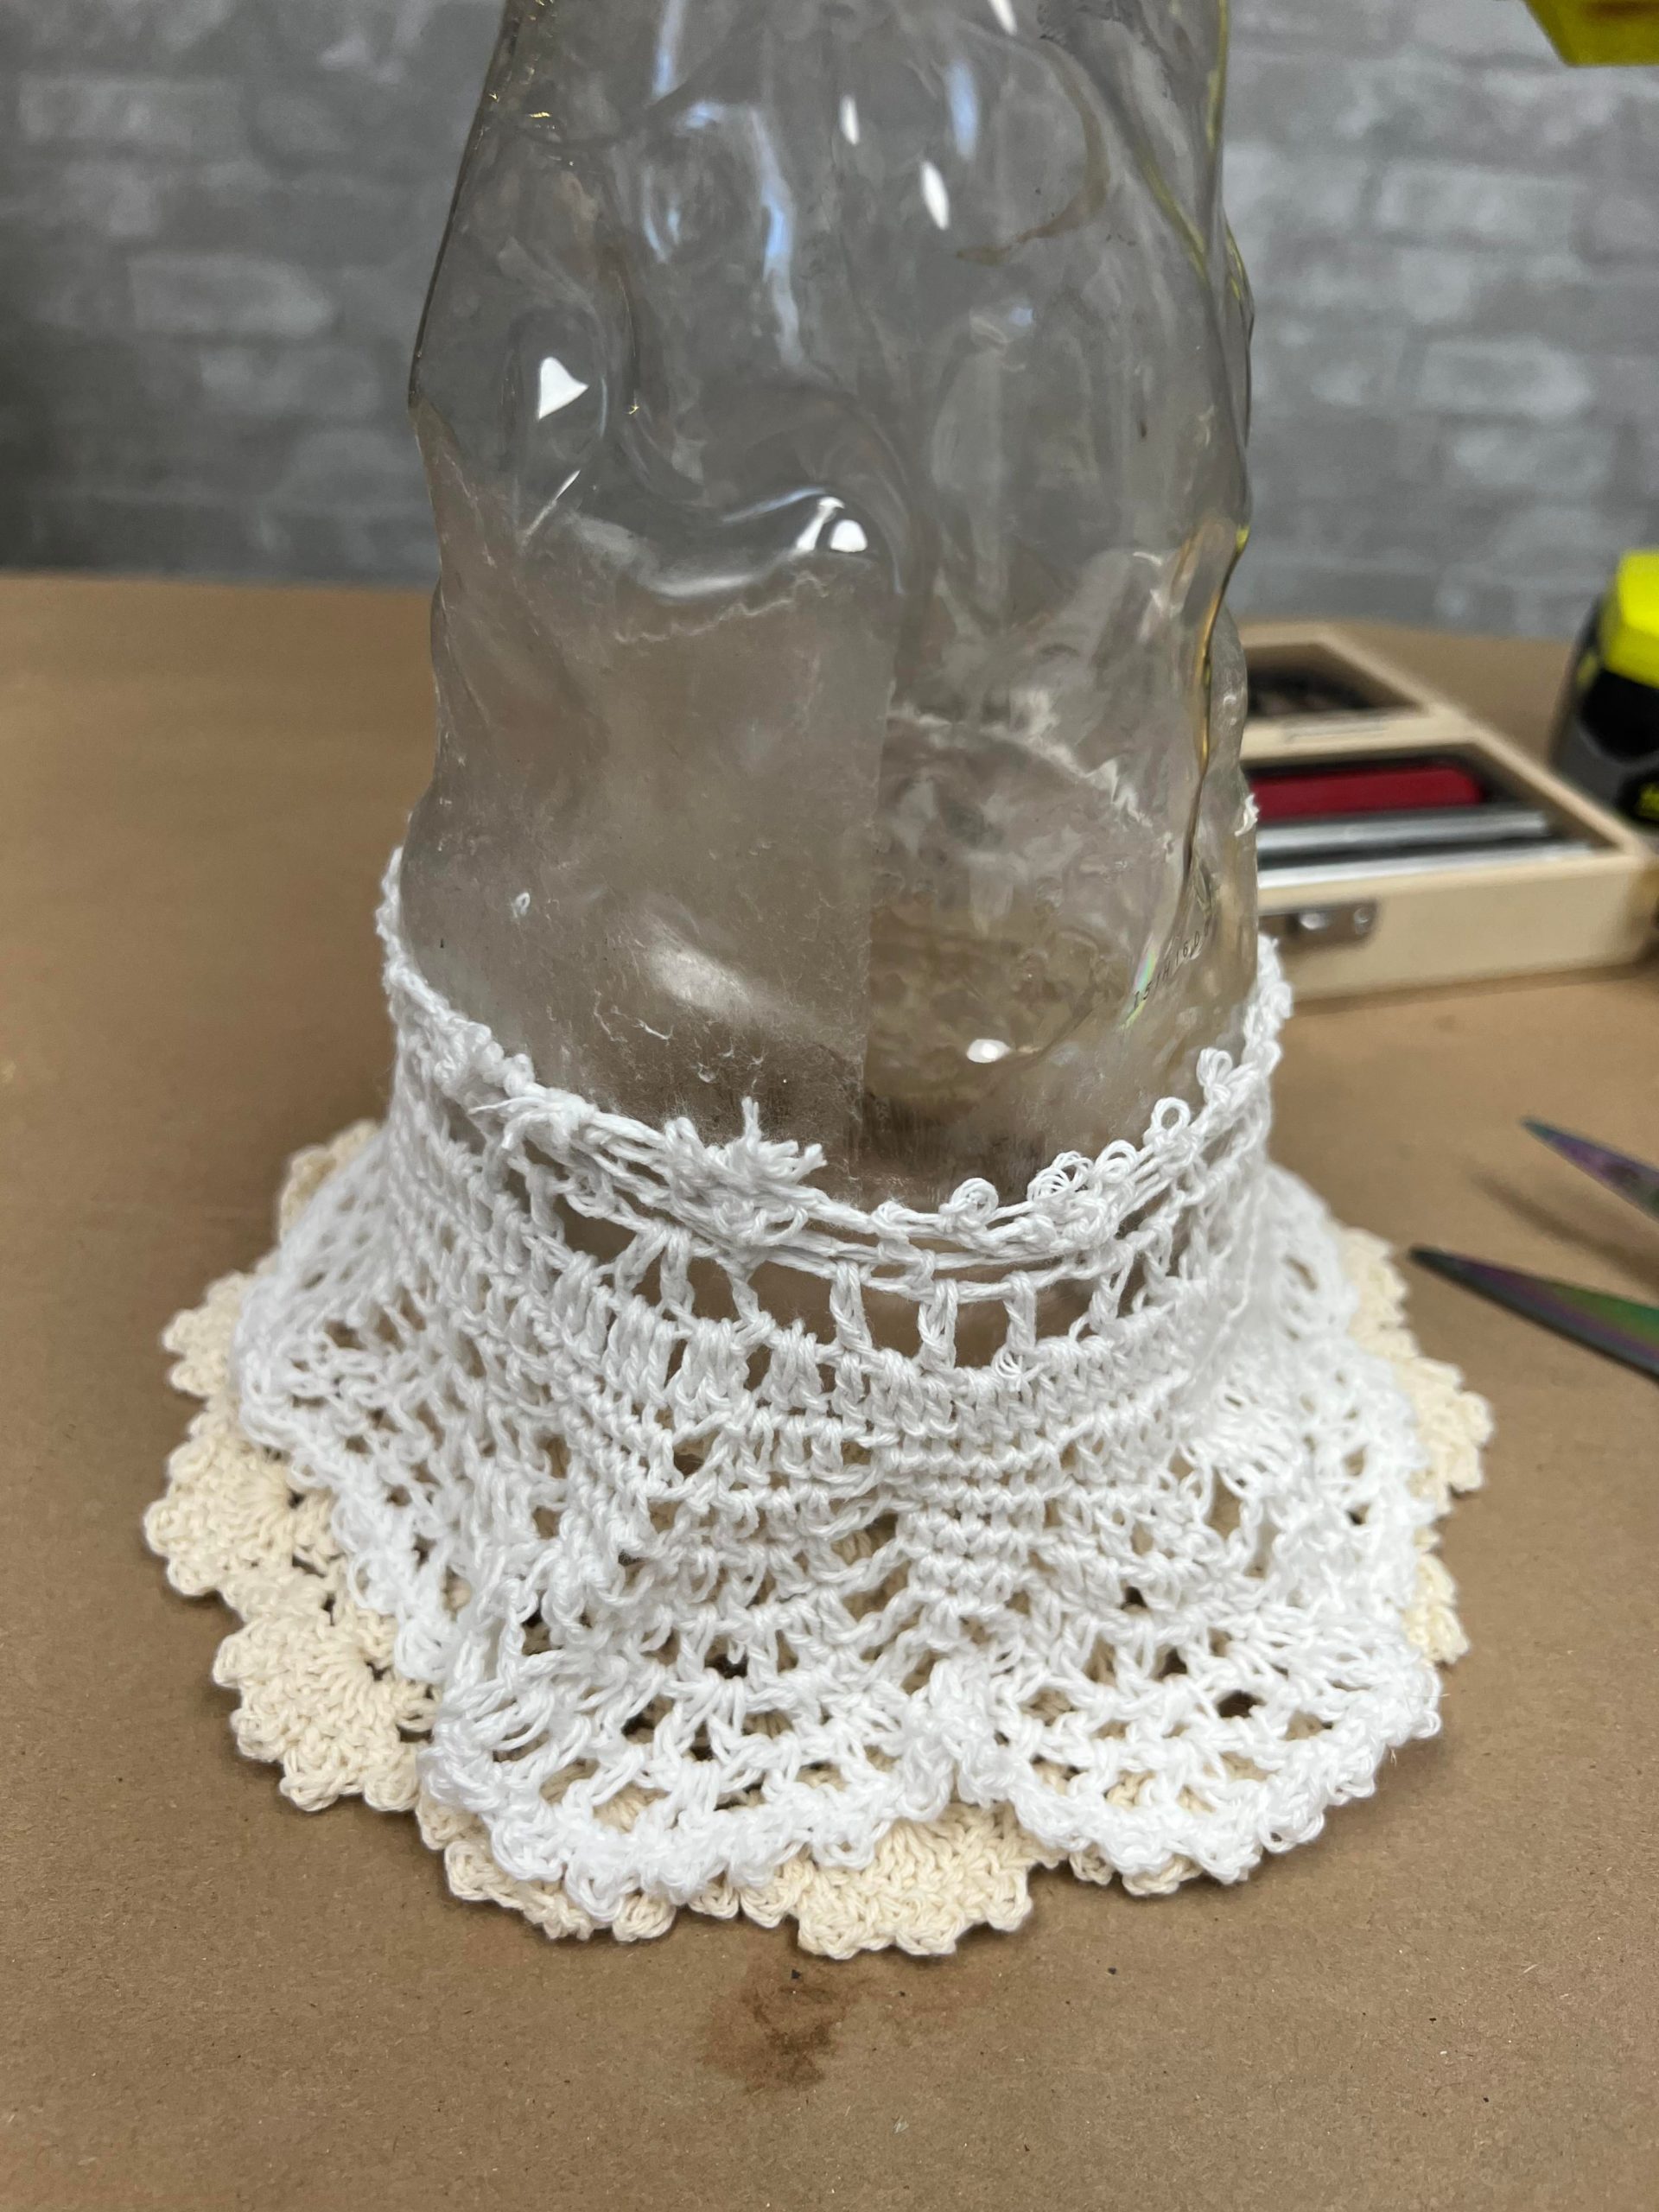
I used four larger doilies at the bottom area of the container and then I started to add four smaller doilies. The next size doily is about 5” wide.
The smaller four doilies at the top are about 4” wide.
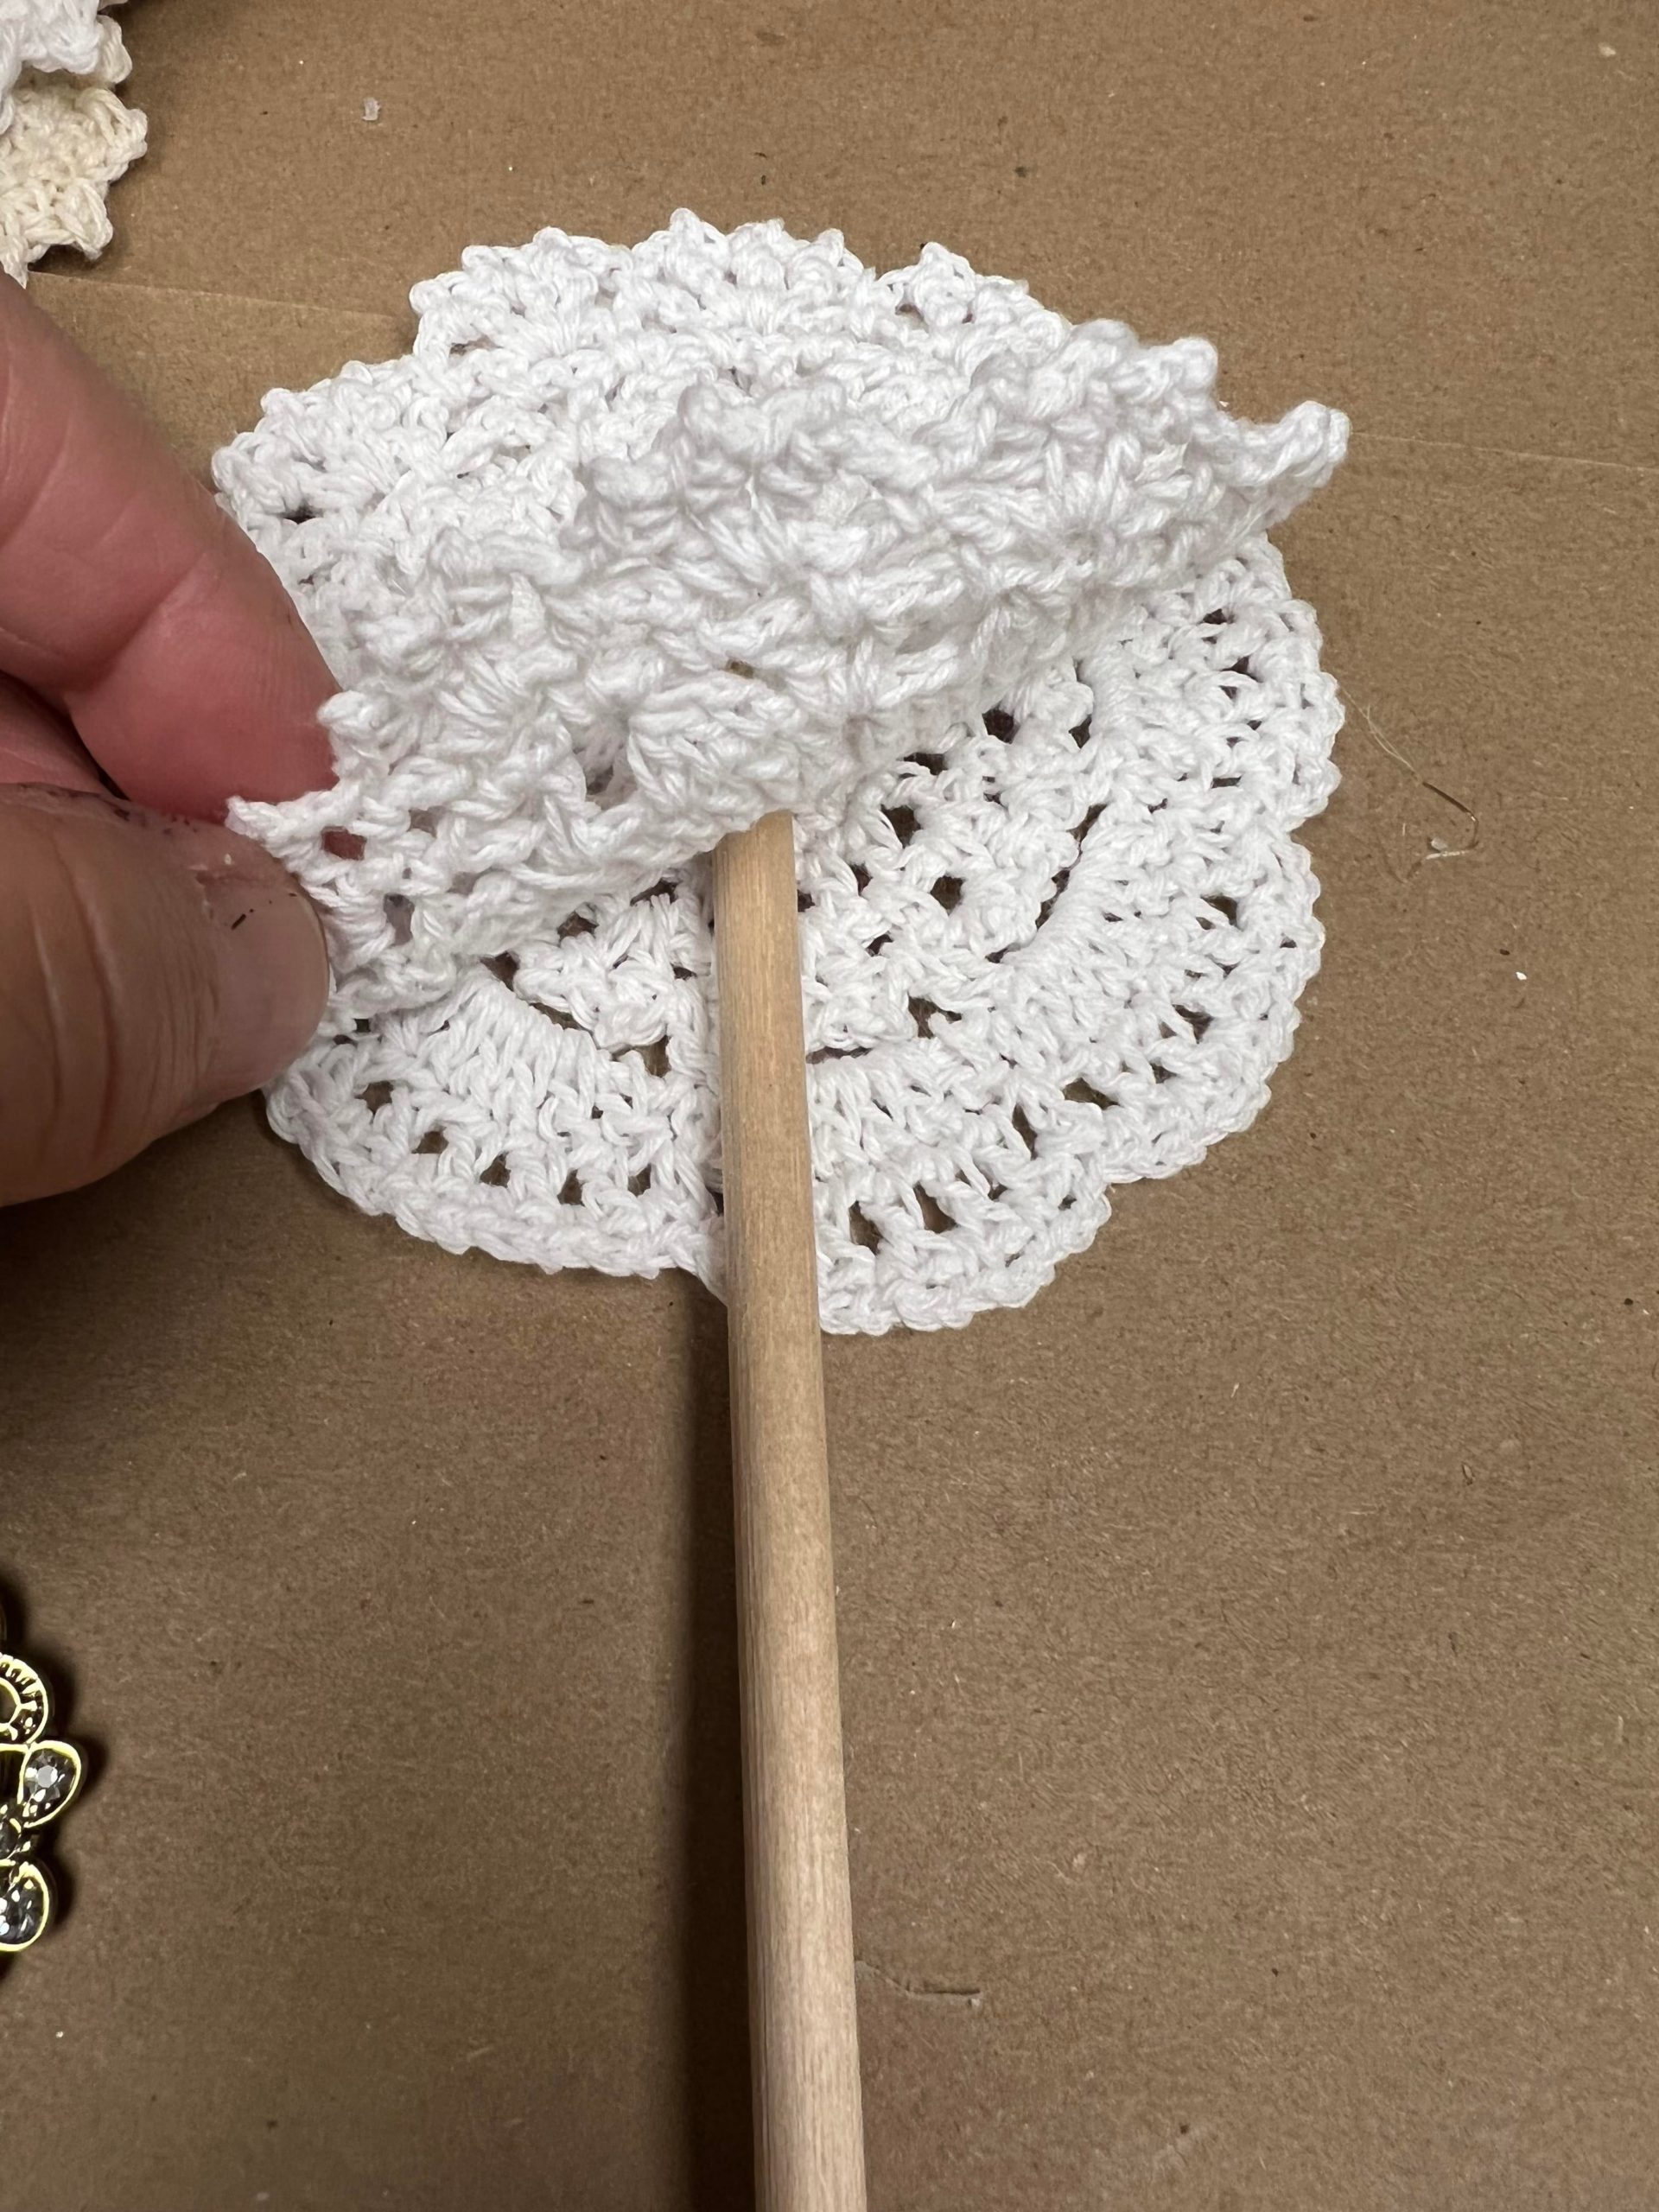
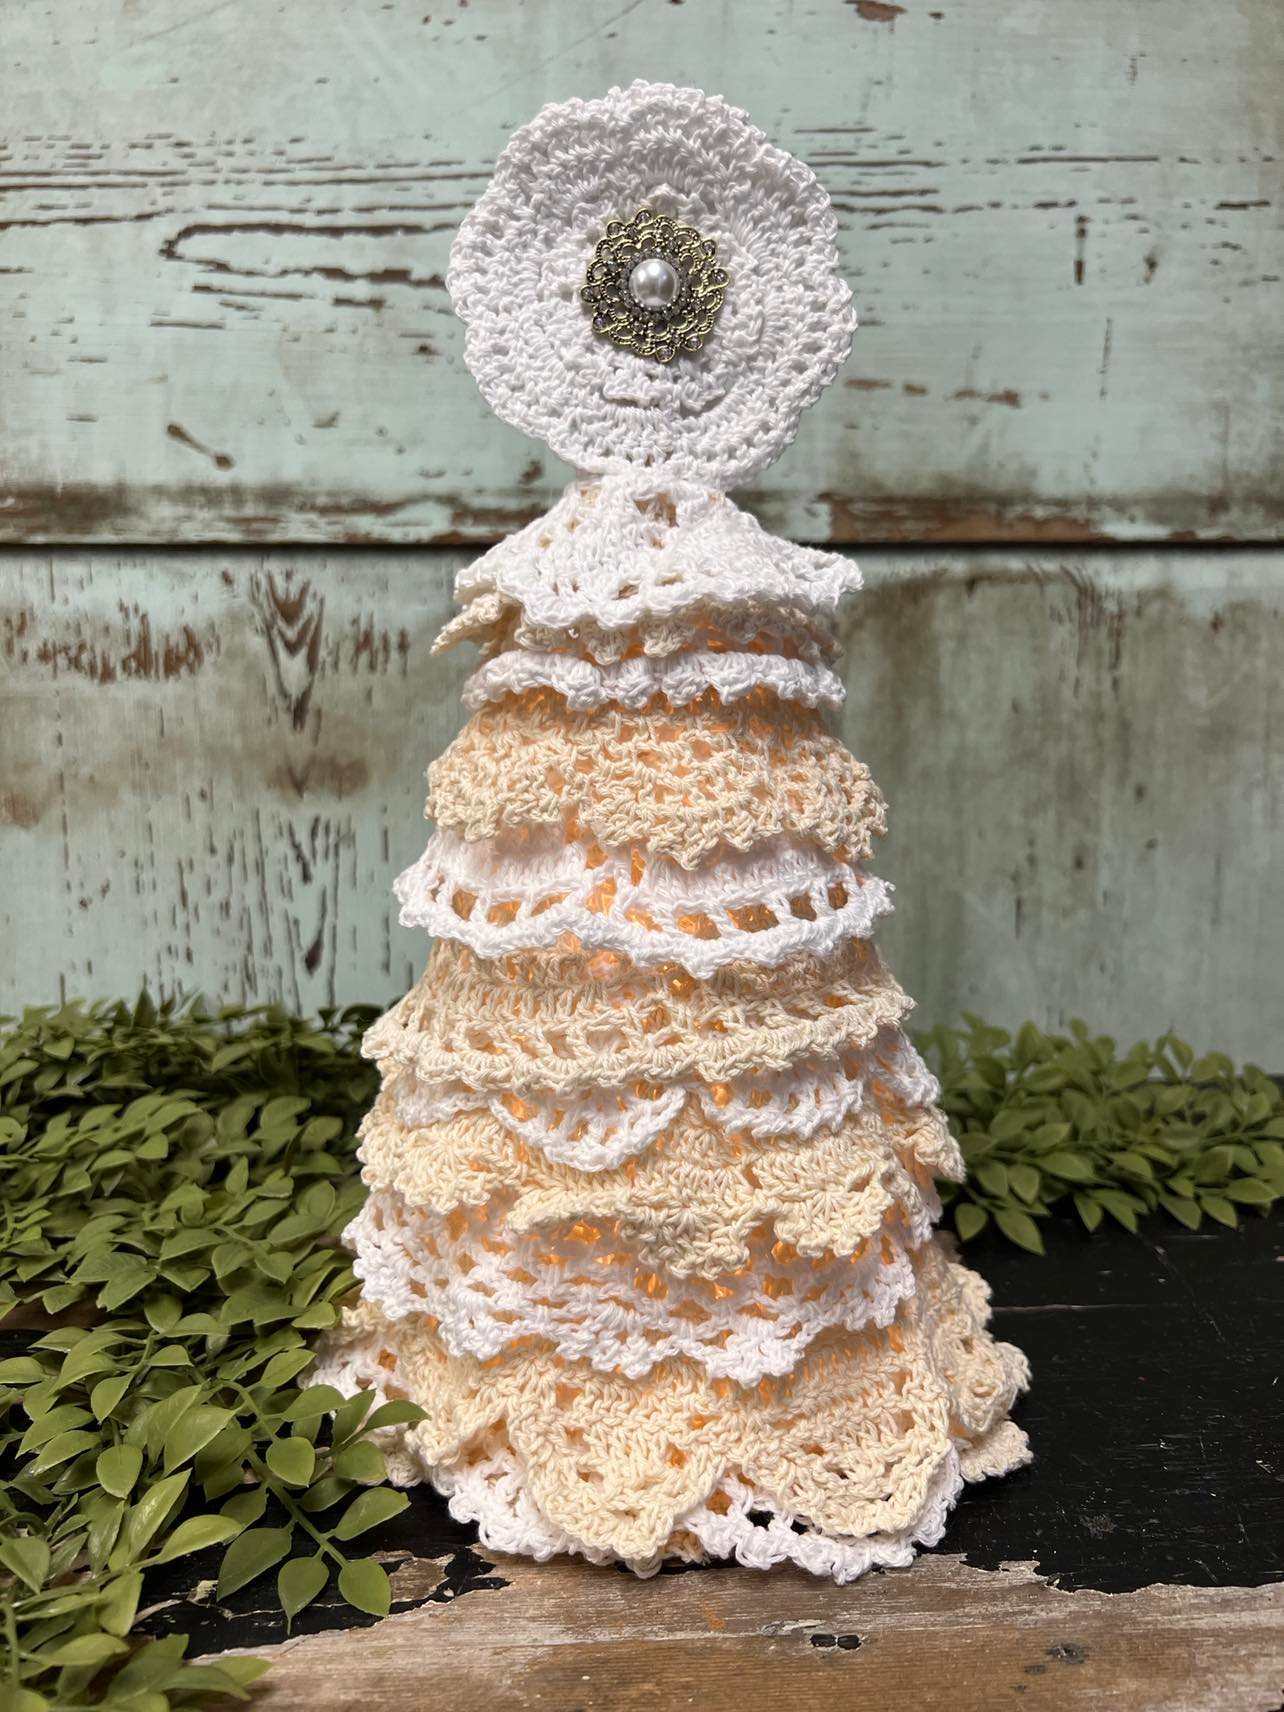
I decided to add the last two small doilies to a dowel for a tree topper. This is an optional step but I think it adds to the tree.
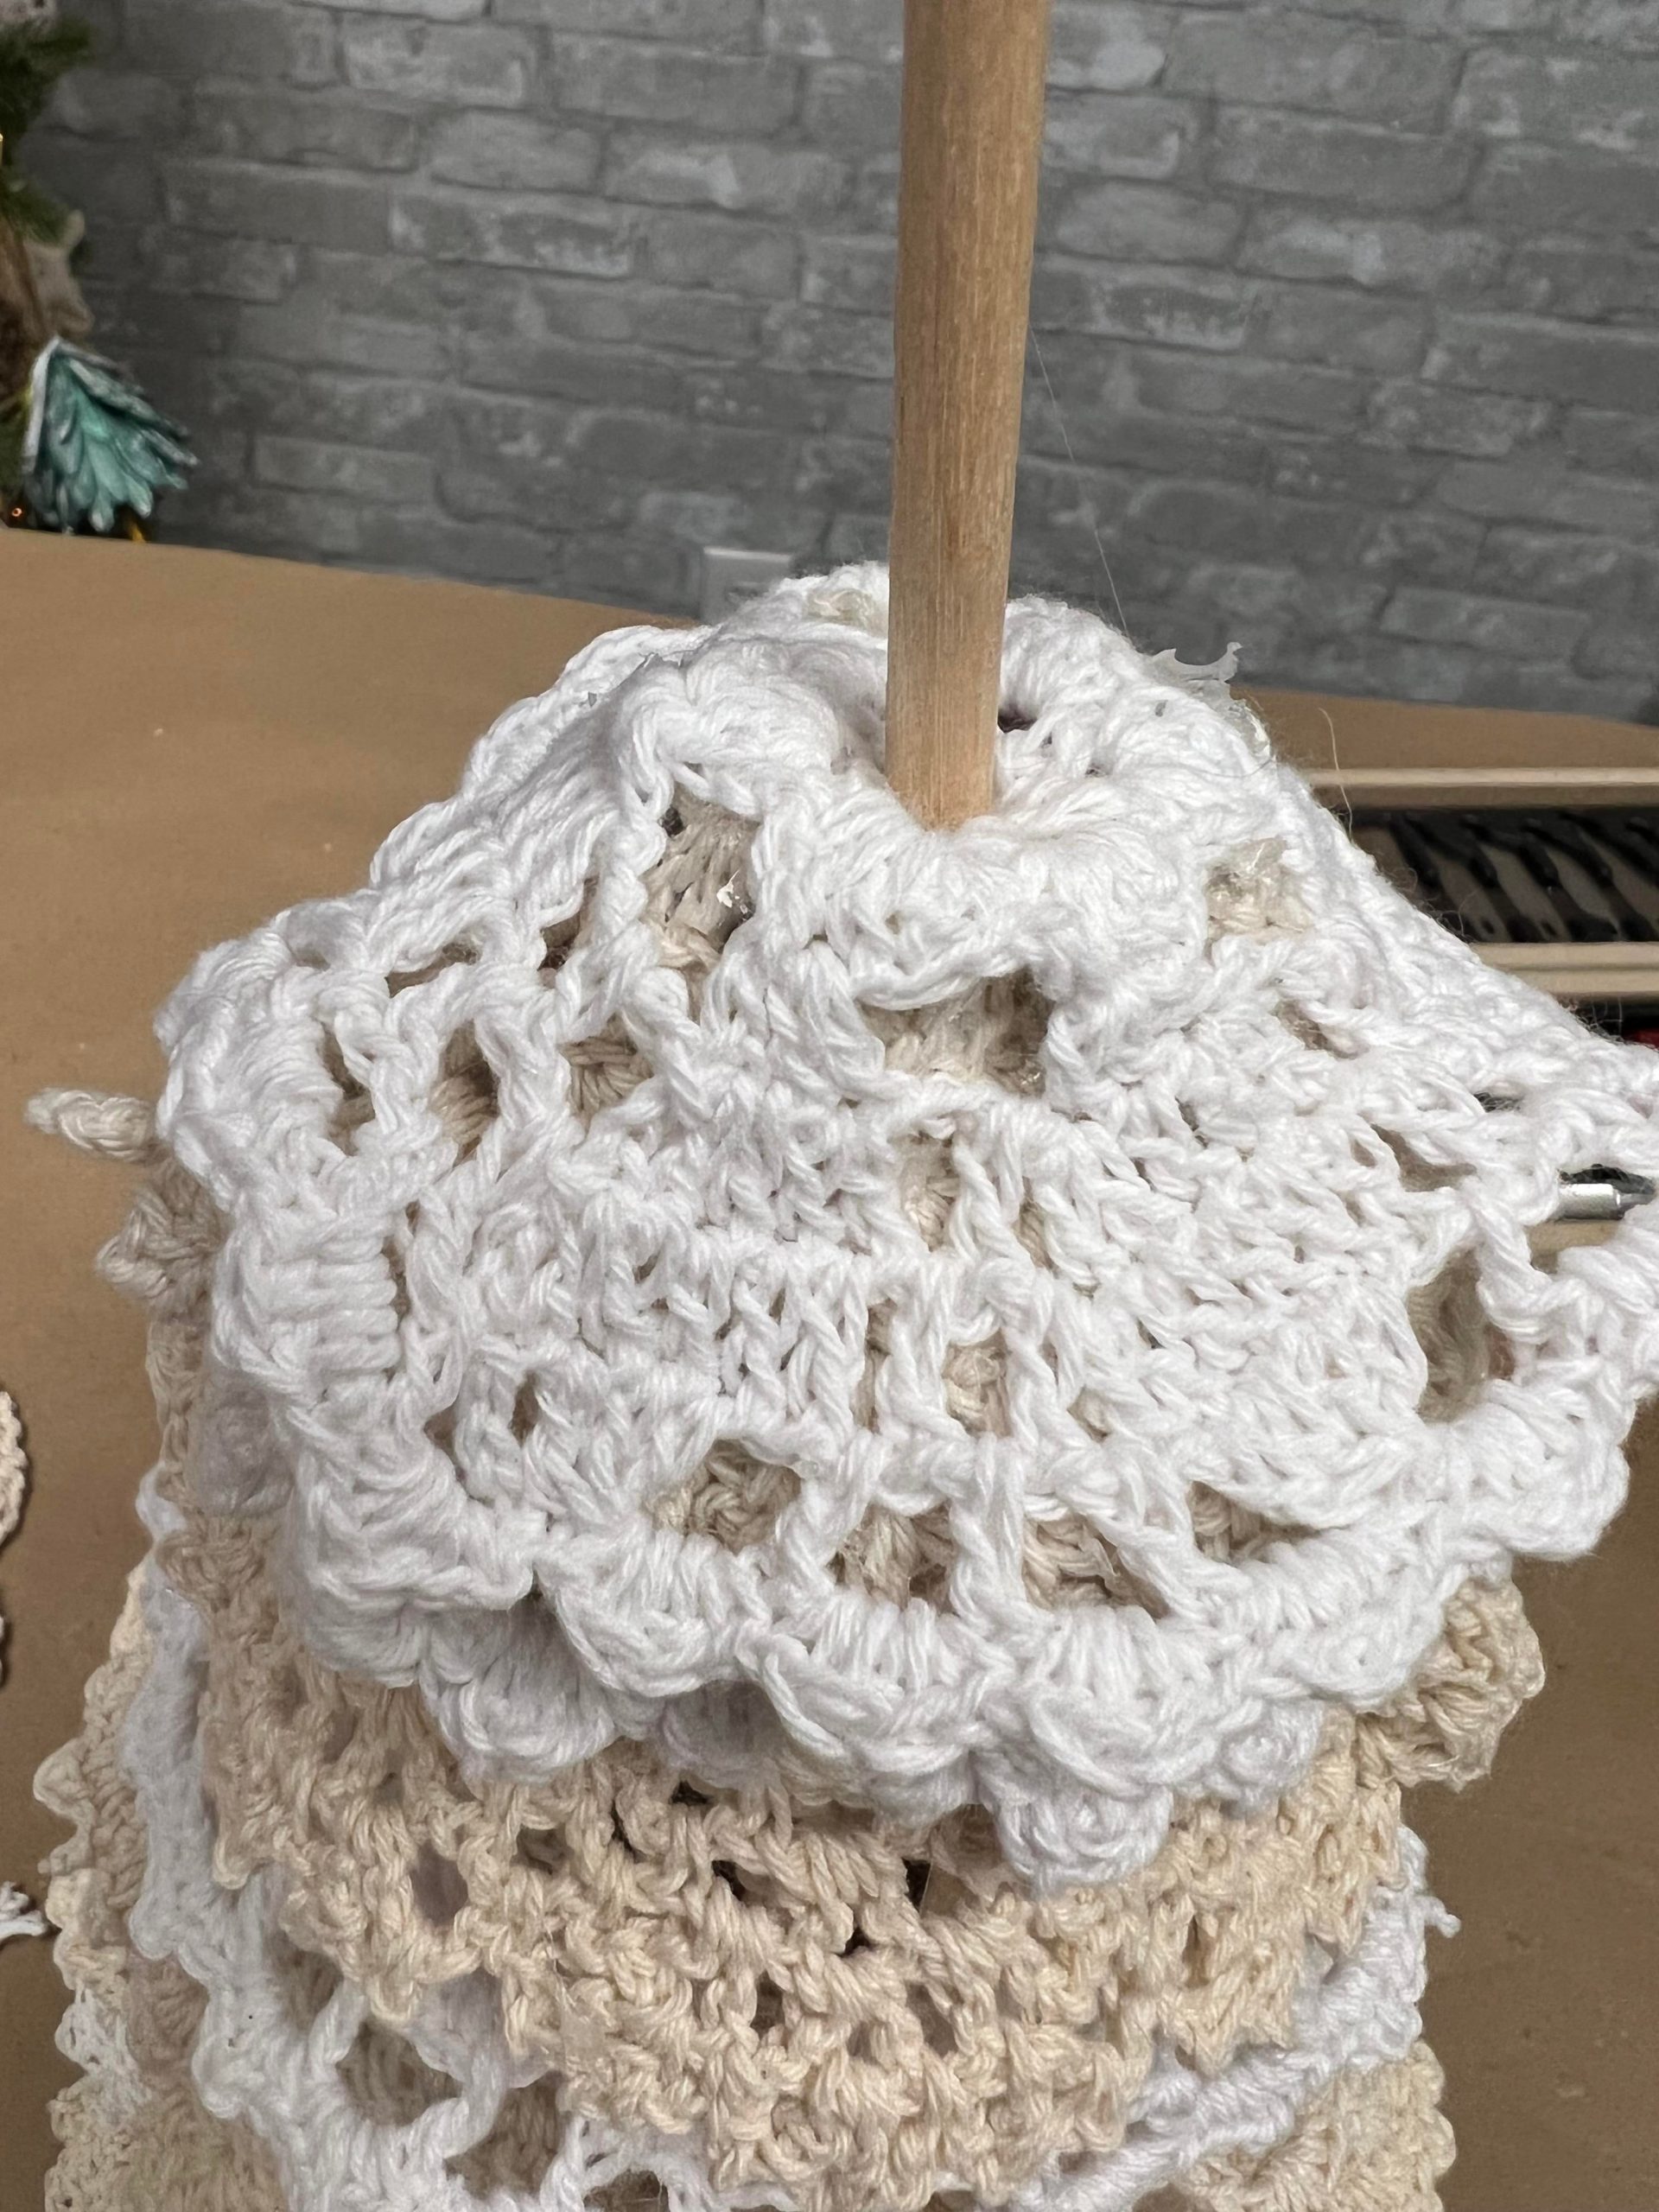
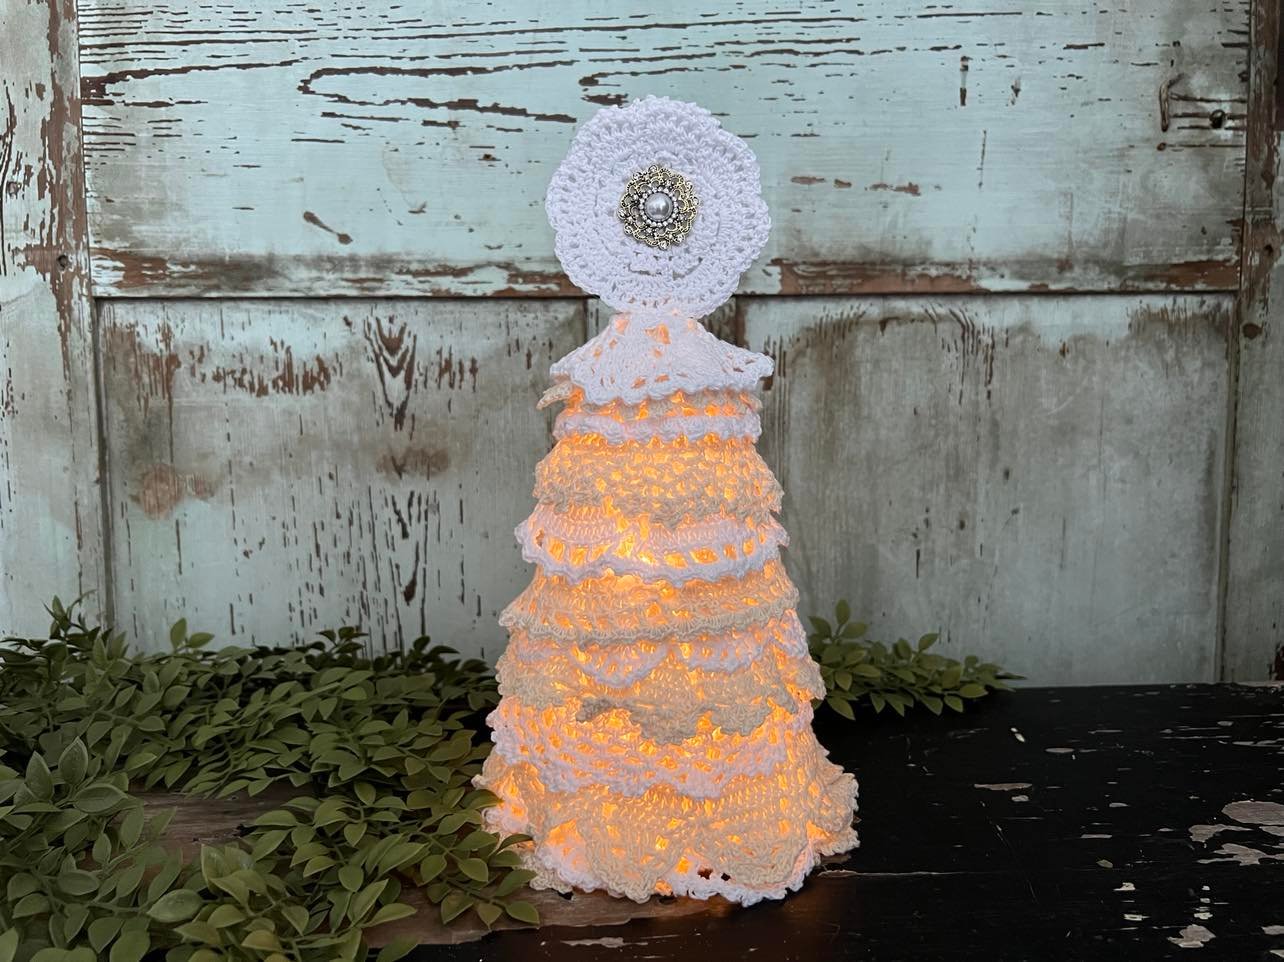
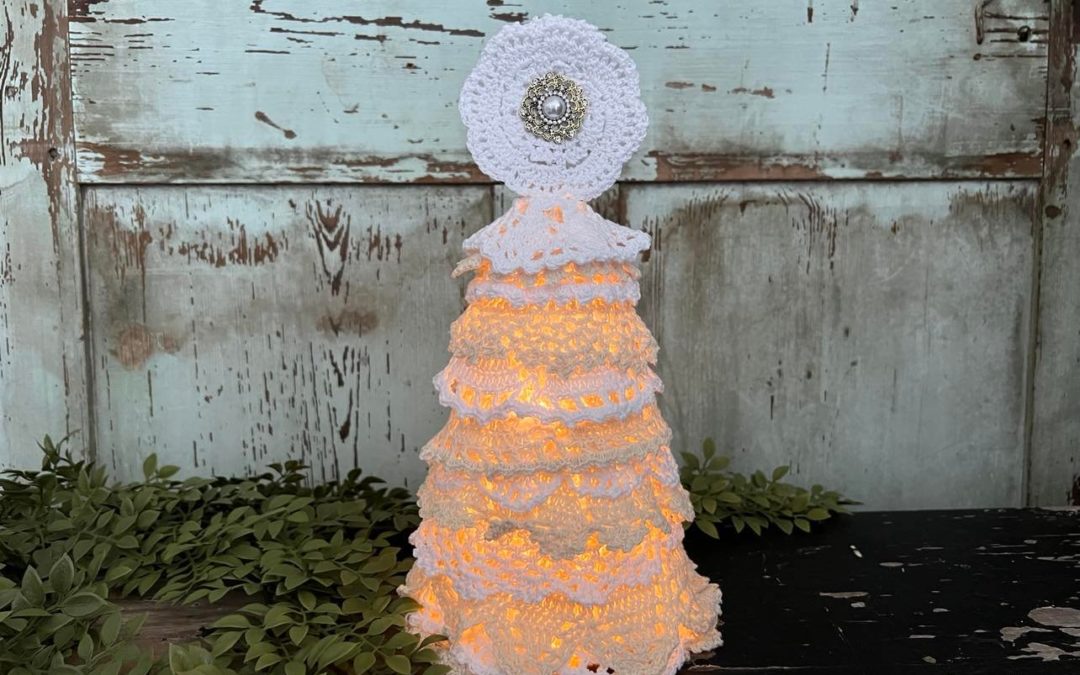
I placed the dowel down into the center of the top doily. You can also add a bling embellishment to the top.
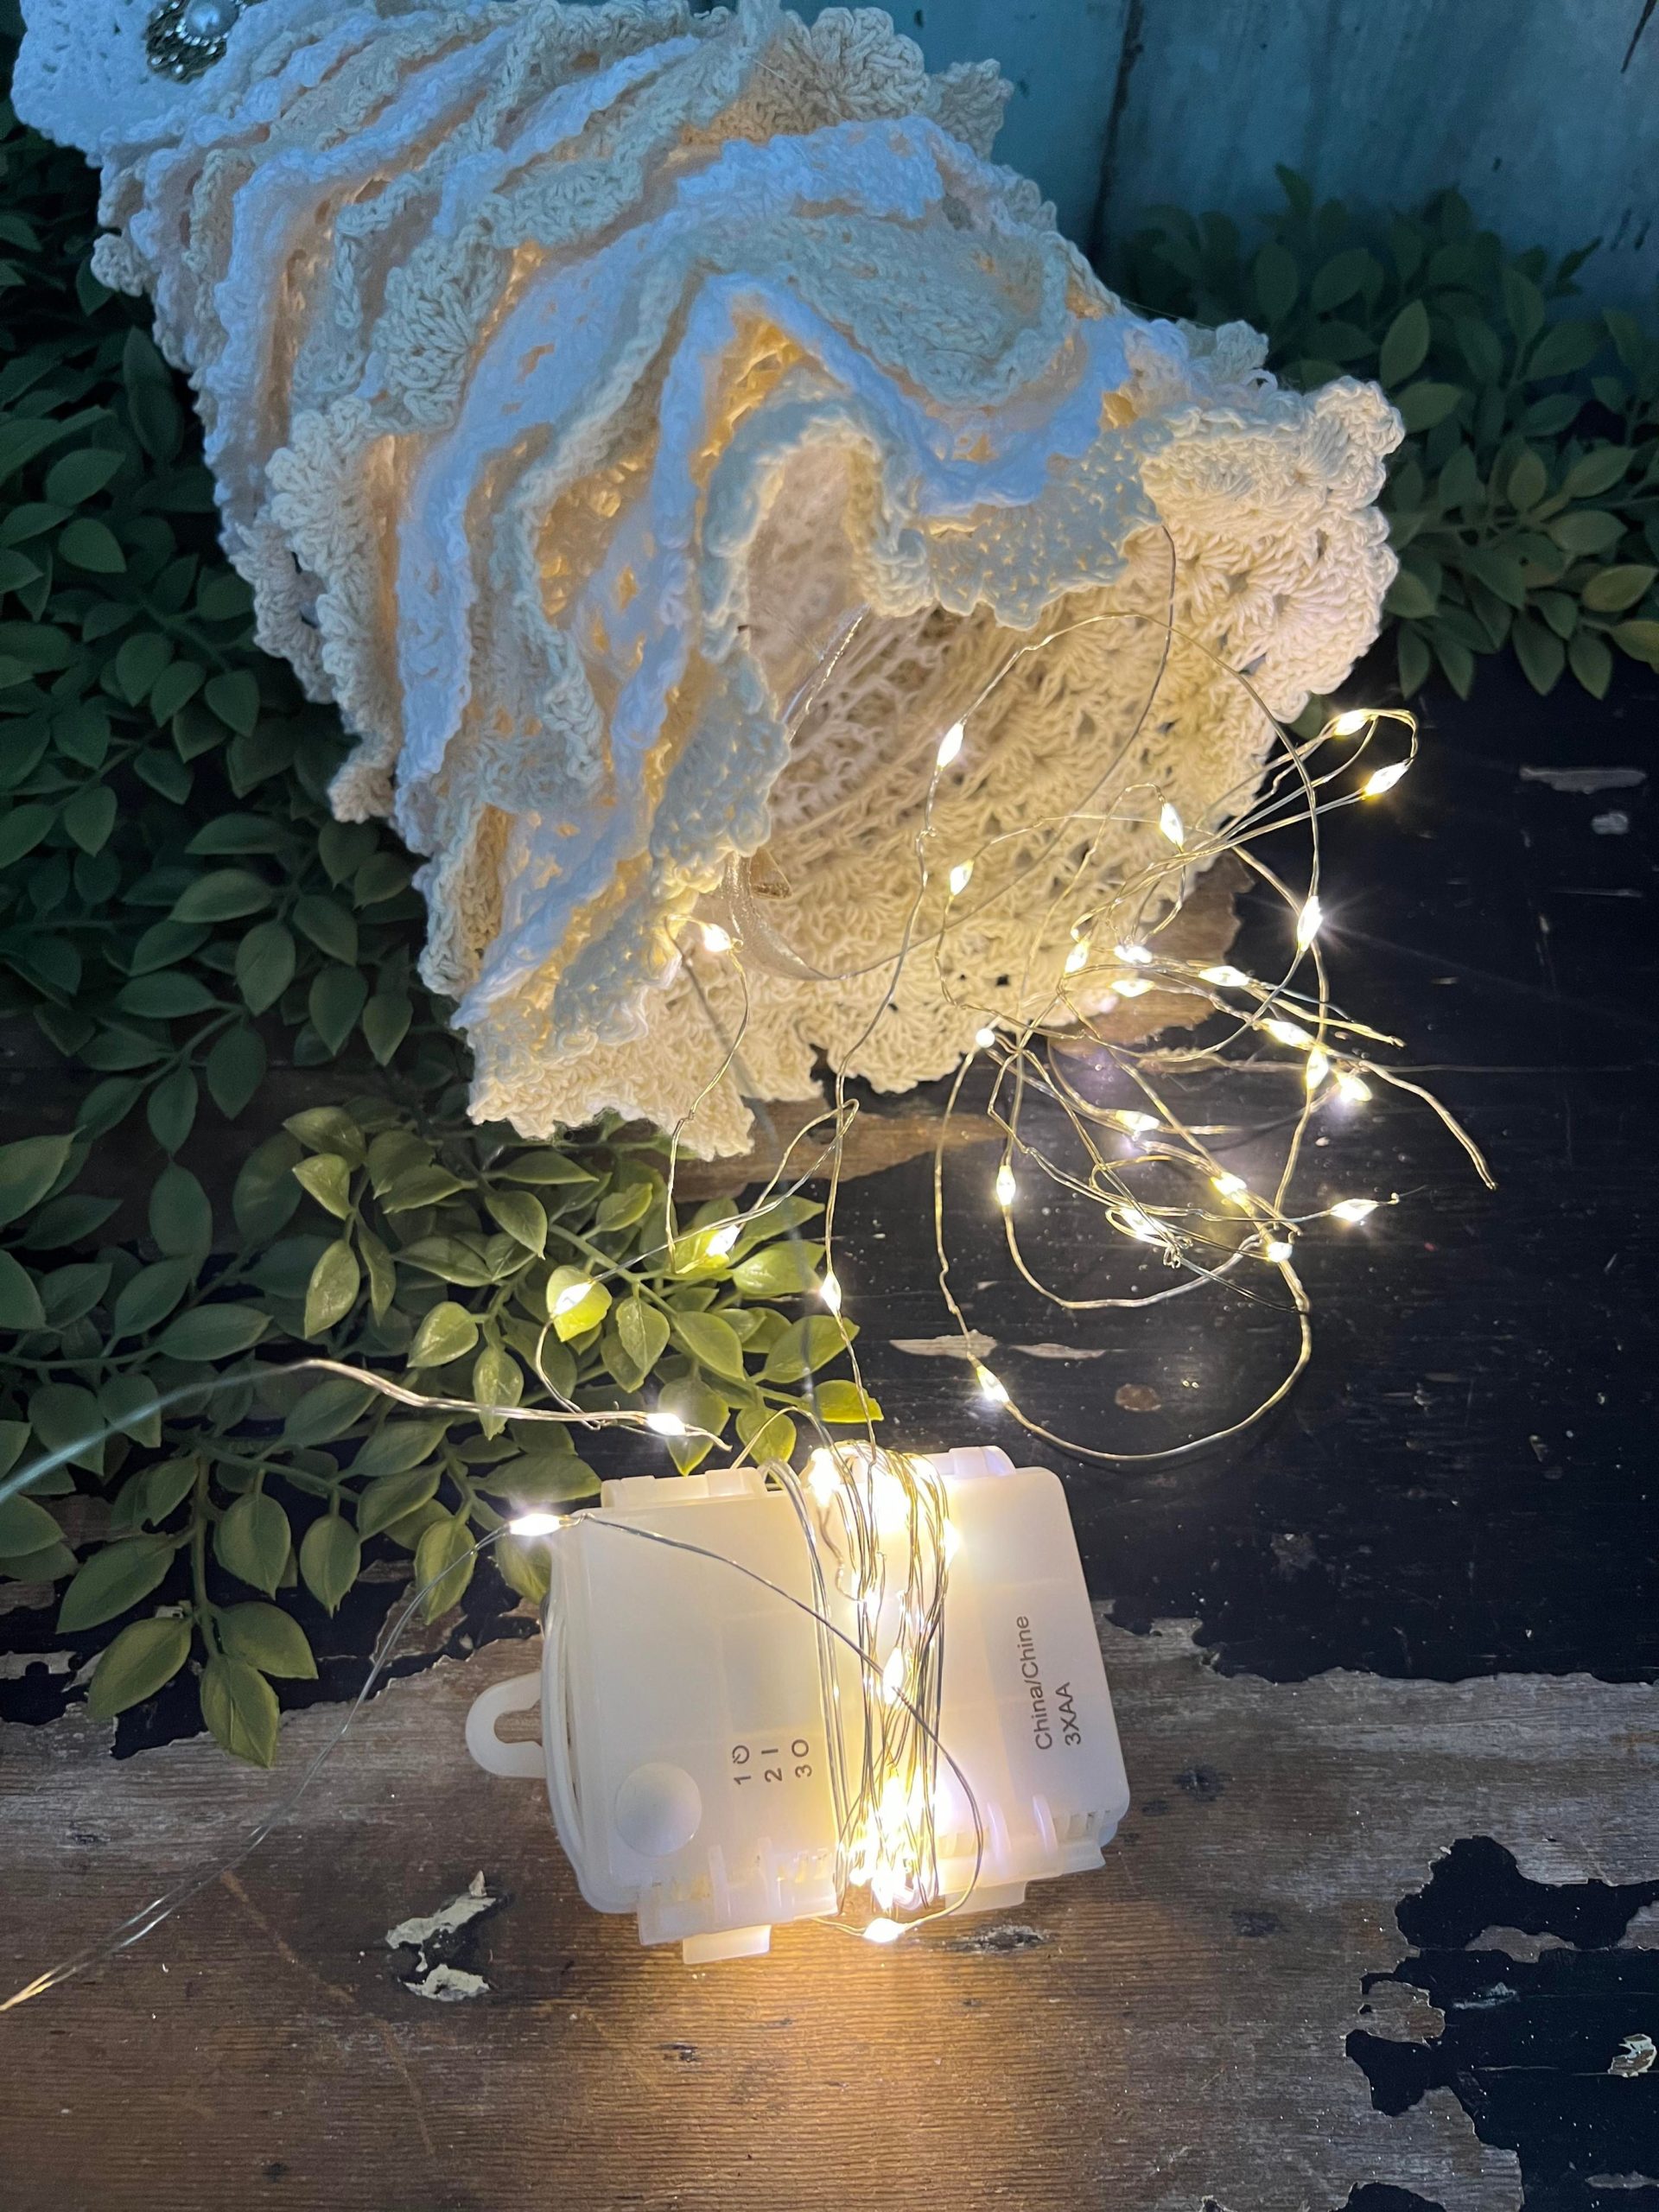
I placed a battery operated strand of lights up into the container so that the tree will light up.
You can find the doilies that I like from Amazon right here with my Amazon affiliate links.
This tree is very easy to make and I love that it lights up.