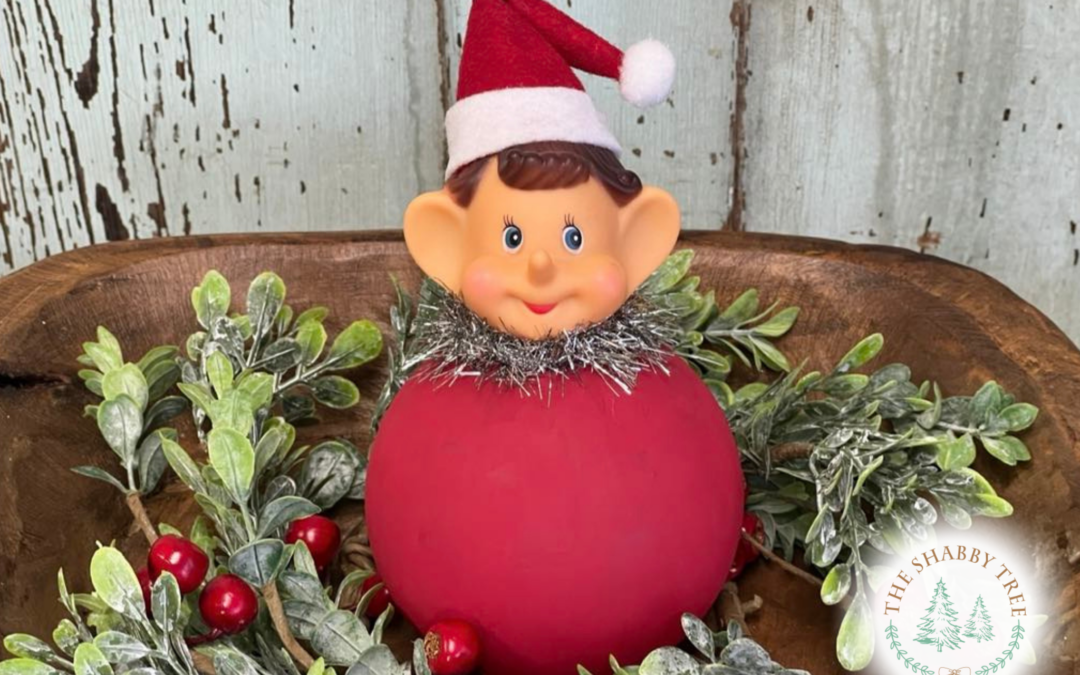
Get Ready for a Festive Vintage Christmas!
As the holiday season approaches, it’s the perfect time to plan how you want to deck the halls for Christmas this year! I absolutely adore unboxing my vintage Christmas decor and look forward to adding new treasures to my collection each season. This year, I’m excited to craft a whimsical vintage elf ornament to sprinkle some extra holiday cheer into my decor. Join me on this creative journey to bring a touch of nostalgia to your holiday celebrations!
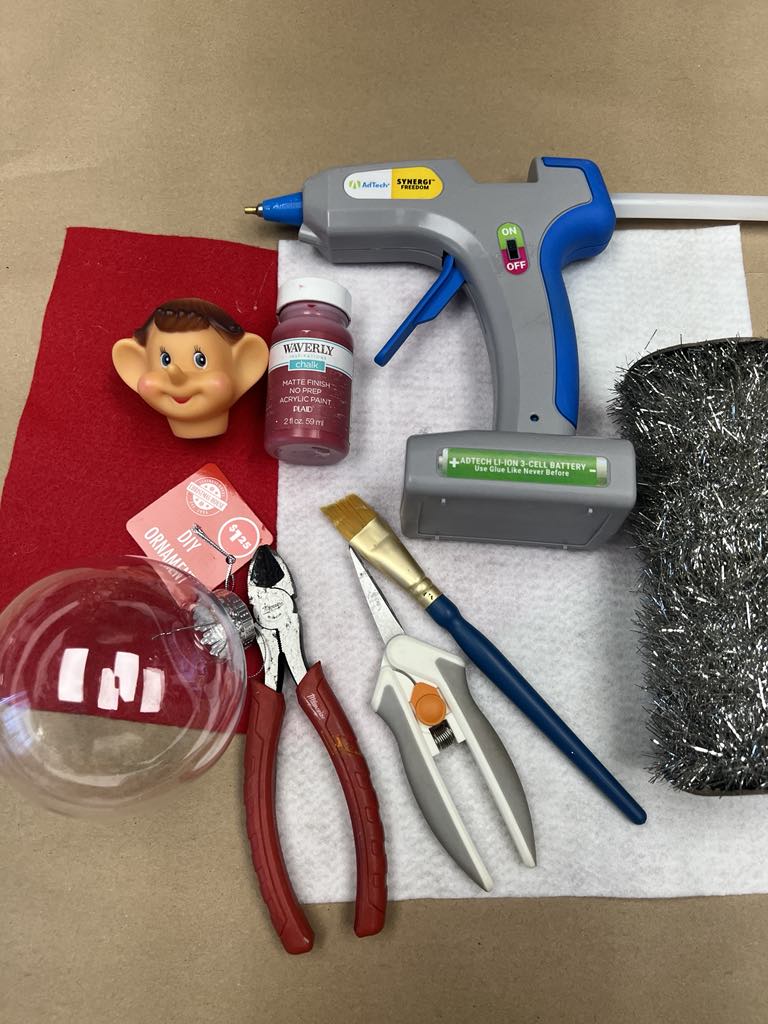
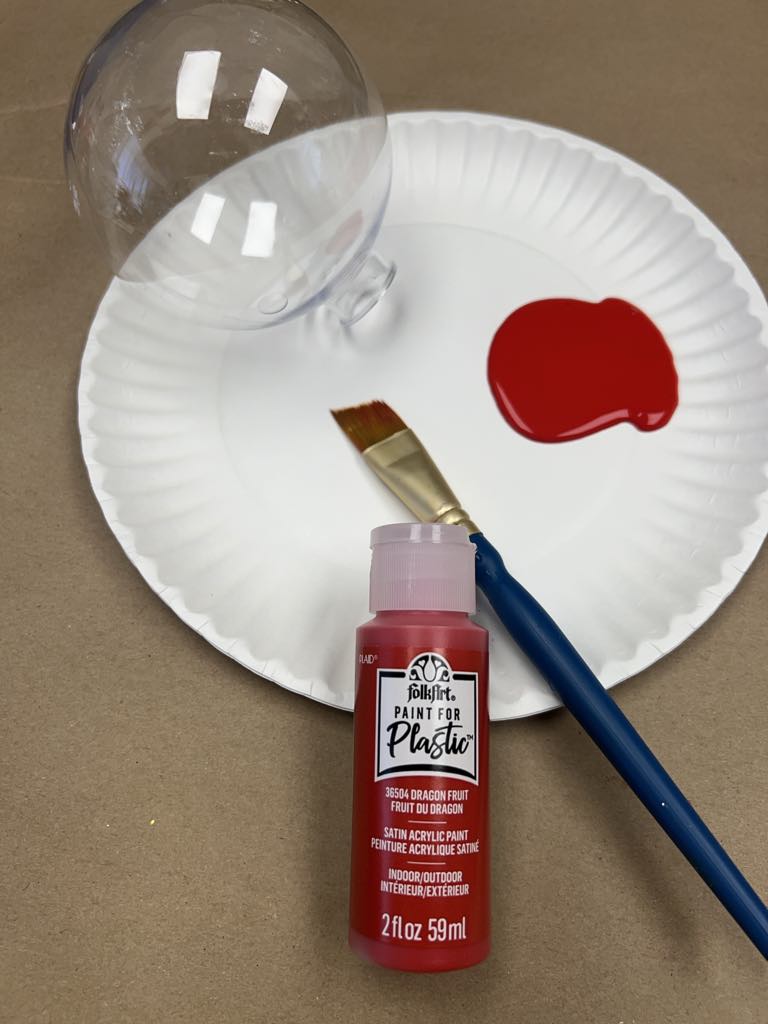
You can find the list of supplies that I’ll be using for this diy down below.
1. One 4” clear plastic ornament from the Dollar Tree
2. Hot glue
3. Silver tinsel from our website
4. Red chalk paint by Waverly
5. Paint brush
6. Scissors and wire cutters
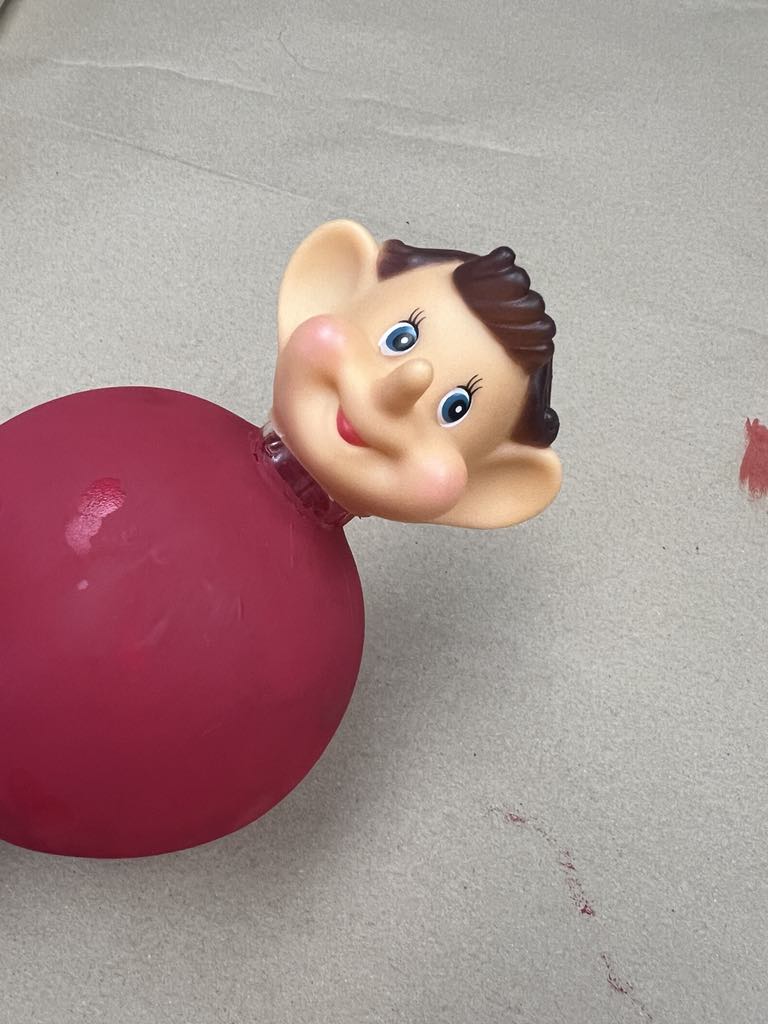
7. Plastic elf head from Amazon
8. Red and white felt
9. Small white pom pom
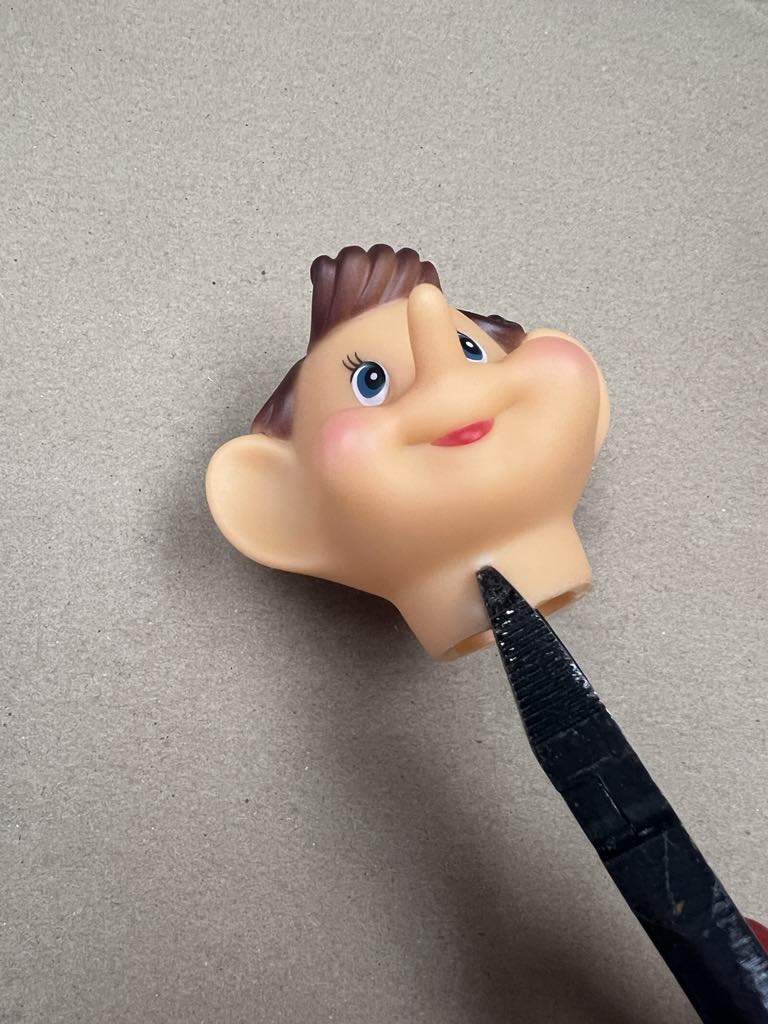
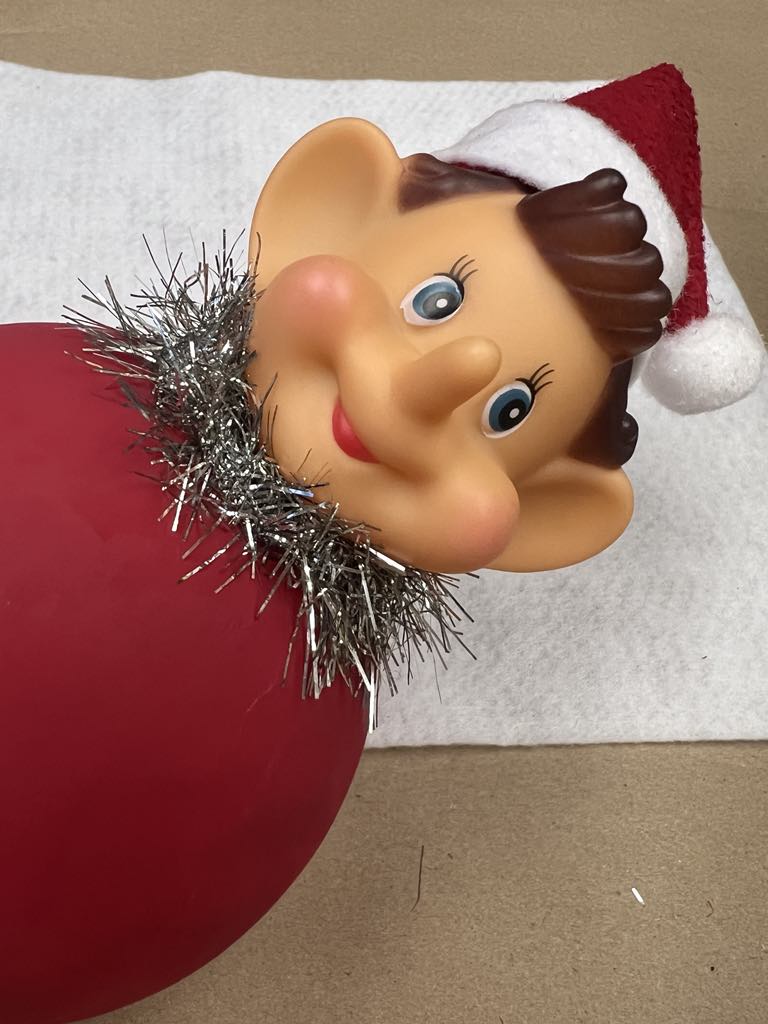
Let’s get started on our delightful vintage elf ornament! Begin by cutting four slits around the base of the elf head. I found that using wire cutters made this task a breeze. These slits will be key to securing our elf’s charming features, so let’s get snipping!

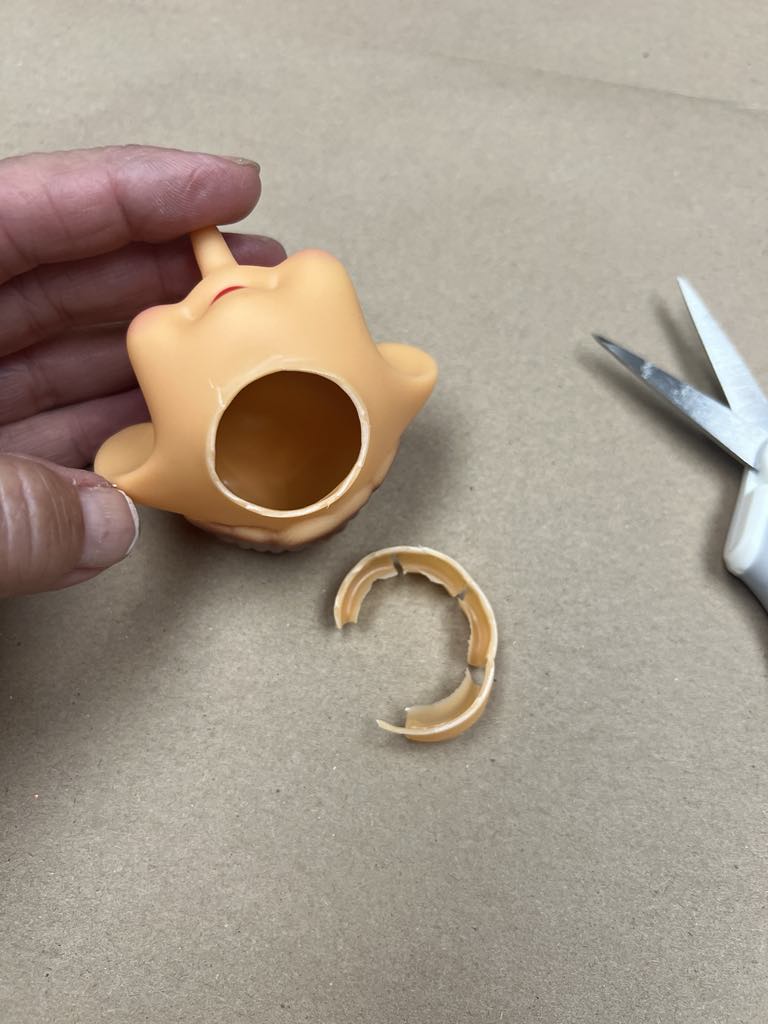
Once I had the slits cut I then used the scissors to cut off the bottom part of the head.
Now that we’ve got our elf’s head ready, it’s time to add some color! Grab your favorite paint and start painting the ornament. This is where you can let your creativity shine—choose festive colors that will make your vintage elf pop! Once the paint is dry, your ornament will be ready to charm everyone who sees it.
I used a clear plastic ornament from the Dollar Tree for this project. These budget-friendly finds are perfect for all your crafting needs and can easily be transformed into delightful holiday decorations!
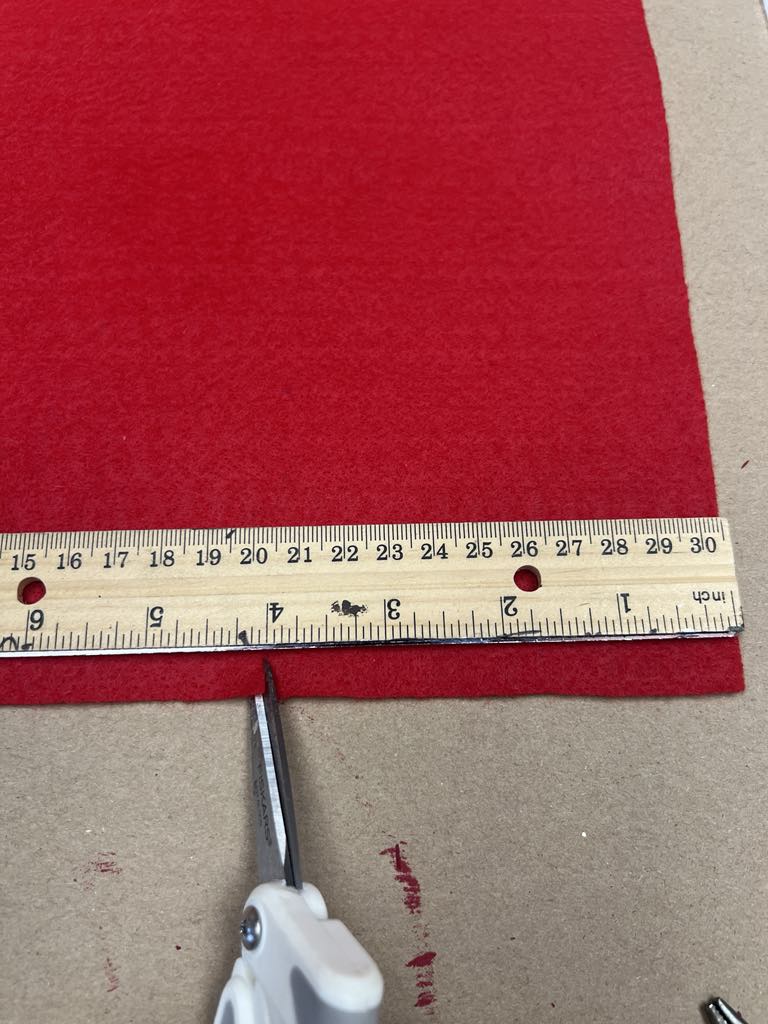
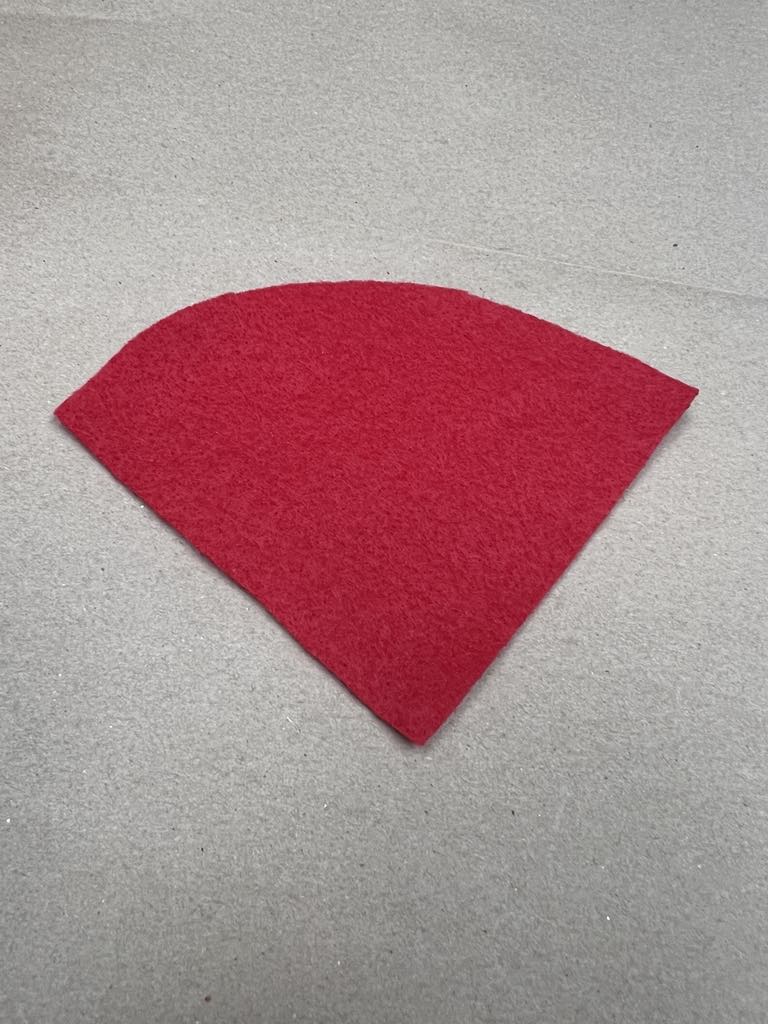
After your ornament is painted and ready to shine, it’s time to add some elf-tastic details! Cut the corner area of the red felt, making sure to measure up about four inches on each side. This will create the perfect base for your vintage elf’s hat, adding a fun pop of color to your creation!
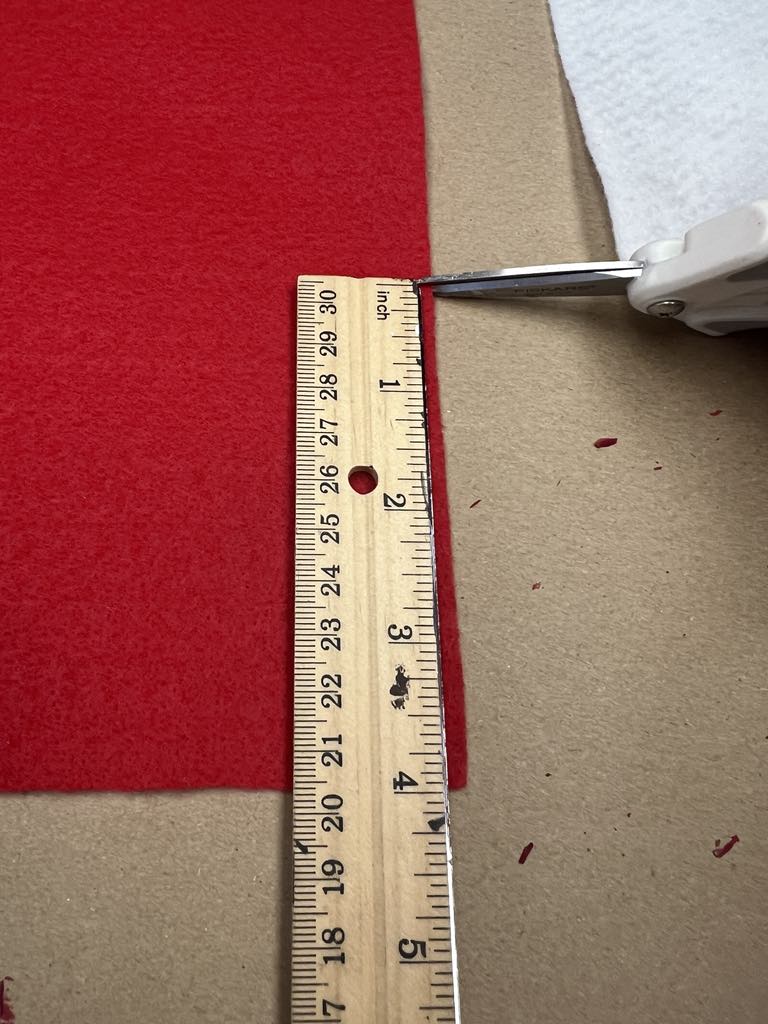
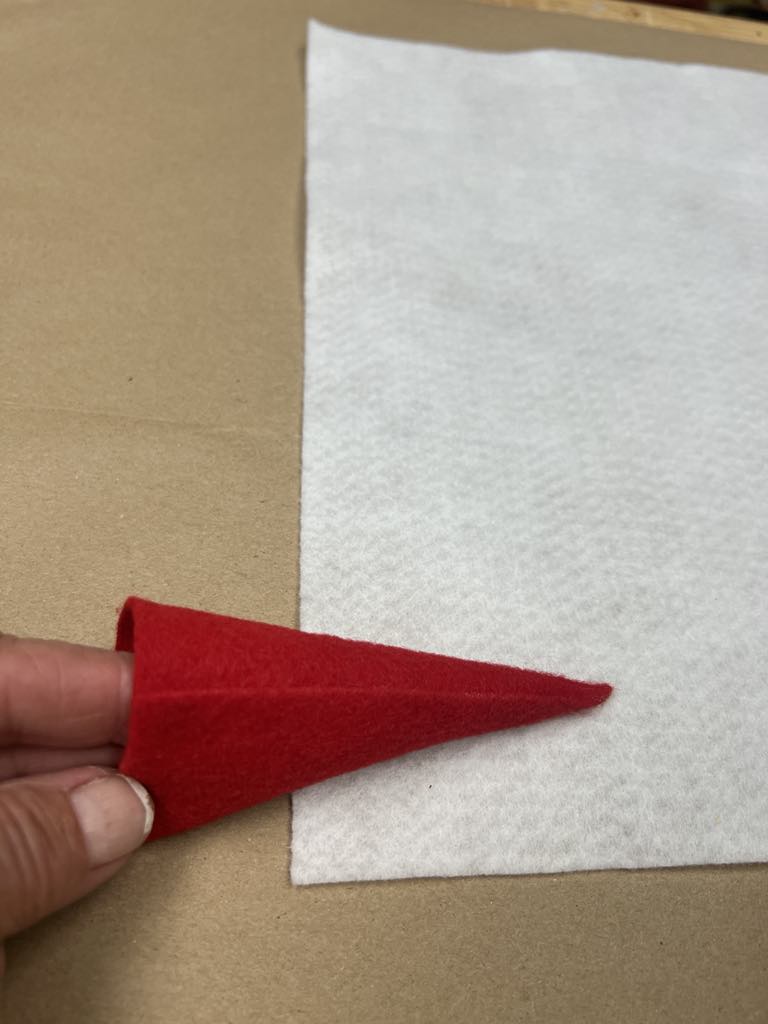
With your felt cut, it’s time to transform it into a charming elf hat! Simply glue the sides together to form a cone shape. This cute little hat will add a whimsical touch to your vintage elf ornament, making it truly stand out in your holiday decor!
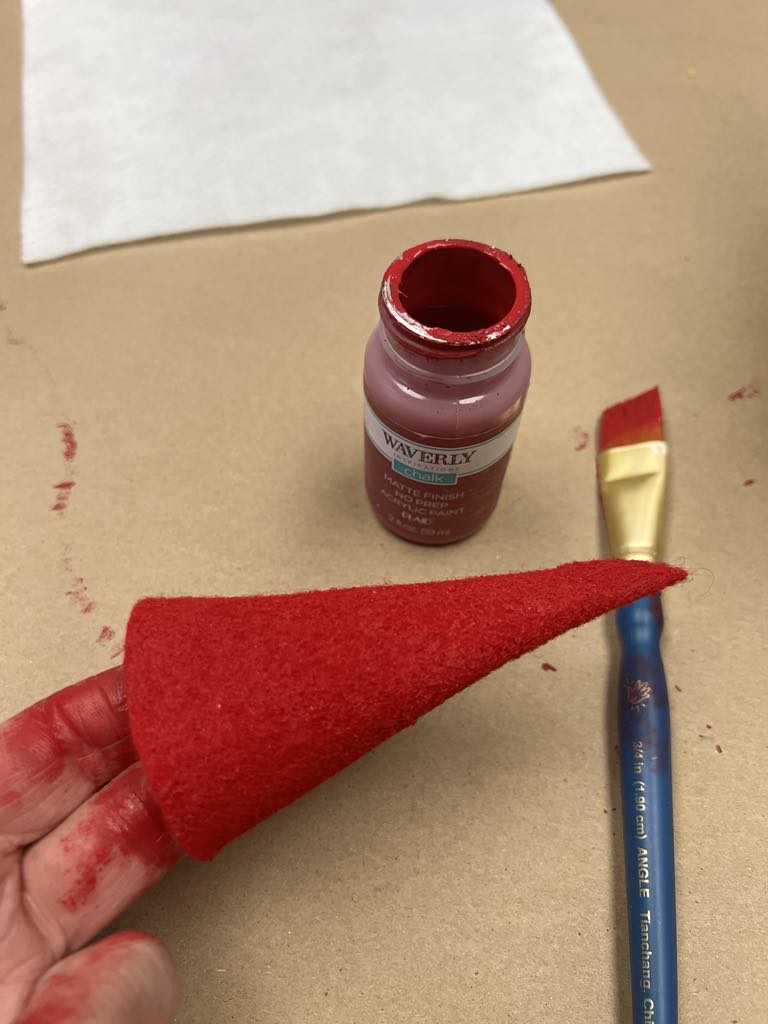
I chose to give the hat a fresh coat of chalk paint to match the ornament beautifully. This step not only enhances the cohesive look of your vintage elf but also adds a charming texture that complements your holiday decor perfectly!
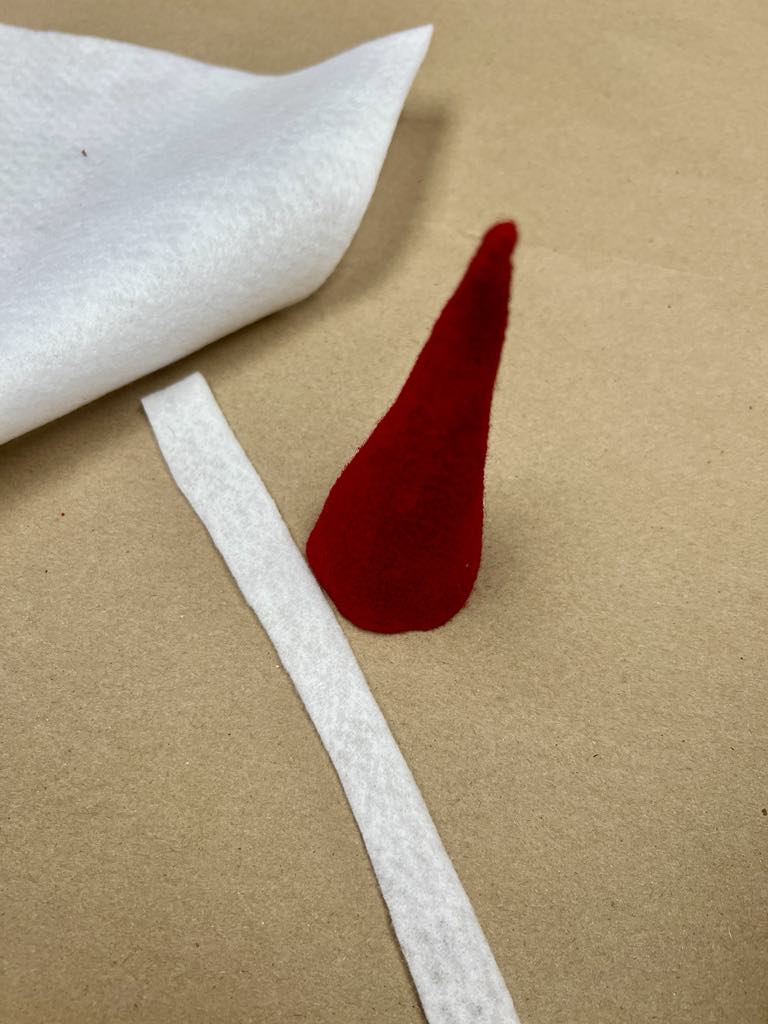
Next up, let’s give that hat some extra flair! Cut a strip of white felt and glue it to the bottom of the hat. This little detail adds a delightful pop of contrast and enhances the vintage charm of your elf ornament. Your creation is really starting to come to life!

Now it’s time to bring your adorable elf to life! Start by gluing the hat onto the head, ensuring it sits snugly atop the ornament. For an extra dash of whimsy, glue a fluffy pom-pom to the tip of the hat. I opted to bend the hat down and secure it in place for a playful look. To enhance that vintage charm, you can also add a touch of silver tinsel around the neck area. Your elf is shaping up to be quite the festive character!
You can find this elf head on Amazon by clicking my referral link down below.
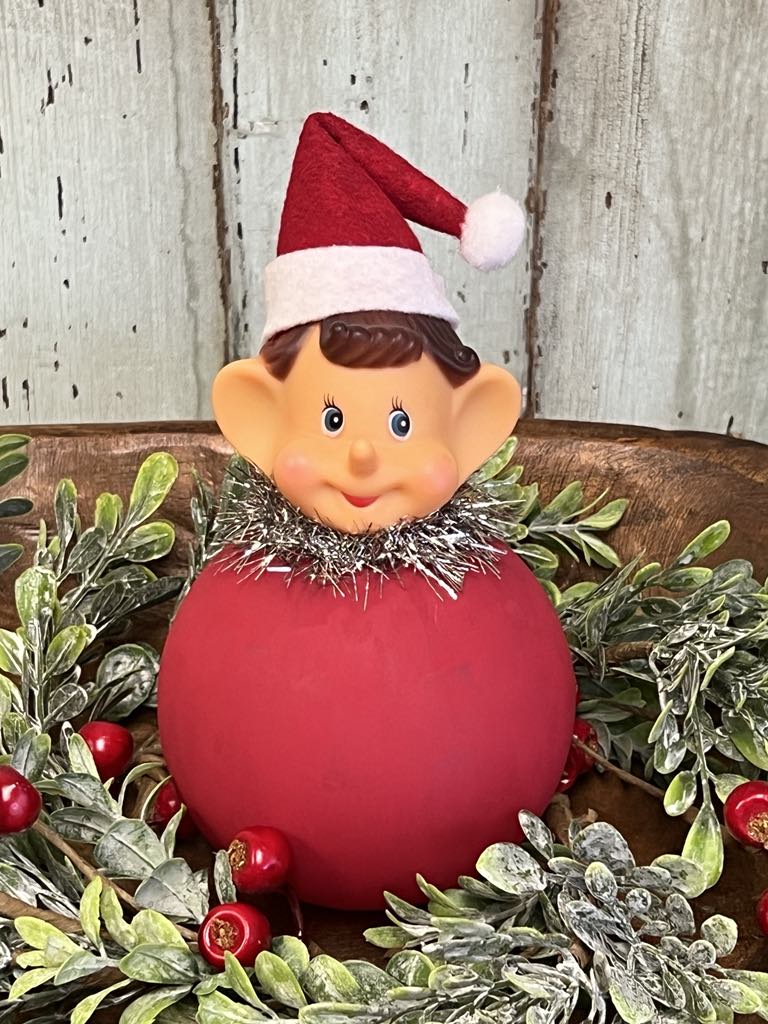
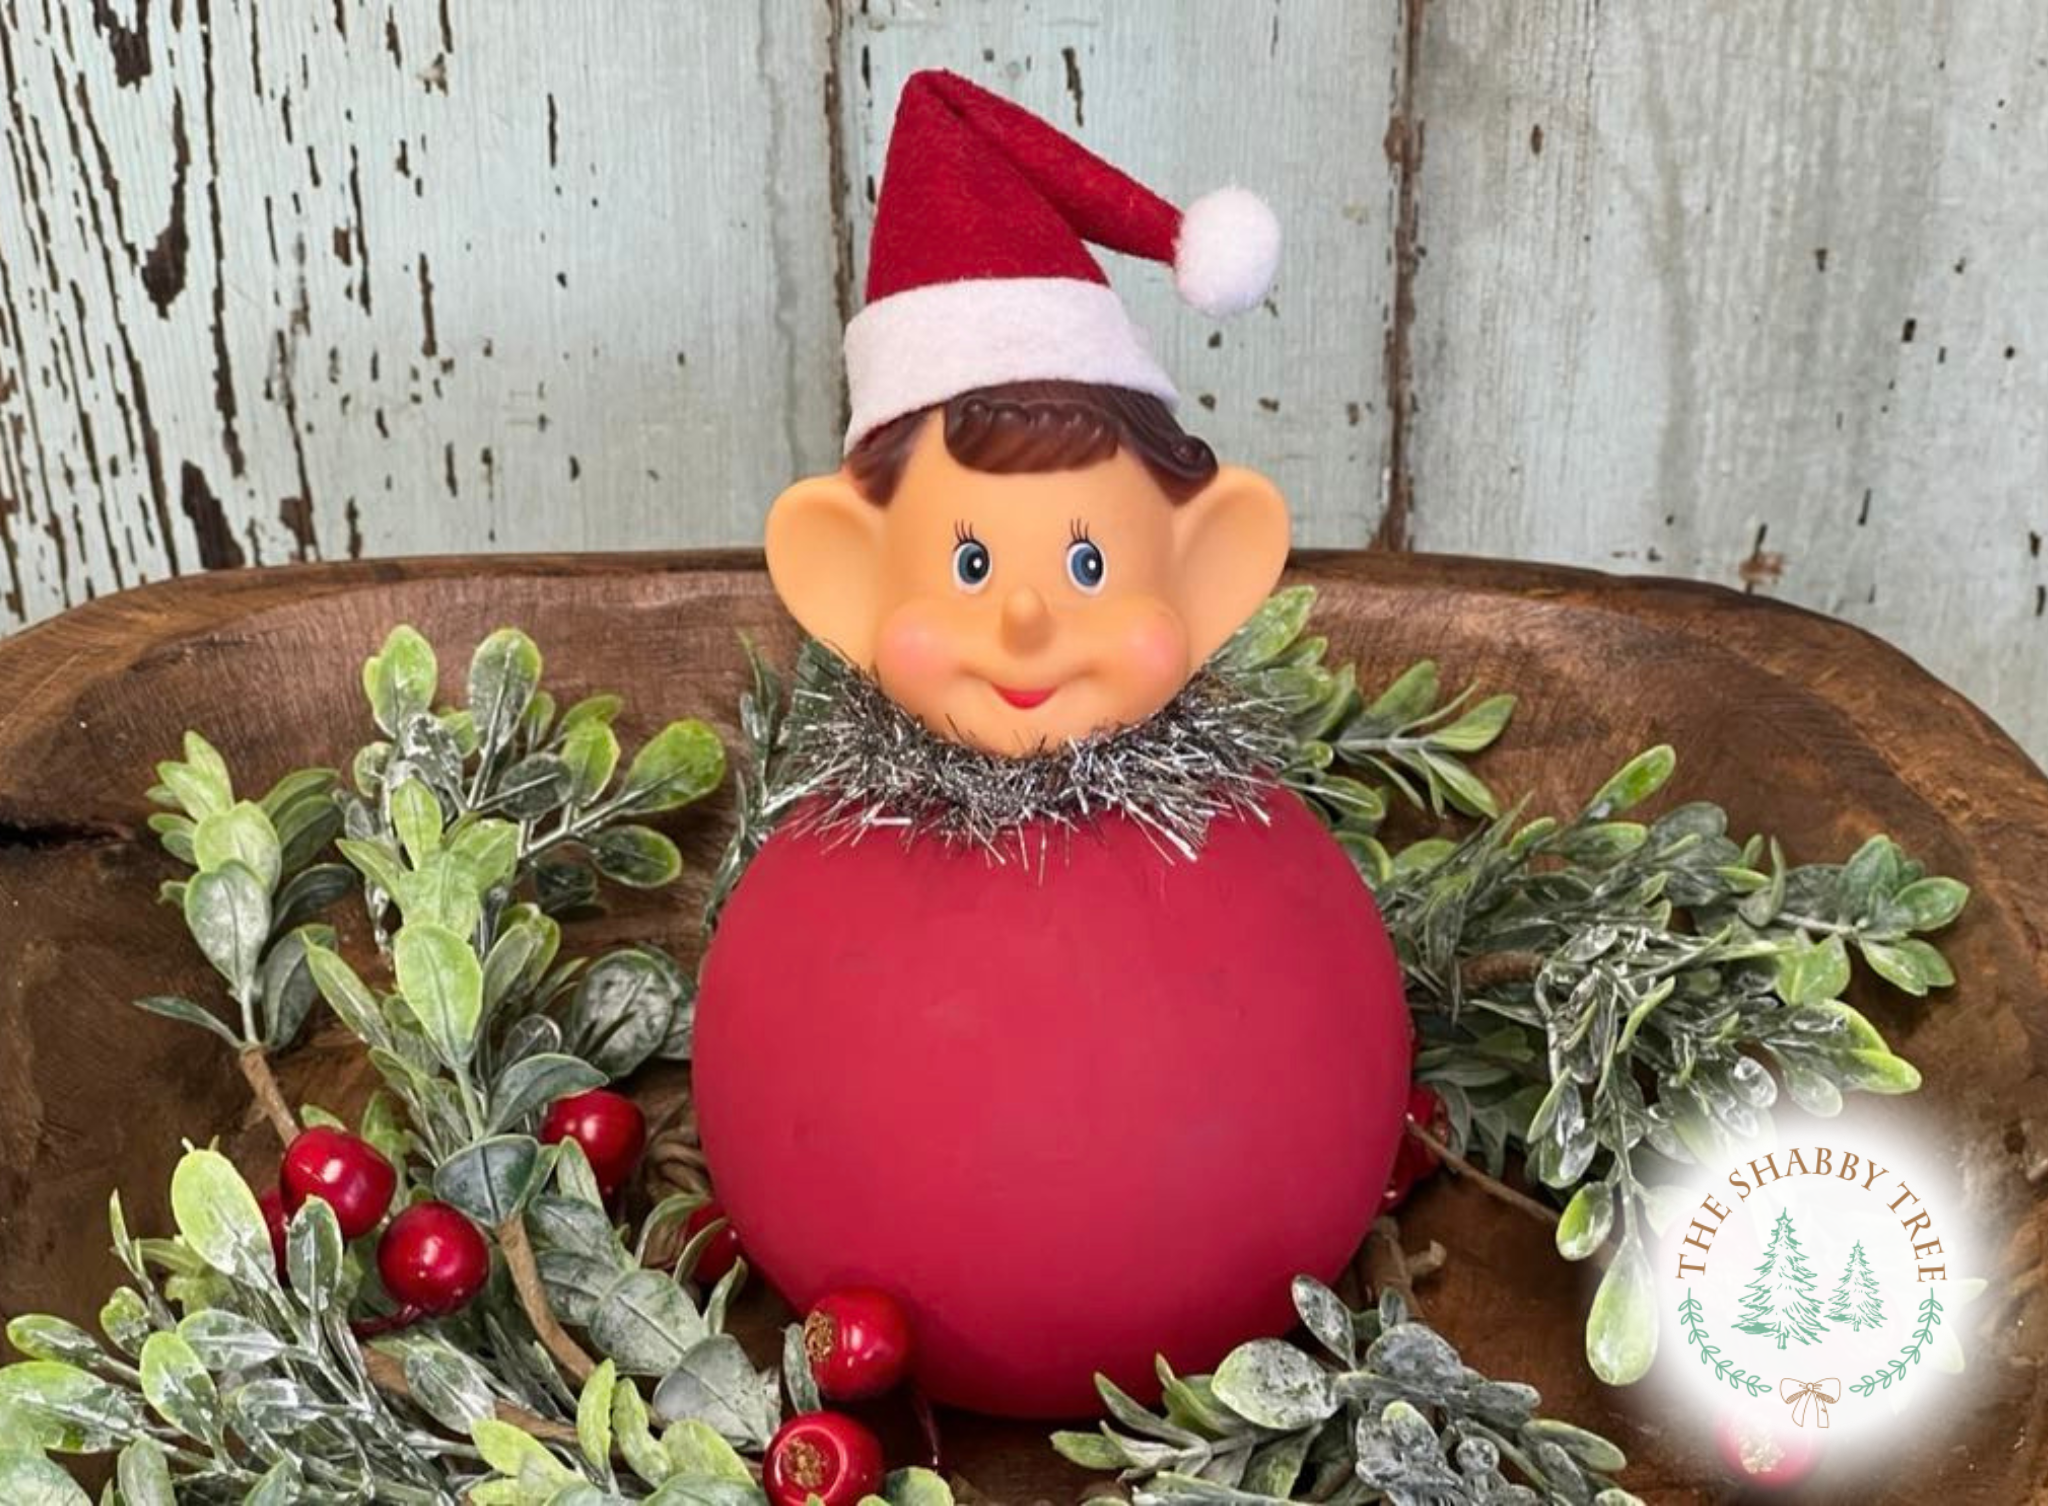
To complete your charming vintage elf, you can add a hanger to the top of the hat, making it perfect for your holiday tree. Alternatively, it can double as a delightful bowl filler, adding a festive touch to any table setting. I hope you’ll get creative and give this whimsical elf a try—happy crafting!
The elf is very cute. Would look adorable in a bowl with several of them together. I would even name them. I’m going to make some. Thanks for the idea Barb.
So cute
Very cute Barb! ❤️
He is so cute ! I can’t wait to watch you make another one! ❤️💚🎅
Cute Elf, ready for Friday Night hang out! To se this cutee been made.
Your little elf is so cute and such a clever use of the DT ornament. He would be really cute with light’s in his body.
So stinking cute!
I love hanging out with you, Barb while you did this craft, he is the cutest elf. I think I have ever seen. I am going to have to get some of those heads and try this. Thank you Barb had a marvelous time.
That is such a cute elf. I cannot wait to watch you make it tonight on Friday night hang out October 18 at 10:00 PM. See everybody there.
Cute!
I love this the elf is so adorable will be there for Friday night hangout watering the shabby tree