When decorating my home I love using trees of all shapes and sizes. I knew I wanted some type of small wooden trees. If you love the farm house look that is out every where right now then your going to want to make a few of these.

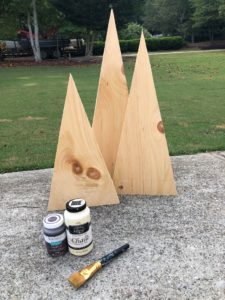
The supplies you will need are: a piece of wood( I got this piece of wood from Home Depot for $10.00) your size of wood depends on the size of trees you want to make. You will also need some safety goggles,a saw and paint which is optional.
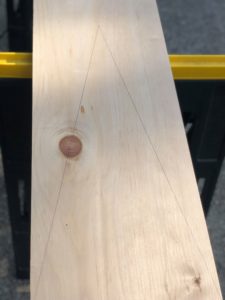
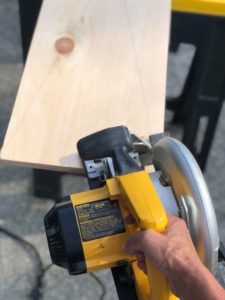
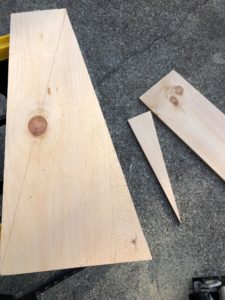
First thing I did was draw my triangle onto the wood. This will be the shape for your tree. You can make this how ever tall you want. I will be making 3 different sizes. I just marked a dot on center of wood and drew my lines to each corner.

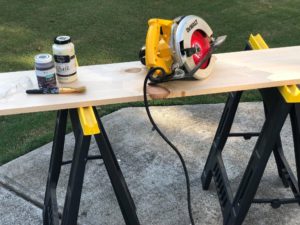
Once your tree is drawn then it’s time to cut. I just cut down each line with my electric saw.
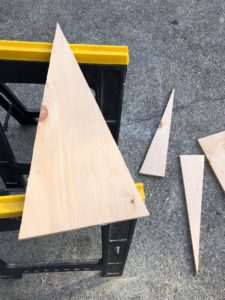
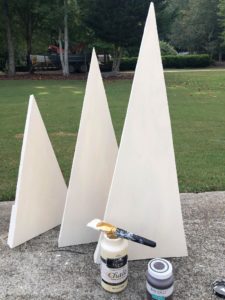
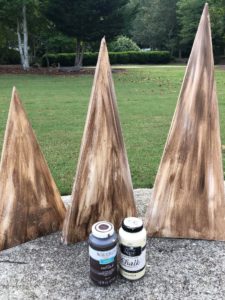
I did this process three times making three different size trees.
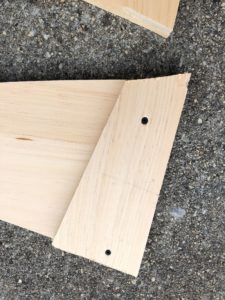
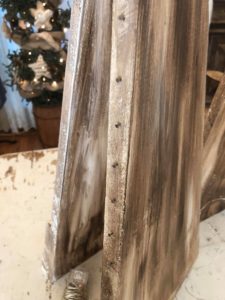
Now I want my trees to stand straight up. You can lean them against a wall but I decided to add some of the scrap wood to the back of each tree. This is giving the tree a better thickness so that it will stay straight up.
I just cut and drilled some scrap incessantly of wood to the back of each tree at the bottom.

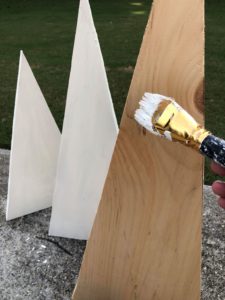
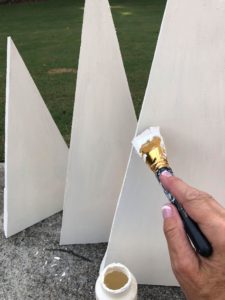
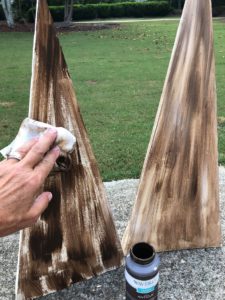
My wood was just an unfinished piece of wood so I decided to paint them. You can paint or even stain your trees . I am using some cream chalk paint and adding a stained wax on top.
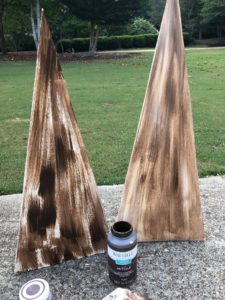
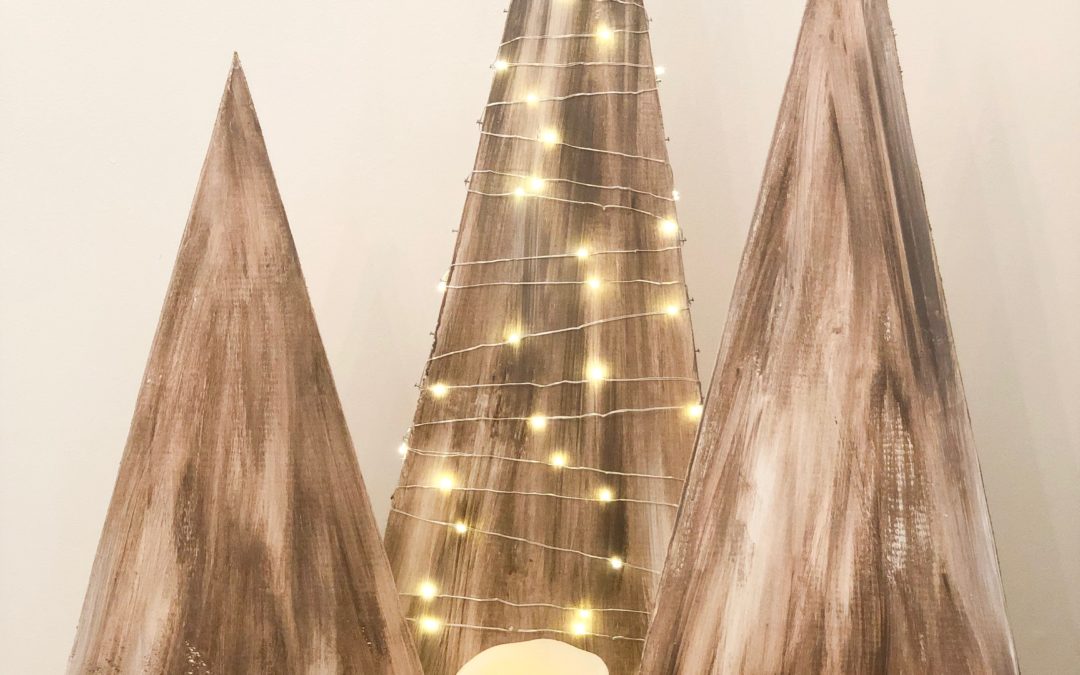
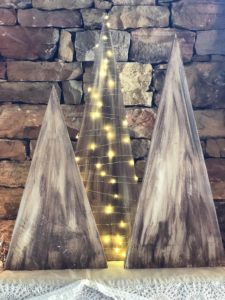
You can leave your trees just like this or you can add some battery operated lights.
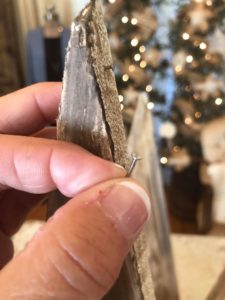
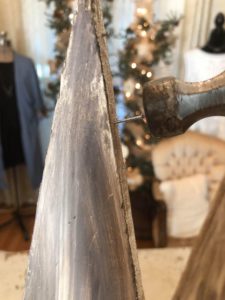
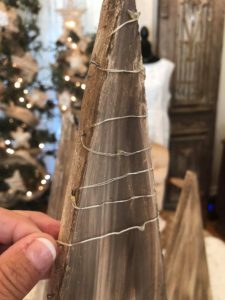
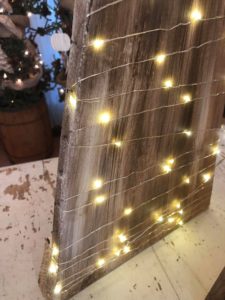
I put tiny nails down both sides of one tree. I then zigzagged the lights wrapping around each nail.
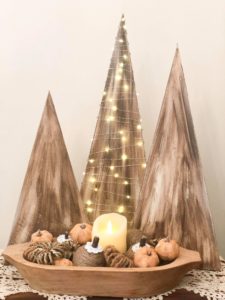

This is such a quick and cheap diy. I love how they turn out and it’s something you can use all year long.
Hello my family member! I want to say that this post is awesome, great written and come with almost all important infos. I would like to peer more posts like this .
I’m so glad I seen you on Facebook I watch you all the time thank you for great ideals
Love these trees. You are so talented and self sufficient.
Is that pine you are using? Does the thickness matter?
These trees are soo stinkin cute!! I am also planning on making them. I would think that you can use any type of wood you prefer. I am going to use 1” pine for mine.
I’m having so much fun following you. I’ve never made crafts! I recently retired and found you and I’m obsessed. I bought 4, 3’ lit trees and I love having the white lights on all day! I visit Walmart, Joann fabrics and the dollar tree just about every day. I’m making Christmas ornaments now! Thank you for your inspiration❤️ ( I’m from the Pittsburgh, PA area.)
Such a affordable and easy way to make these cute trees! I honestly never thought I could craft but your ideas honestly opened my eyes to being more creative when I’m shopping. Thank you so much!
I have been looking for an idea for something to put on my mantle and saw your vlog on youtube last night. I’m so glad I found you and this idea!!!
Love love the trees!
Let’s face it, I love everything you dream up♥️
Thank you it’s easy and beautiful. I think I can do this one.
Oh my I love it all..makes my mind go crazy wanting to do it NOW.