
If you love simple crafts that turn everyday household items into adorable seasonal décor, you’re going to love this one! In this tutorial, I’ll show you how to make a charming snowman out of wool dryer balls. This easy DIY project is perfect for adding a touch of handmade warmth to your winter decorations—no snow required! Using just a few basic supplies like dryer balls, paint, and , you can create a whimsical snowman that’s great for tiered trays, mantel displays, or even as a unique gift. It’s quick, budget-friendly, and perfect for crafters of all skill levels.
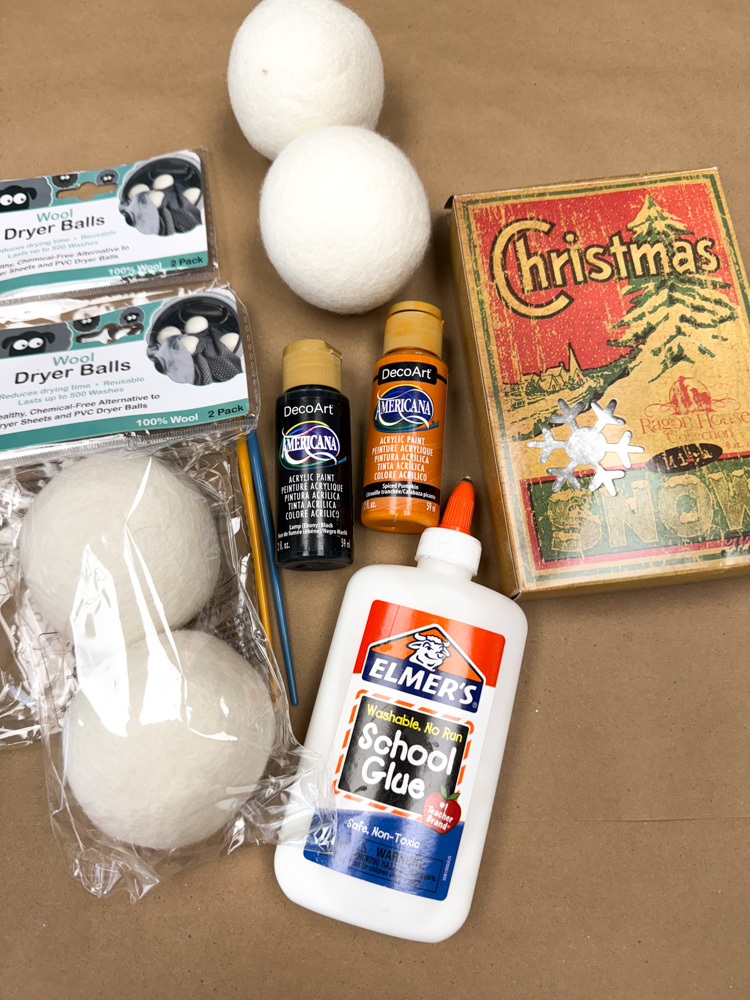
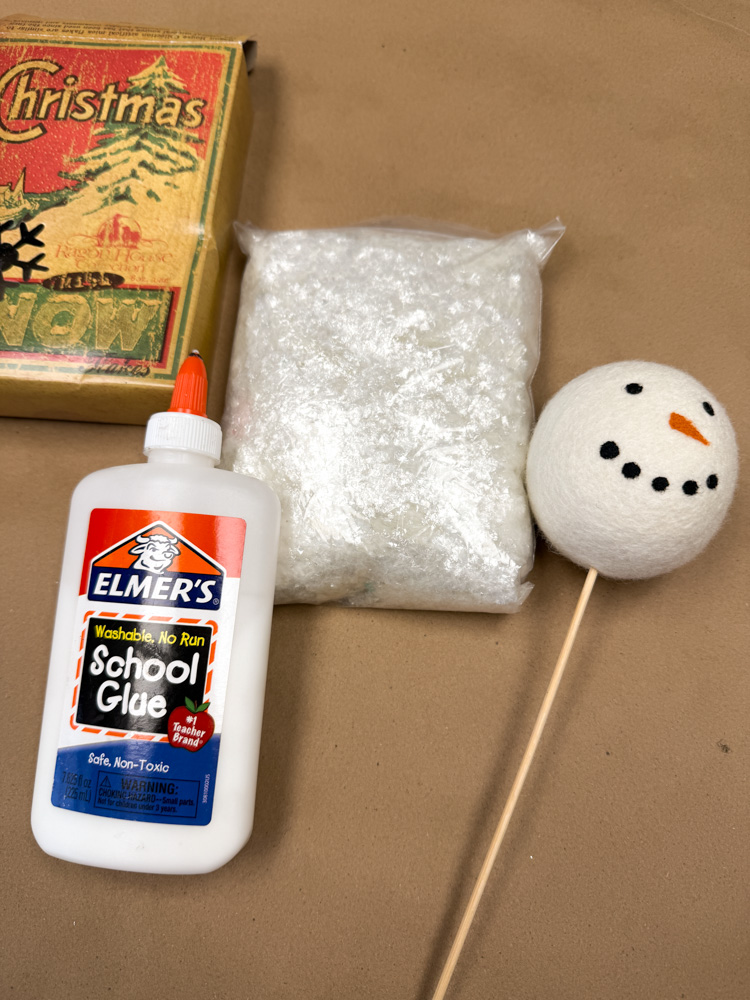
Here is what you will need for this DIY:
1. Wool Dryer Balls
2. Lamp Black Paint
3. Spiced Pumpkin Paint
4. Two paint brushes
5. Mica Flakes (I used the ones from our website)
6. Elmer’s Glue
7. (optional) a kabob skewer
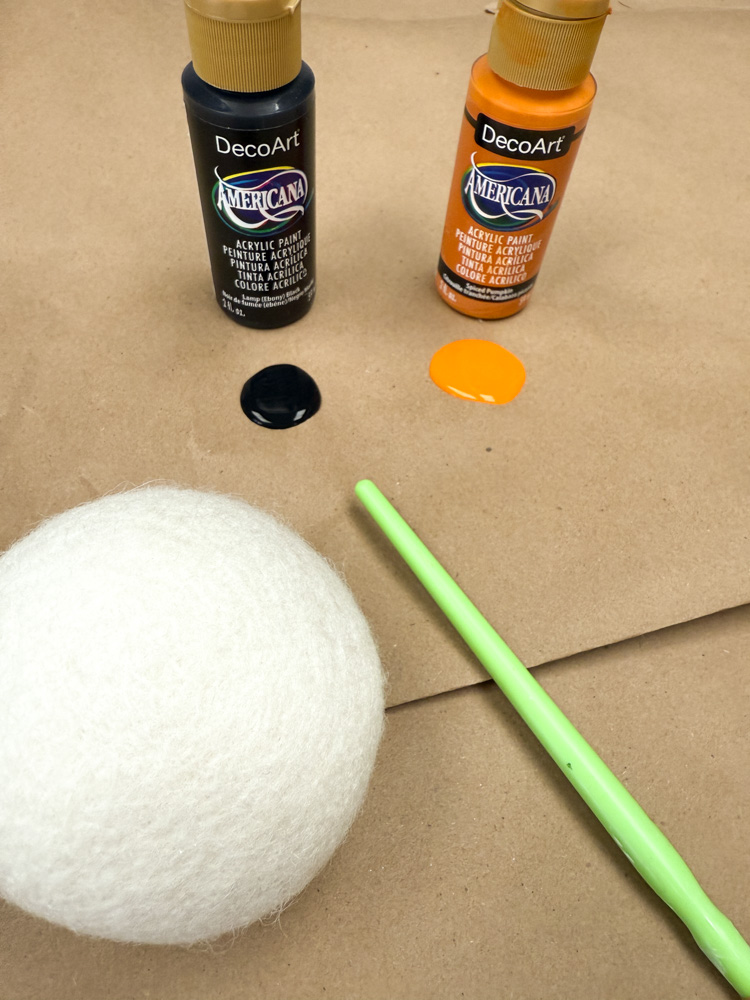
Once I had all my supplies ready, I started by painting the snowman’s face. You don’t need much paint for this part—just a tiny bit of each color will go a long way!
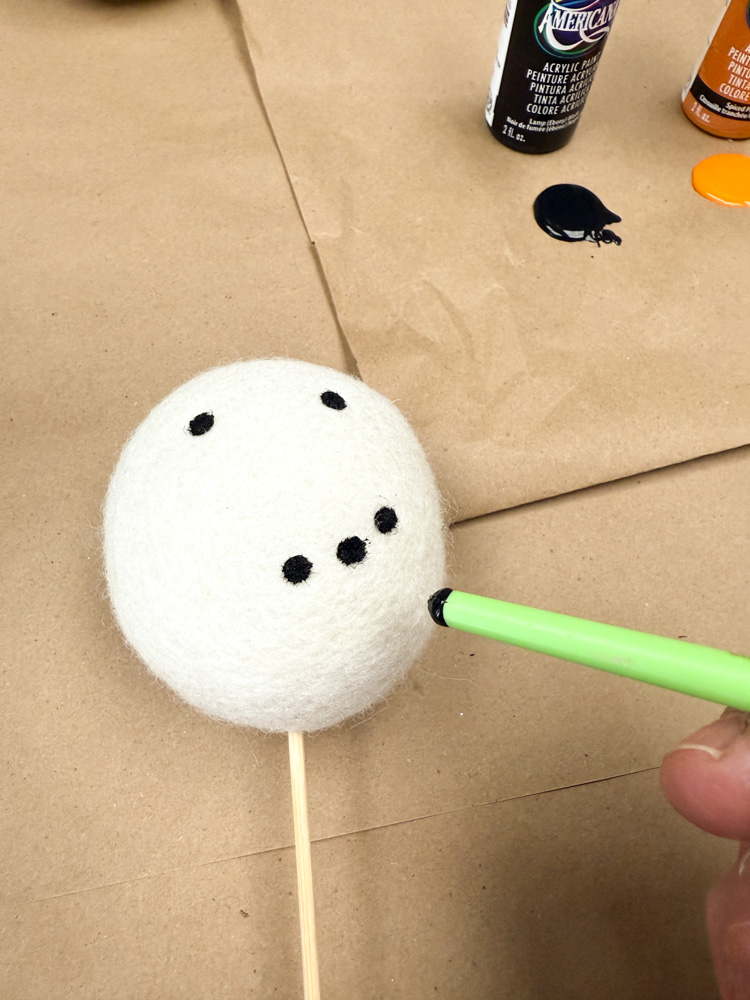
For the face, I used the back end of my paintbrush instead of the bristles. I dipped it into a little black paint and gently dotted on the eyes and mouth. This trick works perfectly for getting nice, even circles—no special tools needed!
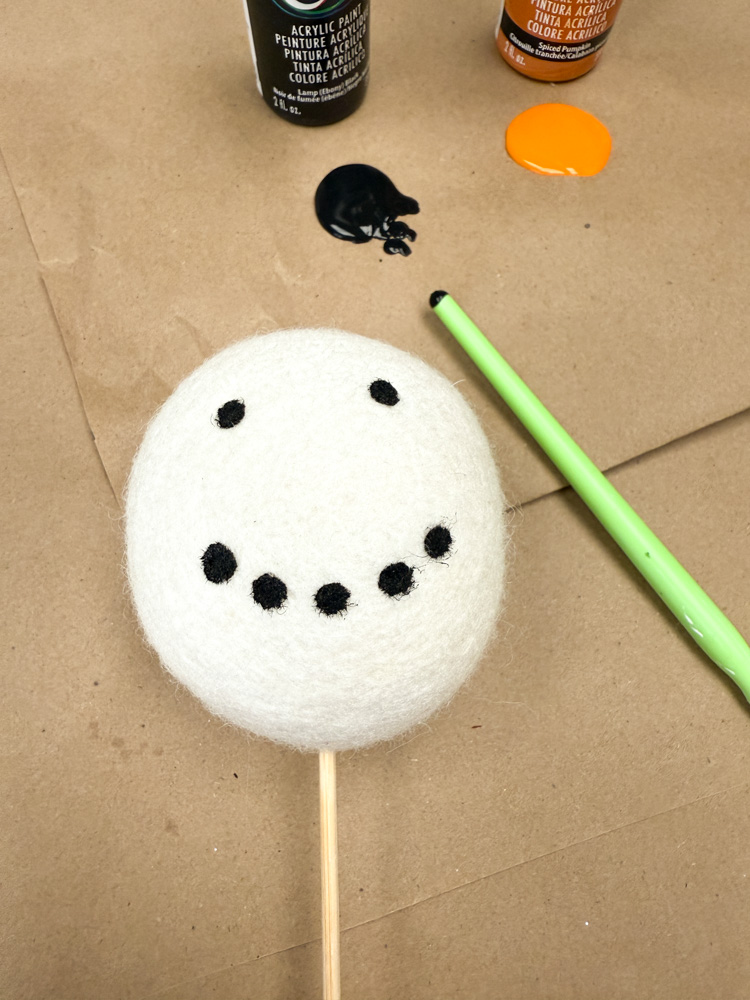
It’s such a simple step, but it really brings your wool dryer ball snowman to life with the sweetest little smile.
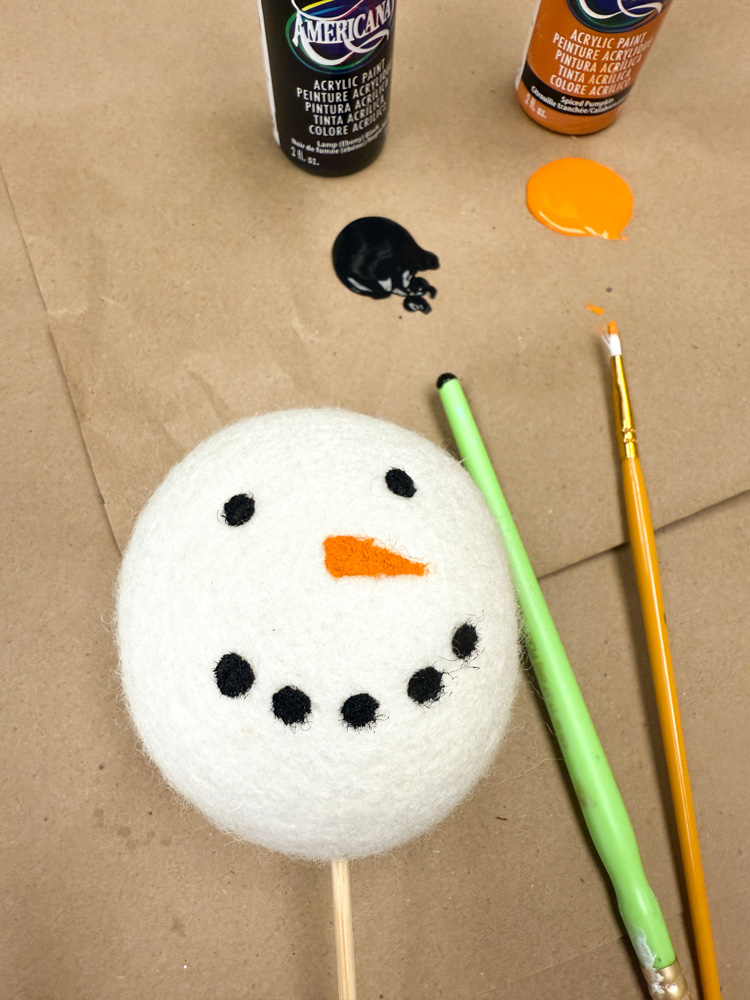
Next, I grabbed another small paintbrush and added the snowman’s carrot nose. Using a little orange paint, I carefully painted a tiny, long triangle shape right in the center of his face. You don’t need it to be perfect—slightly uneven shapes make it look even more handmade and charming! Once the nose dries, your wool dryer ball snowman starts to take on that classic, cheerful look we all love.
Now it’s time to add some sparkle! ✨ This is my favorite part because it’s where your snowman really starts to shine—literally.

I started out by dabbing Elmer’s glue all over the snowman with my finger. This is such an easy and fun step—no fancy brush needed!

I made sure my snowman was coated evenly with glue all the way around so the sparkle would stick everywhere. To make it easier to handle, I used a wooden kabob stick to hold him while I added the mica flakes. This little trick keeps your hands clean and helps you get a smooth, even layer of shimmer on every side.
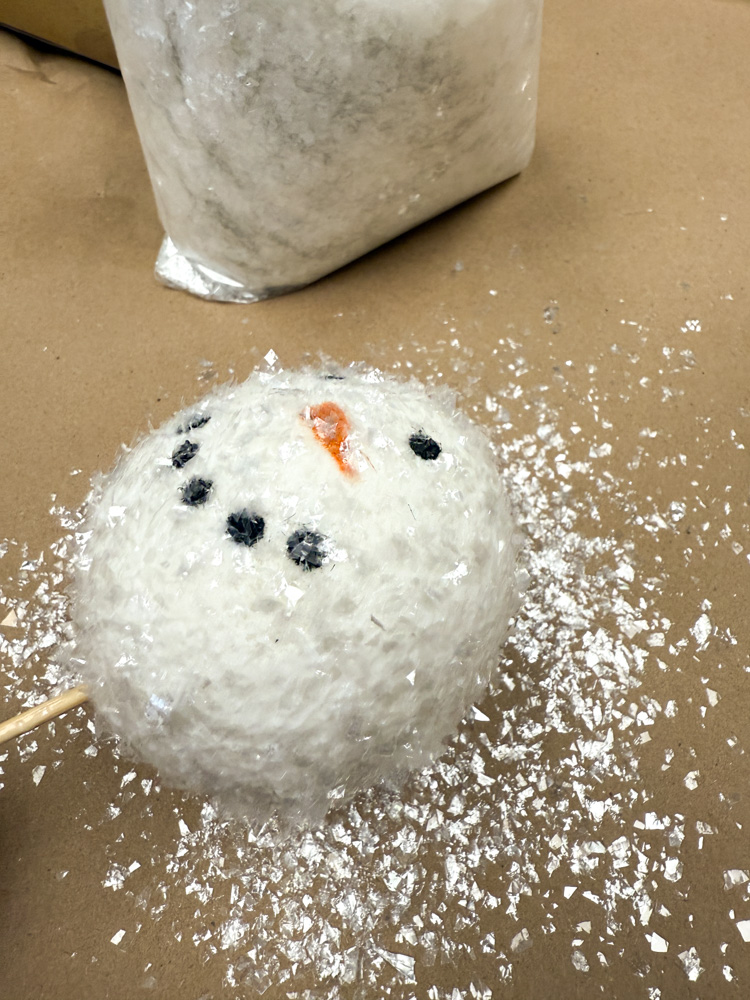
Next, it was time to bring our jolly snowman to life with some sparkle! I started sprinkling the mica flakes all over the glued surface, letting them fall like tiny snowflakes. As they stuck to the glue, the whole snowman began to shimmer and shine—it instantly gave him that magical, frosty look you’d expect from a real snow day.
You can find the mica flakes I used at our website here: https://theshabbytreeboutique.com/shop-mBiWY/p/mica-flakes?searchid=605272&search_query=Mica+flakes
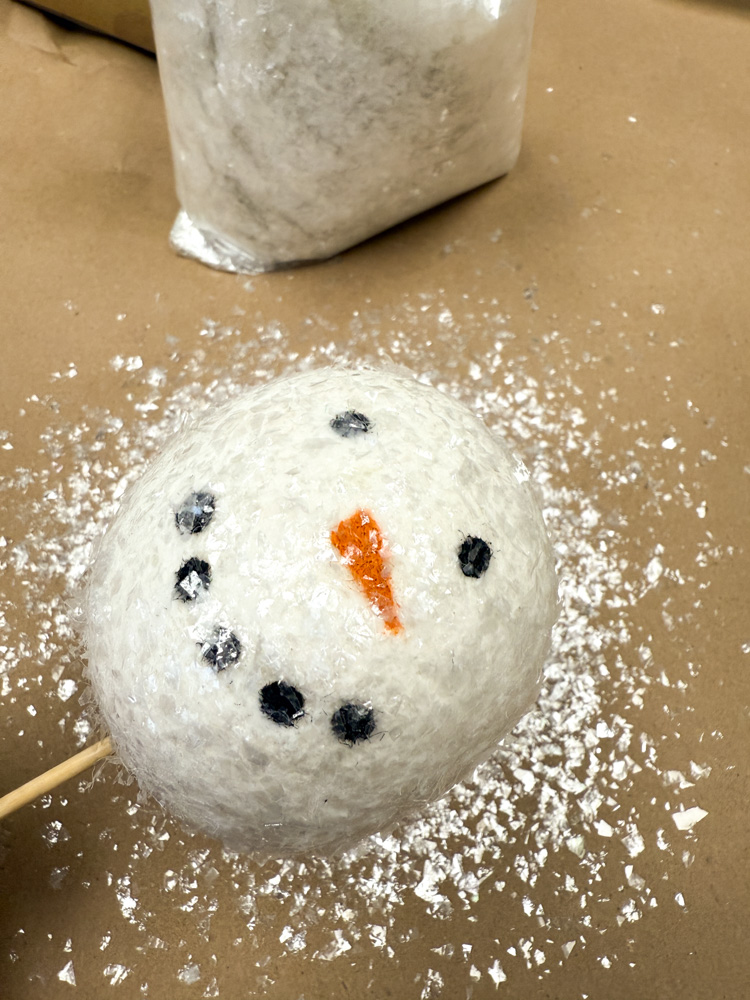
This step is where the transformation really happens, turning plain wool dryer balls into a sparkling winter decoration you’ll love displaying all season long.

Once the mica flakes were completely dry, I carefully pulled out the kabob stick—and that’s when I realized just how cute these little snowmen turned out! They make the perfect dough bowl filler or tabletop decoration. You can display a few together for a snowy winter scene, or mix them in with greenery, pinecones, and ornaments for a cozy farmhouse look. No matter how you style them, these DIY wool dryer ball snowmen add the sweetest handmade touch to your holiday décor!

Barb, love these snowman they are adorable
I love these snowmen!! I can’t wait to make some!! ⛄️❄️⛄️
These are so cute! I must make some for our coffee table centerpiece.
These are so super cute!! I love them. So easy to make. I will be making some of these for sure. ❤️❤️❤️❤️❤️
I love it ! And it looks so easy… I’m going to get my grandkids to makes these over thanksgiving when I go see them in WVa … thanks for always sharing your great crafts Miss Barb…
I absolutely love these! I am going to make some.
Those are absolutely adorable! How fun and easy!
Love these so much, I just was at Walmart last week and saw these hanging in Craft section on a end cap , now definitely need to get some .
These snowman are SO CUTE Barb…getting supplies today , making them this weekend ⛄️❄️….i have the Mica Flakes , and LOVE them !!!!!. Thank you for another fun way to get crafty !!!
Love it ! So cute Barb ❤️
Hi Barb,
I absolutely love the sparkly snowballs. Great idea!