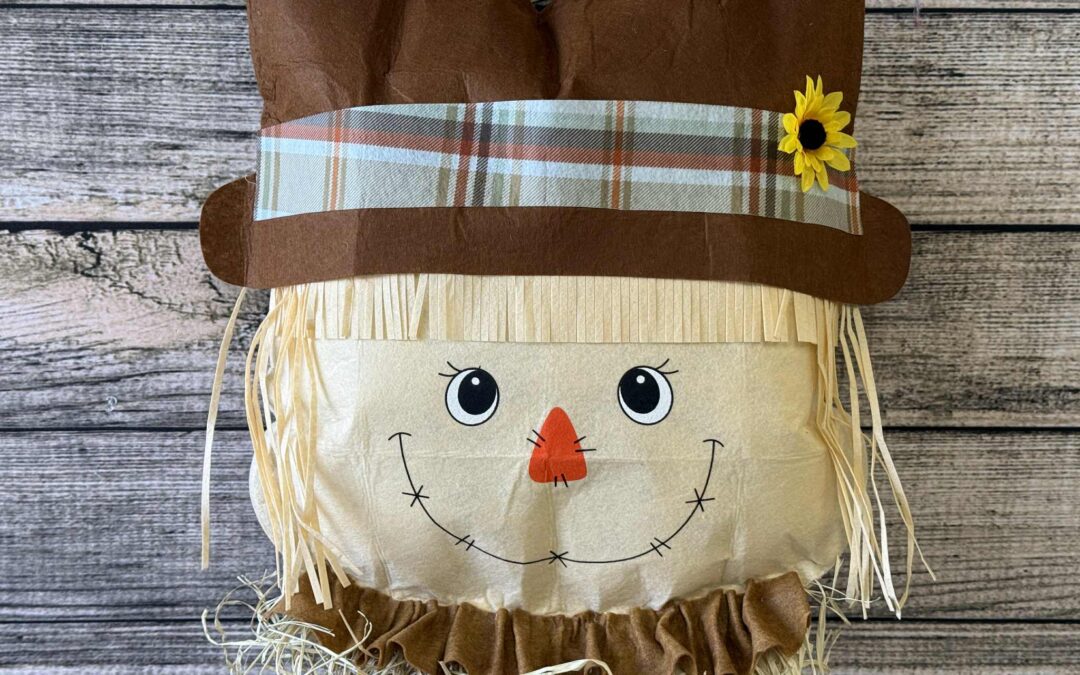
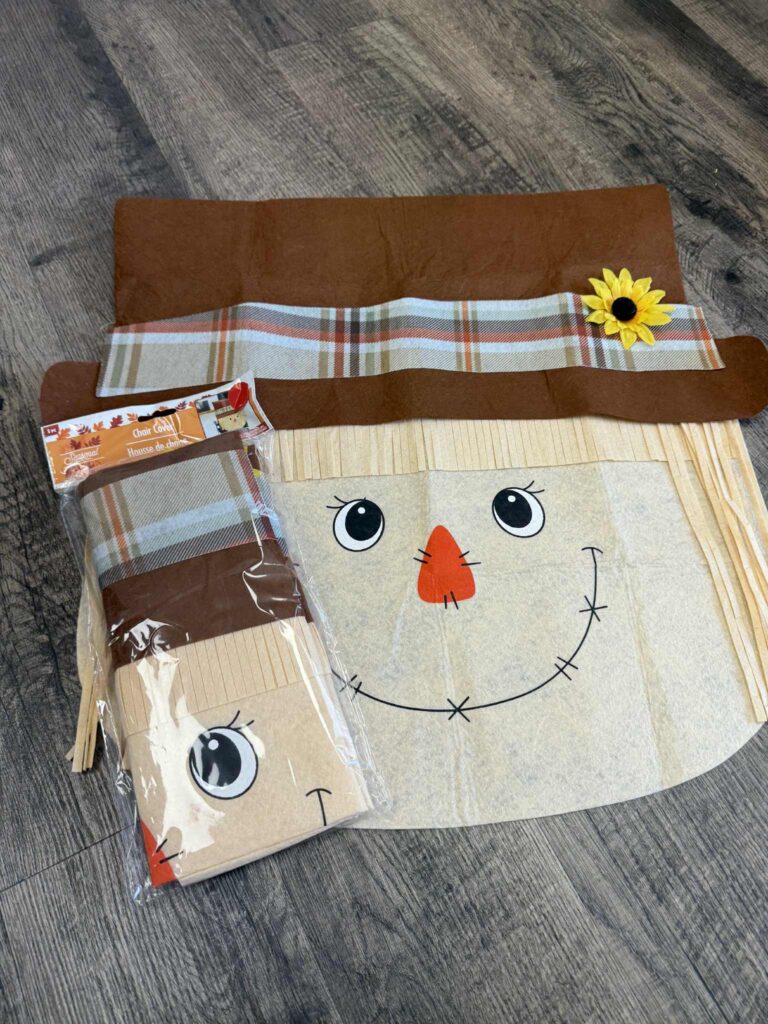
While browsing Dollar Tree the other day, I spotted a cute scarecrow head chair cover and instantly knew we could give it a fun makeover.
I’m turning this chair cover into a playful door hanger, and you can check out the supply list I’ll be using just below.
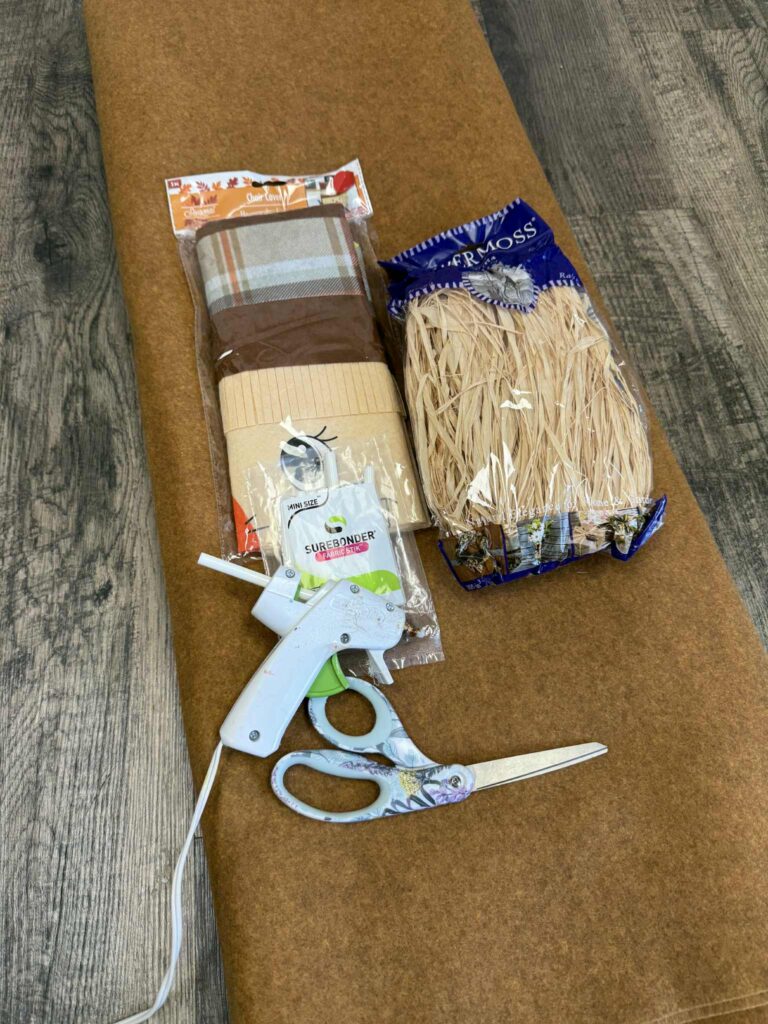
1. One scarecrow head chair cover
2. Surebonder fabric glue
3. Scissors
4. Raffia
5. Brown felt
6. Polyfil

Start by trimming away the back flap of the hat.
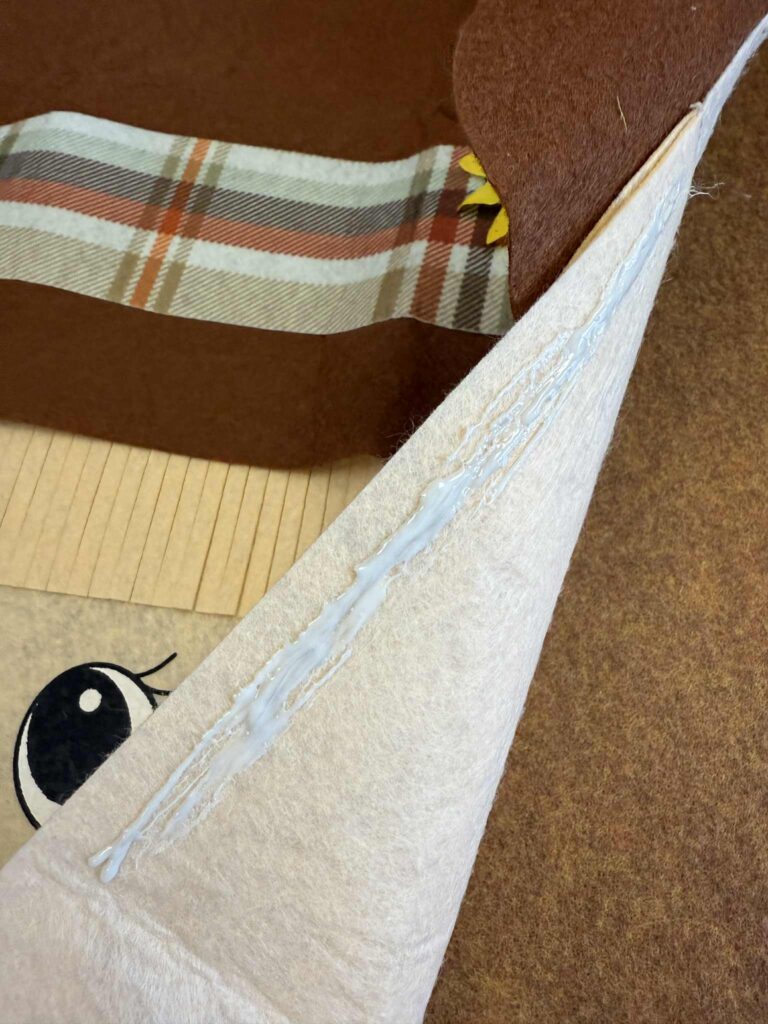
After cutting the hat, glue the scarecrow head onto the brown felt. Apply Surebonder fabric glue along the inside edge of the scarecrow head, but make sure to leave the bottom of the head open.
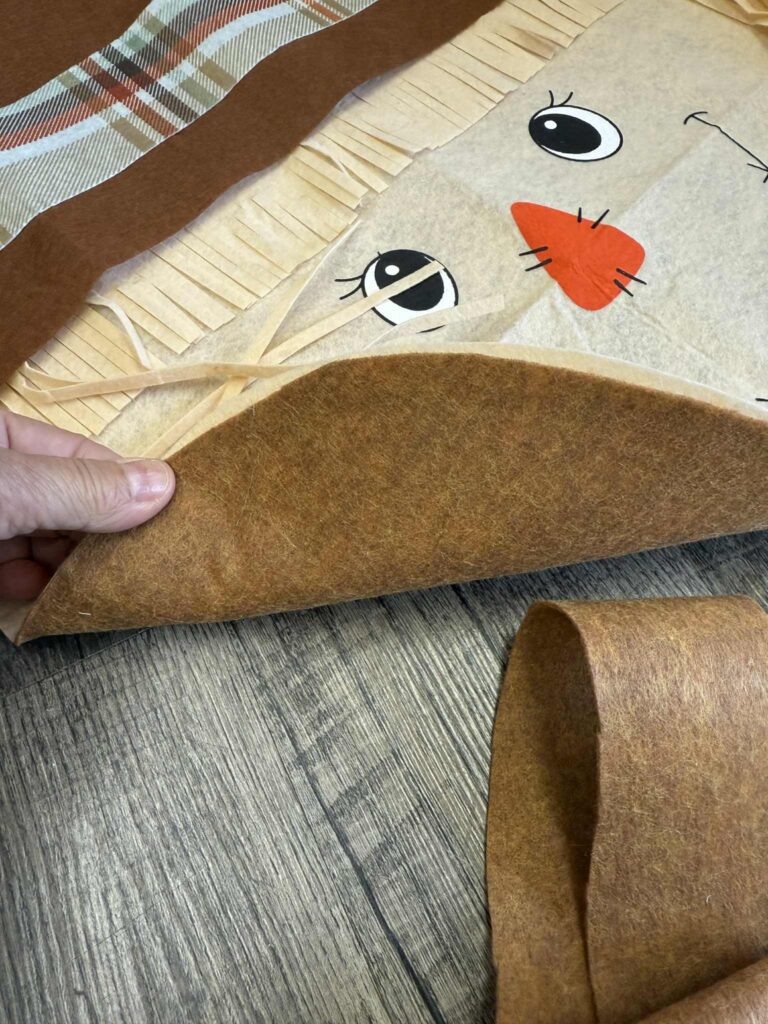
Next, carefully trim away any extra brown felt surrounding the scarecrow head. Take your time to follow the shape closely so the edges look neat and clean, giving your door hanger a polished finish.
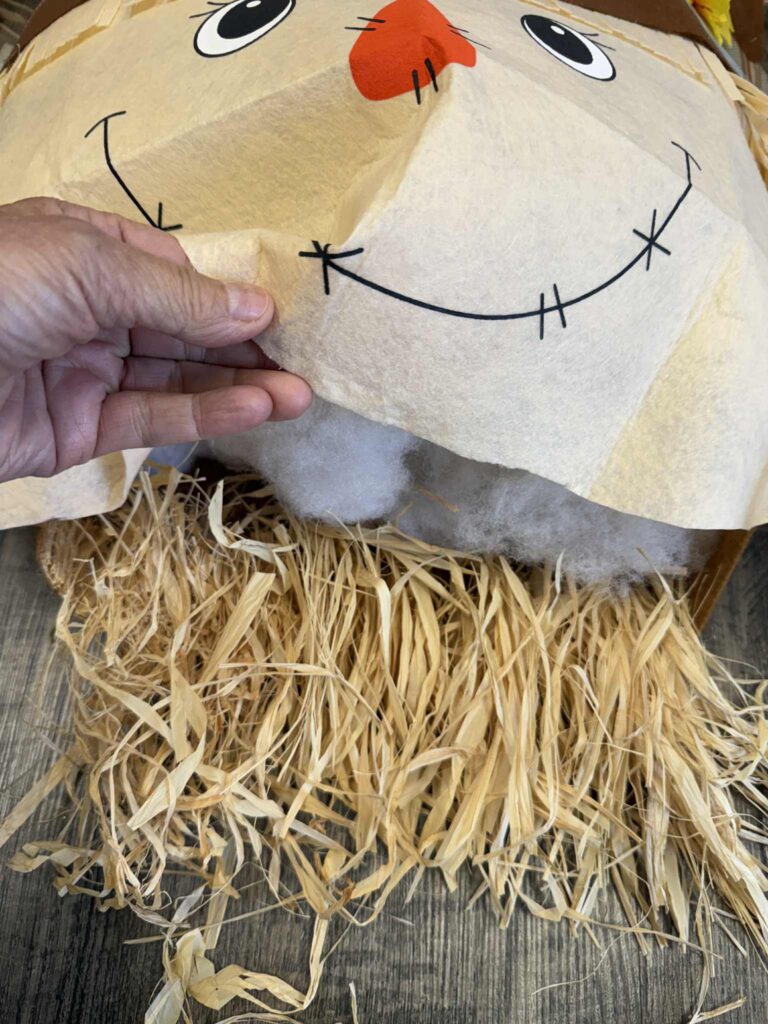
Fill the scarecrow head with poly-fil to give it some shape and dimension. Next, tuck in the raffia for that classic straw look. Use a bit of Surebonder fabric glue to secure the raffia so it stays neatly in place.

Apply a little more Surebonder fabric glue over the top of the raffia, then pinch the bottom of the scarecrow head closed. For the final touch, cut a strip of brown felt and glue it along the bottom to finish the edge neatly.
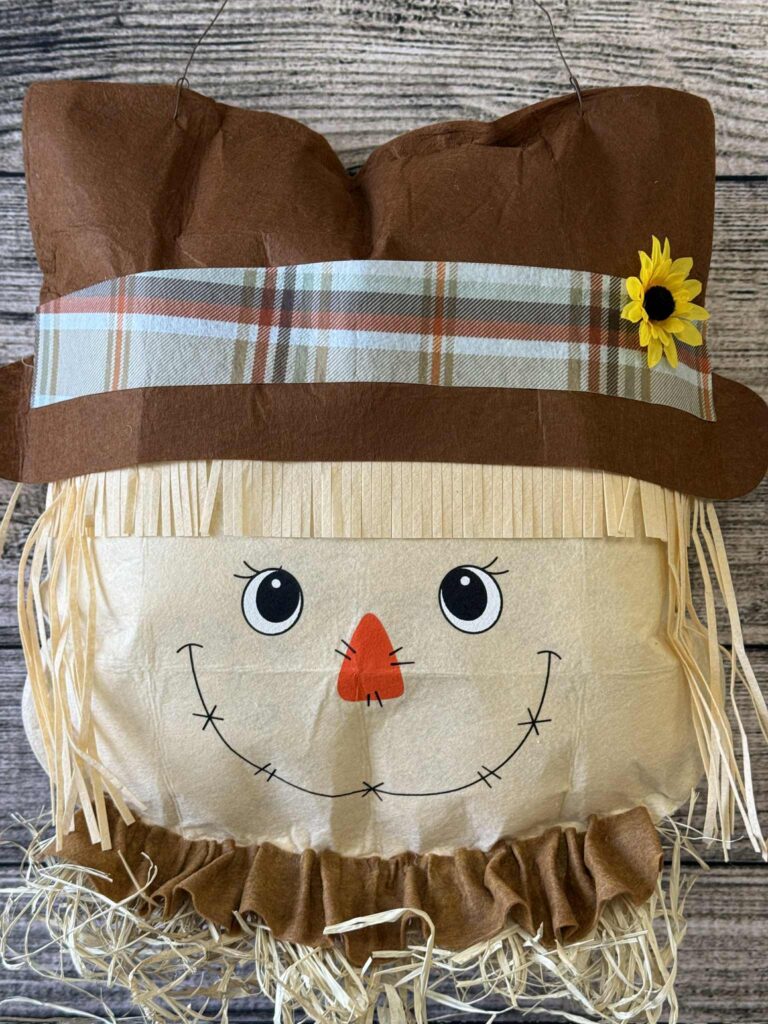
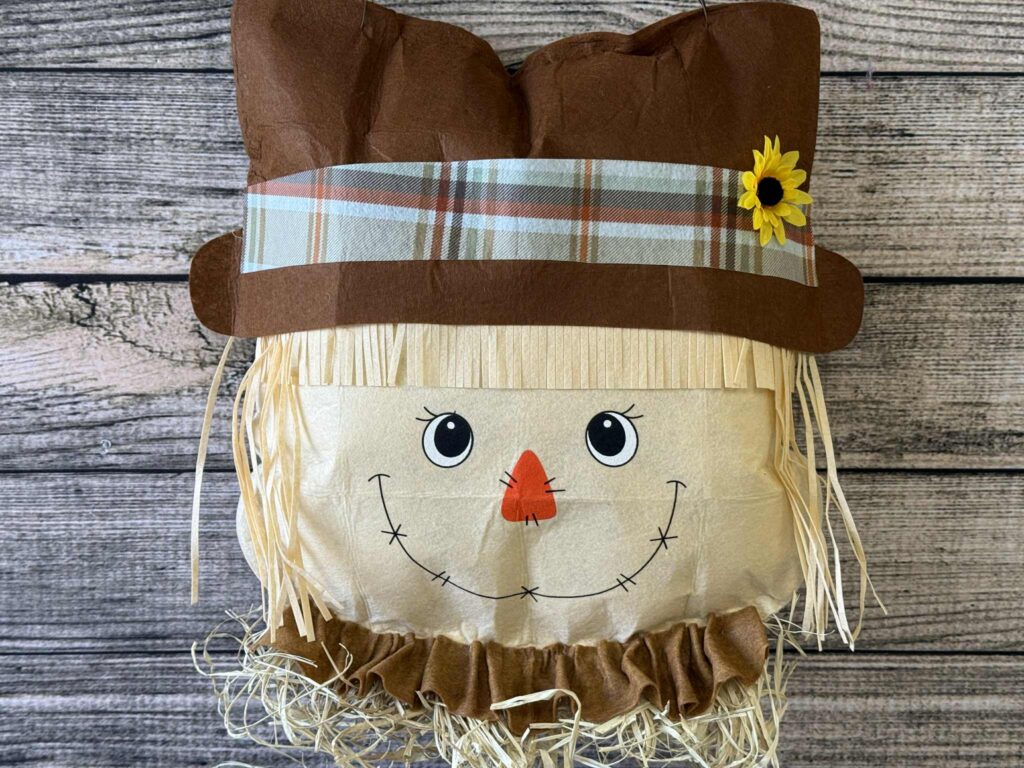
This DIY came together so quickly and easily, and I really hope you’ll give it a try! This cheerful scarecrow will look adorable on your front door or hanging anywhere in your home.
Love this and did make one for my mom’s door. She has dementia also and lives in an assisted living nursing home. She loves it and the other ladies love it also.
She calls it her clown on her door!
Omg! He is so cute. I haven’t seen him at DT yet. Going to have to keep my eye out. Thanks Barb 😊
Very cute!! I will be looking for him at
$tree.
I love him!! Did you add the ruffled felt above the raffia?
I love this idea! So cute!!
Did you add the brown tucked felt to the face ?? It is adorable !!!