A faux mantel is one of those pieces that instantly makes a space feel cozy and complete—and when you can find one at Walmart, even better! I couldn’t resist giving this faux mantel a little makeover to bring out its charm and make it feel more high-end and unique. With just a few simple updates, this basic piece was transformed into a statement that adds character and warmth to the room. If you love budget-friendly projects that make a big impact, this faux mantel makeover is definitely one you’ll want to see.
Here is everything that you will need for this DIY:
1. A Faux Mantel
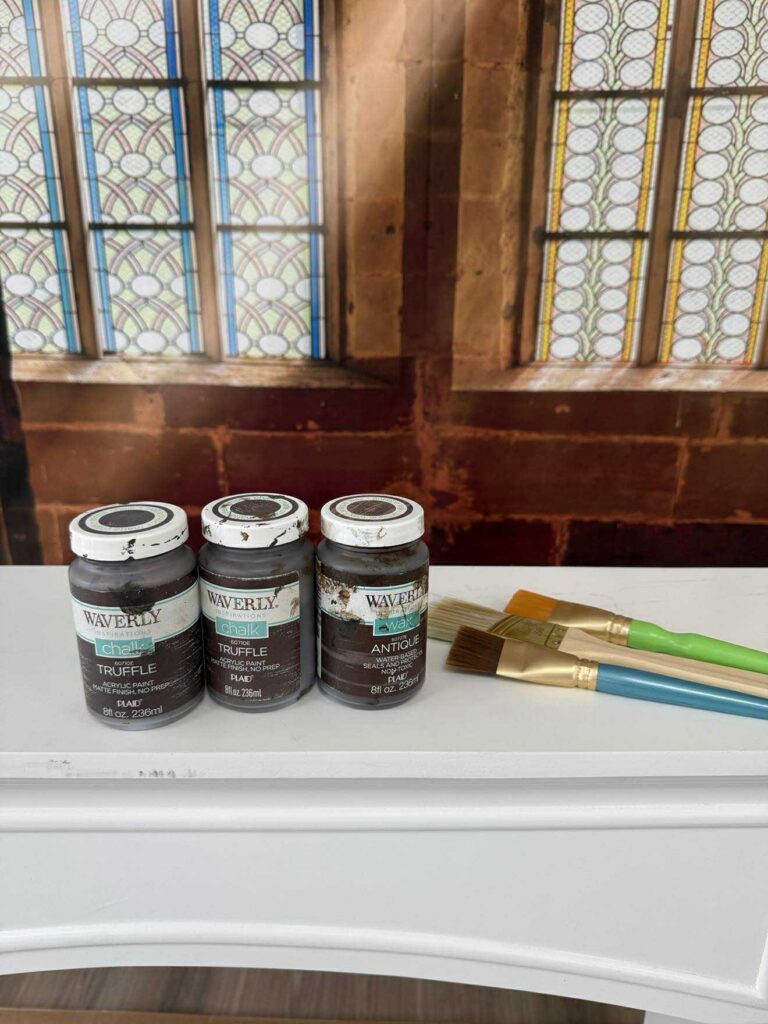
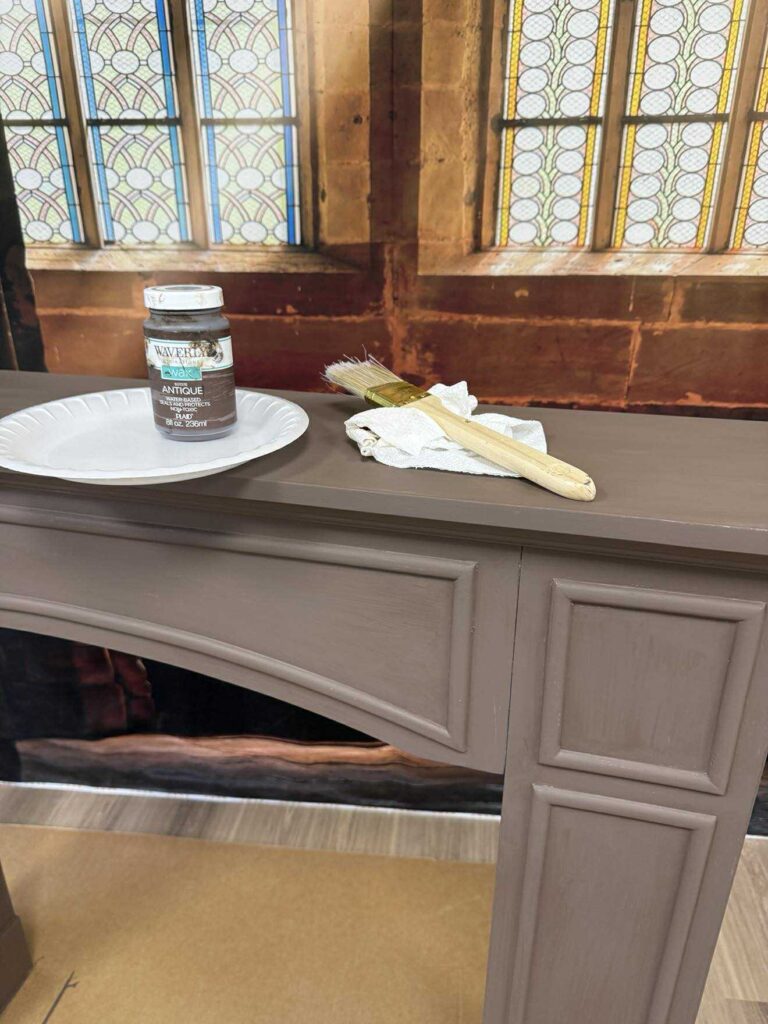
2. Waverly Truffle Paint
3. Waverly Antique Wax
4. Paint Brushes
5. Rub N’ Buff
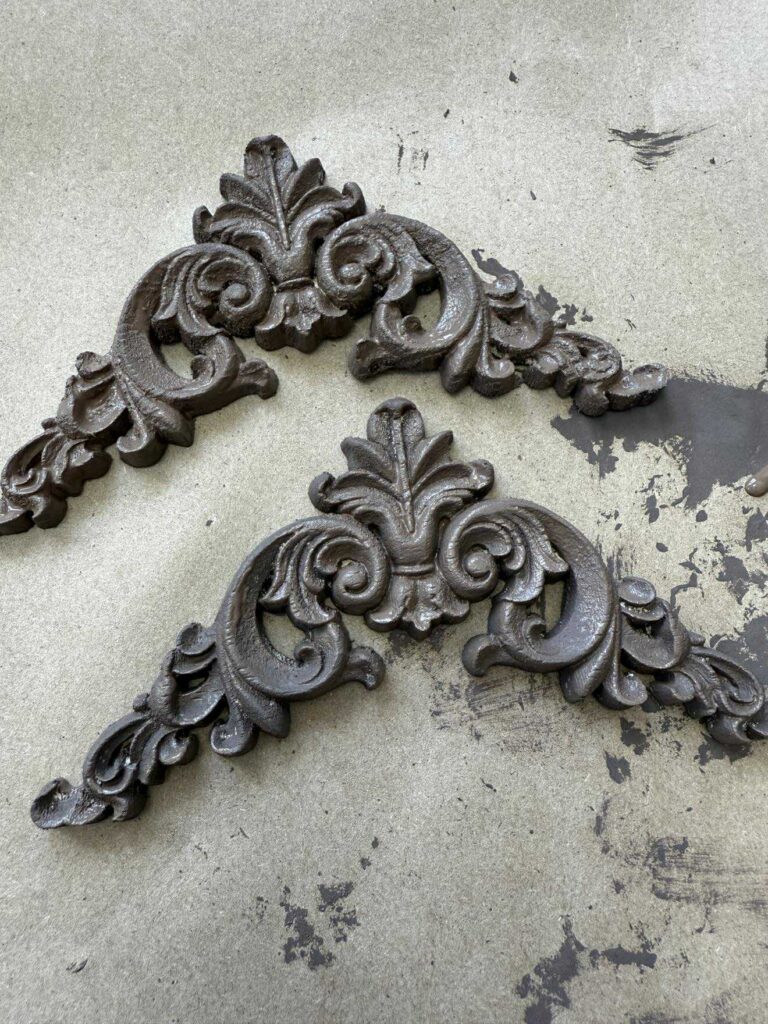
6. Wood Embellishments from Amazon
7. Wood Glue
8. Hot Glue
9. Cardboard
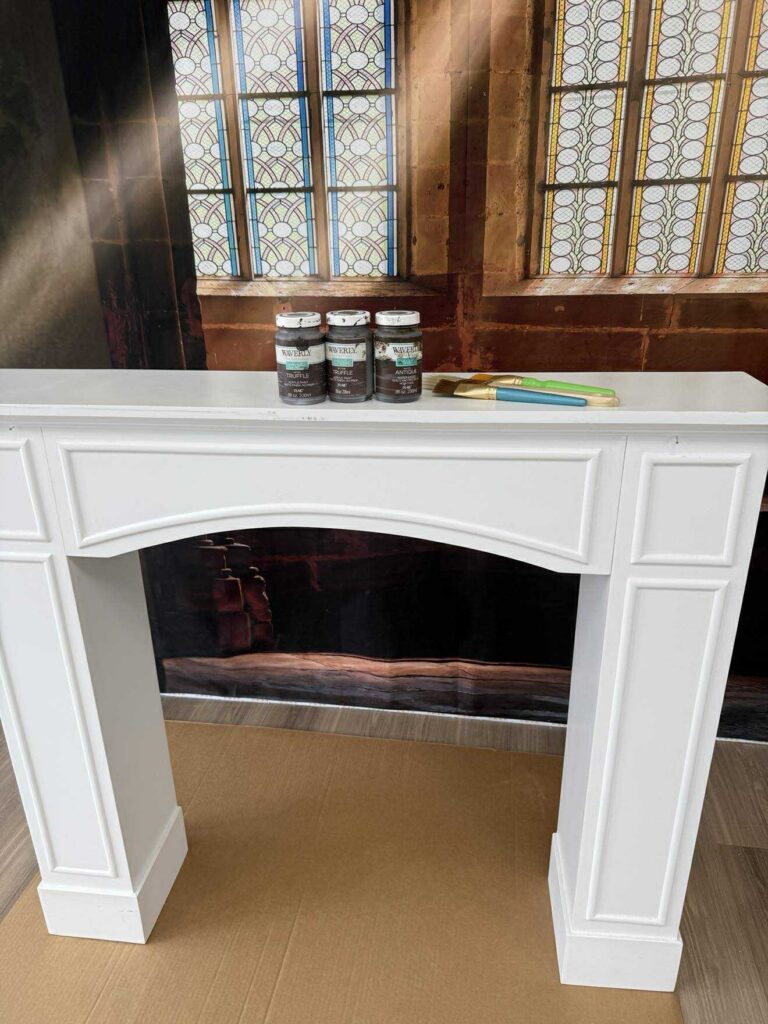
This faux mantel came from Walmart, and it really surprised me in the best way. Not only was it a great deal, but it also had so much potential just waiting to be dressed up and transformed into something special.
You can find the mantel by clicking my referral link here: https://walmrt.us/4hr4CKg
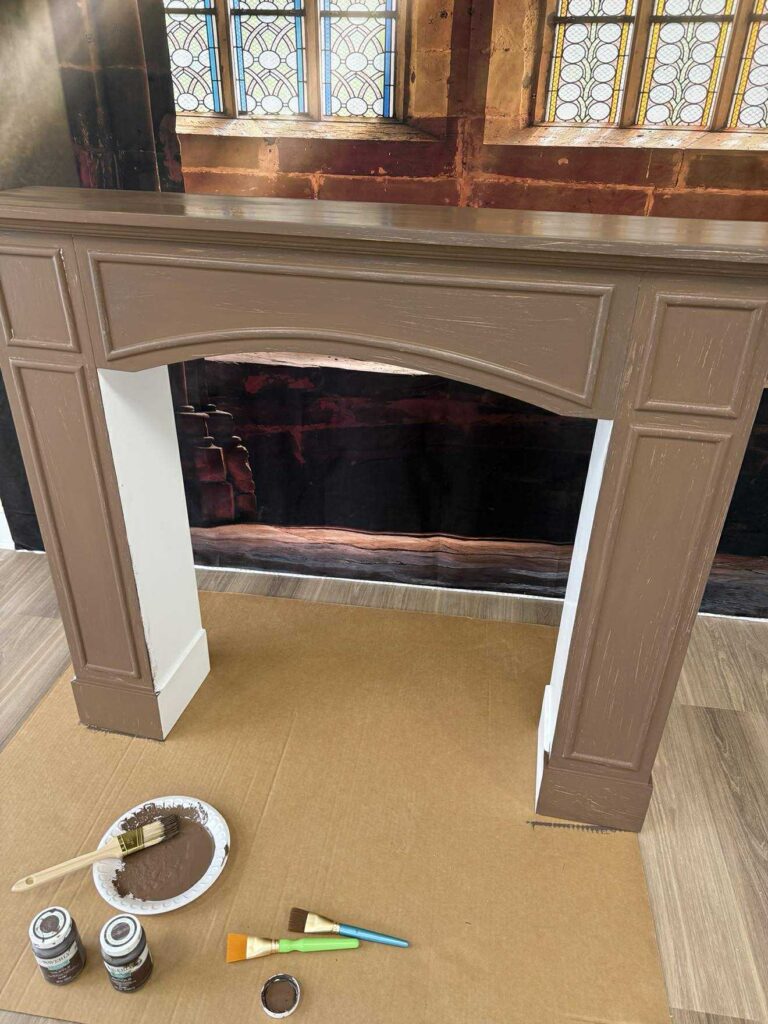
I gave the mantel two good coats of Waverly Truffle paint, making sure to let it fully dry in between each coat for a smooth and even finish.
You can find the paint here: https://walmrt.us/4px42i7
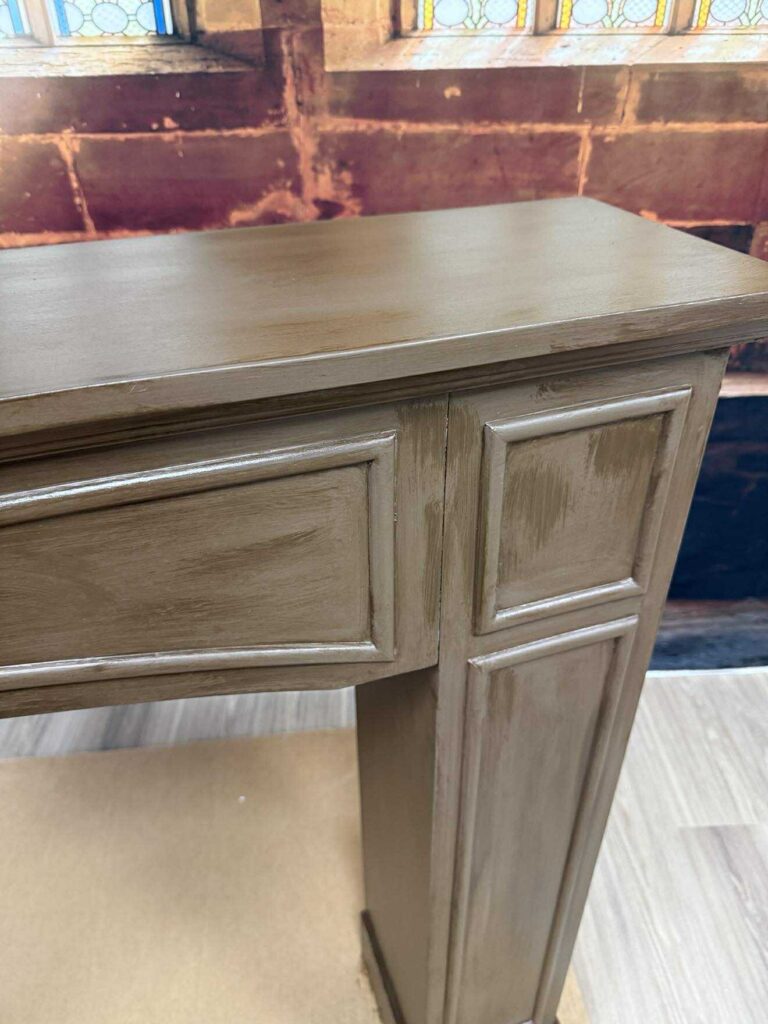
Next, I wanted to give the mantel a more antique look. I applied the Waverly Antique Wax using a paint brush, working it into the details and creases, then wiped it back in certain areas with a paper towel to soften the finish.
You can find the wax here: https://walmrt.us/4aM60Yh
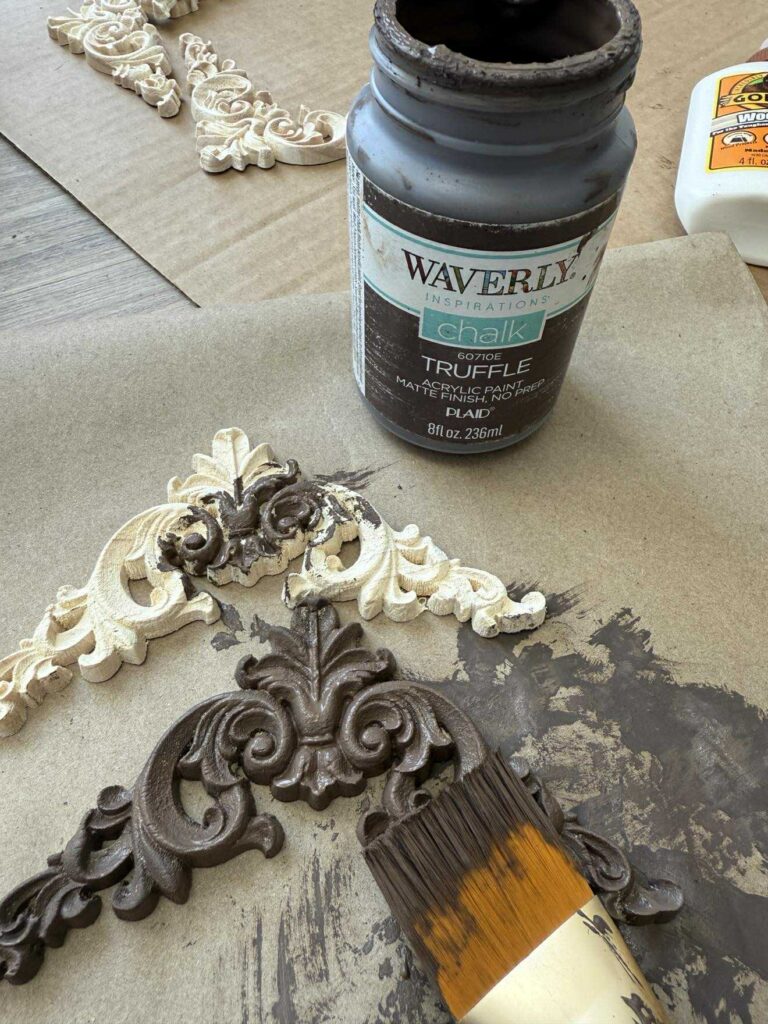
Next it was time to paint the embleshiments! You can find the ones I used from Amazon here:
I gave each of them two coats of Waverly Truffle paint, making sure to allow enough dry time in between each coat for a smooth and even finish.
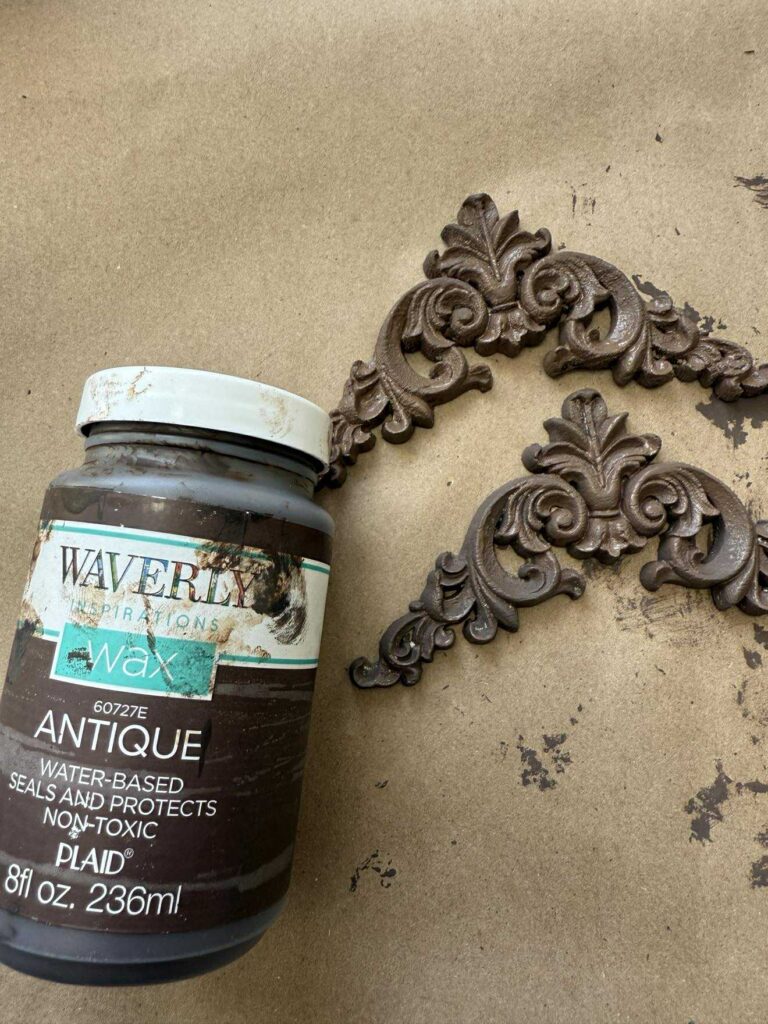
Then I antiqued them using the same Waverly Antique Wax, applying it and wiping it back to give each piece a softly aged look.
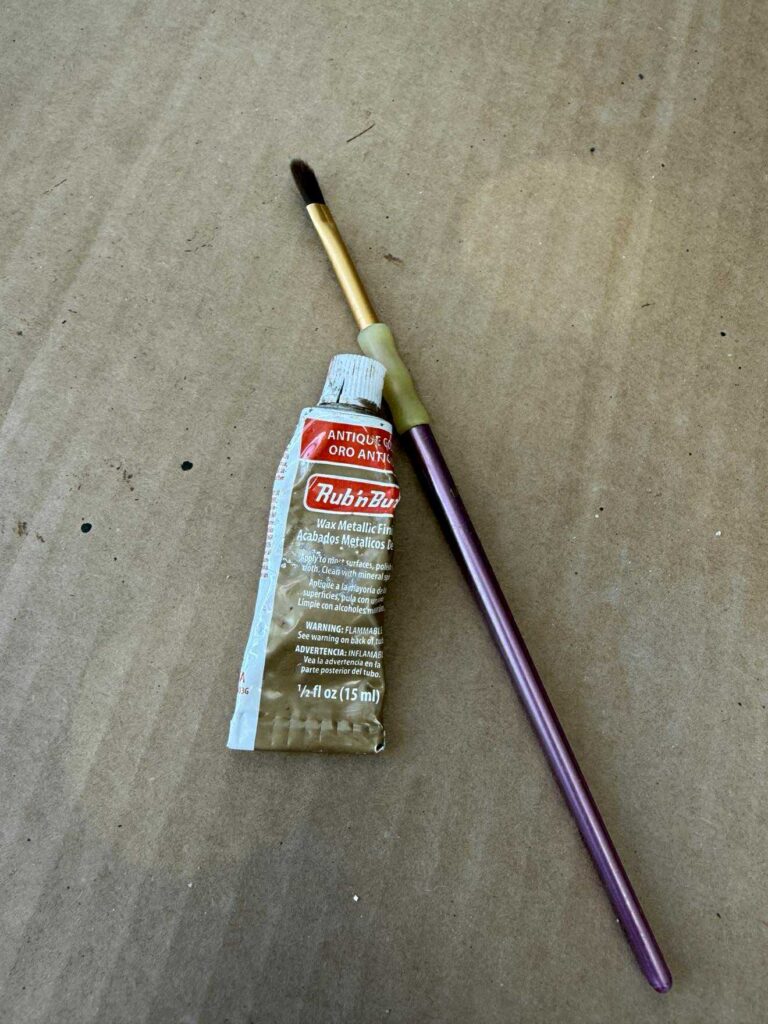
I wanted to add a little gold to help bring out some of the details and give the piece a bit of extra character. I also added Rub N’ Buff to the raised parts of the mantel to make it all cohesive.
To attach them to the mantel, I used wood glue for a strong hold and hot glue to keep everything in place while it dried.

Next, I wanted to add a backing to the bottom, so I cut a piece of cardboard to size to fit the space perfectly.
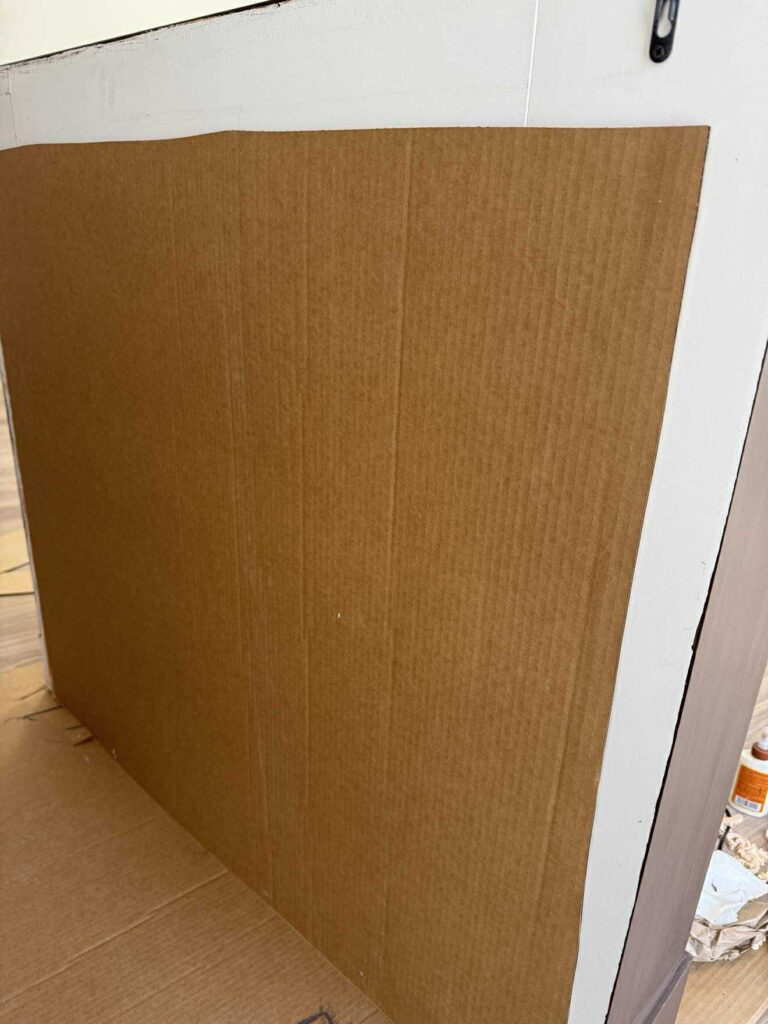
I secured the cardboard backing using hot glue, making sure it was firmly attached before moving on to the next step.
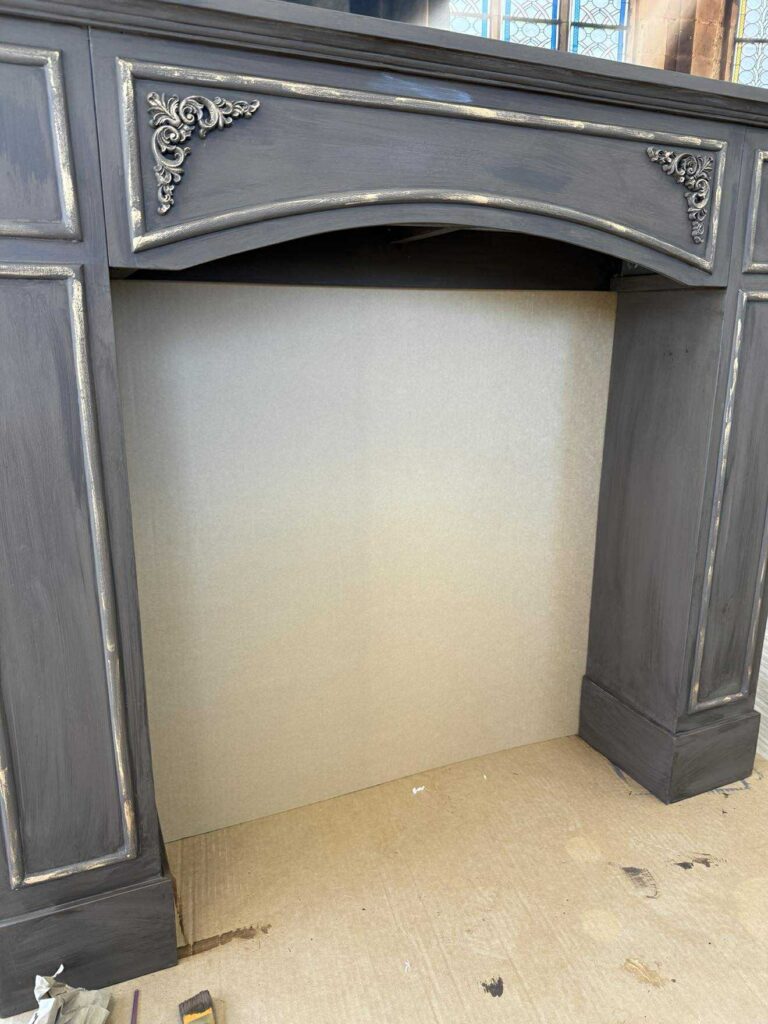

The last step was to give the cardboard the same treatment as the rest of the mantel with two coats of paint and a little antique wax.
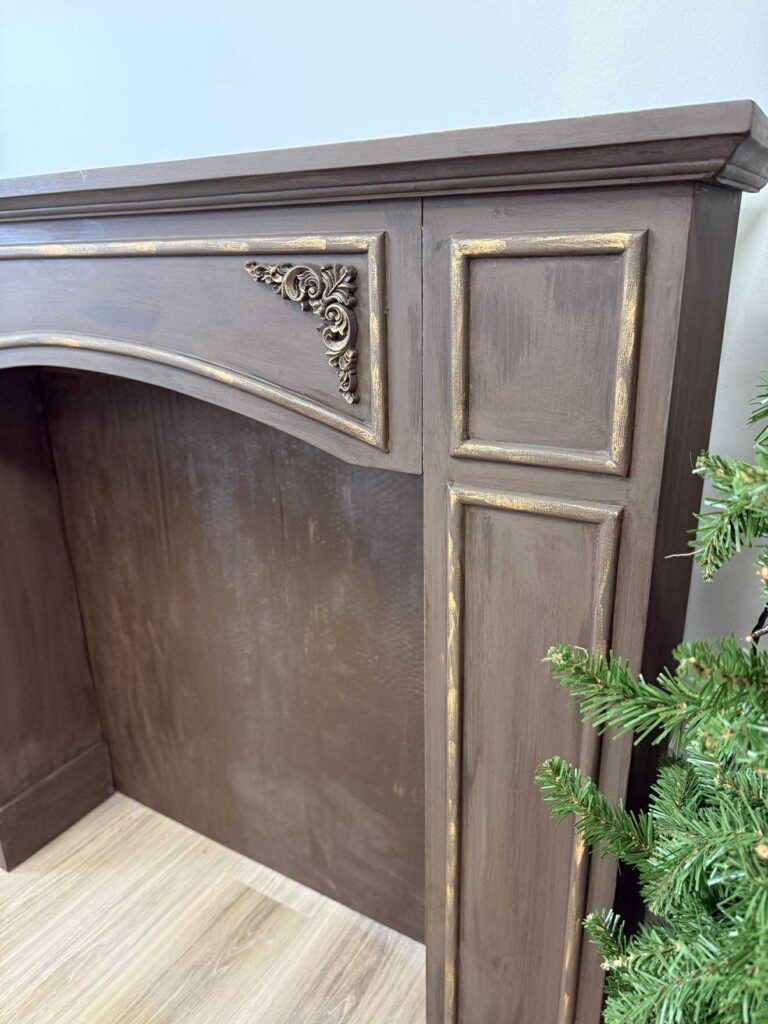
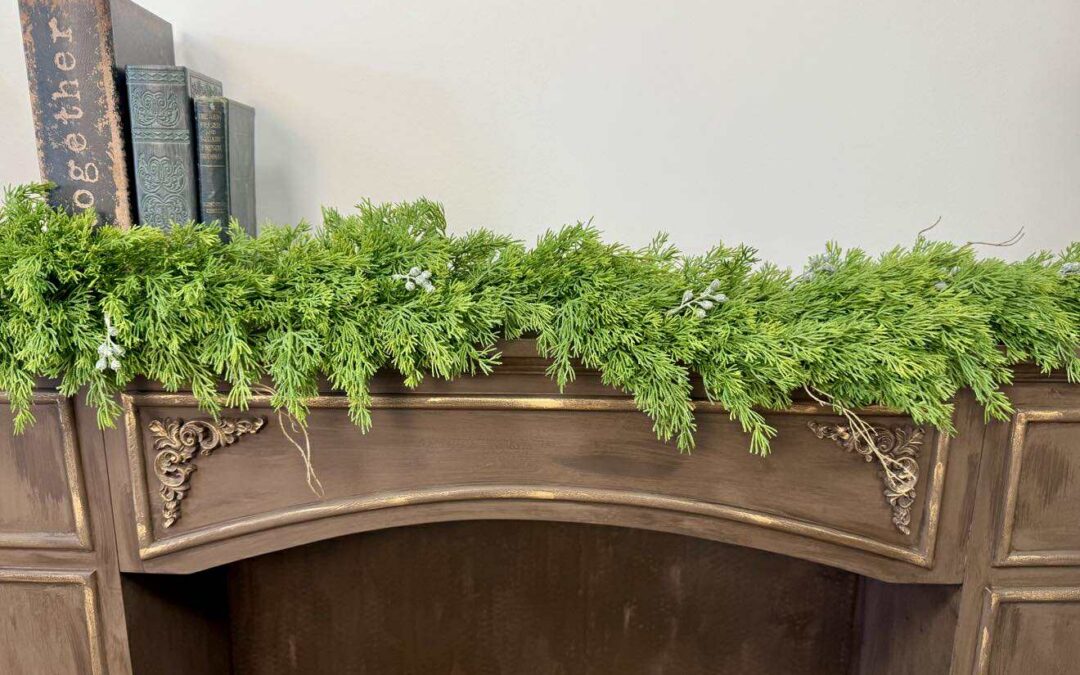
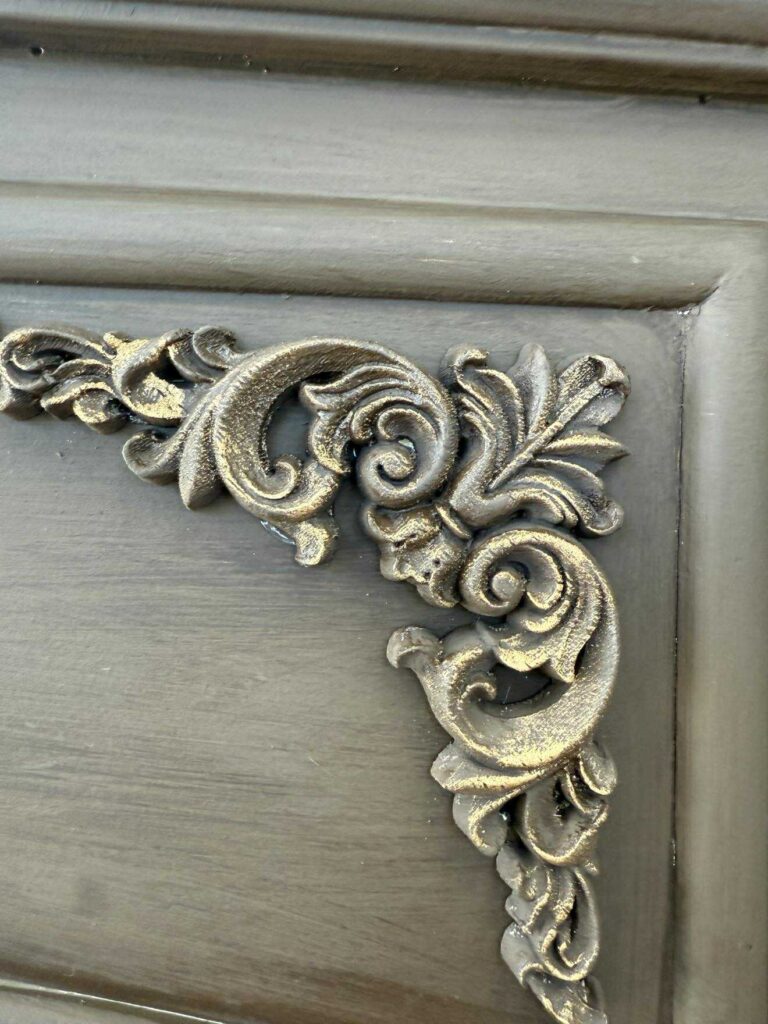
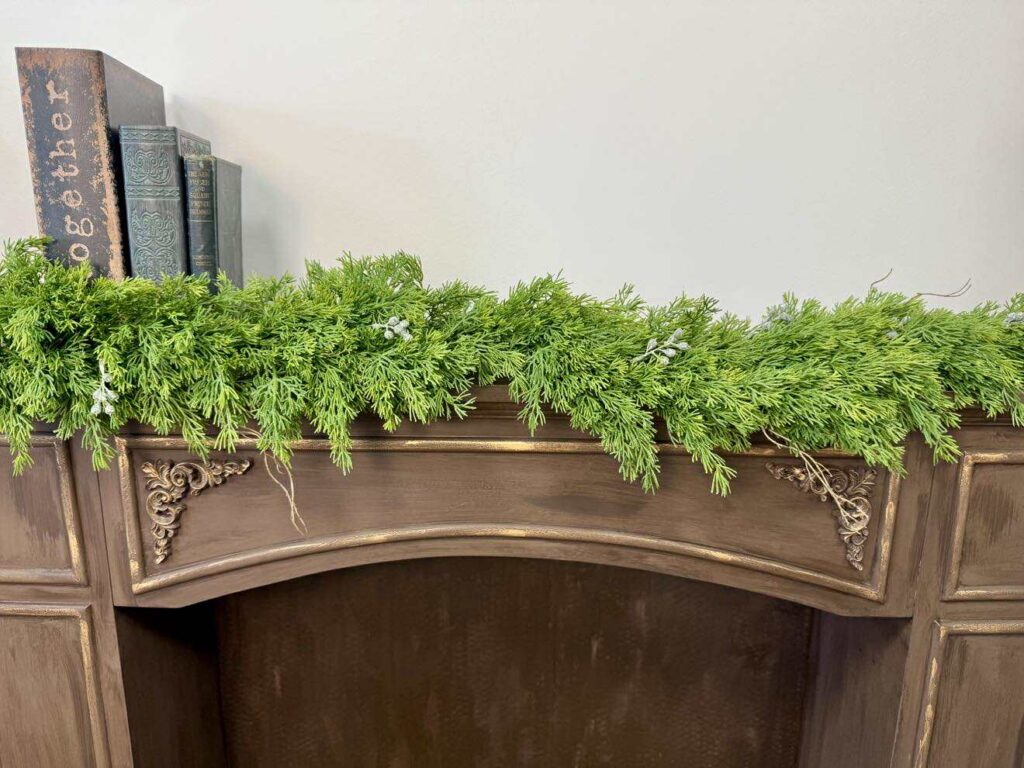
This close-up really shows the antique finish and how the gold highlights help bring out the details. The subtle touches make such a big difference and give the mantel a more aged, vintage feel.
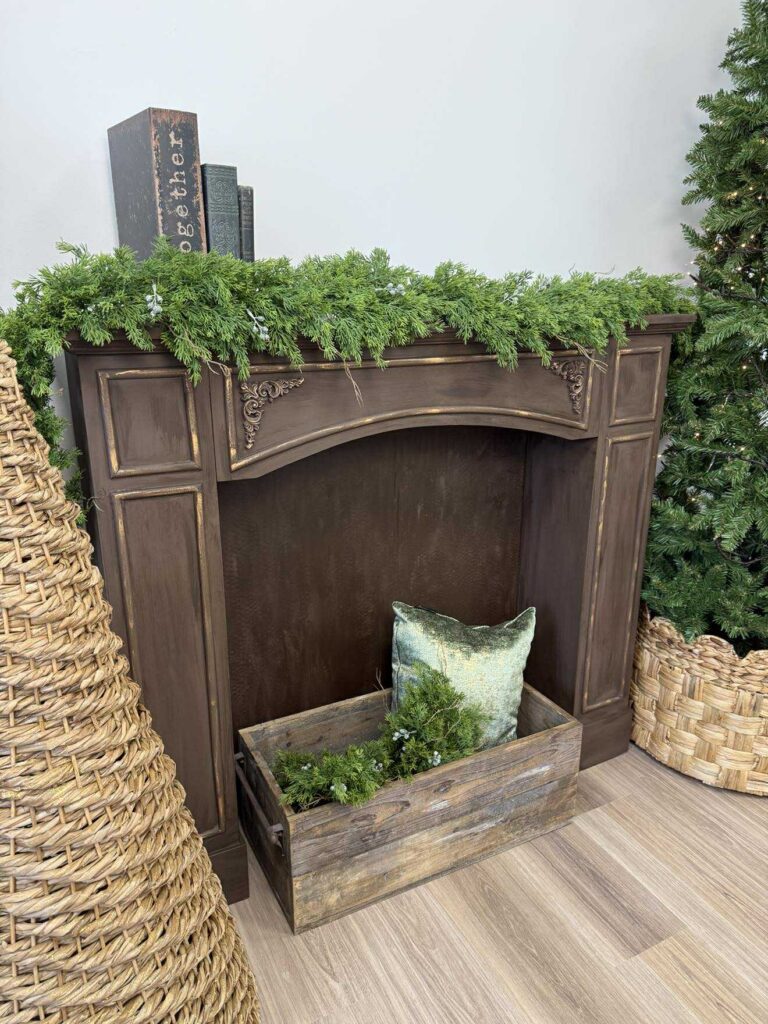
Once finished, I styled the mantel with greenery and simple decor to give it a cozy, seasonal look. This piece is so easy to decorate and can be changed up throughout the year.
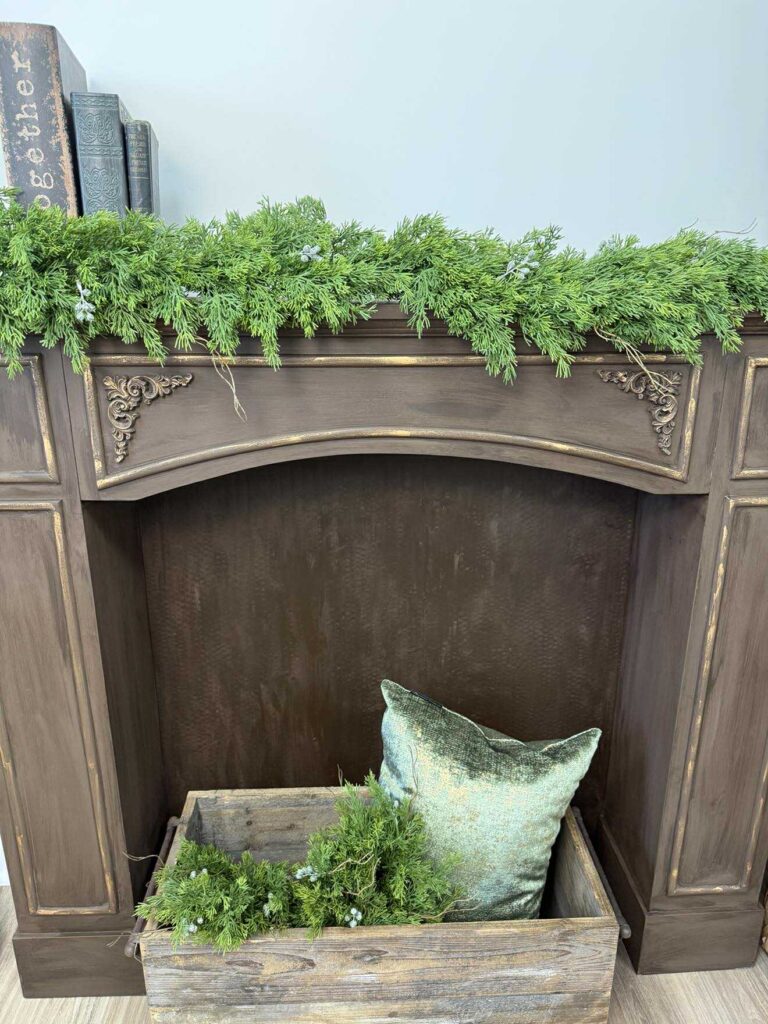
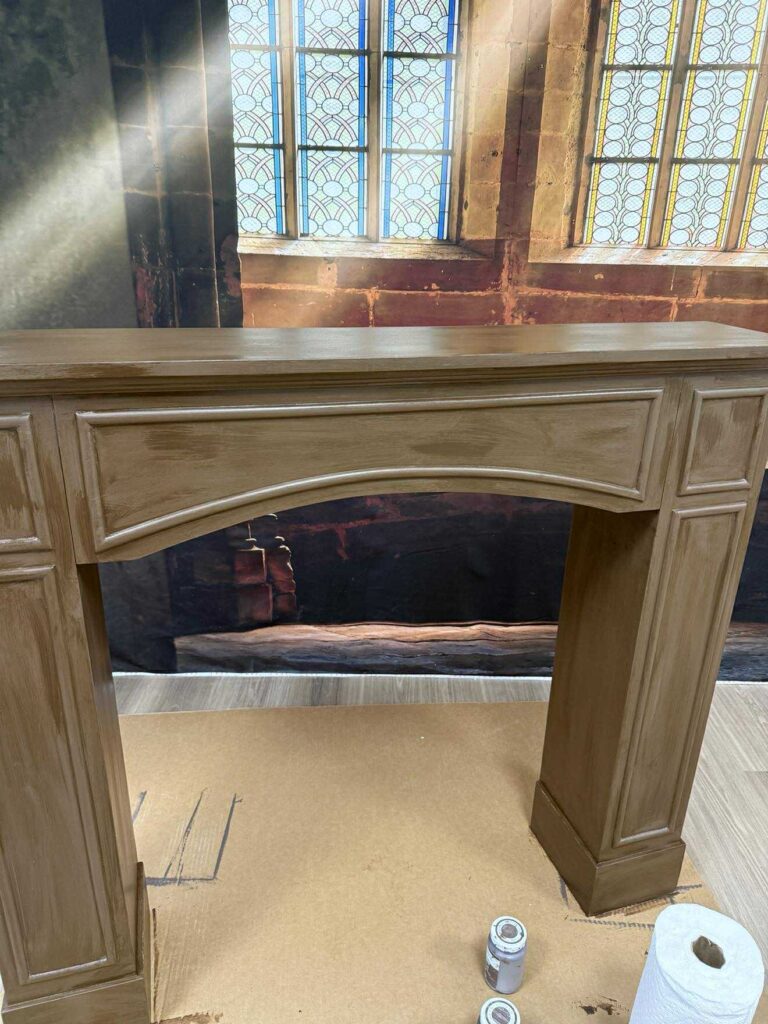
This view shows how the darker paint and antique wax completely transformed the look of the mantel. The added backing helps make it feel more solid and finished.
I absolutely love how this faux mantel makeover turned out. It’s amazing what a little paint and creativity can do to completely change a piece. This project was budget-friendly, easy to customize, and the perfect way to add warmth and character to the space. Whether you decorate it for the seasons or keep it styled year-round, this faux mantel is such a fun and versatile addition to any home.
This blog may contain affiliate links, which means I could earn a small commission if you make a purchase through them—at no extra cost to you. Thanks for supporting what I do!
Gorgeous! Absolutely love this makeover! ❤️
Love the makeover! You did an awesome job Barb!
I love it!! I need to go back to find the video of you doing it the other day. Great makeover!! 😍❤️🌲
I love this as always
Thank you for always sharing your beautiful pieces re-done
Turned out beautiful Barb! I love this!
This mantel is Absolutely Beautiful. I love everything about it! It looks very expensive! You are so talented Barb! I love you! ❤️
Beautiful, Barb
Oh I love how it turned out . Loving the color , and I really like the wood appliqués you added .
Beautiful Barb now all you need is some electric logs to go in there
You never cease to amaze me Barb! You totally changed the look of the mantle! What a clever use of cardboard and paint!. It’s beautiful.
Another amazing piece Barb 🌹🫶
It turned out so nice. I love it
Looks great I really like how it turned out .
Love the way it turned out beautiful.
I love how this turned out!!!
Looks wonderful!
You did an outstanding job Barb. The mantle looks fabulous!!
Looks great!! Gorgeous!
Its okay. But I think if it was black with the gold it would have popped a lot more. Just my opinion.
WOW! I was very skeptical when you started painting in brown. However, in true Barb fashion she made it a WOW piece! I love it!!
I love it looks so much more expensive and elegant ❤️
Love it❣️ Absolutely beautiful❣️💦💦💦🌲🌲🌲
What a wonderful transformation ! ❤️
JUST BEAUTIFUL MS BARB. LOVE ❤️ IT !!!!!!
Love how it turned out! If I only had room.
Looks great
I love it, Barb!! It turned out so great!! 😍❤️🌲
I just love the way this came out. Awesome job Ms Barb
Love it ! Amazing job!❤️❤️❤️
Barb, this came out beautiful.You did an awesome job on it💜I love it!!
Love it but not surprised. I love everything you in your decor!
Barb you made it look amazing. You made it pop. I love the make over.
The mantel transformation looks amazing!!! I don’t just like it, I LOVE it.!!! 😊❤️
I think the mantle turned out beautifully! I am hoping to get one and do that treatment on it!
Love the makeover. Looks great.
Barb, I absolutely love ❤️ the makeover of the mantle! It looks like a completely different mantle for the better! 🥰🥰🥰
It’s beautiful! But then again, all your projects are beautiful Barb!
Love the finished look 🤩
Beautiful Barb!❤️❤️❤️
Love the makeover. Have thought about getting a piece like this for
My apartment.
Very lovely! I might be forced to get a faux mantel and perform a makeover like this! I love everything about it and wouldn’t change a thing! One could set up several battery operated candles inside for a fireplace look. Yep, I’ve decided…that’s what I’ll do!
Once again you have created a masterpiece! You are making good use of your God given gifts!
It looks so good, Barb! You did a great job 💖💖💖
It turned out beautiful love the painted one
Turned out so nice looking. Love it!!!!!
It’s beautiful Barb! I love it!