We’re always getting creative here at The Shabby Tree and I thought it would be fun to get creative with some air dry clay. There’s so many different ways to use Sculpey air dry clay and I have a fun idea using a silicone mold with it.
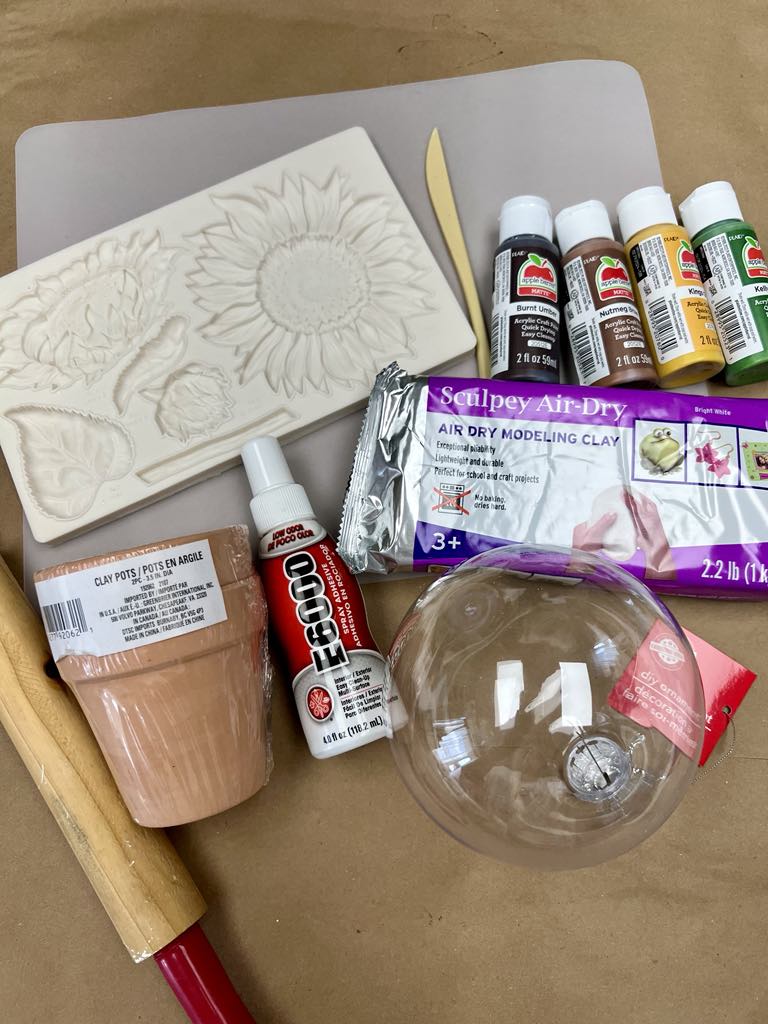
The supplies that I’ll be using are listed down below.
1. Sculpey air dry clay from Walmart
2. Silicone mold from Amazon
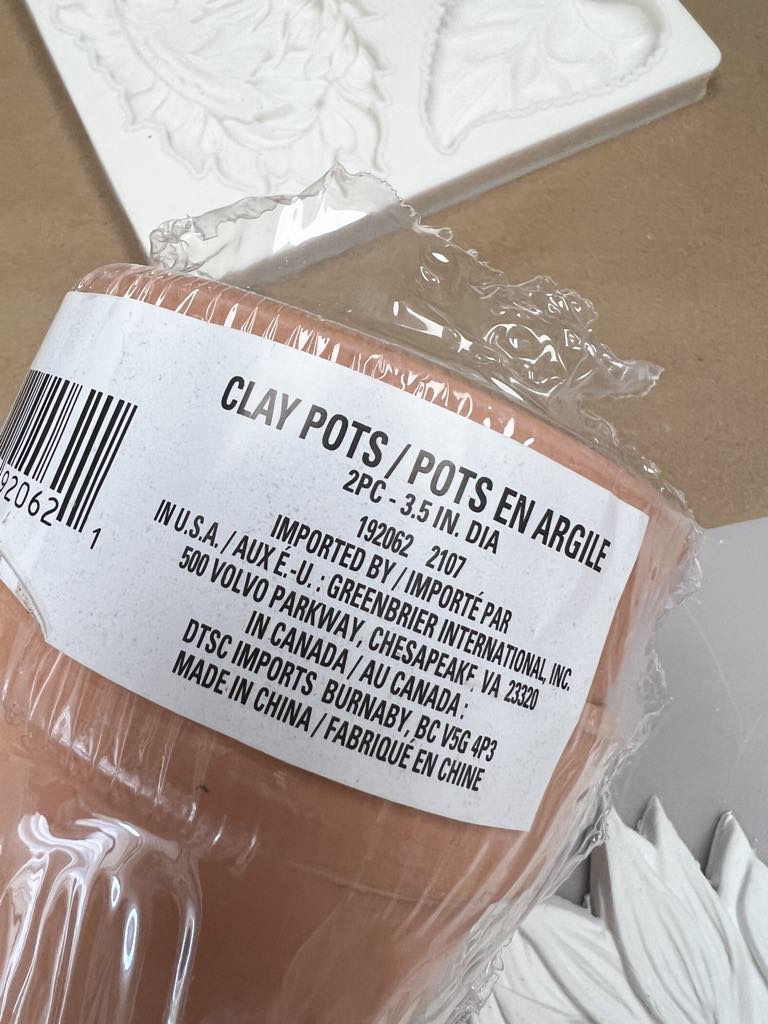
3. Small terra cotta pot
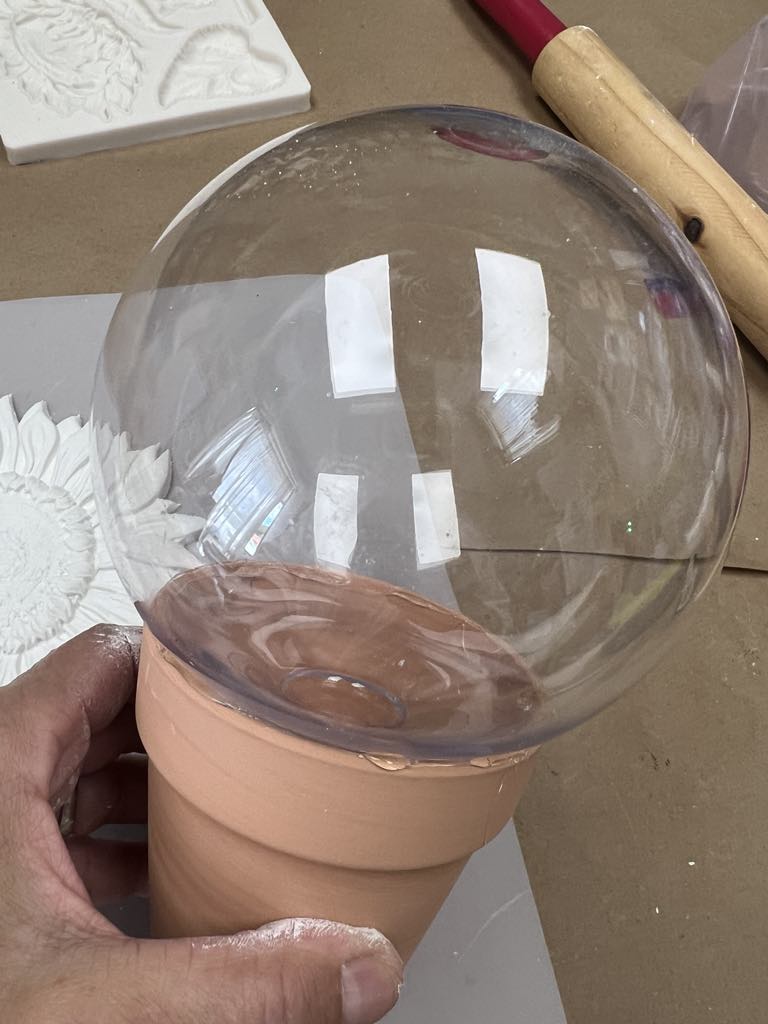
4. Large plastic ornament from the Dollar Tree
5. E6000 spray adhesive
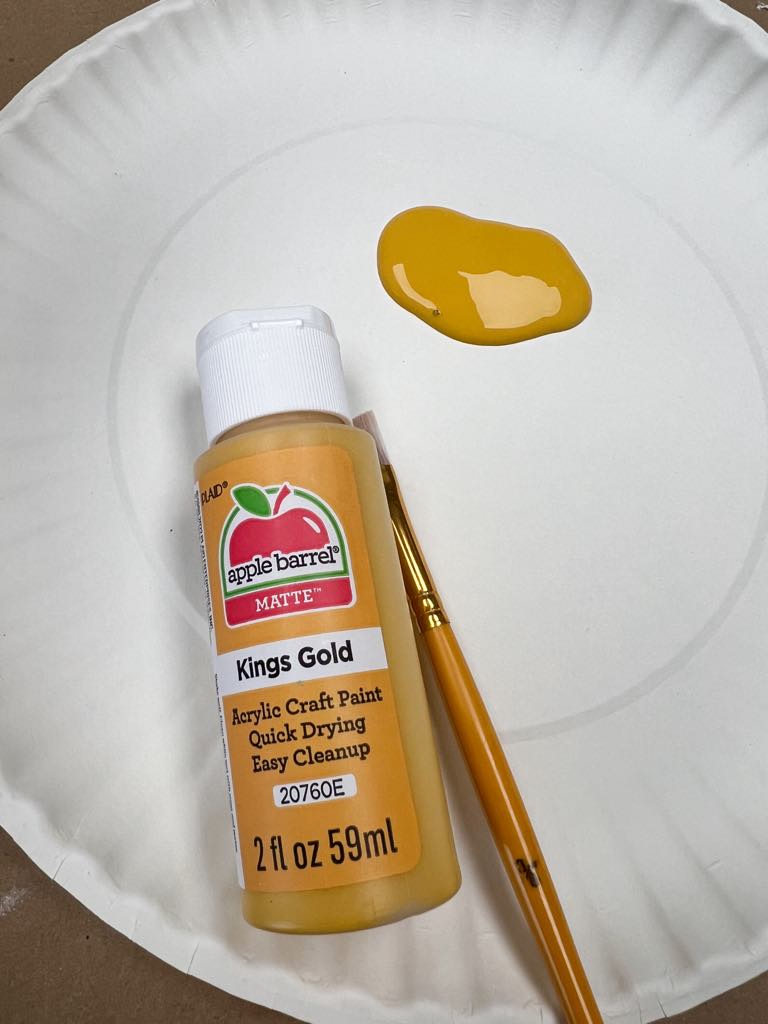
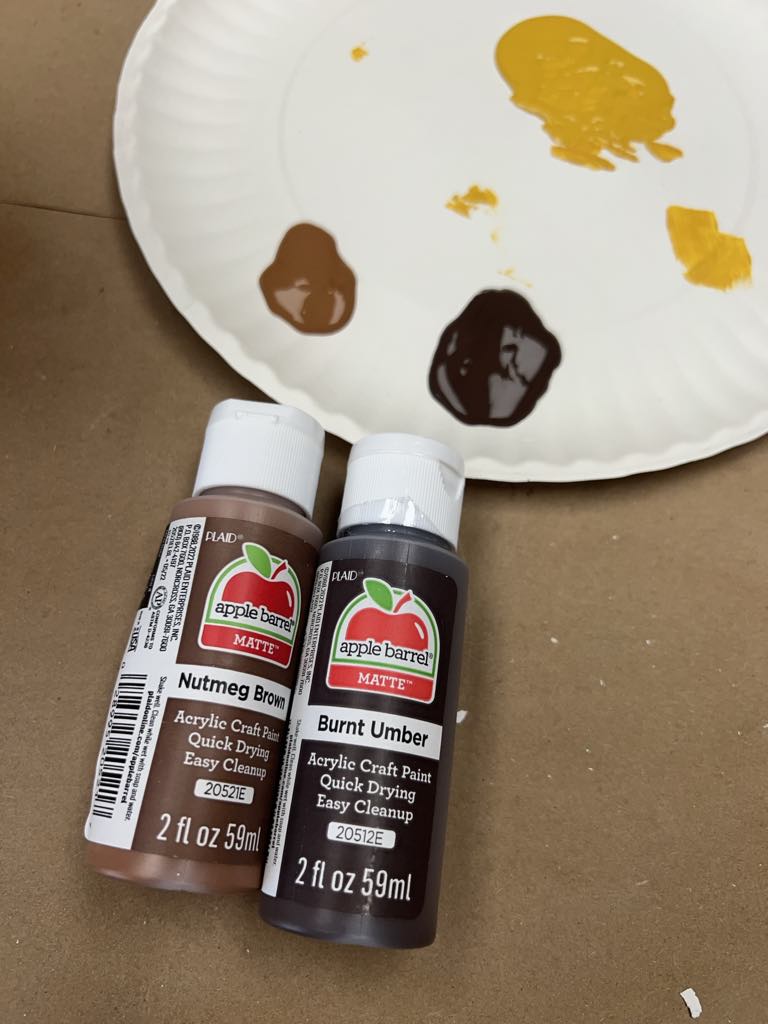
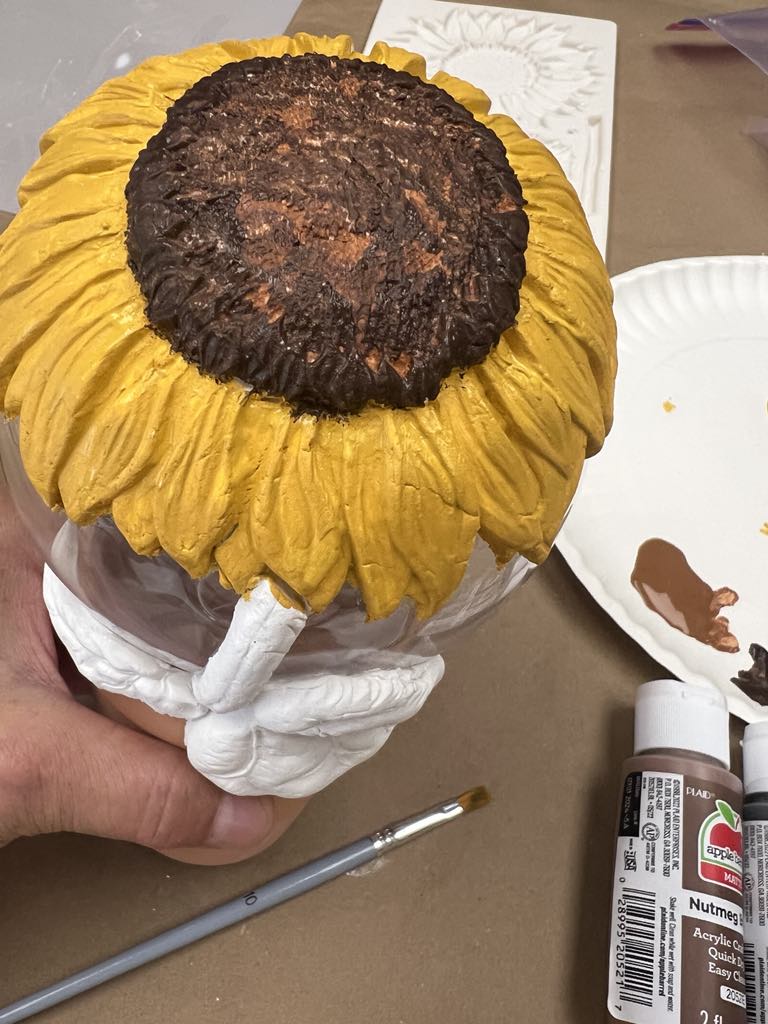
6. Acrylic paint by apple barrel (Kelly Green, Burnt Umber, Nutmeg Brown and Kings Gold)
7. Treasure Gold metallic paint
8. Paint brush
9. Plastic cutting tool
10. Small rolling pin
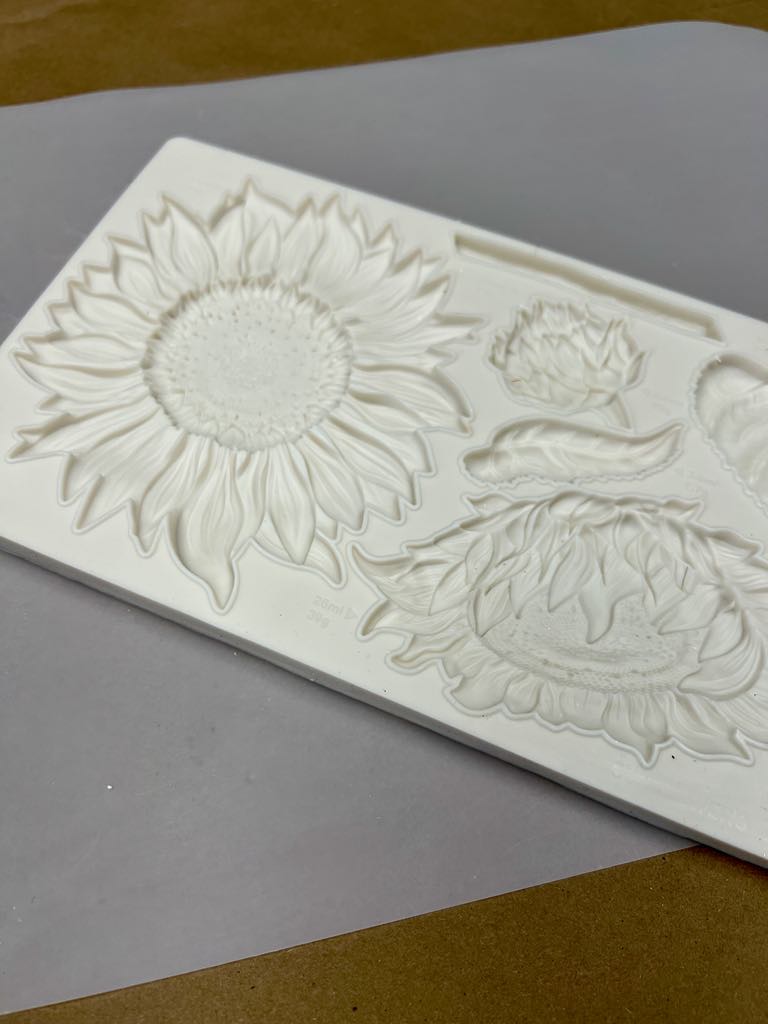
You can find this silicone mold on Amazon by clicking my Amazon store front down below.
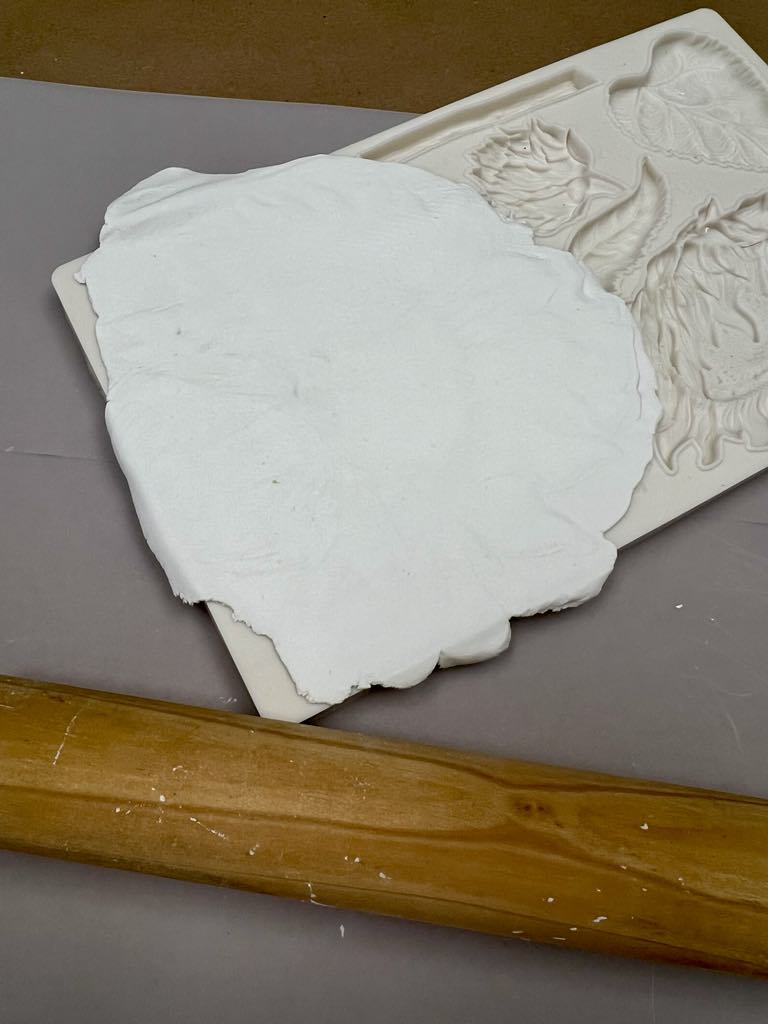
I placed some of the Sculpey clay onto the silicone mold. Once I had the clay onto the mold I then used a rolling pin to smooth it out.
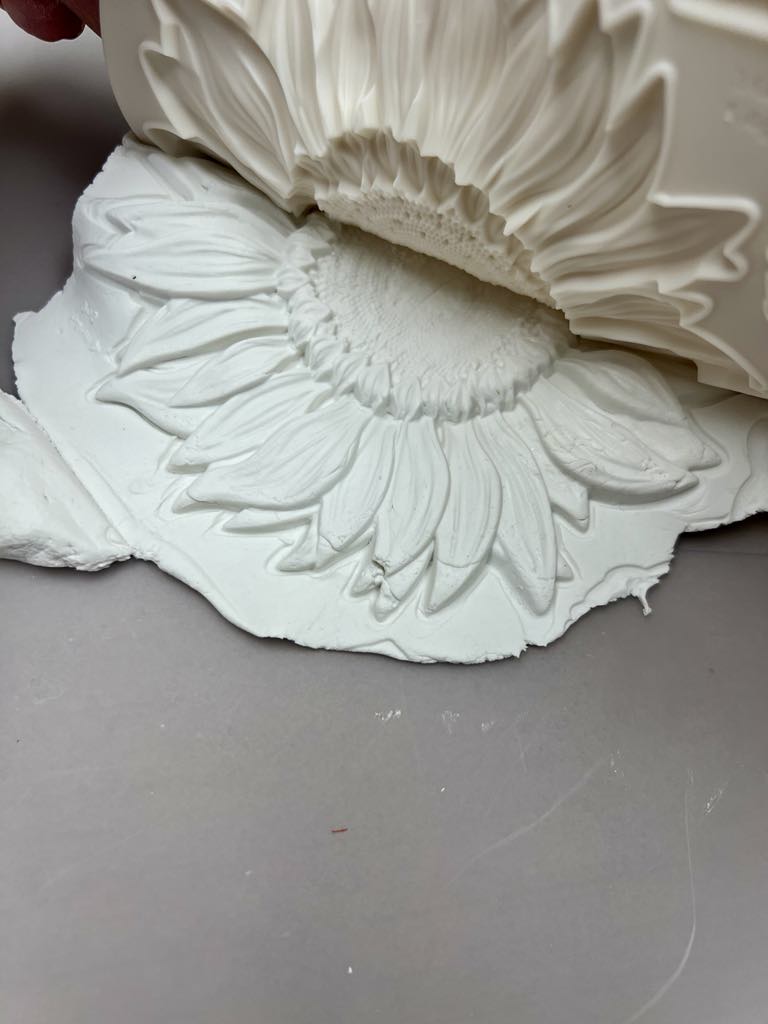
The clay should pop right out of the mold as shown in photo above.
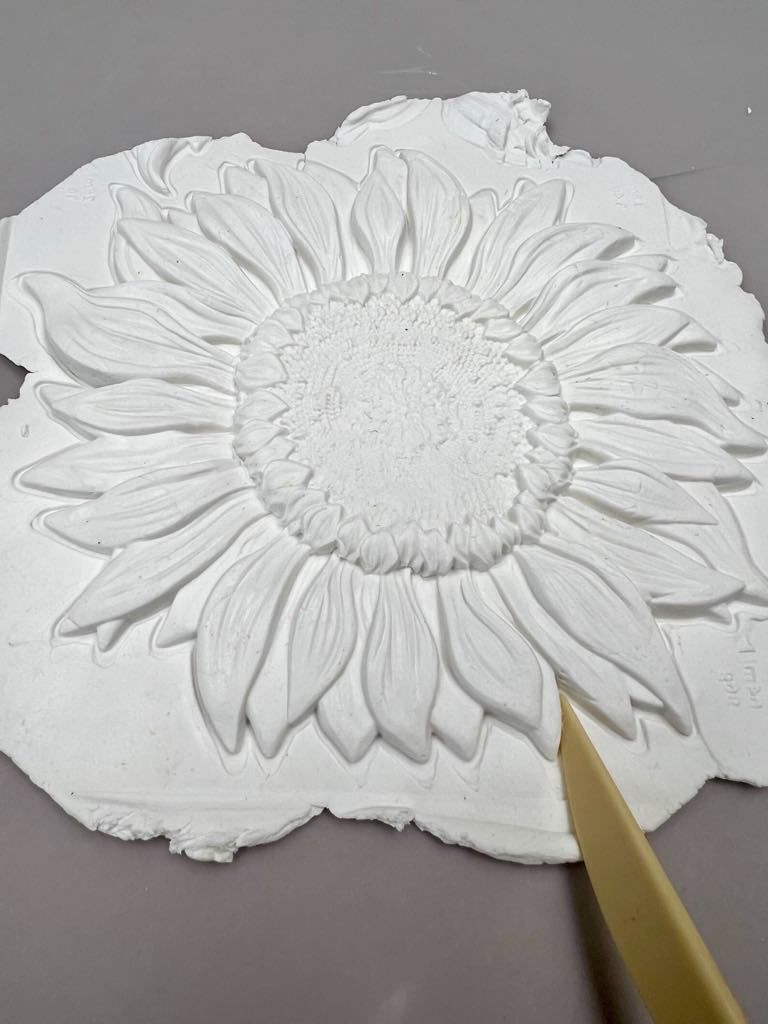
I used a plastic cutting tool to cut the excess clay off.

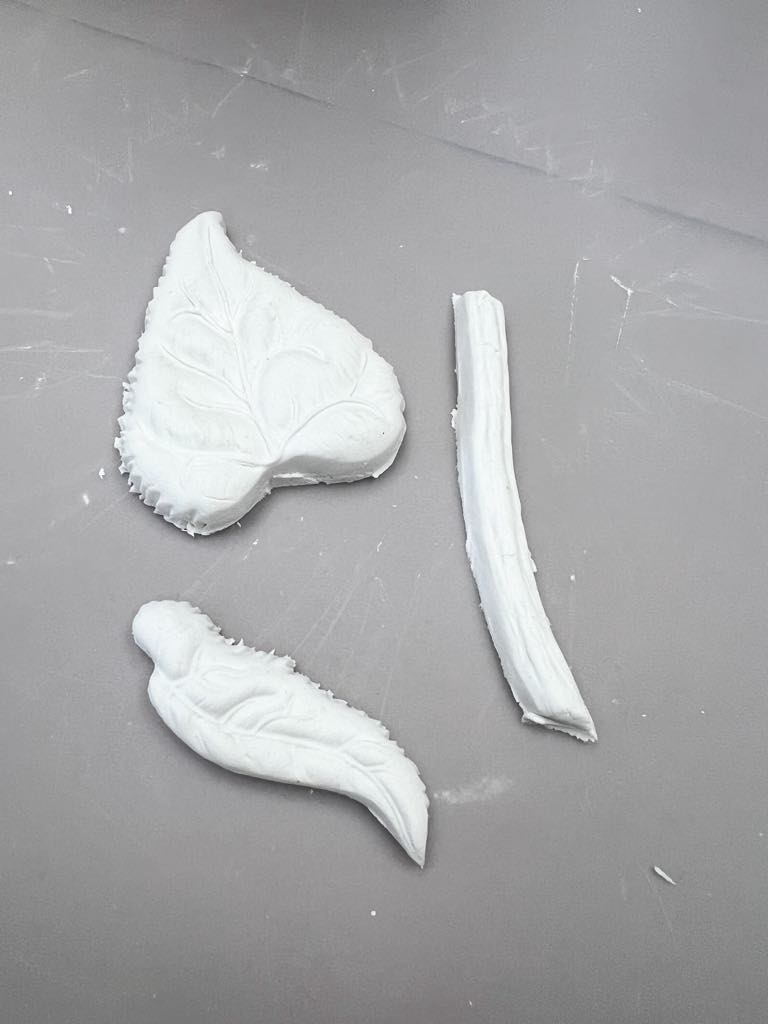
I did the same process for the leaves and stem.
The next step is to add the air dry clay pieces to the large plastic ornament.
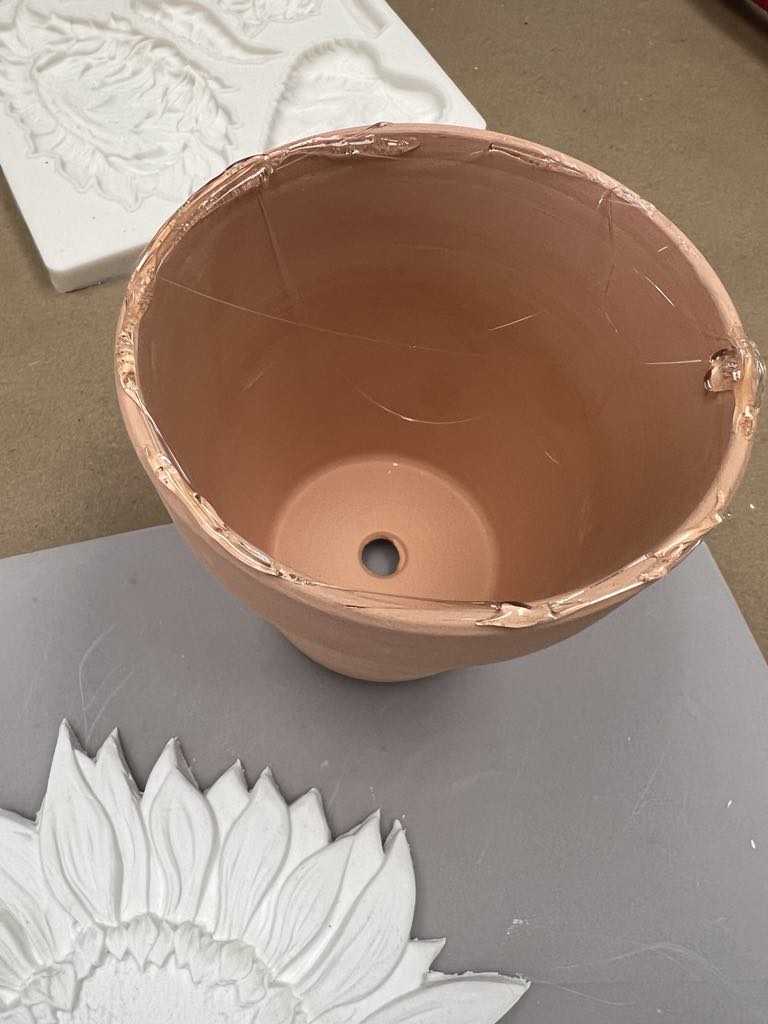
I glued the plastic ornament onto a small terra cotta pot.
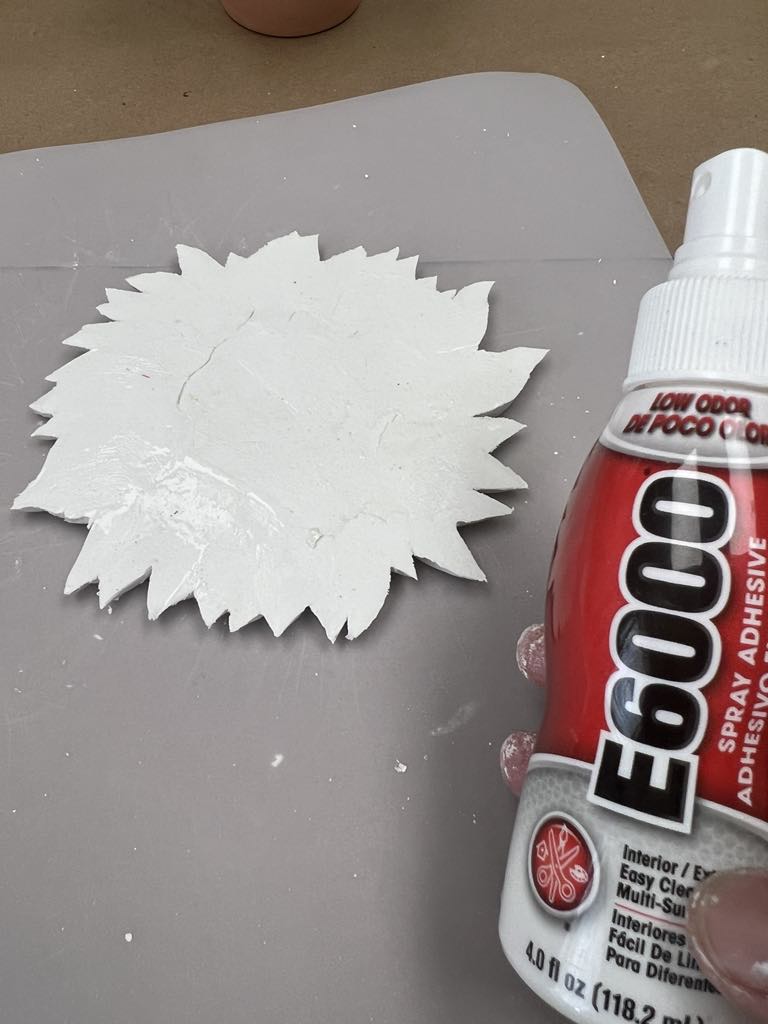
I added some of the E6000 spray adhesive to the back side of the clay pieces.
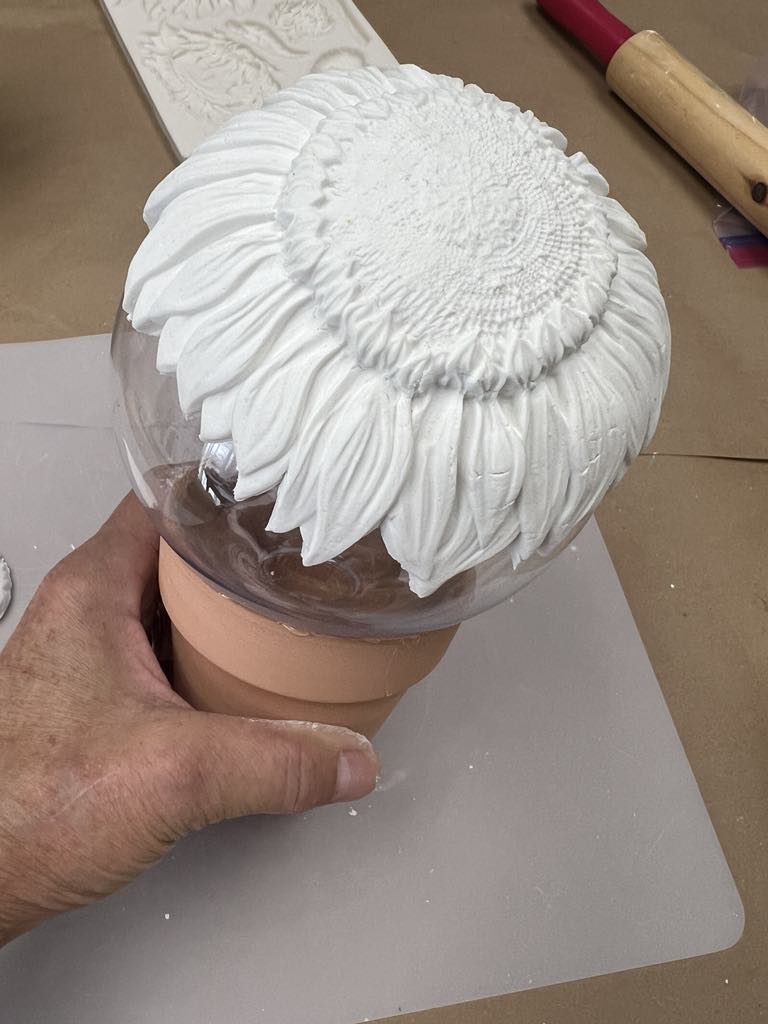
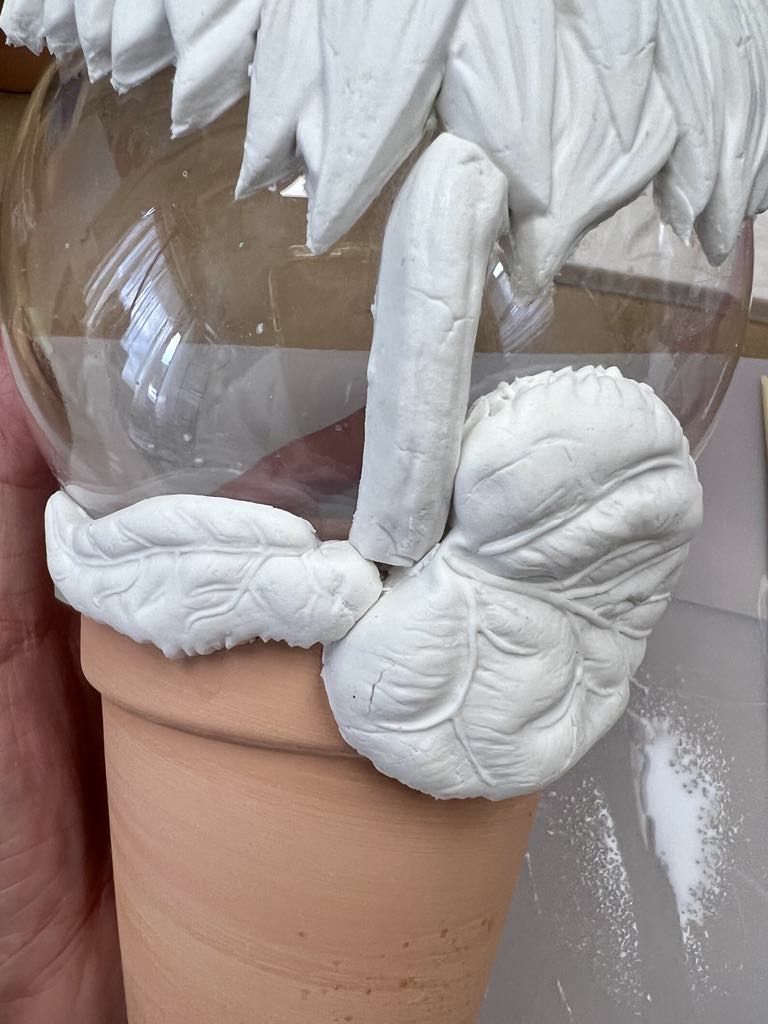
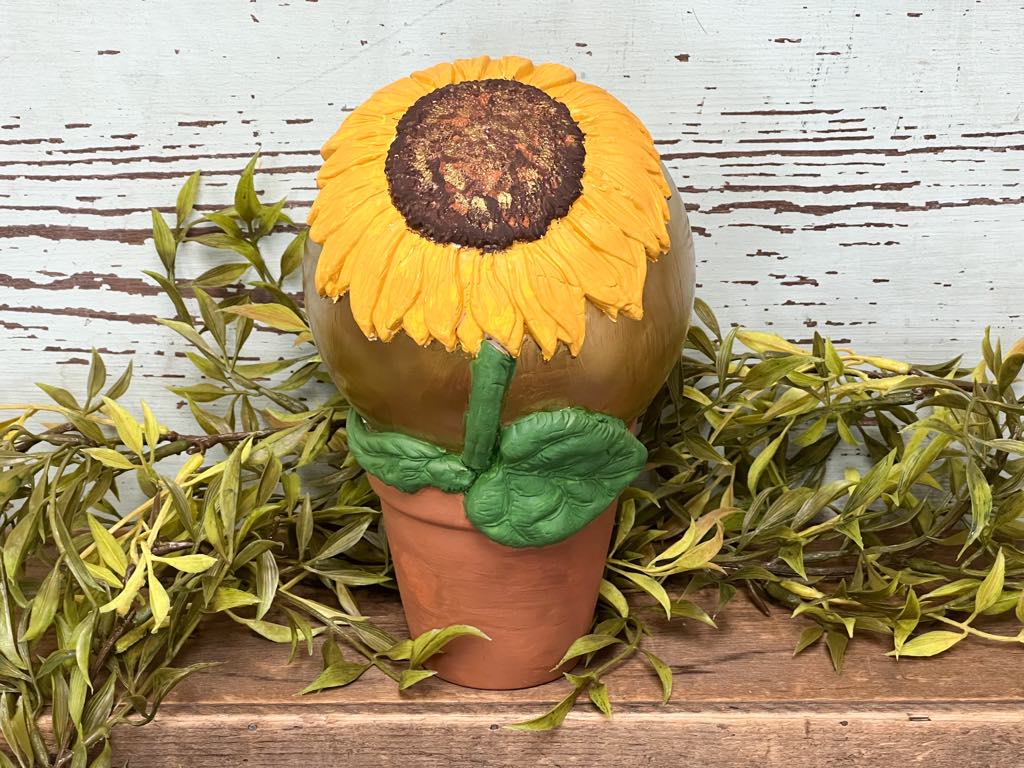
Once you have the air dry clay pieces in place you’ll want to set it aside to dry.

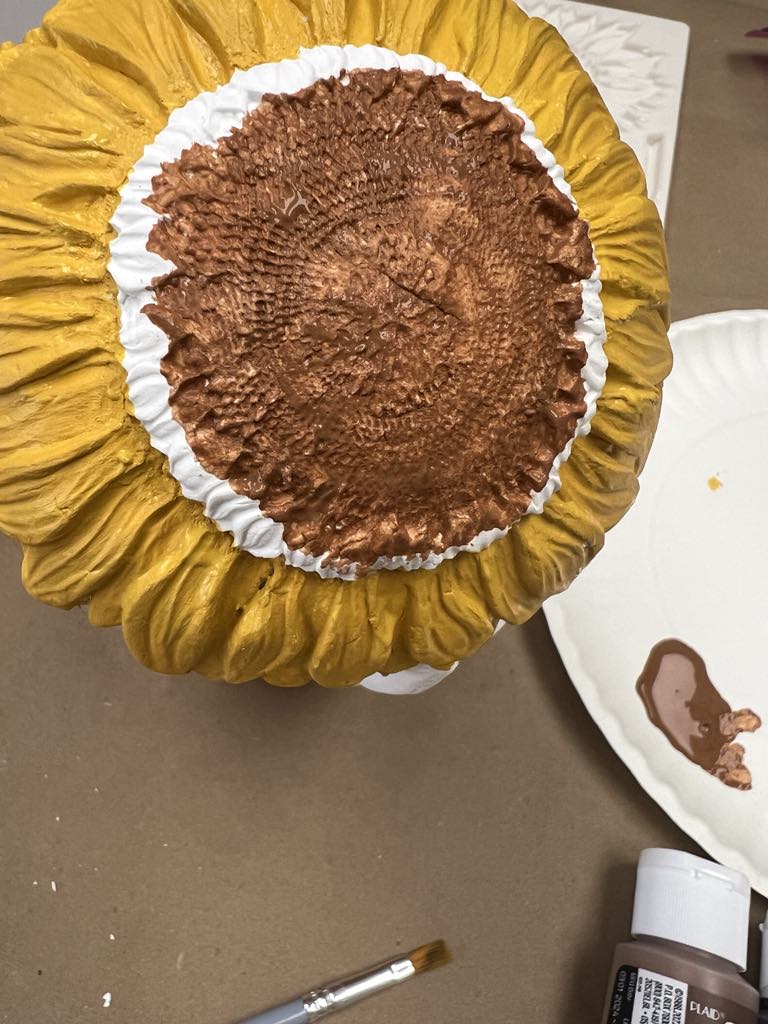
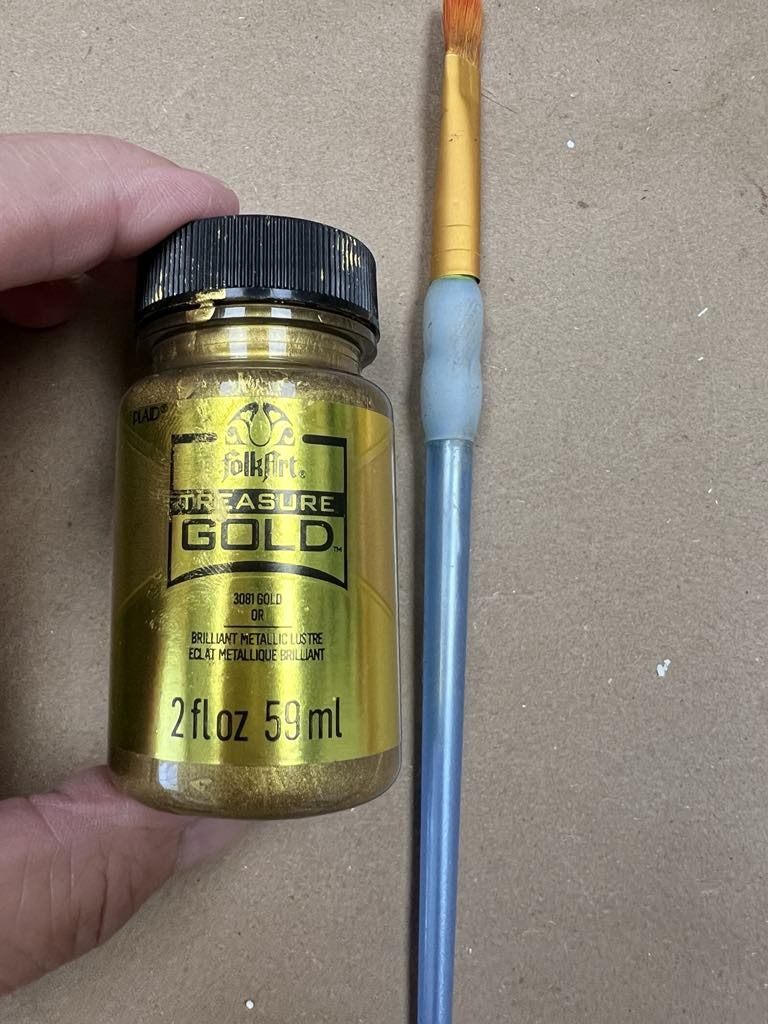
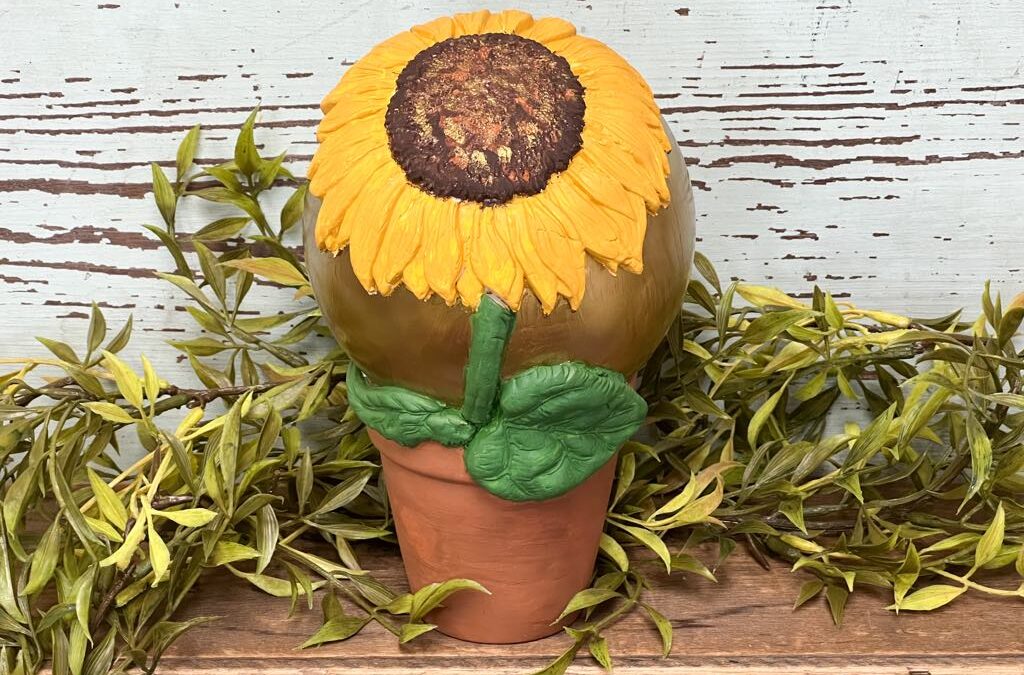
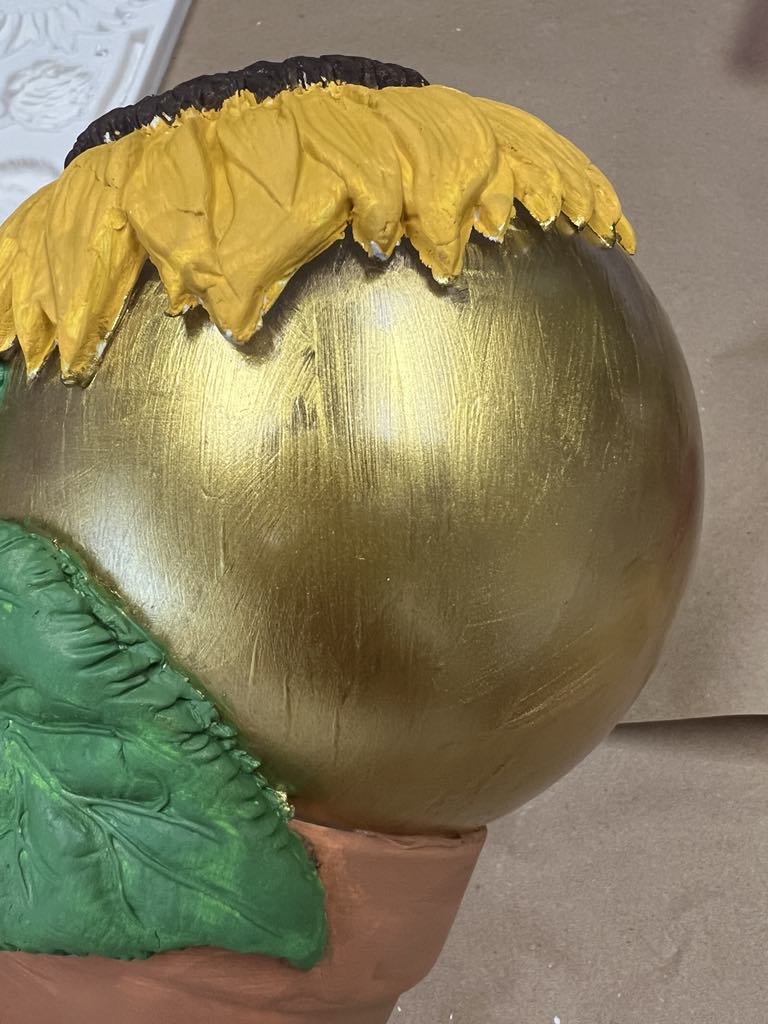
I decided to use Treasure Gold metallic paint on the plastic ornament.

This was so much fun to make and will look great any where in your home. I hope you’ll get creative and give this a try.
Cute diy!
Another beautiful idea using the air dry clay!!! 🌻 🌻🌻🌻🌻🌻🌻🌻🌻
I will have to order the molds from Amazon, I wonder if you painted the center brown instead of white would it look like a brown eyed Susan? Hahaha my Dad used to grow them in his garden.
Another wonderfully creative craft. ❤️
Thank you, Brenda! 💕
This is so cute. I love it. It was fun watching you make it.
Barb it’s so beautiful. Love love it.
I Love the air dry clay, I need to get some molds. Do you spray or can you spray like a clear sealer on this type of craft?
It looks absolutely beautiful! I especially love that it is unique. I have to give this one a try!
I hope you do! It was so much fun to make!
Watered 💧
Just Beautiful Barb…..🌻🌻🌻
Love it Barb ❤️. Thanks for helping us get our creative juices flowing ❣️
Thank you for being a part of the Shabby Tree! 💕
Just beautiful Barb ❤️🌻love the air dry Clay 😍
I like the gold much better than the blue that you was ging to paint it
Love it it turned out beautiful painted.
This so cute! Can’t wait to try it!
Barb, that is just adorable. It turned out so nice. I hope to be able to try it soon. Than you for always showing us fun ways to craft.
This turned out so cute! I love that you did gold instead of the blue. Great job, Barb!! 💖💖💖
I am so glad that I went with the gold! It really makes the flower pop!
Have you ever used Mold A Wood for a project like this? It would be perfect for a project like this because it stays flexible after it dries so you can adhere it without worrying about accidentally altering the shape when you glue it on.
Barb that was such a different craft ,I’m so glad you showed us how to use the silicon patterns , aren’t they the cutest !!! Just think of the Christmas patterns !!! I can’t wait !!! Thanks for all the love and the FUN. 😘
Thank you for sharing your many talents with us.
I see you painted the ornament gold instead of blue.
Amazing as always.
Linda from nw central Missouri
Yes! I am so happy that I did! I think the gold makes the flower just pop!