If you love decorating your home with angels, you’re going to love this DIY angel craft idea. This project is a beautiful way to create handmade angel decor using vintage doilies and thrifted finds. I’m always inspired to incorporate old, timeless pieces into my home decor, and adding delicate doilies to this angel gives it a charming vintage look that’s perfect for Christmas decor, shabby chic decorating, or year-round farmhouse style.
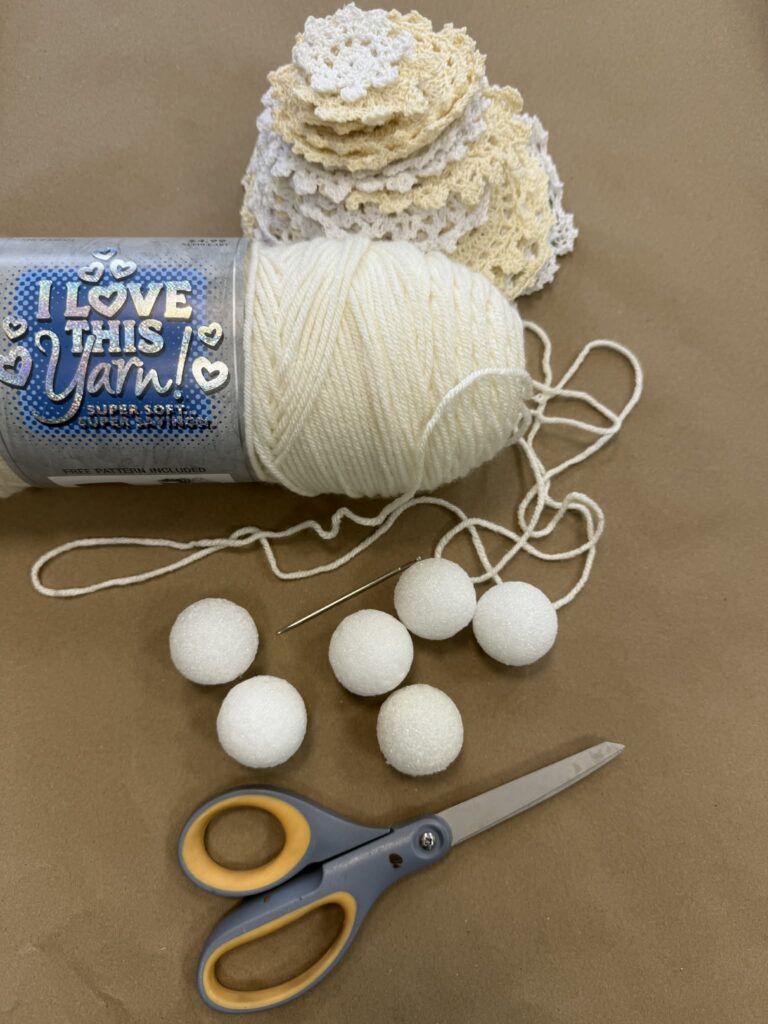
You will find the supplies that I’ll be using listed down below.
1. Yarn
2. Scissors
3. Two doilies
4. One inch styrofoam ball
5. Doll needle
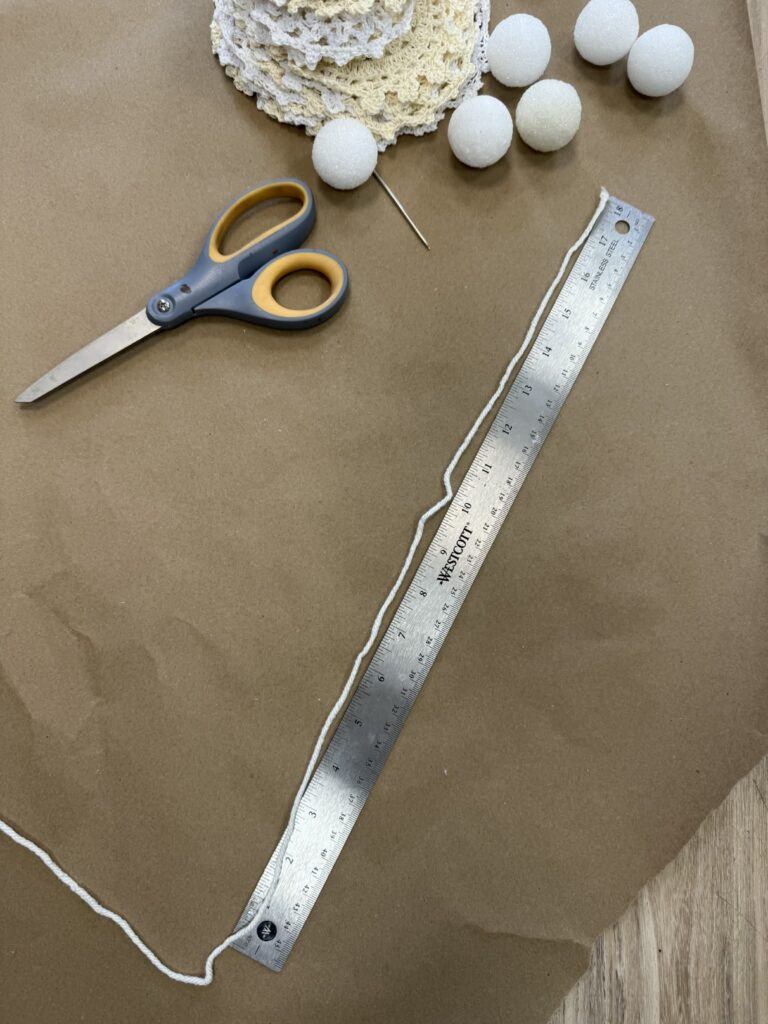
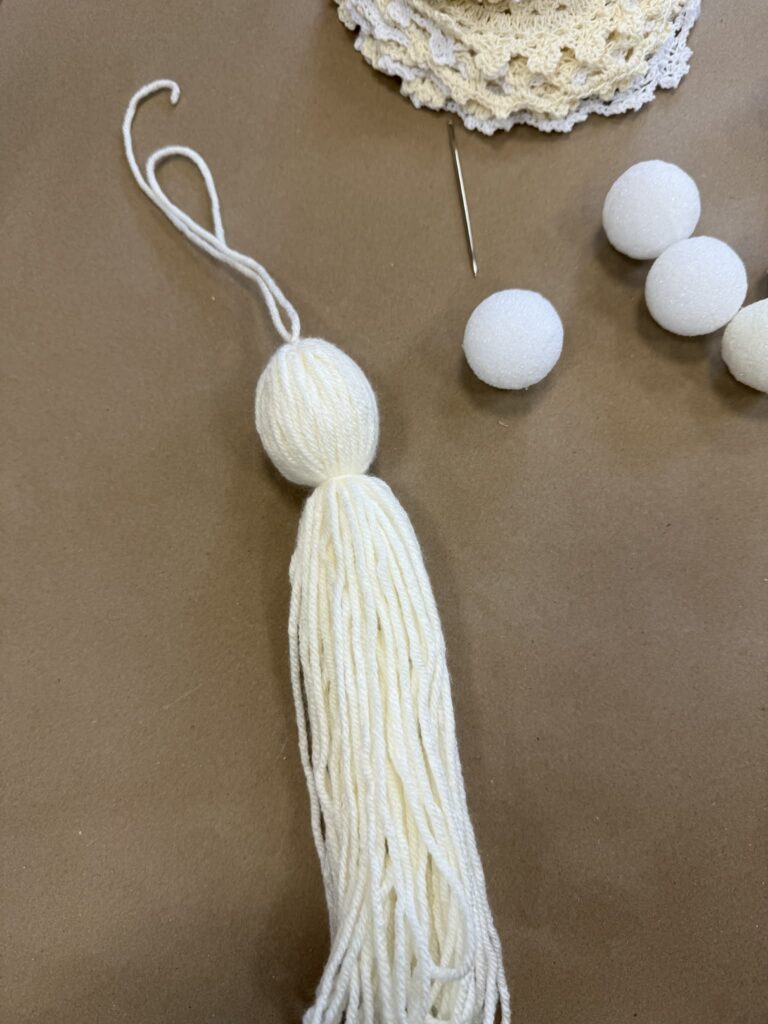
The first step is to wrap the yarn back and forth to create the base for your angel. You can make the yarn bundle as long and as full as you’d like, depending on the size and fullness you want for your finished piece. For this DIY angel craft, I’ll be wrapping mine to about 18 inches long to create a soft, full look that works perfectly for handmade holiday decor.

I wrapped the yarn back and forth about 40 times to create a thick, full bundle. This helps give your DIY angel a soft, fluffy look and adds dimension to your handmade home decor.
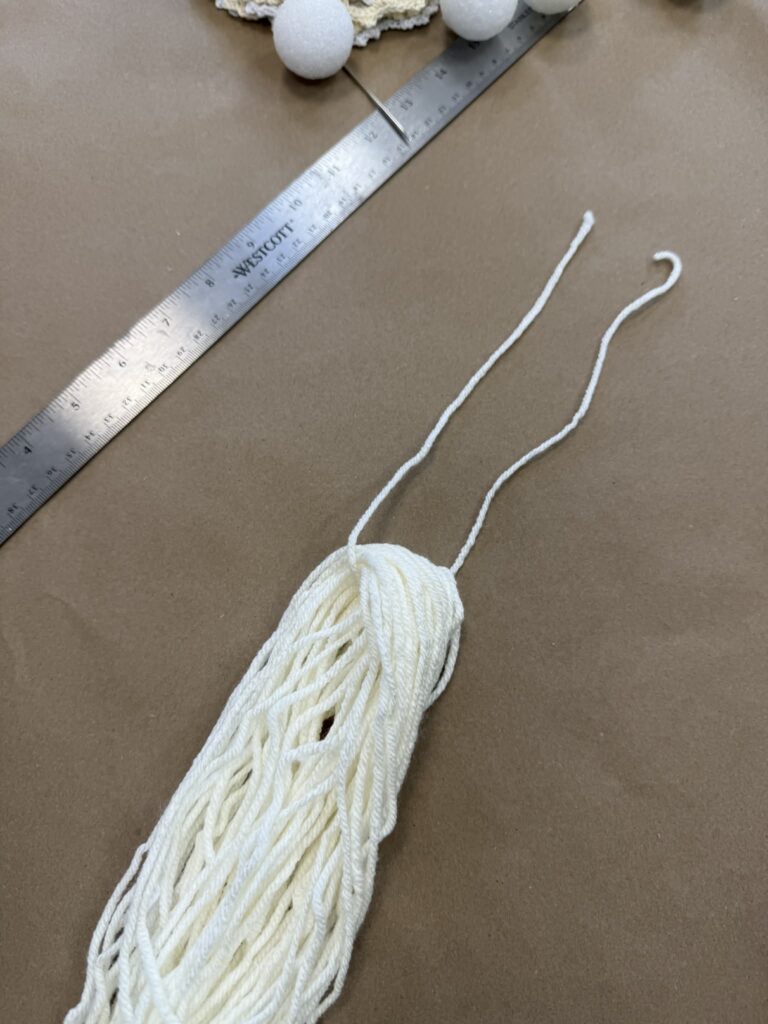
Next, fold the yarn bundle in half to form the body of your DIY angel. Once it’s folded evenly, tie a separate piece of yarn tightly around the center to secure it in place. This step helps shape your handmade angel craft and creates the foundation for the head and body.
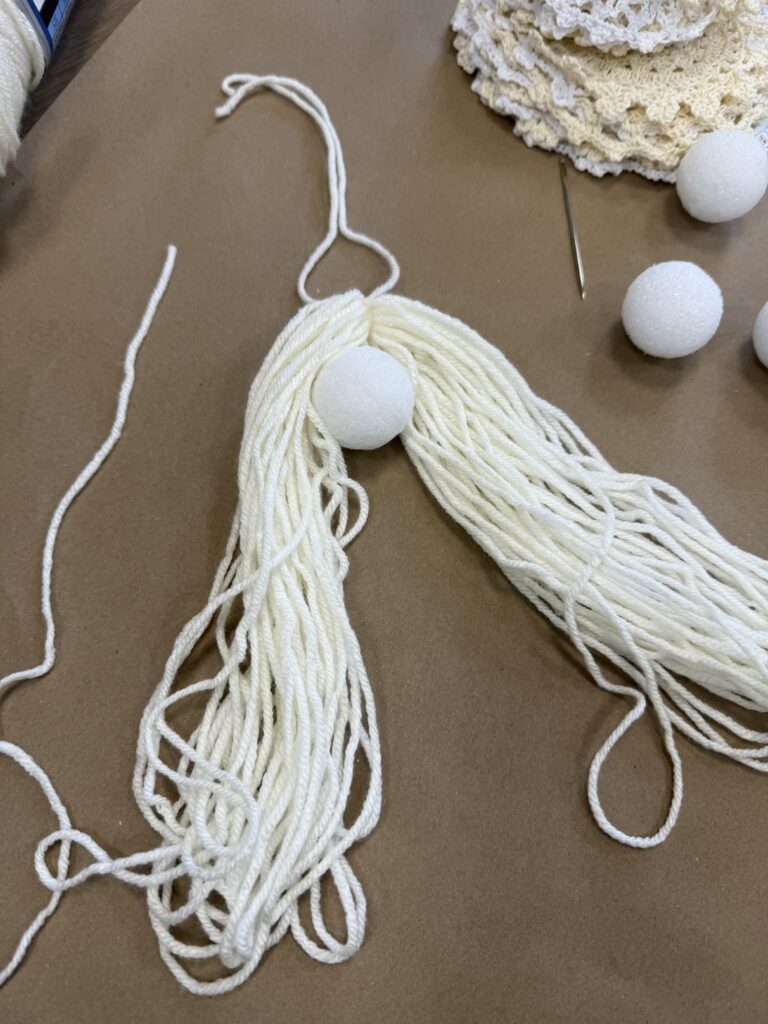
Place the Styrofoam ball in the center of the folded yarn bundle, as shown in the photo above. Gently pull the yarn up and around the ball to fully cover it, creating the head of your DIY angel. Once the ball is completely covered, use a separate piece of yarn to tie it securely in place. This step helps define the angel’s head and gives your handmade angel decoration a clean, finished look.
The next step is to carefully cut a small hole in the center of a doily. This will allow you to slide it over the angel’s body and position it perfectly. Adding a vintage doily is what gives this DIY angel its soft, shabby chic look and makes it a beautiful piece of handmade home decor.
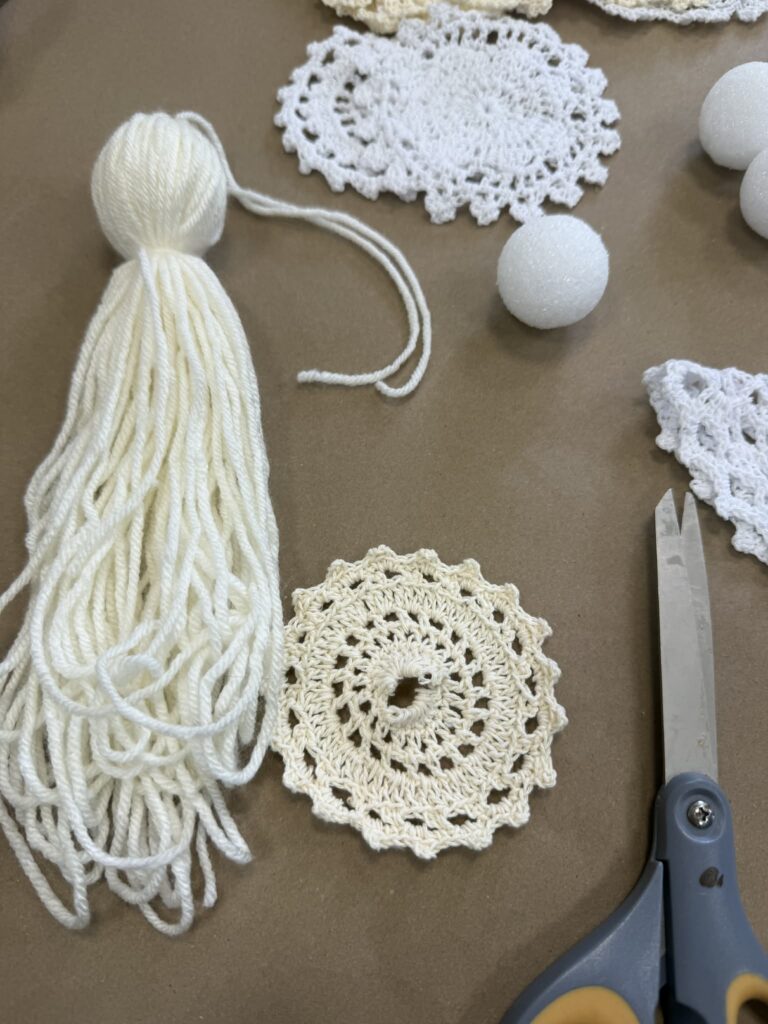
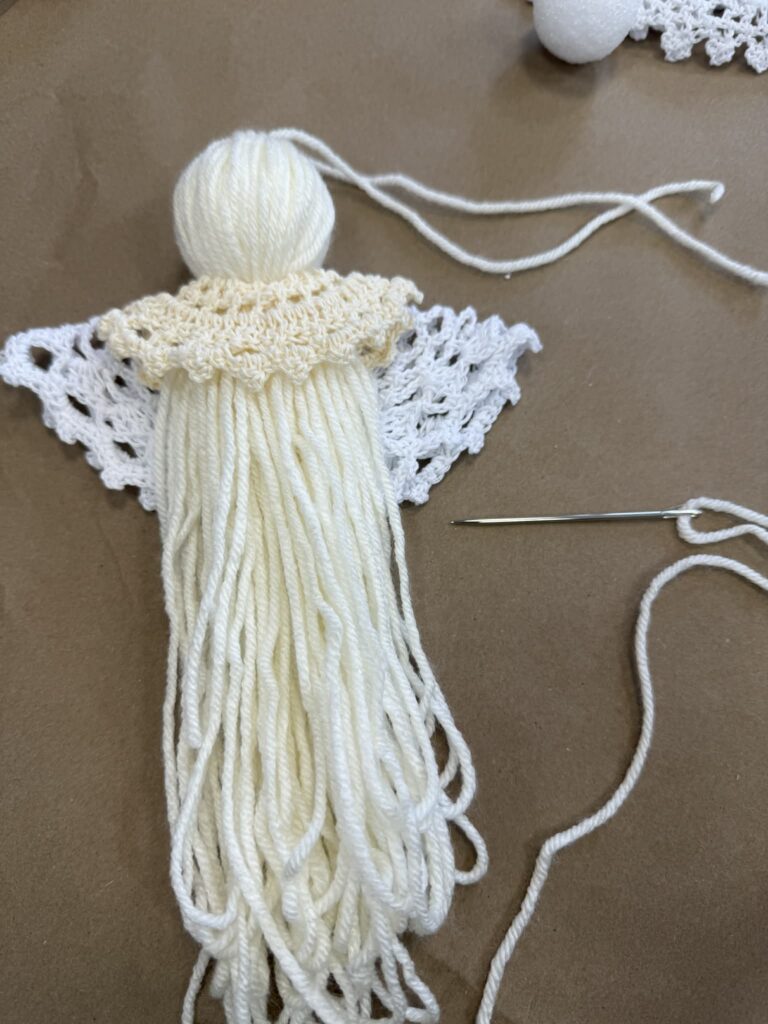
Once you’ve cut the hole in the center of the doily, slide the top of the yarn bundle through the opening. Gently pull the doily up and position it around the neck area of the angel. This step helps form the angel’s dress and adds that beautiful vintage texture that makes this DIY angel decor so charming and unique.
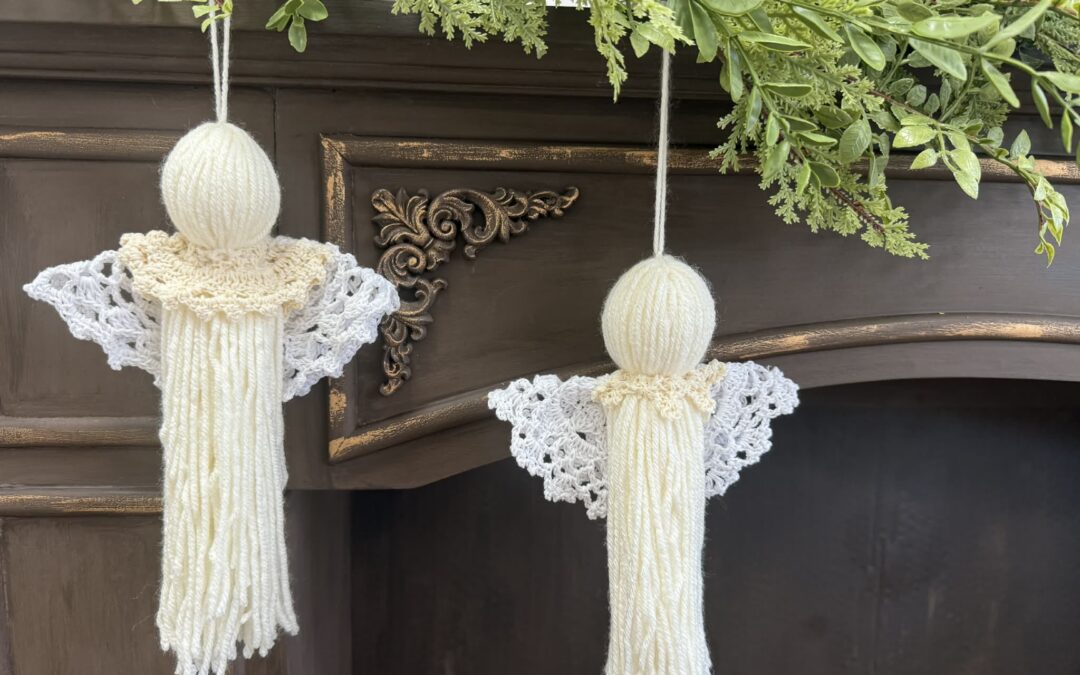
Next, fold a second doily in half to create the angel’s wings and position it on the back side of the angel. Once you’re happy with the placement, use a doll needle and a piece of yarn to stitch and secure the doilies in place. This step gives your DIY angel beautiful layered detail and adds even more vintage charm to your handmade angel decoration.
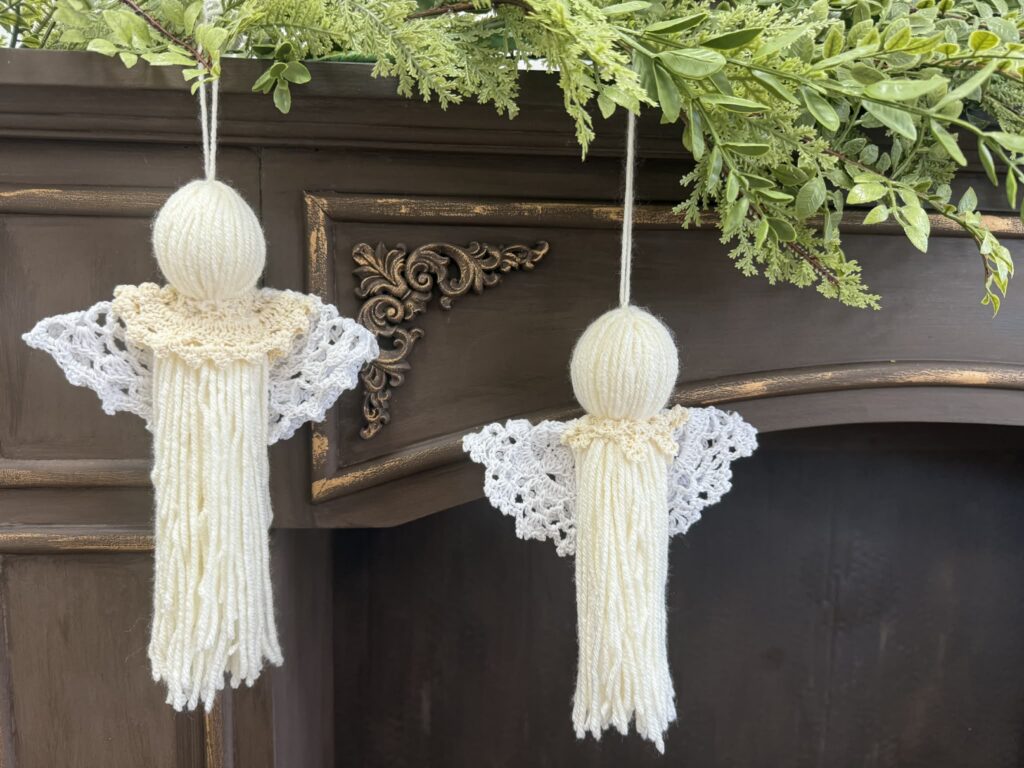
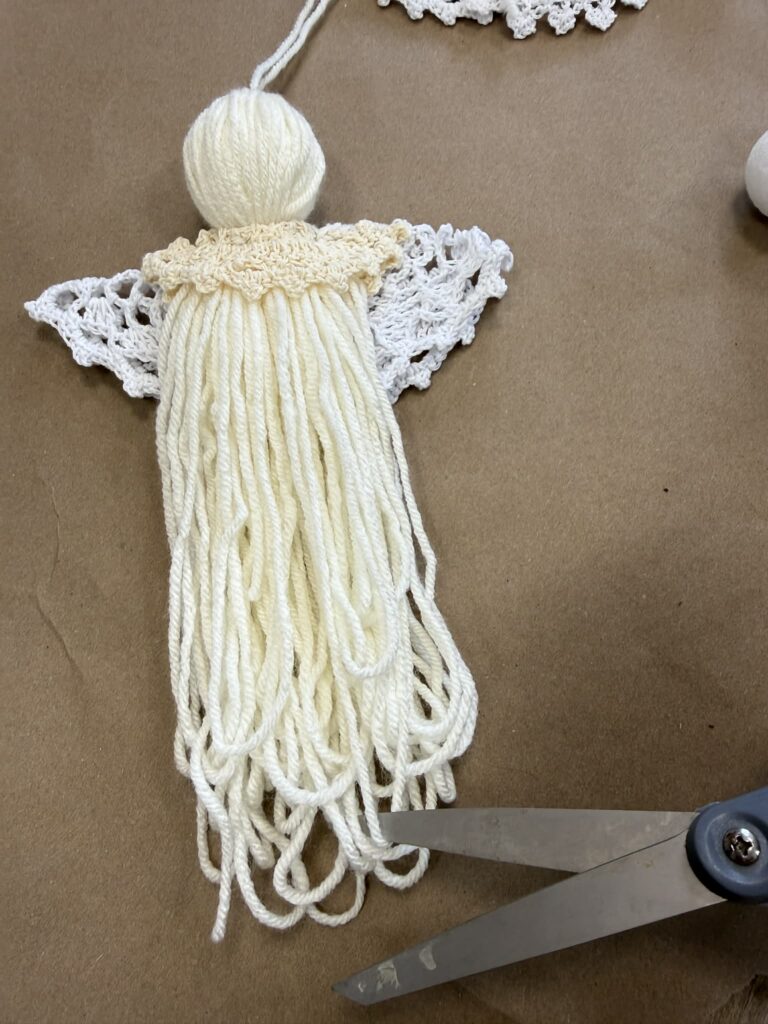
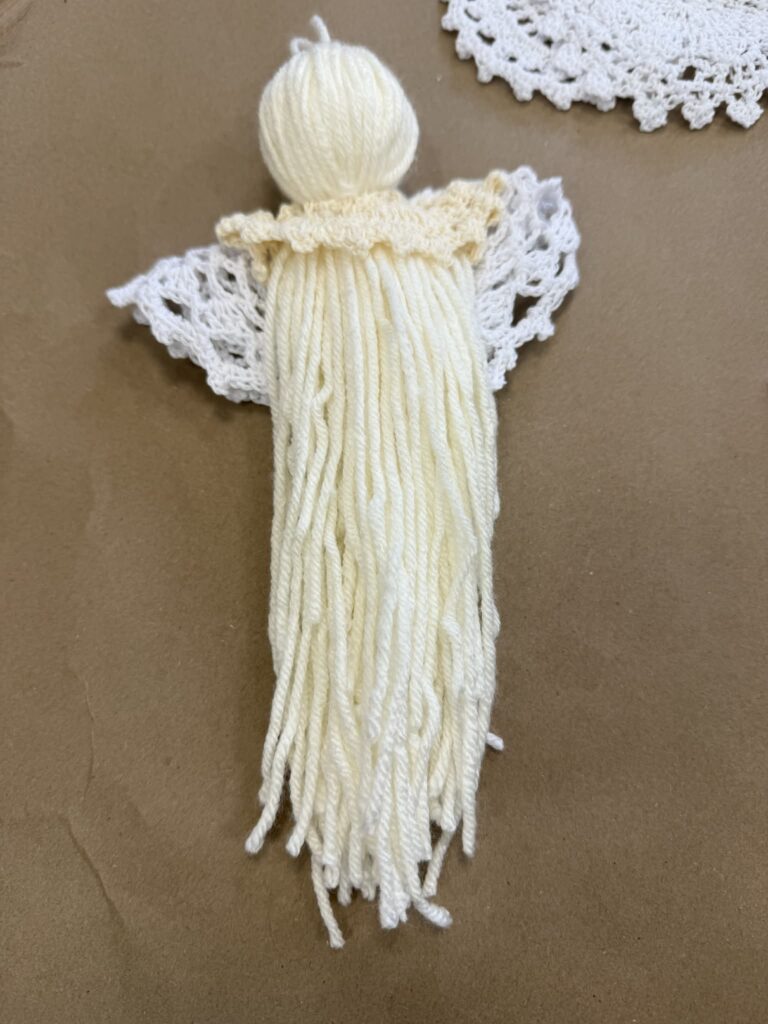
The final step is to cut through the loops at the bottom of the angel to create a soft, flowing fringe. This gives your DIY yarn angel a fuller, more finished look and adds beautiful texture to your handmade angel decor.
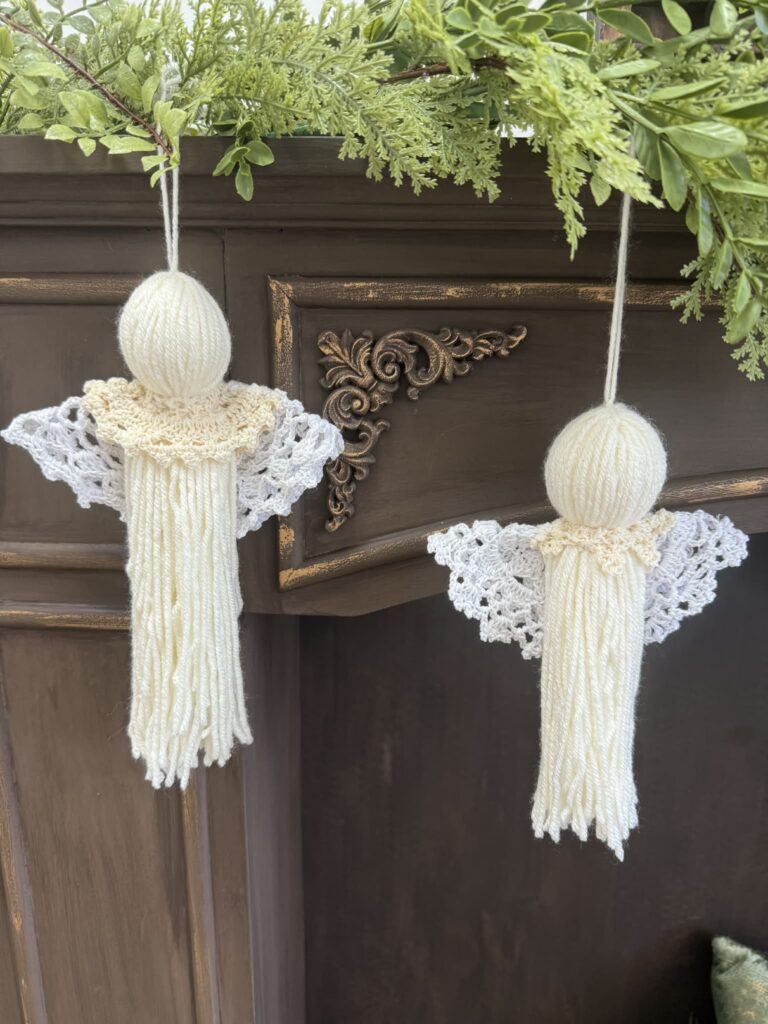
These DIY angels make a sweet decoration that can be displayed anywhere in your home, from a mantel or shelf to a tiered tray or bedside table. They would also be adorable added to a gift for a special handmade touch or hung up as a year-round accent piece.
I hope you’ll get creative and give this fun, vintage-inspired angel craft a try. It’s such a simple way to add soft, handmade charm to your home decor.
Cute angels so beautiful
Barb I’ve made these with lace along time ago when my children was young. A few of my neighbors that also like to craft we would take turns at everyone’s house. We would have sweet treats tea and finger sandwiches or just finger foods. Thank you for this idea. LOVE IT ❤️
Will be making these for sure Barb.
These yarn angels are so cute Barb…i will go back and catch the live …will be giving these a try this weekend
Love angels and love to give them as gifts, embellish packages, and decorate with. These are so sweet and pretty. Thanks Barb. You are an angel.