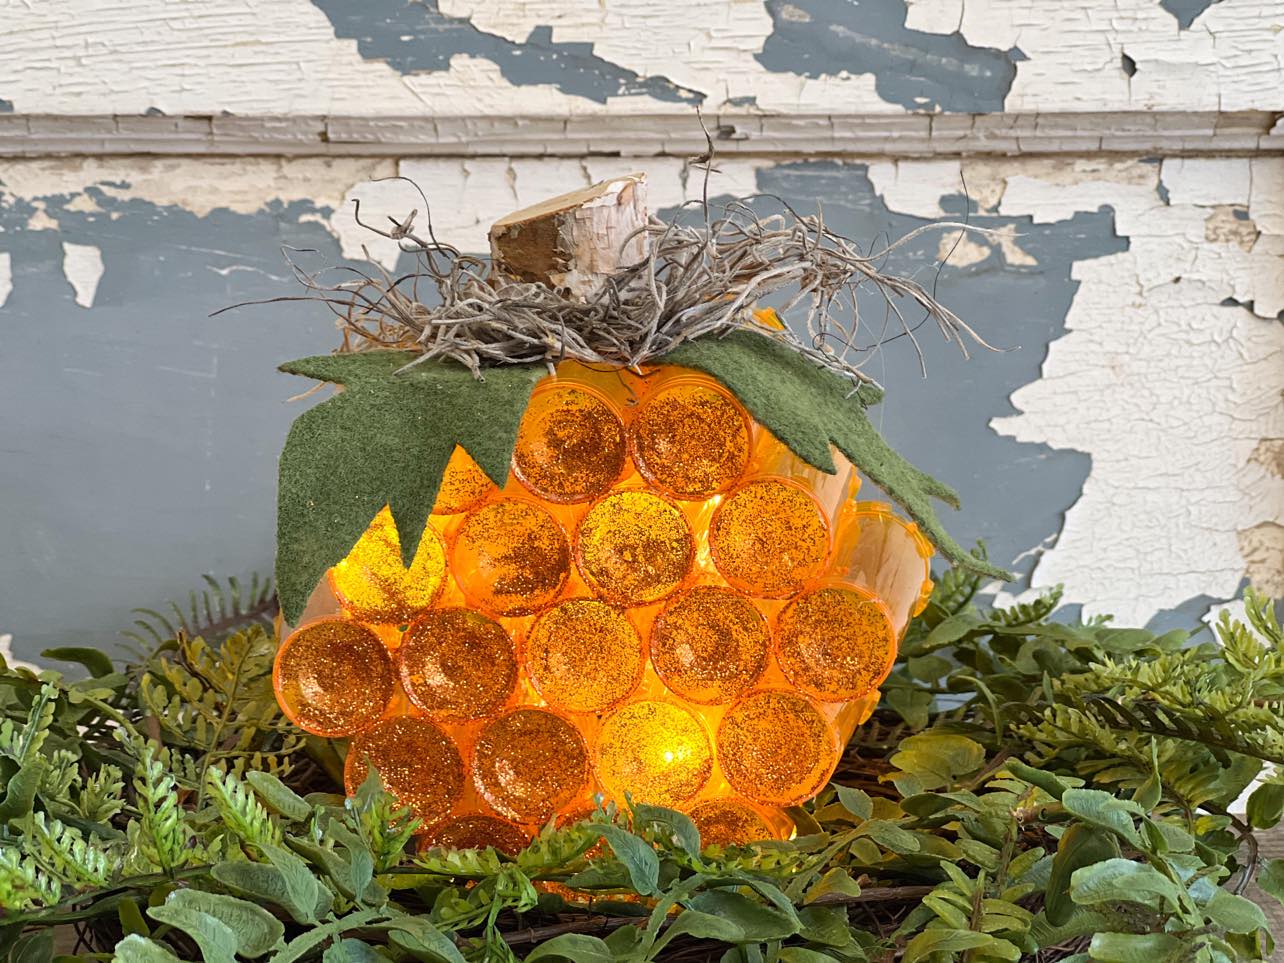
I get asked a lot about what we can make out of empty medicine bottles. We have created a few things out of medicine bottles in the past. Since Fall is right around the corner I thought it would be fun to use a few empty medicine bottles to create a simple pumpkin.
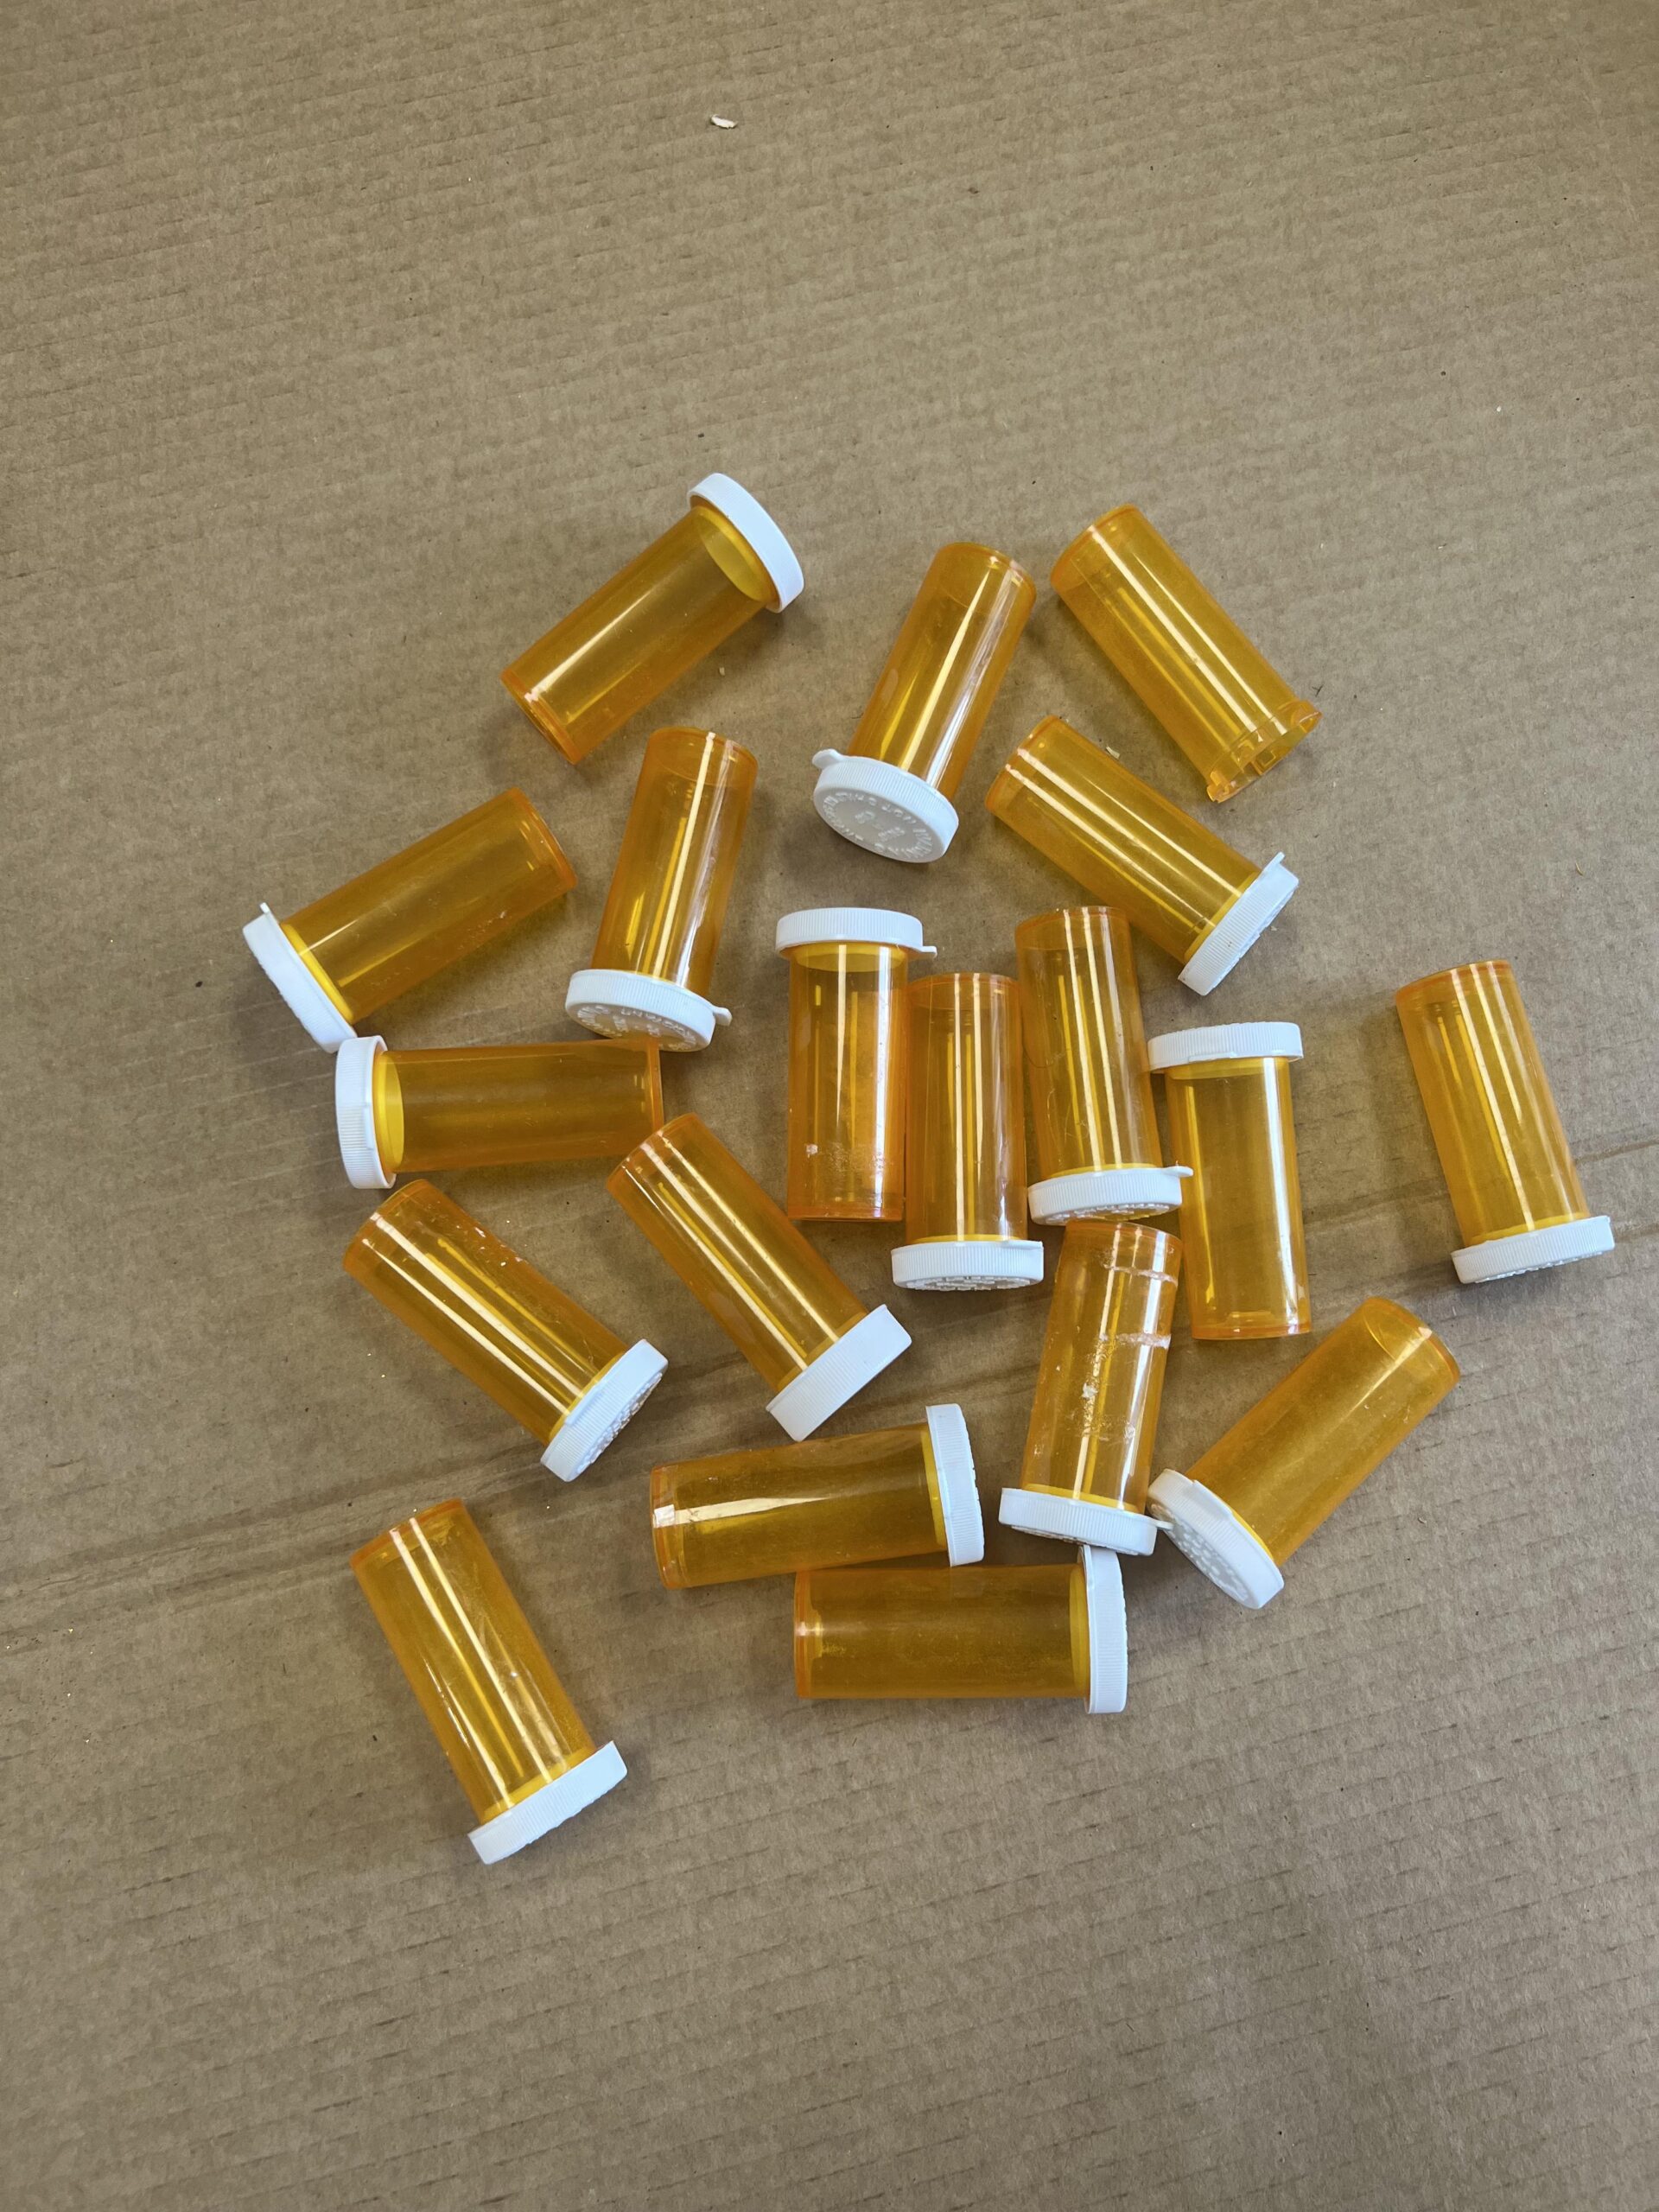
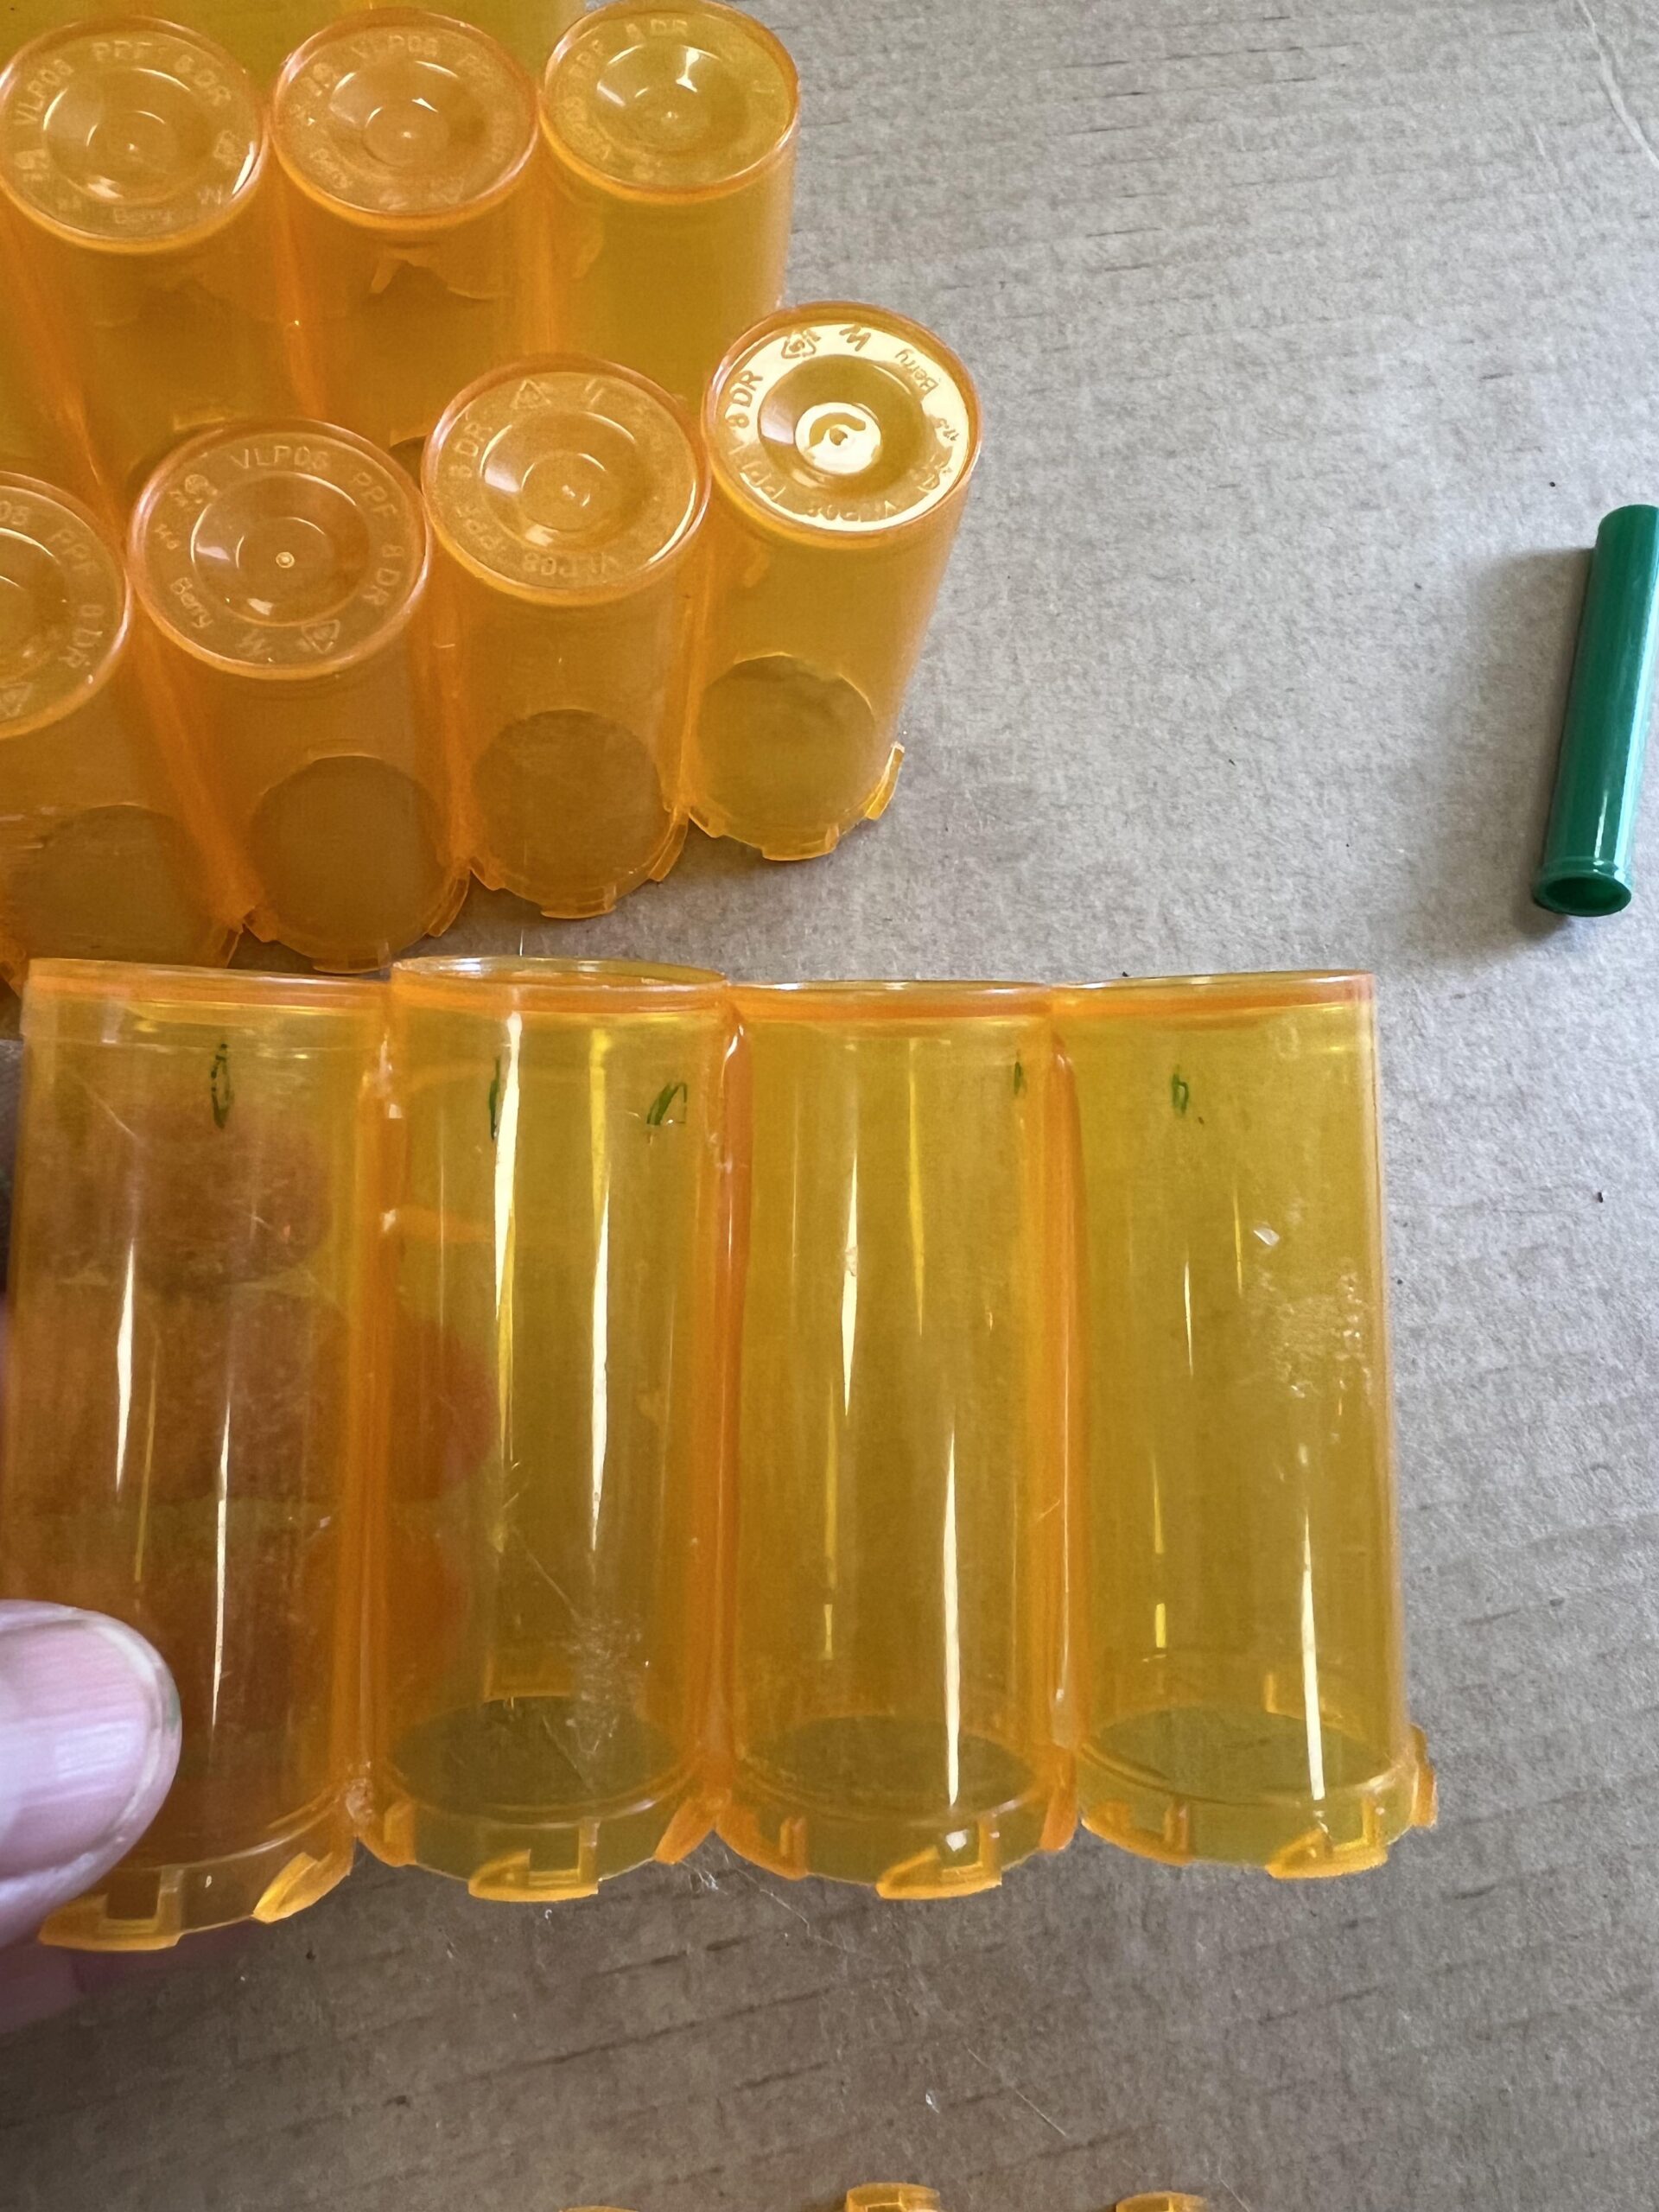
I’ll be using 19 empty medicine bottles.
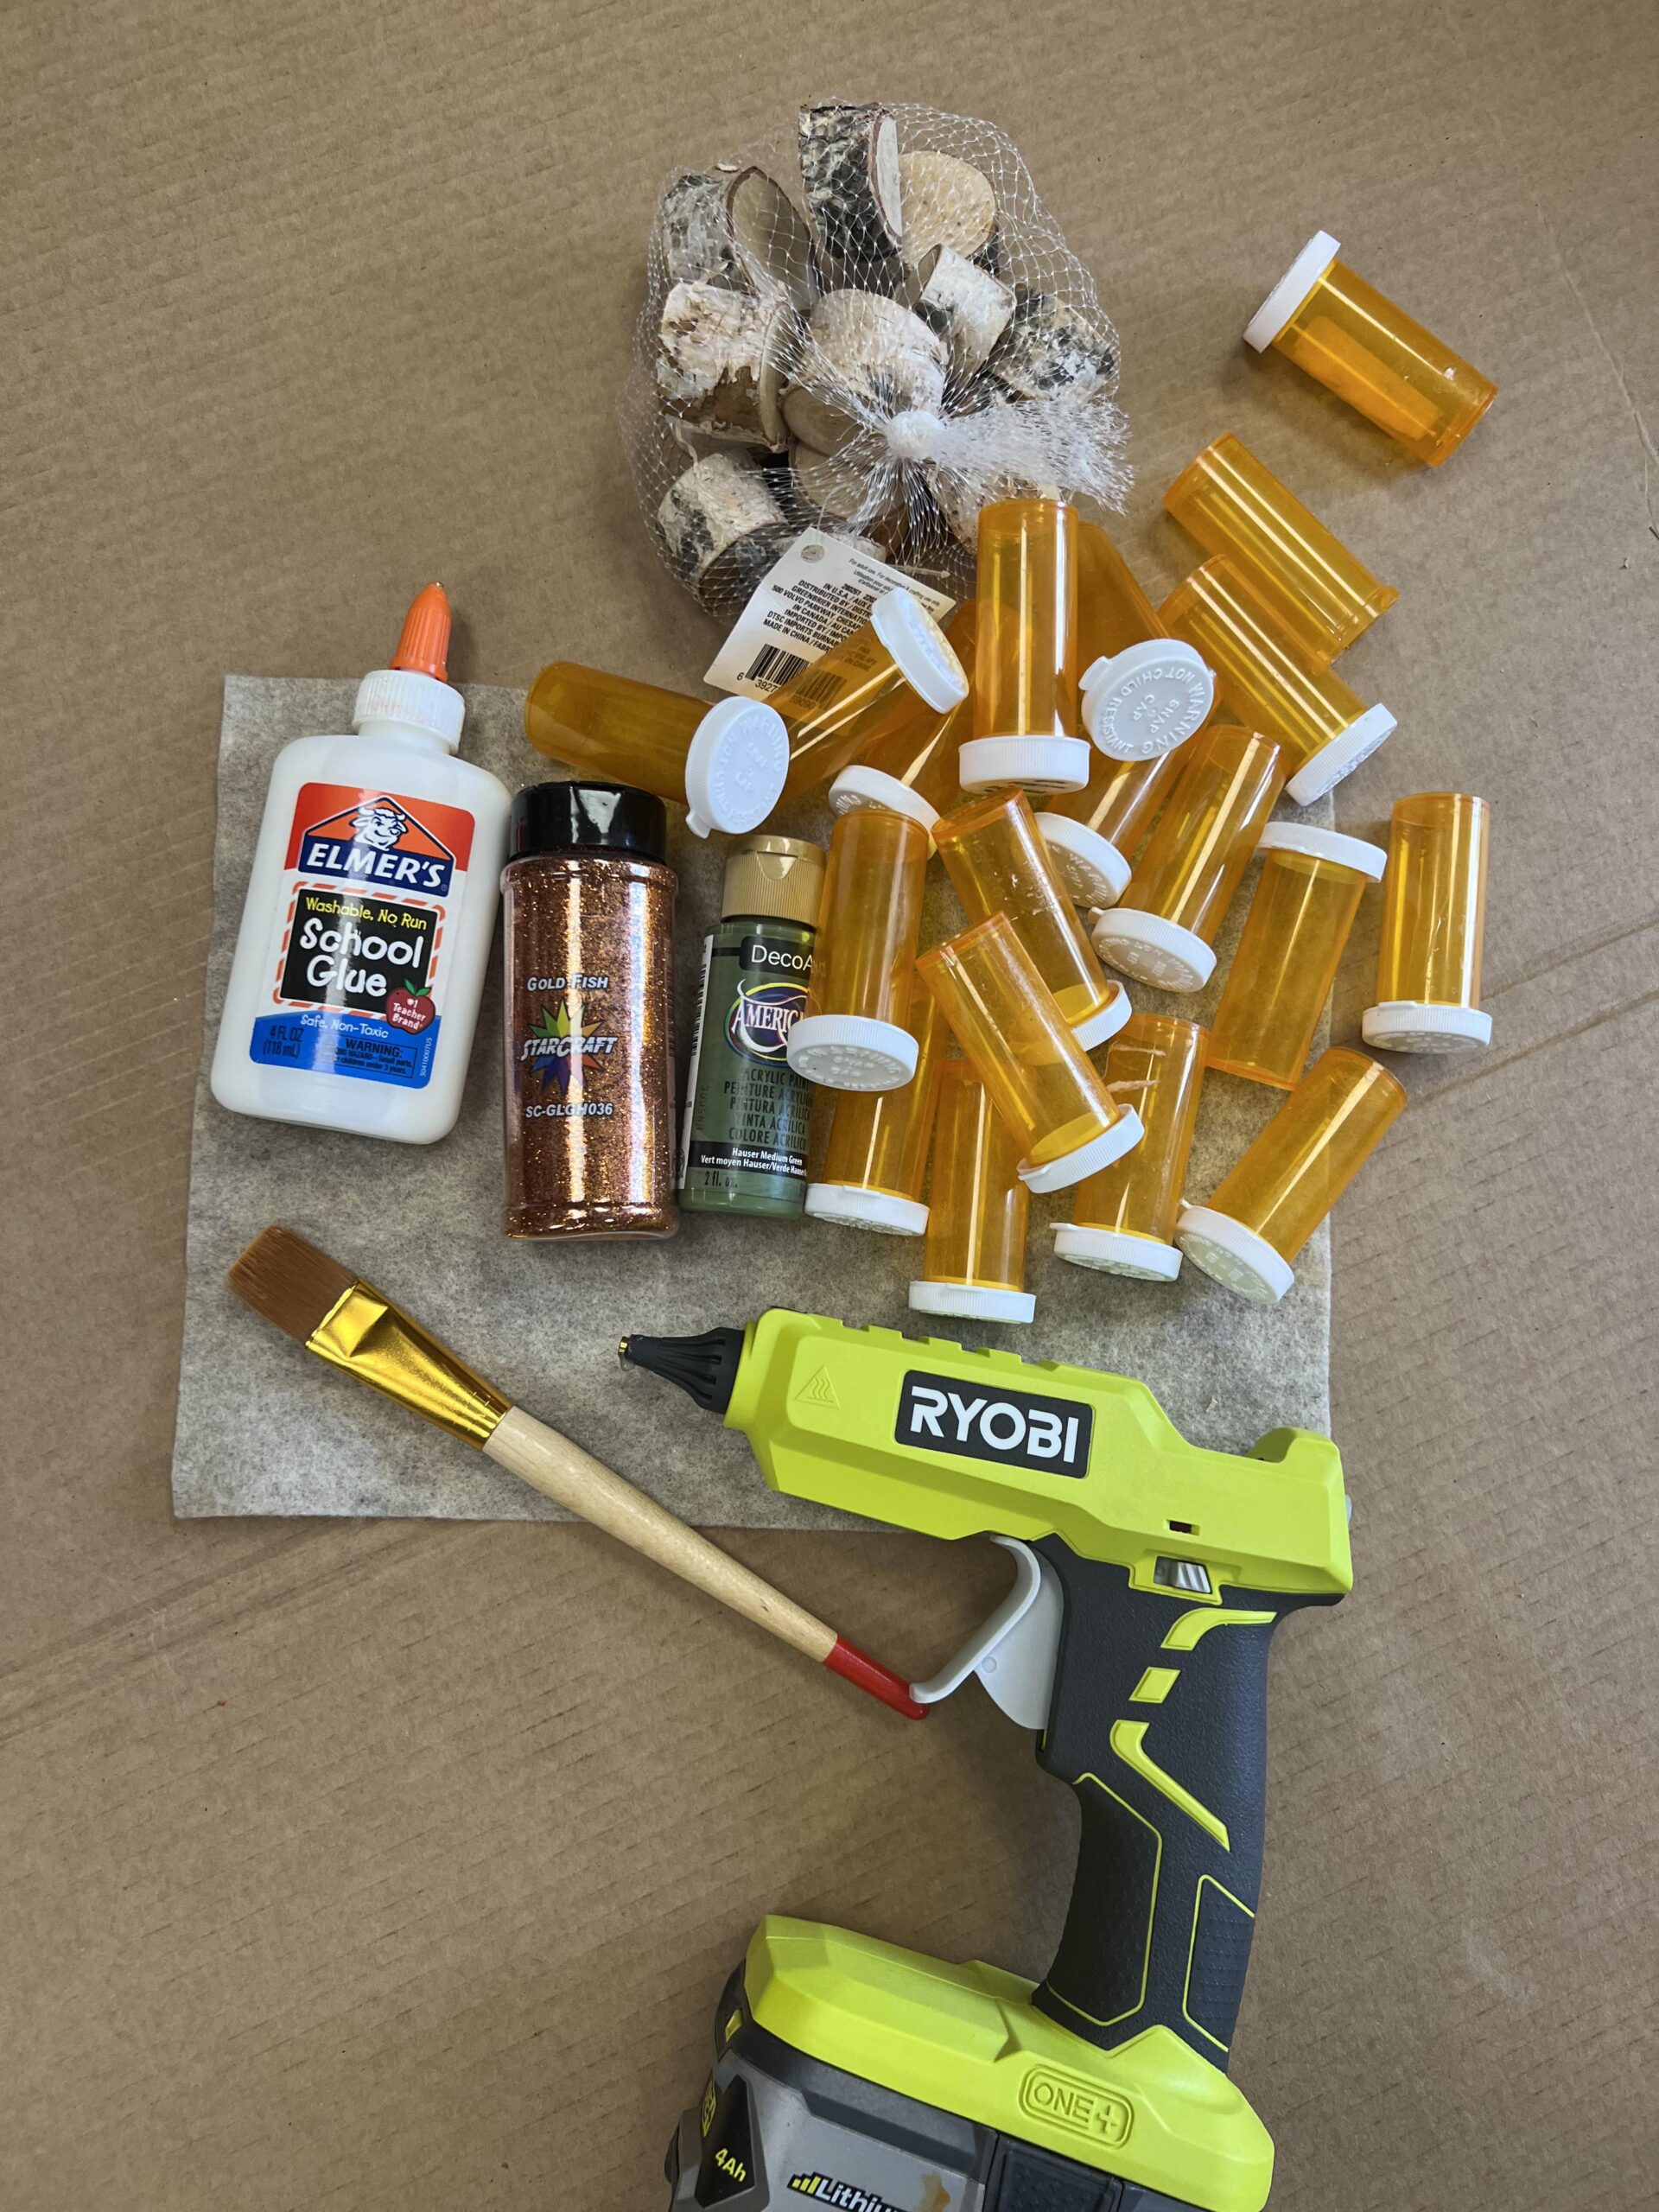
Some other supplies that I’ll be using are:
1. Glue gun
2. Elmer’s glue
3. Paint brush
4. Orange fine glitter
5. Felt
6. Scissors
7. Americana acrylic paint by DecoArt ( Hauser Medium Green)
8. One wooden stem
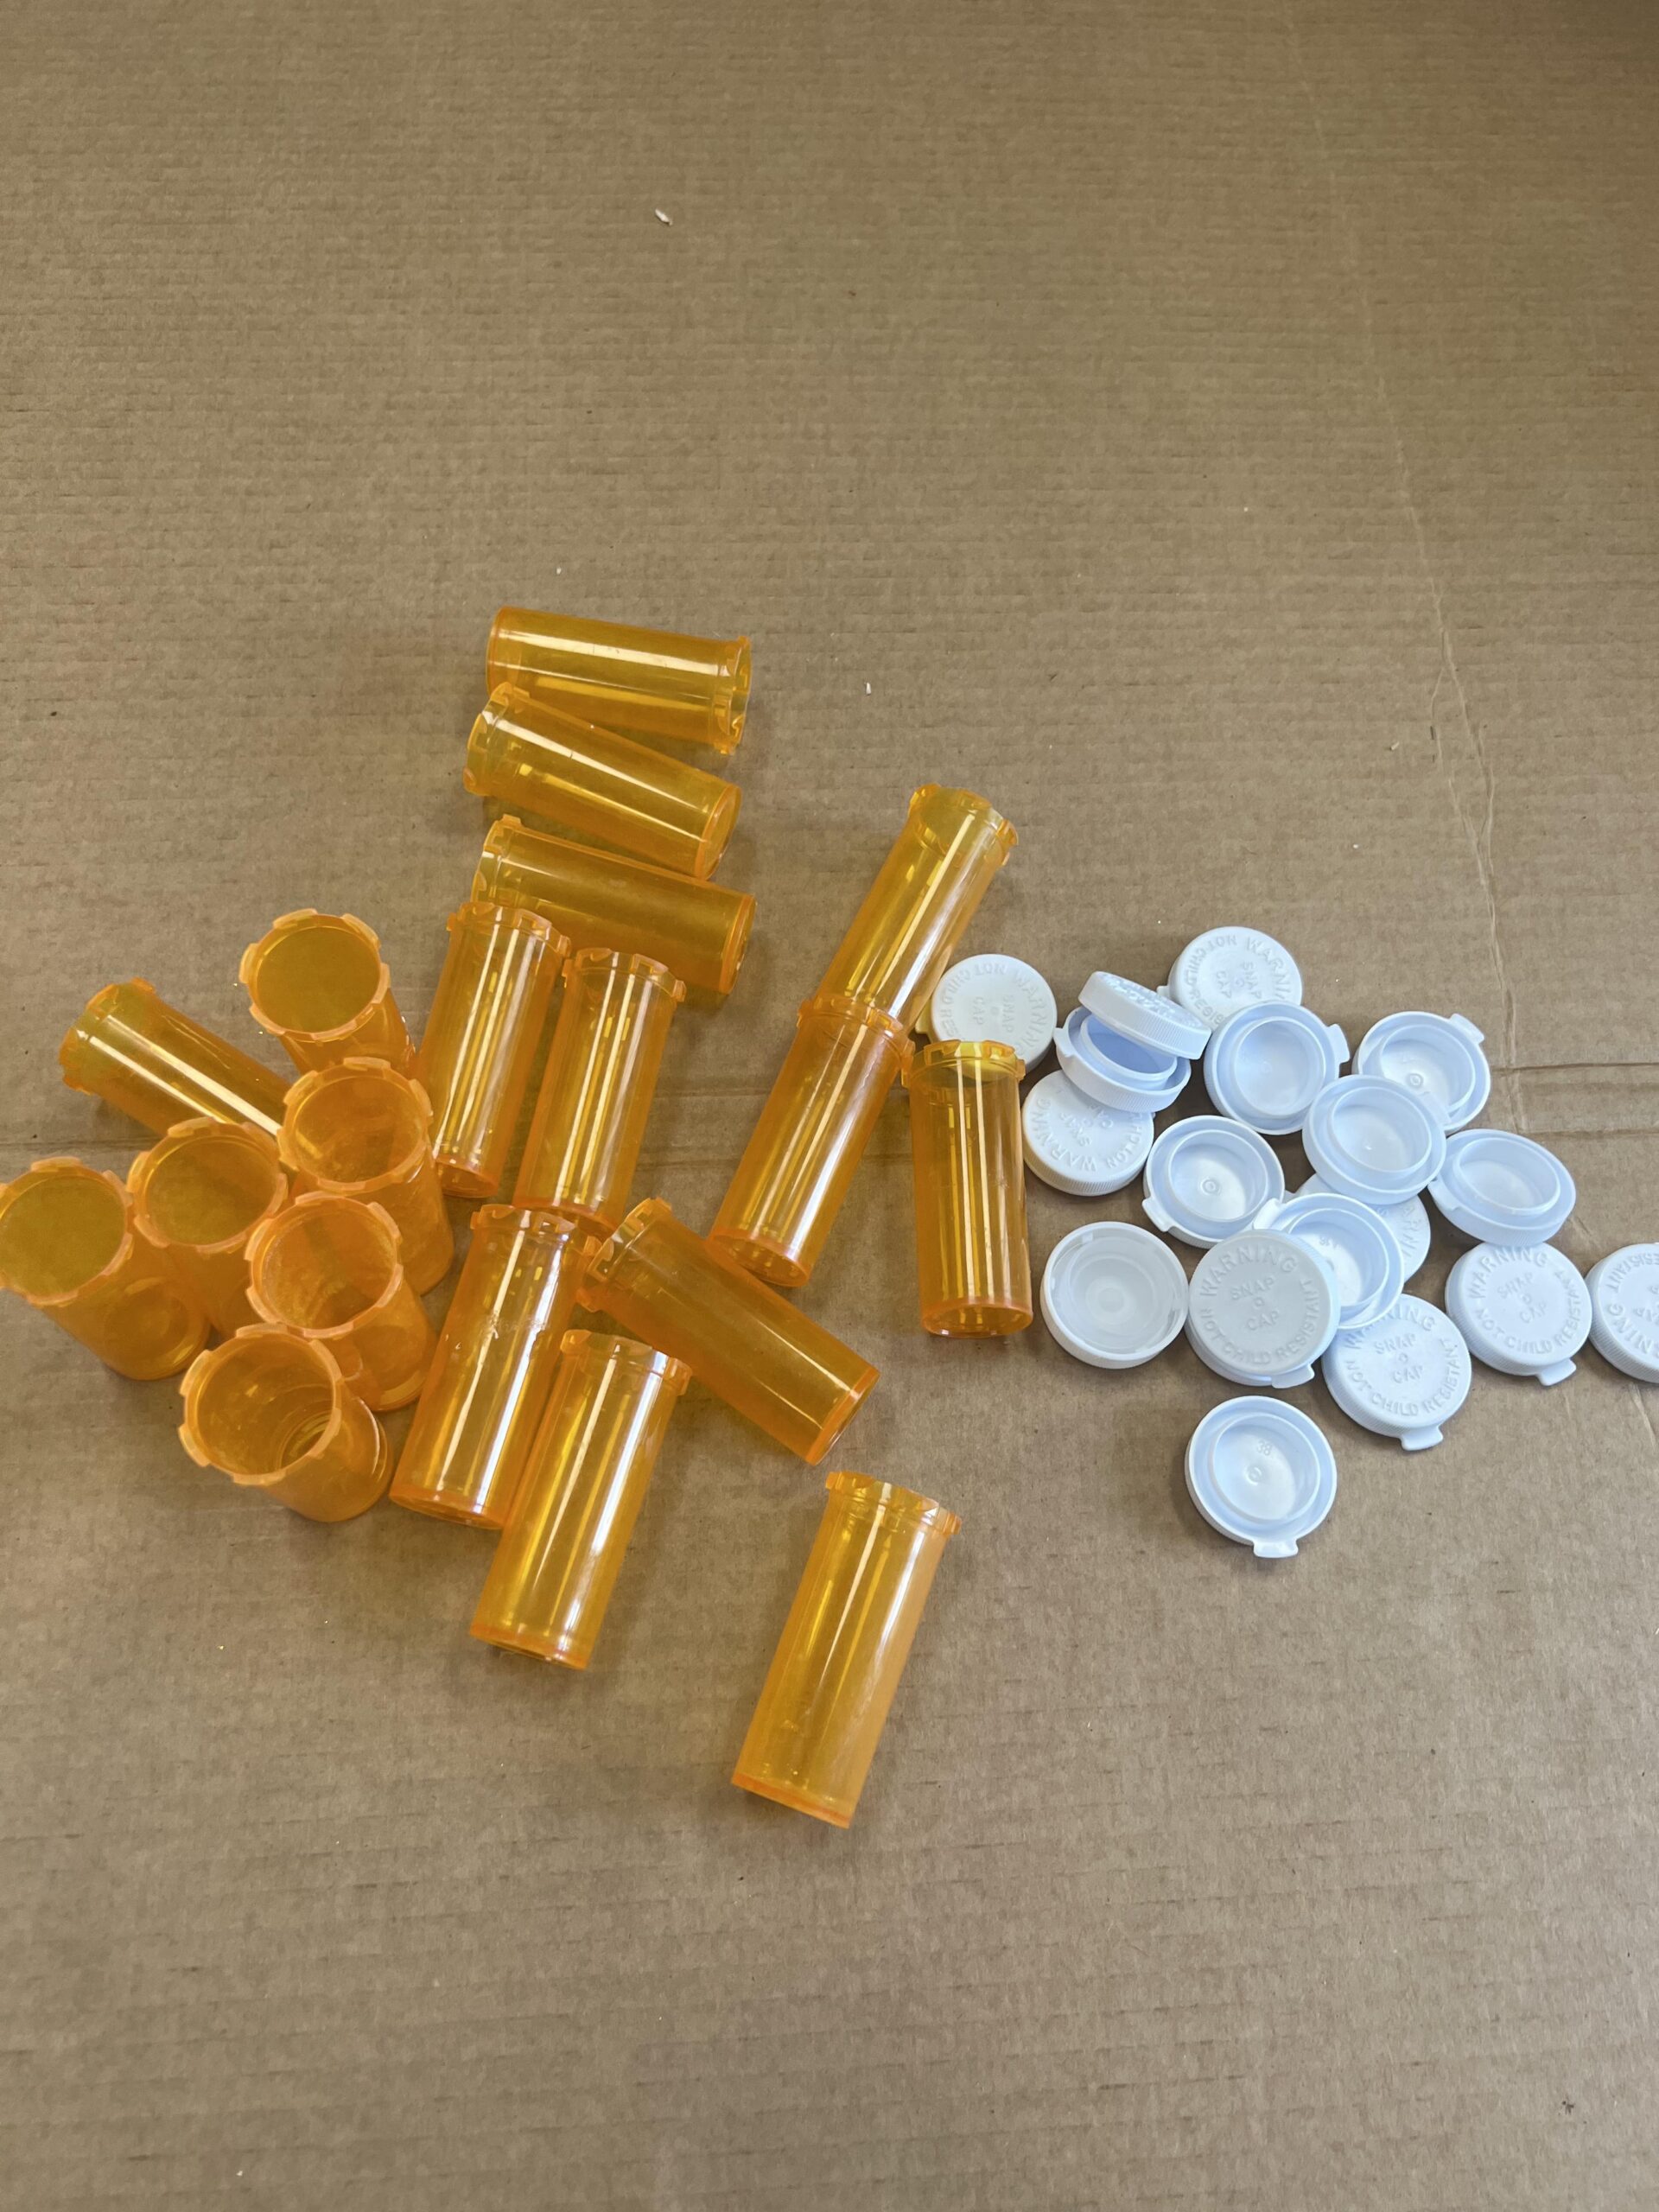
The first step is to make sure you remove all the labels from the medicine bottle. You can use warm water and Goo Gone to make it easy. We will not be using the lids for this pumpkin so you can save them or throw them away.
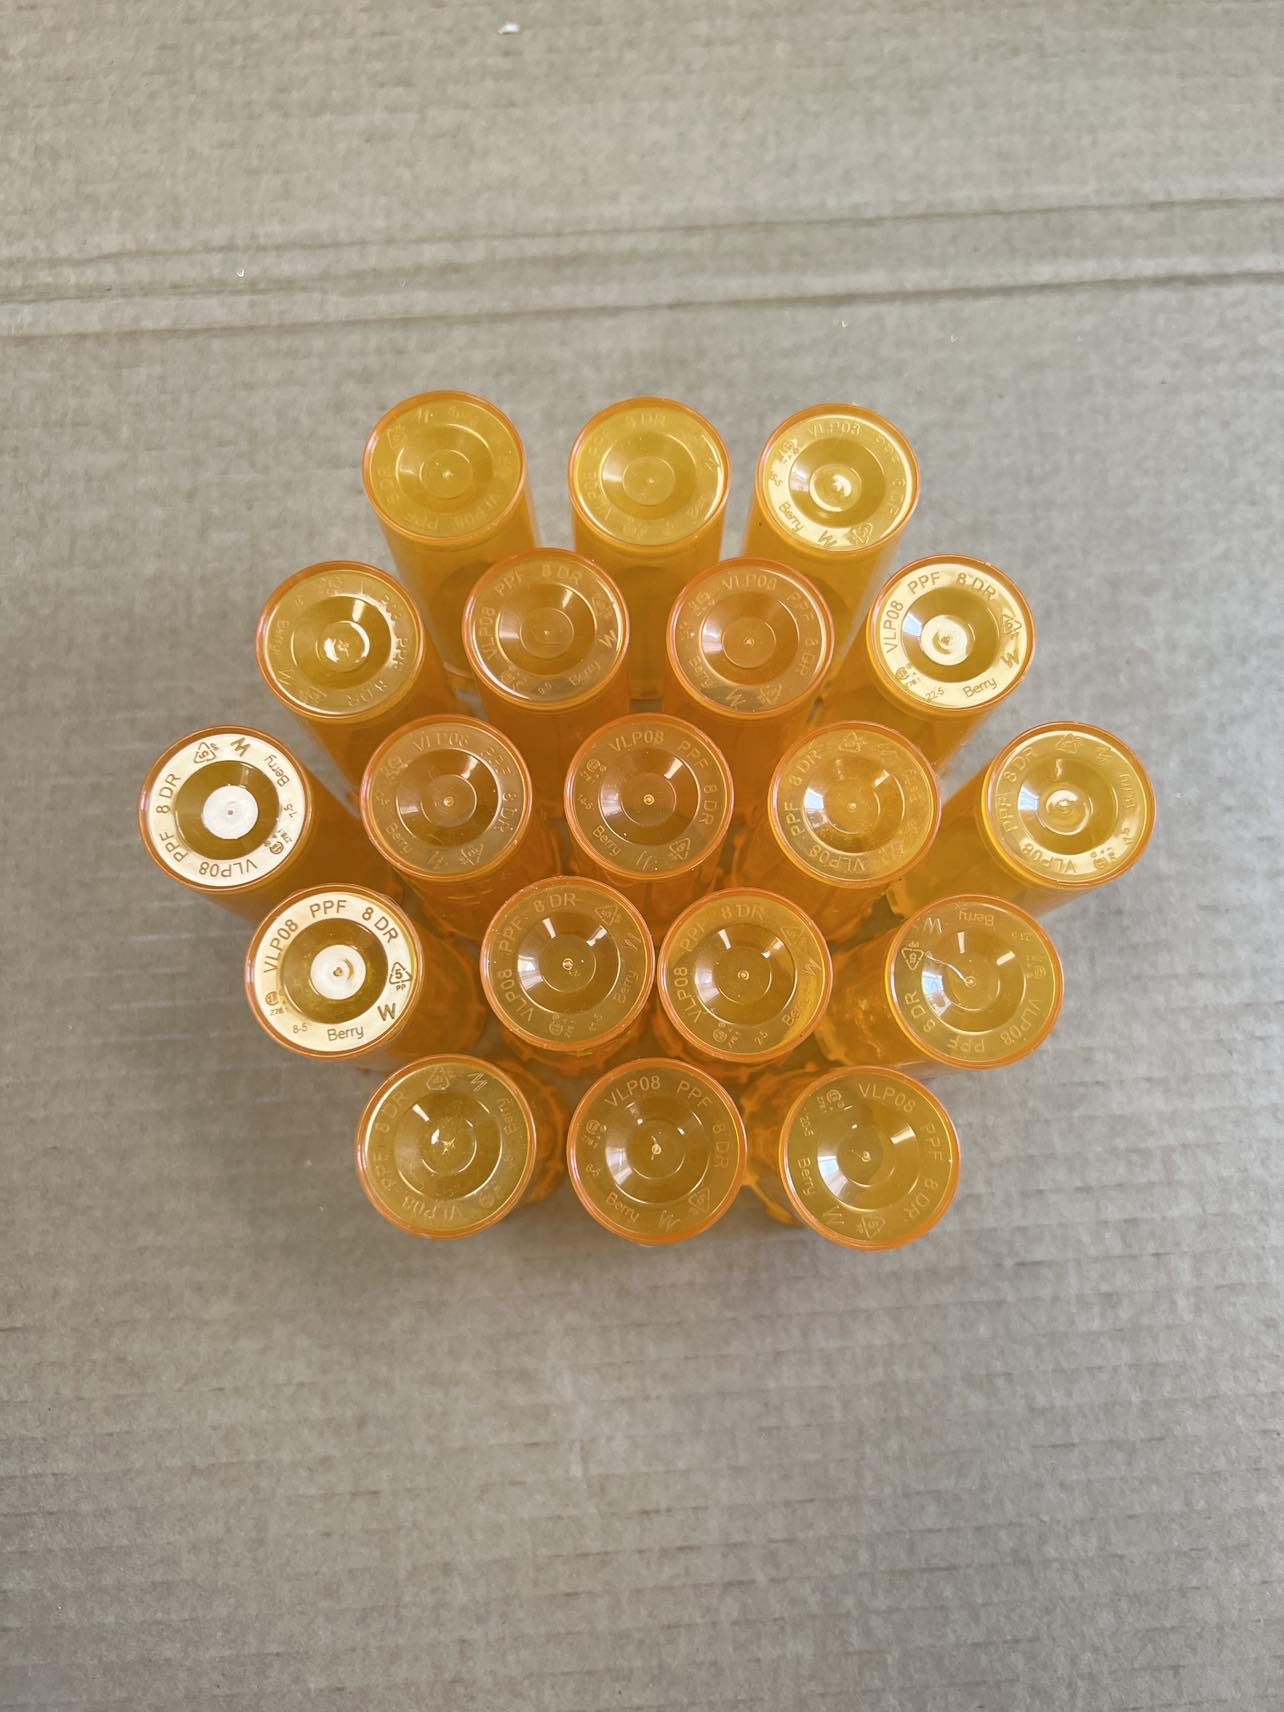
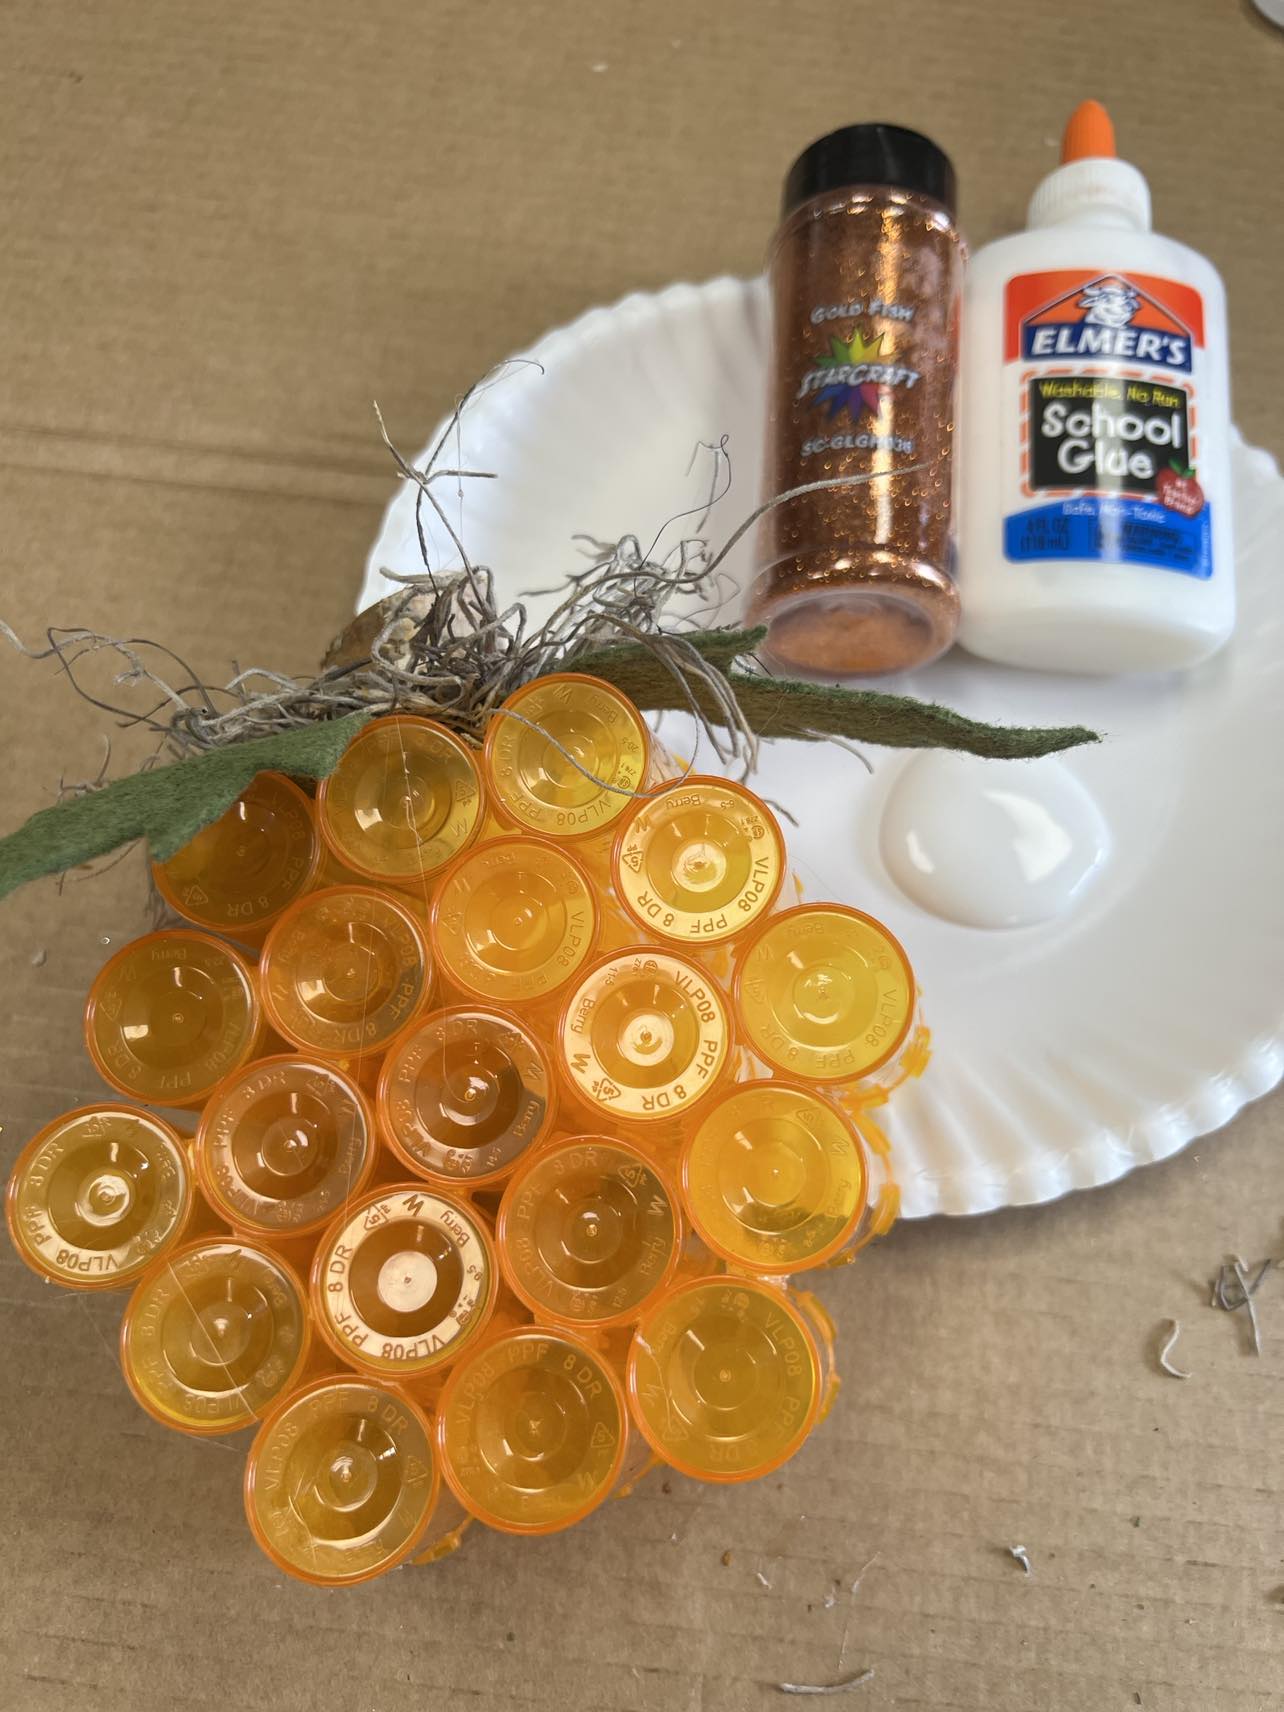
You’ll be glueing the medicine bottles together to form the shape of a pumpkin as shown in photo above.

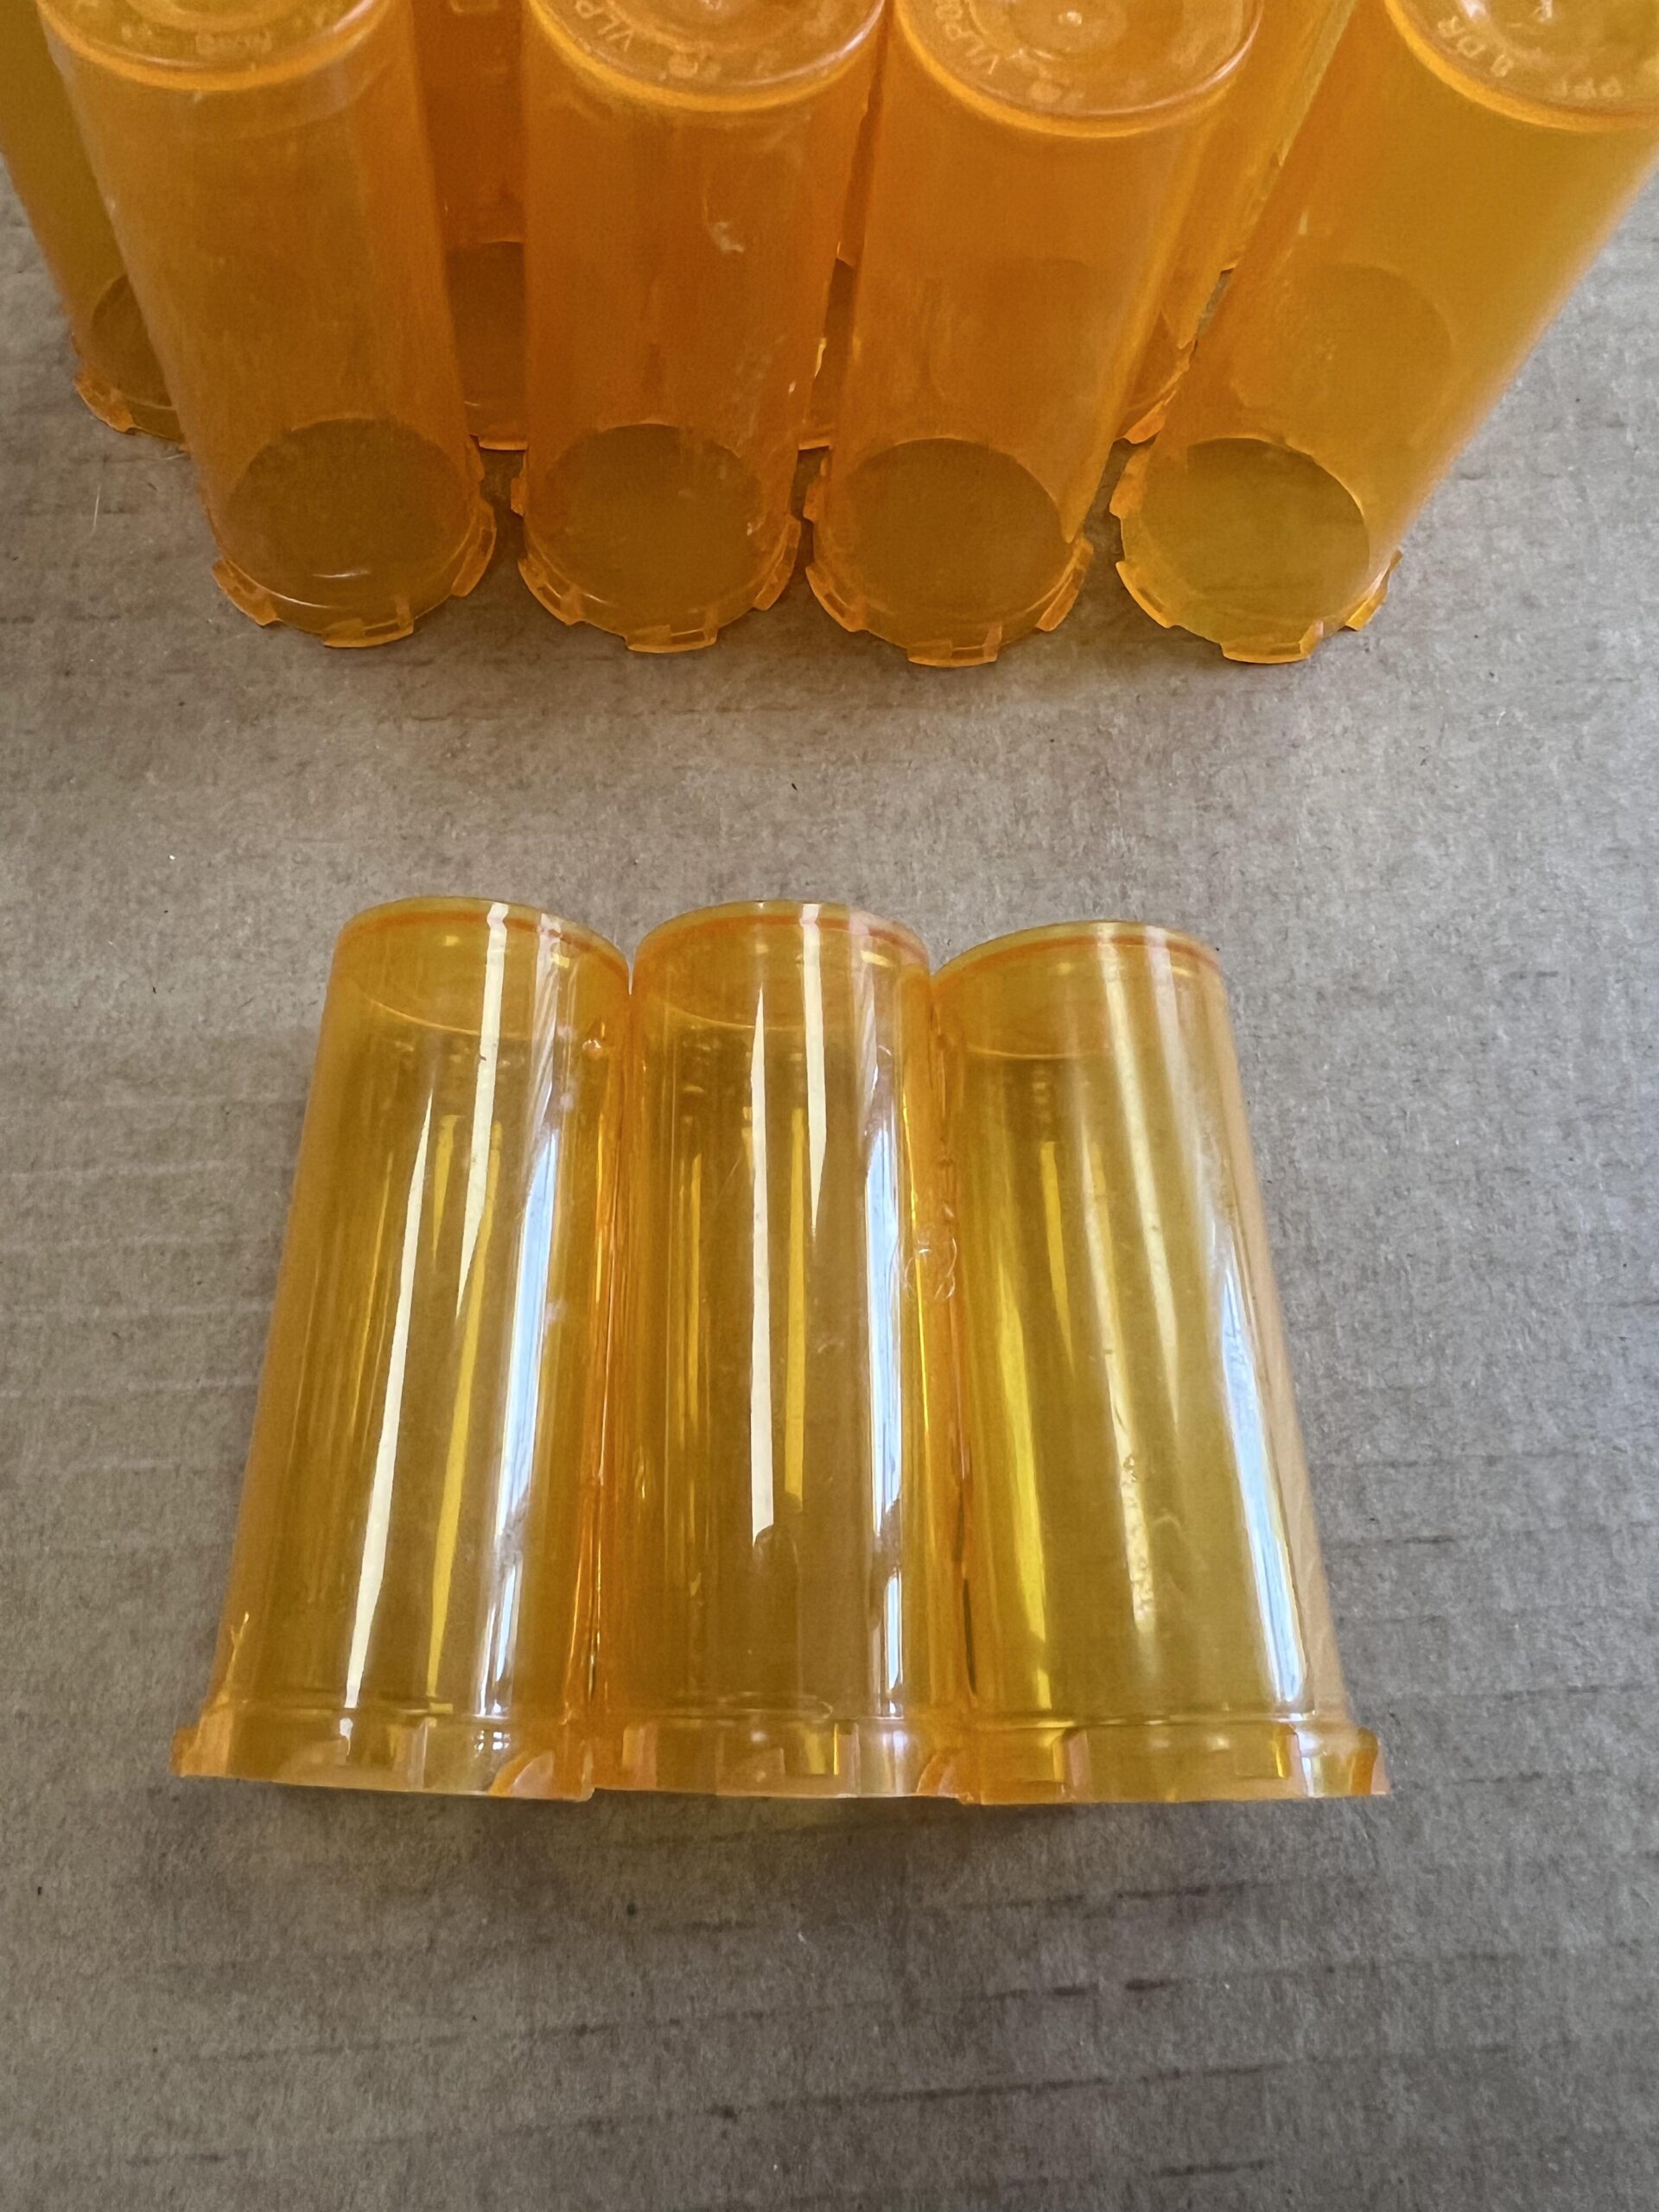
I added hot glue down one side of the bottle and attached it to another bottle.

I glued each row of medicine bottles together first.
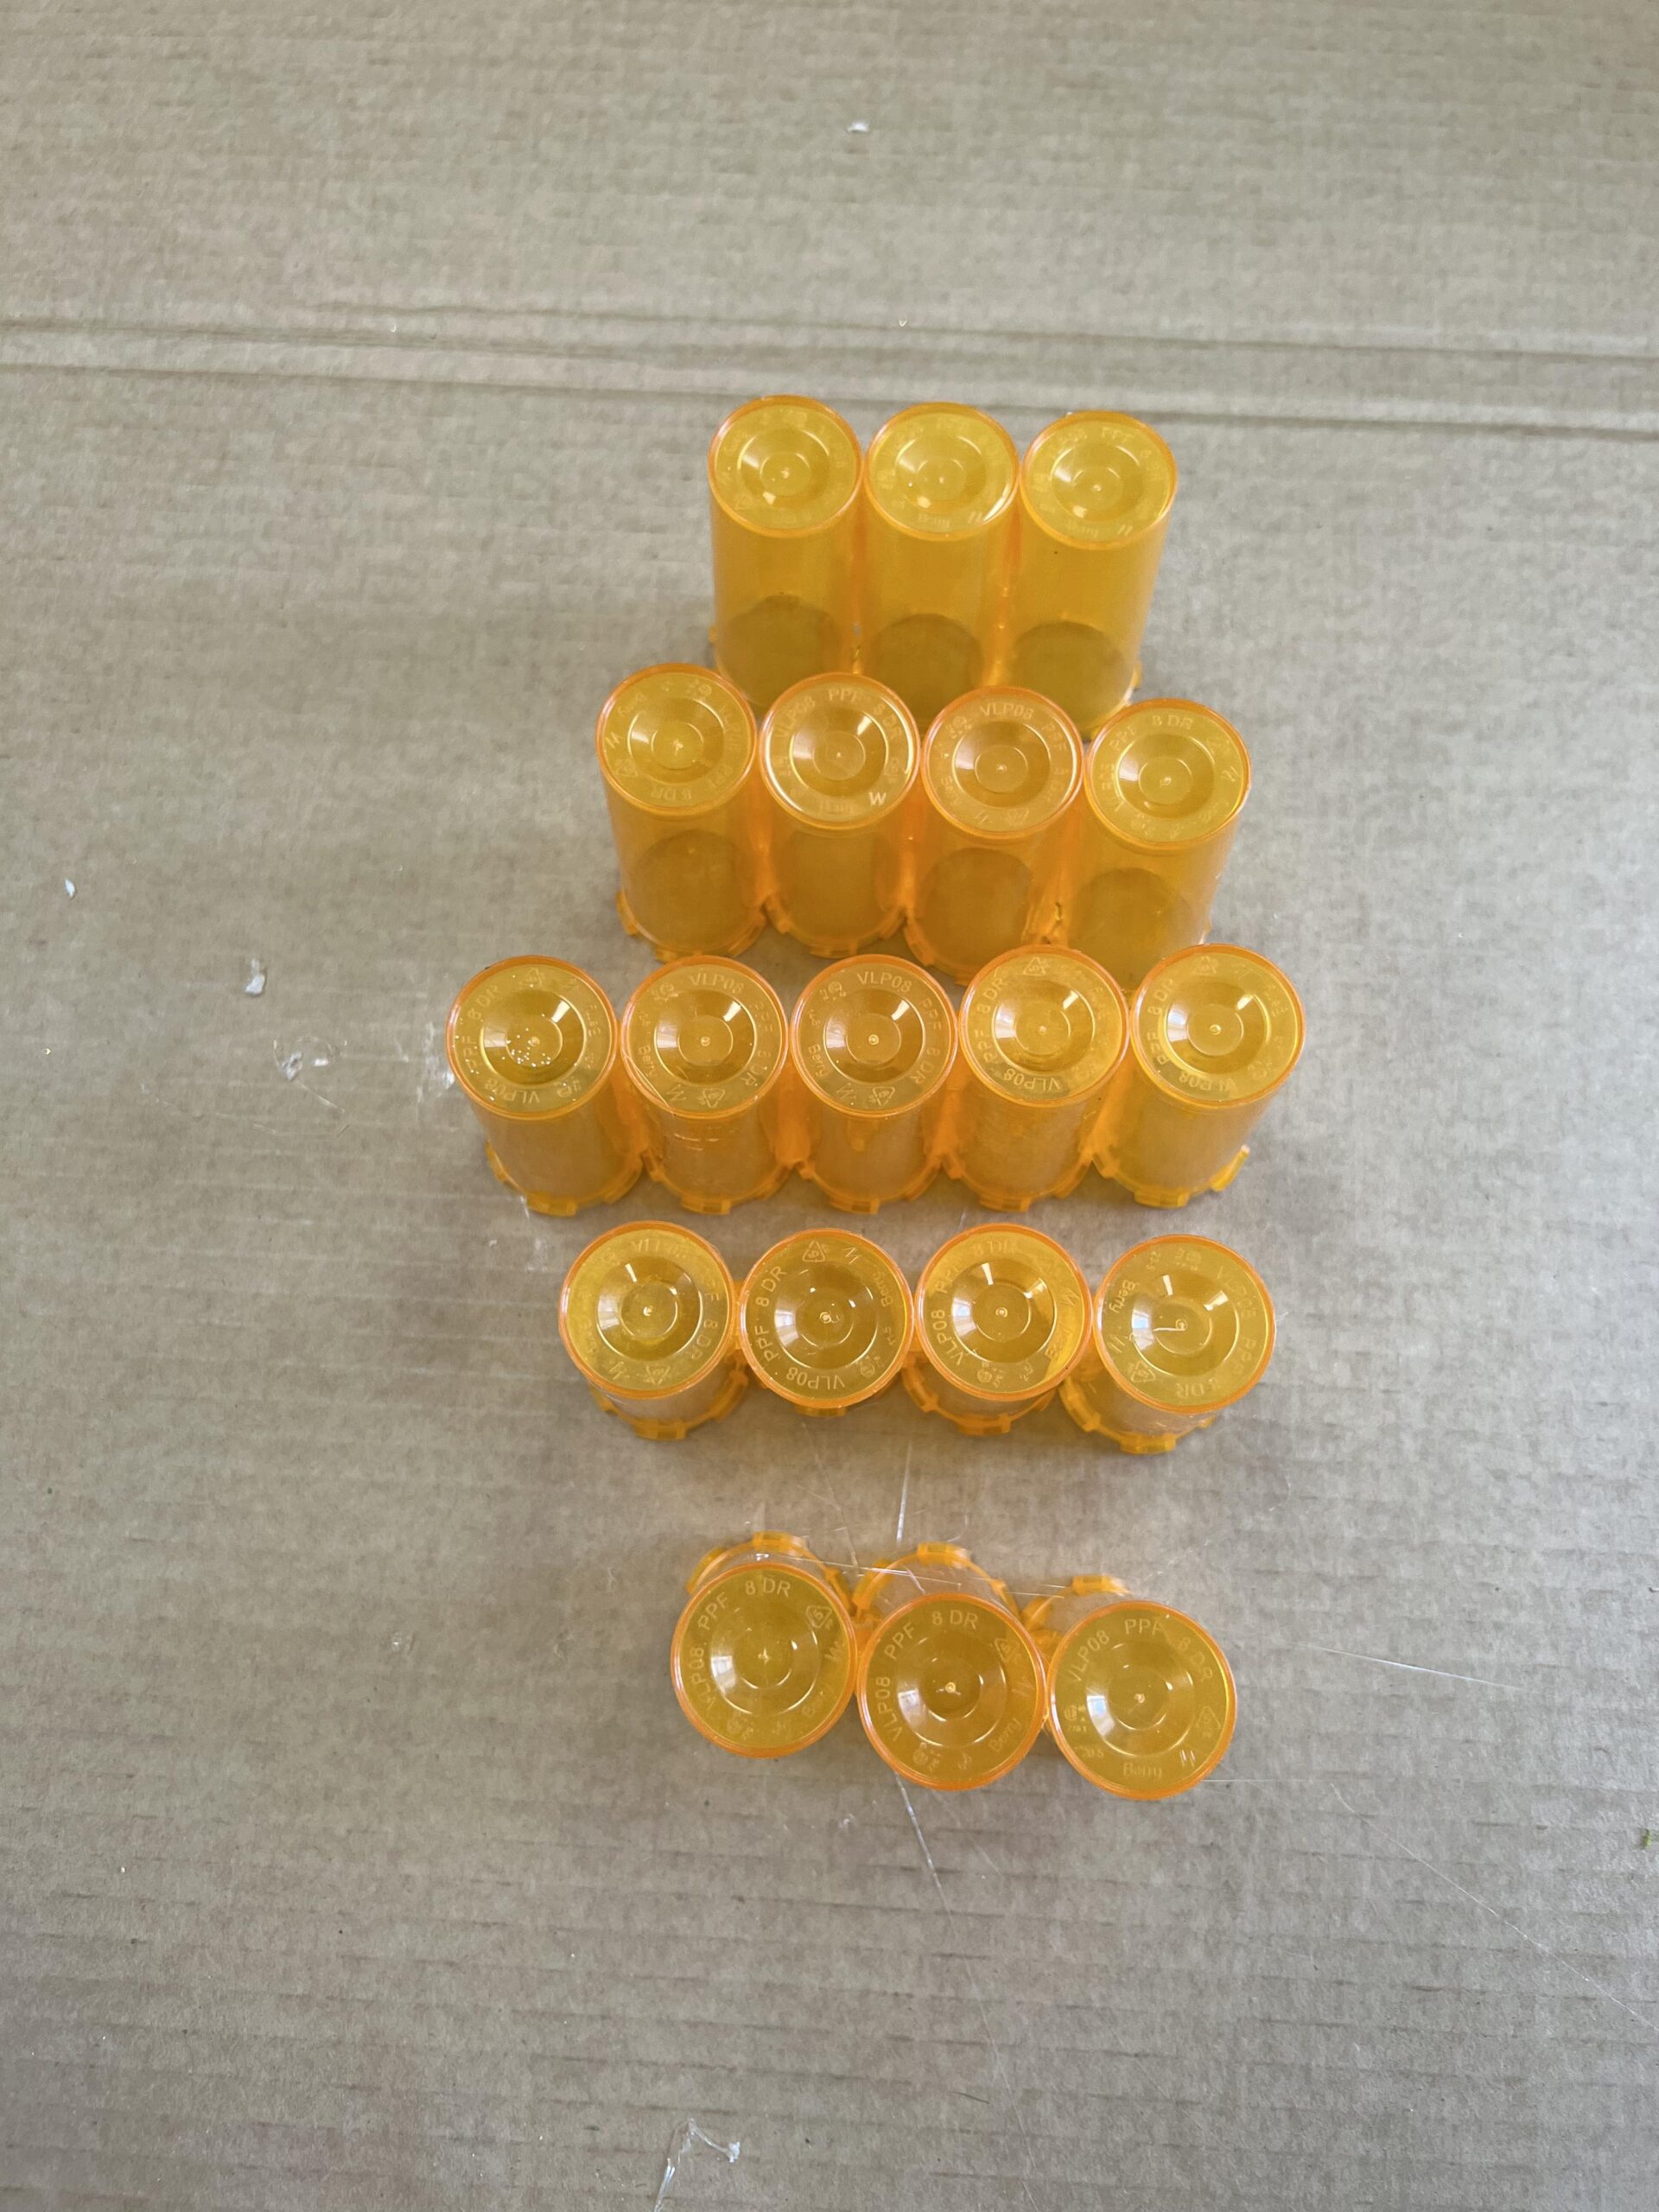
Once you have all 5 rows glued together you’ll then glue the rows together.
I used a marker to mark where the glue will need to be added. Press all 5 rows together to see where you’ll need to add the glue.
Once you have all the medicine bottles glued together you’ll then add the stem and leaves to the top.
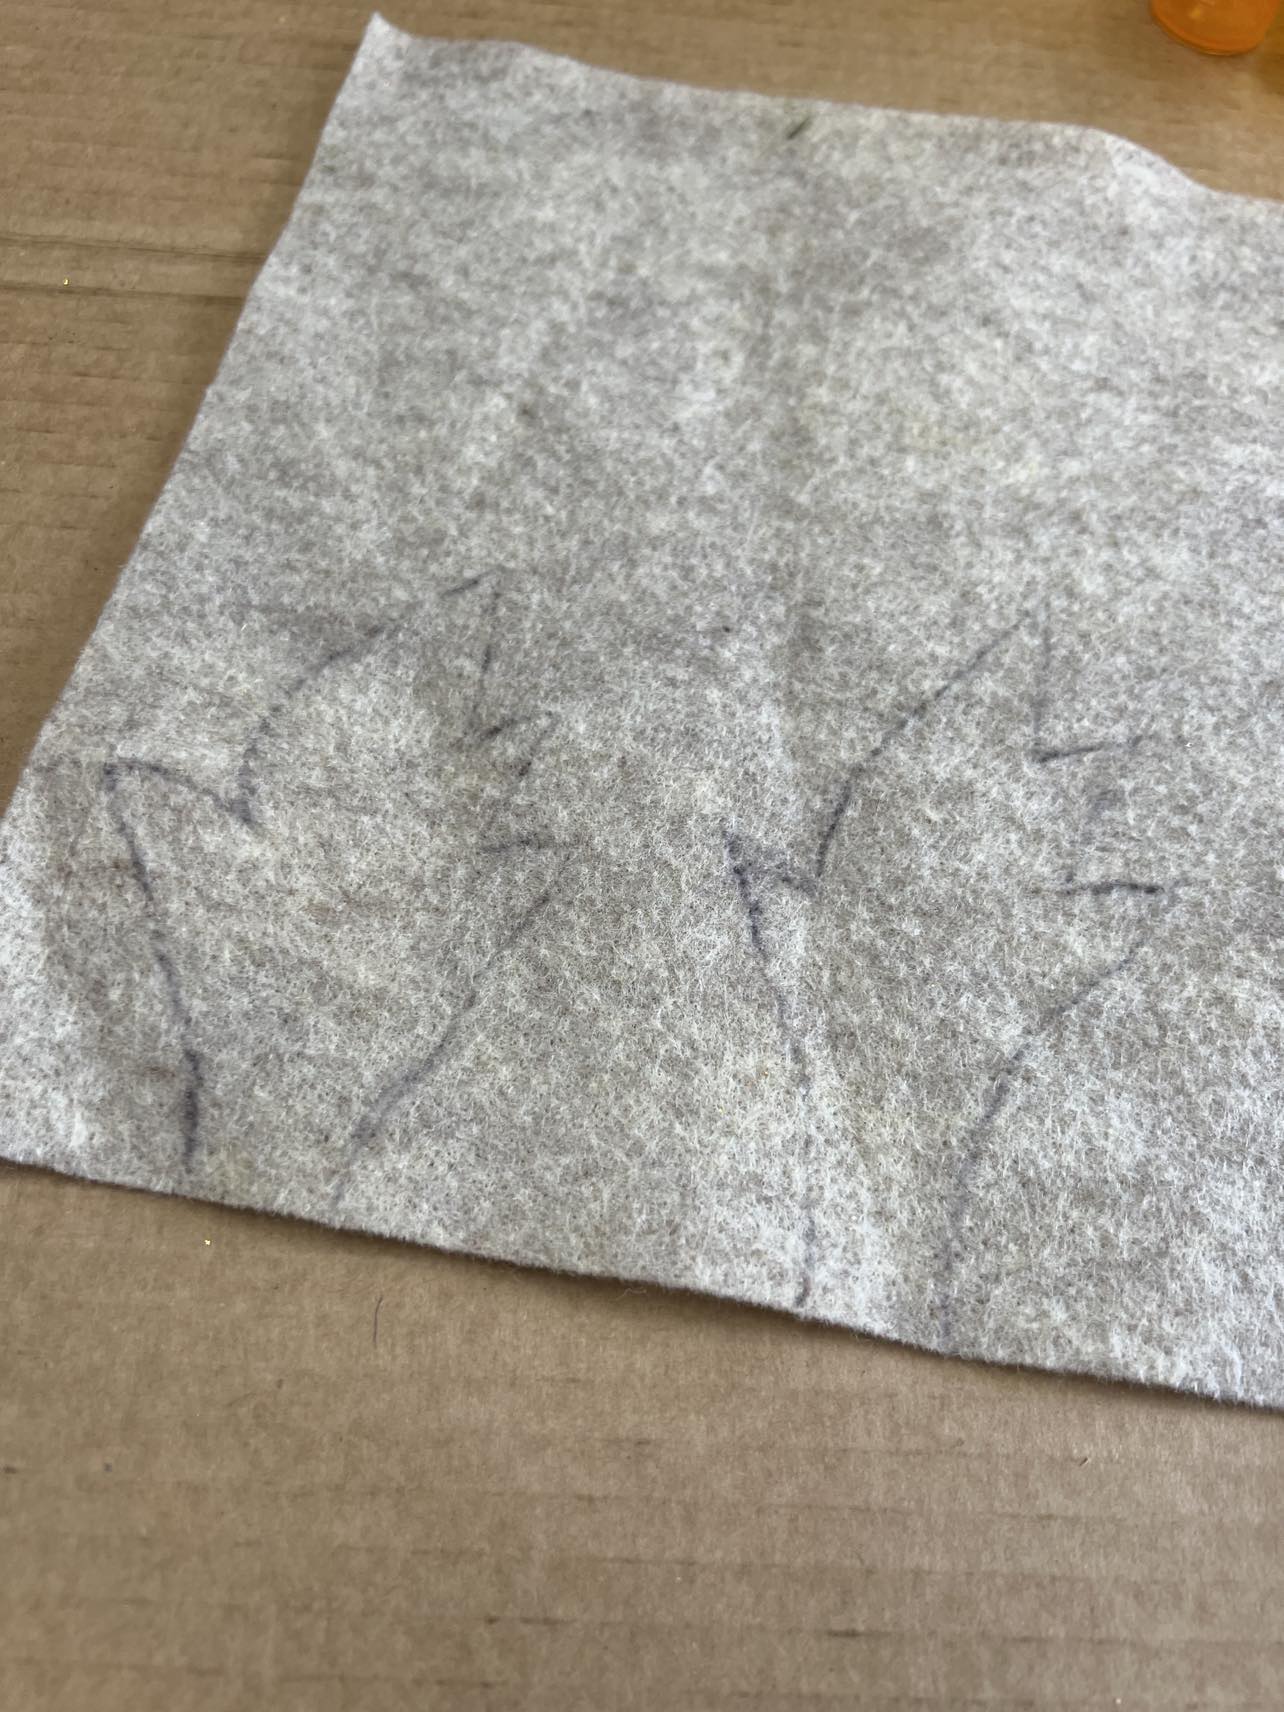
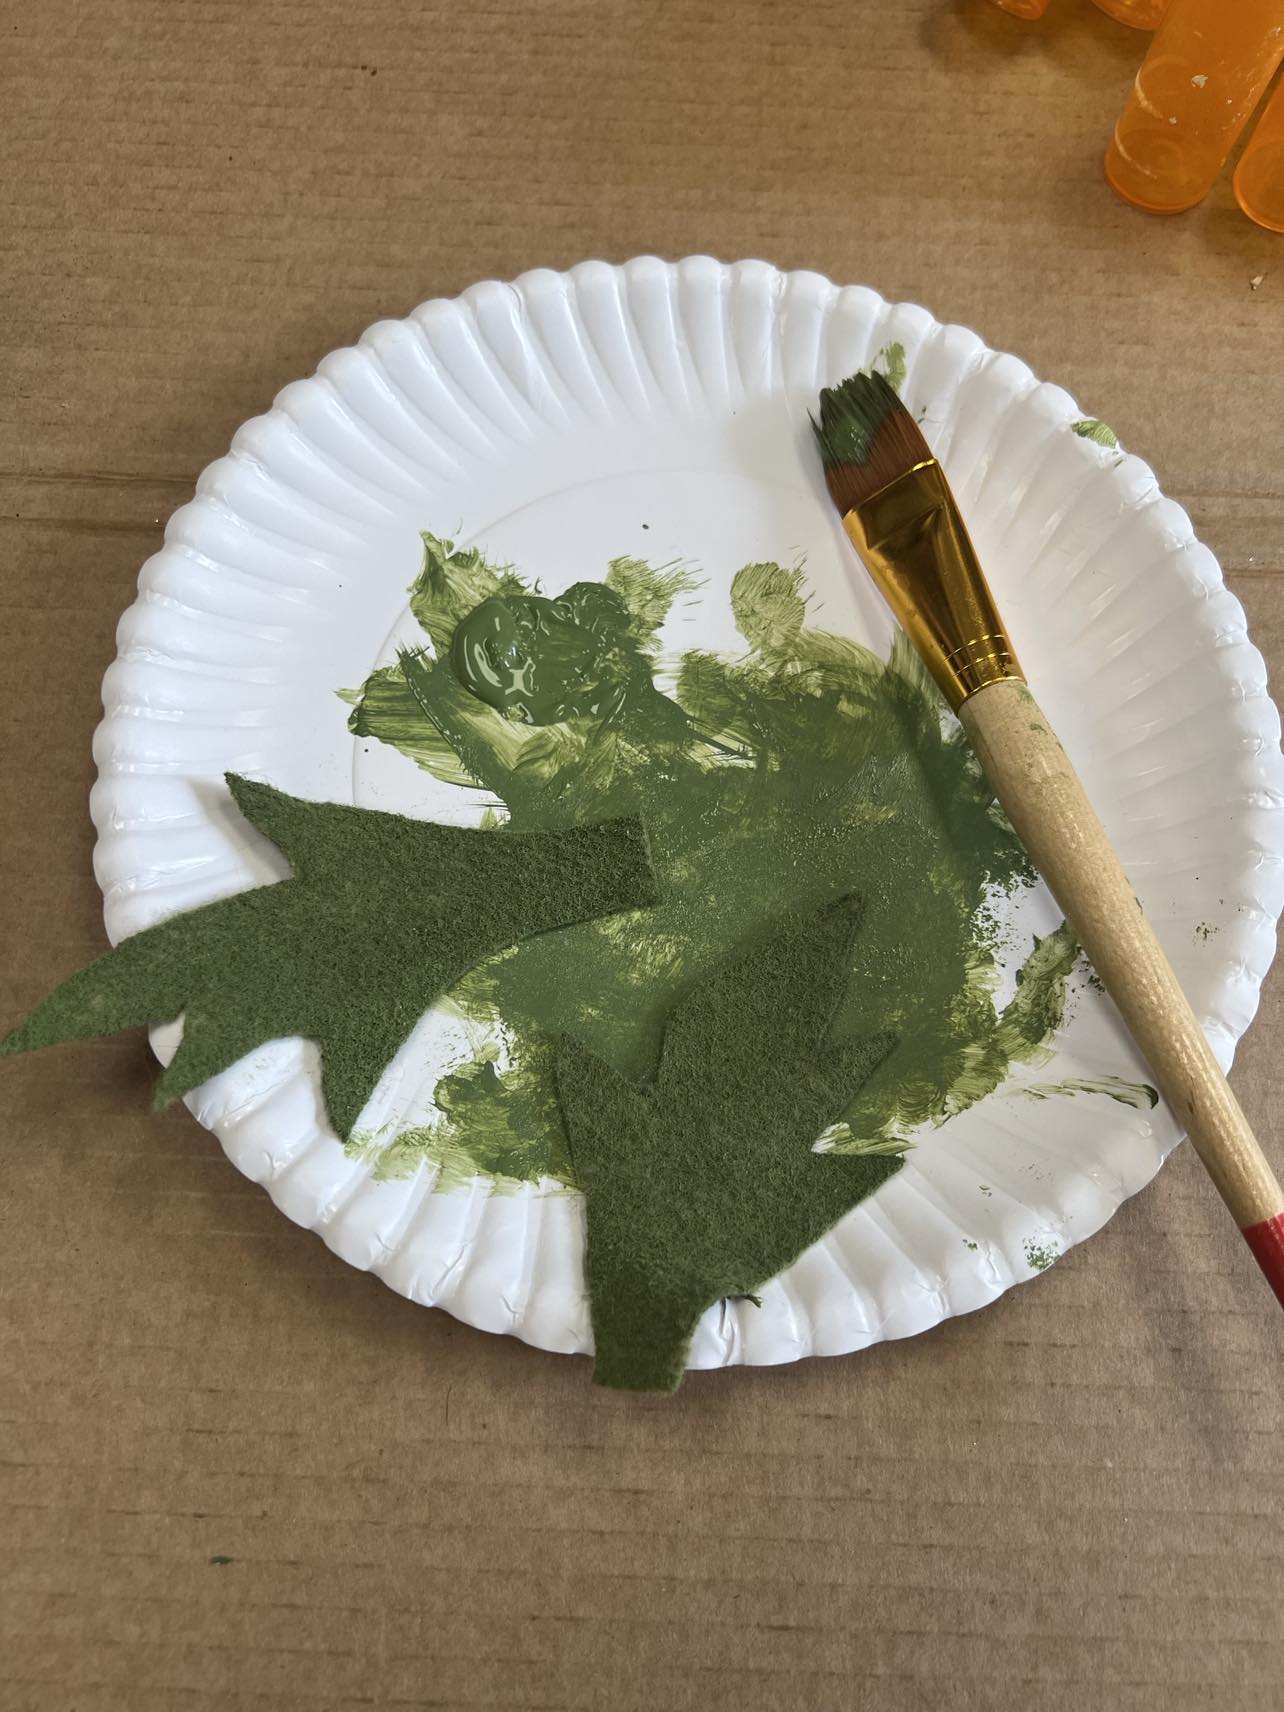
I did not have any green felt so I painted some. You can draw any shape leaves that you want and then cut them out.

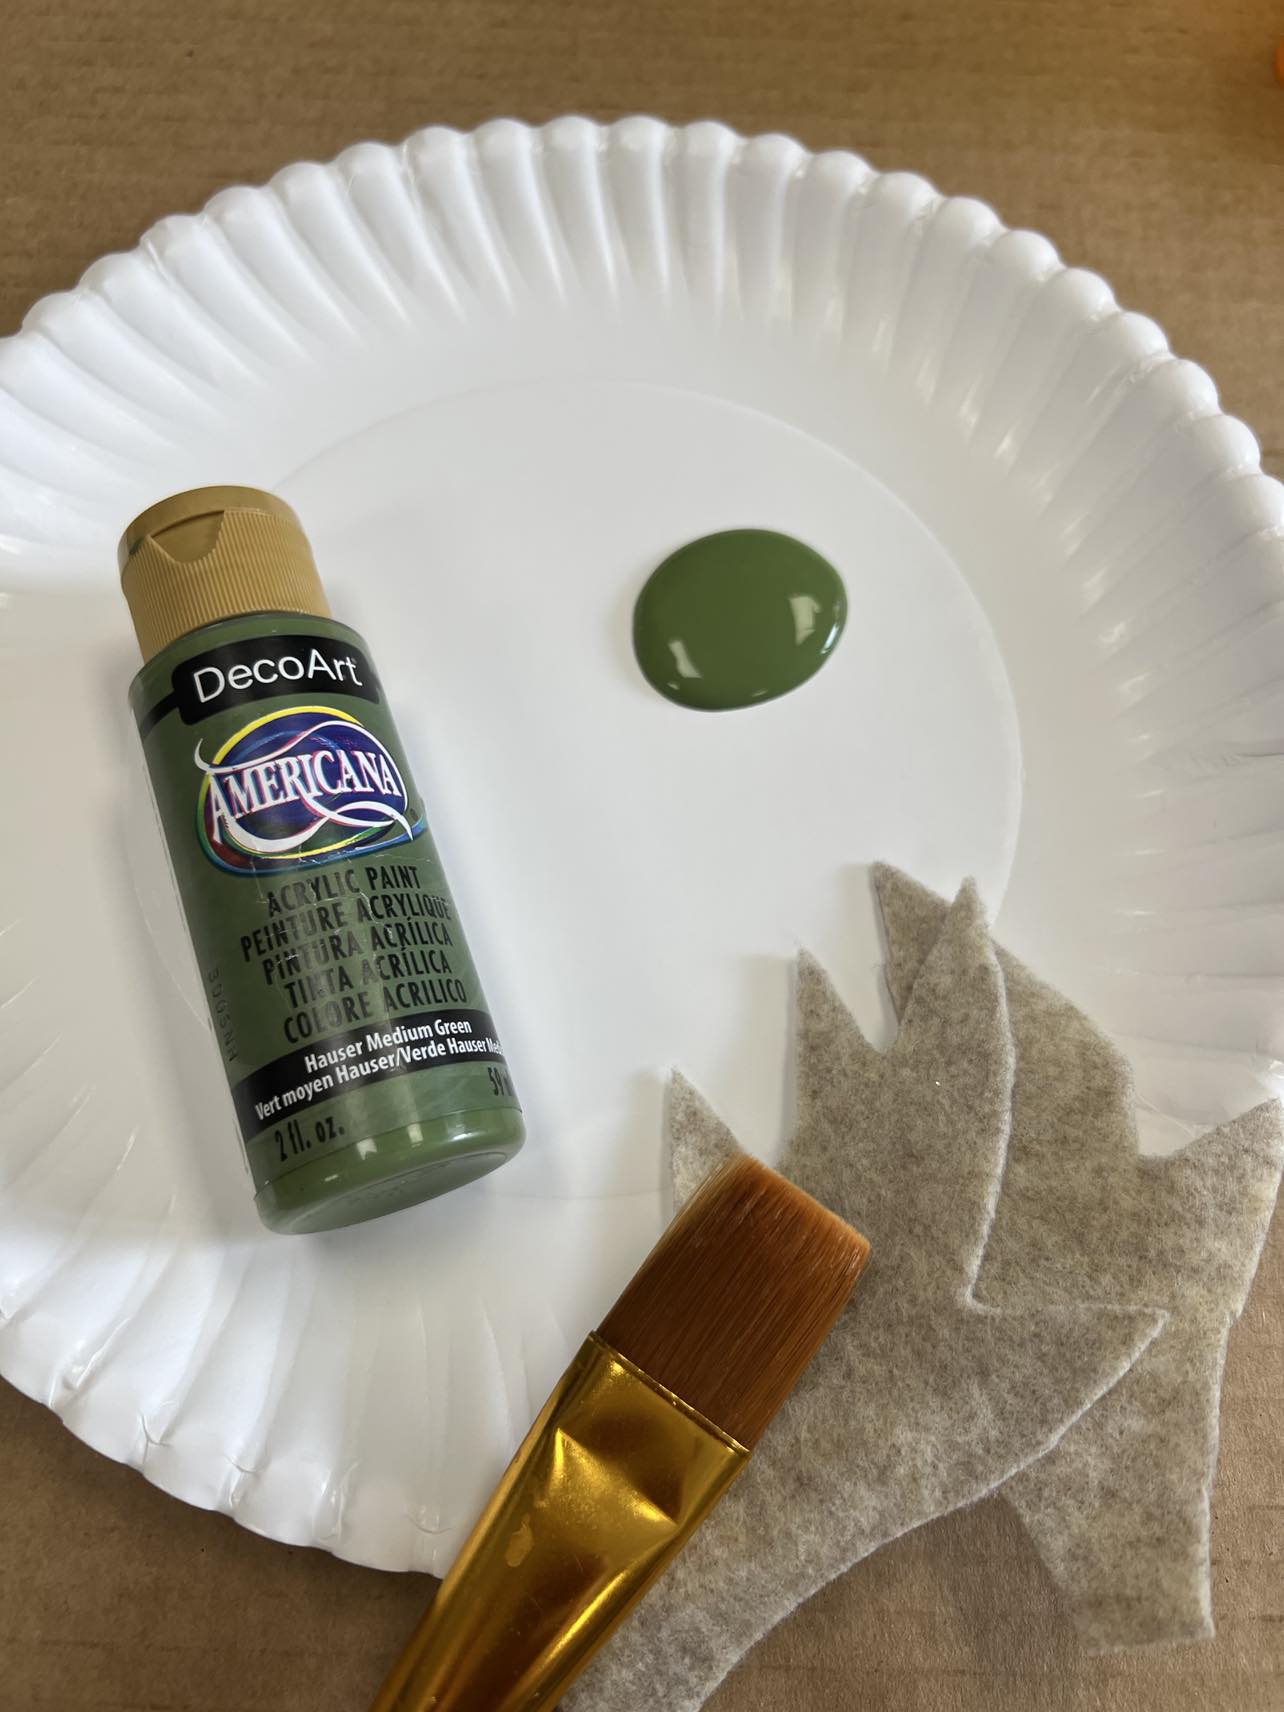
I painted my leaves with a Hauser Medium Green paint by DecoArt.
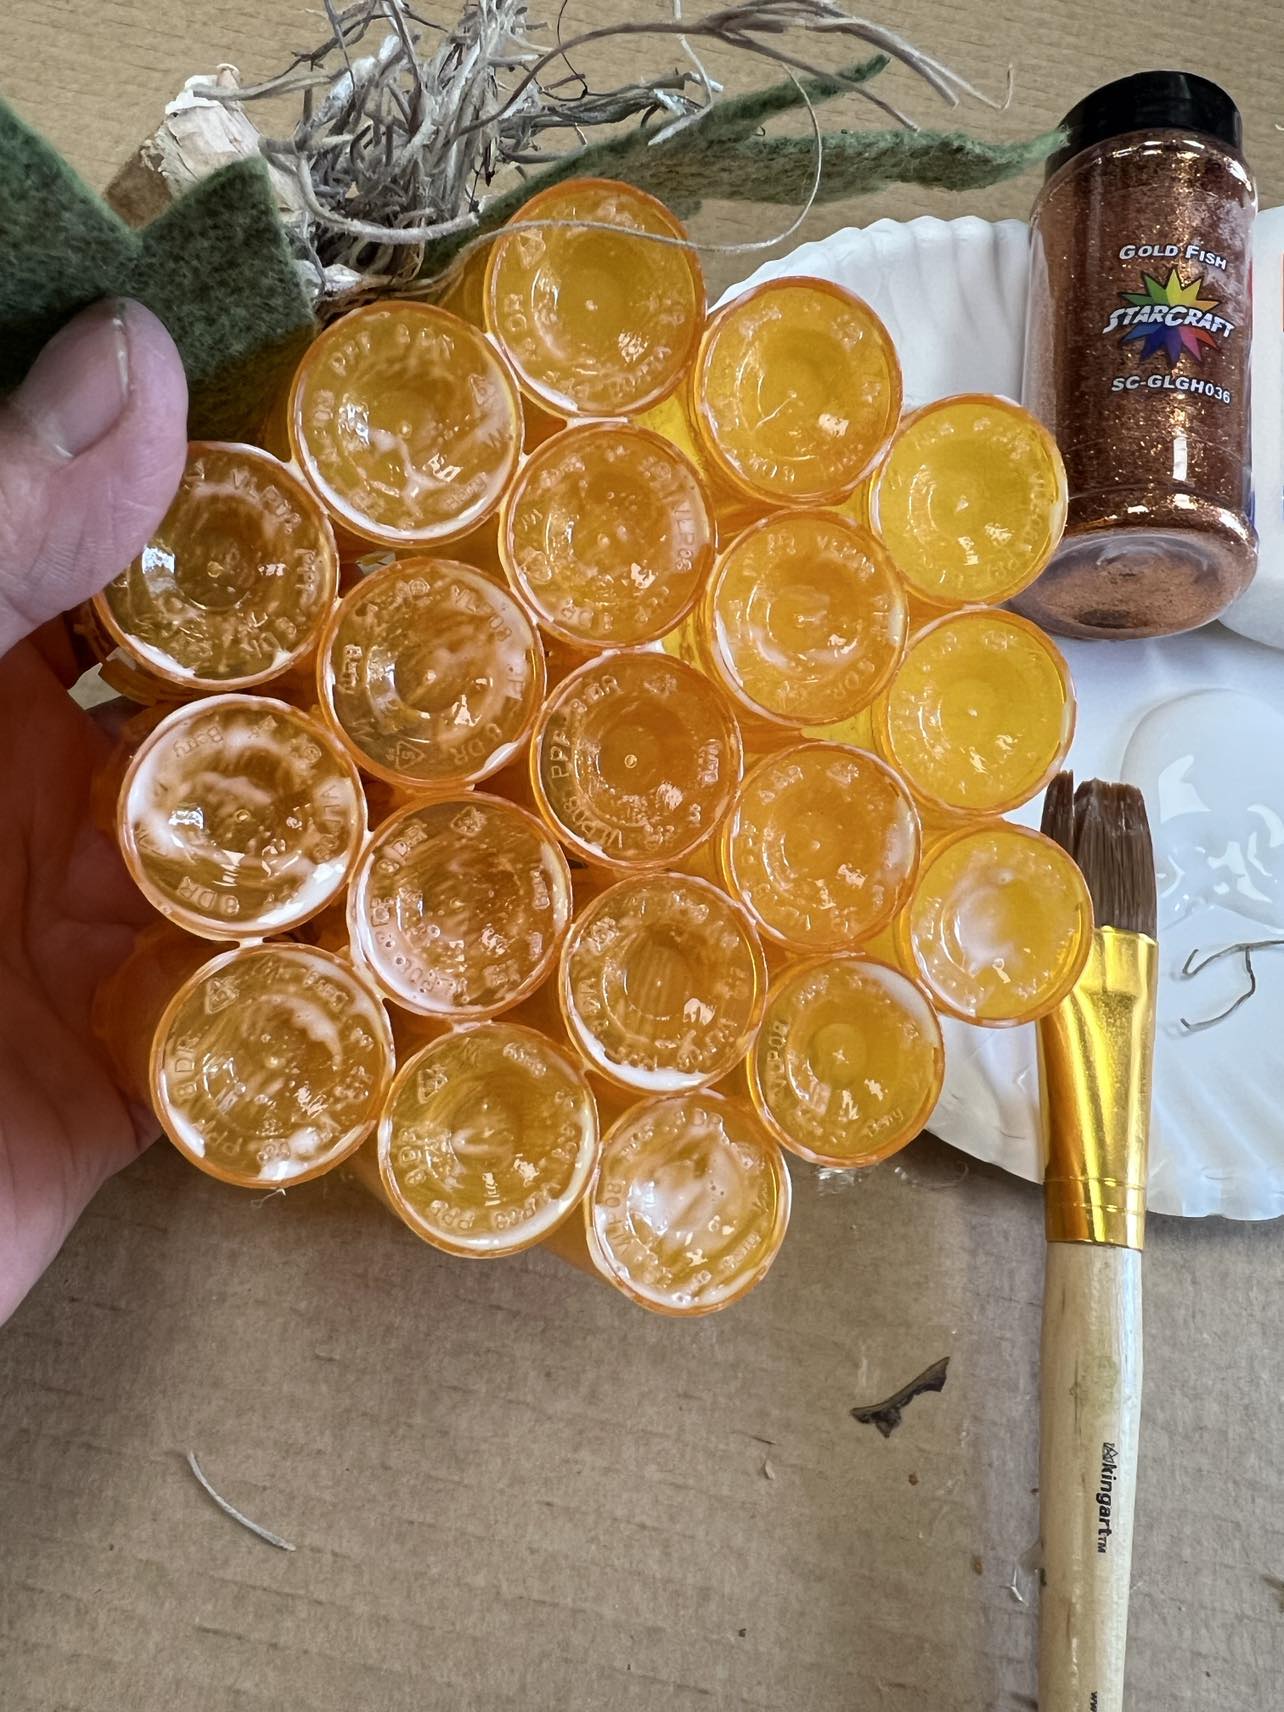
I painted some Elmer’s glue onto the medicine bottles as shown in photo above.
I sprinkled on some fine orange glitter from 143 Vinyl. You can find this glitter by clicking the link down below.
https://www.143vinyl.com/home.php?partner=461686
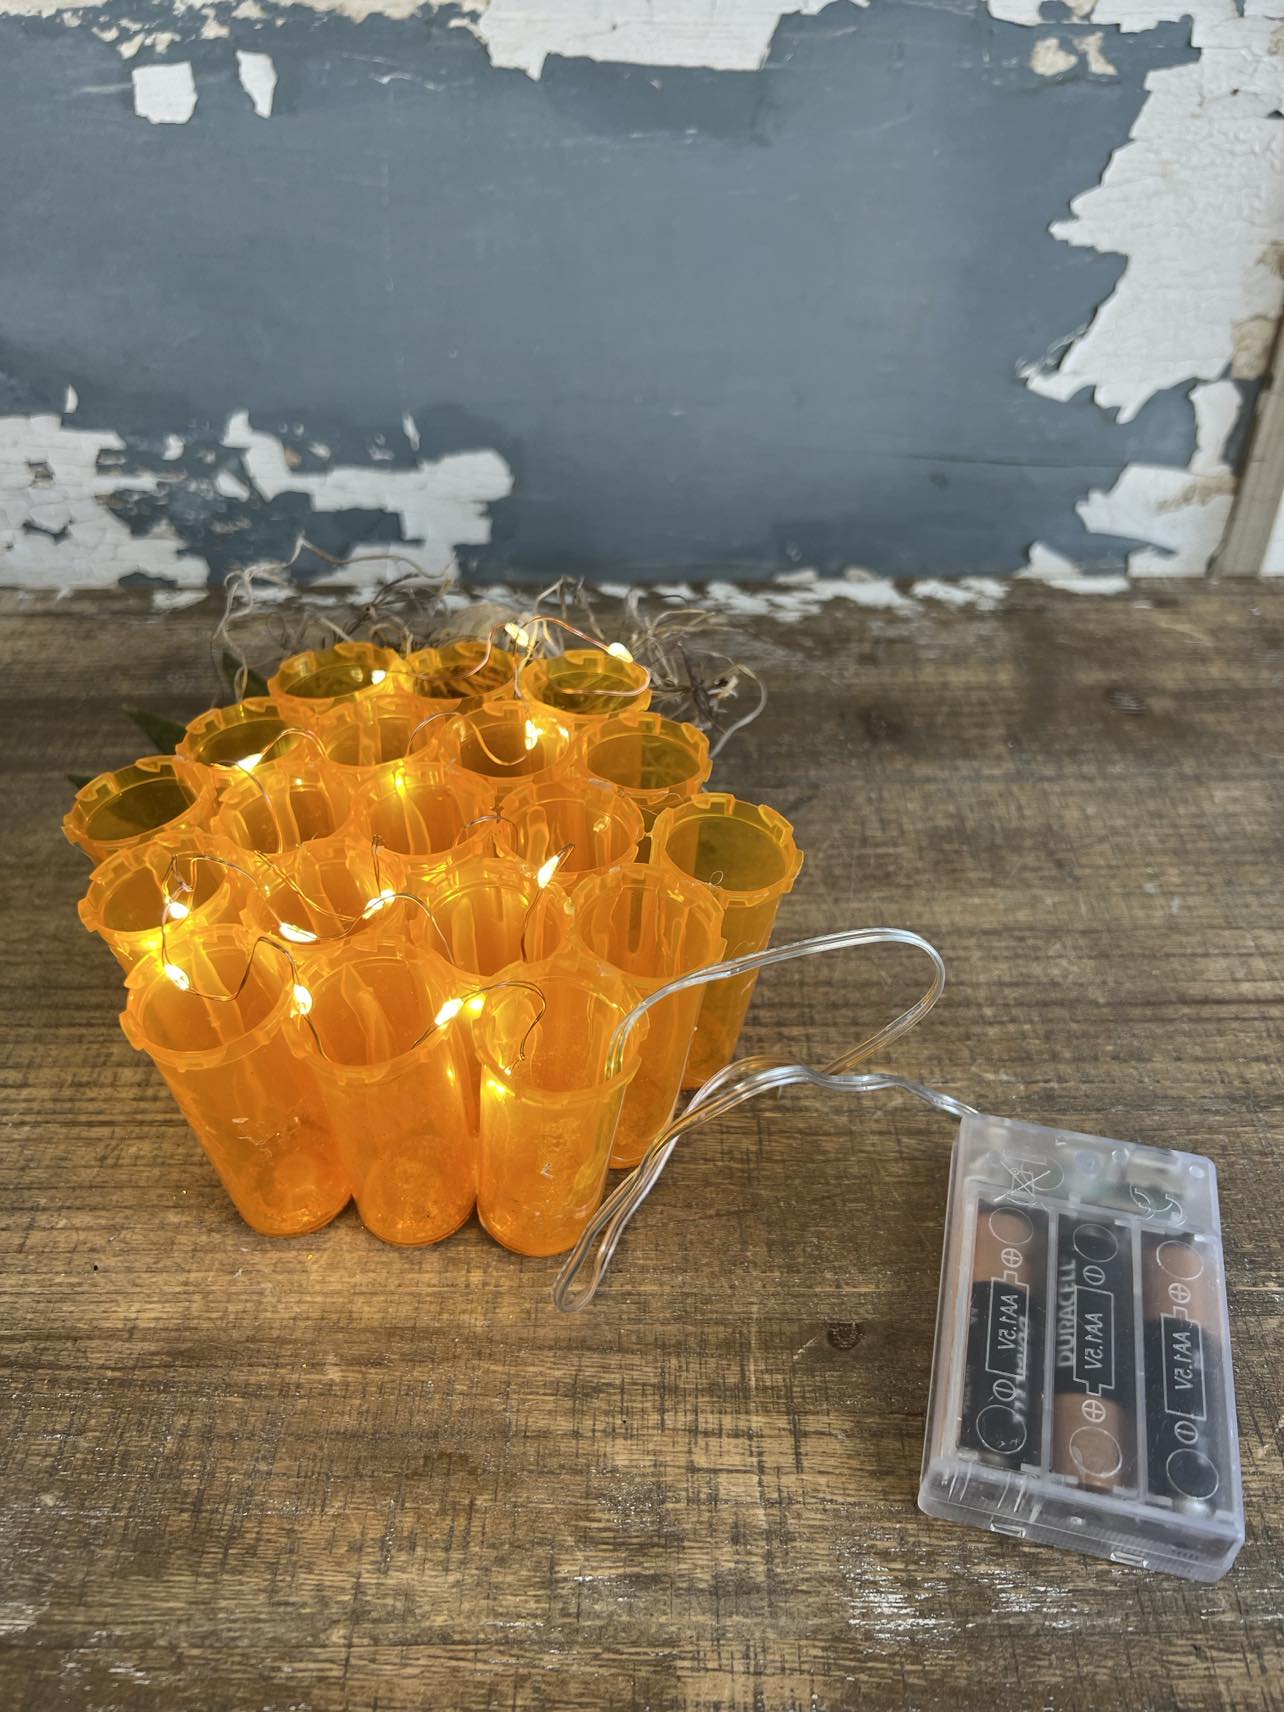
I placed some battery operated lights into the back side of the medicine bottles. You might need to add some tape to hold them in place.
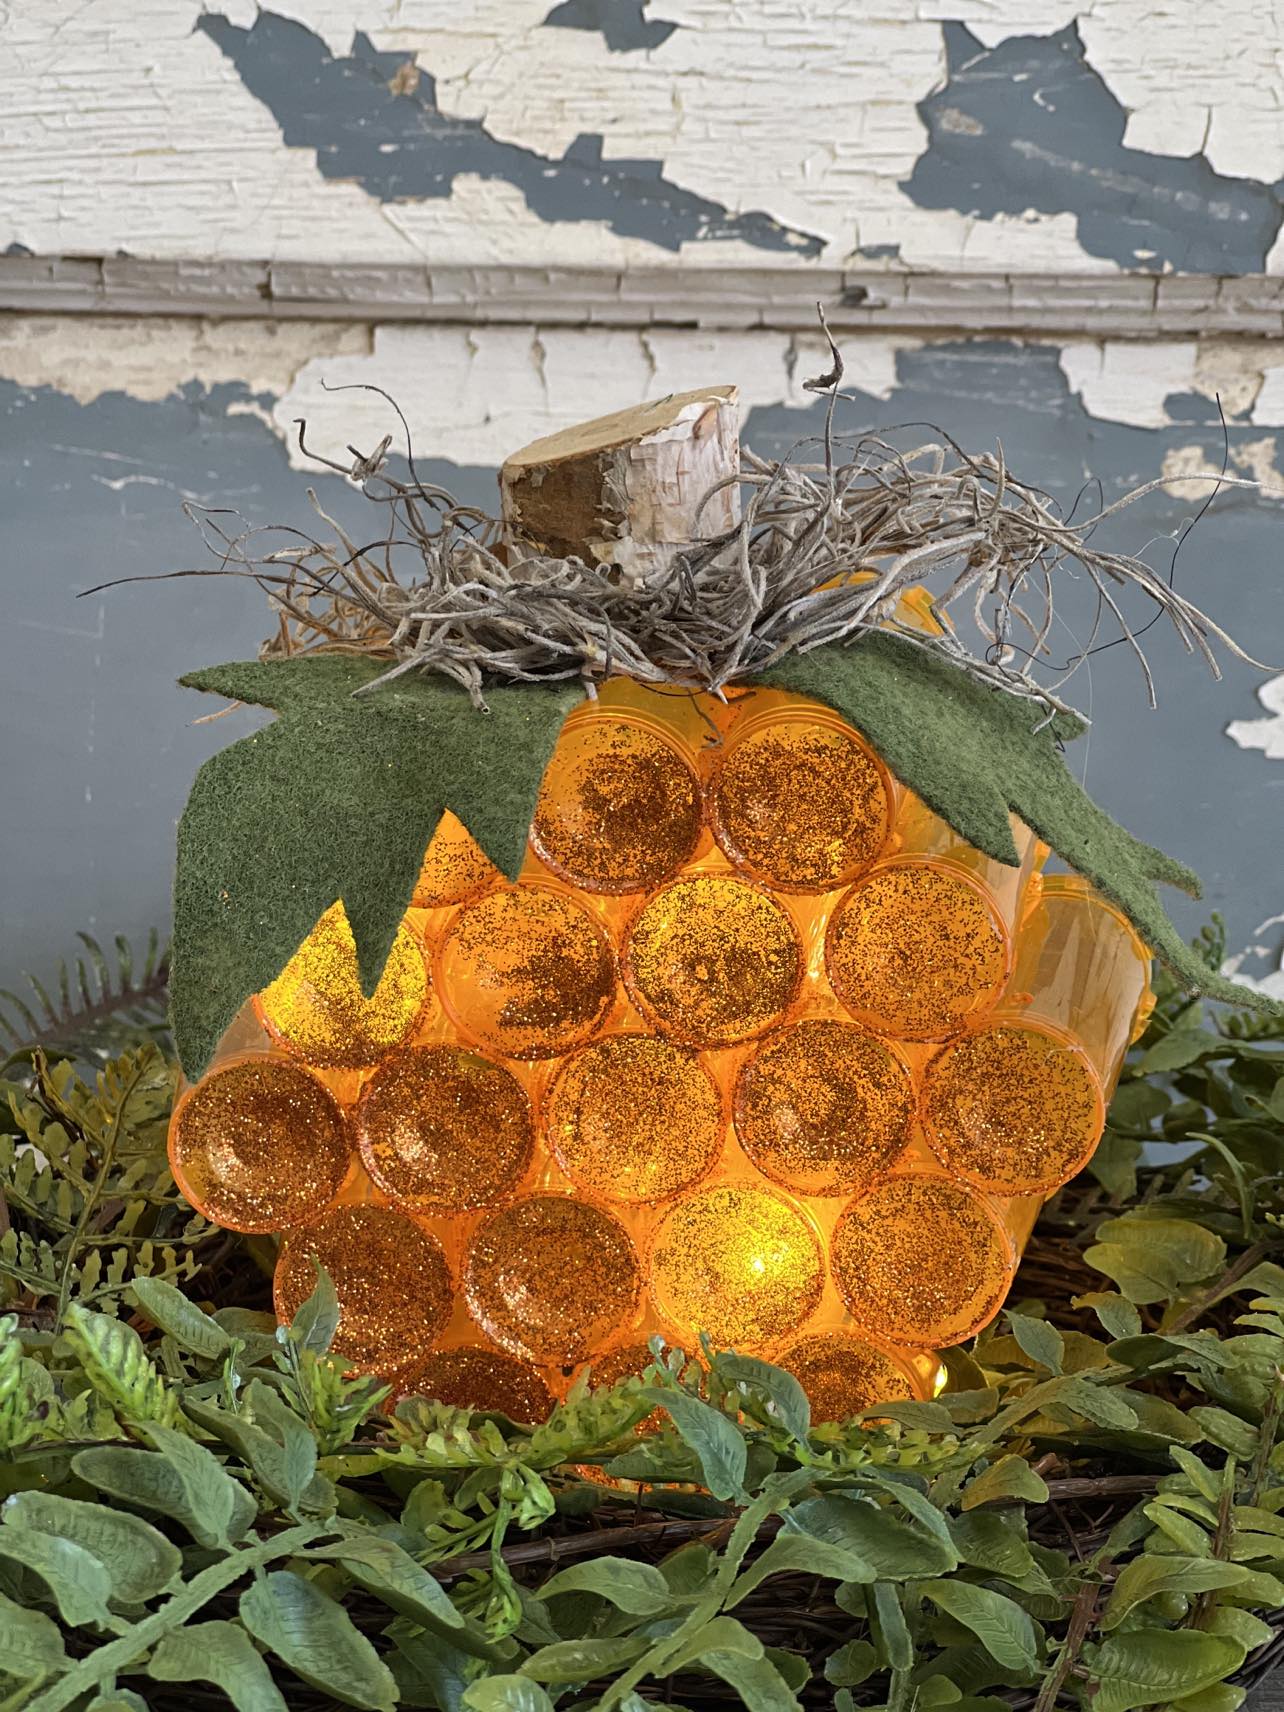
This pumpkin is so easy to make and looks great lit up. I hope you’ll get creative and give this fun and unique pumpkin a try.