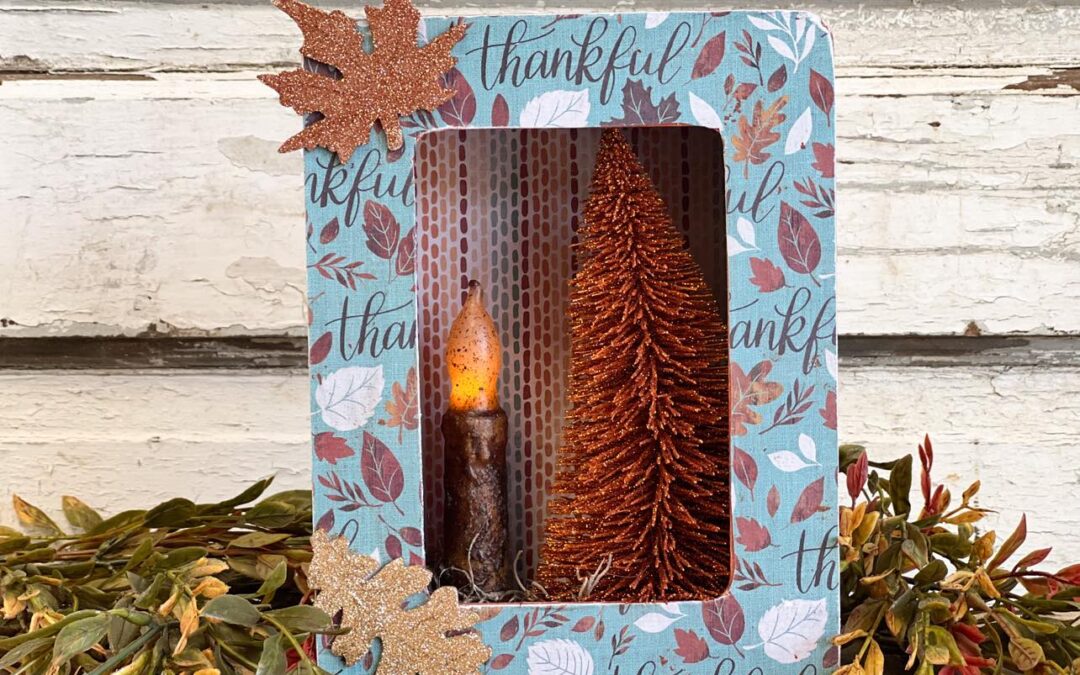
I love creating all different types of decorations for all holidays and seasons. Fall is right around the corner and I recently got some Fall printed scrapbook paper. I thought this paper would be great for a Fall decoration. After looking through my supplies I decided to create a shadow box for Fall using this printed paper.
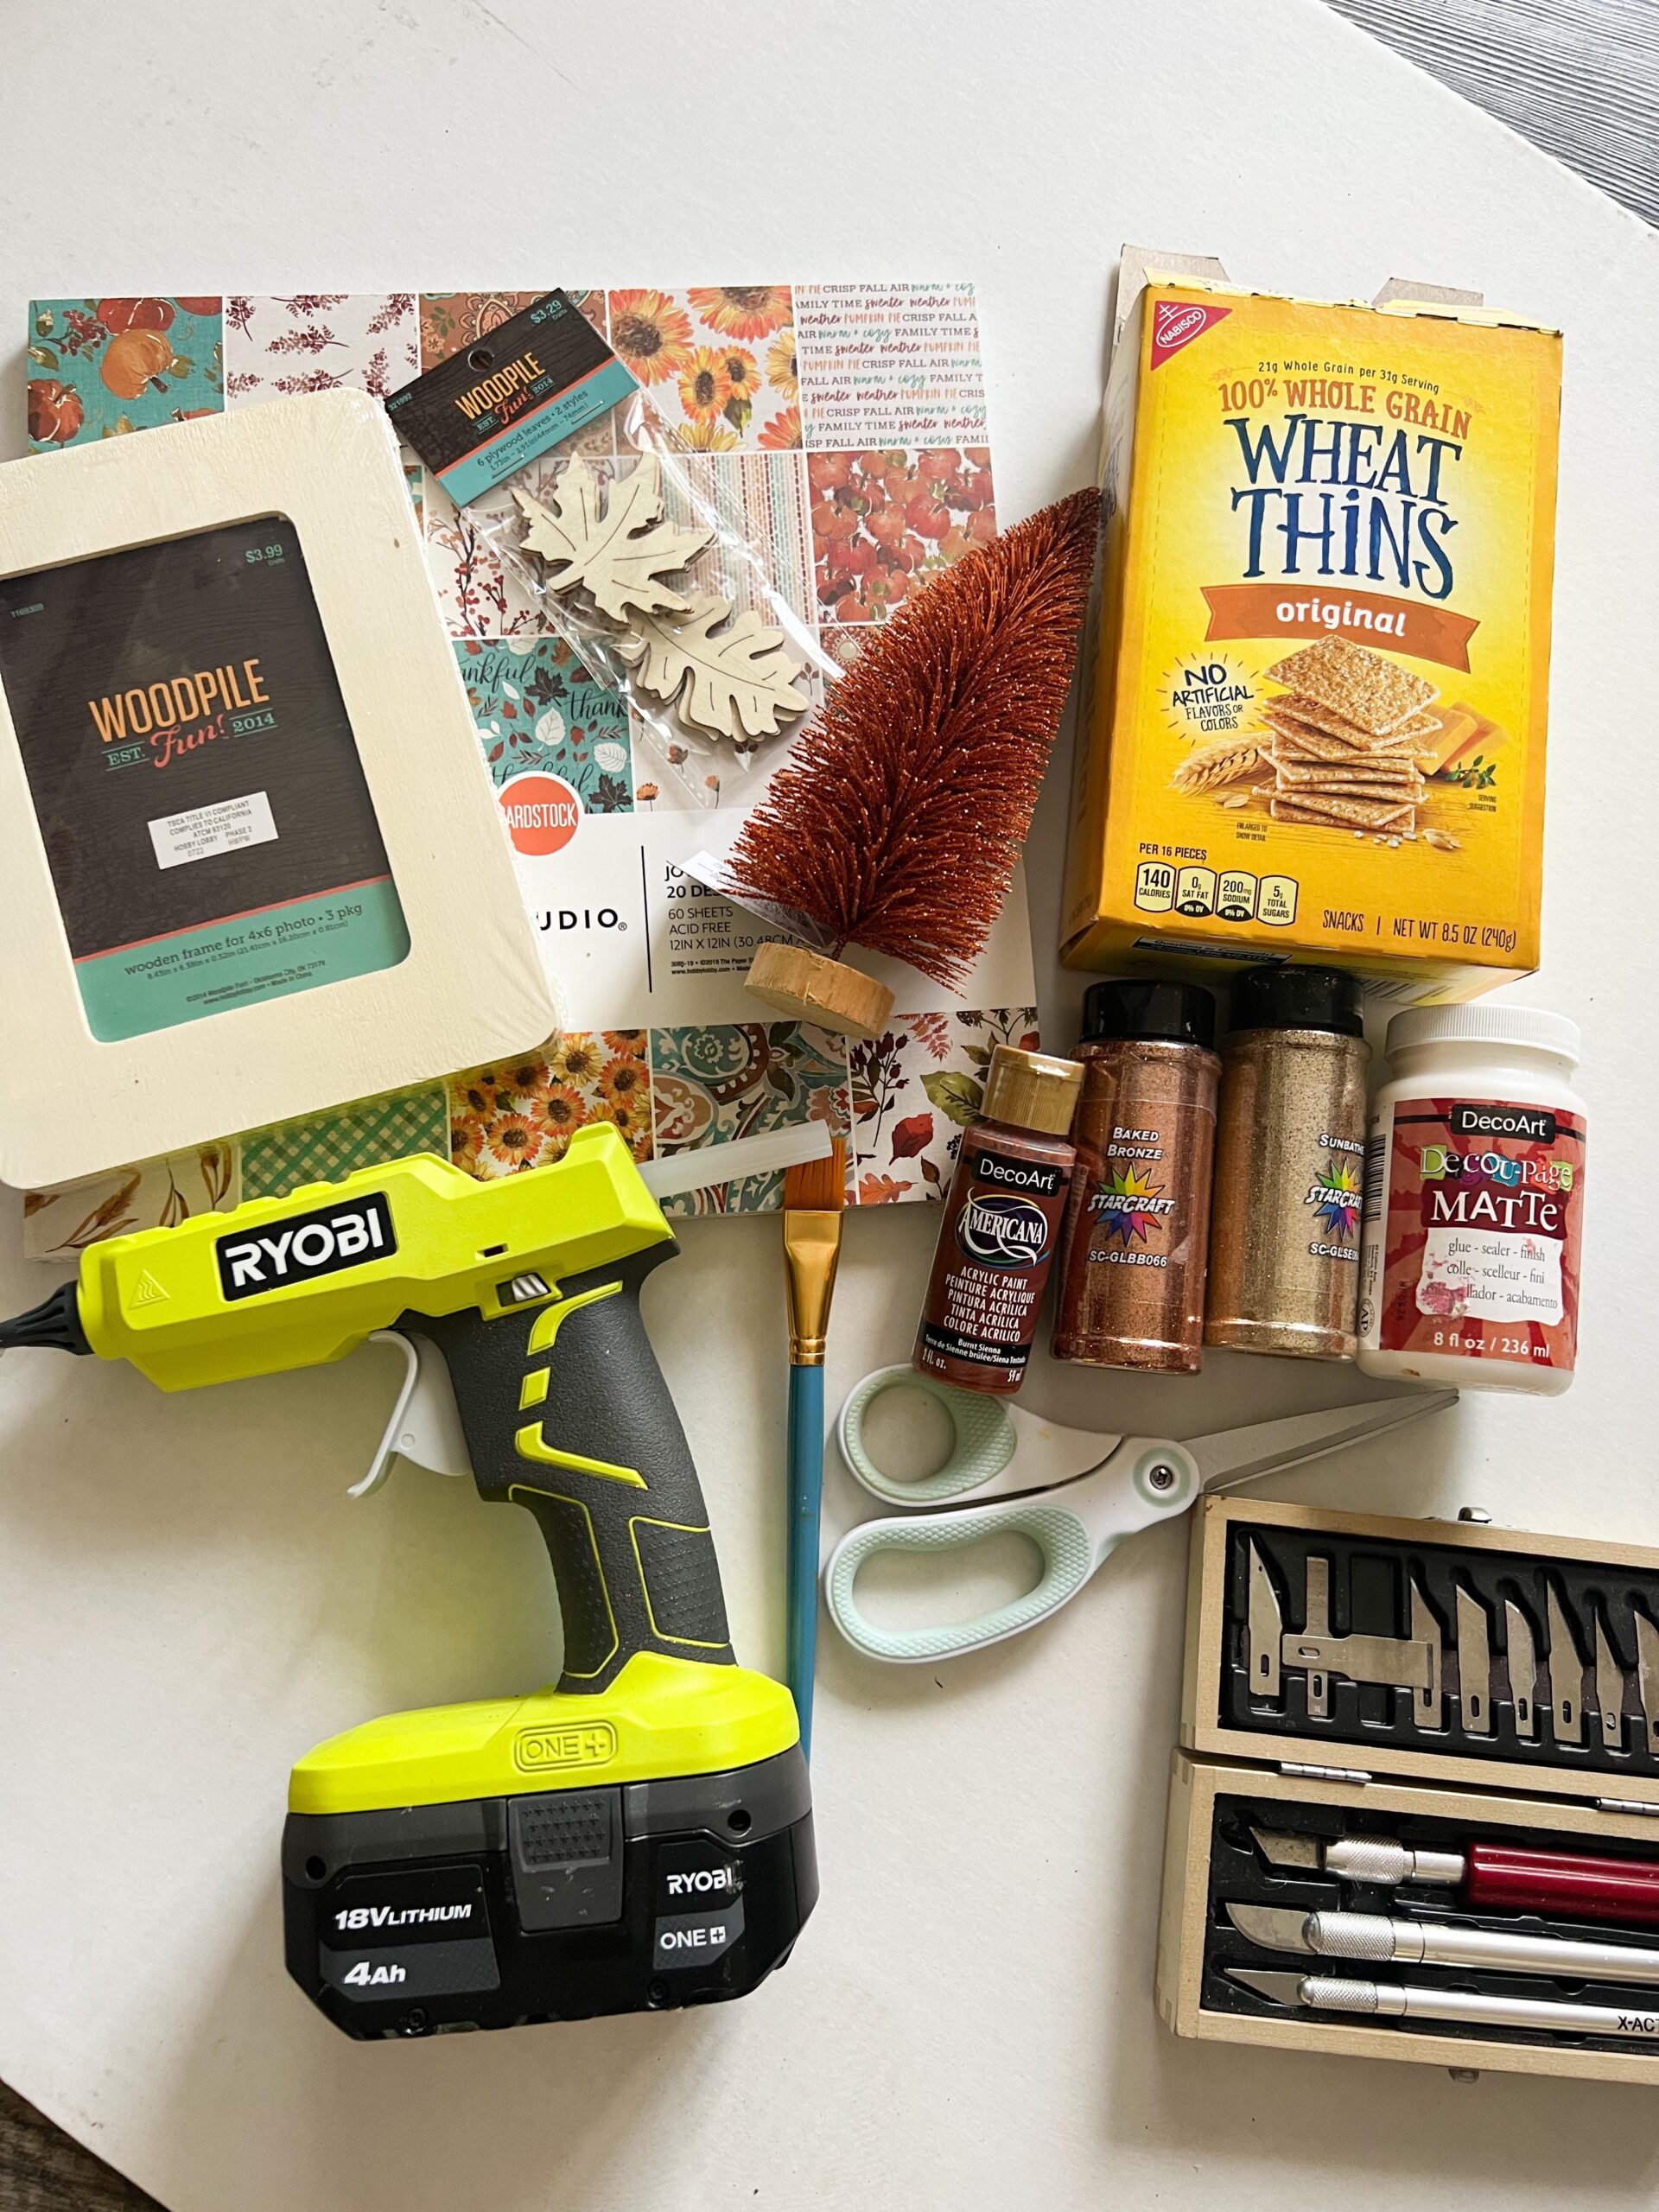
The supplies that I’ll be using are:
1. Fall printed scrapbook paper from Hobby Lobby
2. Scissors
3. X-acto knife
4. Hot glue
5. Decoupage
6. Paint brush
7. One 4×6 inch wooden frame from Hobby Lobby
8. Americana acrylic paint by DecoArt ( Burnt Sienna)
9. Gold and orange fine glitter
10. Small wooden leaf cut outs from Hobby Lobby
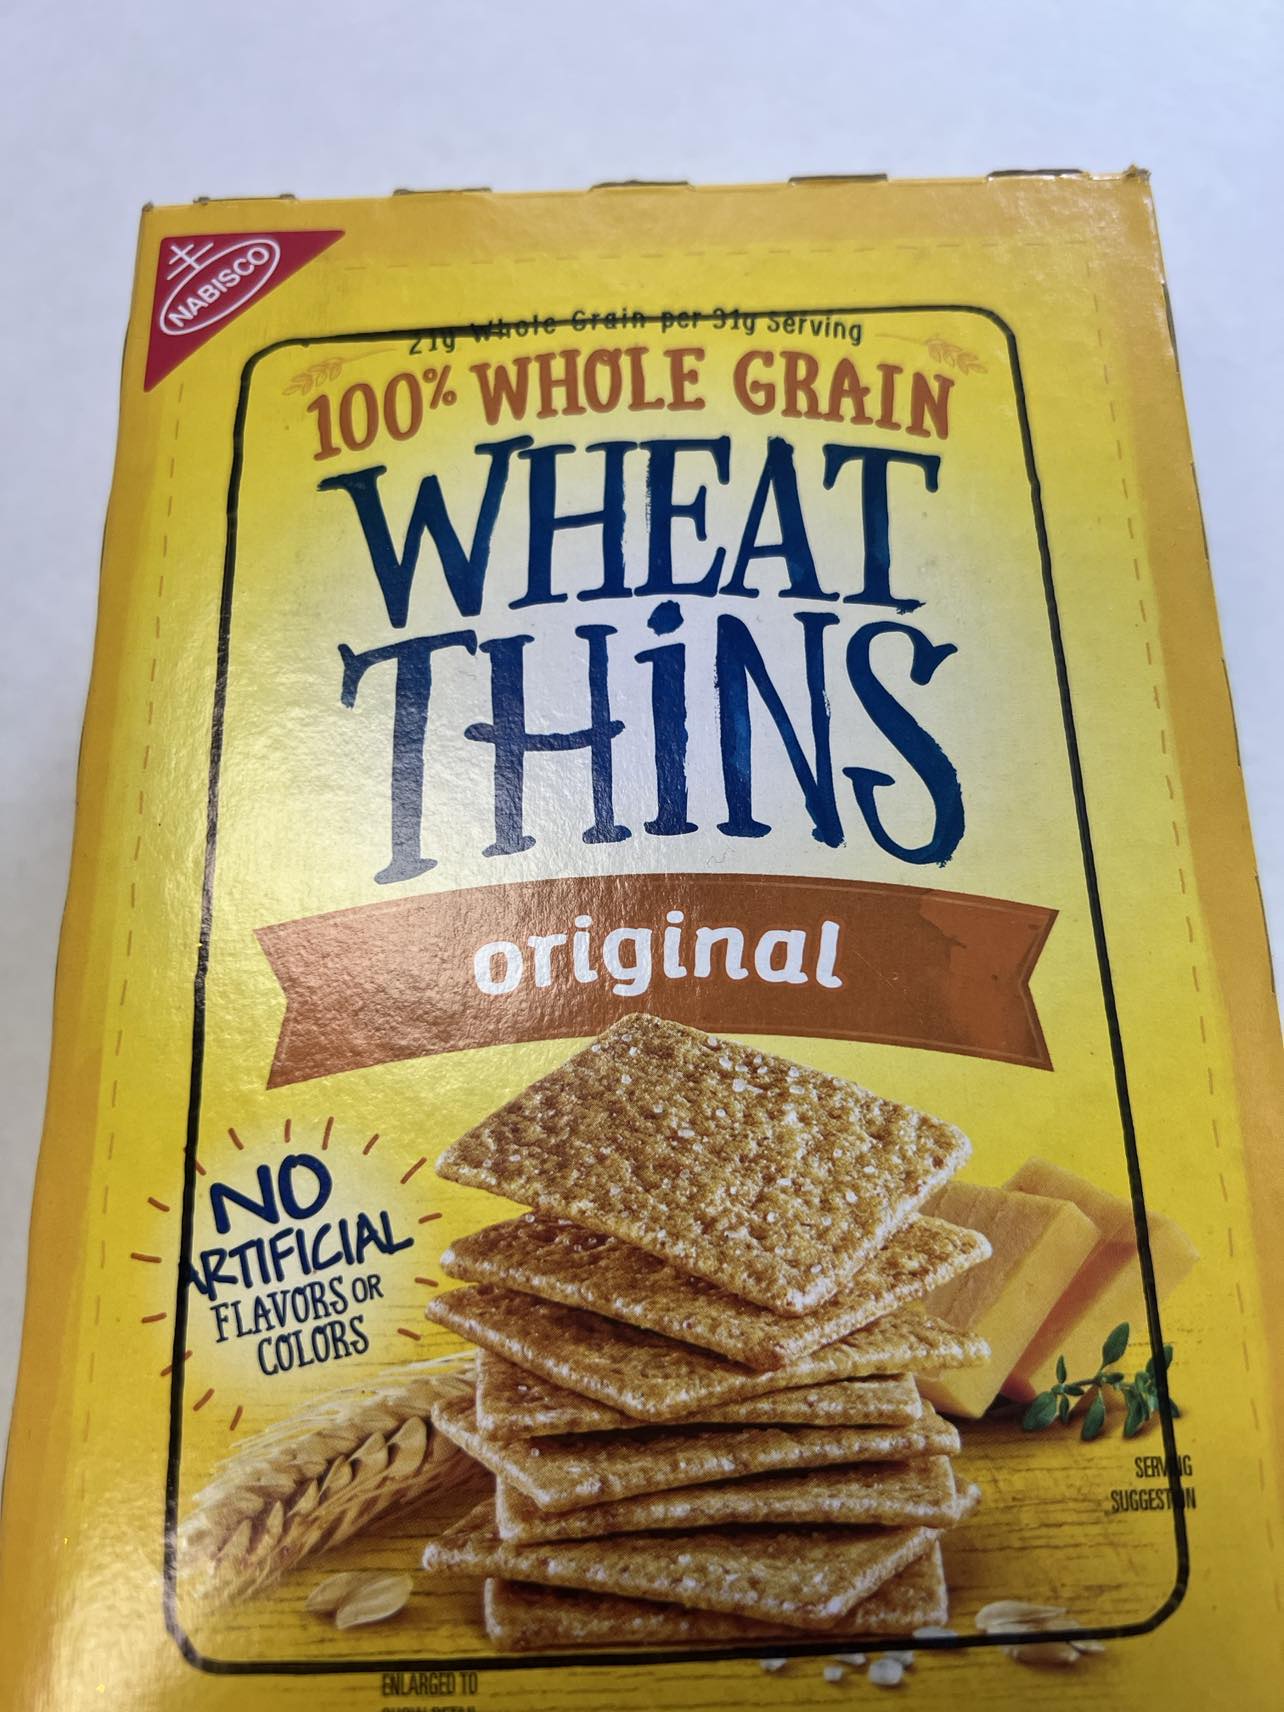
11. One 8.5oz wheat thin box
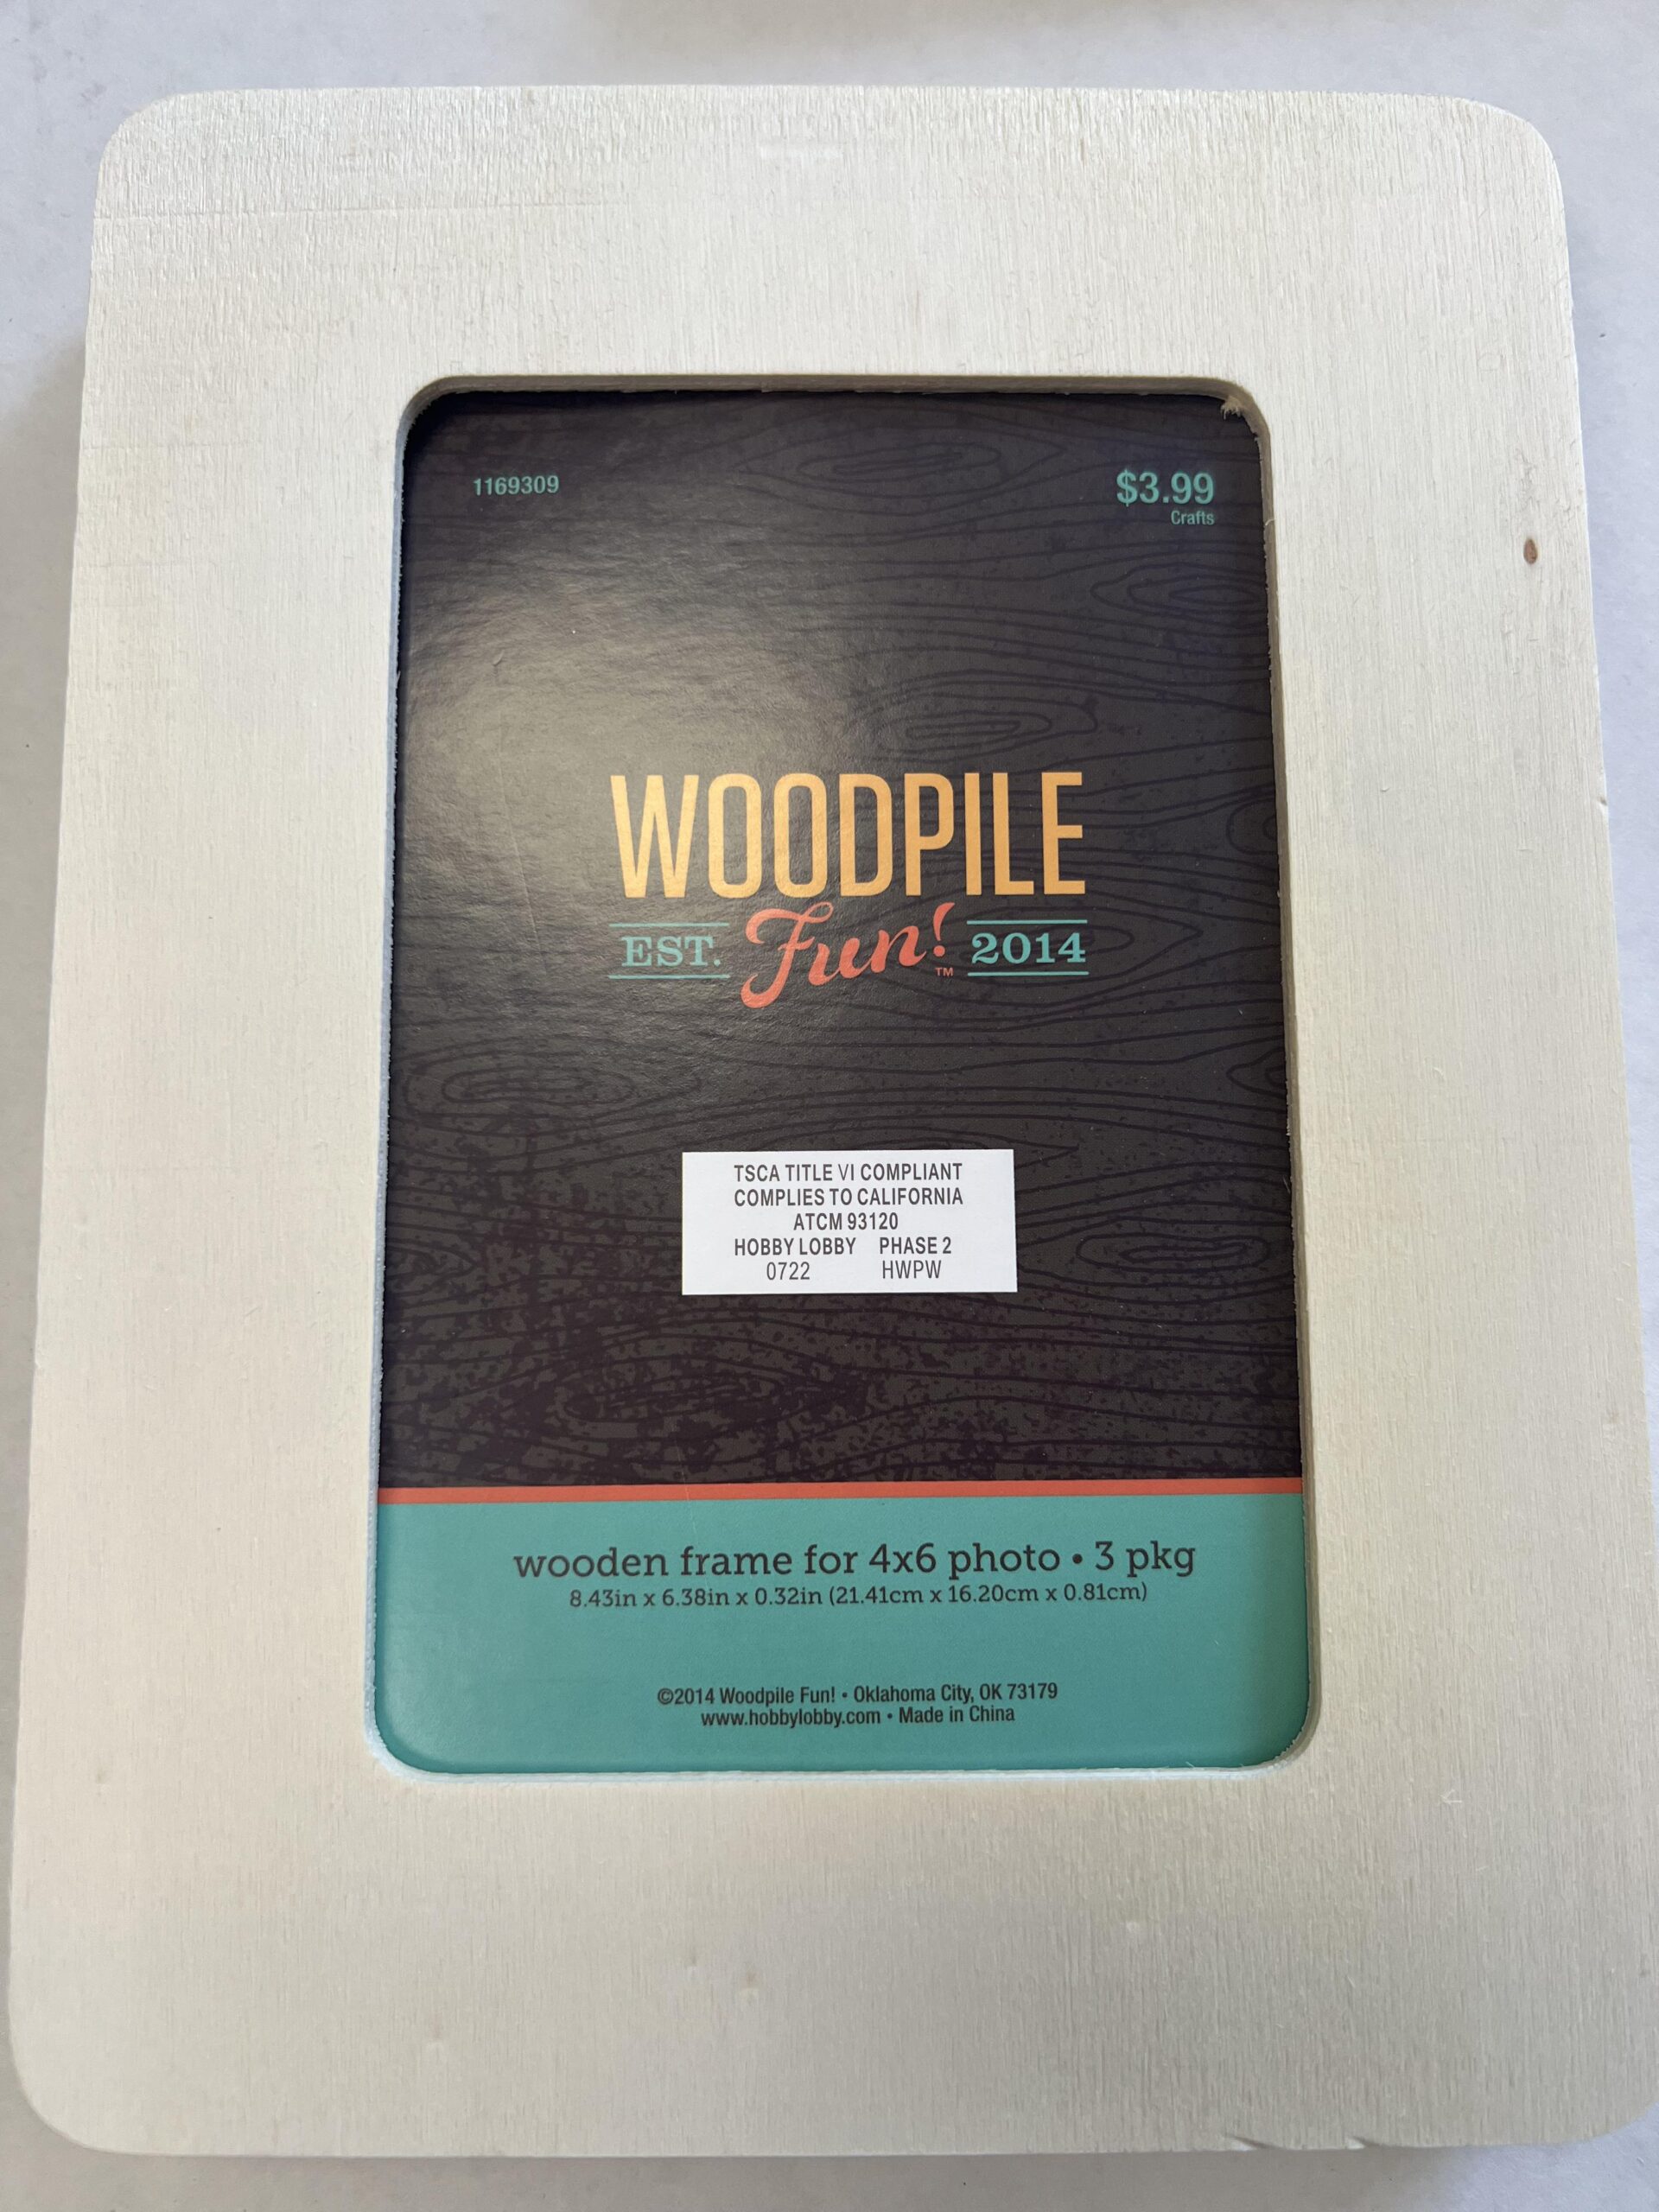
You can find this wooden frame in the unfinished wood isle in Hobby Lobby. They come as a pack of 3.

You’ll want to remove the small metal hooks from the frame.
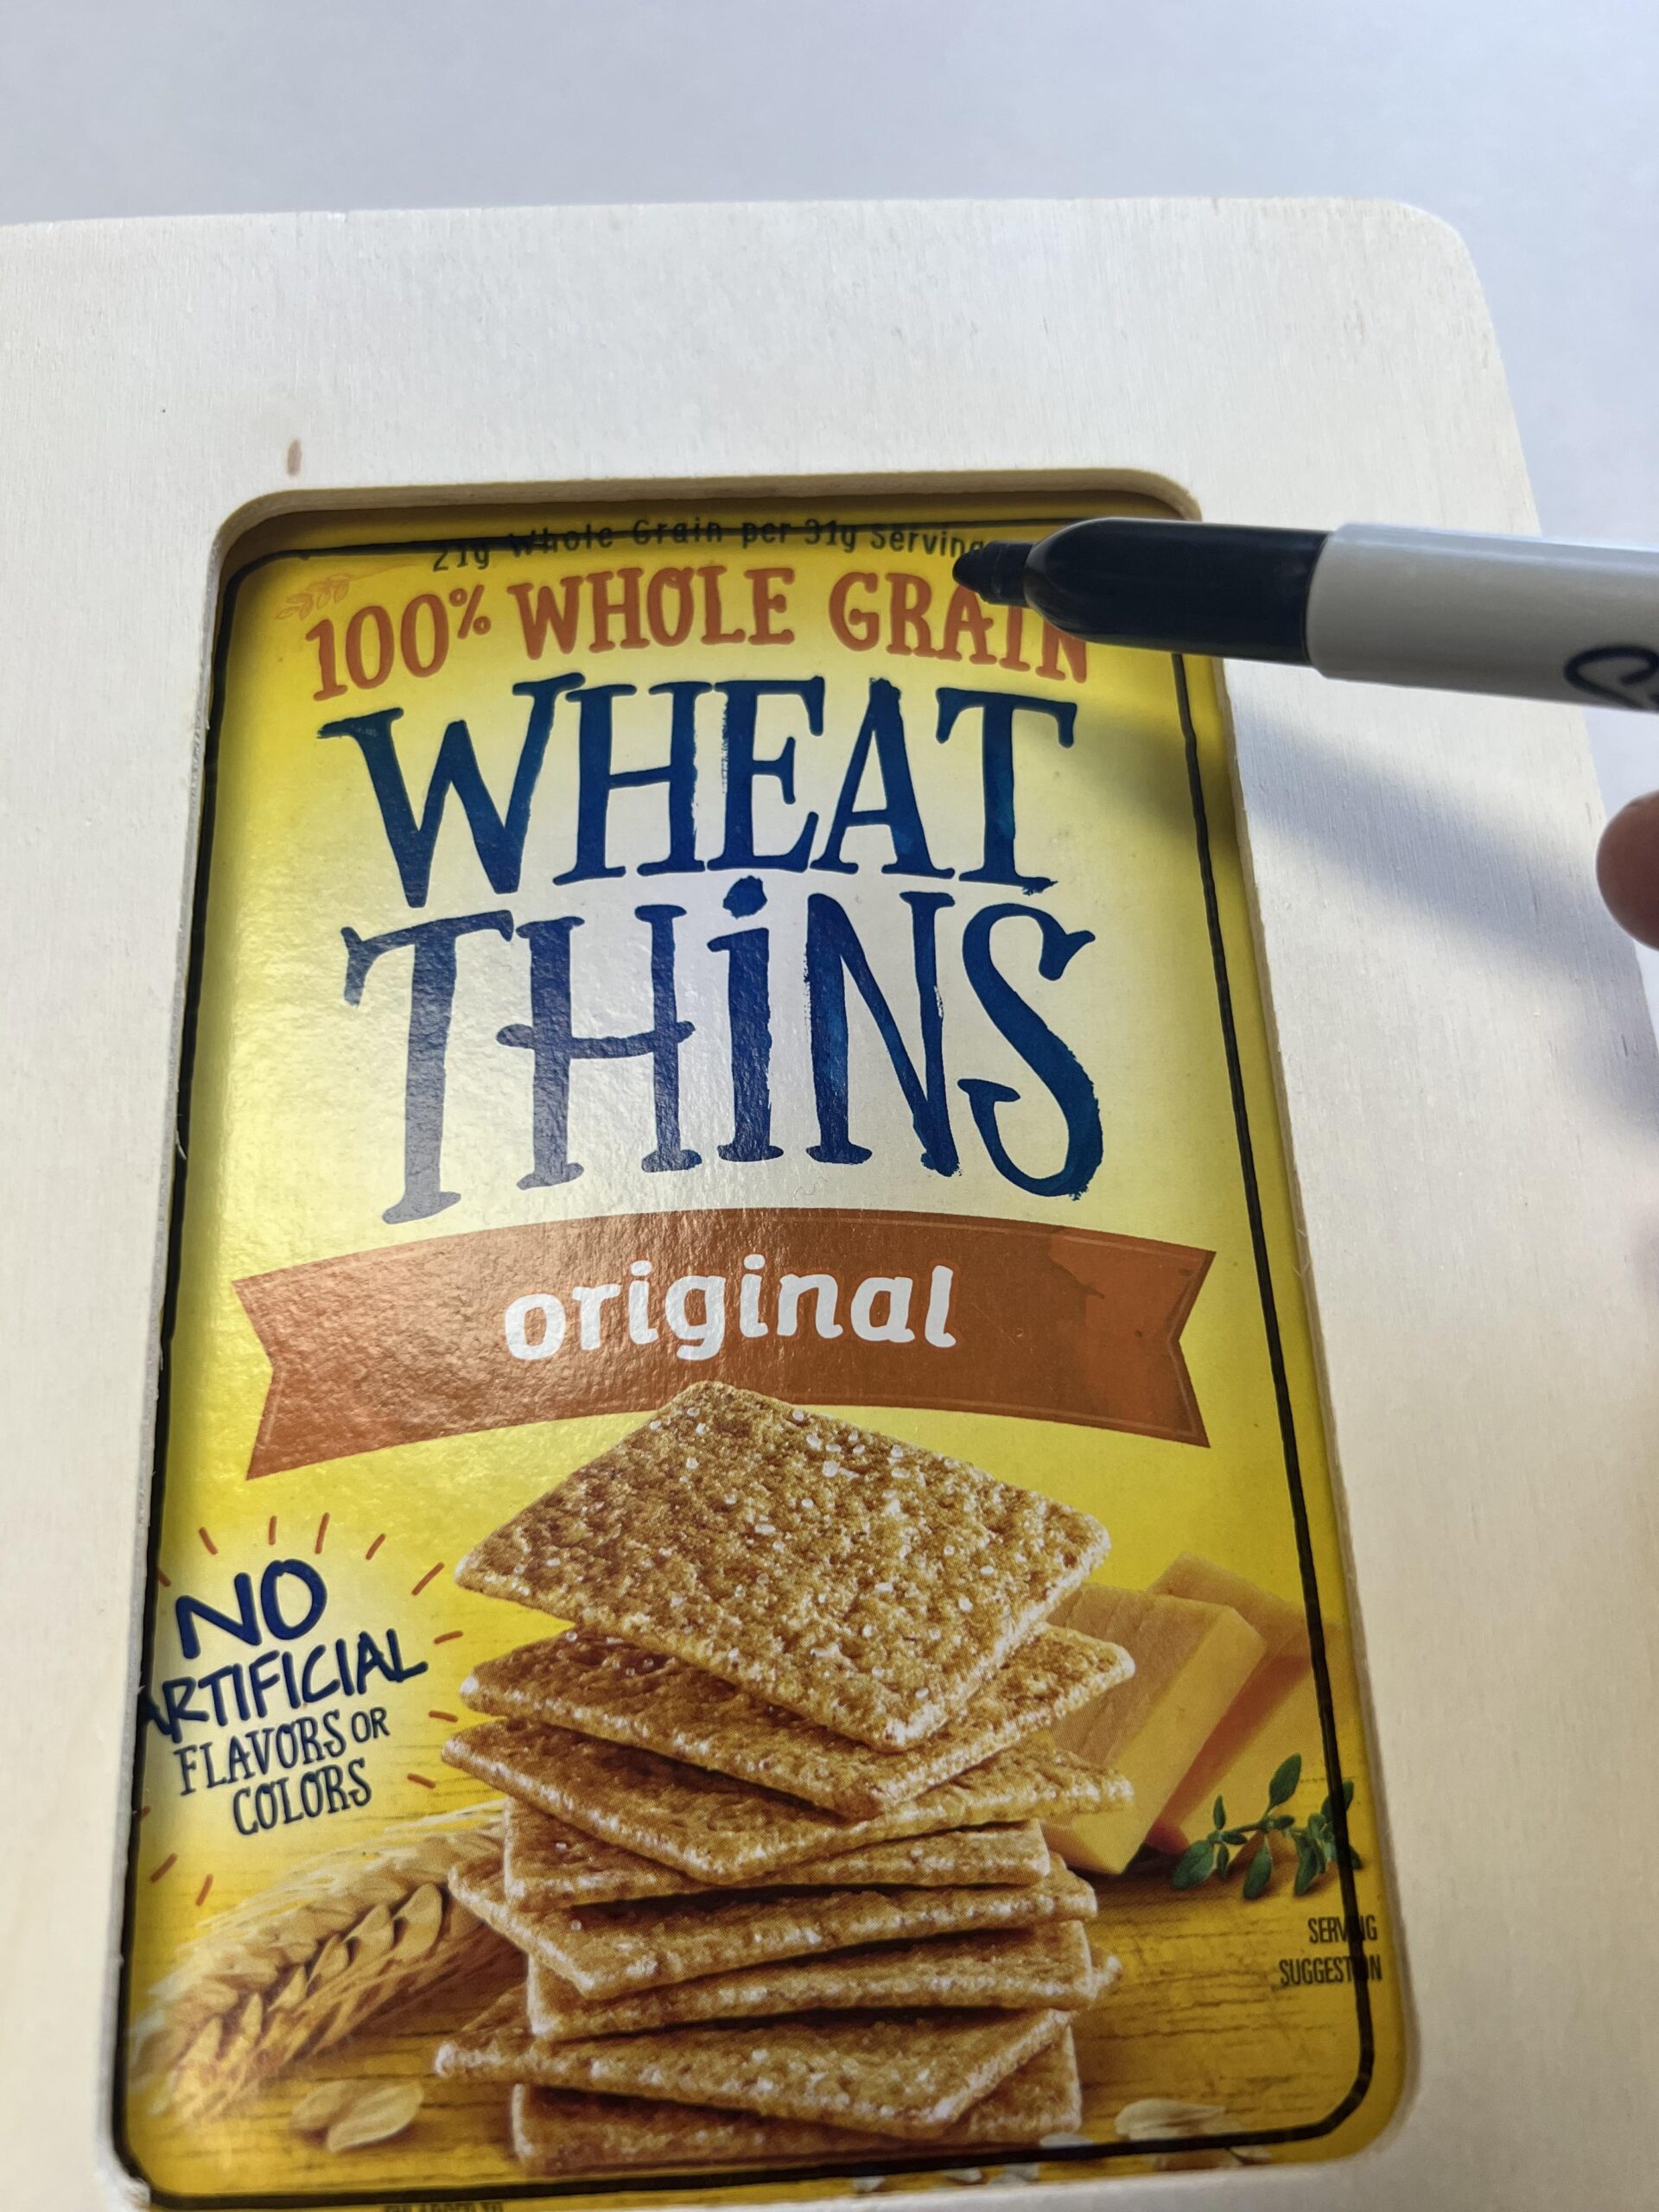
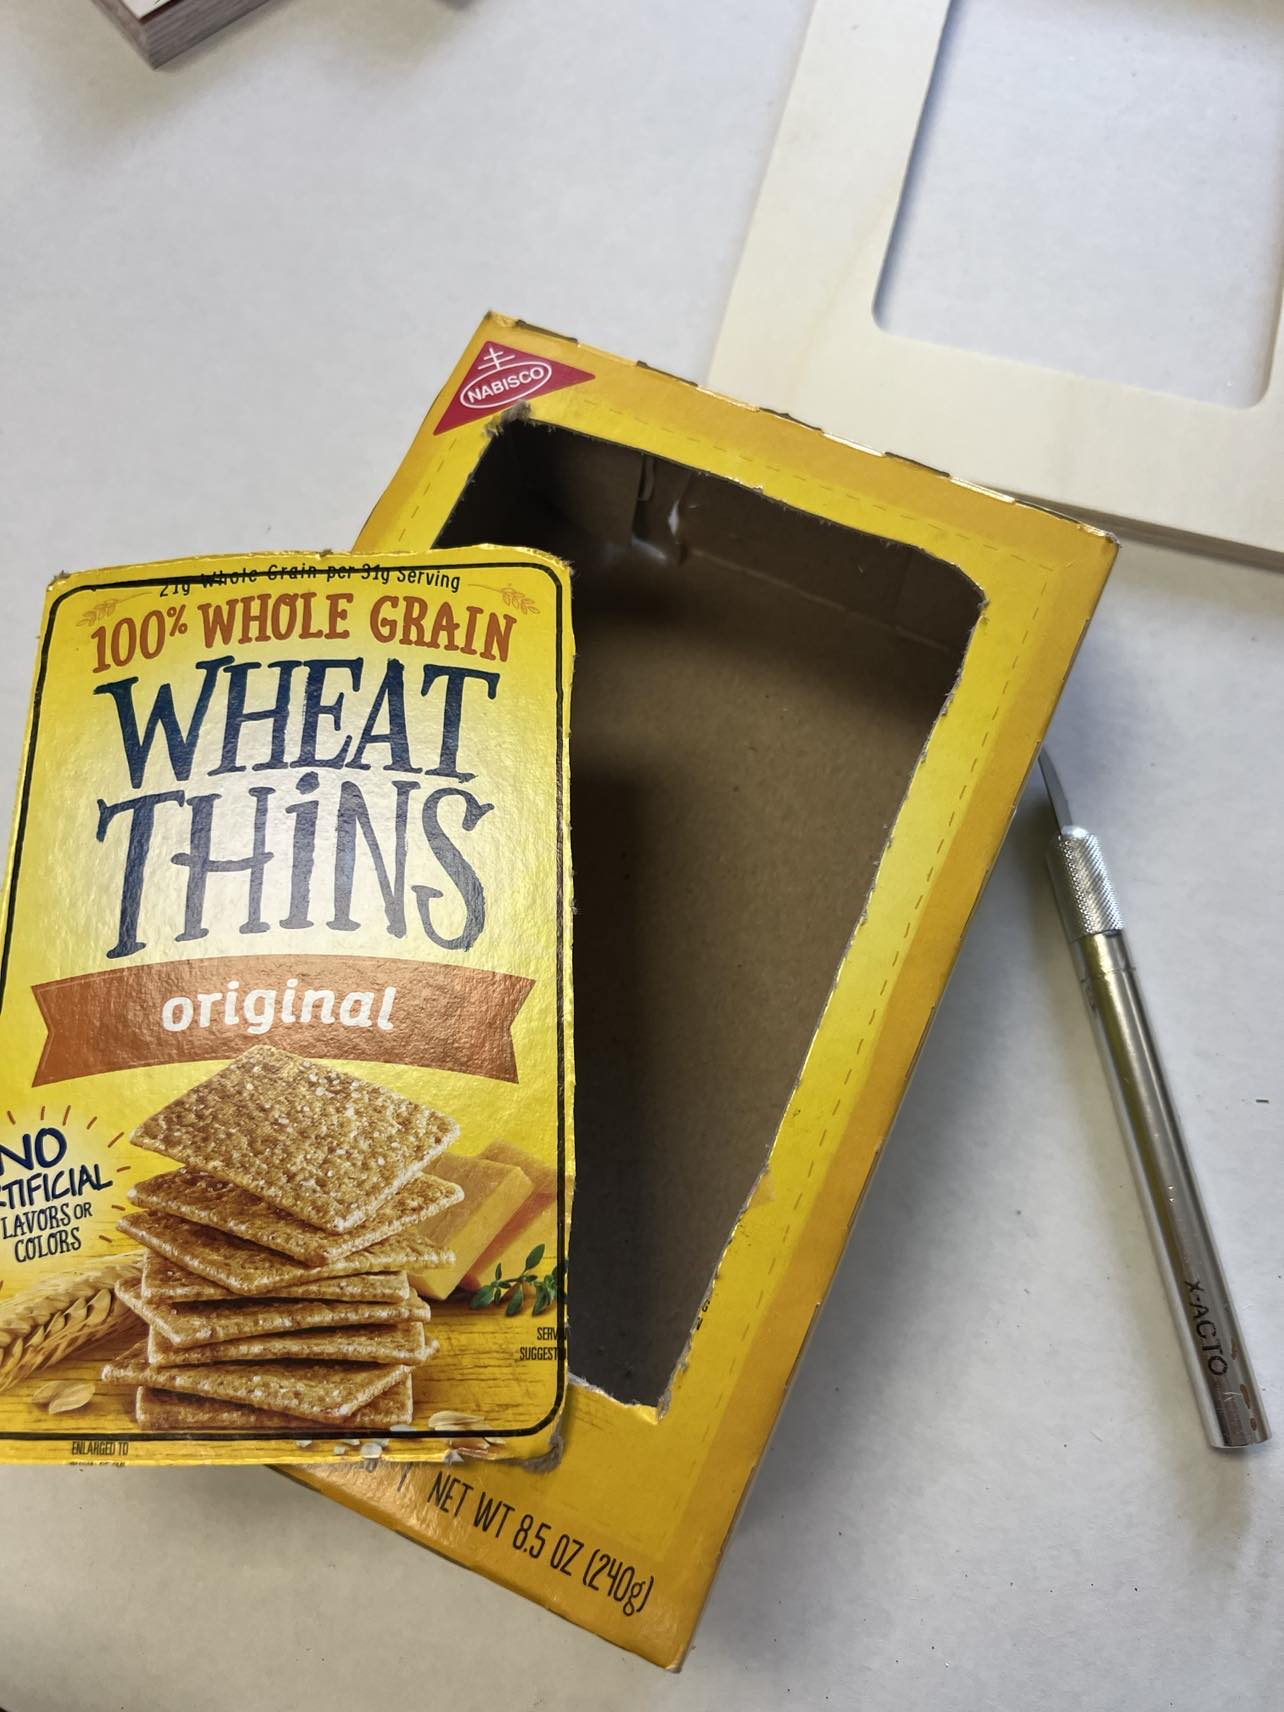
The next step is to trace the opening of the frame onto the box. Be sure to line the frame up so that the bottom of the box and the frame are even.
You’ll use the x-acto knife to cut out the opening.
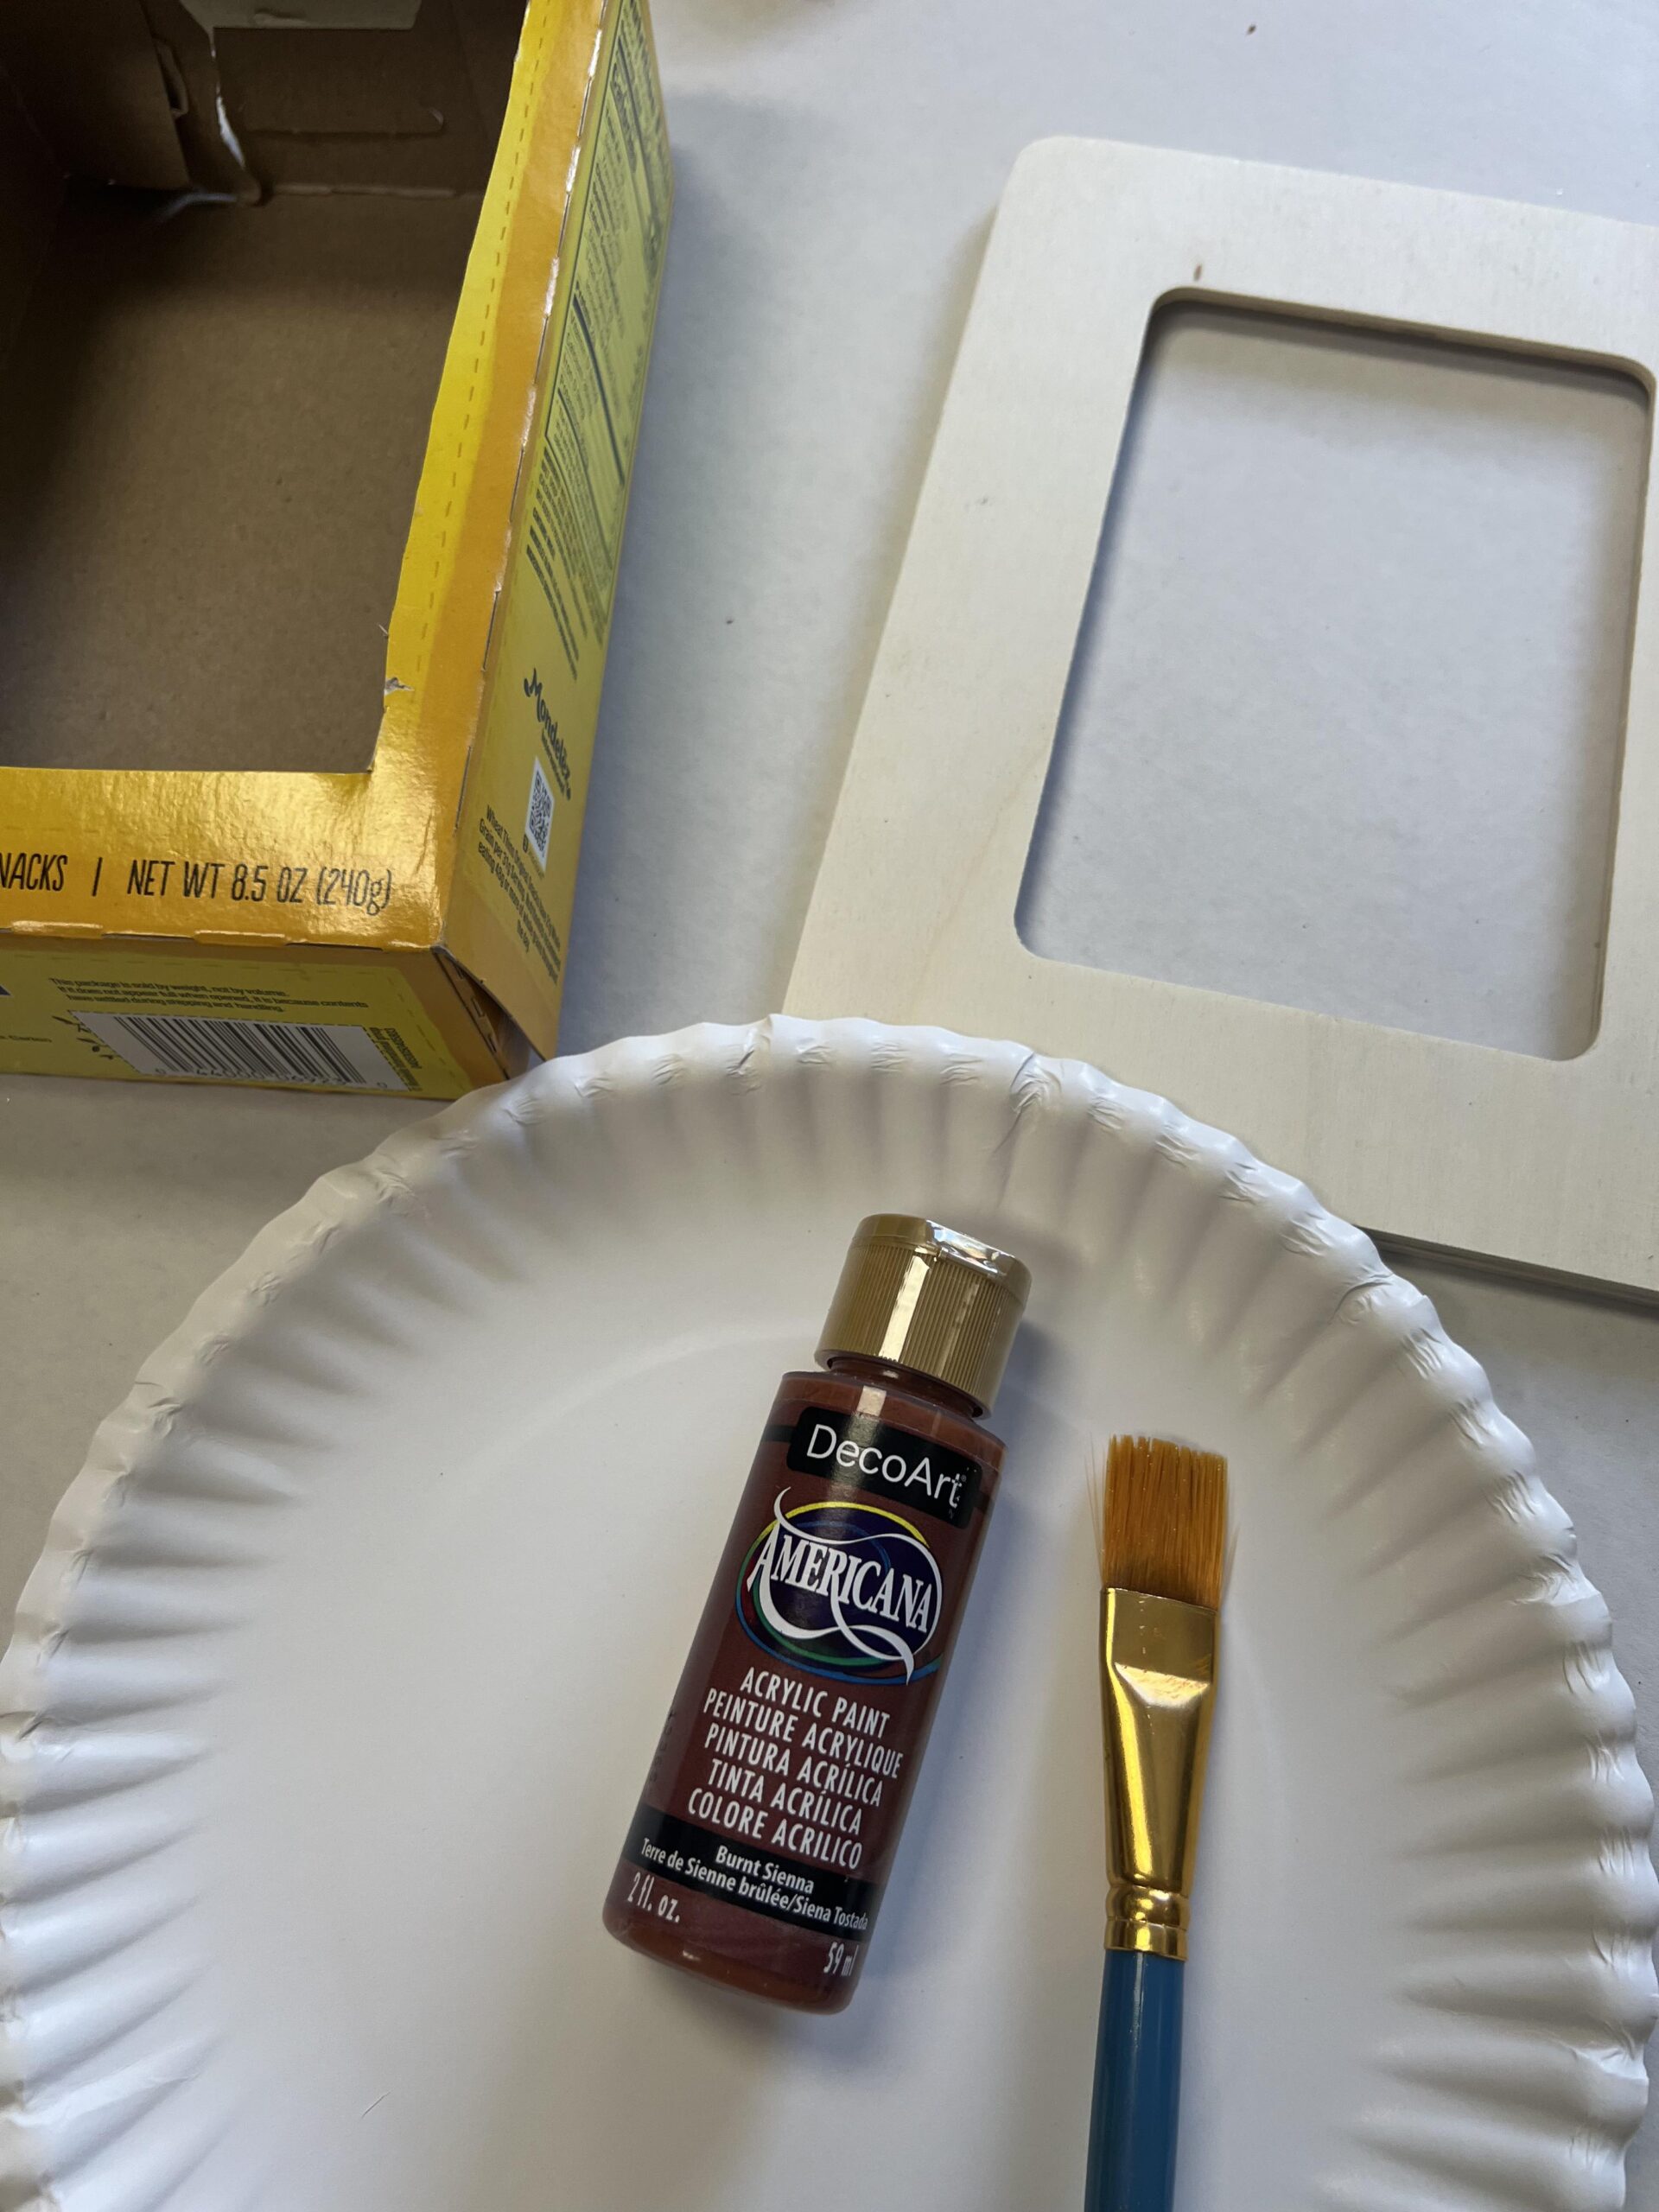
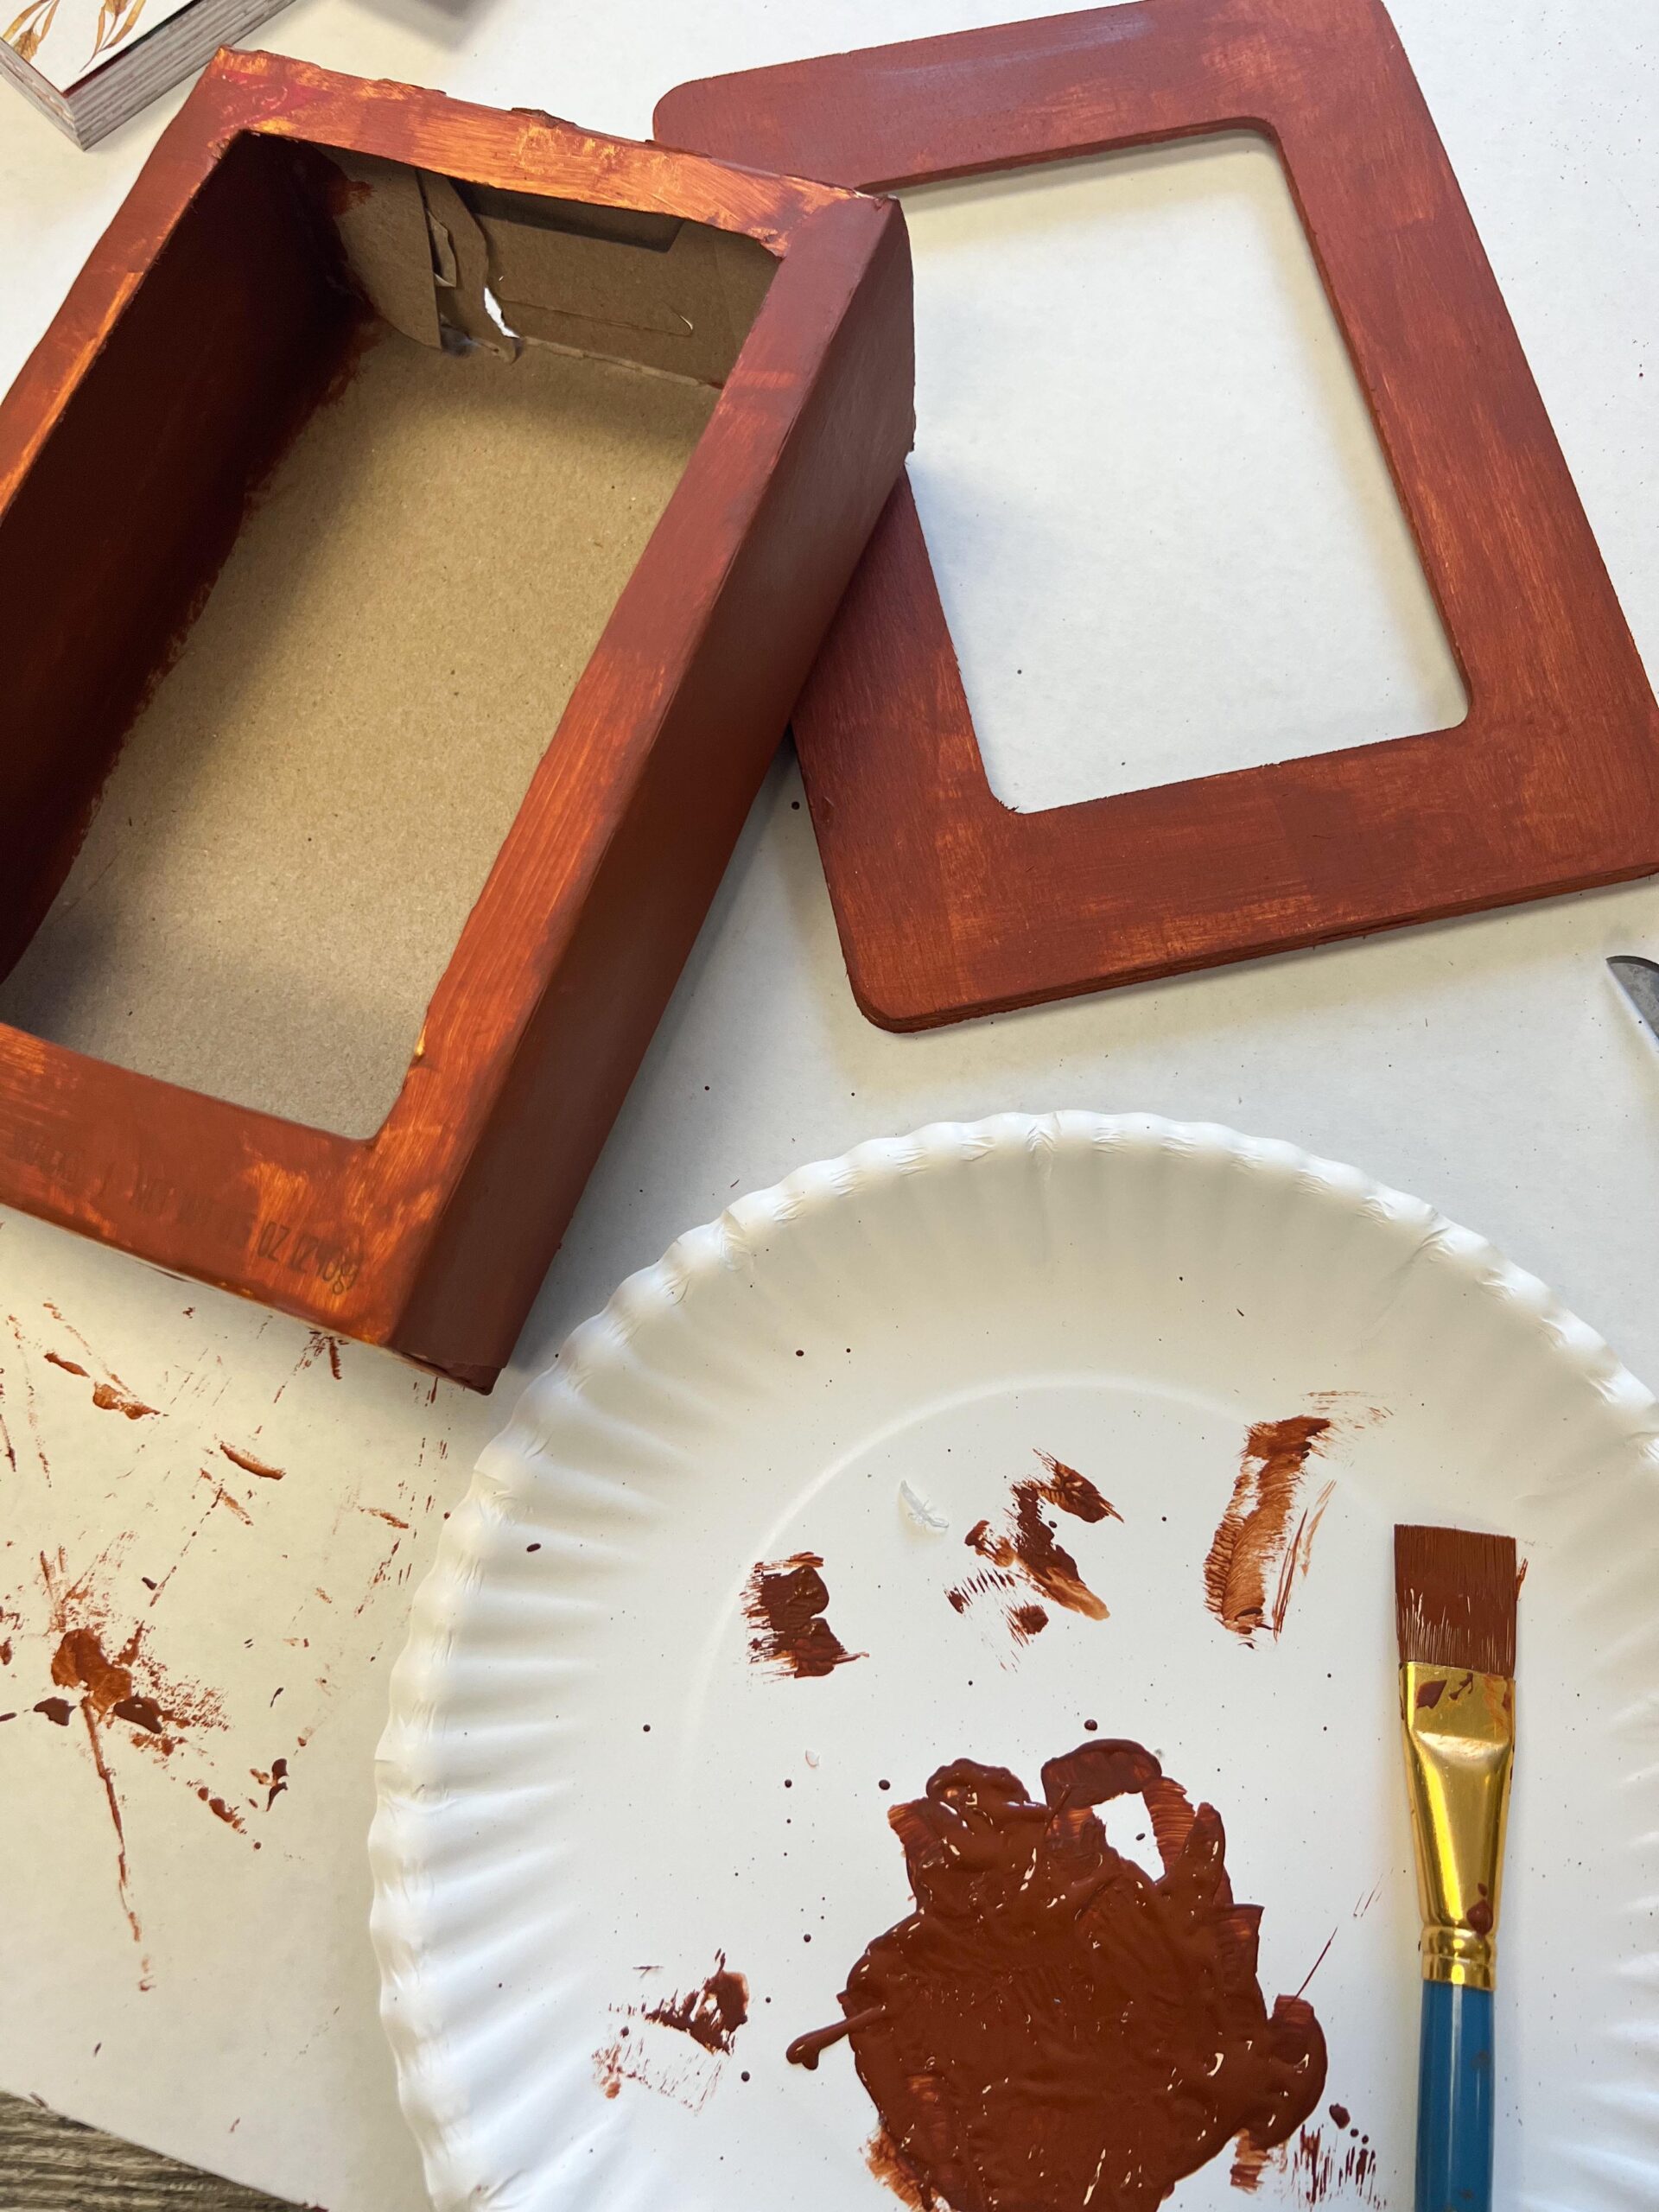
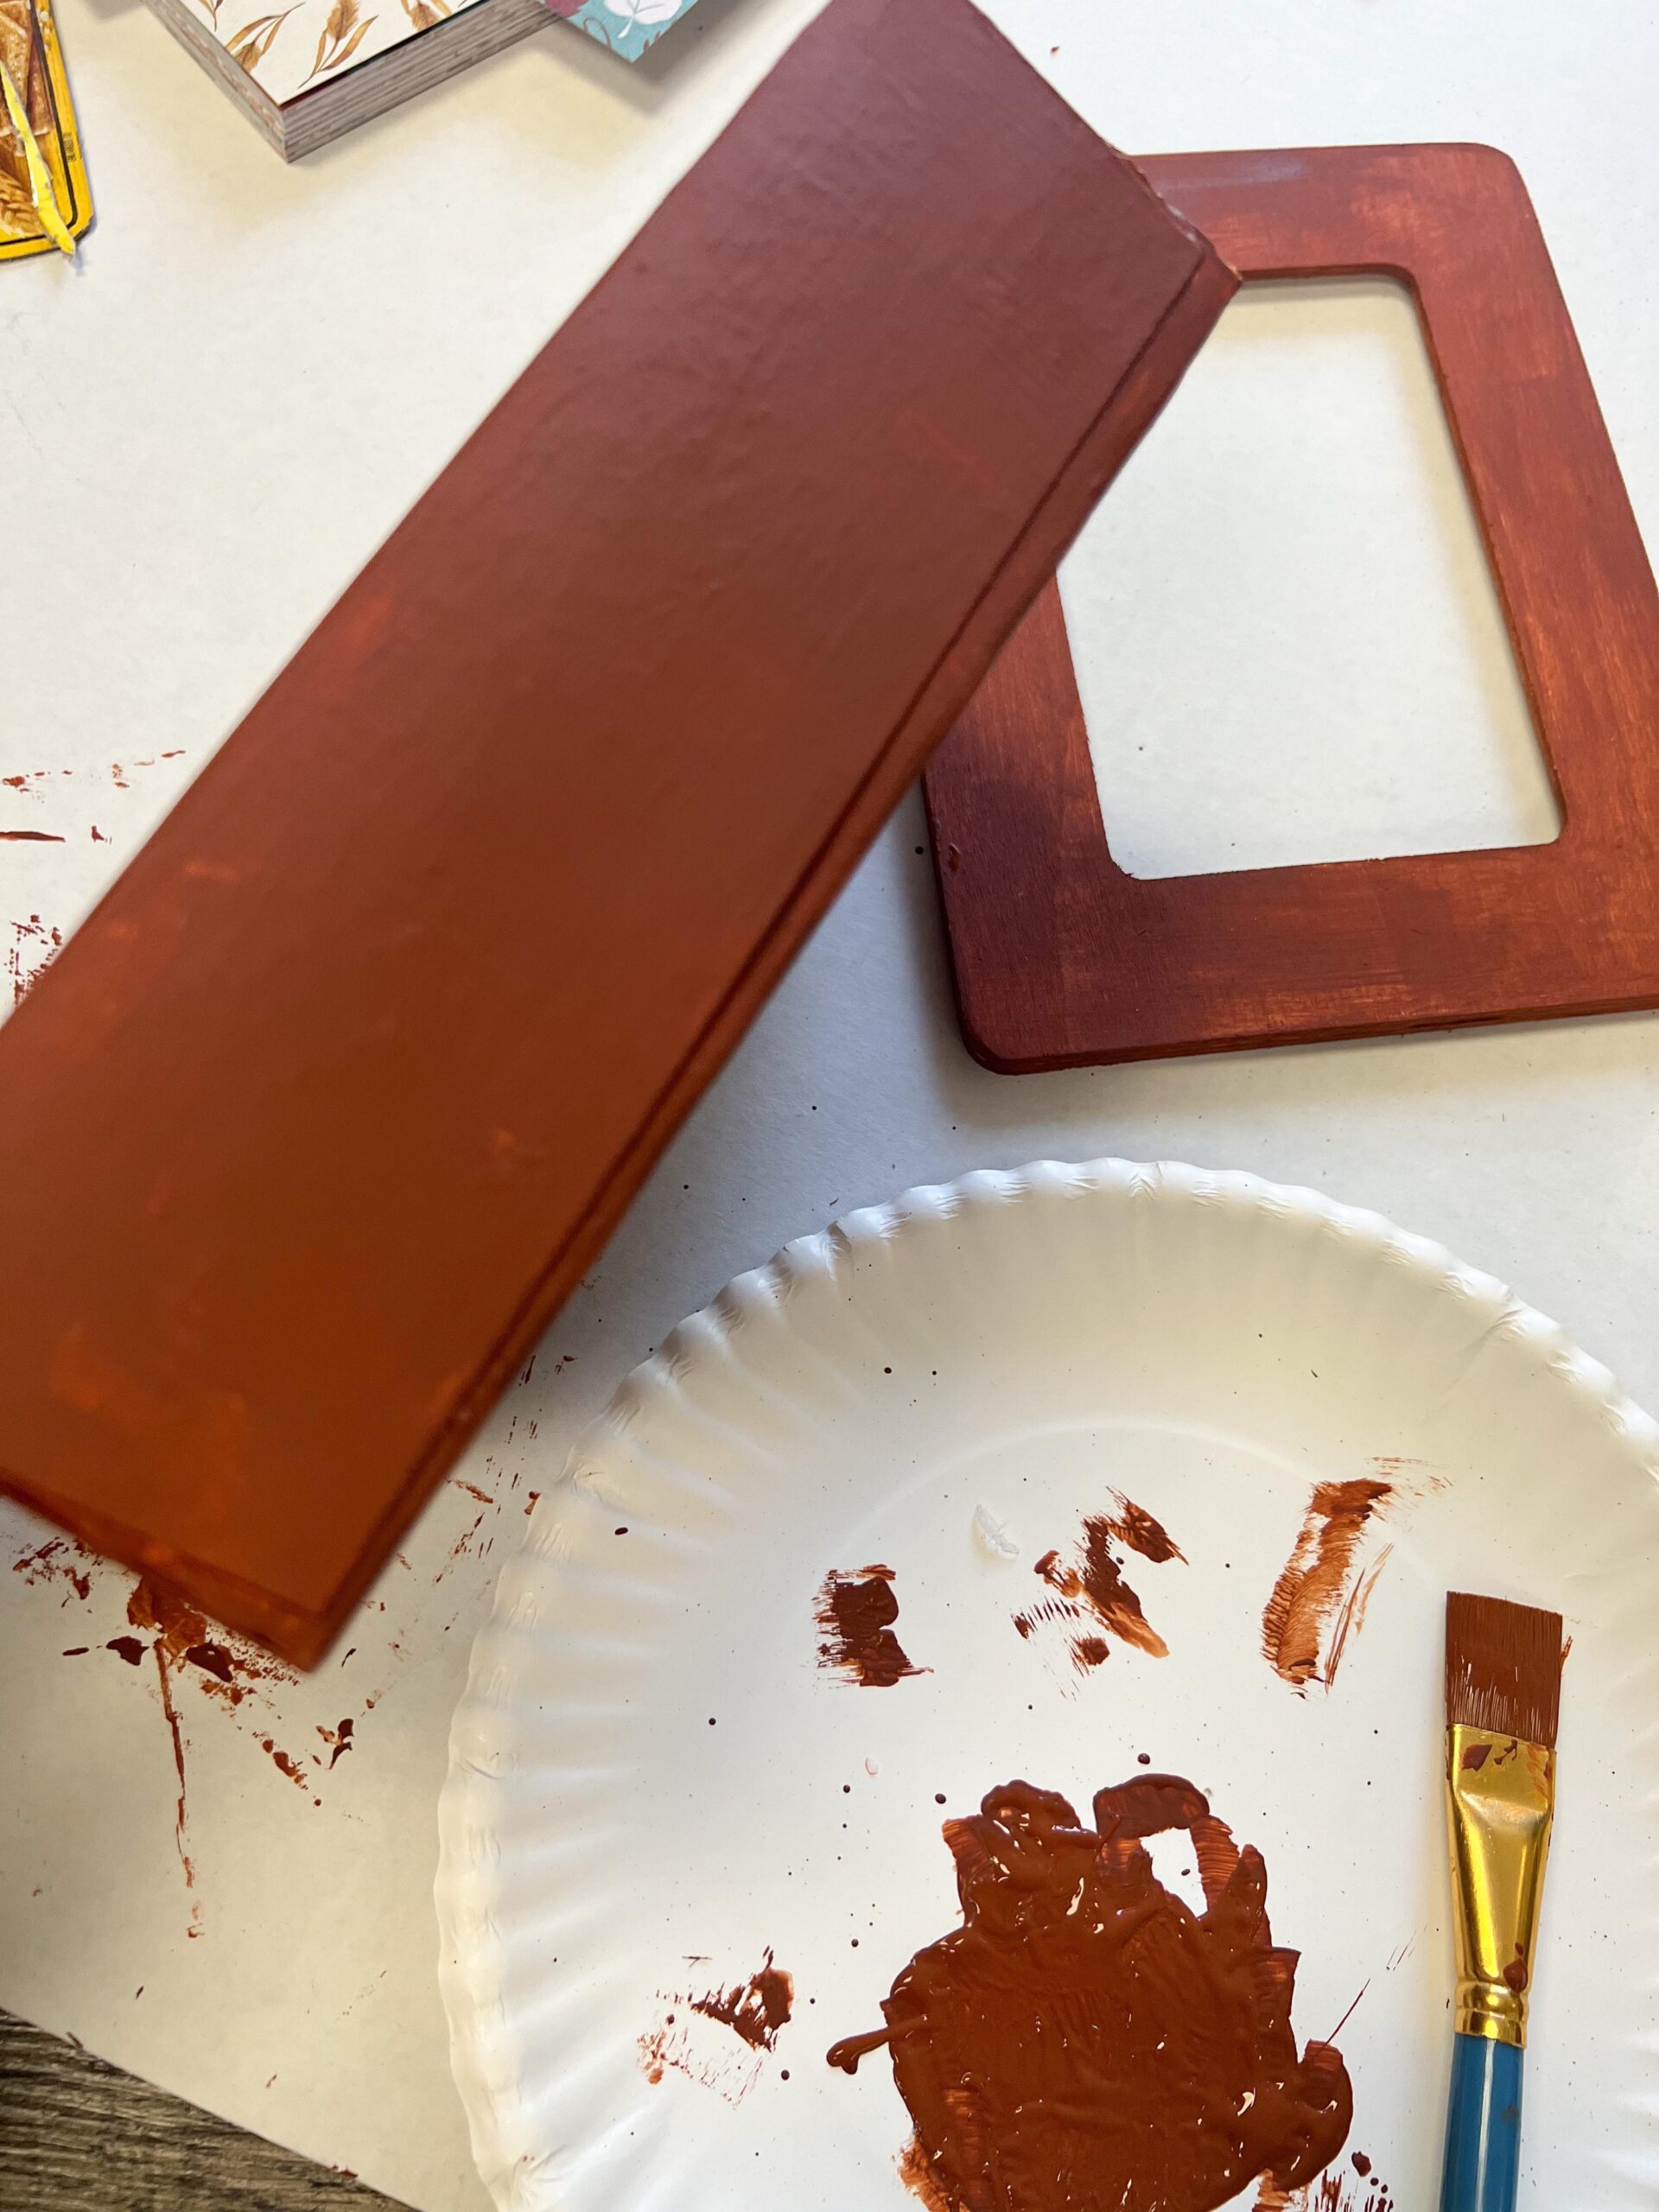
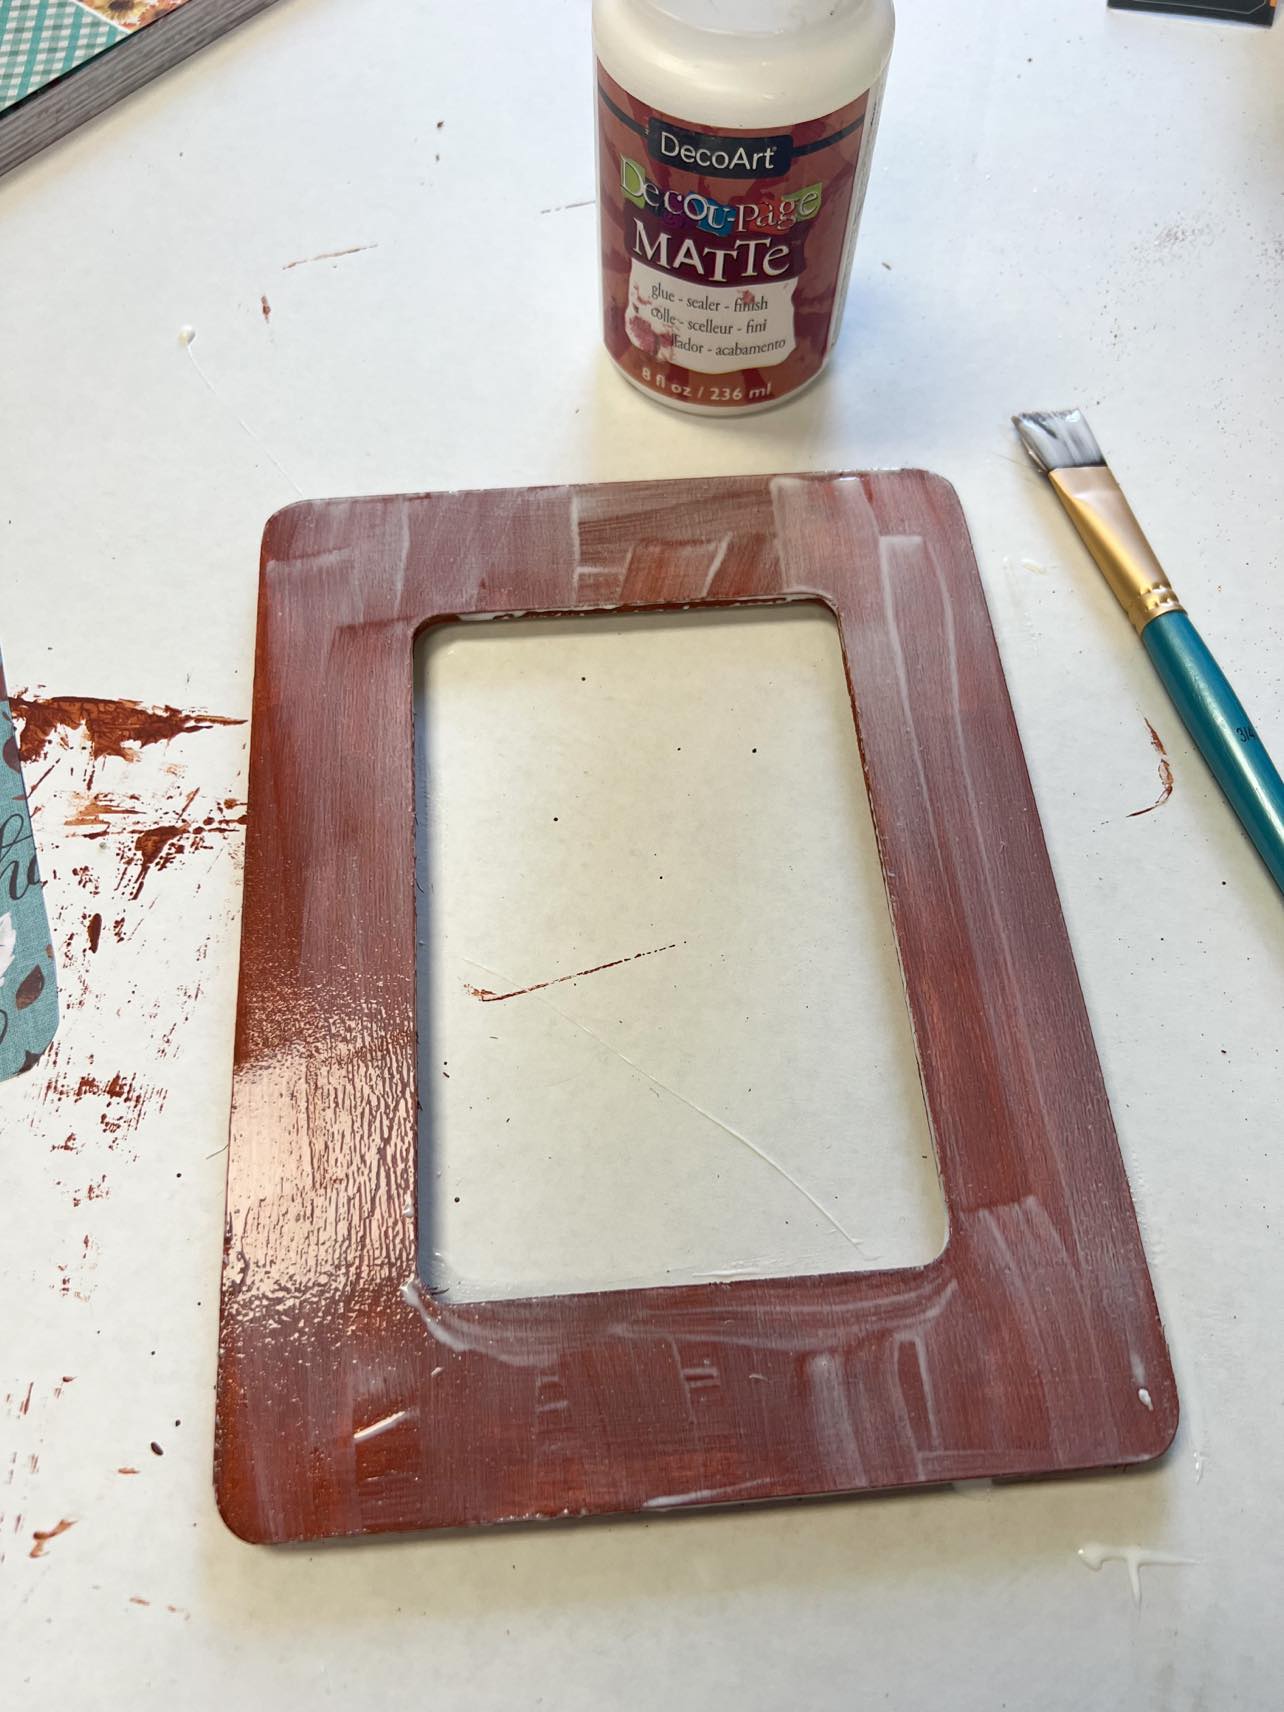
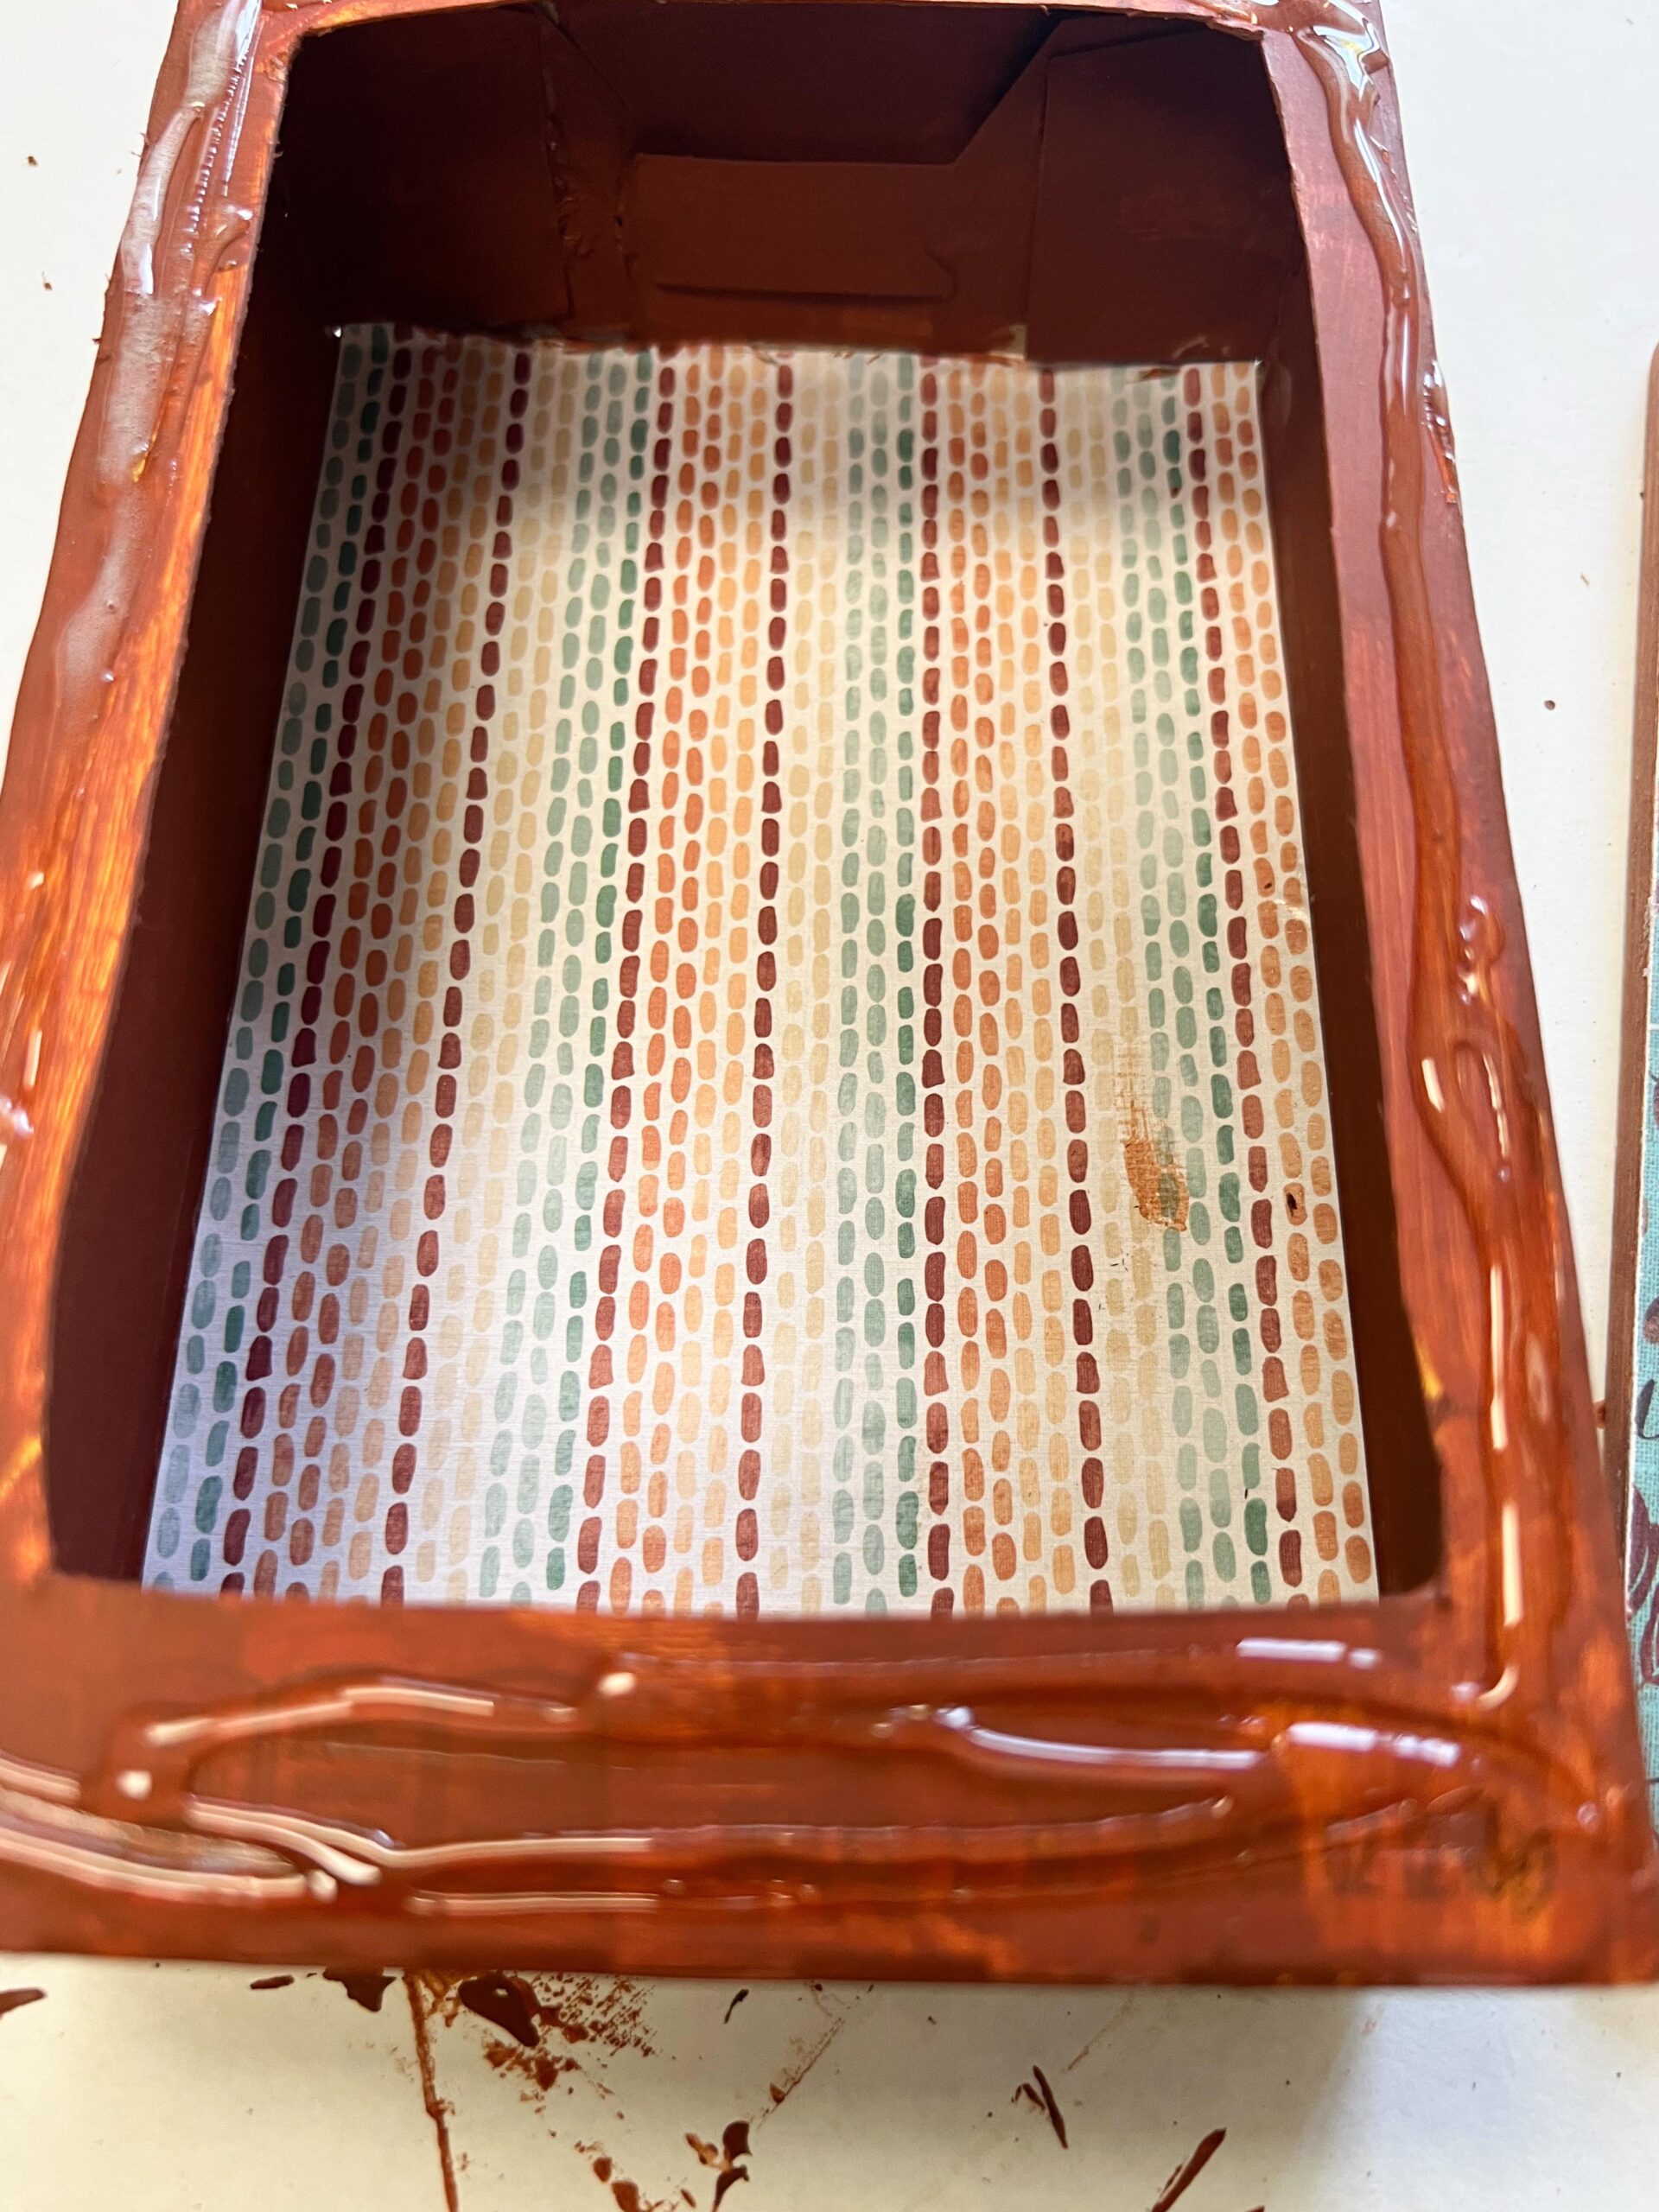
The next step is to paint the frame and the box.
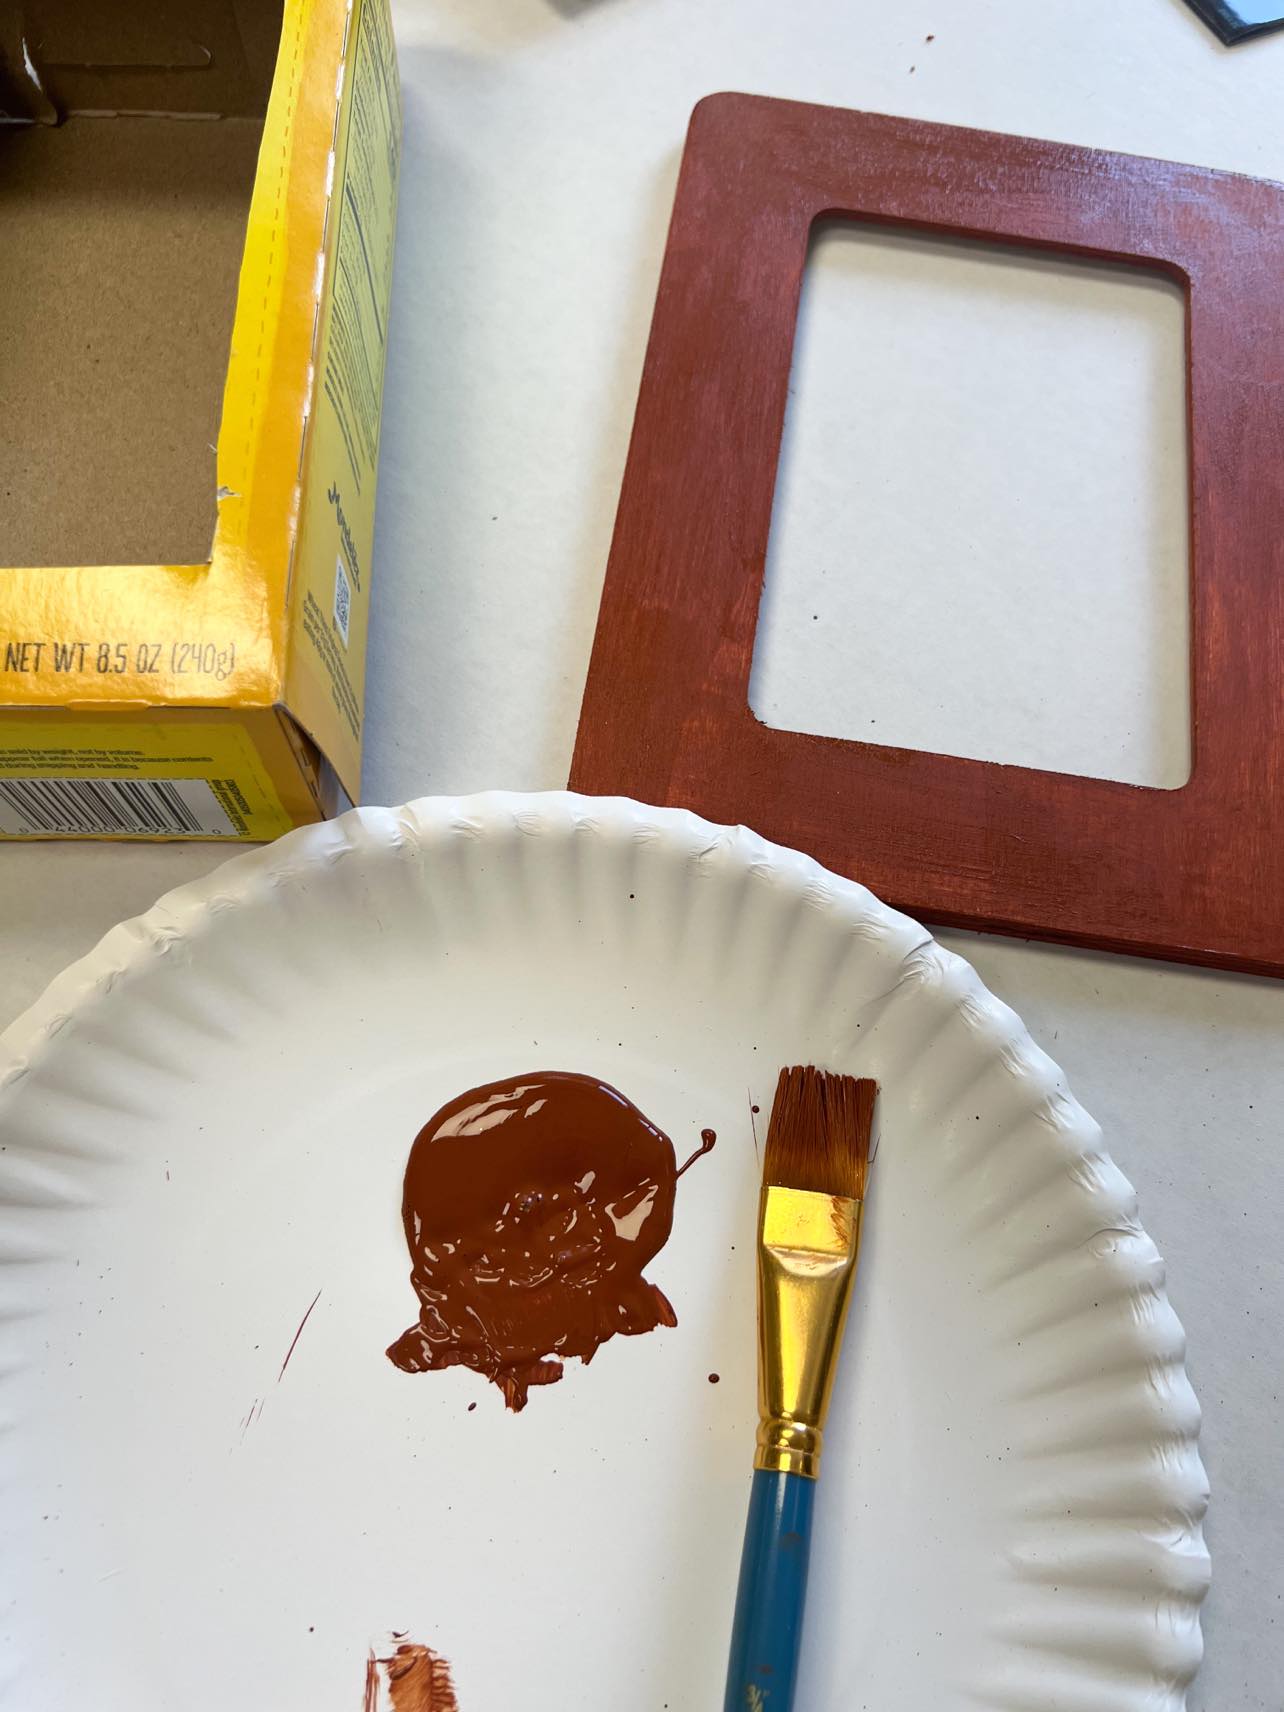
You’ll want to paint the outside of the box and the sides of the inside.
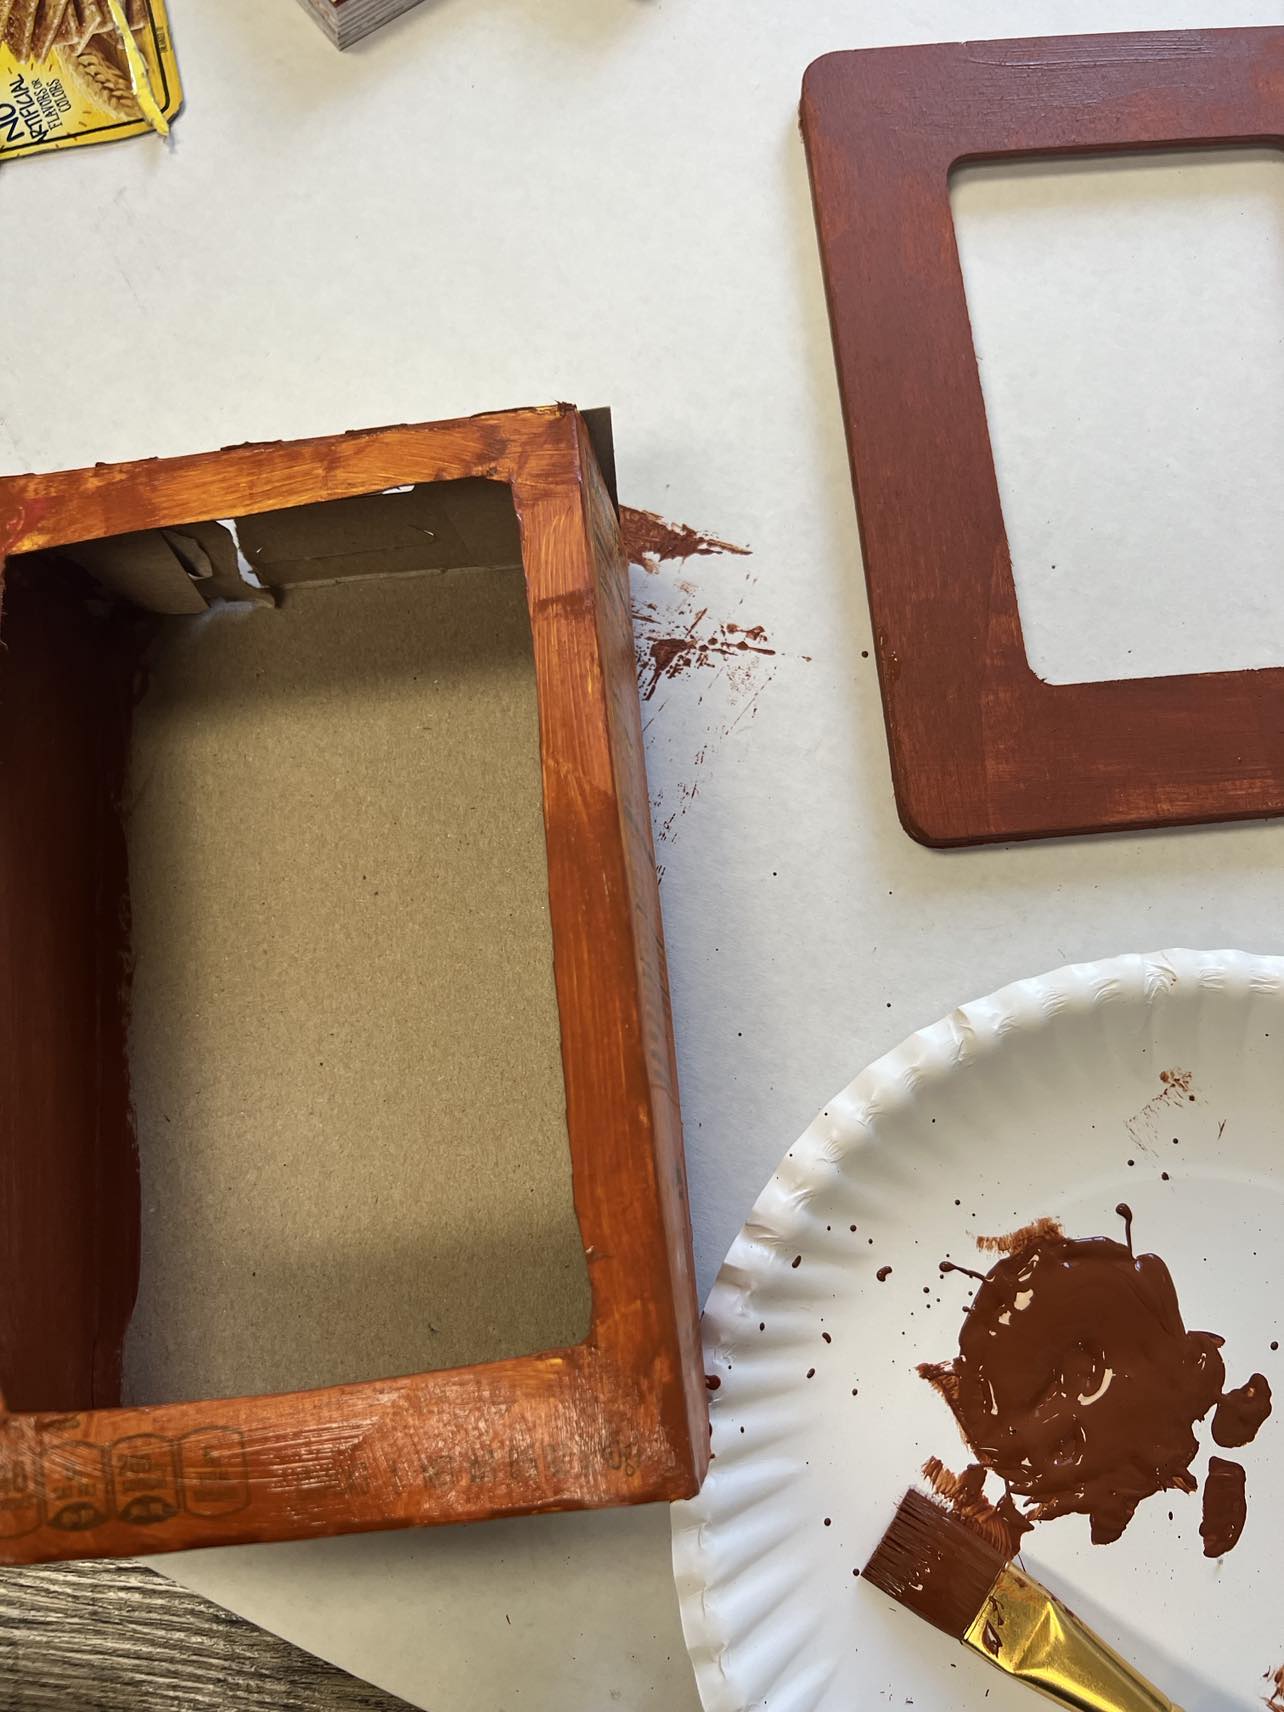
It will take a few coats of paint to cover the box.
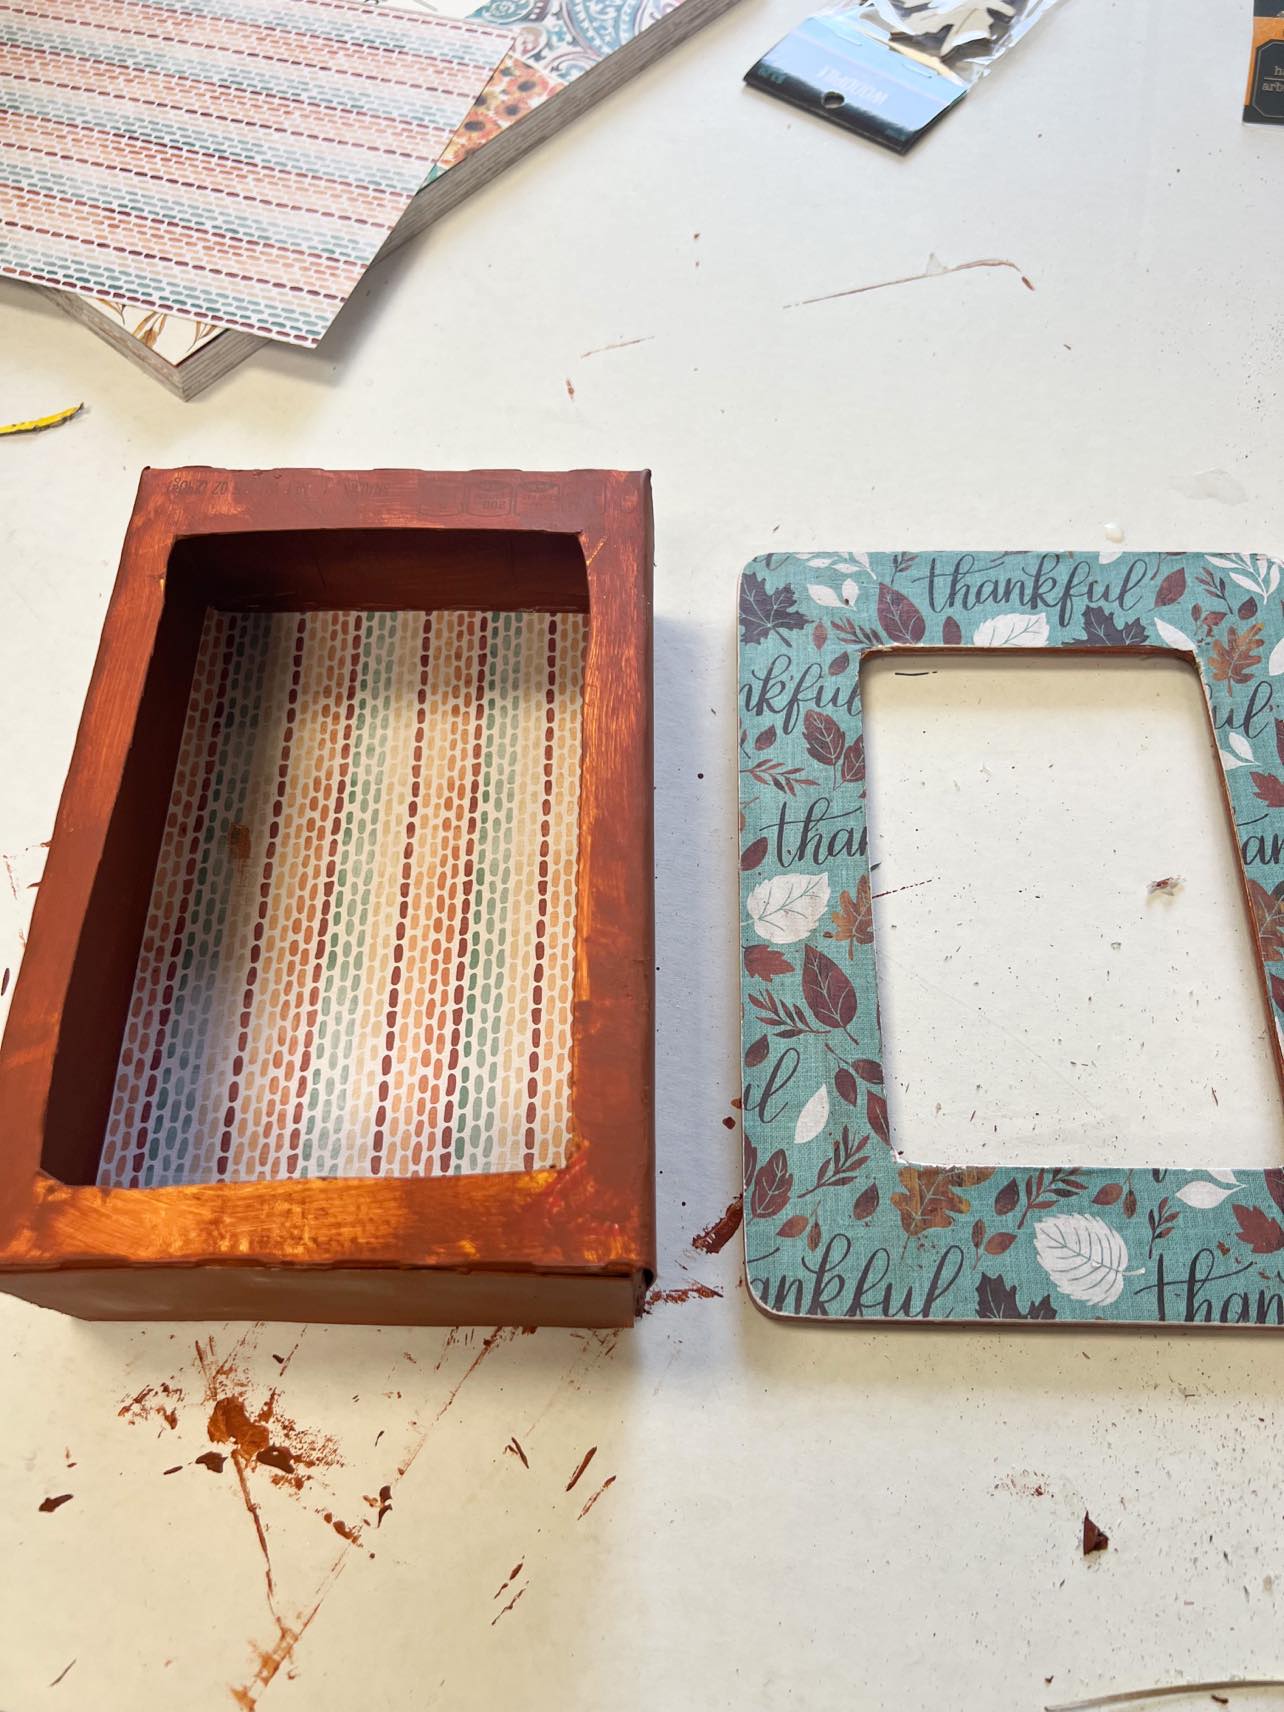
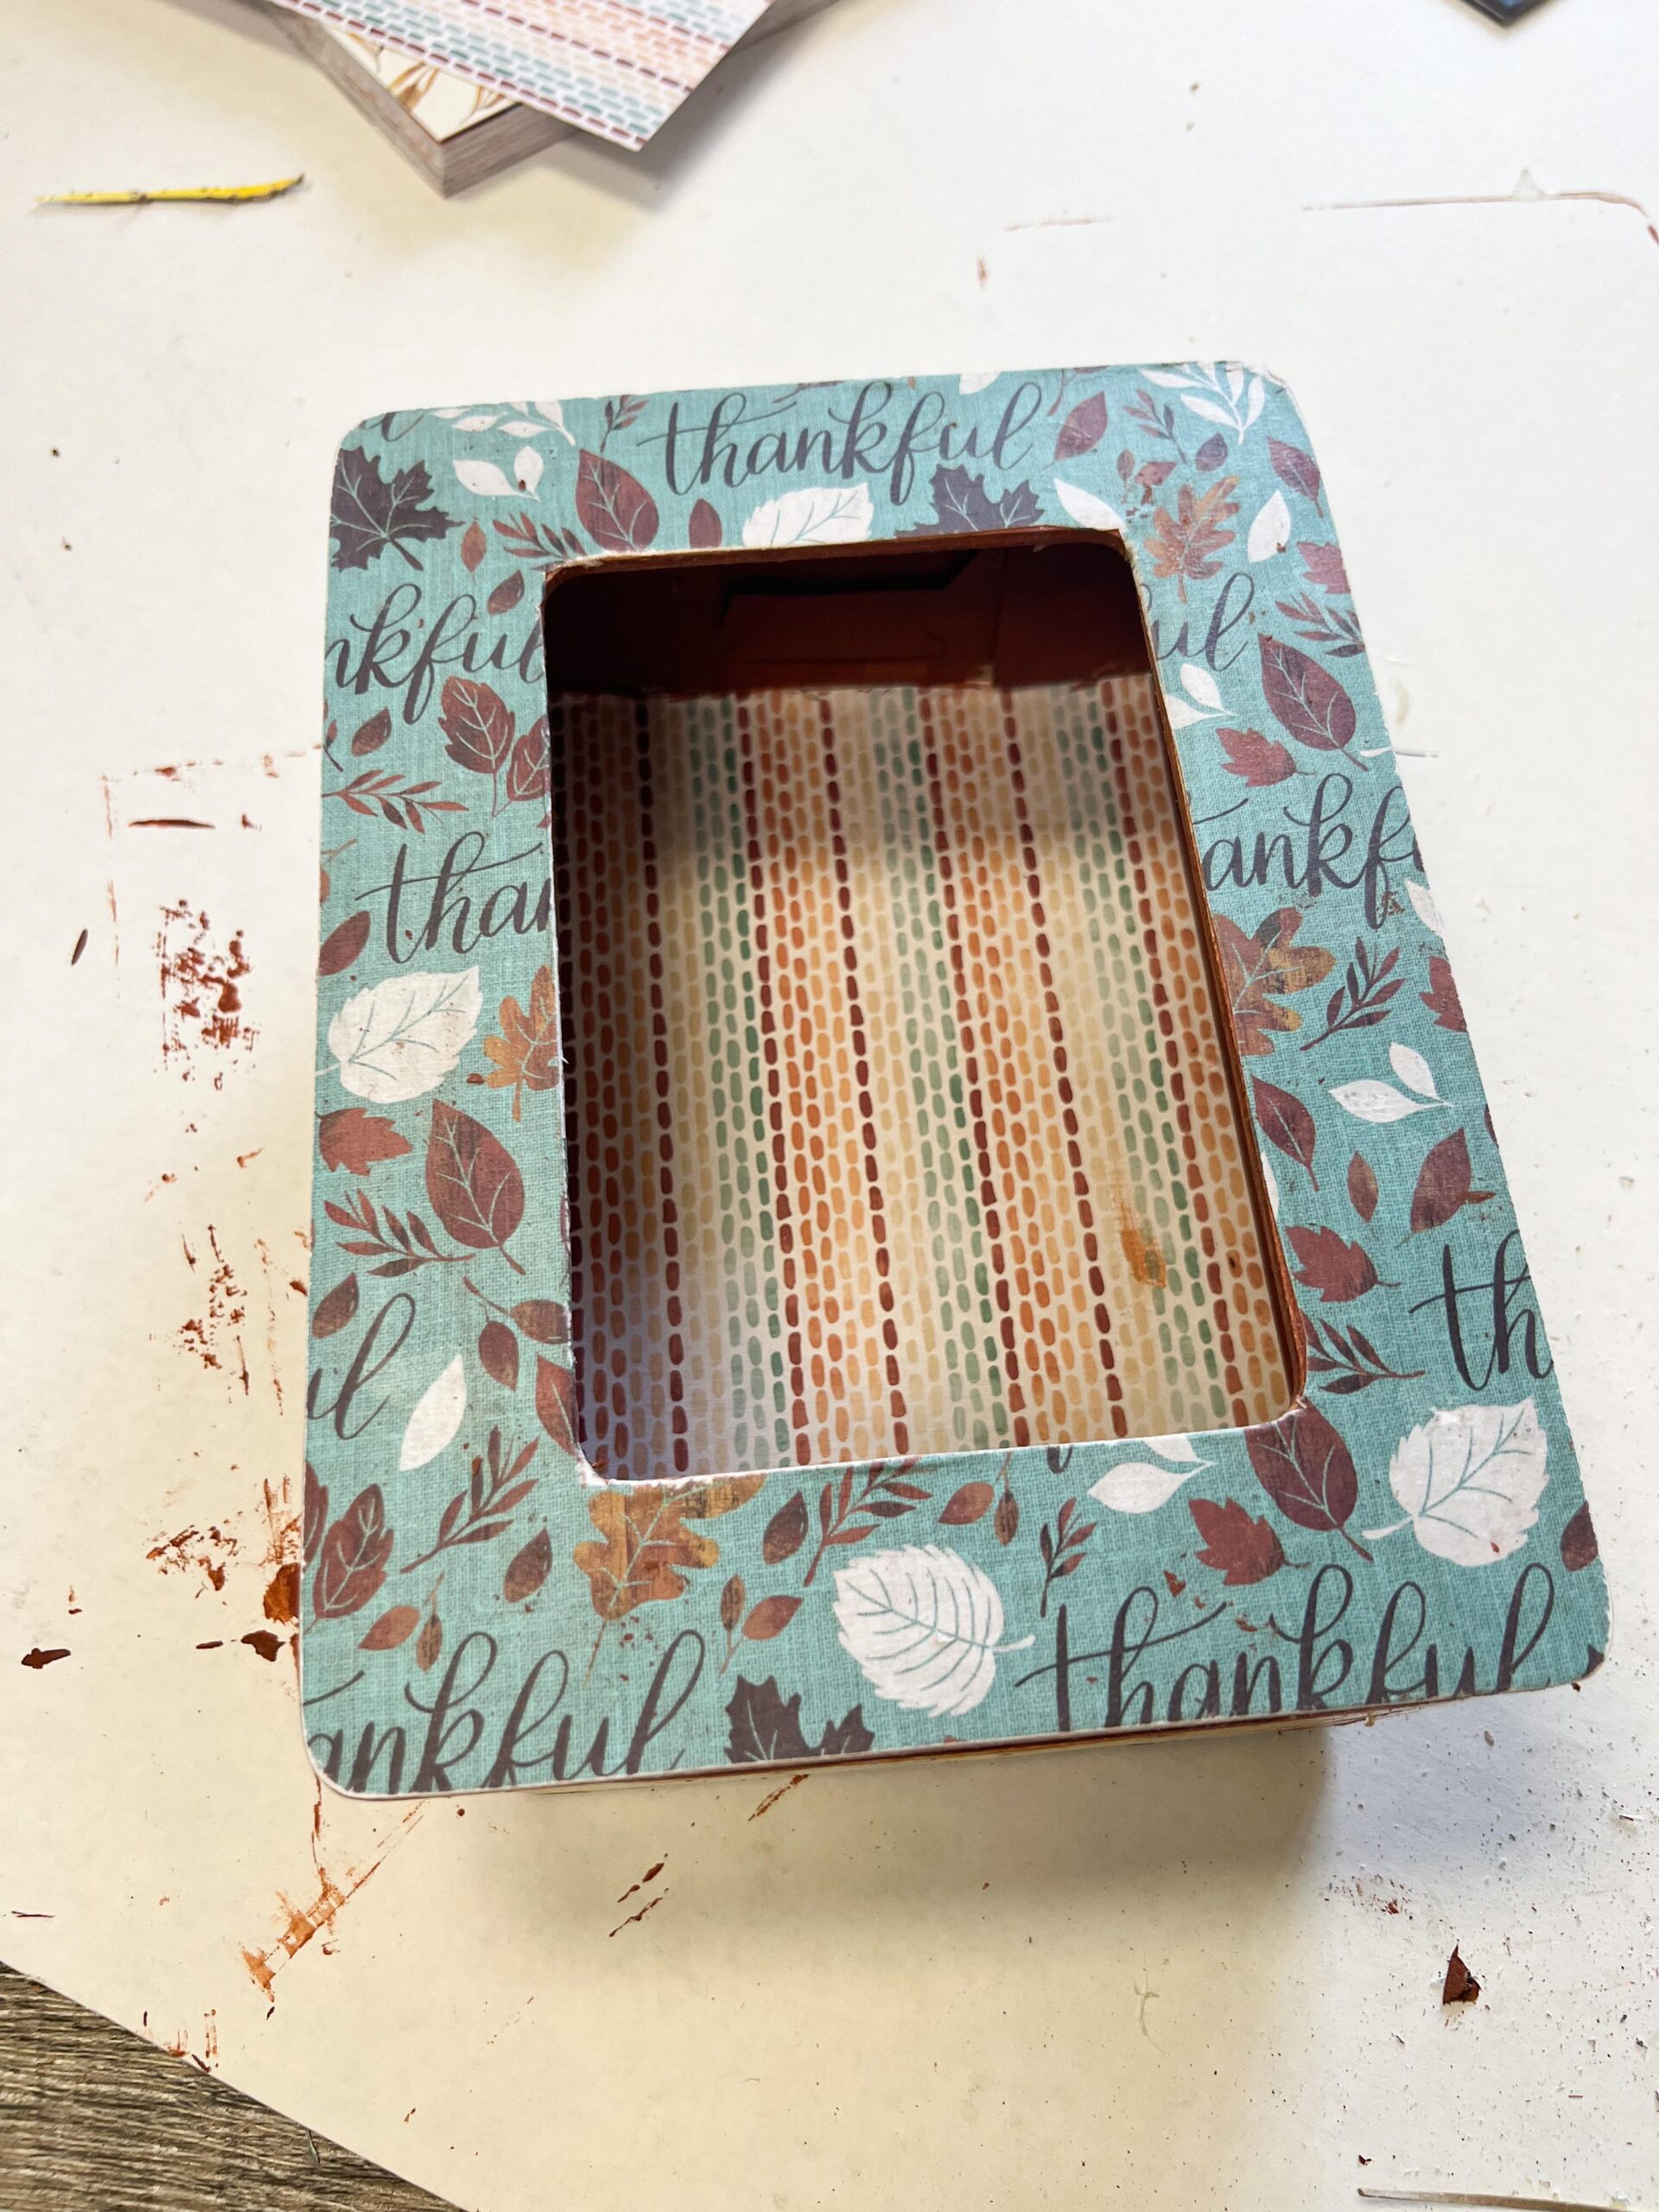
Once the paint is dry you’ll then trace the frame onto a piece of scrapbook paper.
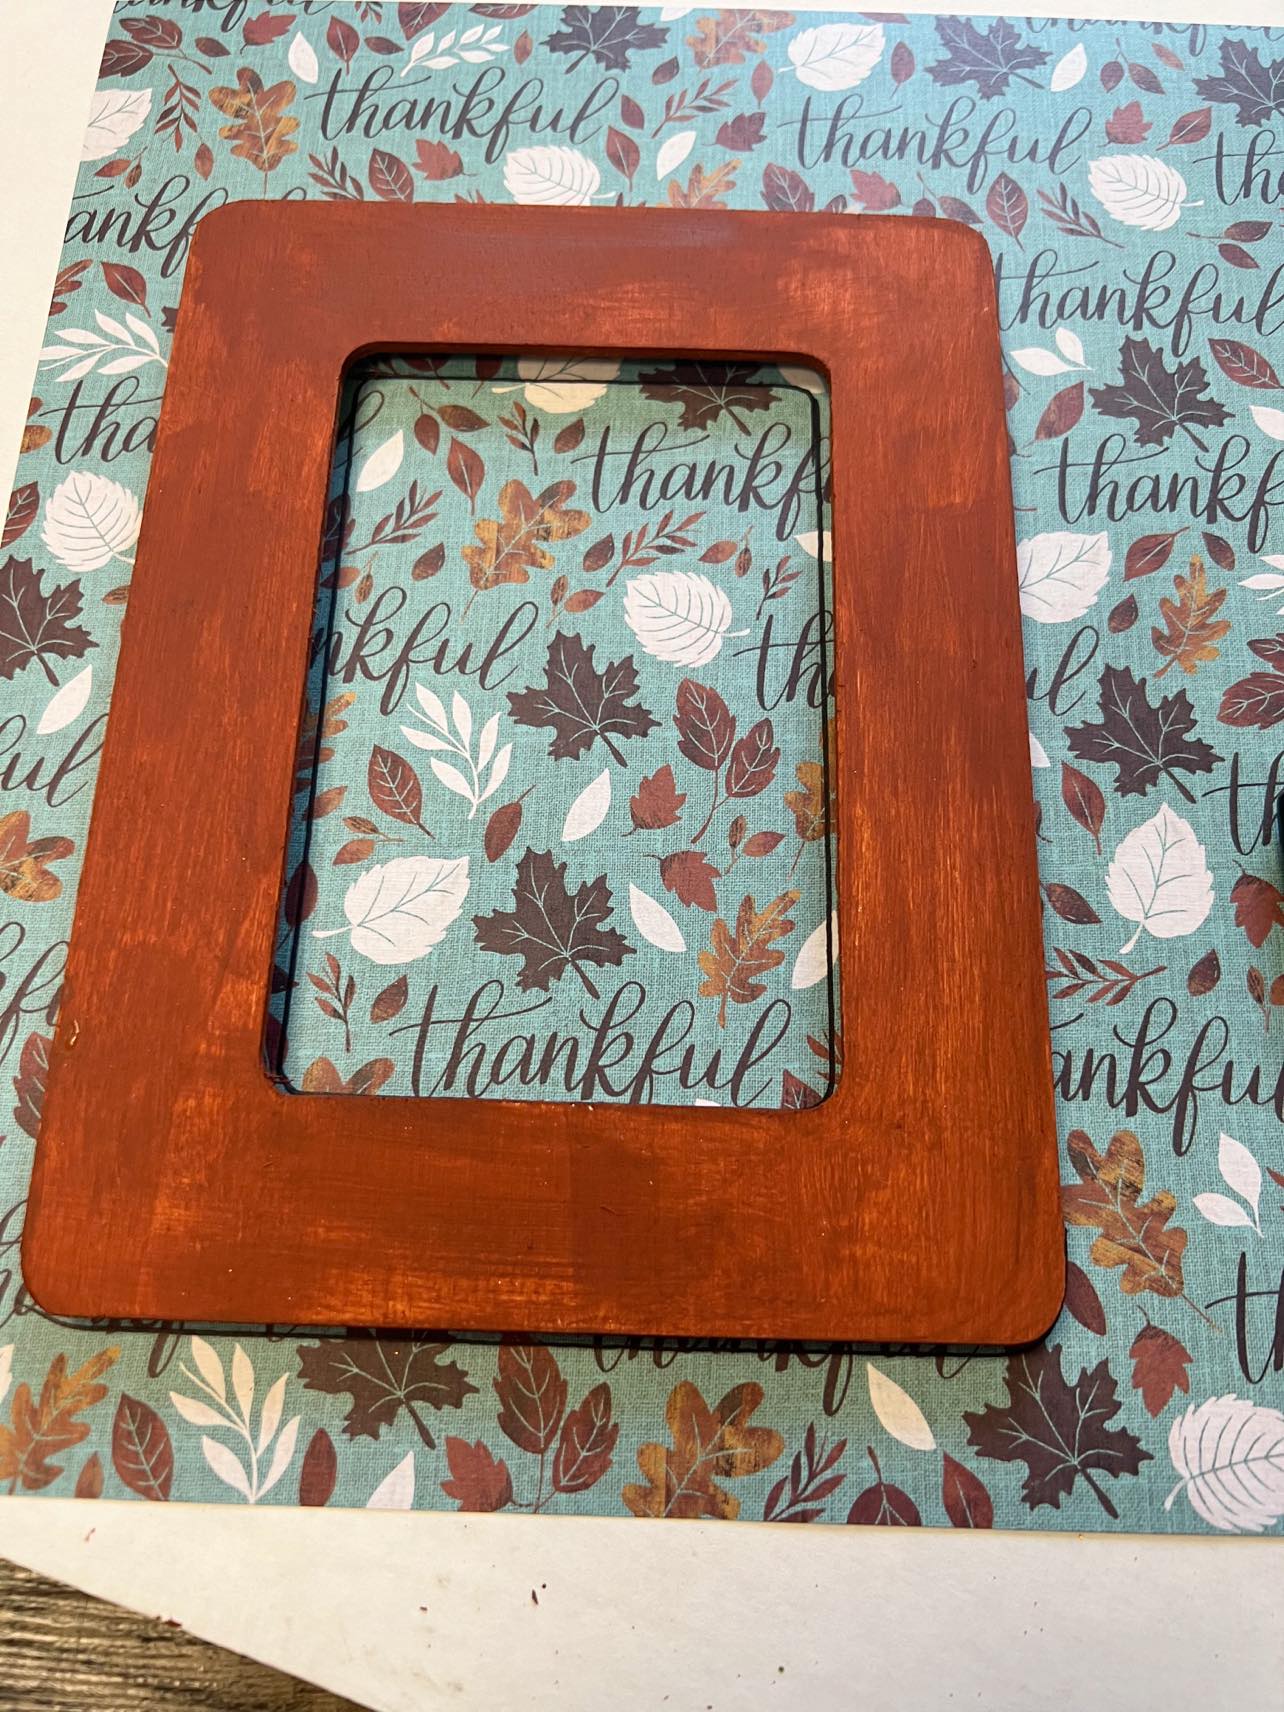
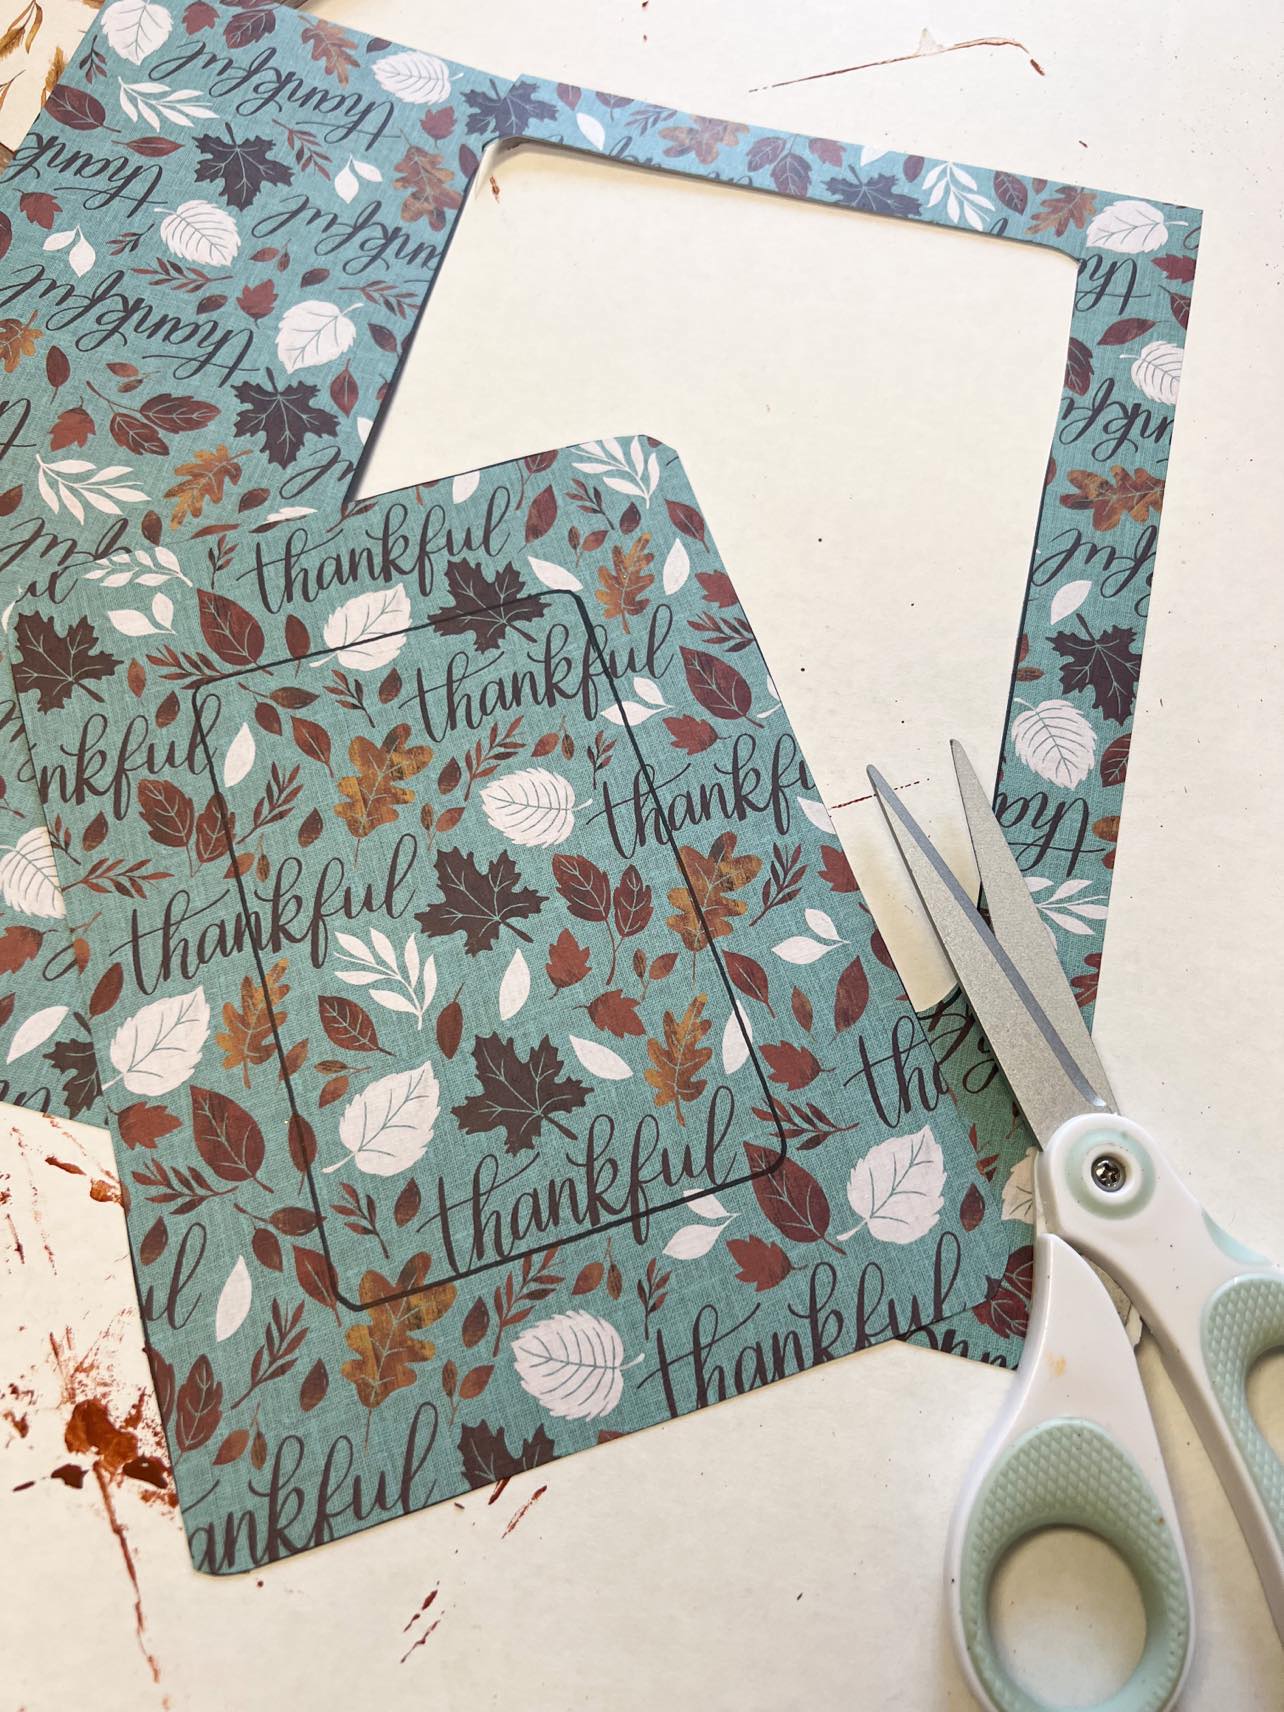
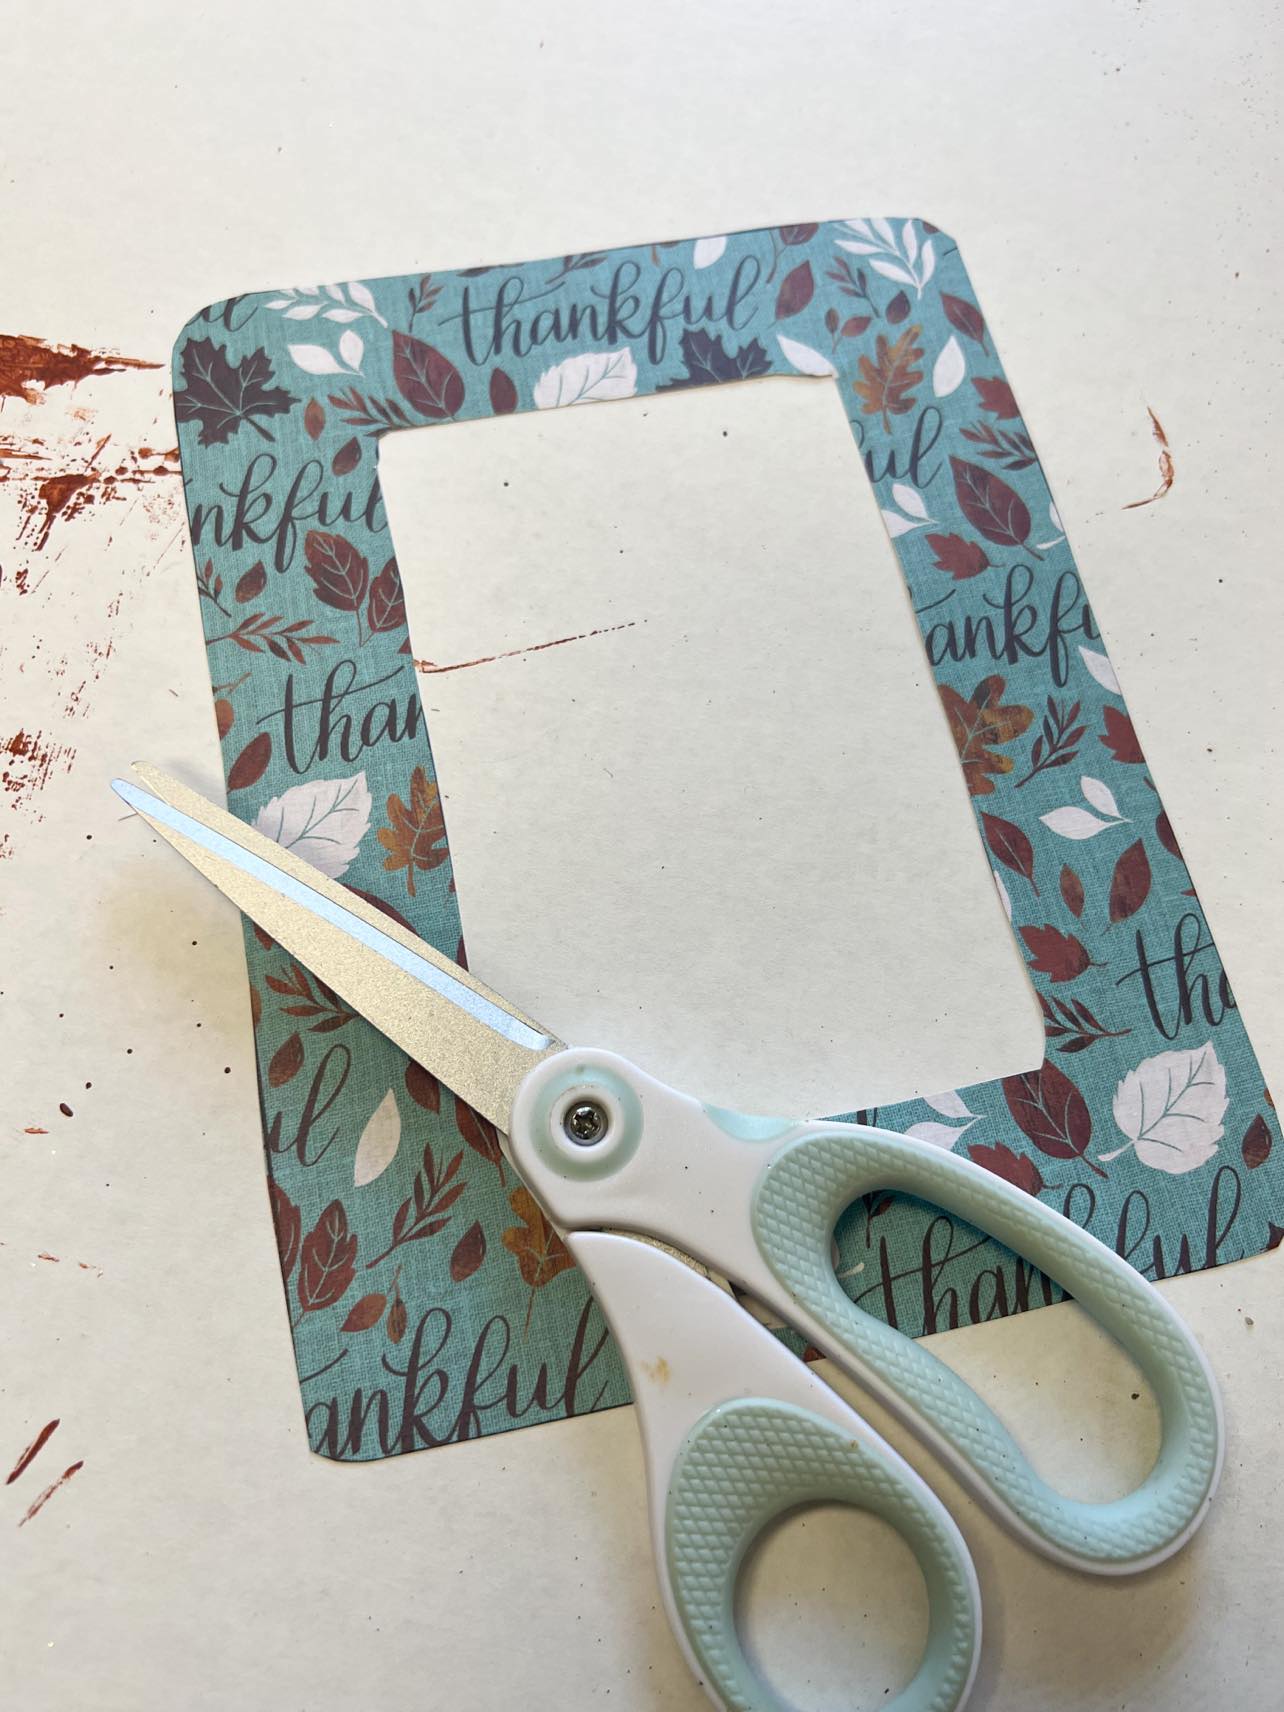
You’ll want to cut out the paper frame and then decoupage it onto the wooden frame.
You’ll add the decoupage onto the wooden frame and then place the paper frame on top.
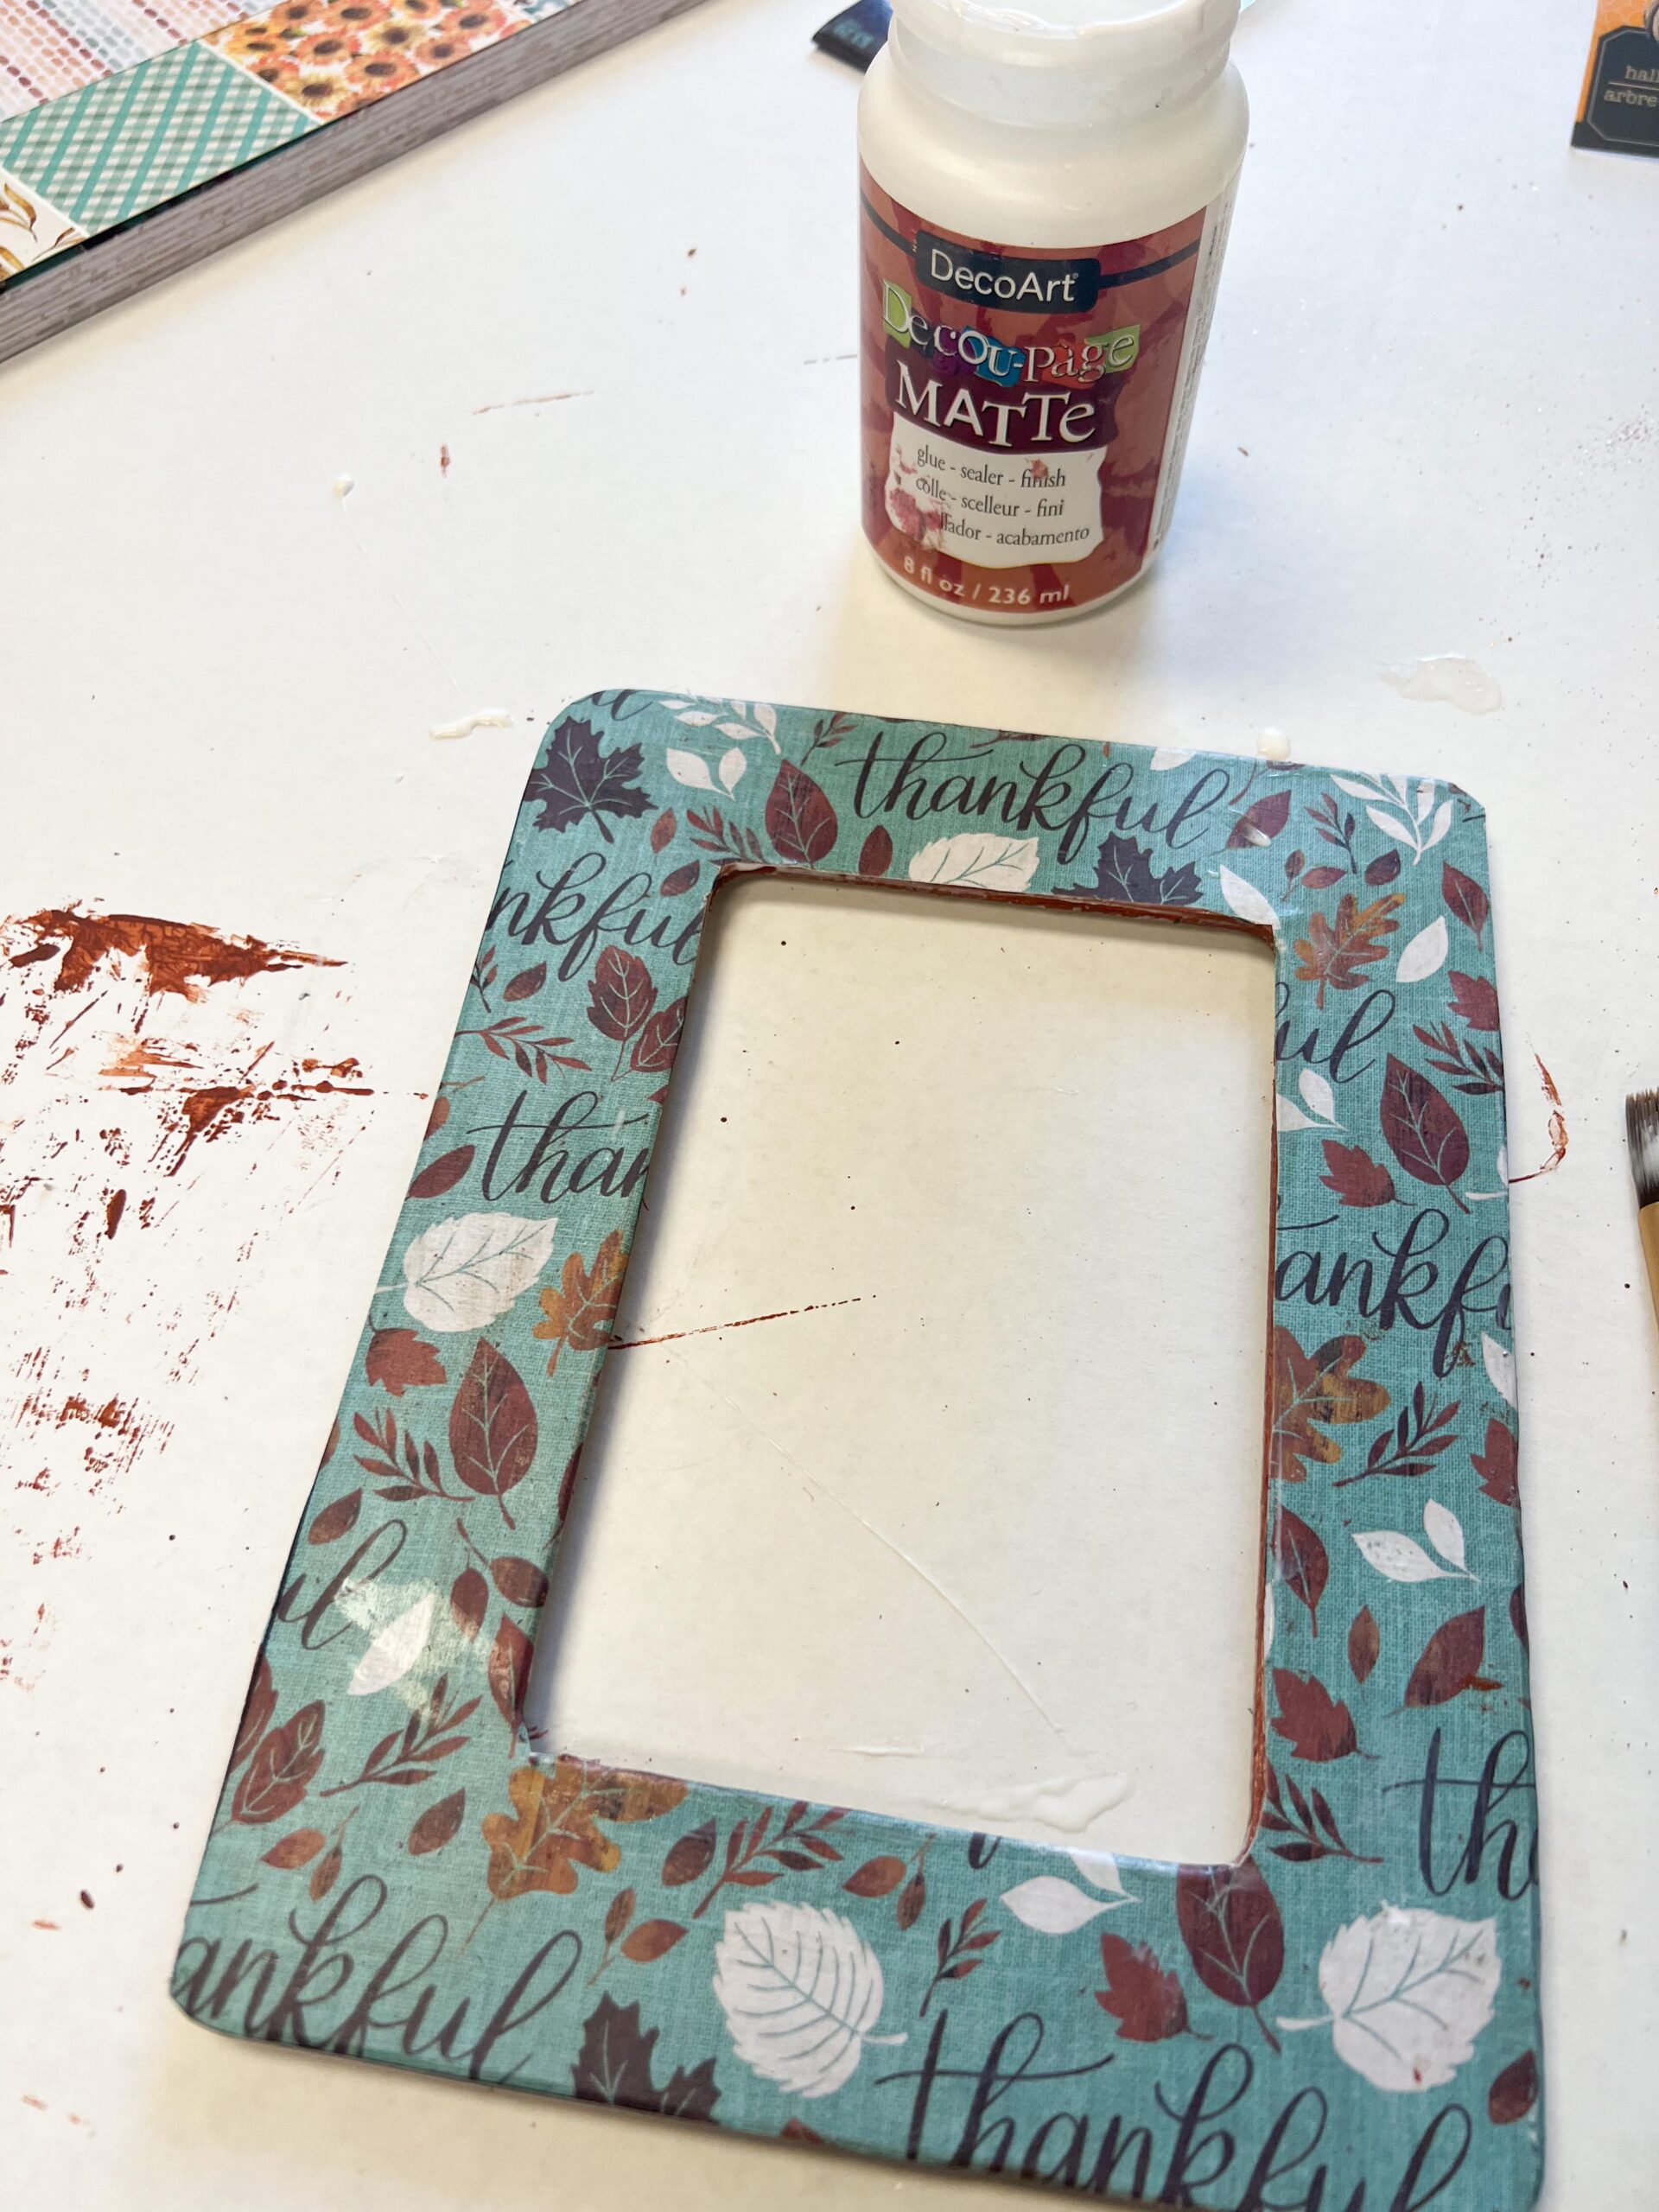
You’ll want to add another coat of decoupage over the paper.
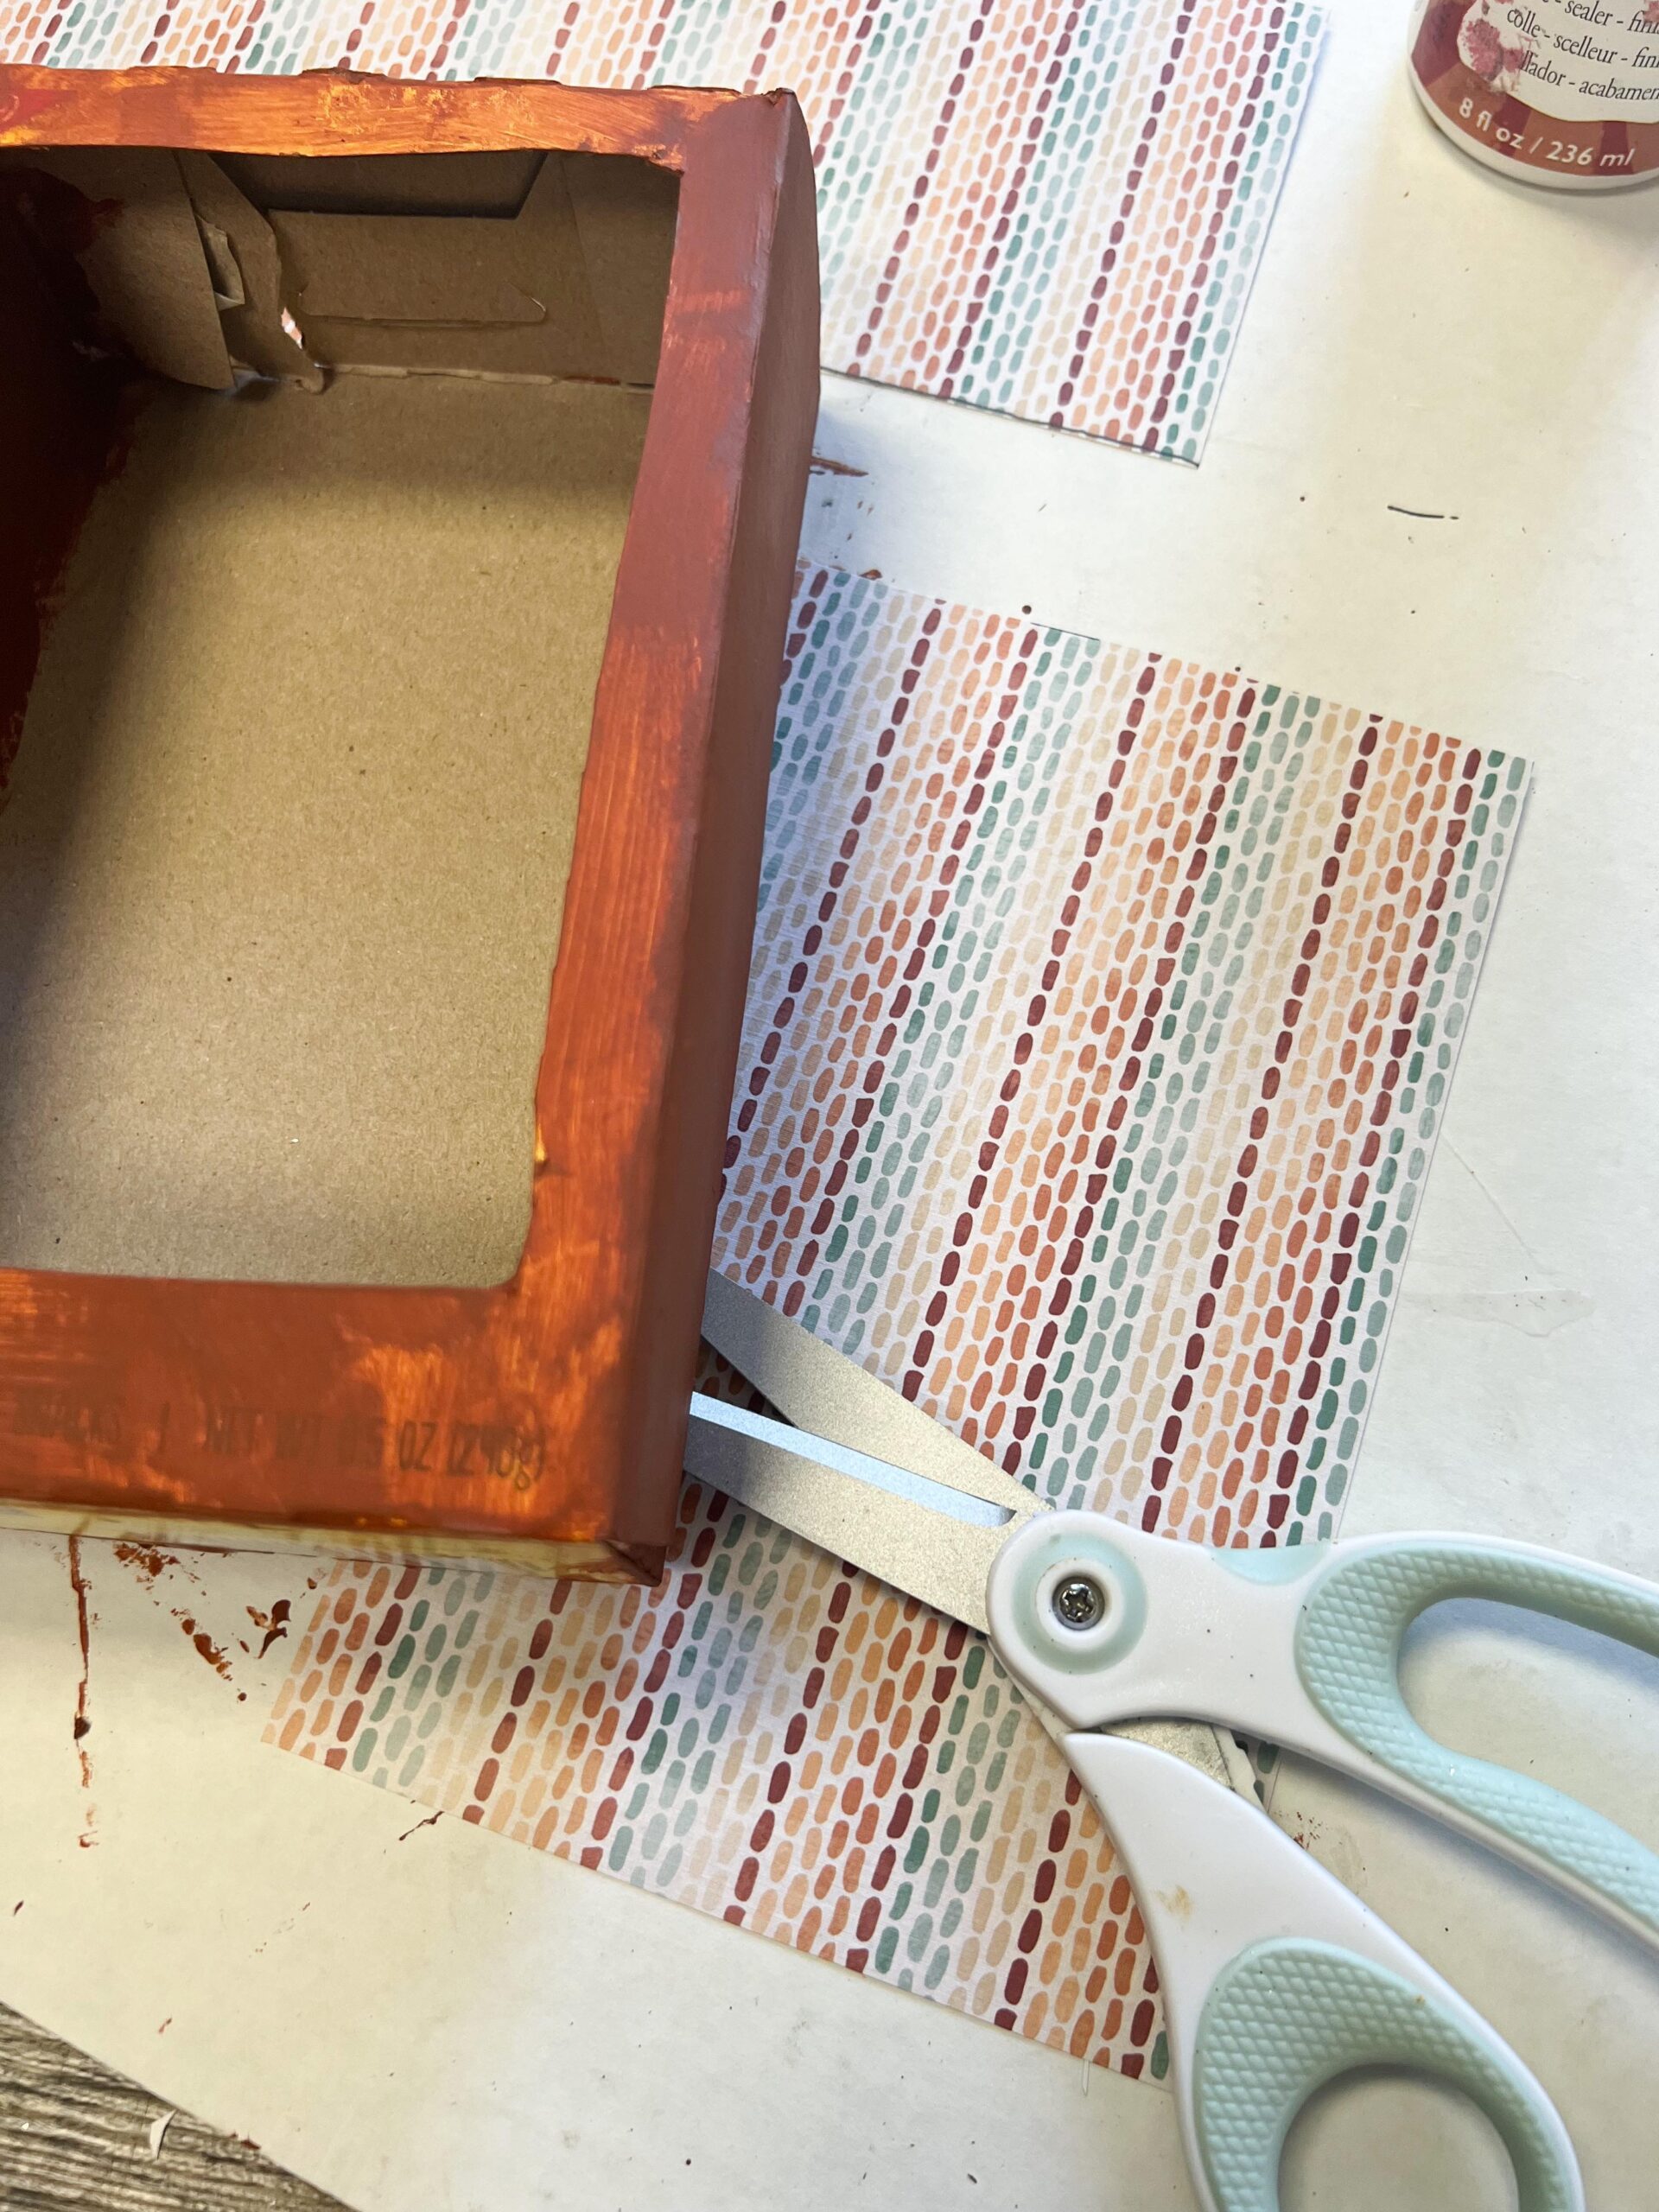
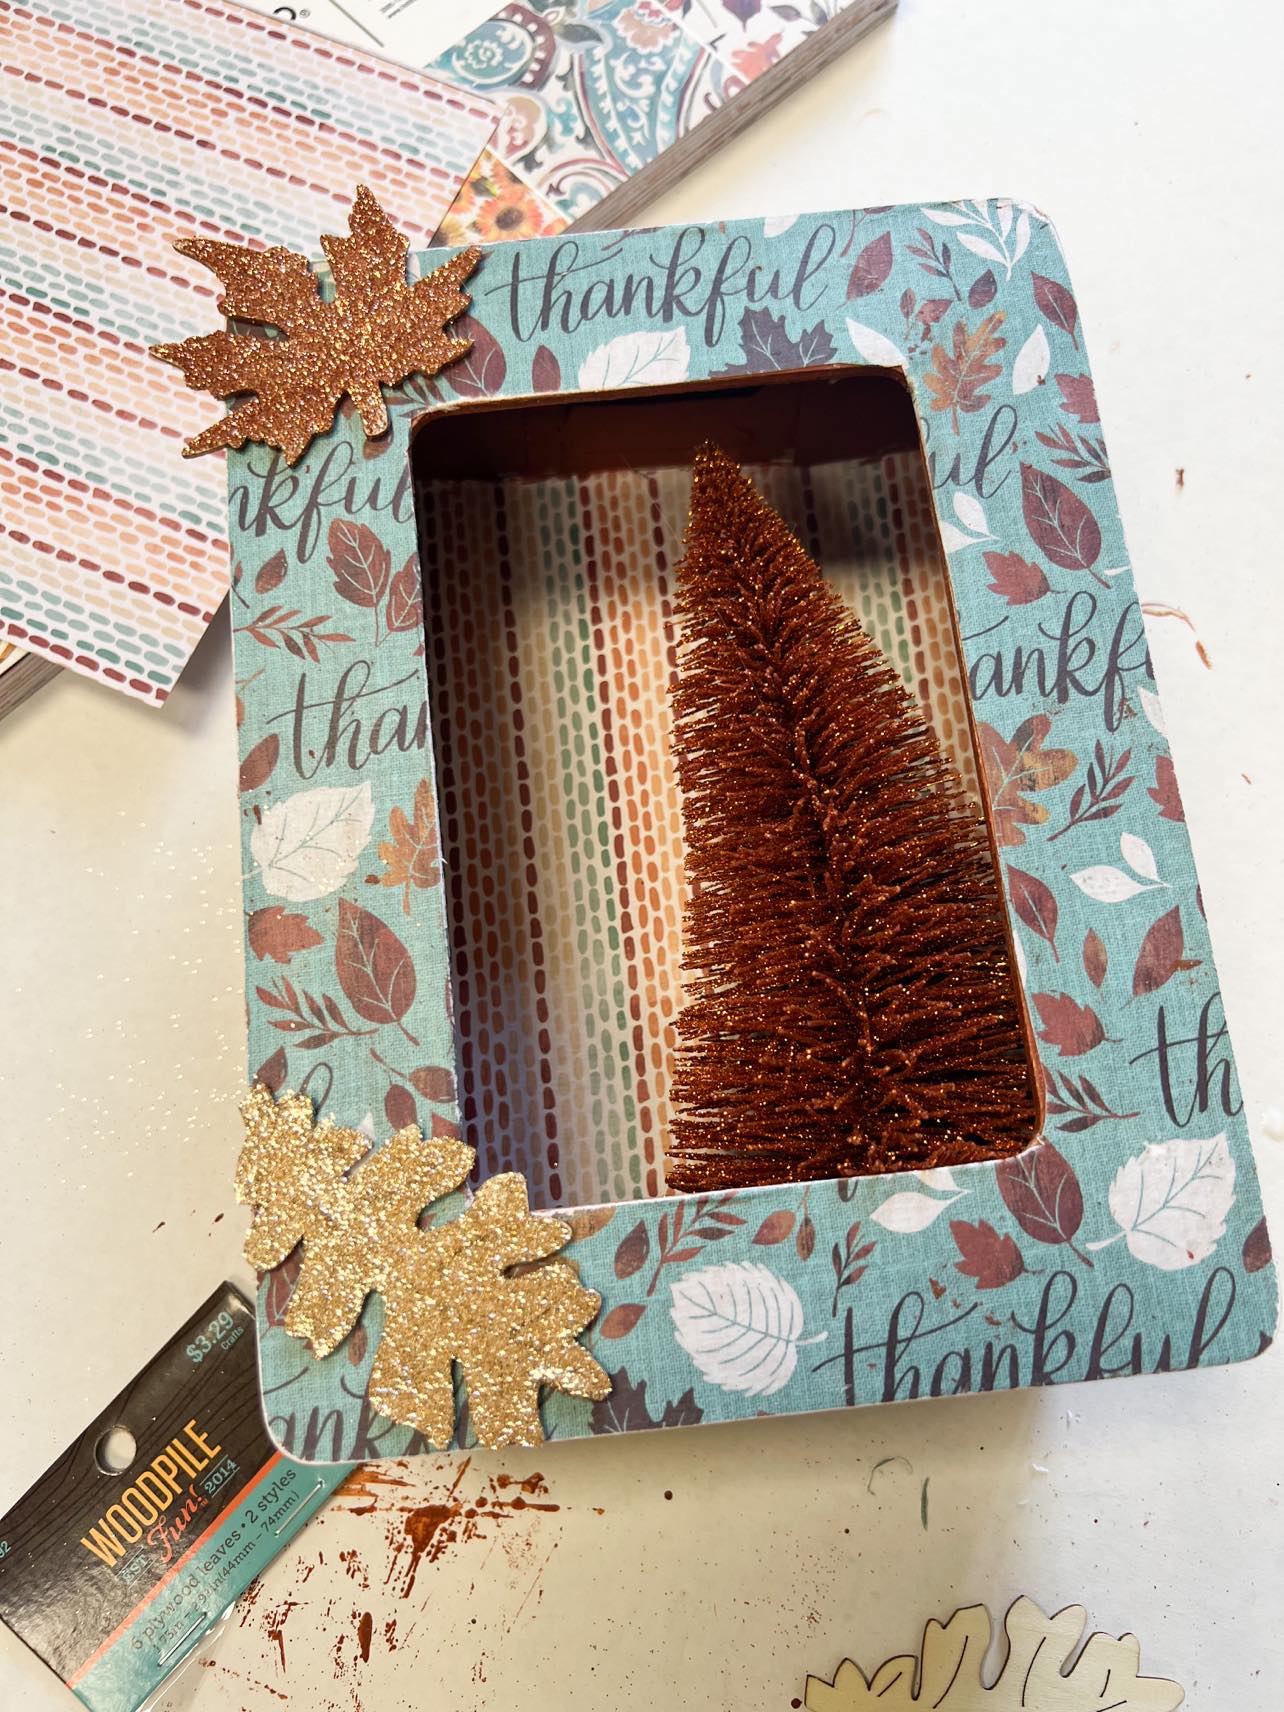
The next step is to trace the box onto a piece of scrapbook paper. I’m using two different prints of paper for this shadow box.
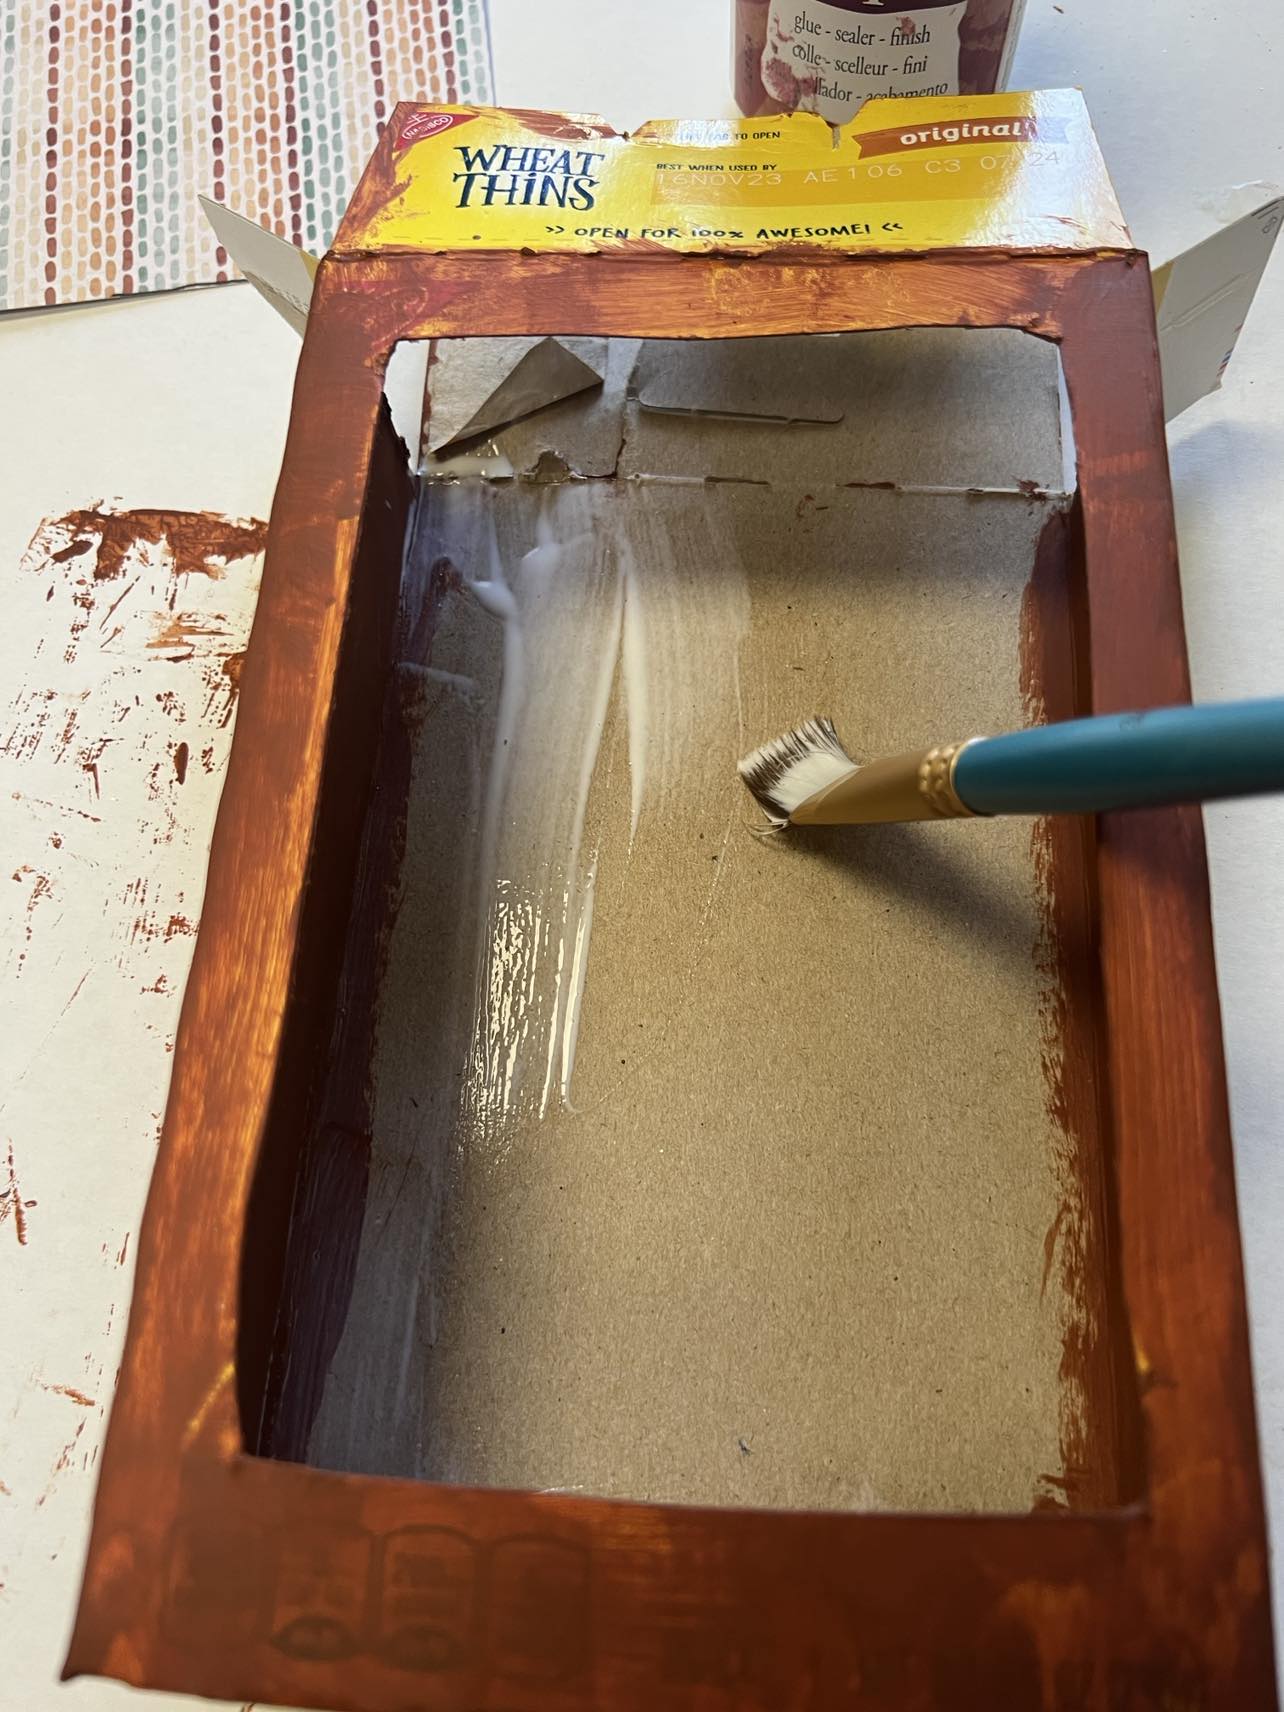
You’ll add decoupage to the inside back of the box and then add the scrapbook paper on top.
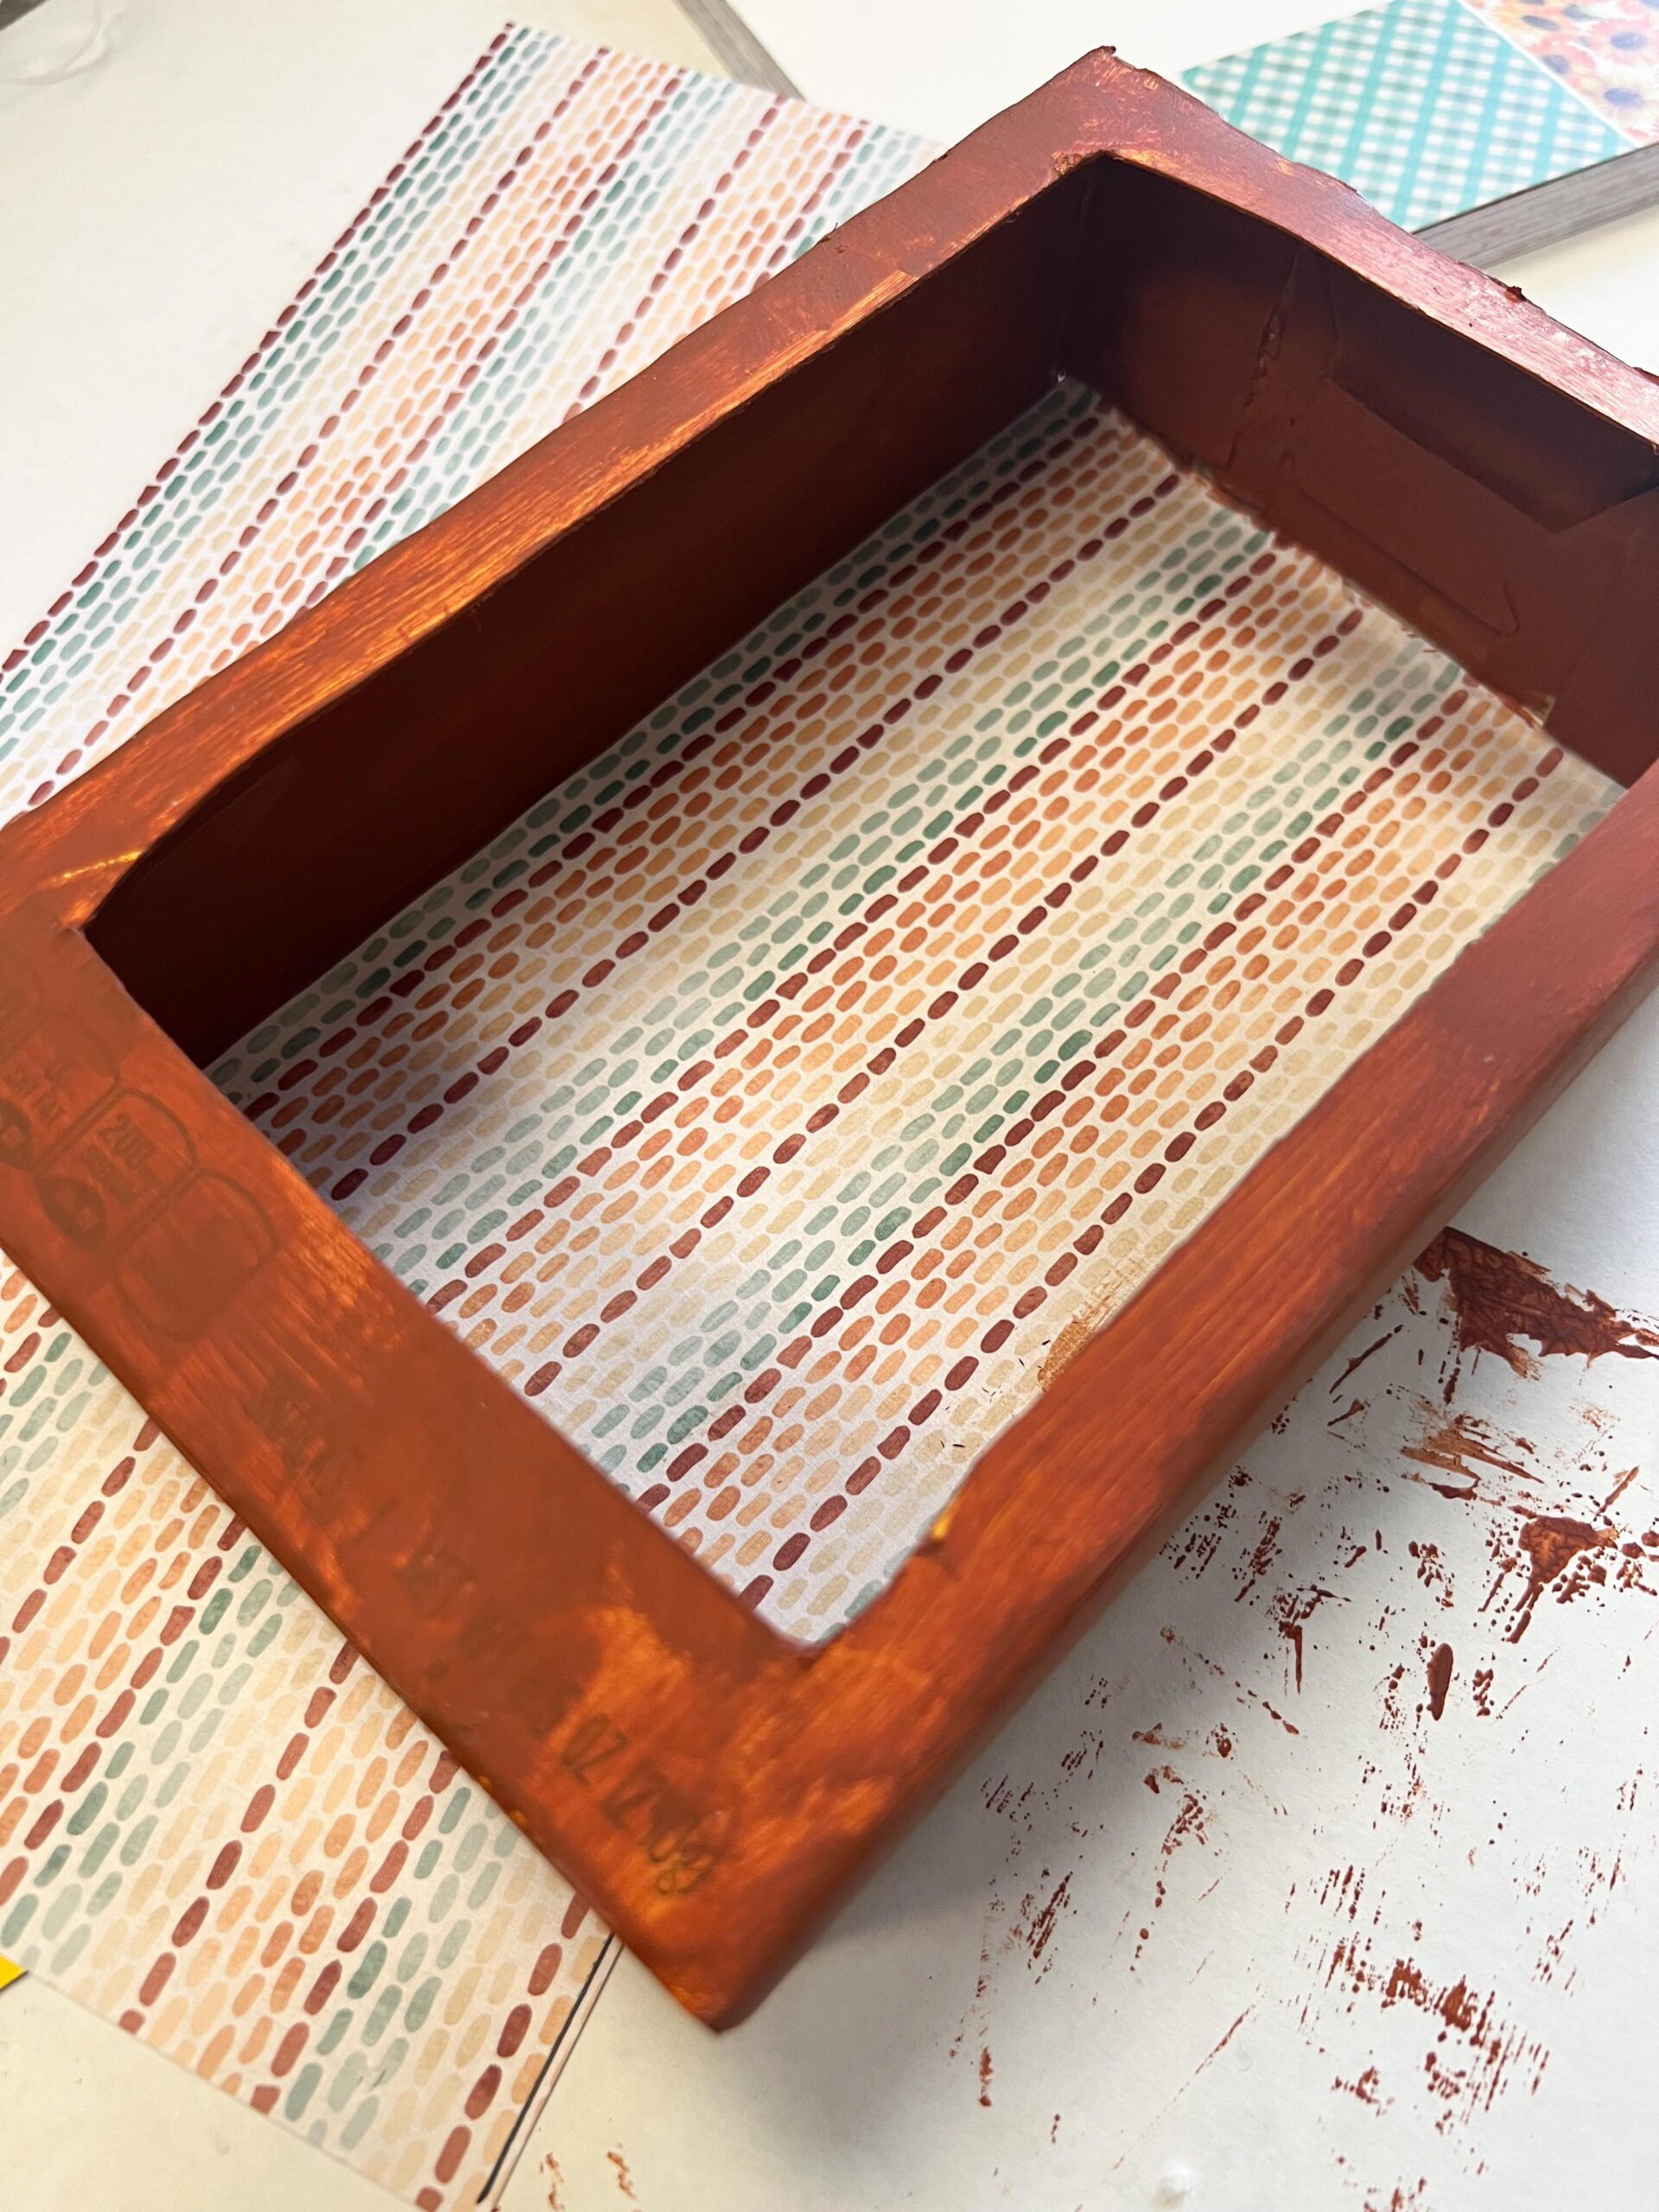

I used a sanding sponge to remove any rough edges of paper around the frame.
The next step is to glue the frame to the box.
I added hot glue as shown in photo above and then added the frame.
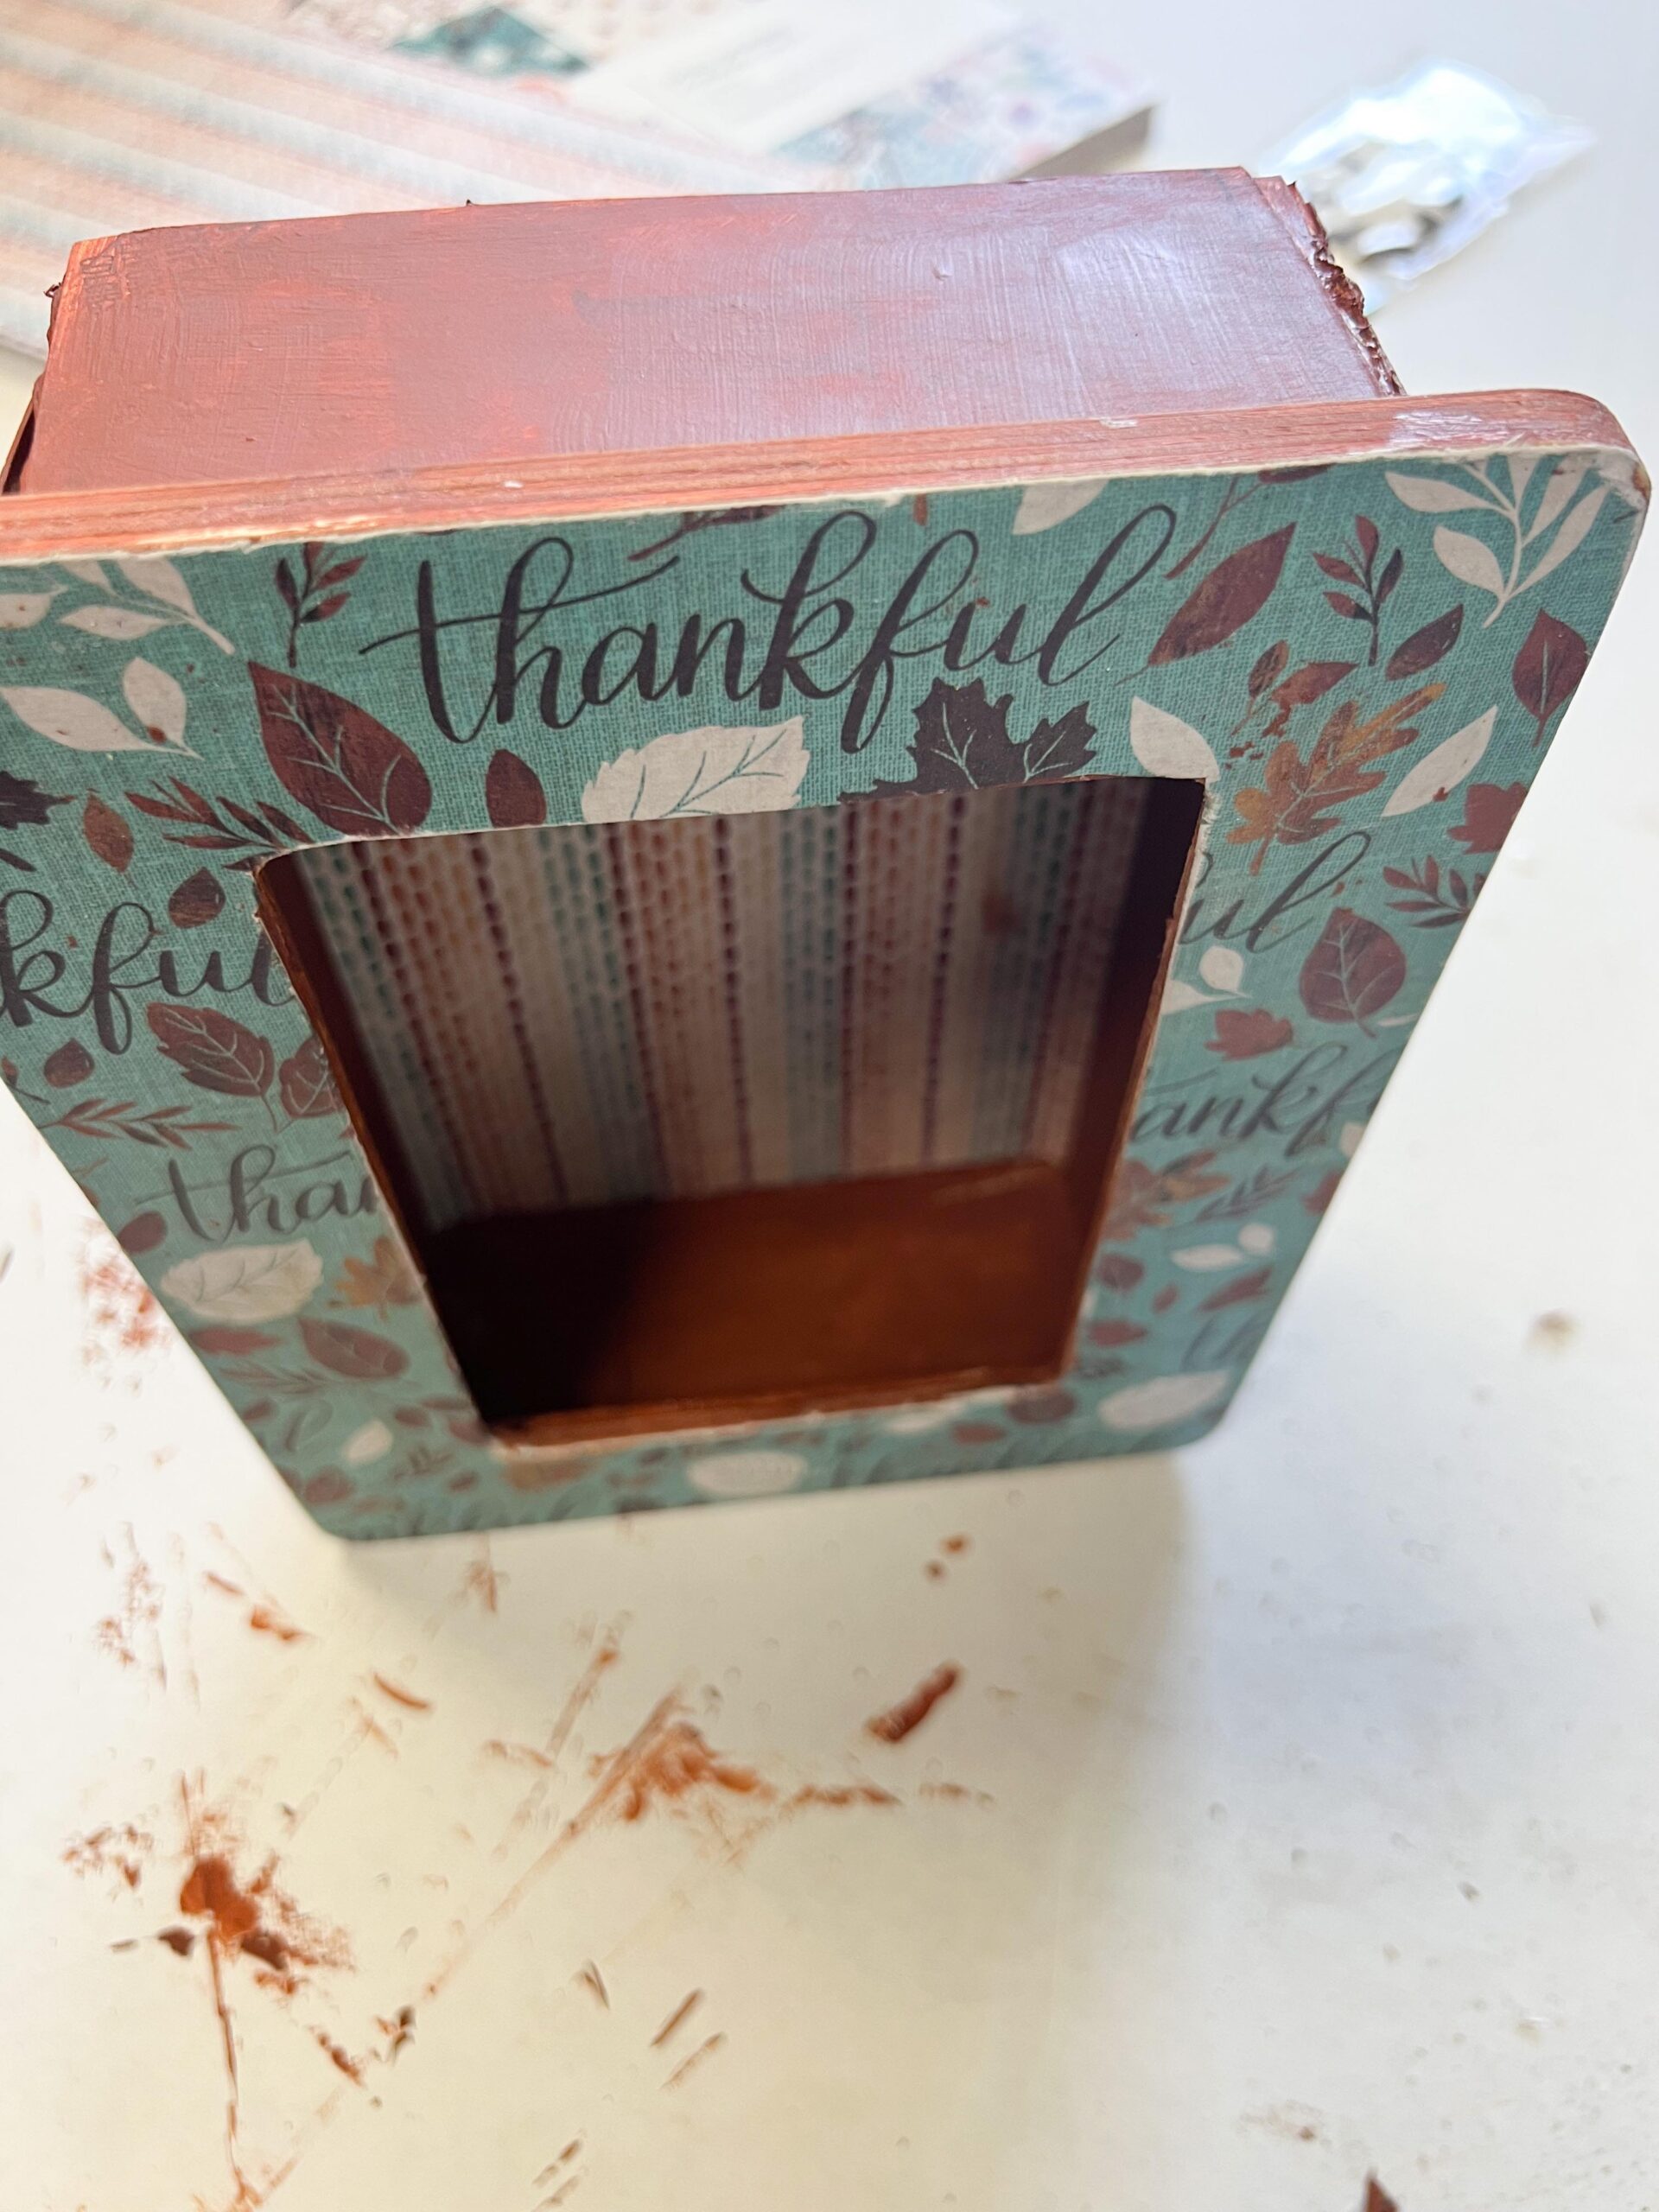
Be sure to glue the top of the box shut and then paint the top of the box.
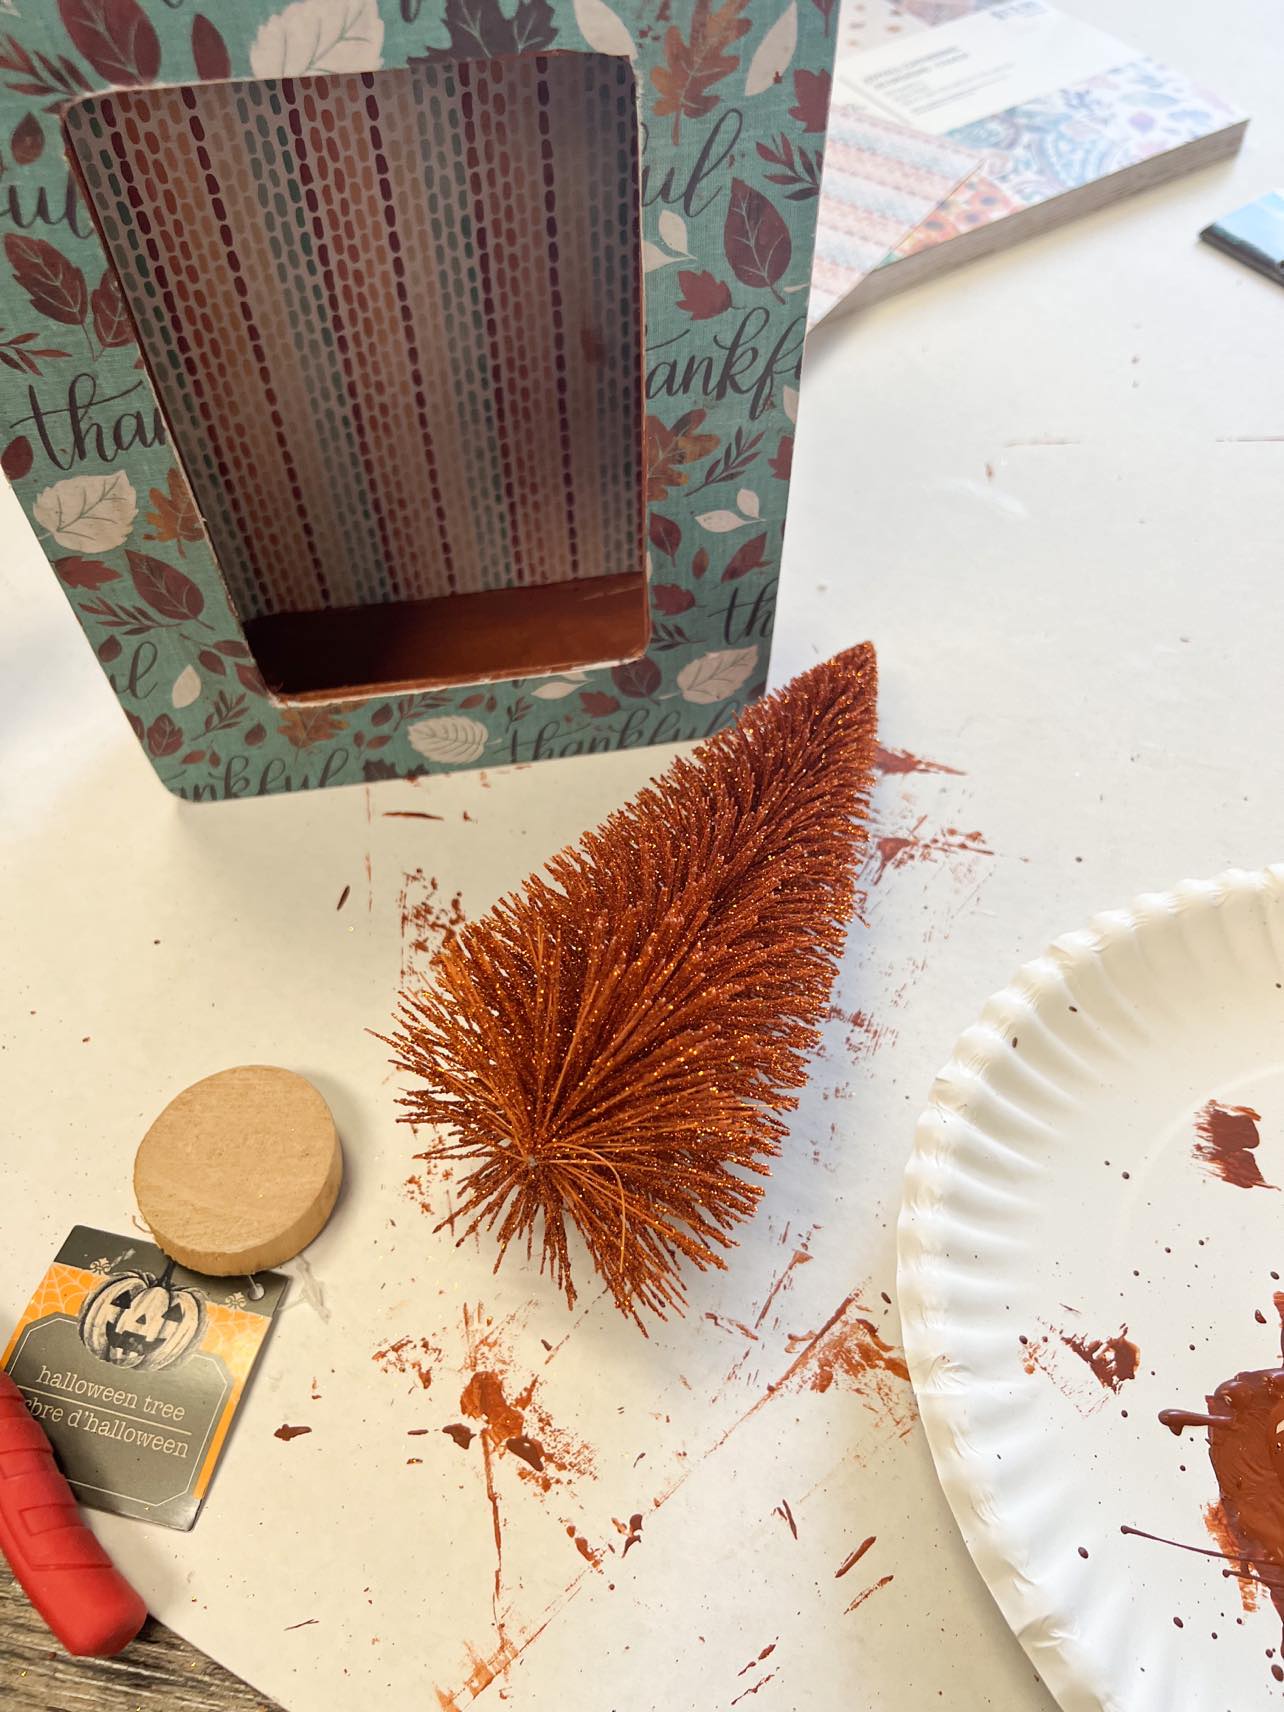
I added a bottle brush tree from the Dollar Tree to the inside of the box.
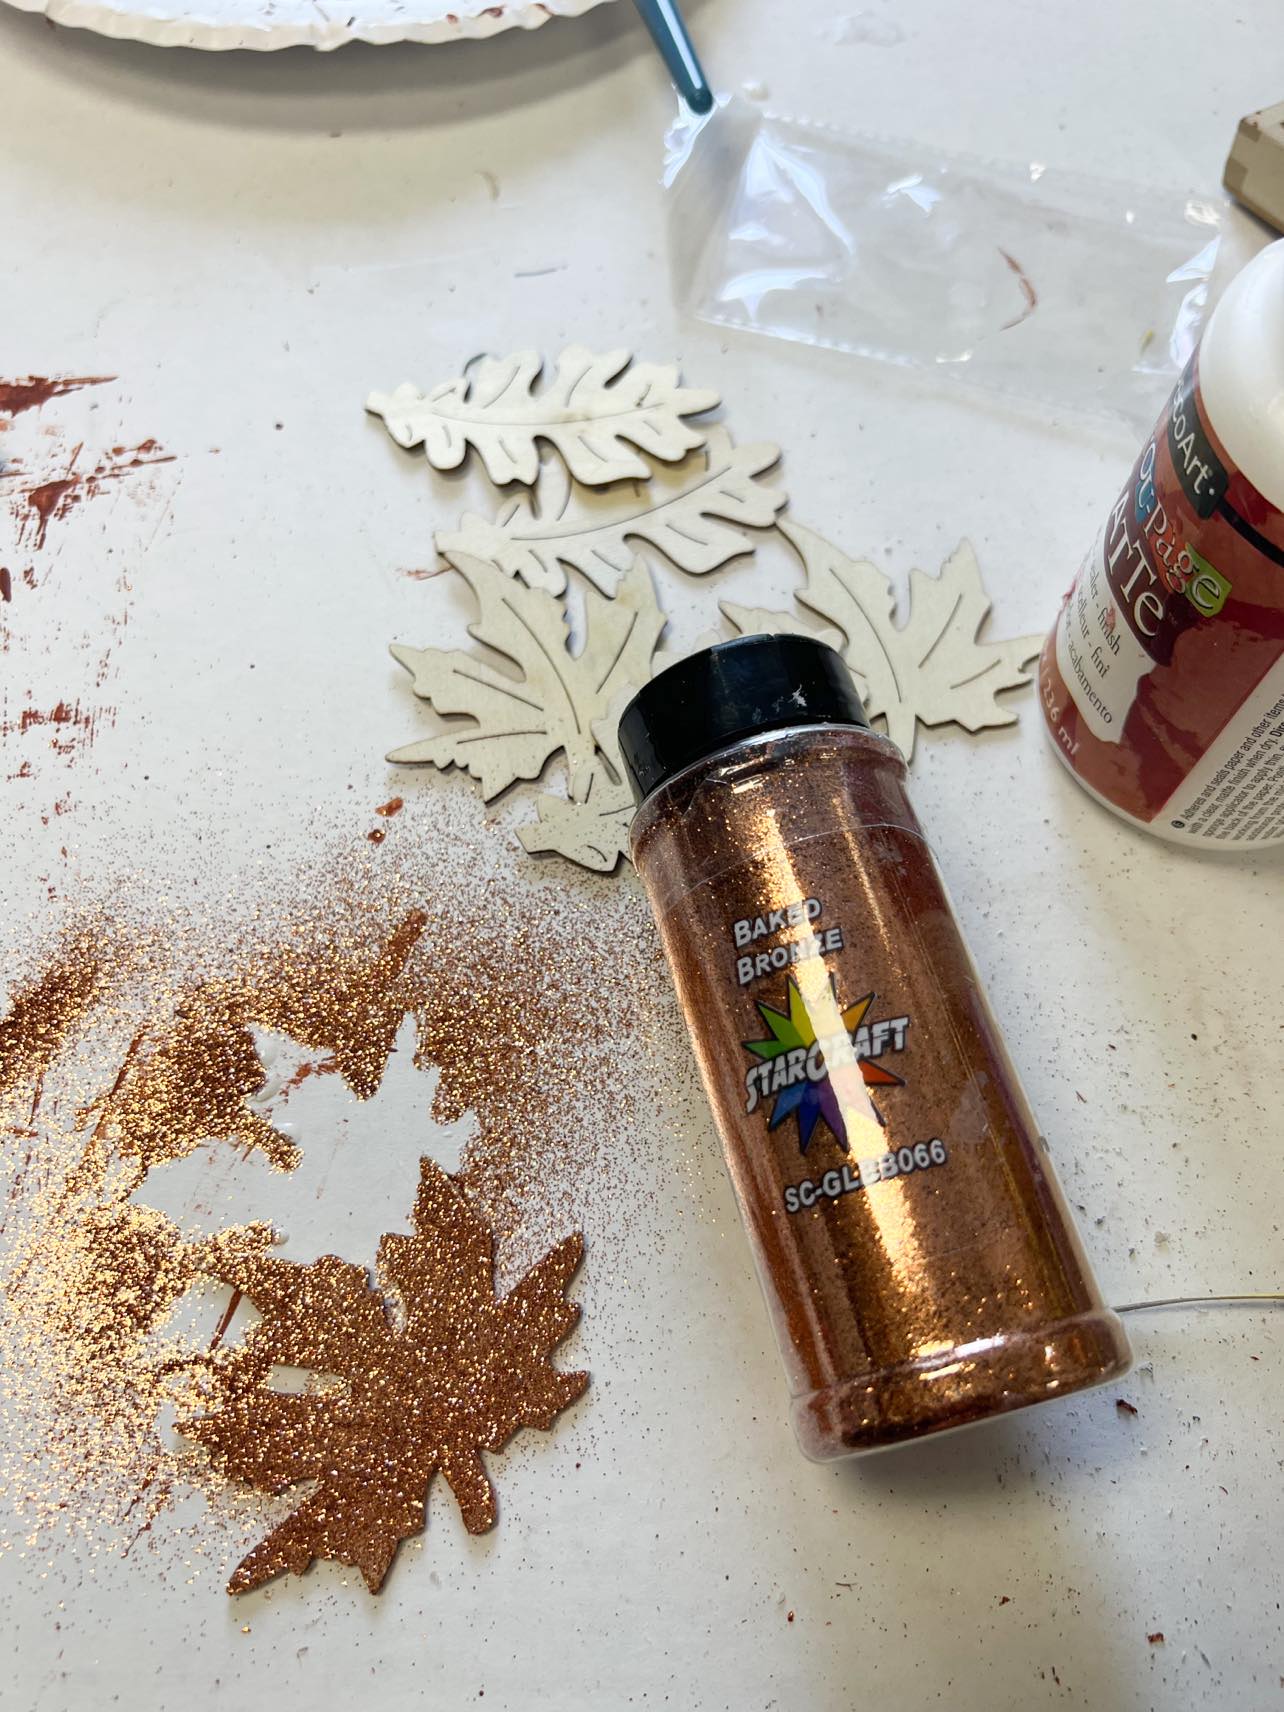
I added some glitter to the wooden leaf cut outs and glued them to the front of the shadow box.
I added a small timer taper to the inside of the shadow box for light. You can find the links for the timer taper and holder down below.
https://theshabbytreeboutique.com/shop-mBiWY/p/4-burnt-ivory-led-timer-taper-set-of-2
https://theshabbytreeboutique.com/shop-mBiWY/p/4-burnt-mustard-timer-taper-set-of-2
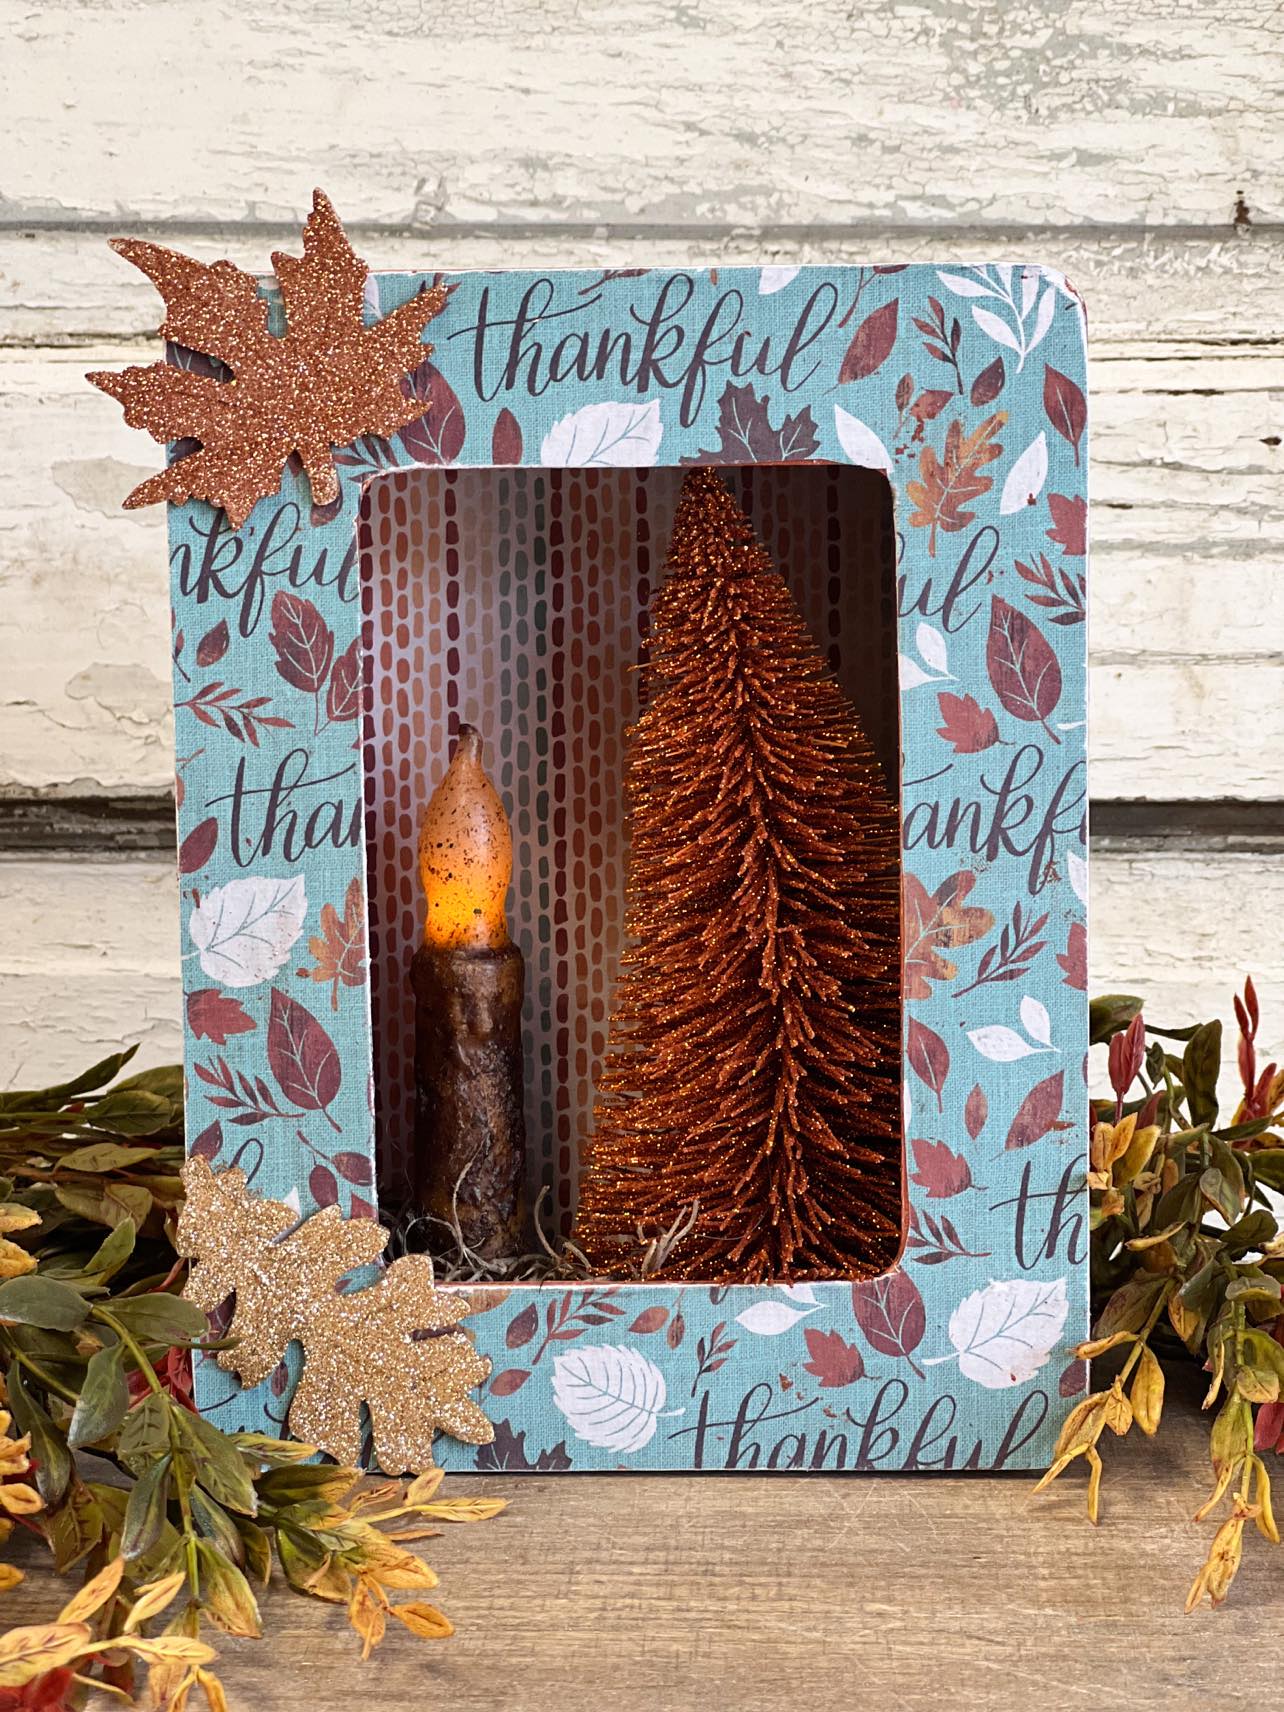
This shadow box is so easy to make and will look great any where in your home. I hope you’ll get creative and give this a try.
