When I think of Christmas I think of snow and snowmen. We’re always getting creative here at The Shabby Tree and we have been using a lot of items from Home Depot lately. Two of my favorite items from Home Depot are a wooden leg and a wooden finial. I think we can use these two items to create a very quick and easy wooden snowman.
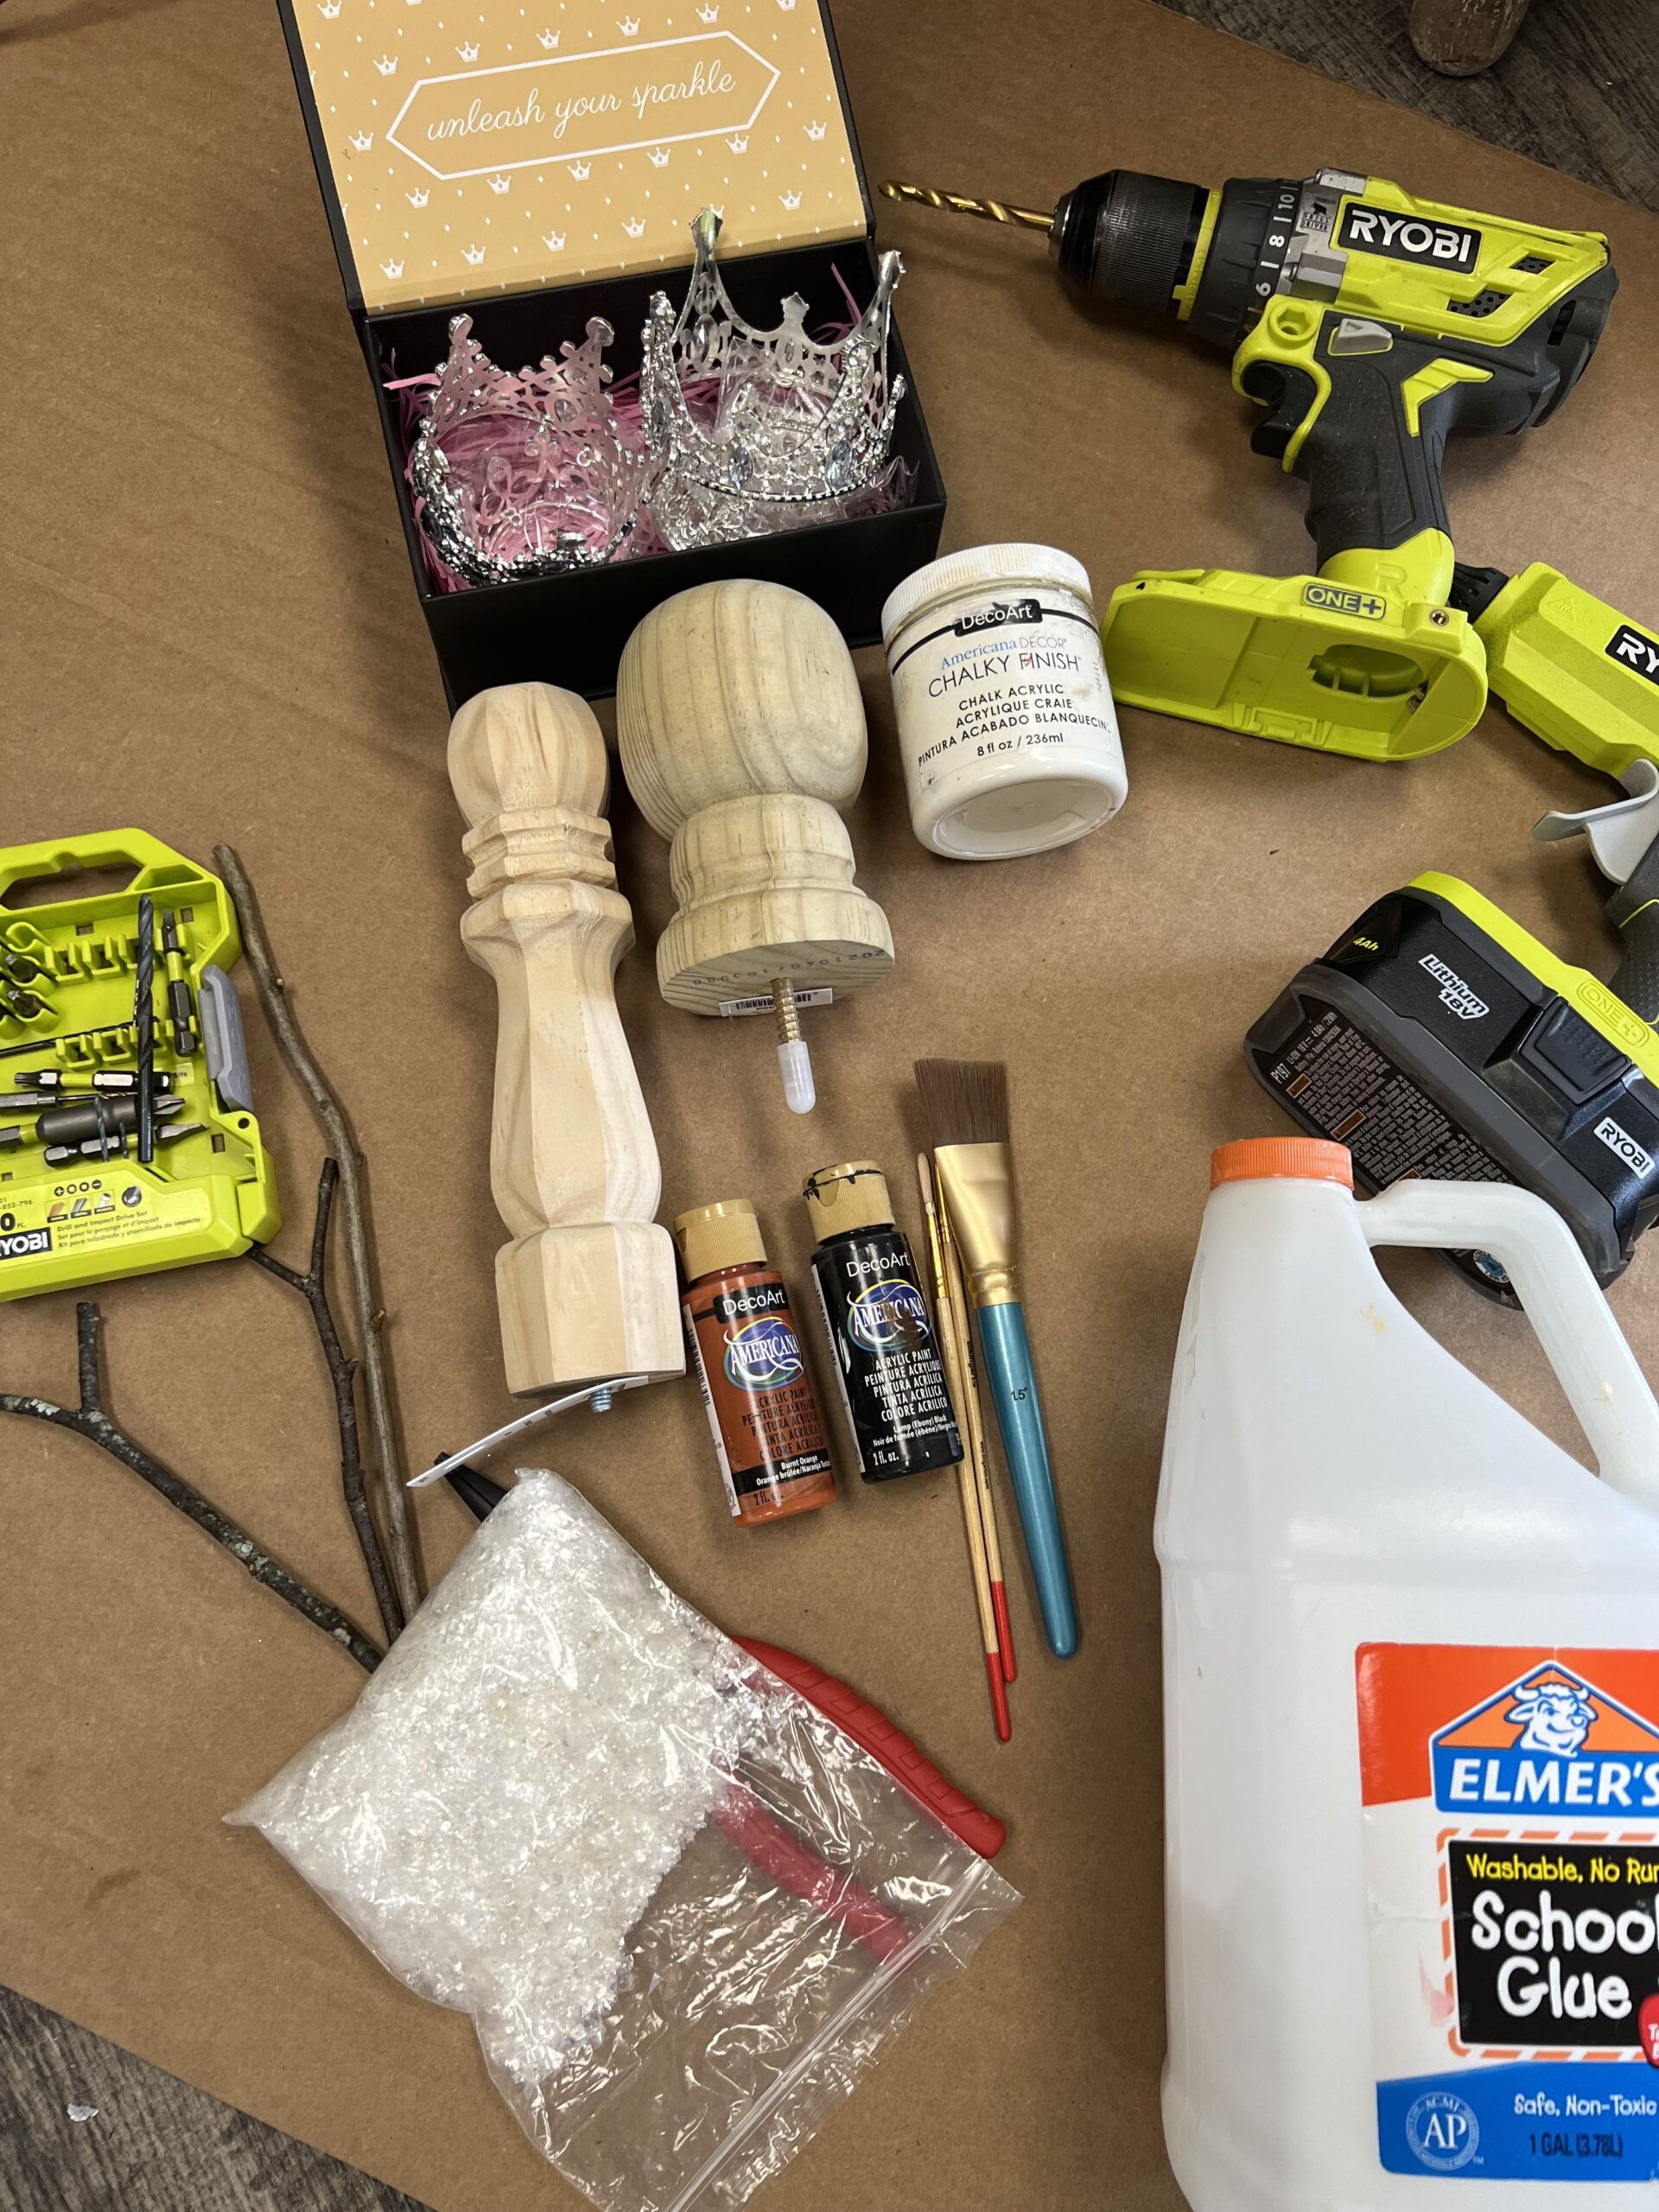
The supplies that we’ll be using are:
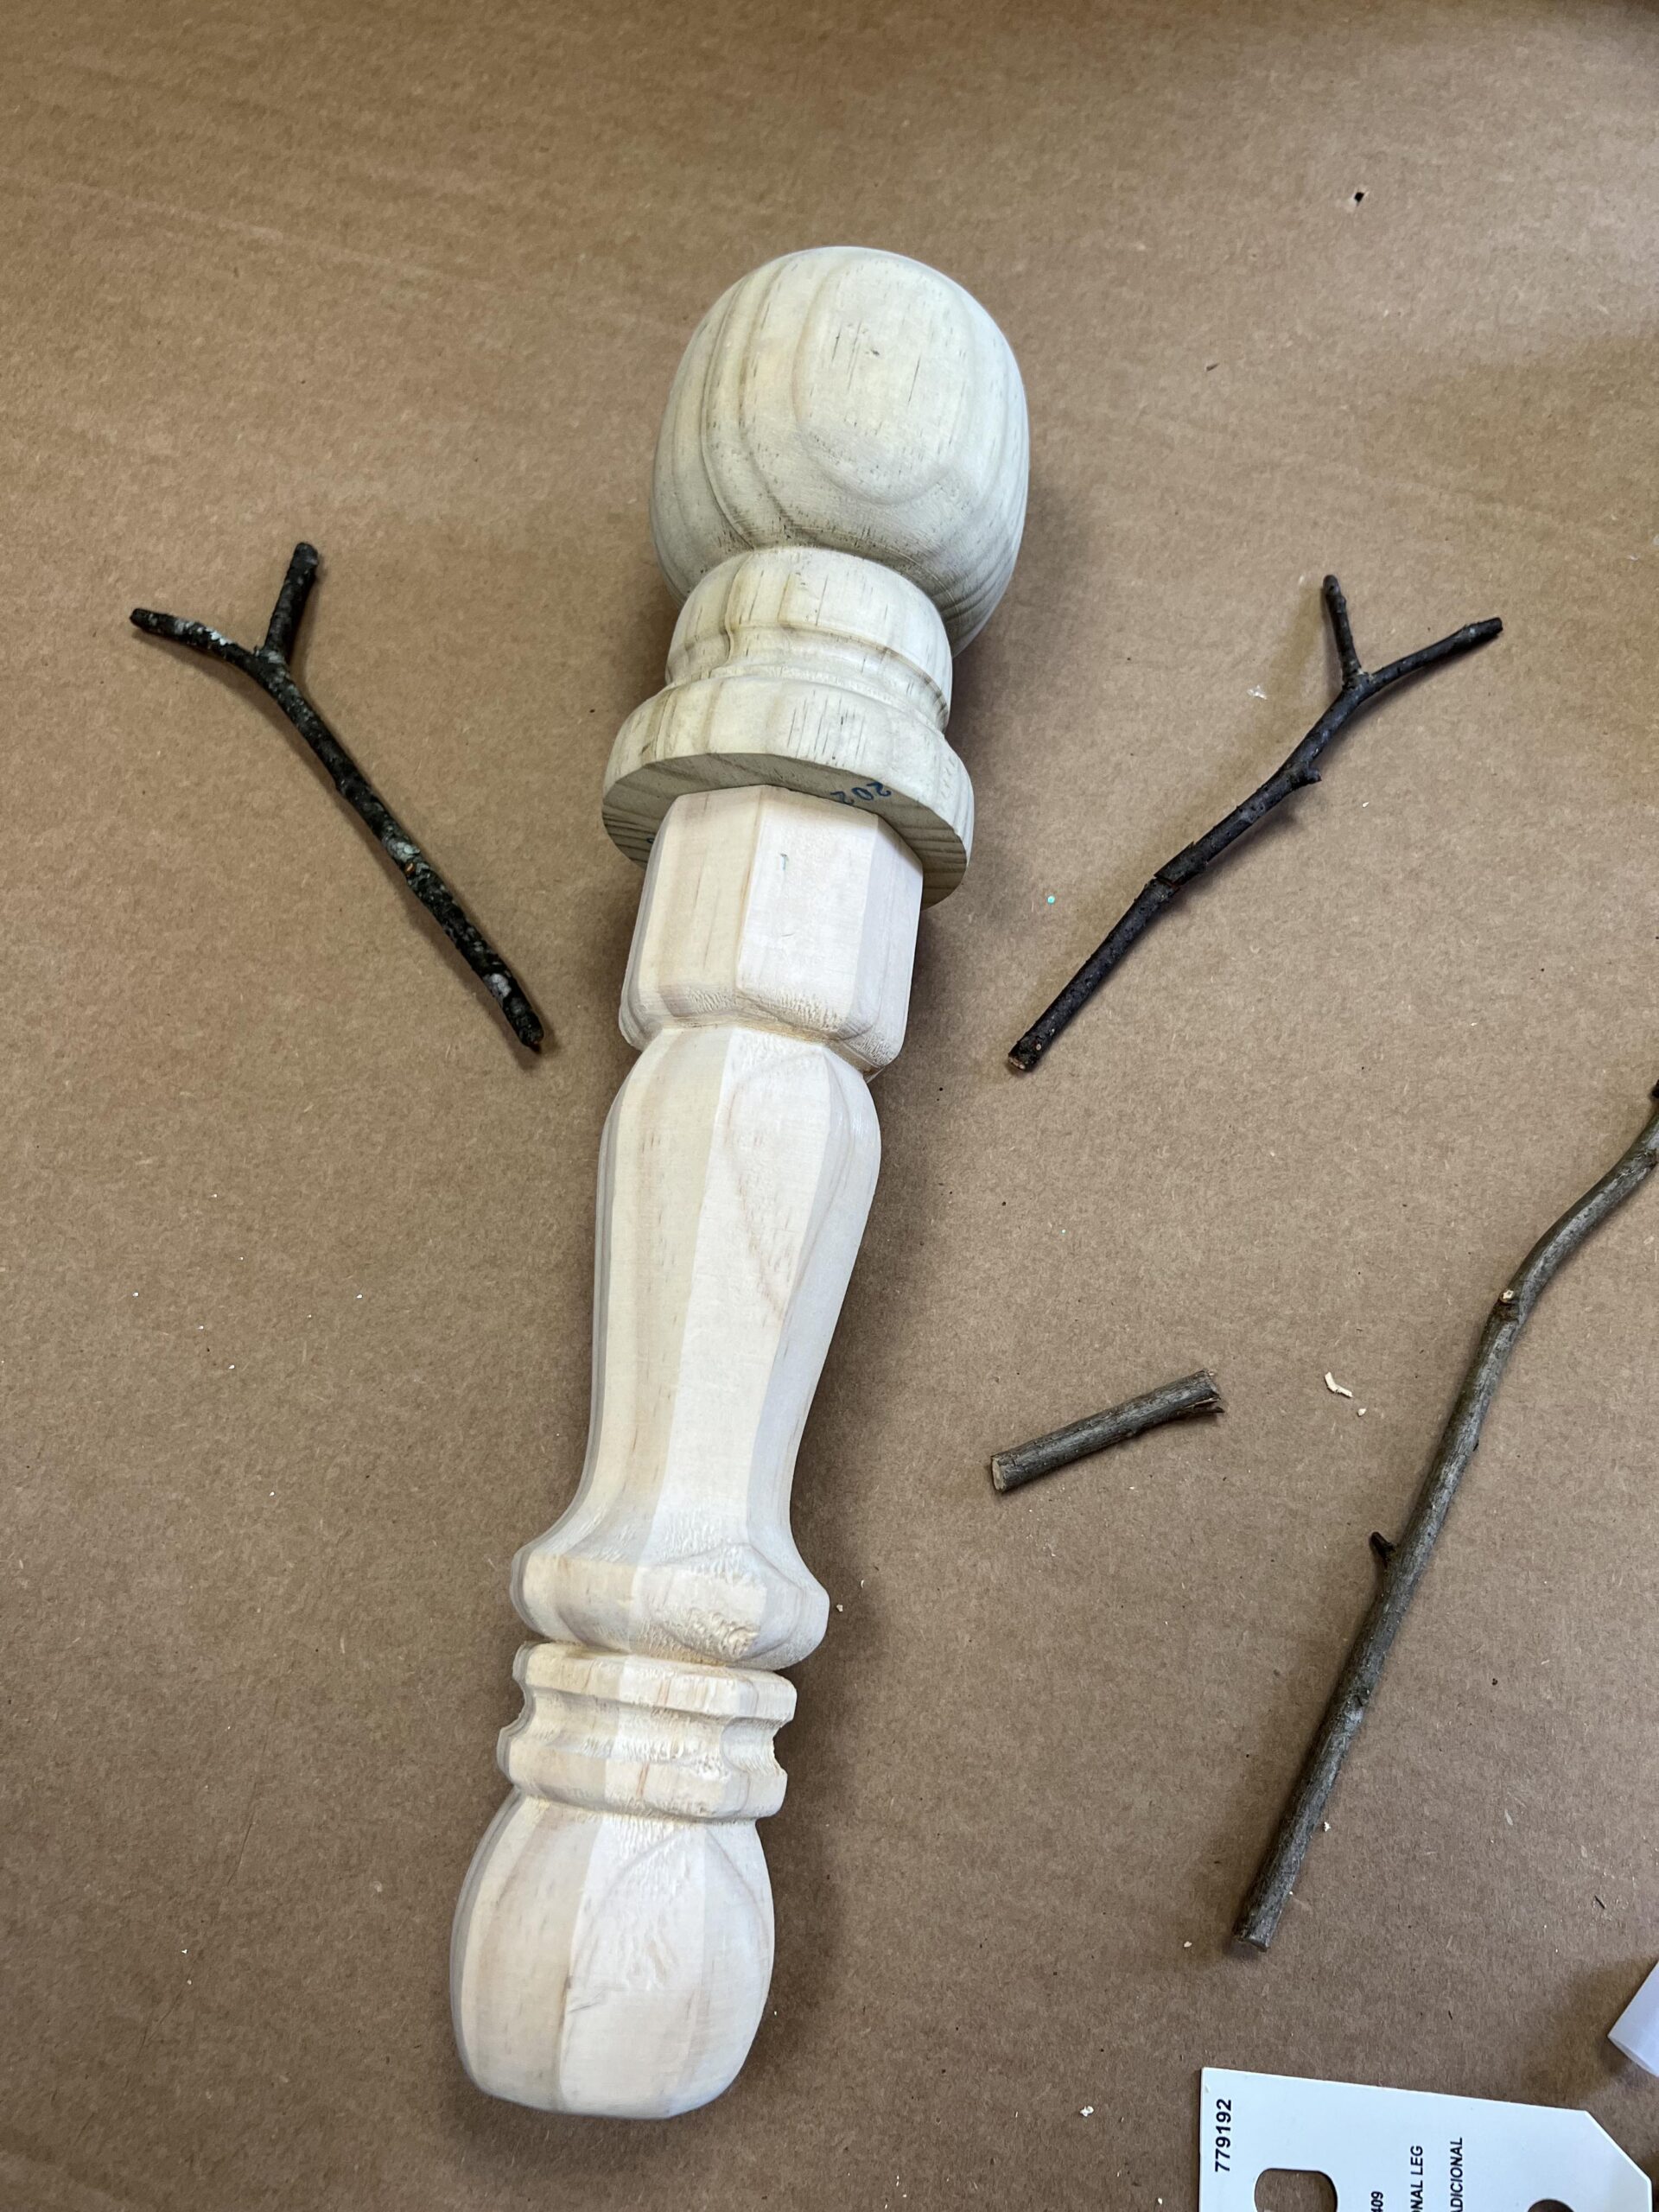
1. One 9” traditional wooden leg
2. One wooden finial
3. Elmer’s glue
4. Mica flakes from our website
5. Paint brush
6. Drill and drill bit
7. Sticks from the yard
8. Hot glue
7. Americana acrylic paint by DecoArt ( Black and Burnt Orange)
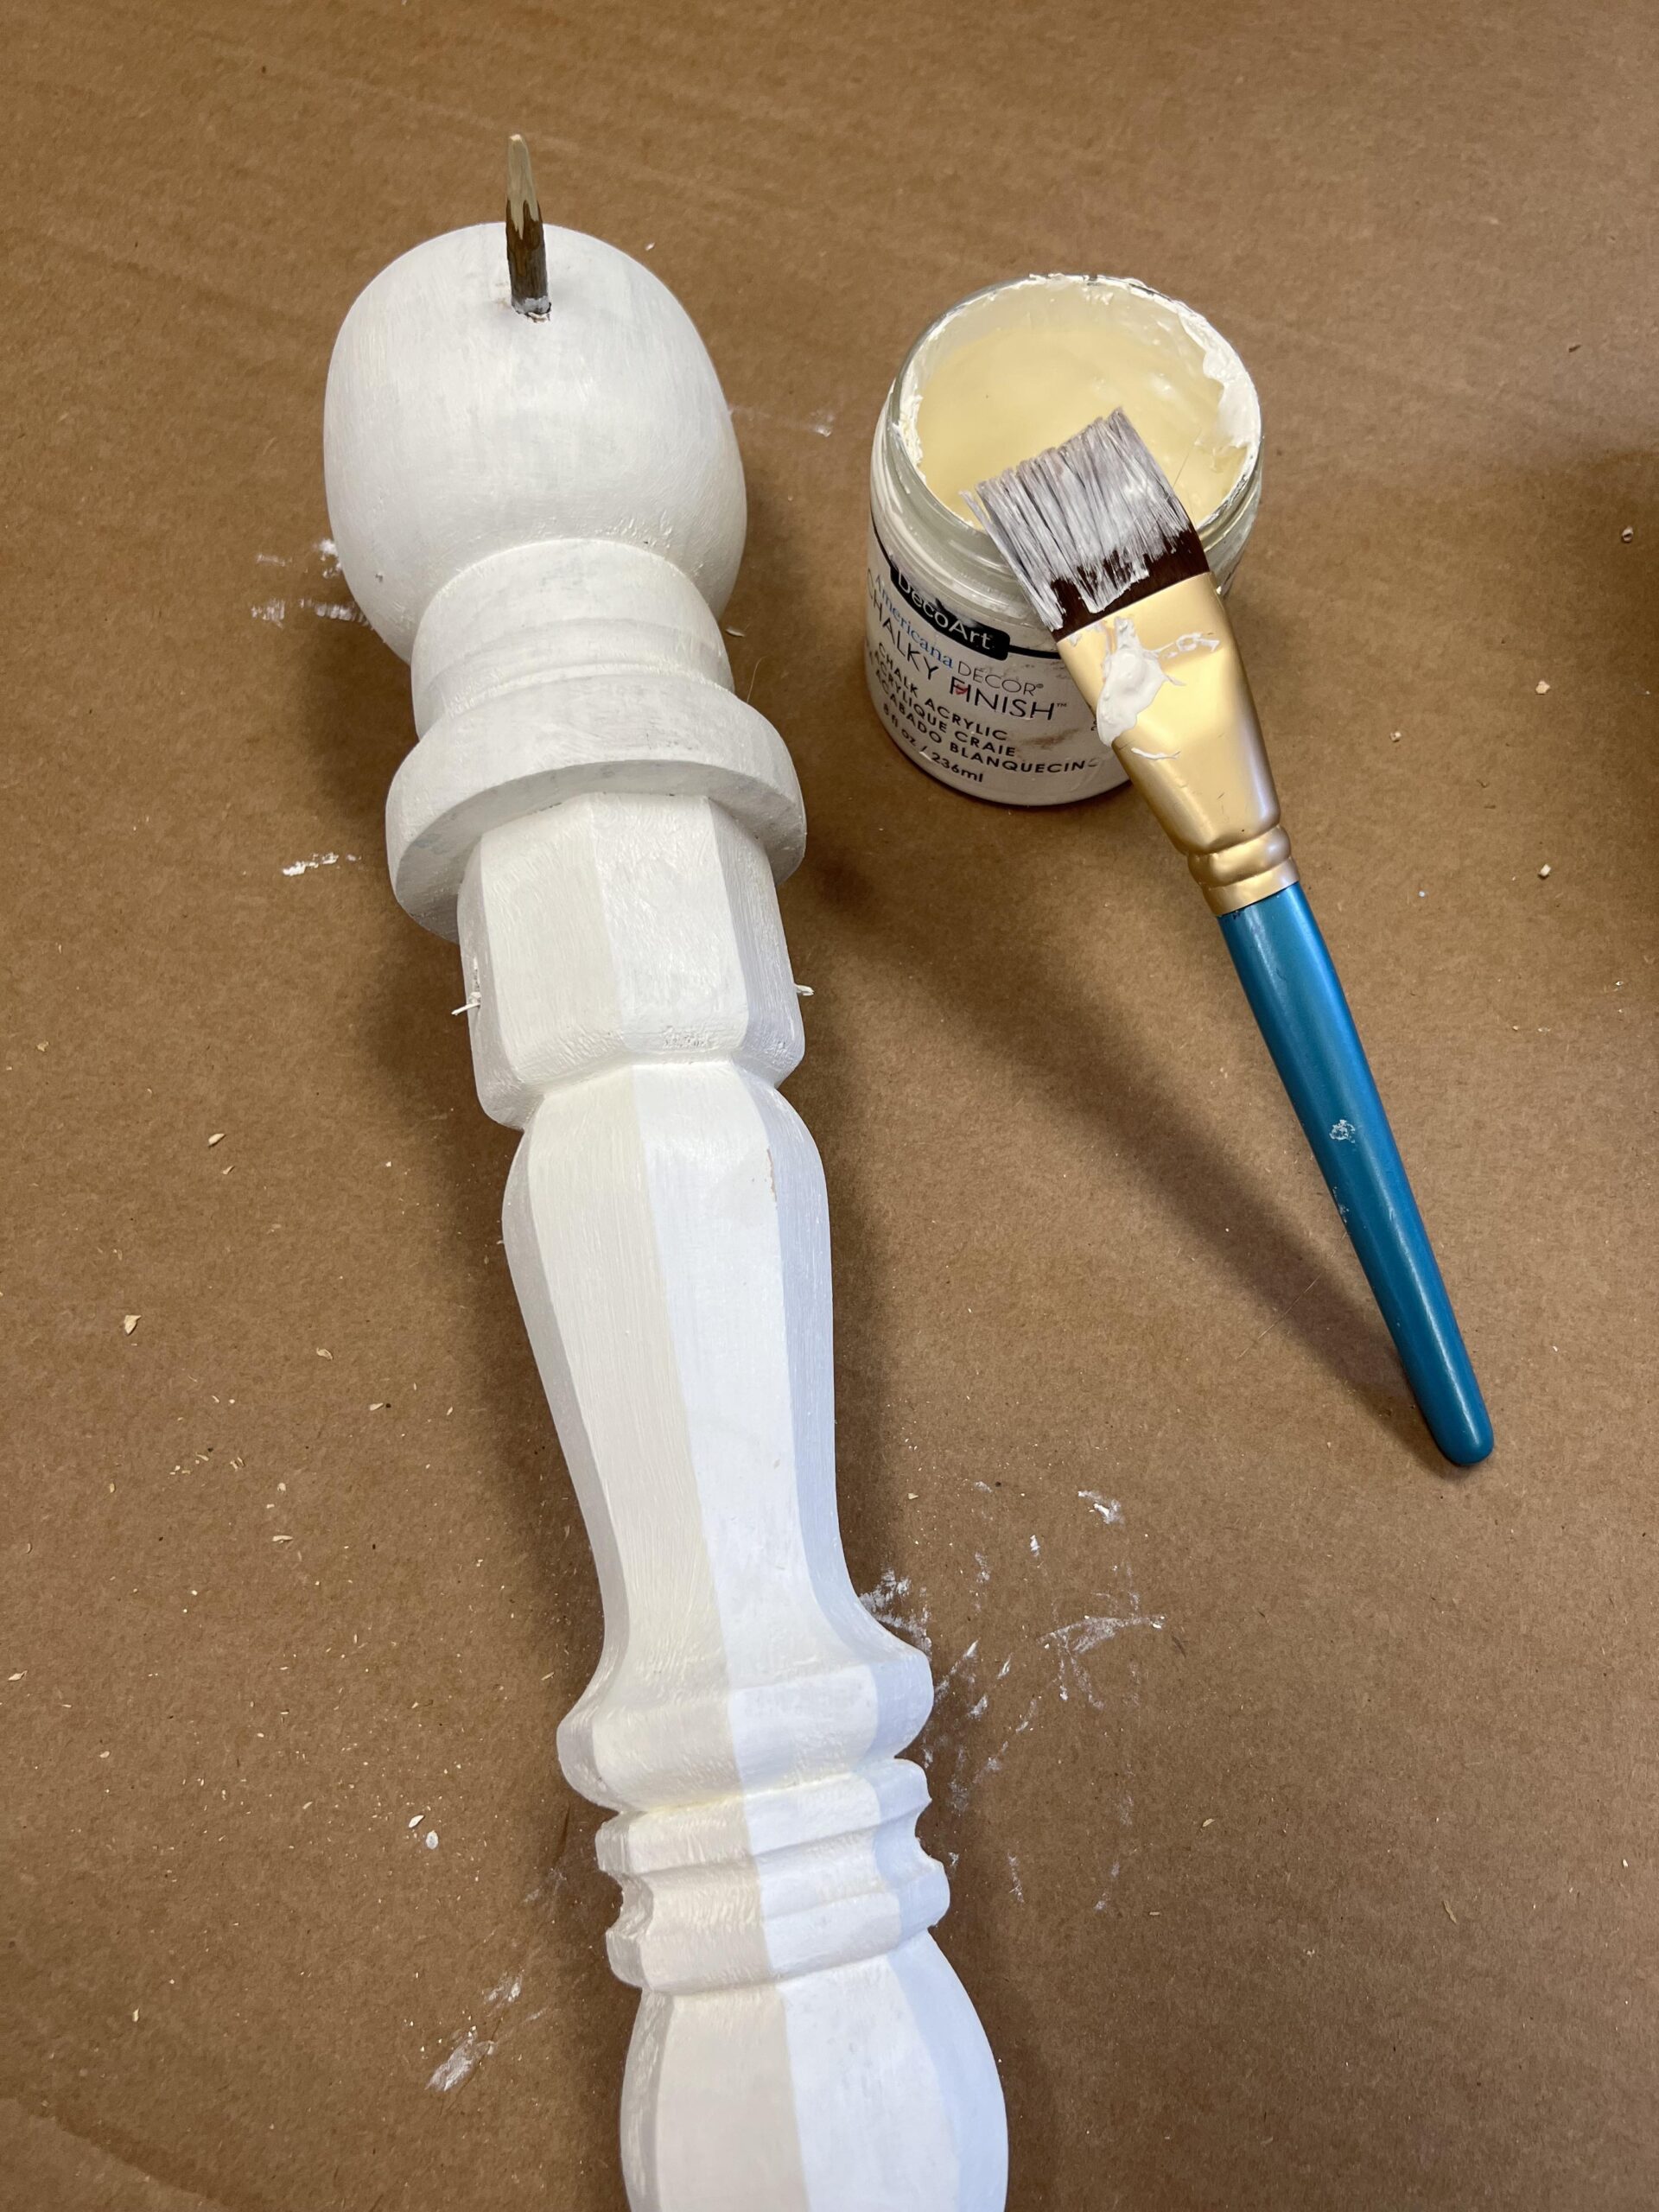
8. Lace colored Chalky Finish paint by DecoArt
9. One bling crown from Totally Dazzled
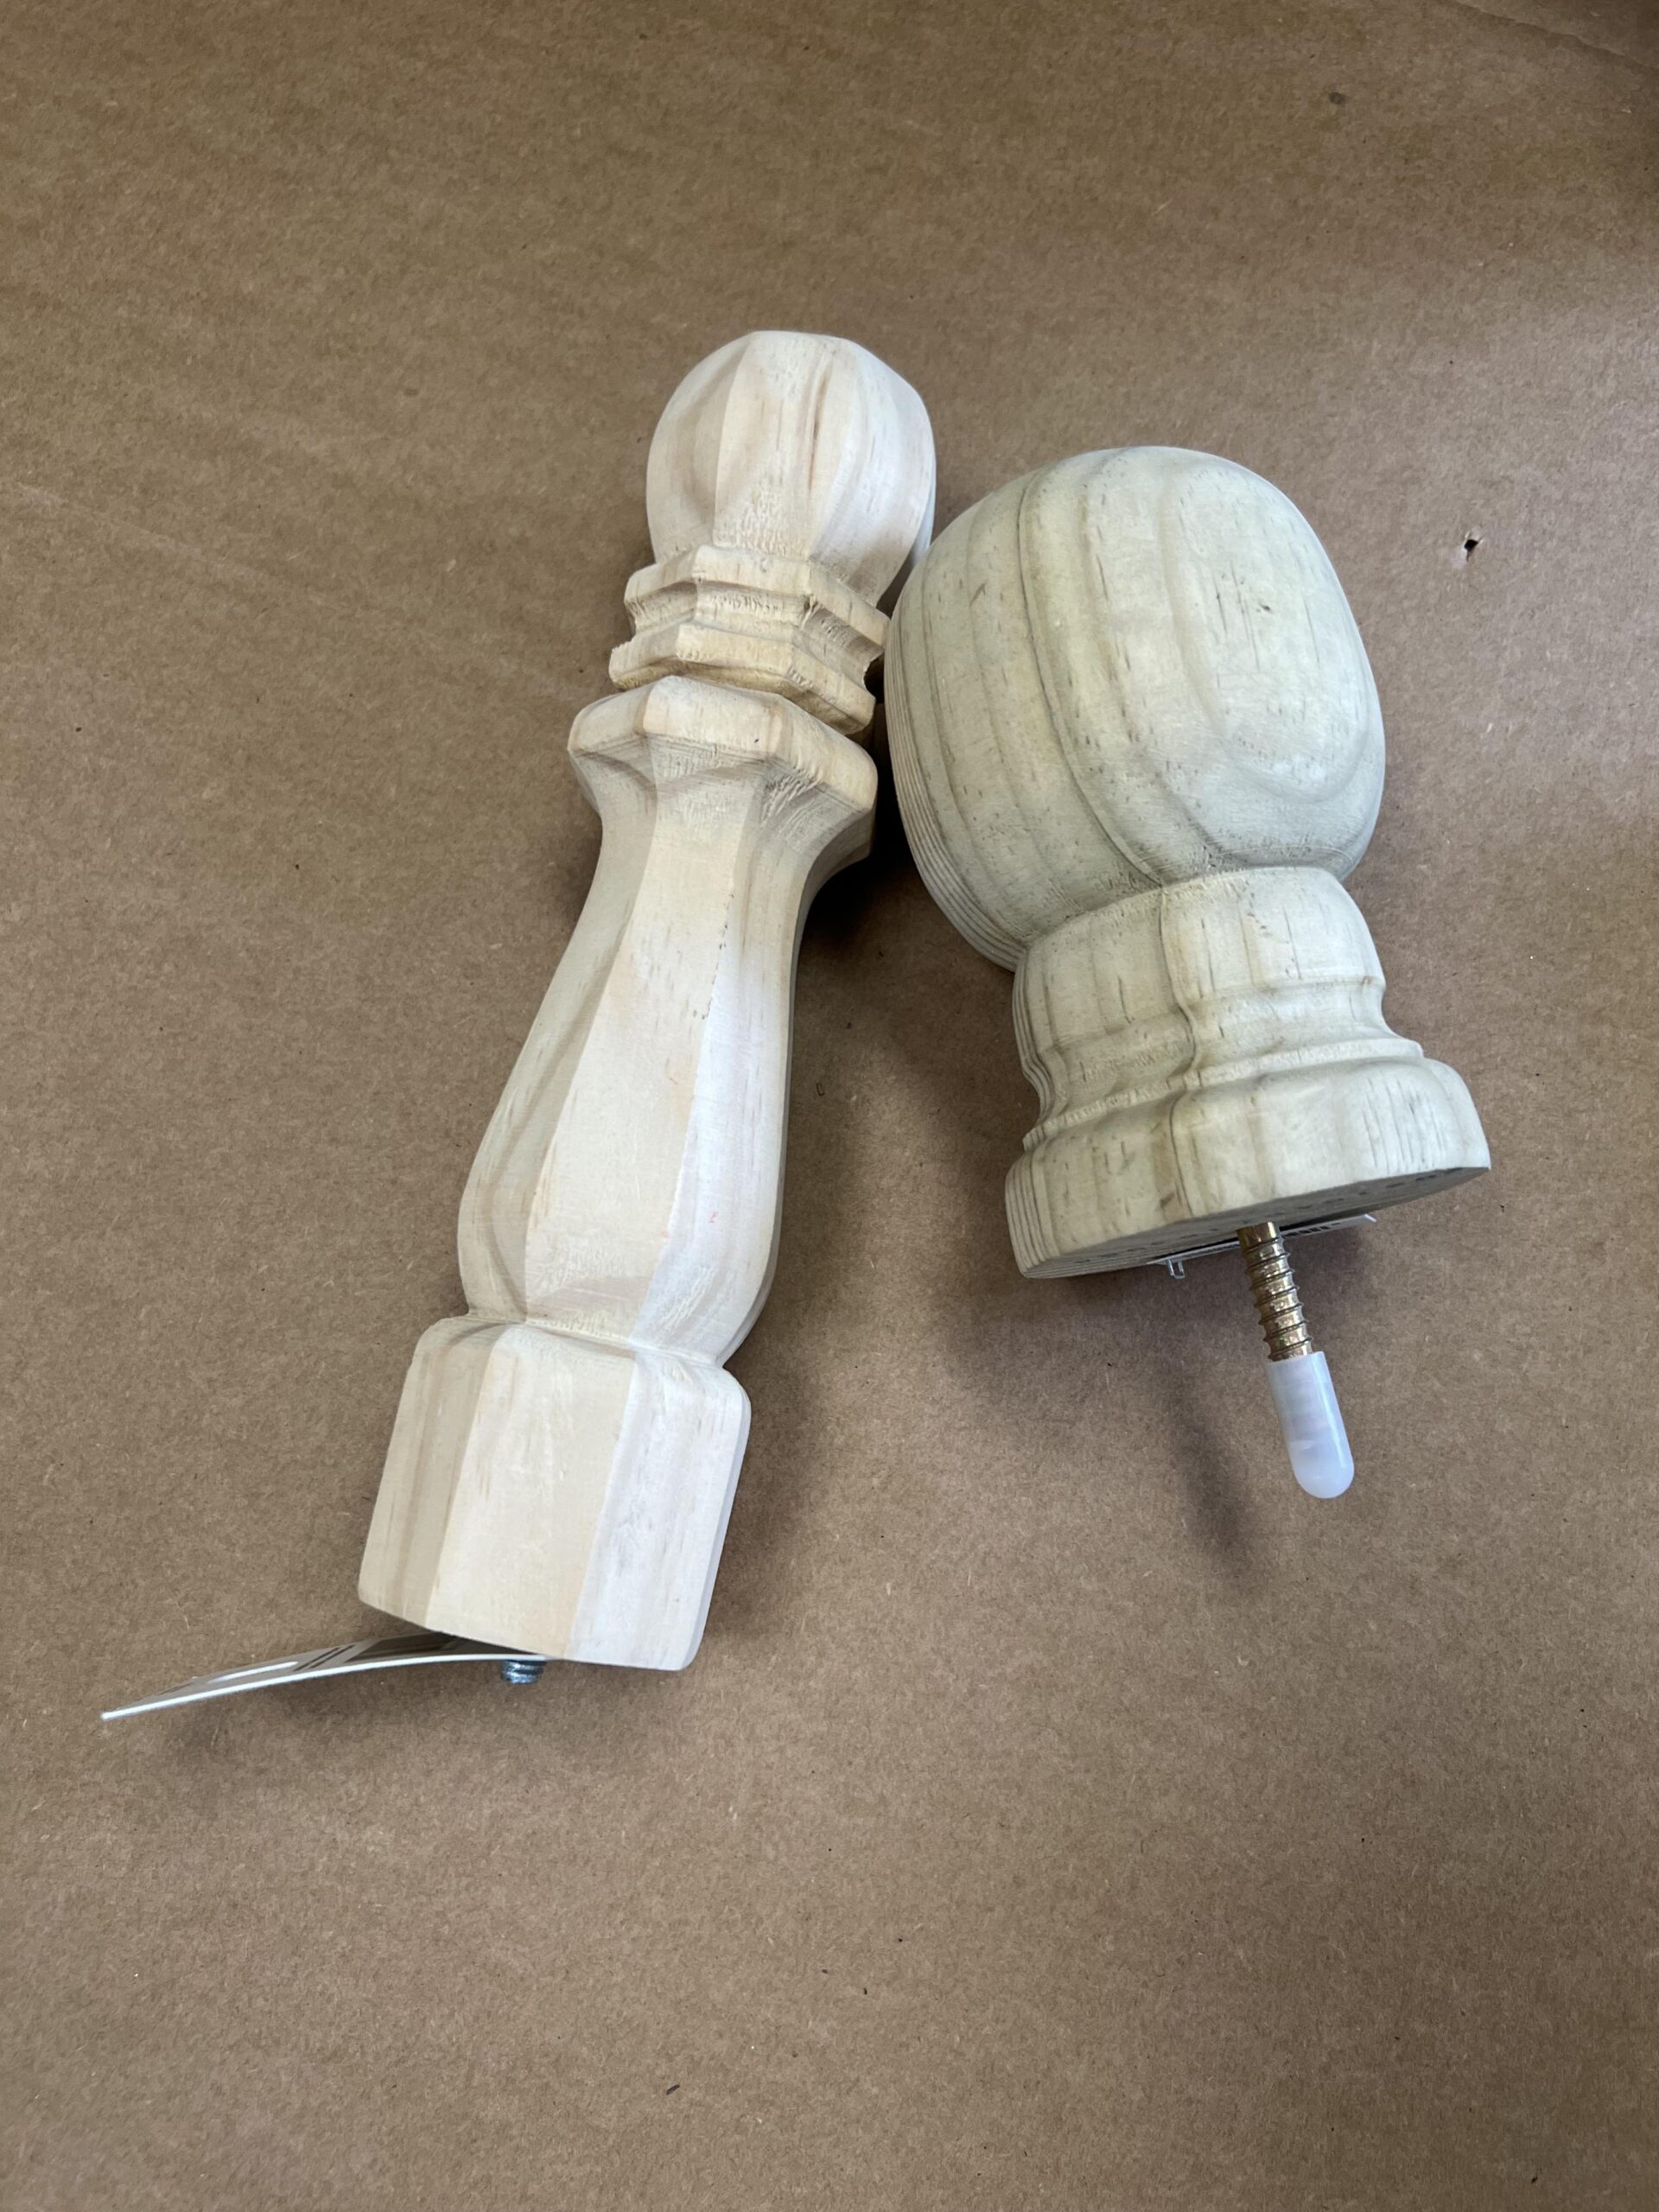
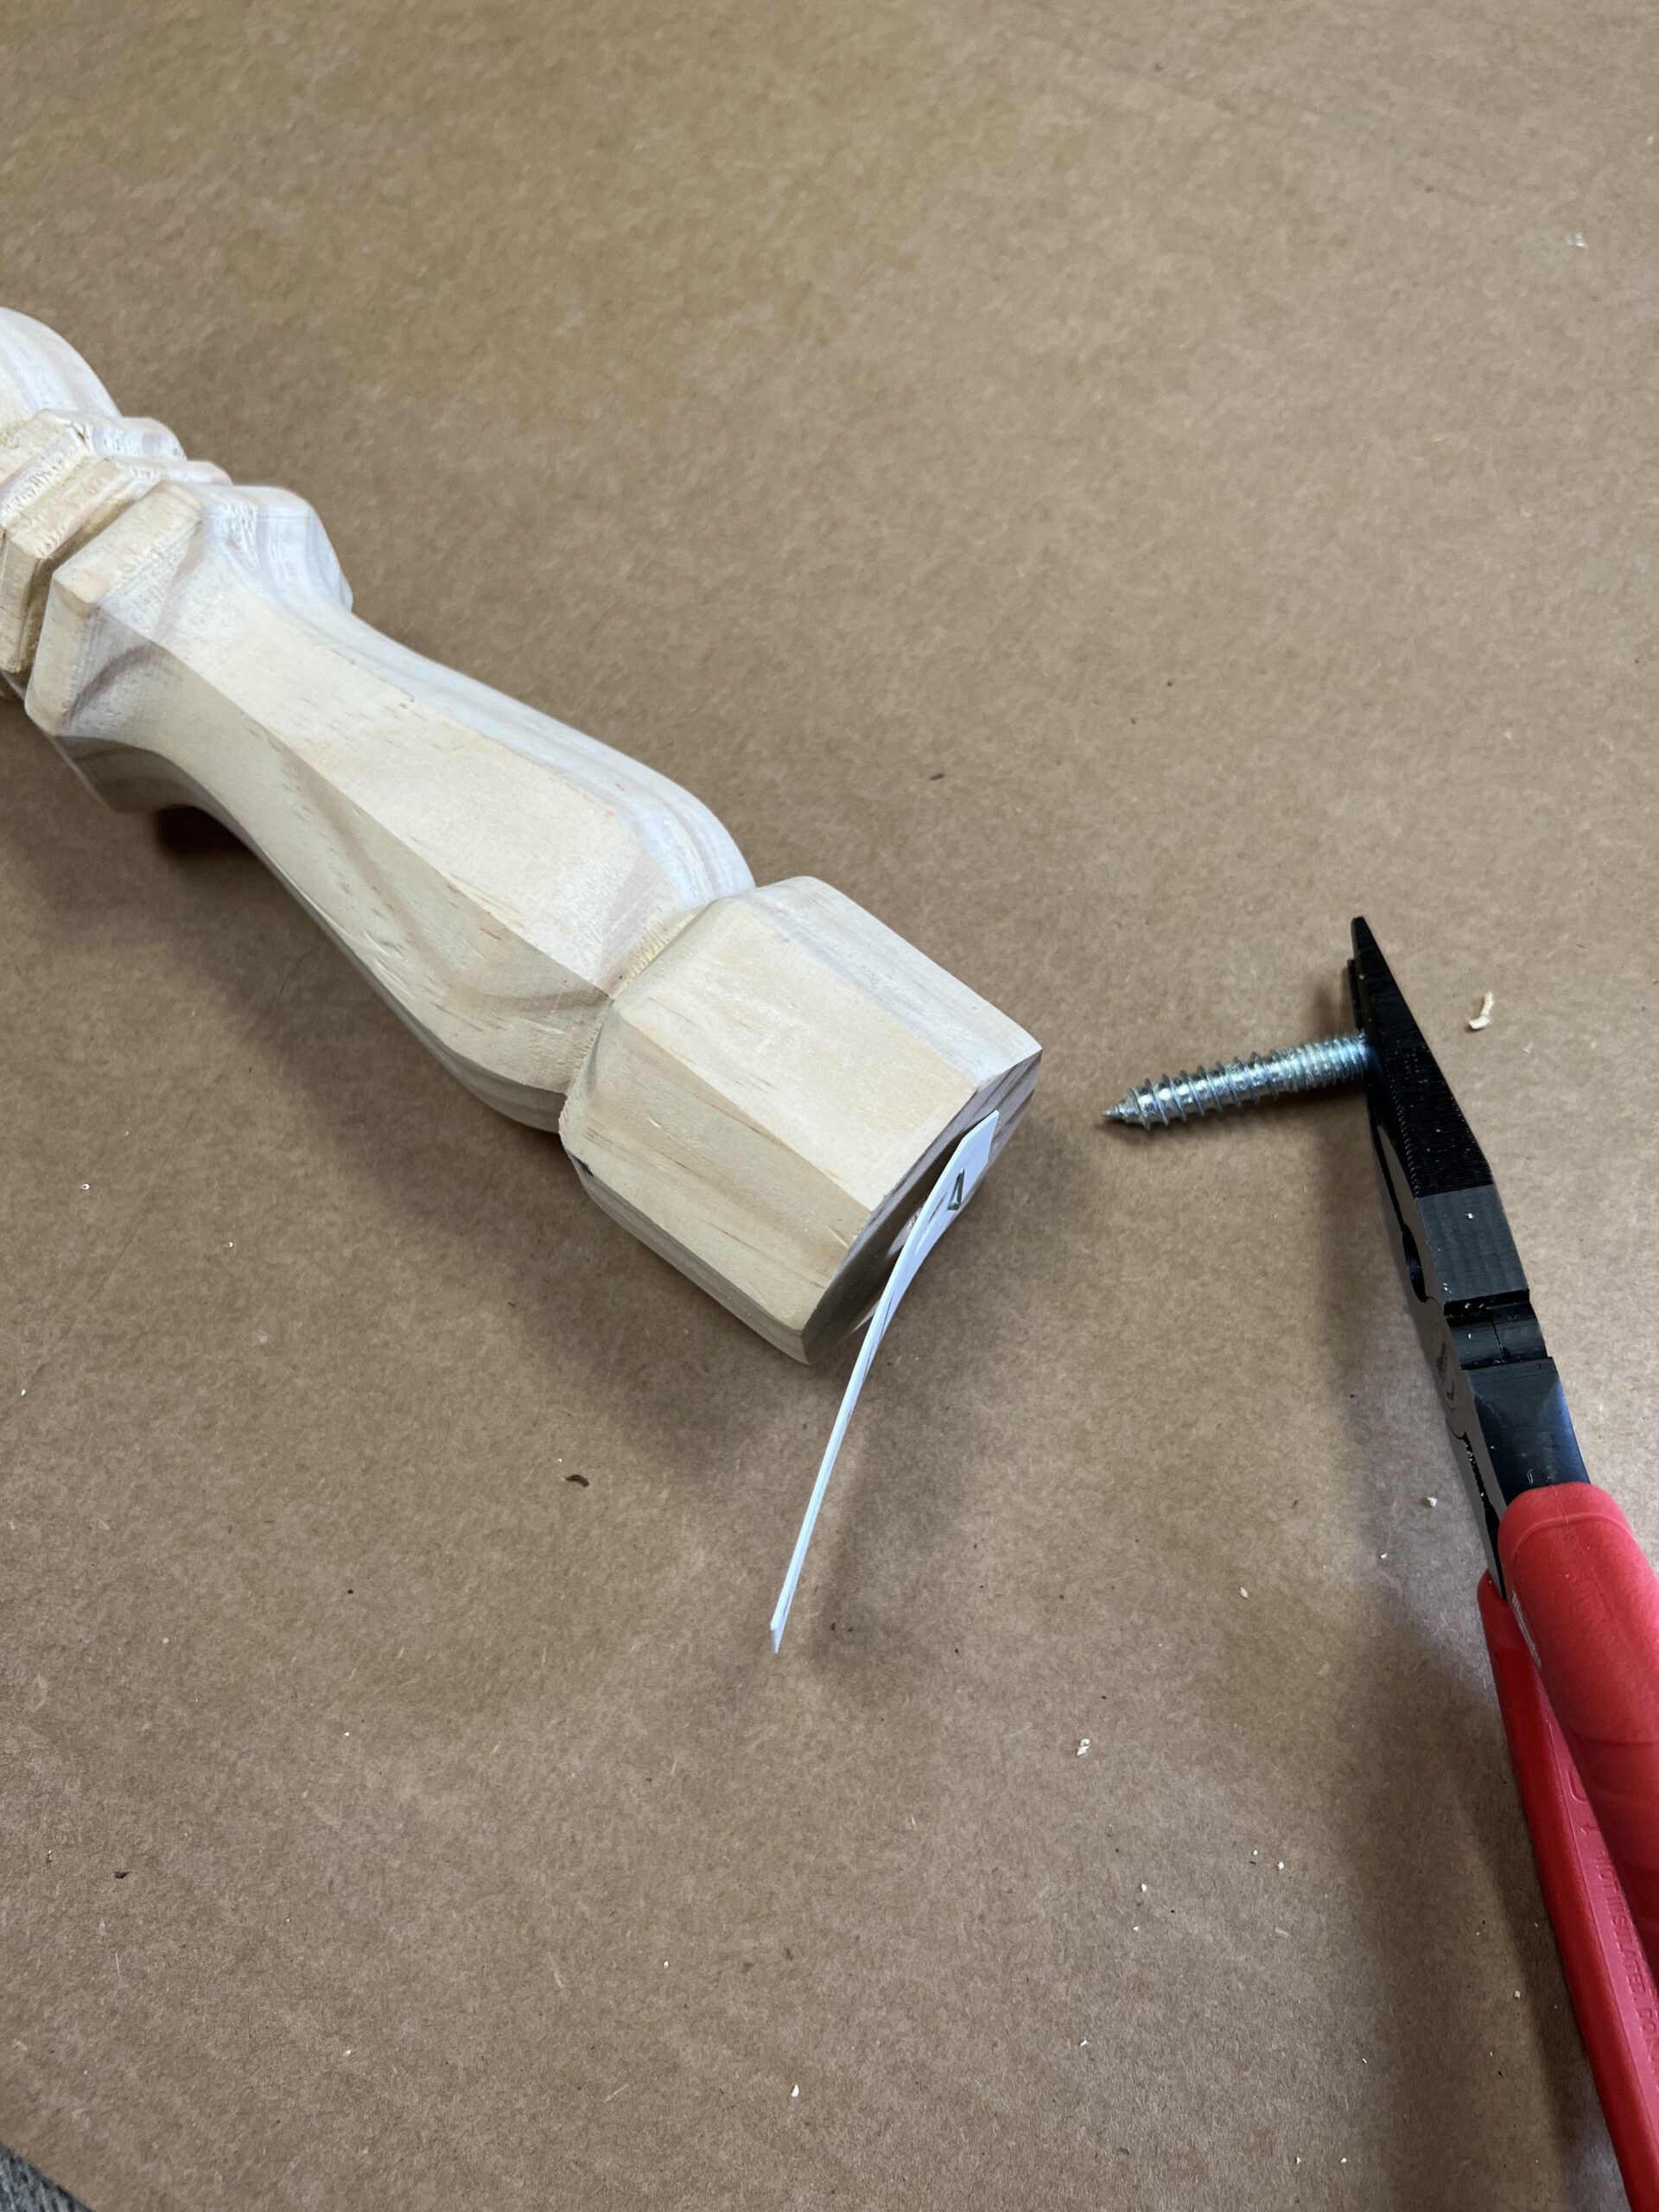
The first step is to remove the screw from the wooden leg.
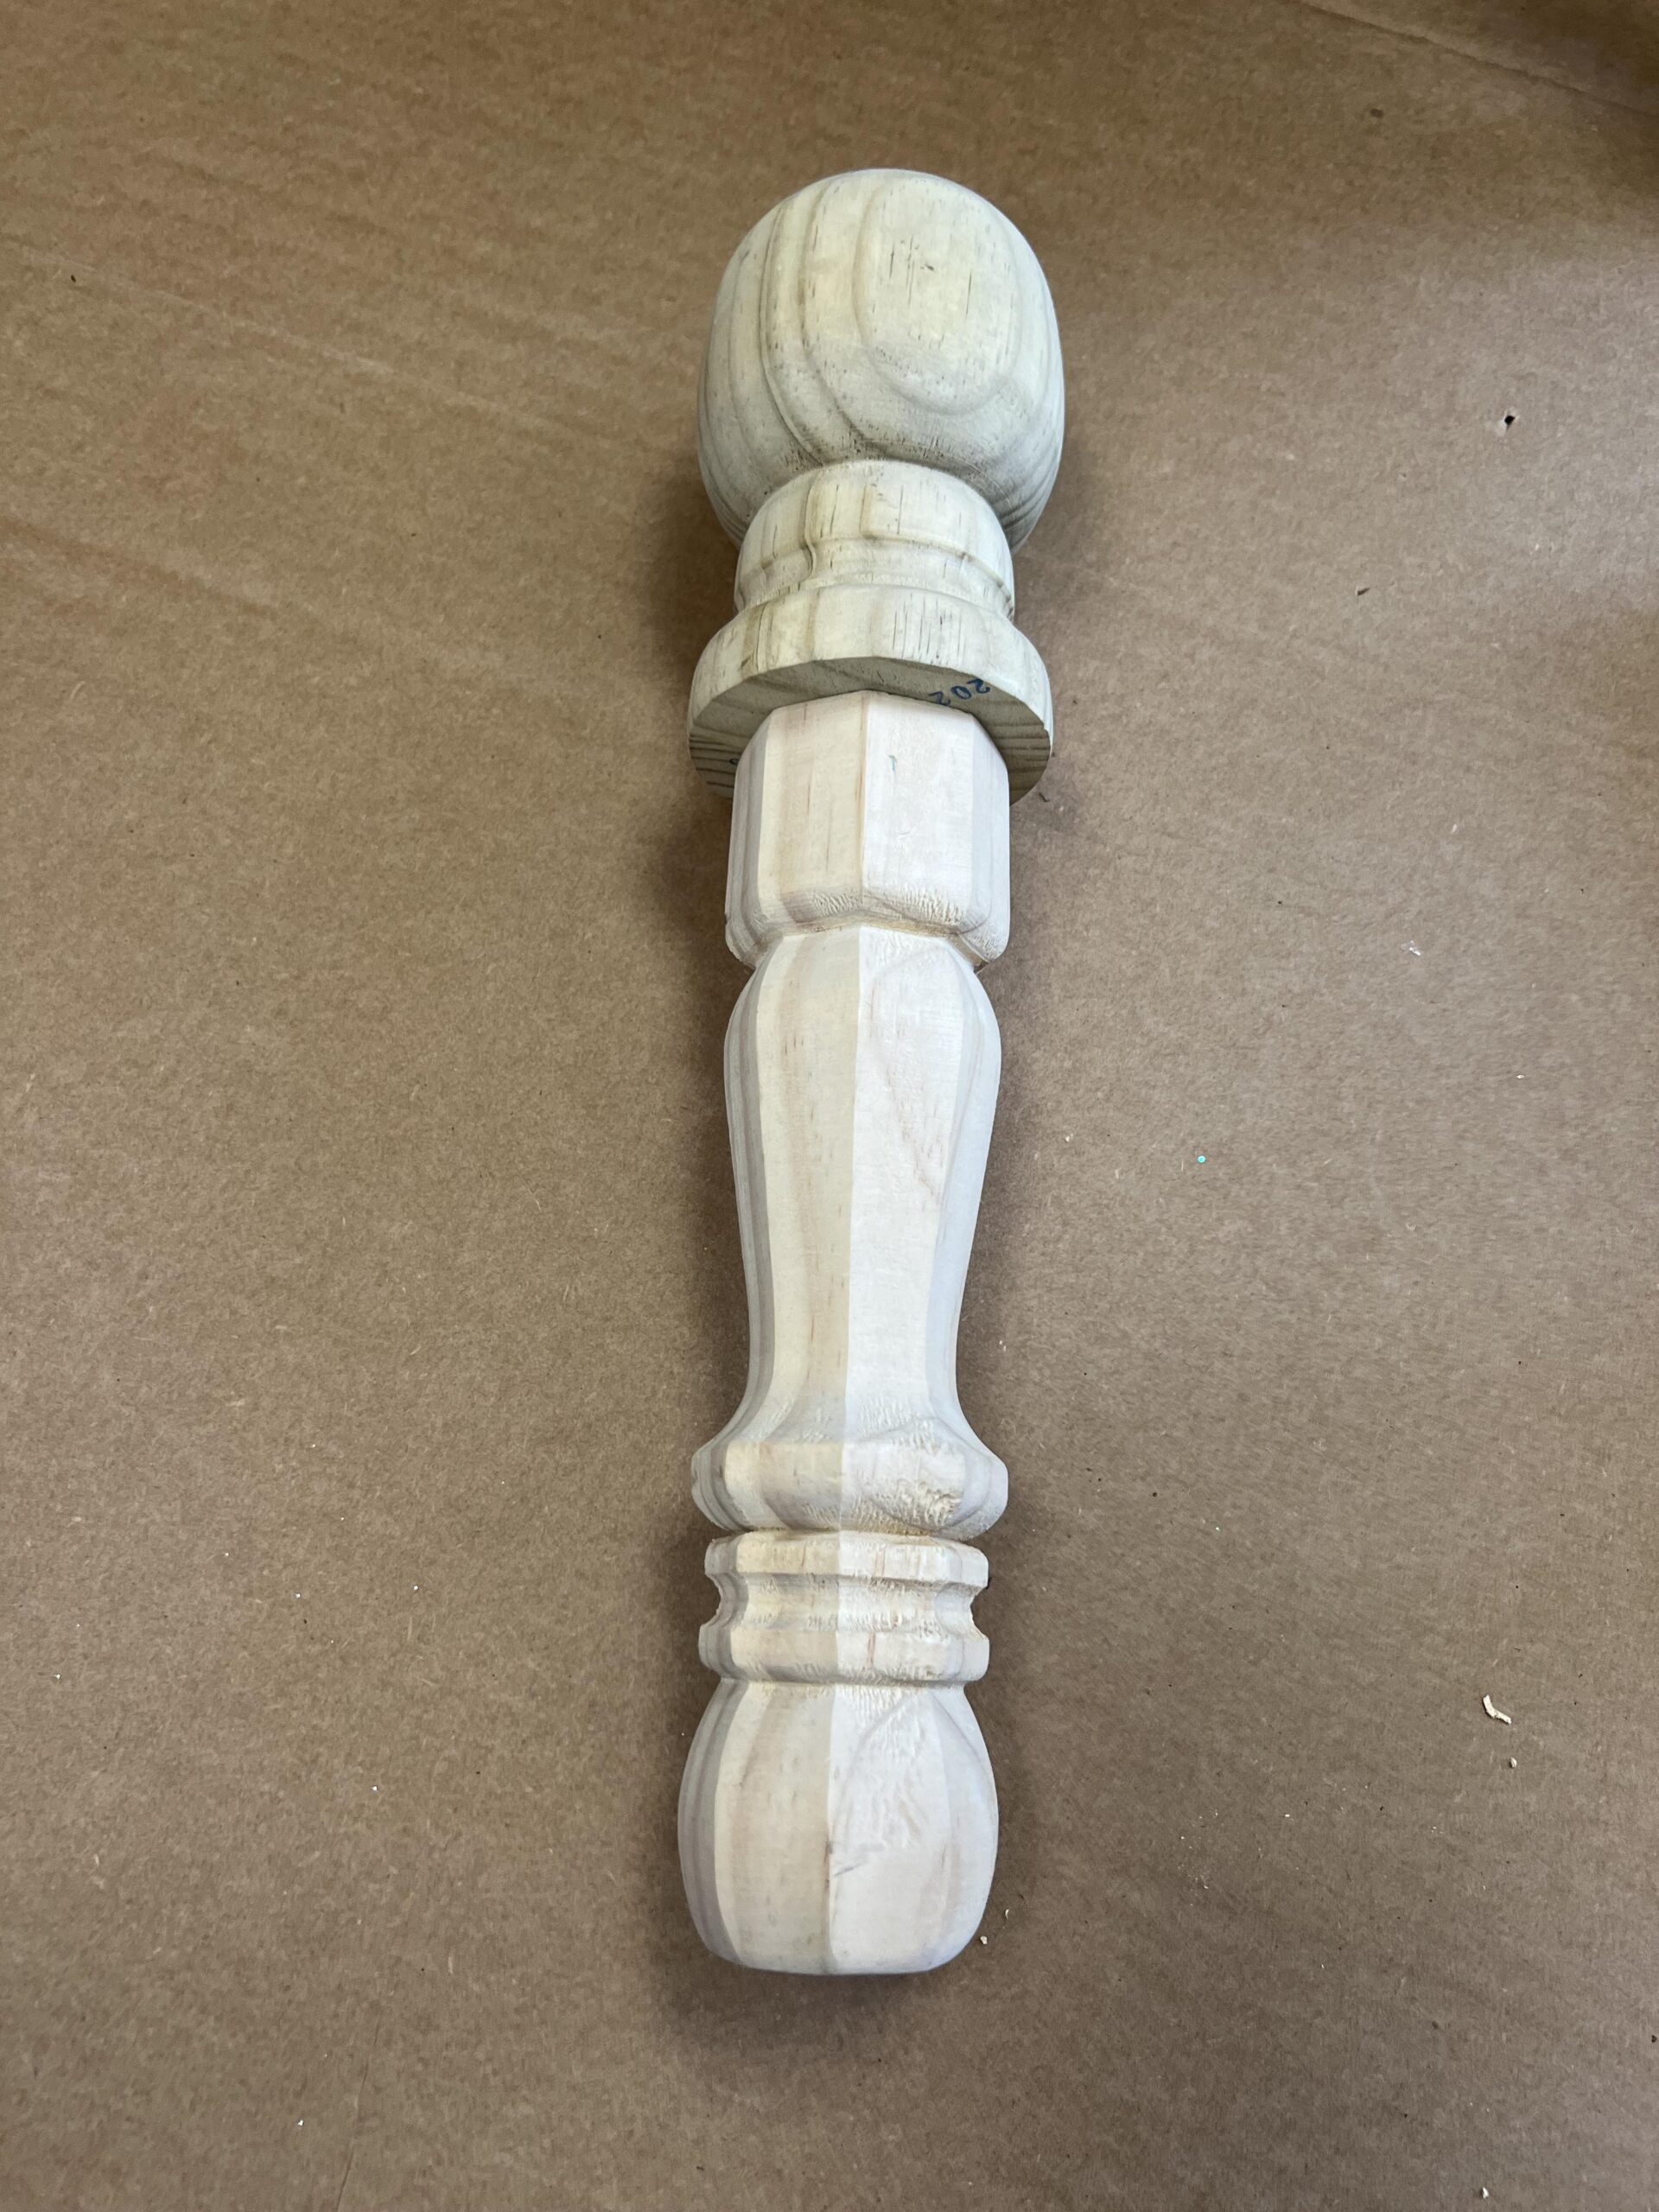
Once you have the screw removed from the leg you’ll then screw the finial into the leg.

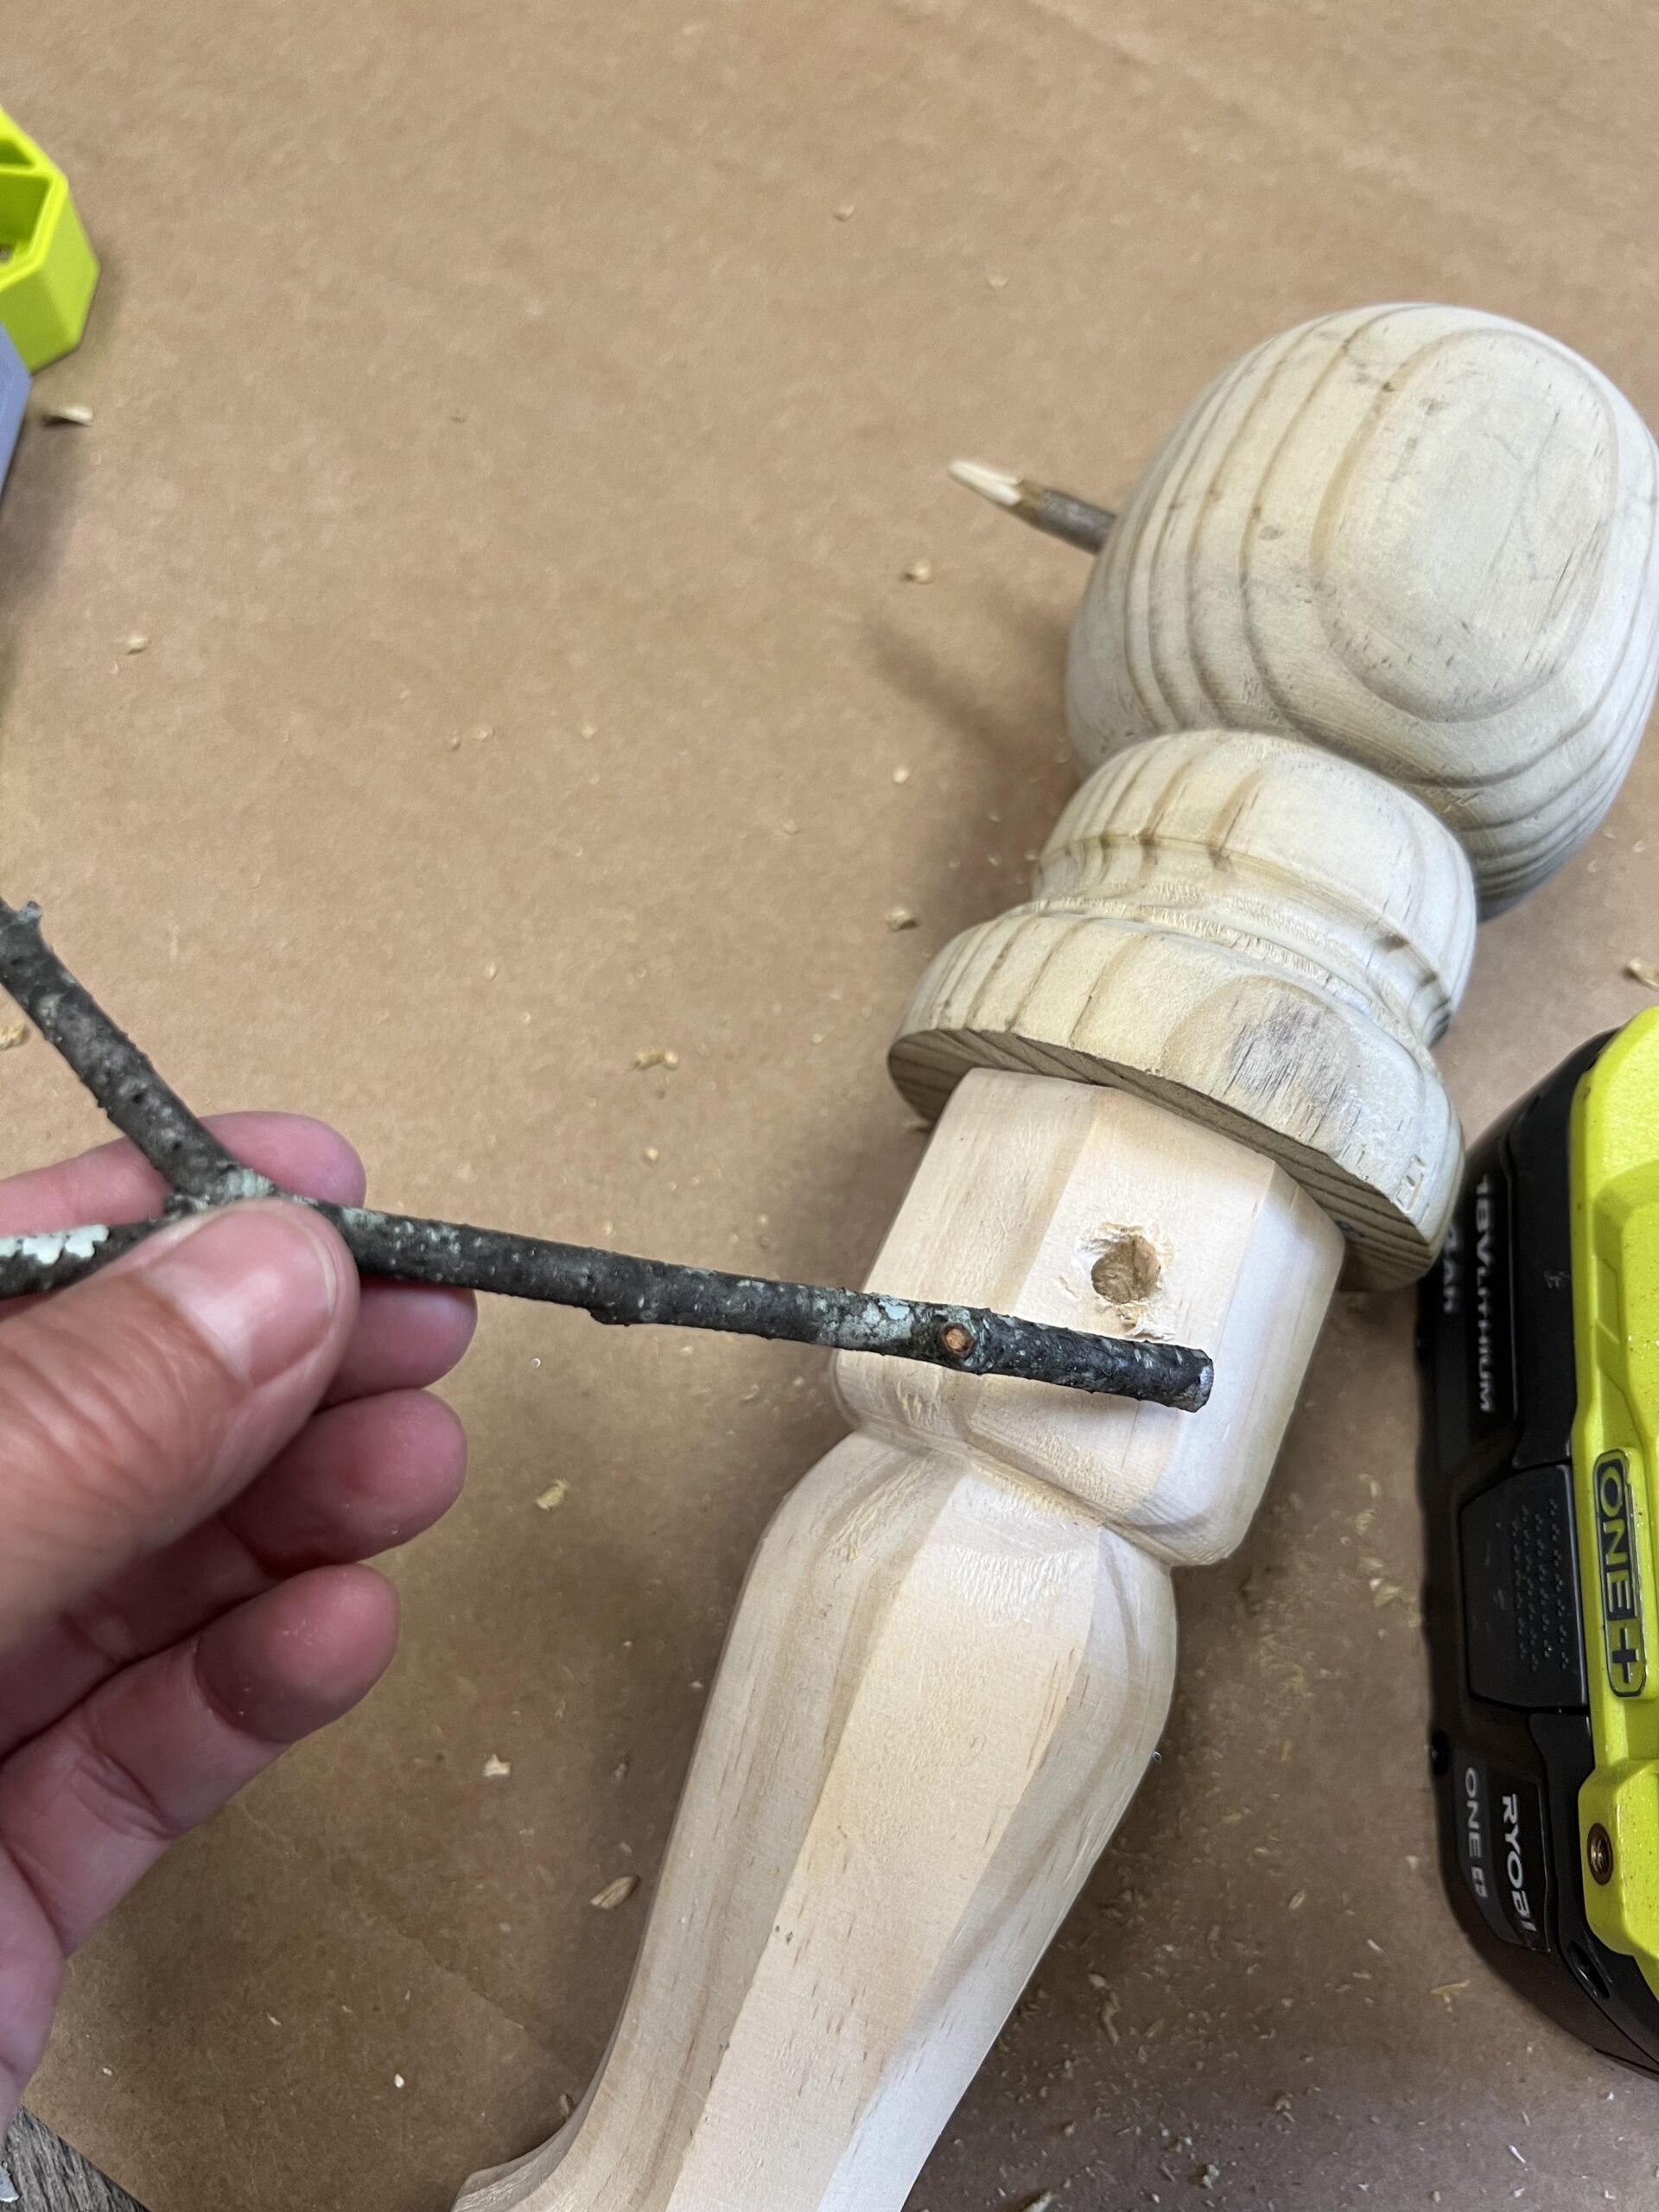
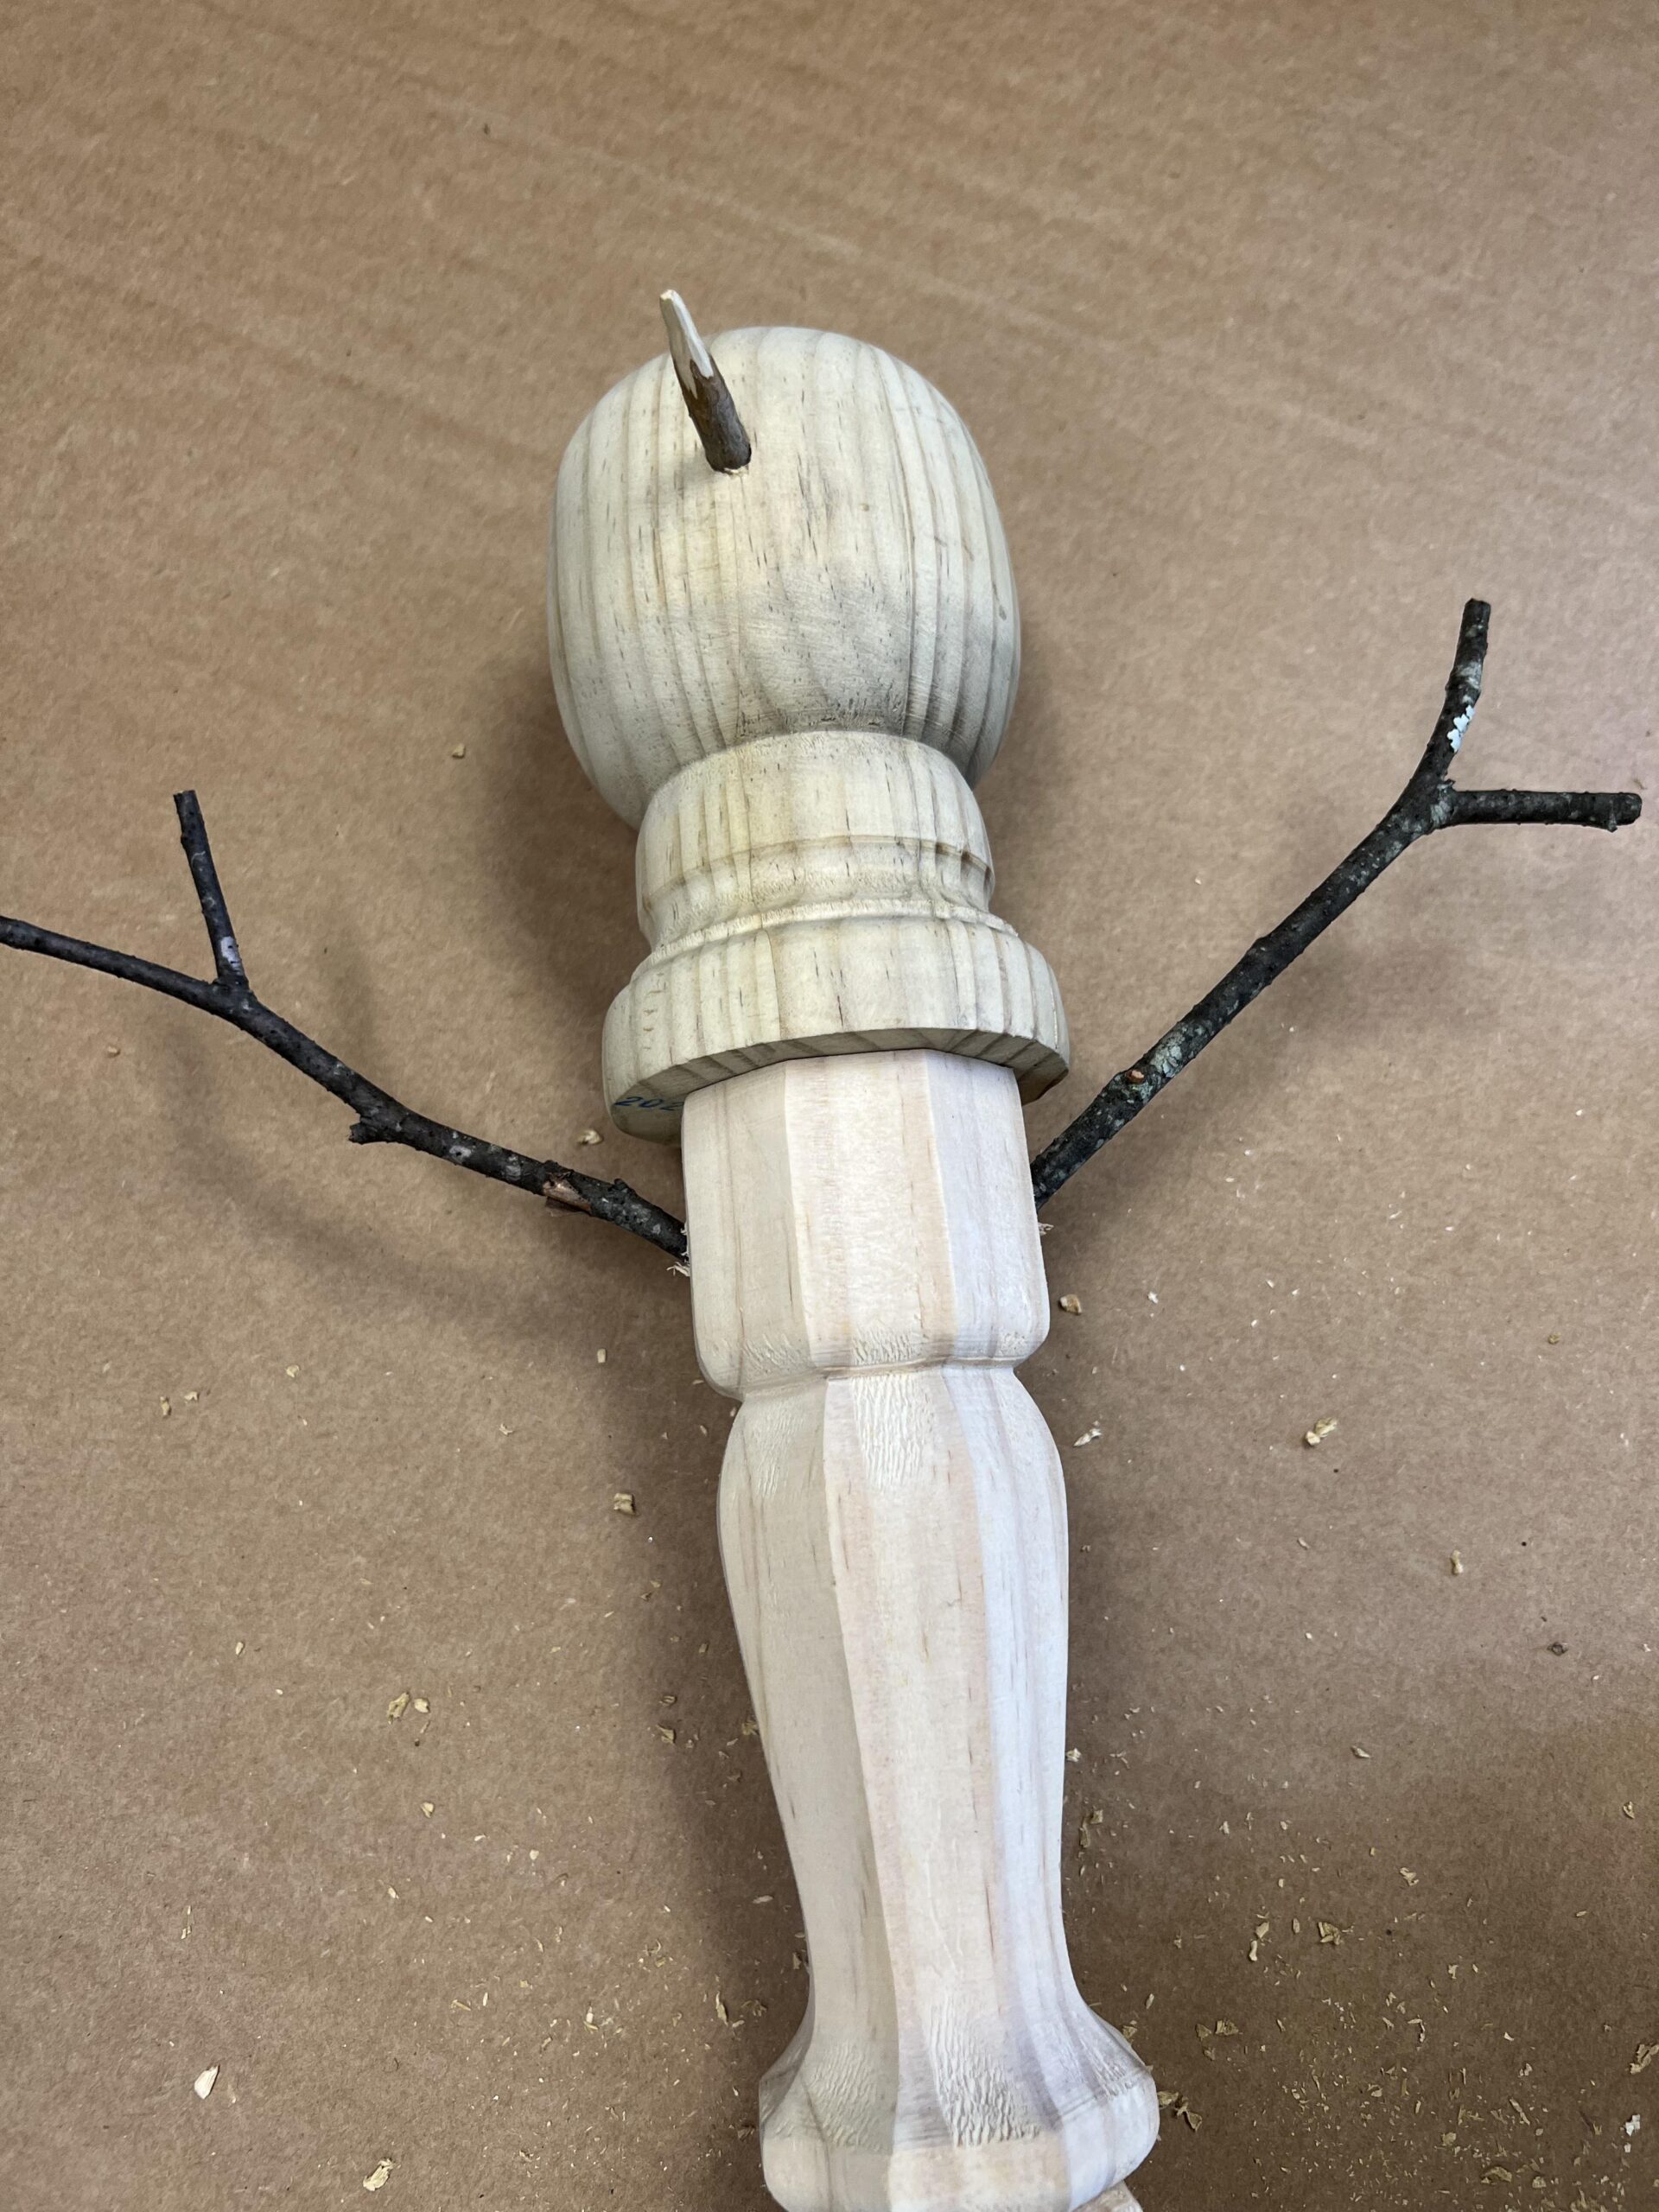
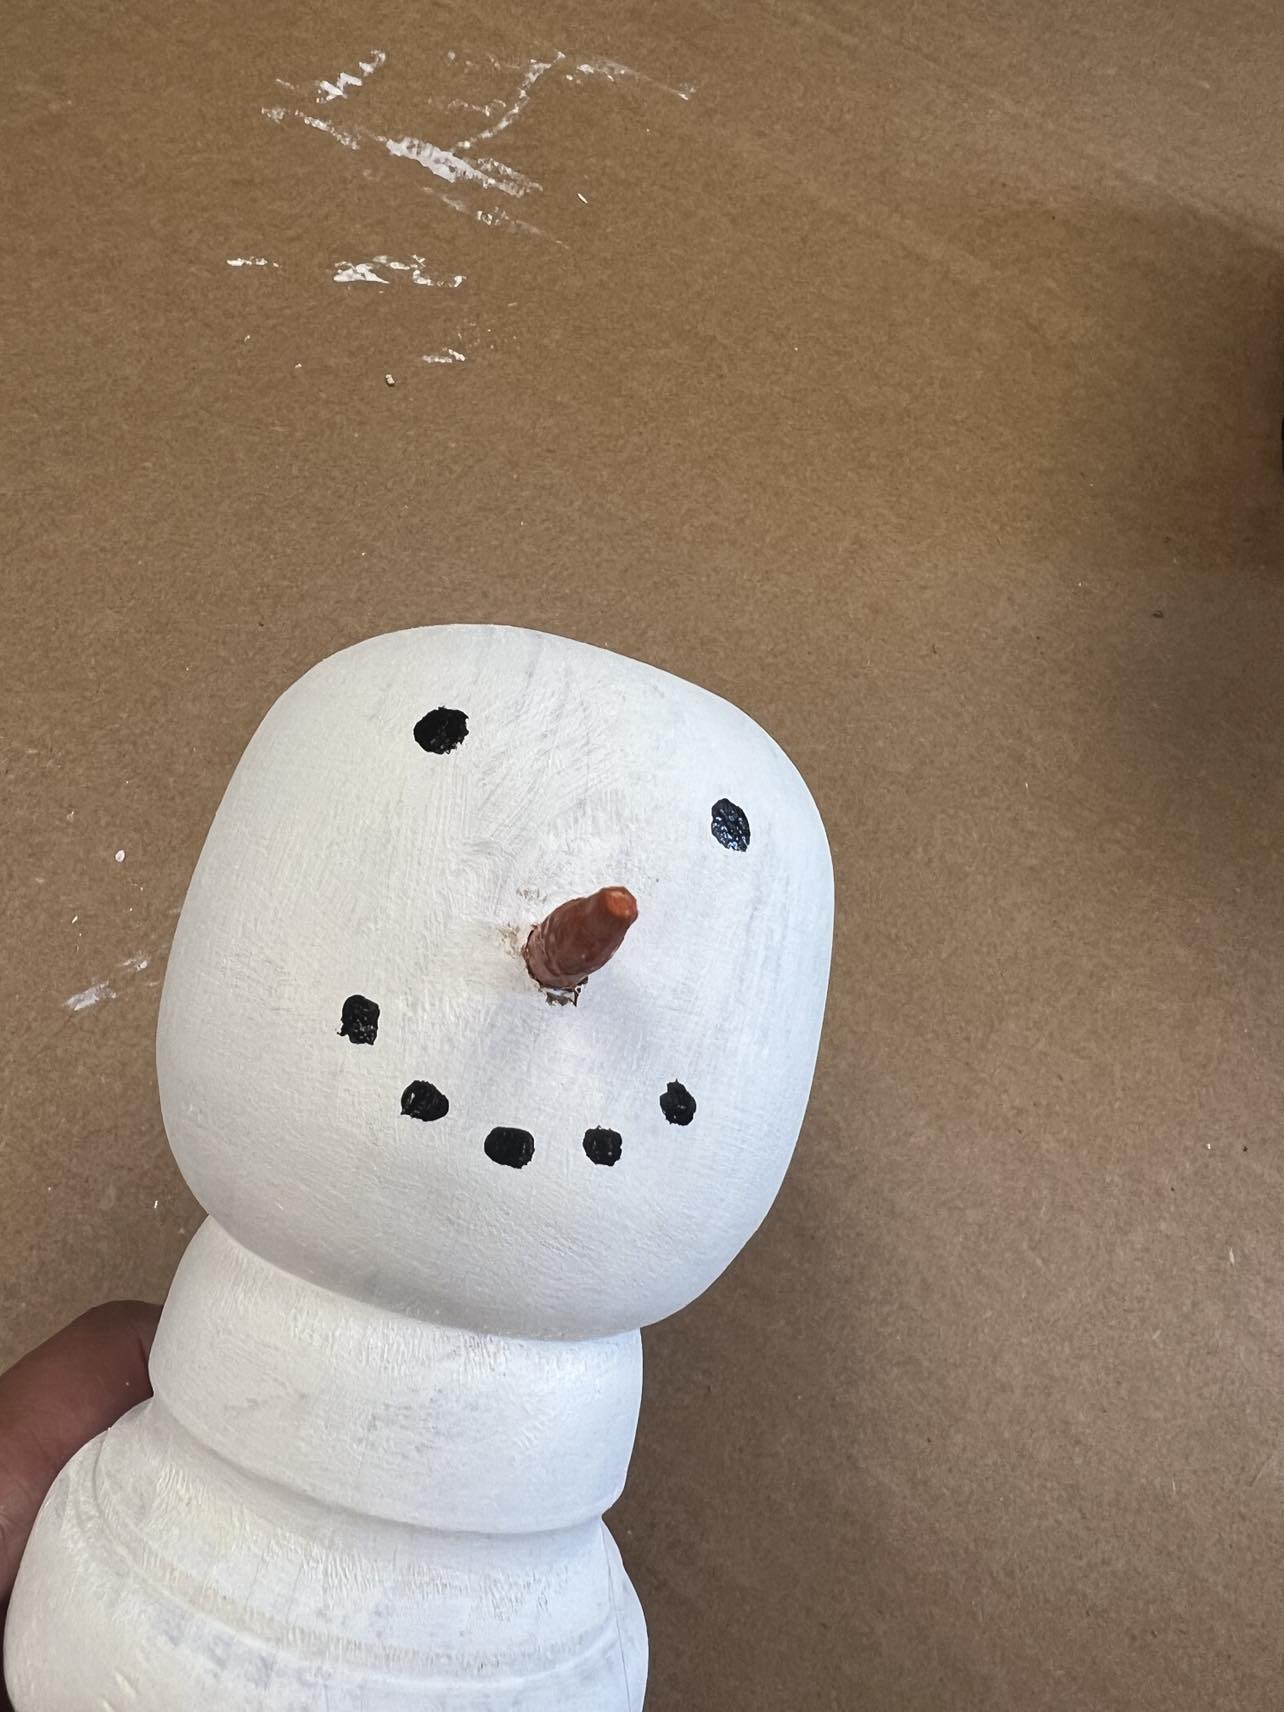
The next step is to drill the hole for the nose and arms to your snowman.
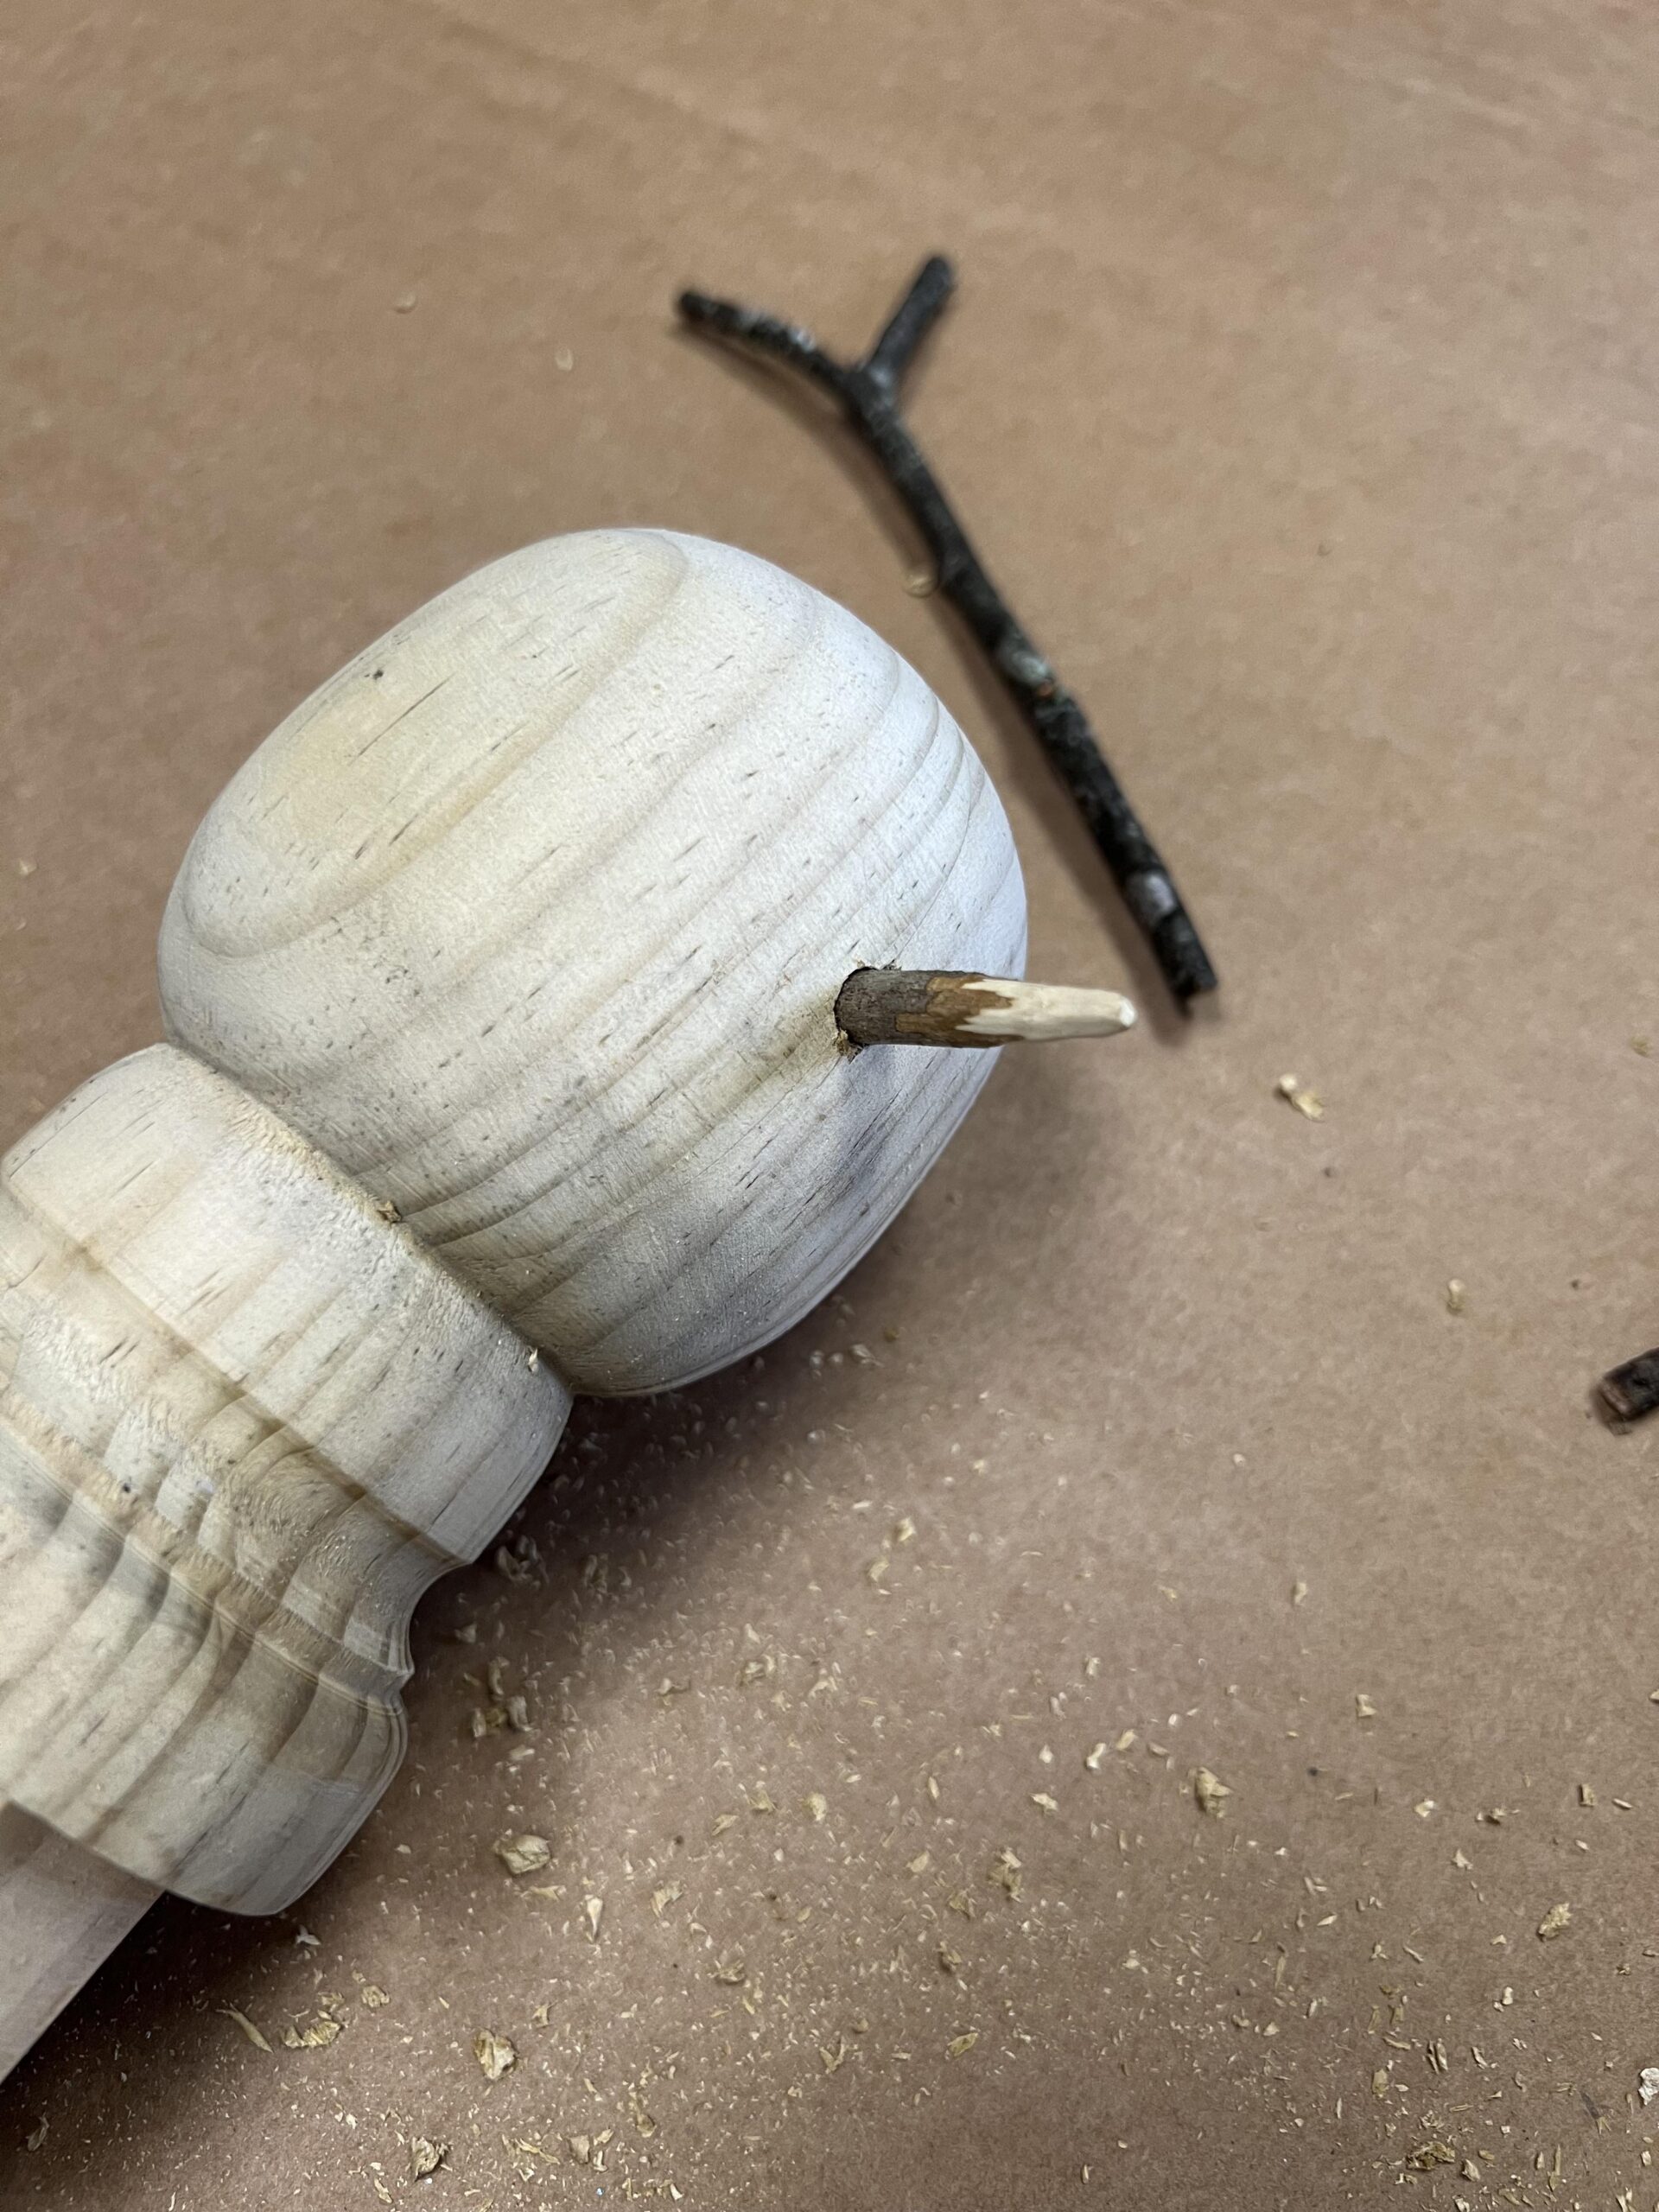
I’m using sticks from my yard for the nose and arms. You can use scissors to create a point for the nose.

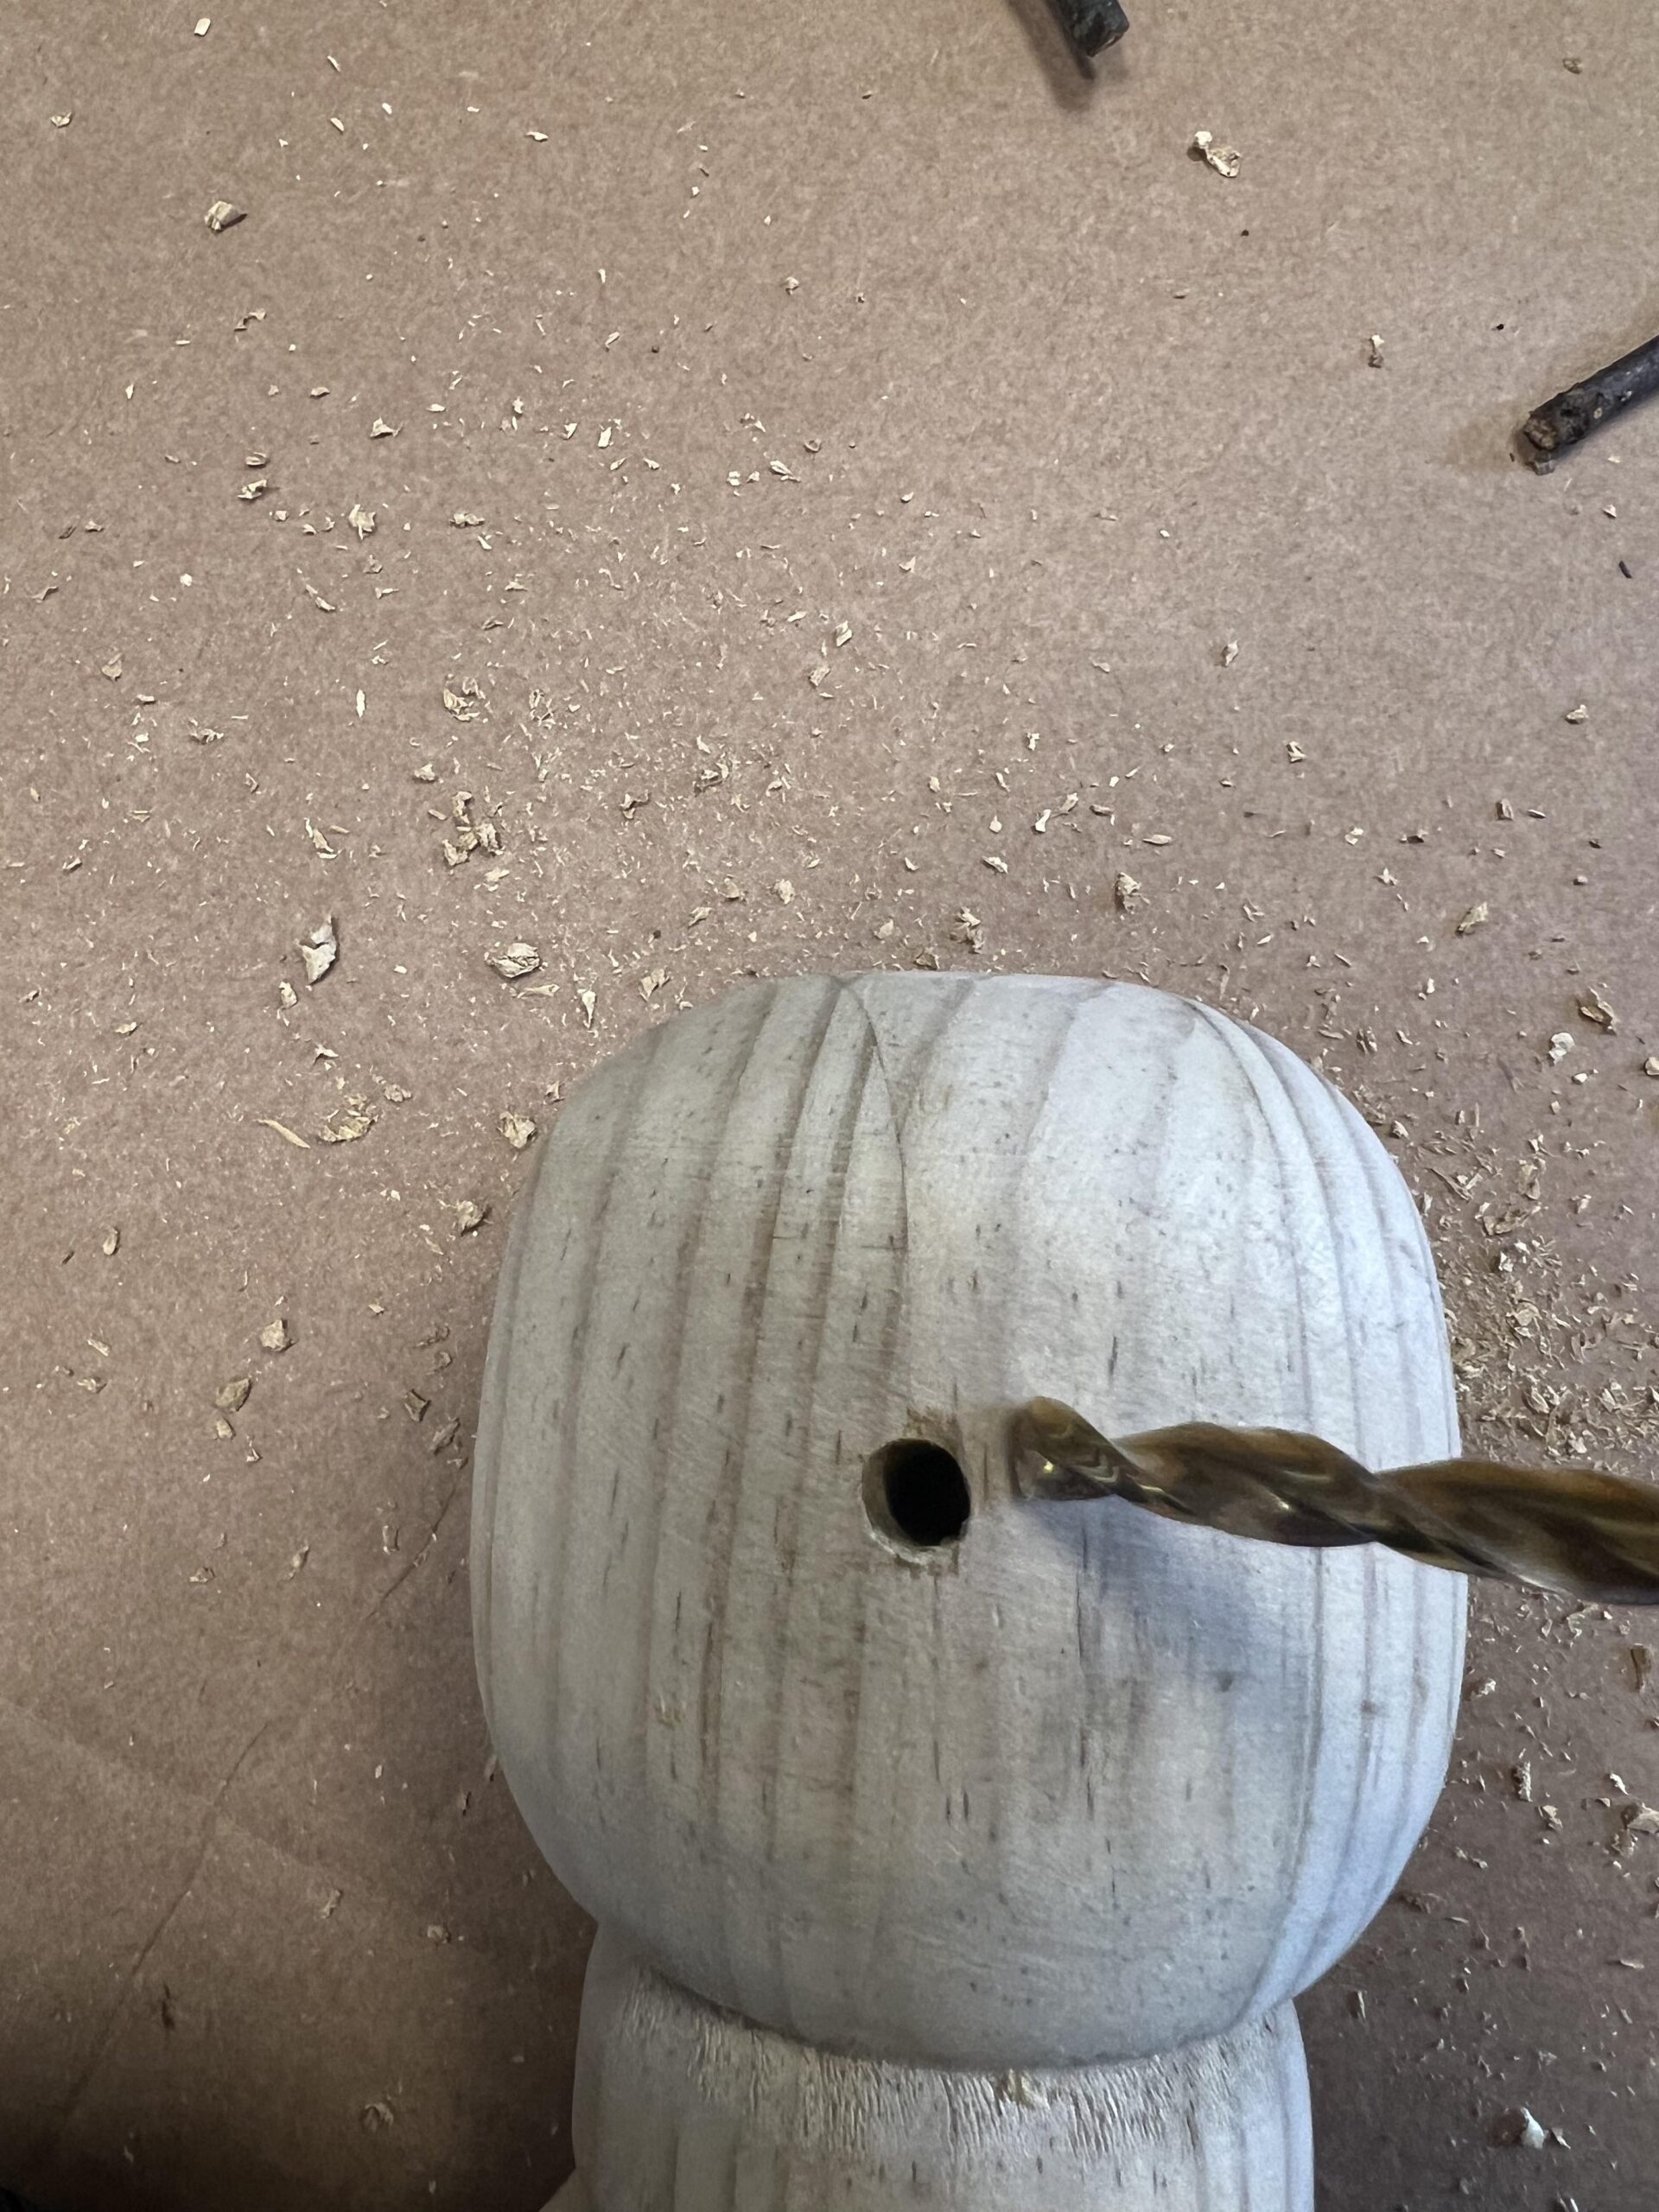
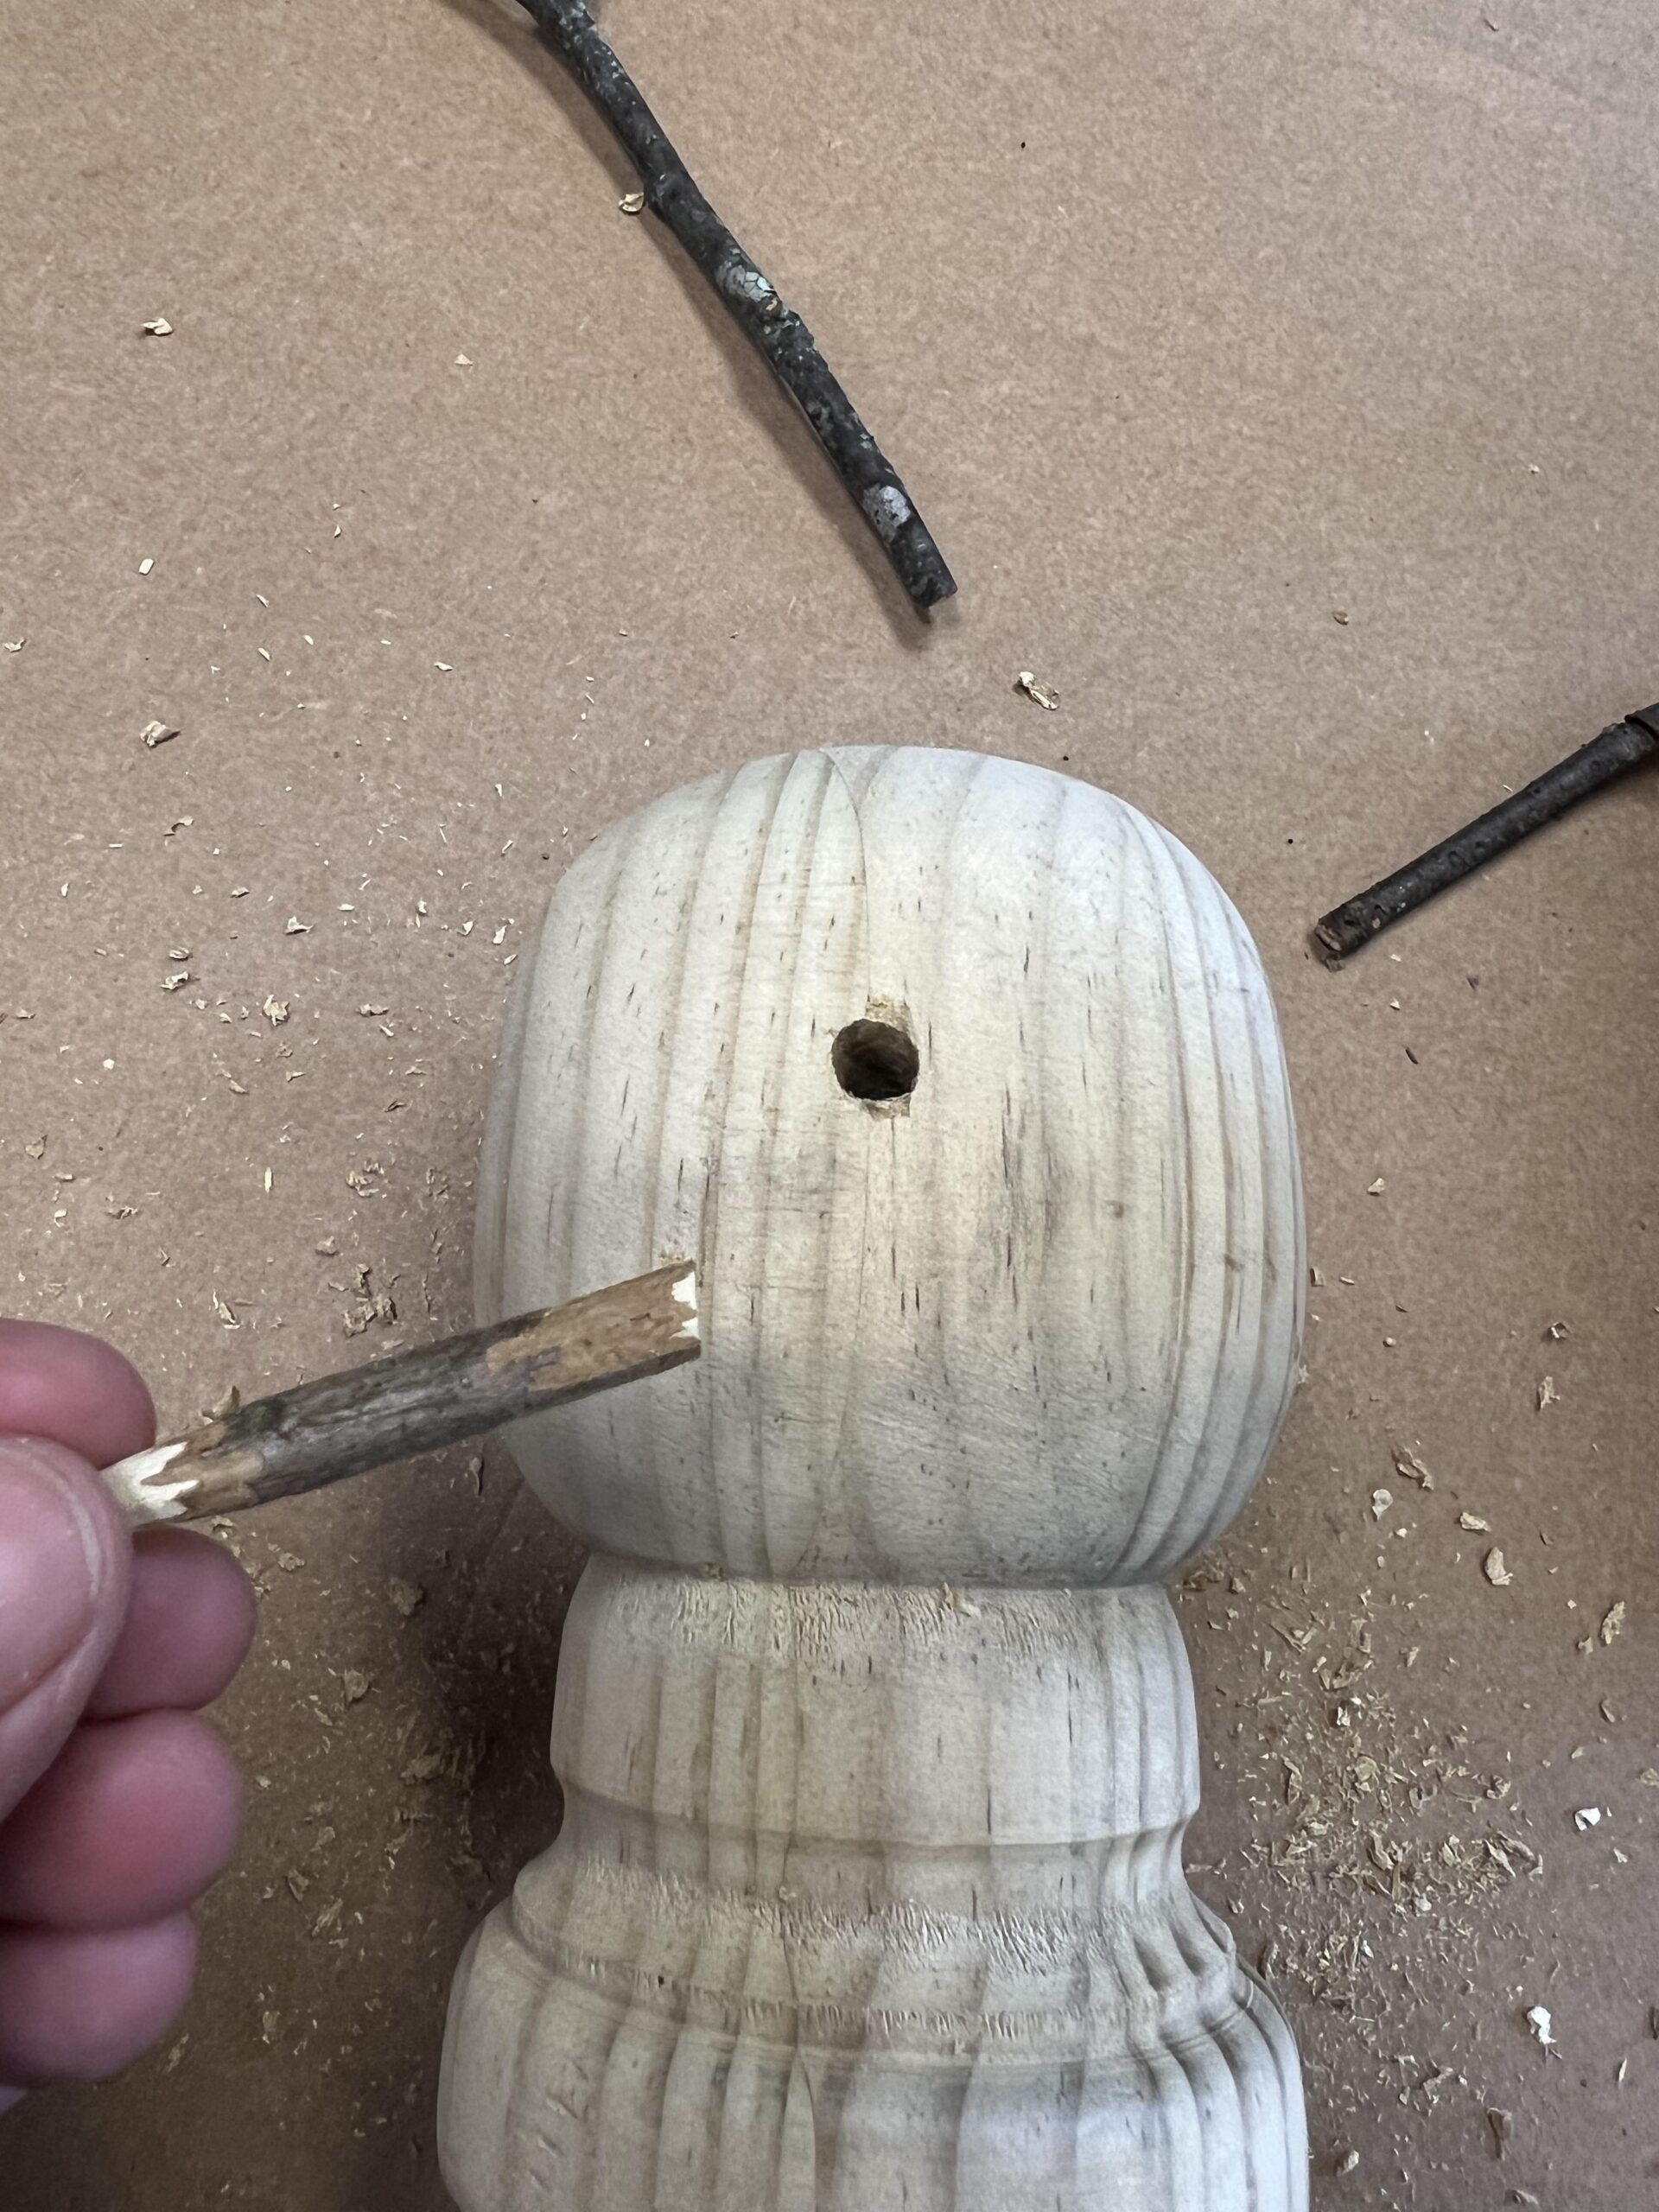
You’ll drill your holes the same width as your sticks.
Once you have the holes drilled the next step is to paint your snowman.

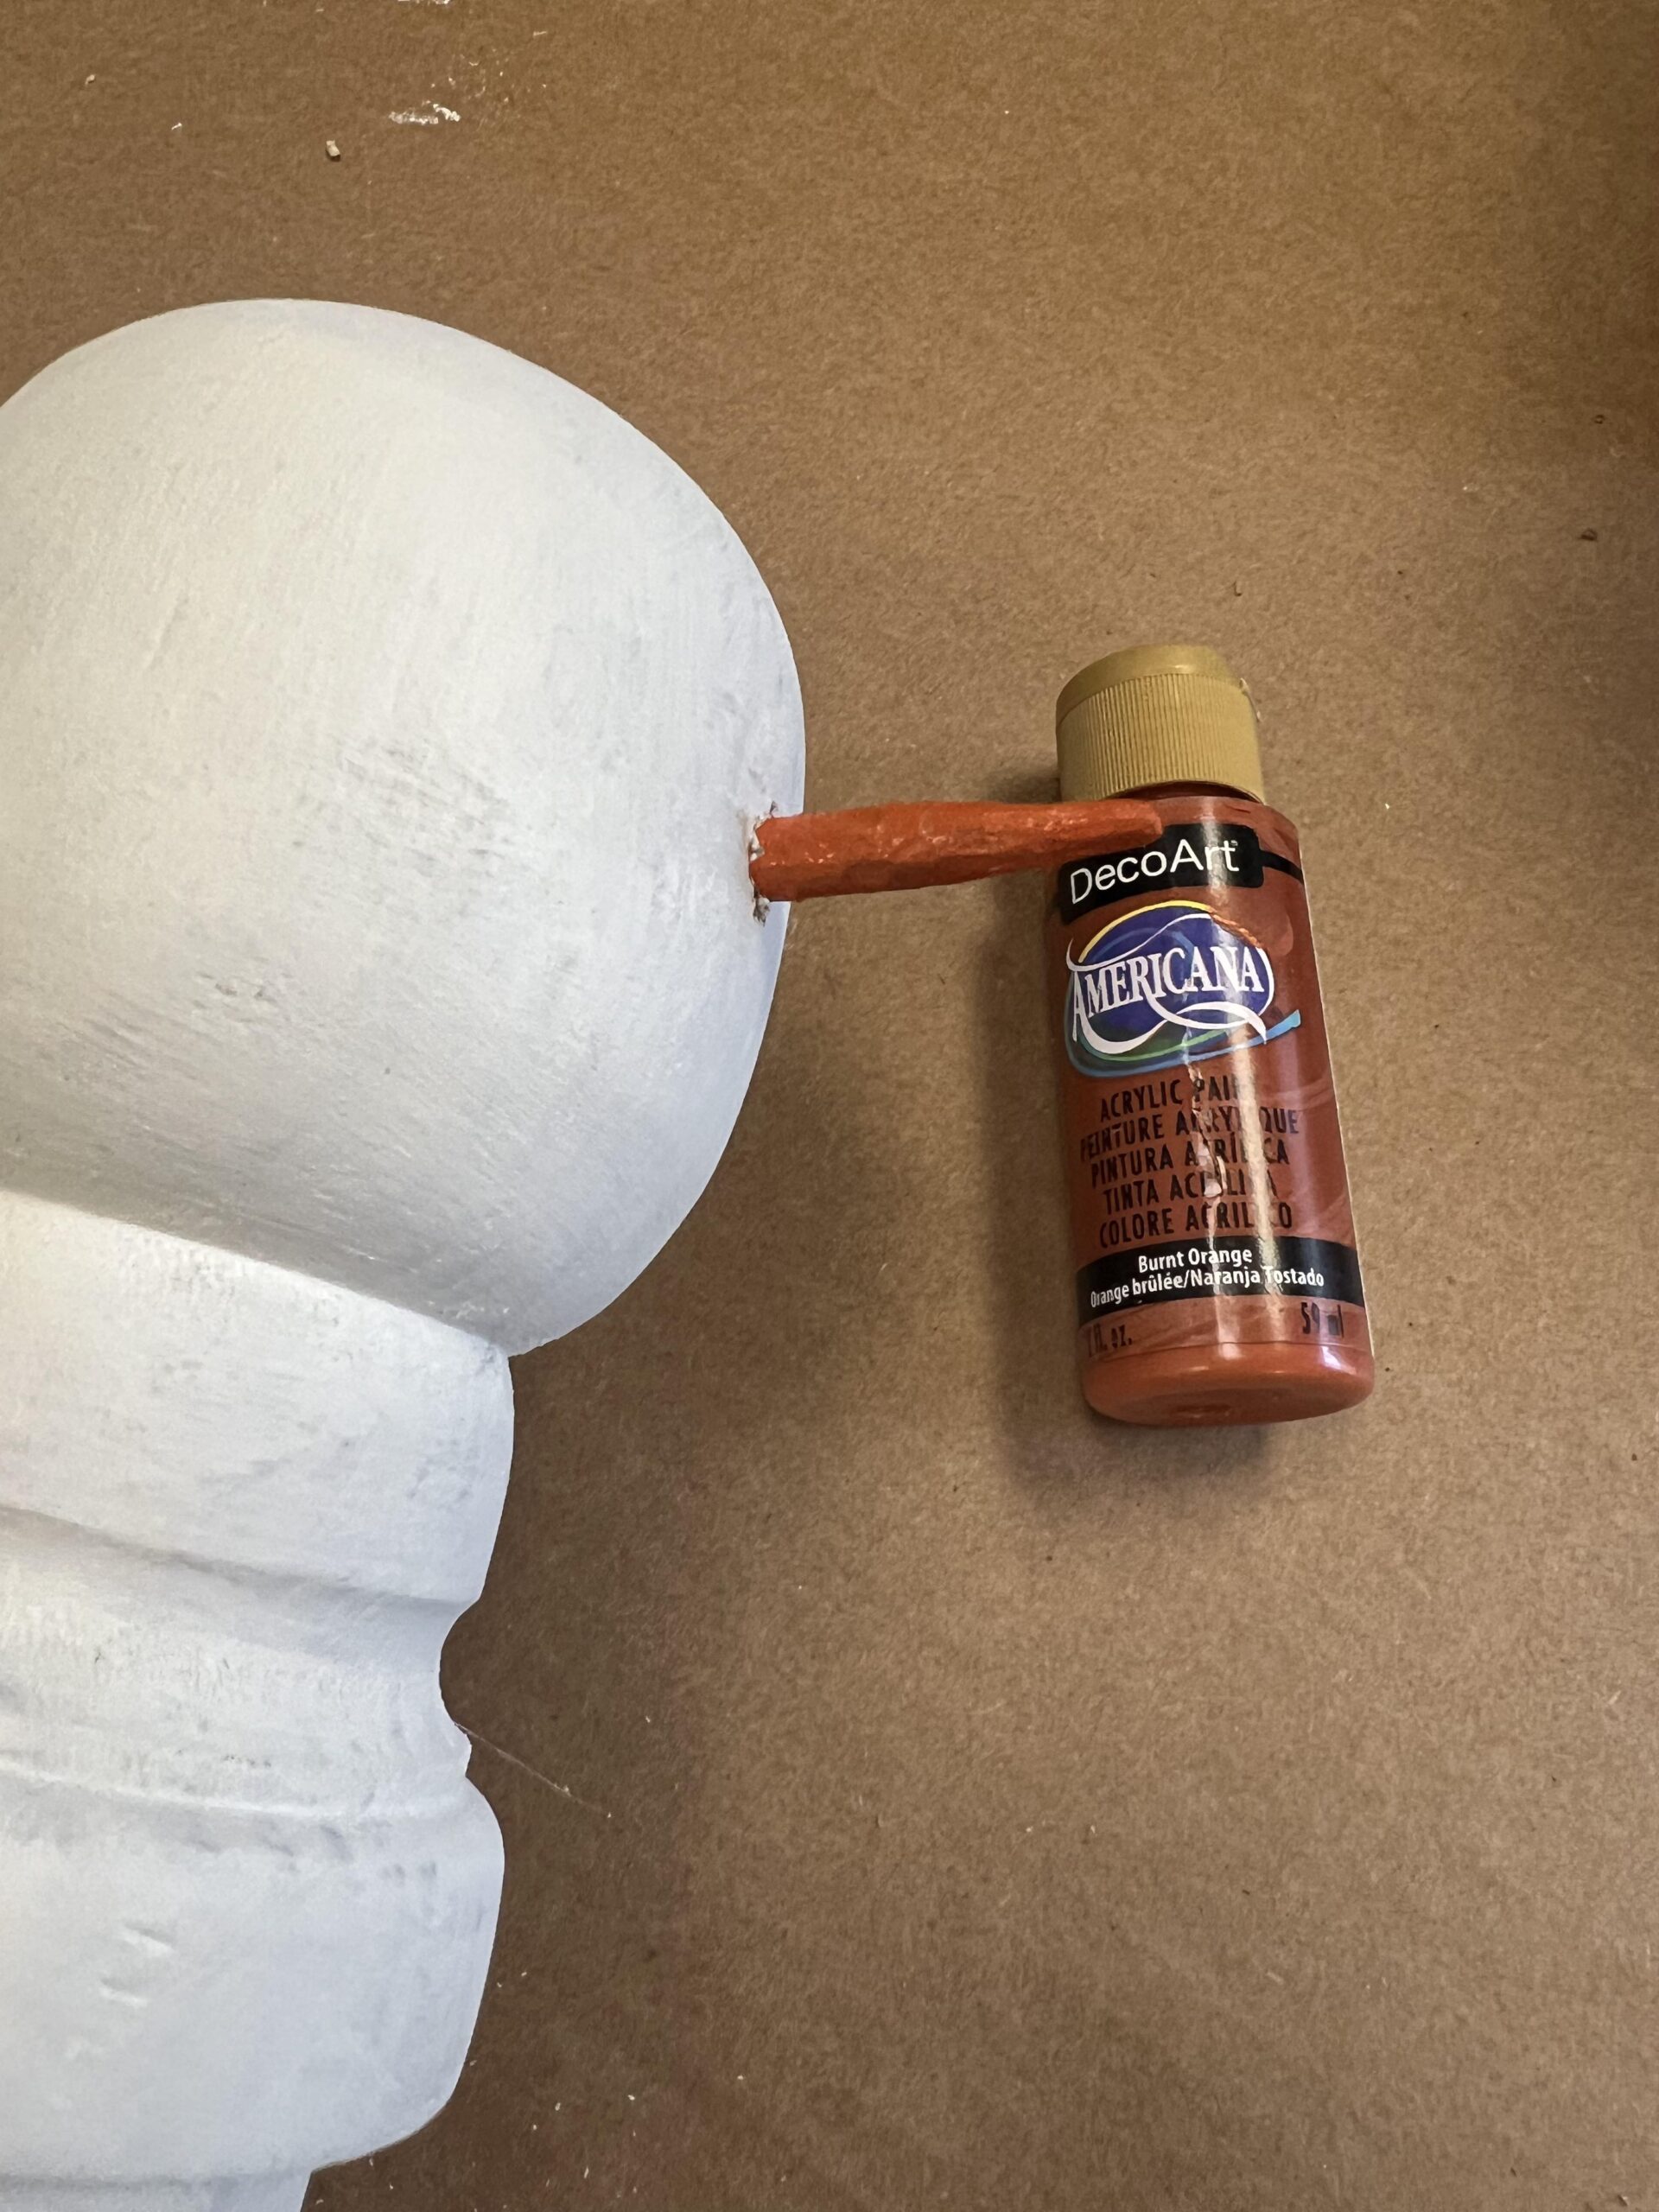
I painted the nose with the Burnt Orange paint and used the black to create the eyes and mouth.
Once the face is totally dry I then painted on the Elmer’s glue.
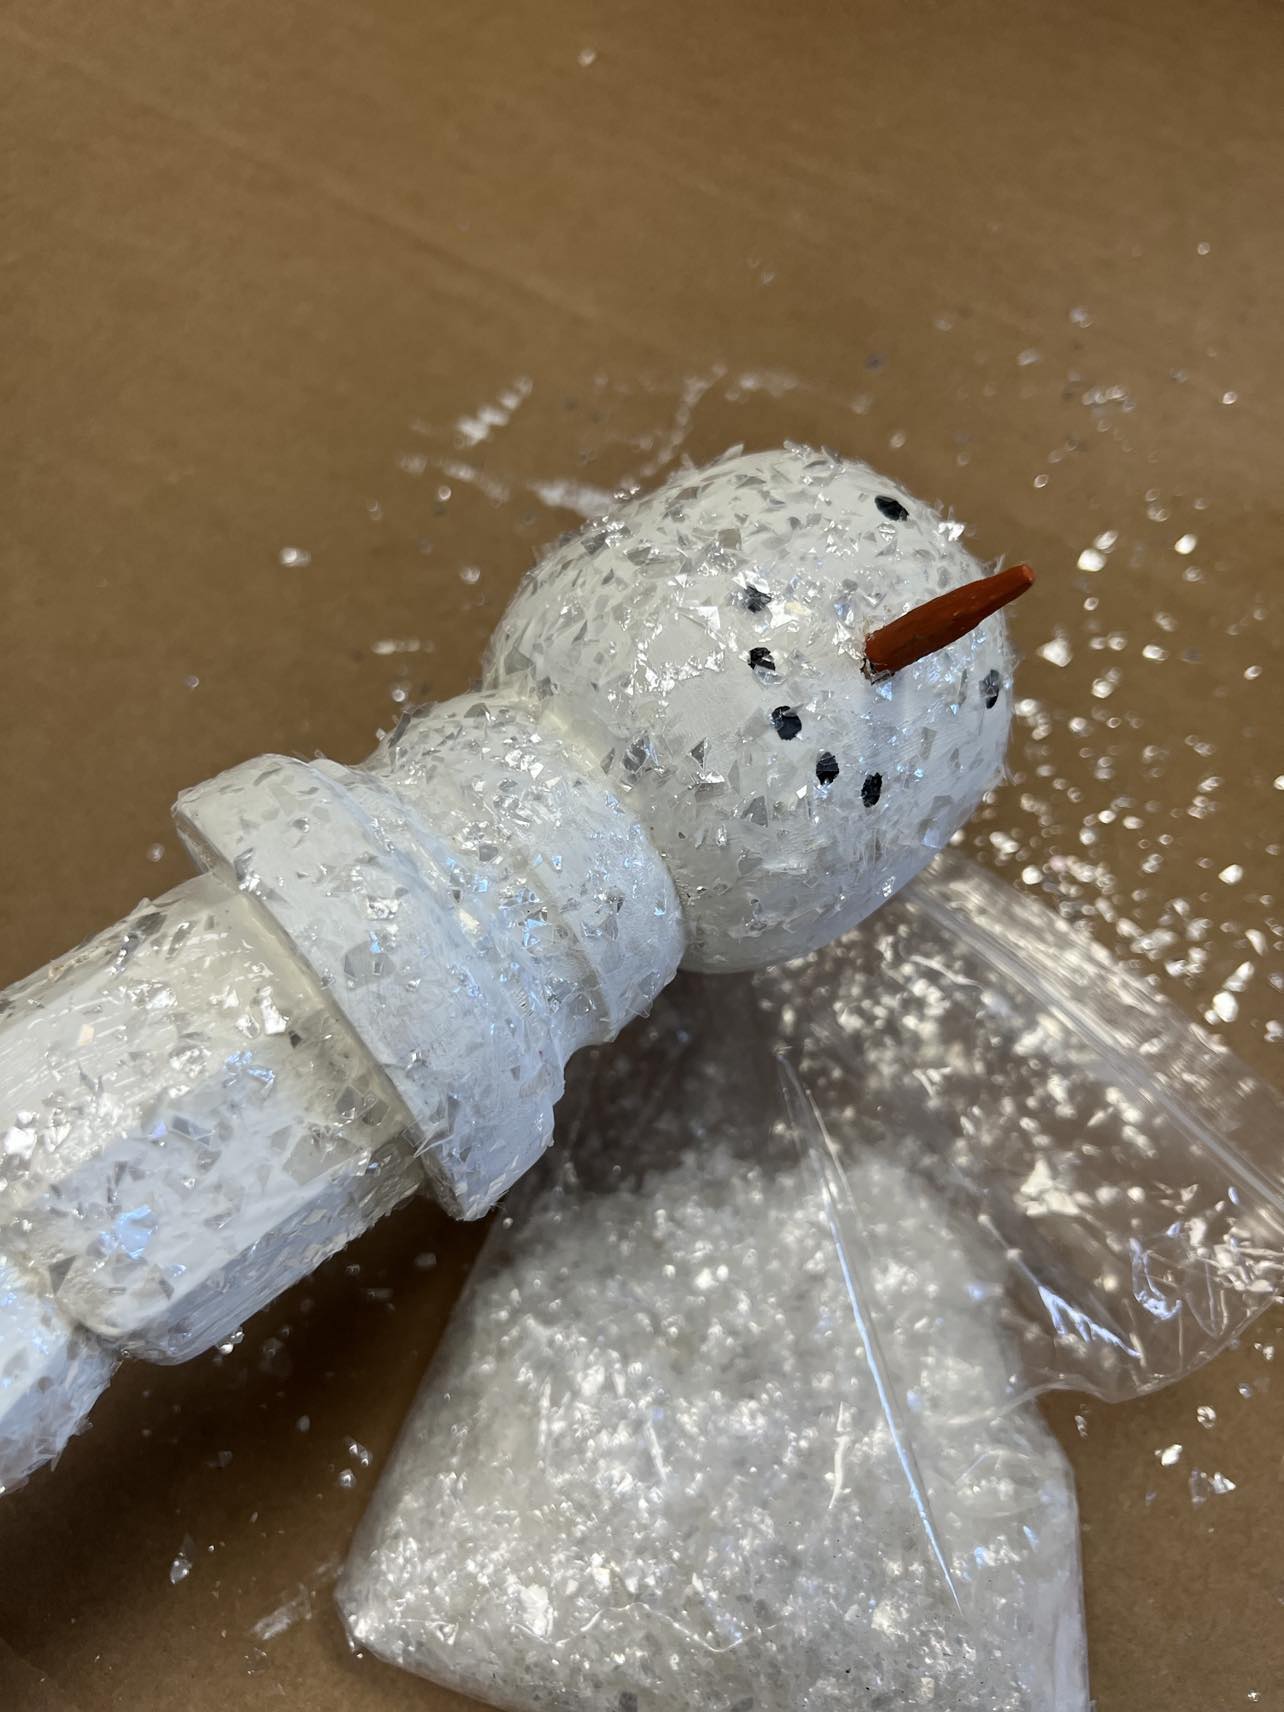
I painted the entire body of the snowman with Elmer’s glue and then I sprinkled on the Mica flakes.
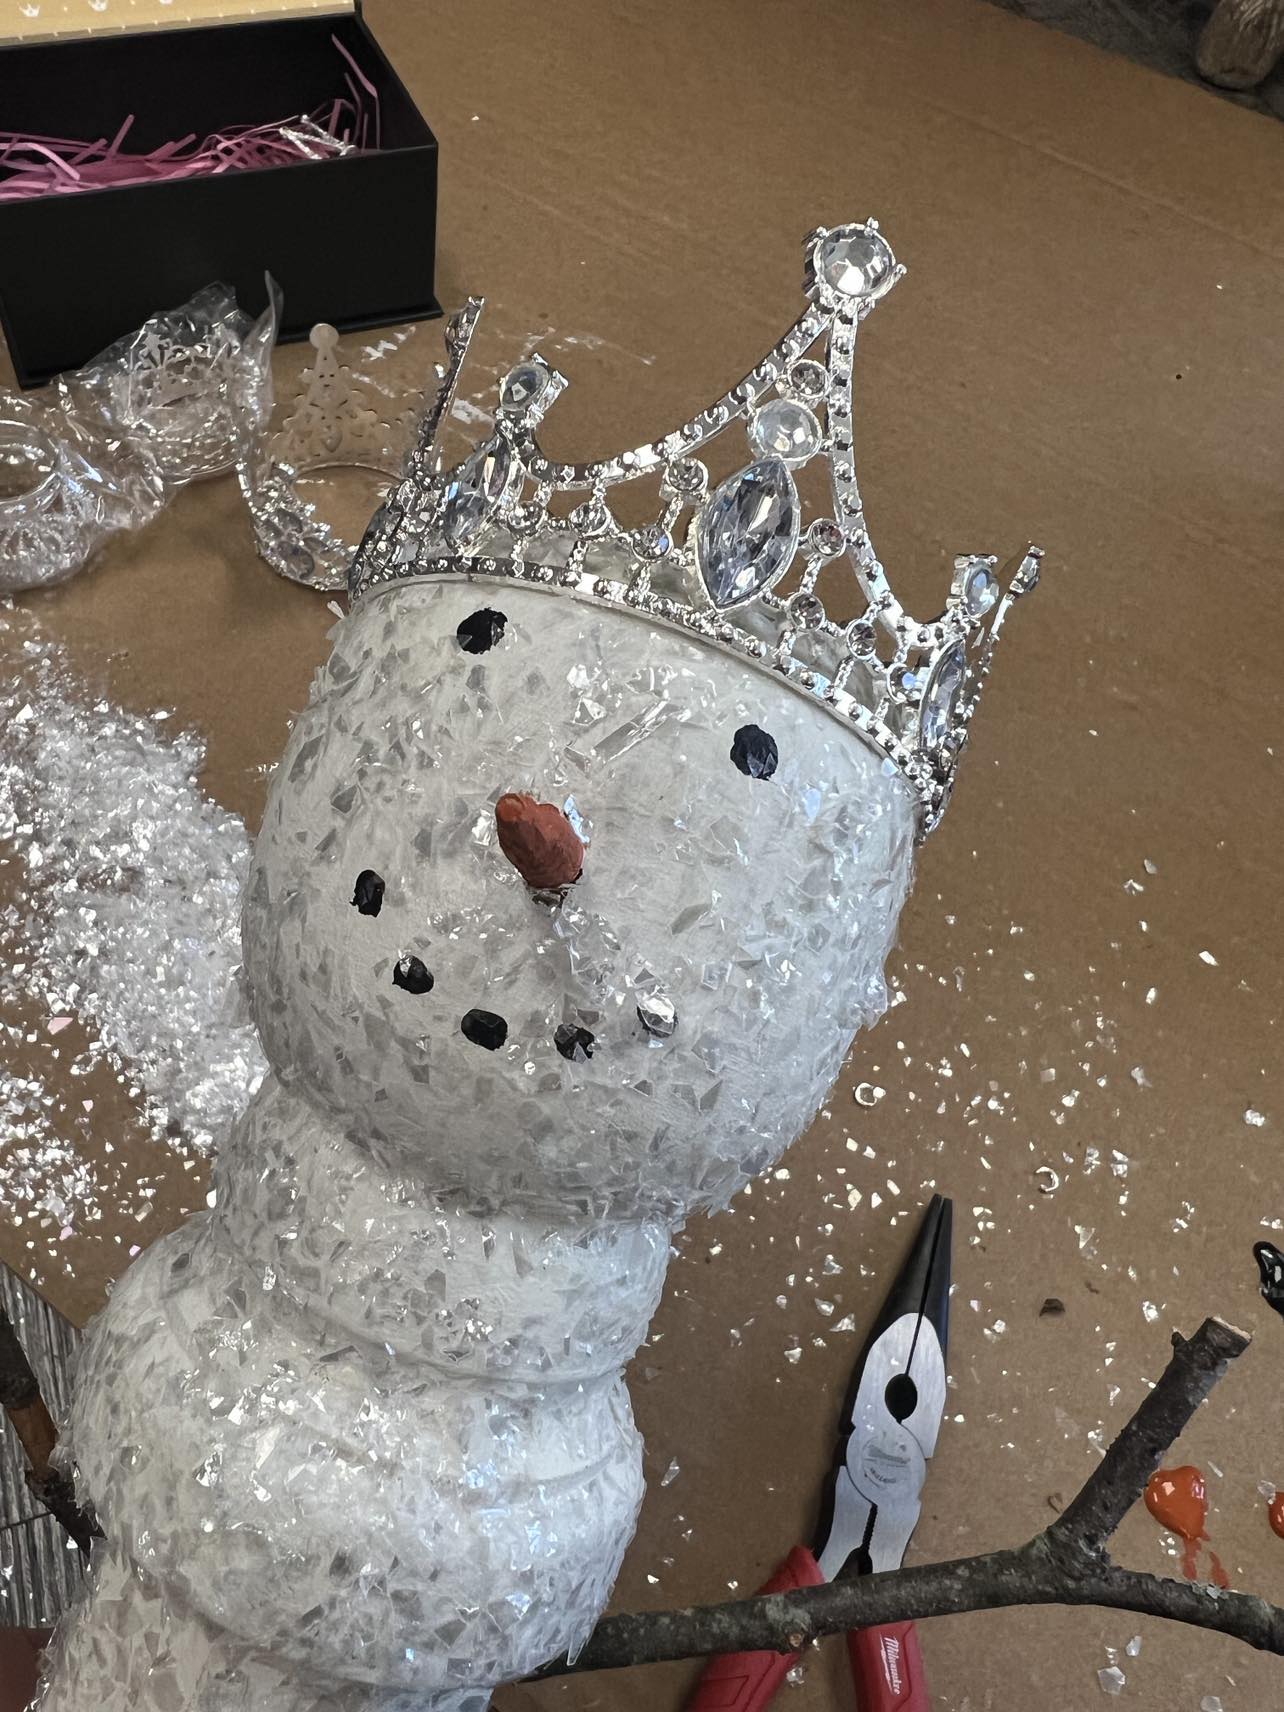
I added a large blinged crown from Totally Dazzled to the top of my snowman. You can click my affiliate link down below to find the crowns on Totally Dazzled.
You can find the Mica Flakes on our website by clicking the link down below.
https://theshabbytreeboutique.com/shop-mBiWY/p/mica-flakes?rq=mica%20

I added the larger crown to the head of the snowman because it fit snug and did not need any glue. I love how easy this snowman was to make. I added some ribbons around the neck of my snowman with a small bling glued on.
I hope you’ll get creative and give this snowman a try.