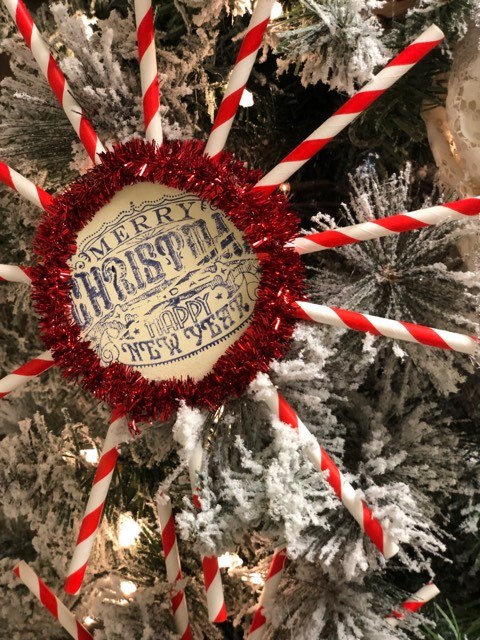
I am loving the colors and prints that you can find in paper straws. You can find a variety of them and I knew when I saw the red and white ones I just had to incorporate them into a Christmas ornament.
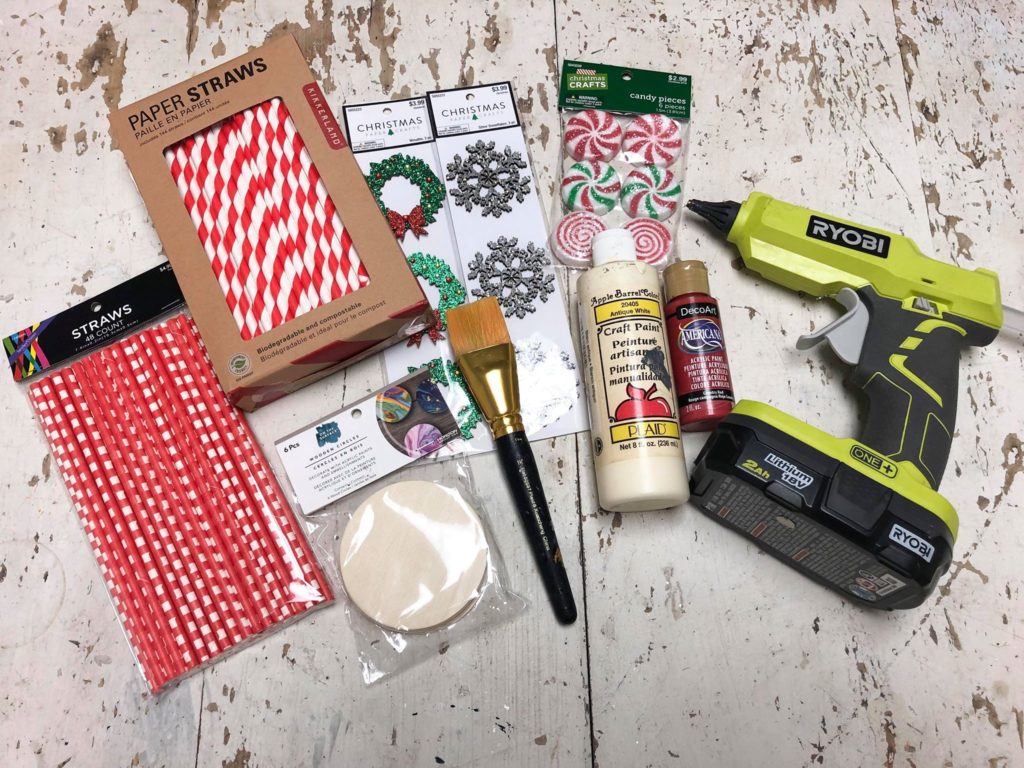
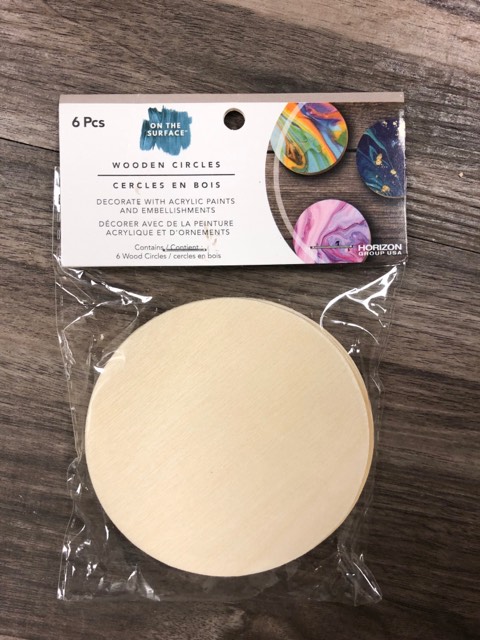
Some of the supplies you will need are: 1. Paper straws ( any print or color you want to use. I found these at Hobby Lobby and Michael’s). 2. Wooden circles ( this is optional and can be replaced with a variety of other items ). 2. Paint ( I am using a red and a cream). 3. Scissors 4. Hot glue gun 5. Paint brush 6. Any embellishments you would like to add to the front of your ornament. I am using items I got from Hobby Lobby.
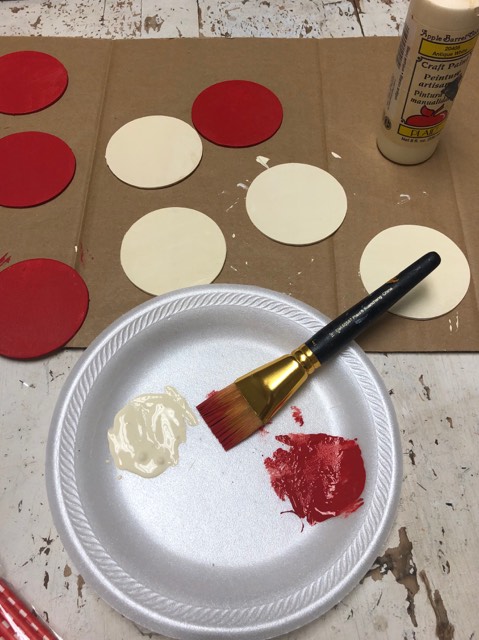
The first thing I did was paint my wooden circles. I am using wooden circles but you could also cut circles out of card stock paper which would also work for this project.
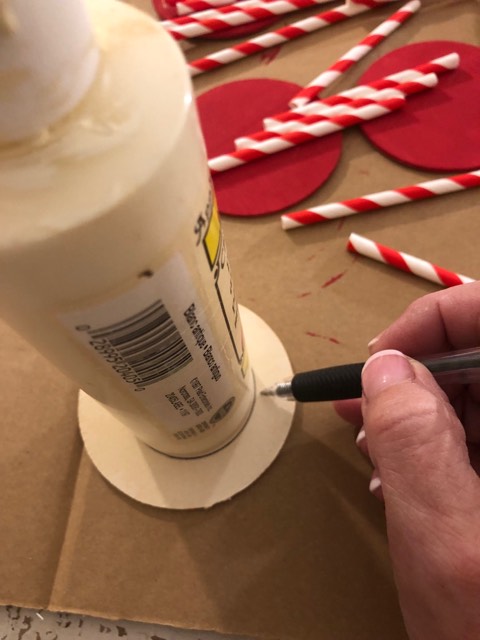
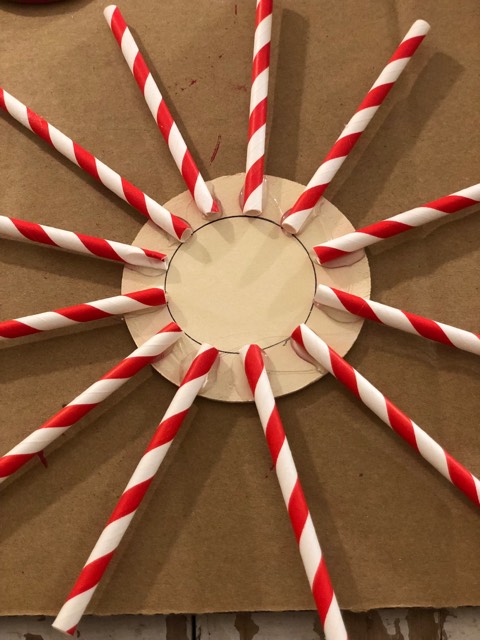
Once my circles are dry I drew a smaller circle in the center. This is so that I have a way to line my straws up so that they are all even around my circle. I just took my paint bottle and used it to trace my smaller circle.
I then bent 6 of my straws in half so I can evenly cut them. I will cut 6 straws in half now giving me 12 straws all the same length. I then glued my straws around my backside if one wooden circle. I’m not measuring my spaces I’m just placing them where I think and gluing.
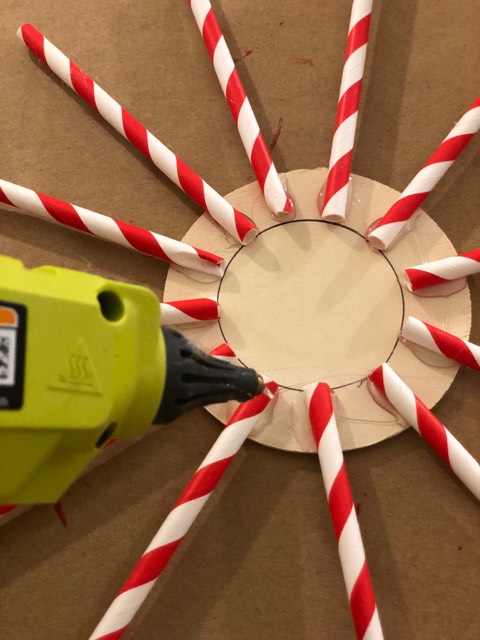
Once you have your 12 straws glued into place I then put glue on the end of the straws that are on the wooden circle. After I have the glue on each straw I then added my other wooden circle to the top.

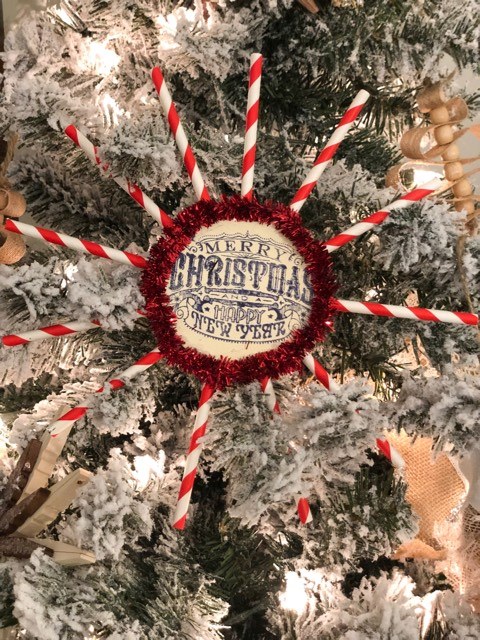
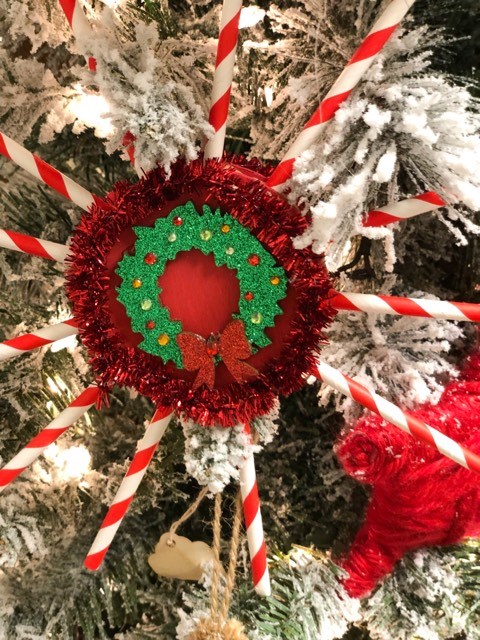
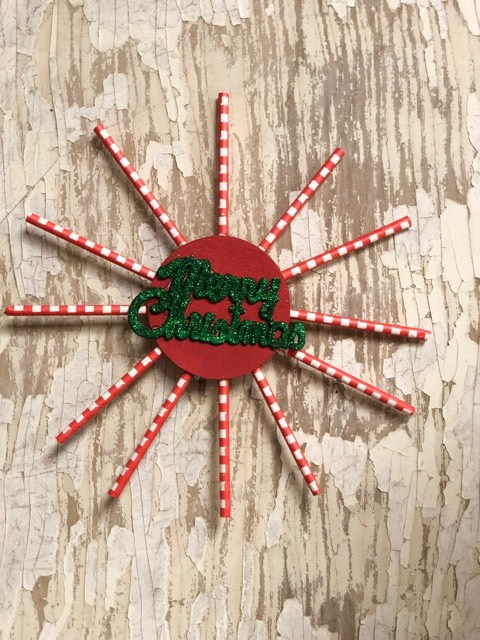
Now it is time to decorate the center of your ornament. I decorated both back and front centers. I side a variety of items. I even stamped on a few of them using my stampers from Hobby Lobby.
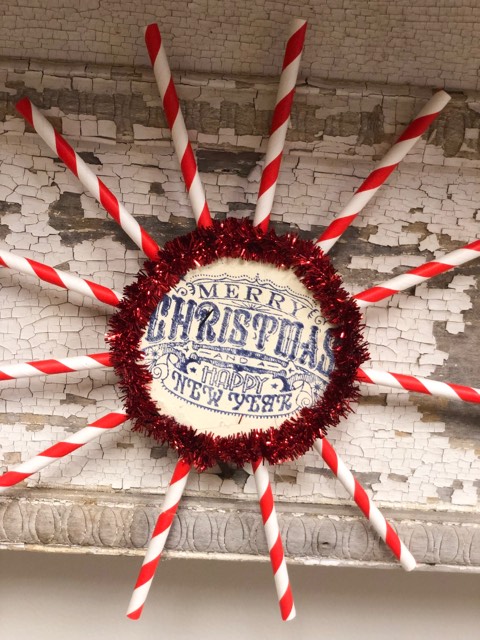
I even made one where I bent the straw and left it as a loop. You can see it in upper right of photo below.
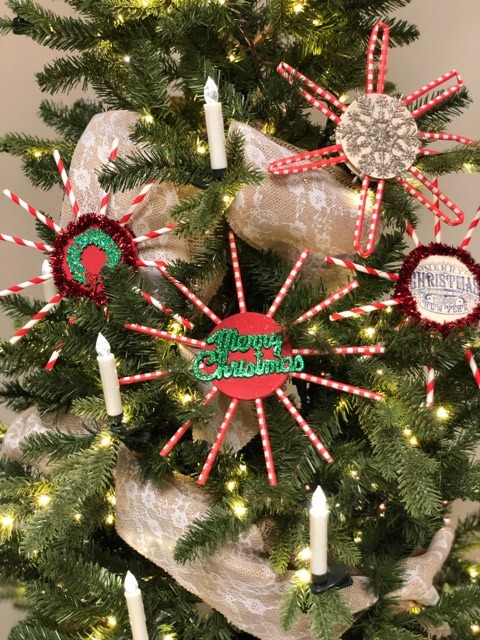
I hope you all give this fun diy a try. There are so many ways to decorate and create these ornaments to be unique in your own way.
Made these with my grandchildren came out so cute.
I love your ideas!! I want to make the gnomes, I got the little shoes but don’t know what else I need or the instructions on how to make them. Can you please send me the link??? Thanking you in advance for your help.
Love The Shabby Tree. So happy I found you a couple of months ago.
How. About. Cutting. Every other. Straw in half