If you love vintage Christmas treasures as much as I do, you’re going to adore this project! I found a vintage-inspired Santa mold on Amazon and decided to give it new life with a little casting resin — and the results turned out so sweet and nostalgic. Let me show you how simple it is to bring vintage charm into your holiday decor!
✨ Here are some helpful links to get you started:
-
Link to the Santa Mold: https://www.amazon.com/dp/B0CCHVRXFM?linkCode=ssc&tag=onamztheshabb-20&creativeASIN=B0CCHVRXFM&asc_item-id=amzn1.ideas.11JK0R5VRLGPY&ref_=aip_sf_list_spv_ons_mixed_d_asin
- Link to the casting resin: https://www.amazon.com/dp/B08R5B7XH4?linkCode=ssc&tag=onamztheshabb-20&creativeASIN=B08R5B7XH4&asc_item-id=amzn1.ideas.3P1T9U2GJA6TW&ref_=aip_sf_list_spv_ons_mixed_d_asin
- Link to my blog that goes into detail about how to use casting resin: https://theshabbytree.com/how-to-use-casting-resin/
Step 1: Make sure your mold is clean and ready — you don’t want anything stuck inside that could ruin your finished Santa!
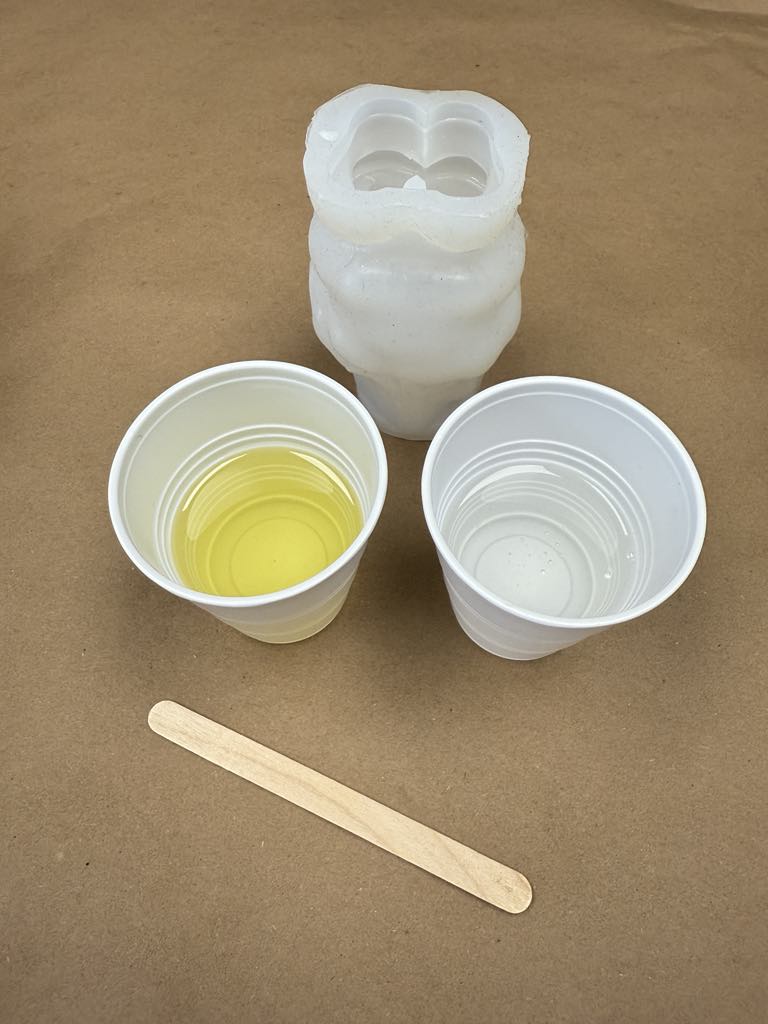
Step 2: Pour equal parts of resin A and B into two disposable cups.
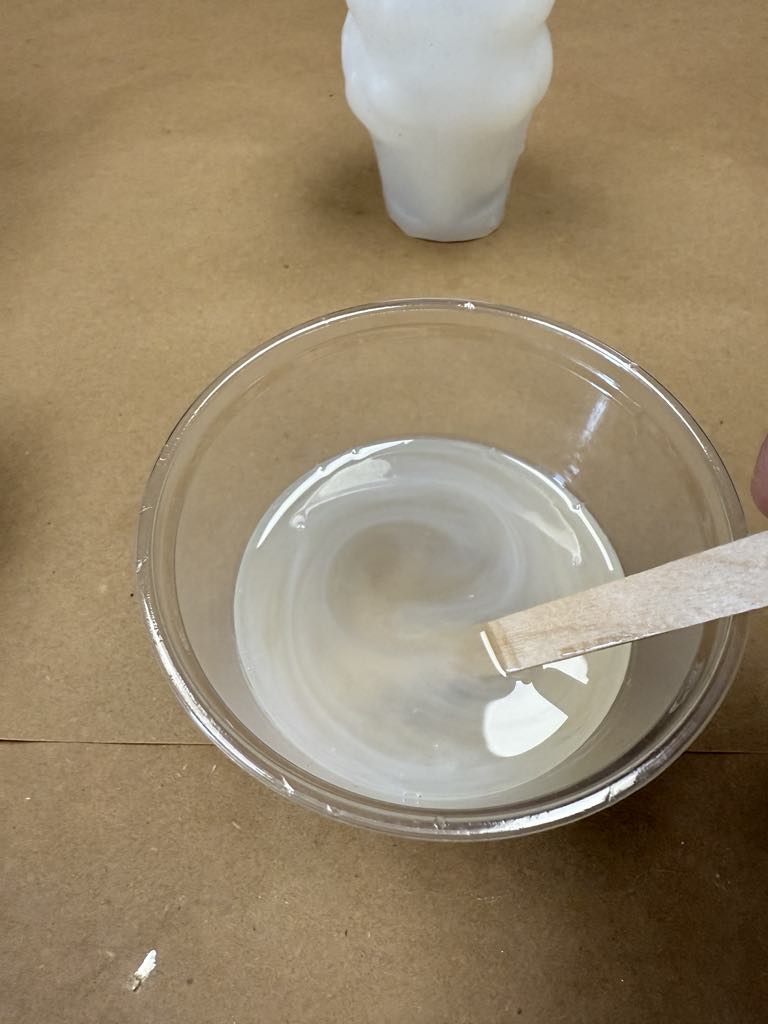
Step 3: Mix them together quickly — resin sets fast, so don’t wait too long!
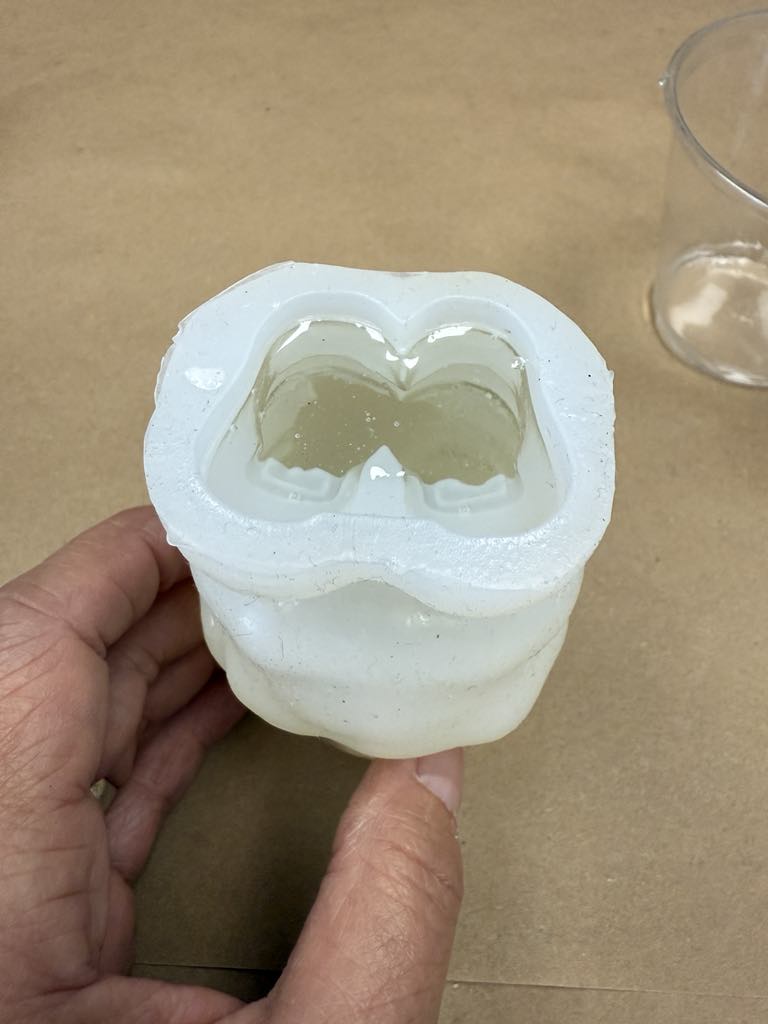
Step 4: Once it’s well mixed, pour it into your mold.
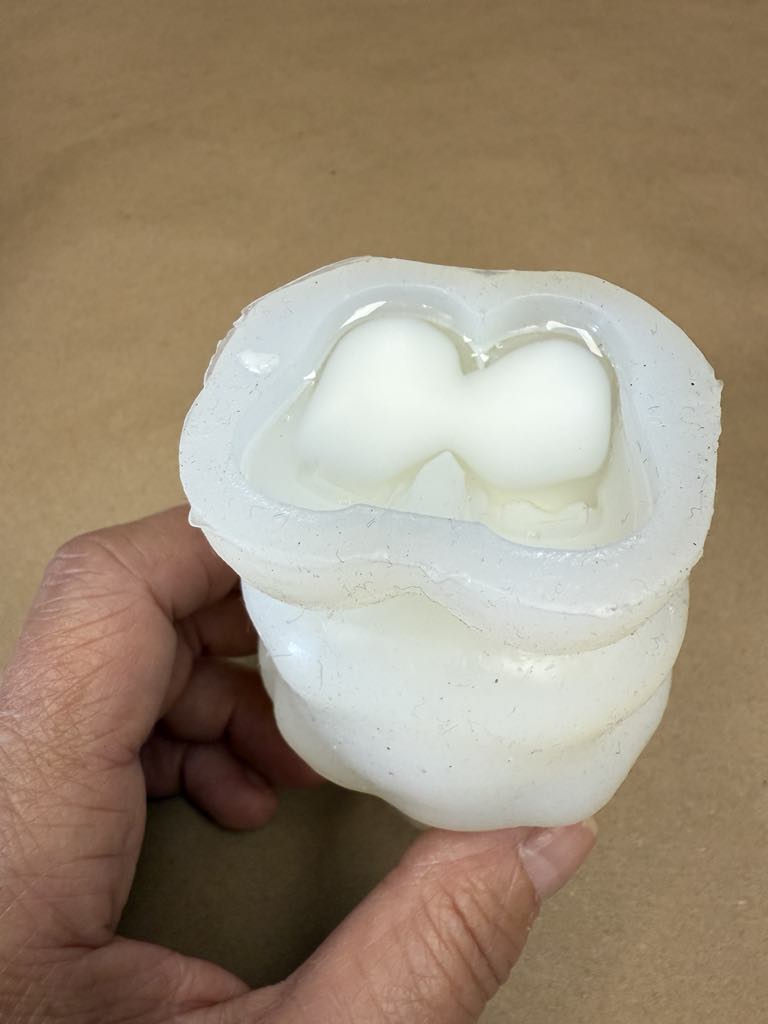
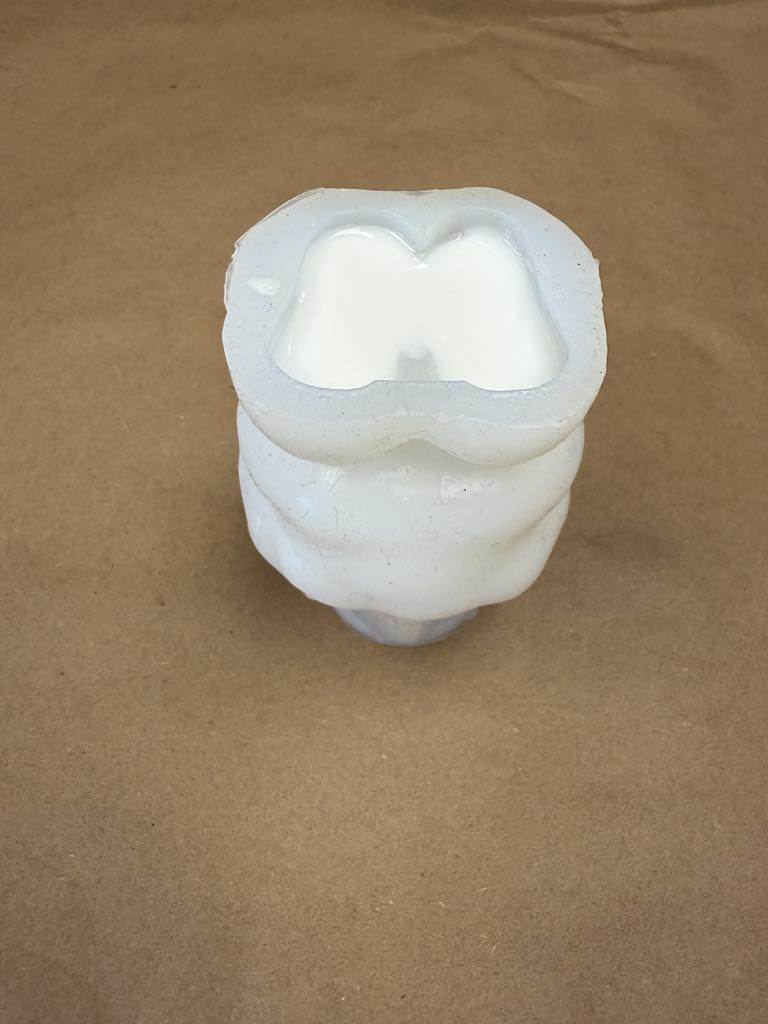
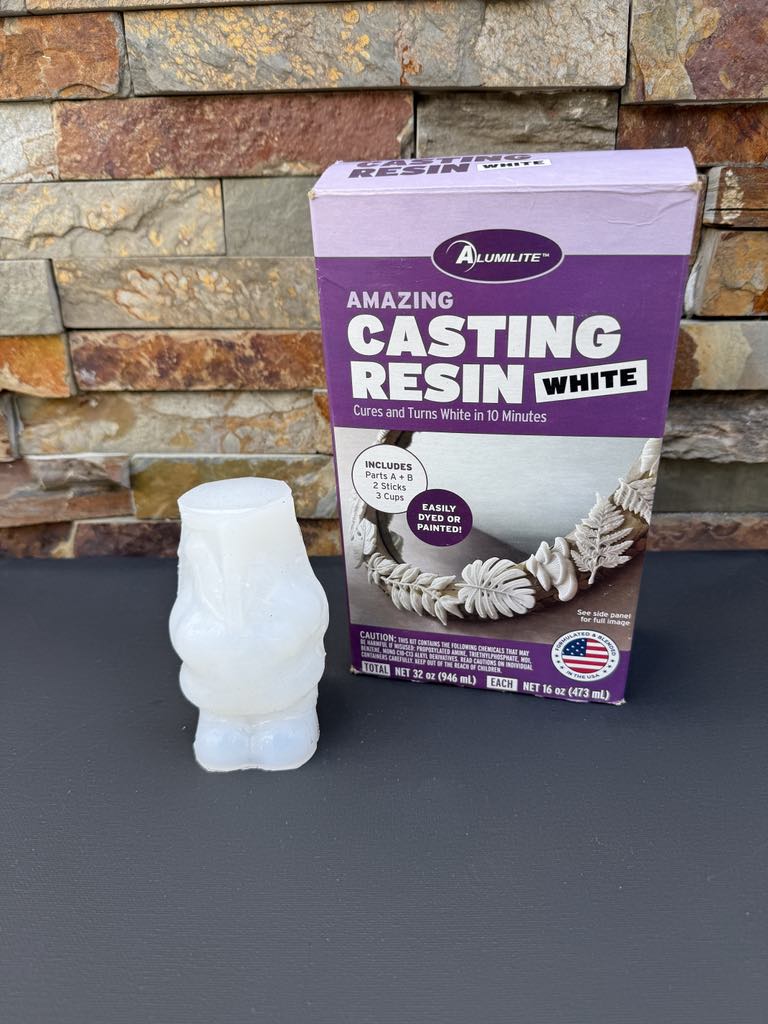
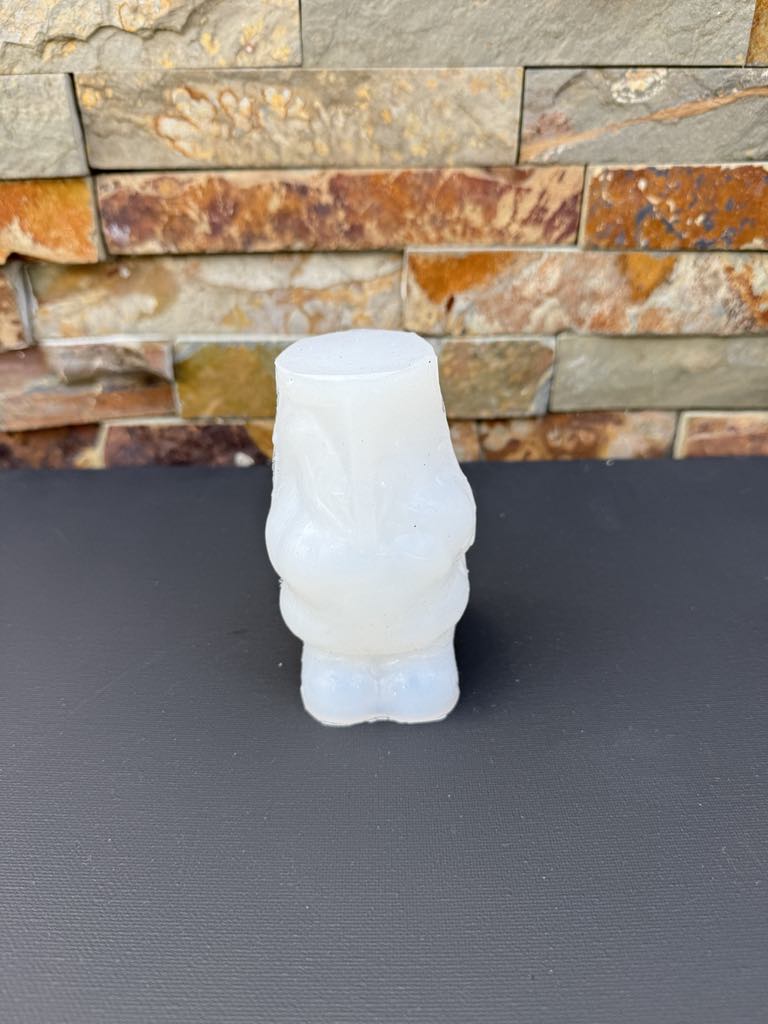
You’ll see it start turning white within a few minutes. It usually takes about 10 minutes to fully cure. Once it’s ready, gently peel the mold away and reveal your adorable Santa!

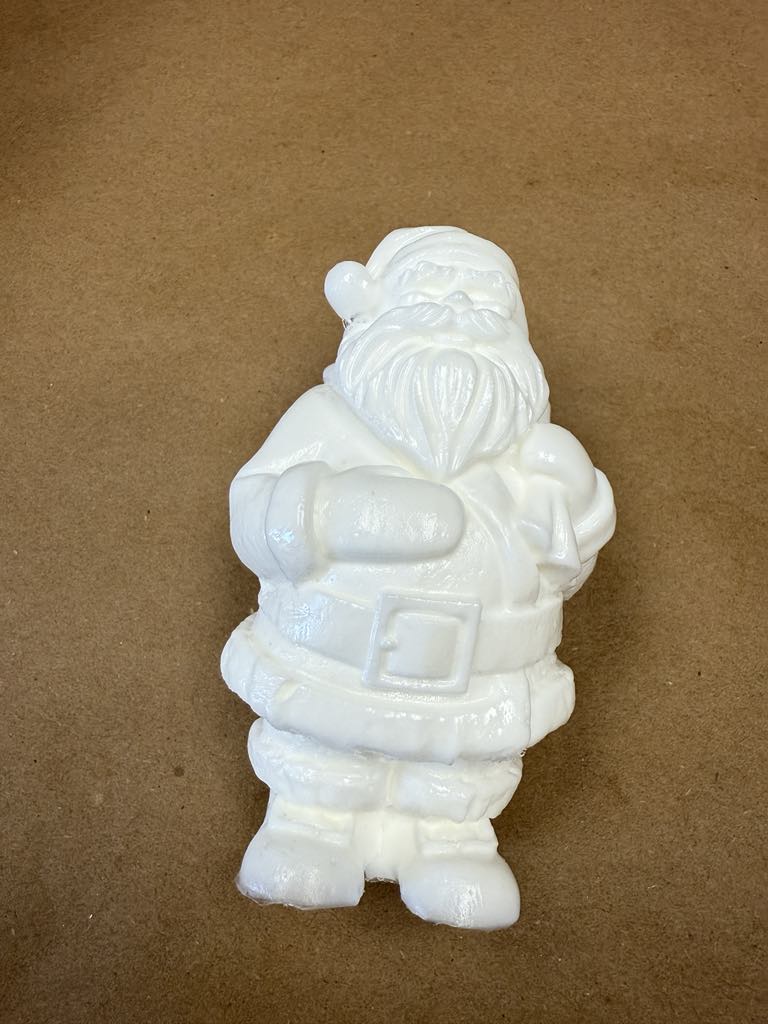
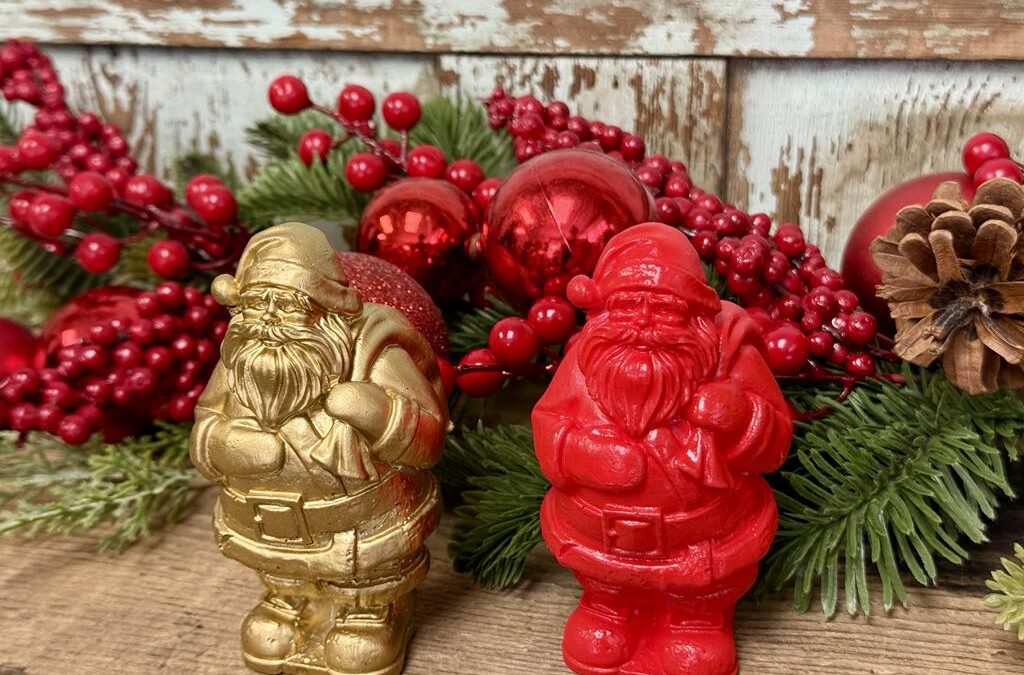
I just love how he turns out!
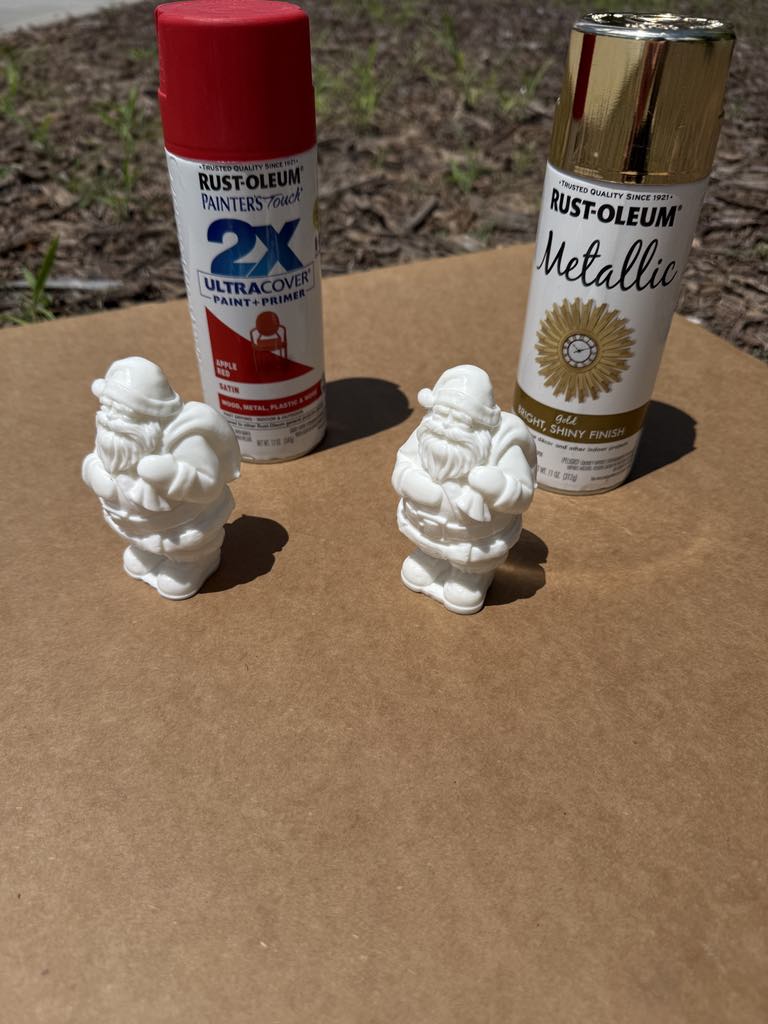
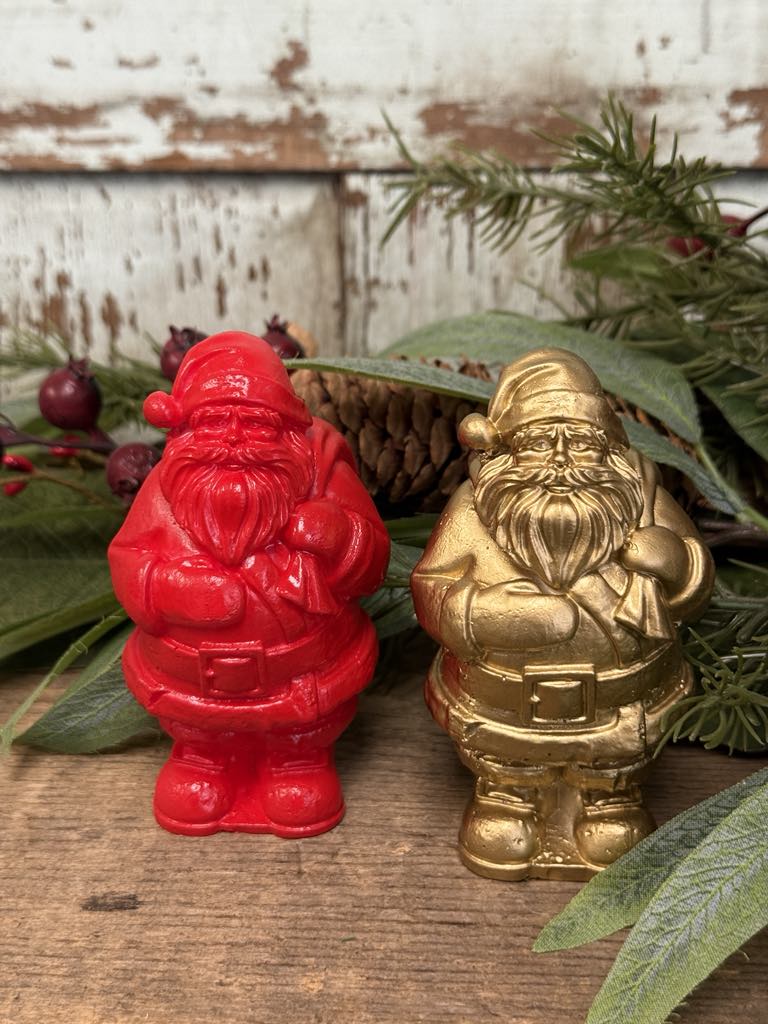
To make him really pop, give him a quick coat of spray paint — it brings out all the vintage details.
This blog may contain affiliate links, which means I could earn a small commission if you make a purchase through them—at no extra cost to you. Thanks for supporting what I do!
I love love love these !!!! I watched you last night making these you was just as amazed as we was … thanks again for sharing ❤️
I really like the gold one more. It shows up all the details more.
Gold makes the details really pop! 💗
Gold is my favorite
Hmm I love them both but if I had to choose it would be the gold!! 😍♥️🌲
Barb, these are adorable. I’m one day to try it. It’s so cute.
Such a fun project! I absolutely love how the gold one looks!! Who knew casting resin could be so super cool??? Great job, Barb! 💖💖💖💖💖
The details are amazing with the casting resin..they both look awesome…
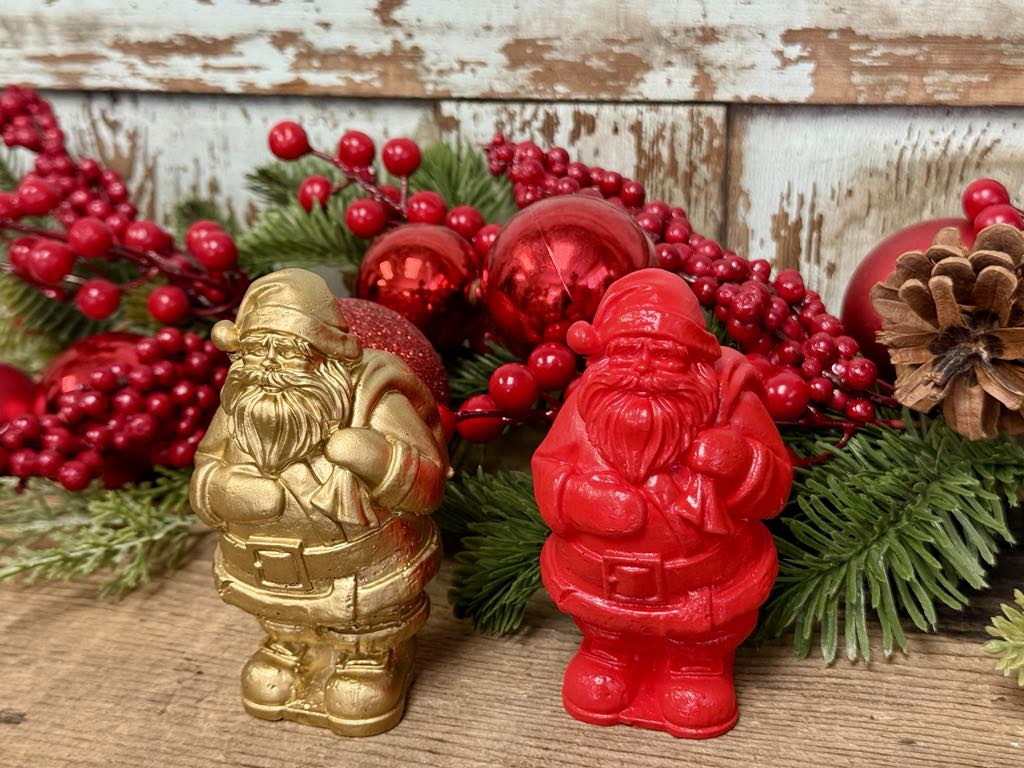
I love anything vintage when it comes to Christmas decor. I think these are so adorable!
If I had to pick one I think it would be red. But I love them both!
The Santa’s are to cute !!!!
Got my Santa’s and my white resin now I just need to get over being scared and give it a trie ! Your’ s turned out so stinking cute. Watering 💦💦💦💦
I absolutely love the Vintage Santa Mold With Casting Resin!!! They both are beautiful but I LOVE the gold!!! ❤️
The detail is amazing and I love the gold one
Too cute 🥰
These Santa’s both look so great Barb but I LOVE the gold one he looks so vintage