Y’all know I love a good mystery box — and our Vintage Halloween Mystery Box did not disappoint! I couldn’t wait to dig in and start creating. I ended up turning some of the goodies into the cutest little ornaments, a few fun stand-up decorations, and even framed the vintage postcards for an easy piece of Halloween art. If you’ve been wondering how to use the treasures in your box, these simple ideas might spark a little spooky inspiration!
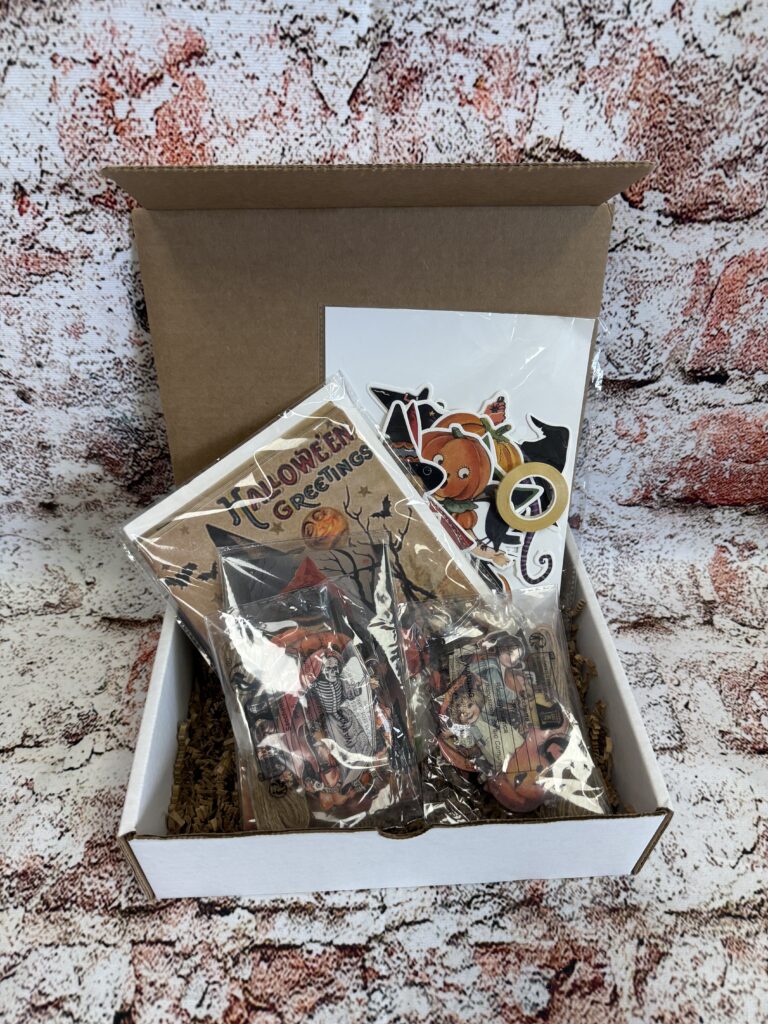
Here is what came with the box:
– 2 Banners: 1 pack had 15 pieces and the other had 9
-2 Packs Of Ornaments: 1 pack had 12 and the other had 14
– 1 pack of postcards that had 12 pieces.
These were the two banner packs that came in the mystery box, and I just love how each one has its own unique style and look!
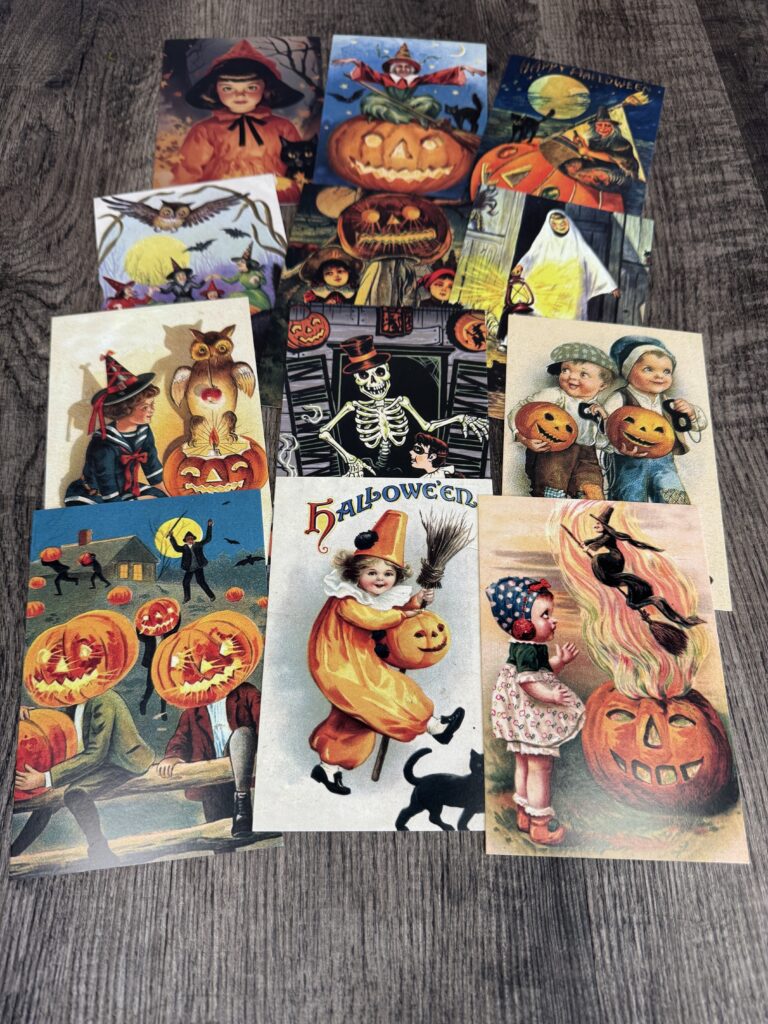
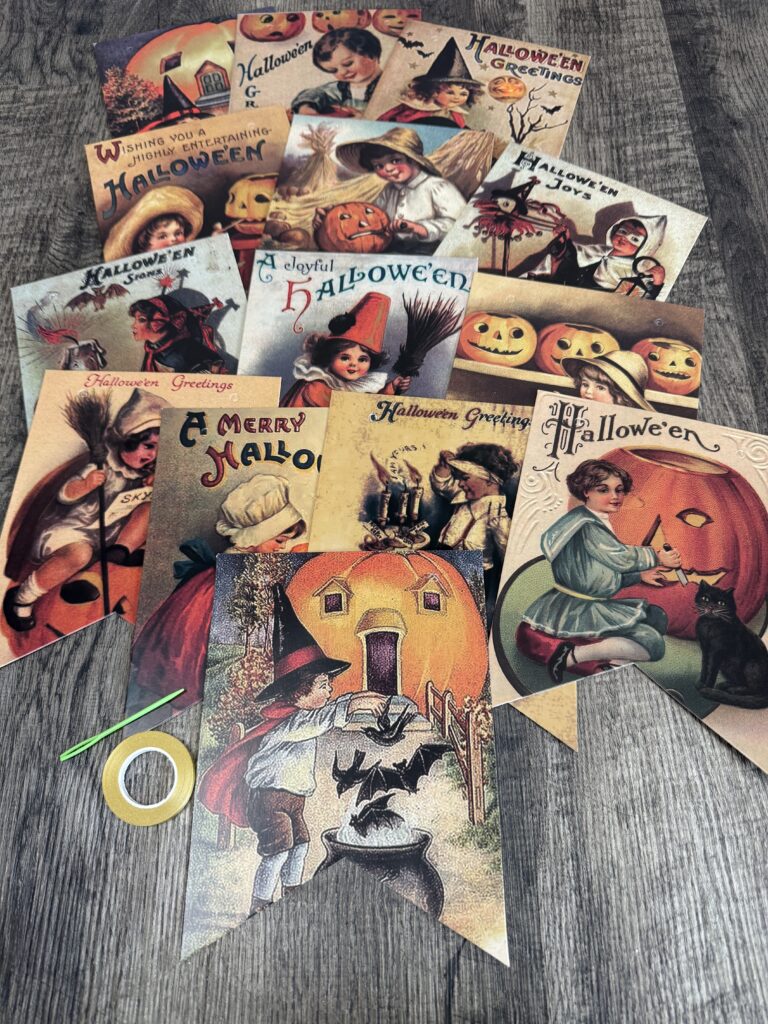
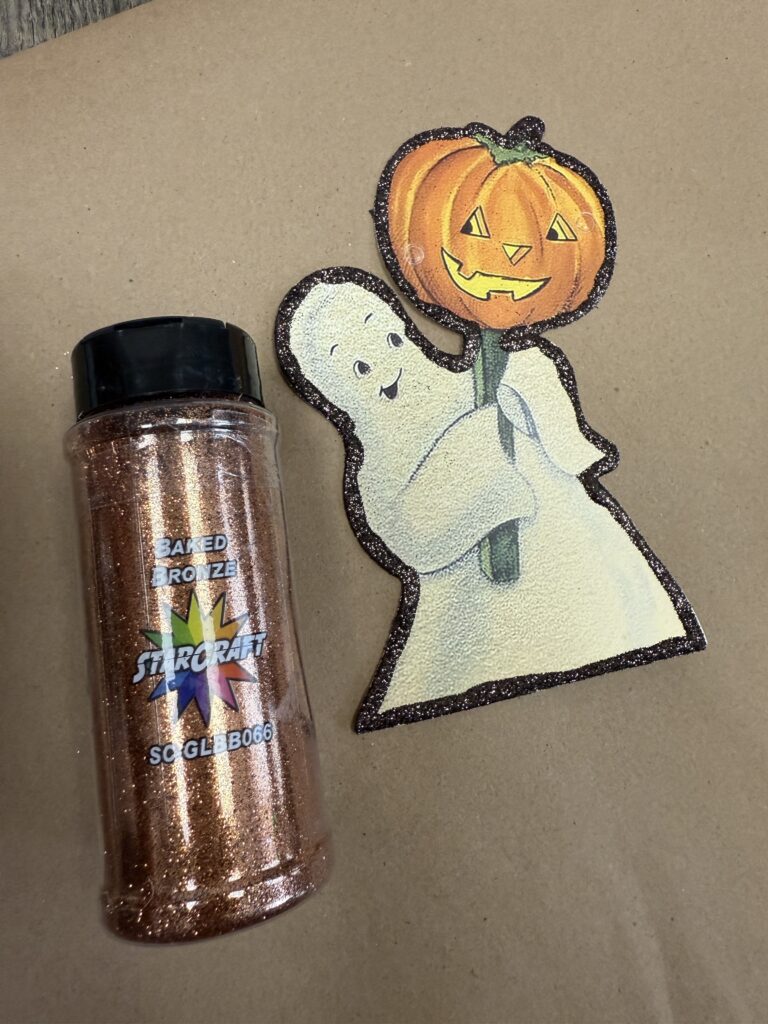
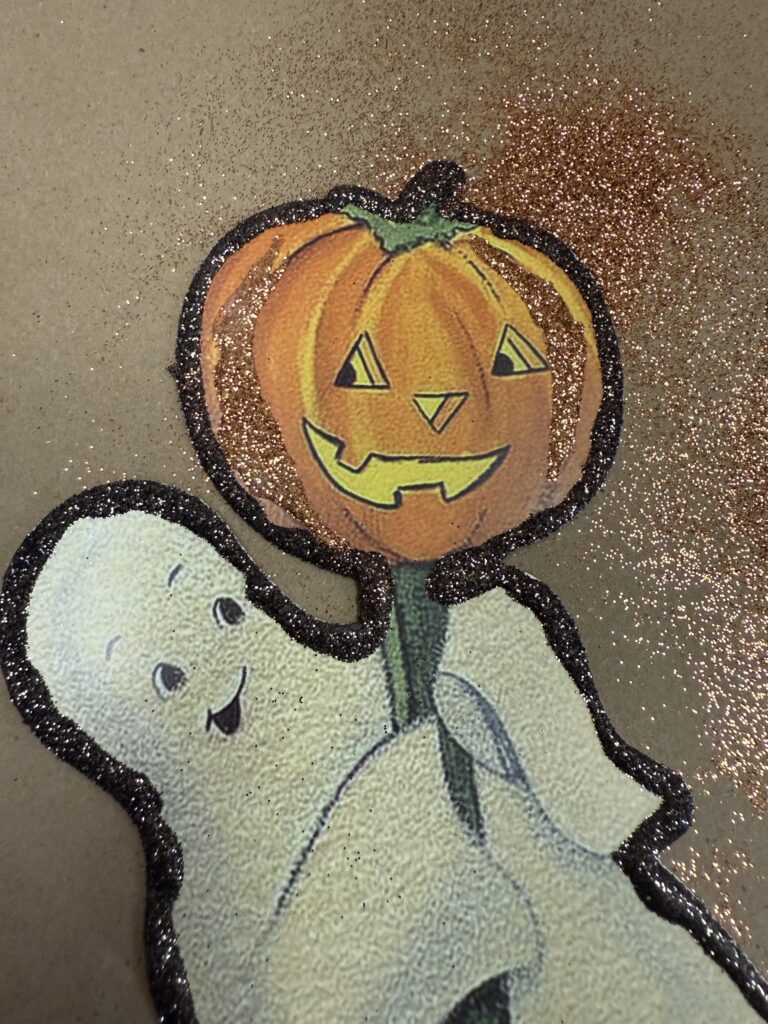
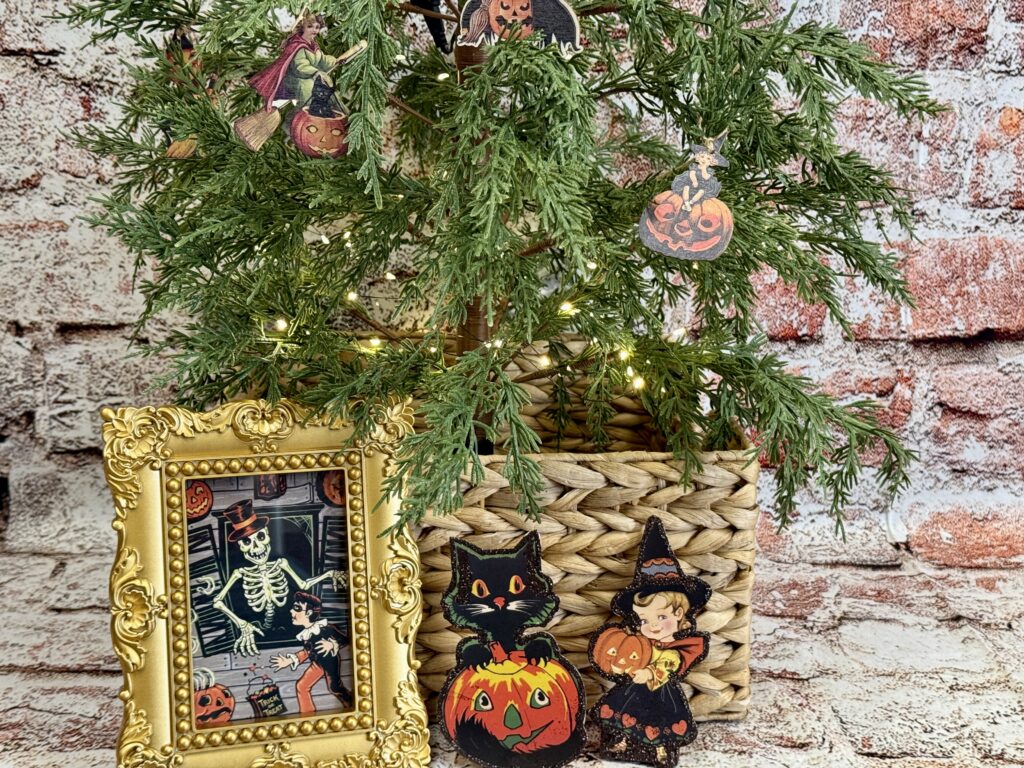
These are the vintage postcards that came in the mystery box, and I just love the spooky old-fashioned look they have!
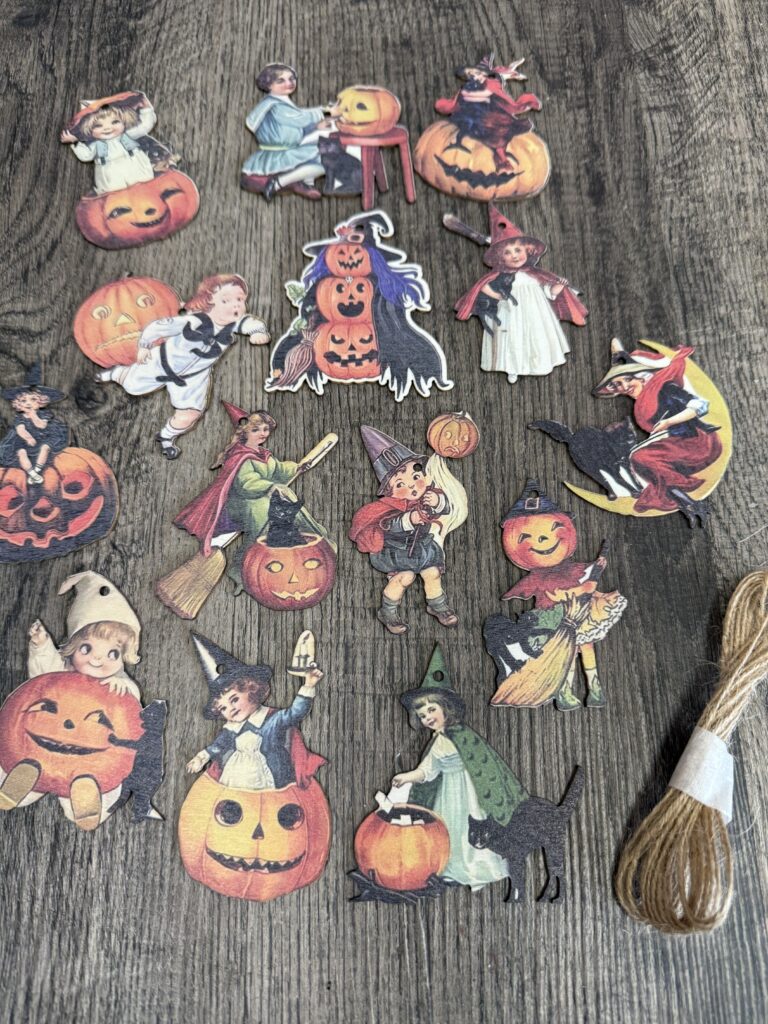
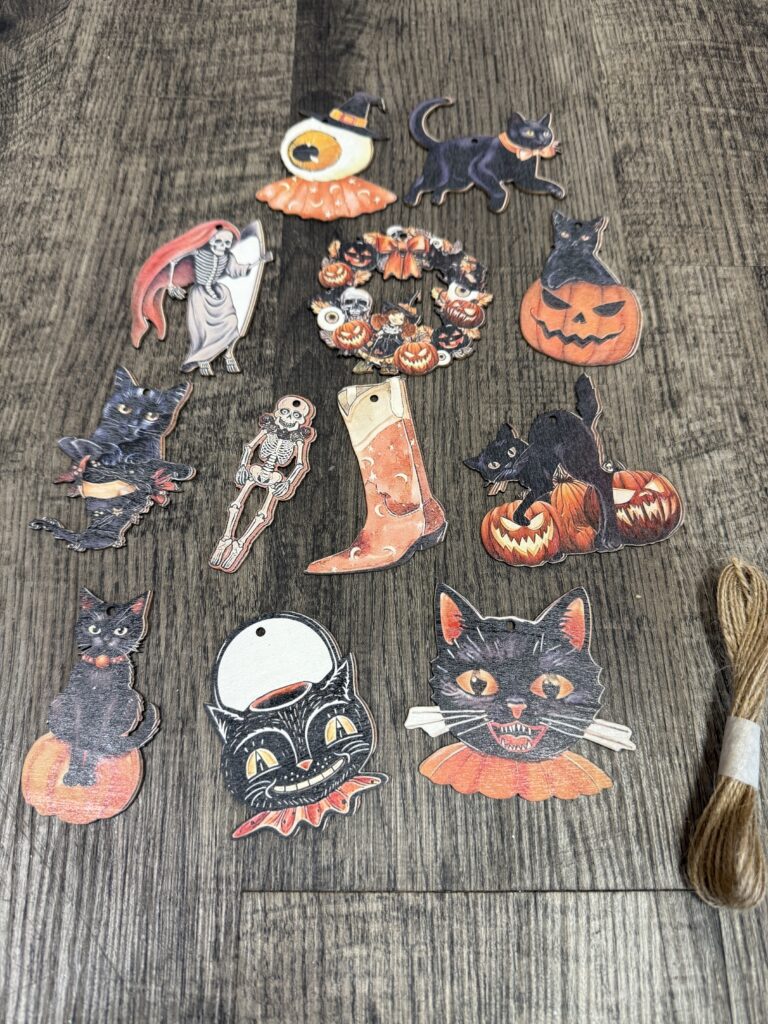
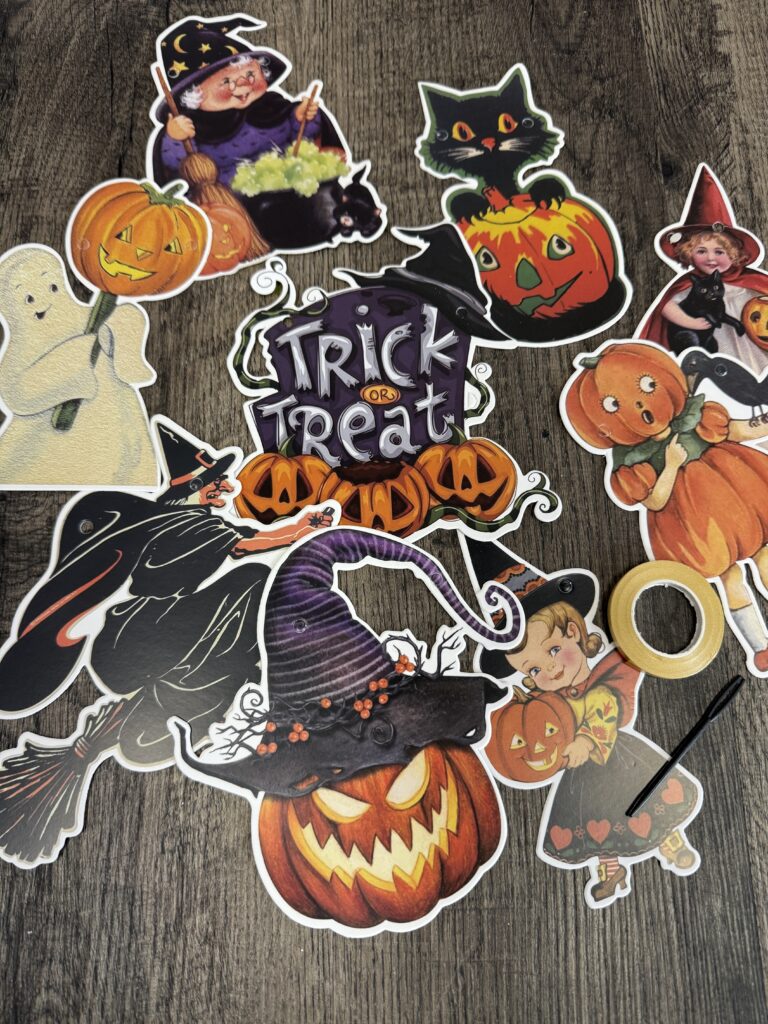
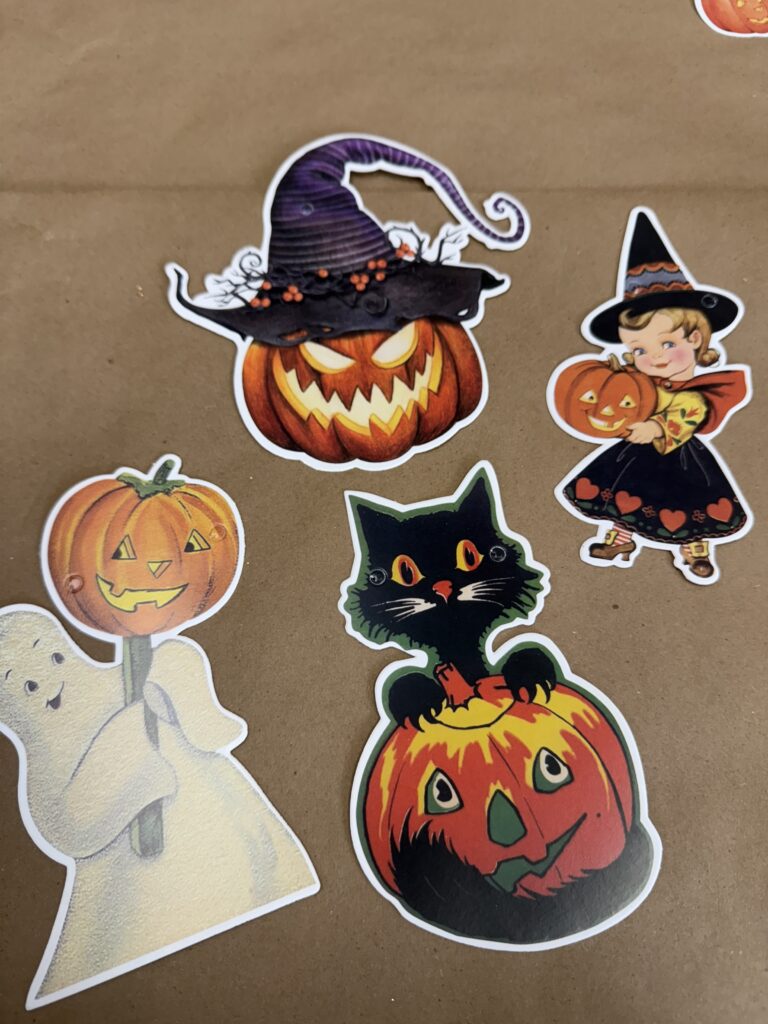
And these are the two packs of ornaments that came in the box — I love how each set has its own little vintage Halloween charm!
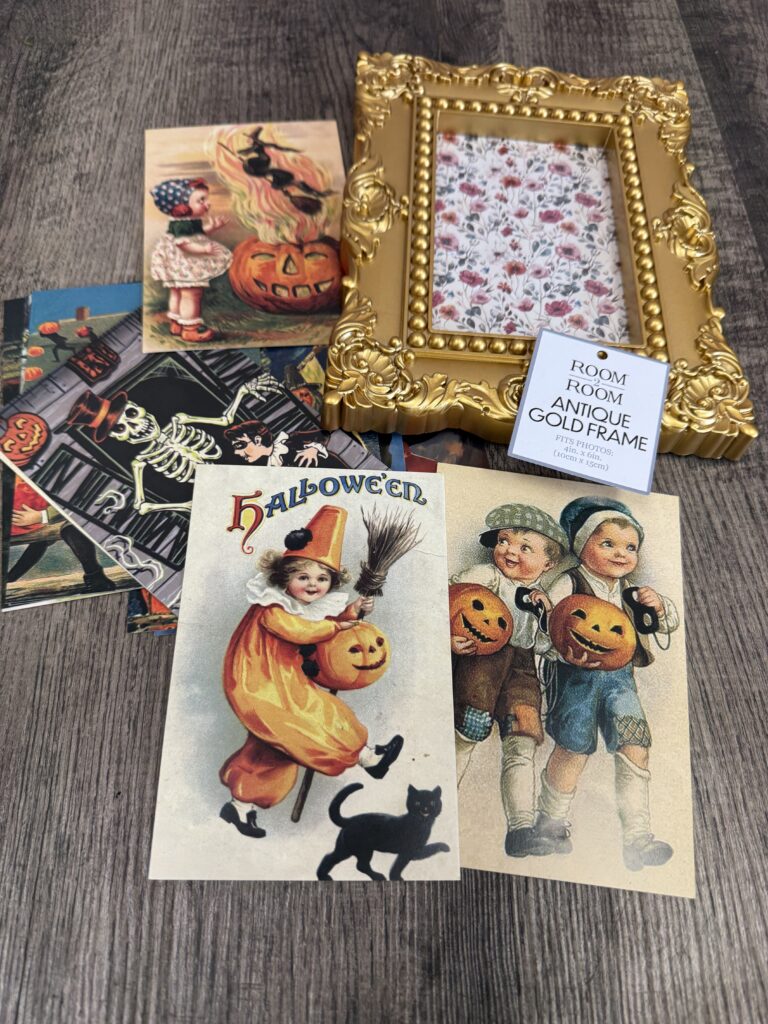
Up first, I knew the postcards would be so easy to craft with. I grabbed this frame I’d picked up at Five Below, and right away I could see how cute the postcards would look displayed inside. Sometimes the best ideas really are the simplest!
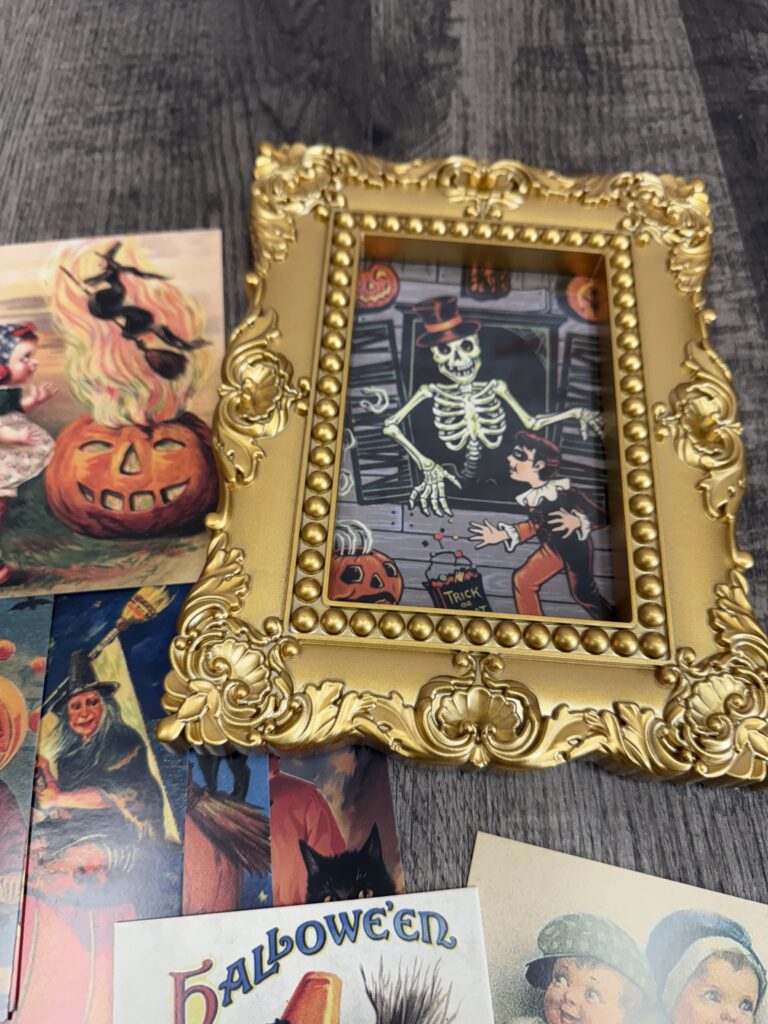
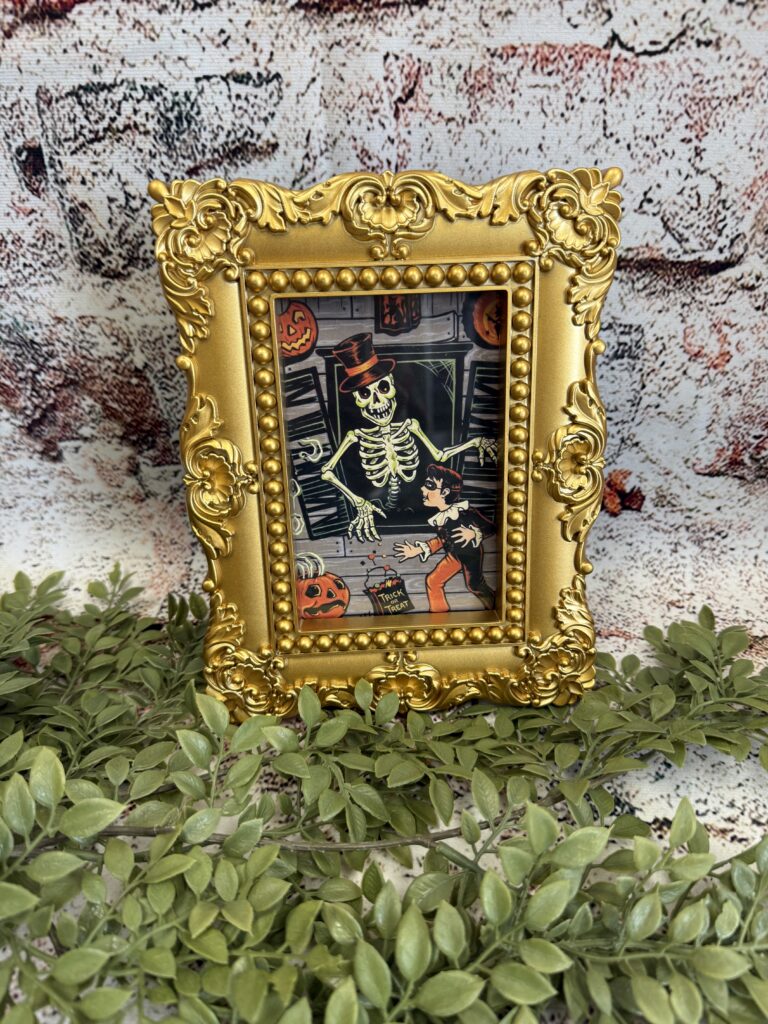
I love this so much! Plus, it’s so easy to switch out the postcards if you want to show off different ones throughout the spooky season.
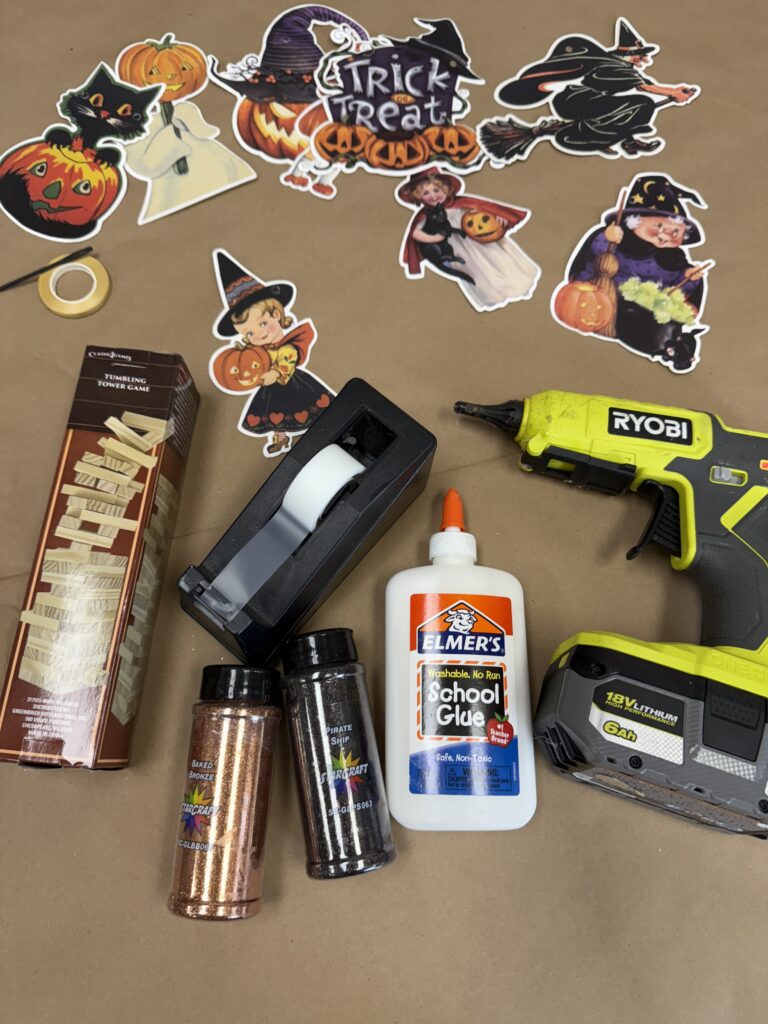
Here is what you need for this DIY:
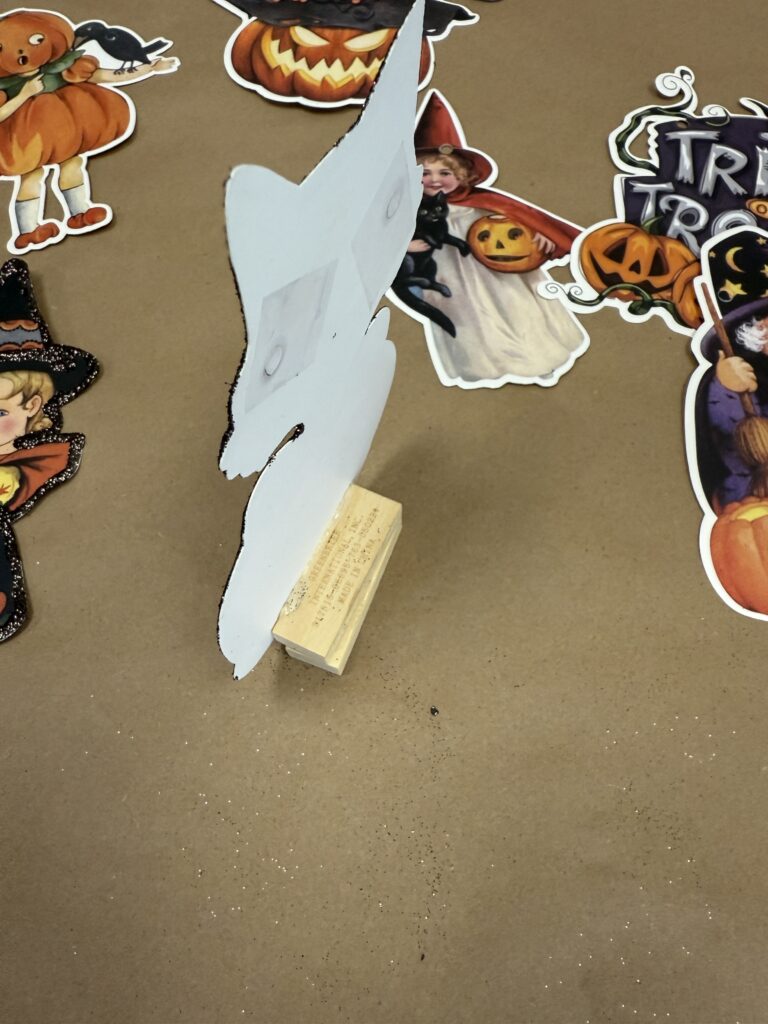
1. The banner from the mystery box
2. The Tumbling Tower Game From Dollar Tree
3. Scotch Tape
4. Glitter
5. Elmer’s School Glue
6. Hot Glue Gun
7. Tape
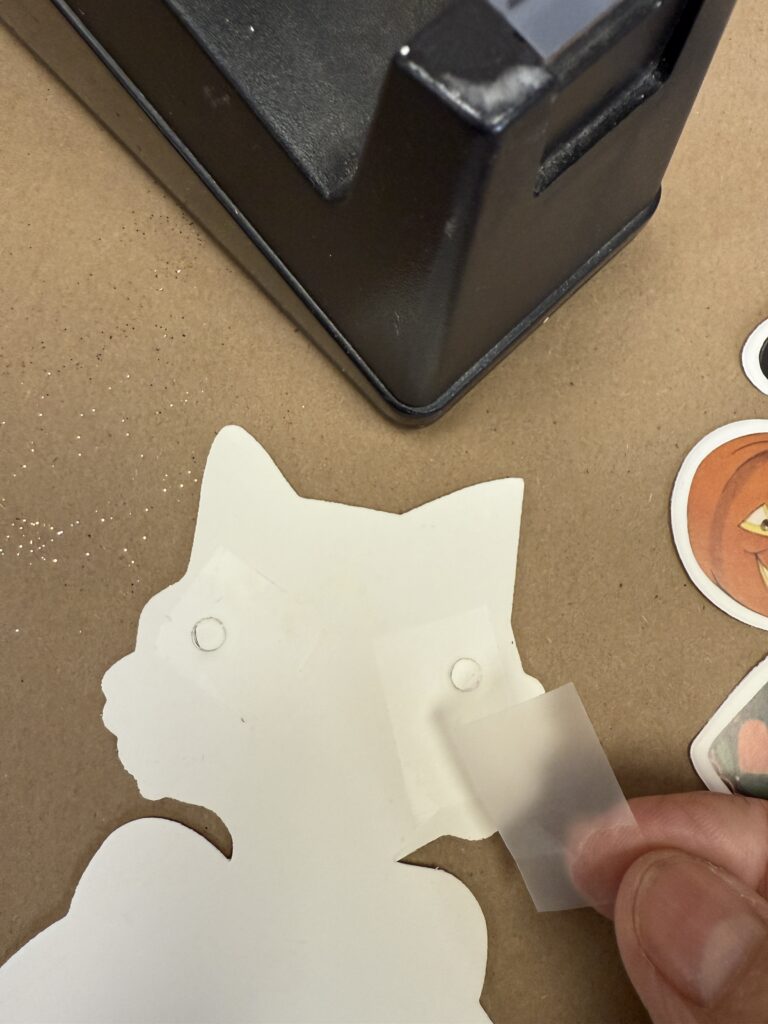
The first thing I did was tape up the holes on the back of the banner. I tried to keep the little paper pieces inside the holes, but if they fell out, it’s totally okay.
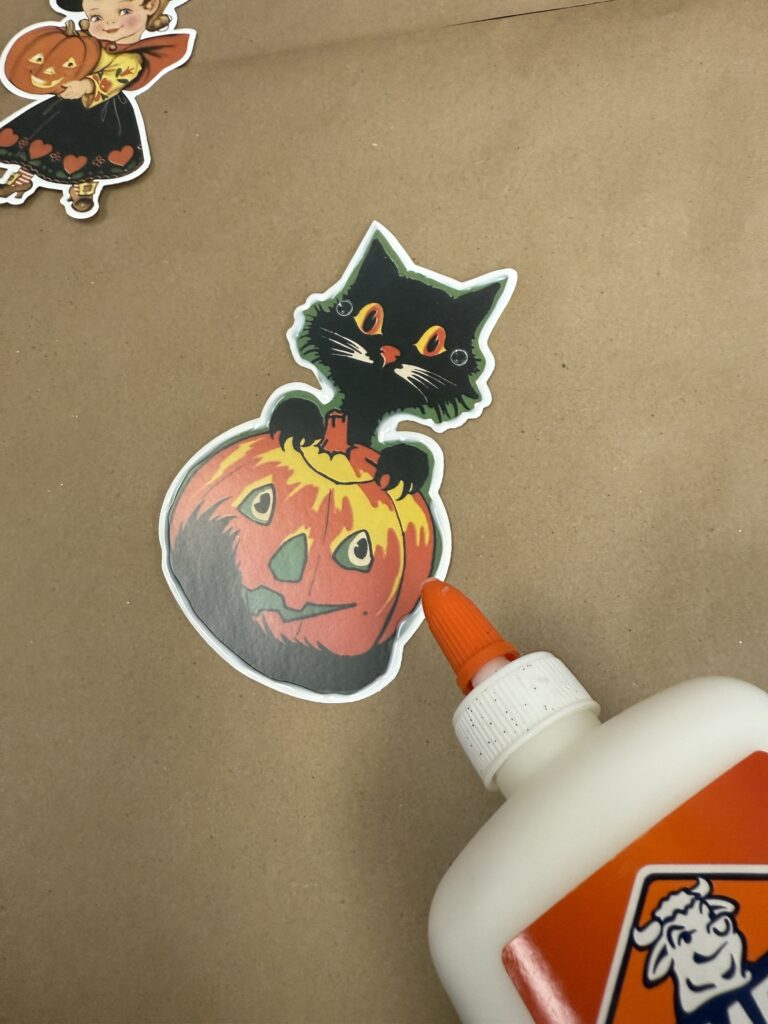
I started out by adding school glue all the way around the border to get it ready for the next step.
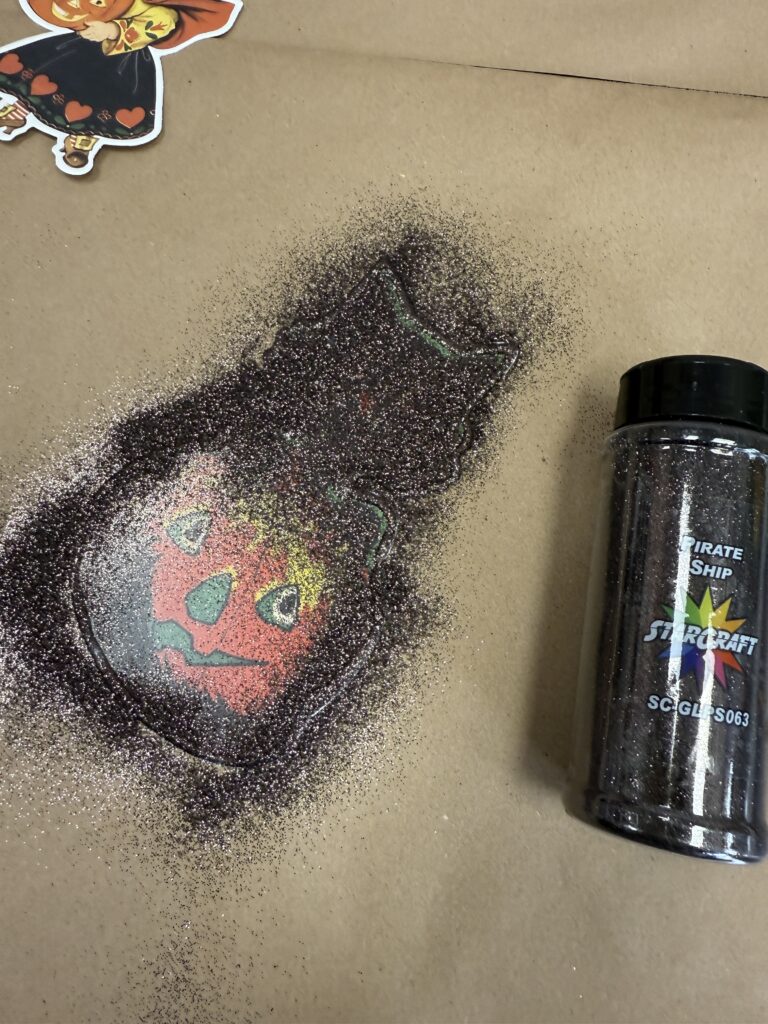
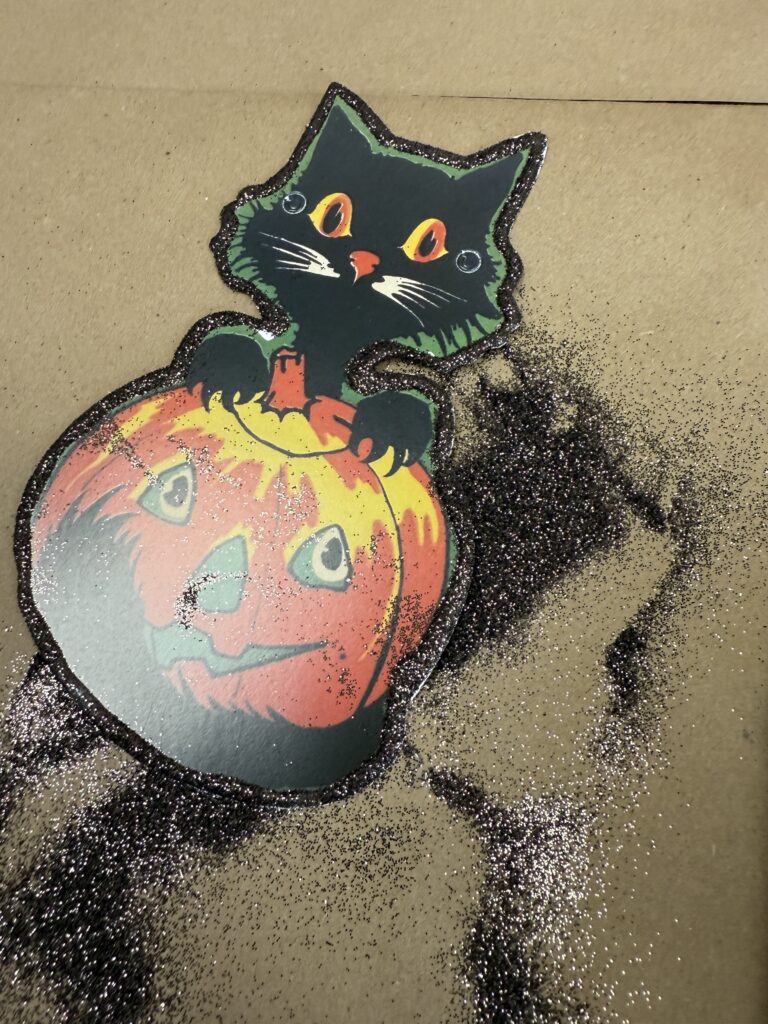
Next, I sprinkled glitter all around the edge of the banner to give it that fun, sparkly finish.
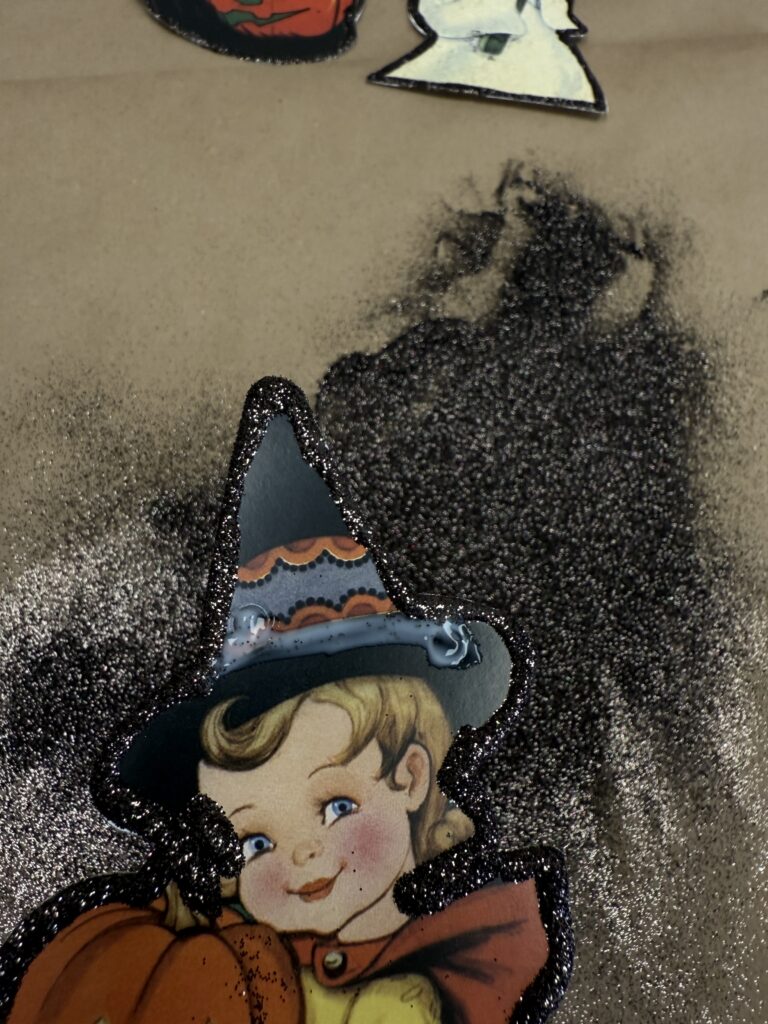
Now I wanted to cover up the holes that we taped earlier with glitter. I just covered them in glue and sprinkled them in glitter.
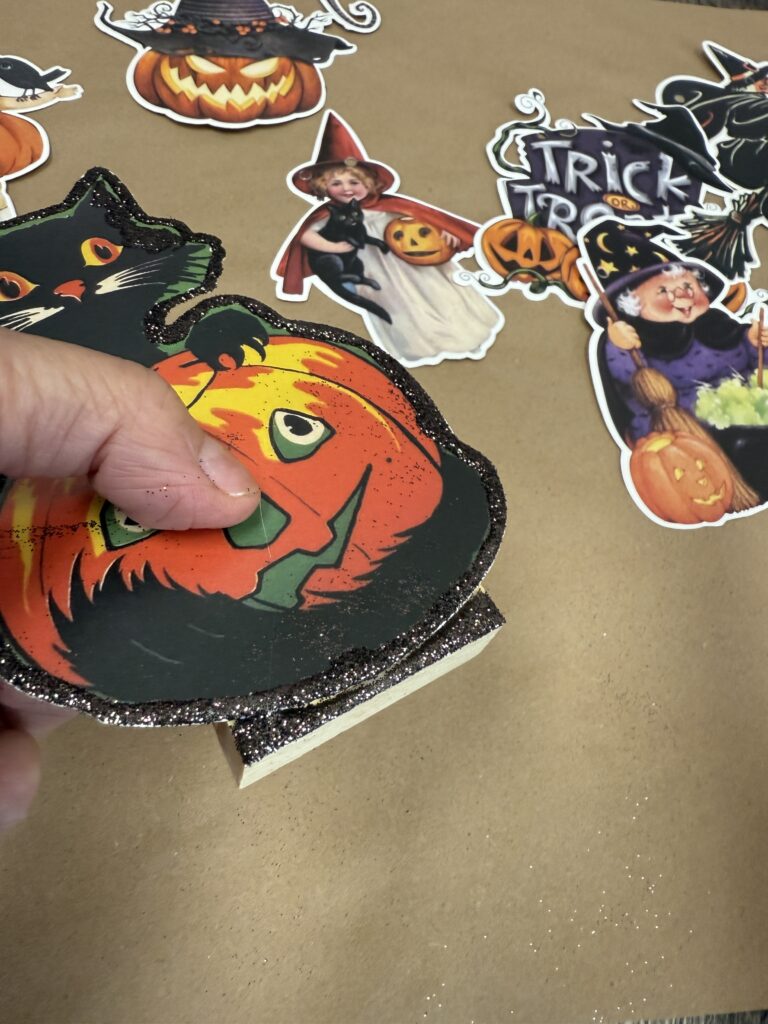
Next I glued it to the tumbling tower blocks. This is what will make them stand up! I did cover the part of the block that you could see in black glitter.
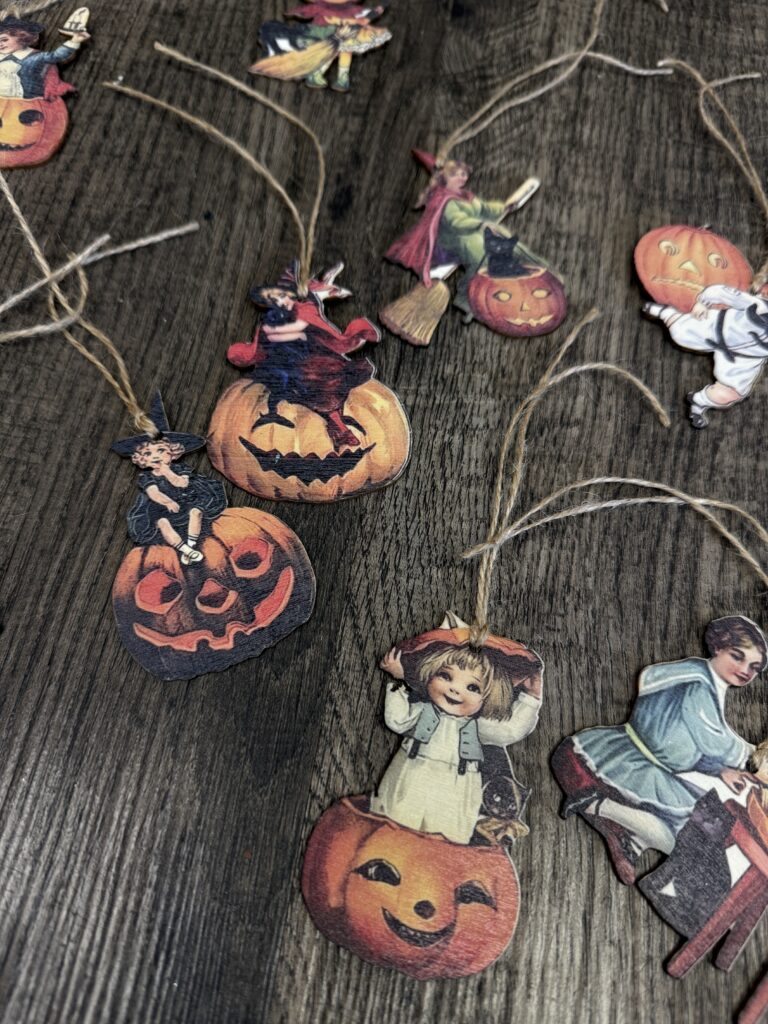
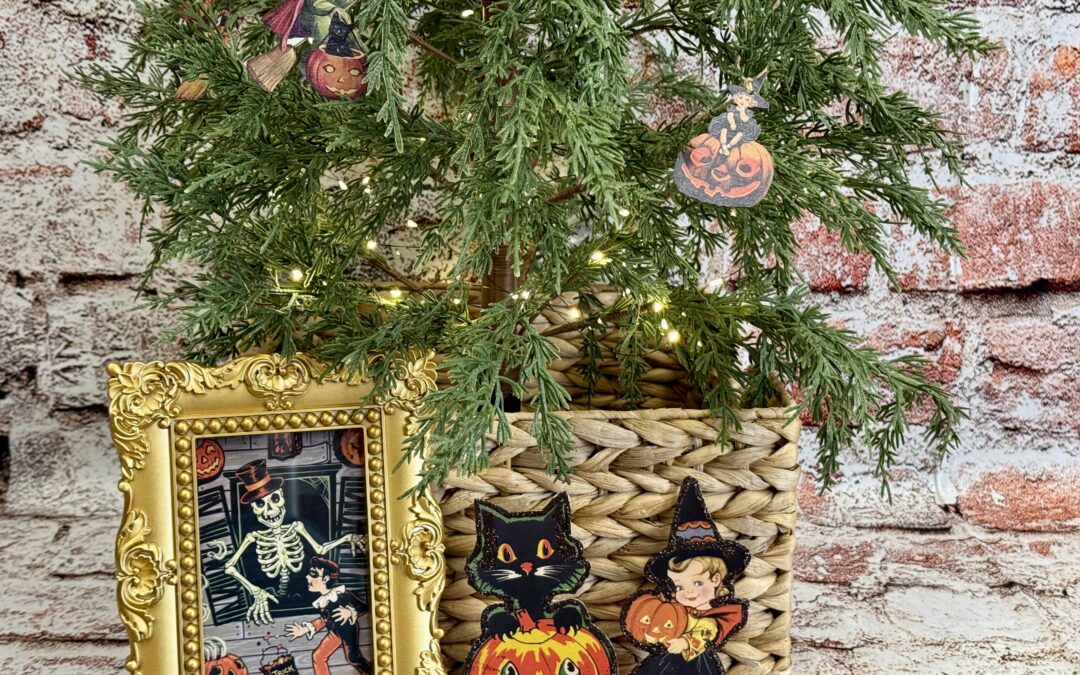
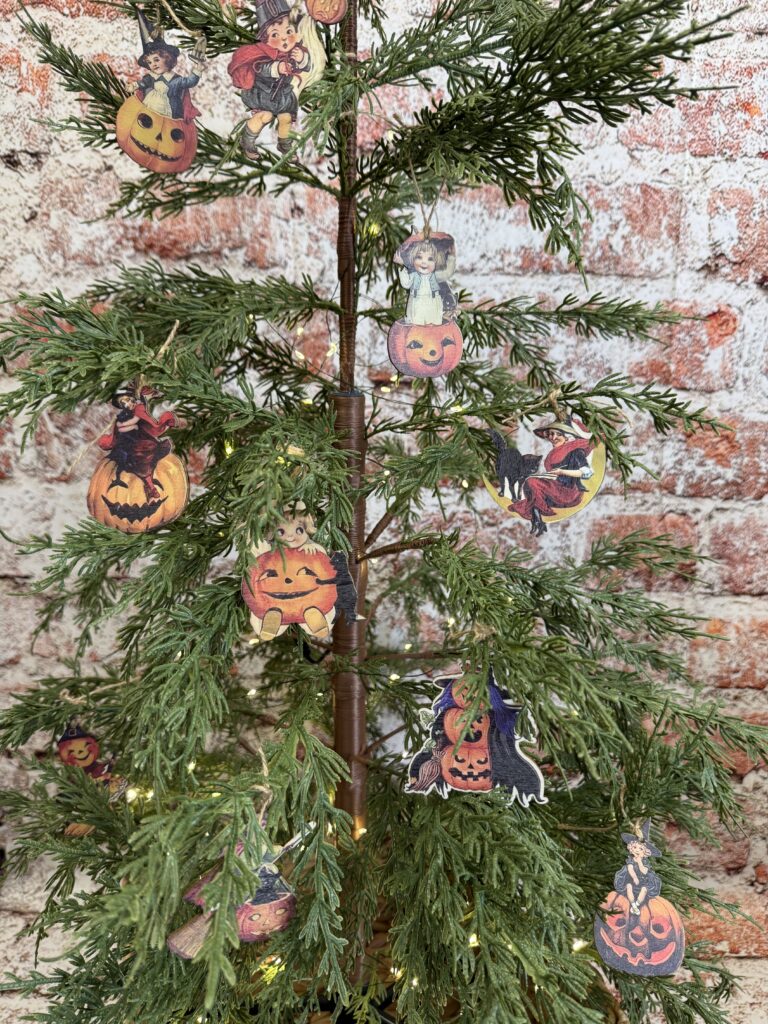
Last but not least, are the ornaments! I just thought they would be so cute on one of our trees from the webstie!
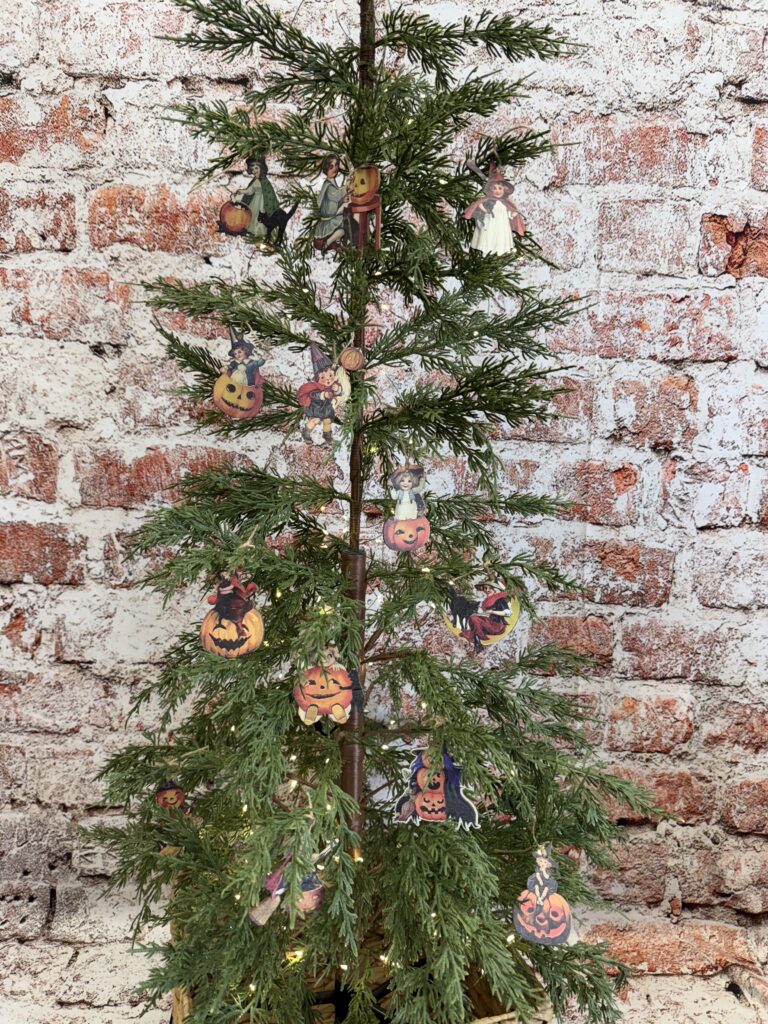
I added the twine that came with them and I think they are the perfect spooky edition!
Here is the link to the tree that I used : https://theshabbytreeboutique.com/medium-tree-with-stand/
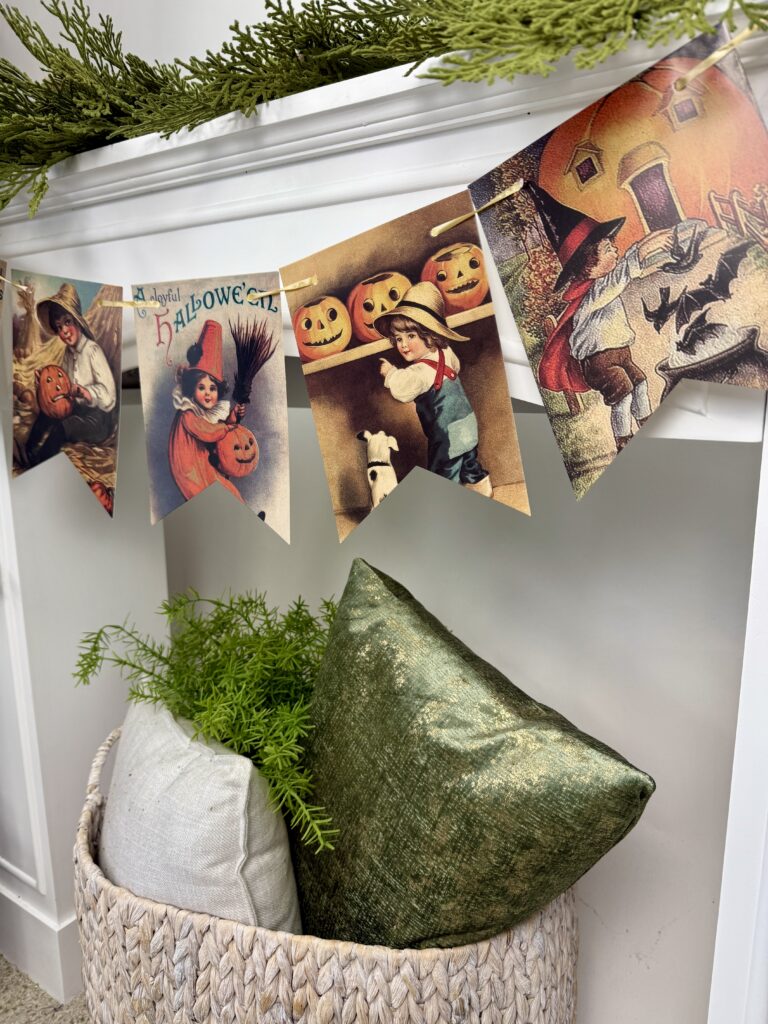
I did hang the other banner on our mantel in the warehouse and it is so cute!
That’s it, y’all! Just a few simple ways I got creative with the Vintage Halloween Mystery Box — turning the postcards into easy framed art, making cute little stand-up decorations, and giving the banners a fun, sparkly makeover. I love how each piece feels unique and adds a bit of vintage charm to my Halloween décor.
If you grabbed this mystery box, I hope this gives you some ideas for how to use all the goodies inside. And if you didn’t snag one this time, keep an eye out — we love coming up with fun, seasonal boxes to spark your creativity!
Barb I love the vintage Halloween box🧡🖤🧡