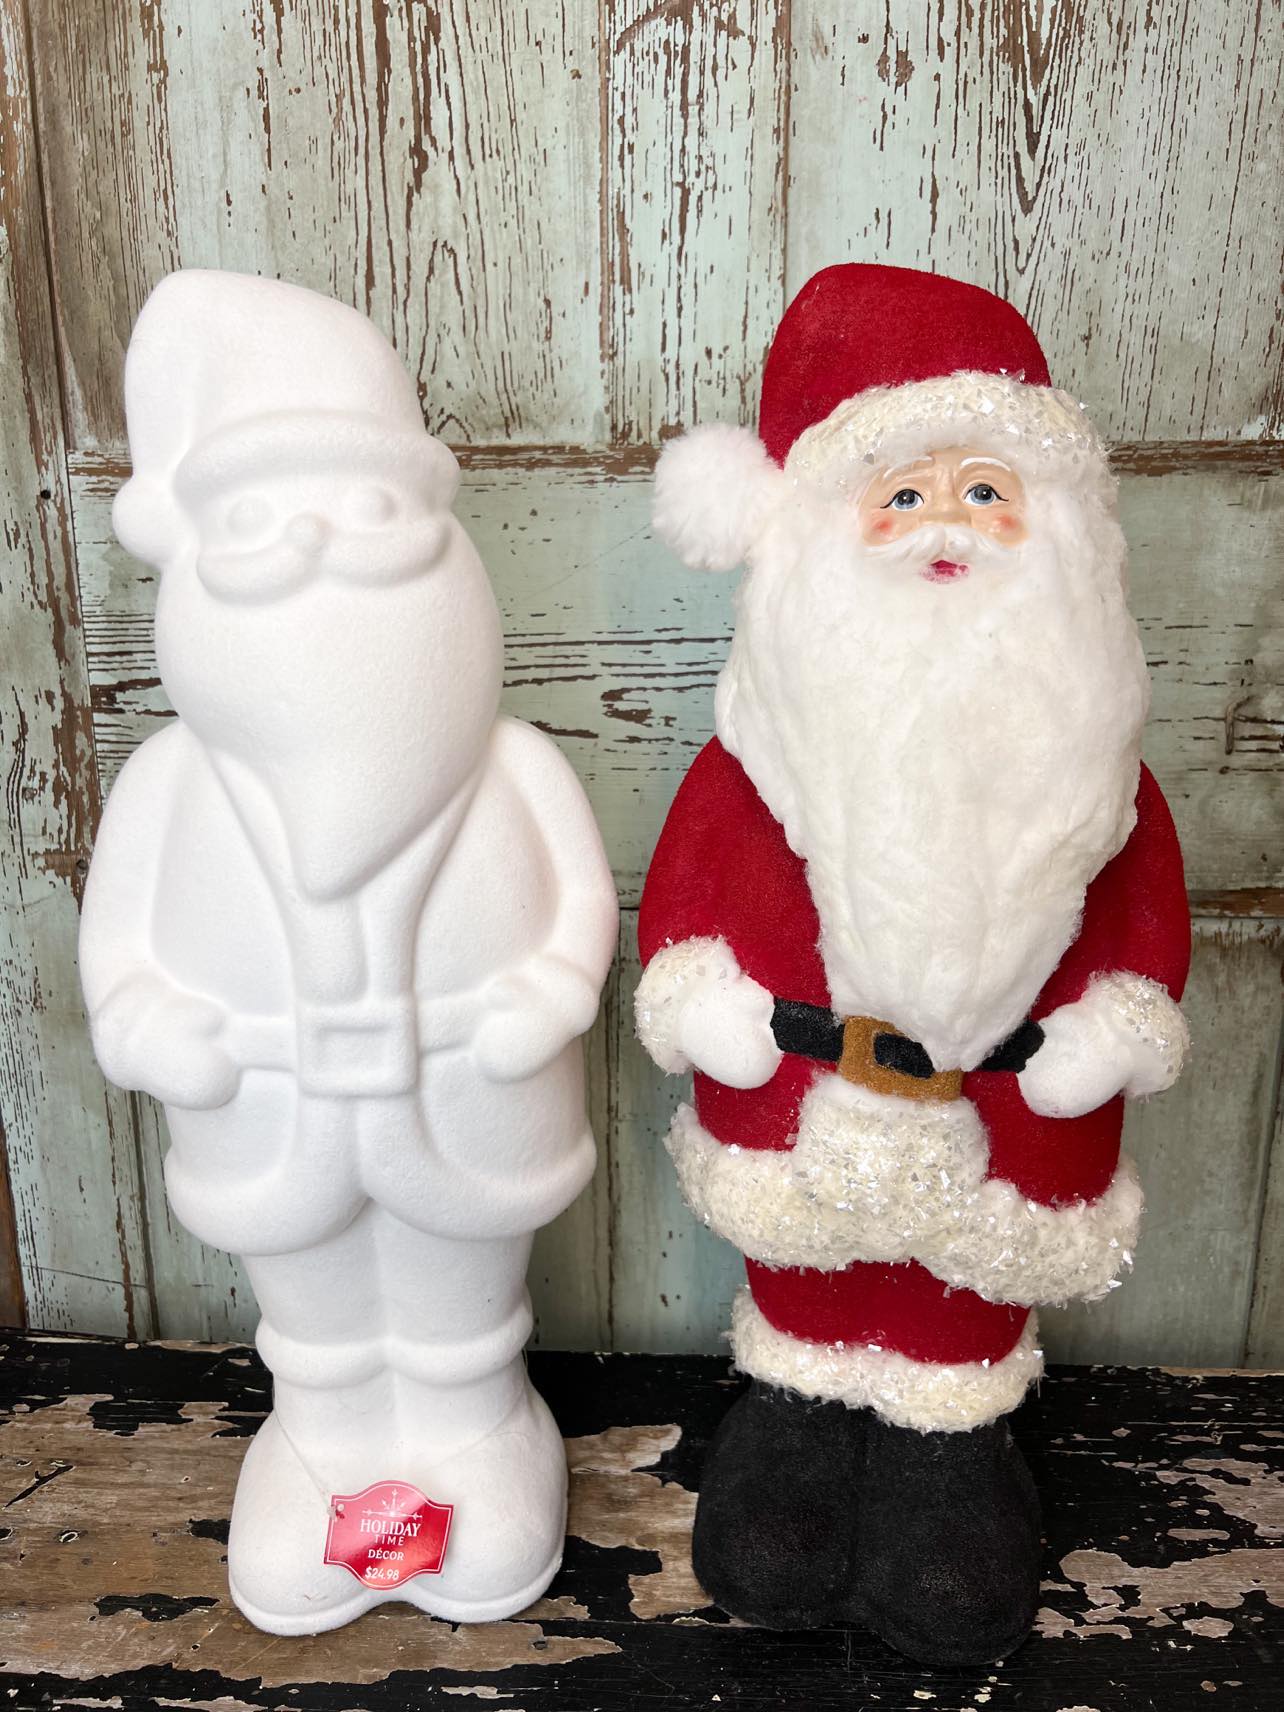
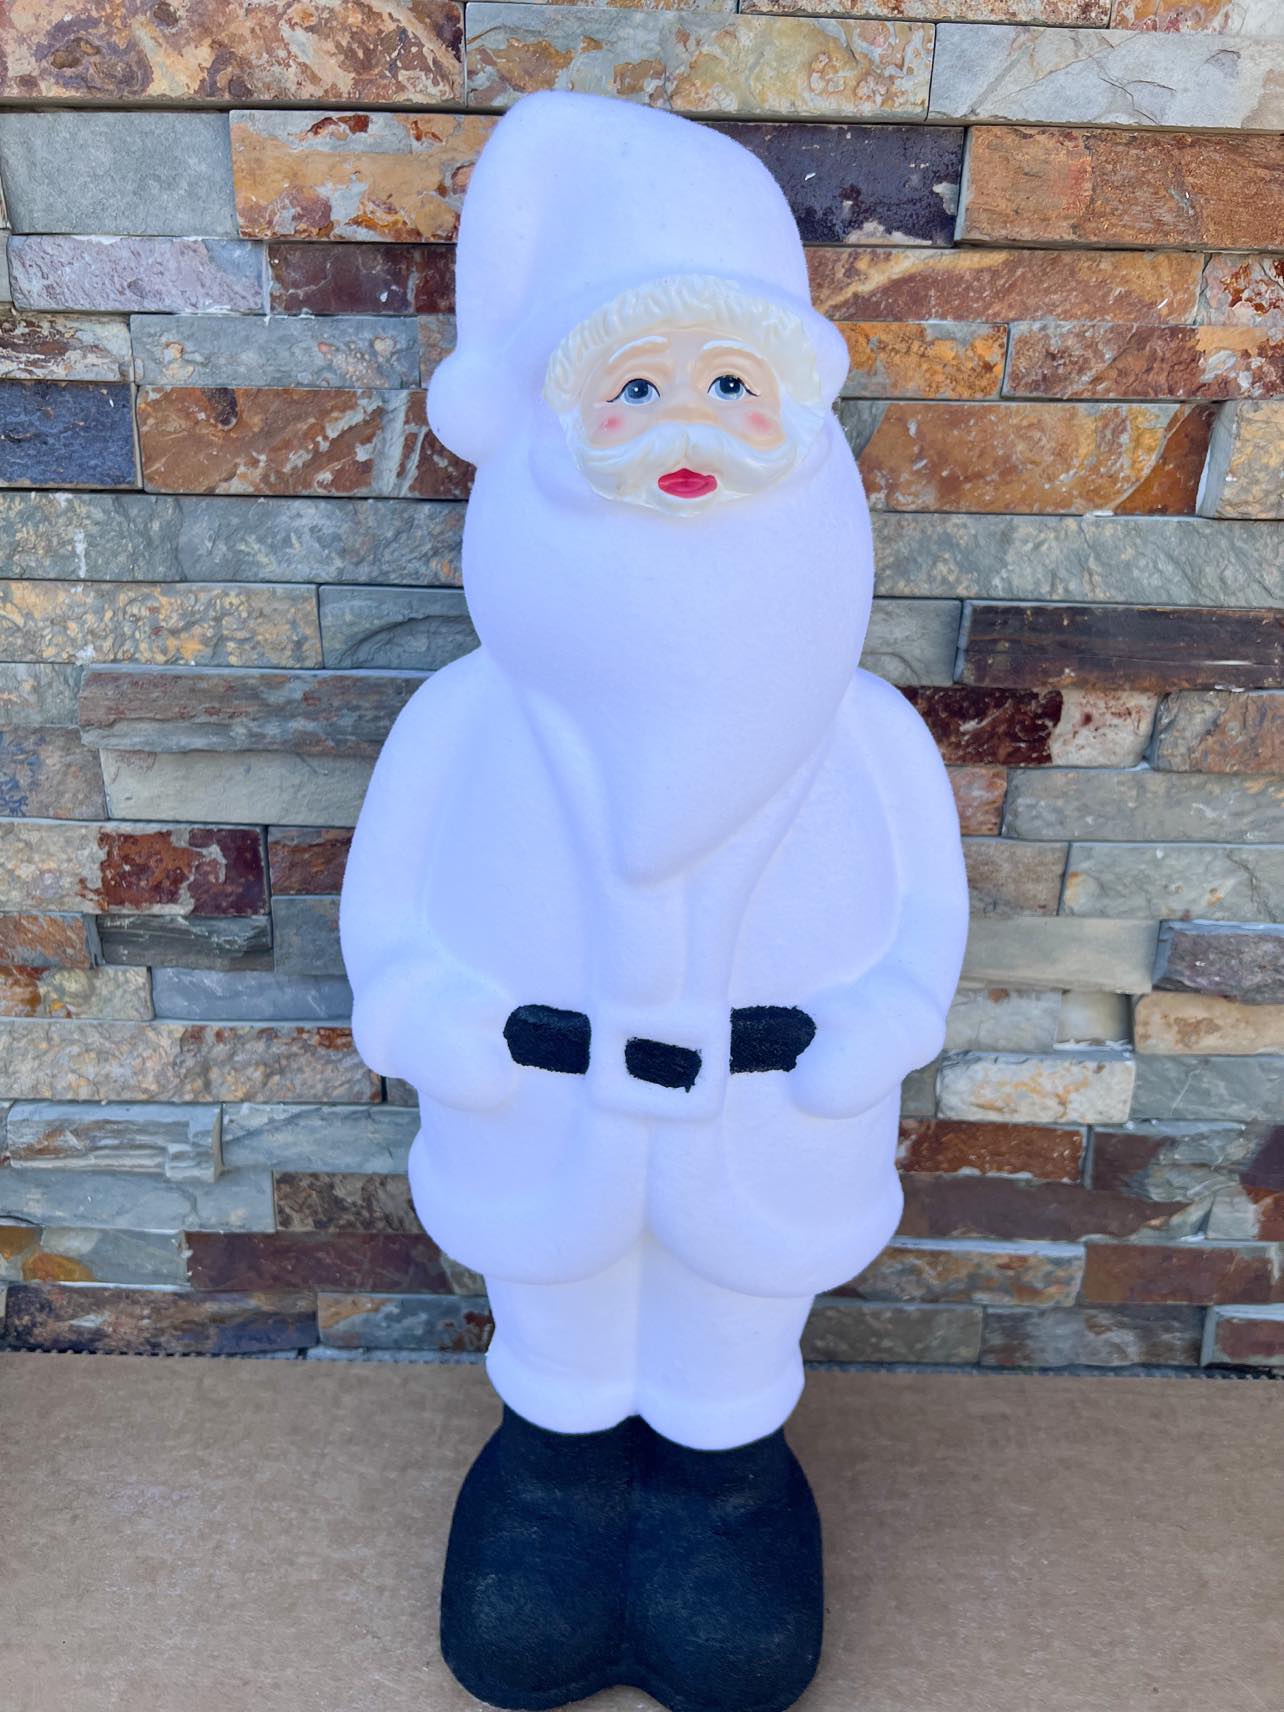
Walmart has some really cute Christmas decorations this year. They have a few flocked Santa’s that caught my eye. These Santa’s are cute as is but I want to give one a makeover.

You can find this Santa in Walmart for $24.98.
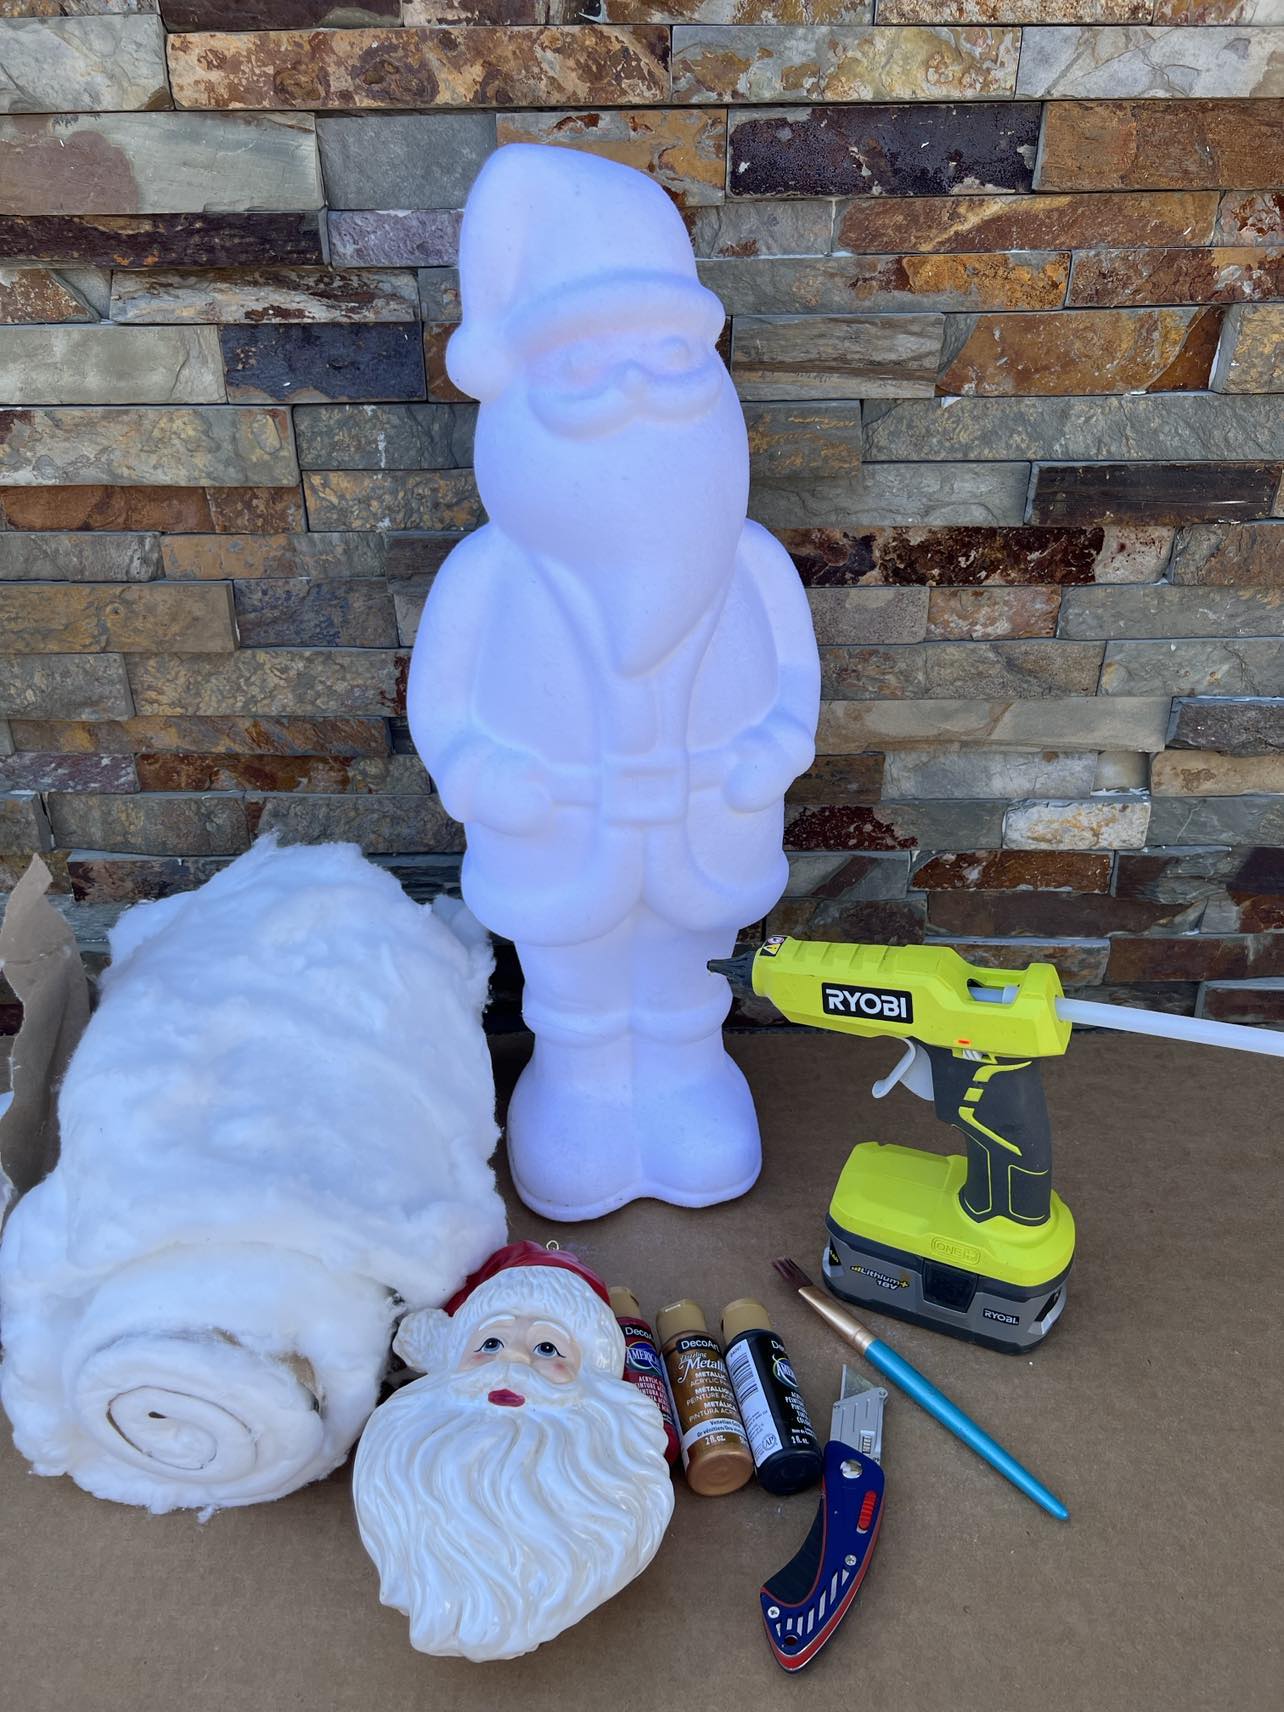
The supplies that I’ll be using are:
1. Snow roll from our website
2. Hot glue
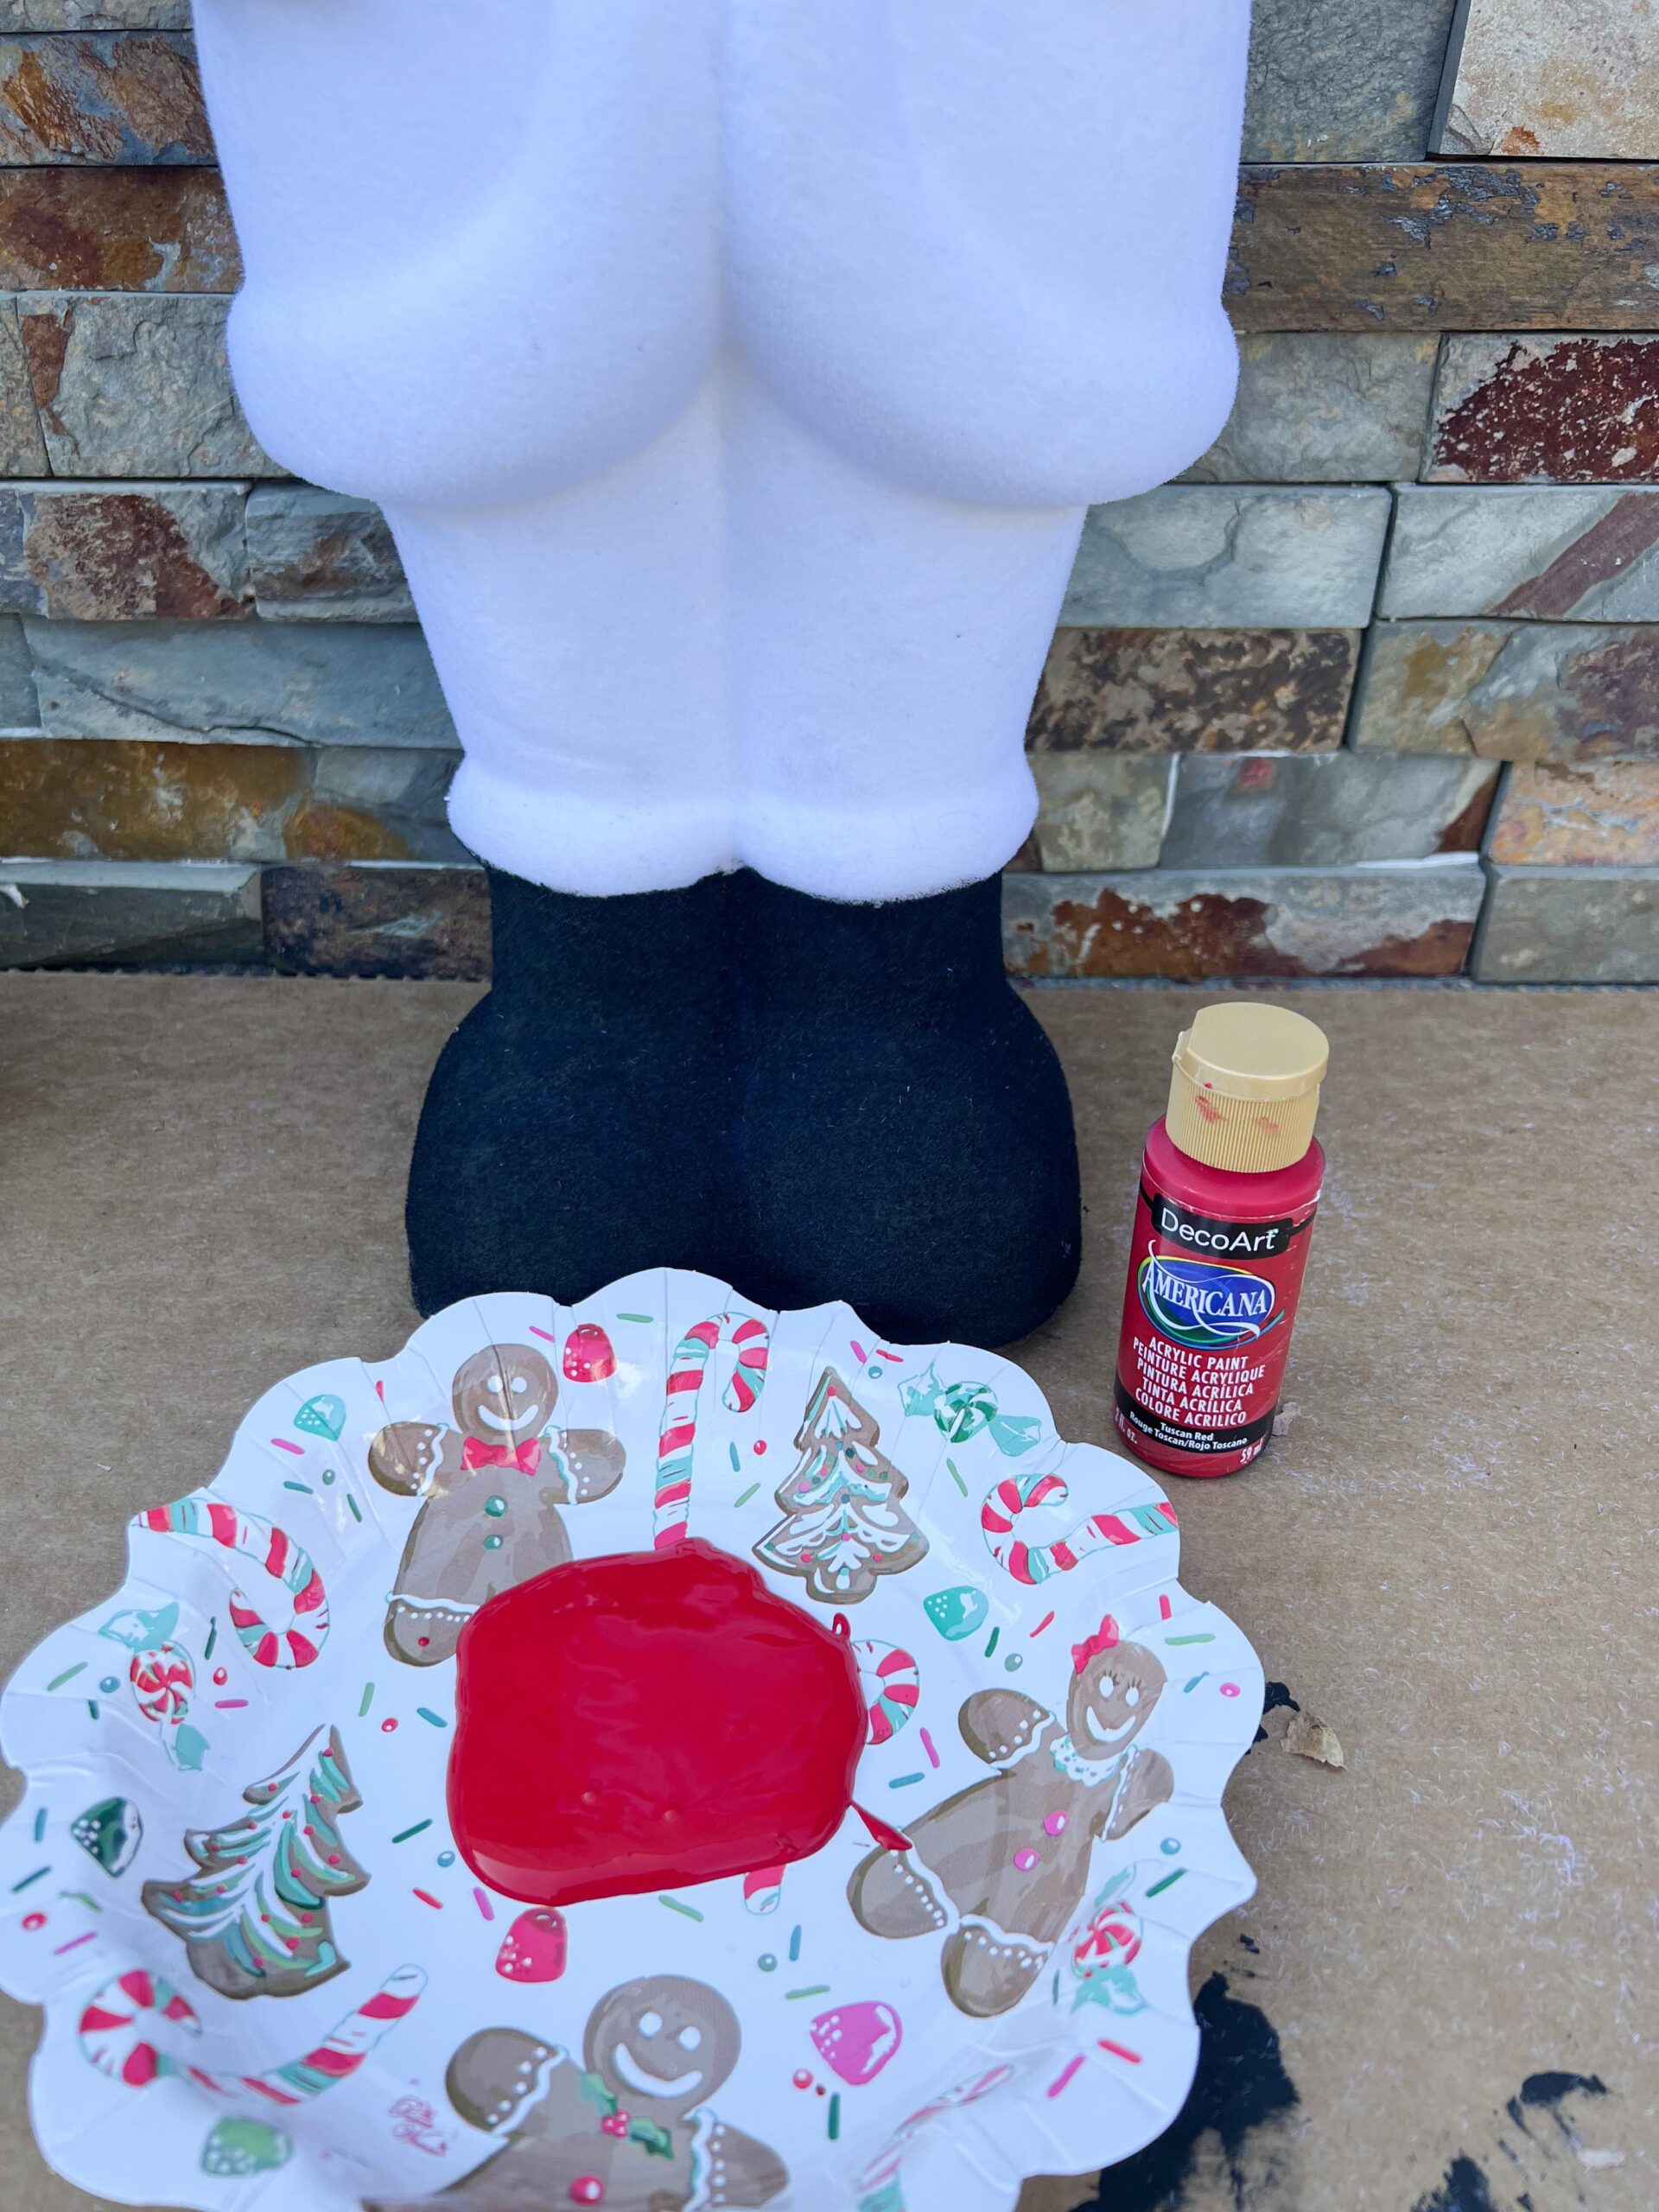
3. Acrylic paint by DecoArt ( Tuscan Red and Lamp Black)
4. Paint brush
5. Mica flakes from our website
6. Venetian Gold metallic paint by DecoArt
7. Box cutter
8. Elmer’s spray adhesive
9. Plastic Santa head ornament from Walmart
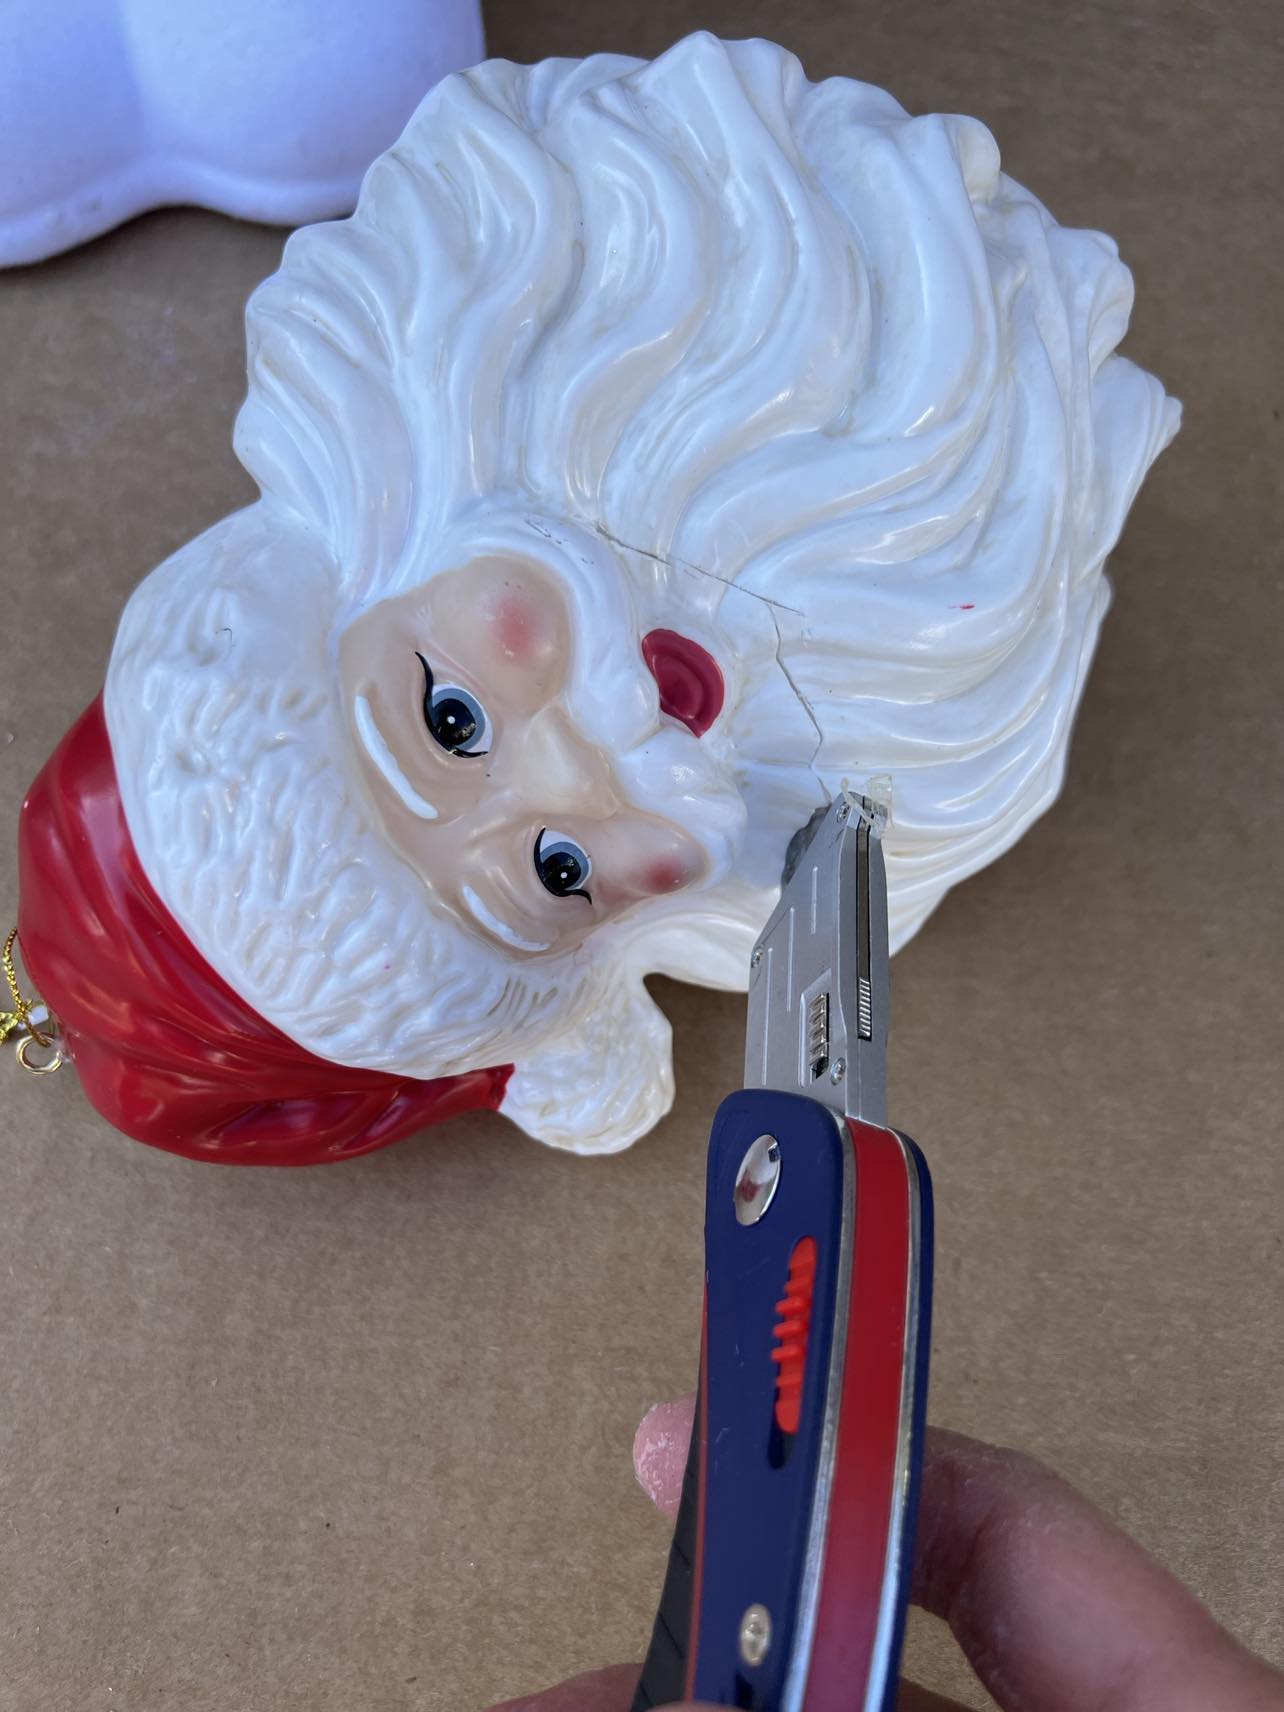
The first step is to cut out the face on the ornament.
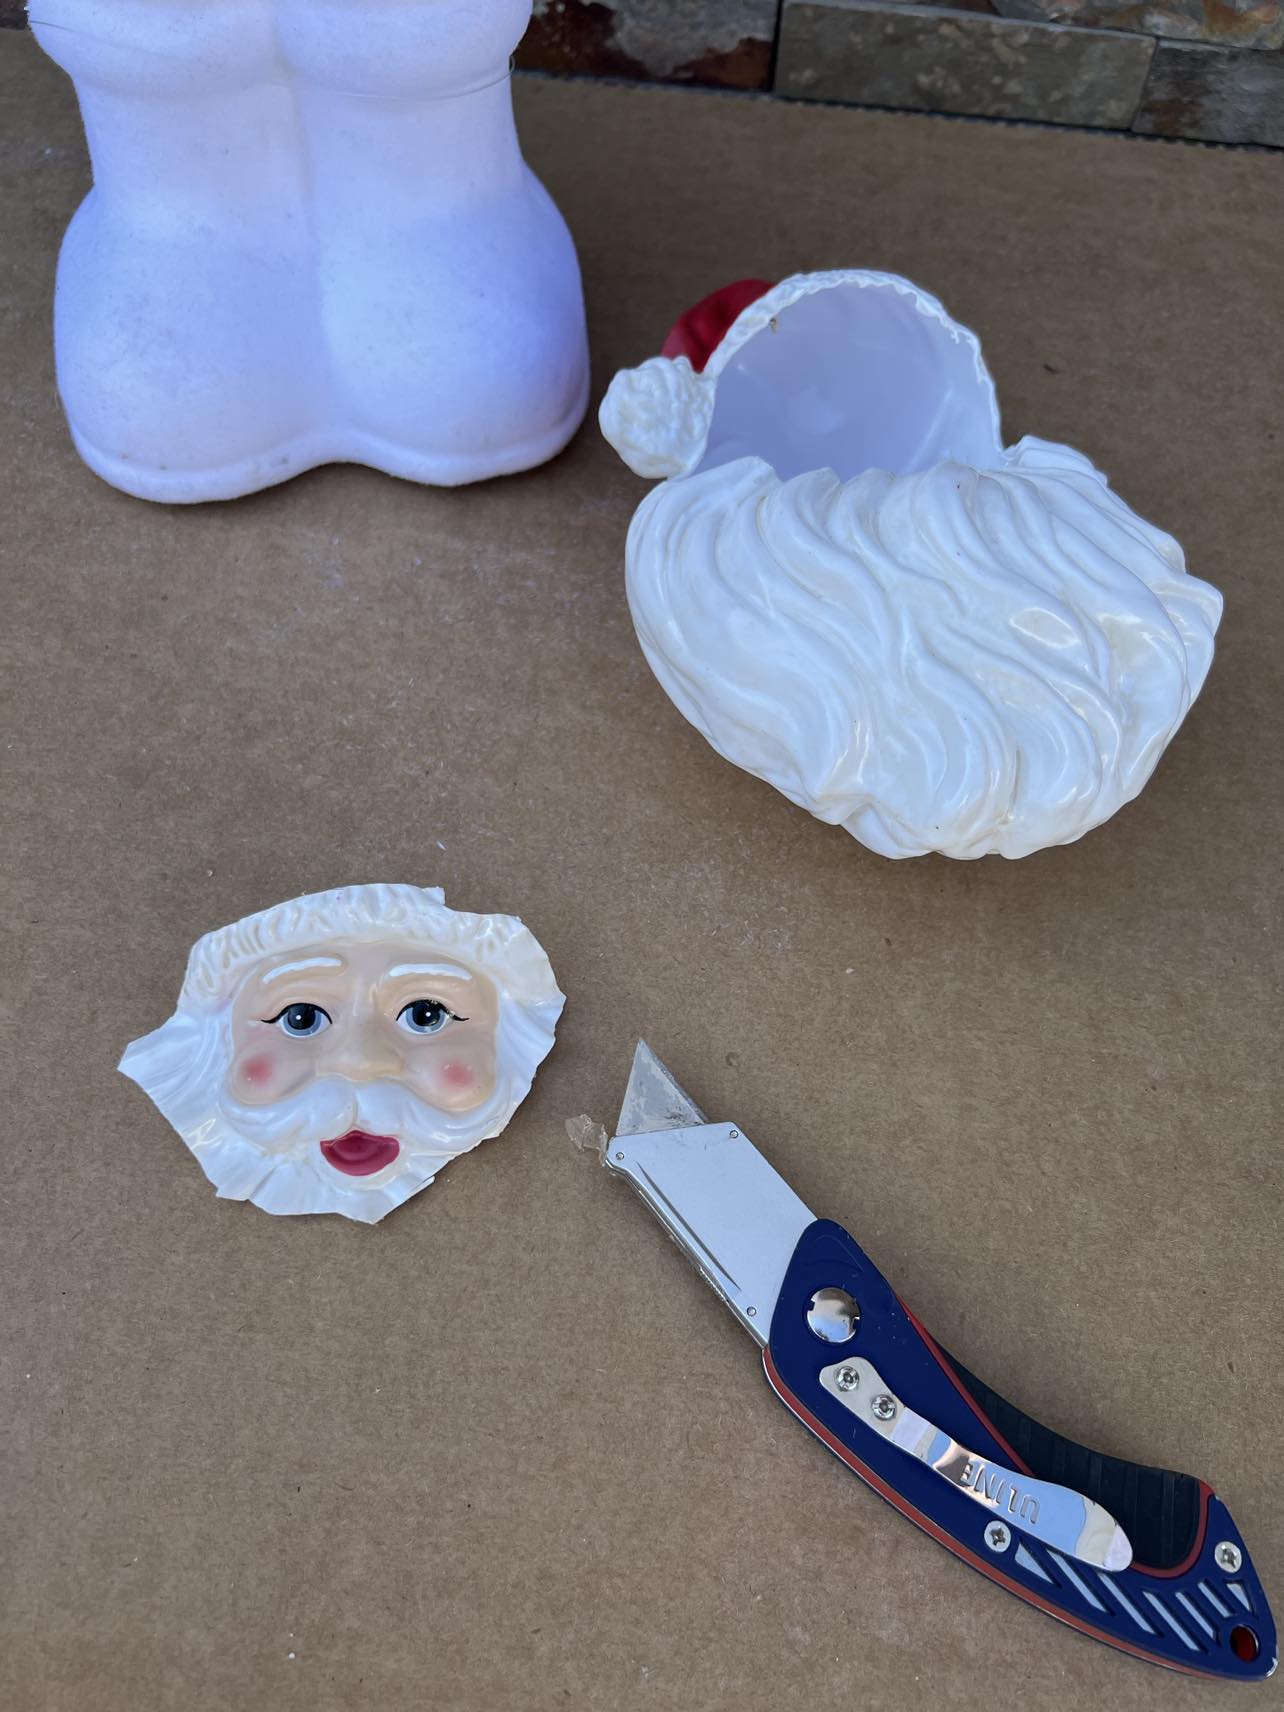

Once you have the face cut out you’ll then glue it onto the Santa.

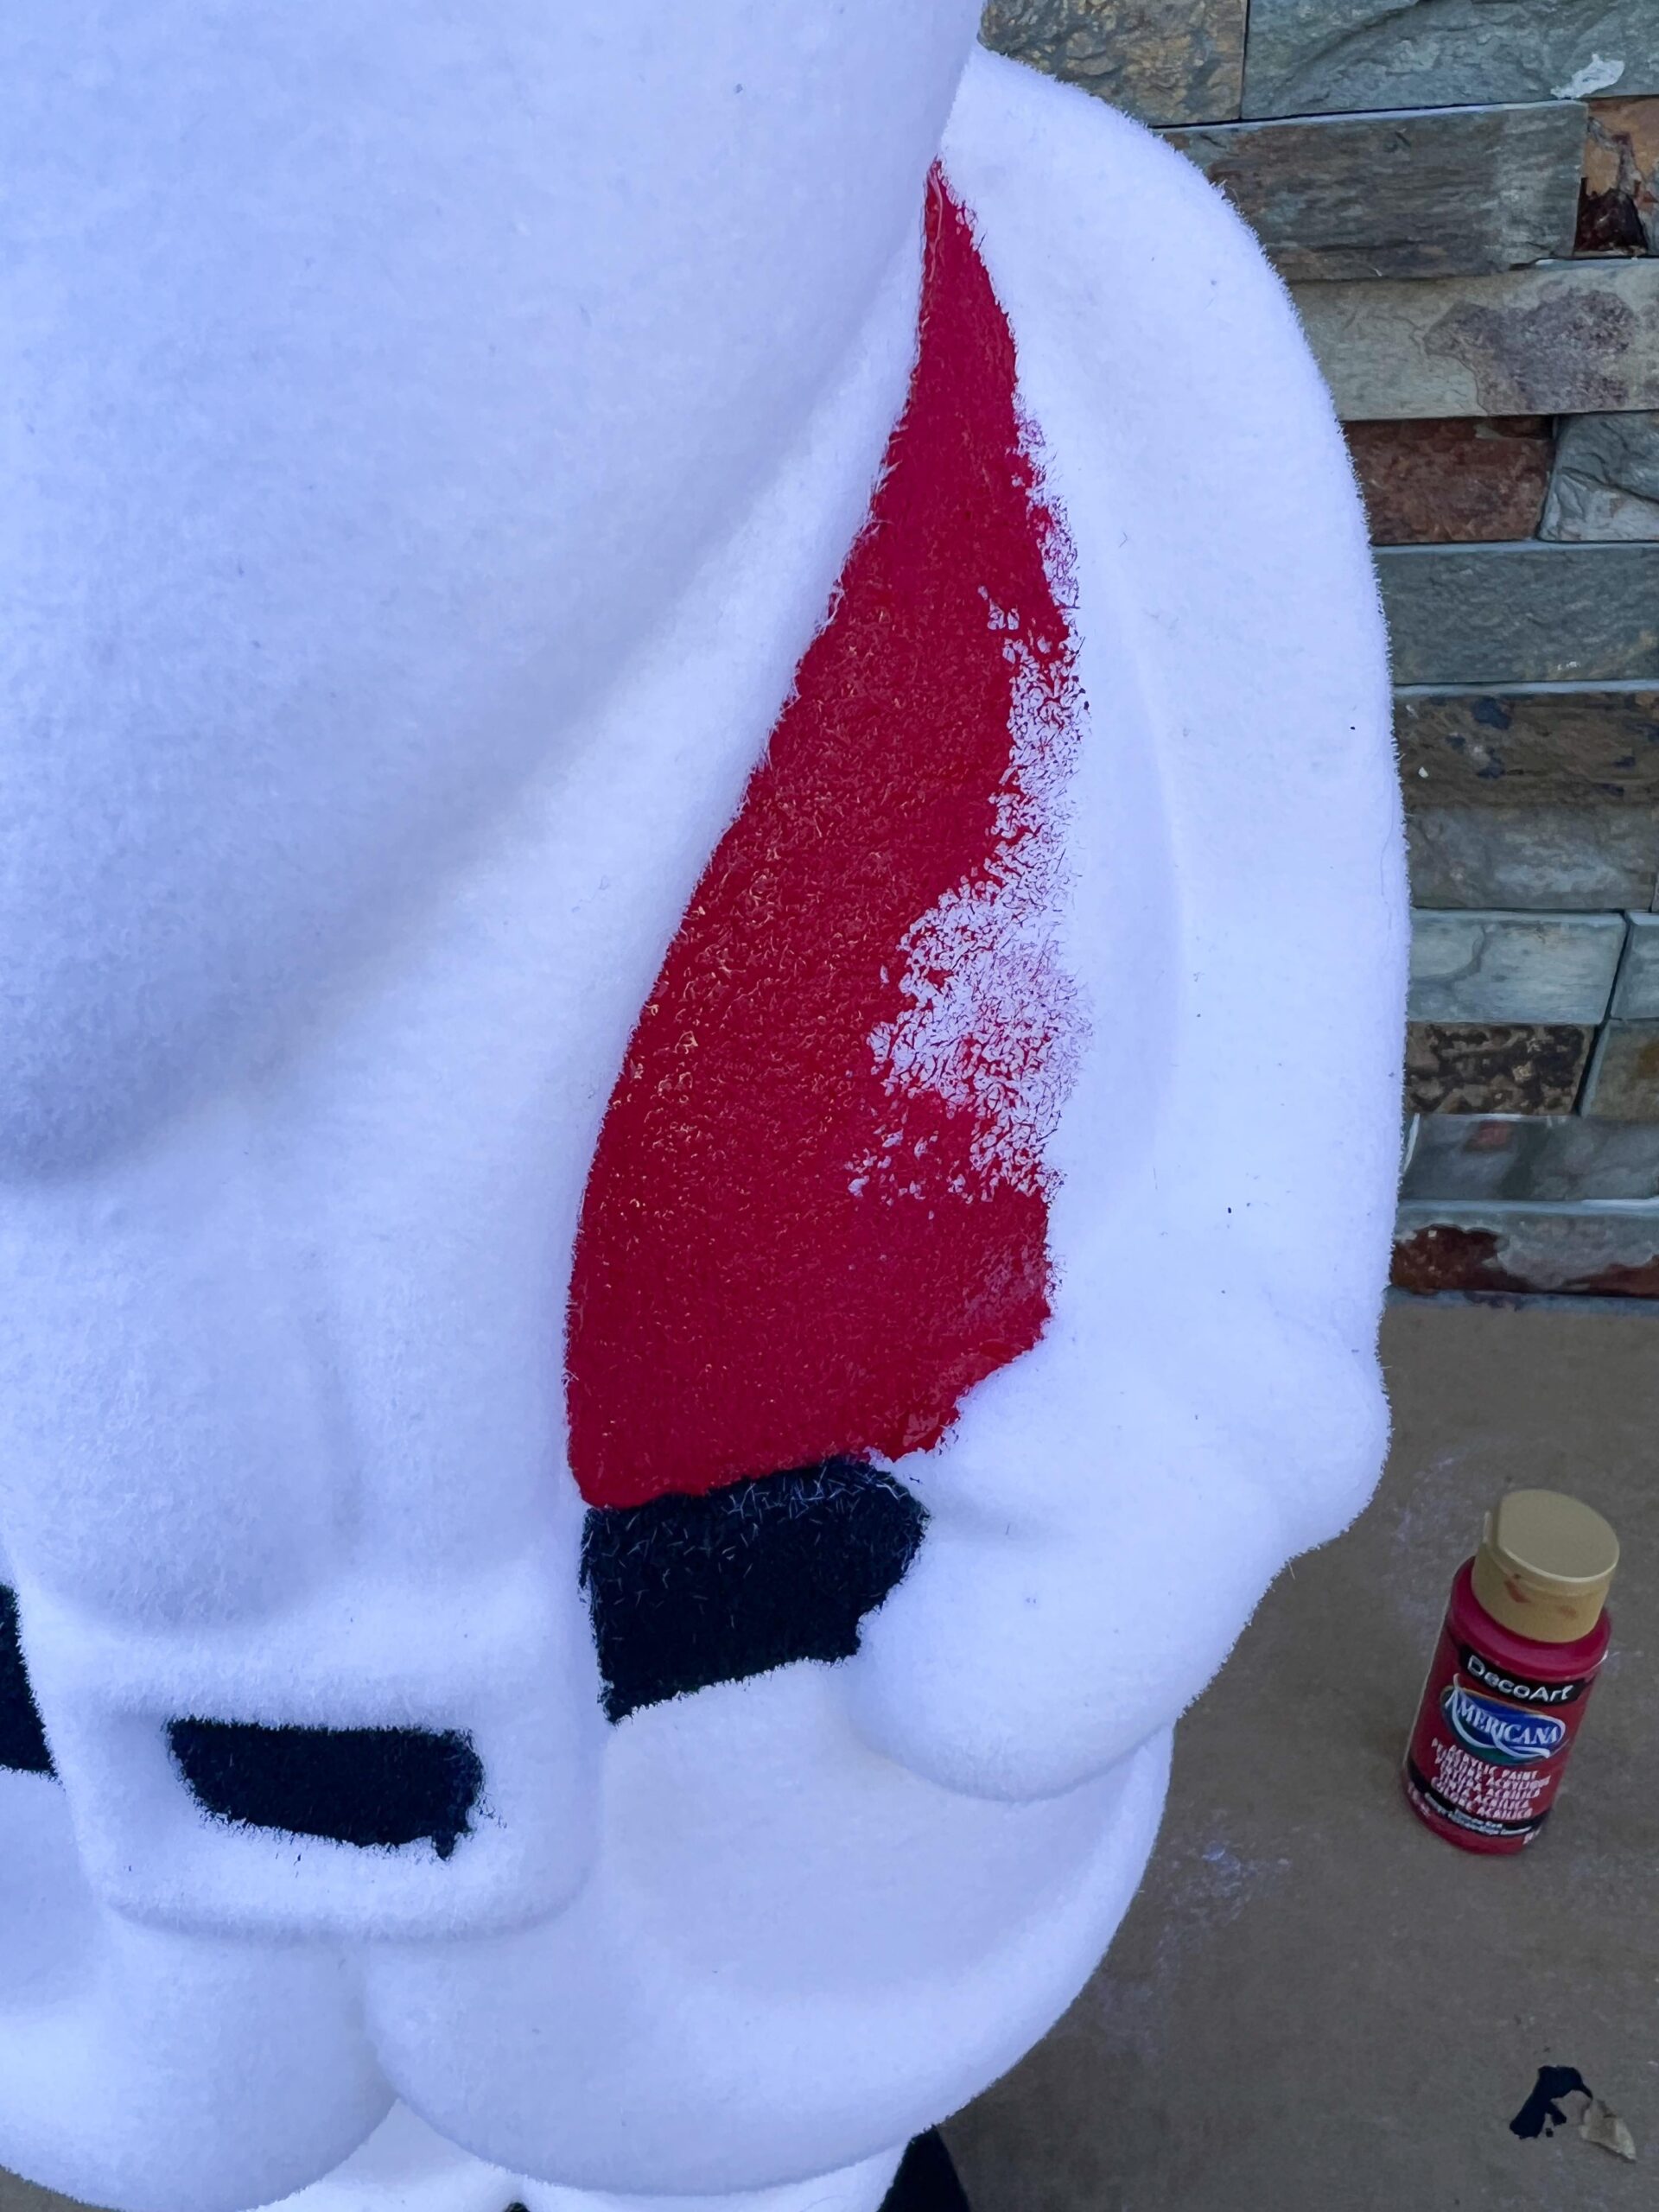
The next step is to paint the Santa.
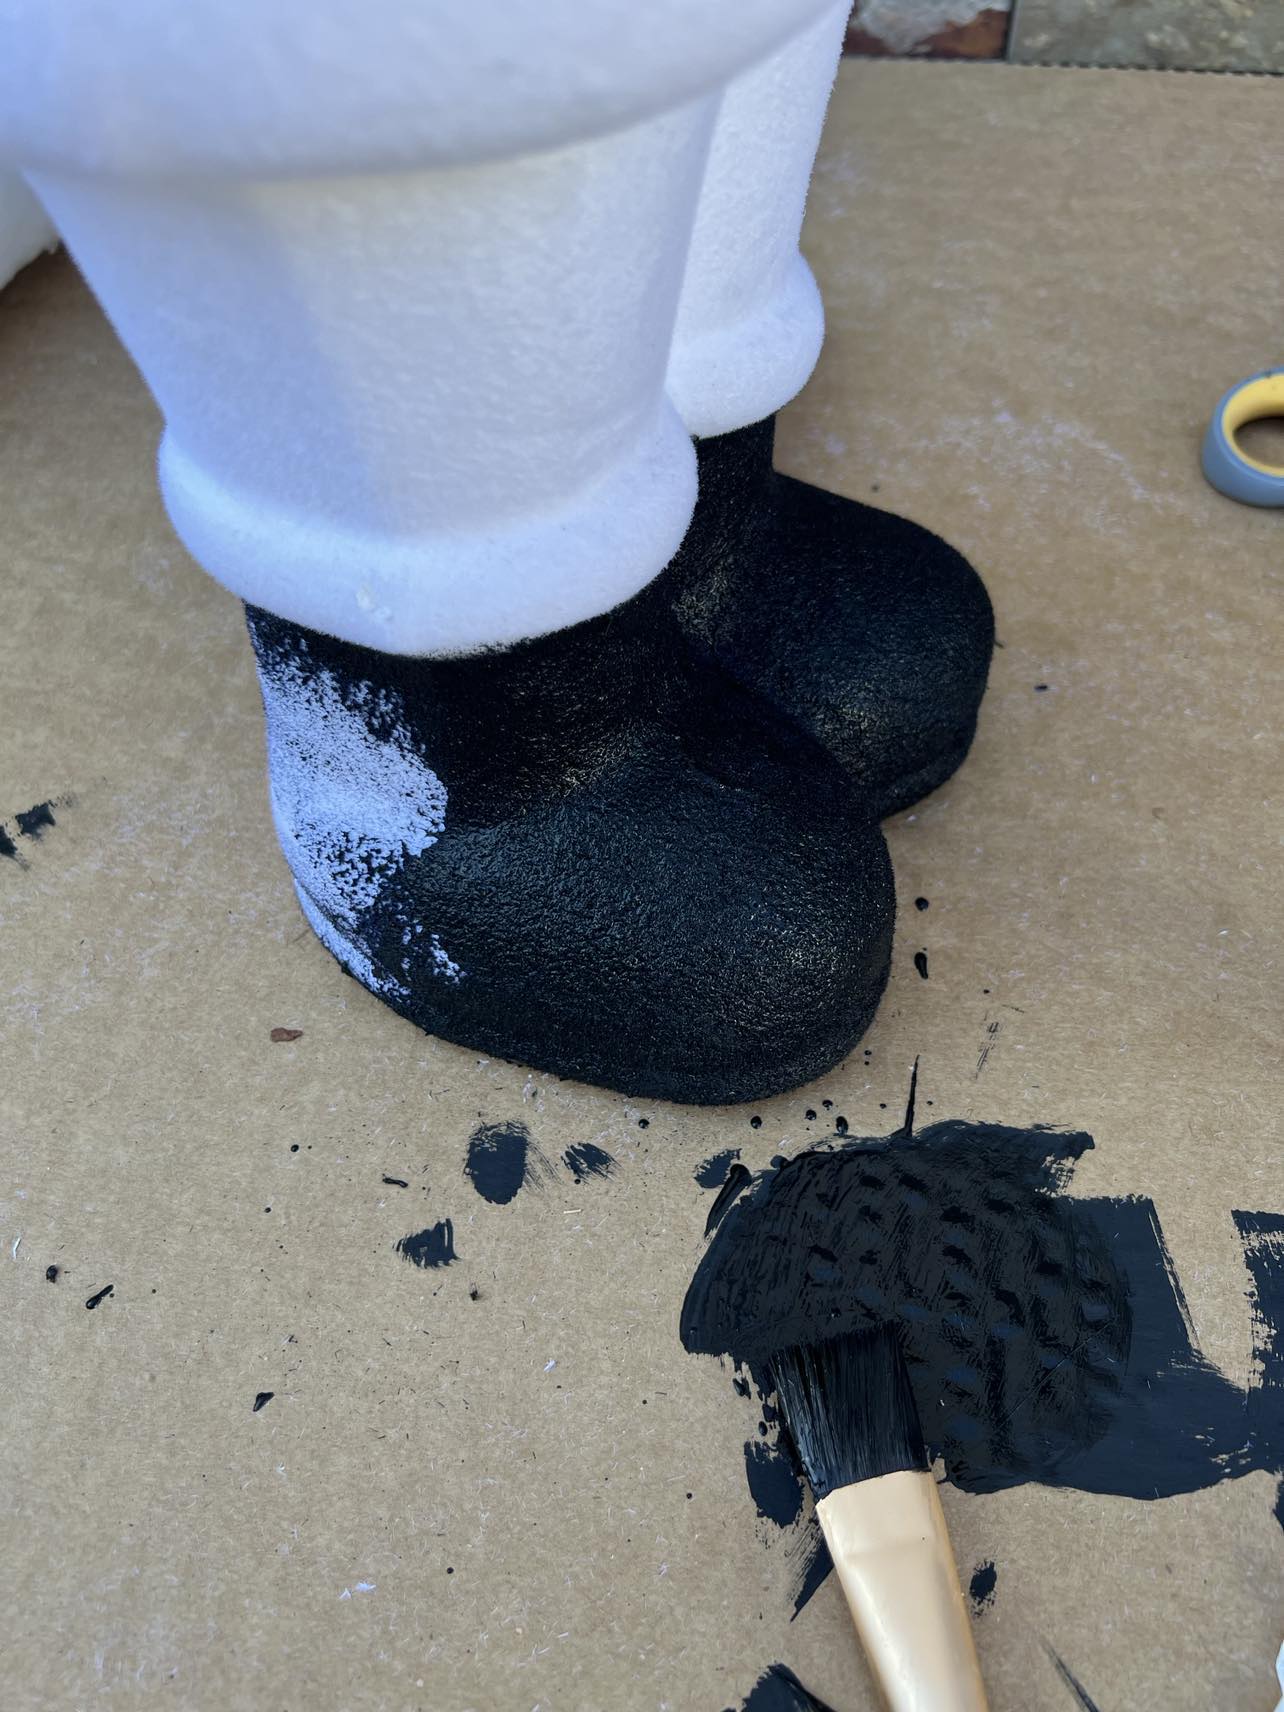
I painted the boots and belt first.

Once I had him painted I placed him in the sun to dry.

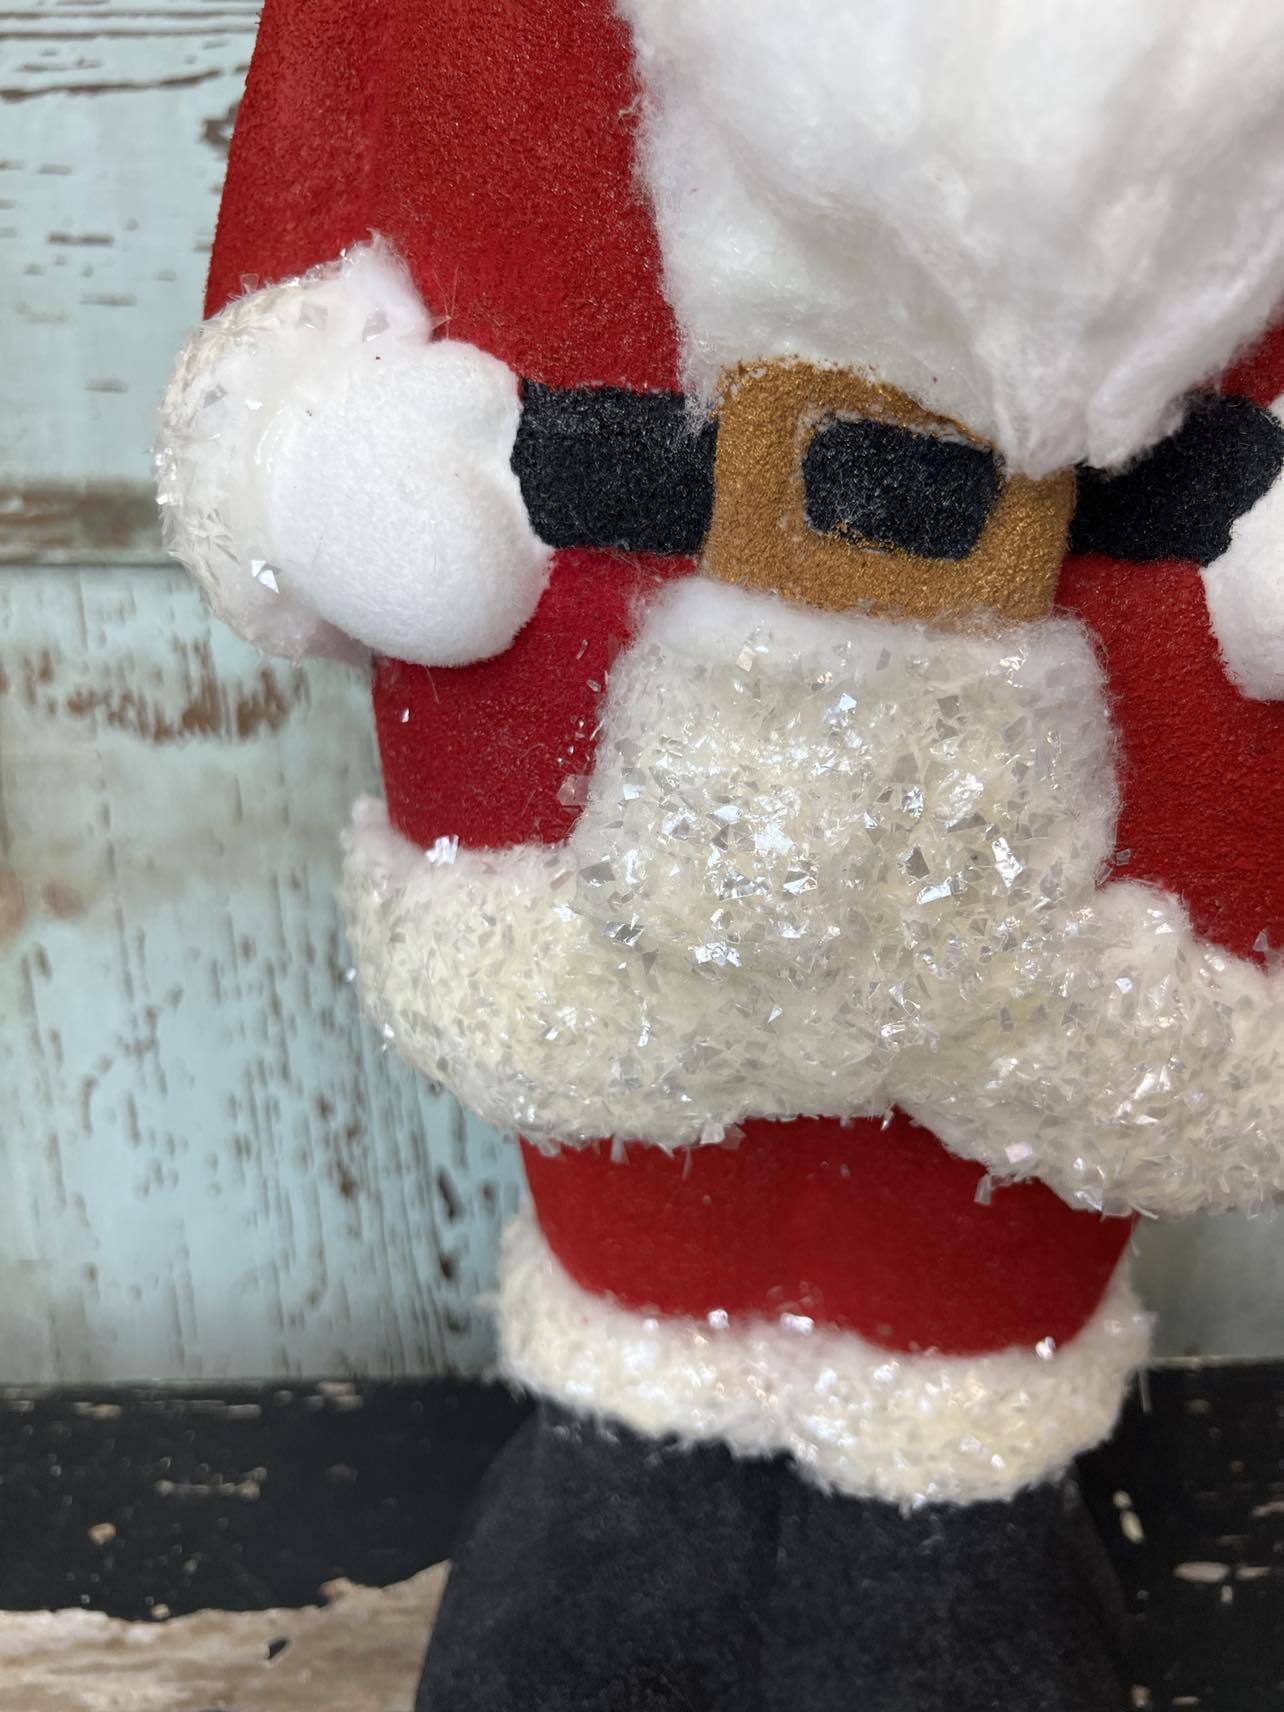
I painted the buckle at the end but I would suggest you paint it now. You will use the Venetian Gold on the buckle.

Once the paint is dry you’ll then start adding the snow roll.

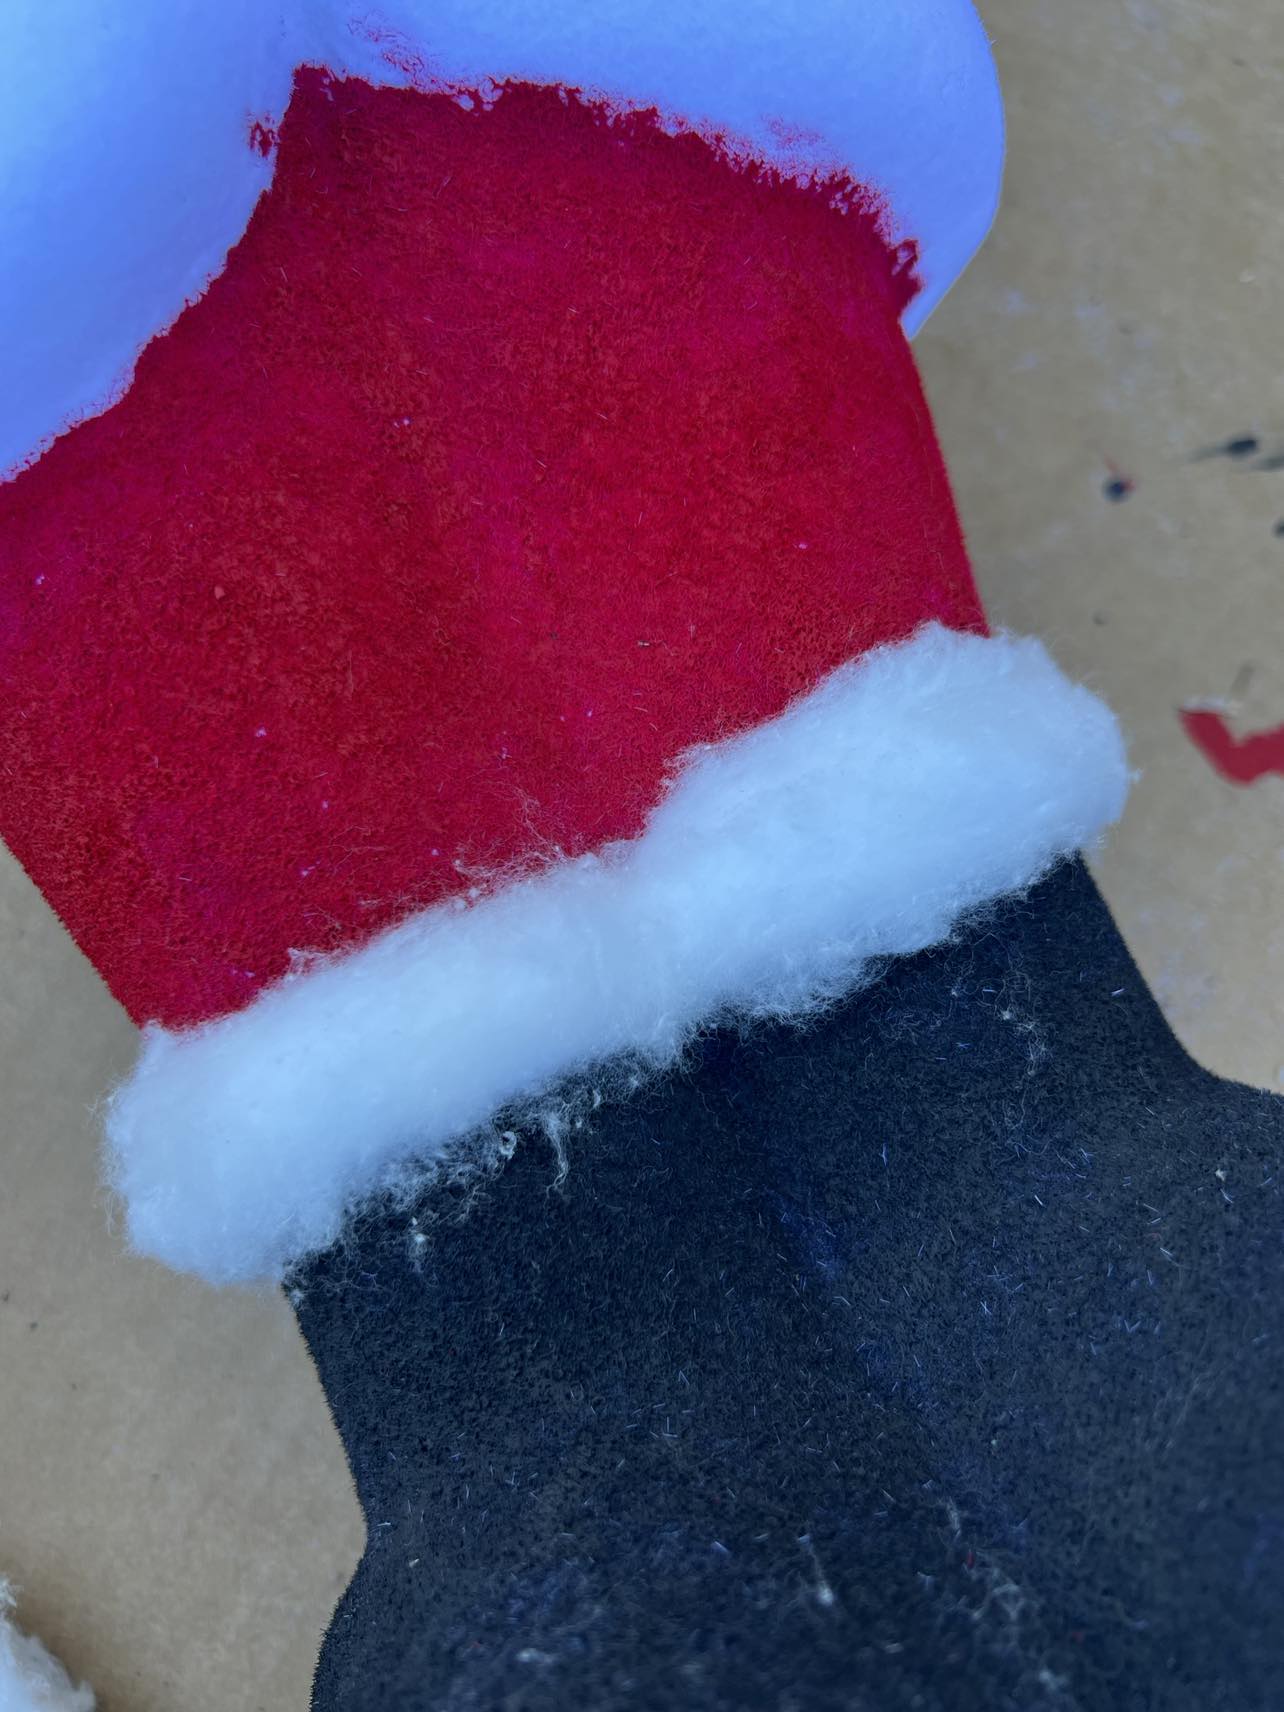

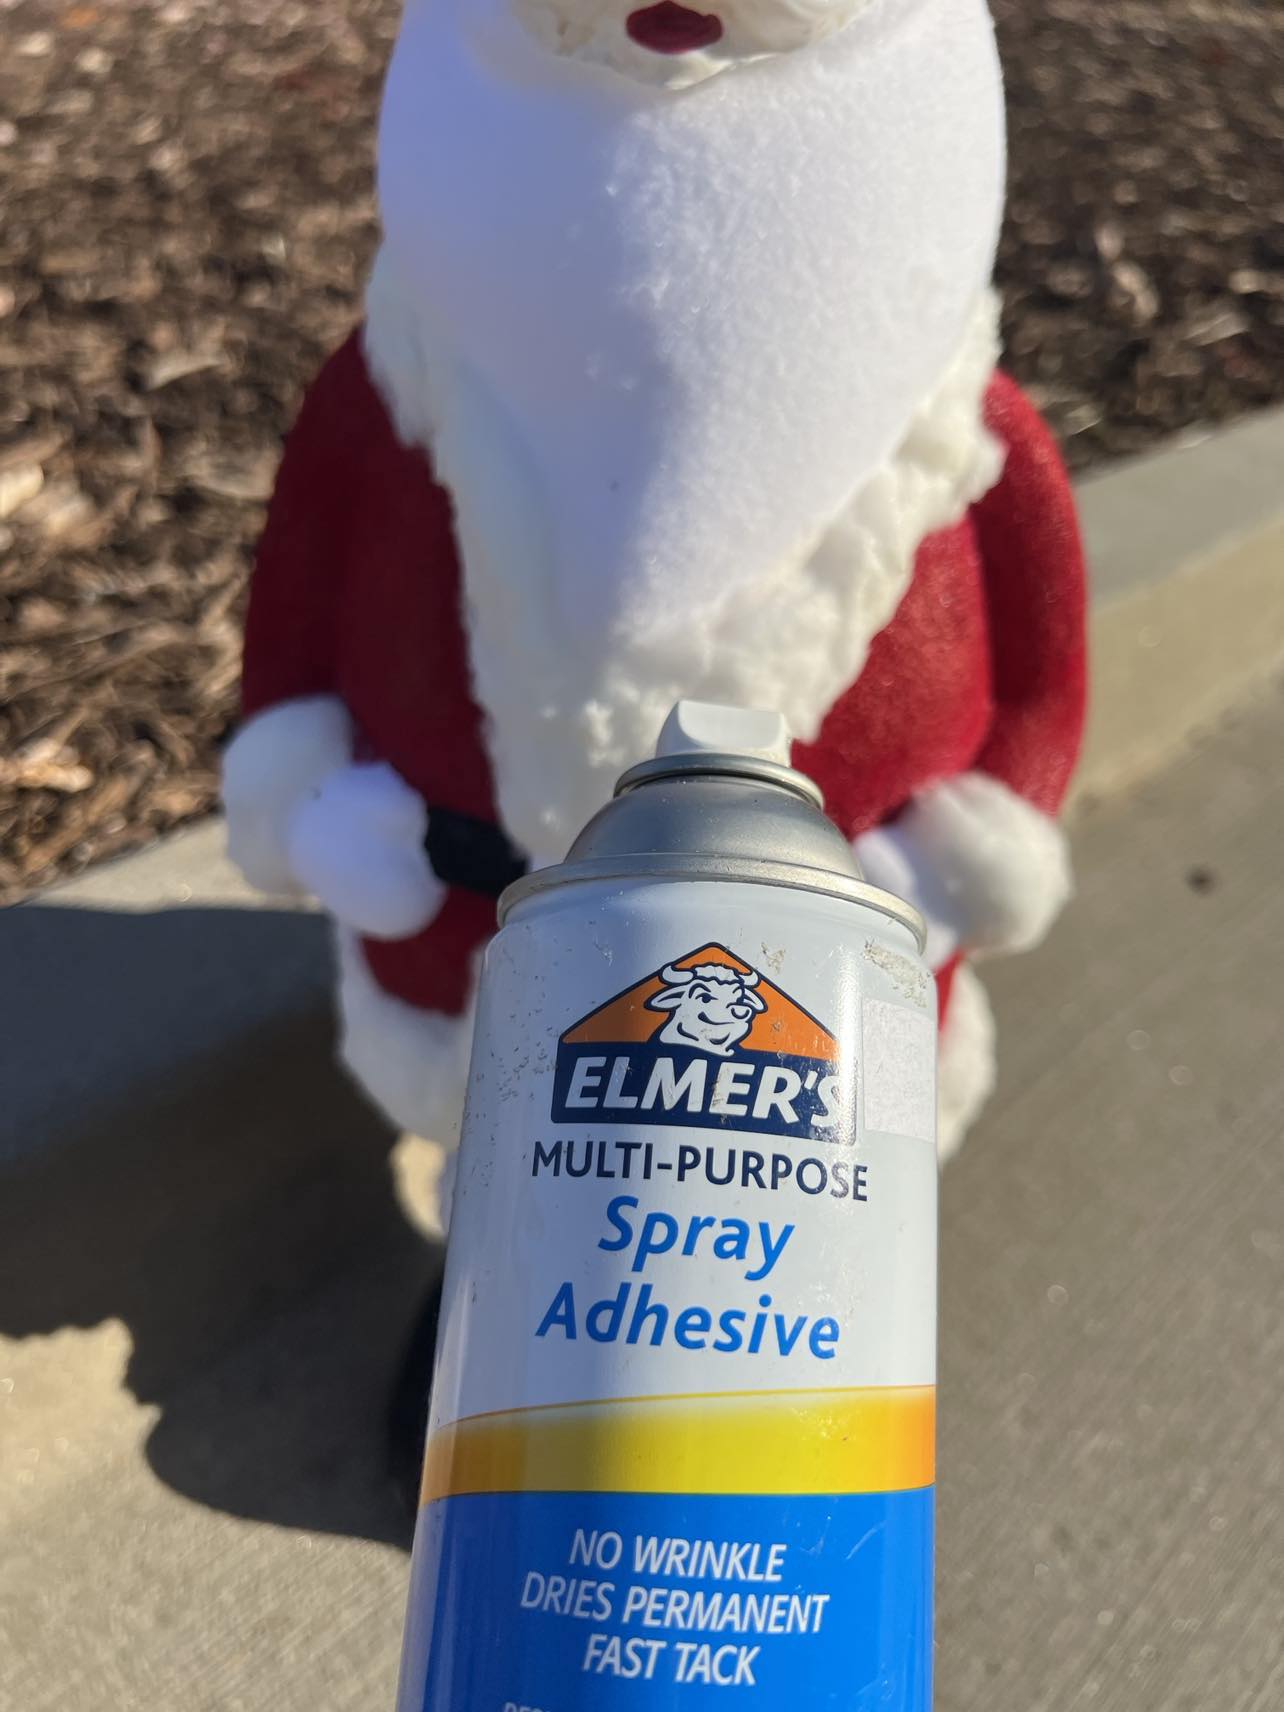
You will use hot glue to attach the snow roll. Once you have the snow roll added to the trim of the suit and boots you’ll then spray on the Elmer’s adhesive. This adhesive will prevent the snow roll from pulling apart. I sprayed the entire Santa with the adhesive.

Once the adhesive is dry you’ll then add the snow roll to the beard. Be sure to add it to the edge of the face.


I added more spray adhesive to all the trim areas and then sprinkled on some mica flakes.

I decided to add a large pom pom to the end of the hat instead of using the snow roll.
You can find the Mica flakes on our website by clicking the link down below.
https://theshabbytreeboutique.com/shop-mBiWY/p/mica-snow

I just love how he turned out and I can’t wait to add him to my Vintage Santa’s. I hope you’ll get creative and give this a try.