If you want some unique items throughout your home you’re going to love this Chandler wood burning tool! I love wooden signs but I wanted to be able to create my own designs and sayings so this was perfect for me. I created a few different projects using this wood burning tool so I’m going to show you each project I created. If you’d like to check out this item you can find it through my Amazon affiliate link here.
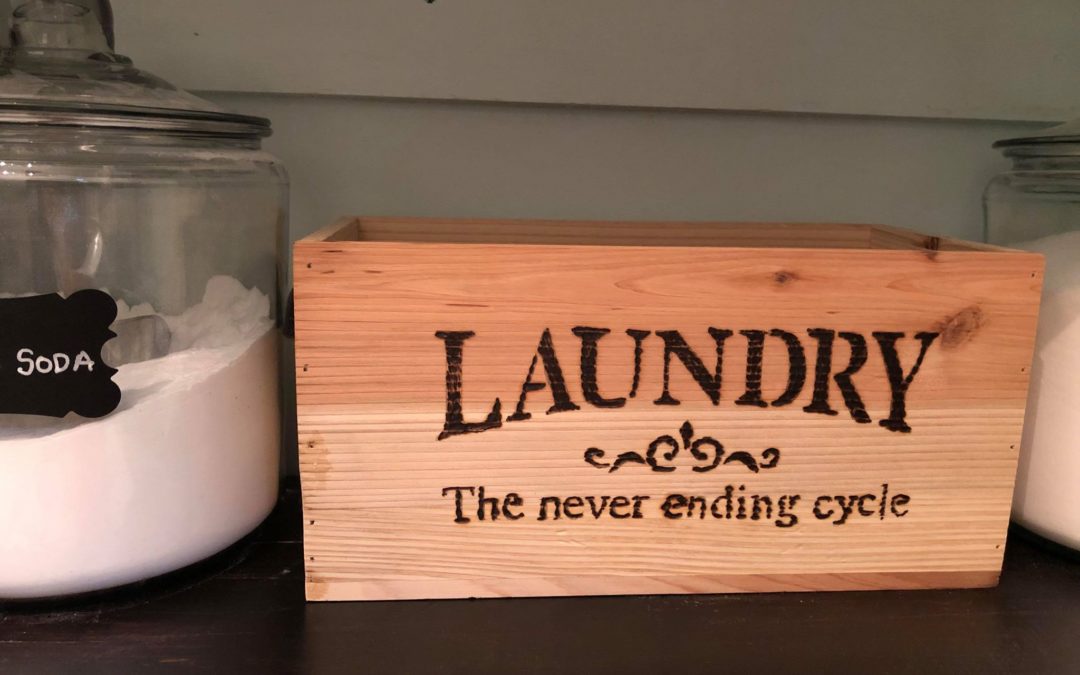
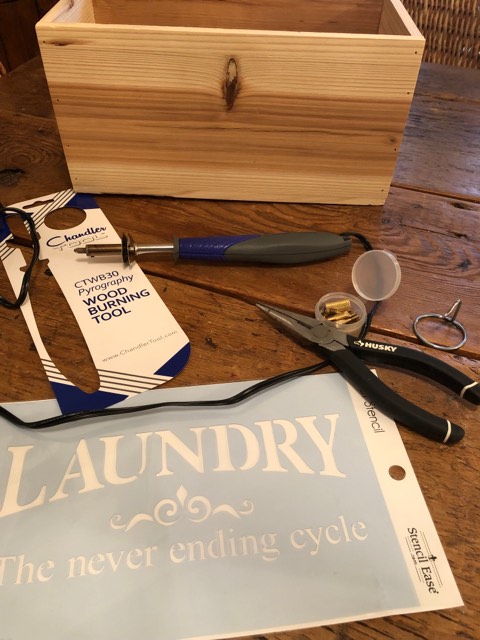
The first project I created is for my laundry room. I wanted a unique box that I could keep my dryer sheets in. The supplies you will need for this project are:
1. The Chandler wood burning tool
2. A wooden box of your choice
3. A stencil of your choice
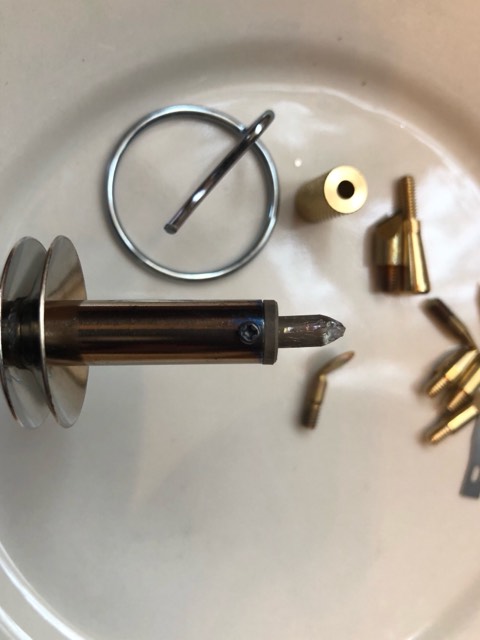
4. Pliers (in case you want to change out the head on the wood burning tool)
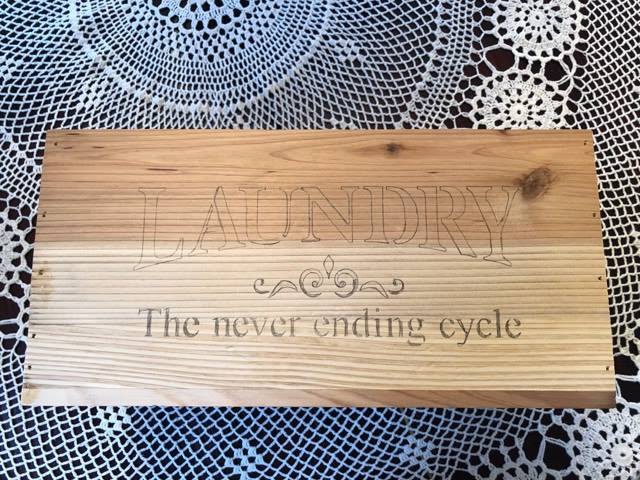
First you will need to take your stencil and place it on the box.

Next, you will need to trace your stencil onto your box. I am using a pencil to trace my stencil.
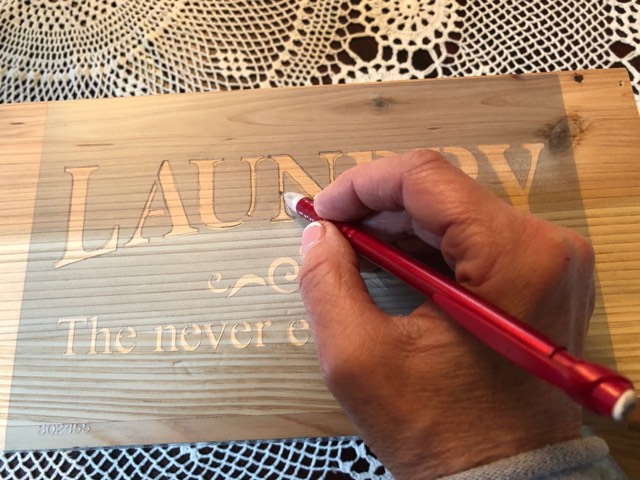
Once you’ved traced the entire stencil you will need to remove the stencil and check to make sure you can see all the pencil markings from where you traced your stencil.
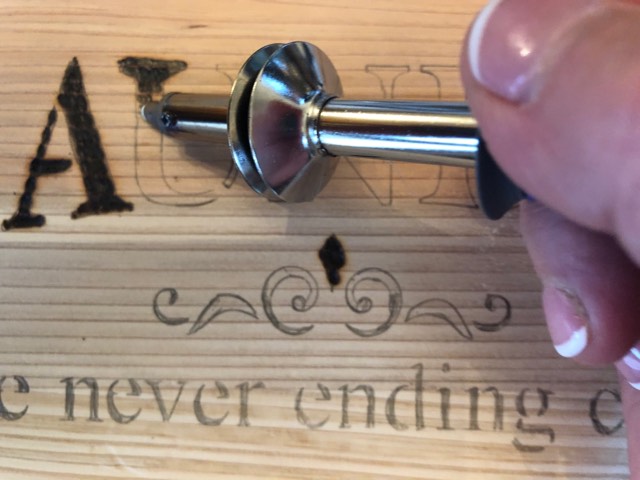
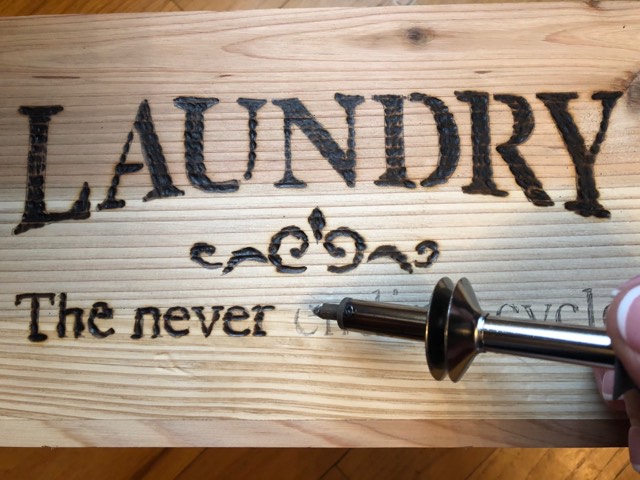
Once you’ve made sure that the entire stencil is outlined it is time to take your wood burning tool and start burning over your pencil marks. I will be using the basic straight point tip for this project.
To use the wood burning tool all you have to do is take the tool and draw over your pencil markings while pressing down. This tool will burn your wood as you move it and I found it very easy to use!
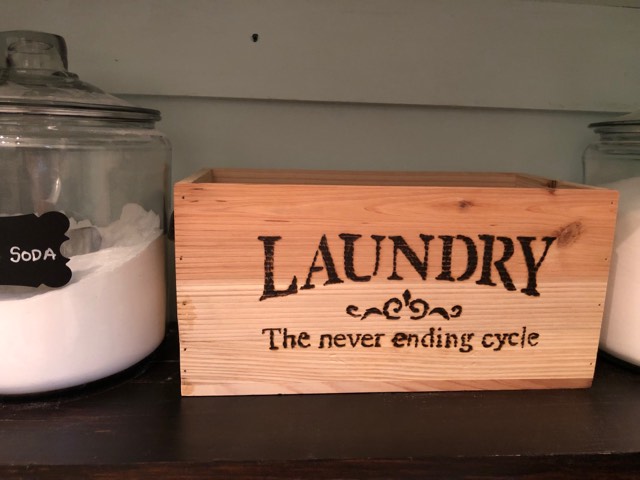
Once you finish tracing your entire stencil with the wood burning tool you will have a cute box with the design of your choice! I loved the way this one turned out and it will definitely make the perfect addition to my laundry room!
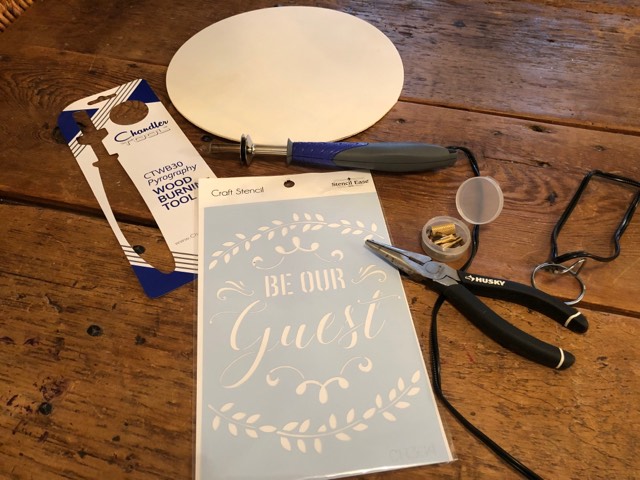
The next project I created is for the front door. I wanted a unique sign to put in the center of a wreath or to hang on my door. The supplies you will need for this project are:
1. The chandler wood burning tool
2. Round circle pallet of your choice
3. Stencil of your choice
4. Pliers (in case you would like to change out your tip on tool)
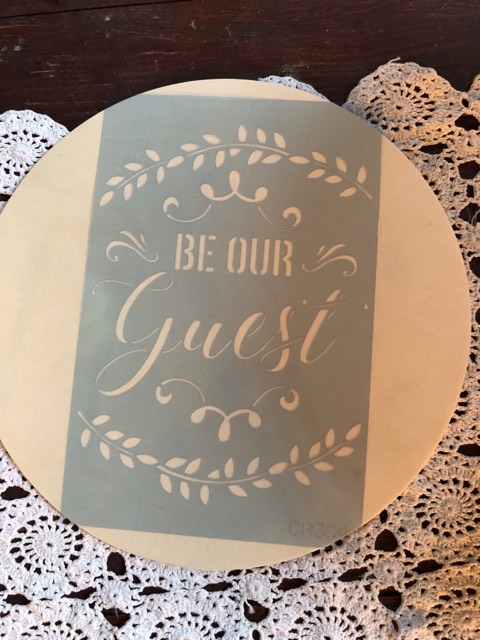
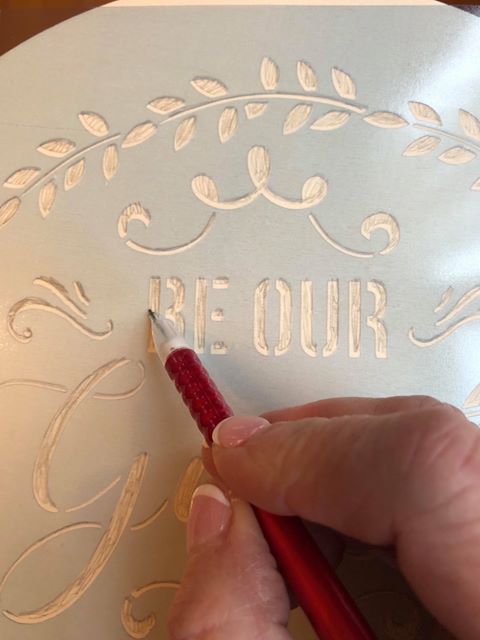
First I took my stencil and placed it on my round piece of wood where I wanted the design to be.
Next, I traced my design with a pencil.
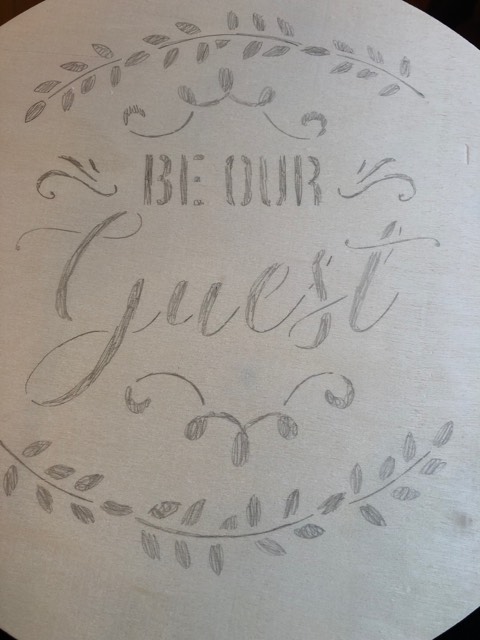
Once you’ve finished tracing the stencil, remove the stencil and make sure all your pencil markings are showing.
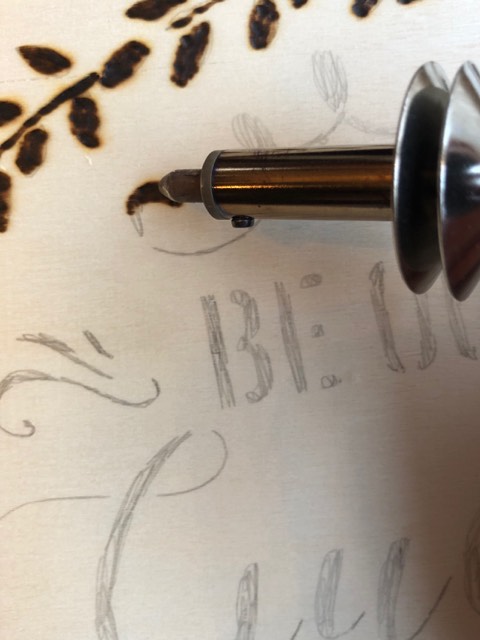
Once you’re happy with the way your pencil markings look take your wood burning tool and start burning over your pencil marks.
Continue burning over all your pencil marks until your stencil is completely burned into your wooden pallet. Once you finish wood burning your design you will have a unique sign that you can either place in a wreath or hang on your door!
There are so many different projects you can create with this tool which is part of the reason why I love it. You can use a stencil to create designs or you can be unique and burn your own sayings and images.
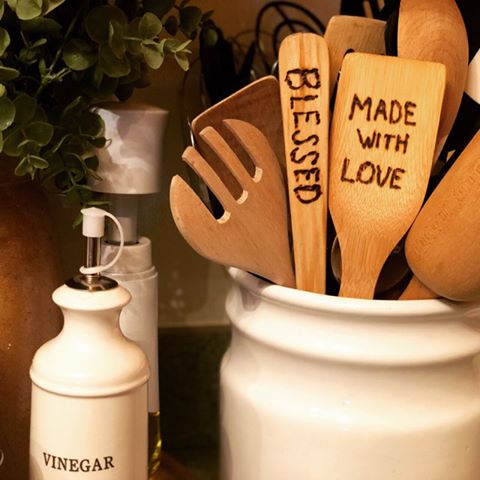
Below you will see some wooden spoons I also created. These wooden spoons would make a great gift to take to a party or to give a neighbor to welcome them to the neighborhood. You could even give someone a homemade meal and add an engraved wooden spoon as a unique and thoughtful touch!
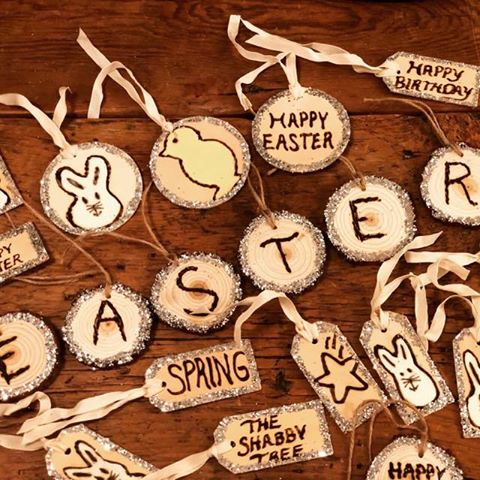
Another cute idea is to make your own hang tags or banners using this wood burning tool. Find some wooden tags or circles and get creative by free-handing phrases, letters or pictures onto these wooden items. You could easily use these to make a banner or to add a cute homeade hangtag to a gift! If you love this wood burning tool as much as I do and want to give it a try you can check it out here through my Amazon affiliate link.
I really hope you guys enjoyed these projects and I hope they inspired you to get creative and be unique!