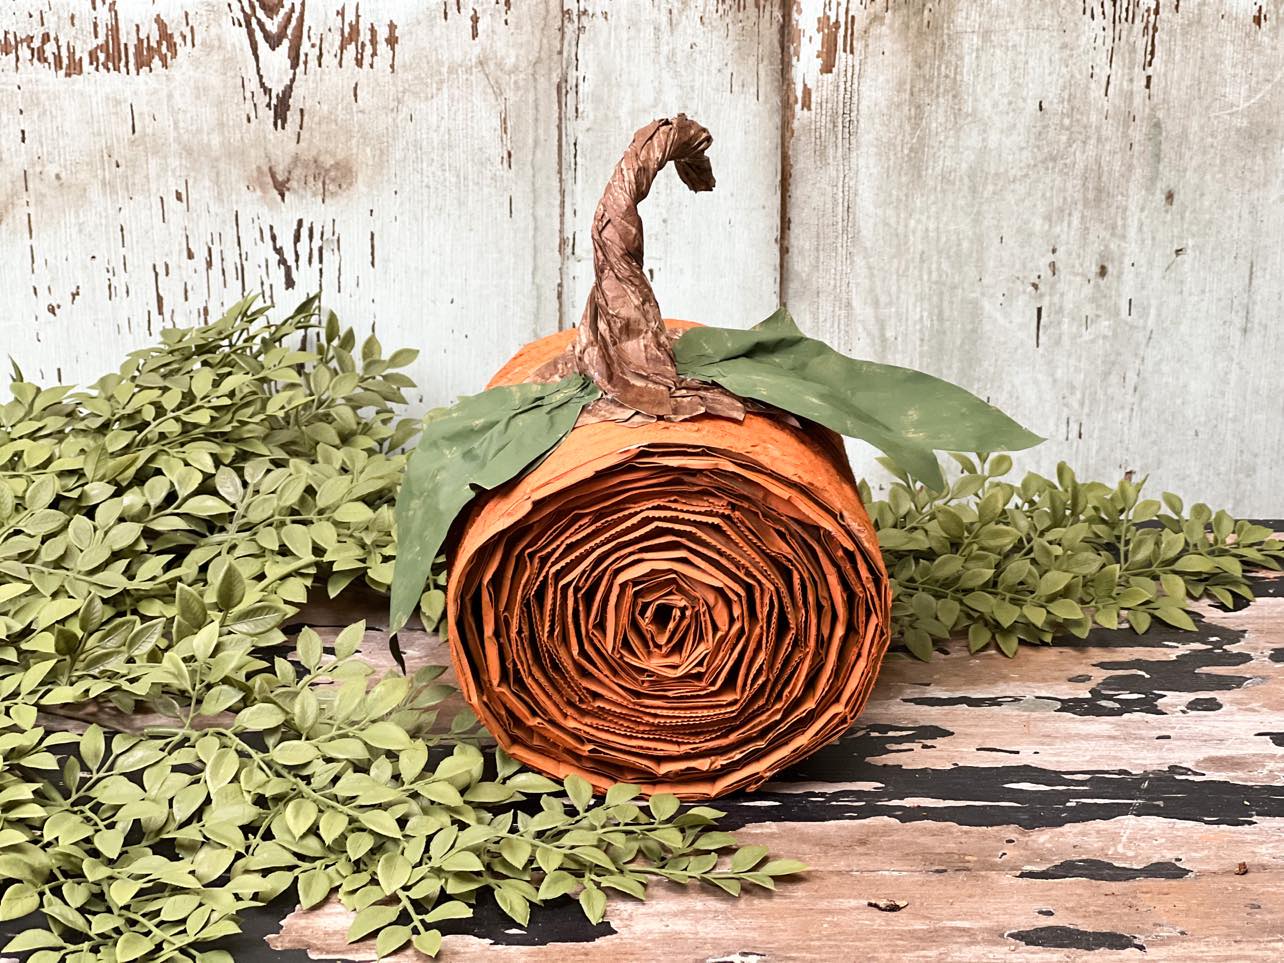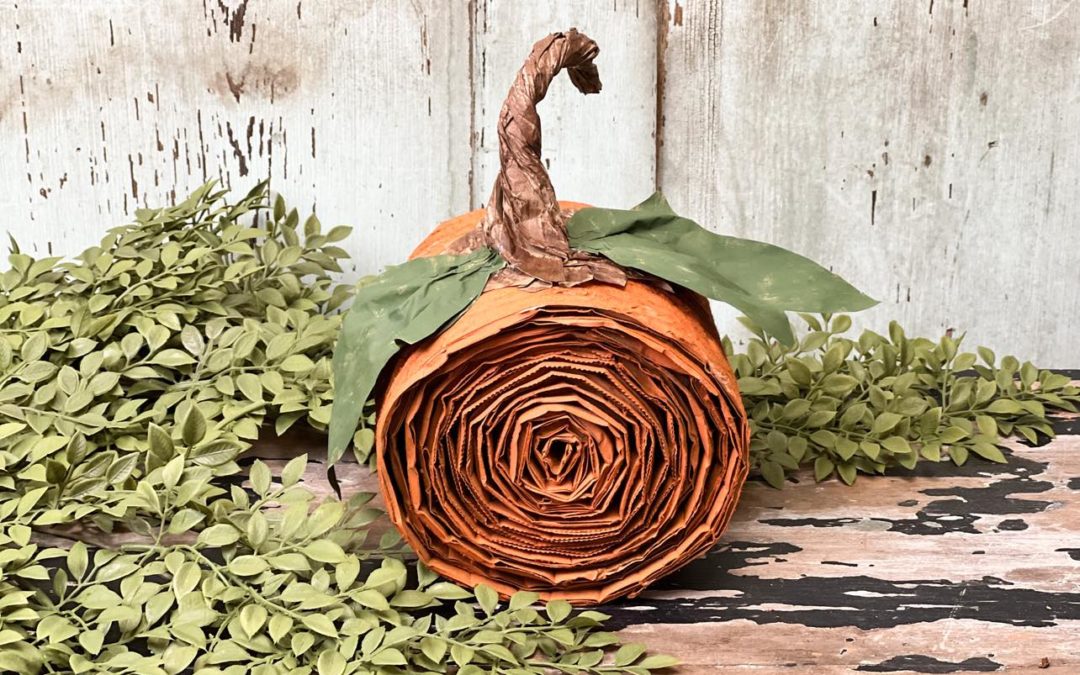
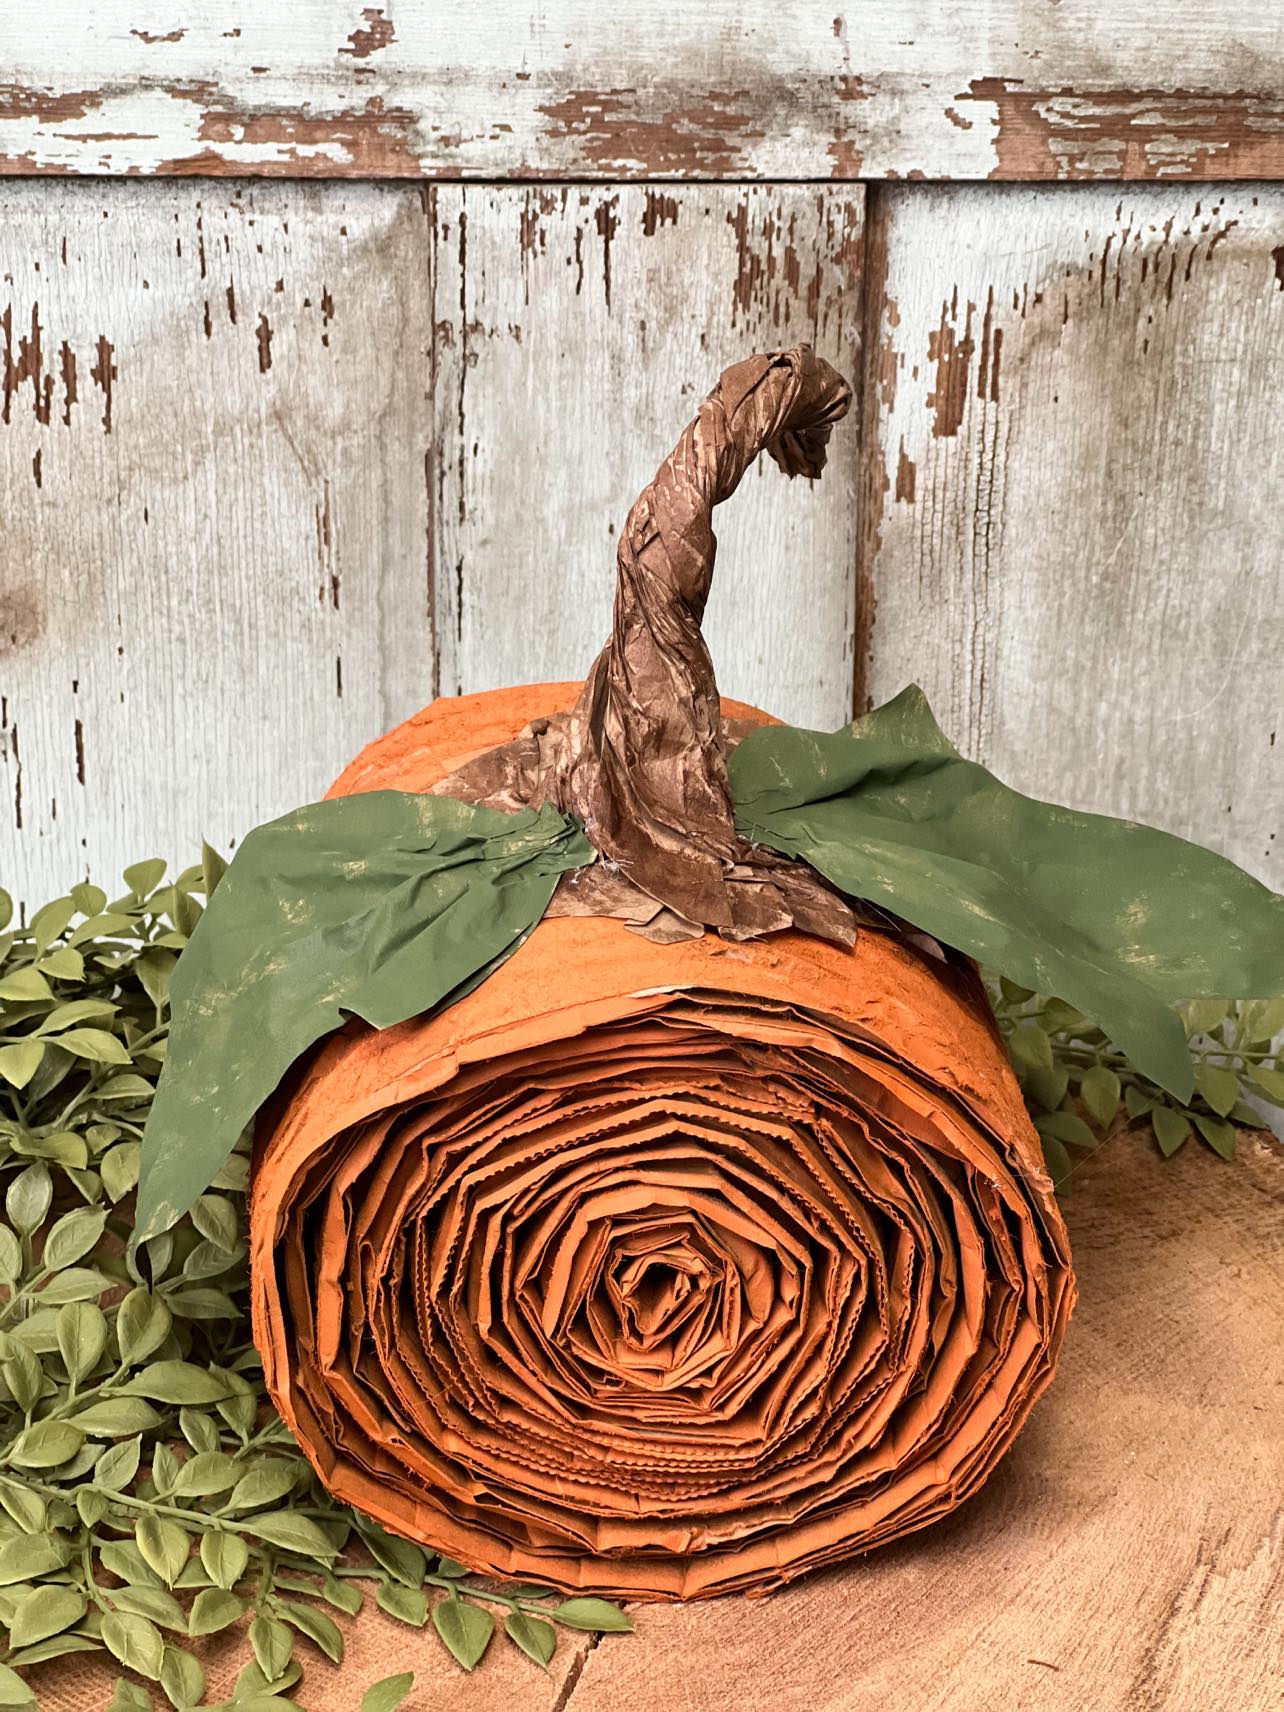
I always try to find ways to create holiday decor using simple items that you might have around the house. It’s time to start decorating for Fall so I thought we can use simple cardboard and brown lunch bags to create a fun and unique pumpkin. These are items that I hope everyone will have access to.
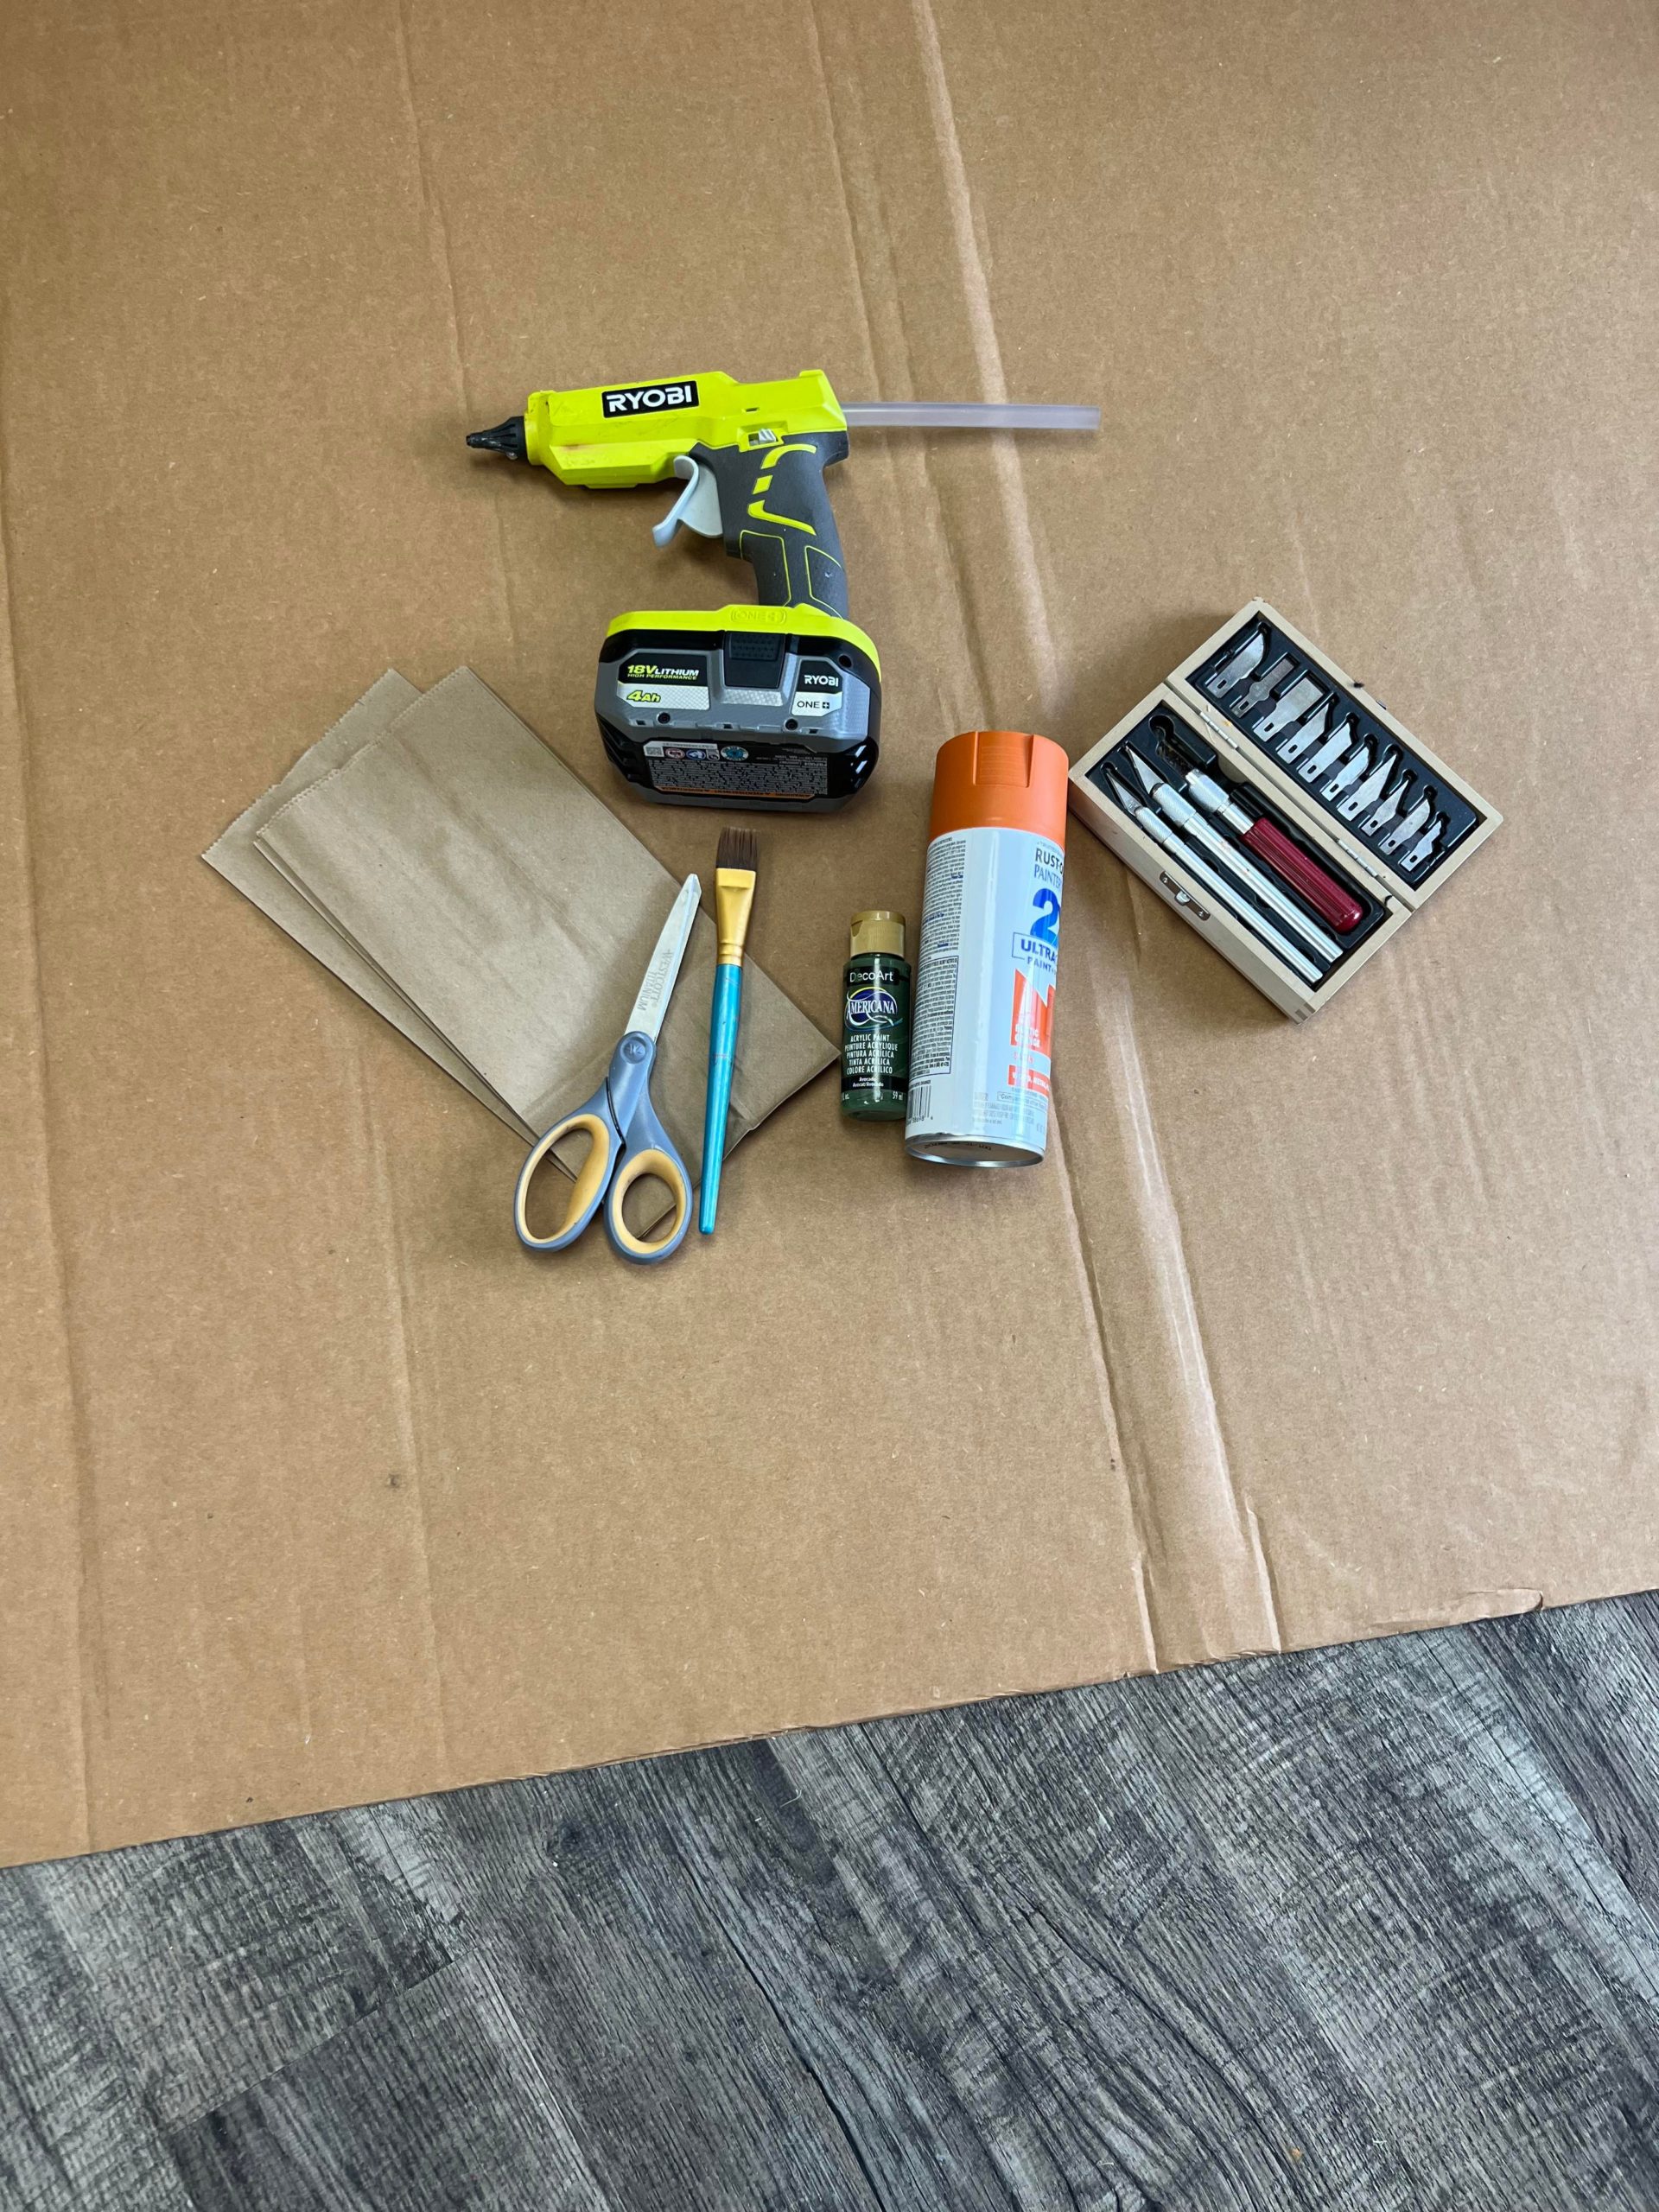
Some other supplies that I’ll be using with the cardboard and brown lunch bags are:
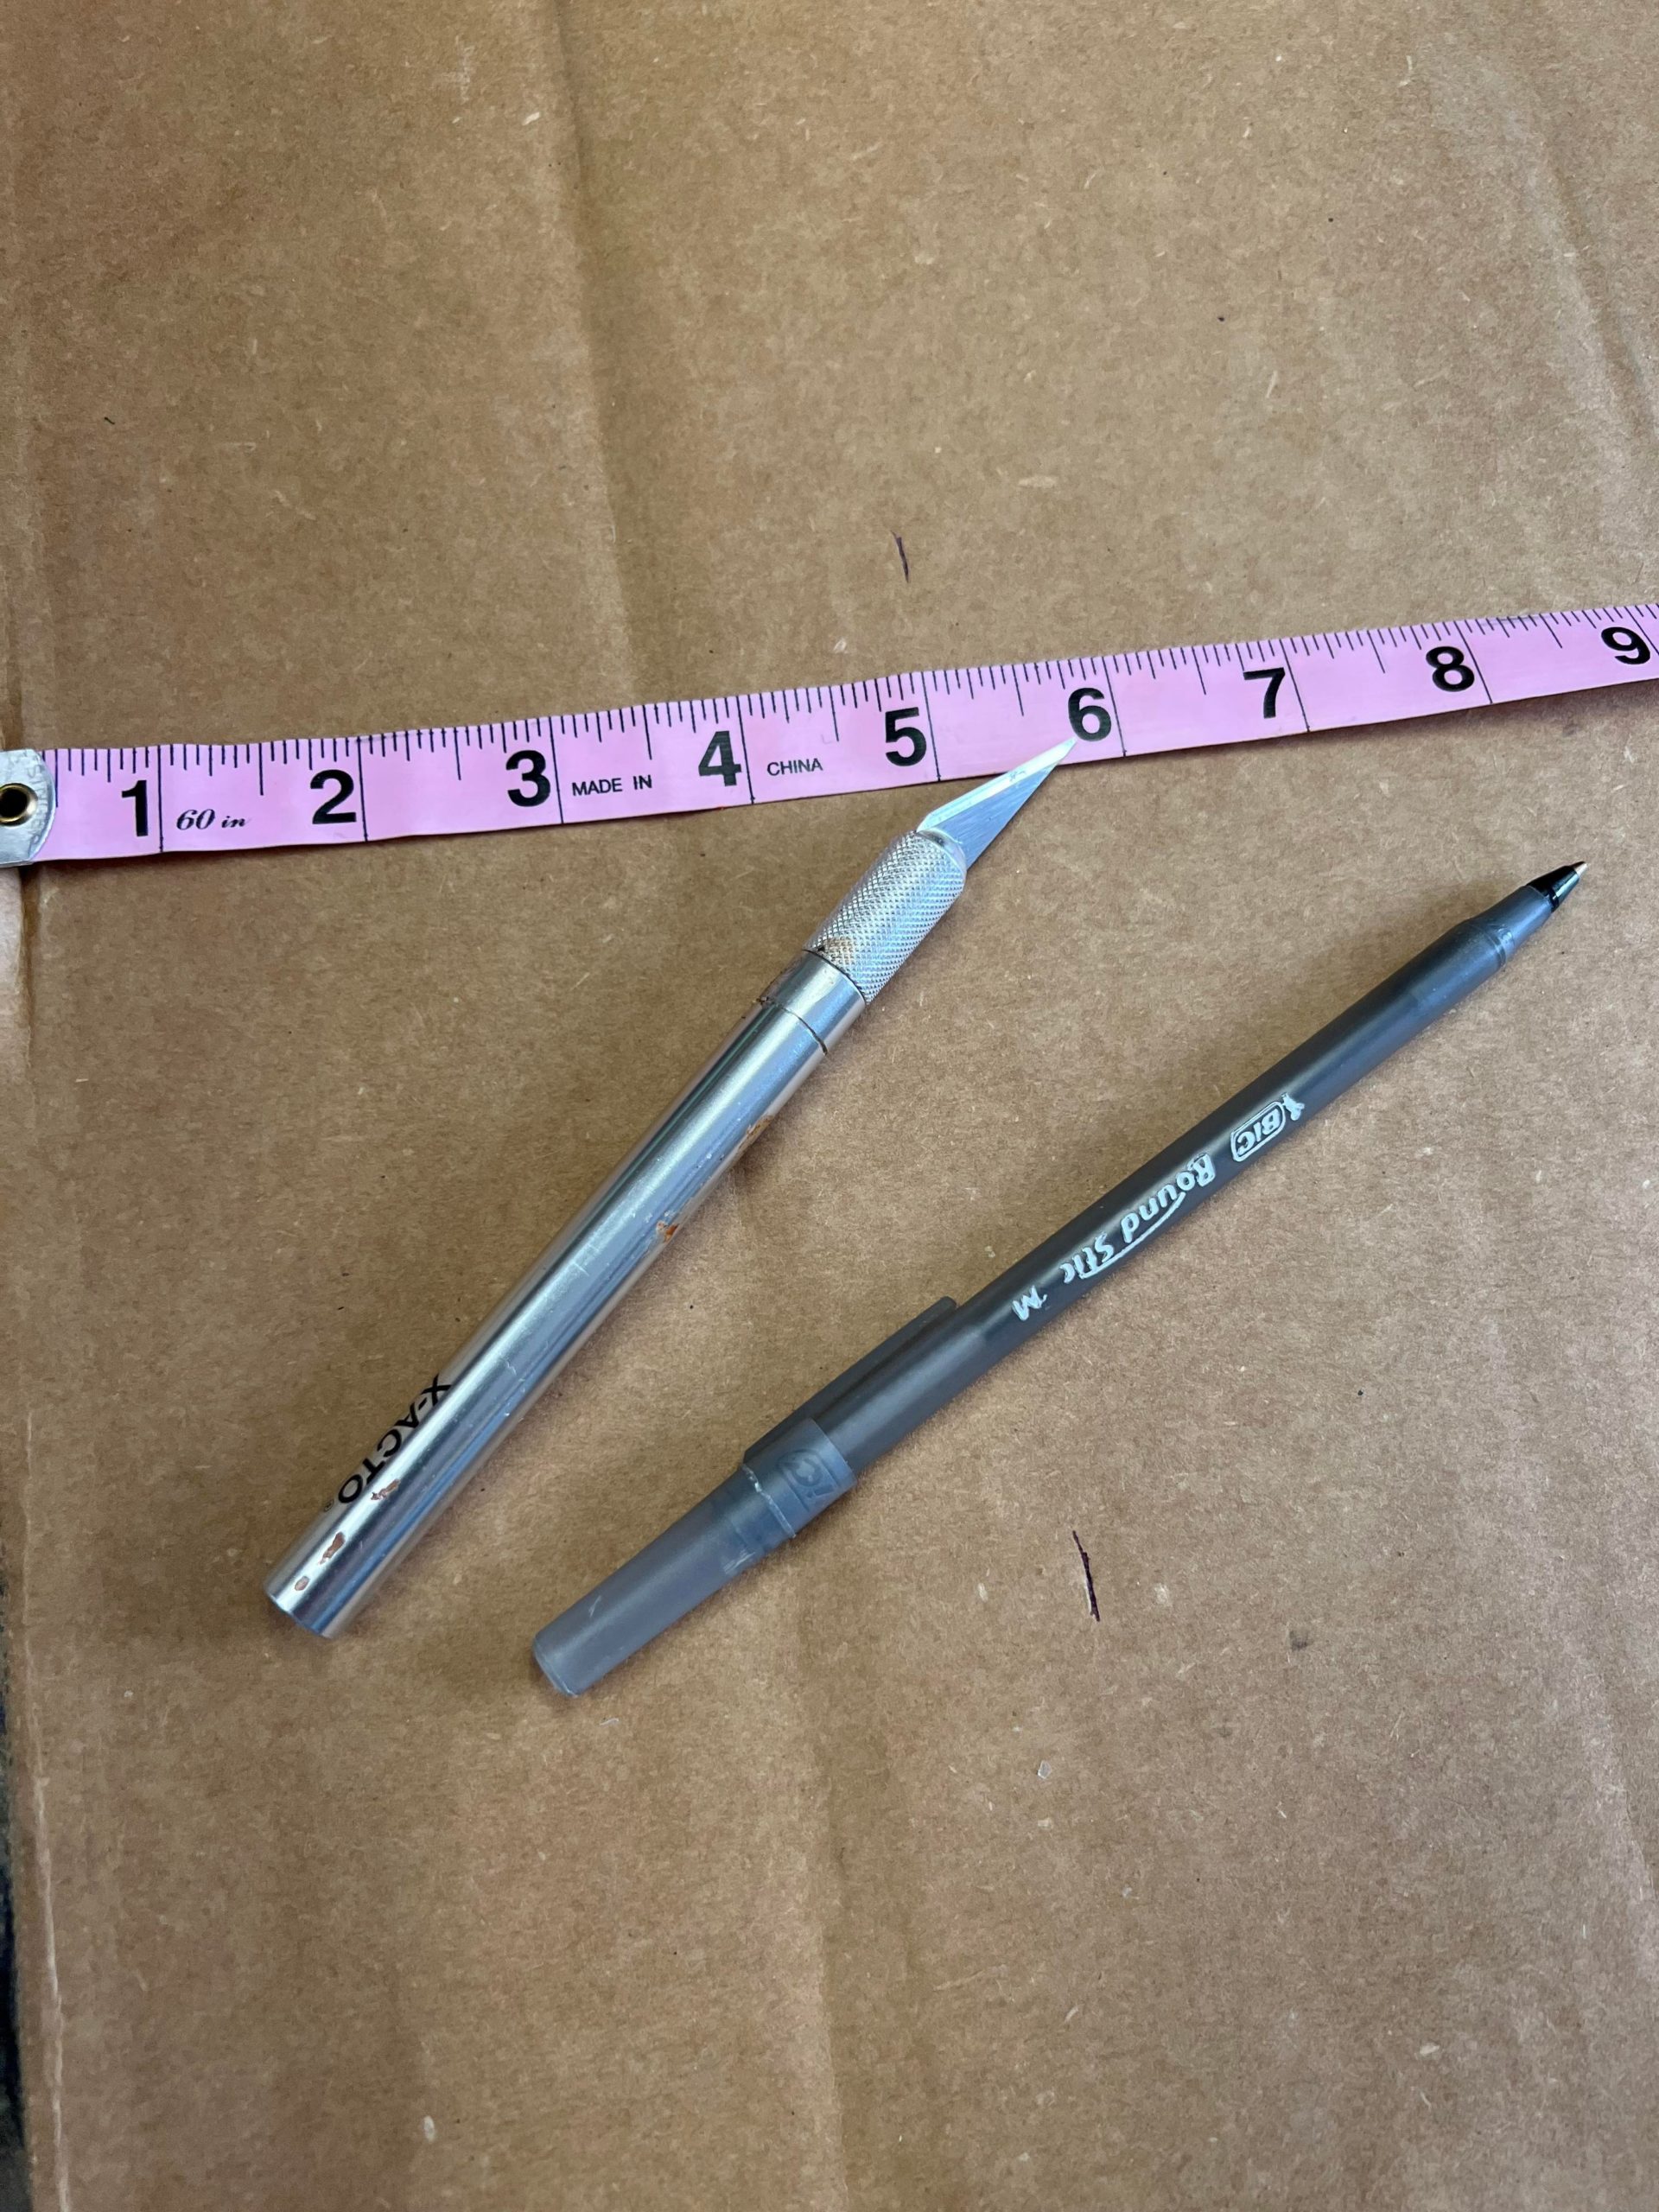
1.Xacto knife
2. Scissors
3. Hot glue
4. Walnut colored gel stain by DecoArt
5. Avocado colored acrylic paint by DecoArt
6. Rustic Orange colored spray paint by Rust-oleum
7. Paint brush
The first thing that I did was cut my cardboard into strips. You can cut your strips of cardboard as wide and as long as you want.
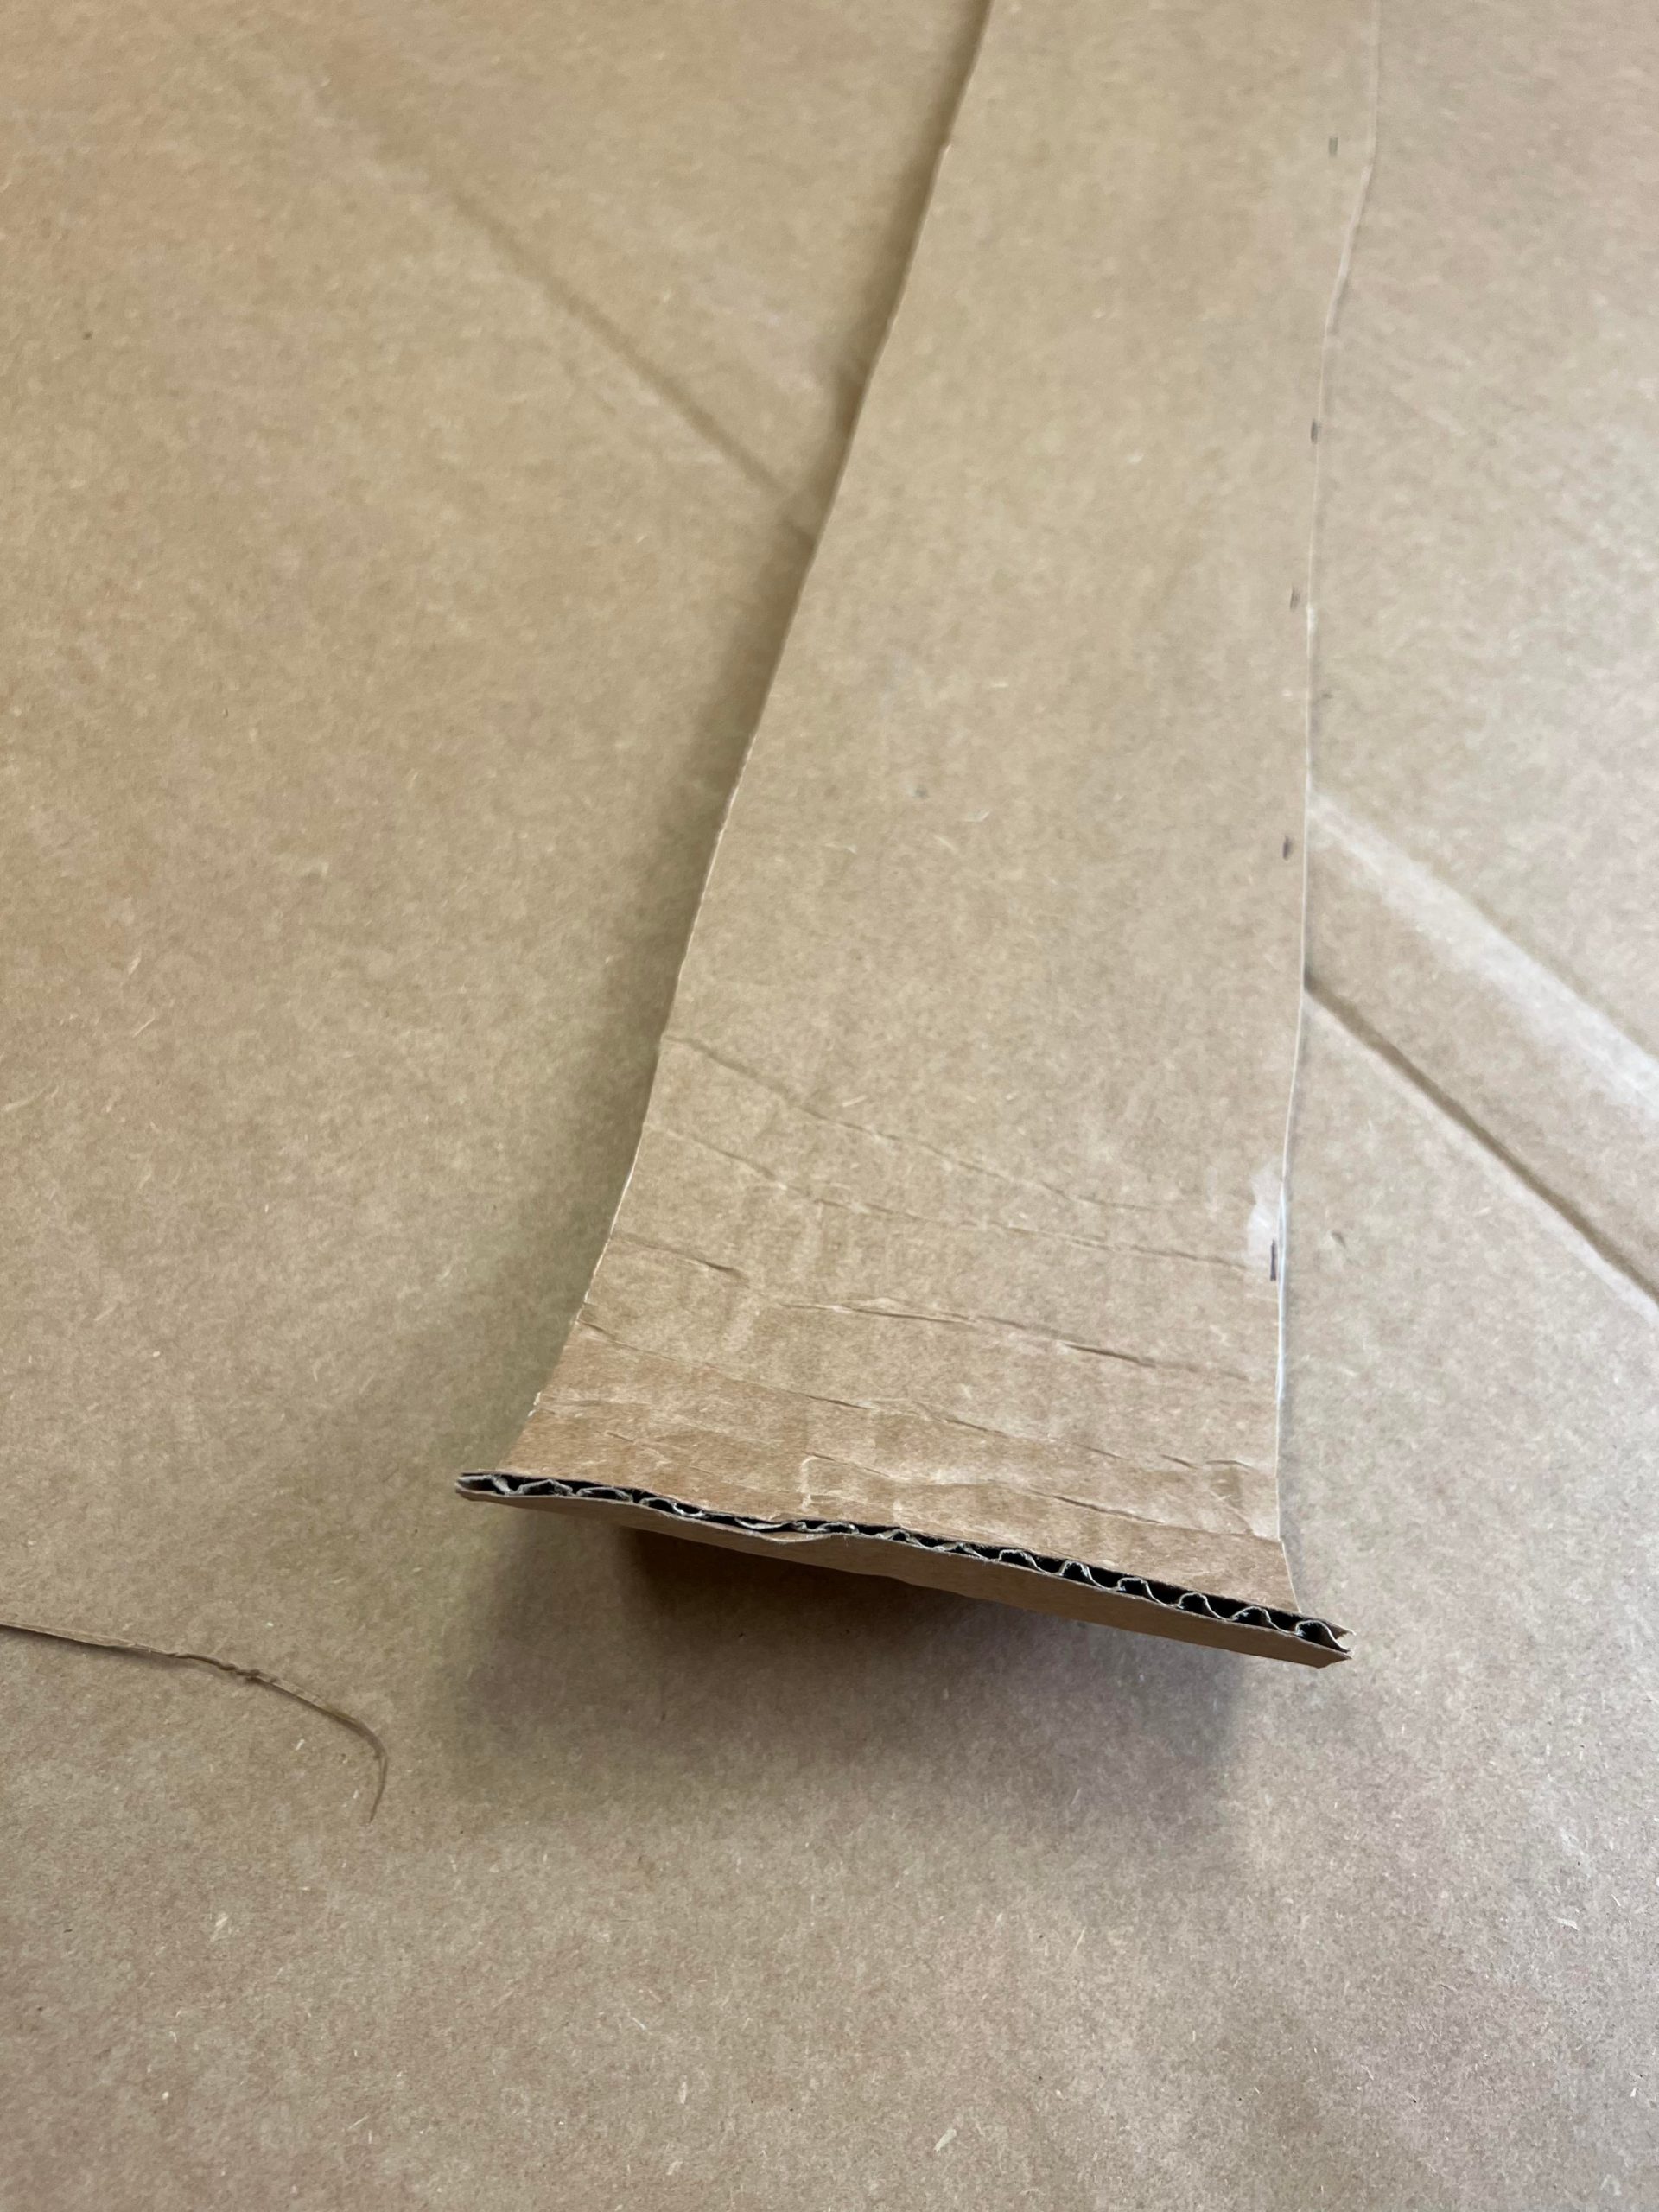
I cut my strips about 5 inches wide.
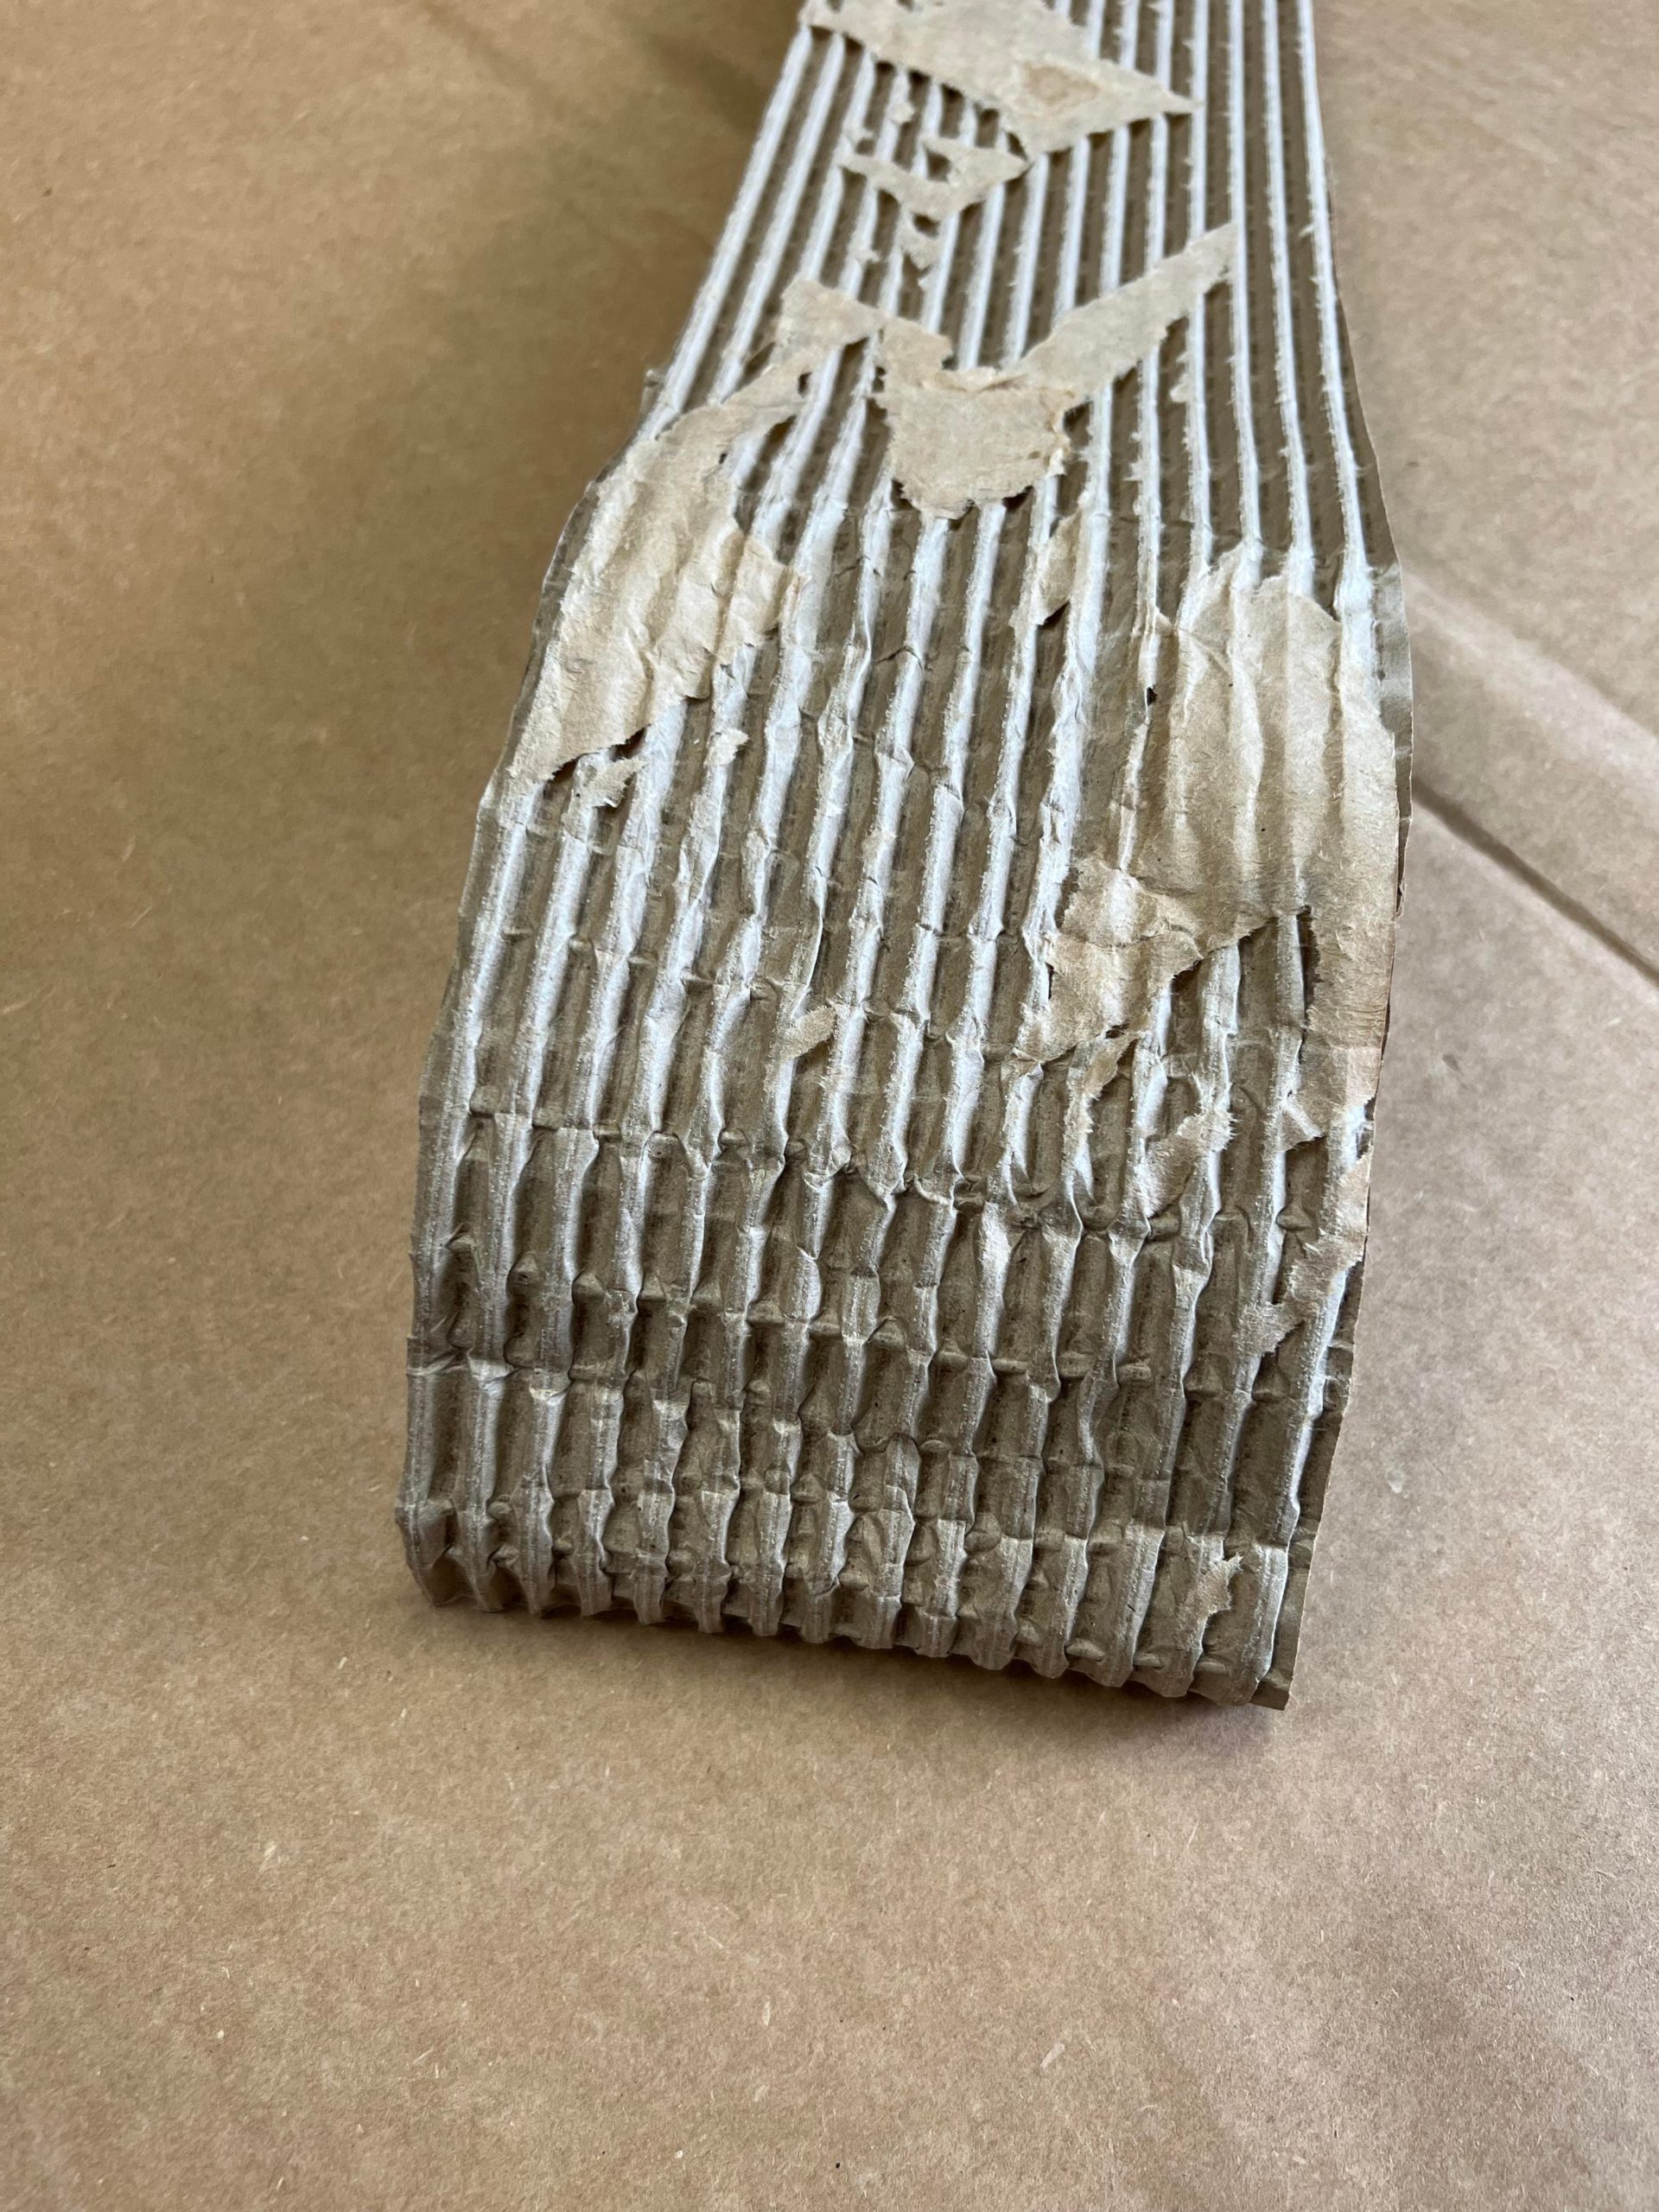
You will want to peel the outer layer of cardboard off of one side.
This will allow you cardboard to be more flexible and you’ll be able to roll it easier.
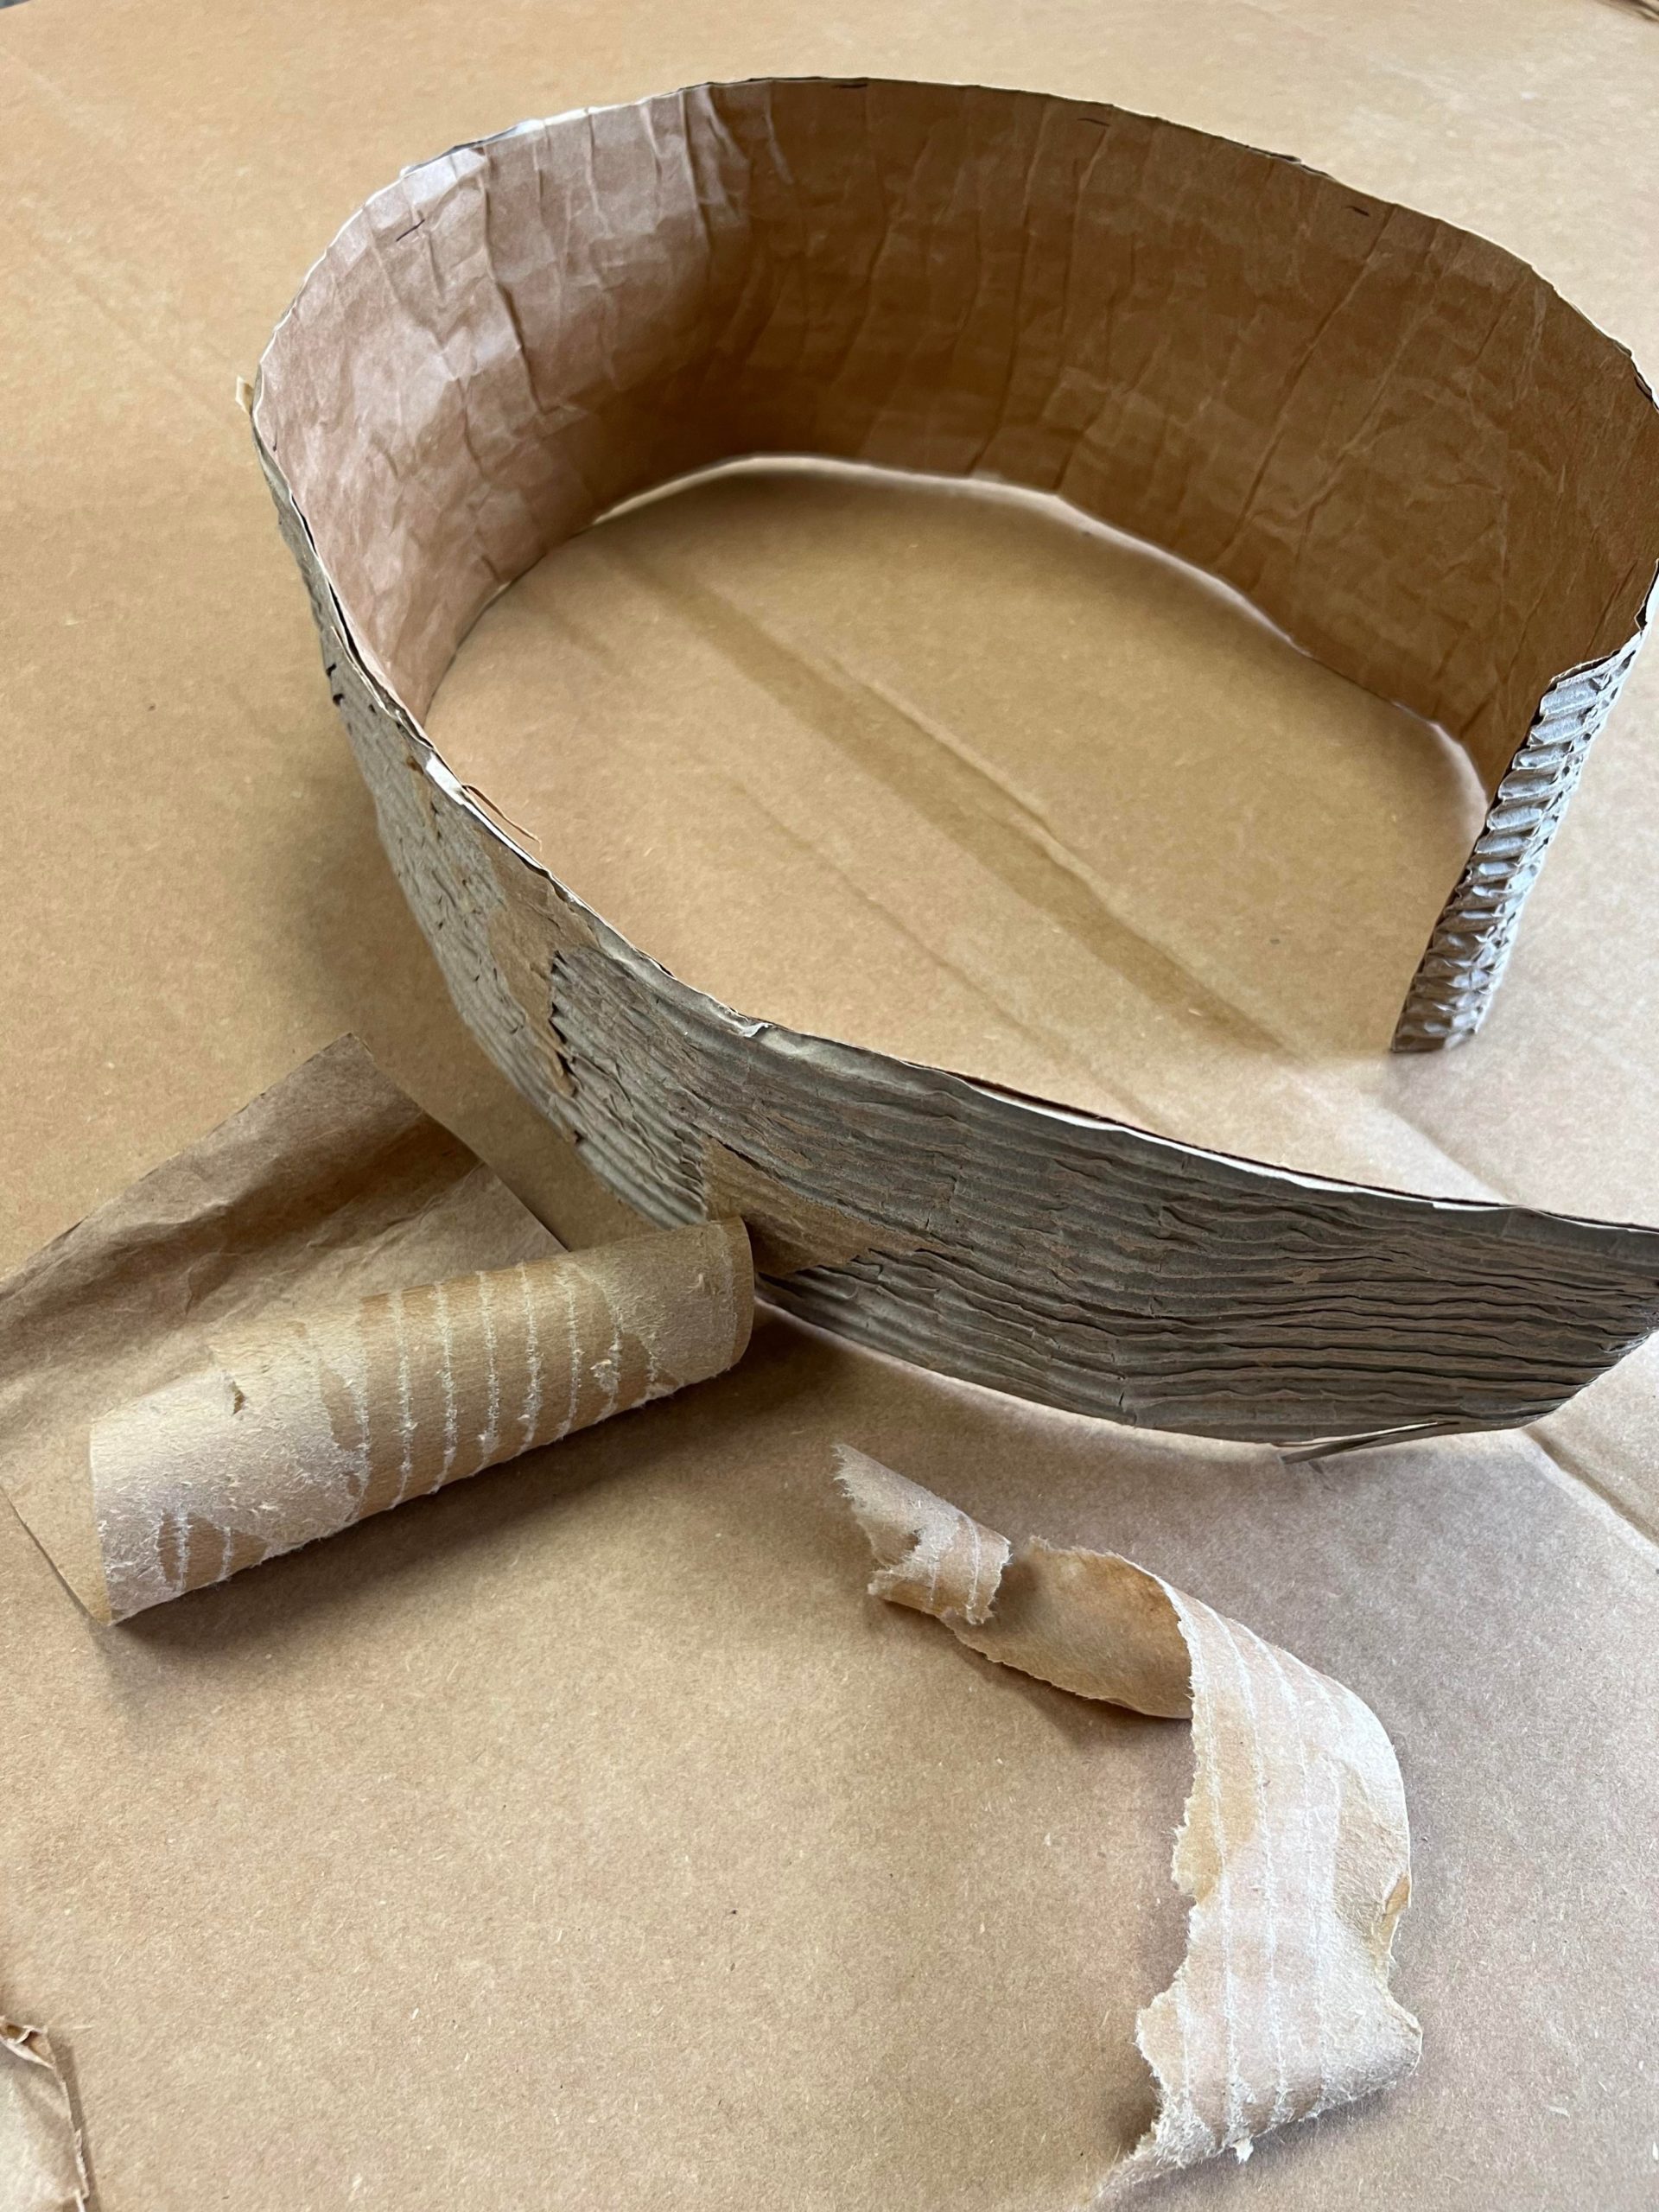
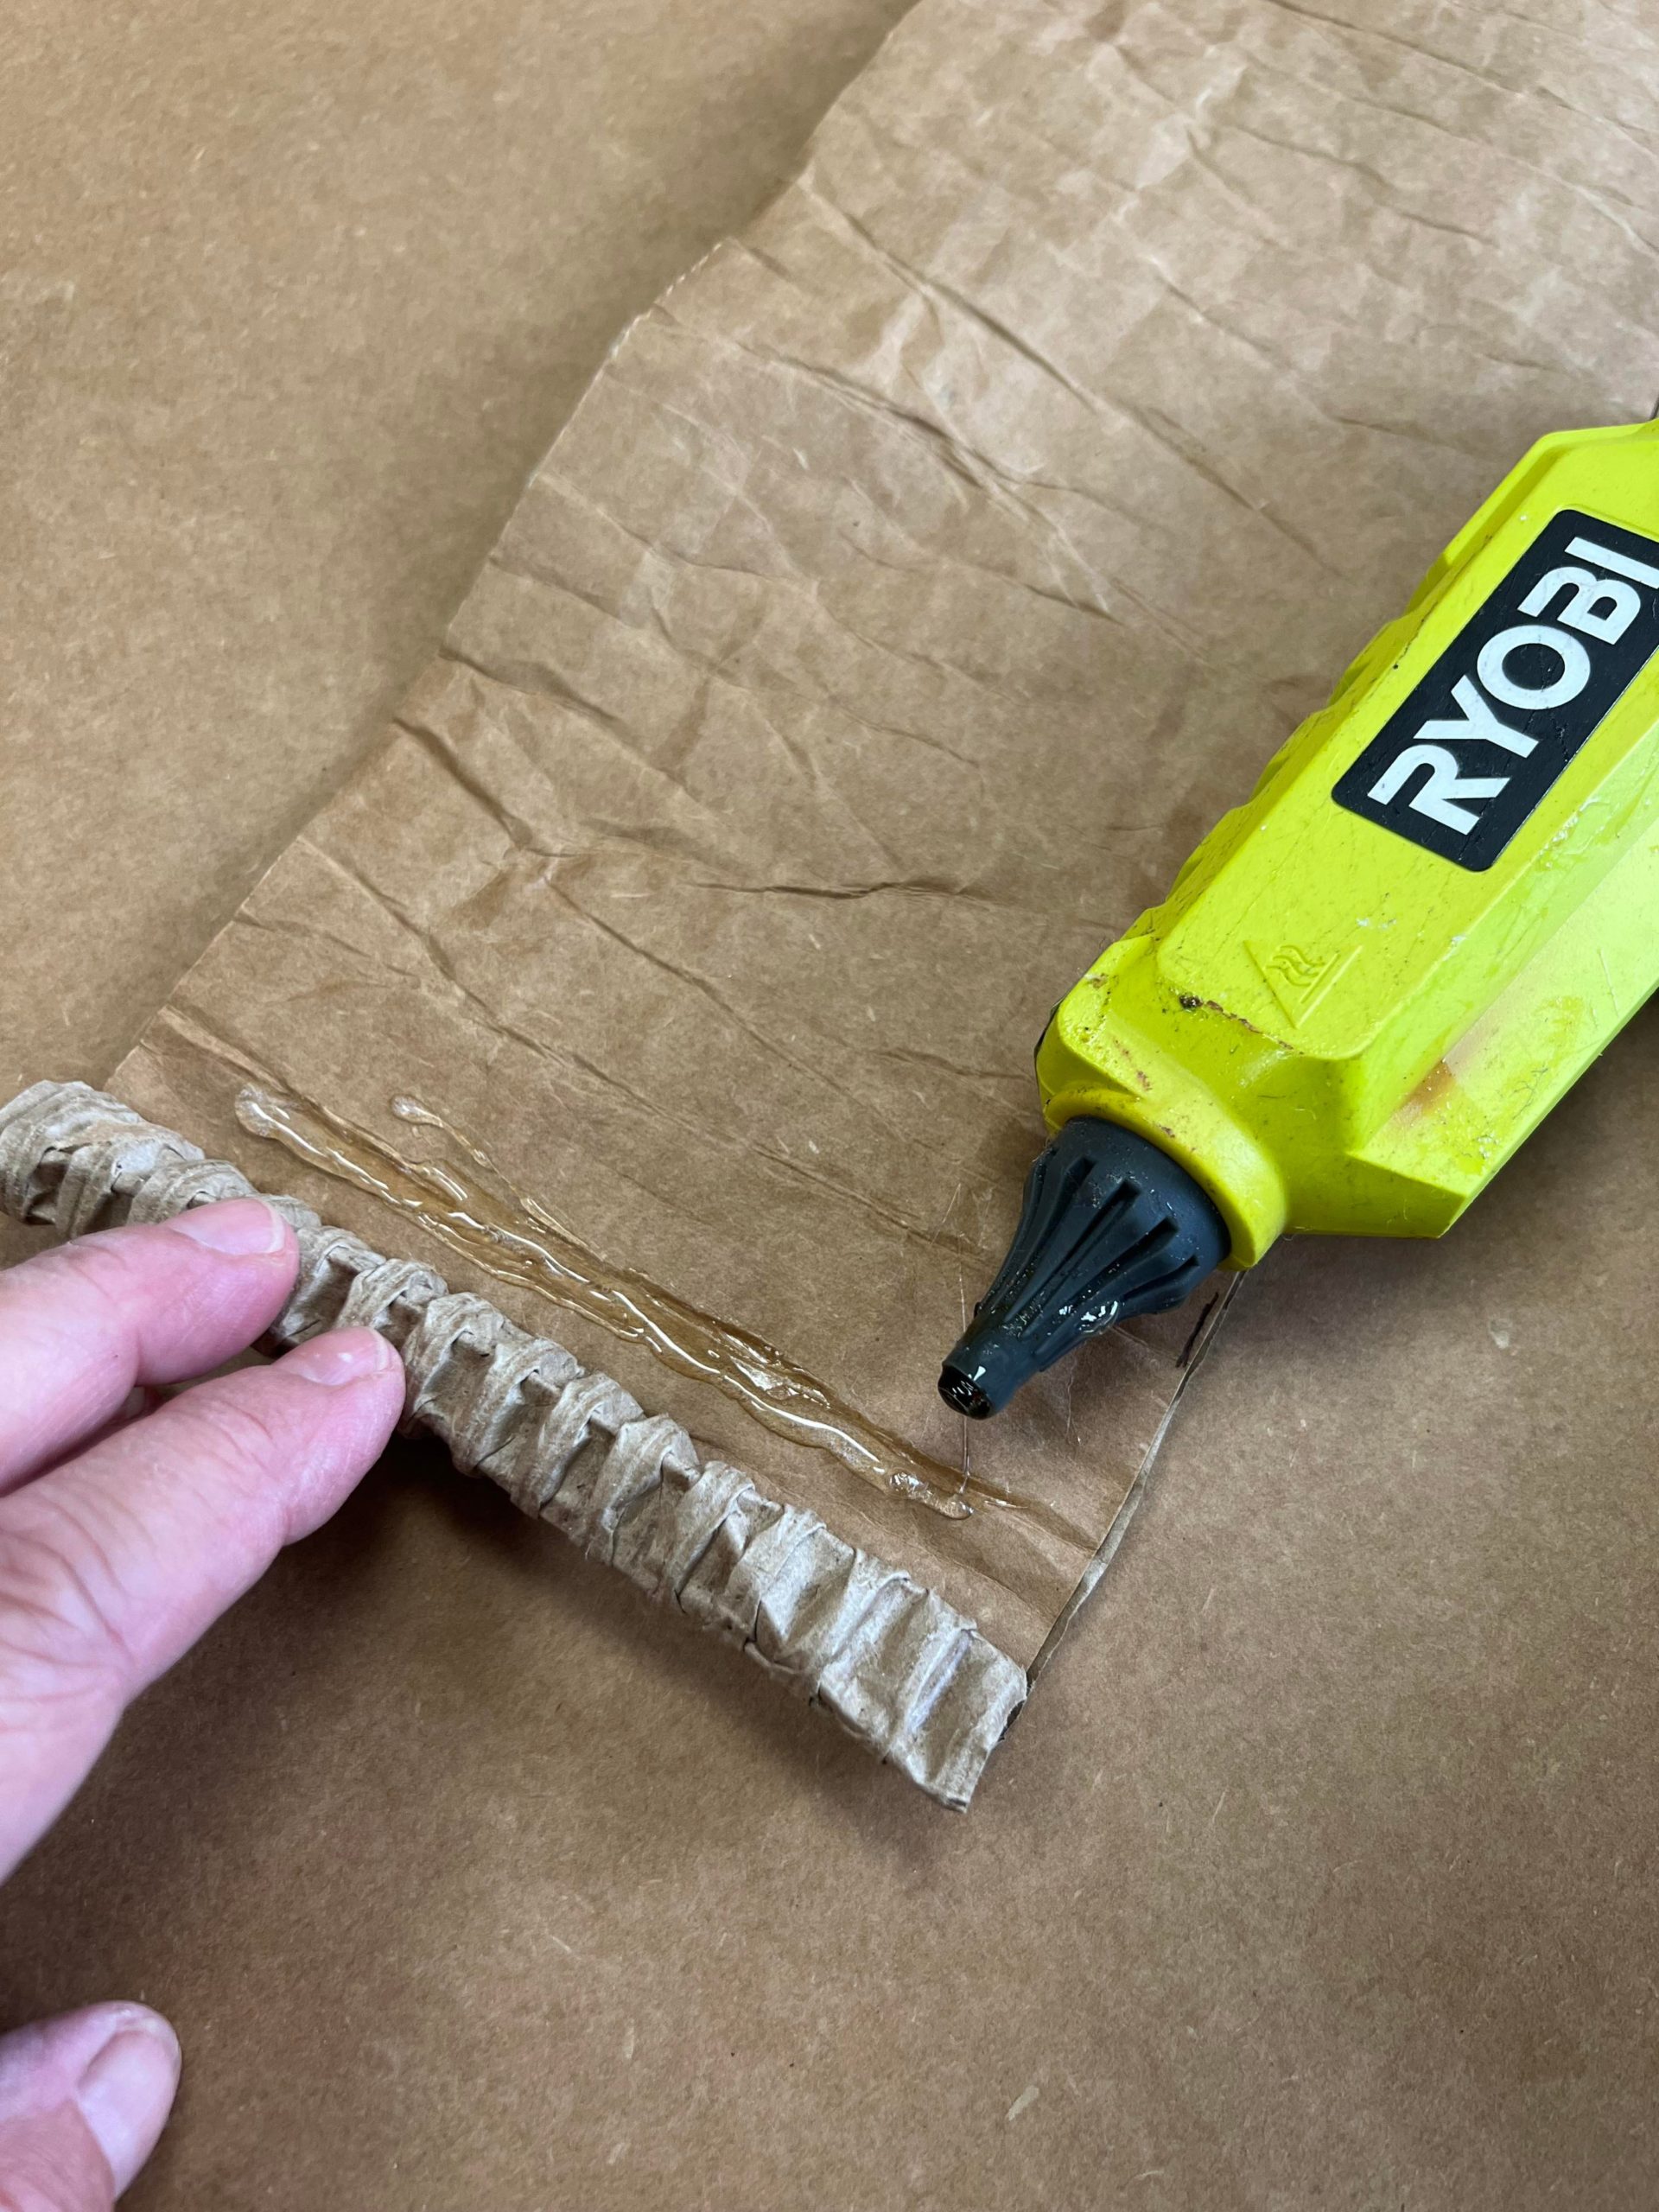
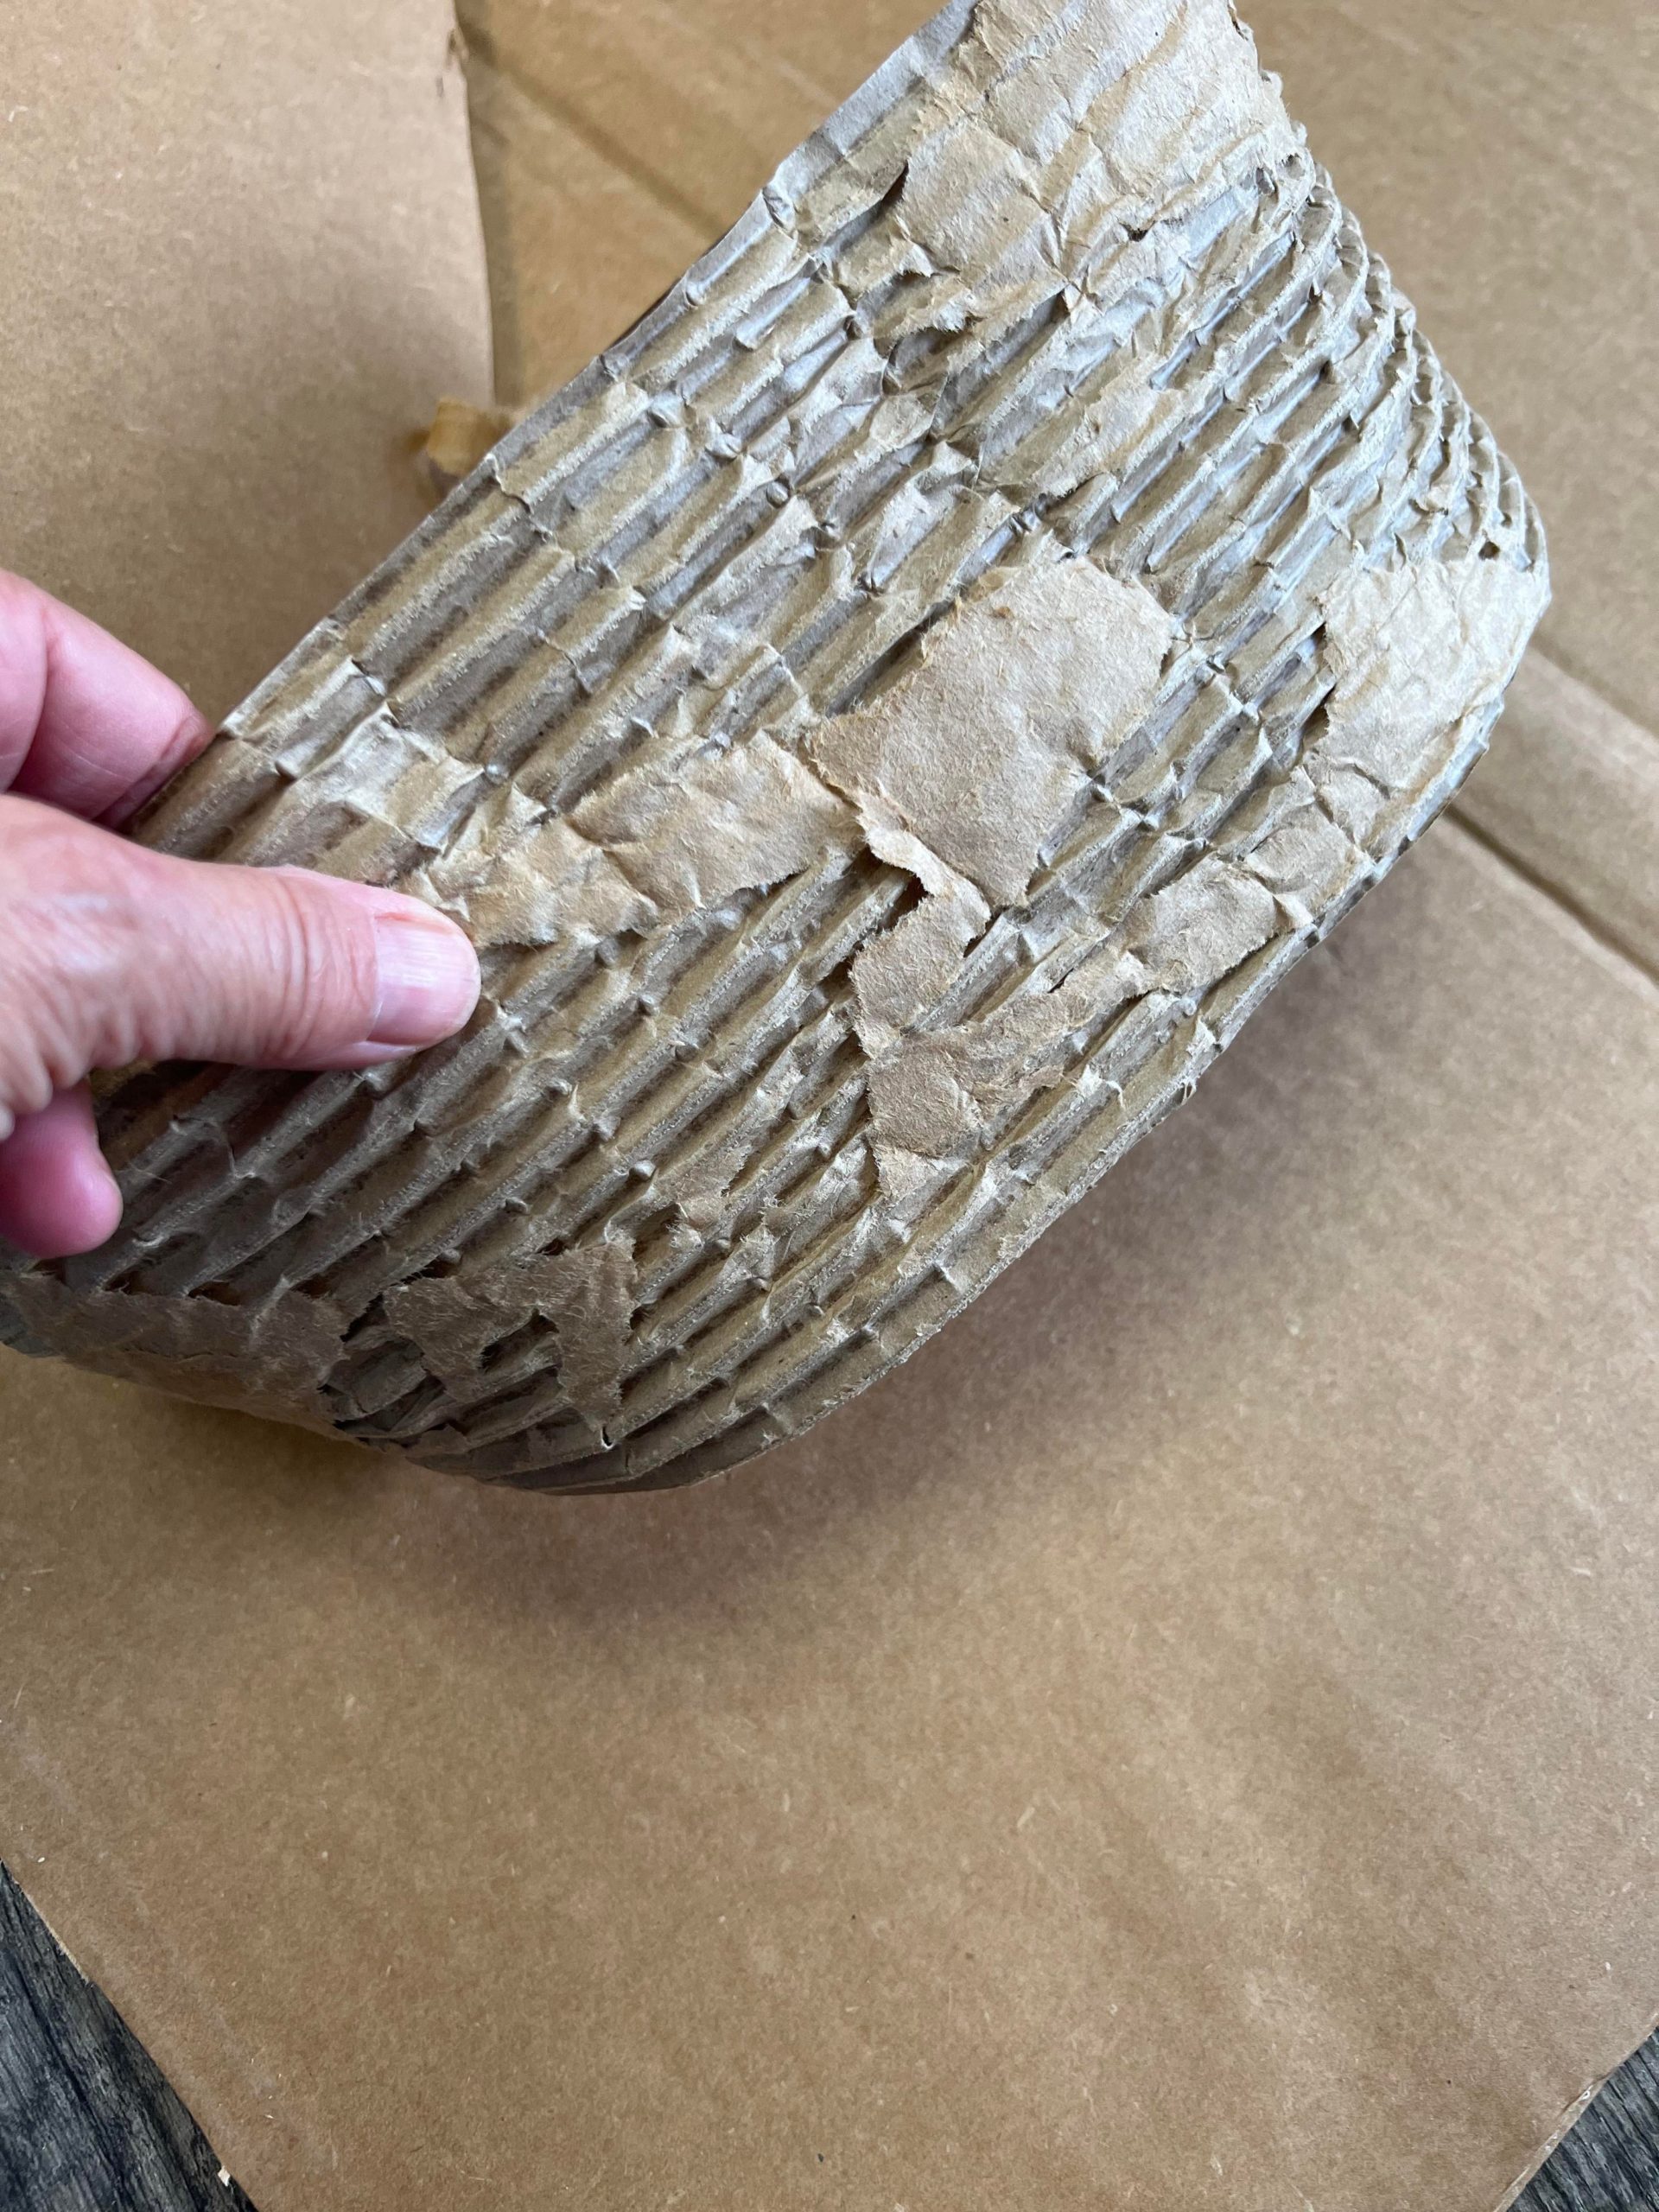
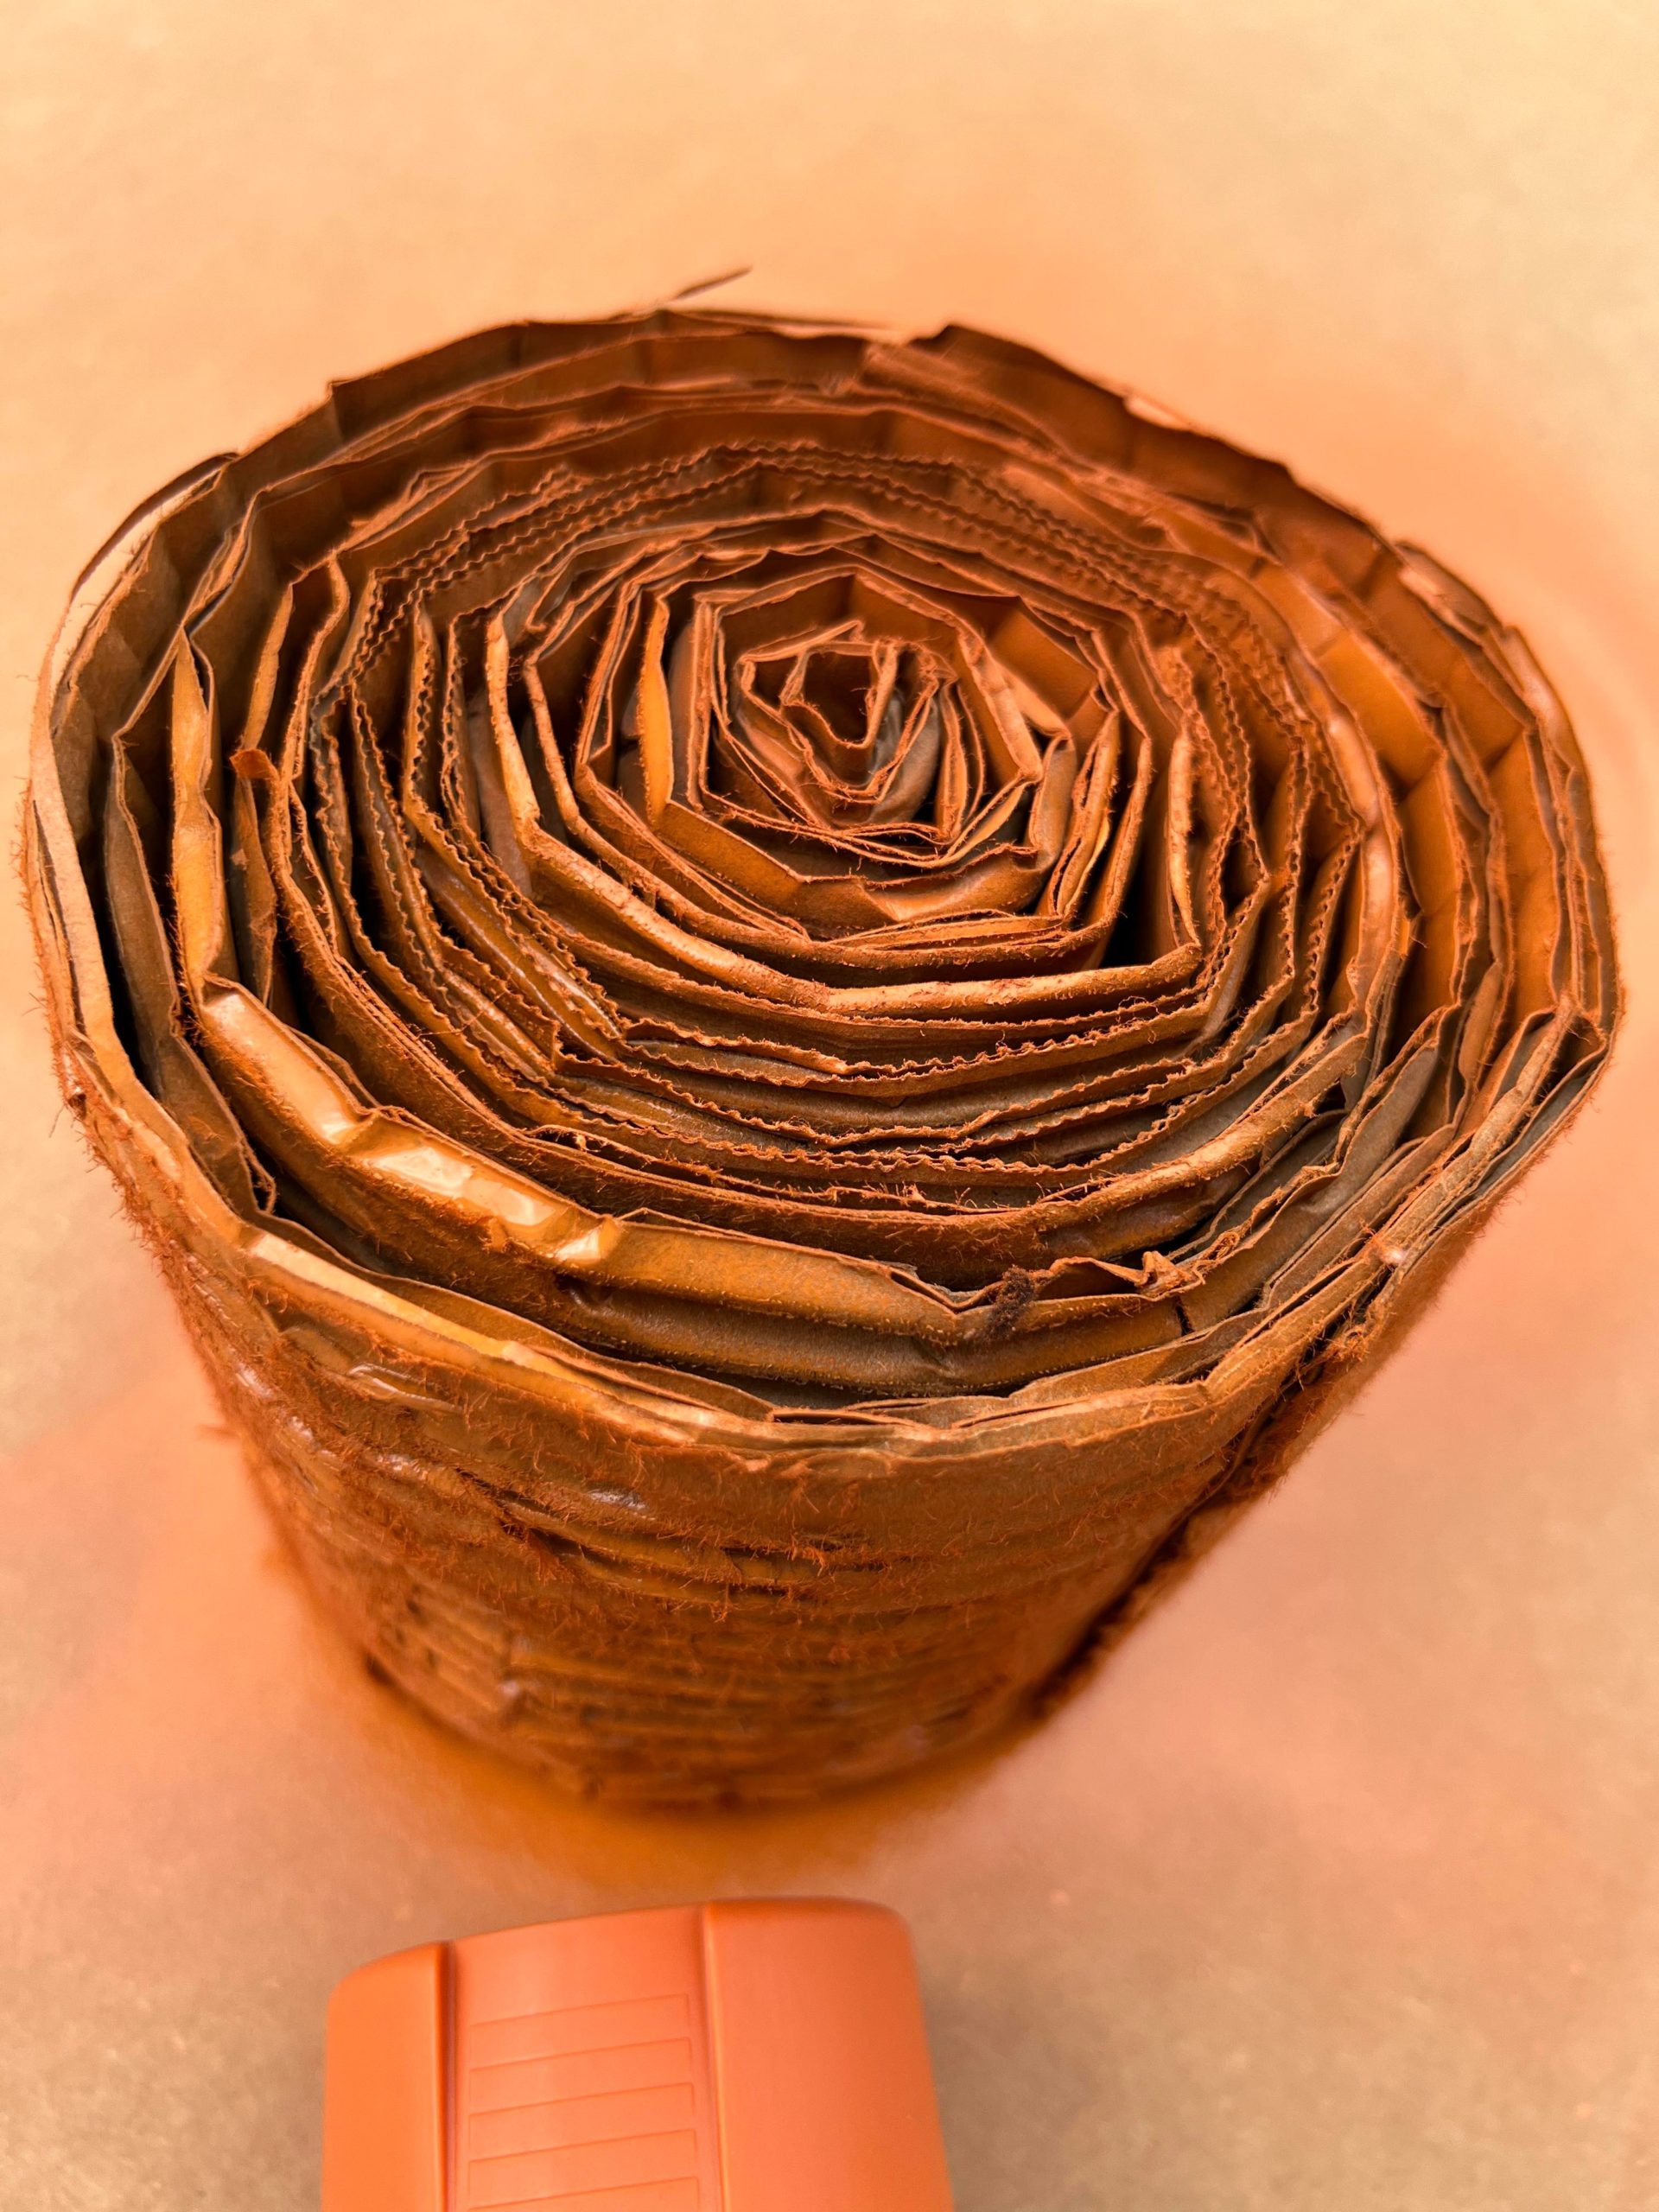
Once you have your strips cut you will begin to roll one of your strips. I added some hot glue at the beginning and end .
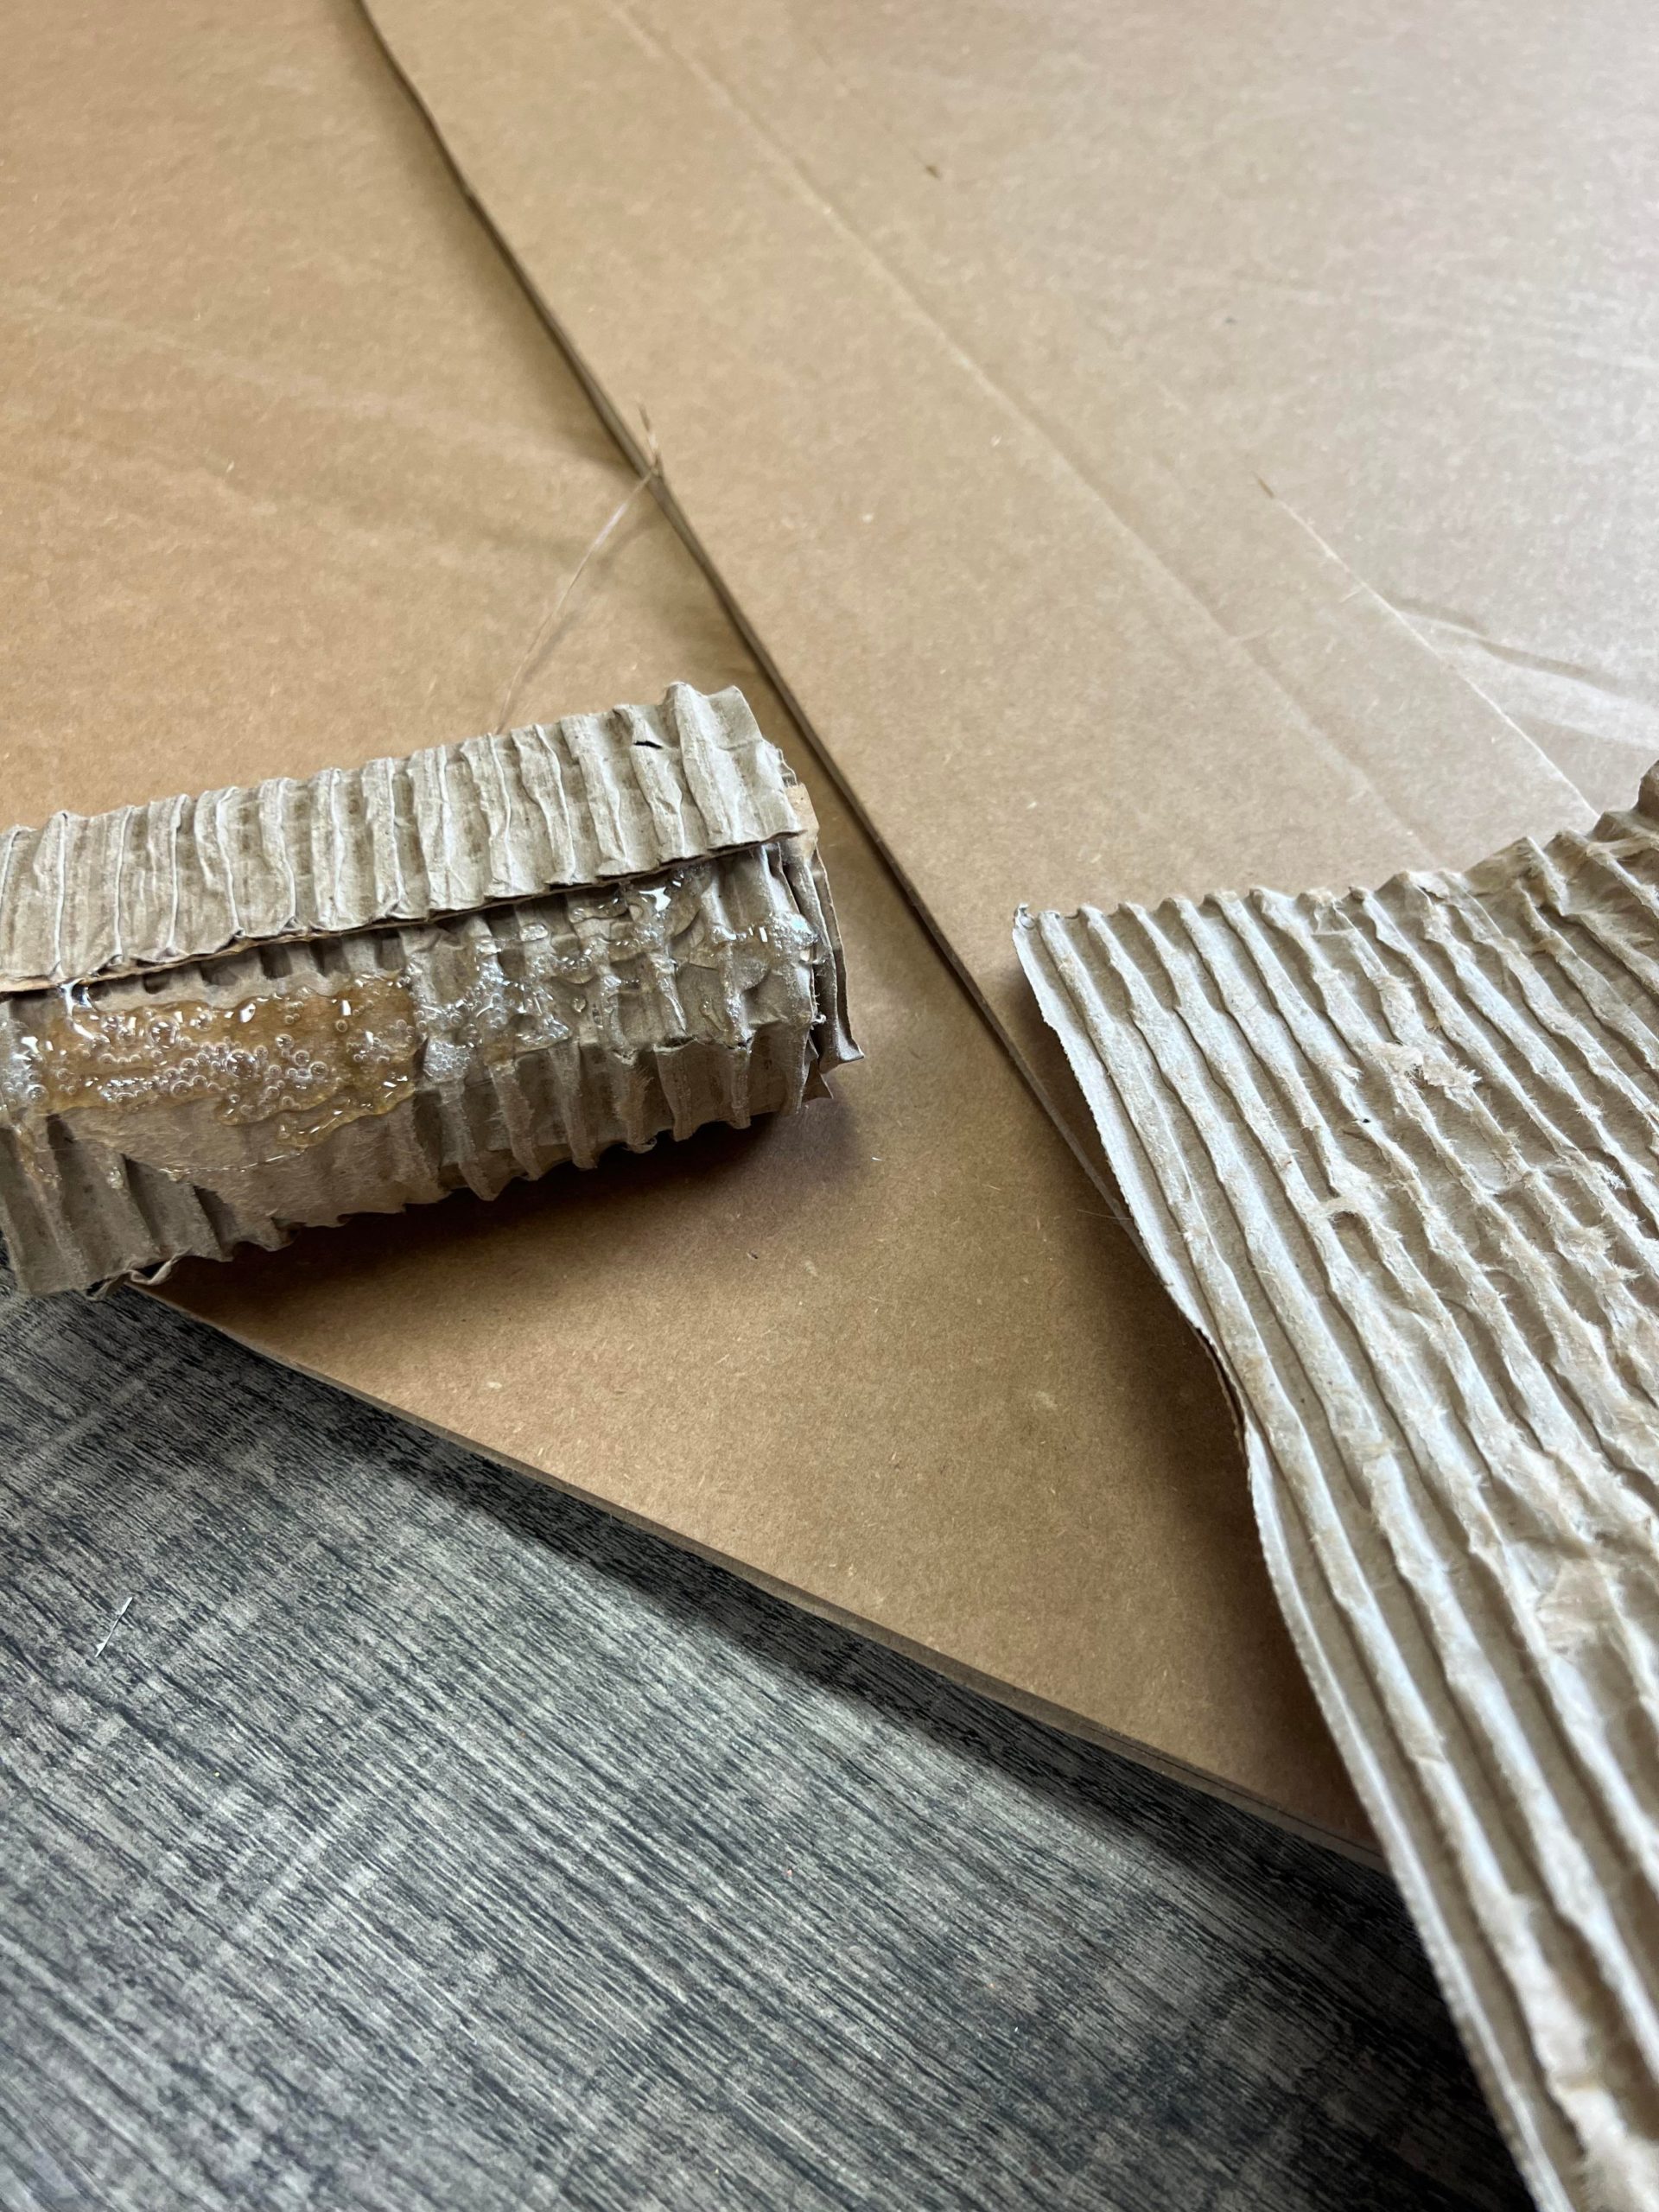
You will continue to add the next strip right at the end of the first strip.
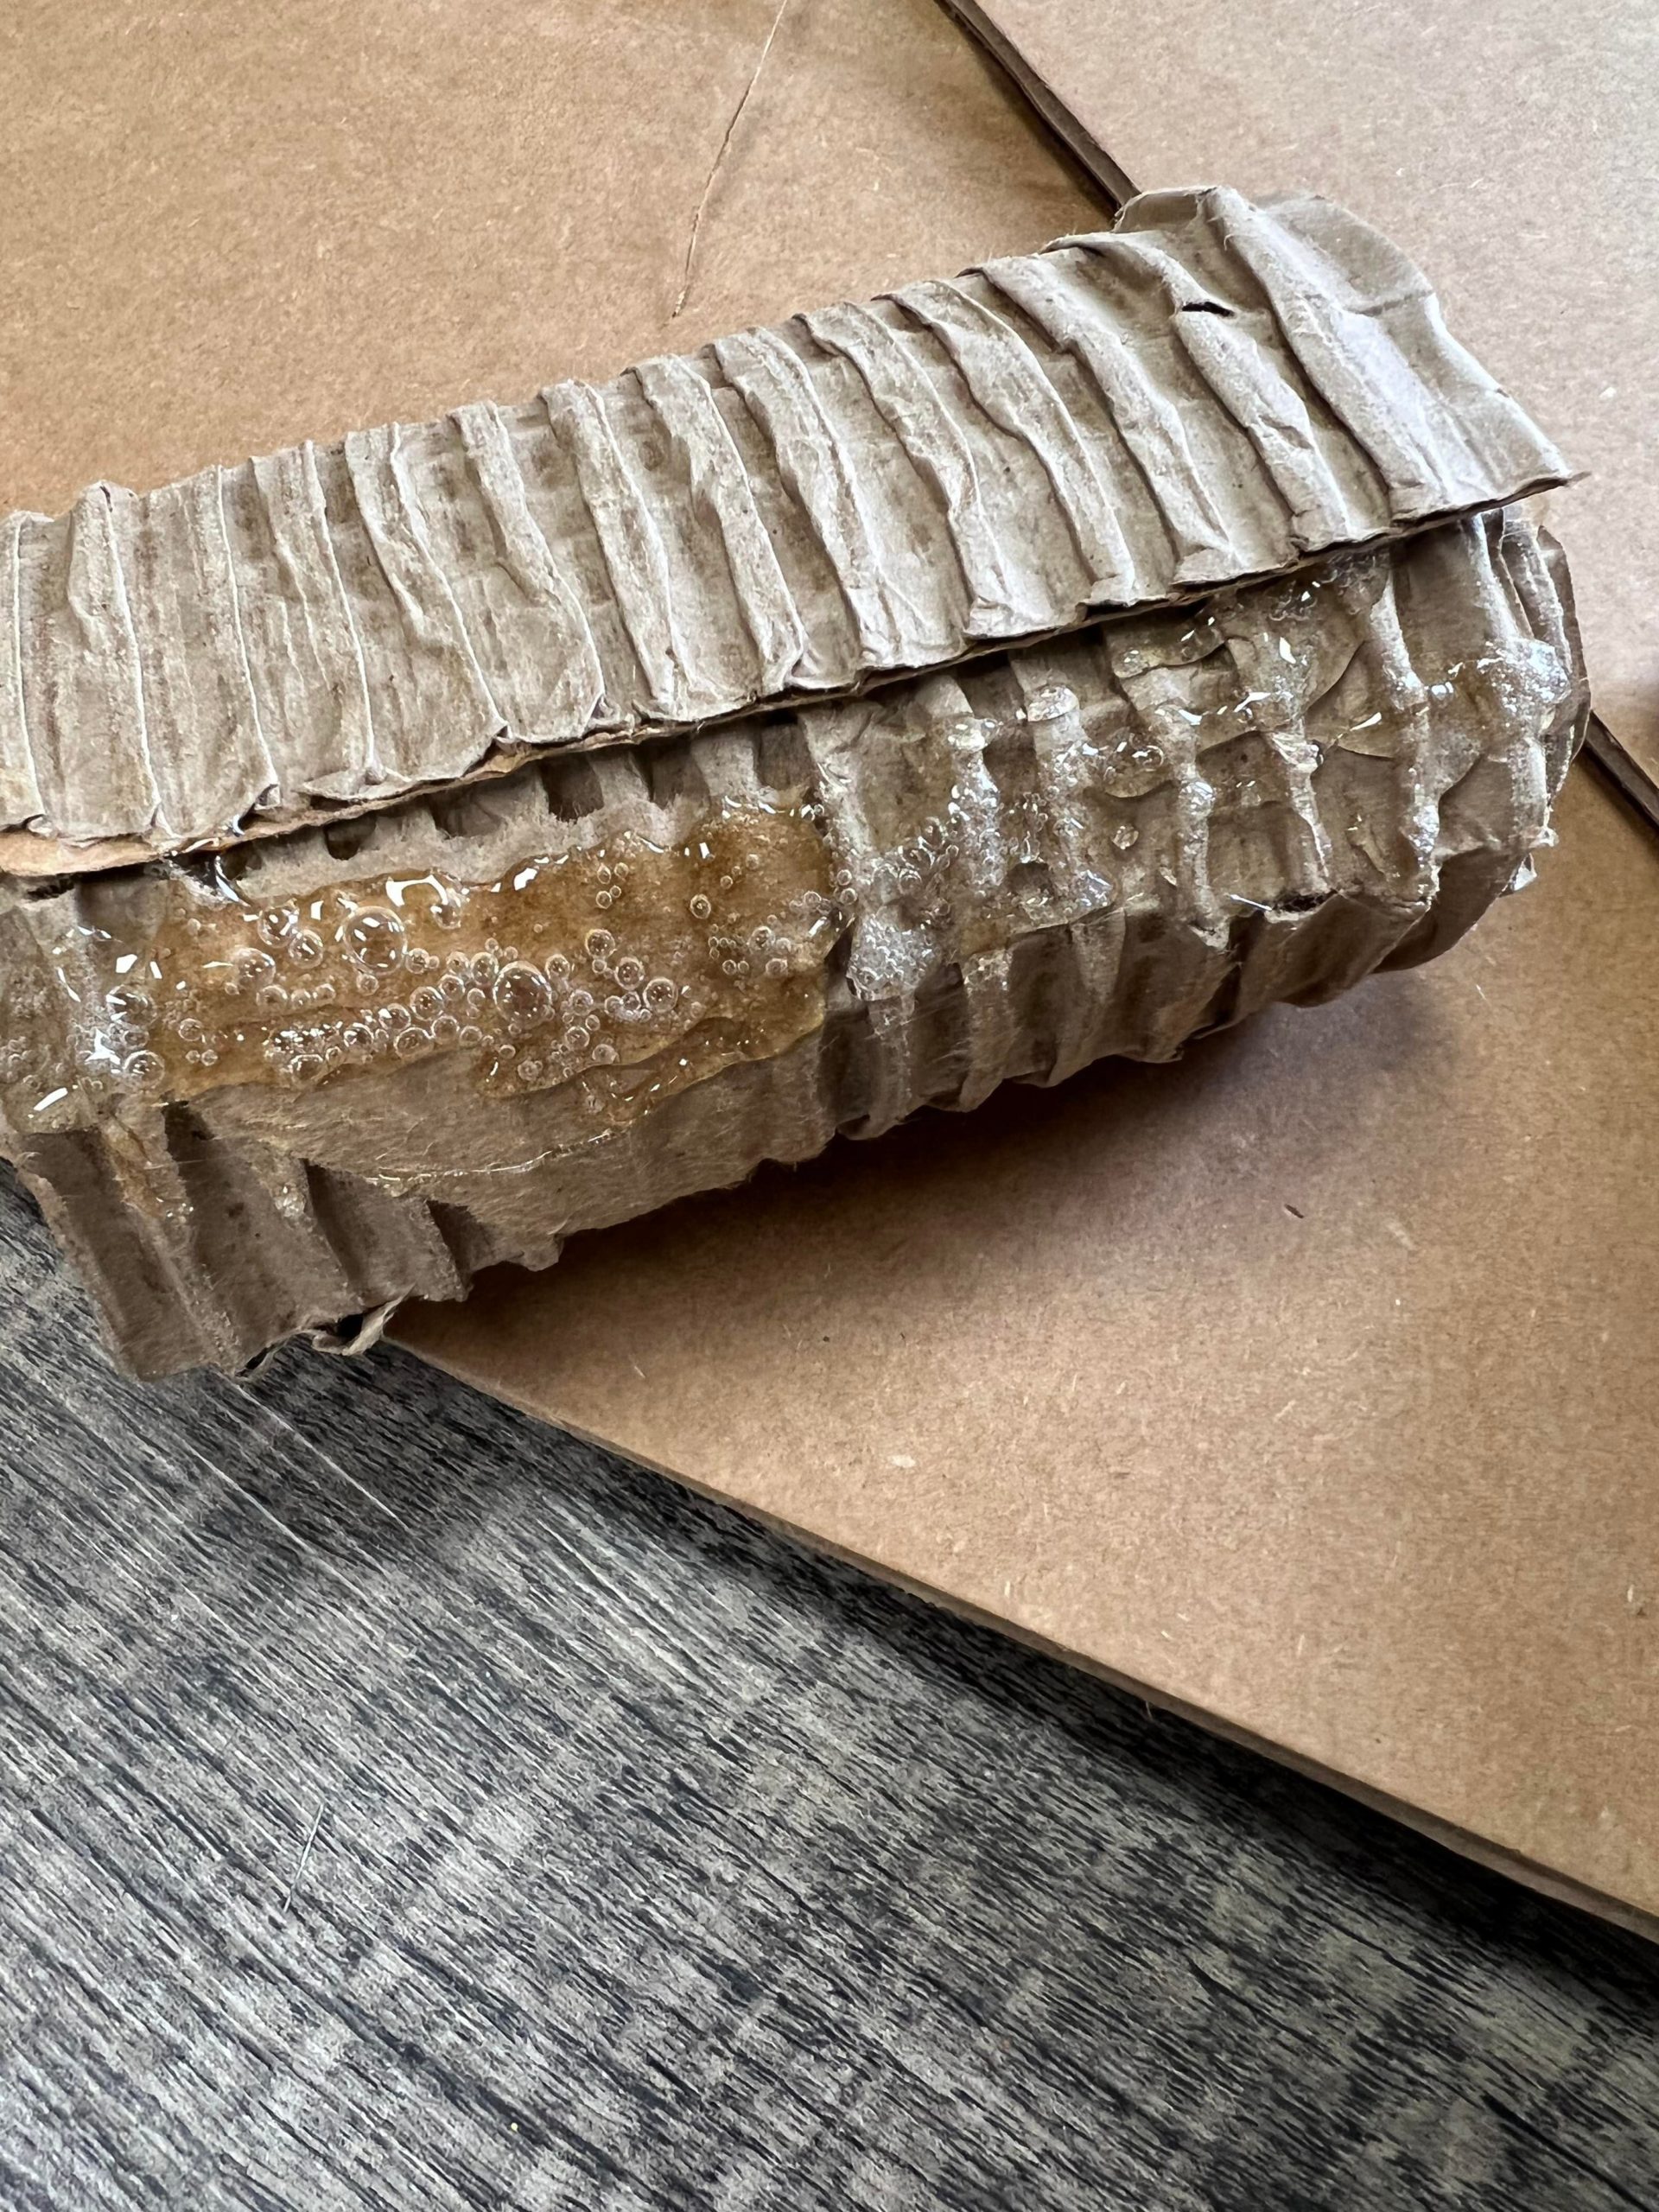
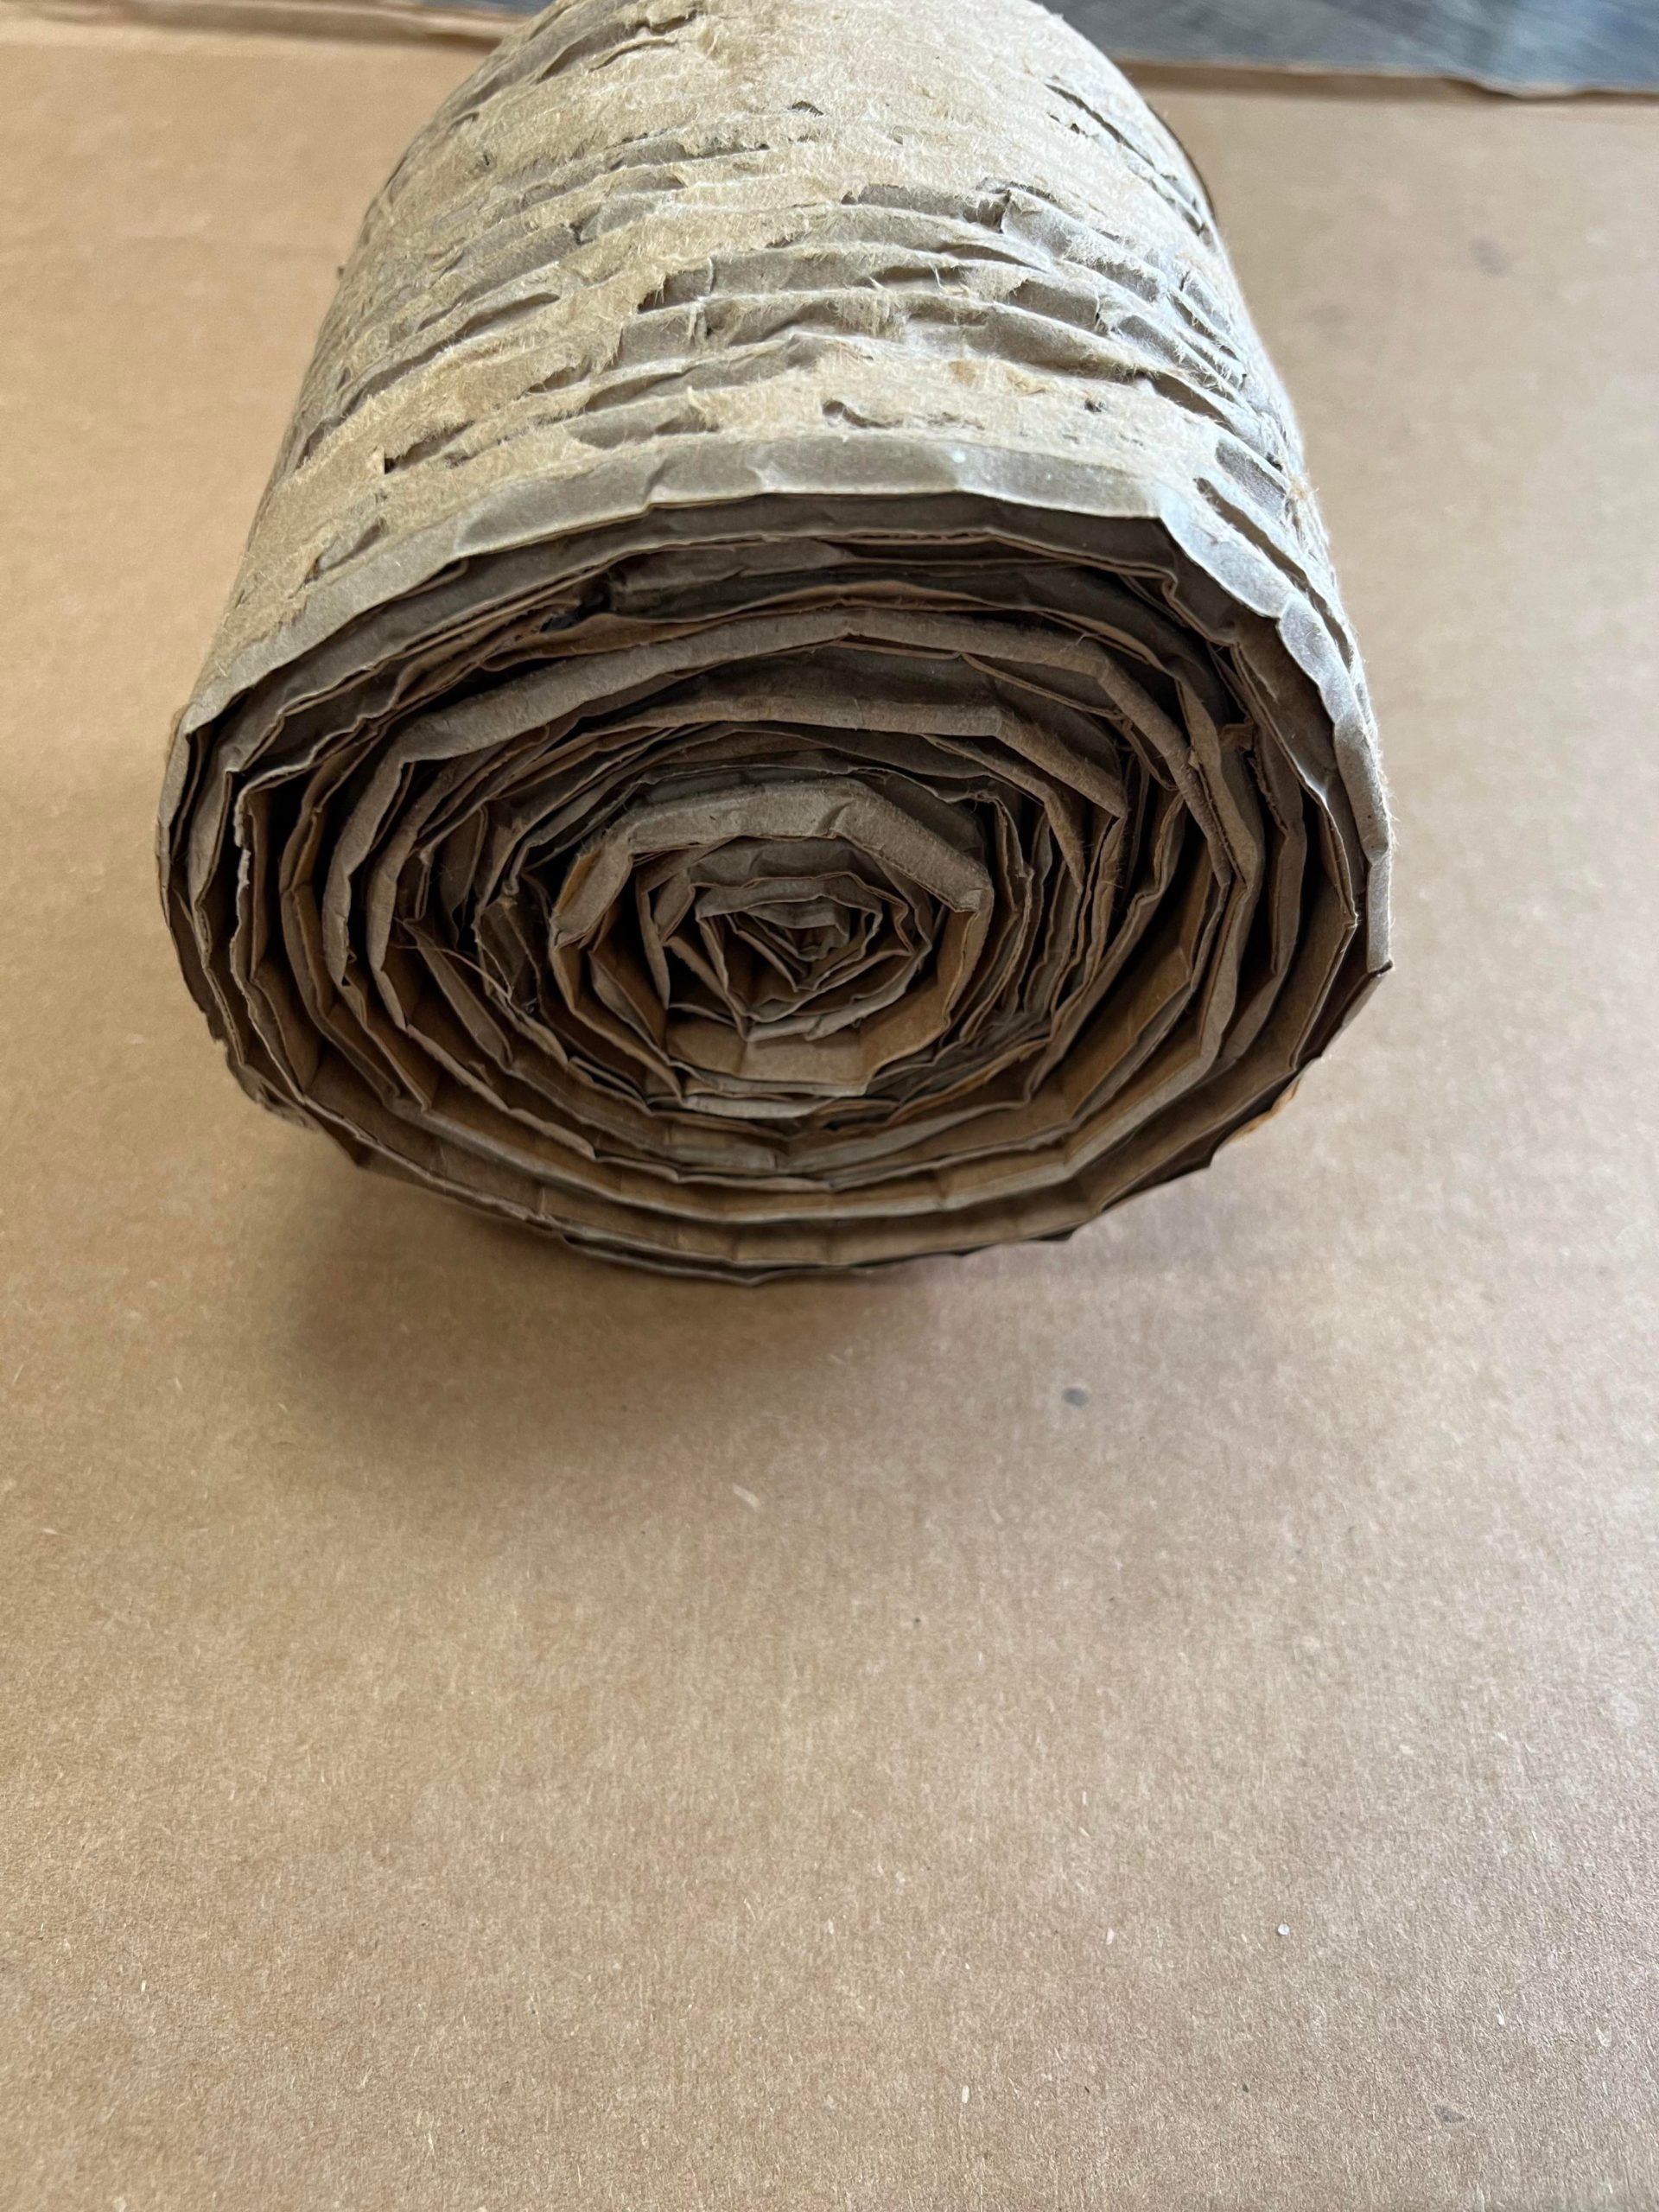
You will add as many strips of cardboard as you want to make your pumpkin as big as you want.
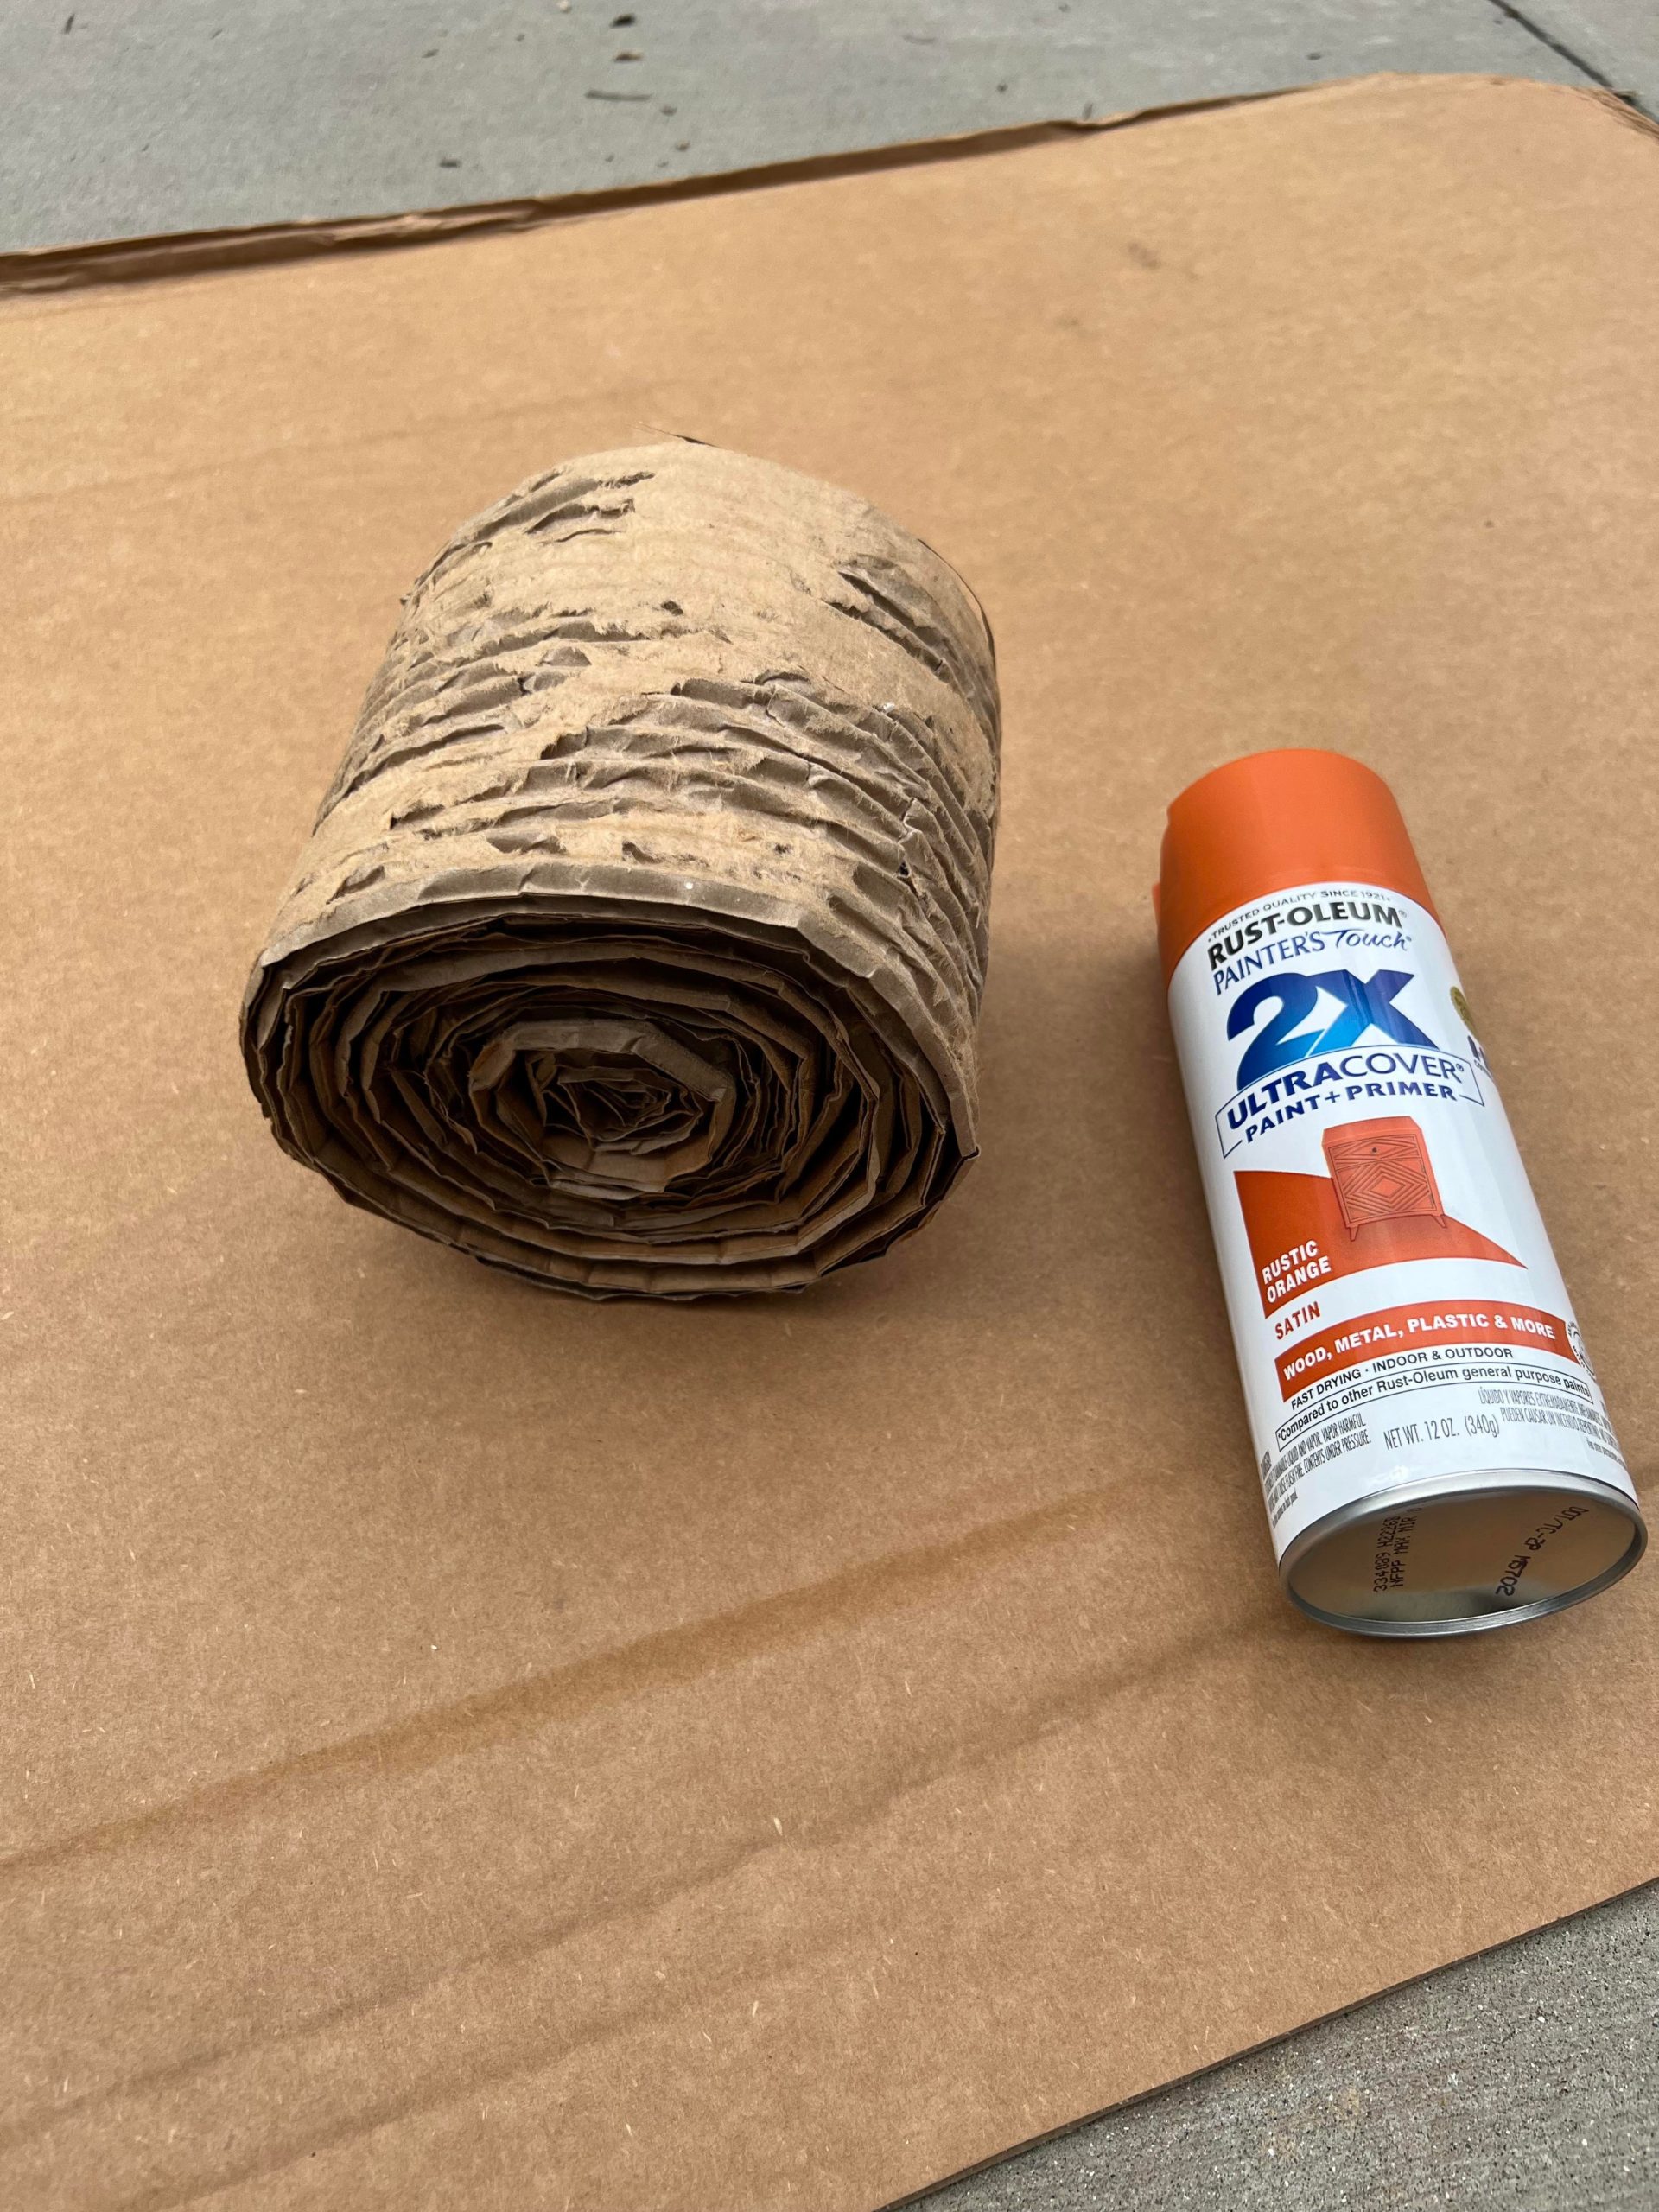
Once I had the size pumpkin that I wanted I then spray painted it with the Rustic Orange colored spray paint.
The next step is to create a stem using the brown lunch bag.
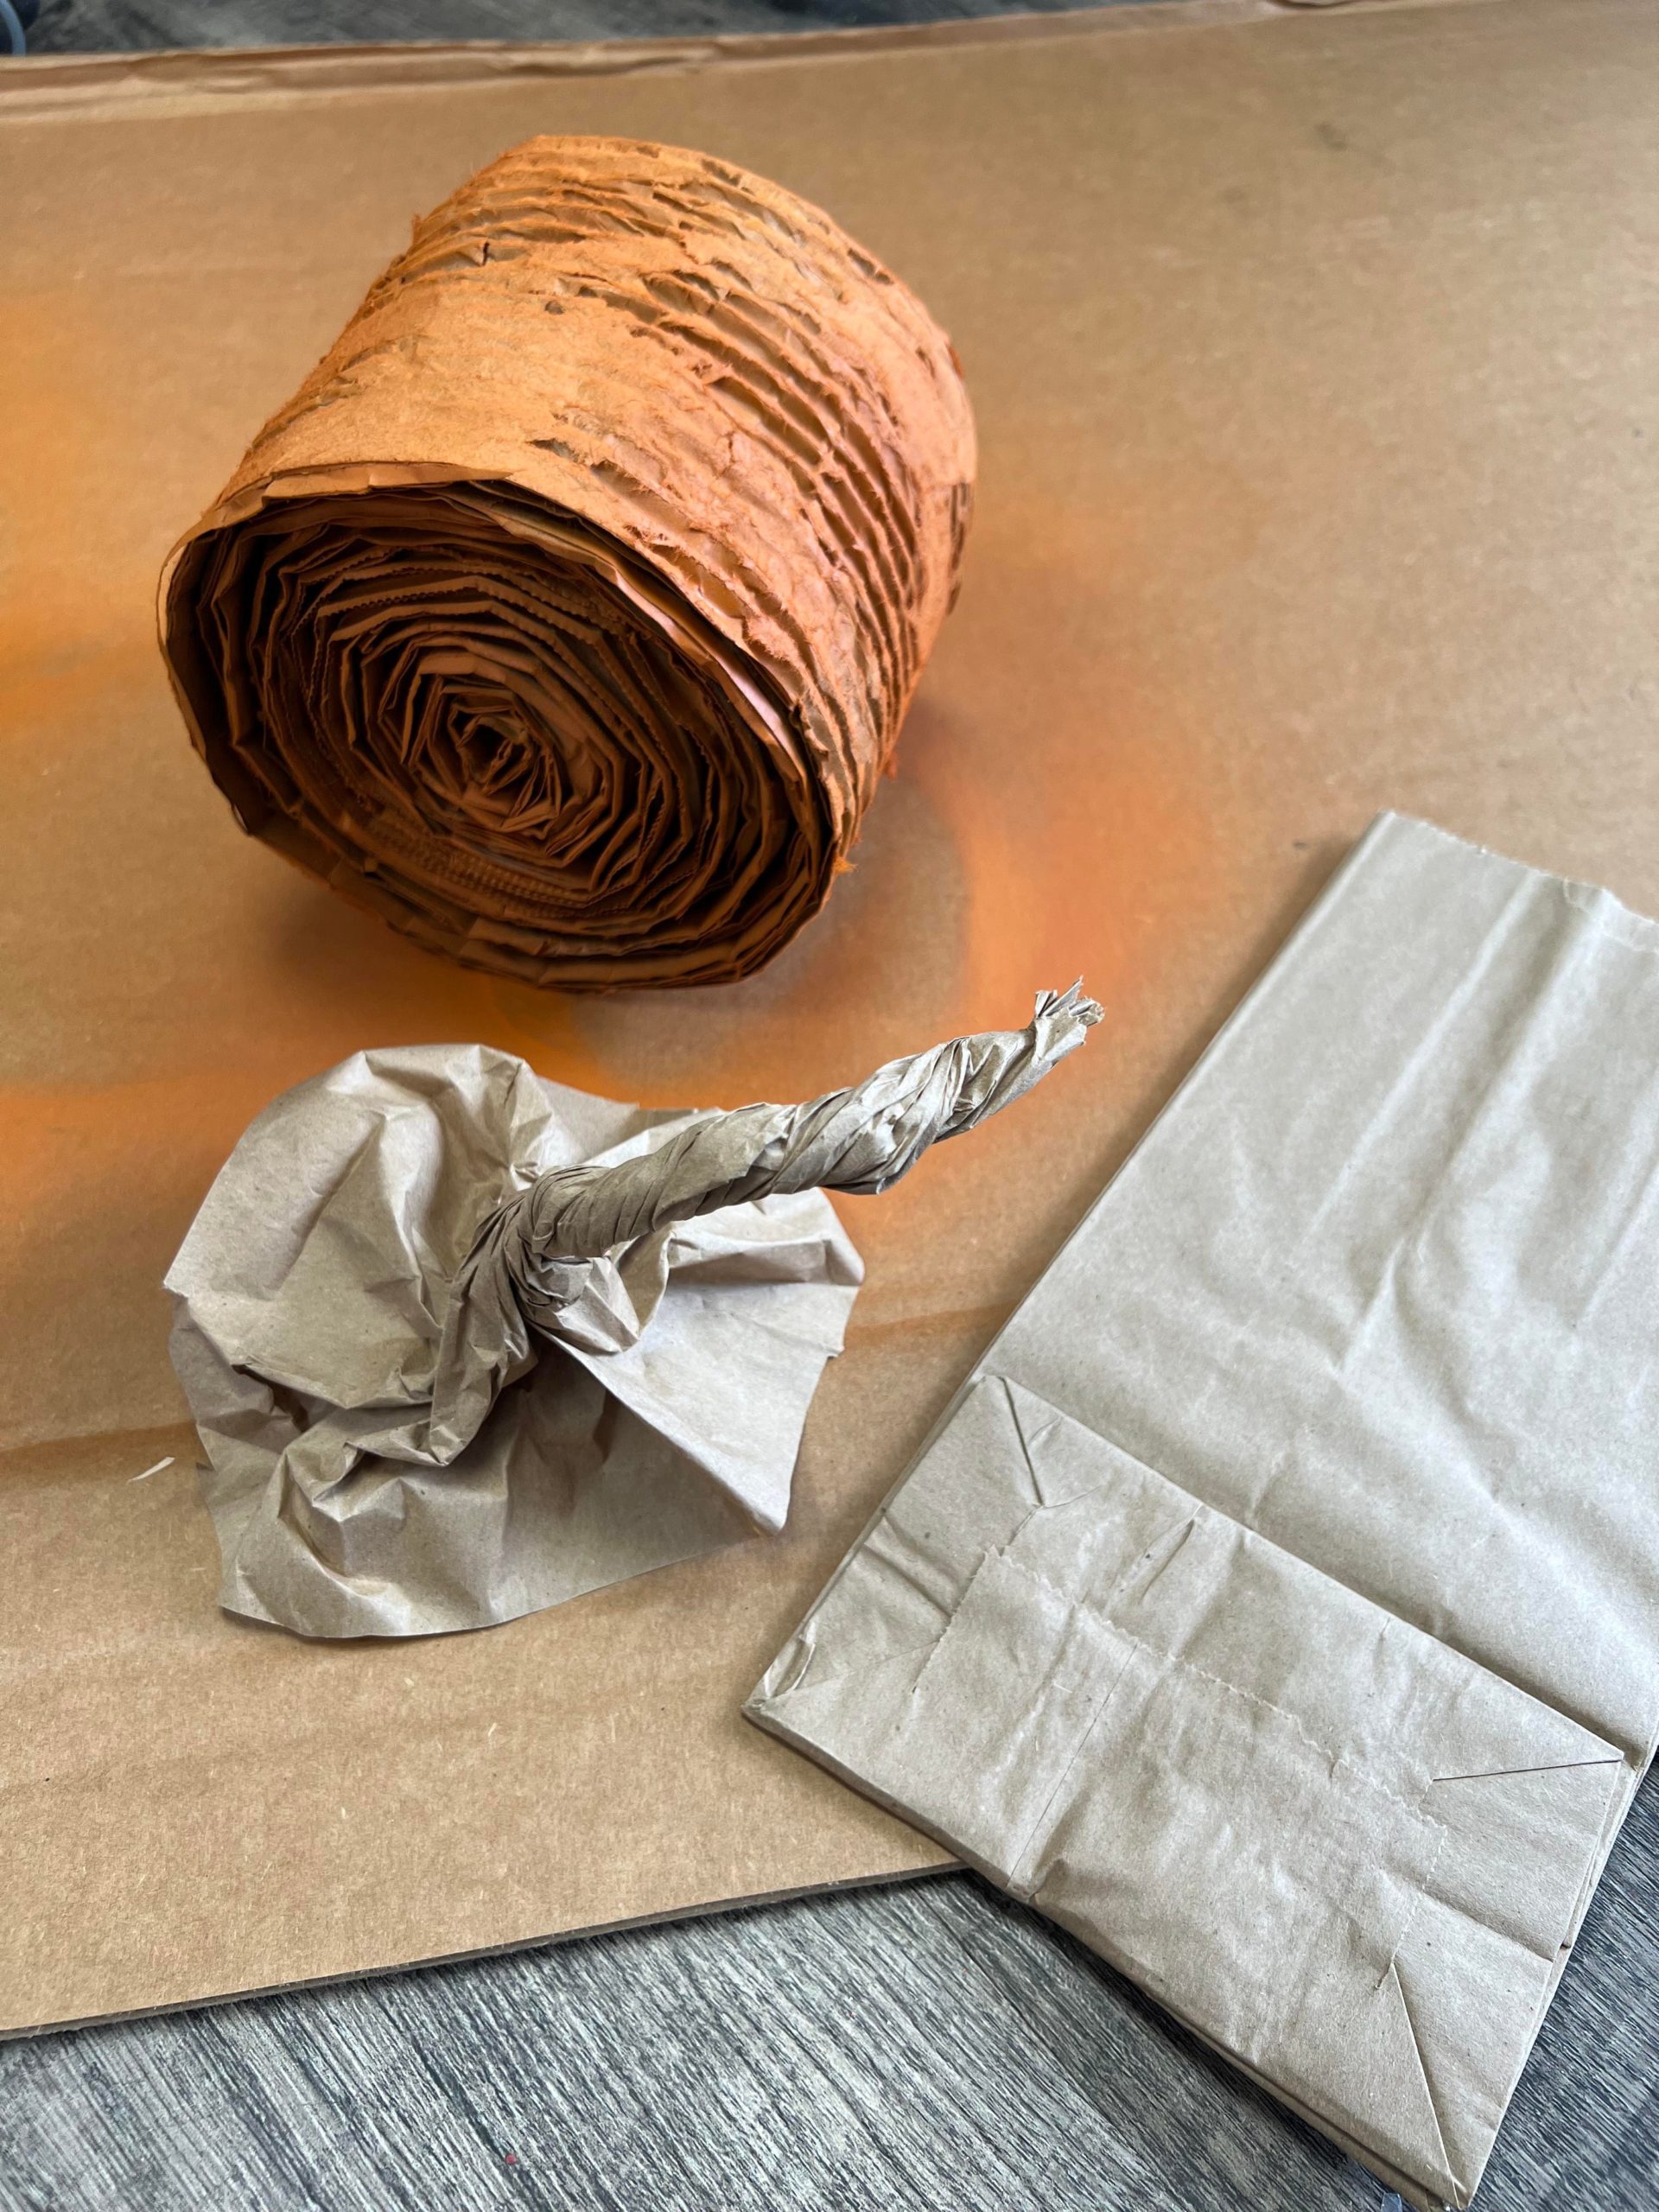
I cut the bottom of the bag off and I then began to twist the bag a few inches up from the bottom.
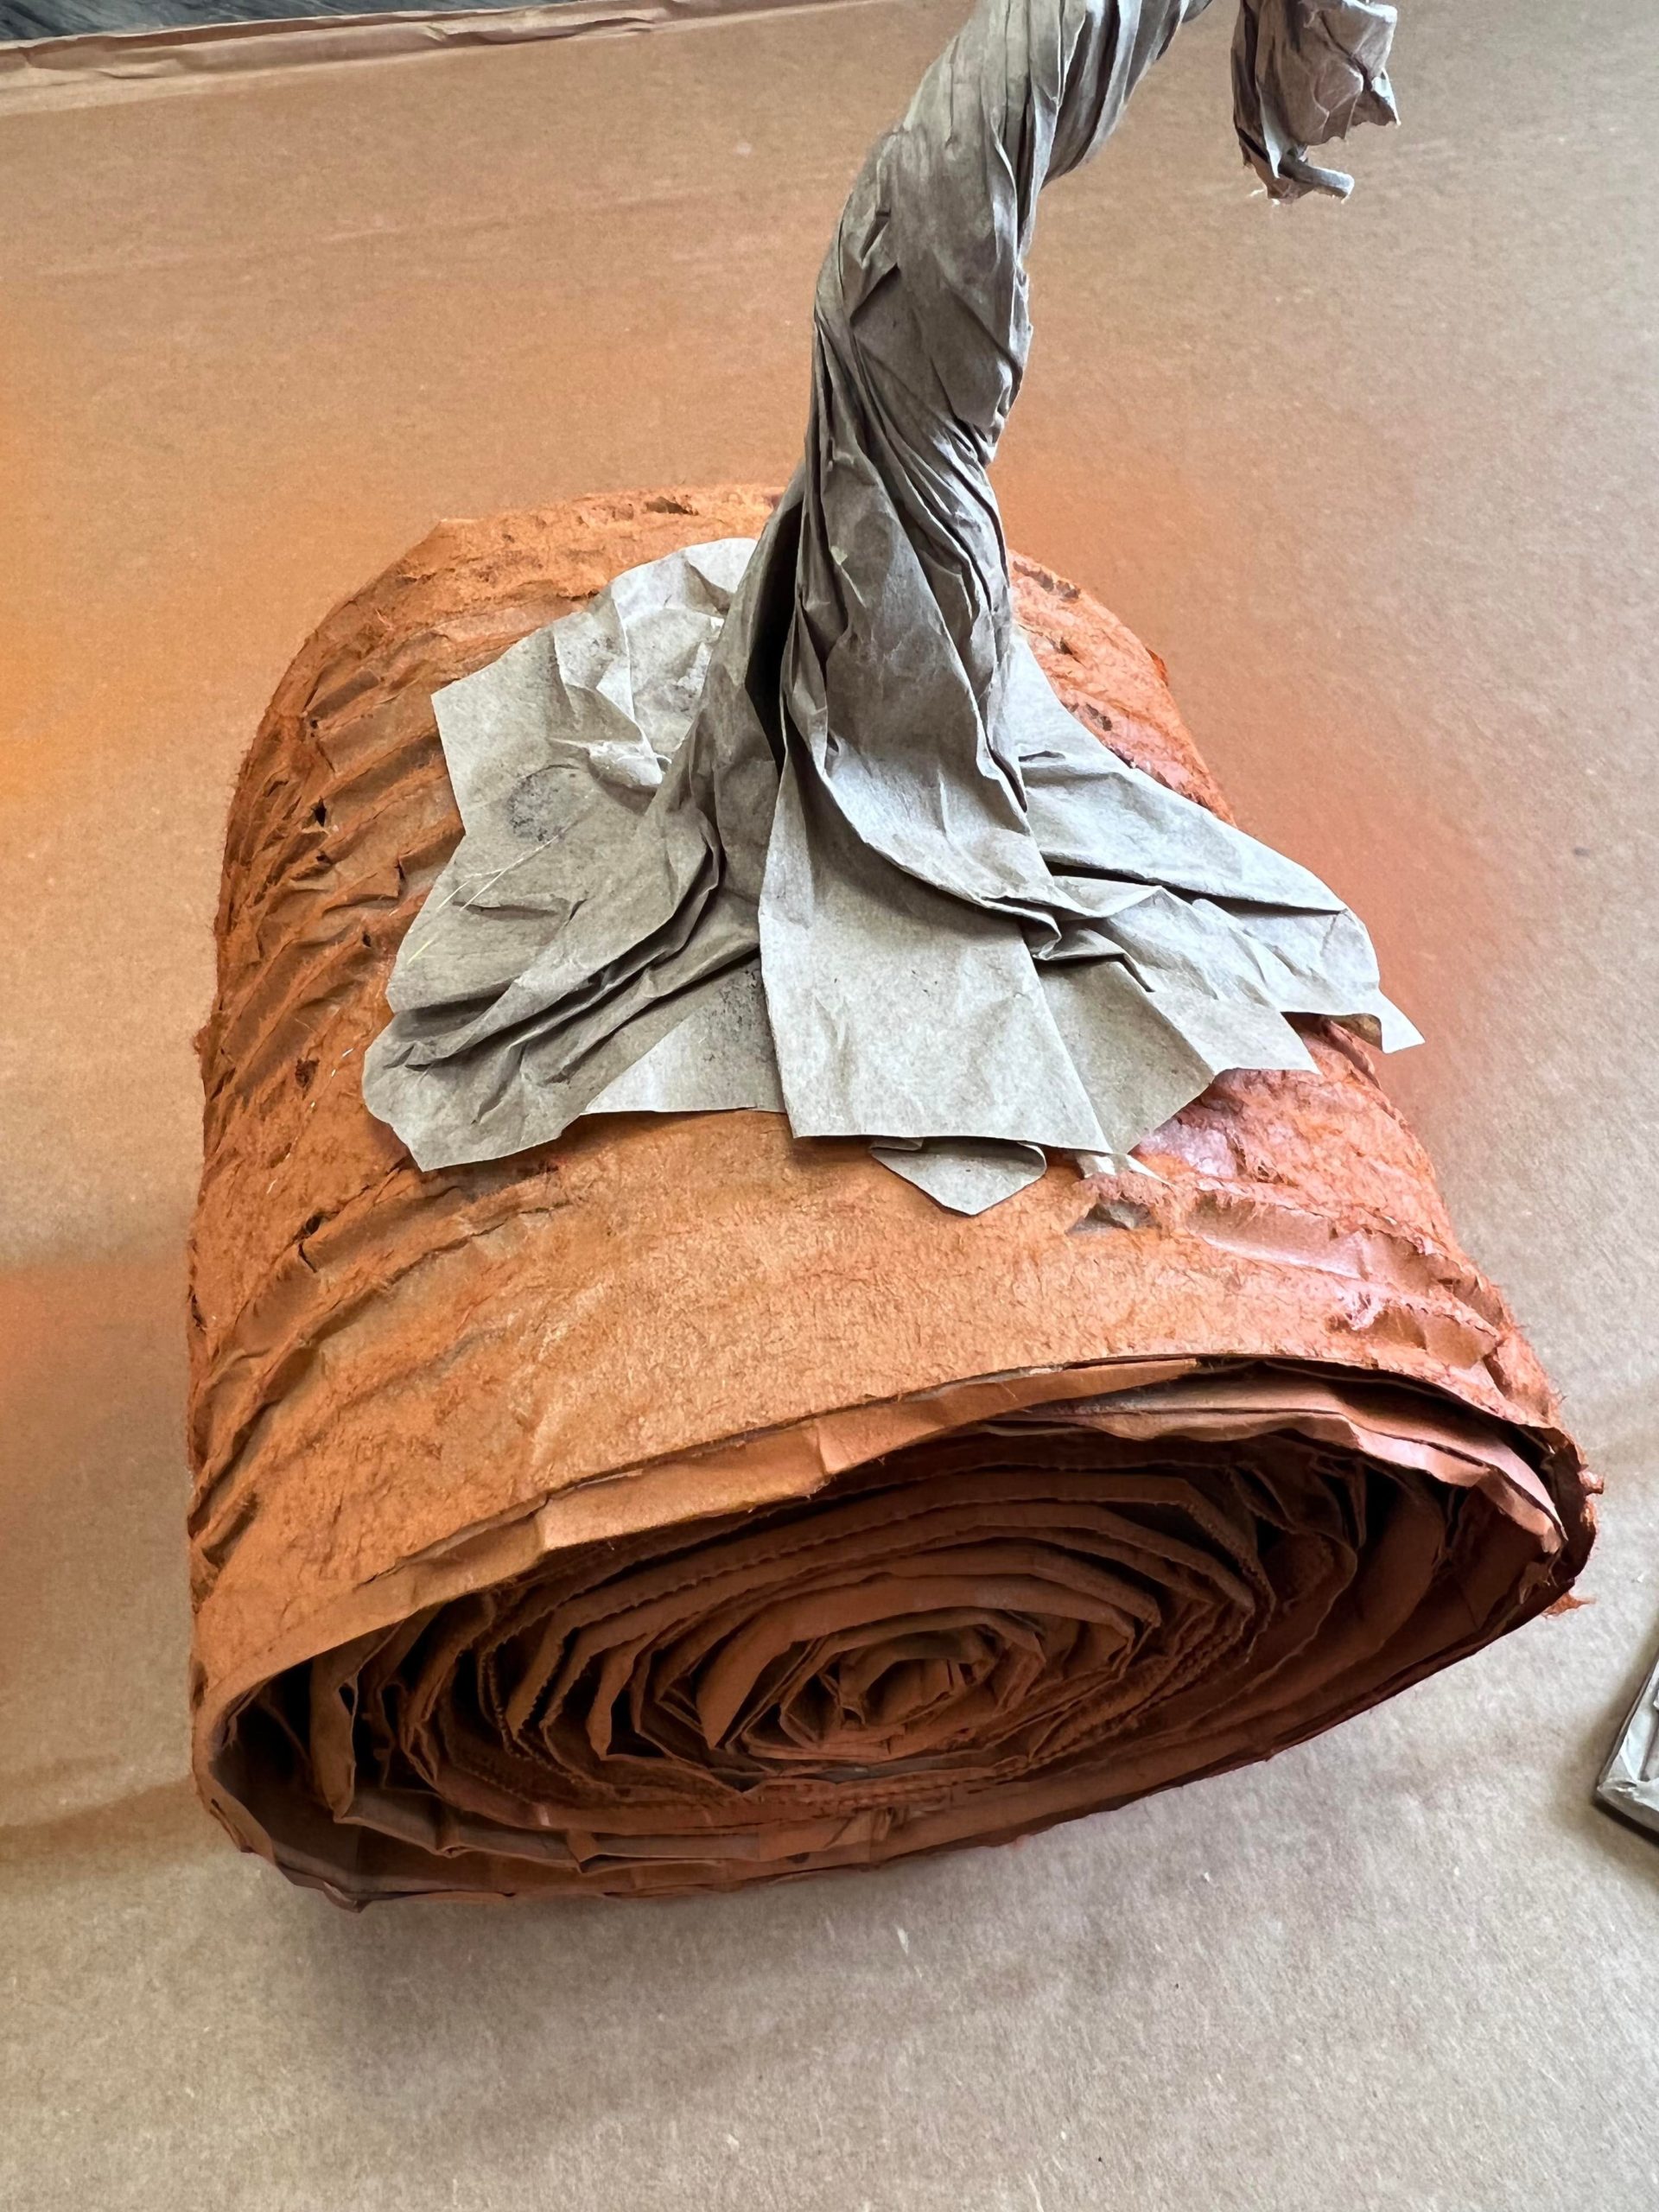
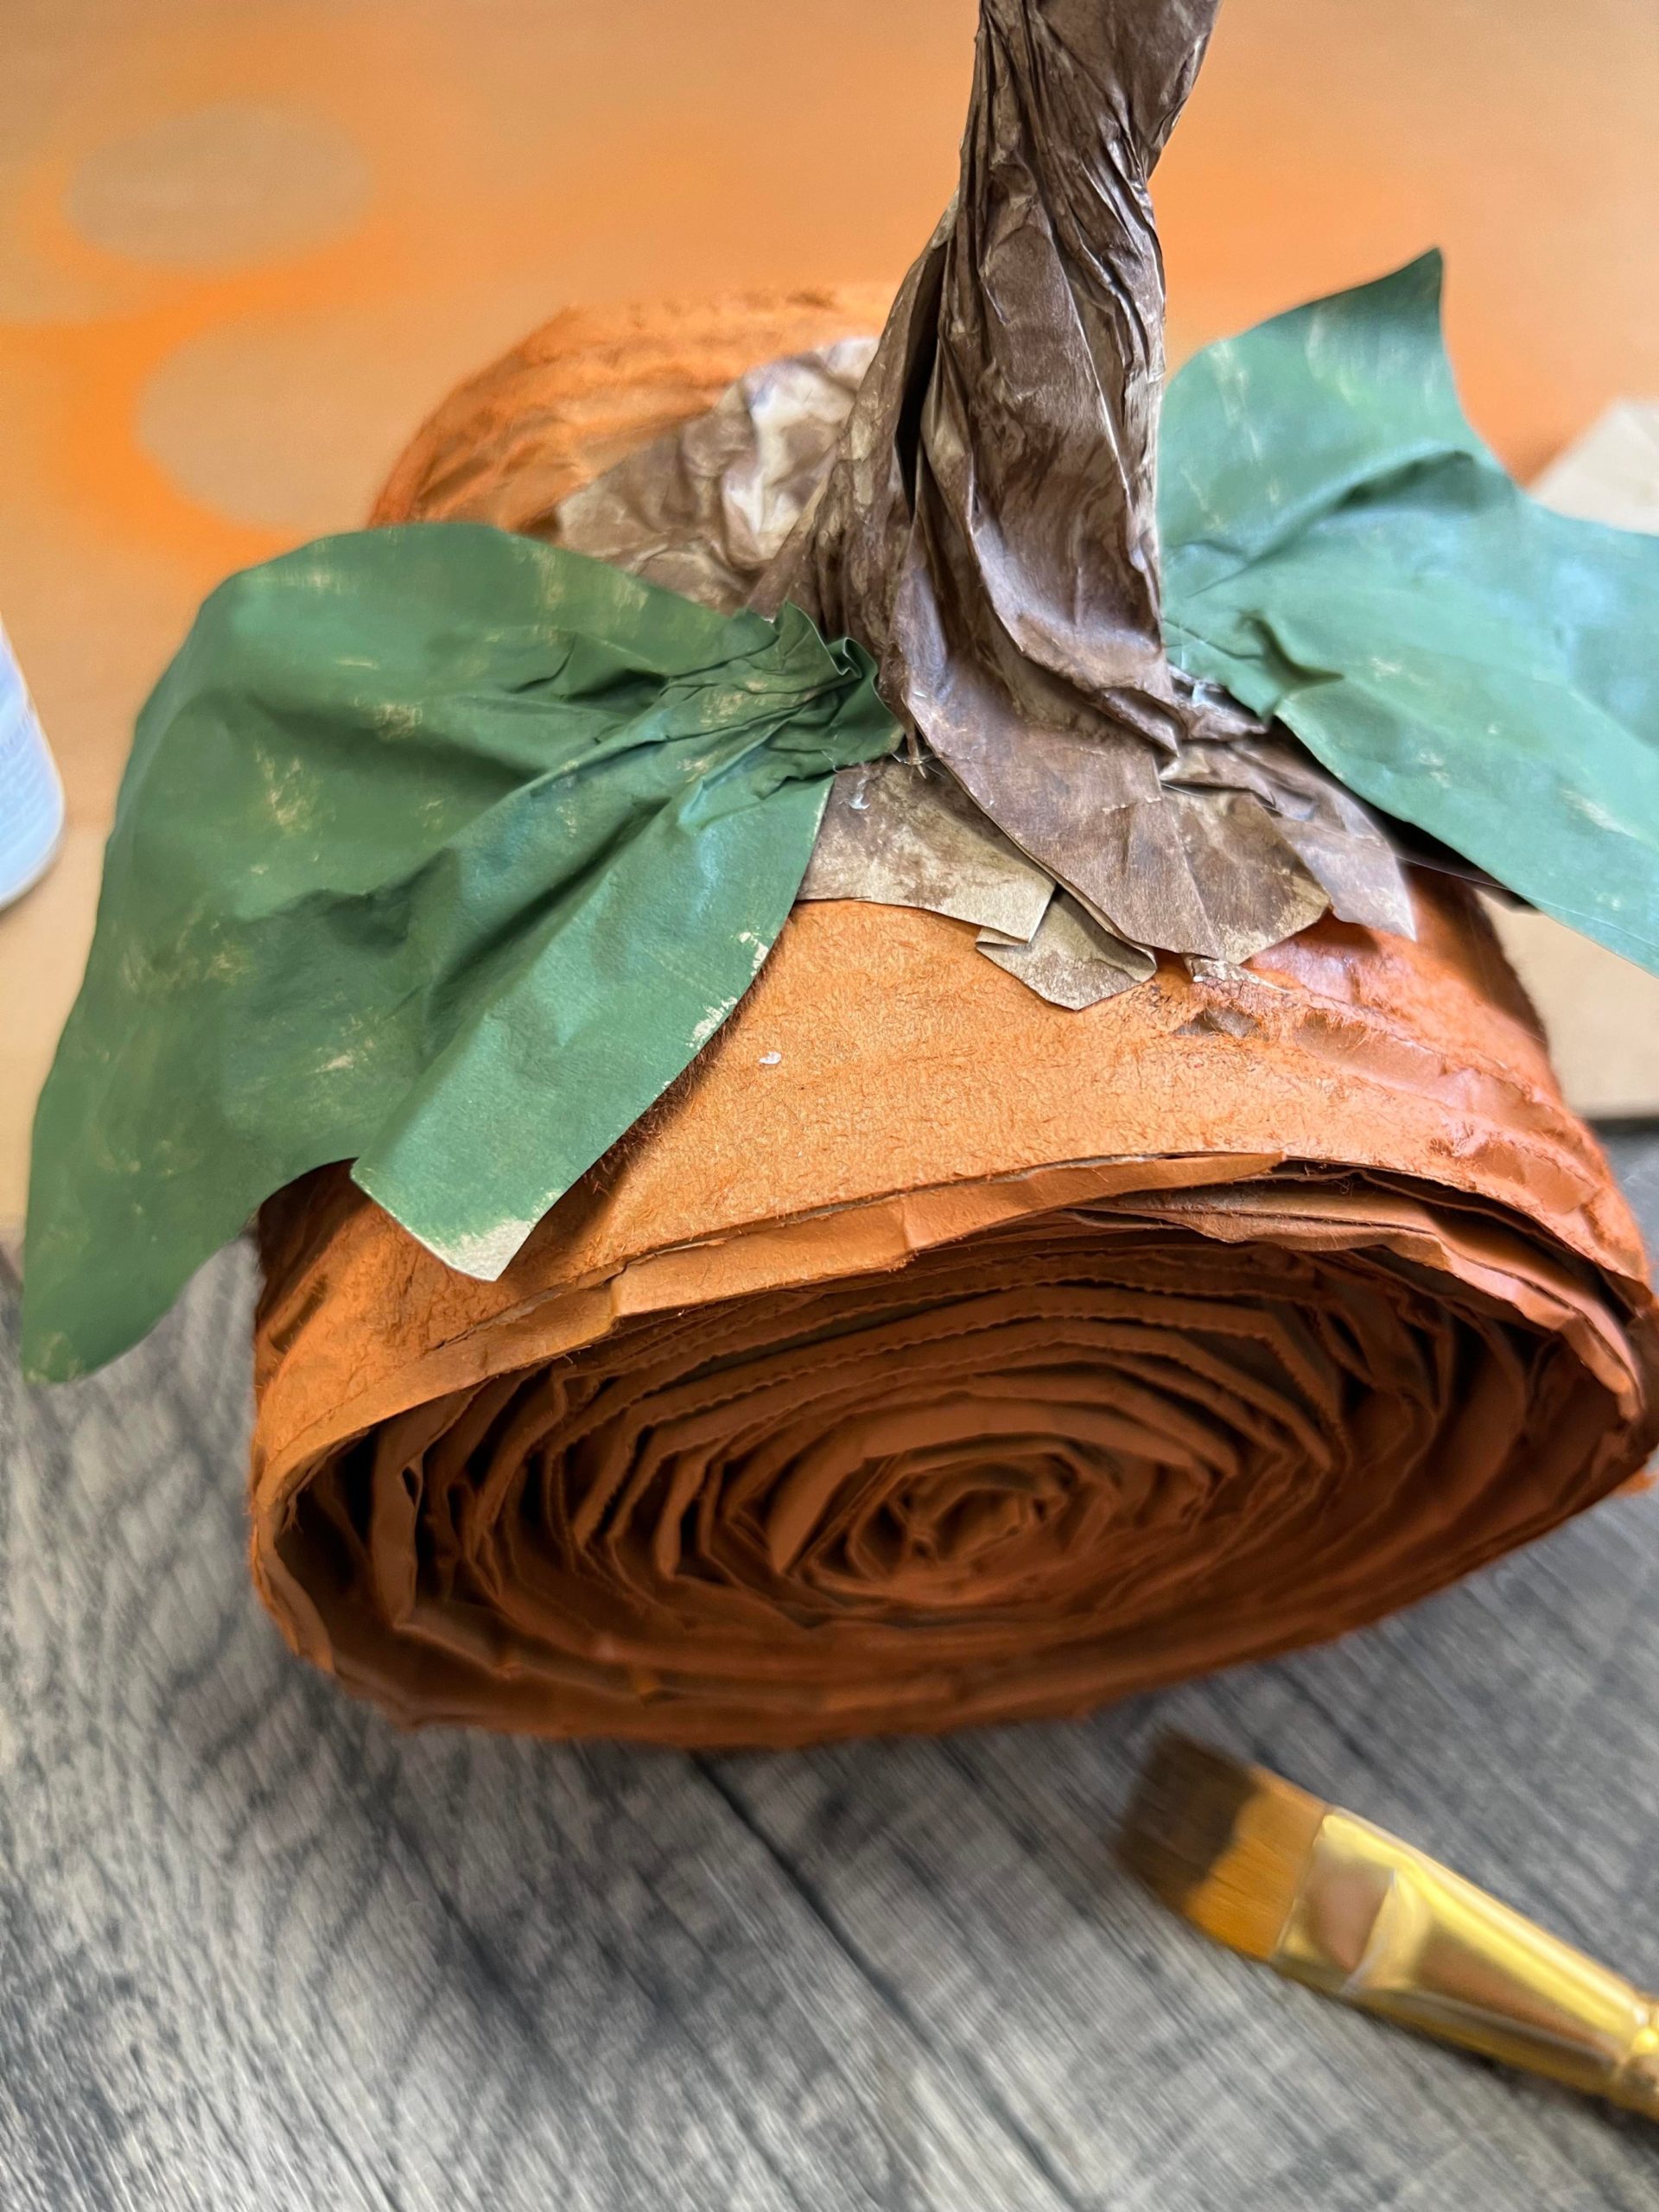
I added a little hot glue as I twisted the bag. Once you have the stem formed you will then glue it to the top of the pumpkin.
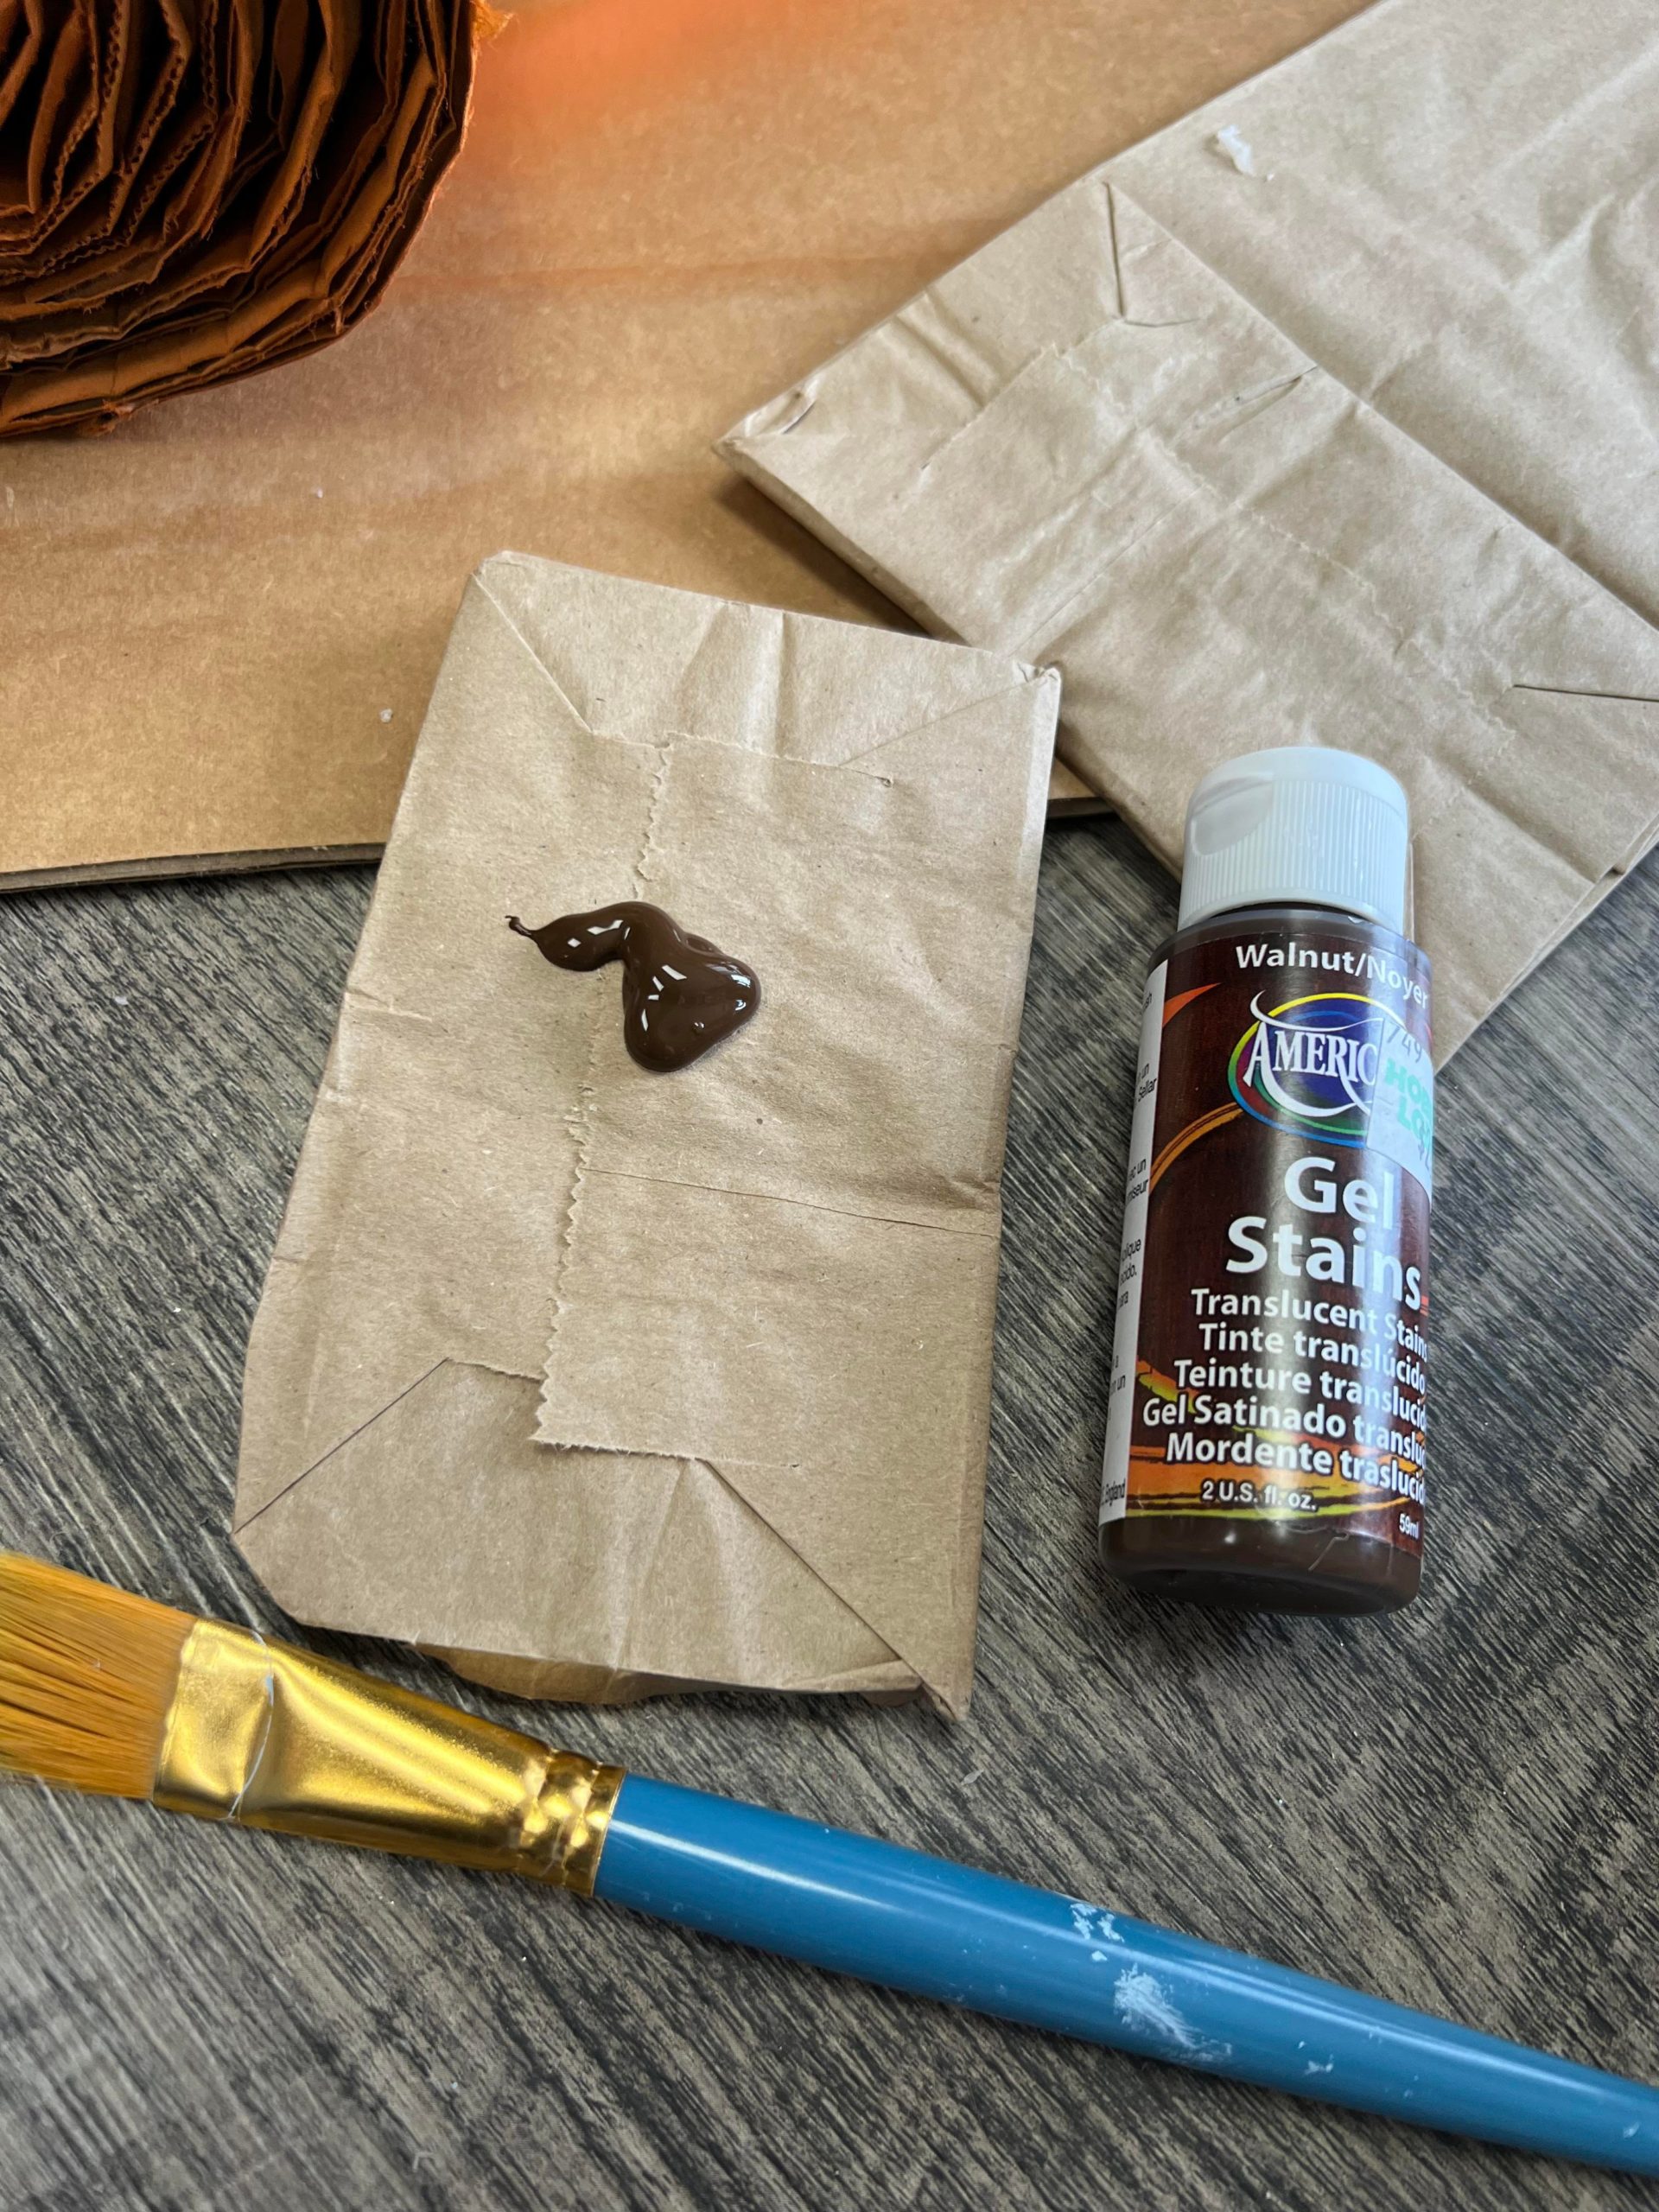
I added some of the Walnut colored gel stain to the stem.
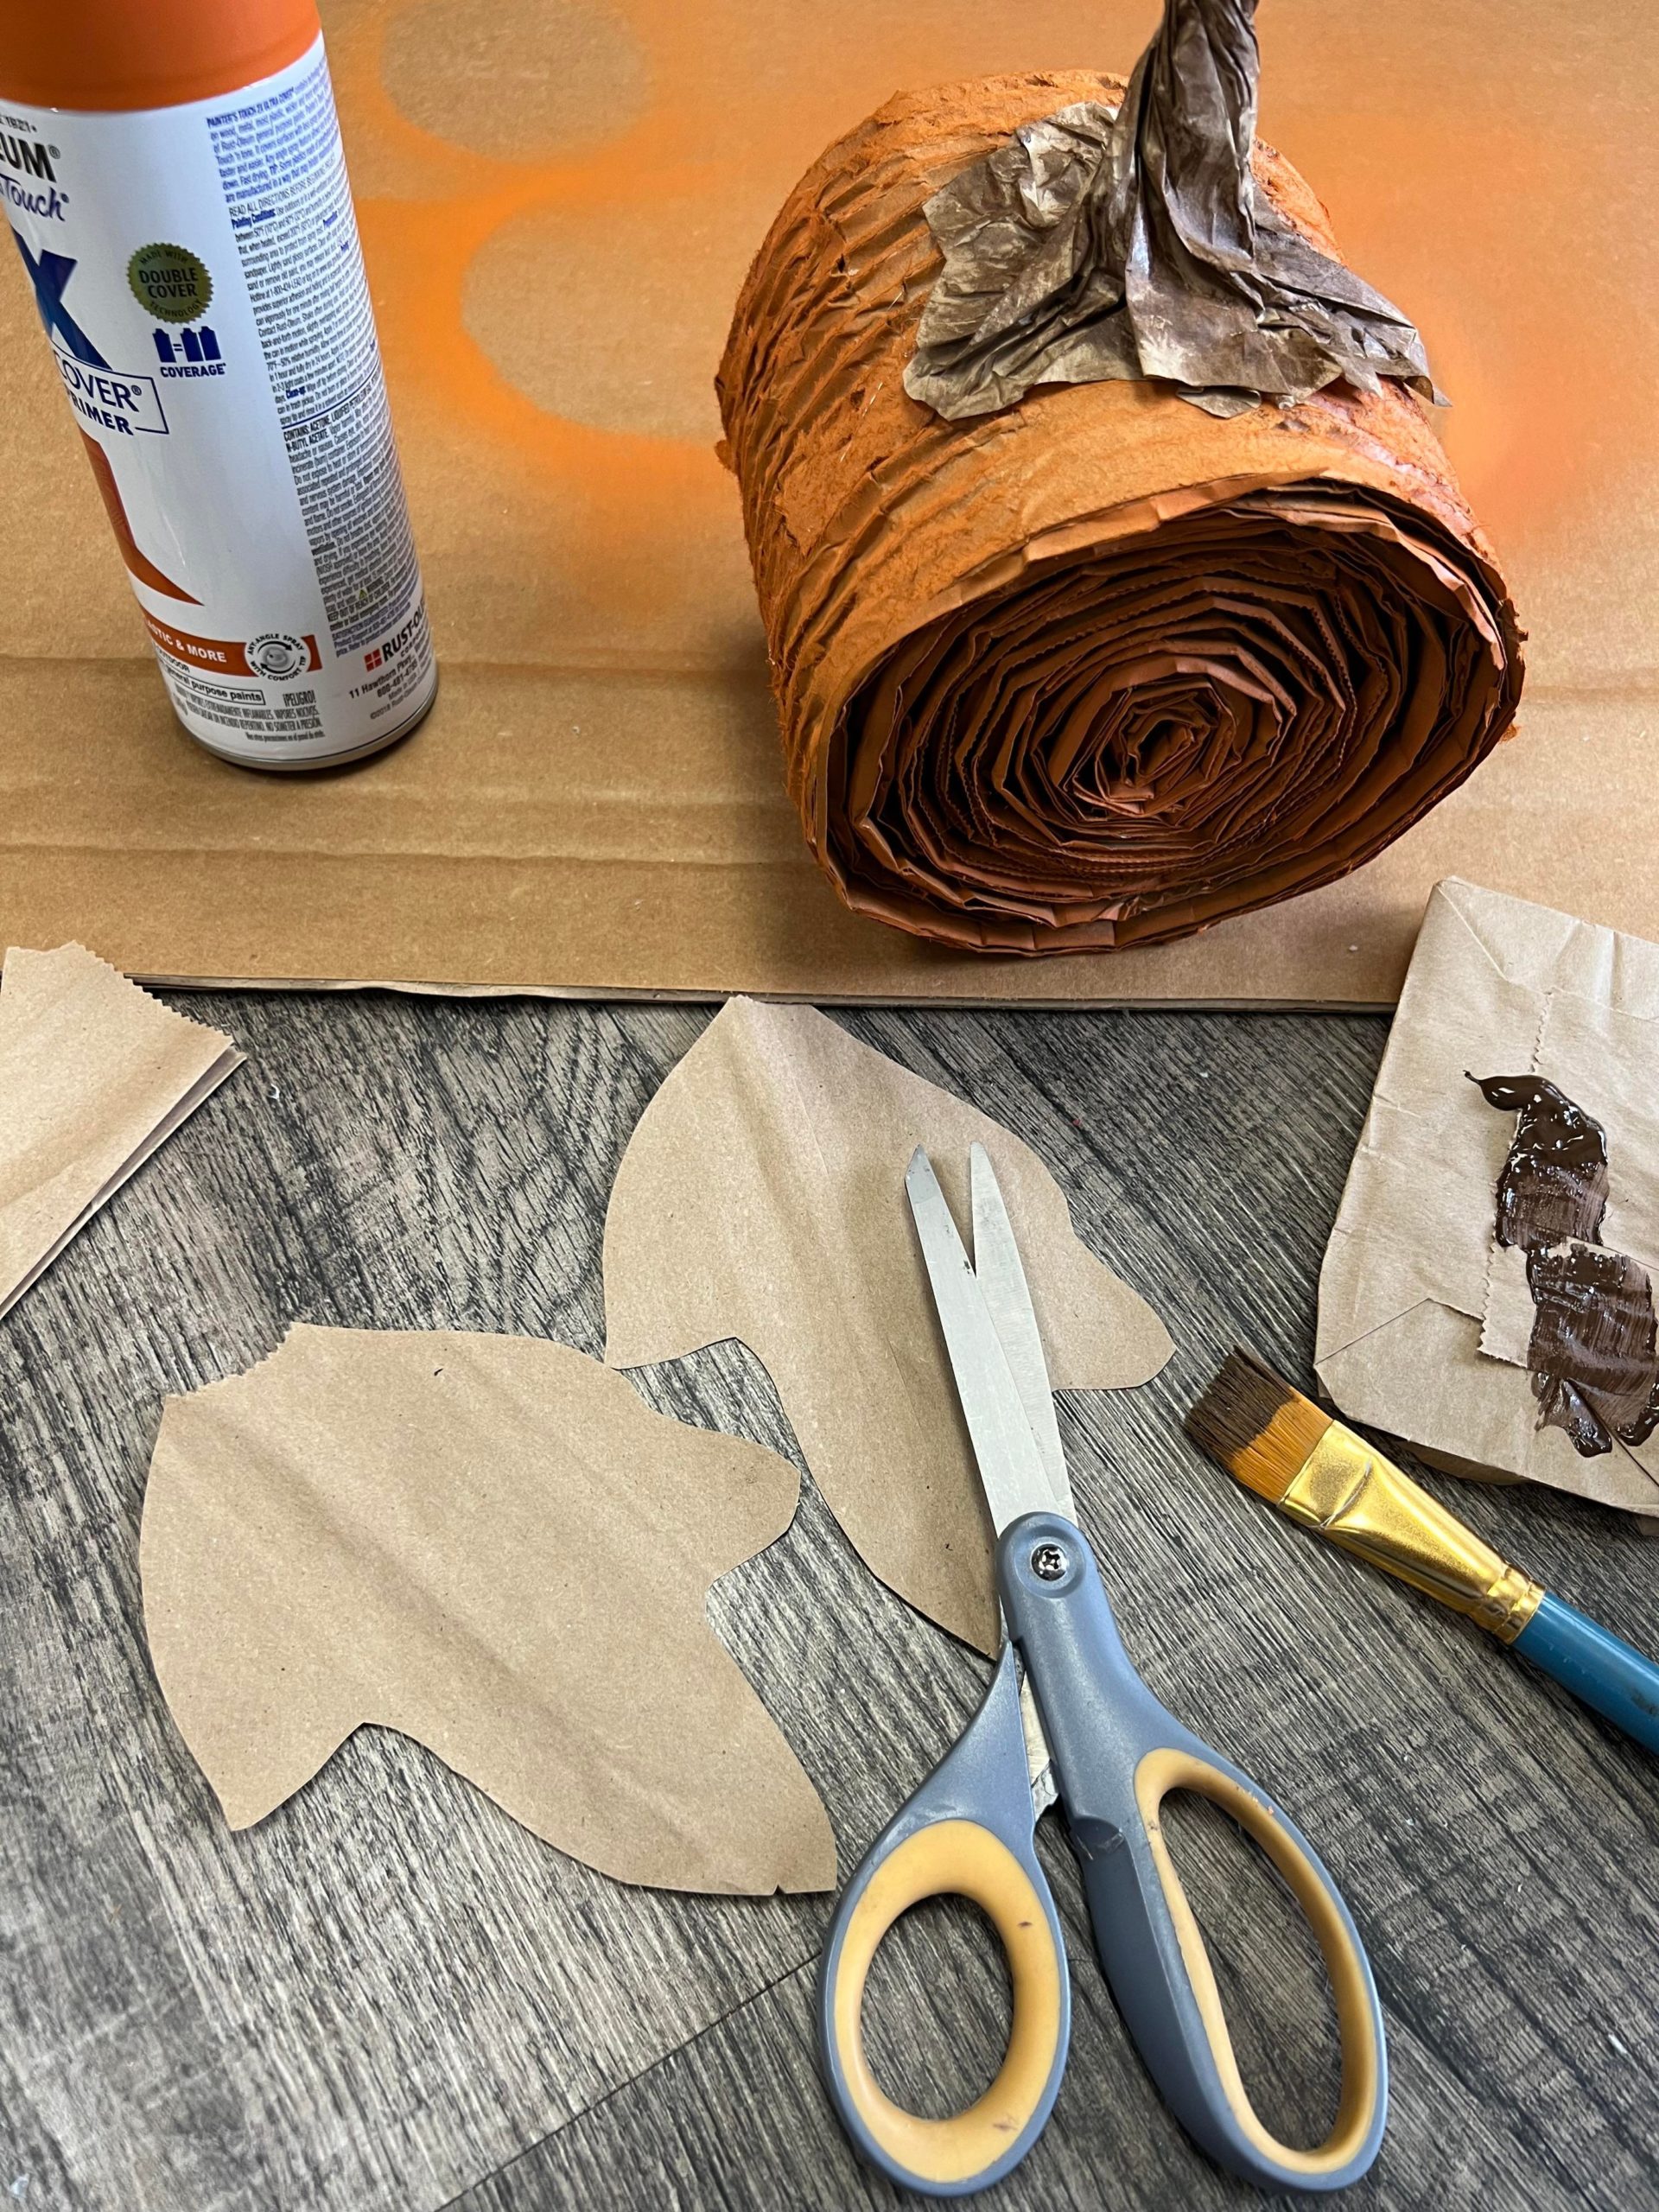
I then cut out two leaves from a brown lunch bag.
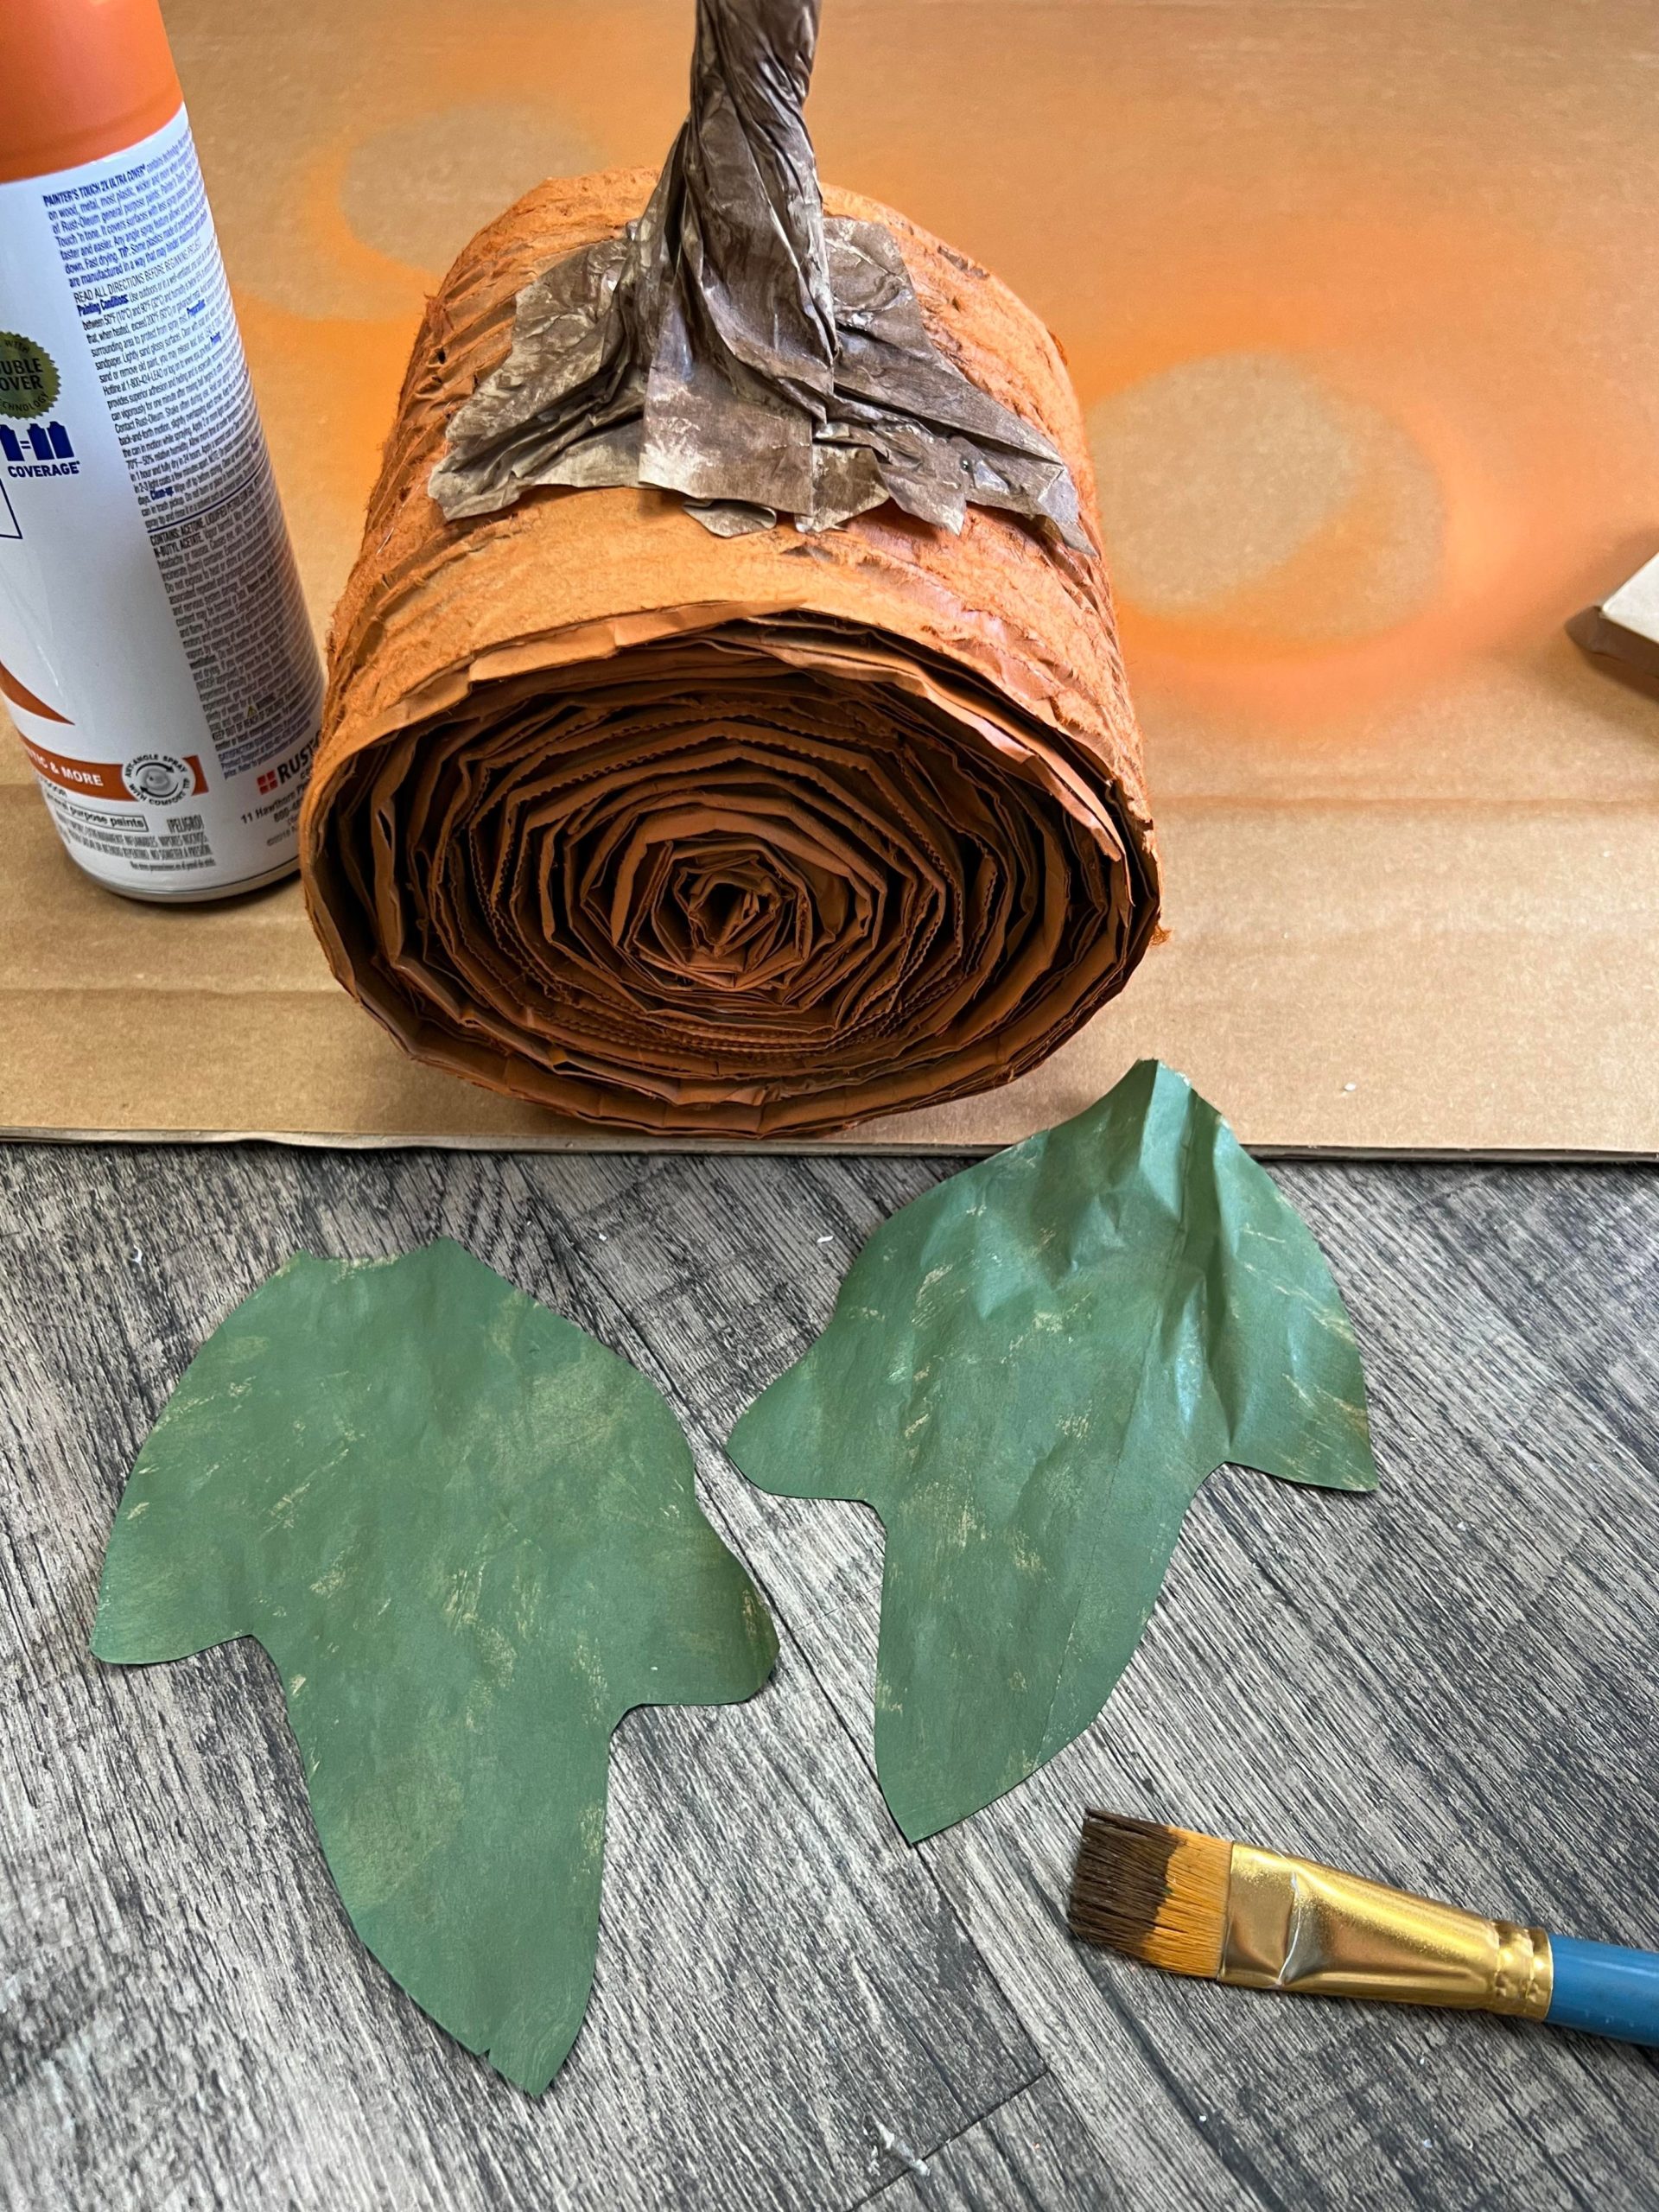
I painted the leaves with the Avocado colored paint and then glued them to the top of the pumpkin.
This pumpkin is so easy to make and I love how you can make a variety of sizes. I hope you’ll get creative and give this a try.