Now that Easter is over I am starting to pull out all of my Americana decorations. We recently created a few patriotic items here at The Shabby Tree but I want to try and create a flag that we can add lights too. I am always trying to use recycled items for a lot of our DIY’s and I know we can use a cereal box to create an amazing decorative flag. It will soon be Memorial Day and Fourth of July and I think this flag will look amazing any where in your home.
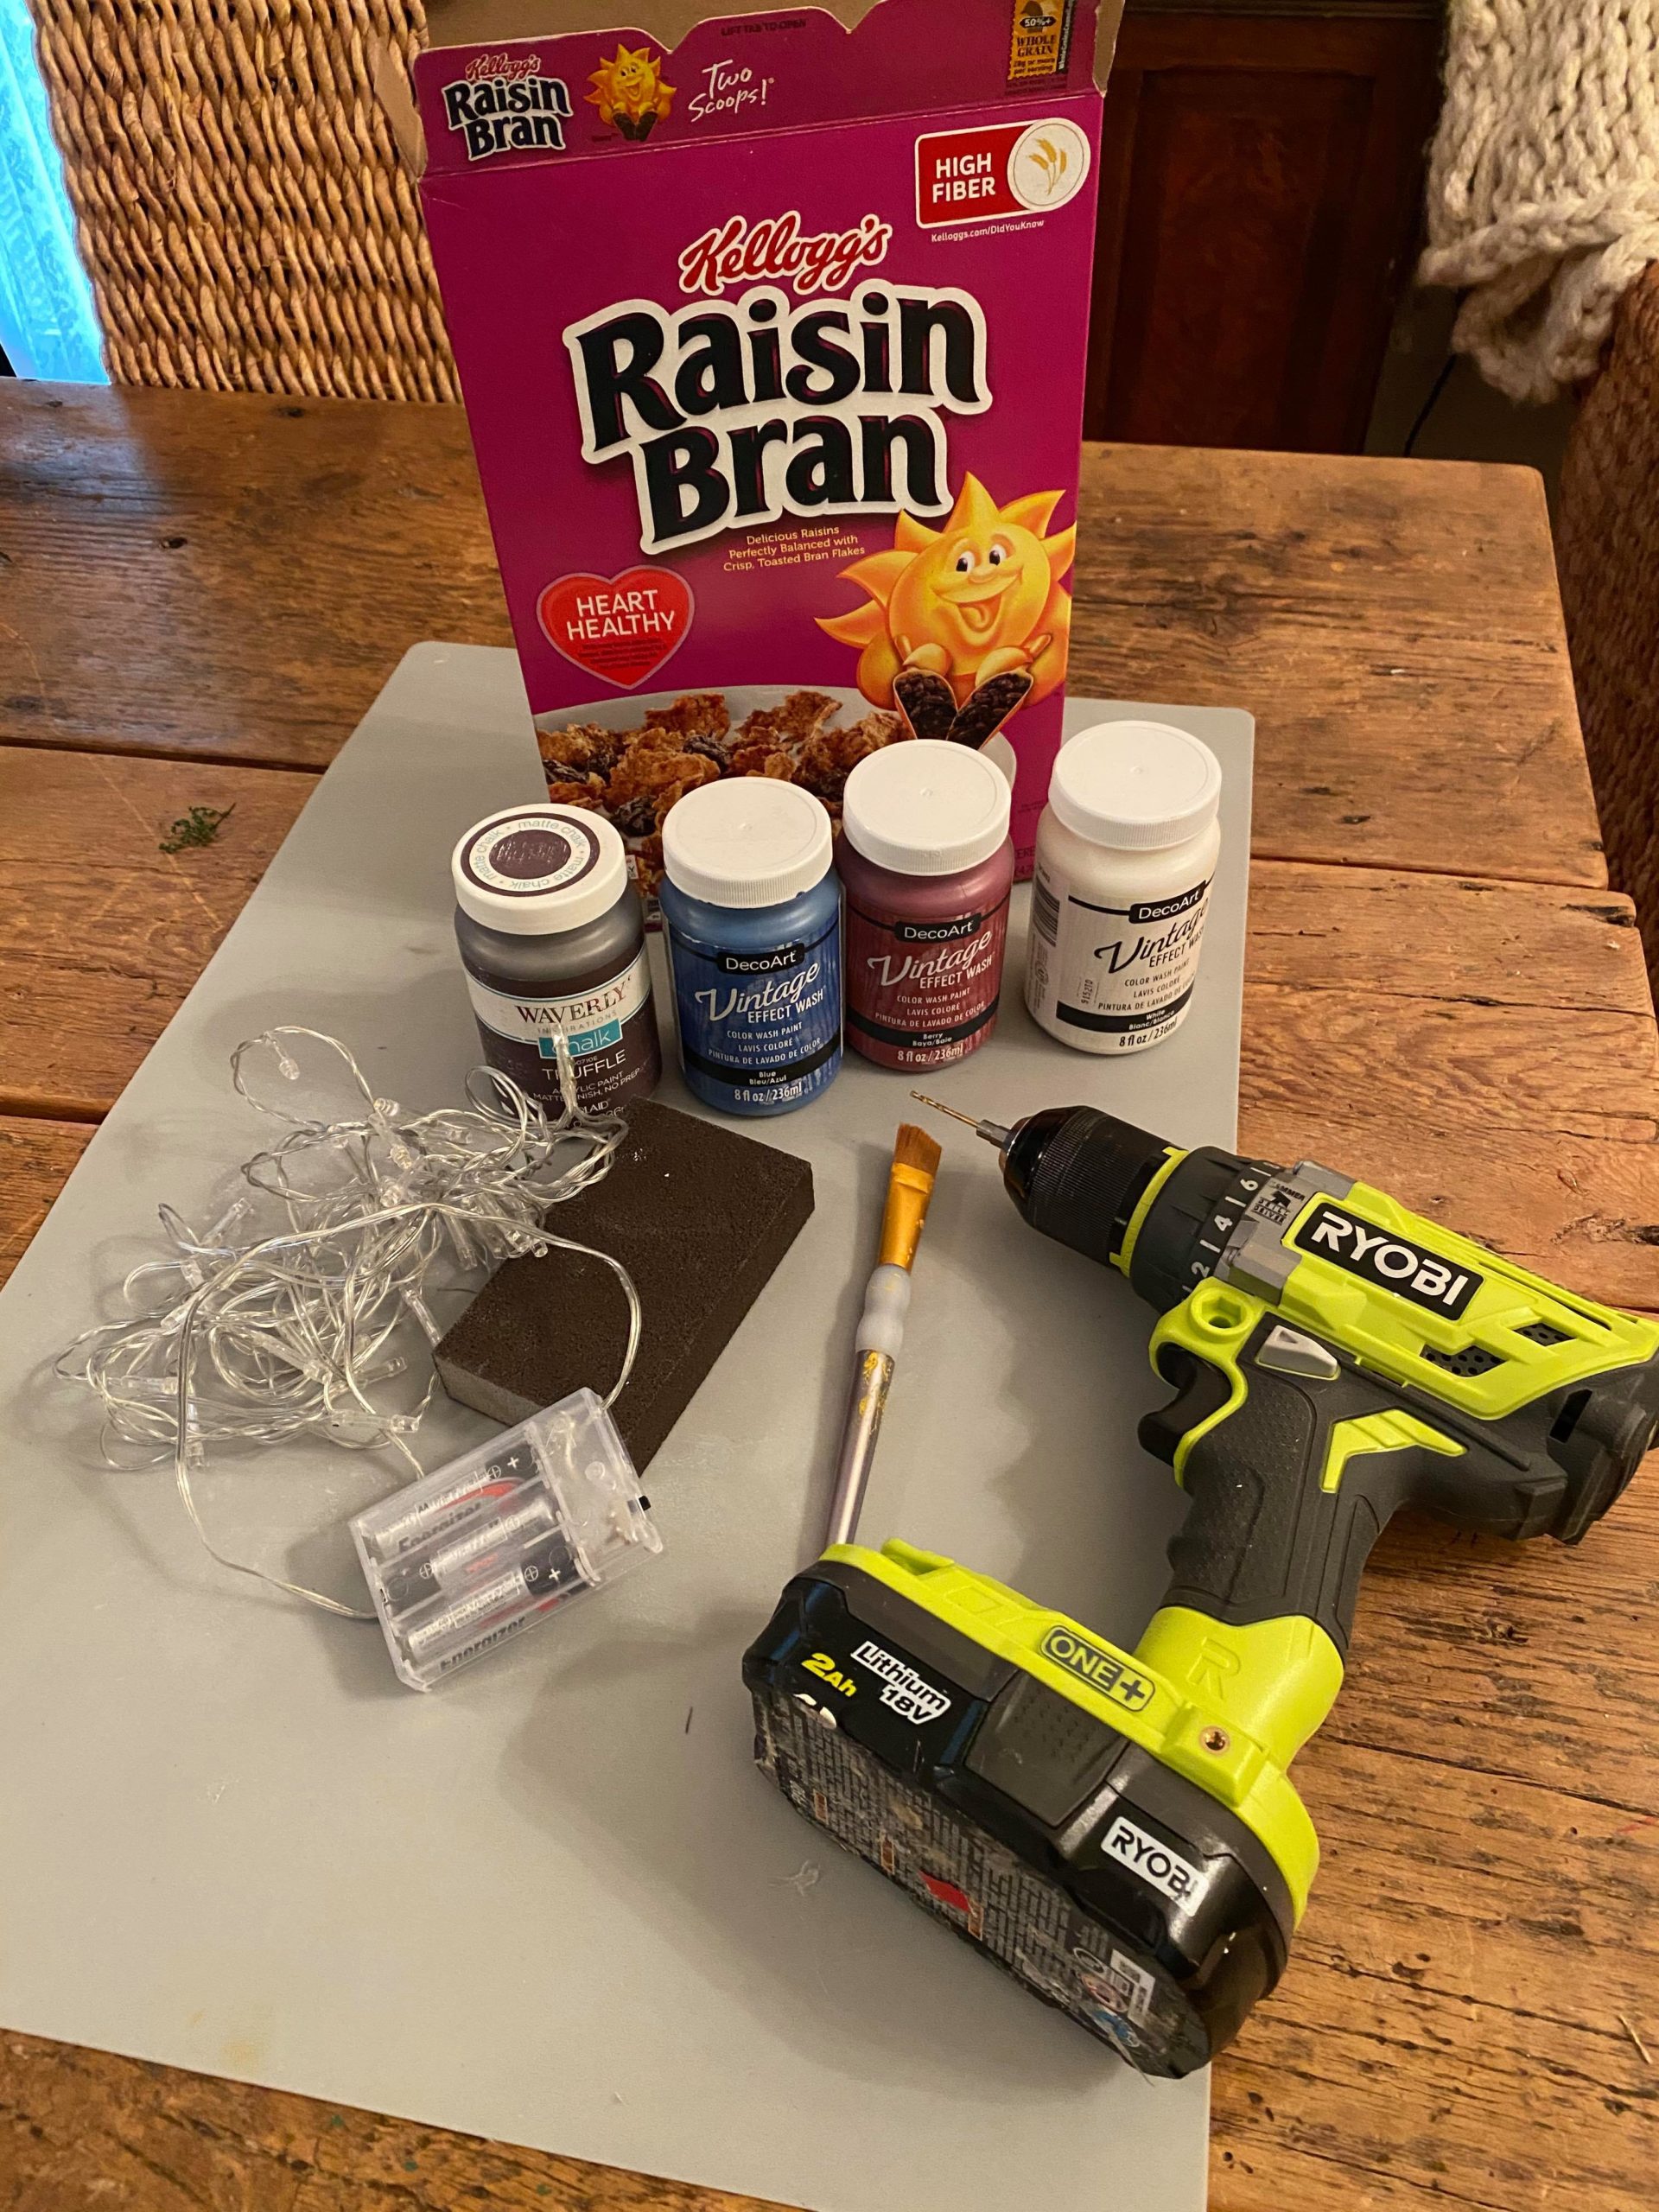
The supplies I will be using are:
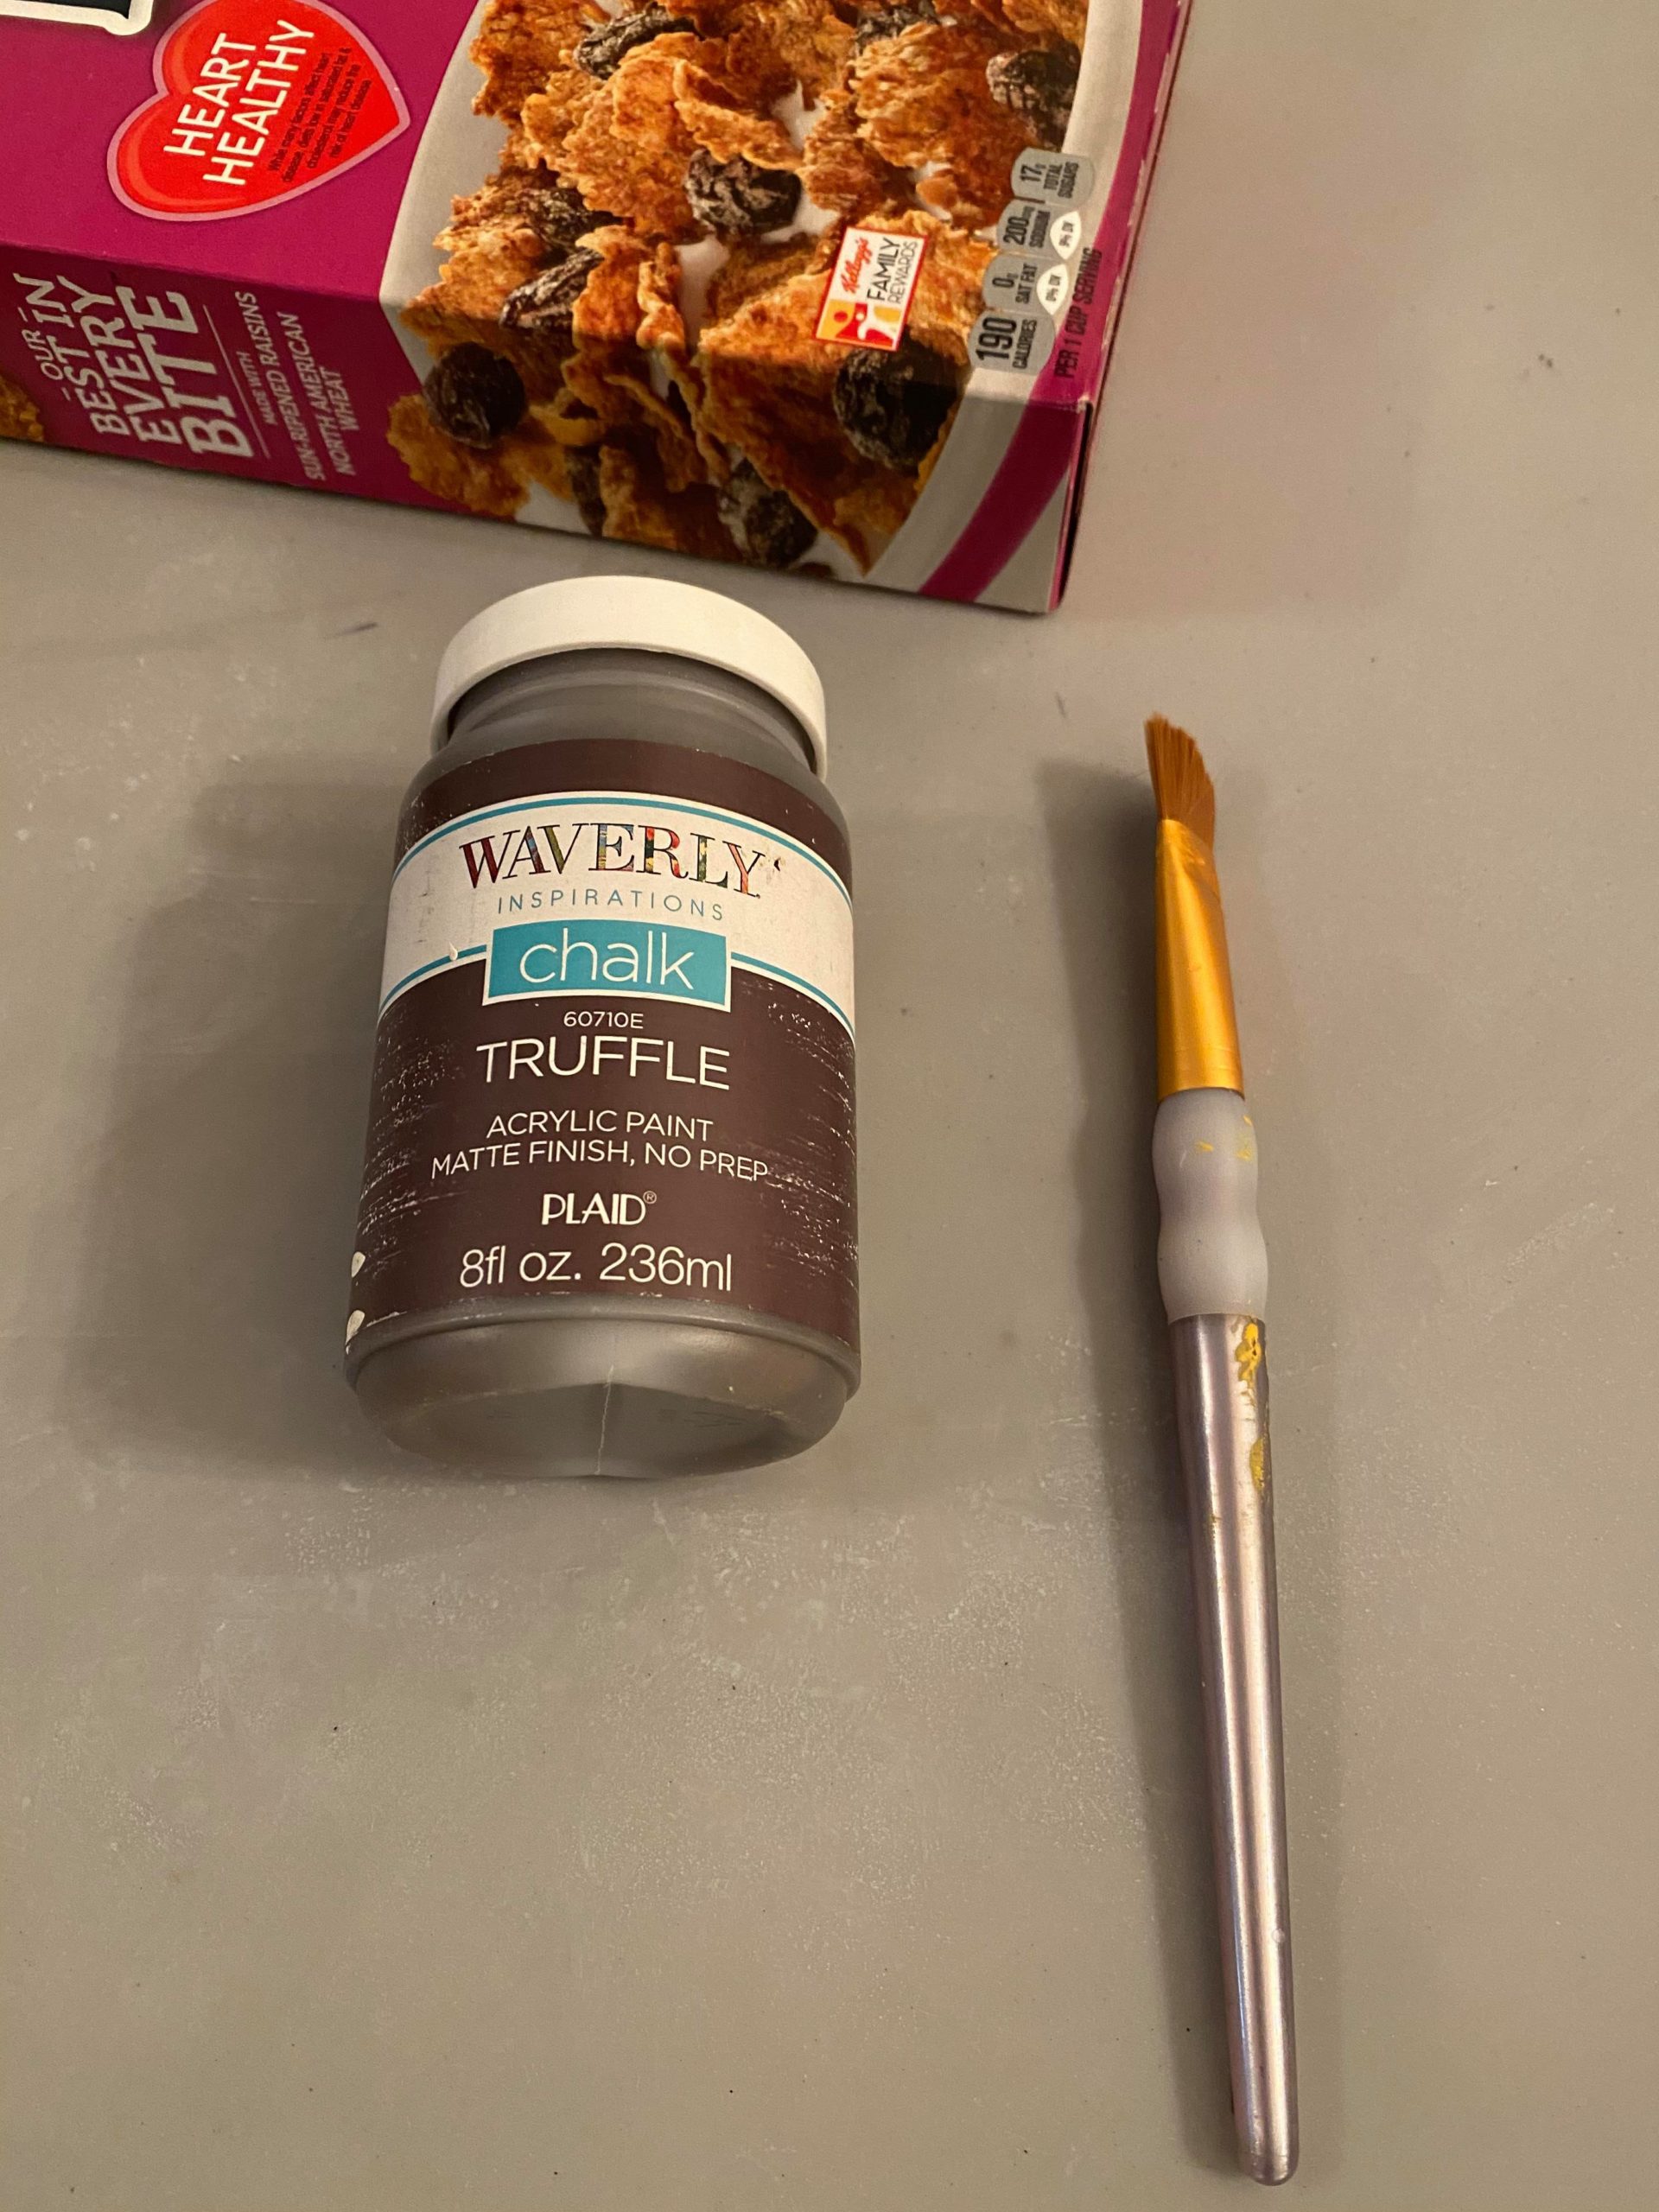
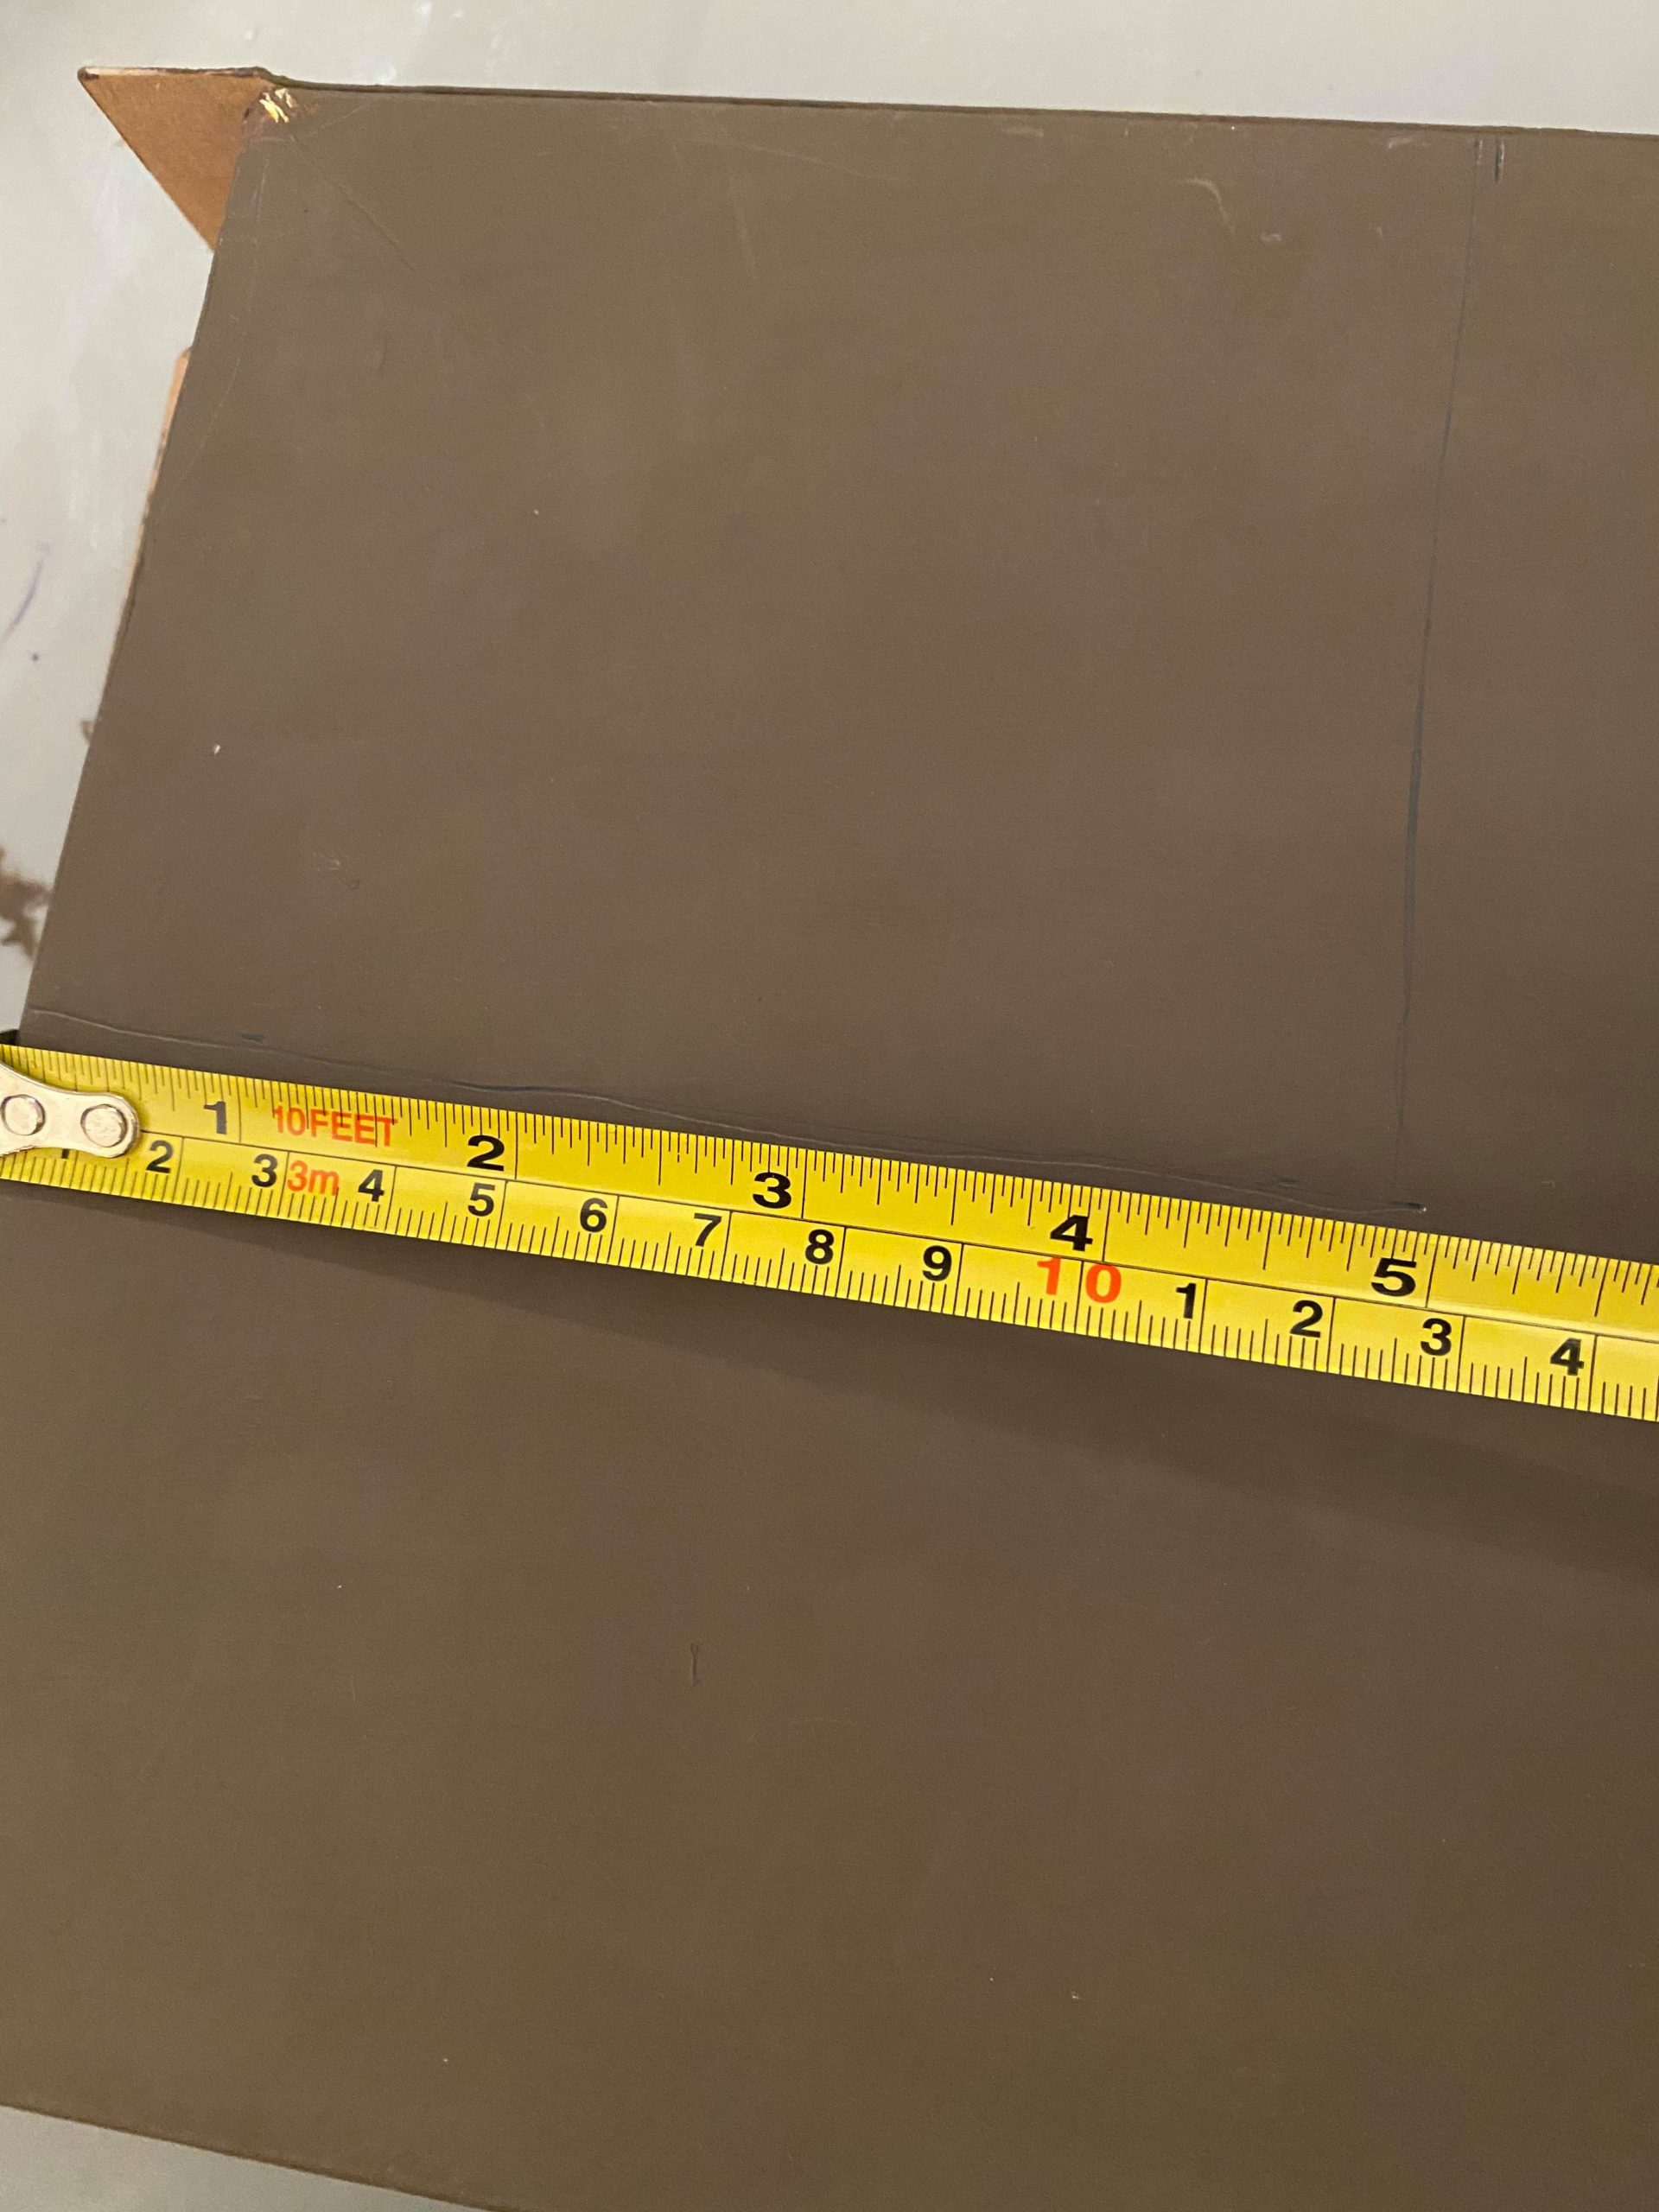
1. One cereal box (any size you have will work.
2. Drill and drill bit
3. Battery operated string lights
4. Sanding sponge
5. Paint brush
6. Waverly chalk paint (color is truffle)
7. DecoArt Vintage Effect Wash (colors white, berry and blue)
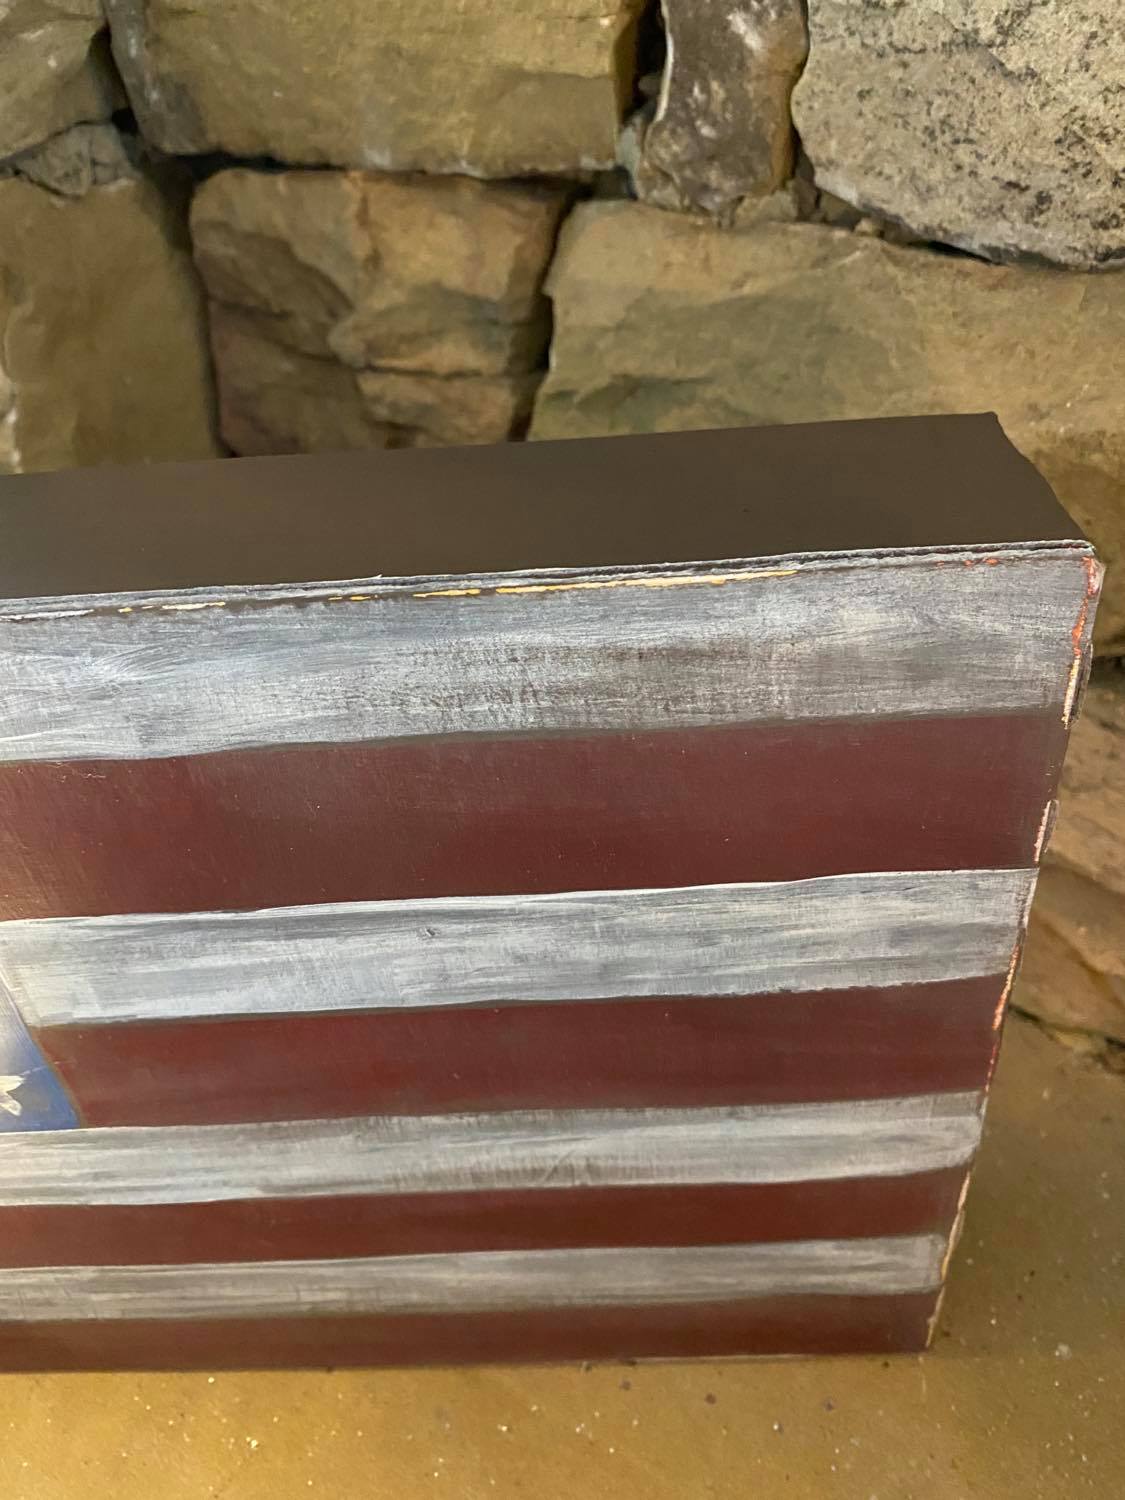
I will be first covering the entire outside of the cereal box with the Waverly chalk paint. I am using the color Truffle because I want this flag to look primitive and like a dark piece of wood. You can lightly sand the outside of the box before painting.
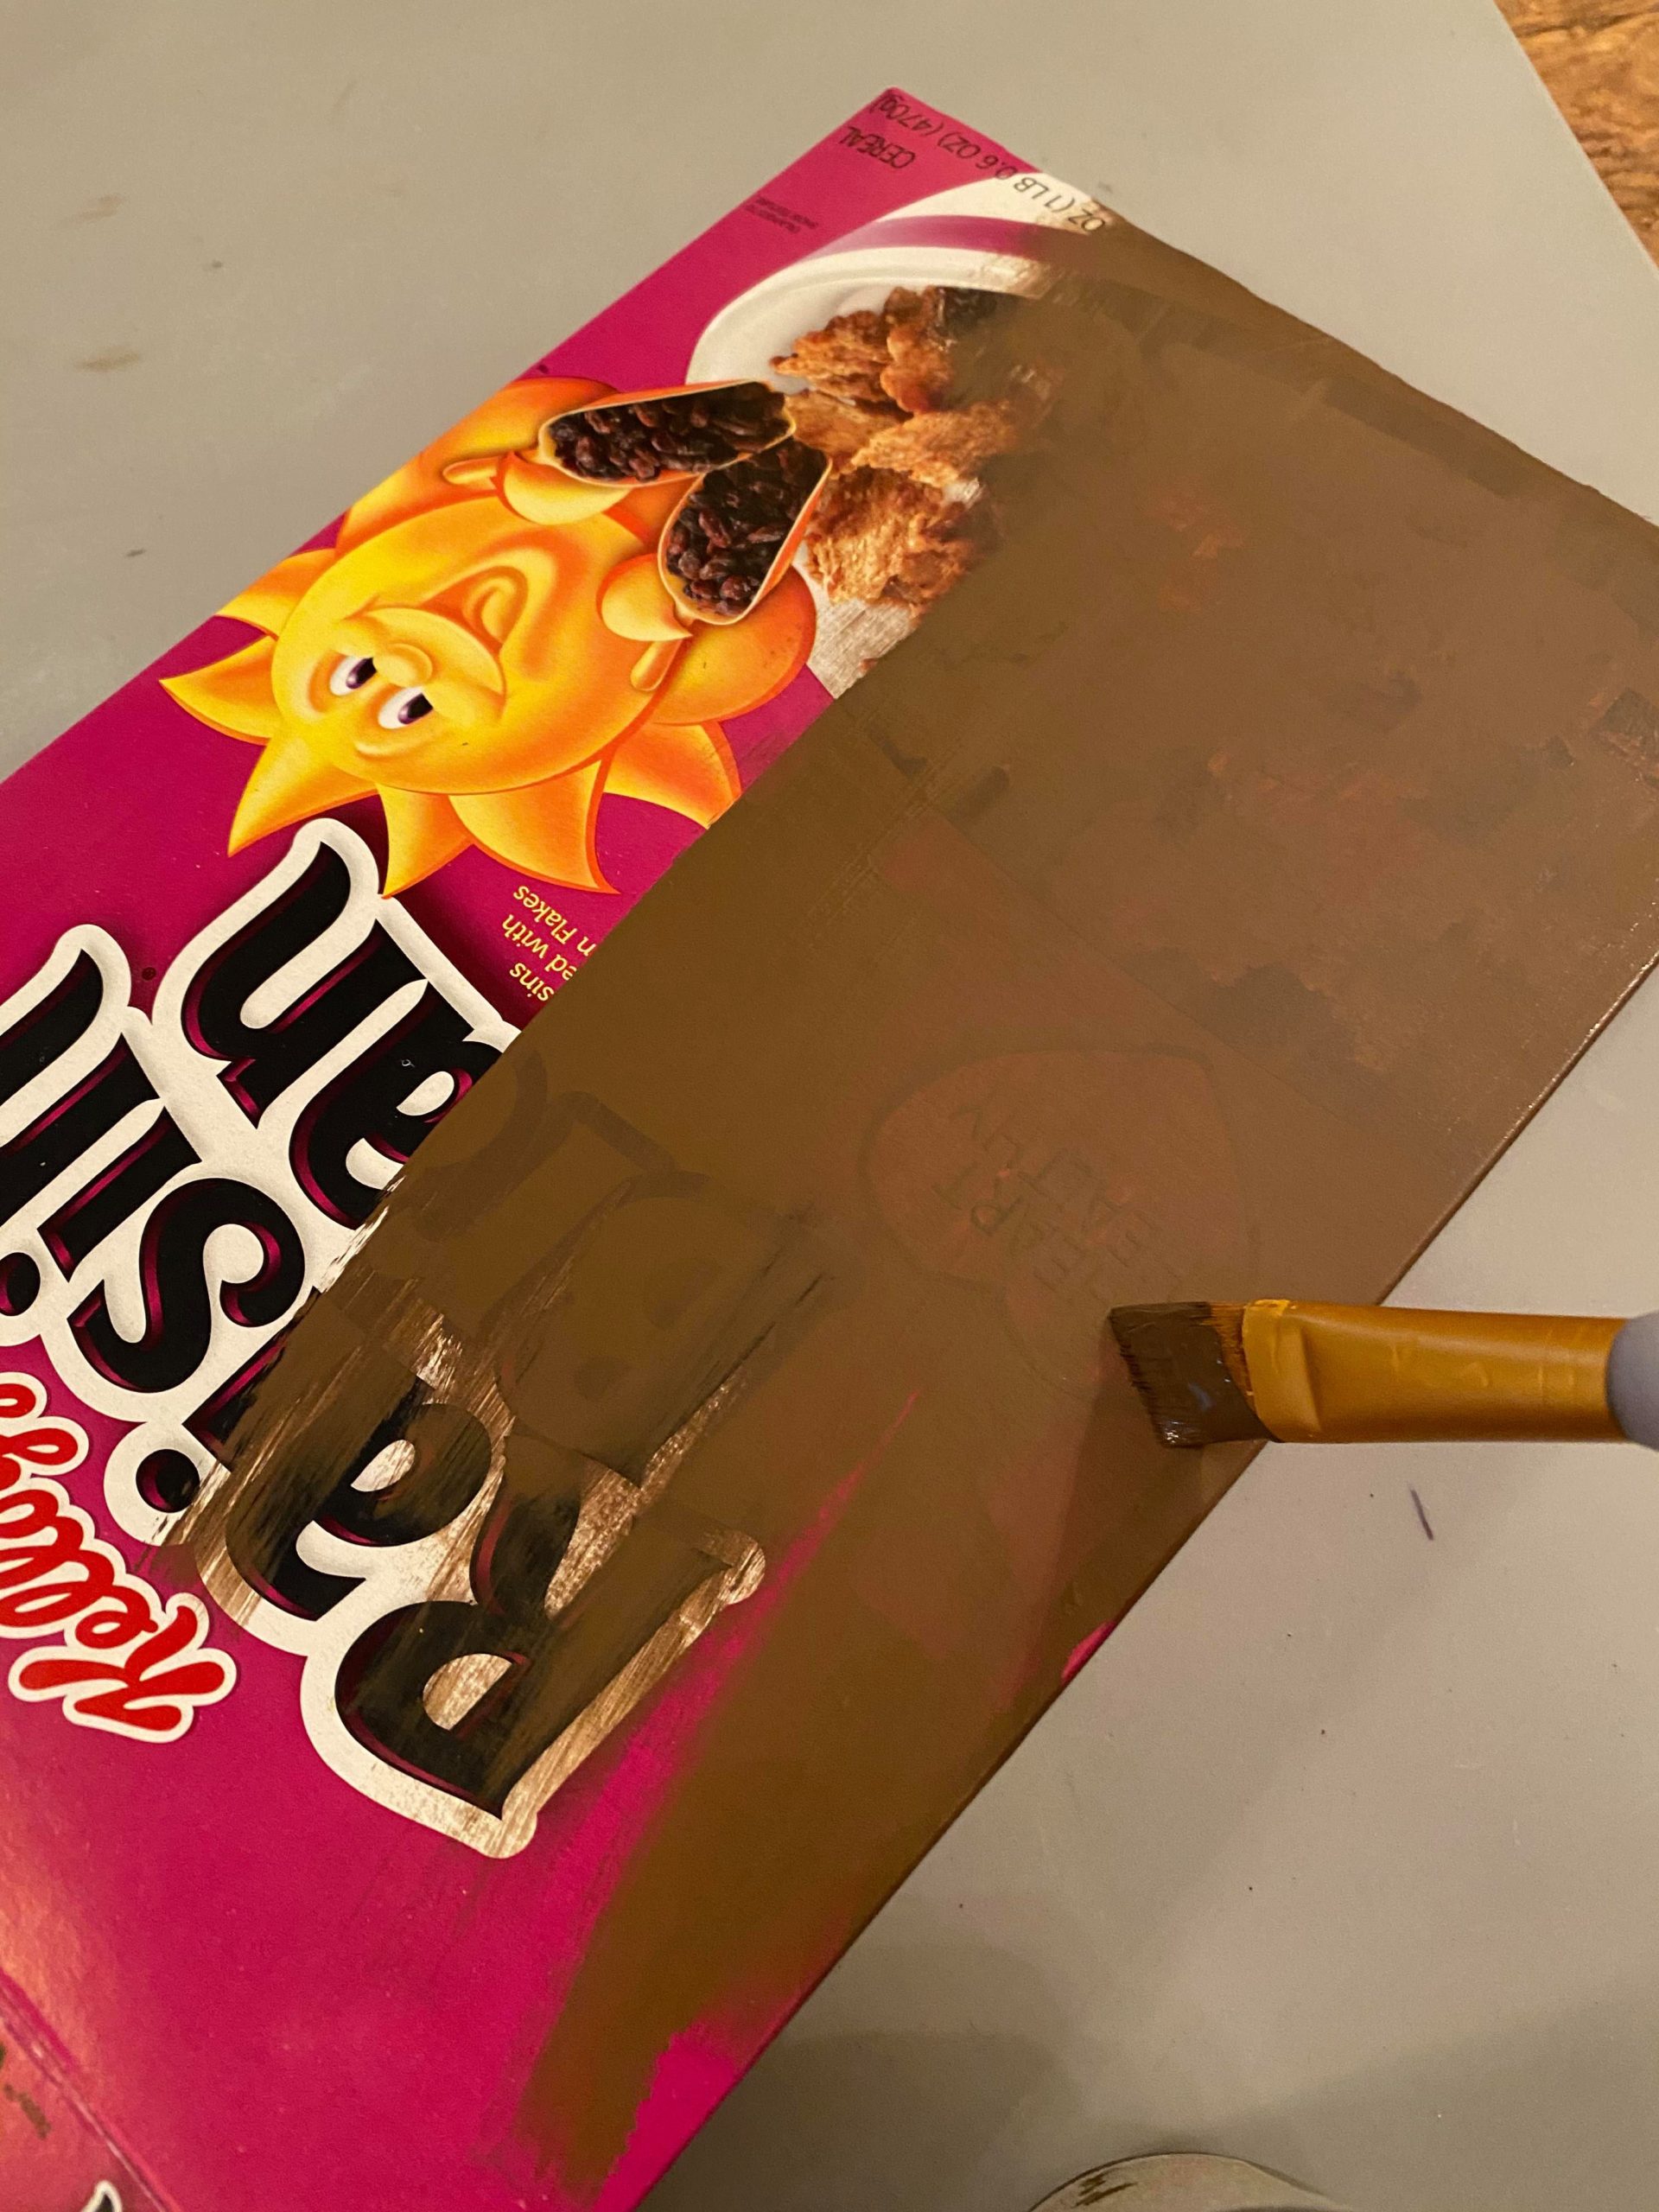
This will take a few coats of paint to completely cover the box.
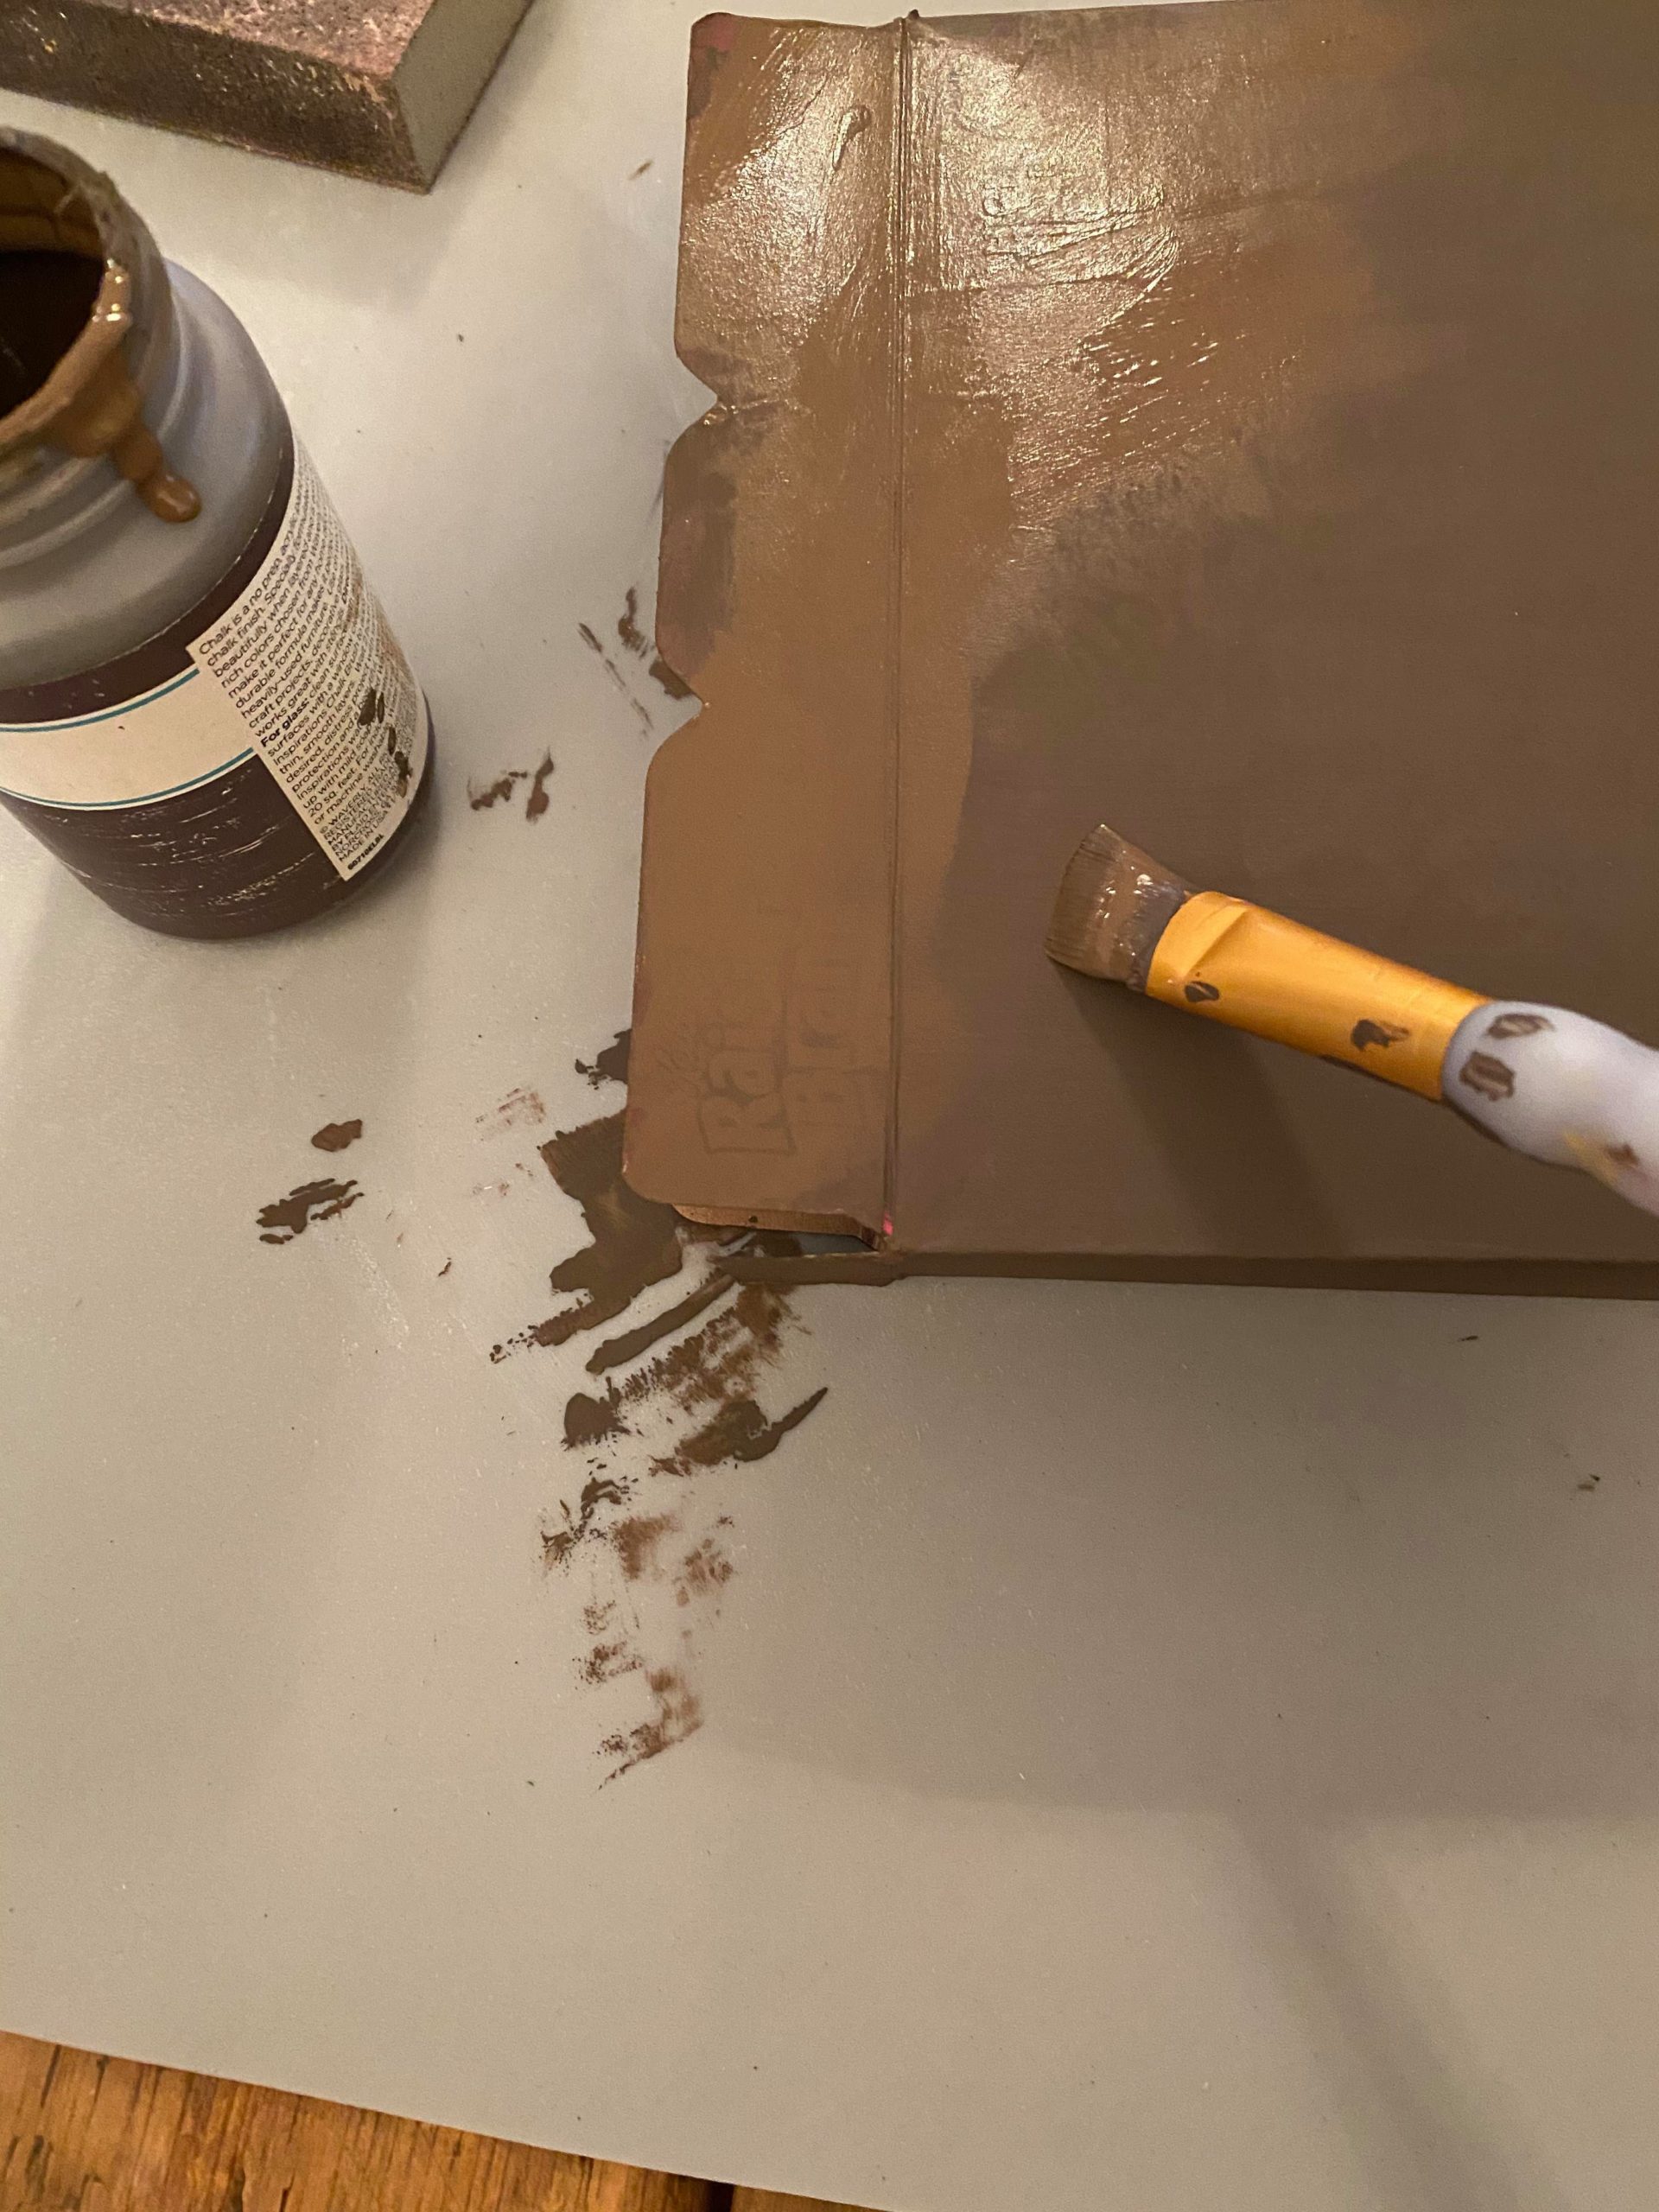

Once the box is painted and dried it is time to paint on the Vintage Effect Wash by DecoArt.
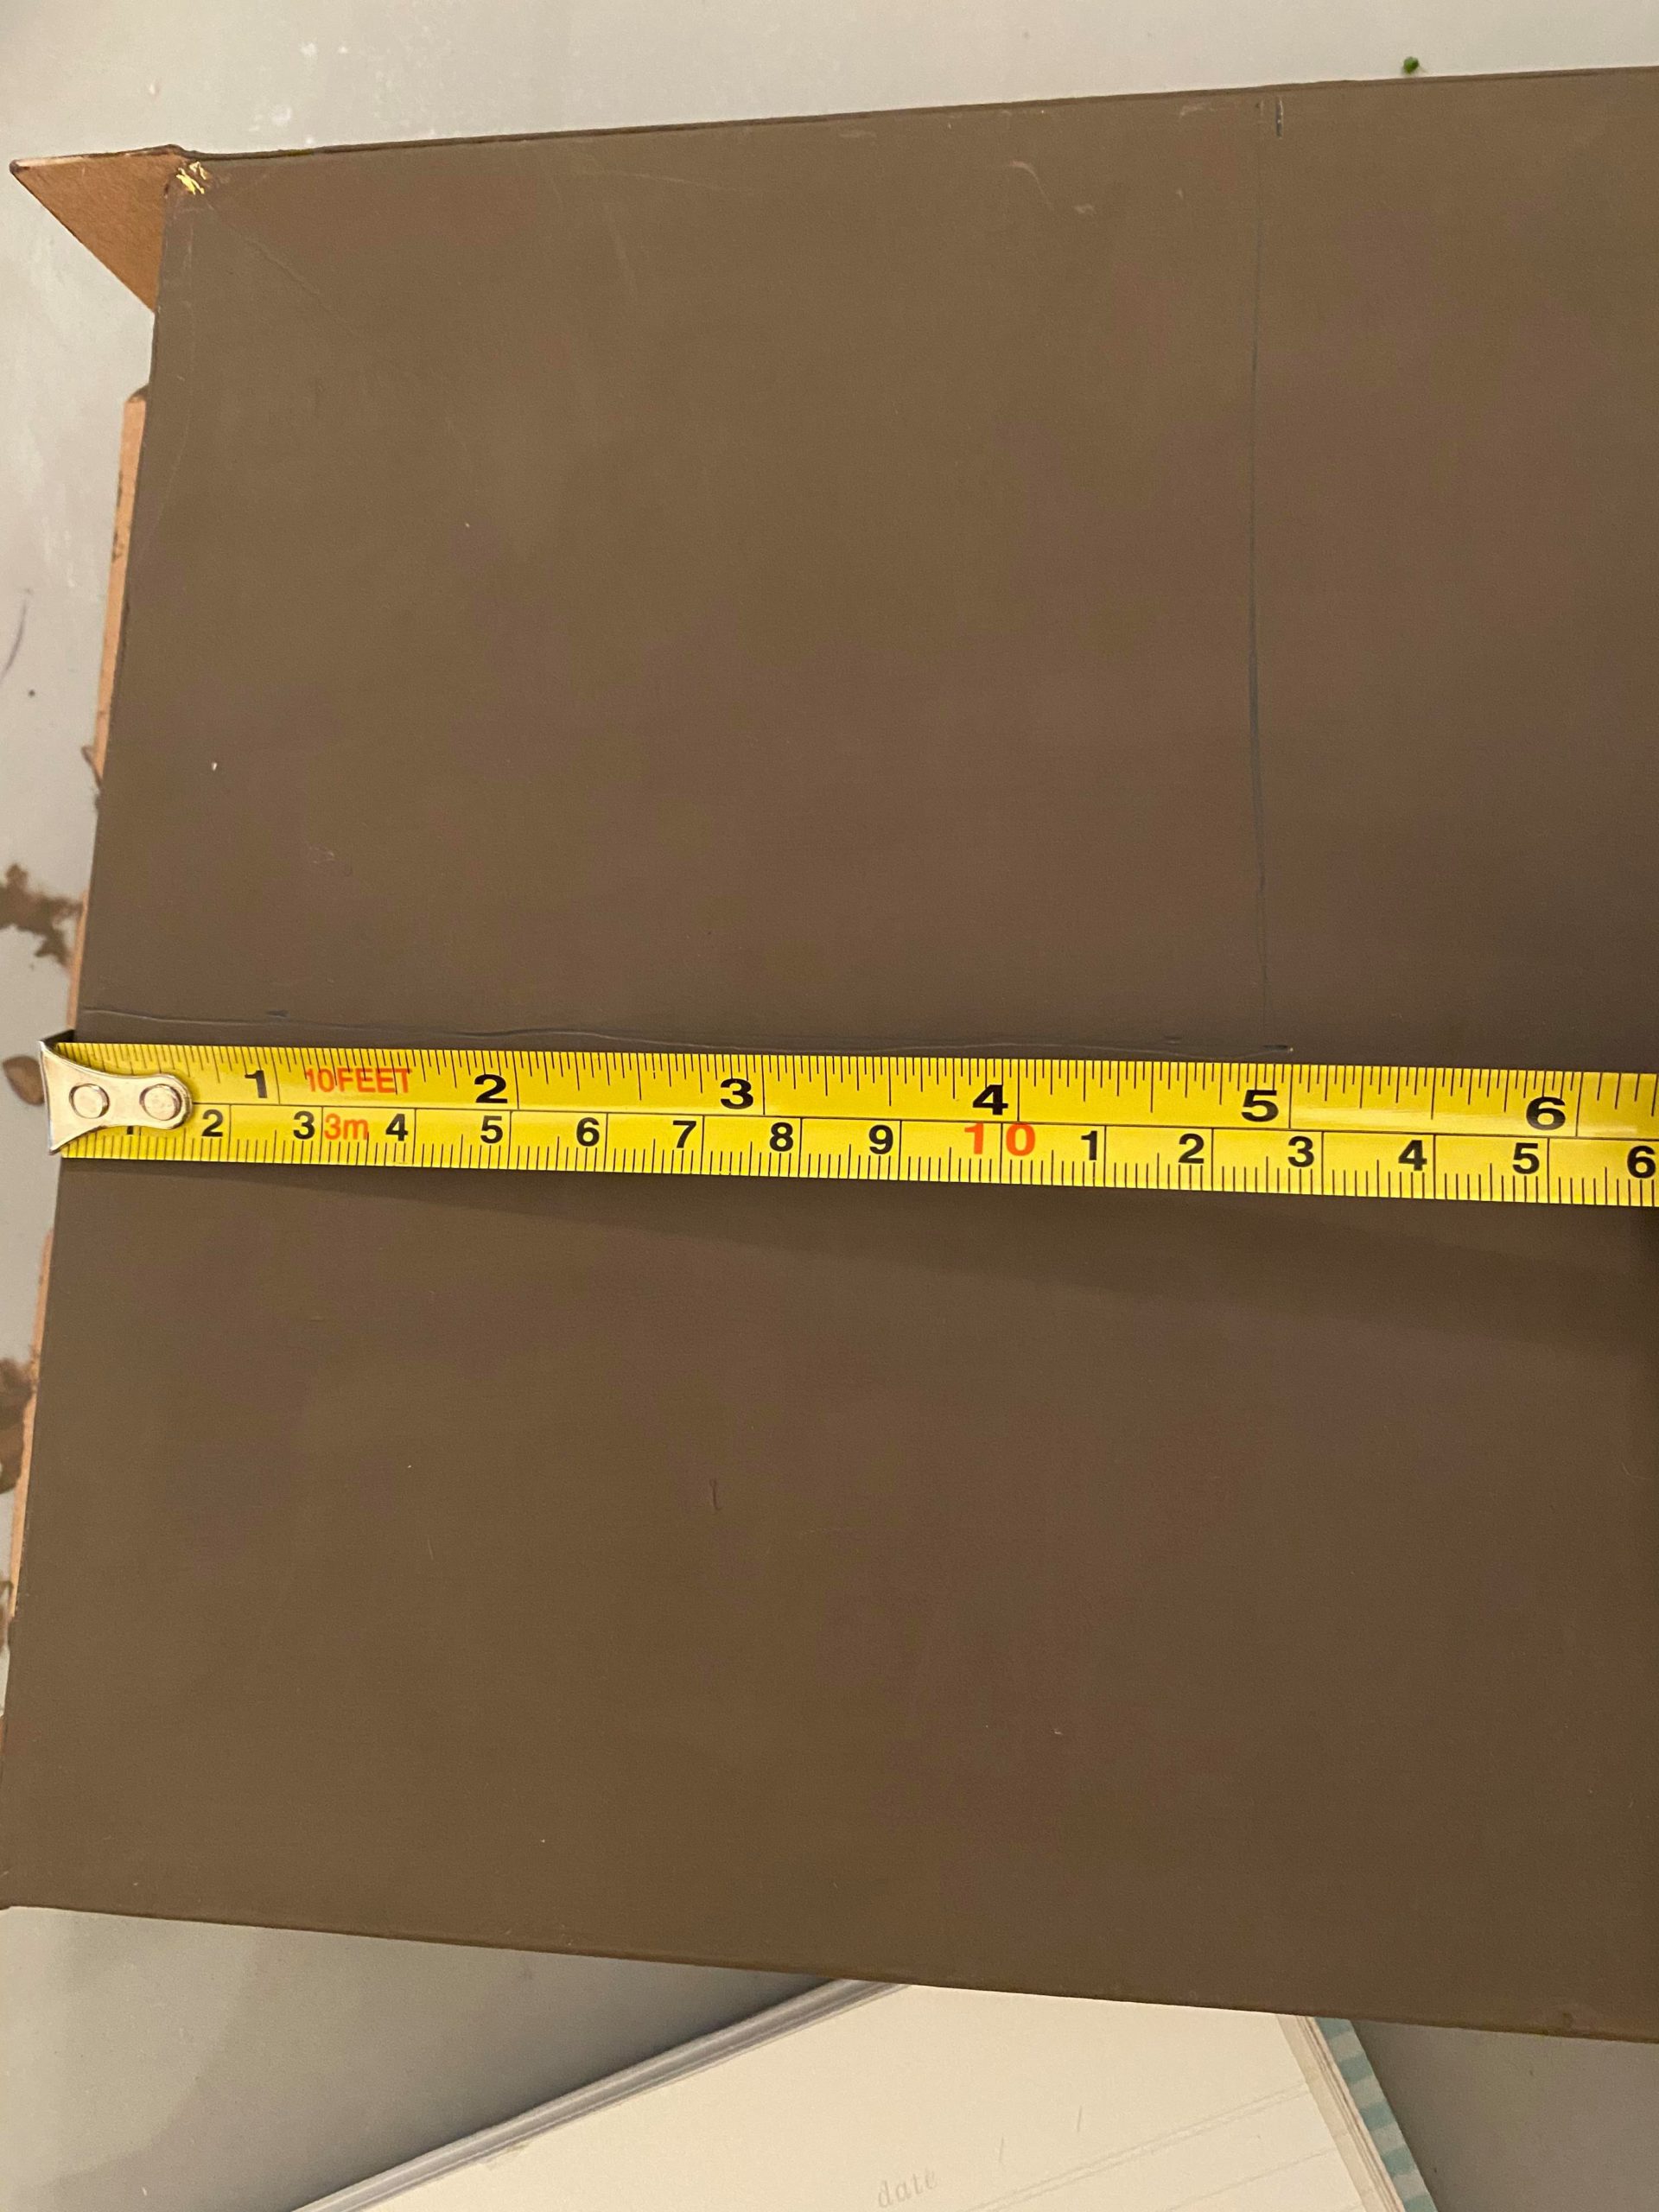
You will need to mark off the lines for the flag. This is a craft and I don’t like to make things complicated. I marked off a 4X5 section in the upper left corner for the star section.
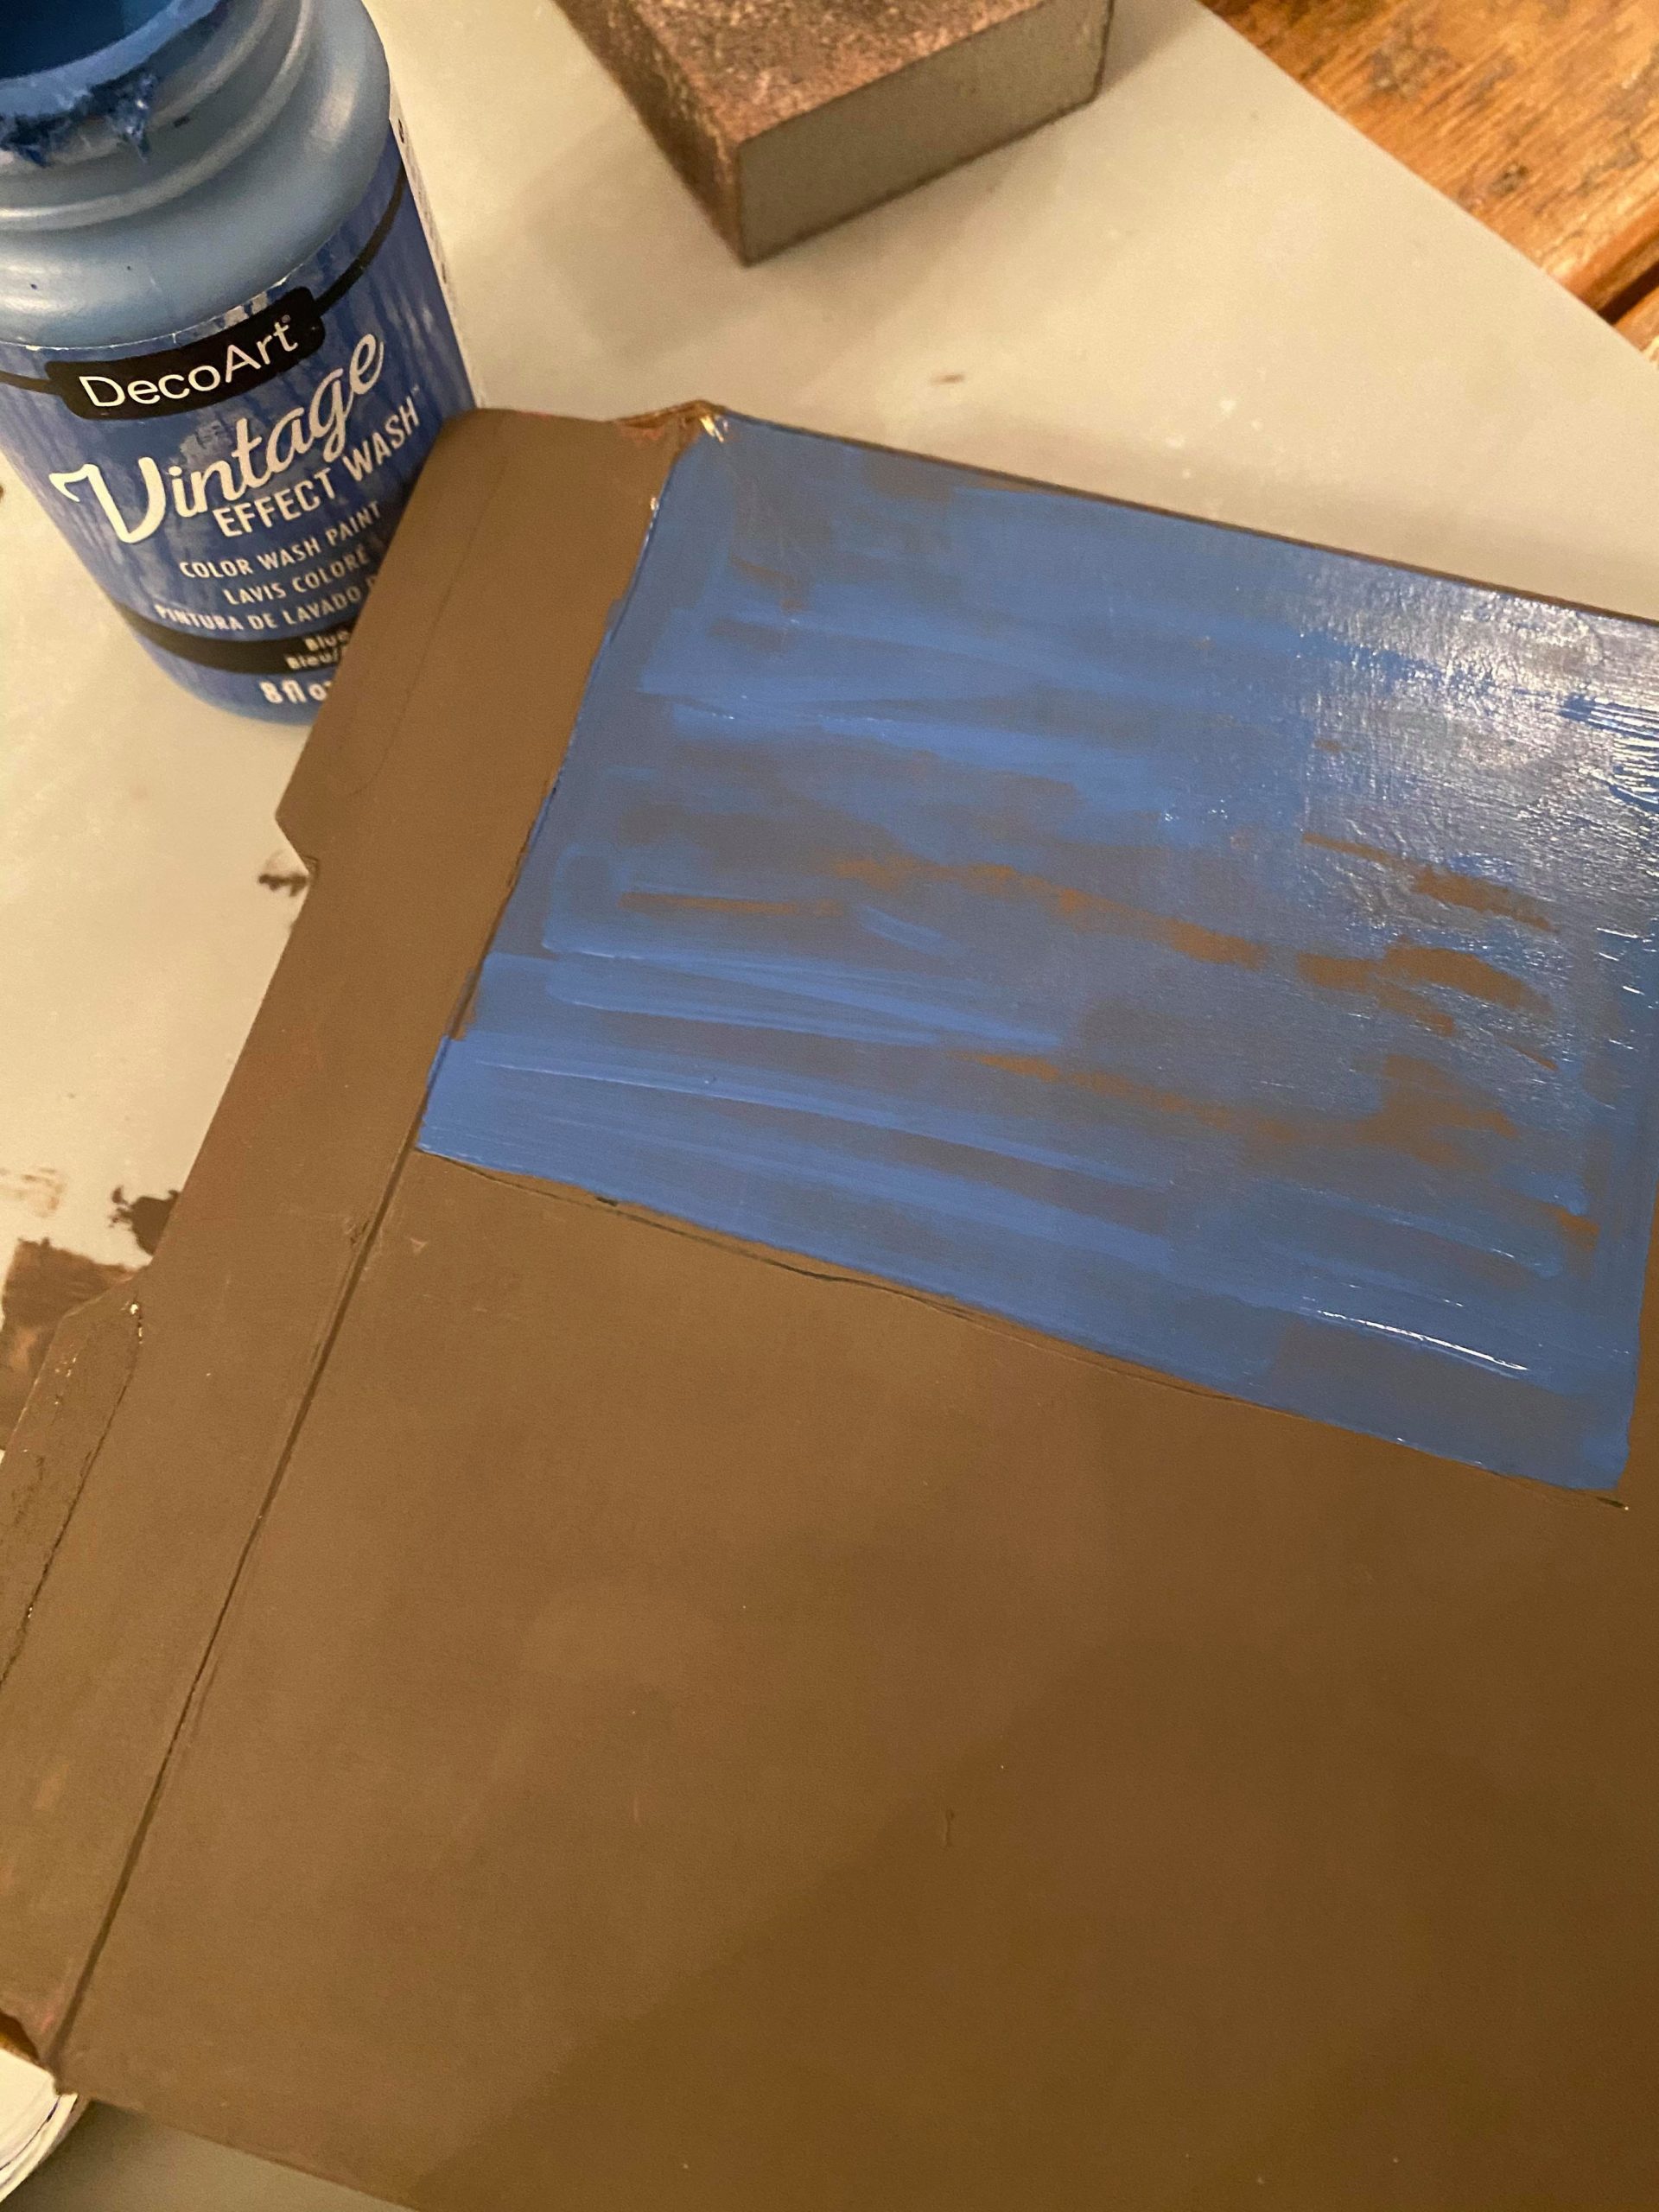
I then painted the blue Vintage Effect Wash onto that section. You can paint this flag with any type of paints you want. I am using the Vintage Effect Wash because it gives me more of a transparent color. You can wipe some of it off to show more of the brown underneath. I really want this flag to appear as a primitive wooden flag.
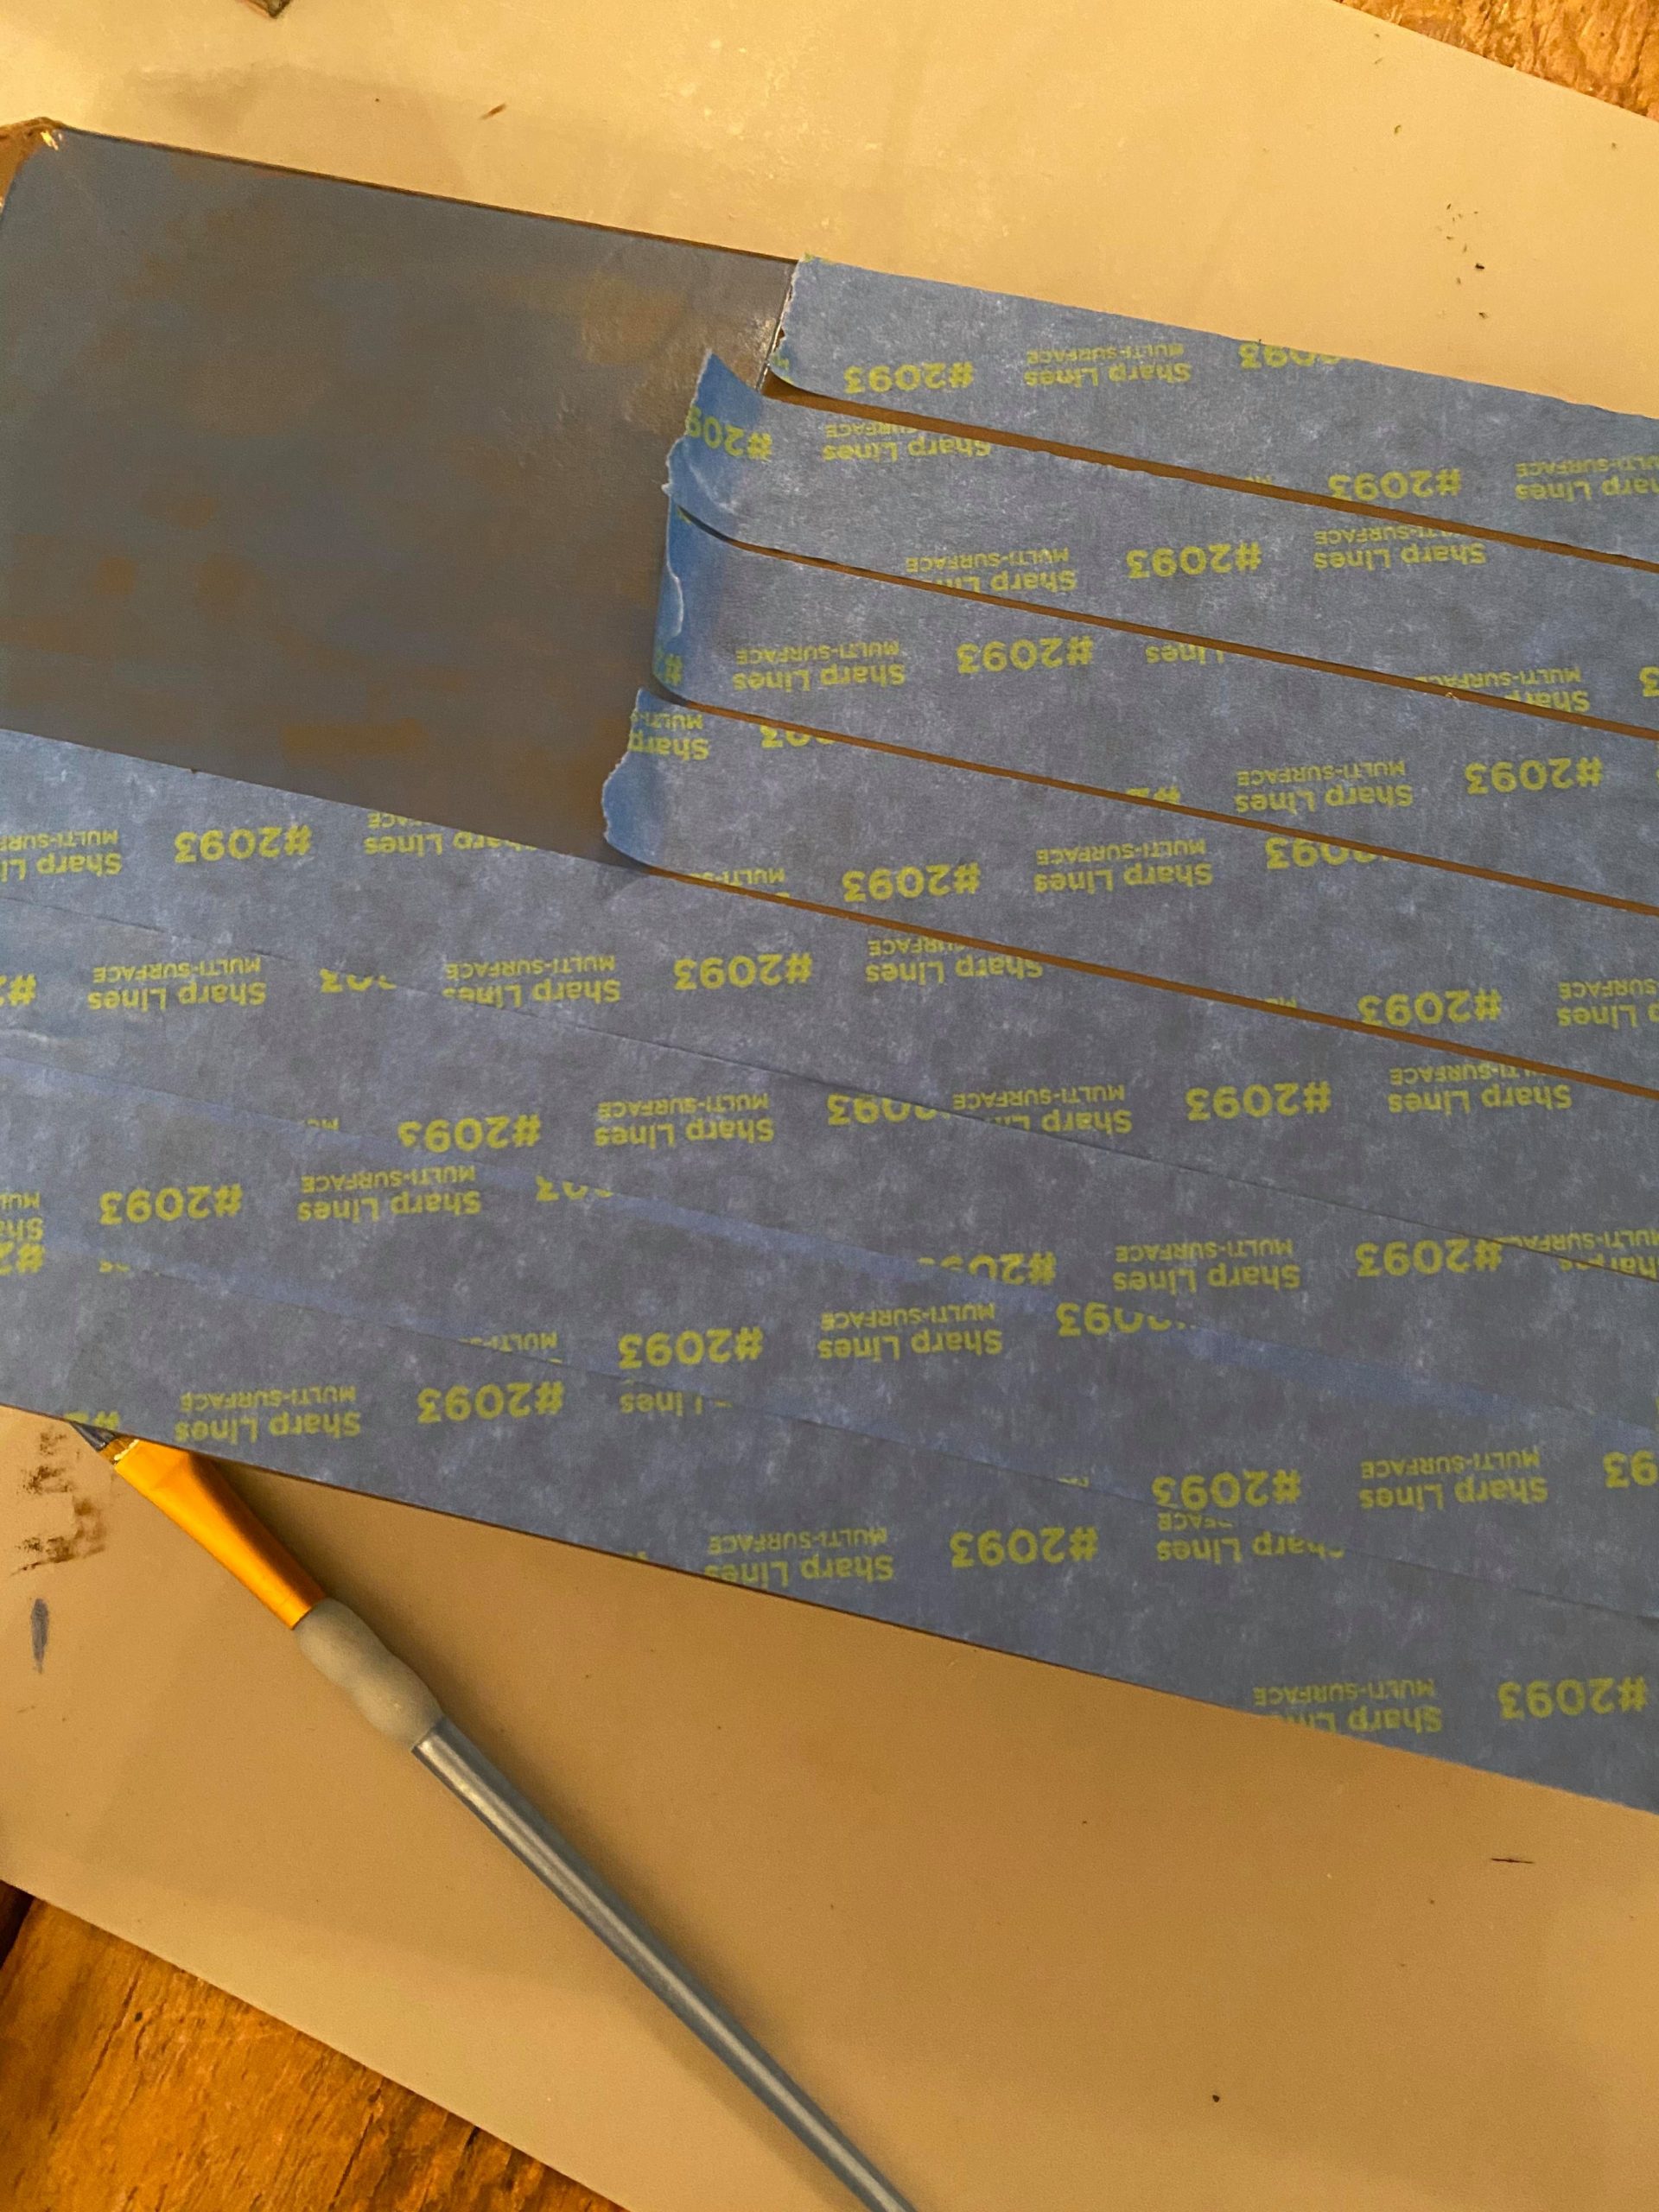
I wanted an easy way to paint my red and white stripes. You can place strips of painters tape across the box. I am using an inch wide painters tape. These stripes will not be perfect but I do not want this flag to appear perfect.
Once I had all the painters tape in place I then pulled every other strip back off. This now allows me to easily paint on my red stripes.

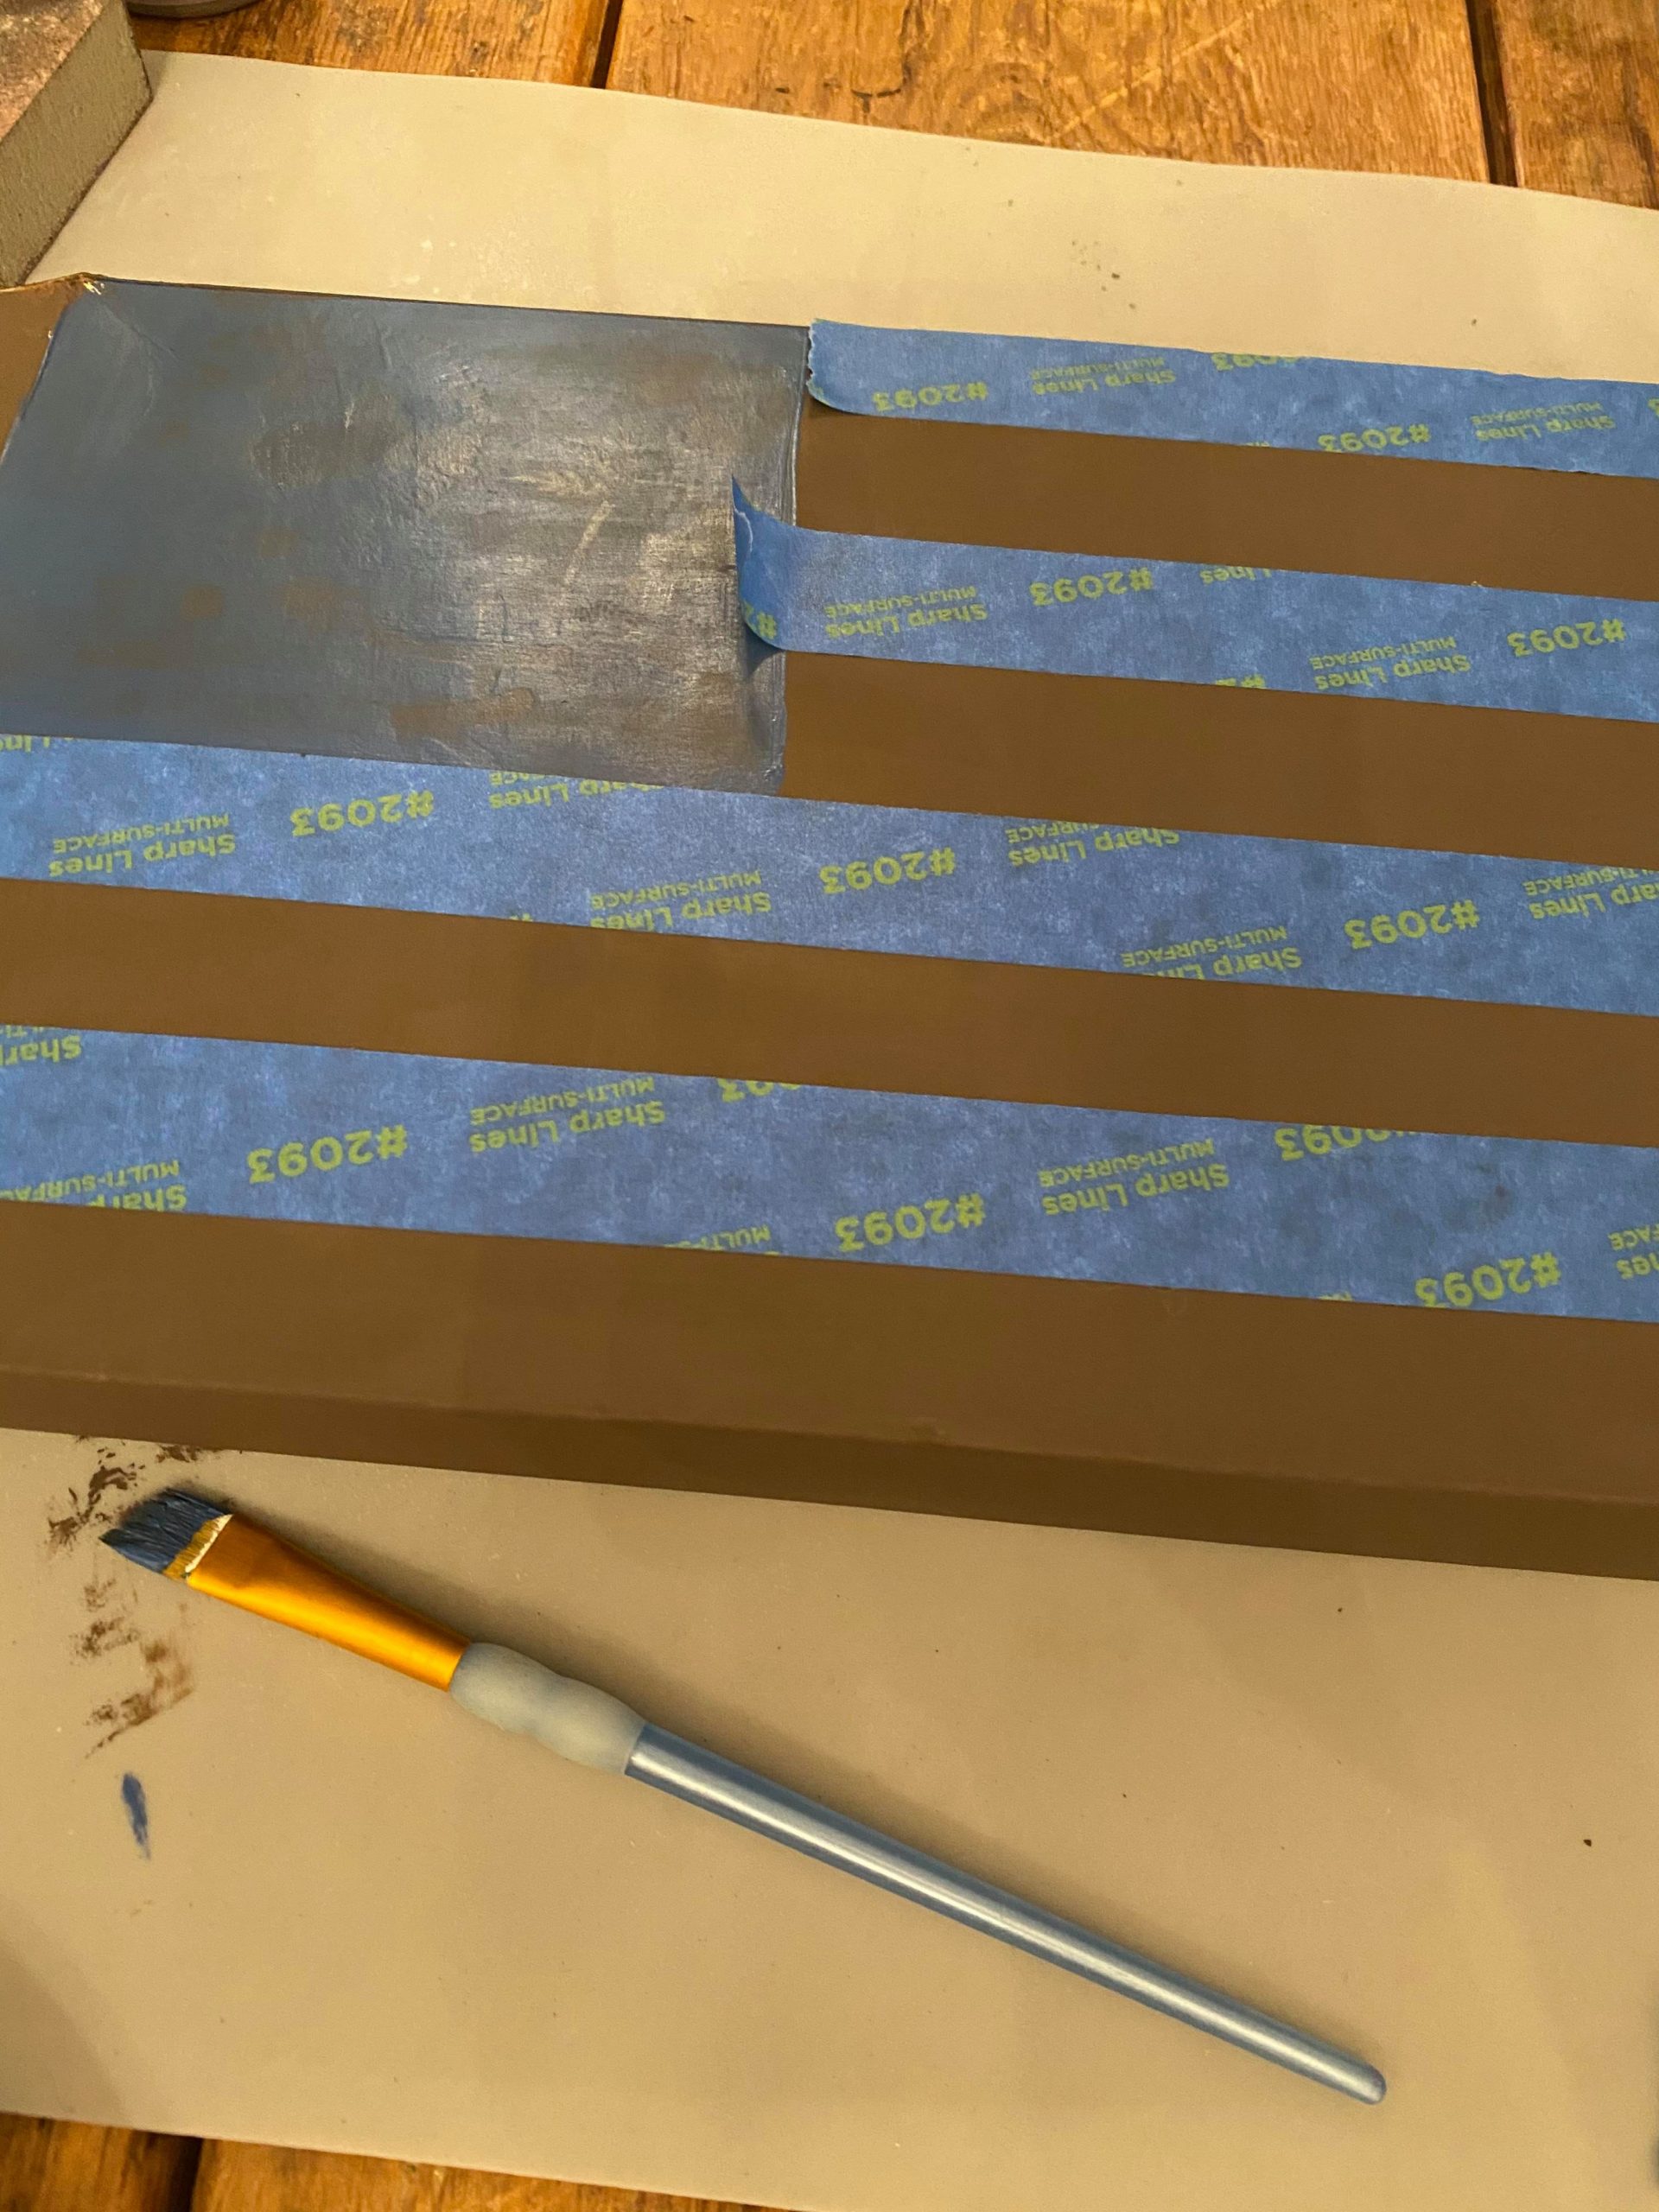
I am using the berry color in the Vintage Effect wash.
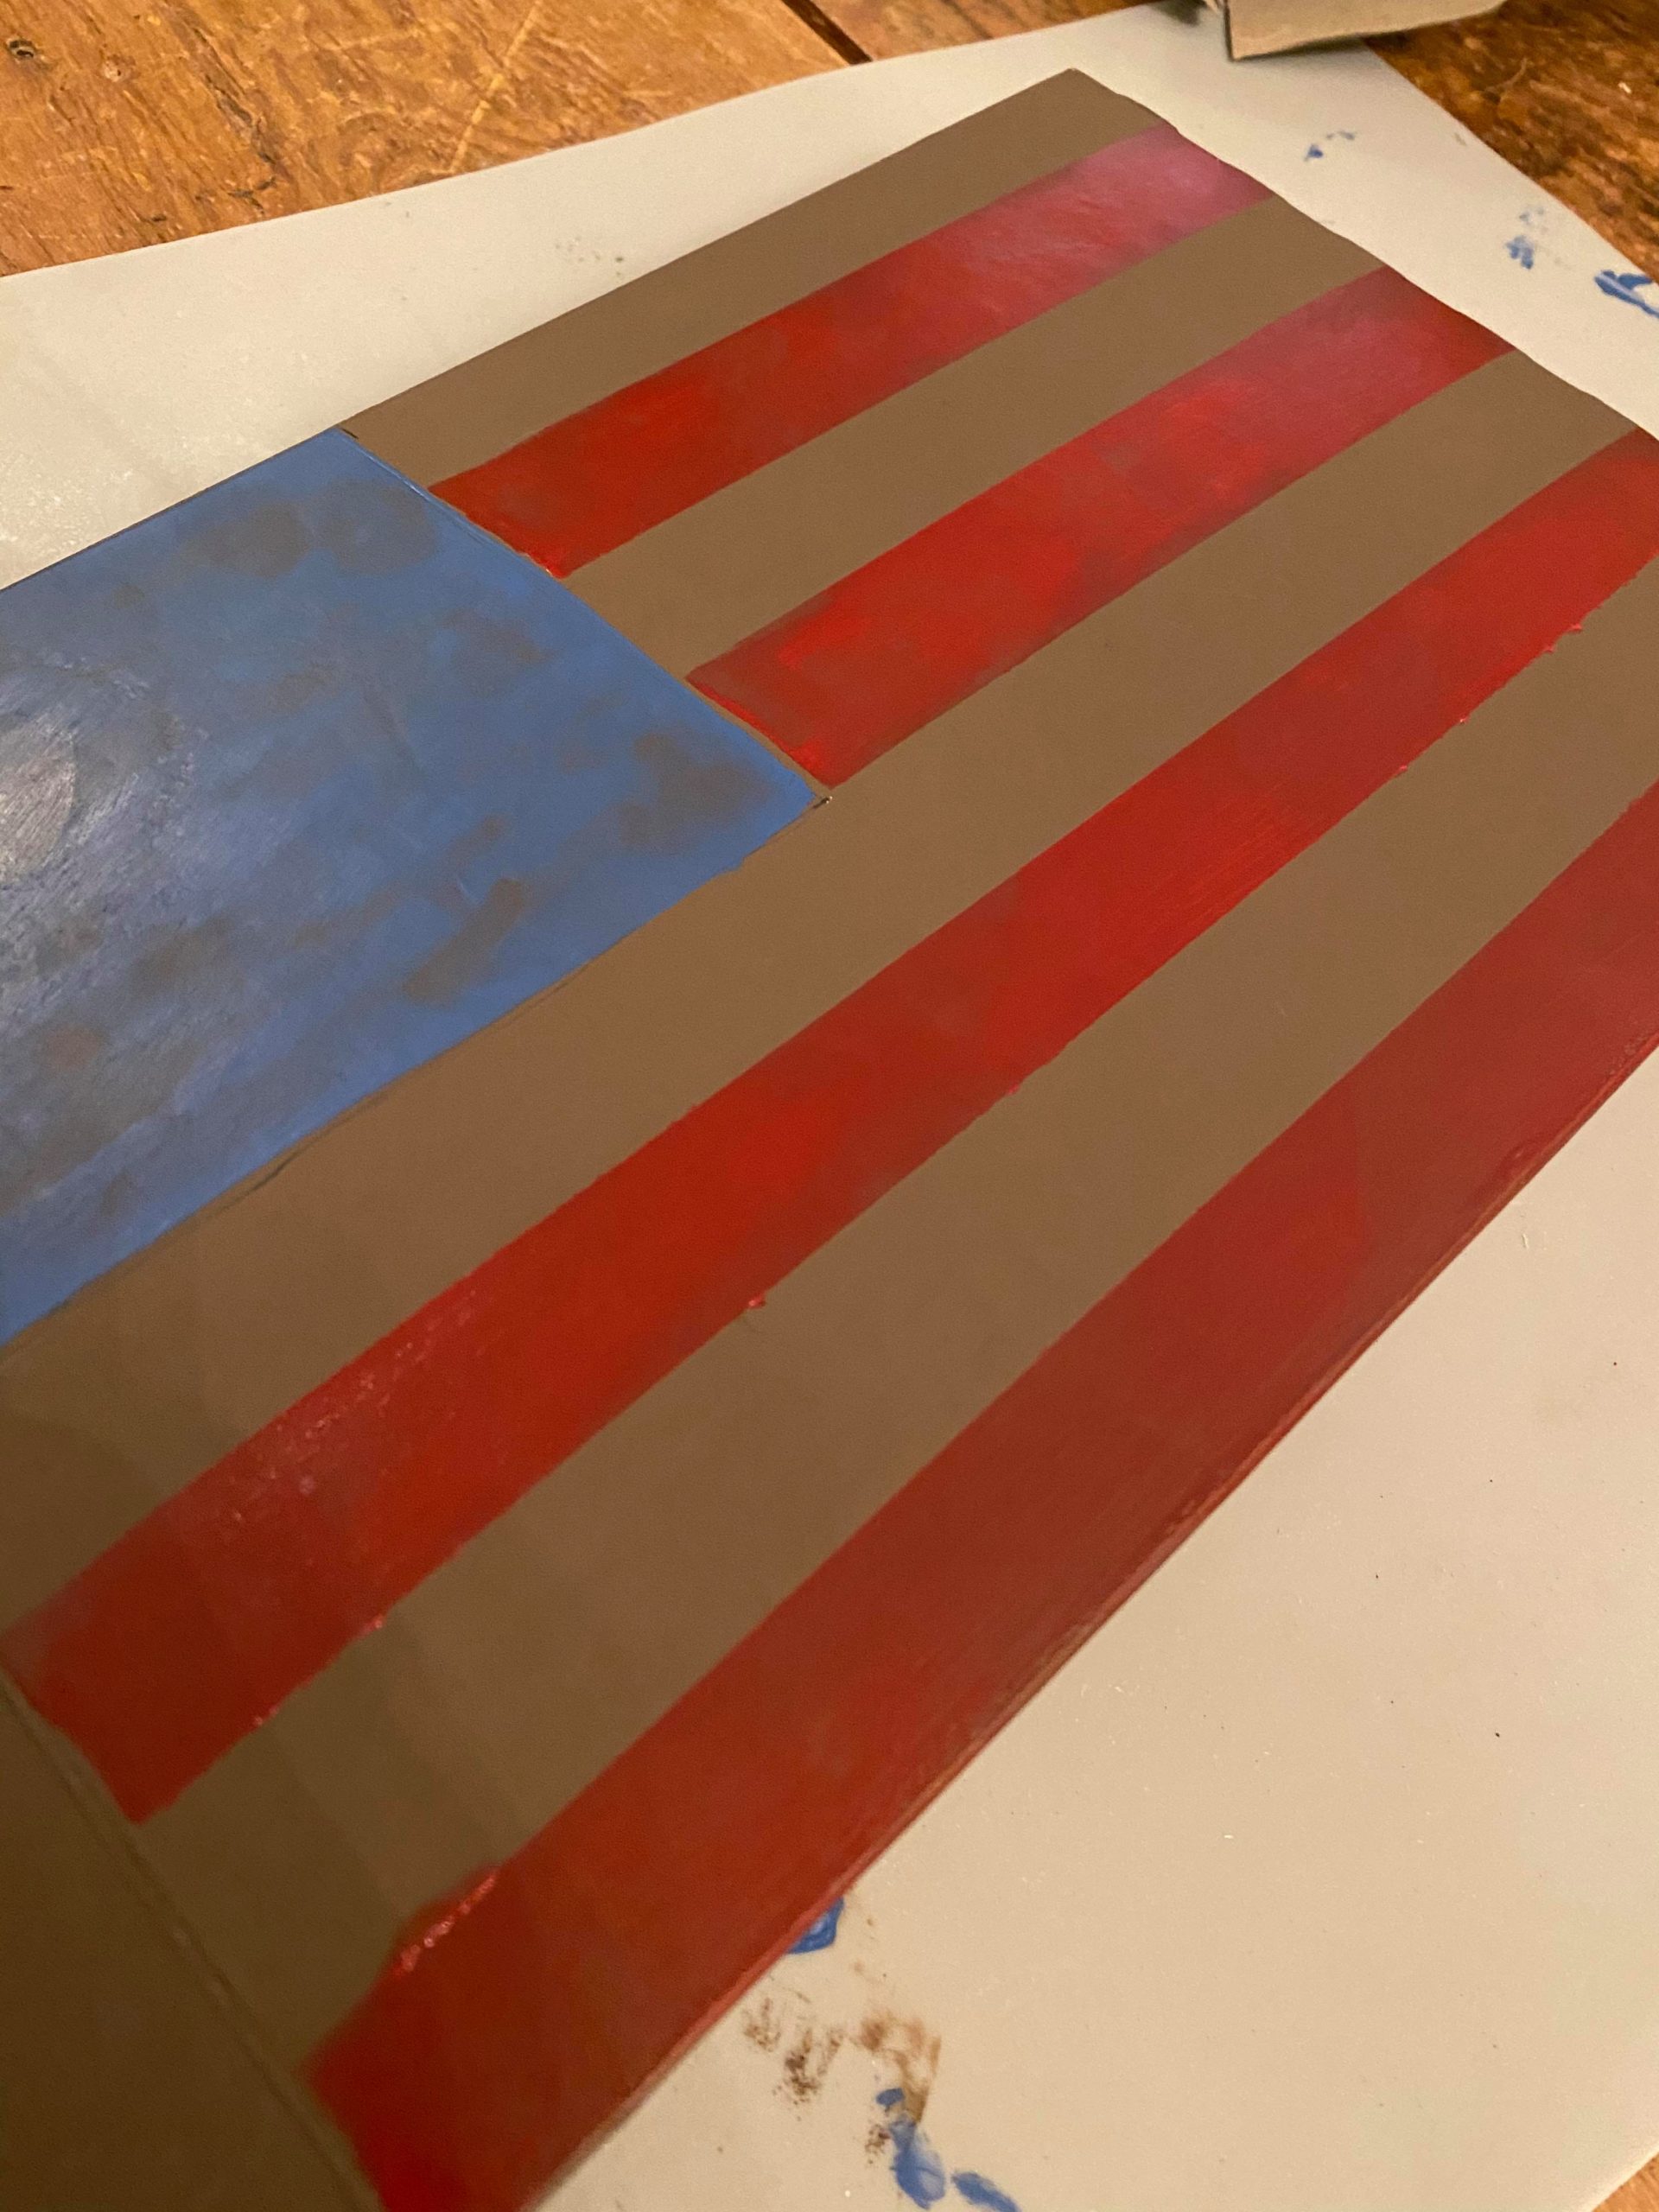
Once I painted all my red stripes I then pulled of the remaining strips of the painters tape.
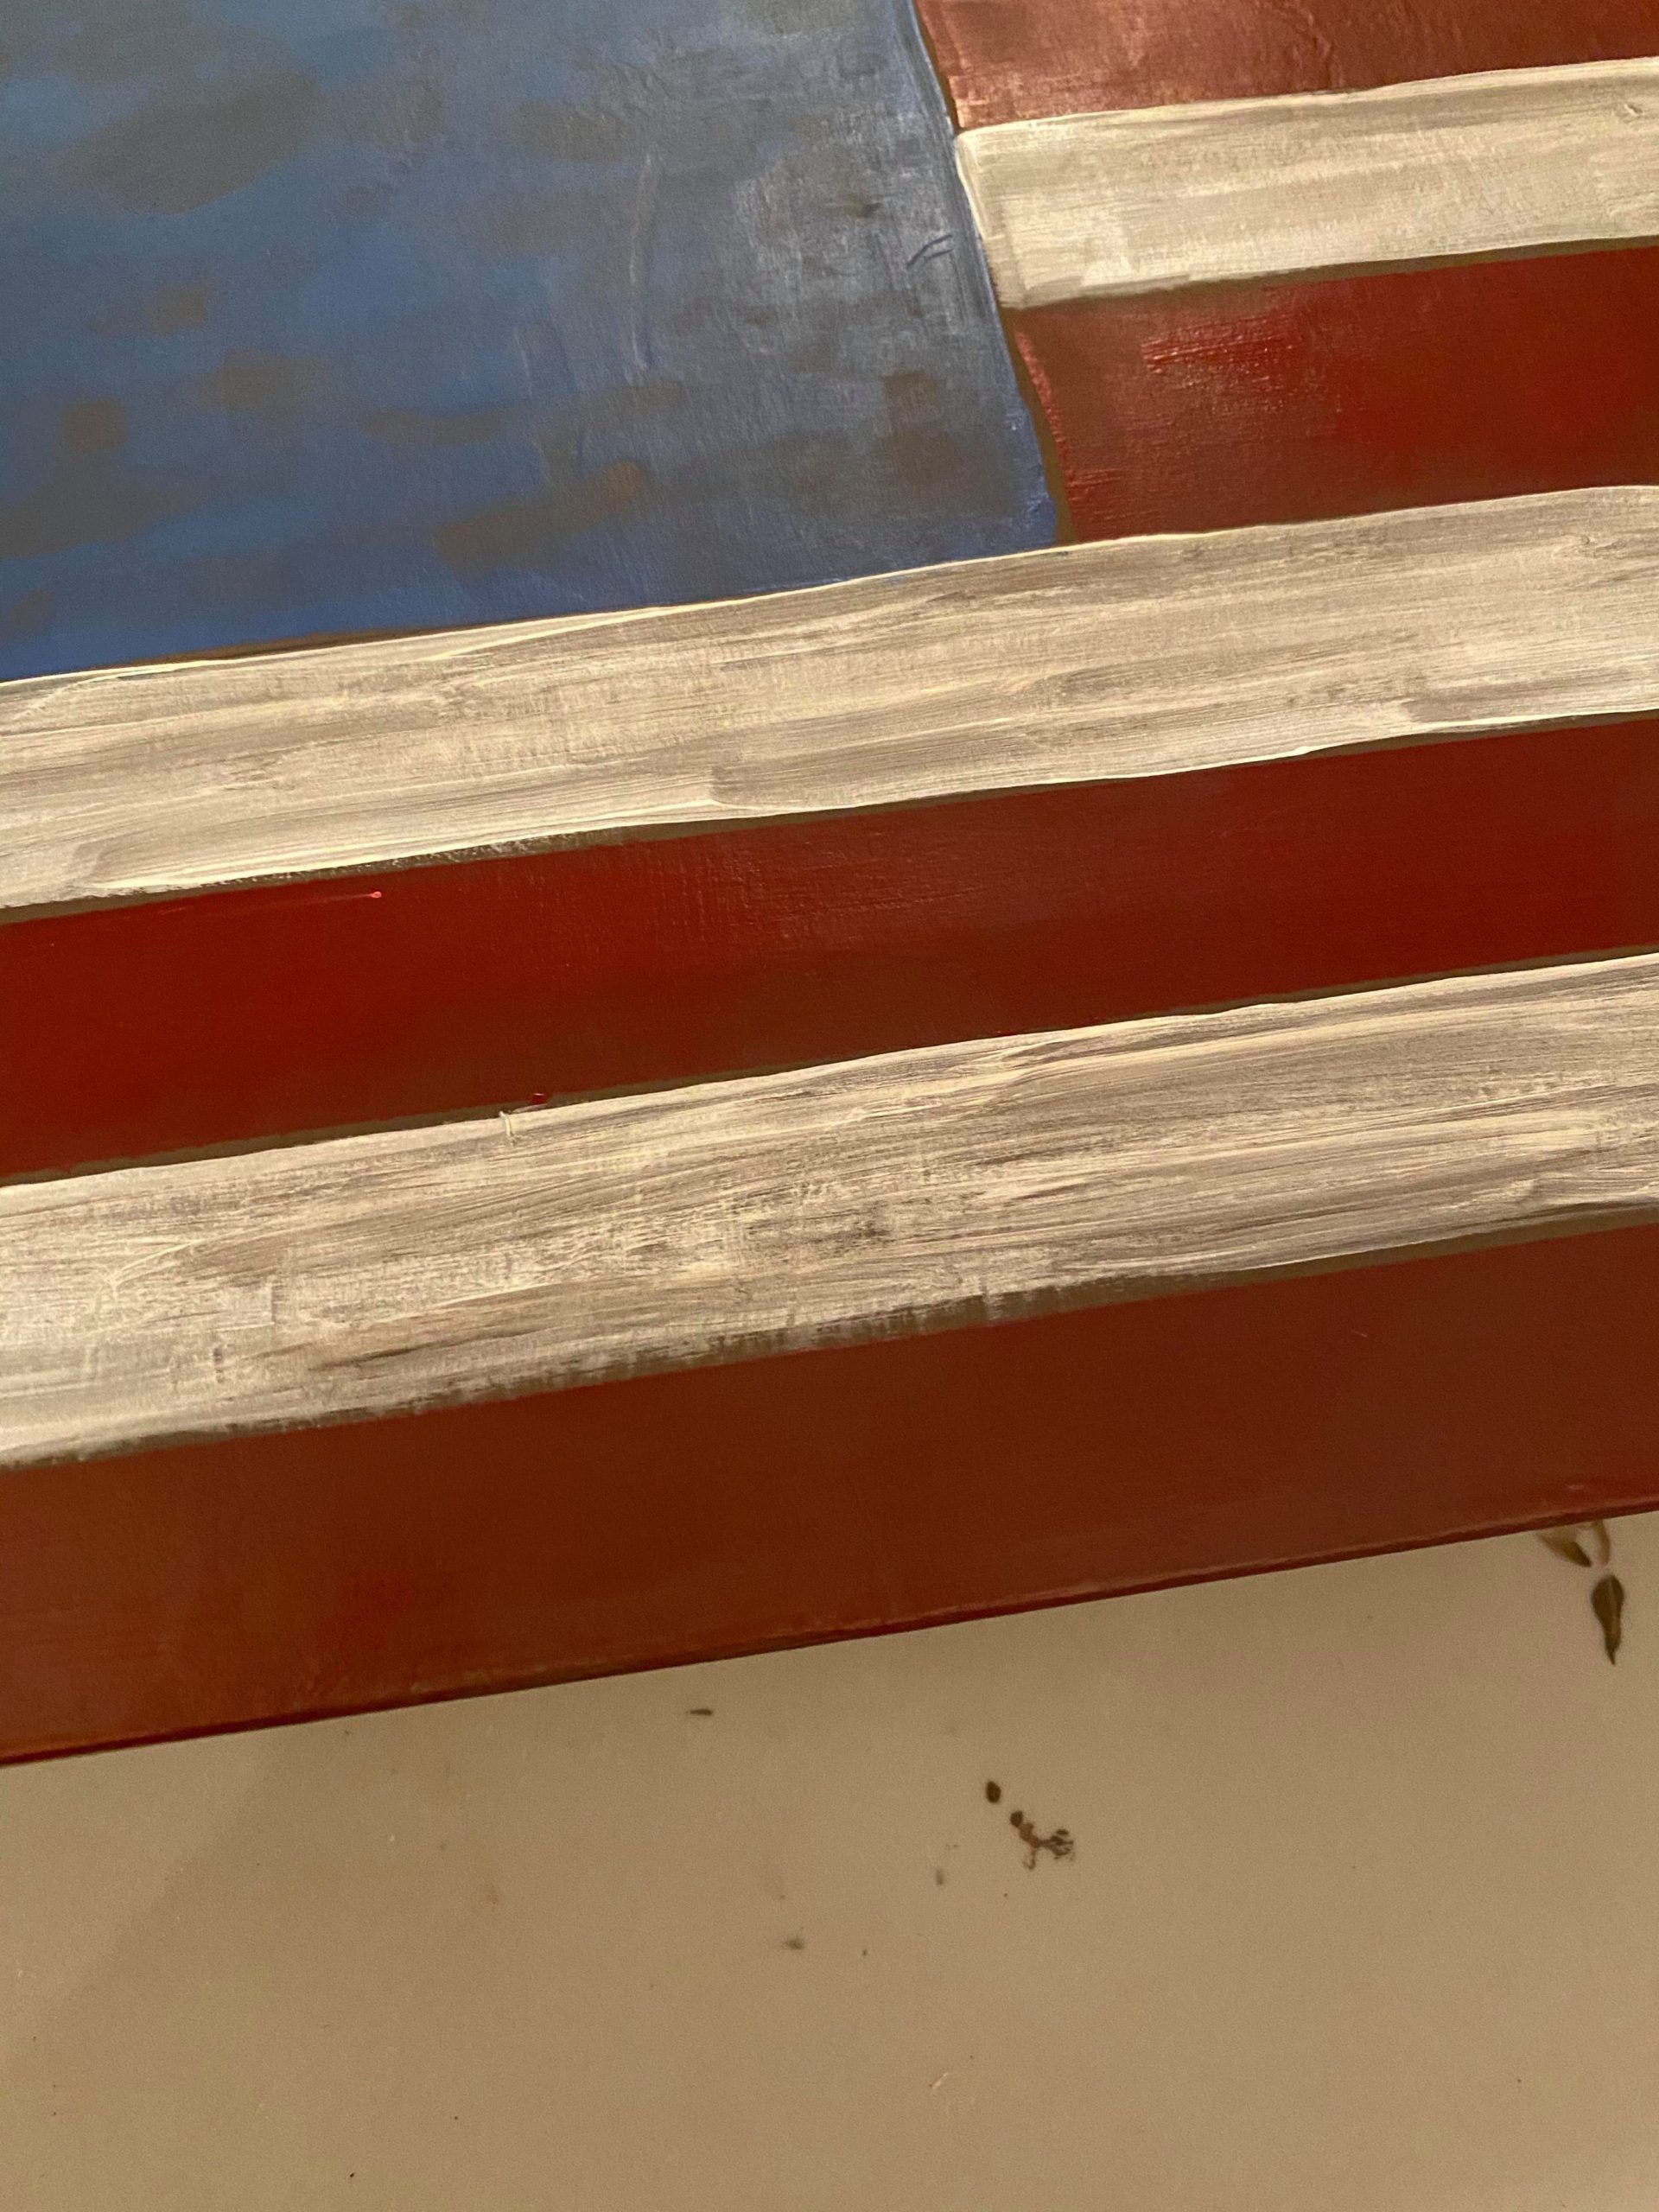
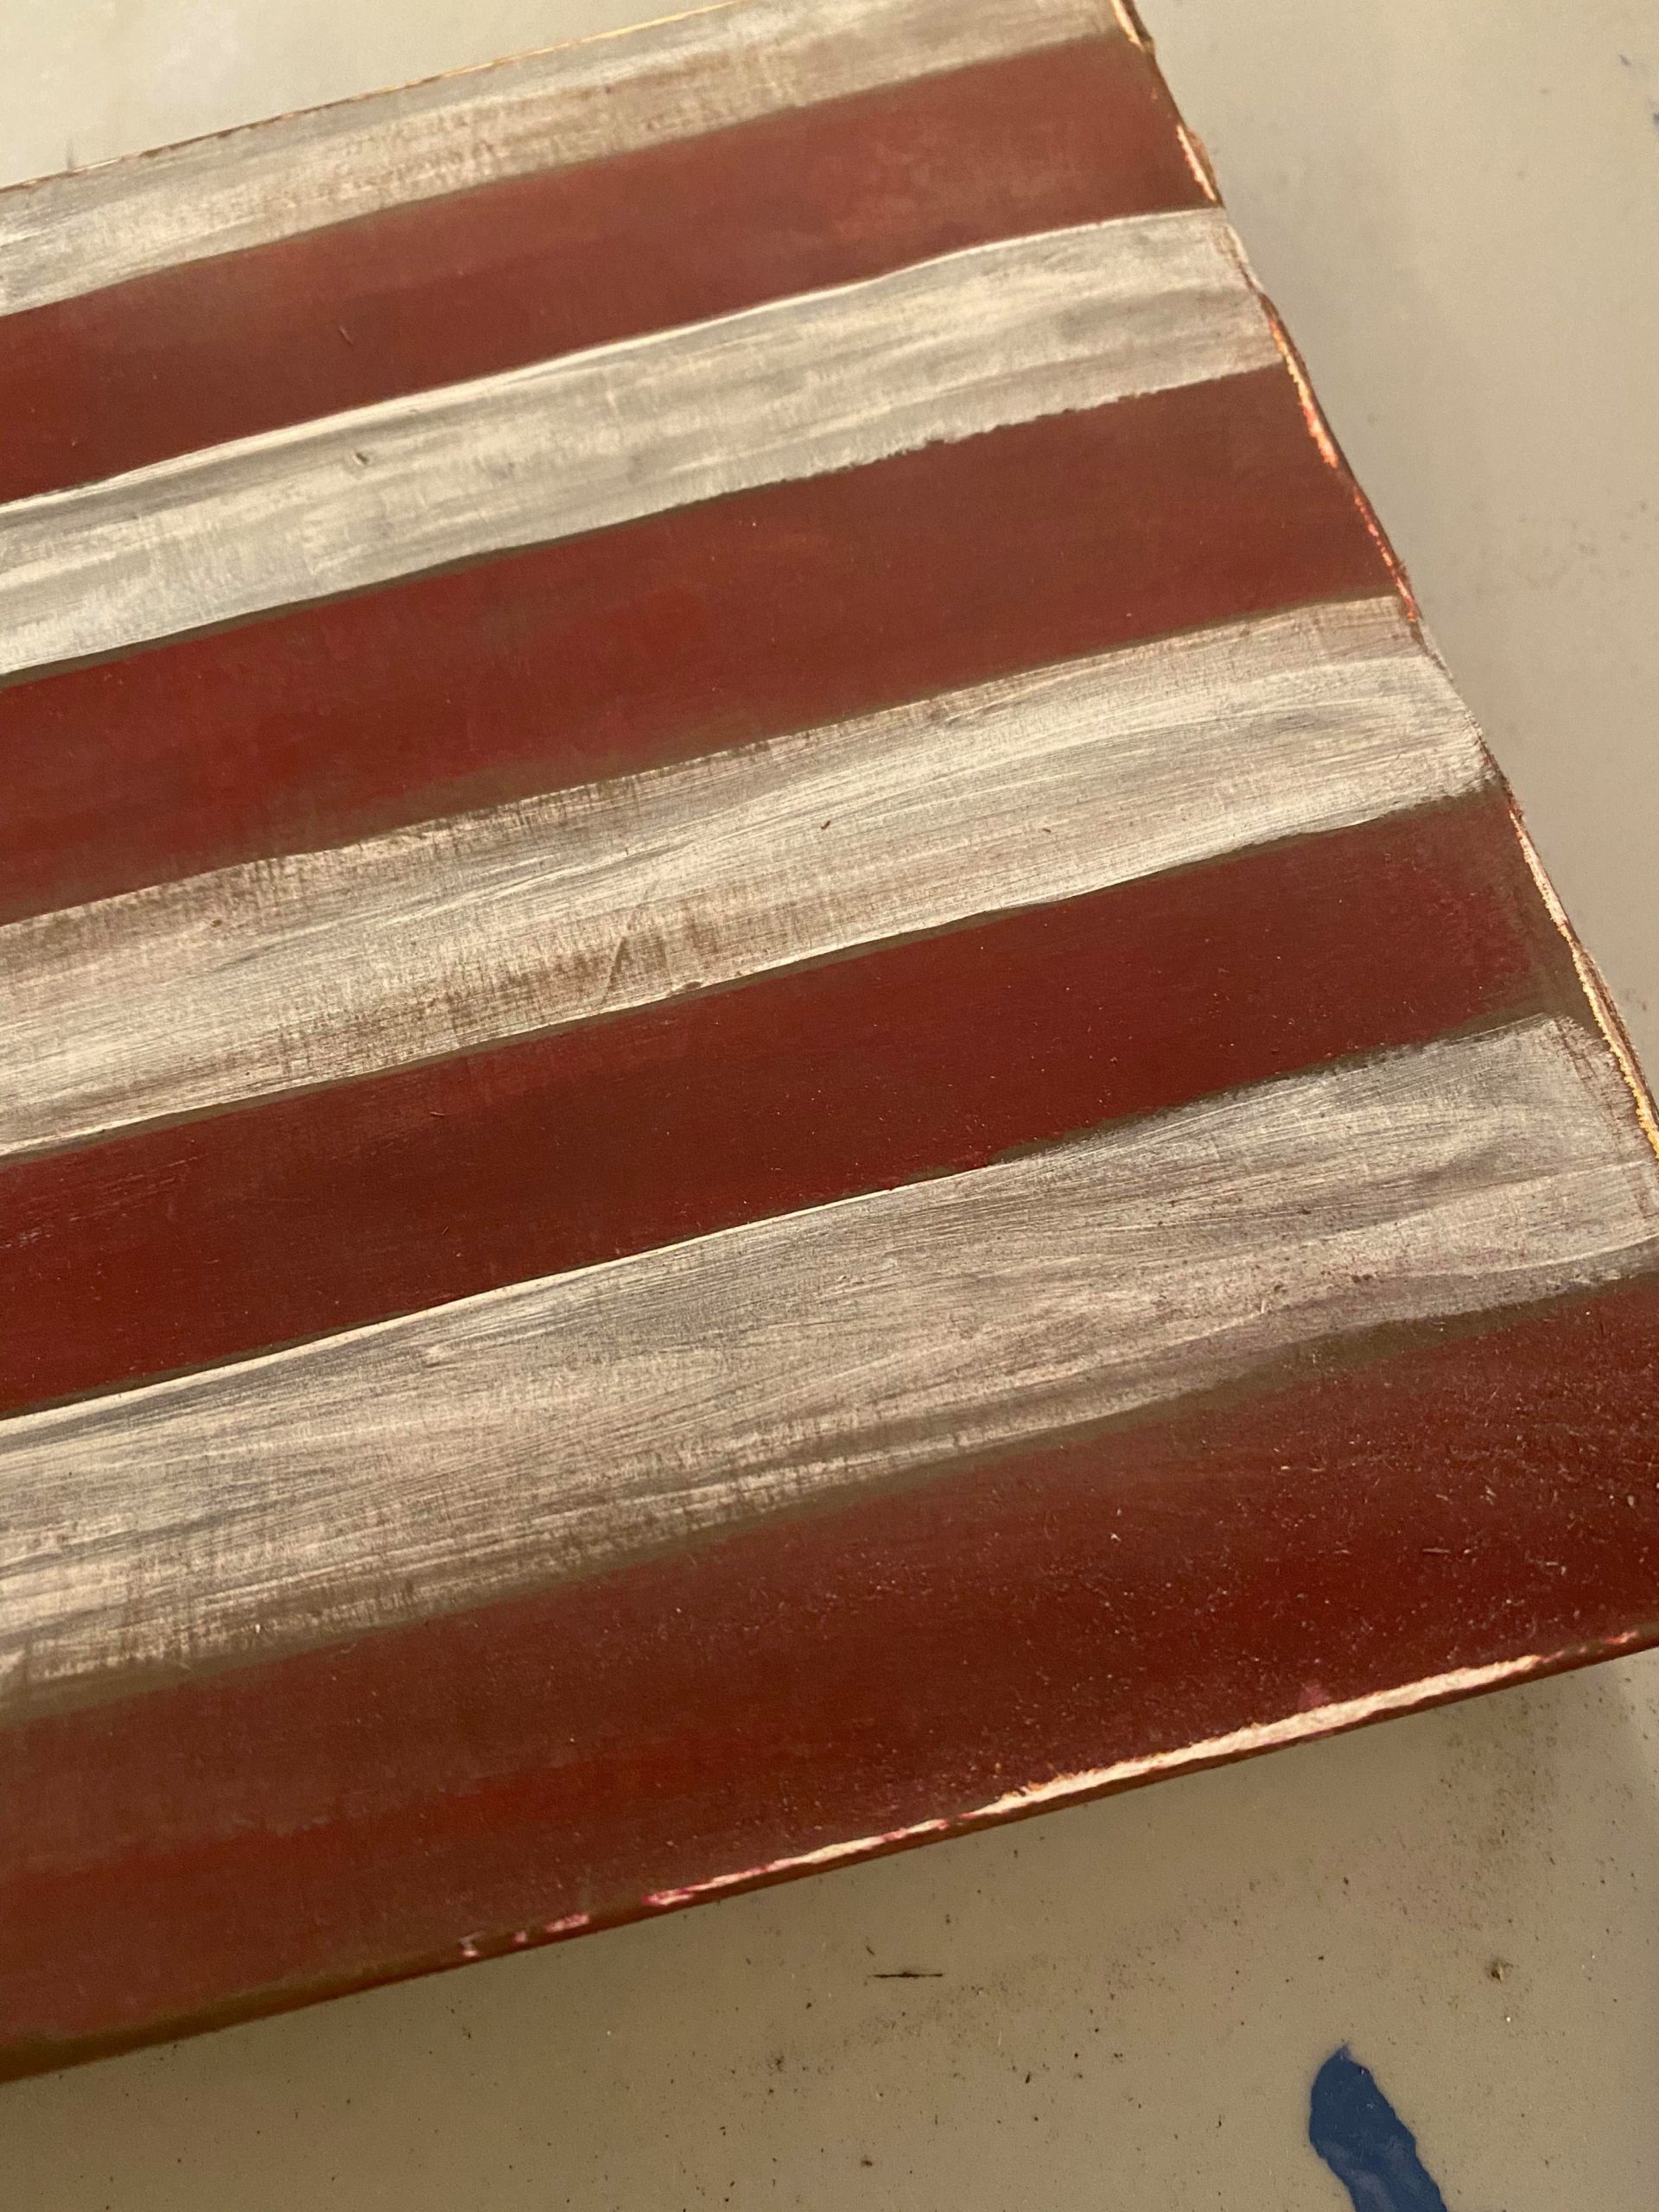
I then filled in these areas with the white Vintage Effect Wash.
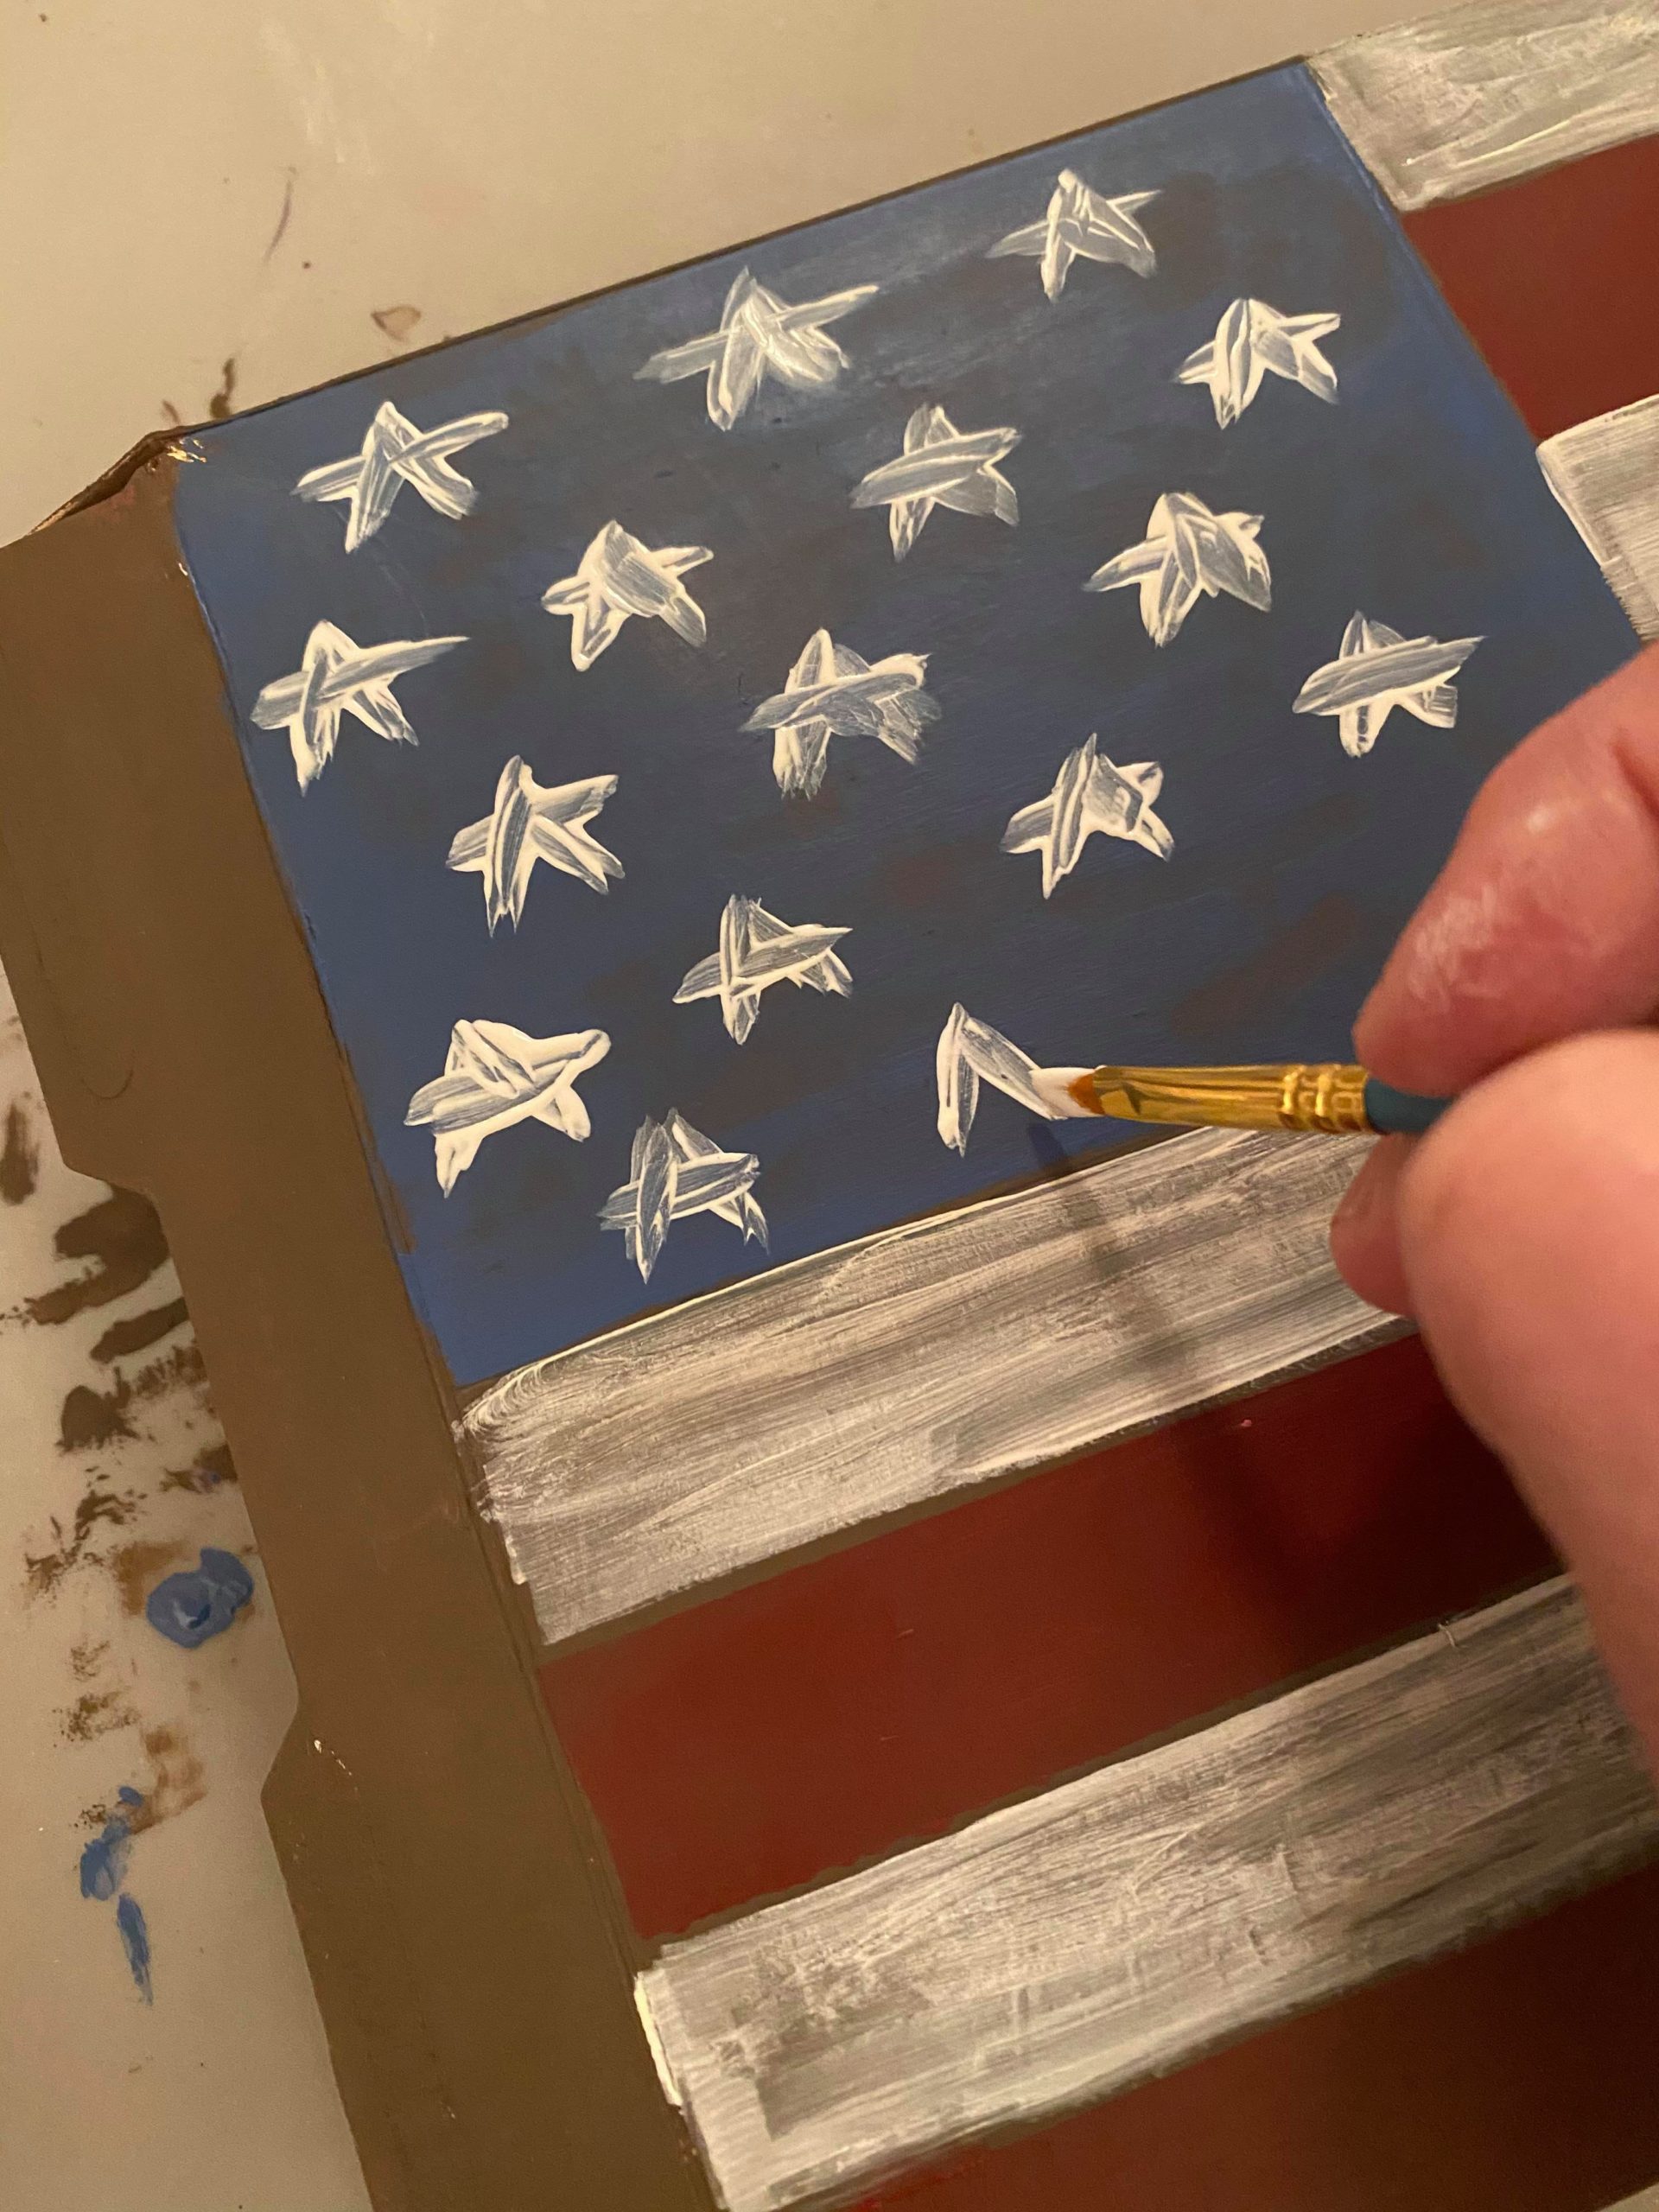
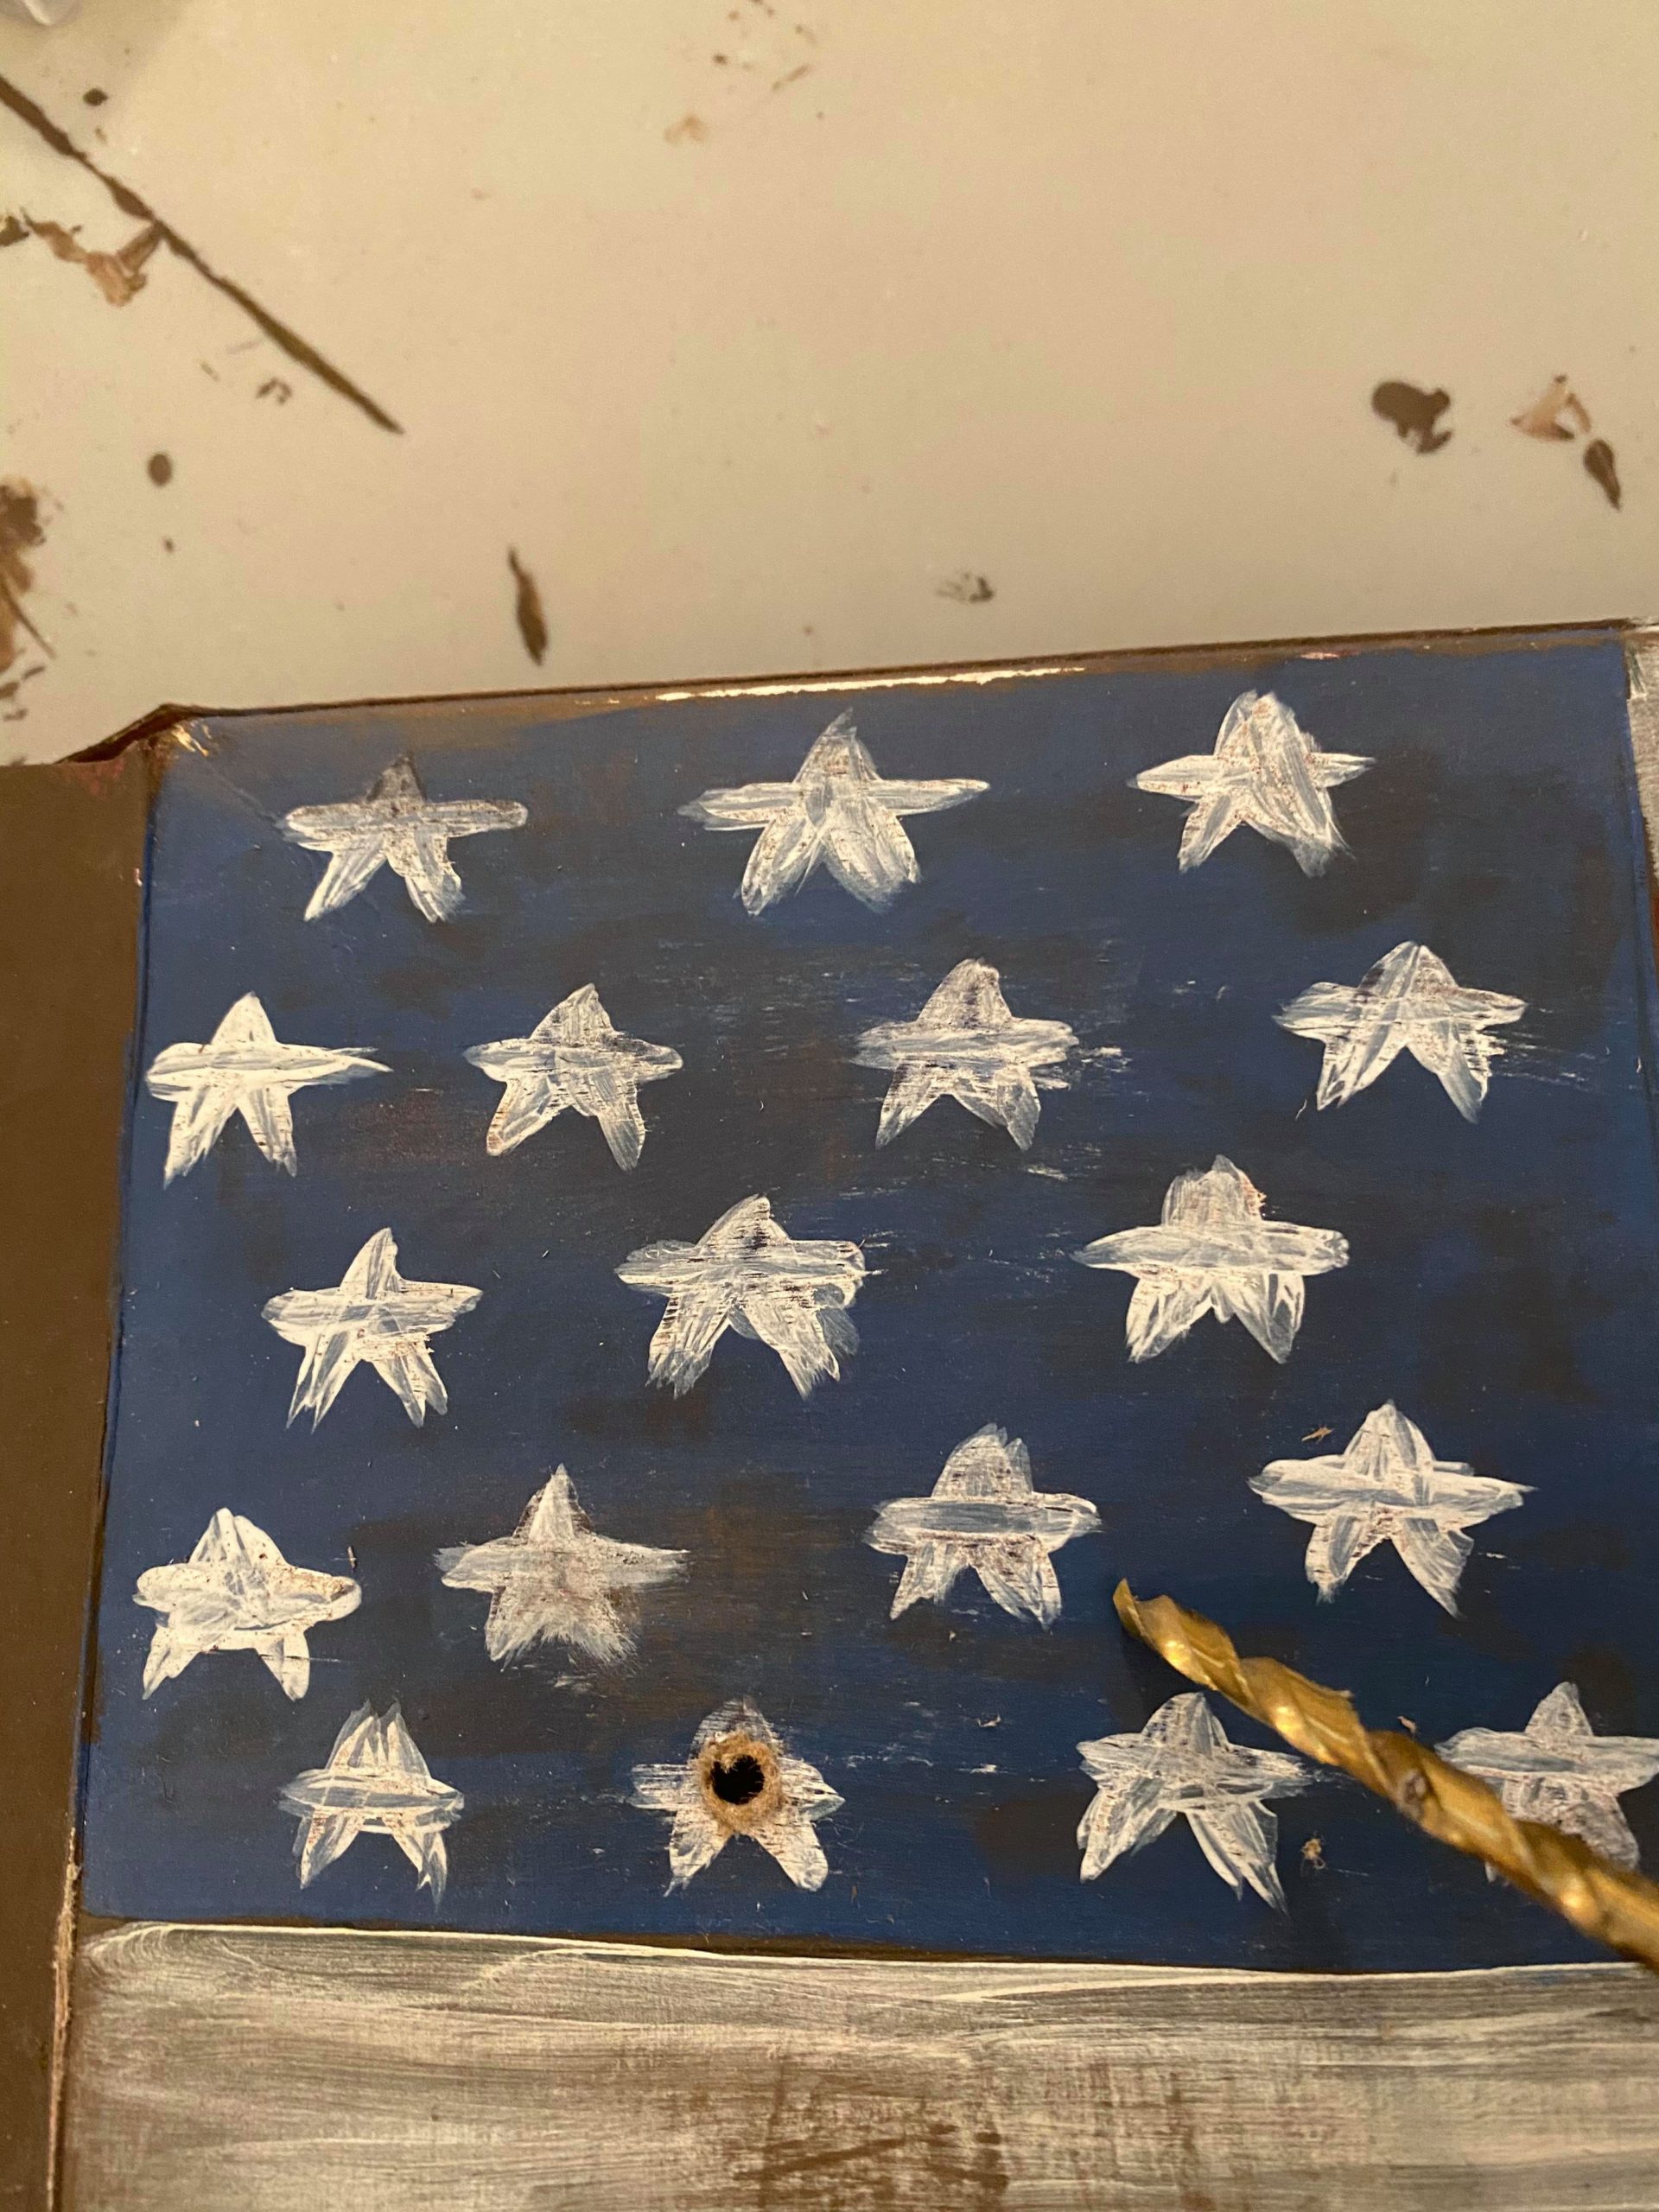
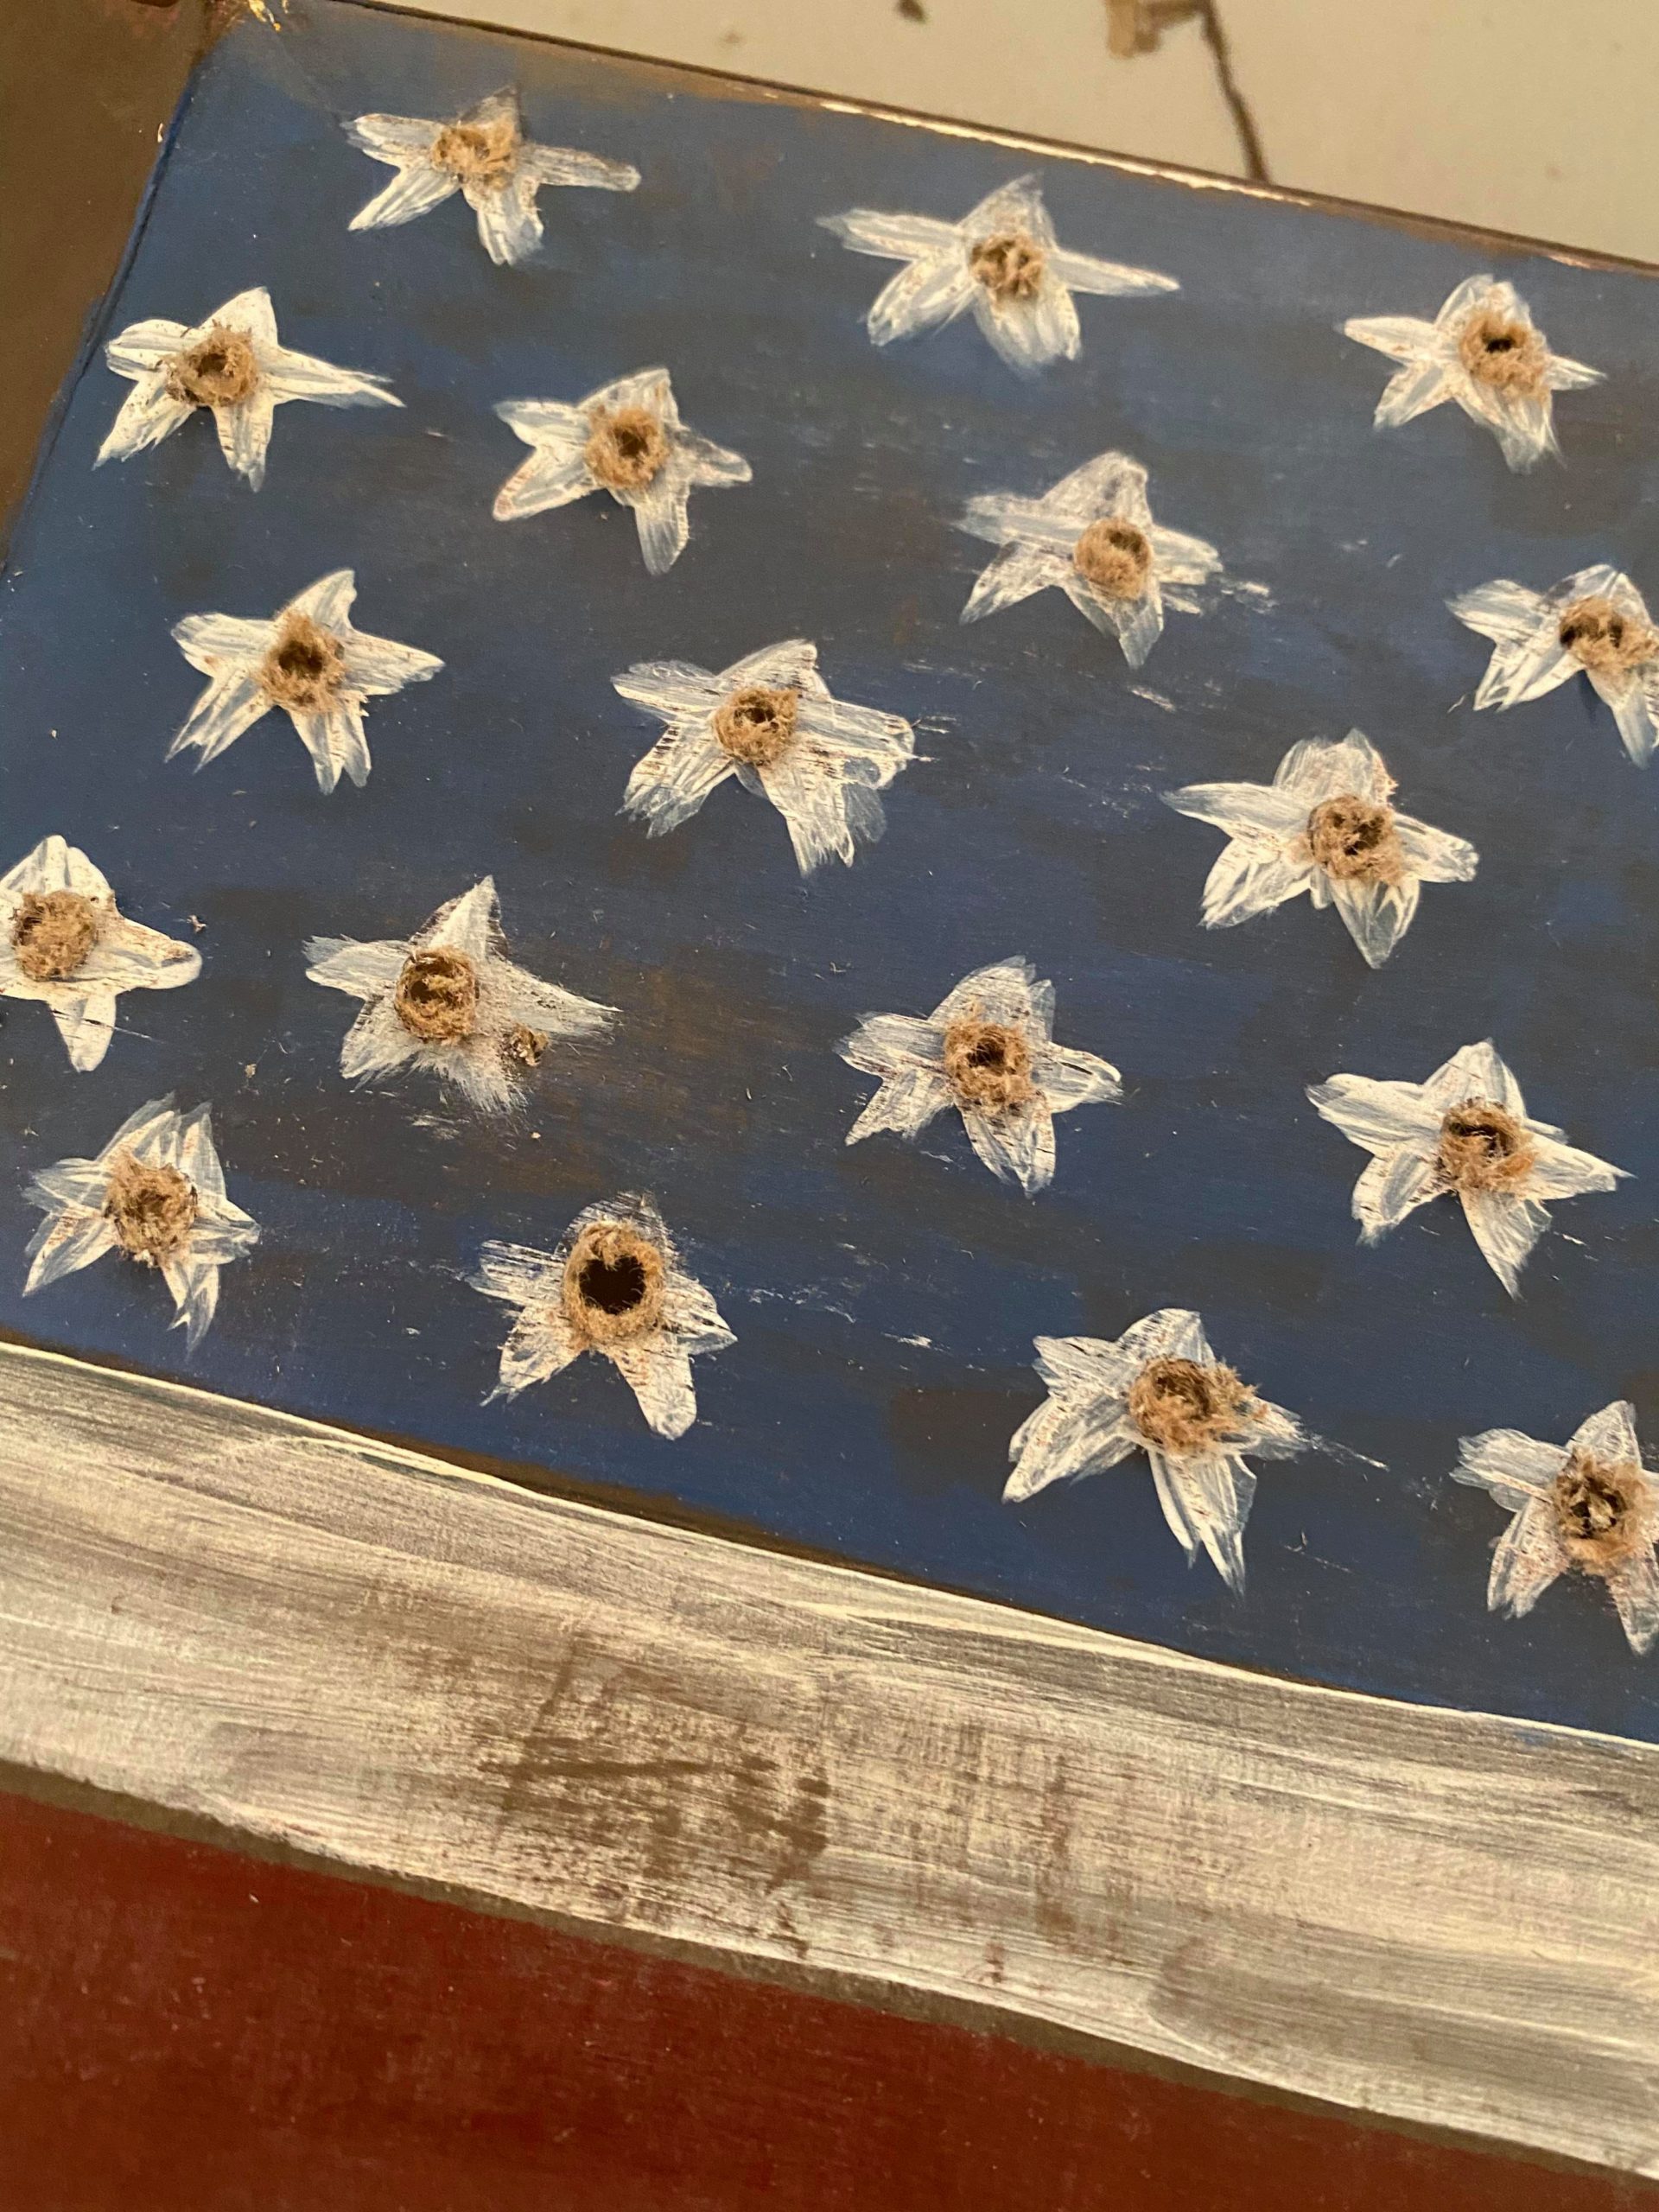
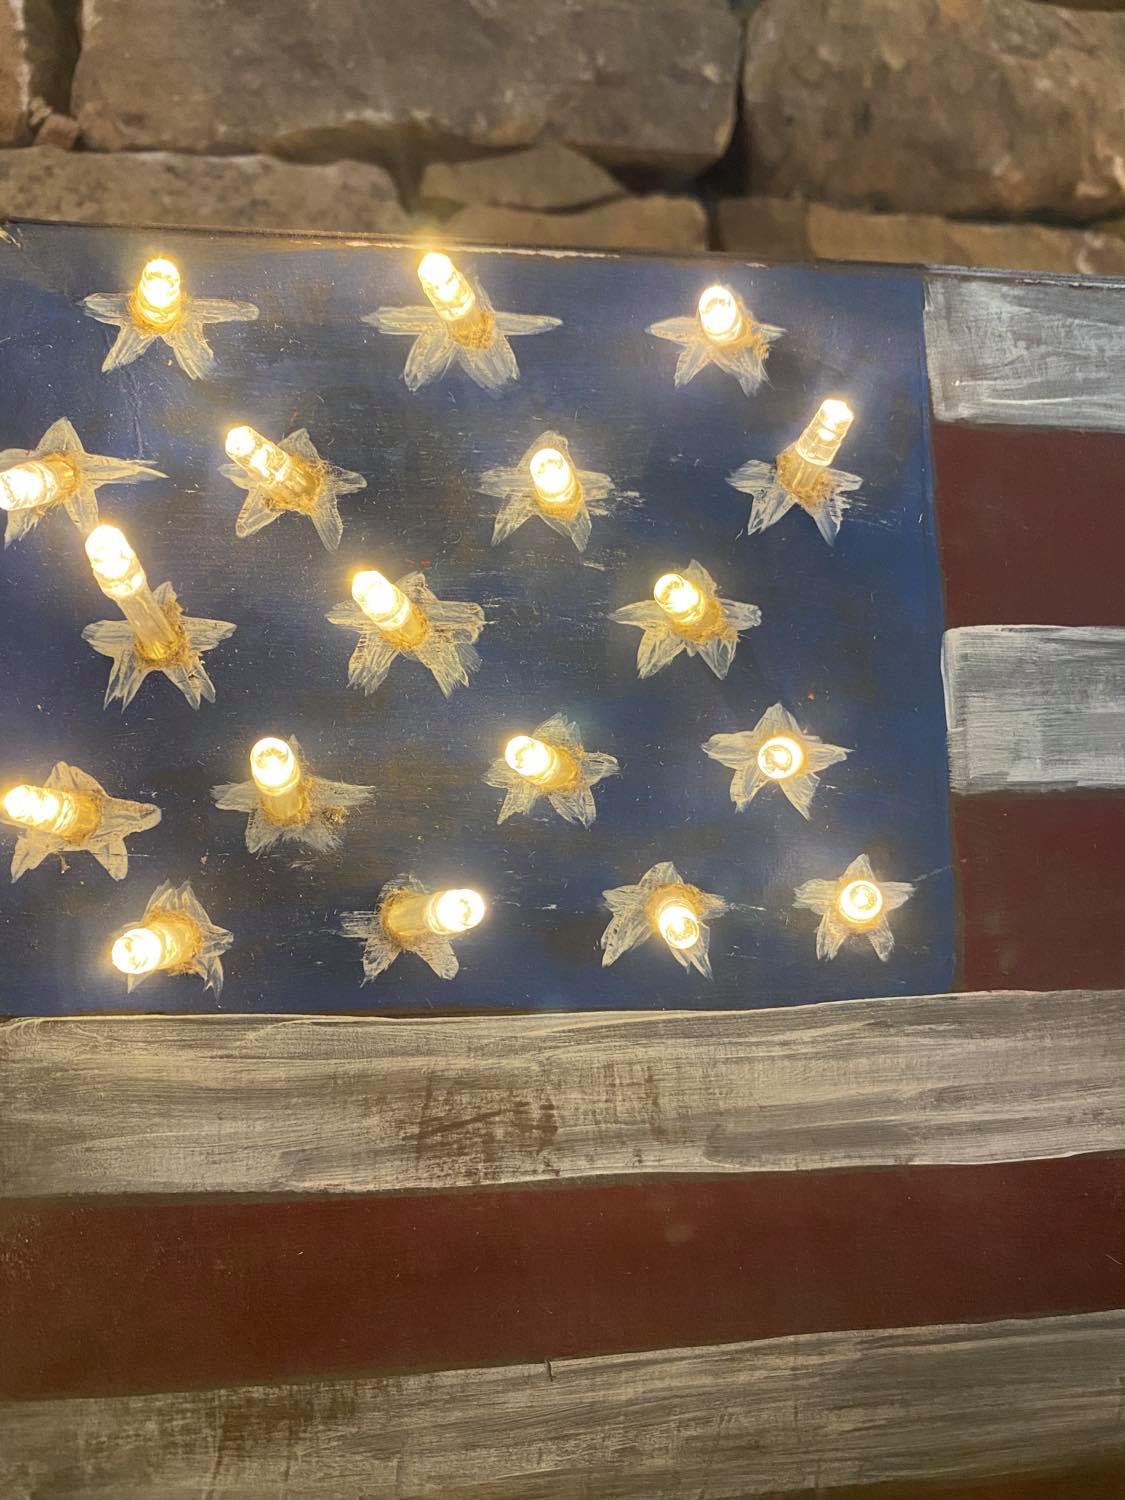
I created a few stars using a paint brush and the white Vintage Effect Wash.
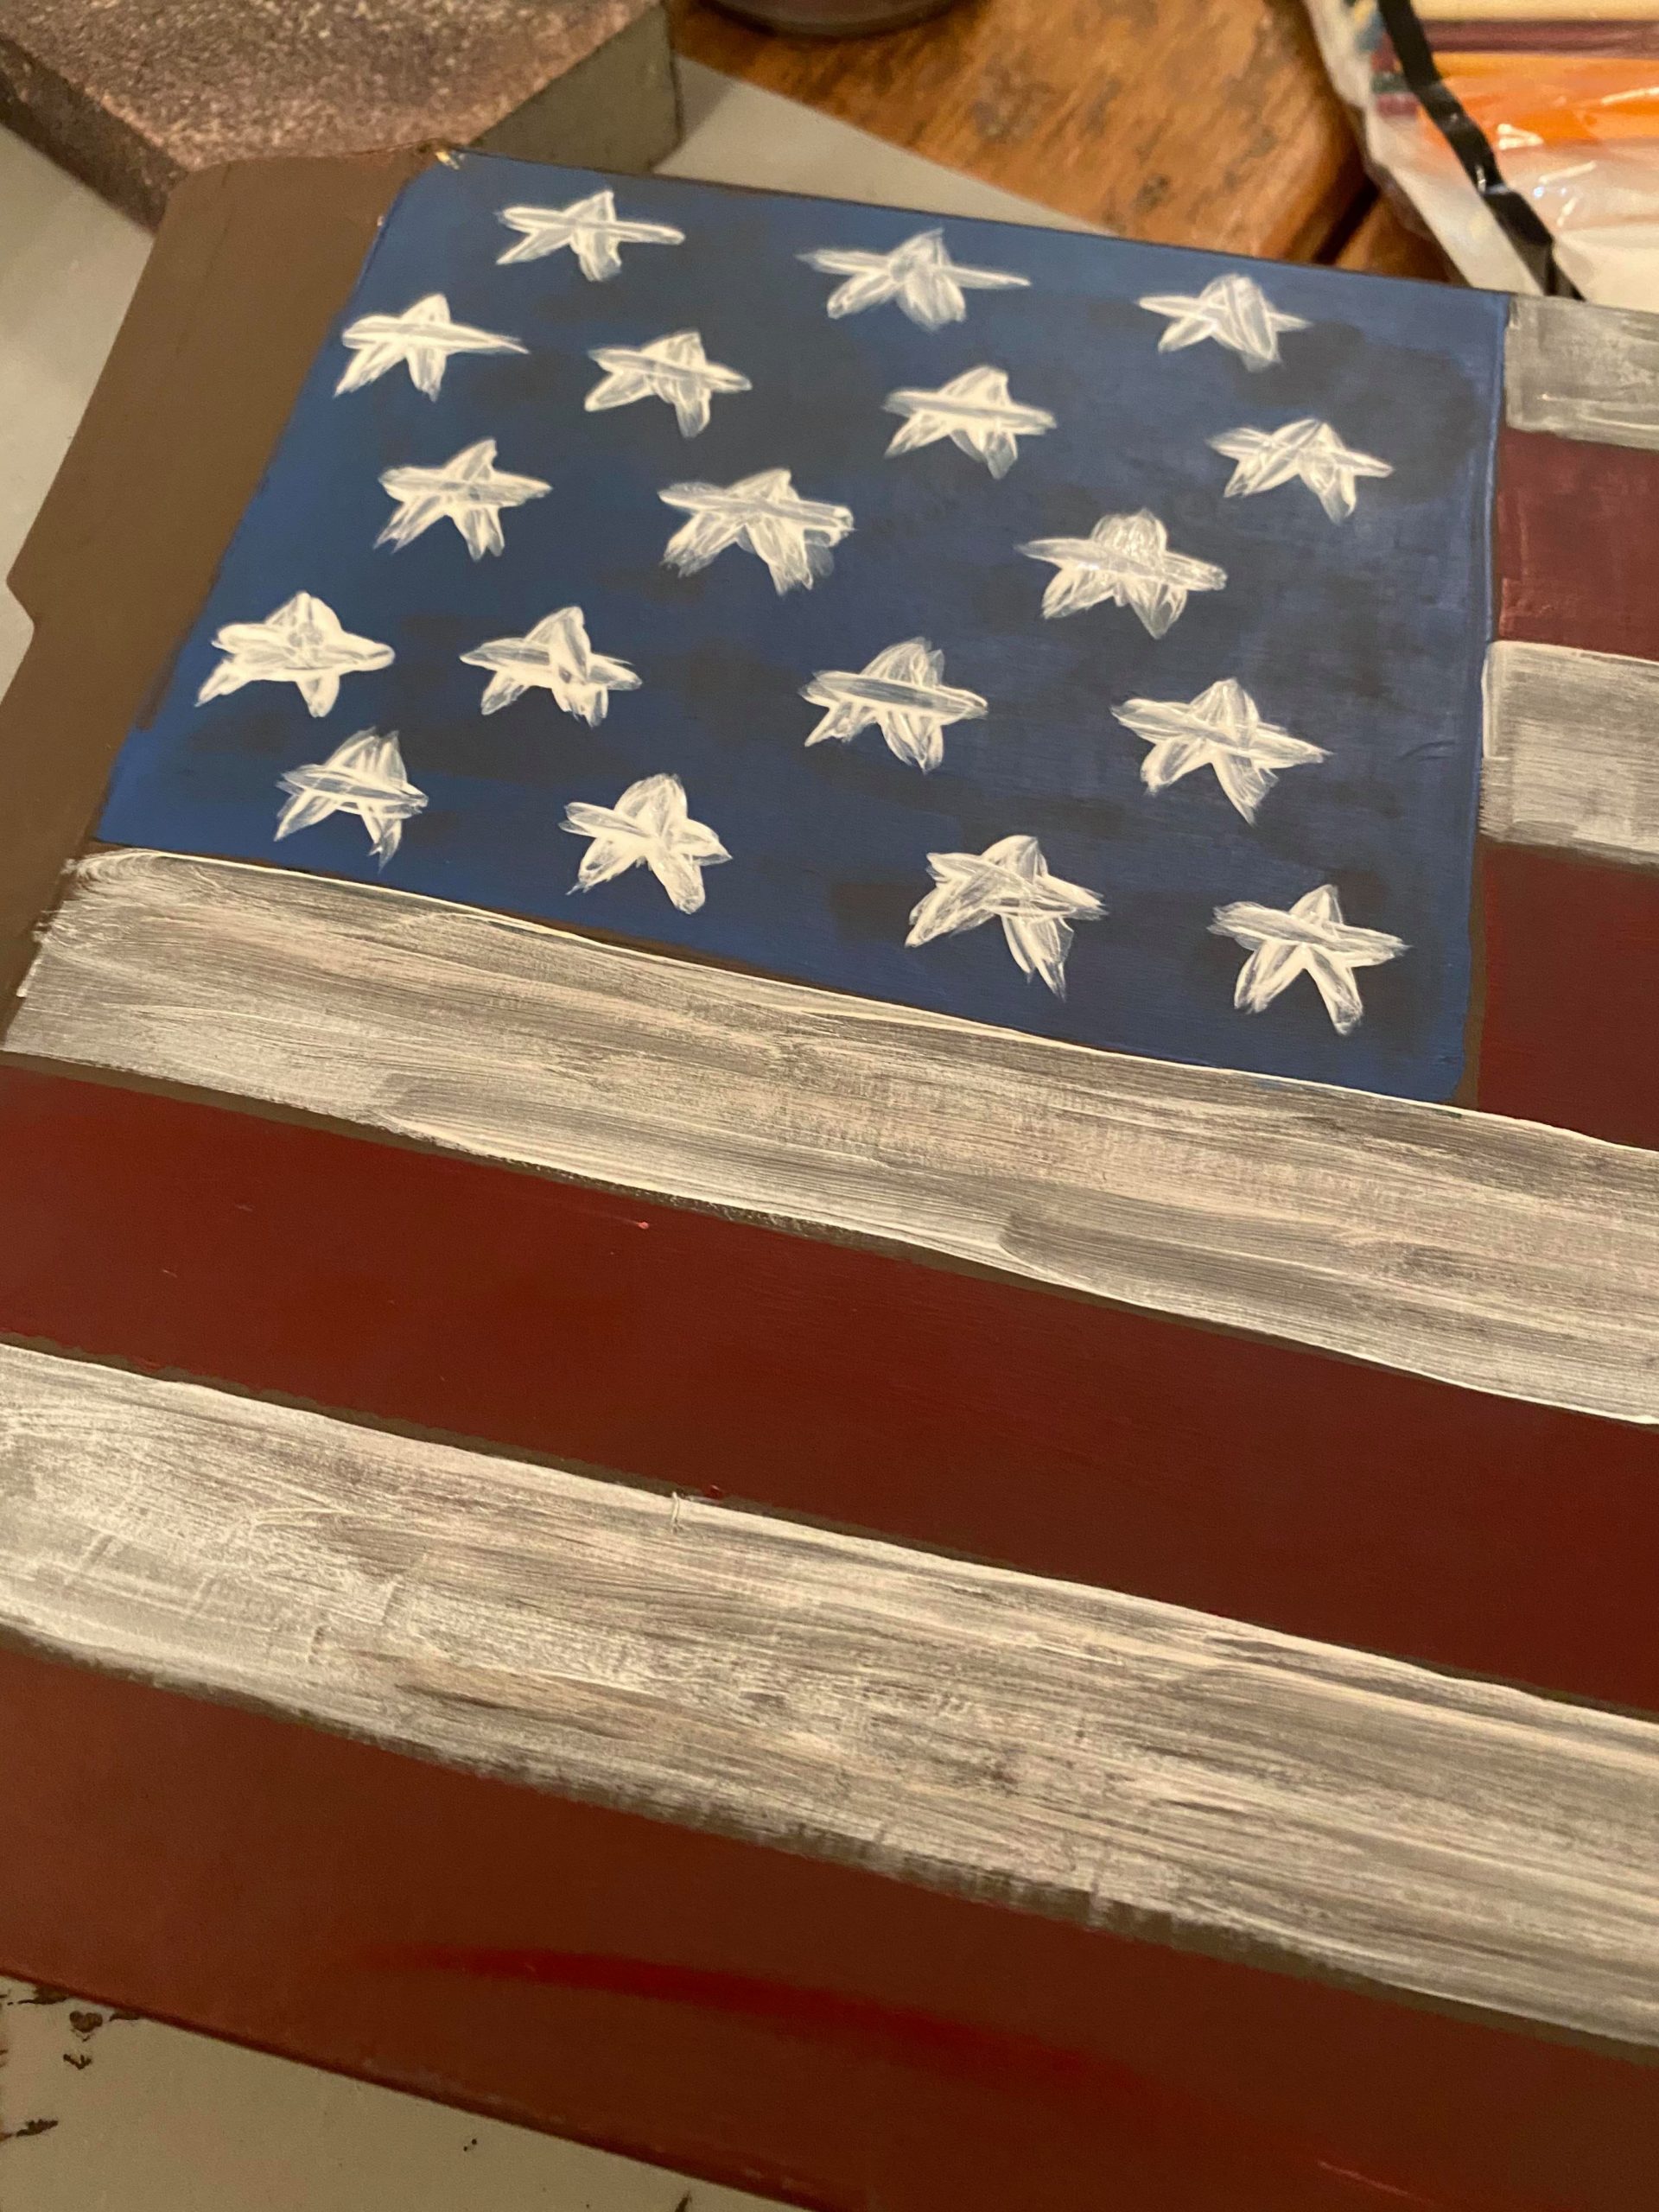
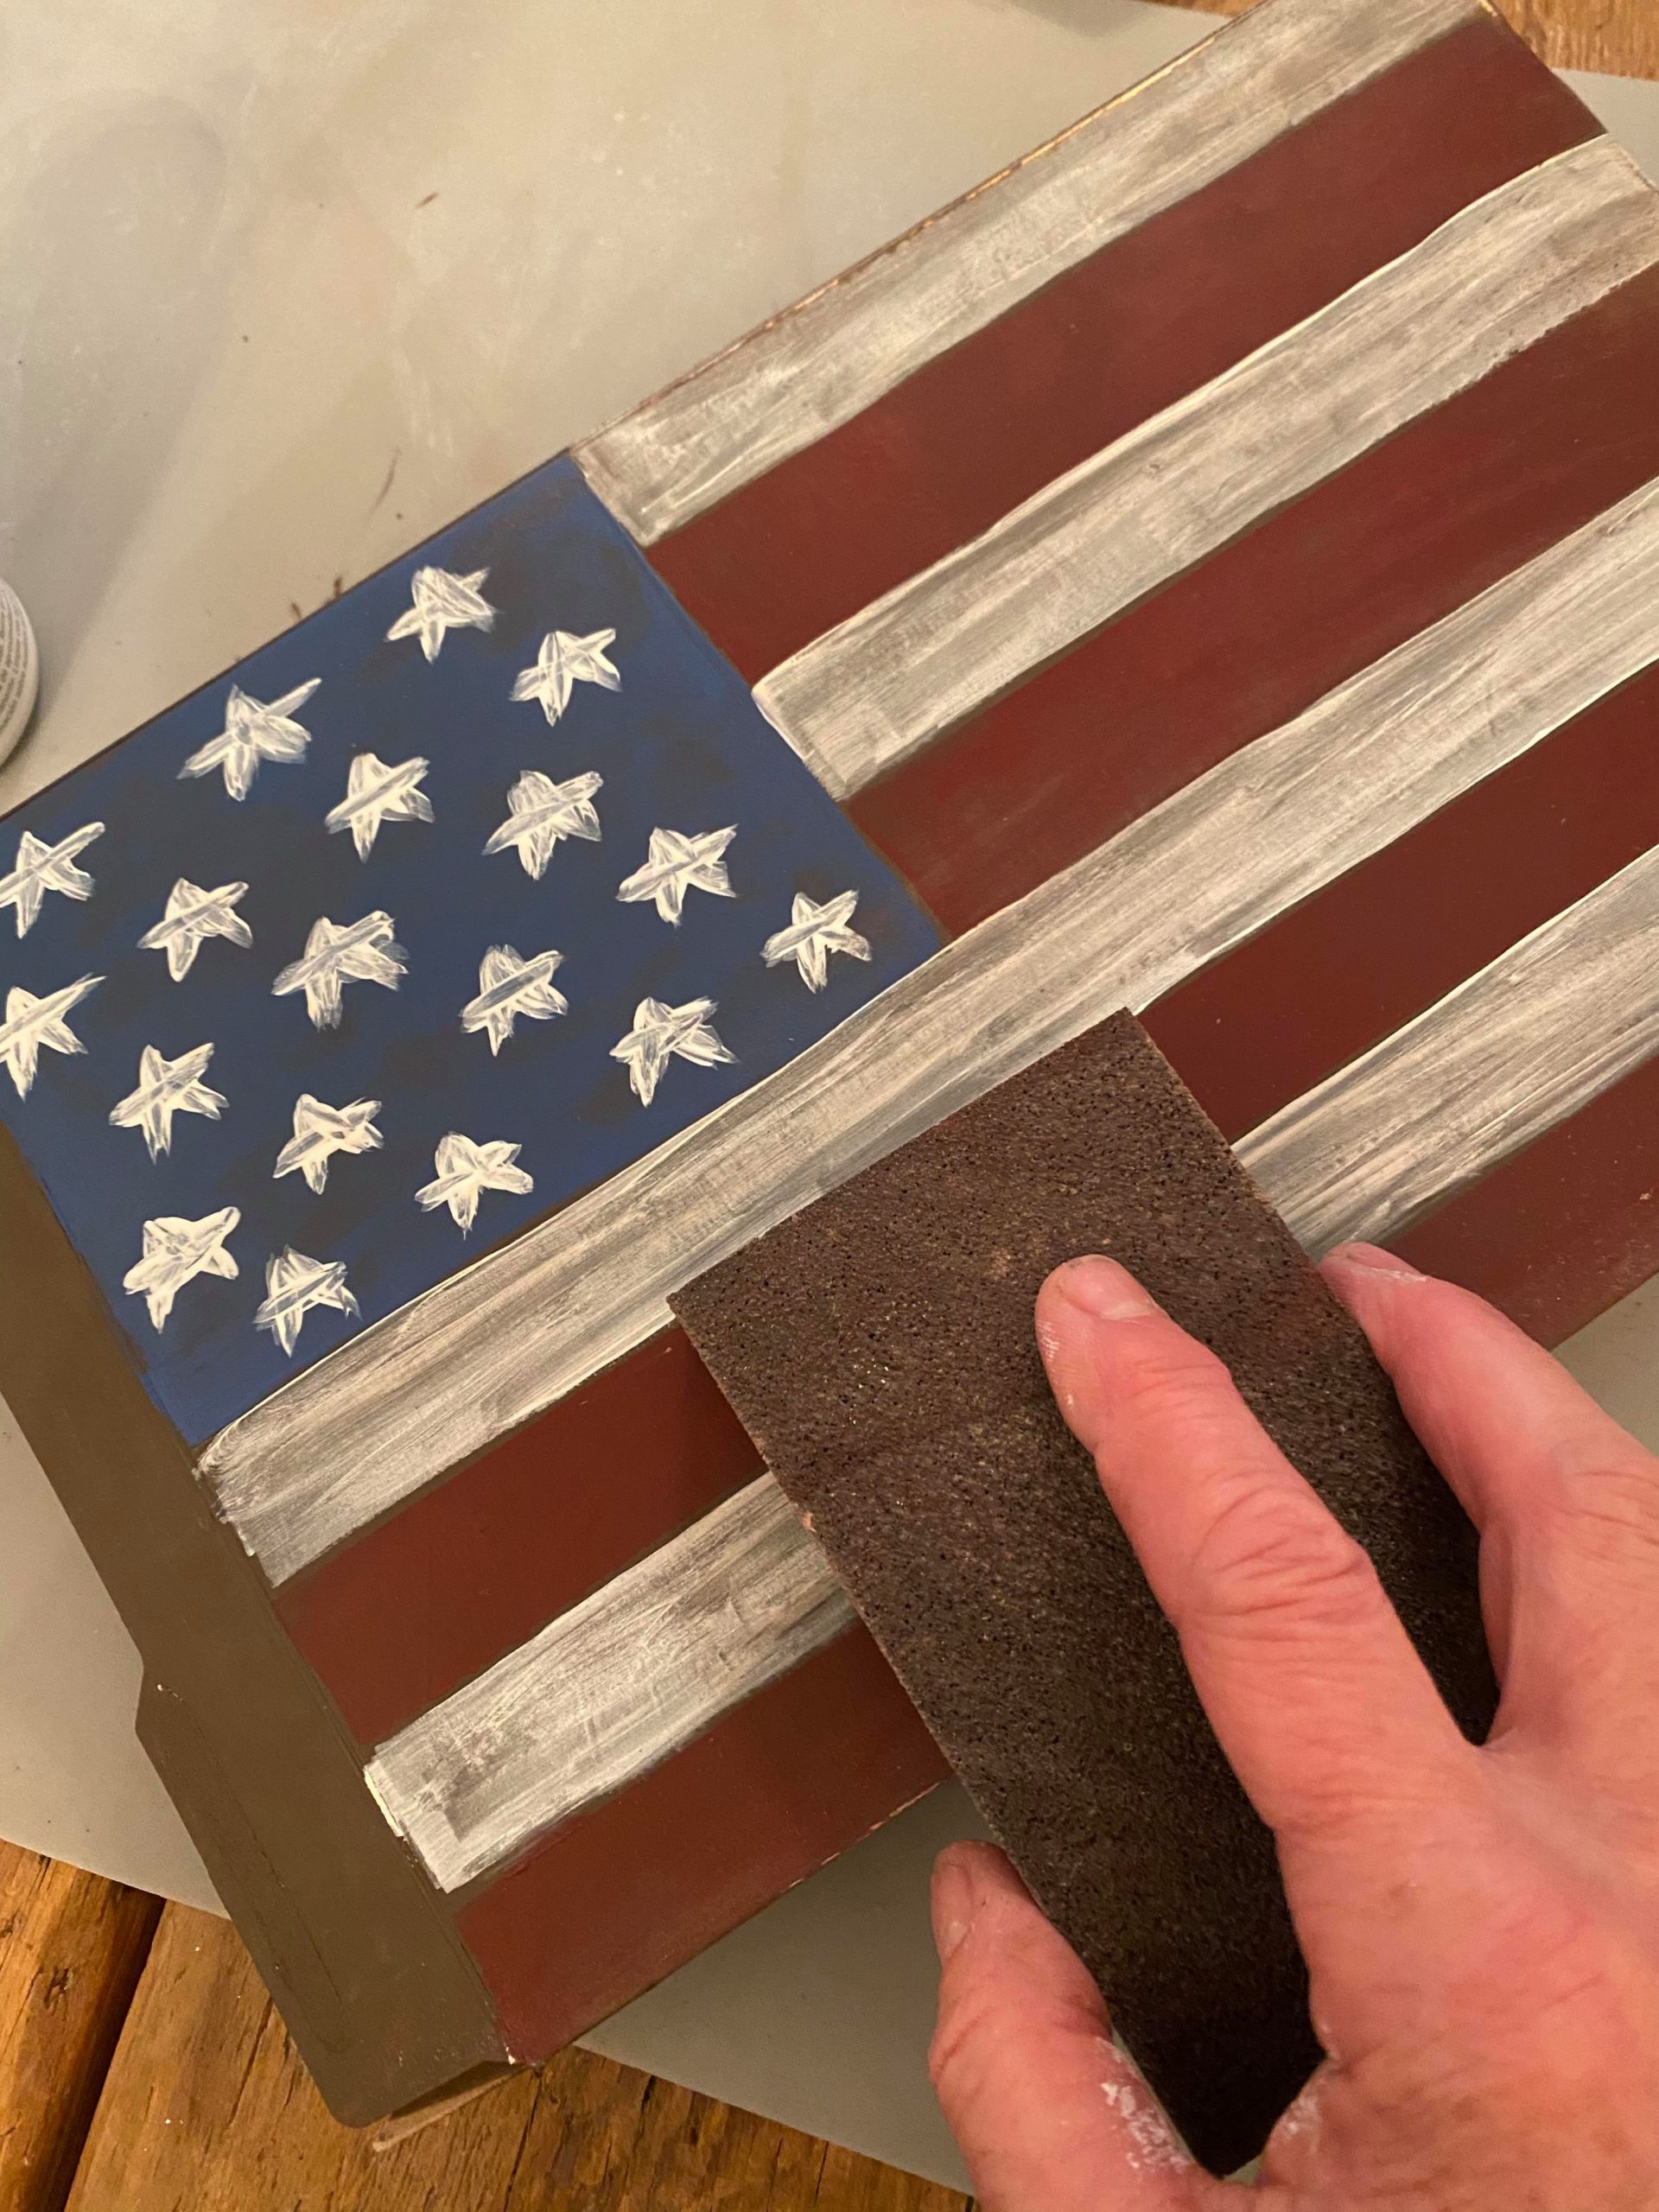
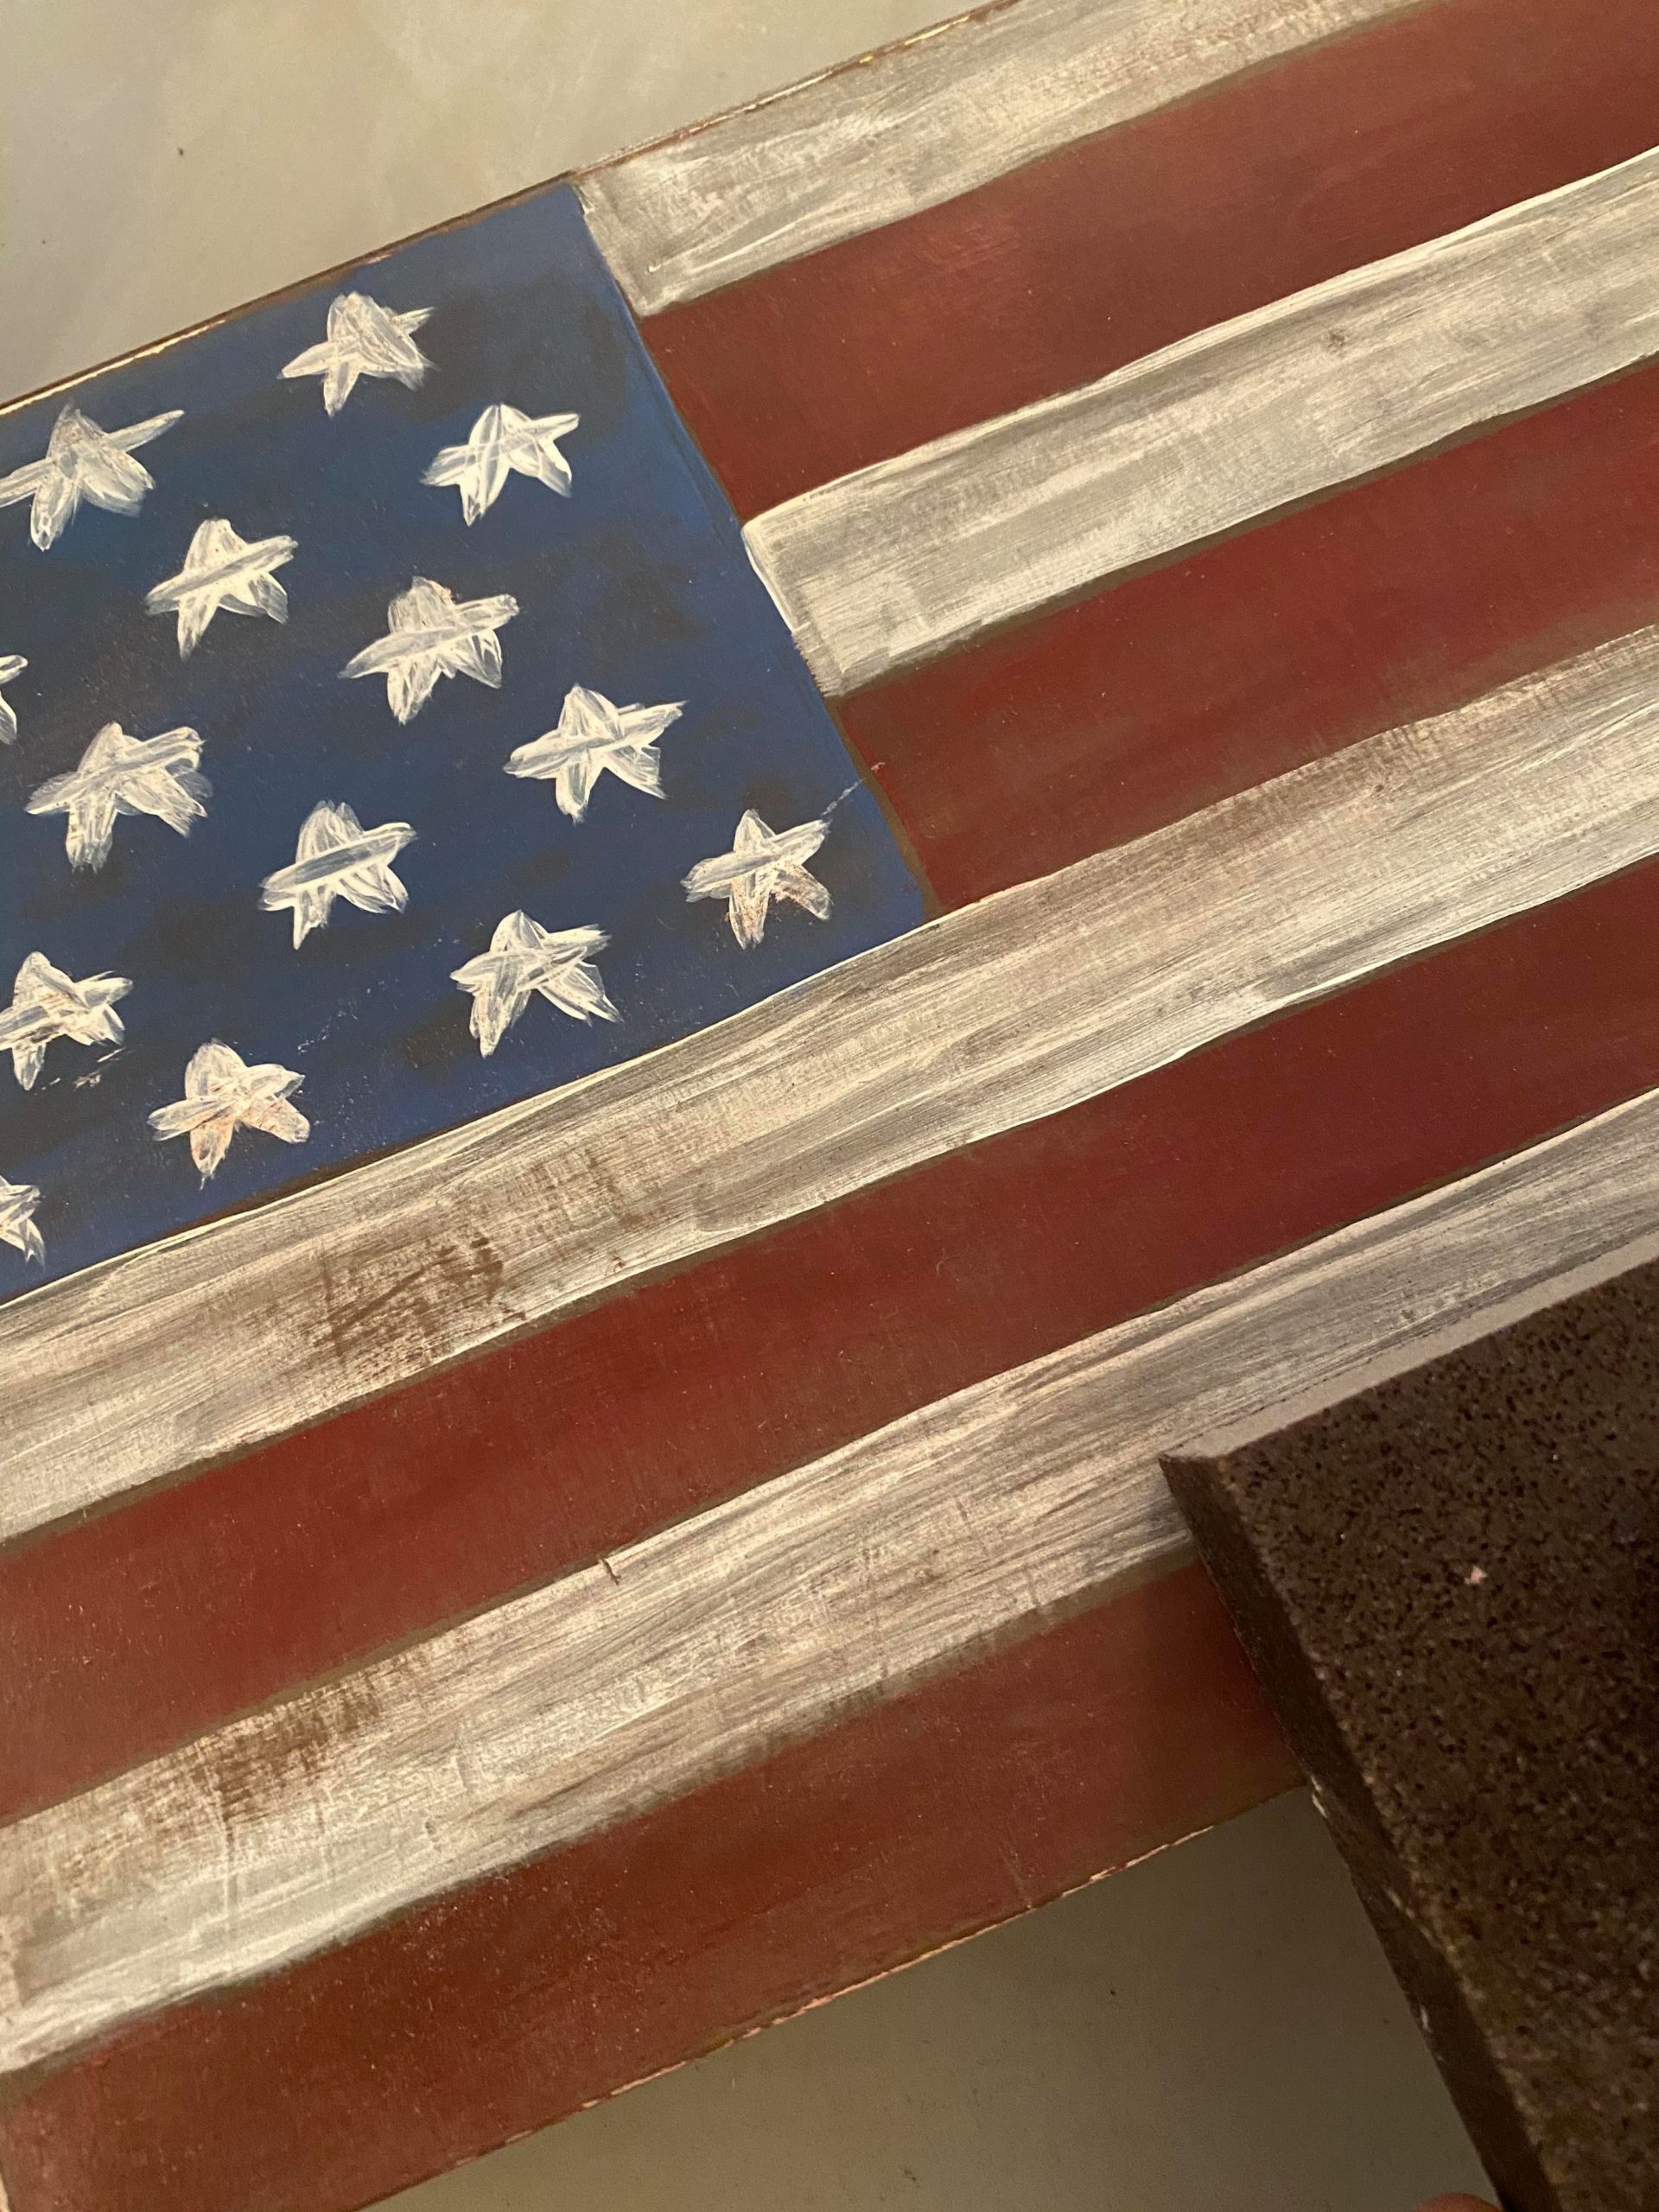
I then used the sanding sponge to sand certain areas of the flag. This will give your flag a more primitive look and will allow more of the brown to show.
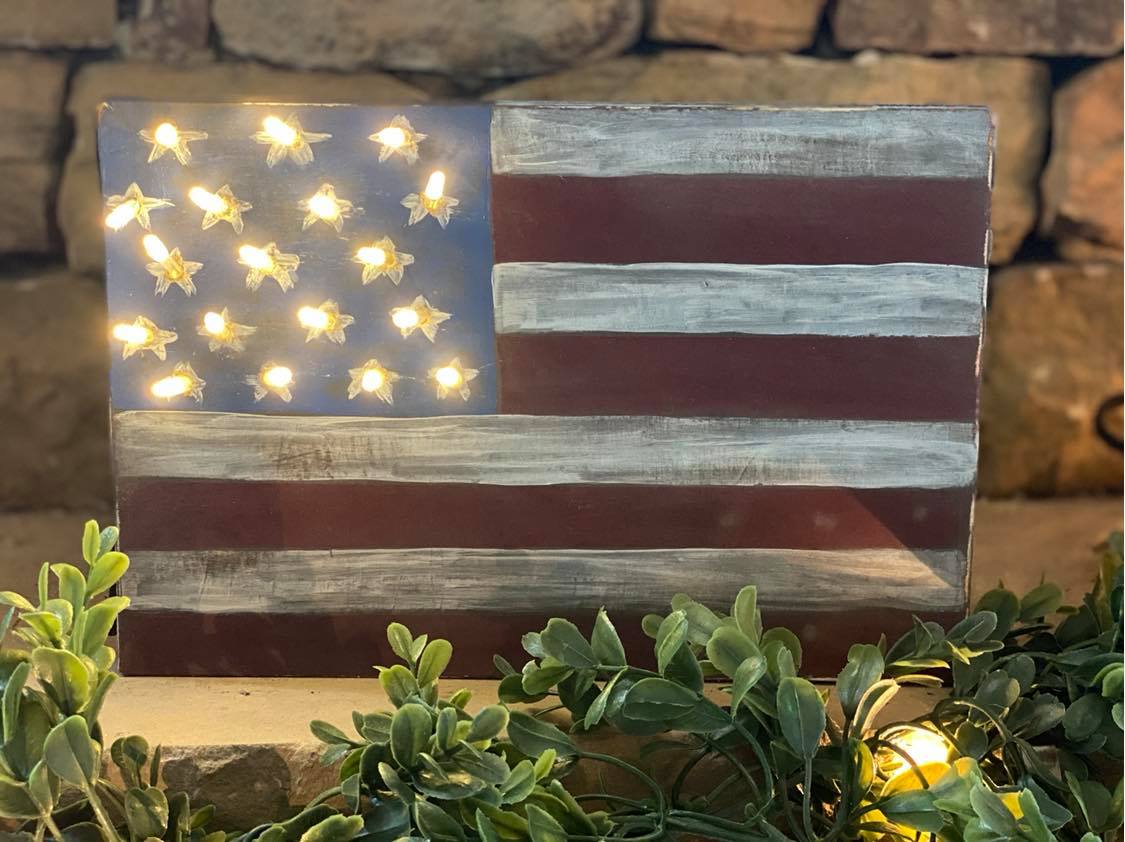
I want to add lights to this flag so I drilled a hole in the center of every star.
The last step is to add lights . I am using a small strand of battery operated lights. You will place one light up into each hole in the star.
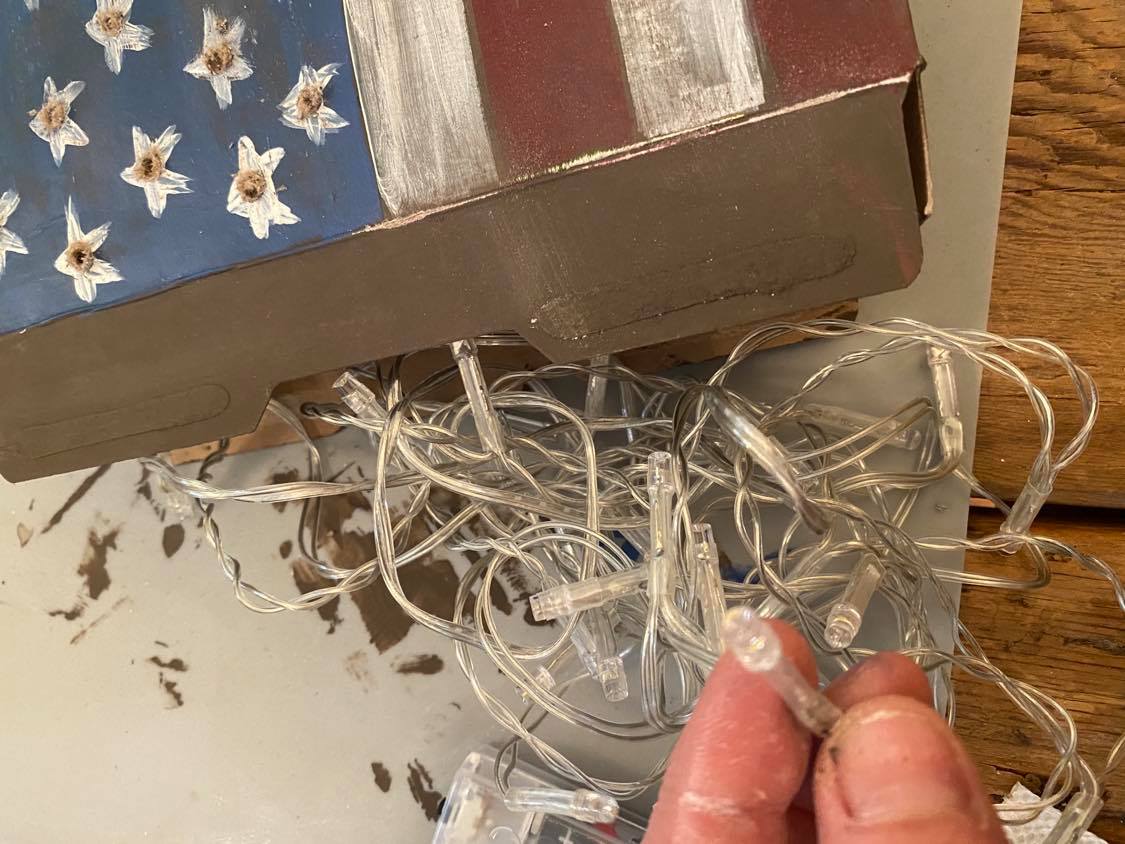
You will place the lights in the box and once you have the lights all placed into the holes you will use the cereal tab to close the box back up.
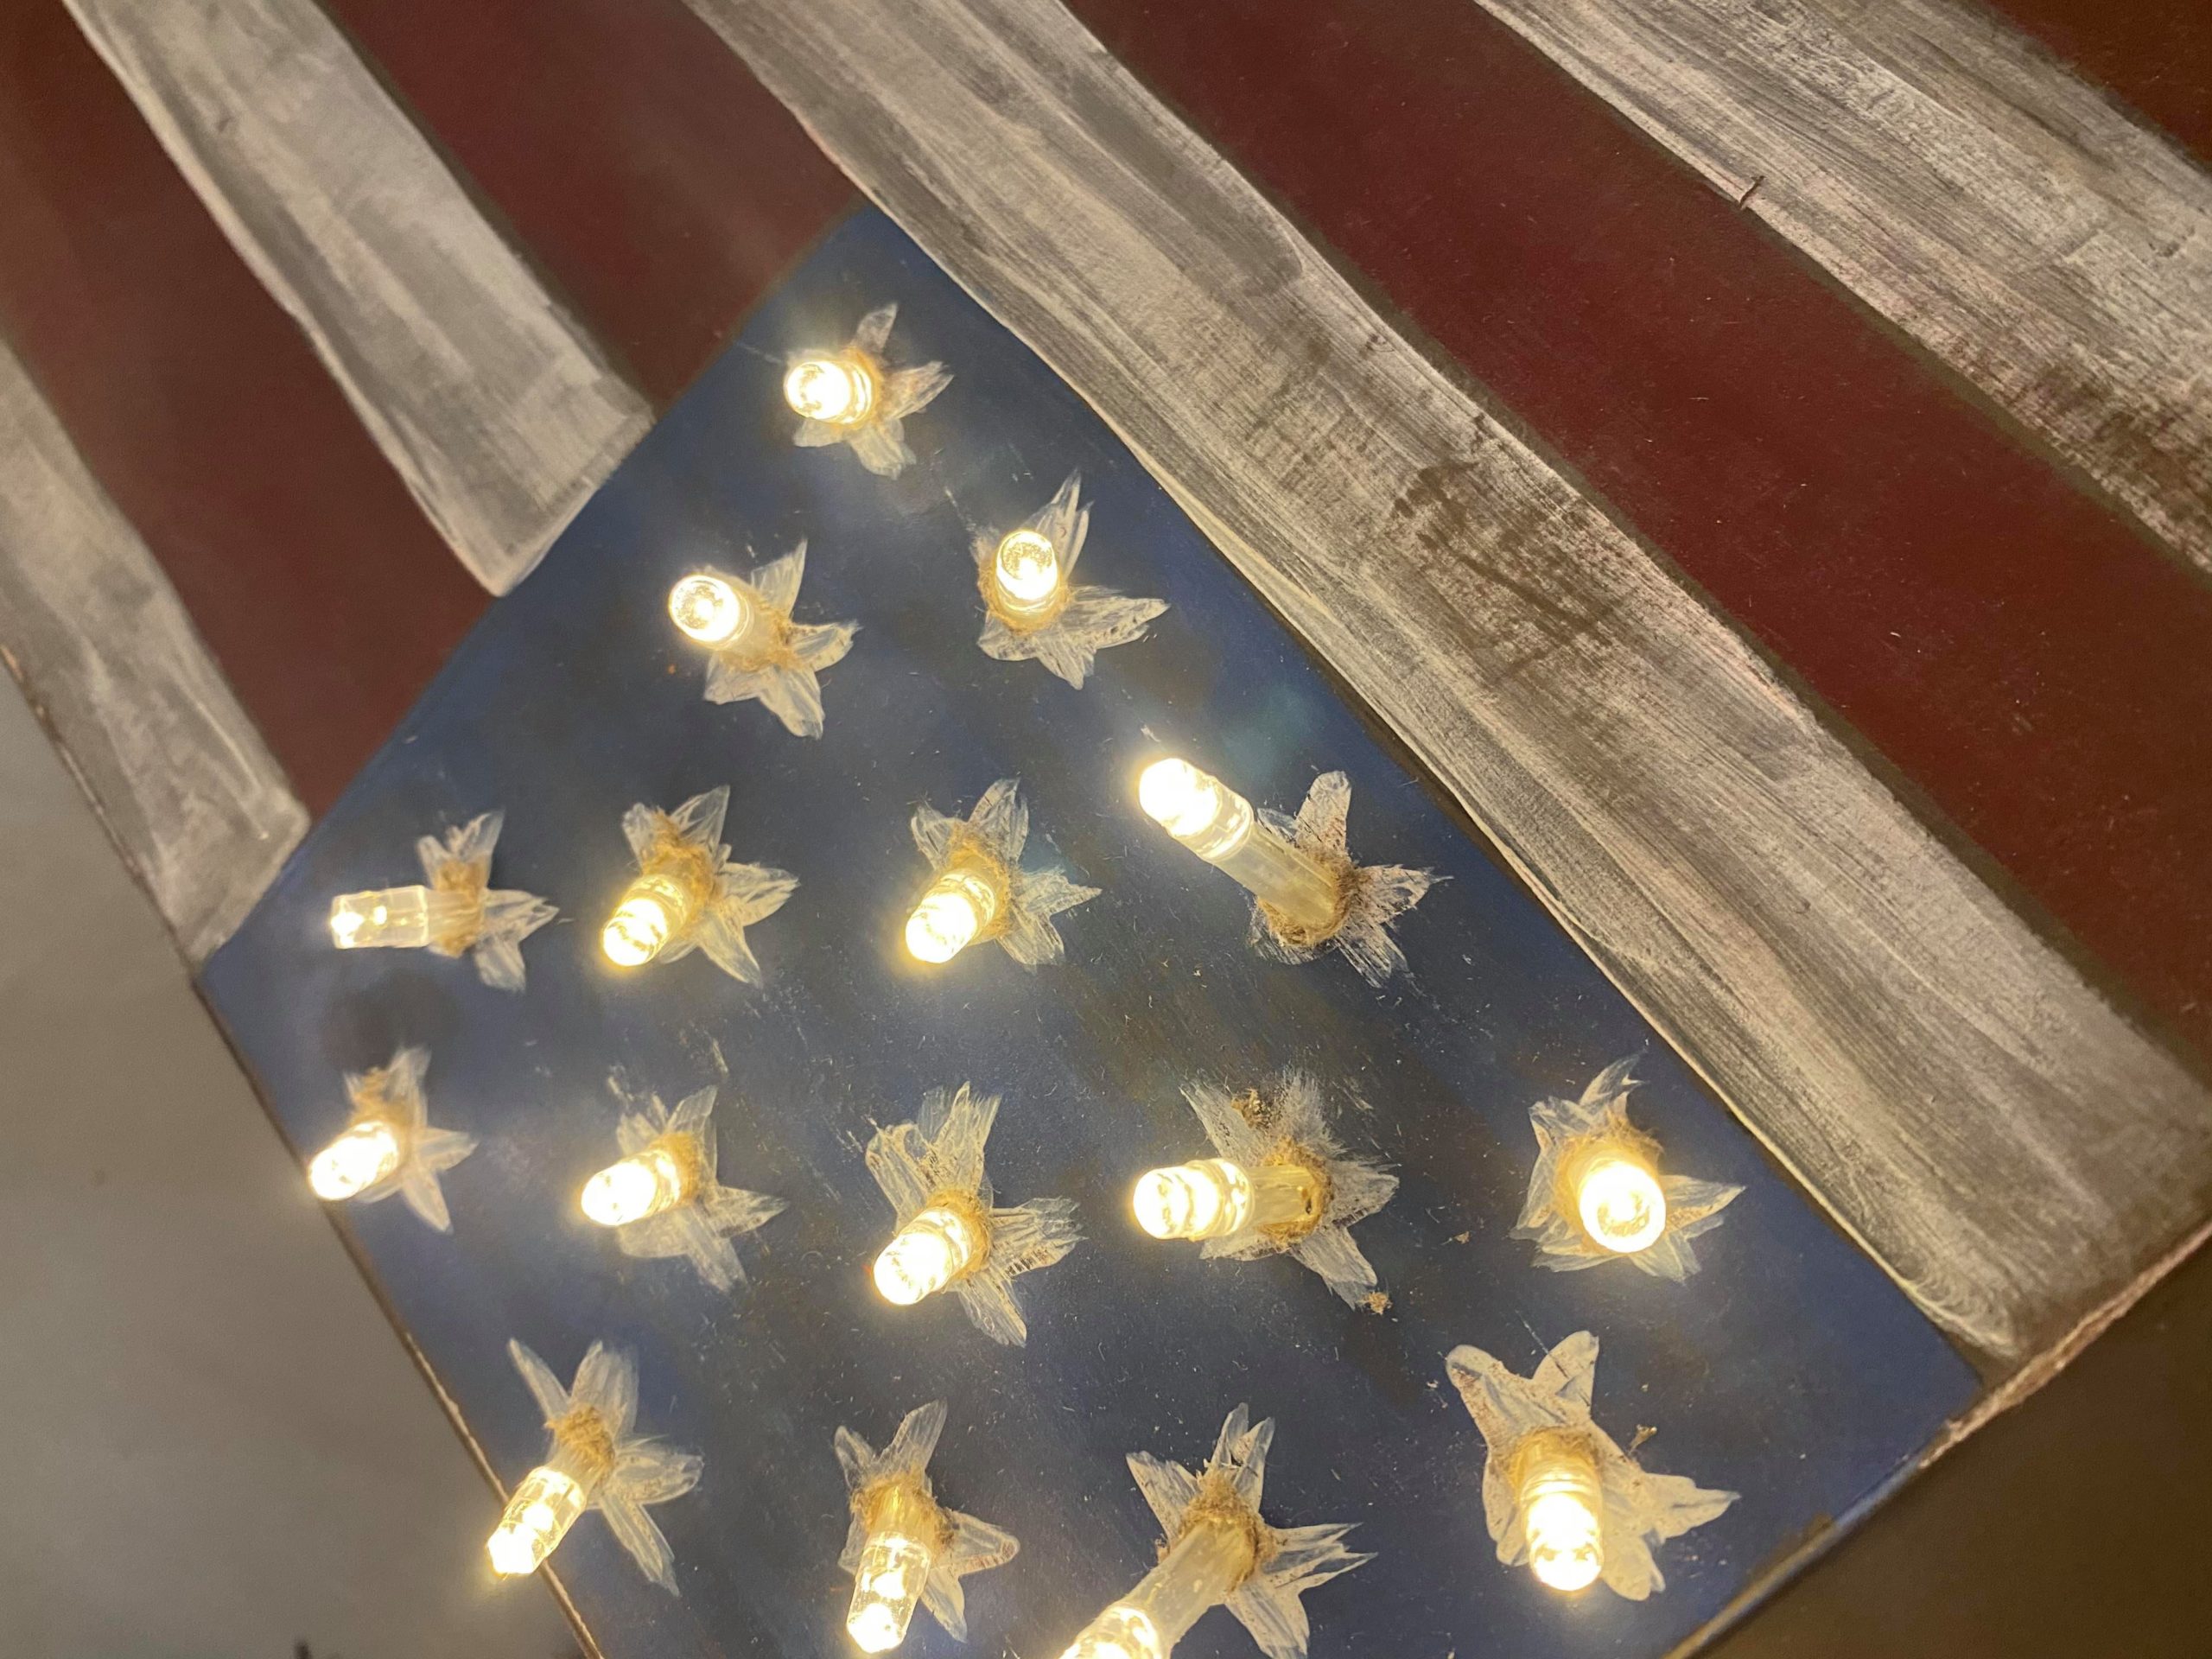
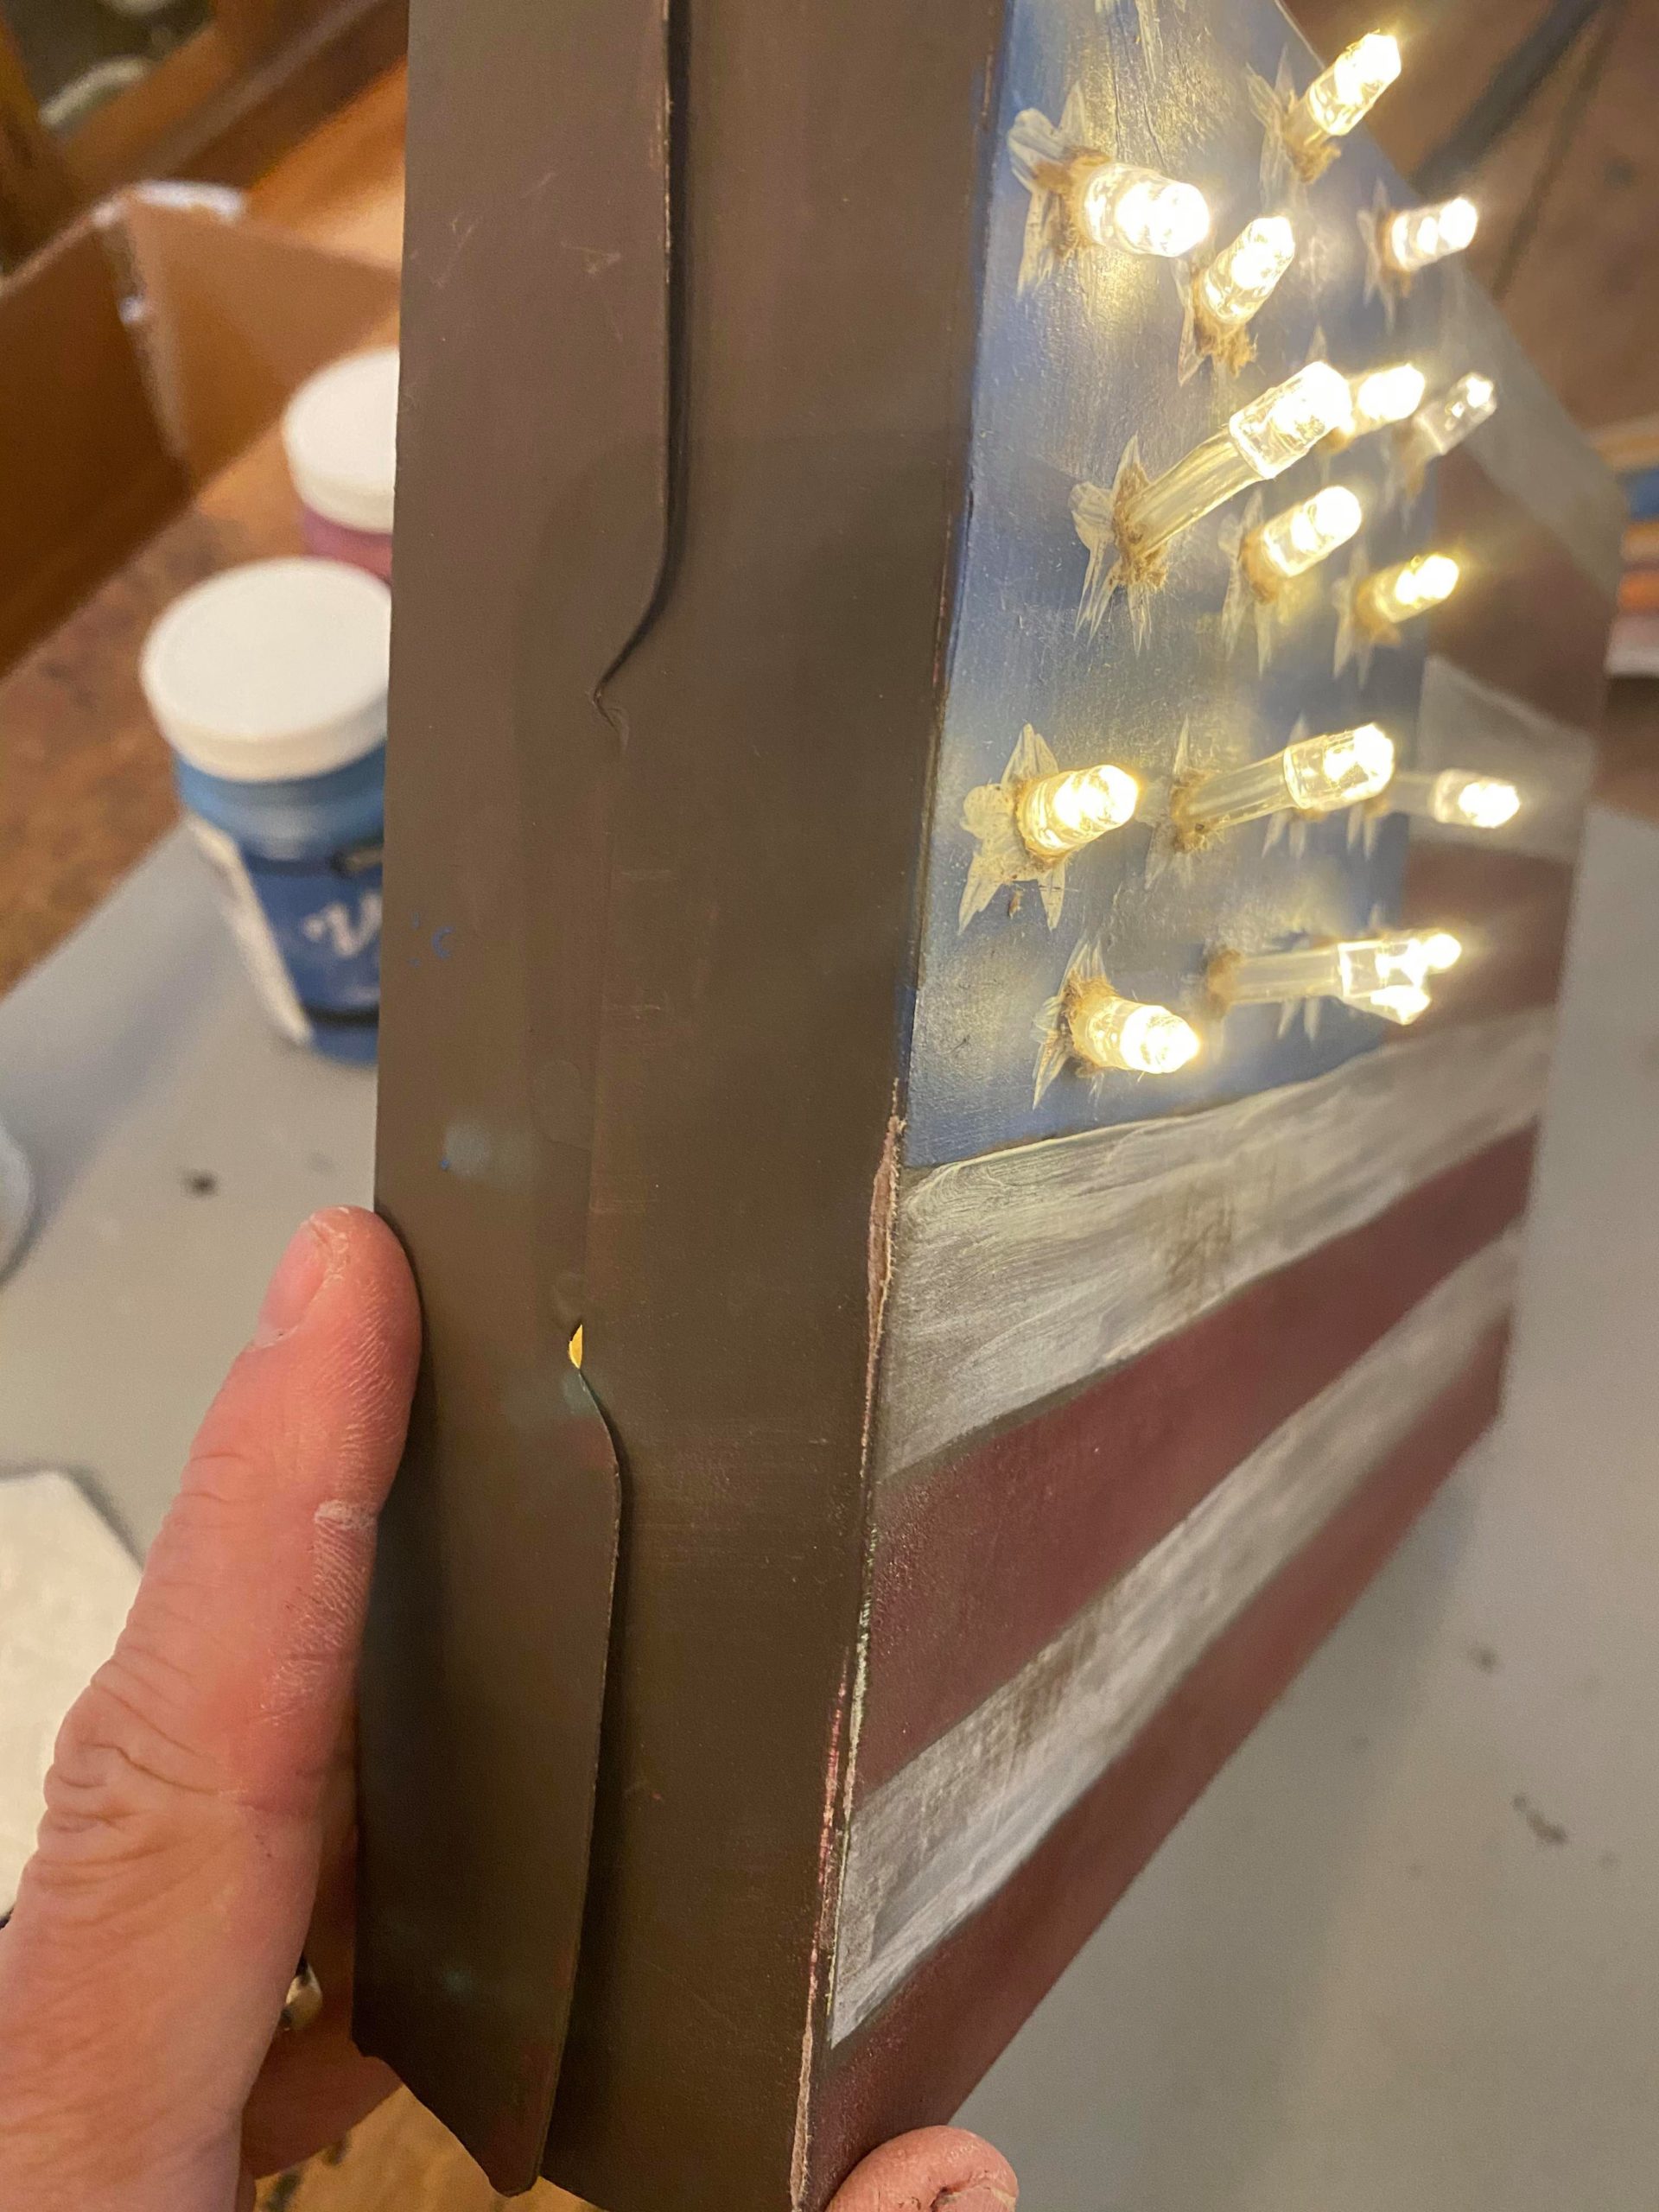
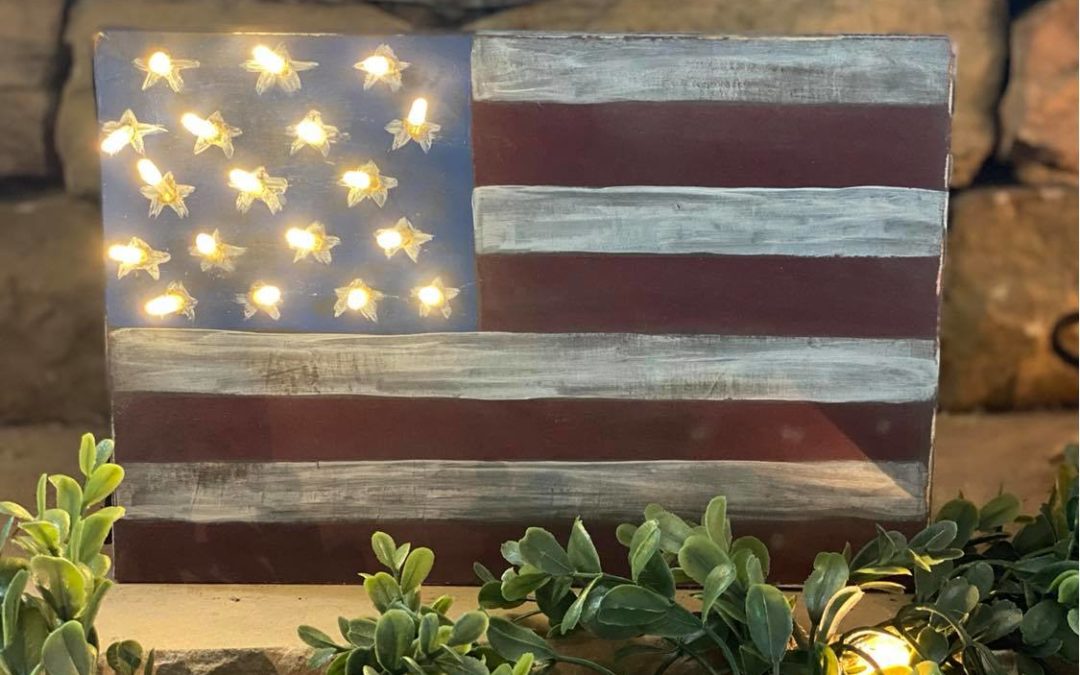
I am amazed at how this flag turned out. This really looks like a wooden flag when you are done. You can place this flag any where in your home. I hope you will all get creative and give this a try.