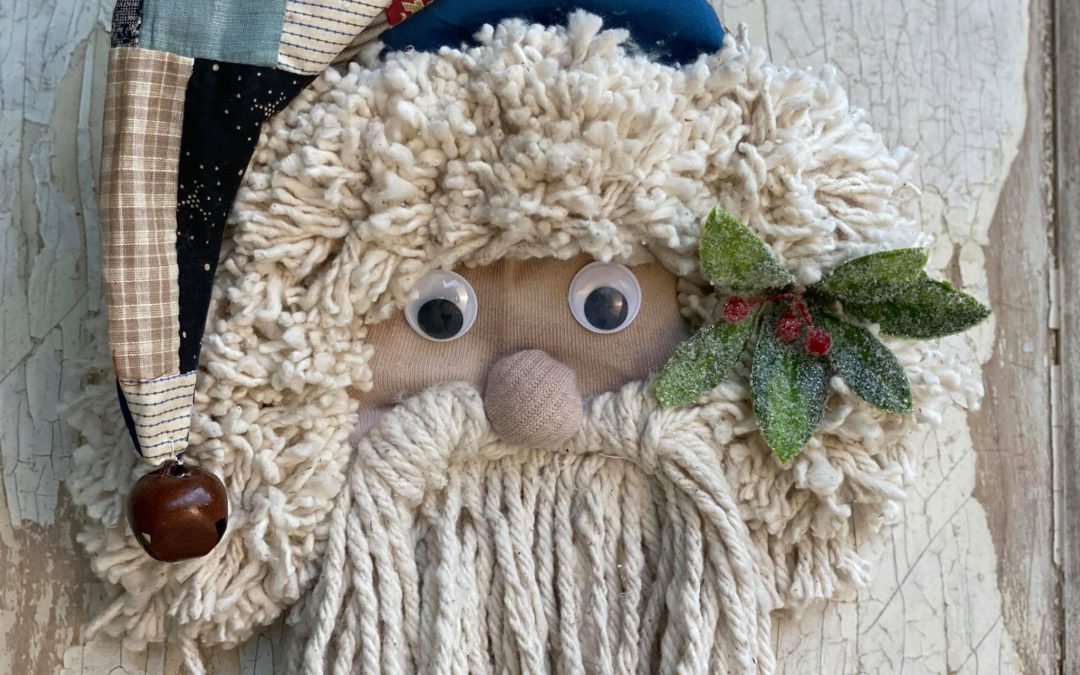
I love Christmas and I love Santa’s! We recently made an amazing angel using a mop head and I just knew there had to be a way to create a fun and unique Santa head. I love decorating for all holidays but I get really excited to decorate for Christmas which is why I love this DIY!
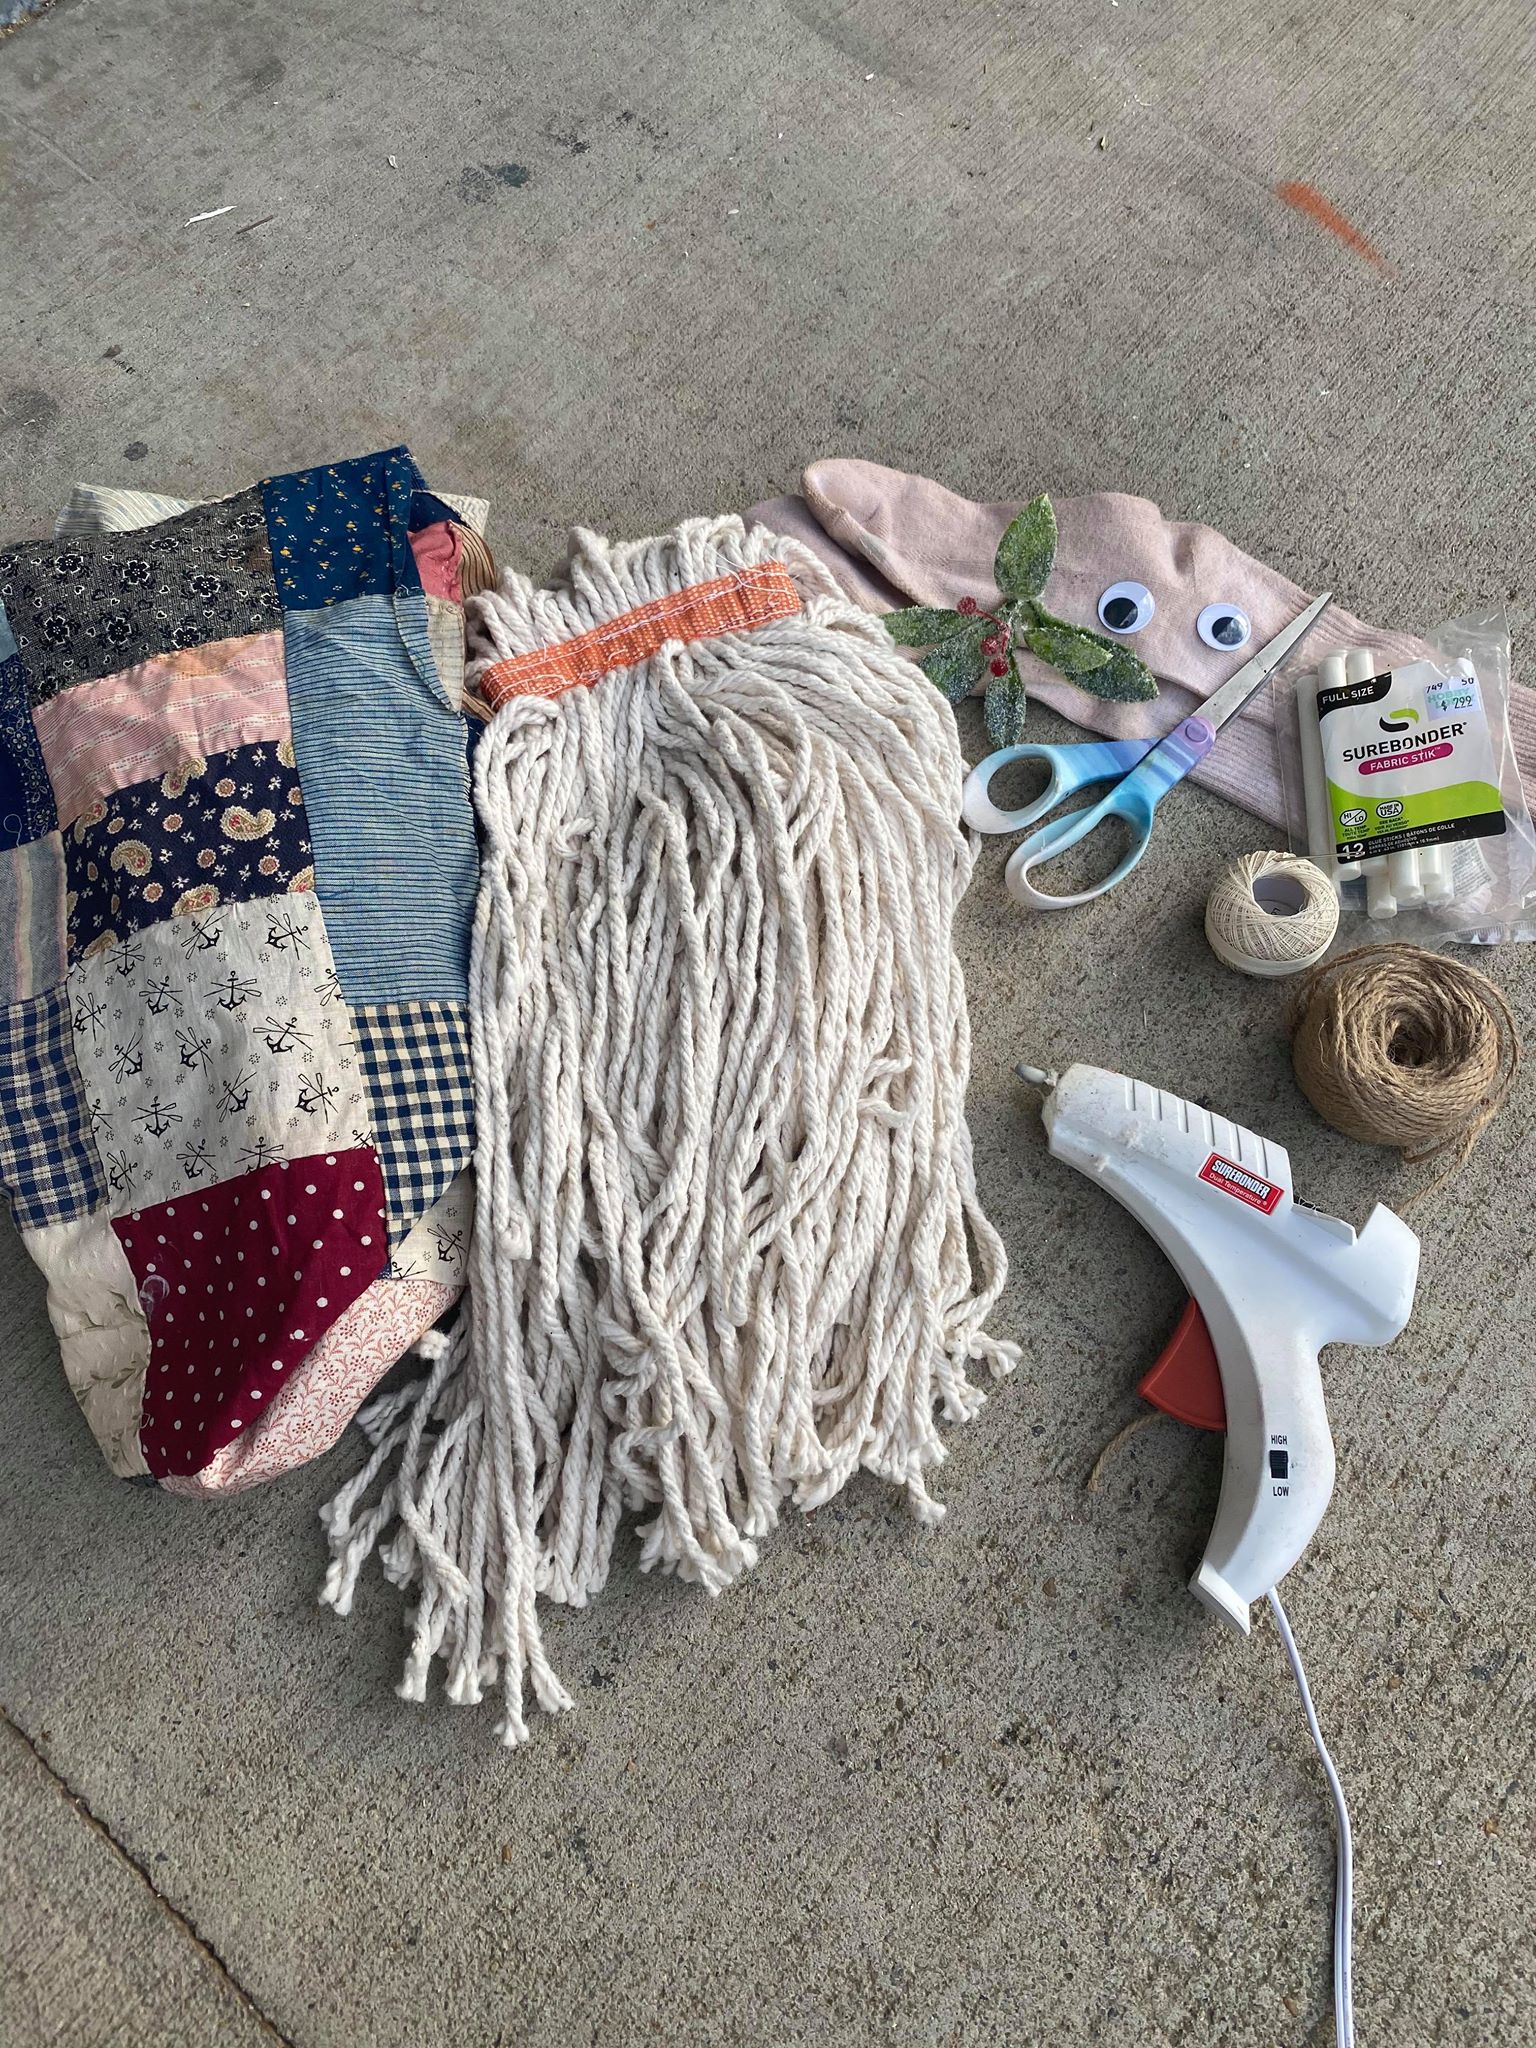
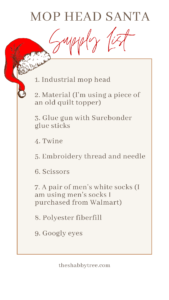
The supplies you will need for this are:
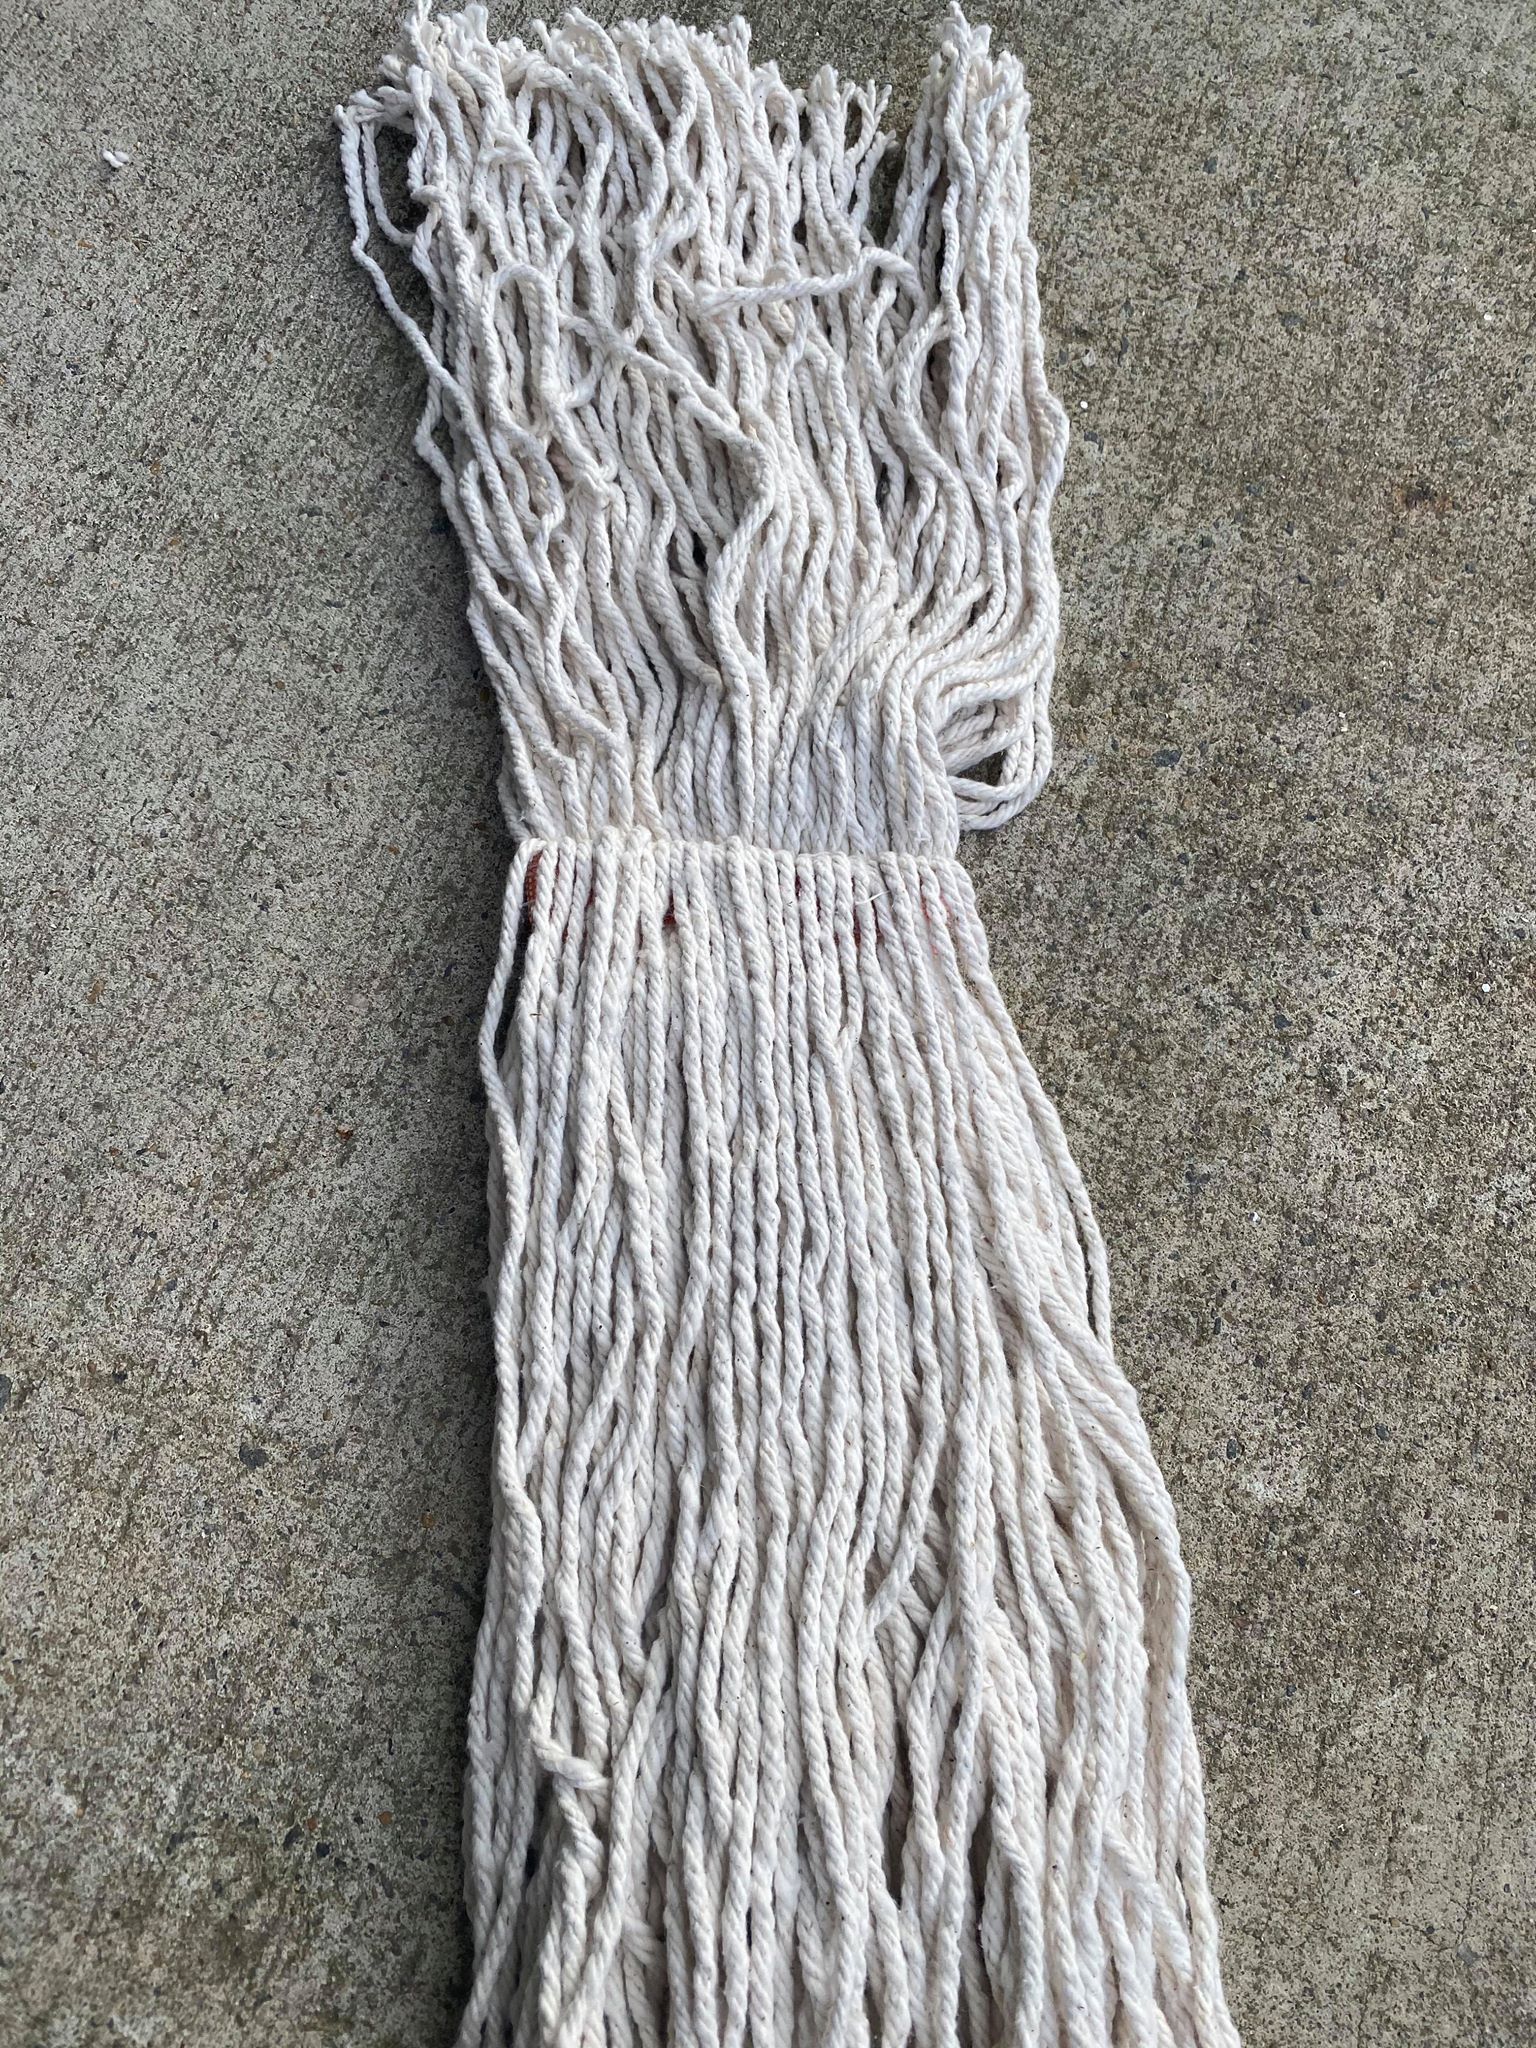
1. Industrial mop head
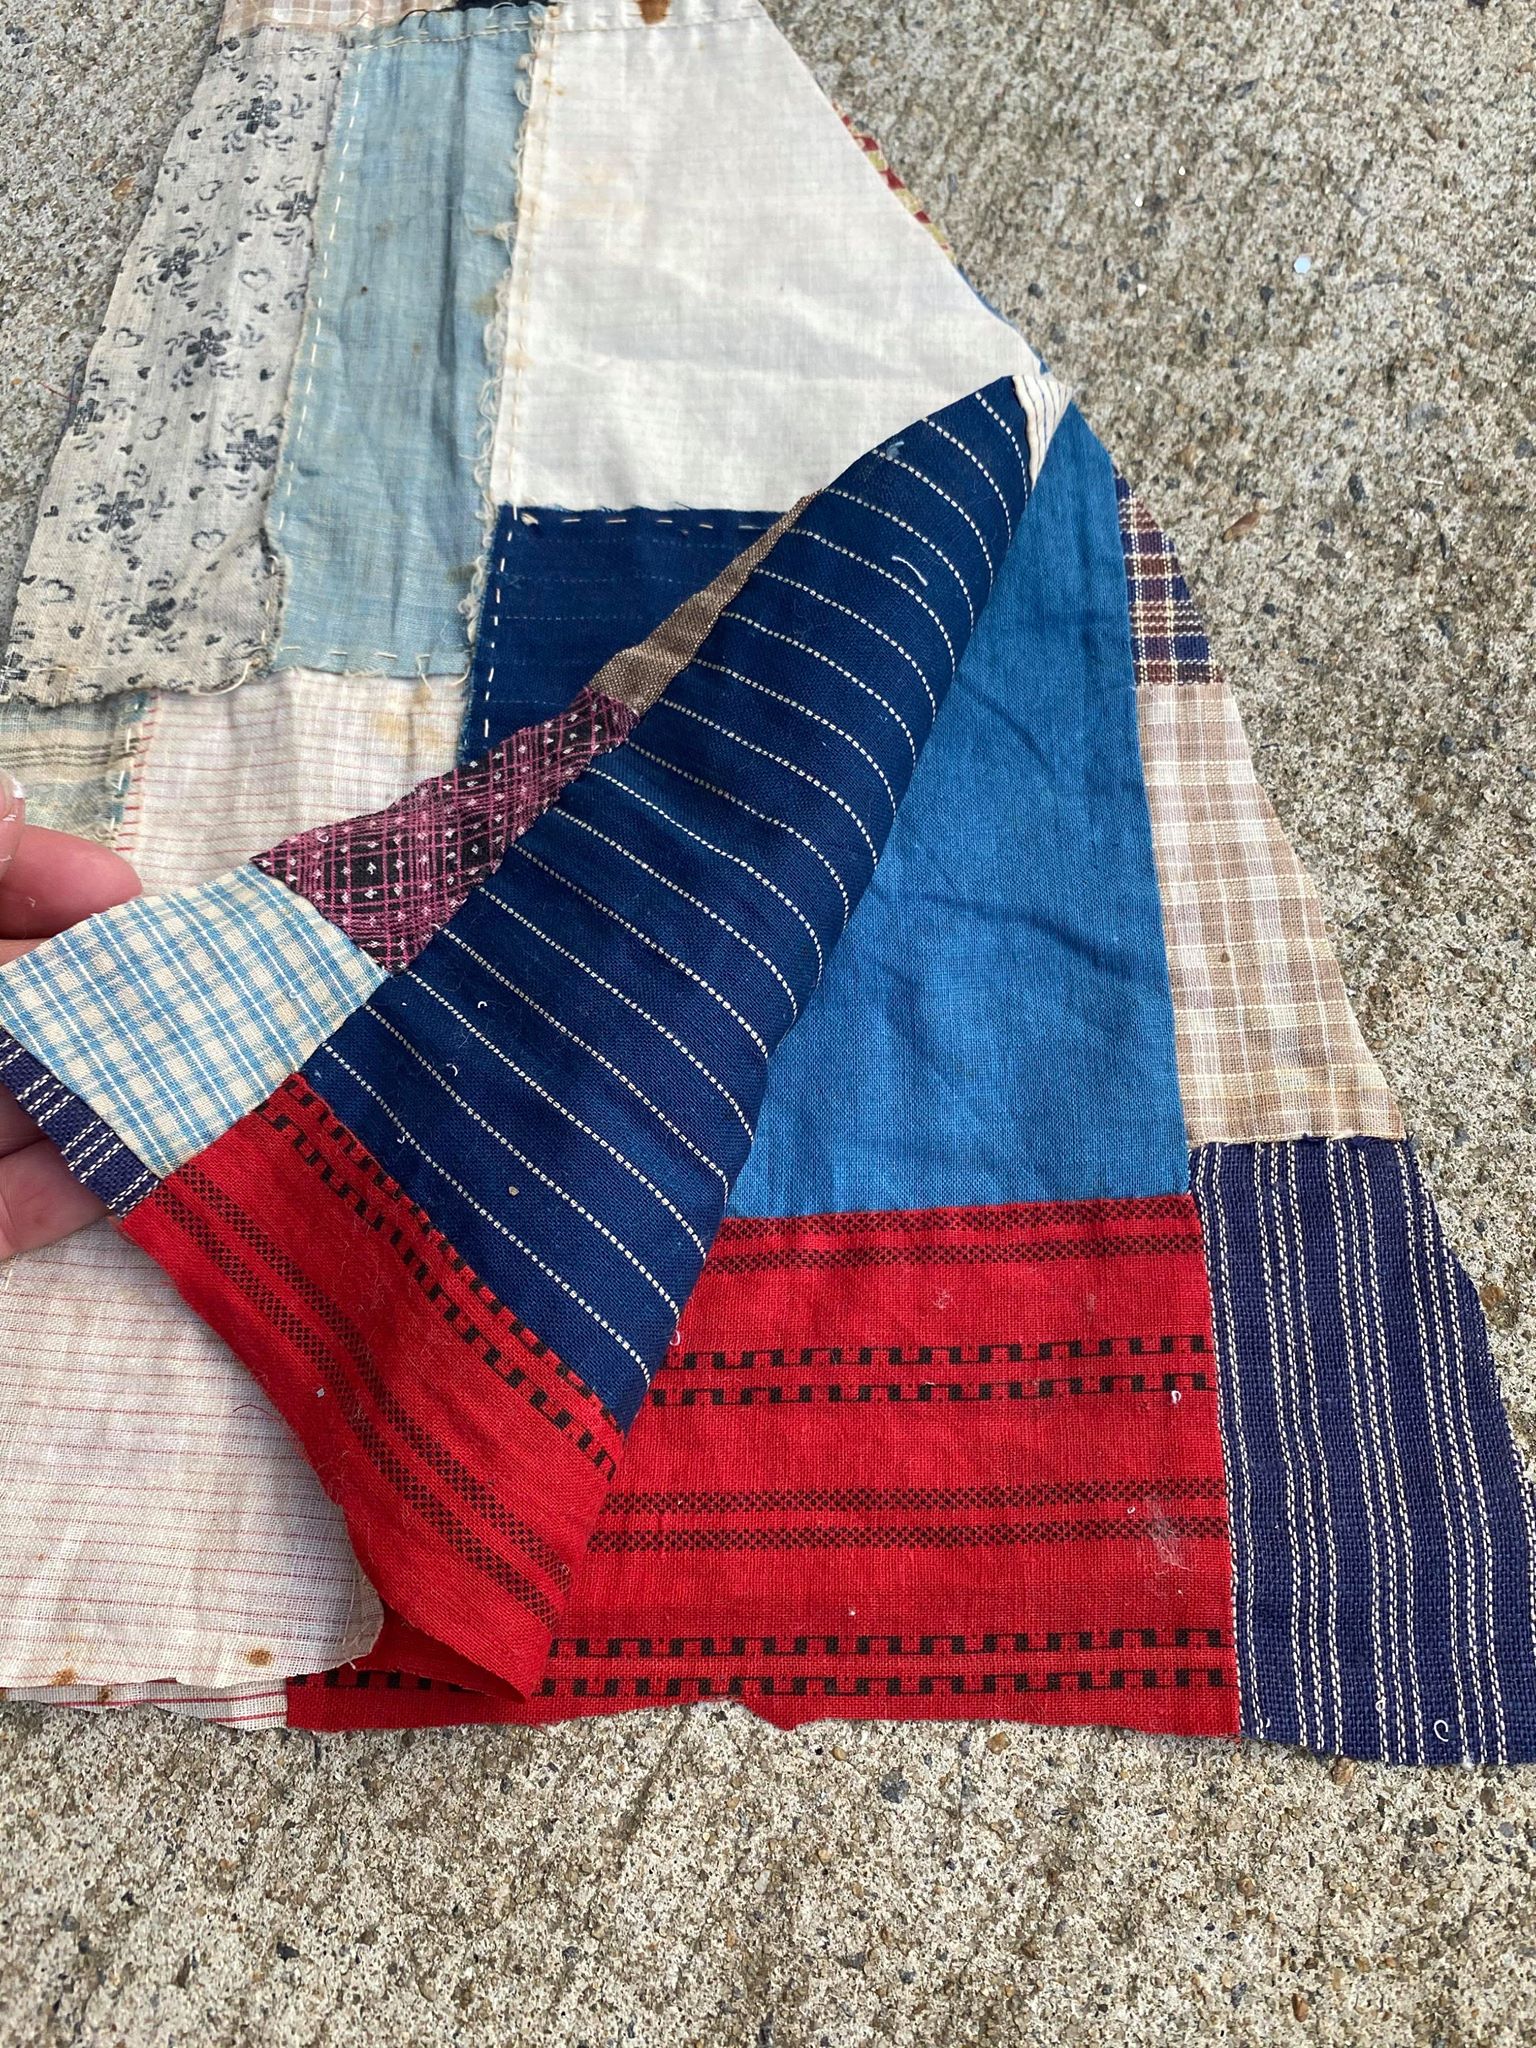
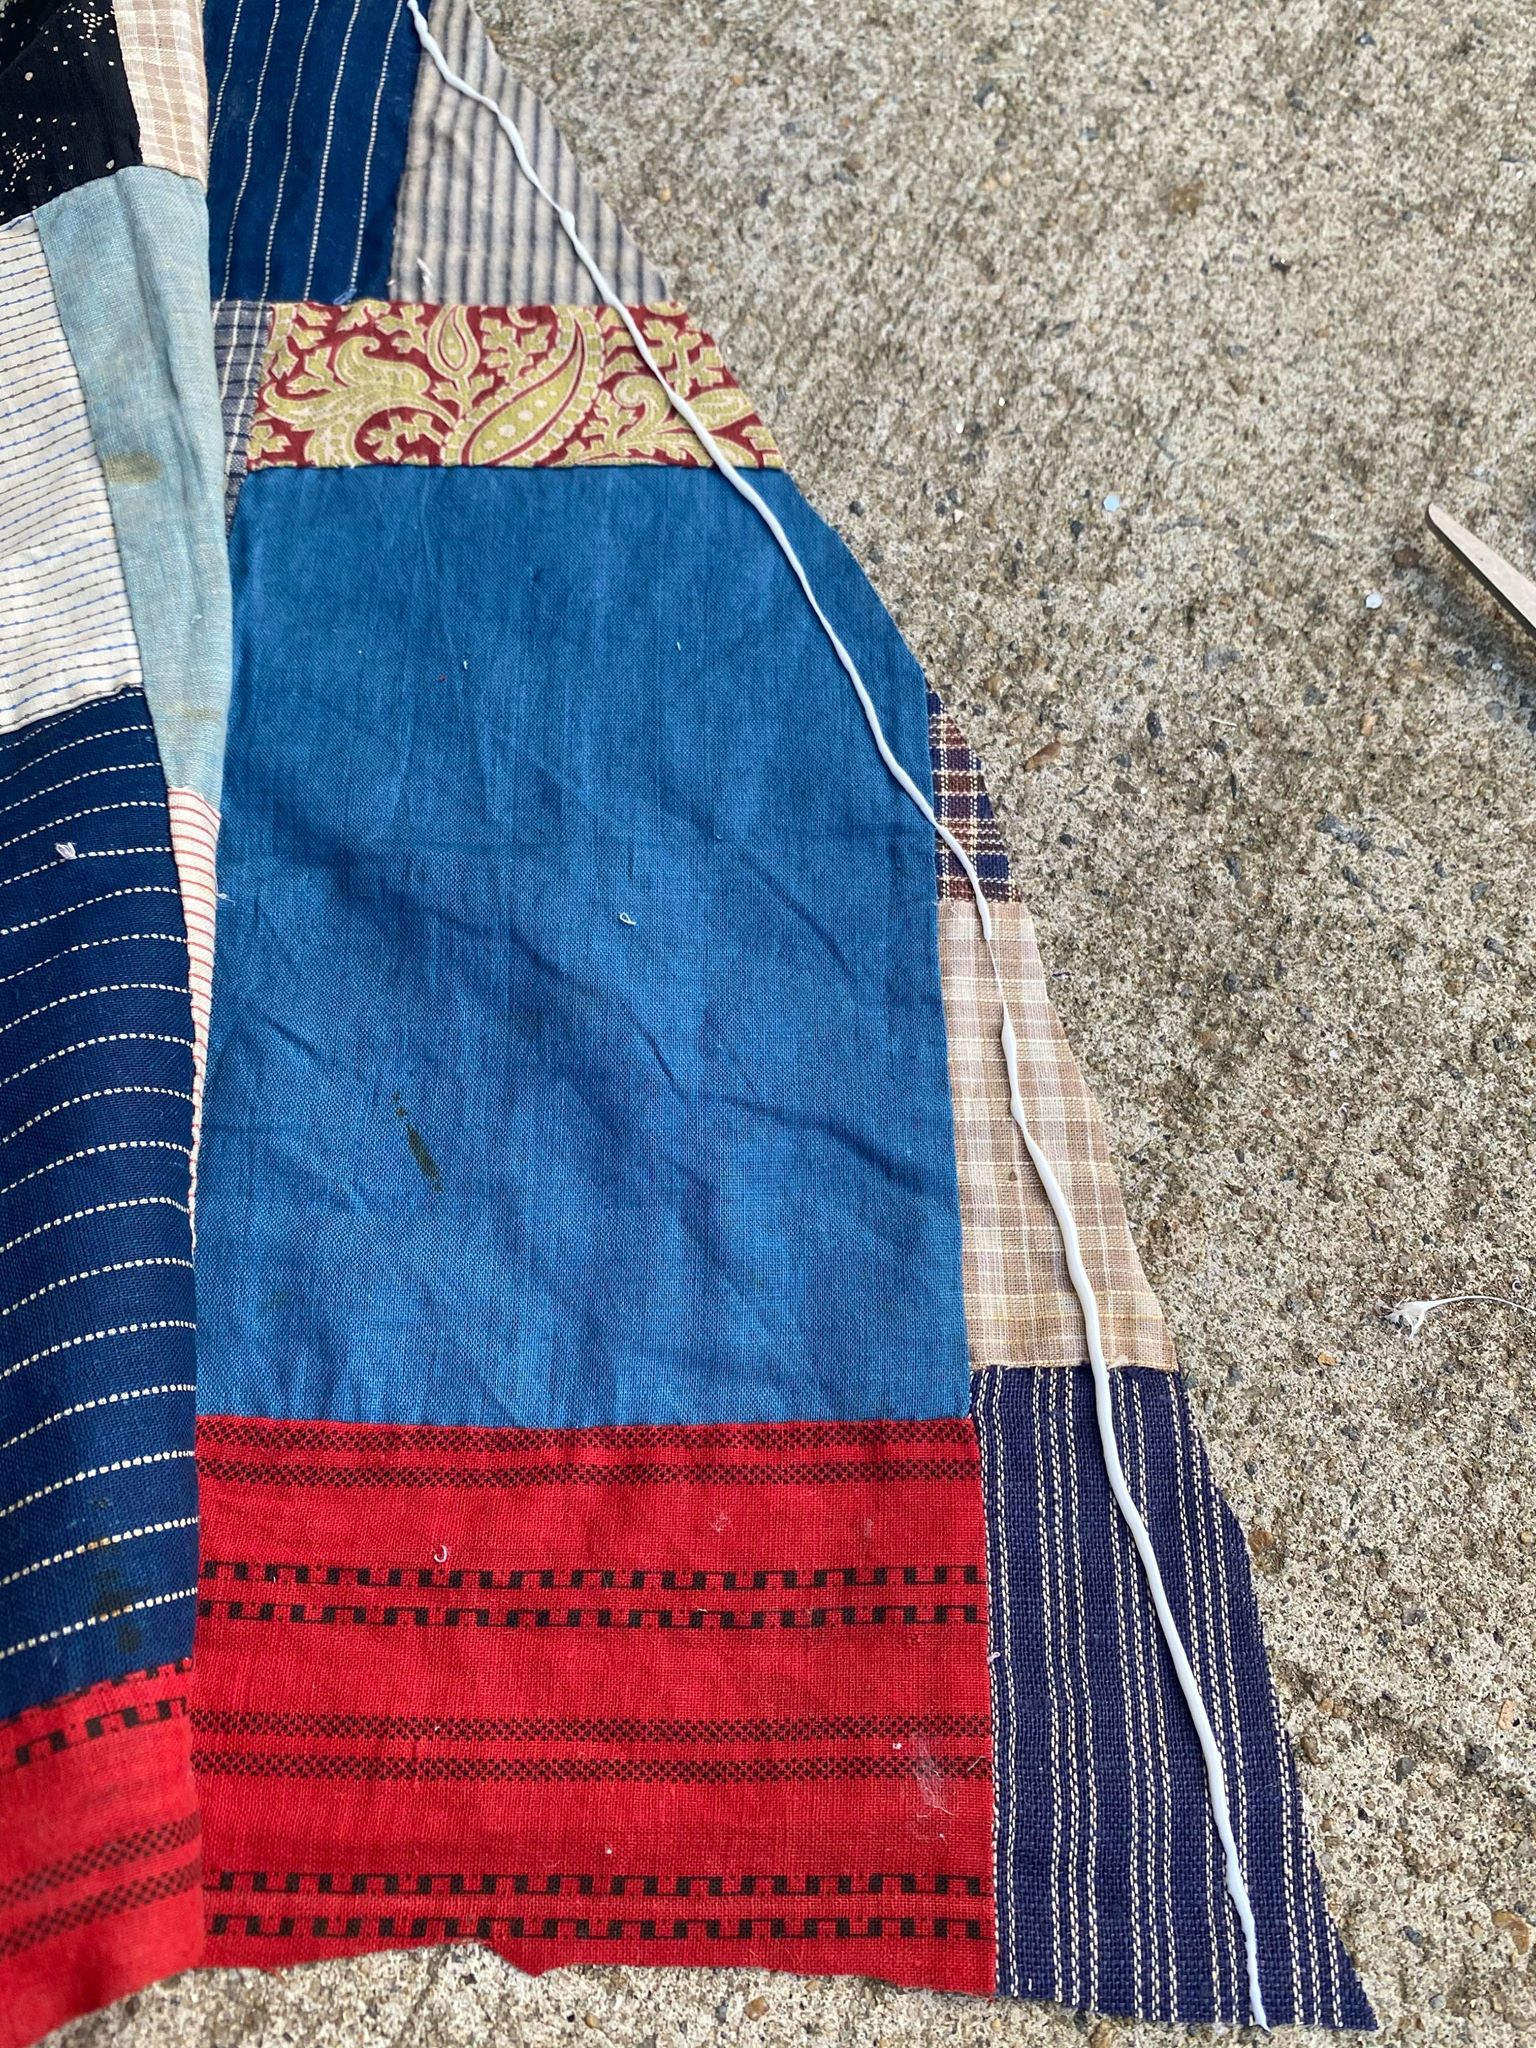
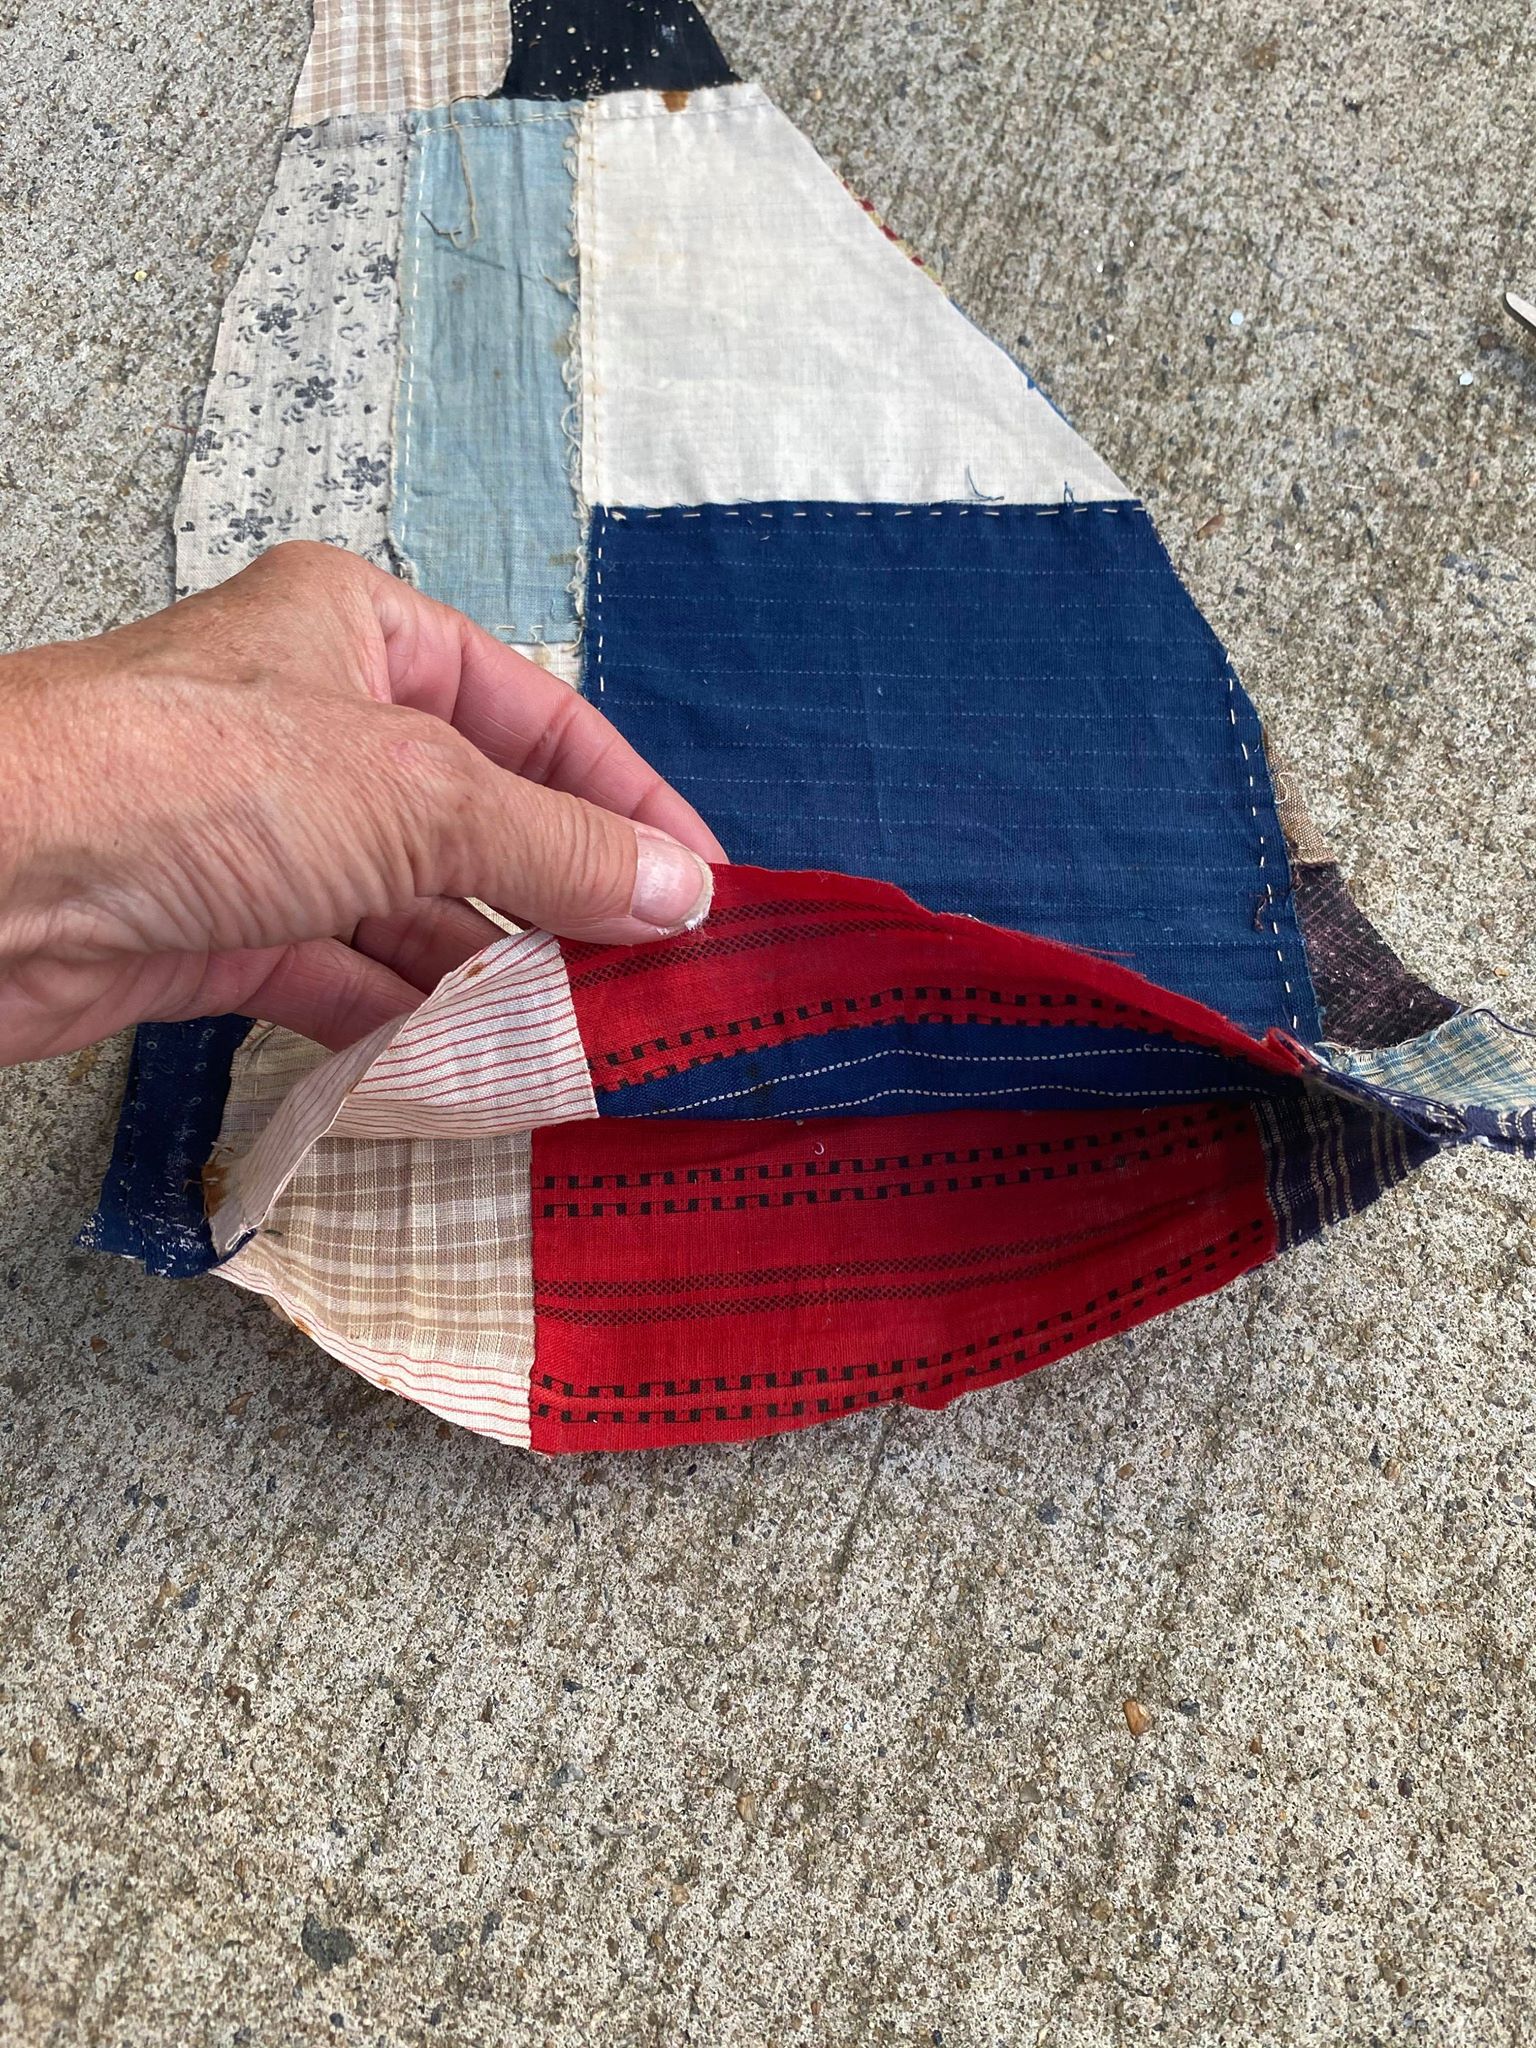
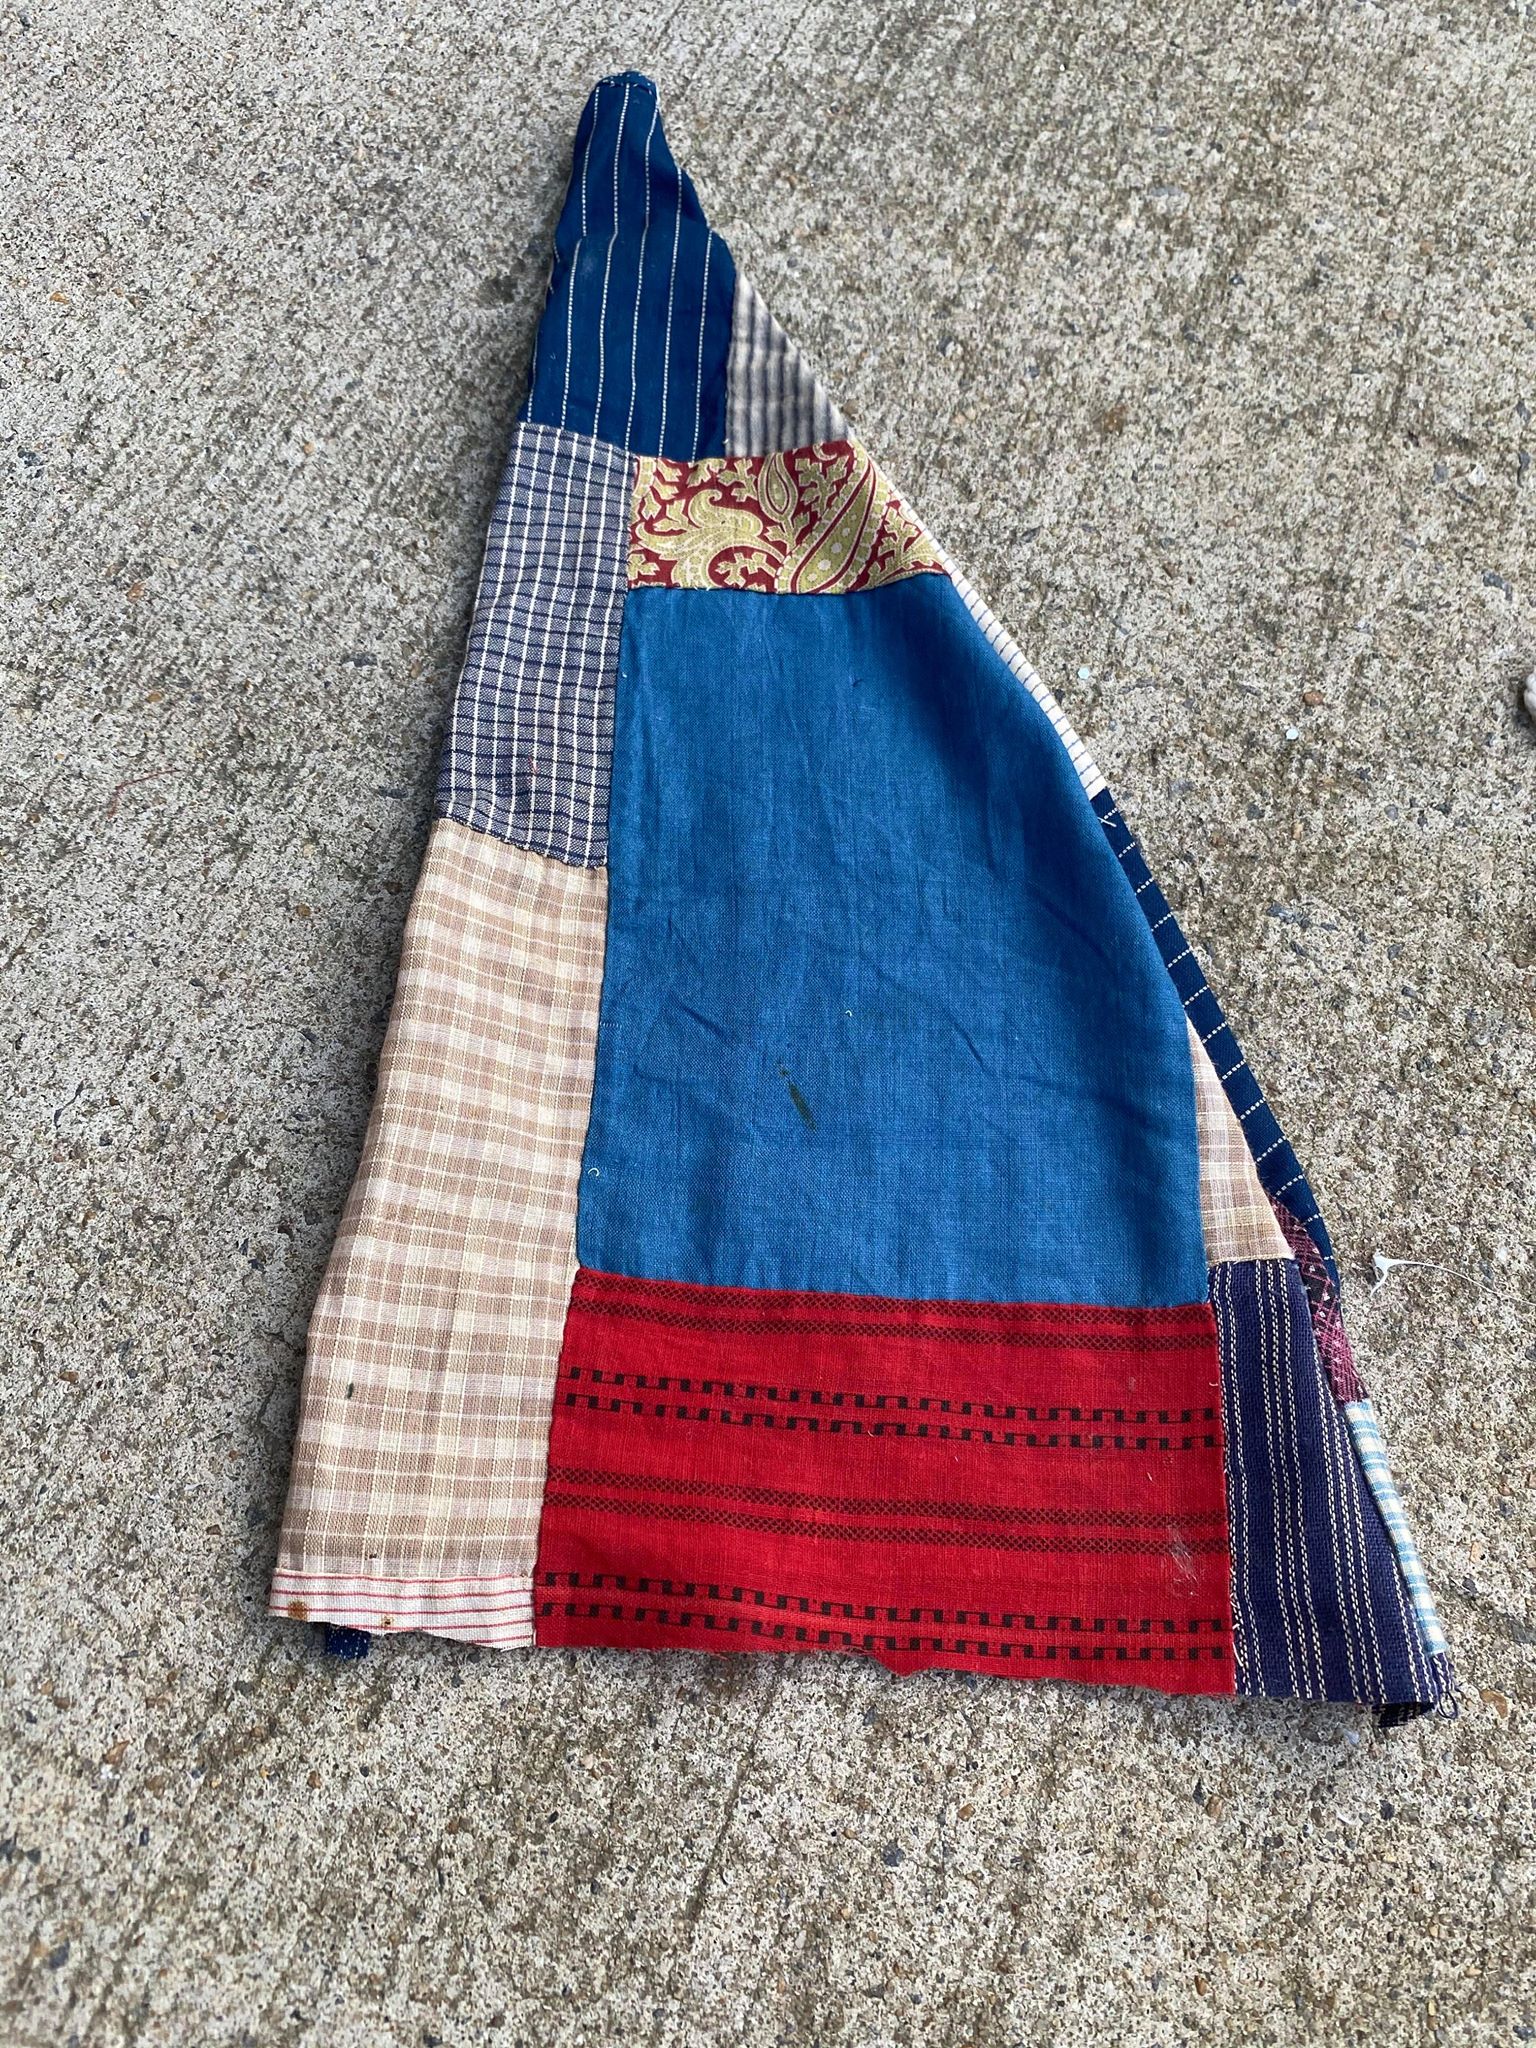
2. Material (I’m using a piece of an old quilt topper)
3. Glue gun with surebonder glue sticks
4. Twine
5. Embroidery thread and needle
6. Scissors
7. A pair of men’s white socks (I am using men’s socks I purchased from Walmart)
8. Polyester fiberfill
9. Googly eyes
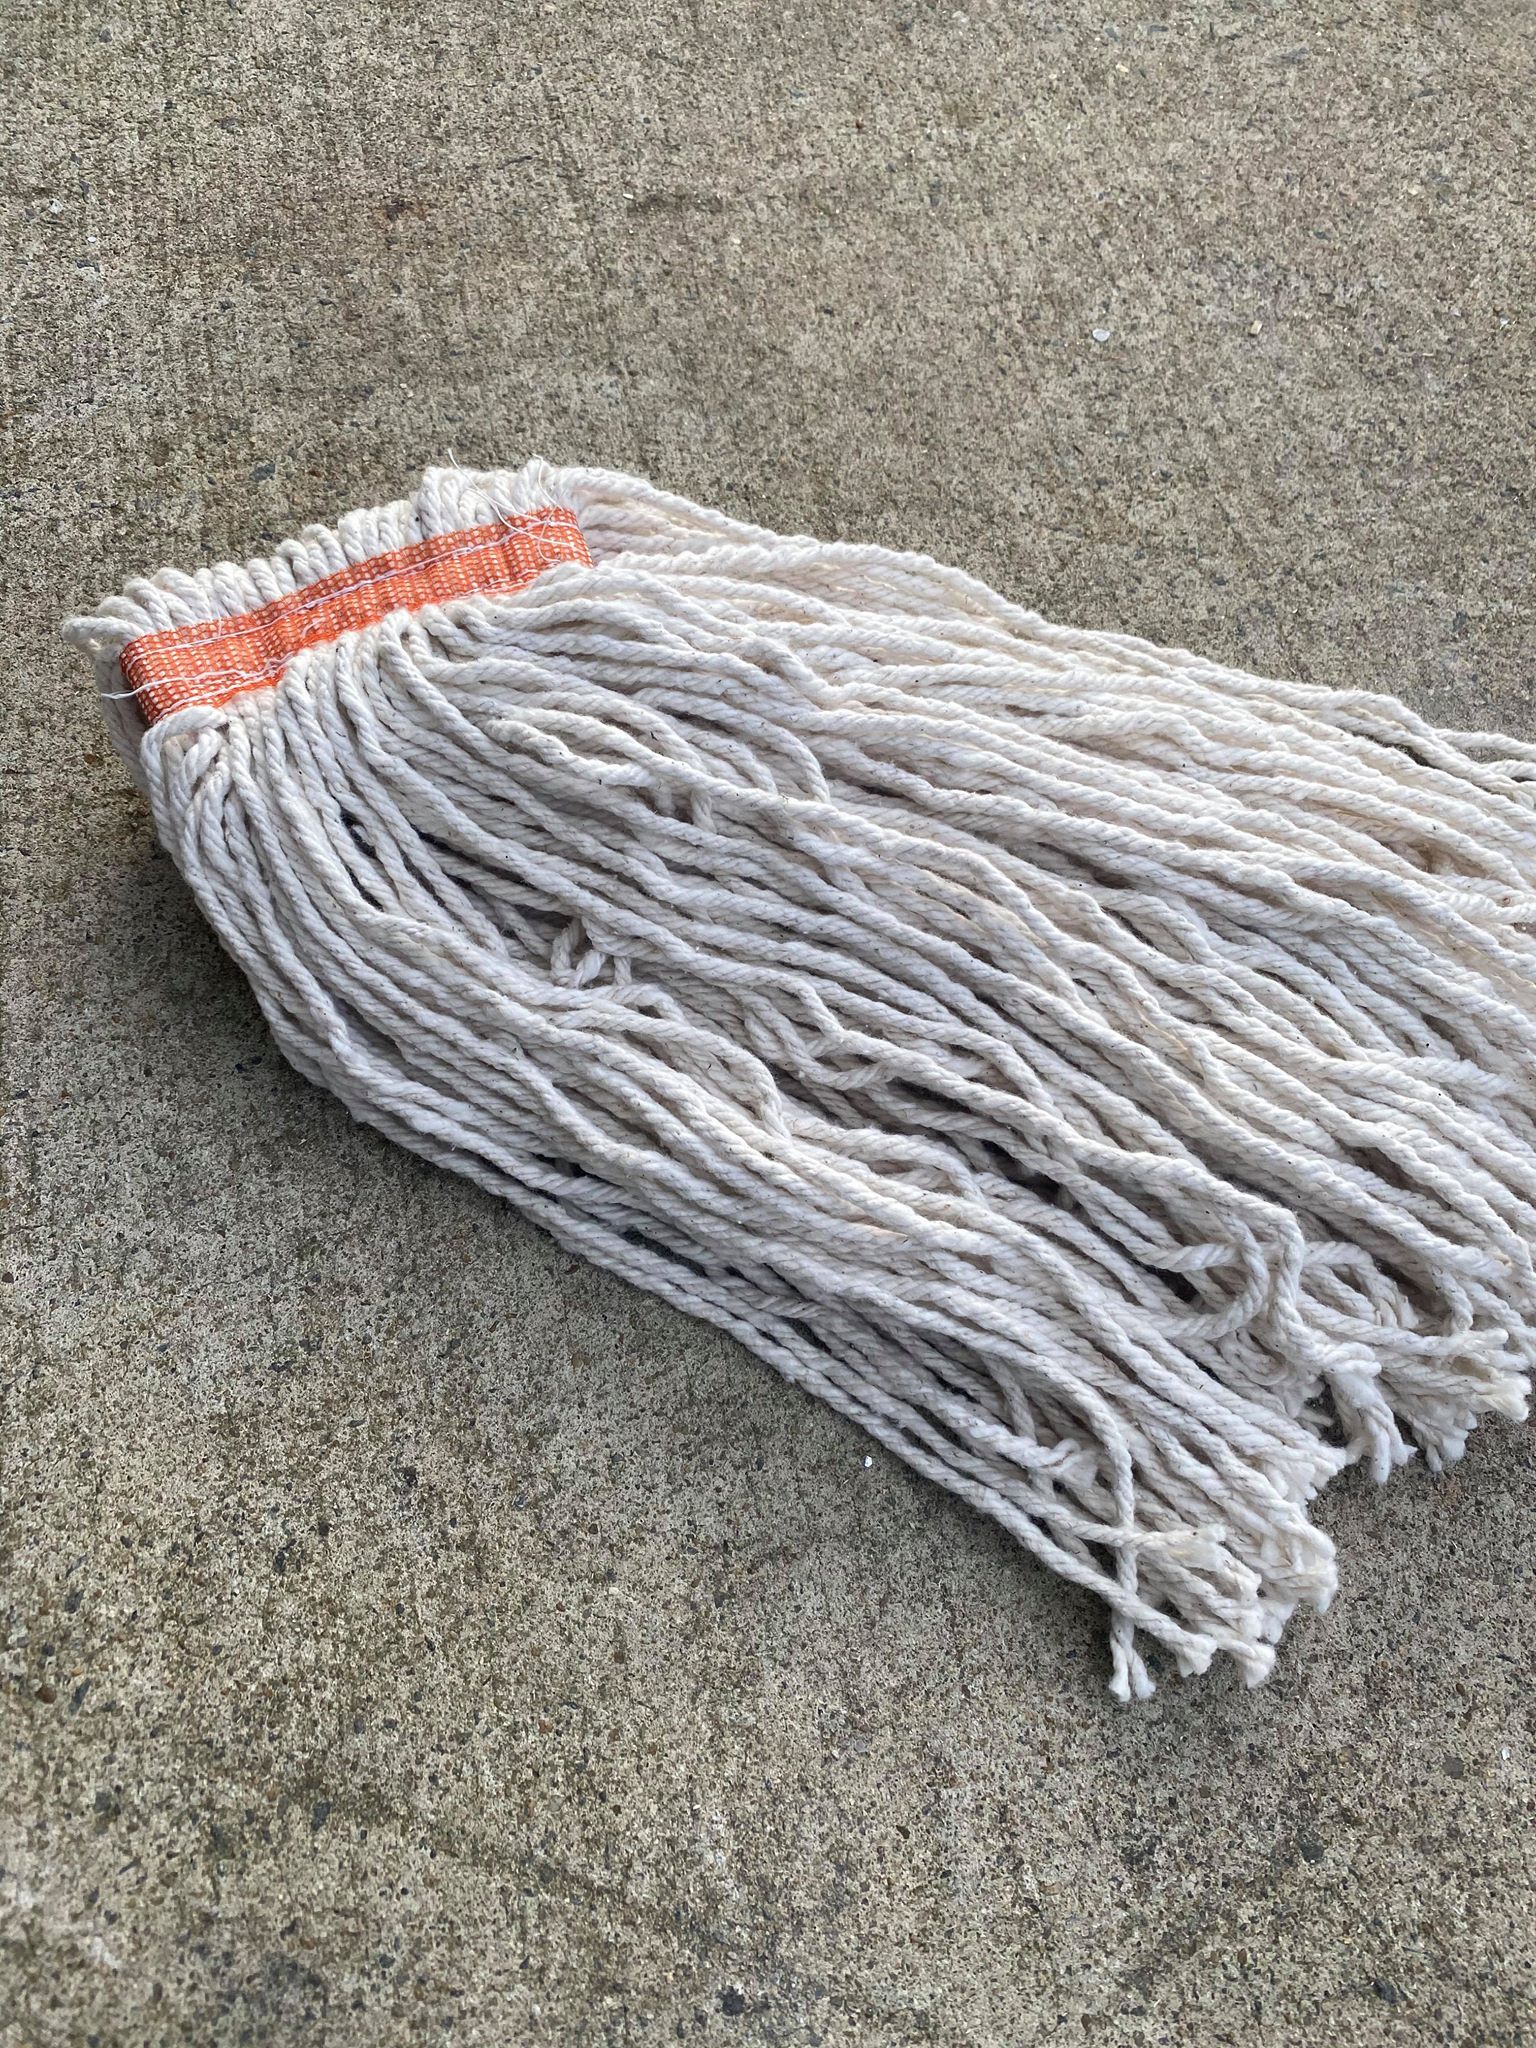
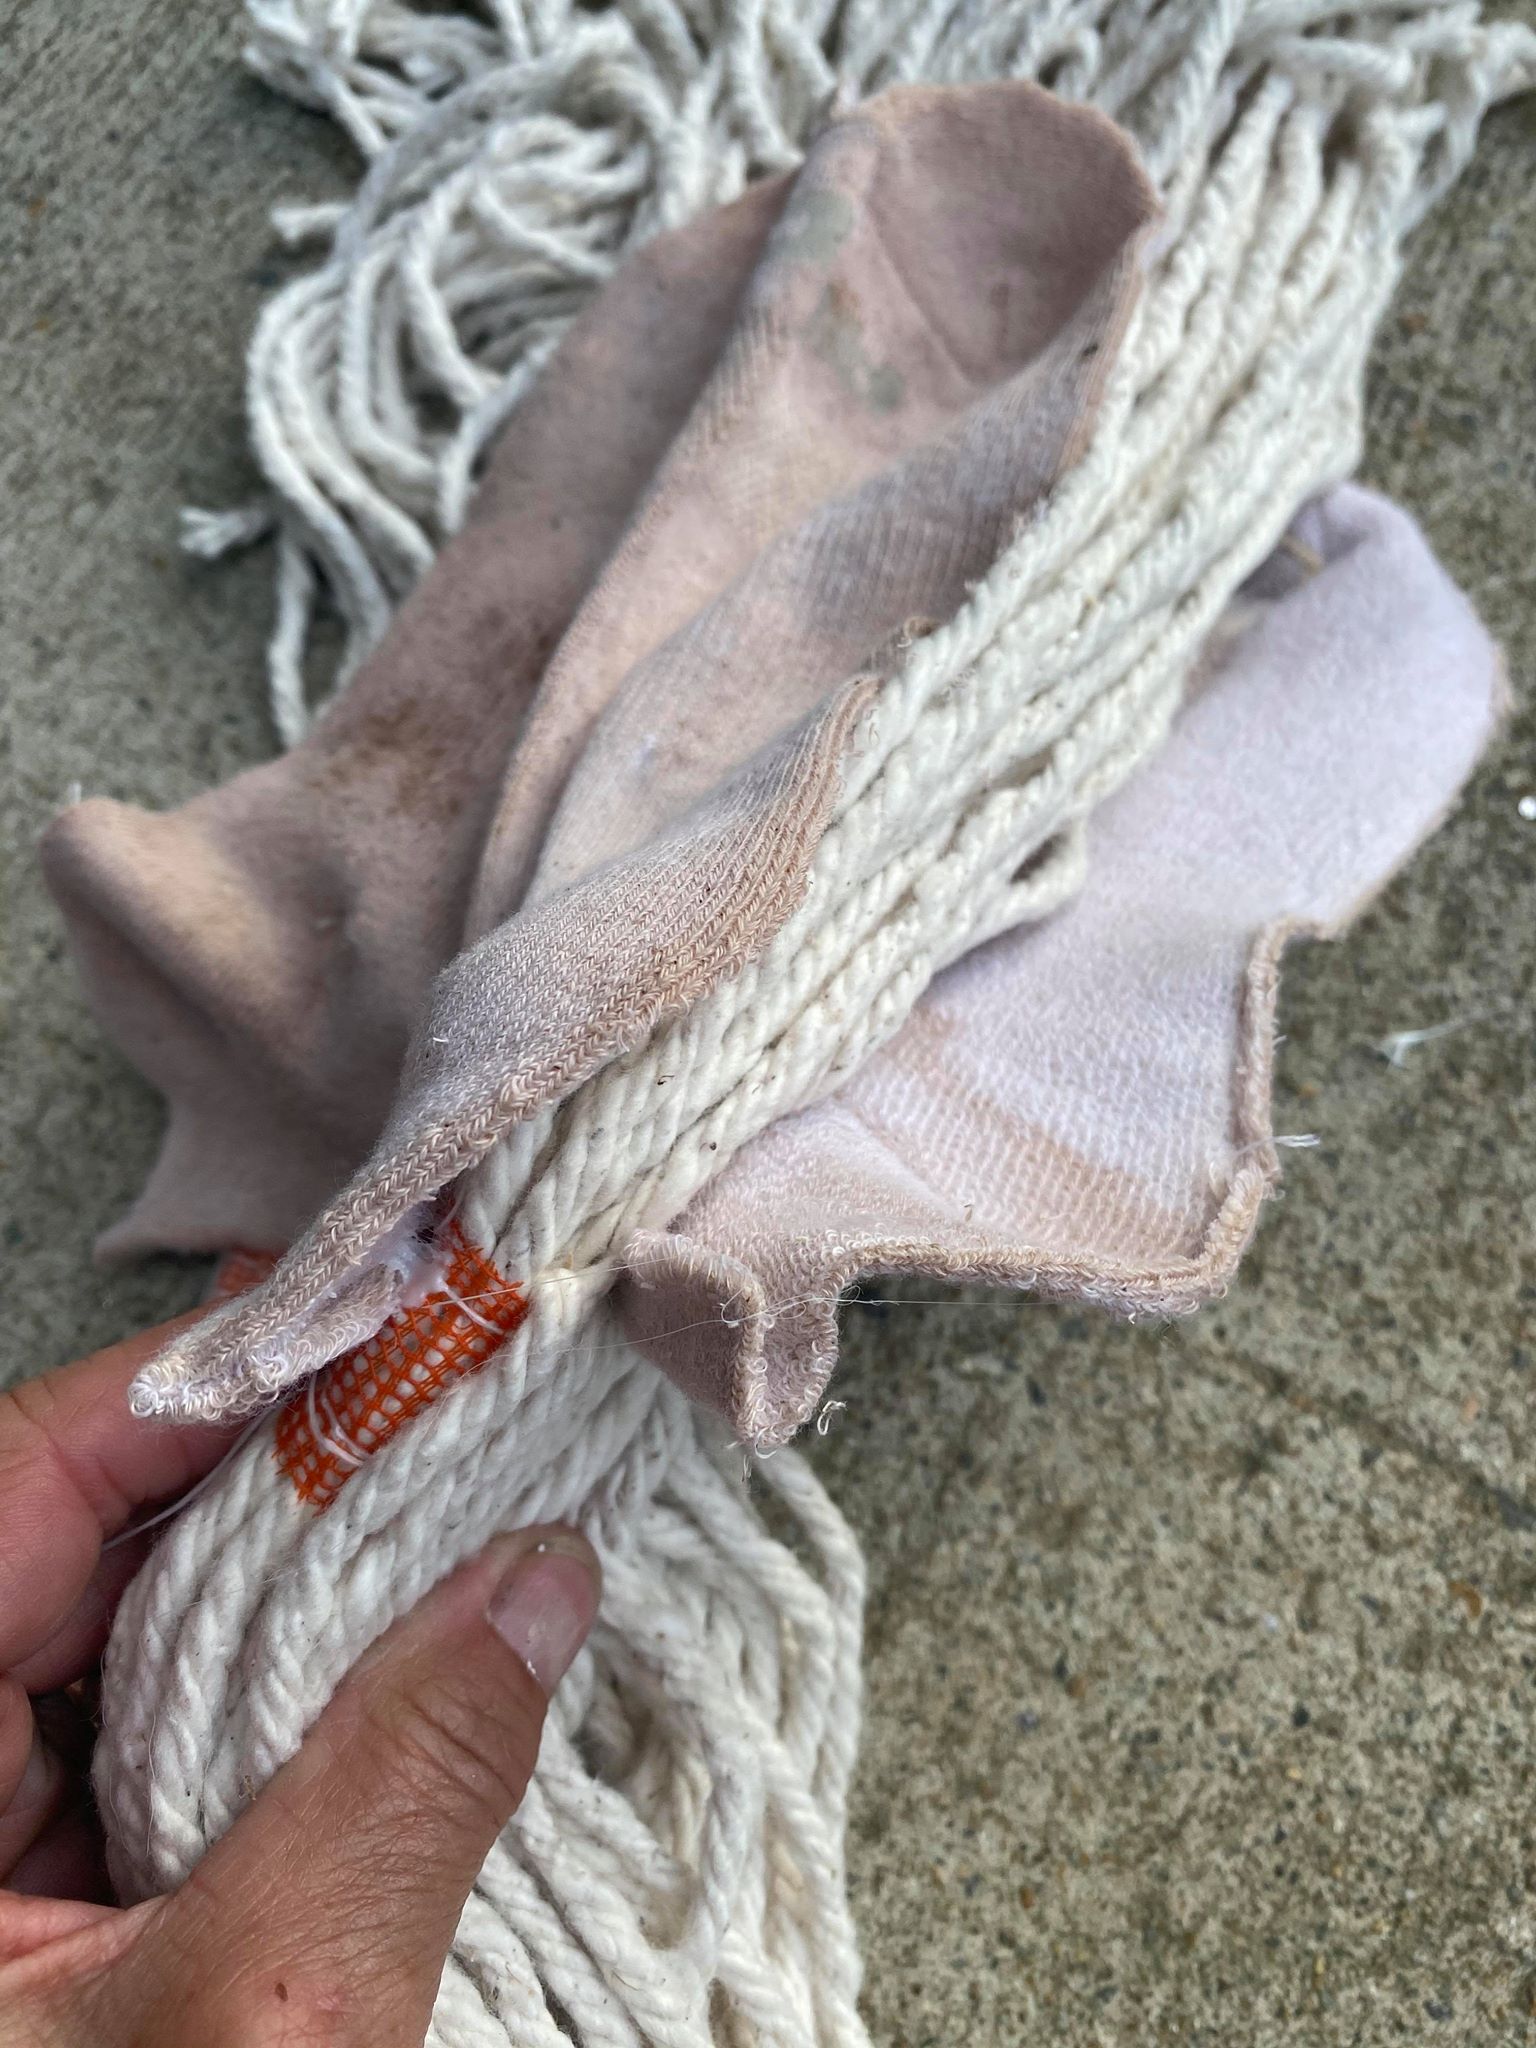
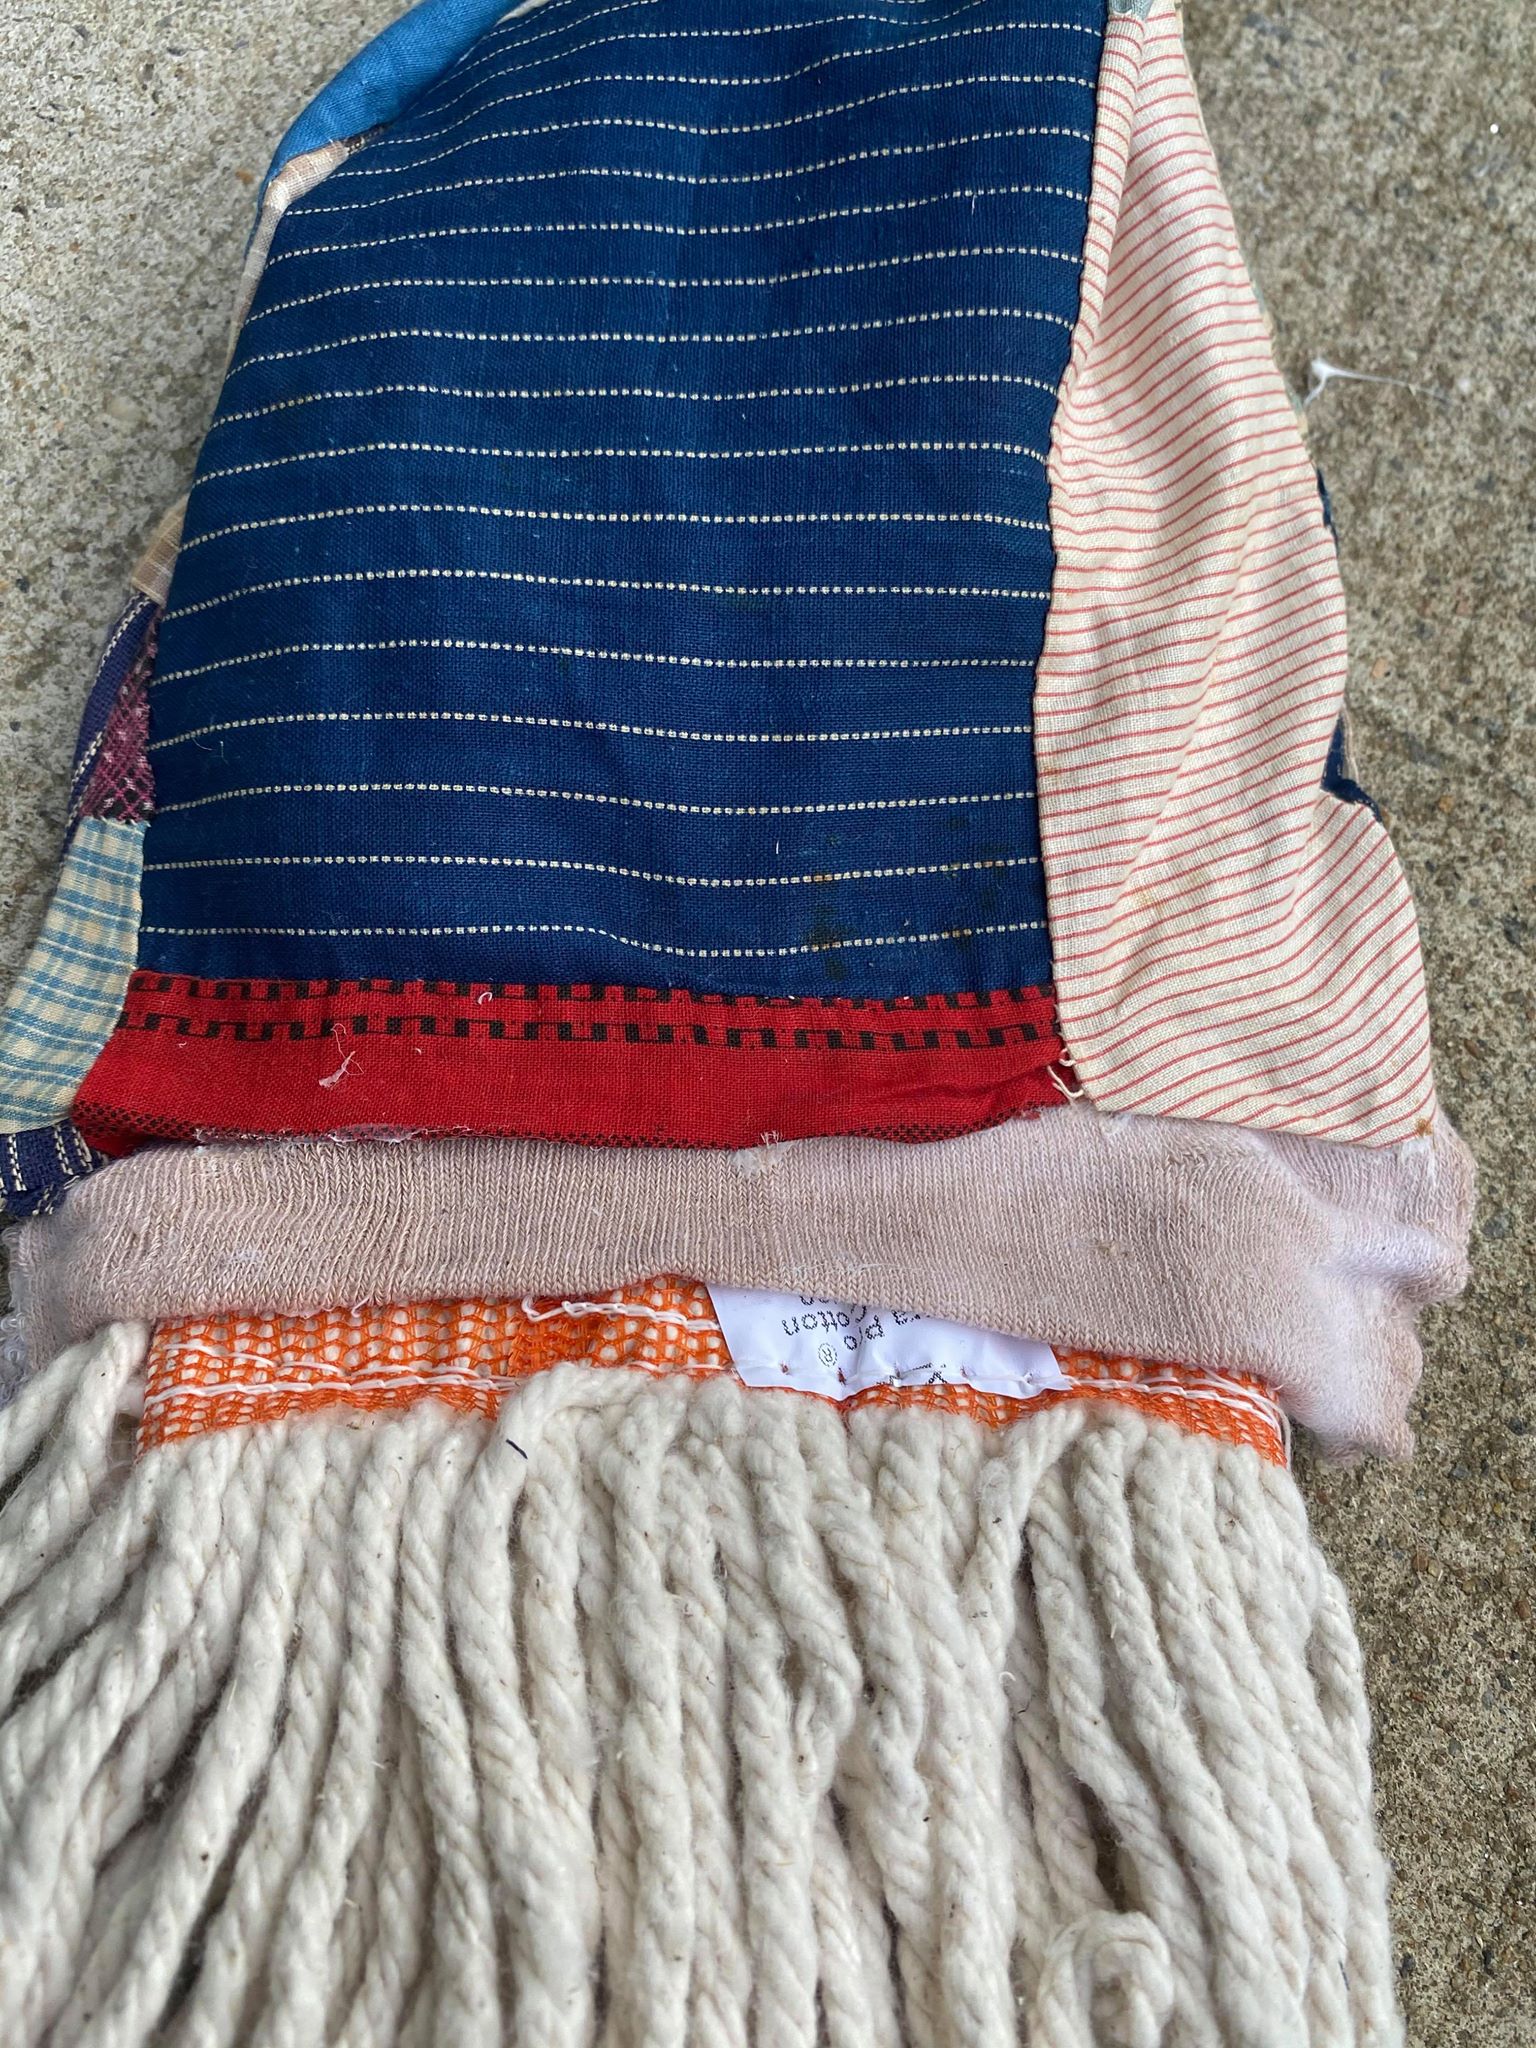
You can download a PDF of the supply list at the bottom of this blog post! I ordered my industrial mop from amazon. You will want to spread out the mop.

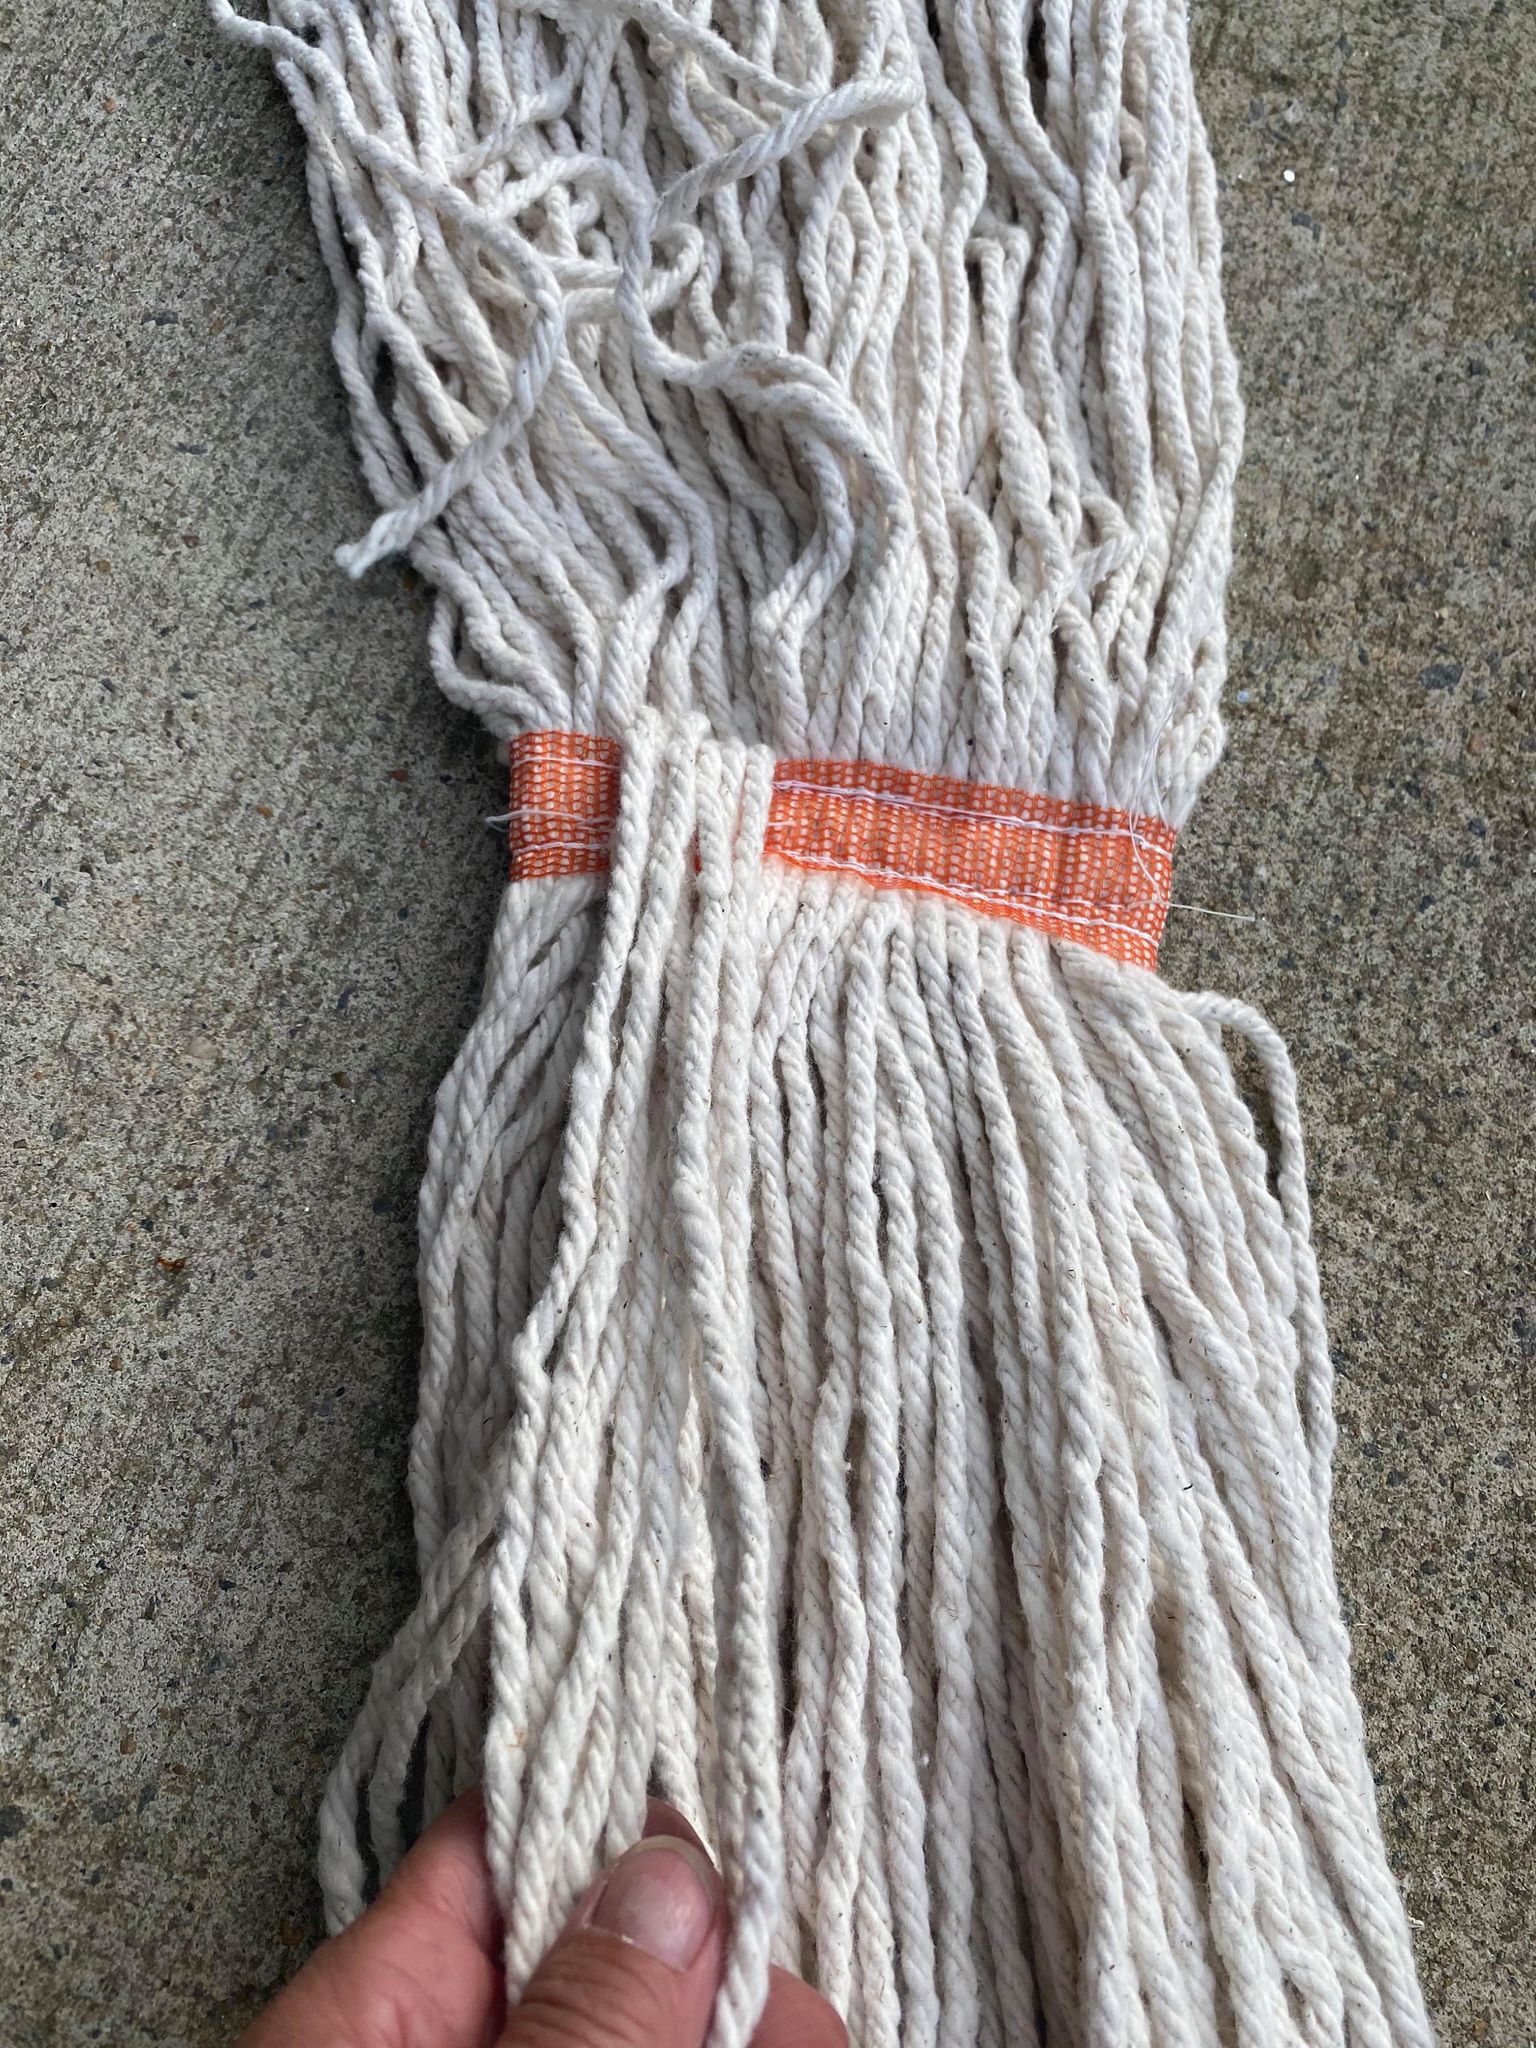
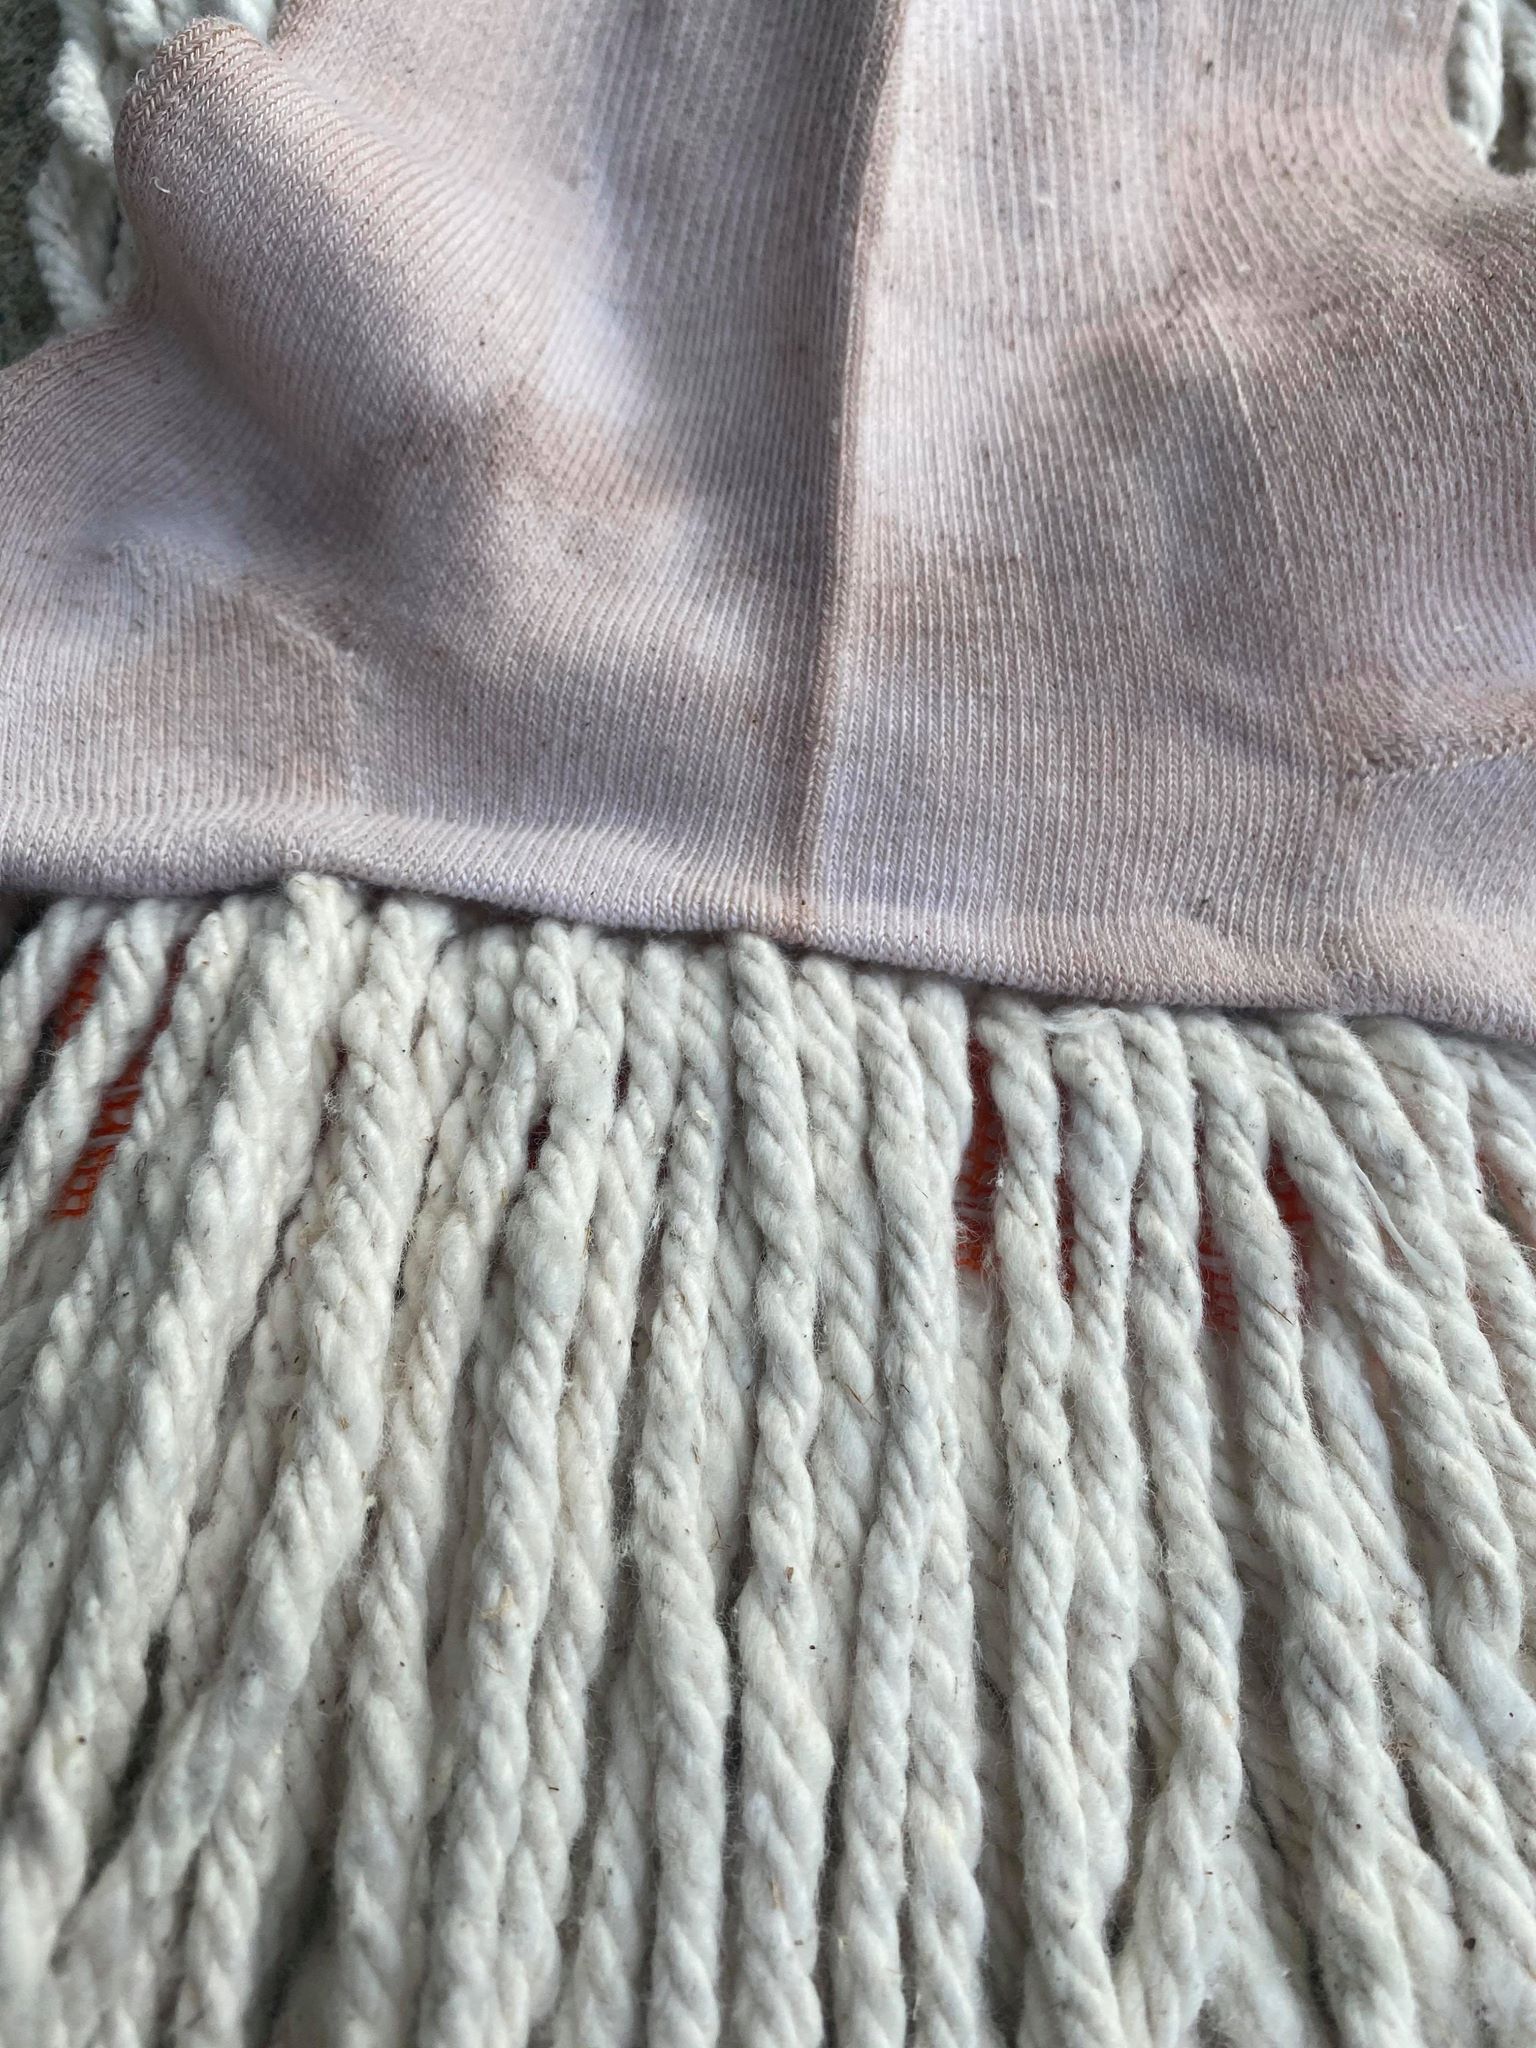
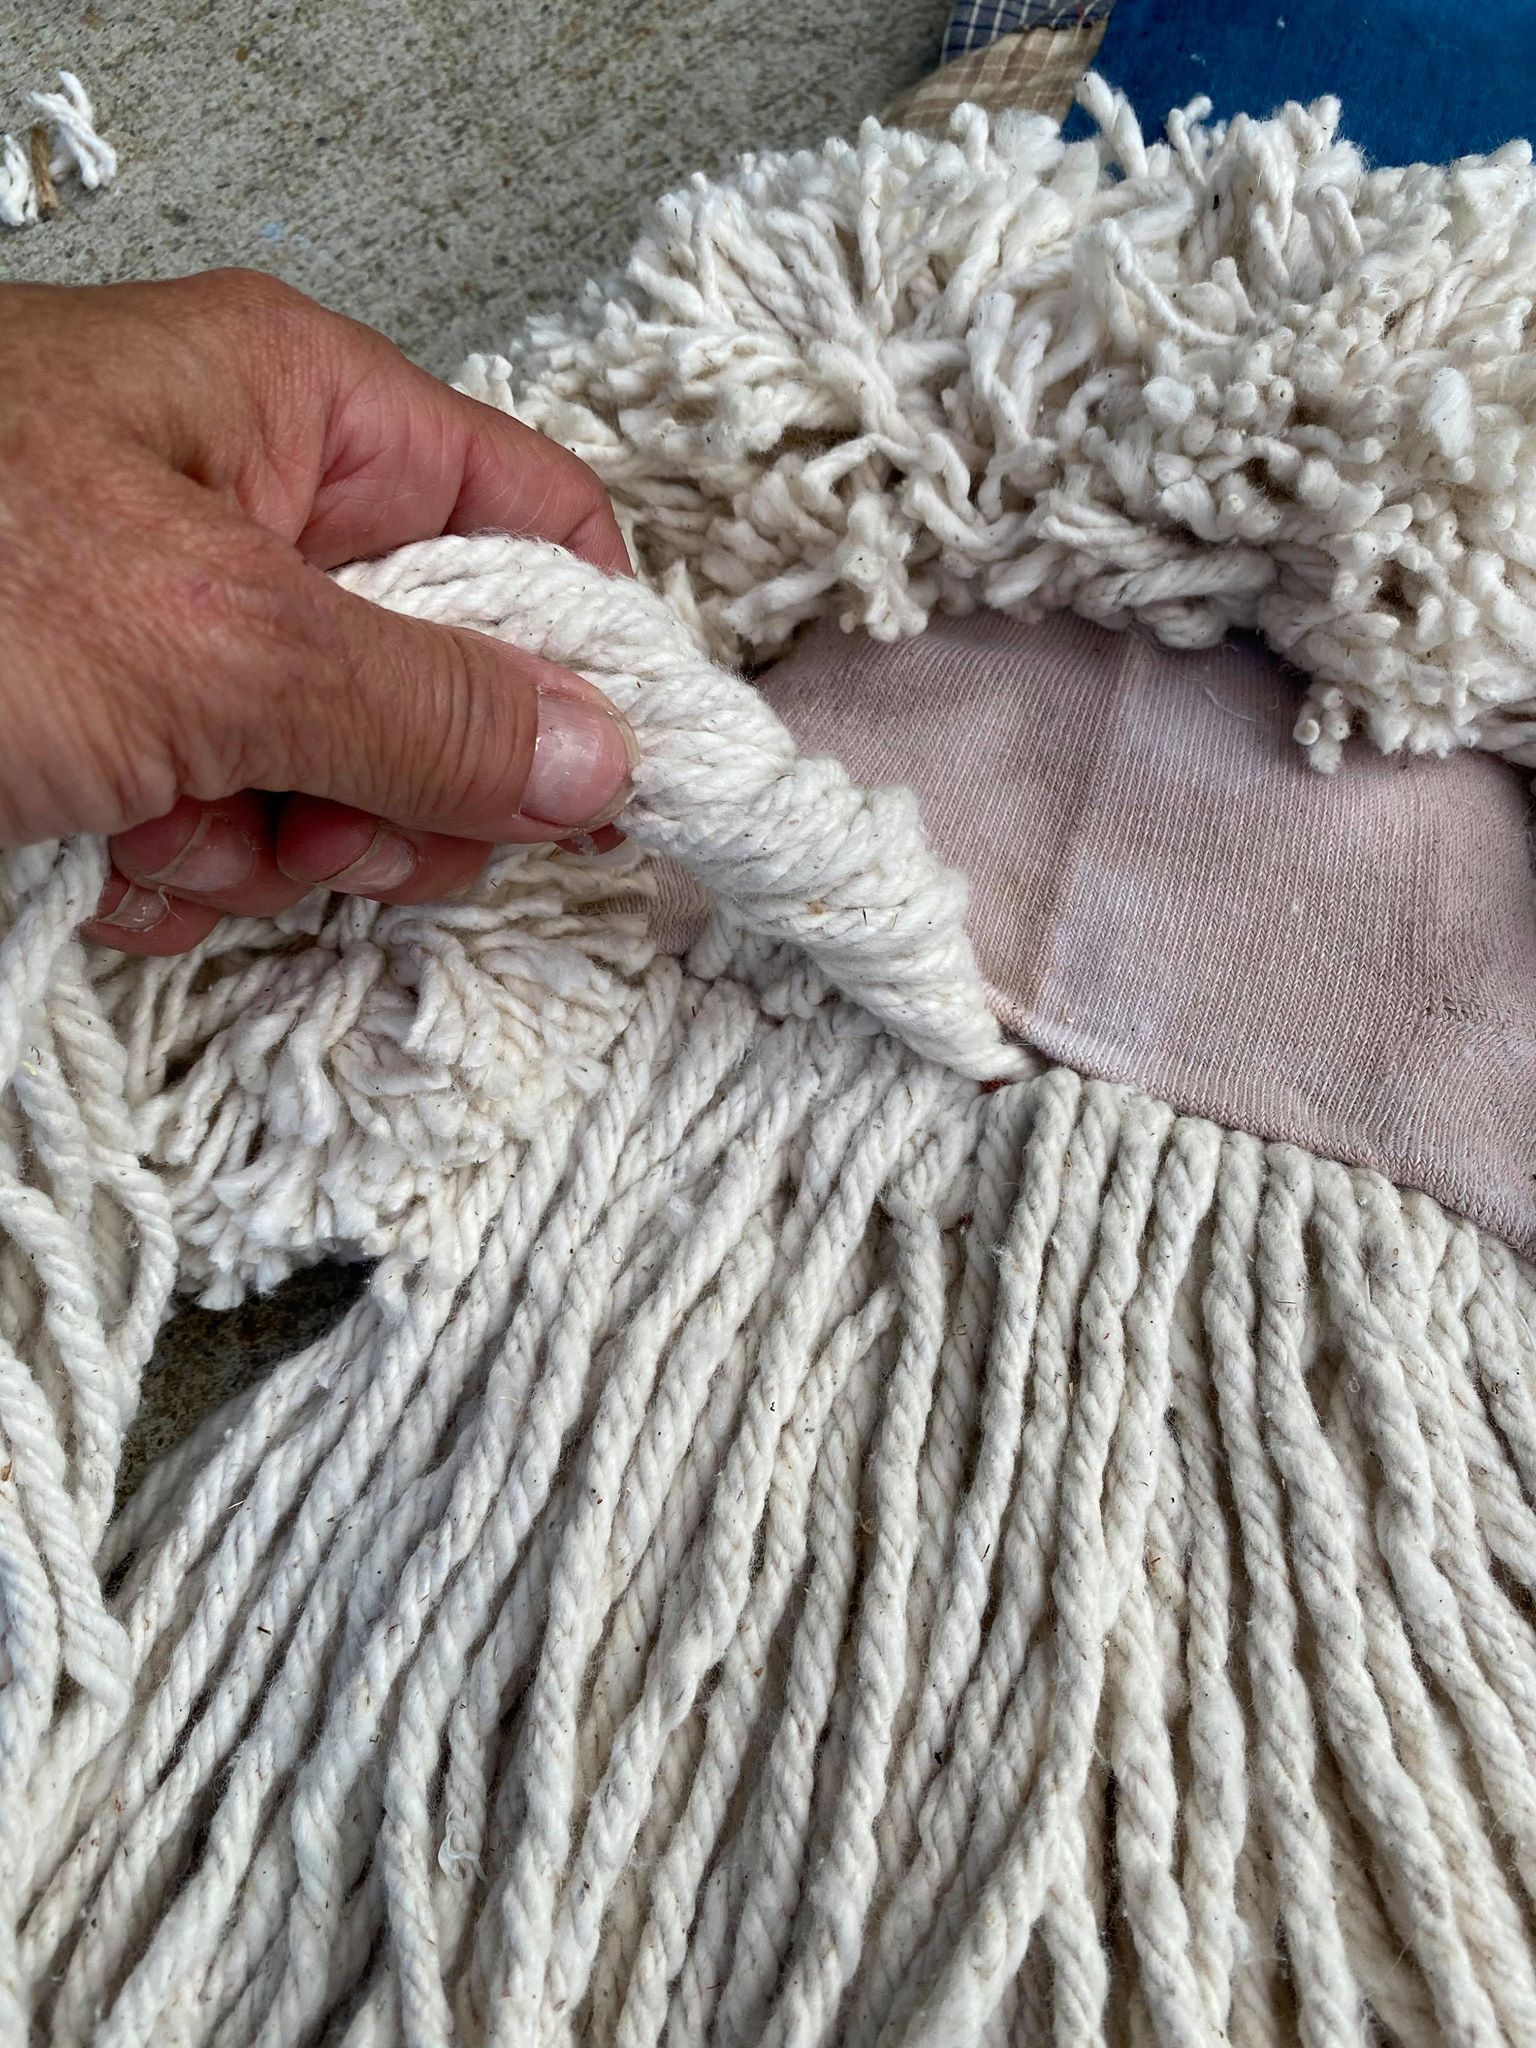
I took a few strands from the top of the mop and brought them down to cover the orange strip.
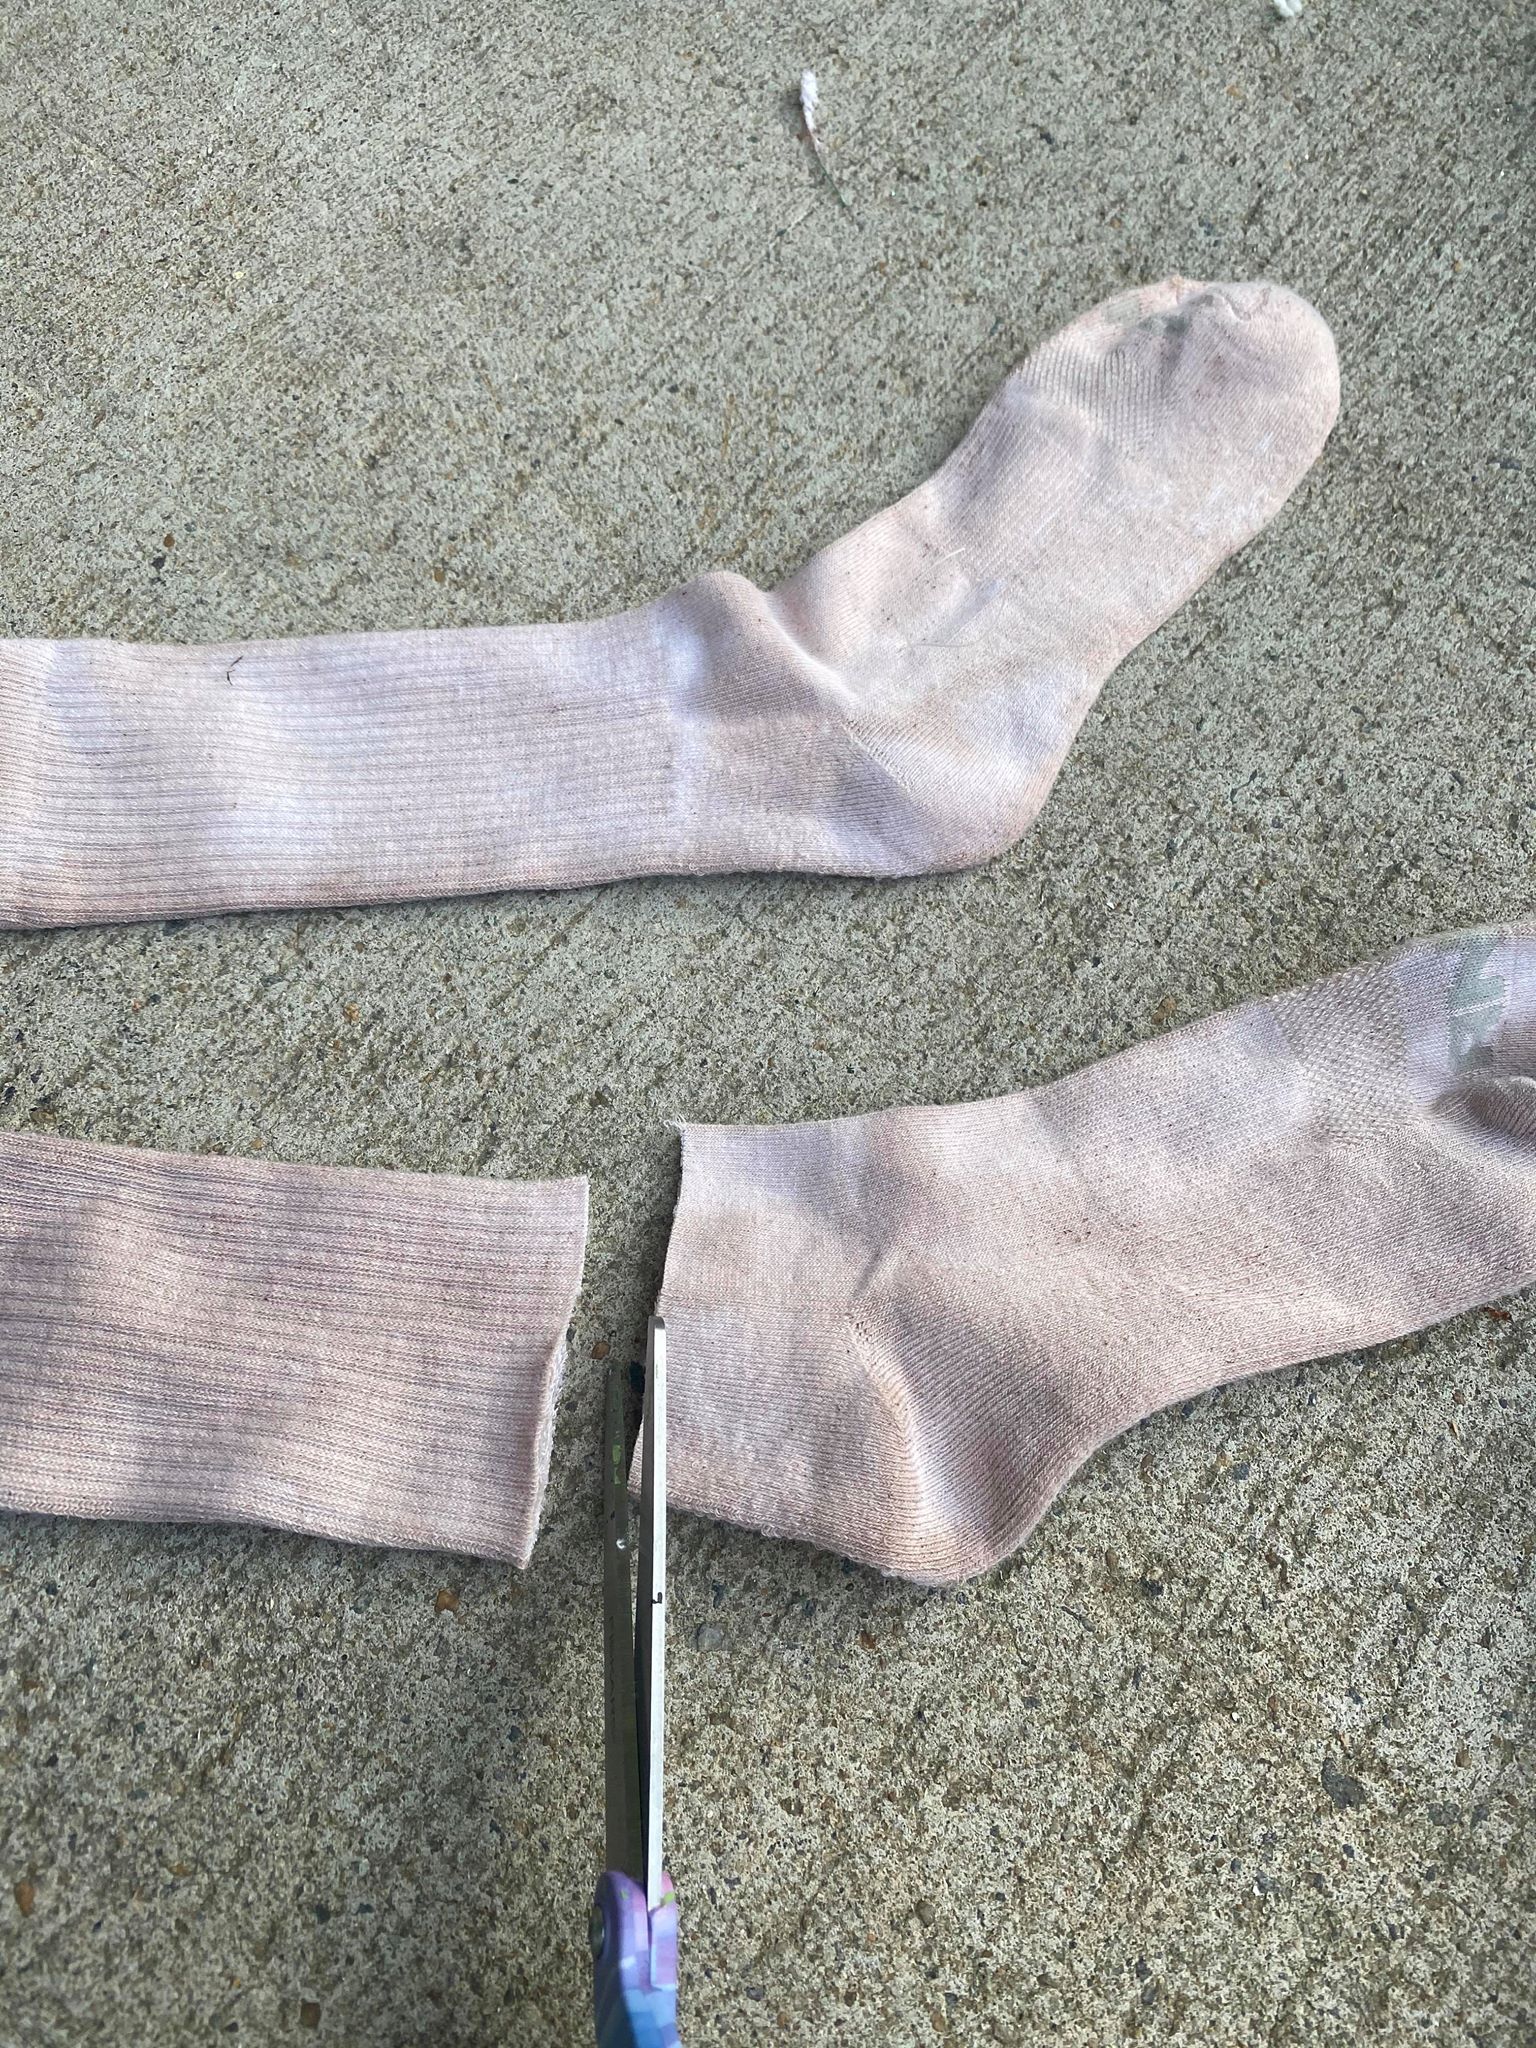
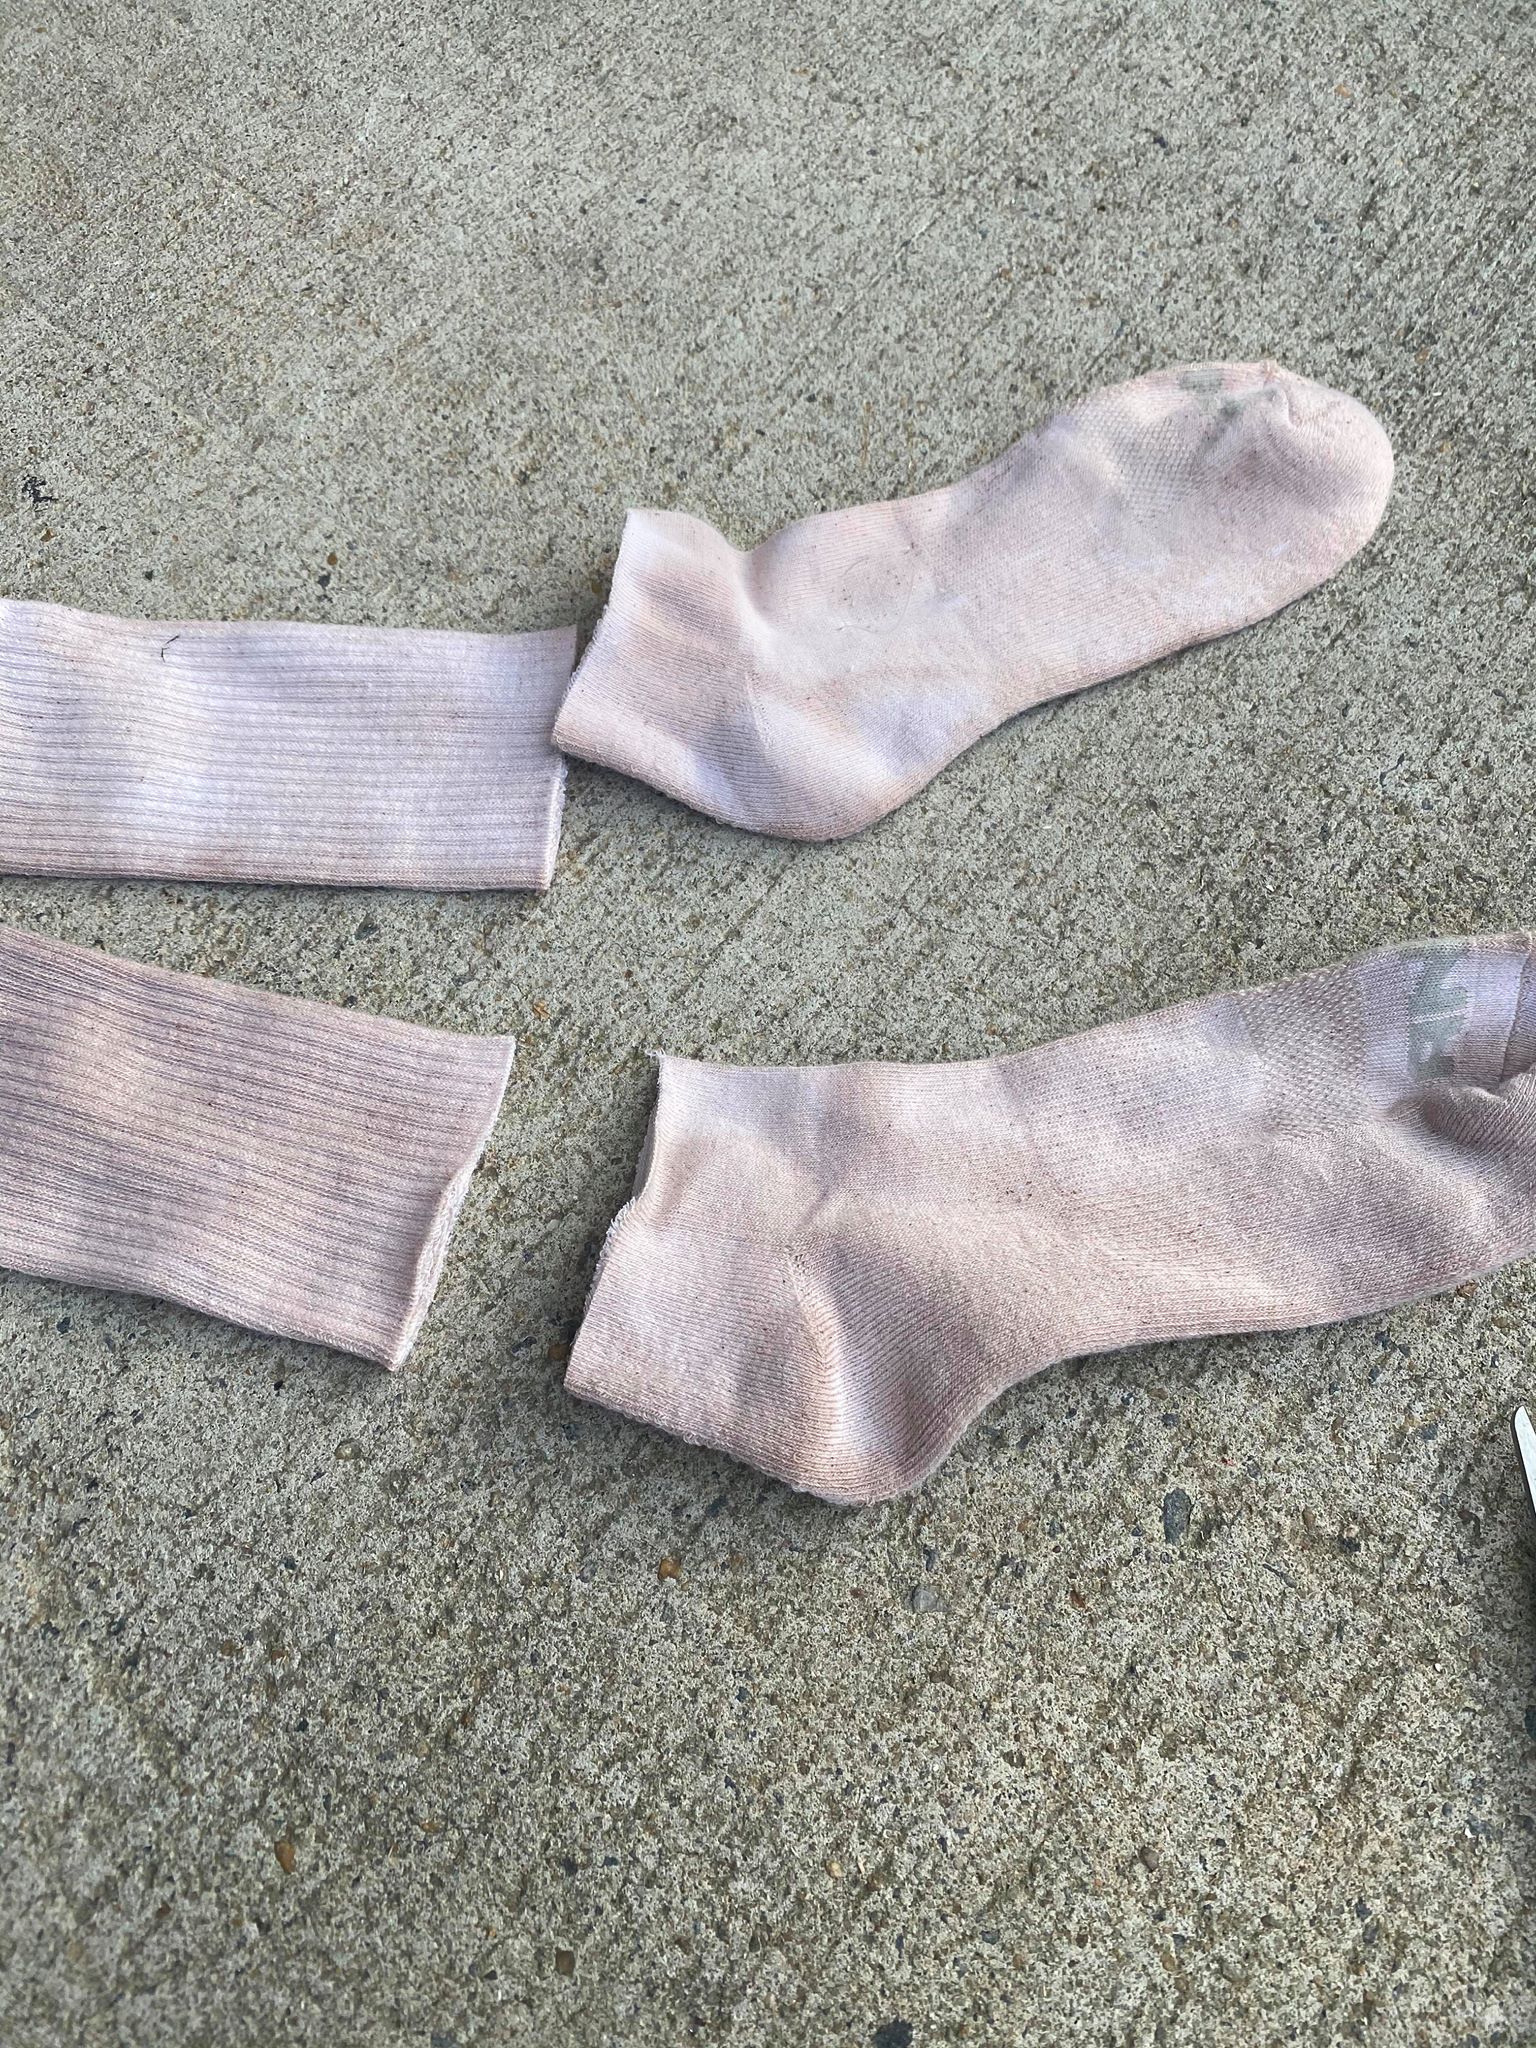
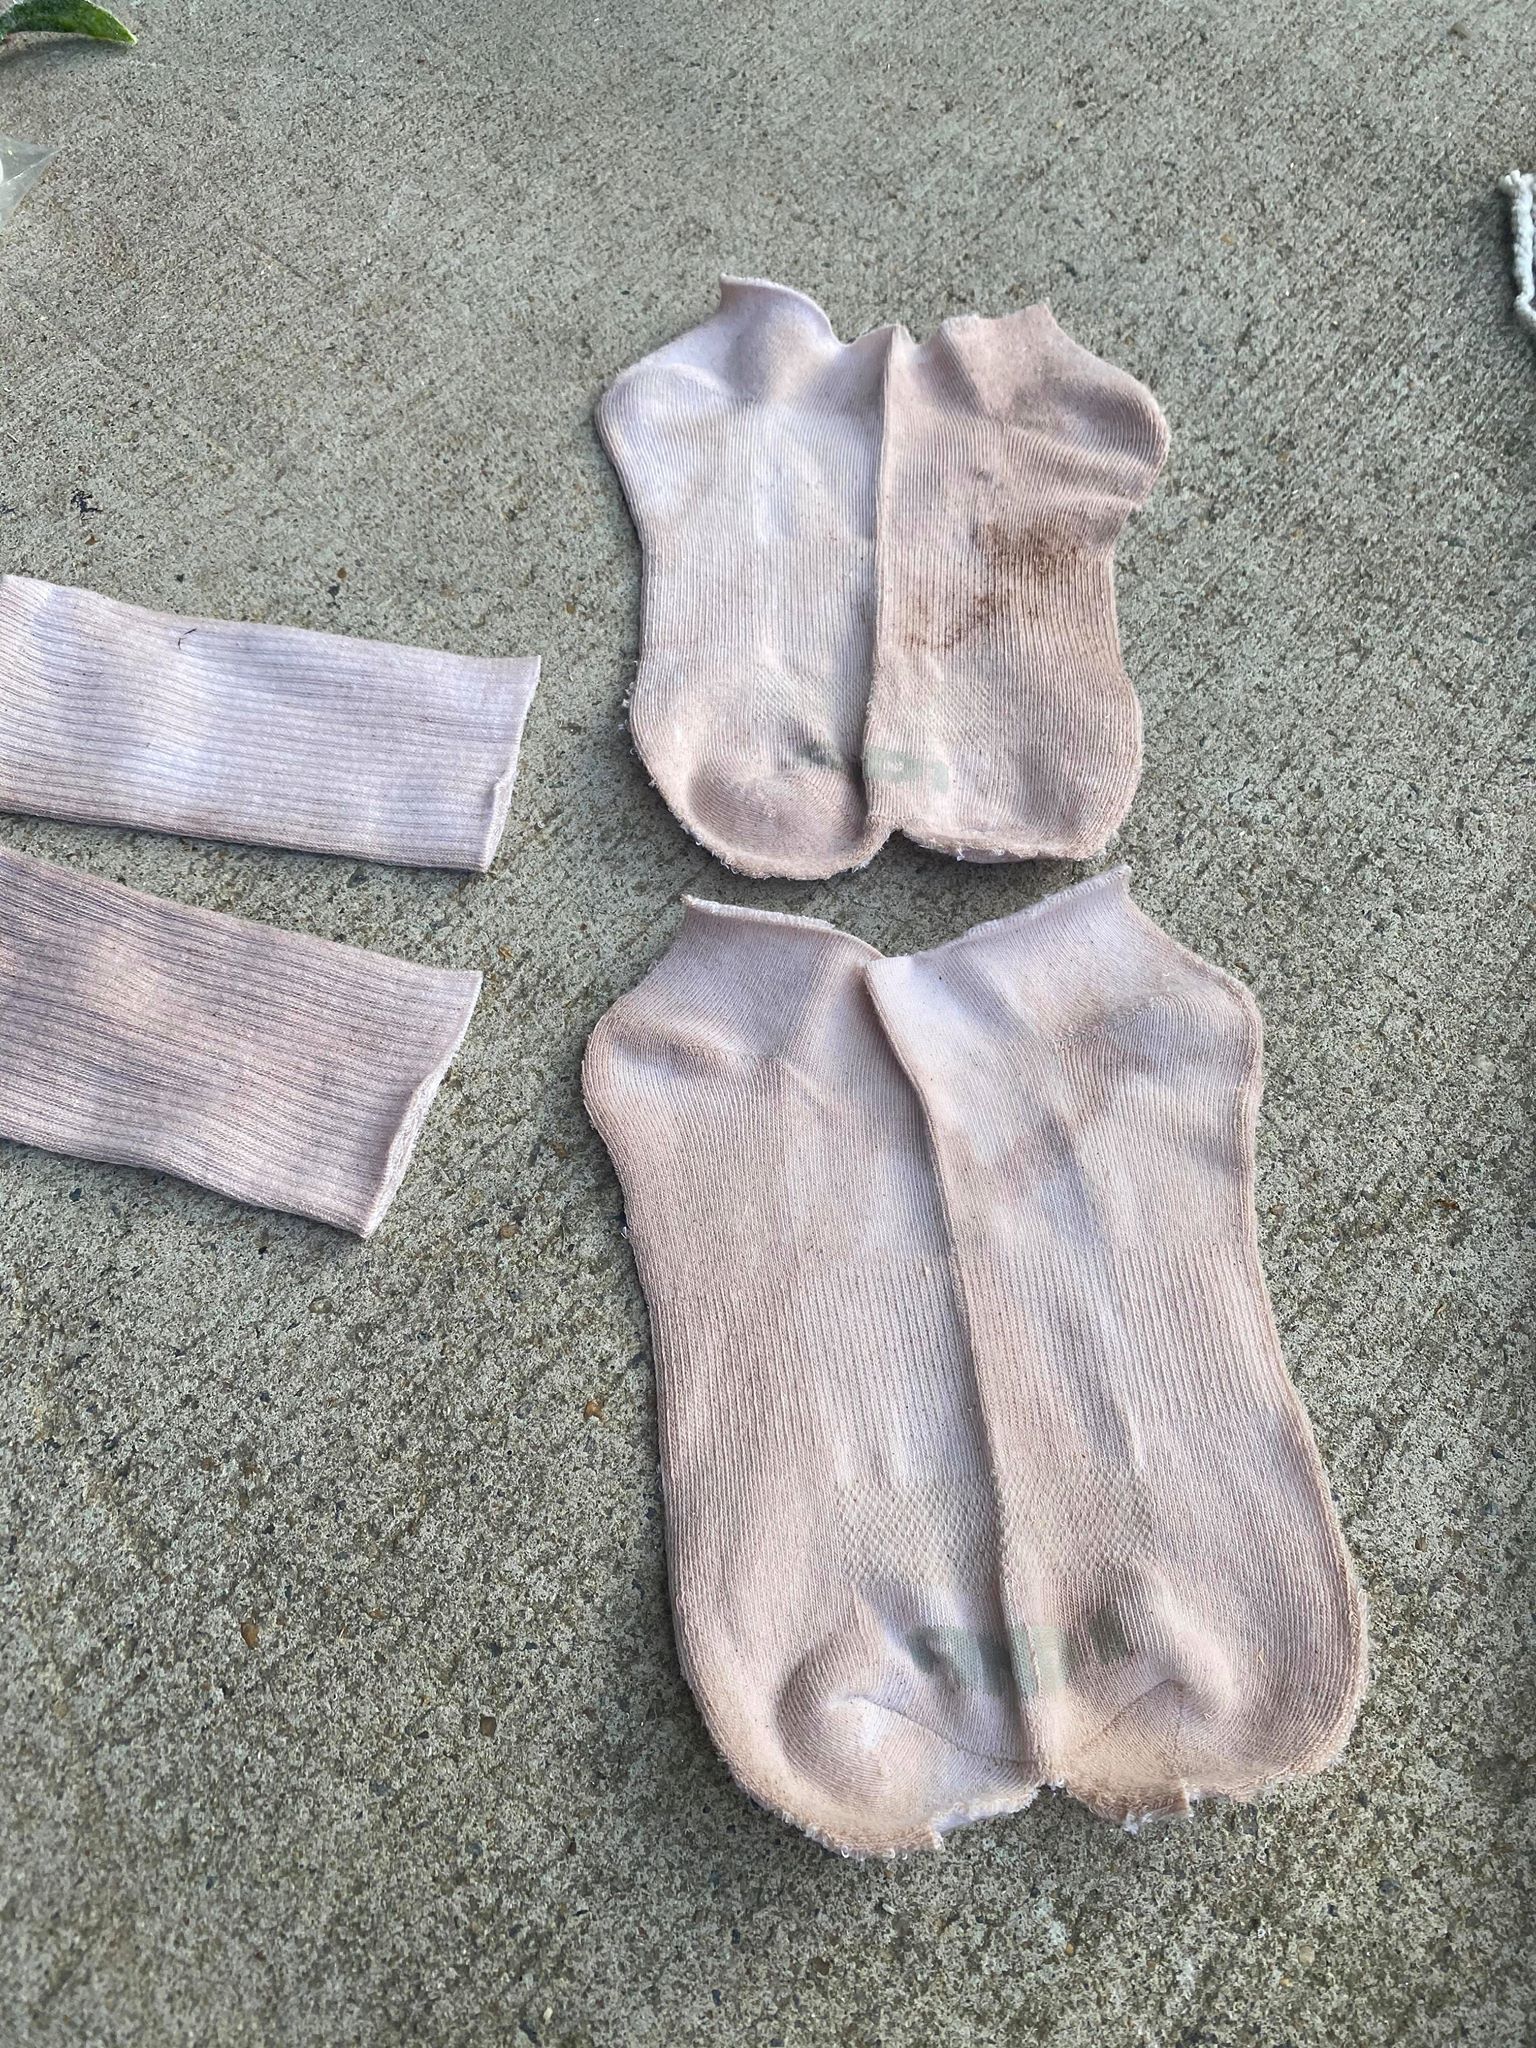
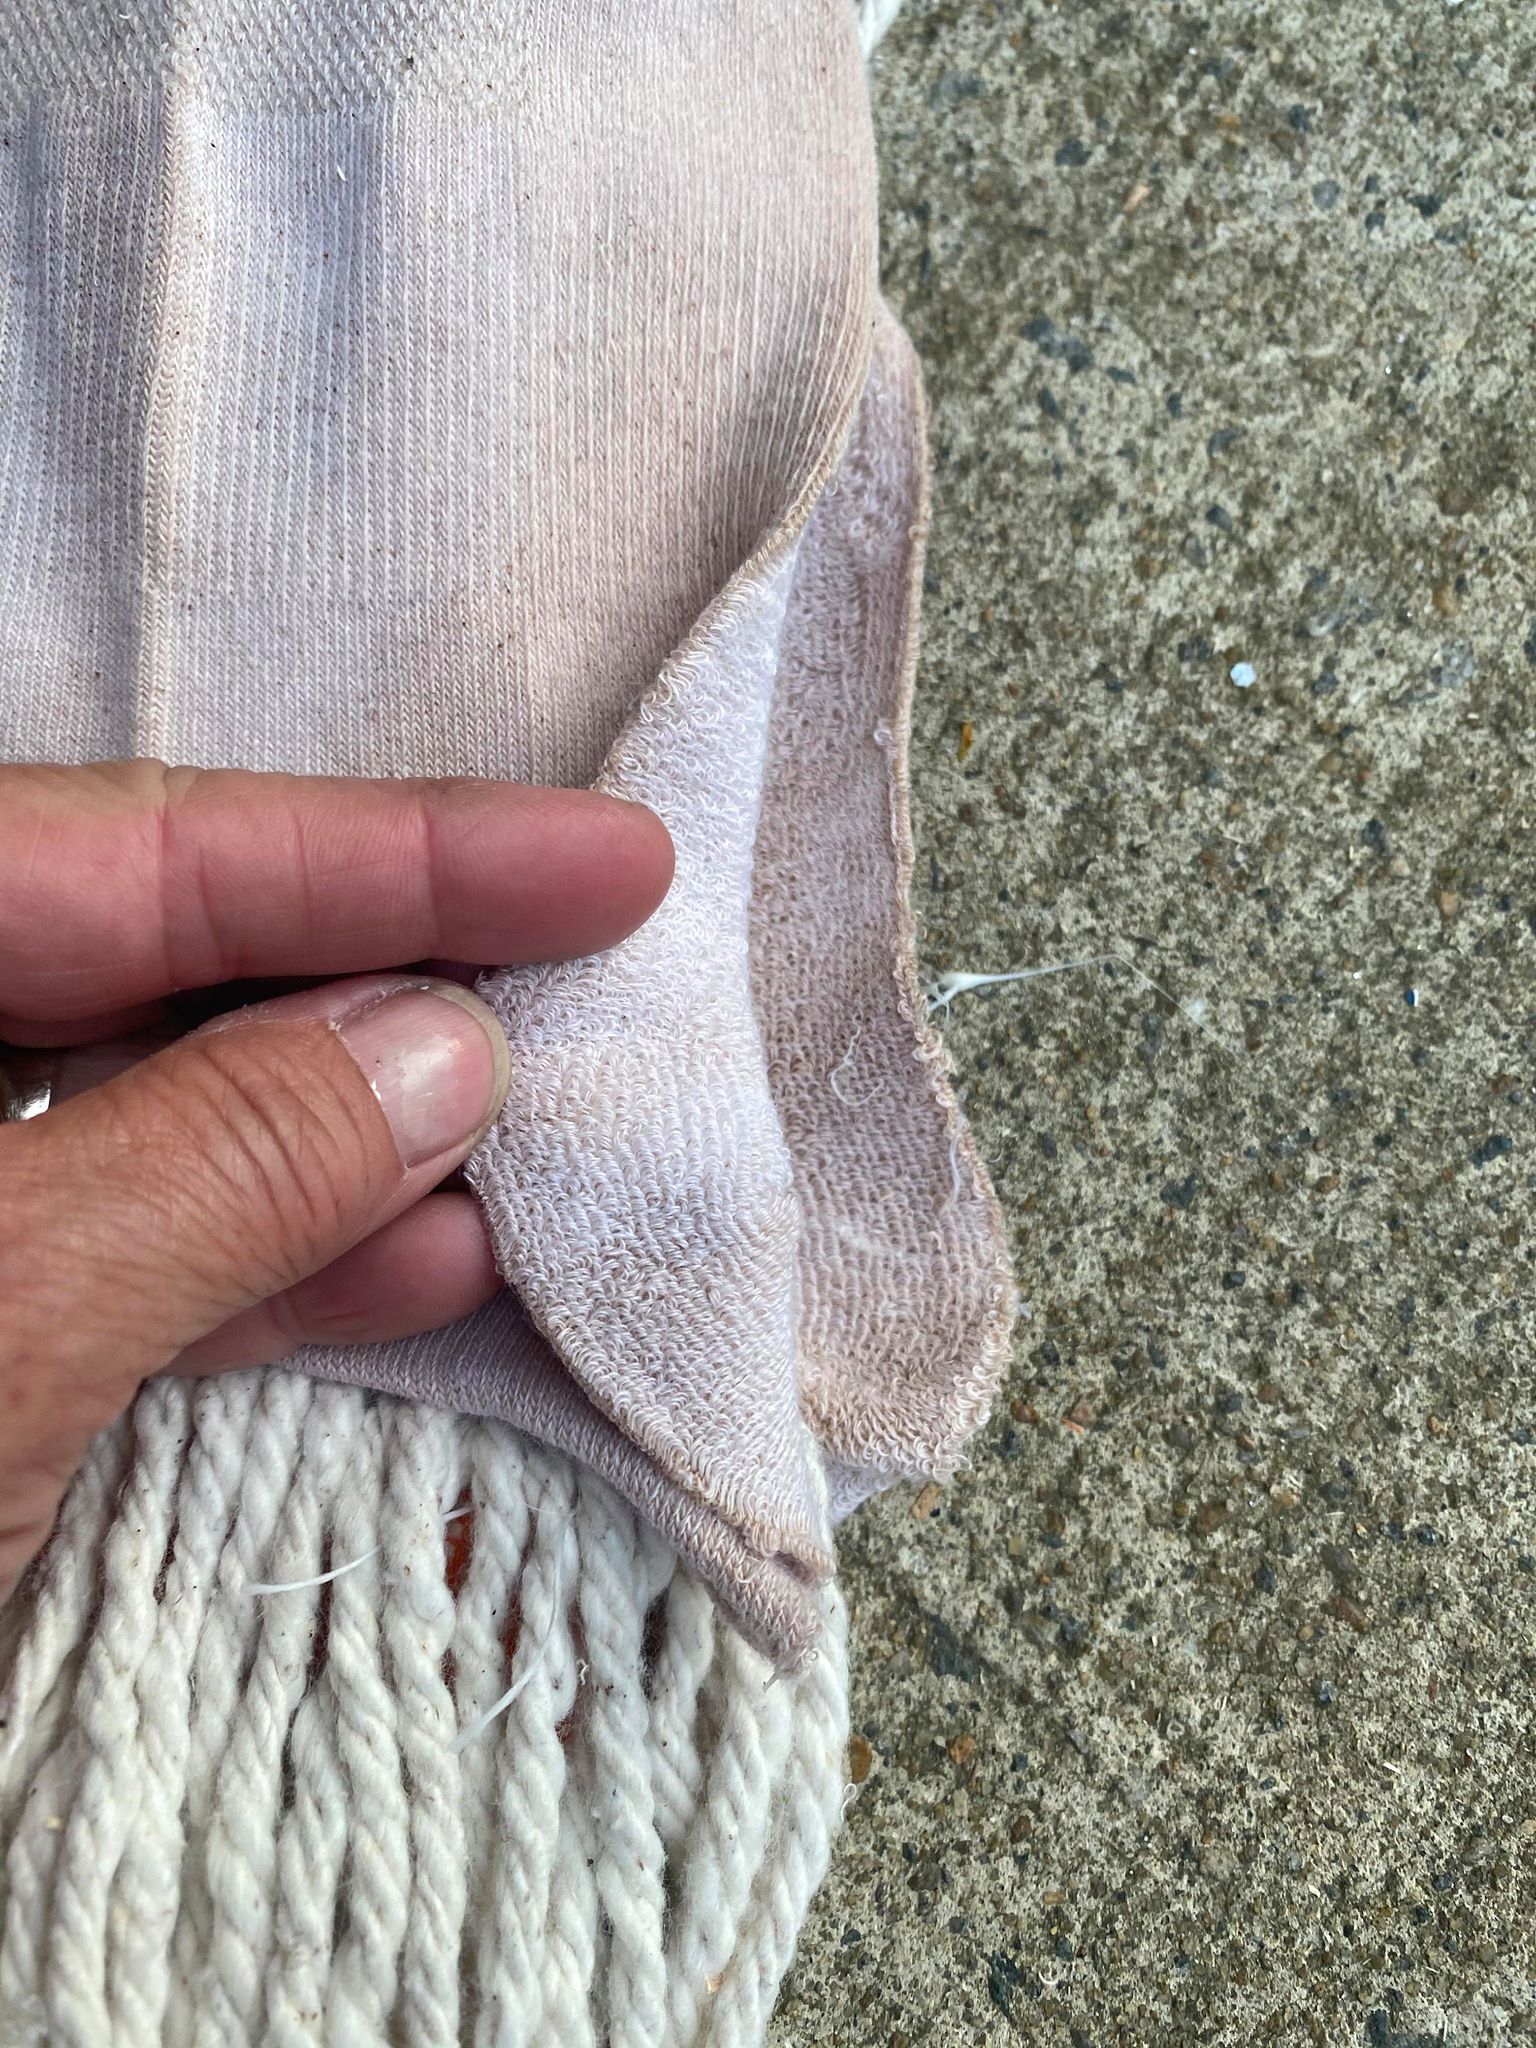
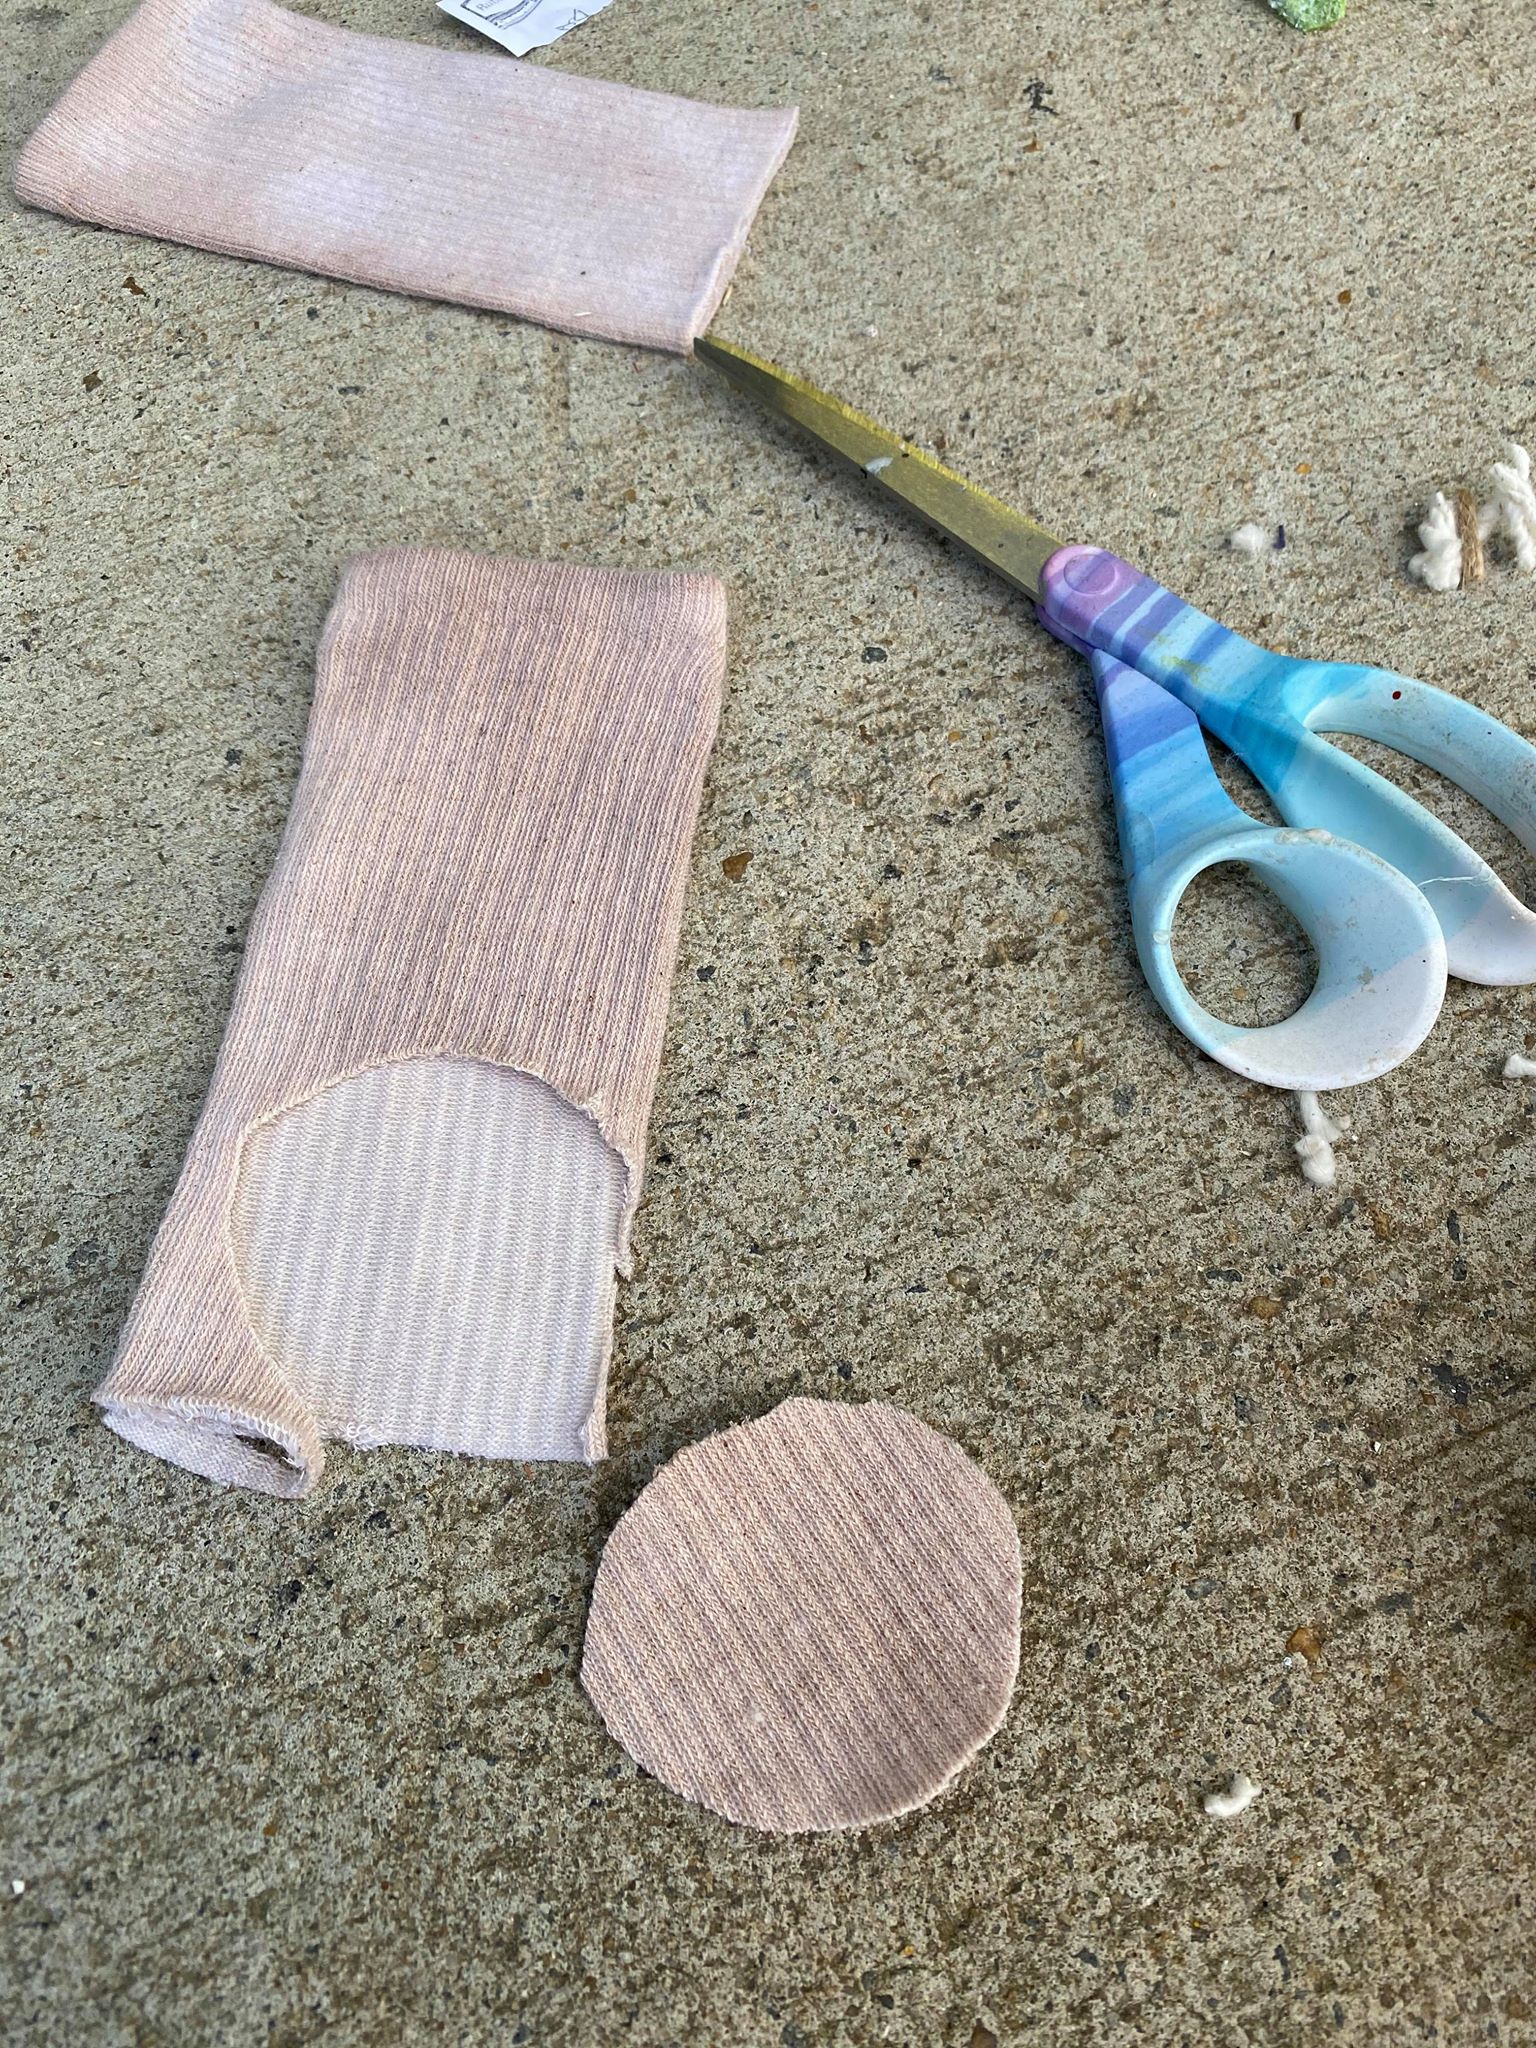
Next you will want to cut your socks. I cut the top part of the socks off first.
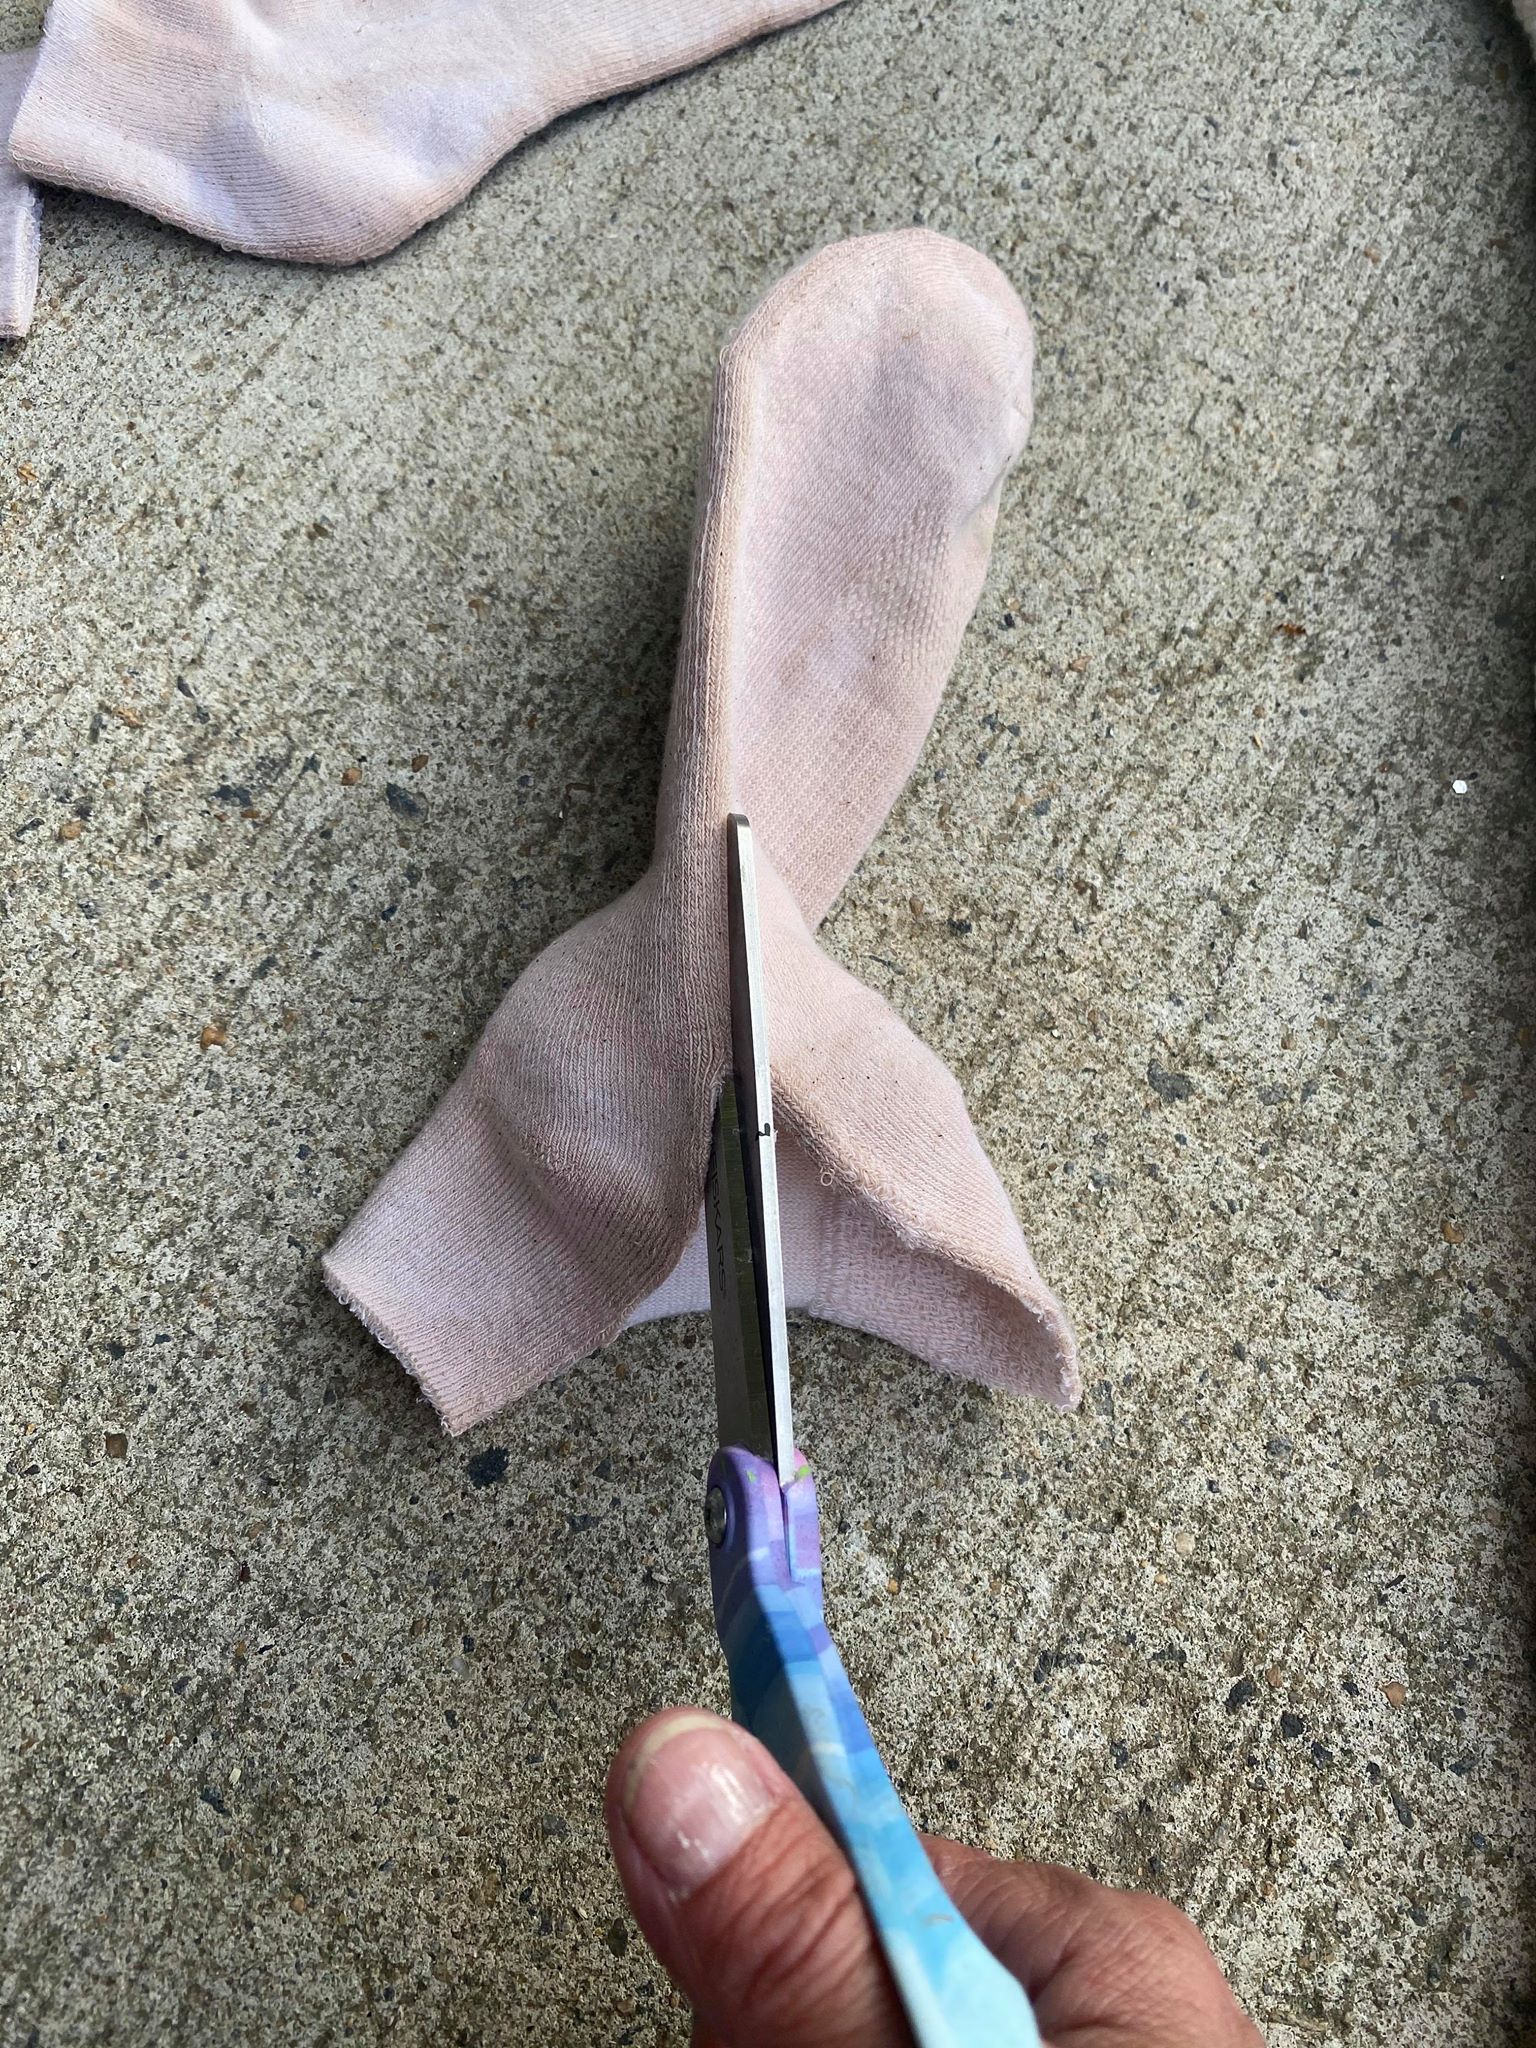
Next you want to cut one side of your sock from the heel to the toe so you can open your sock and lay it flat.

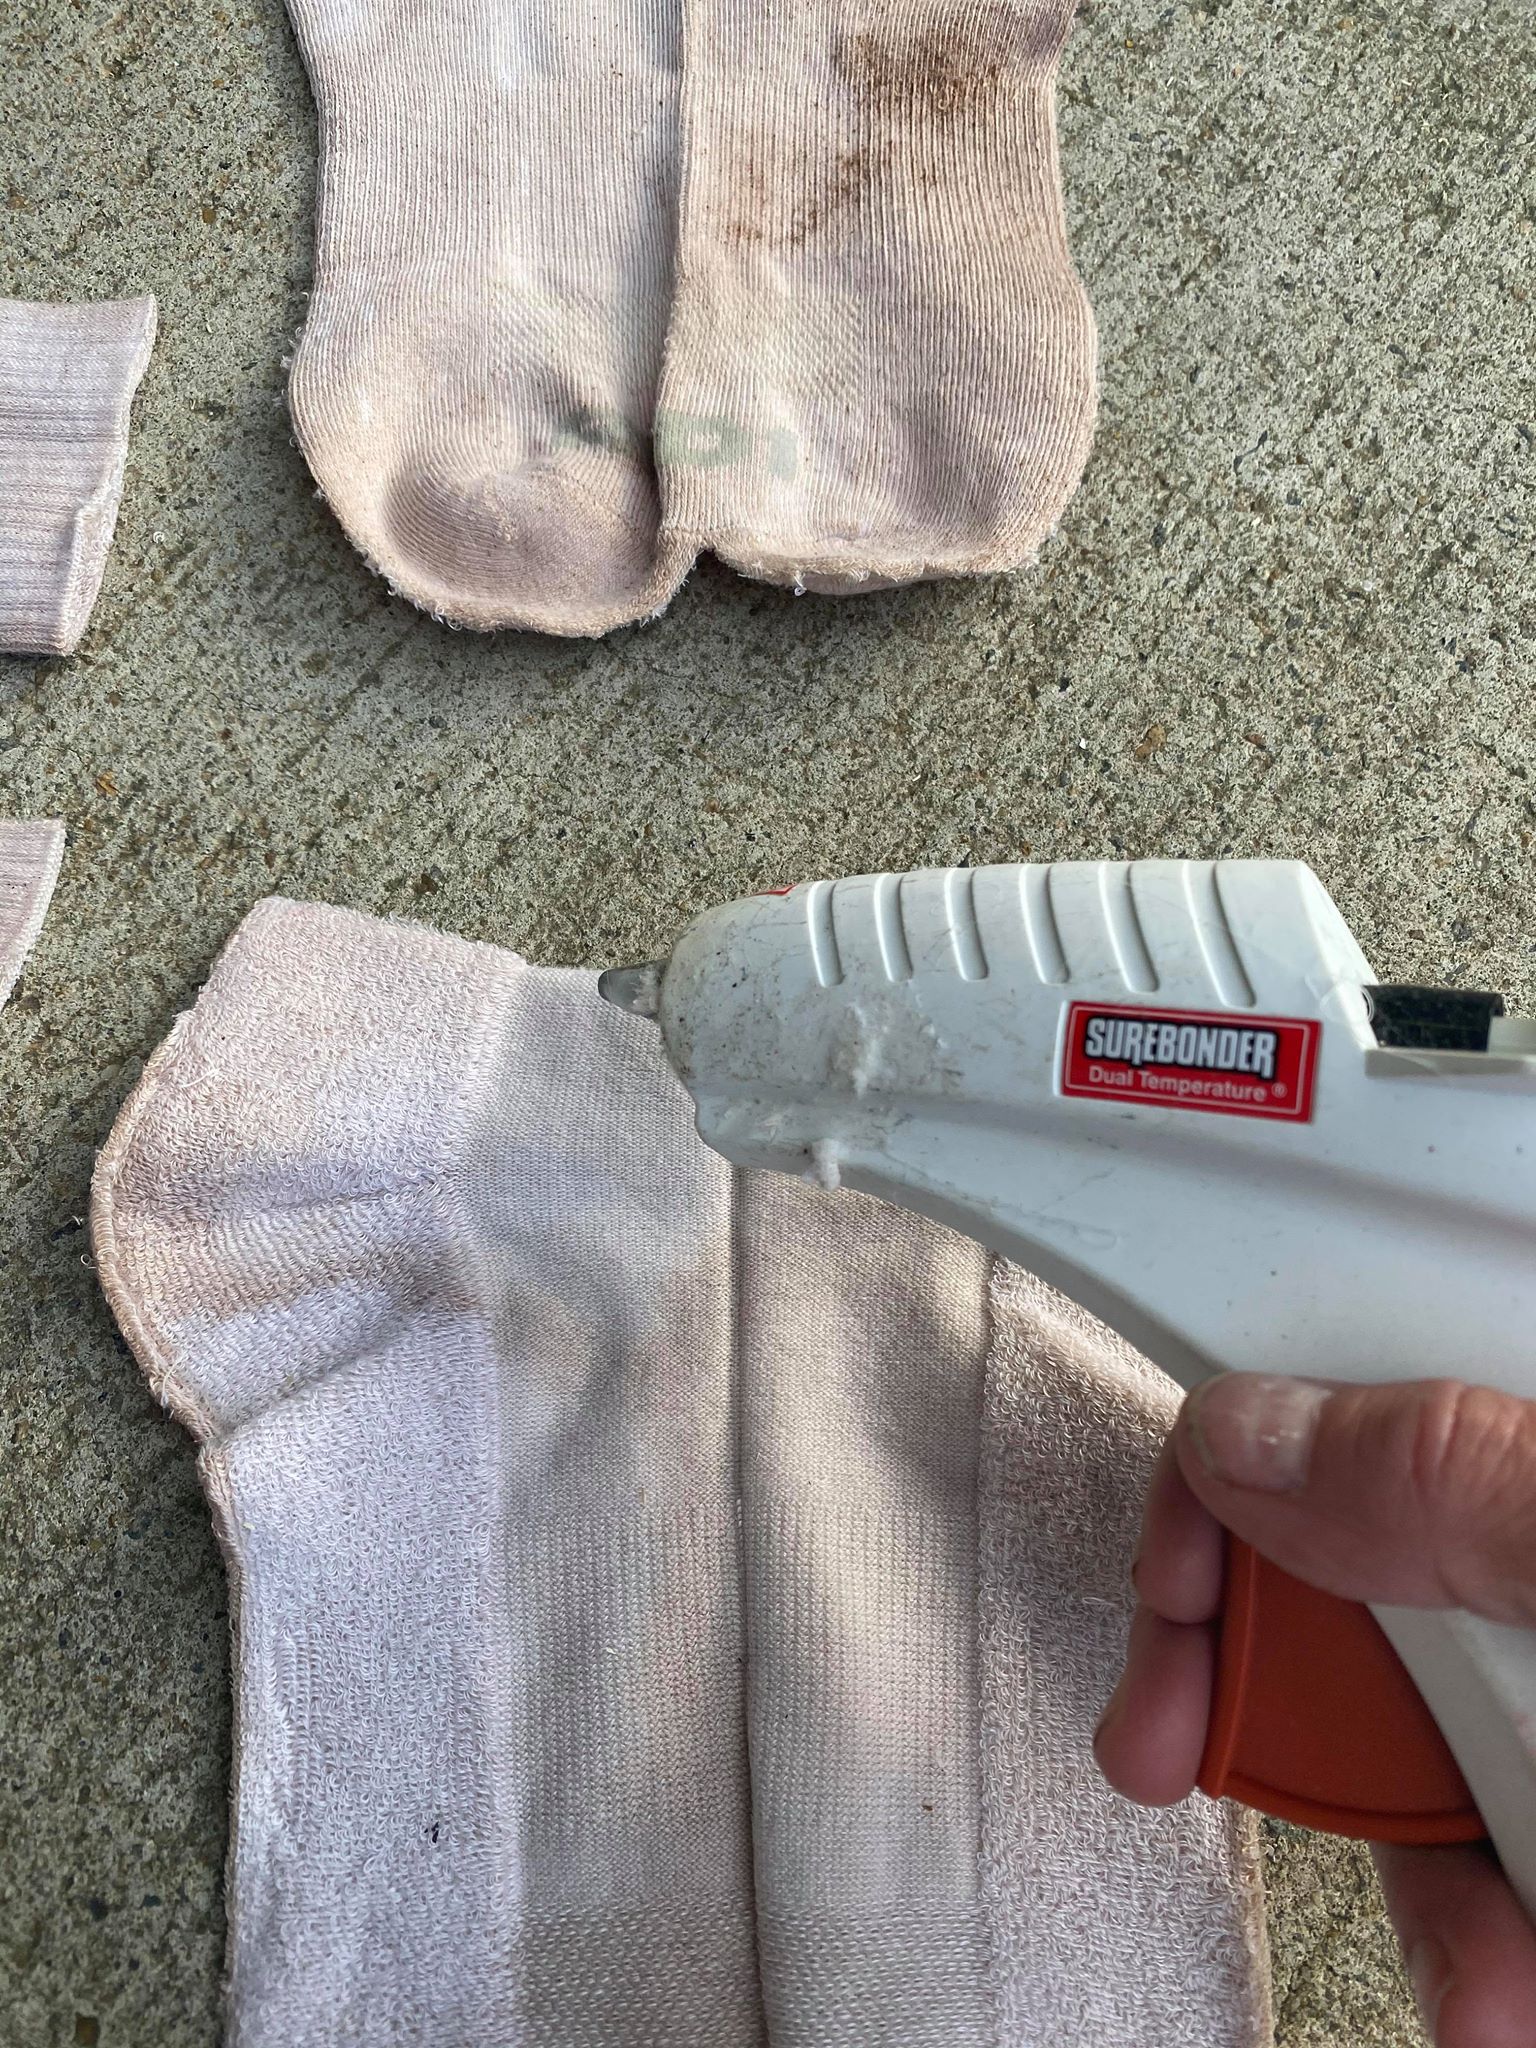
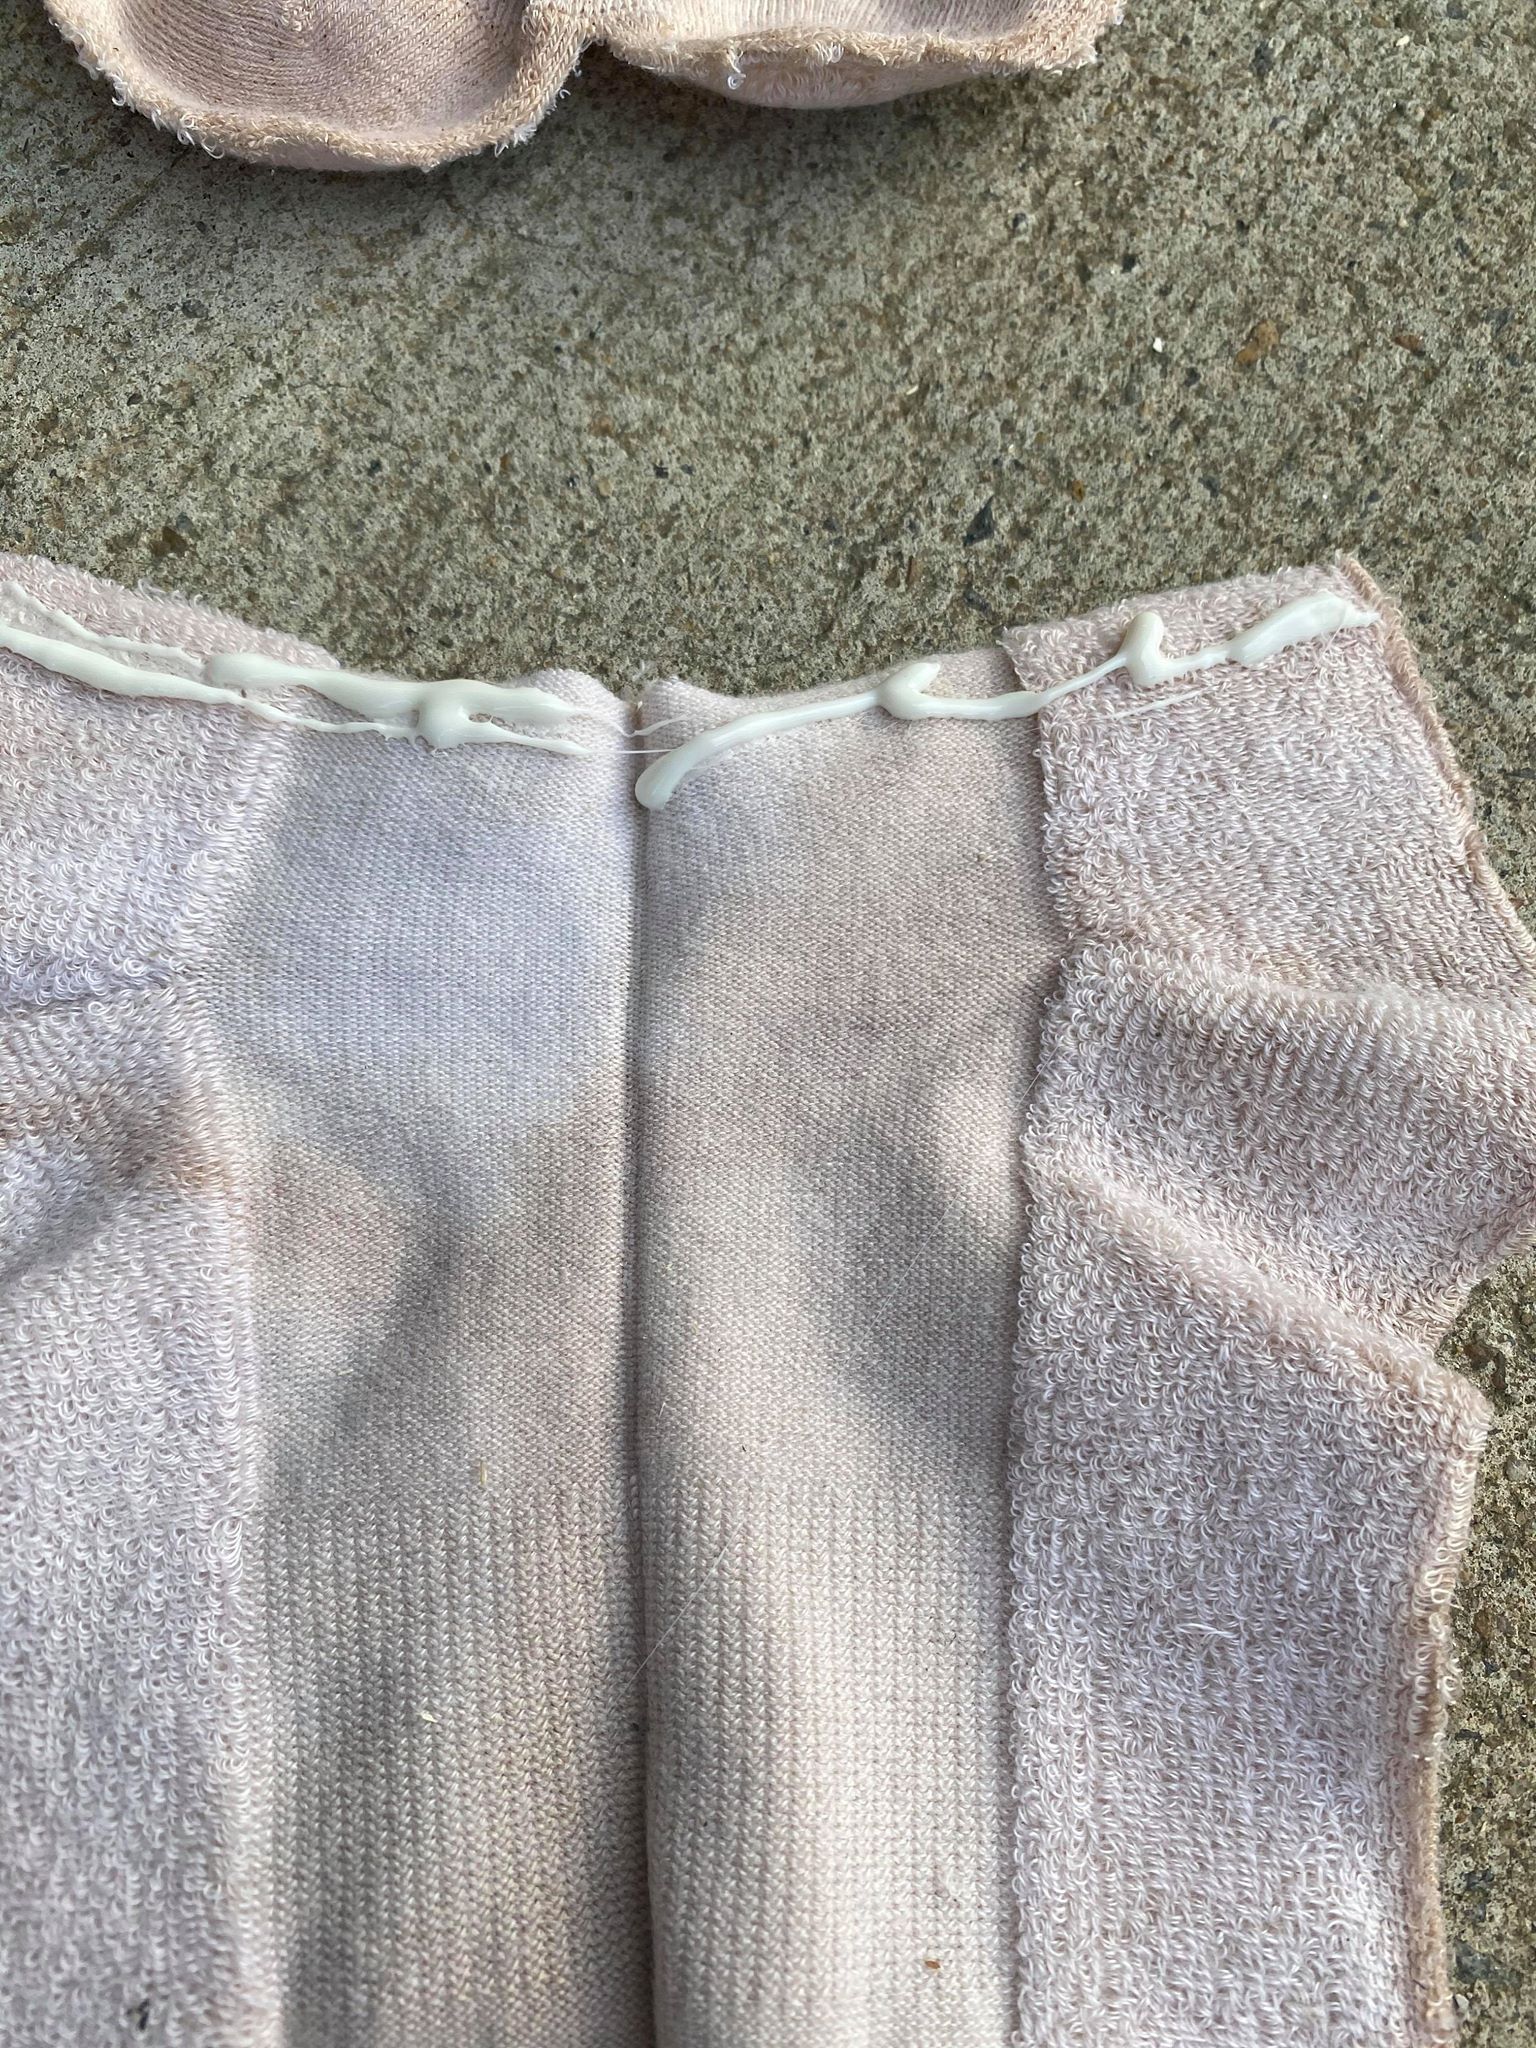
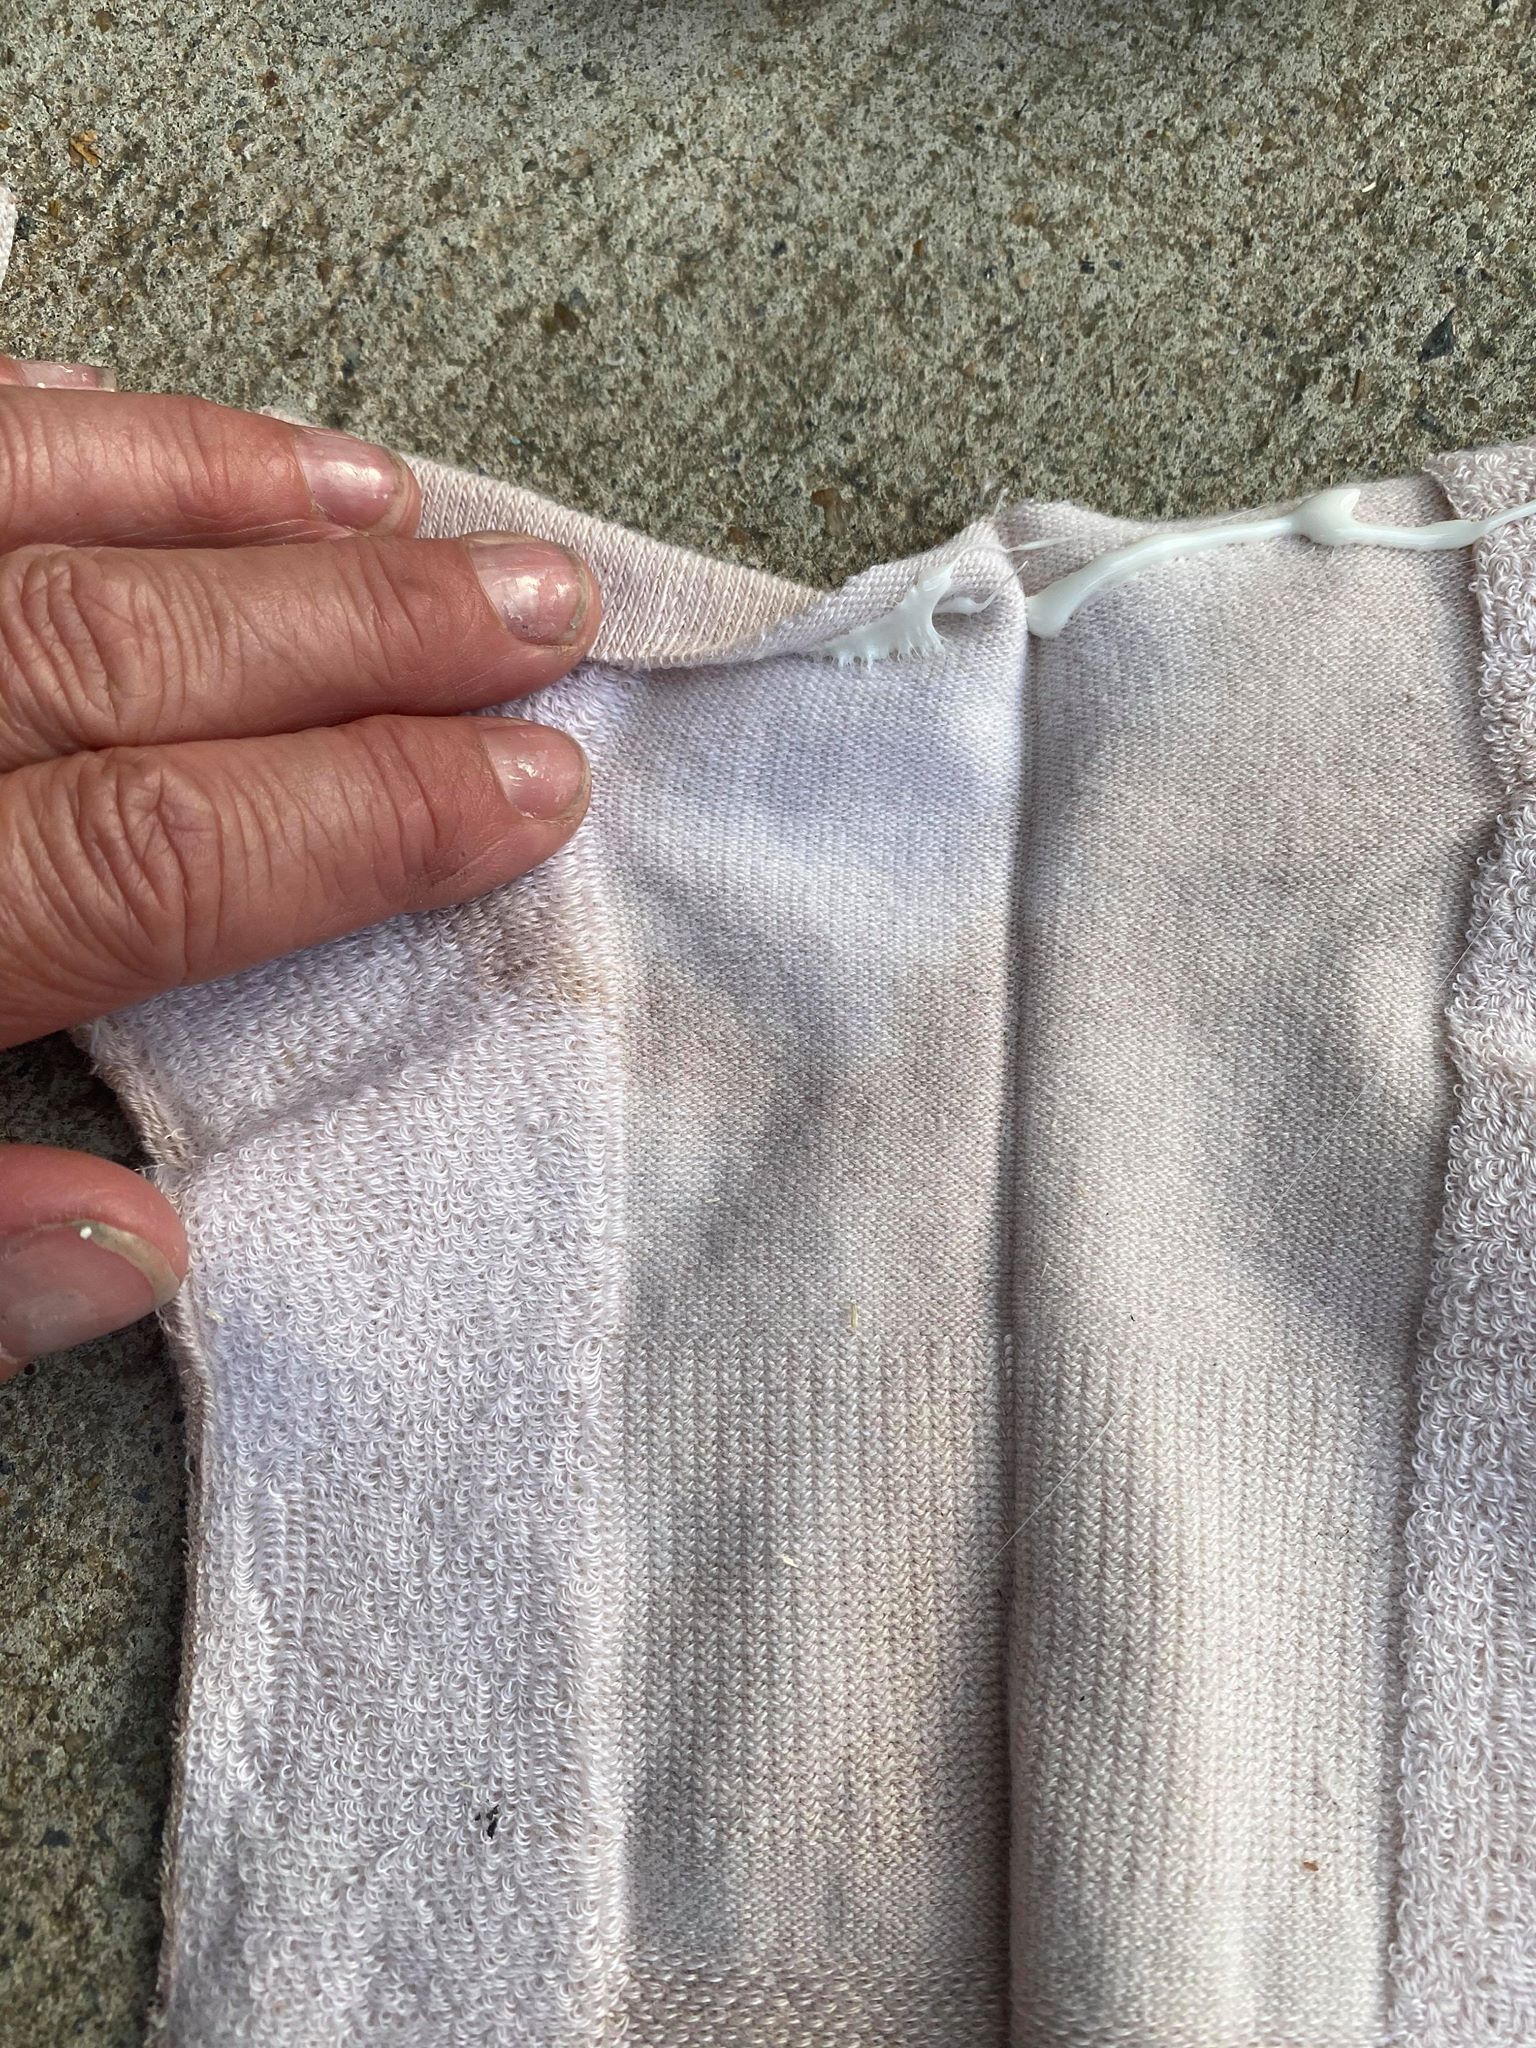
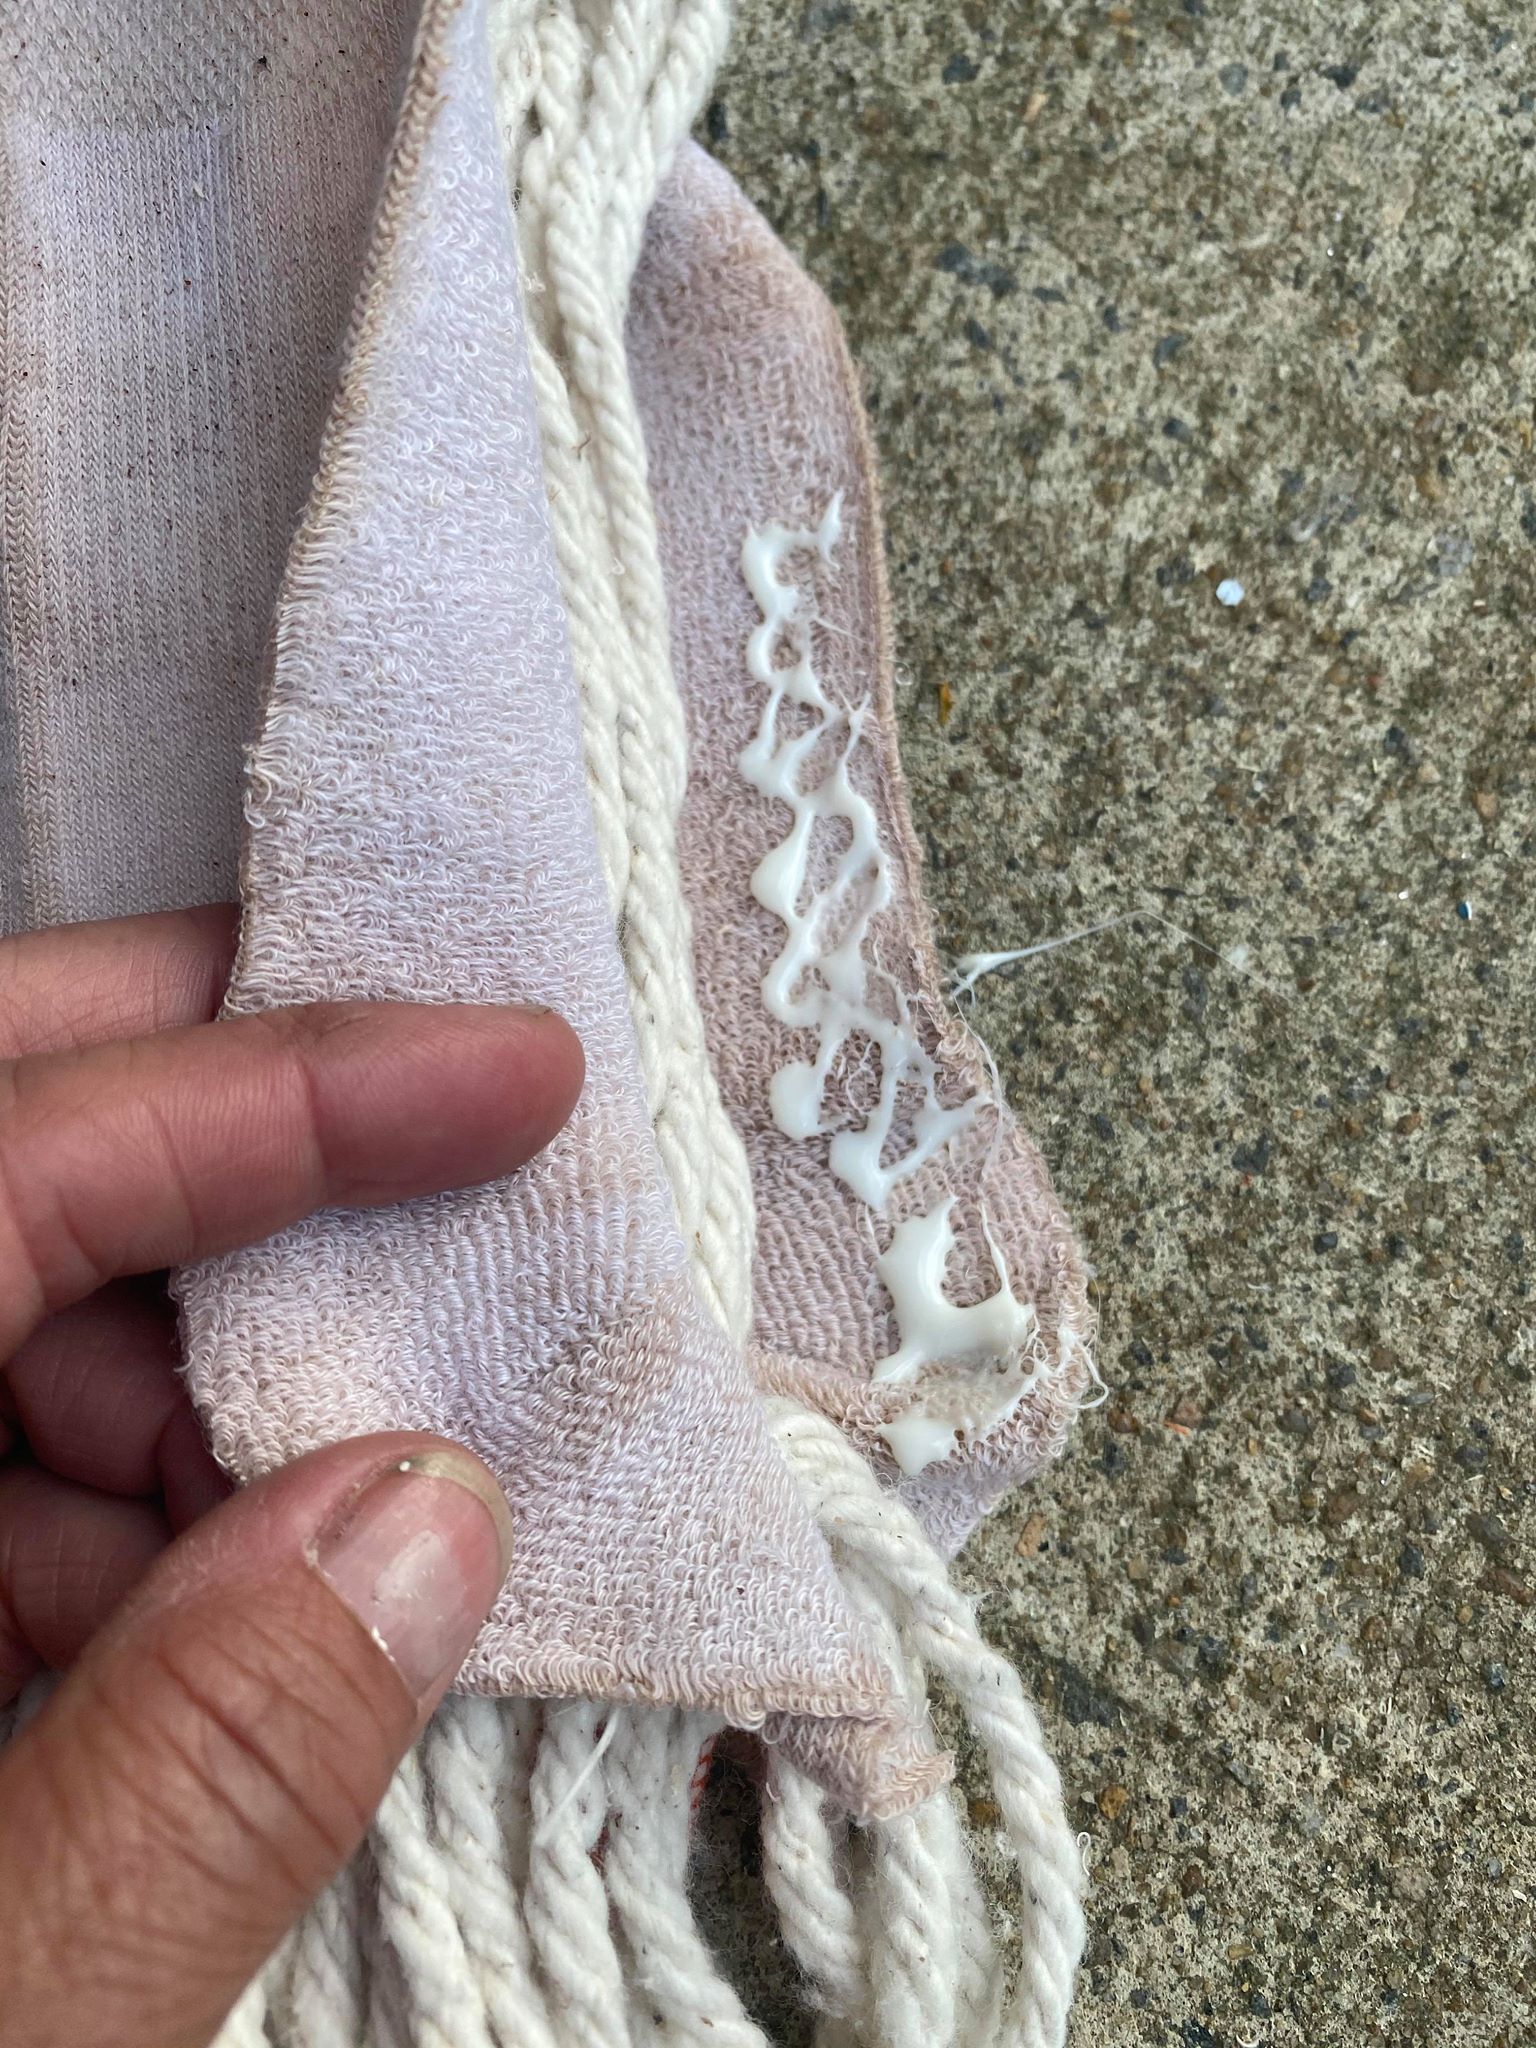
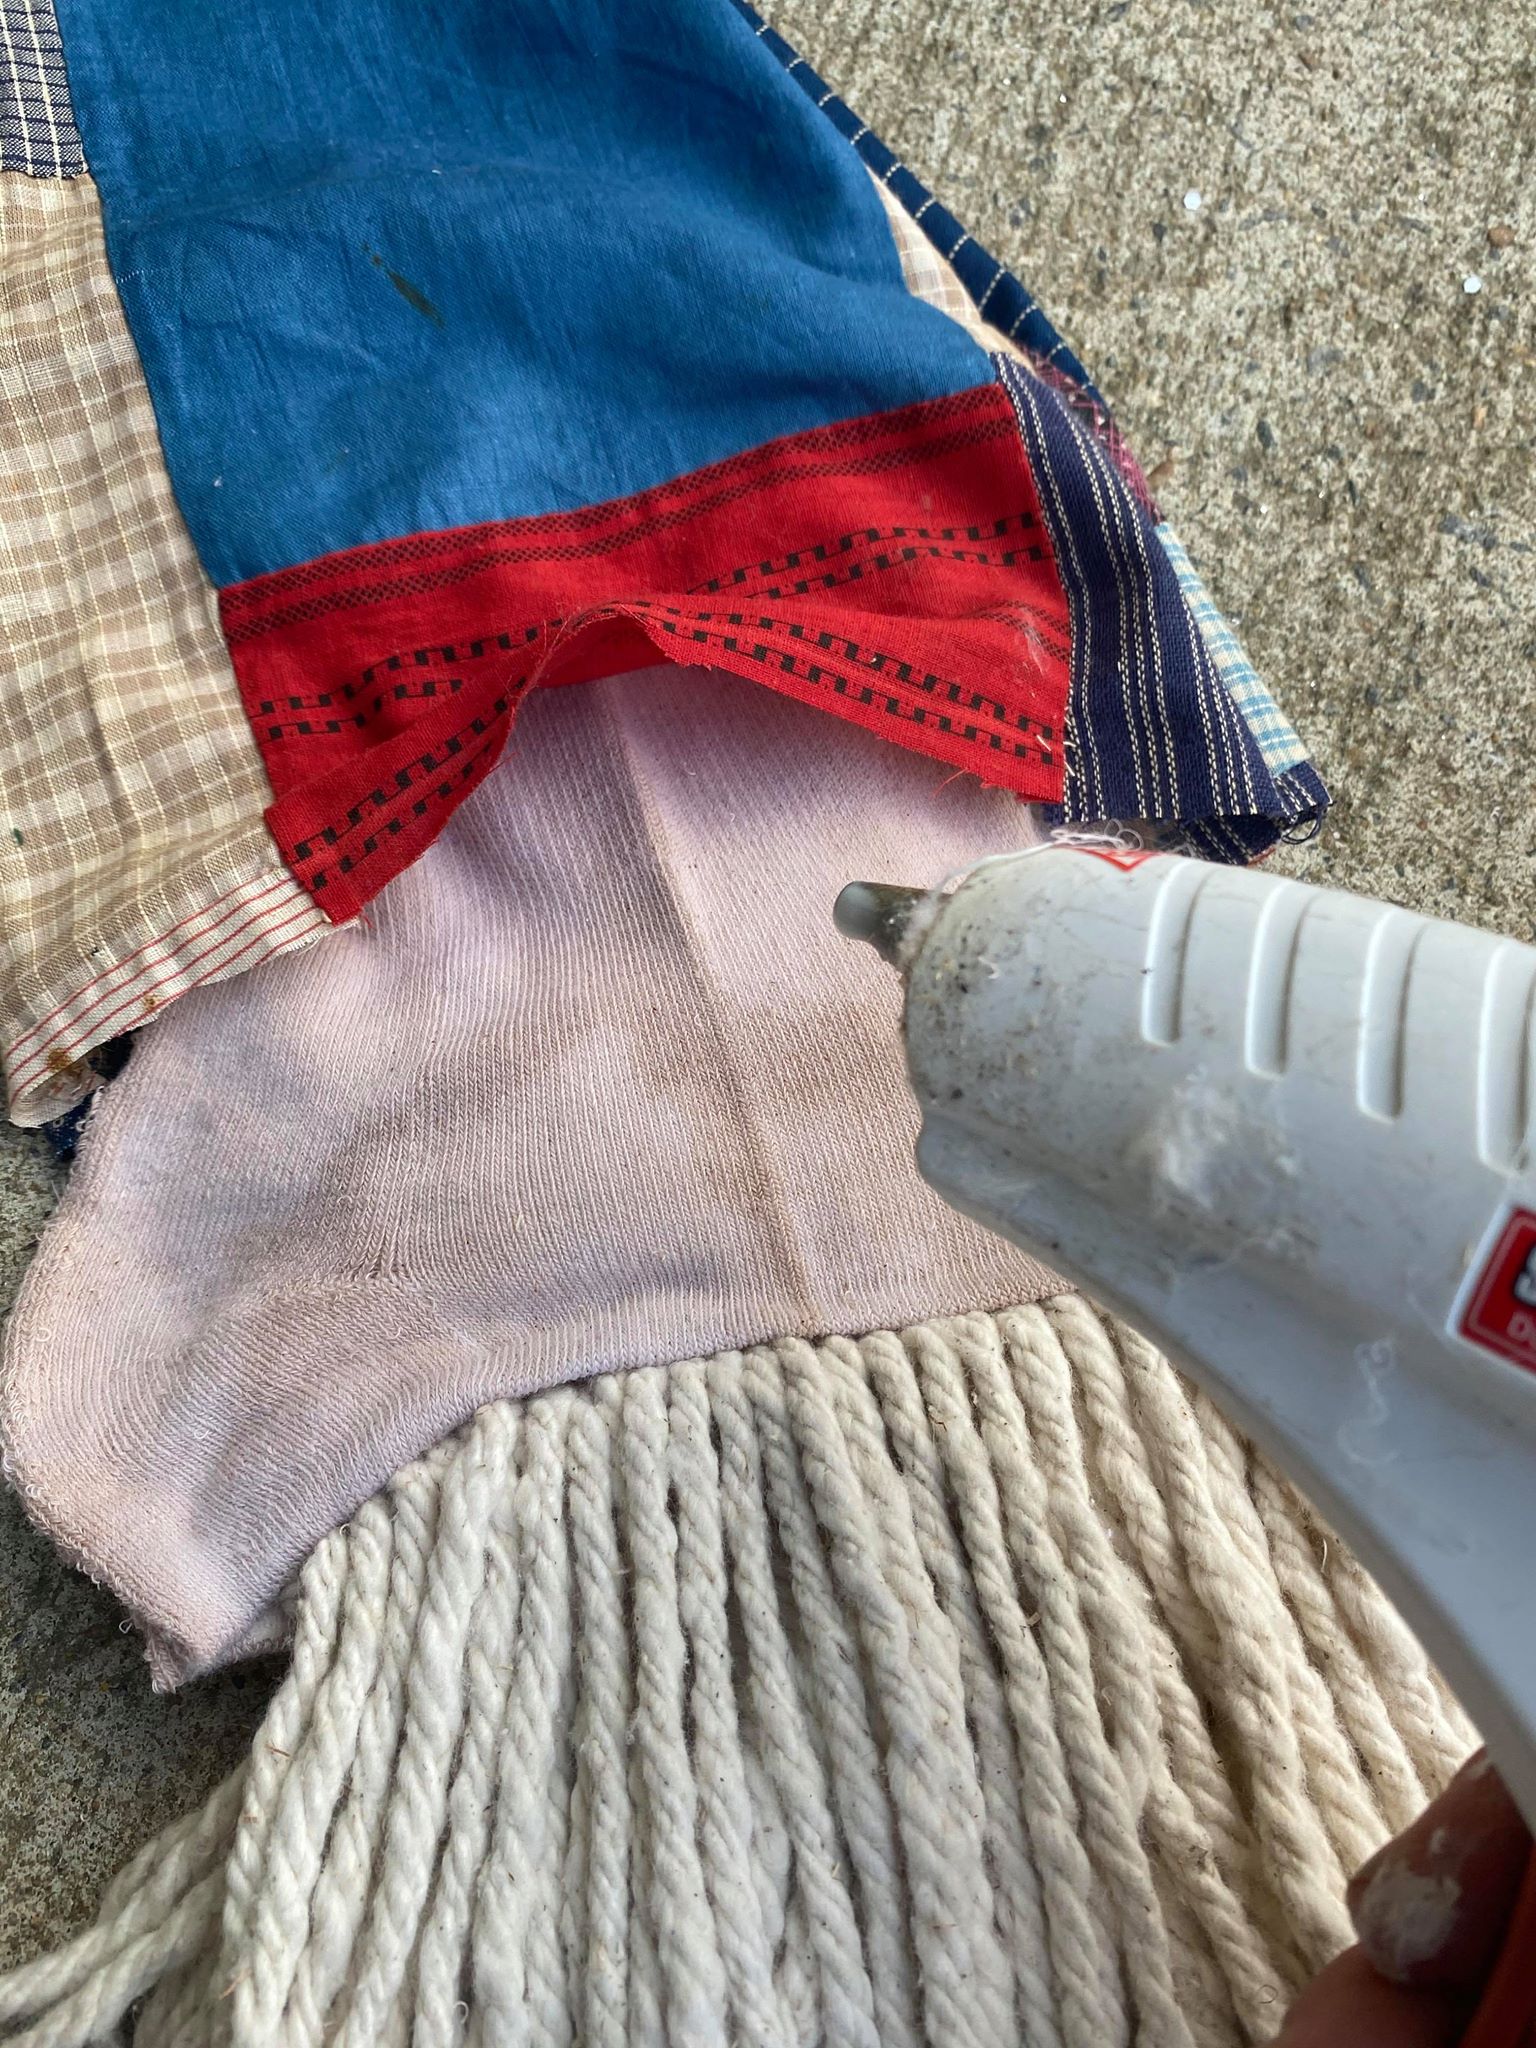
You will want to add glue and fold over the top part of the sock. This will give you a finished edge.
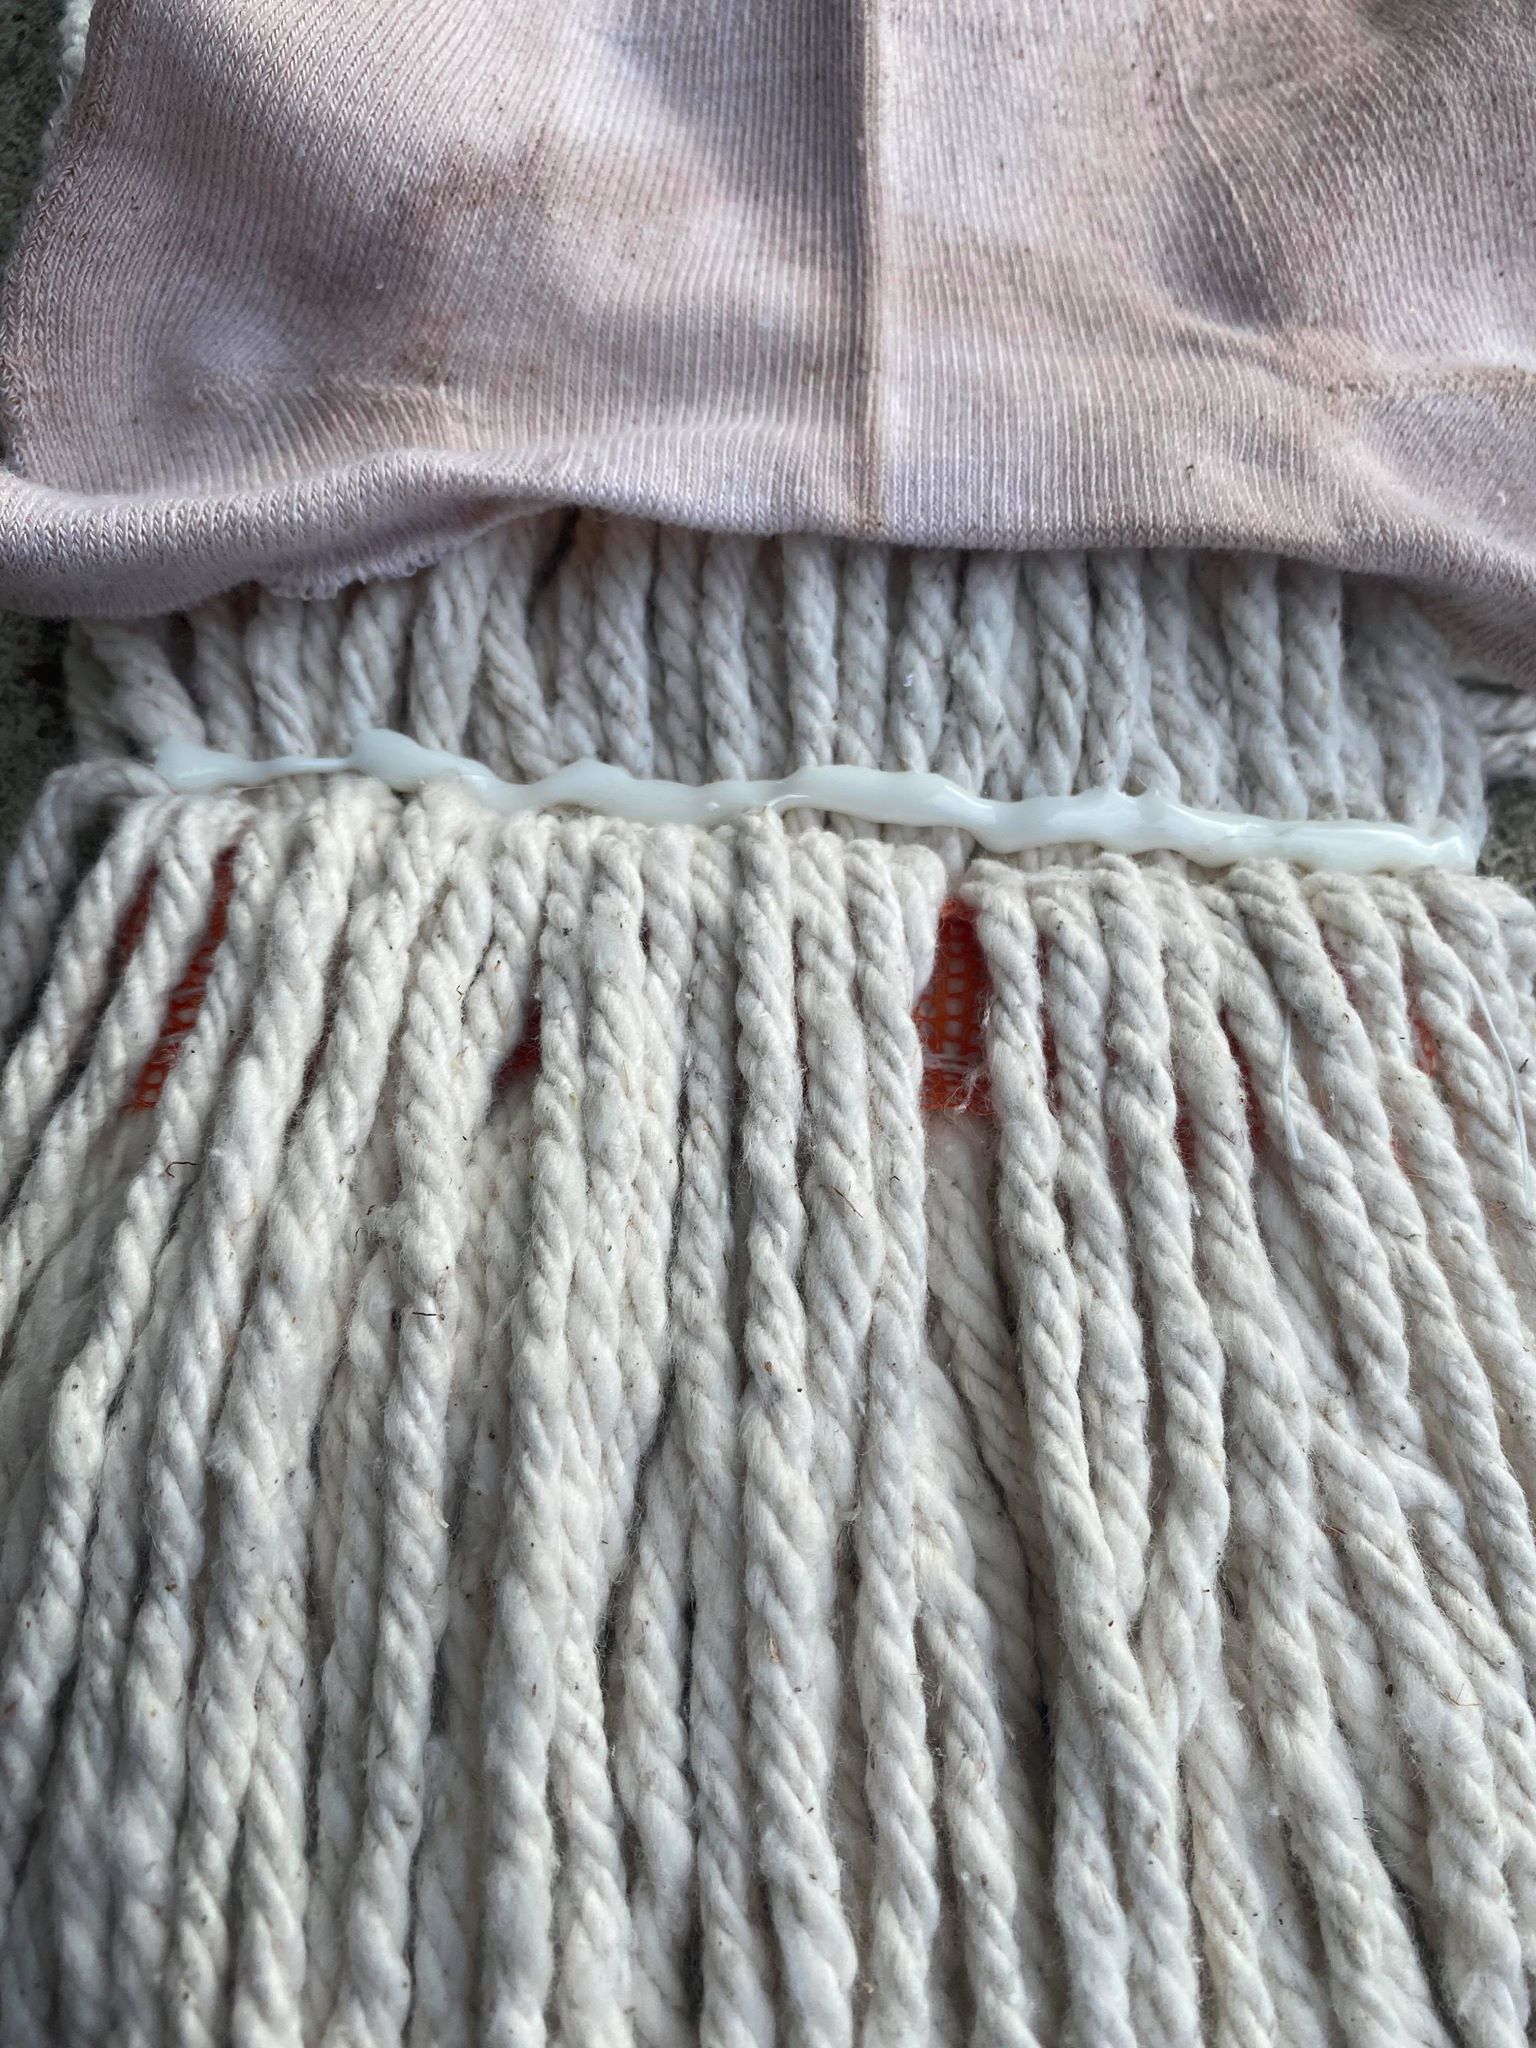
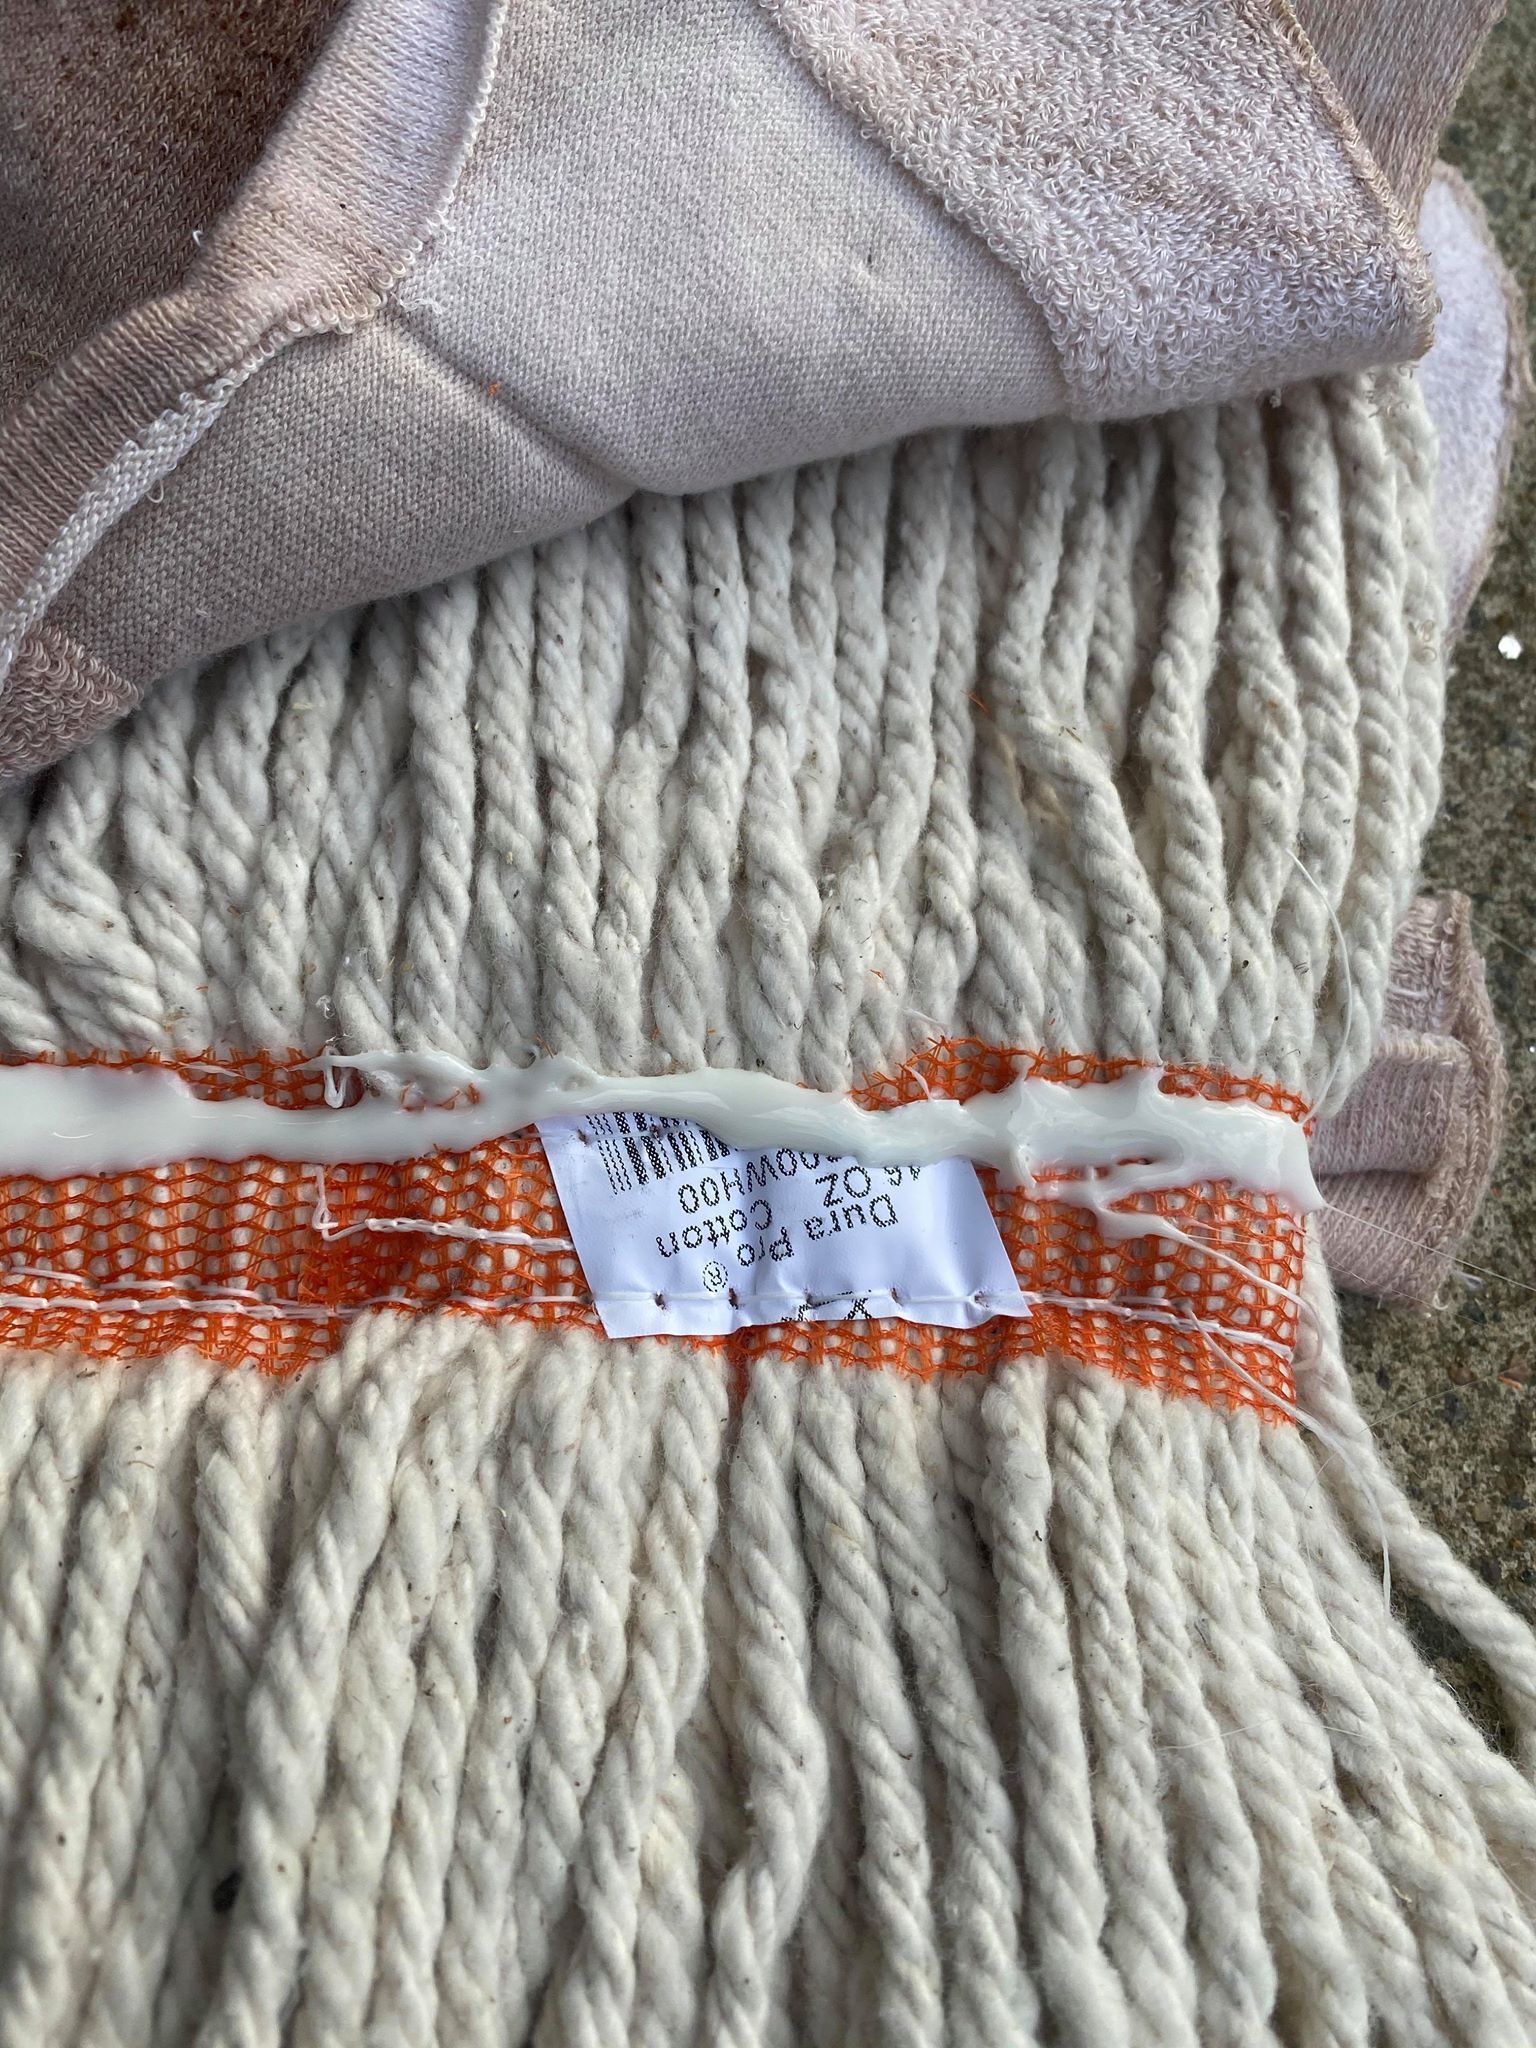
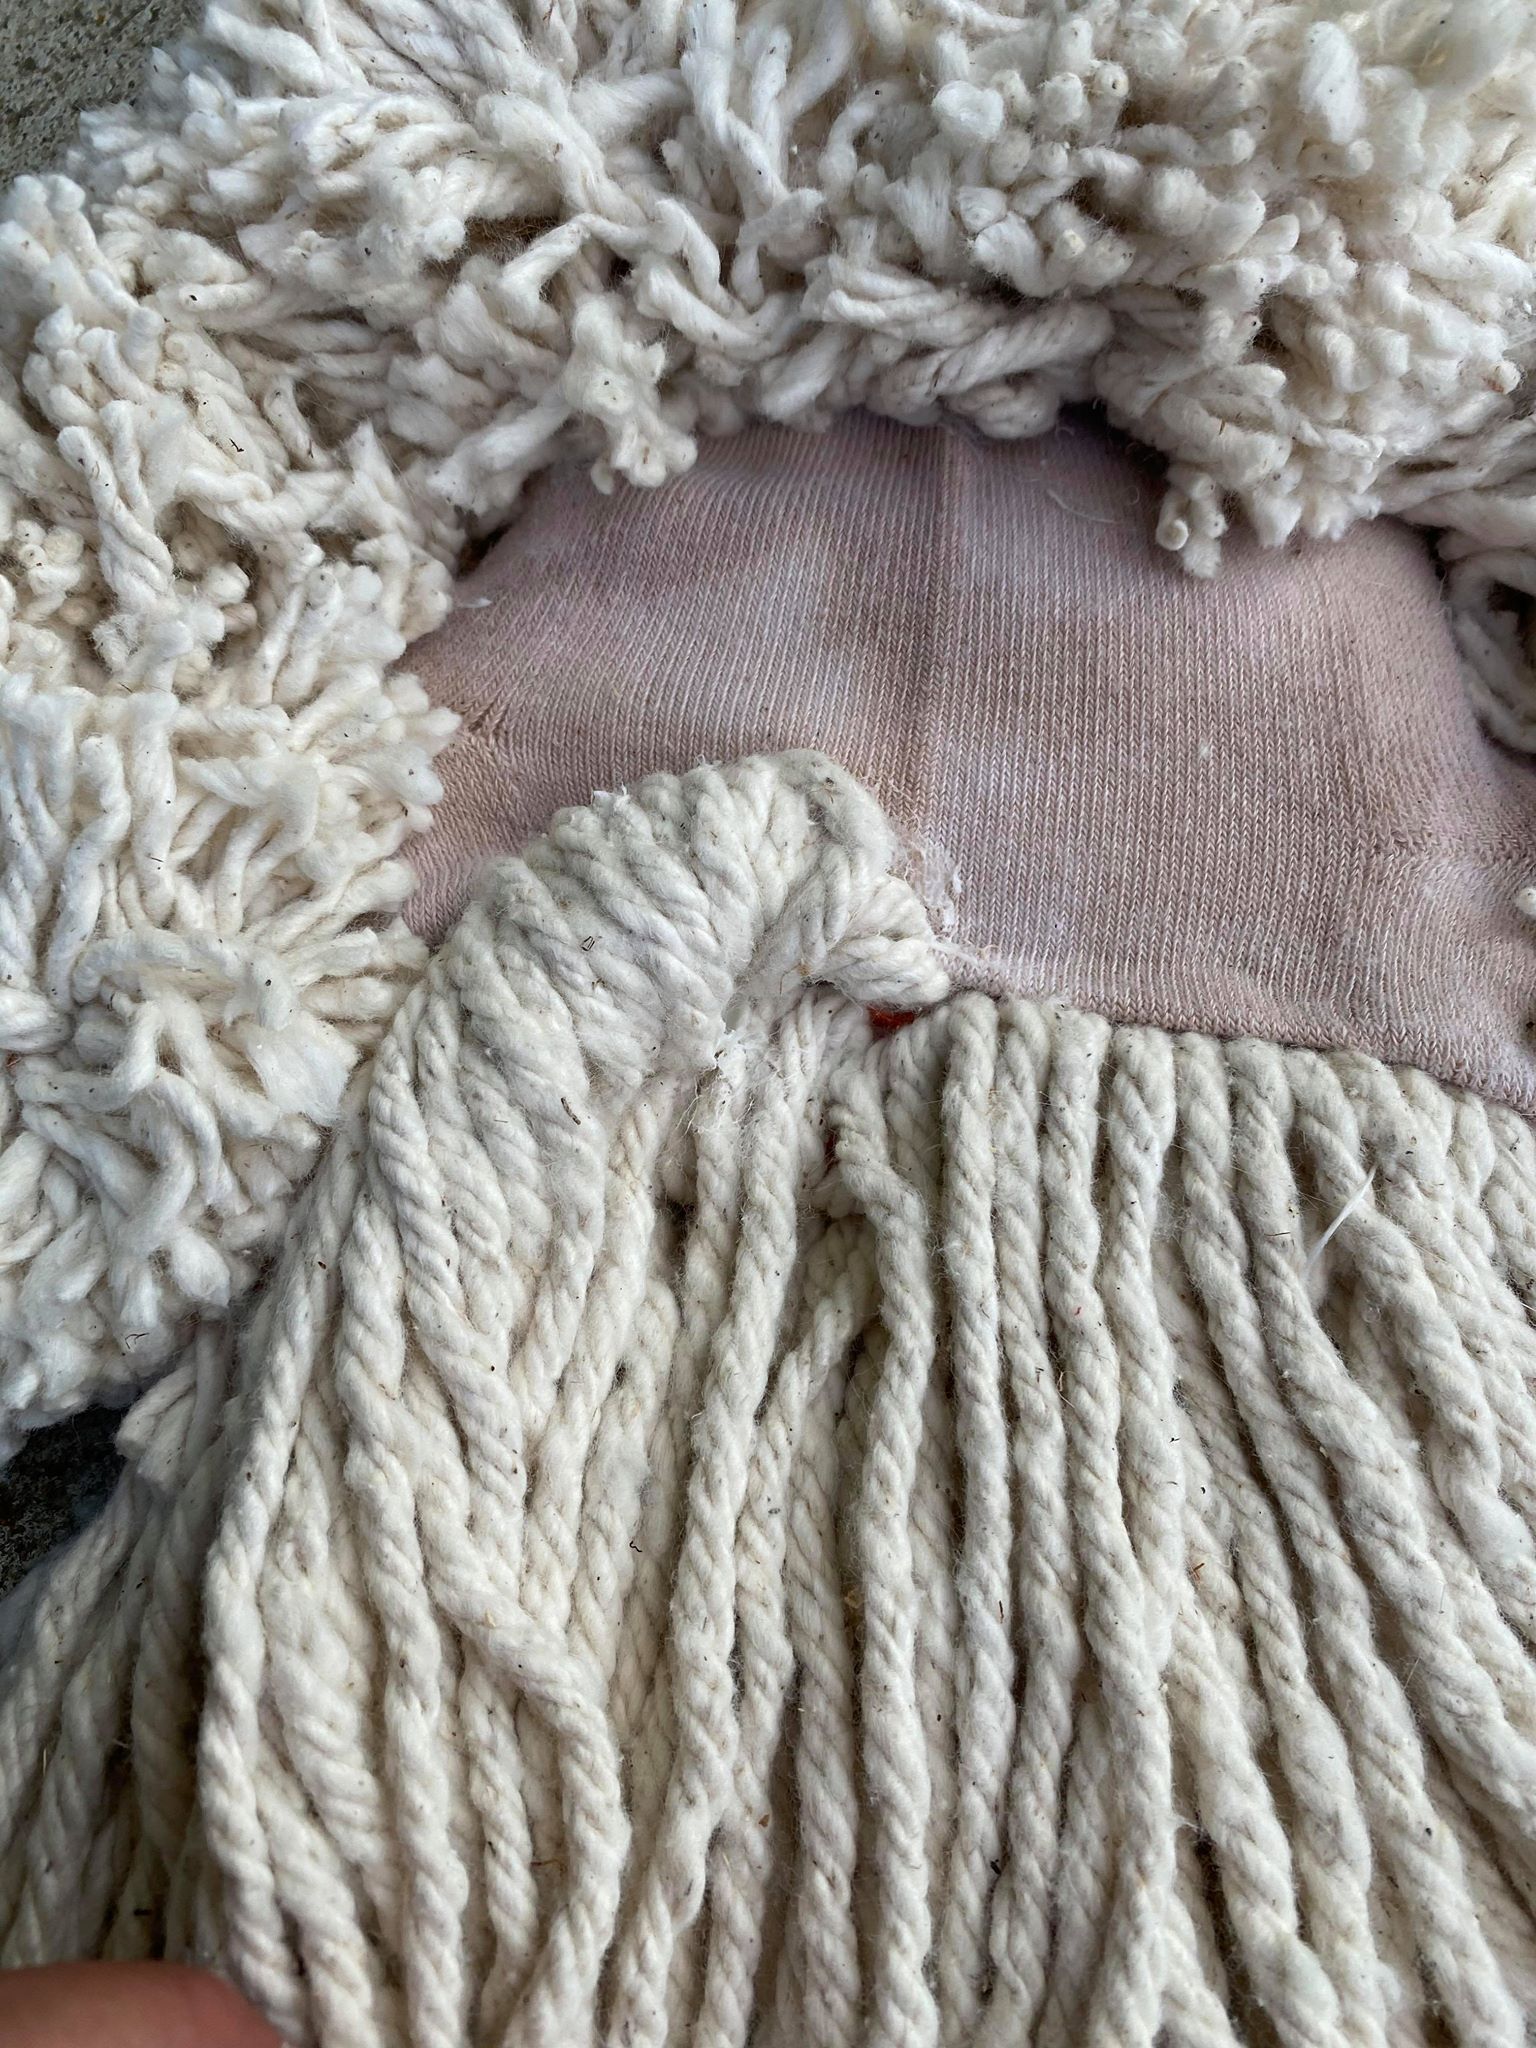
You will then add glue to the center of the mop.
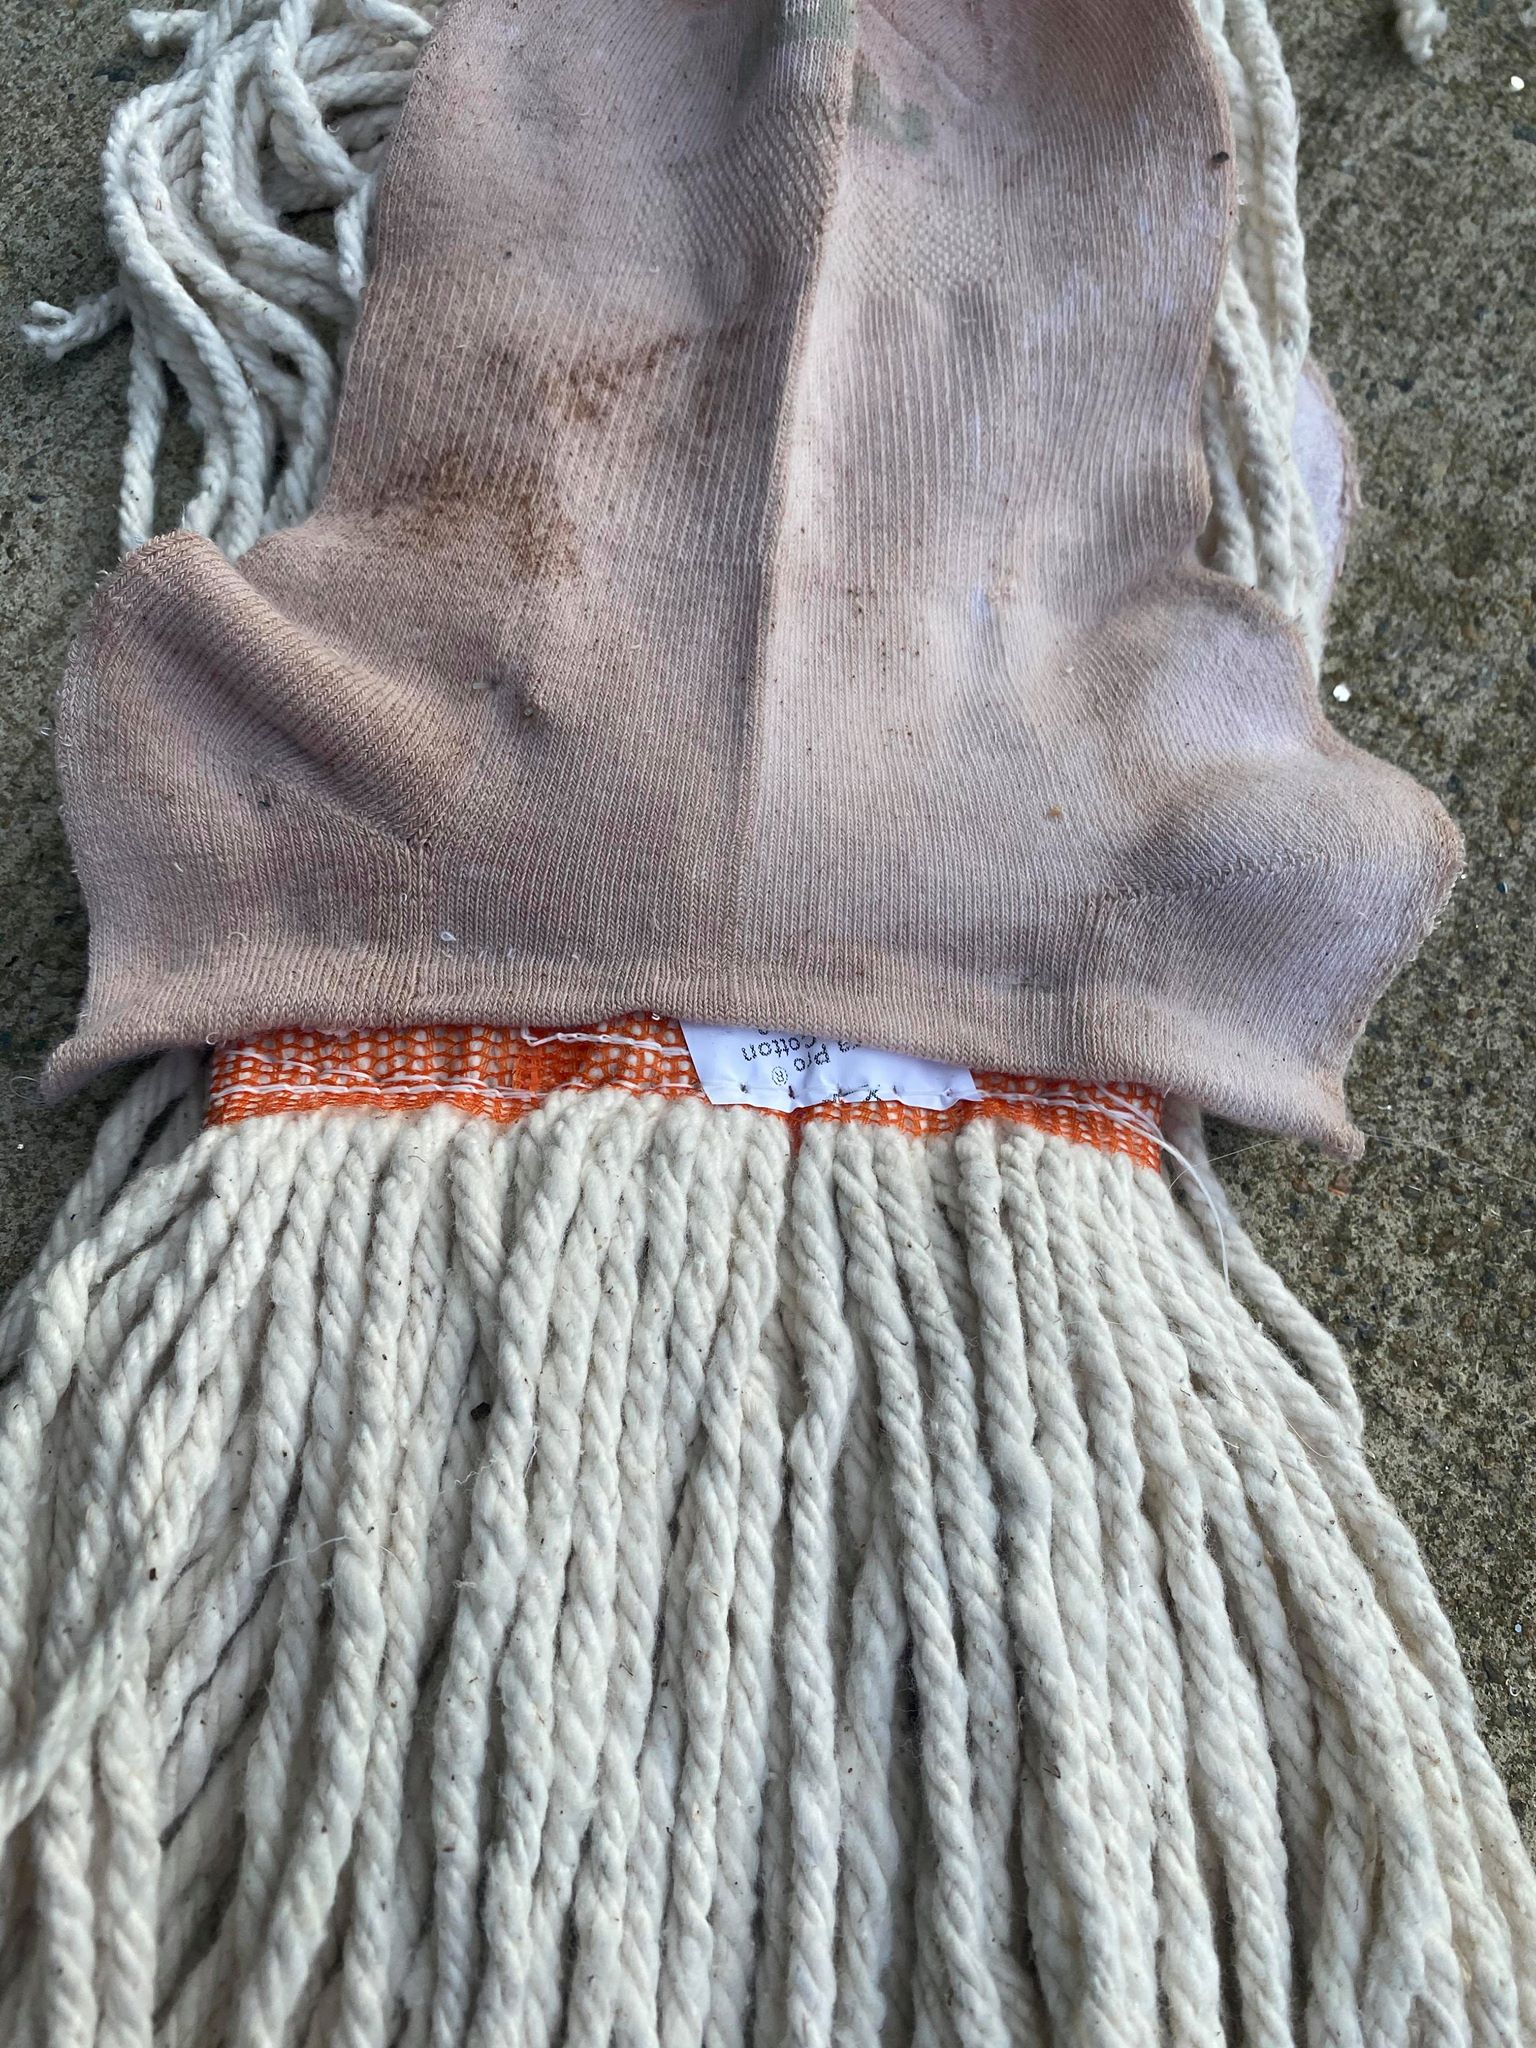
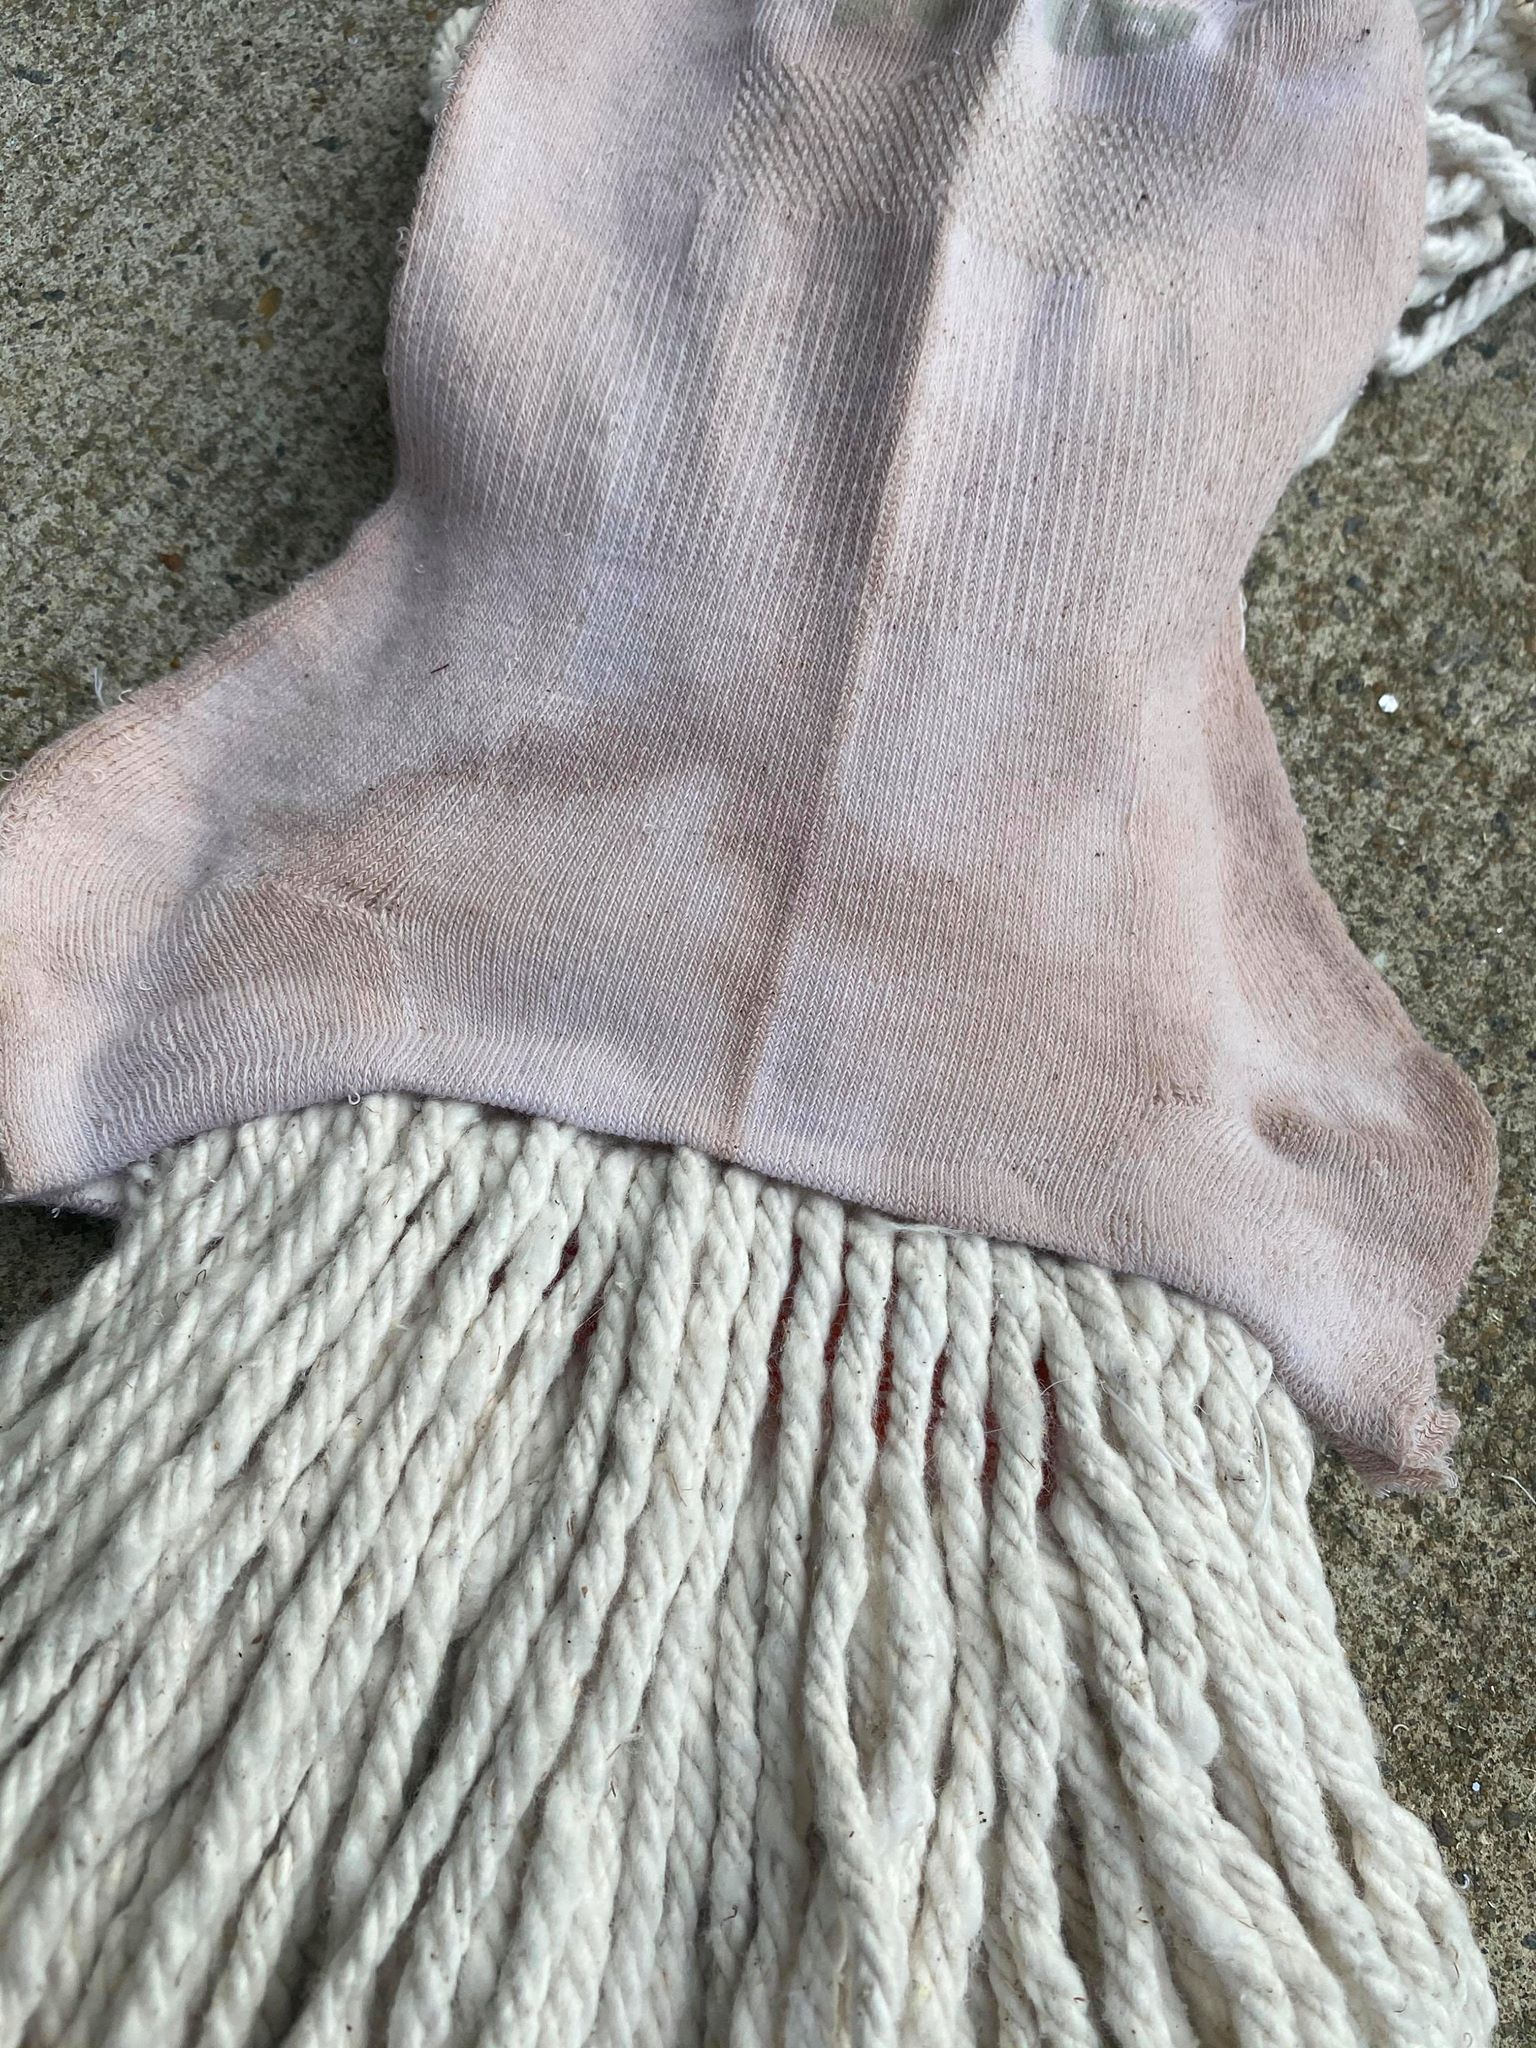
Place the finished edge of the sock across the top half of the mop.
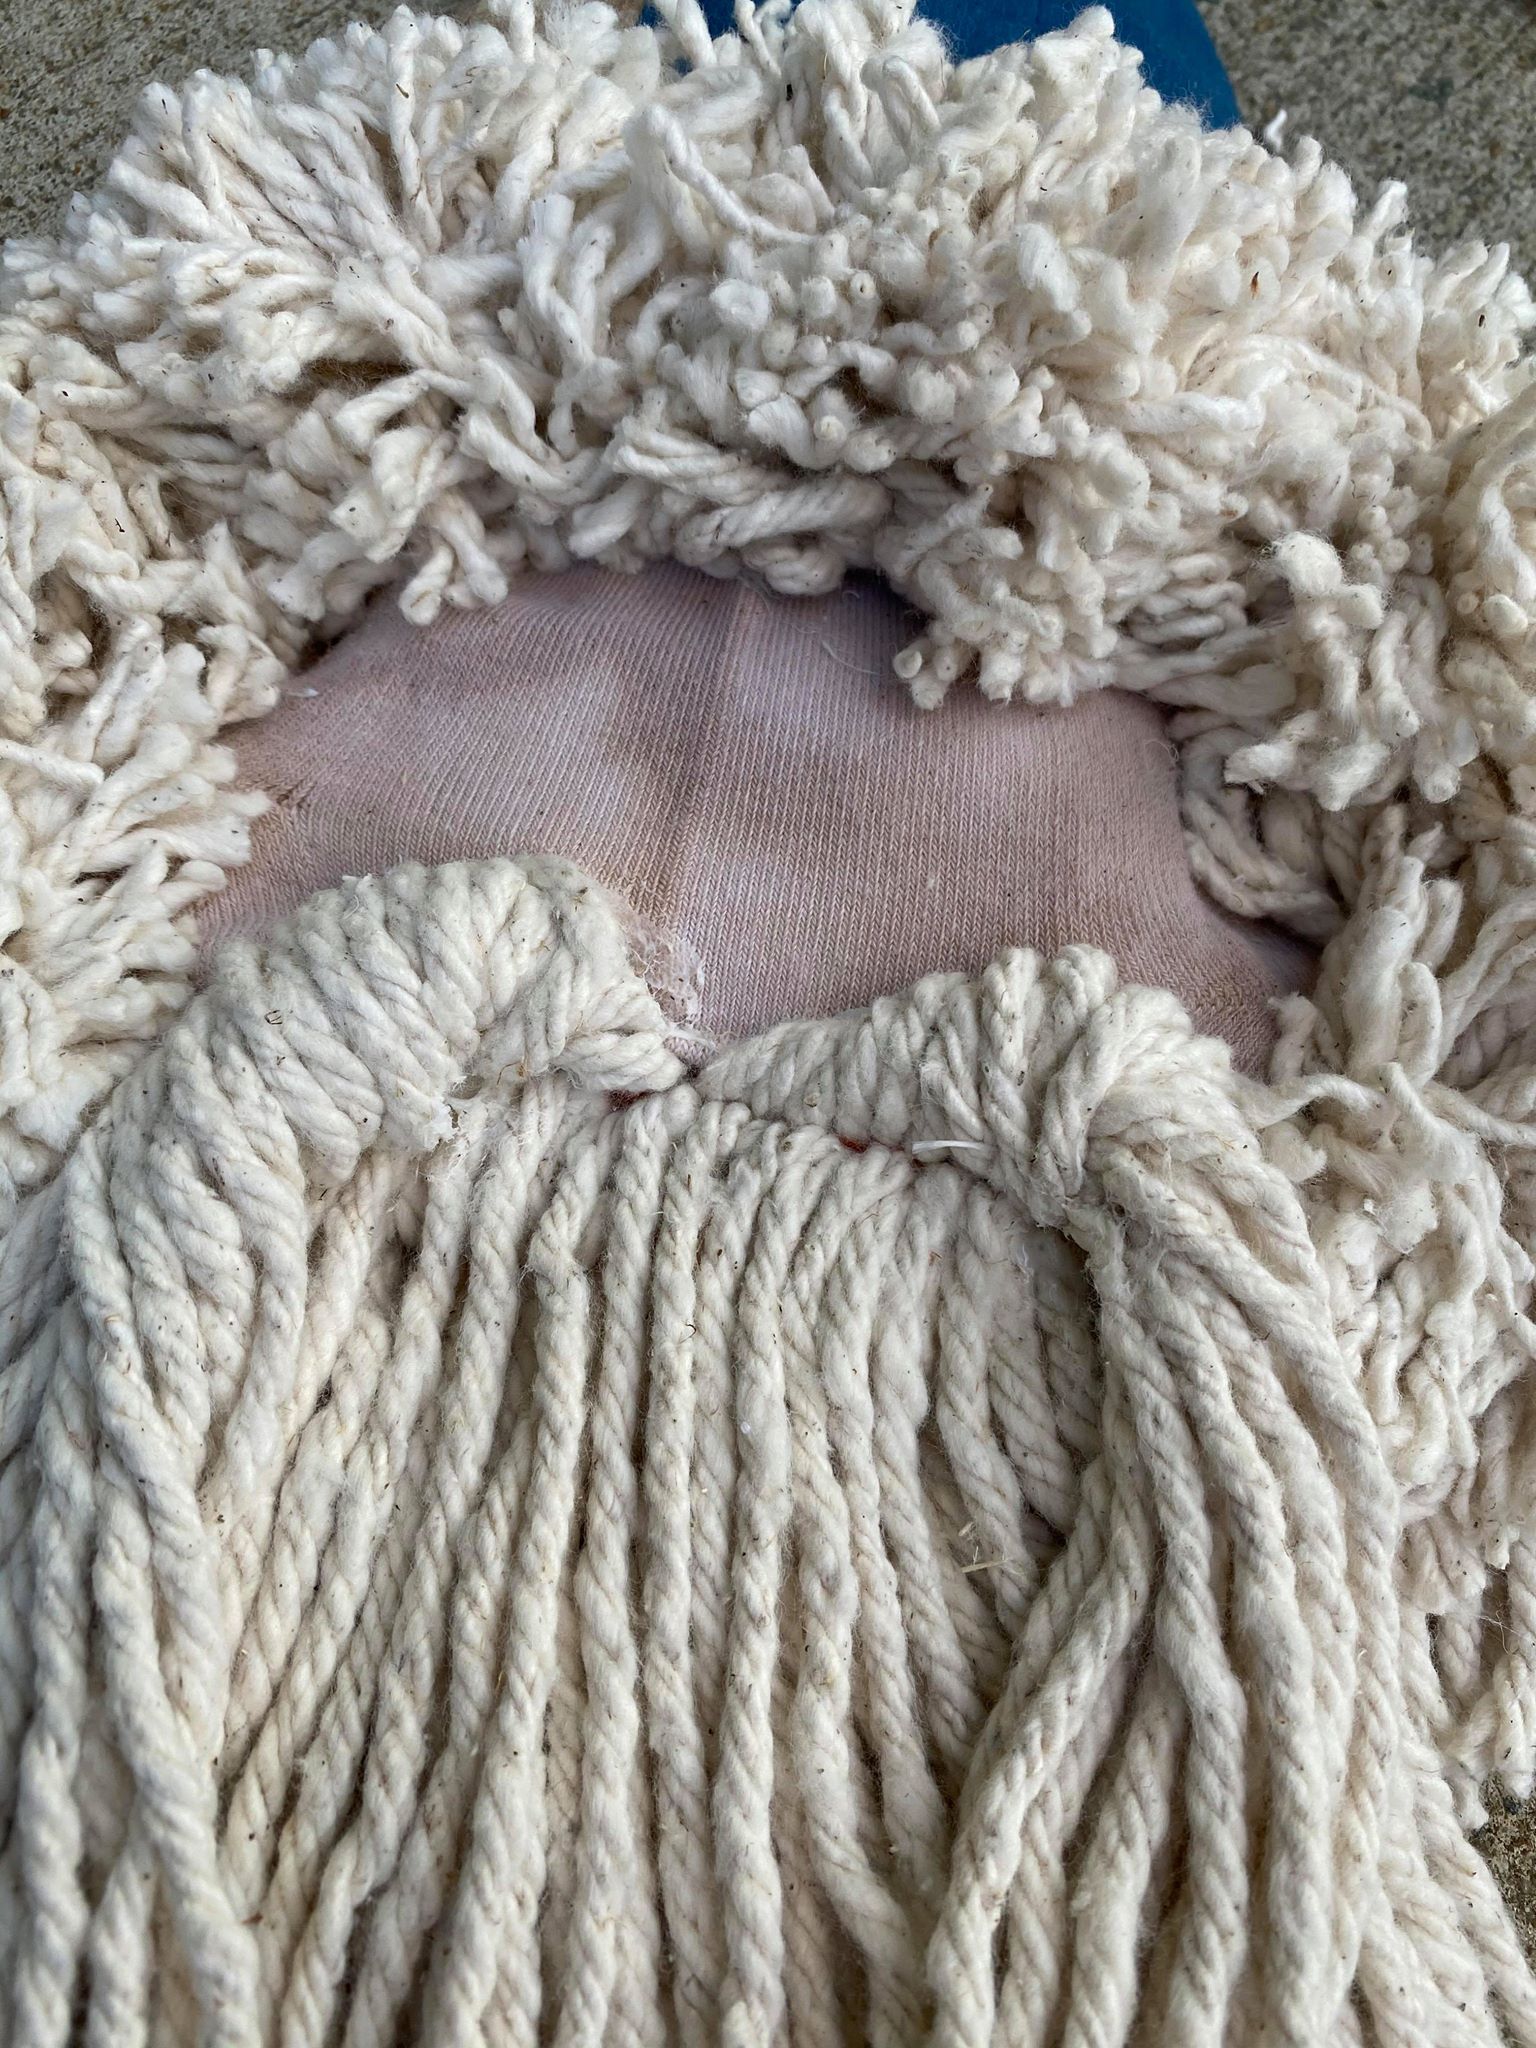
Flip your mop over and do the same thing to the back of the mop.
I left some of the orange strip showing on the back but this is the back of your santa so nobody should see this.
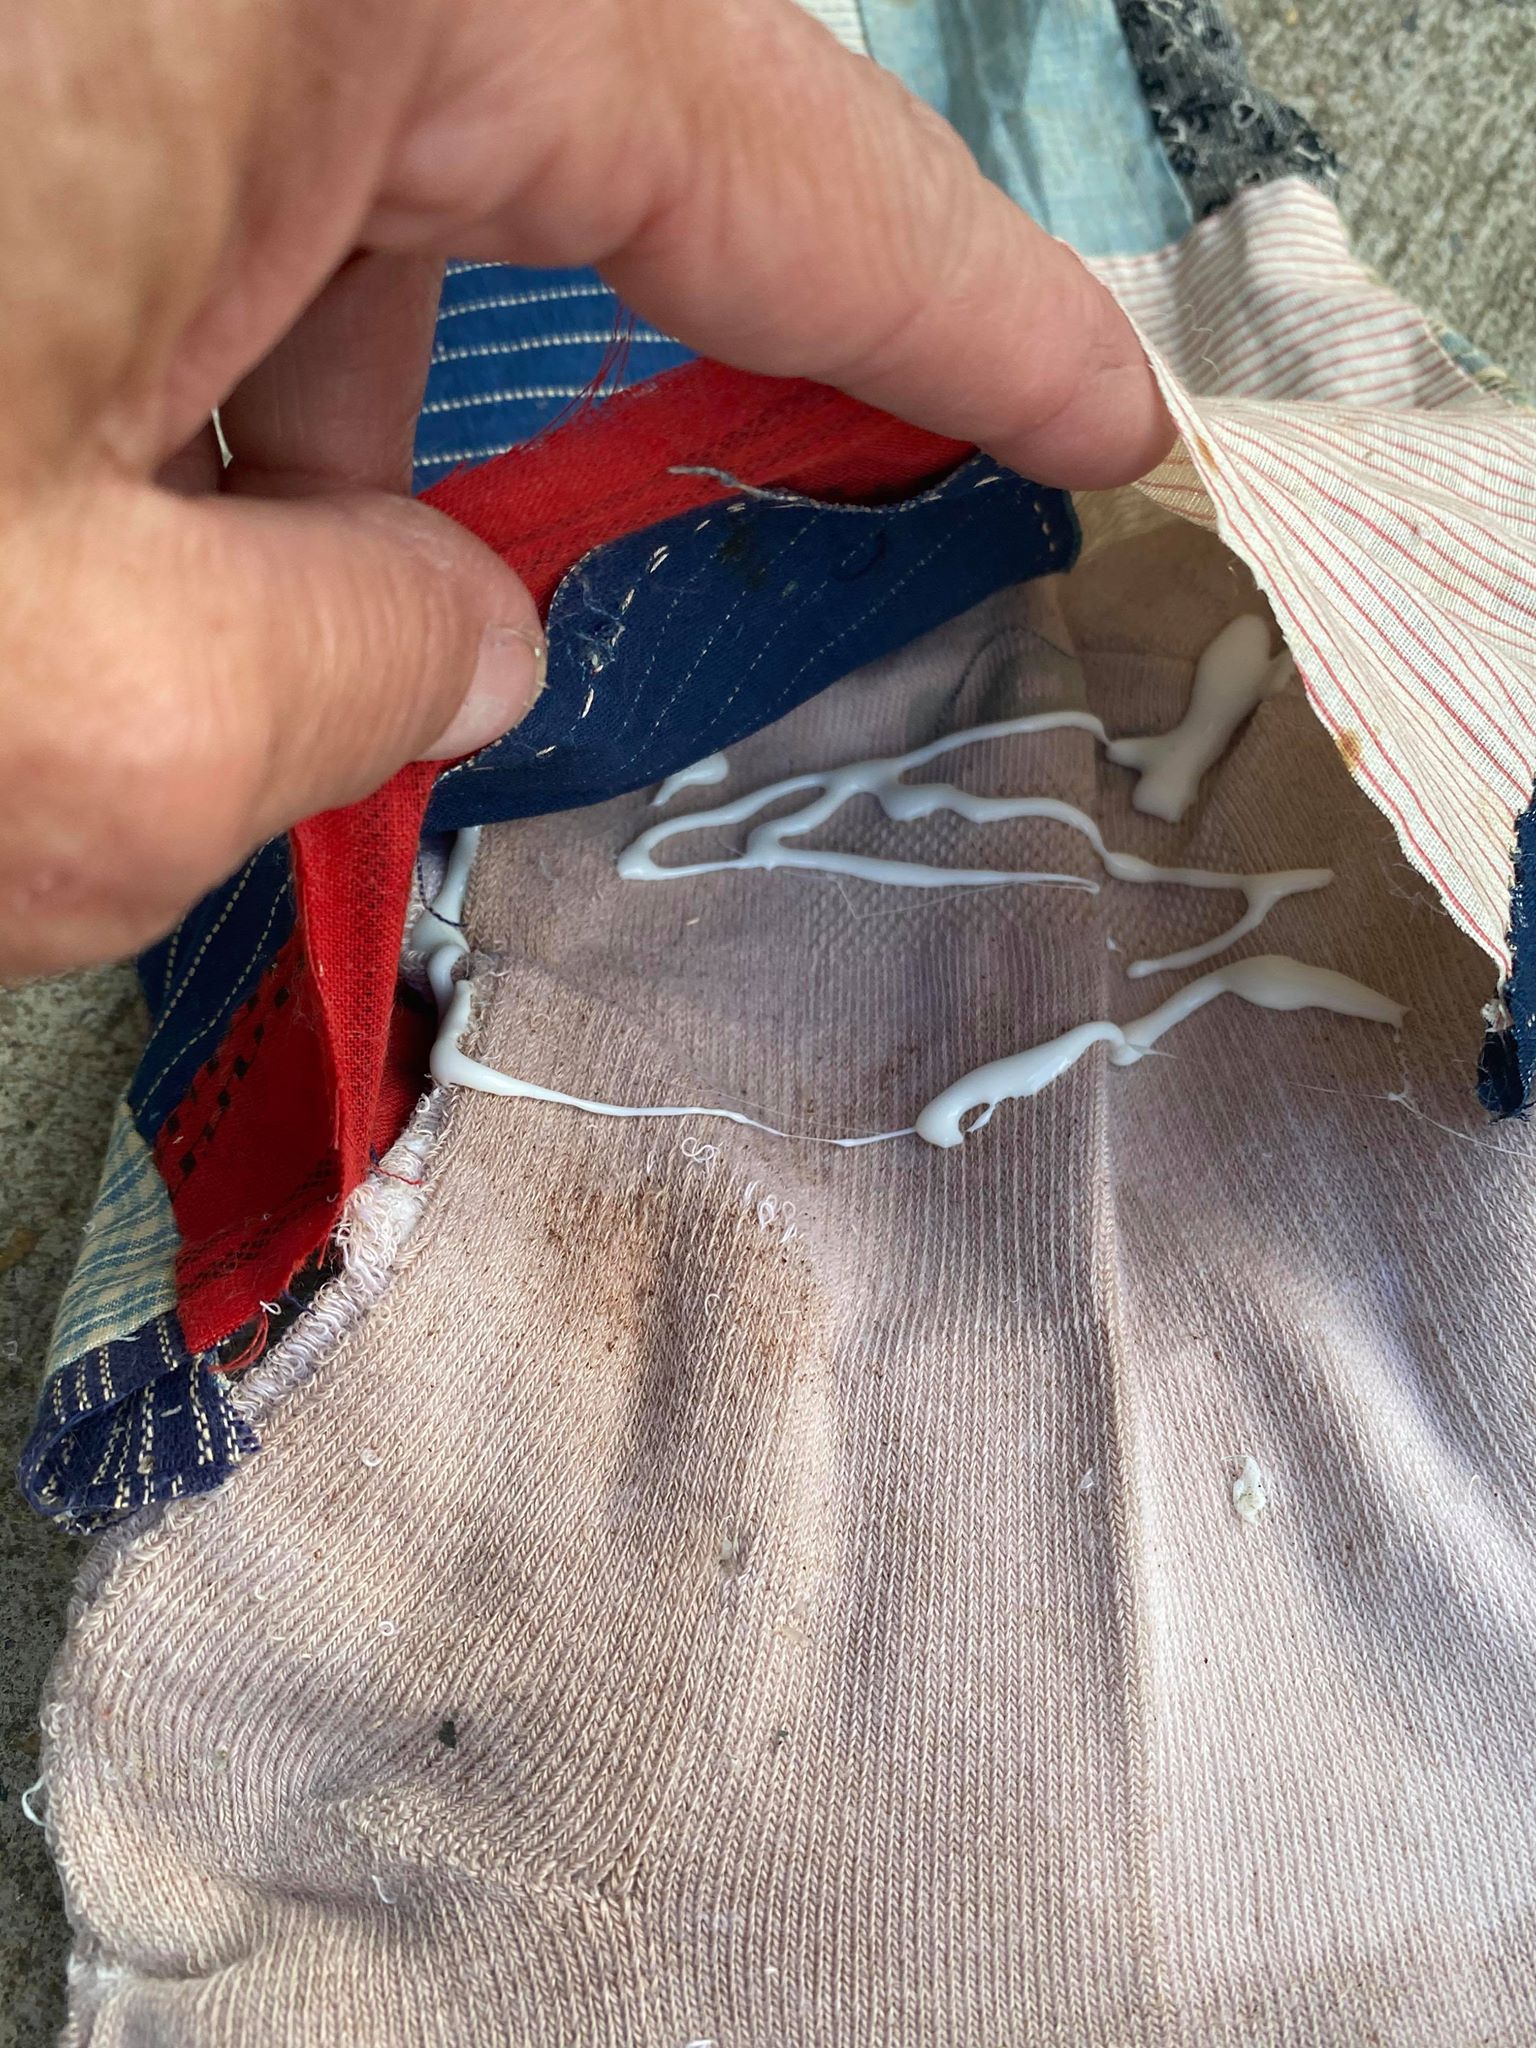
You will now glue your sides of the socks closed.
Your socks now formed the face of your santa. You will now want to cut your top strands of the mop off. I left about 2 inches of the top mop strands. This helped to fill and form my head to the Santa.
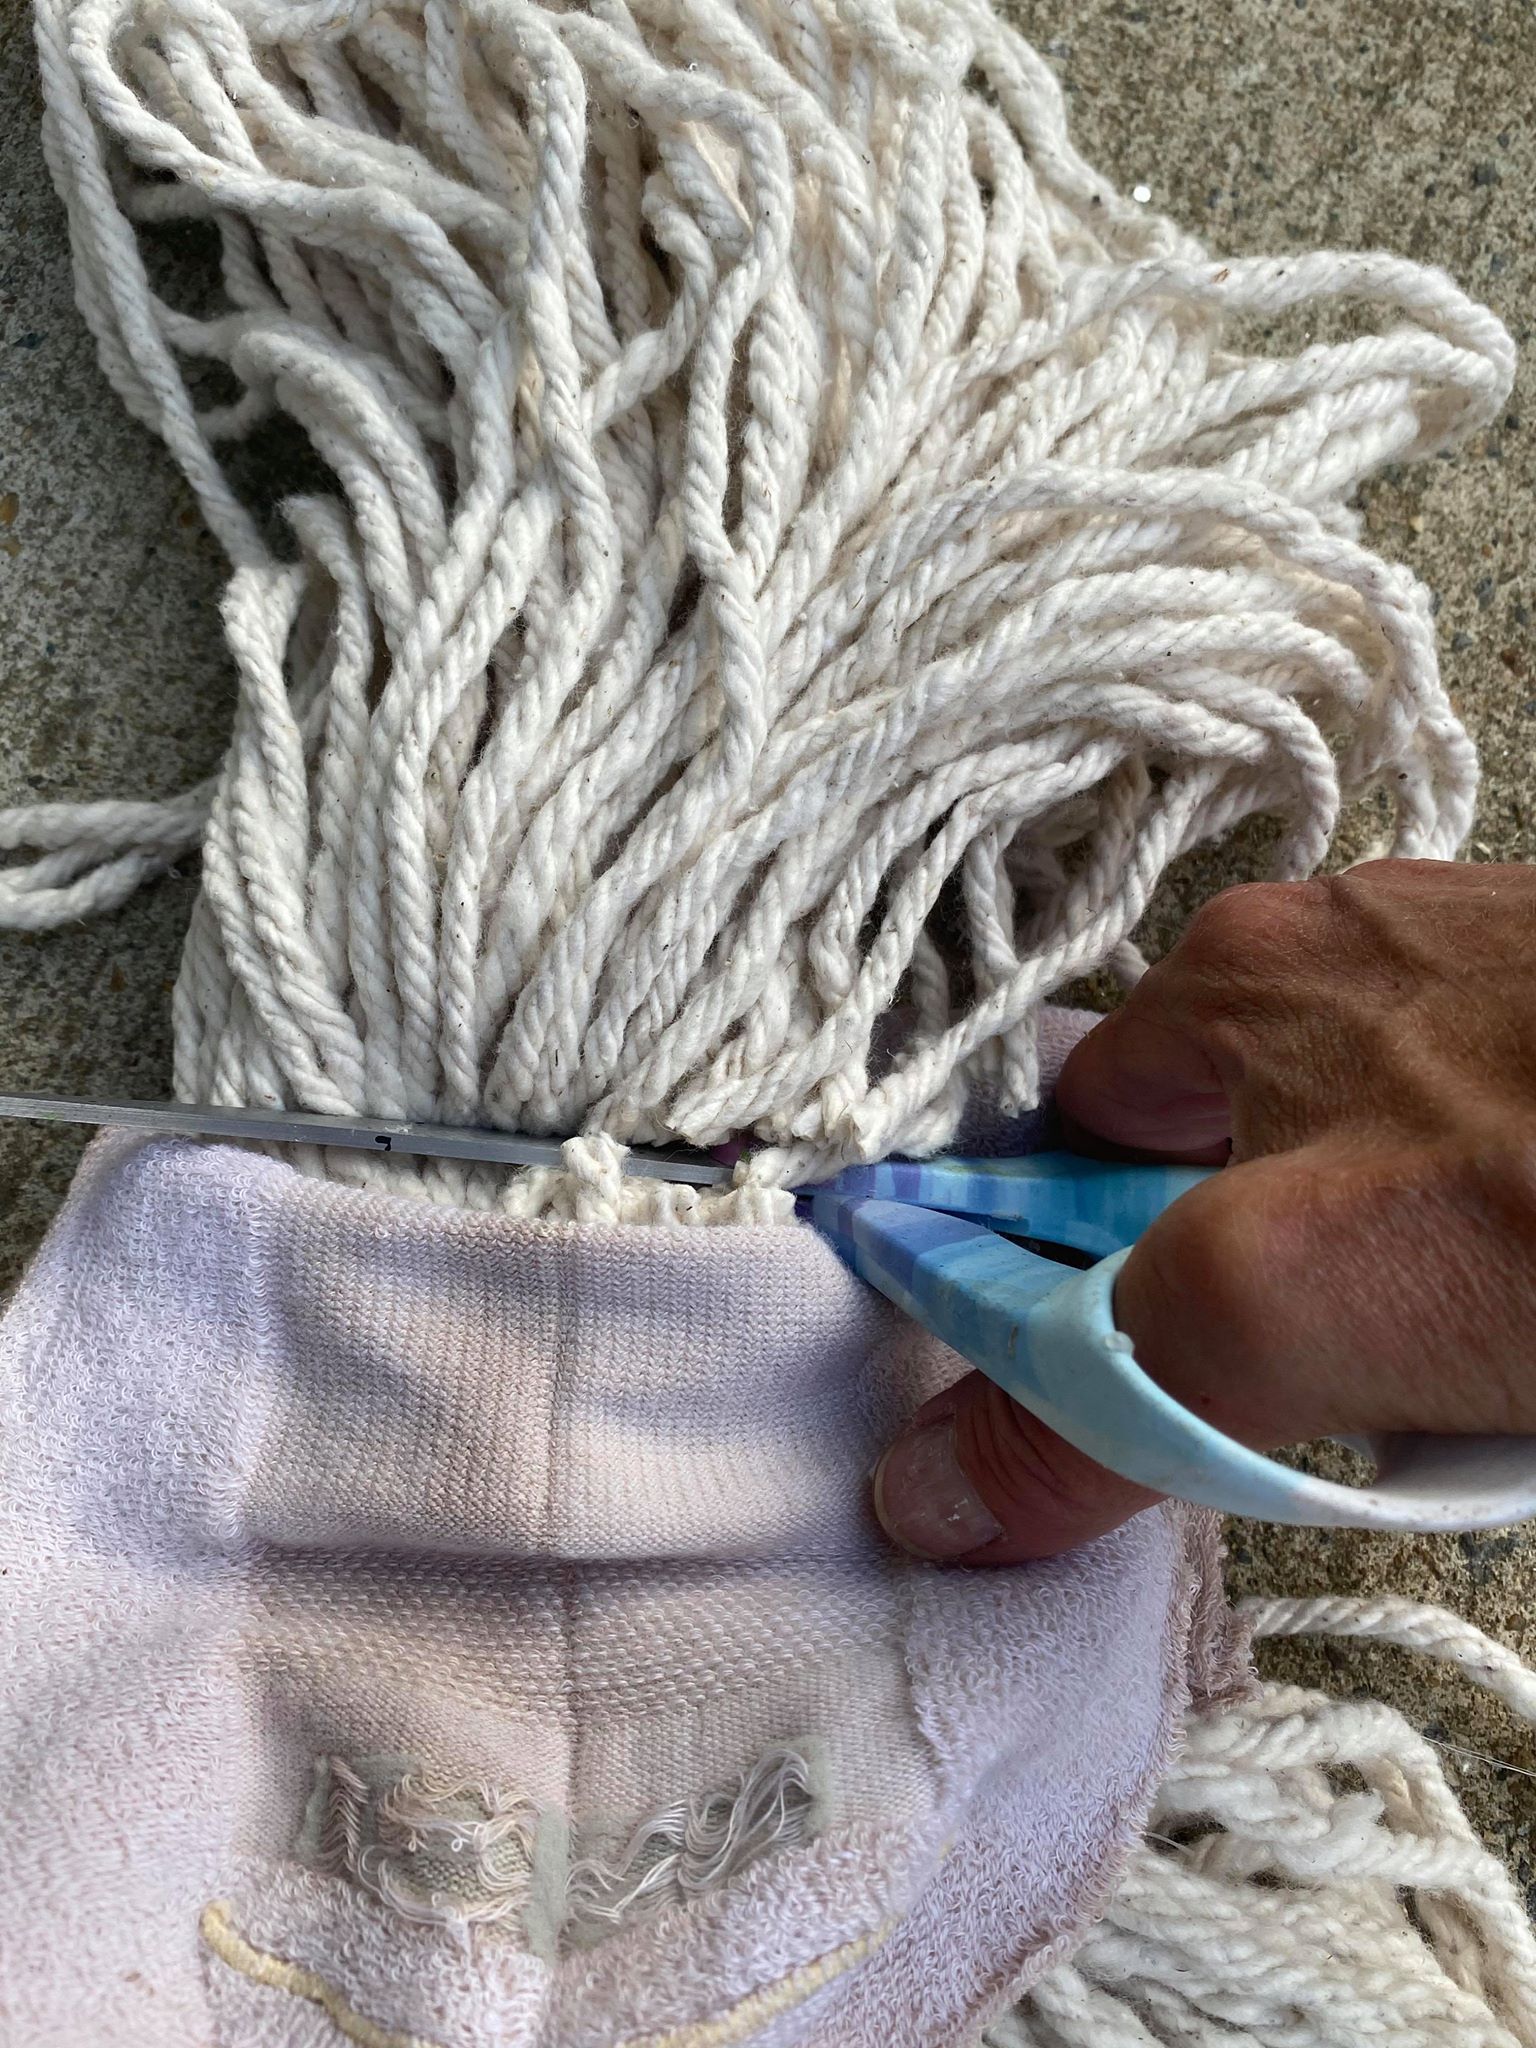
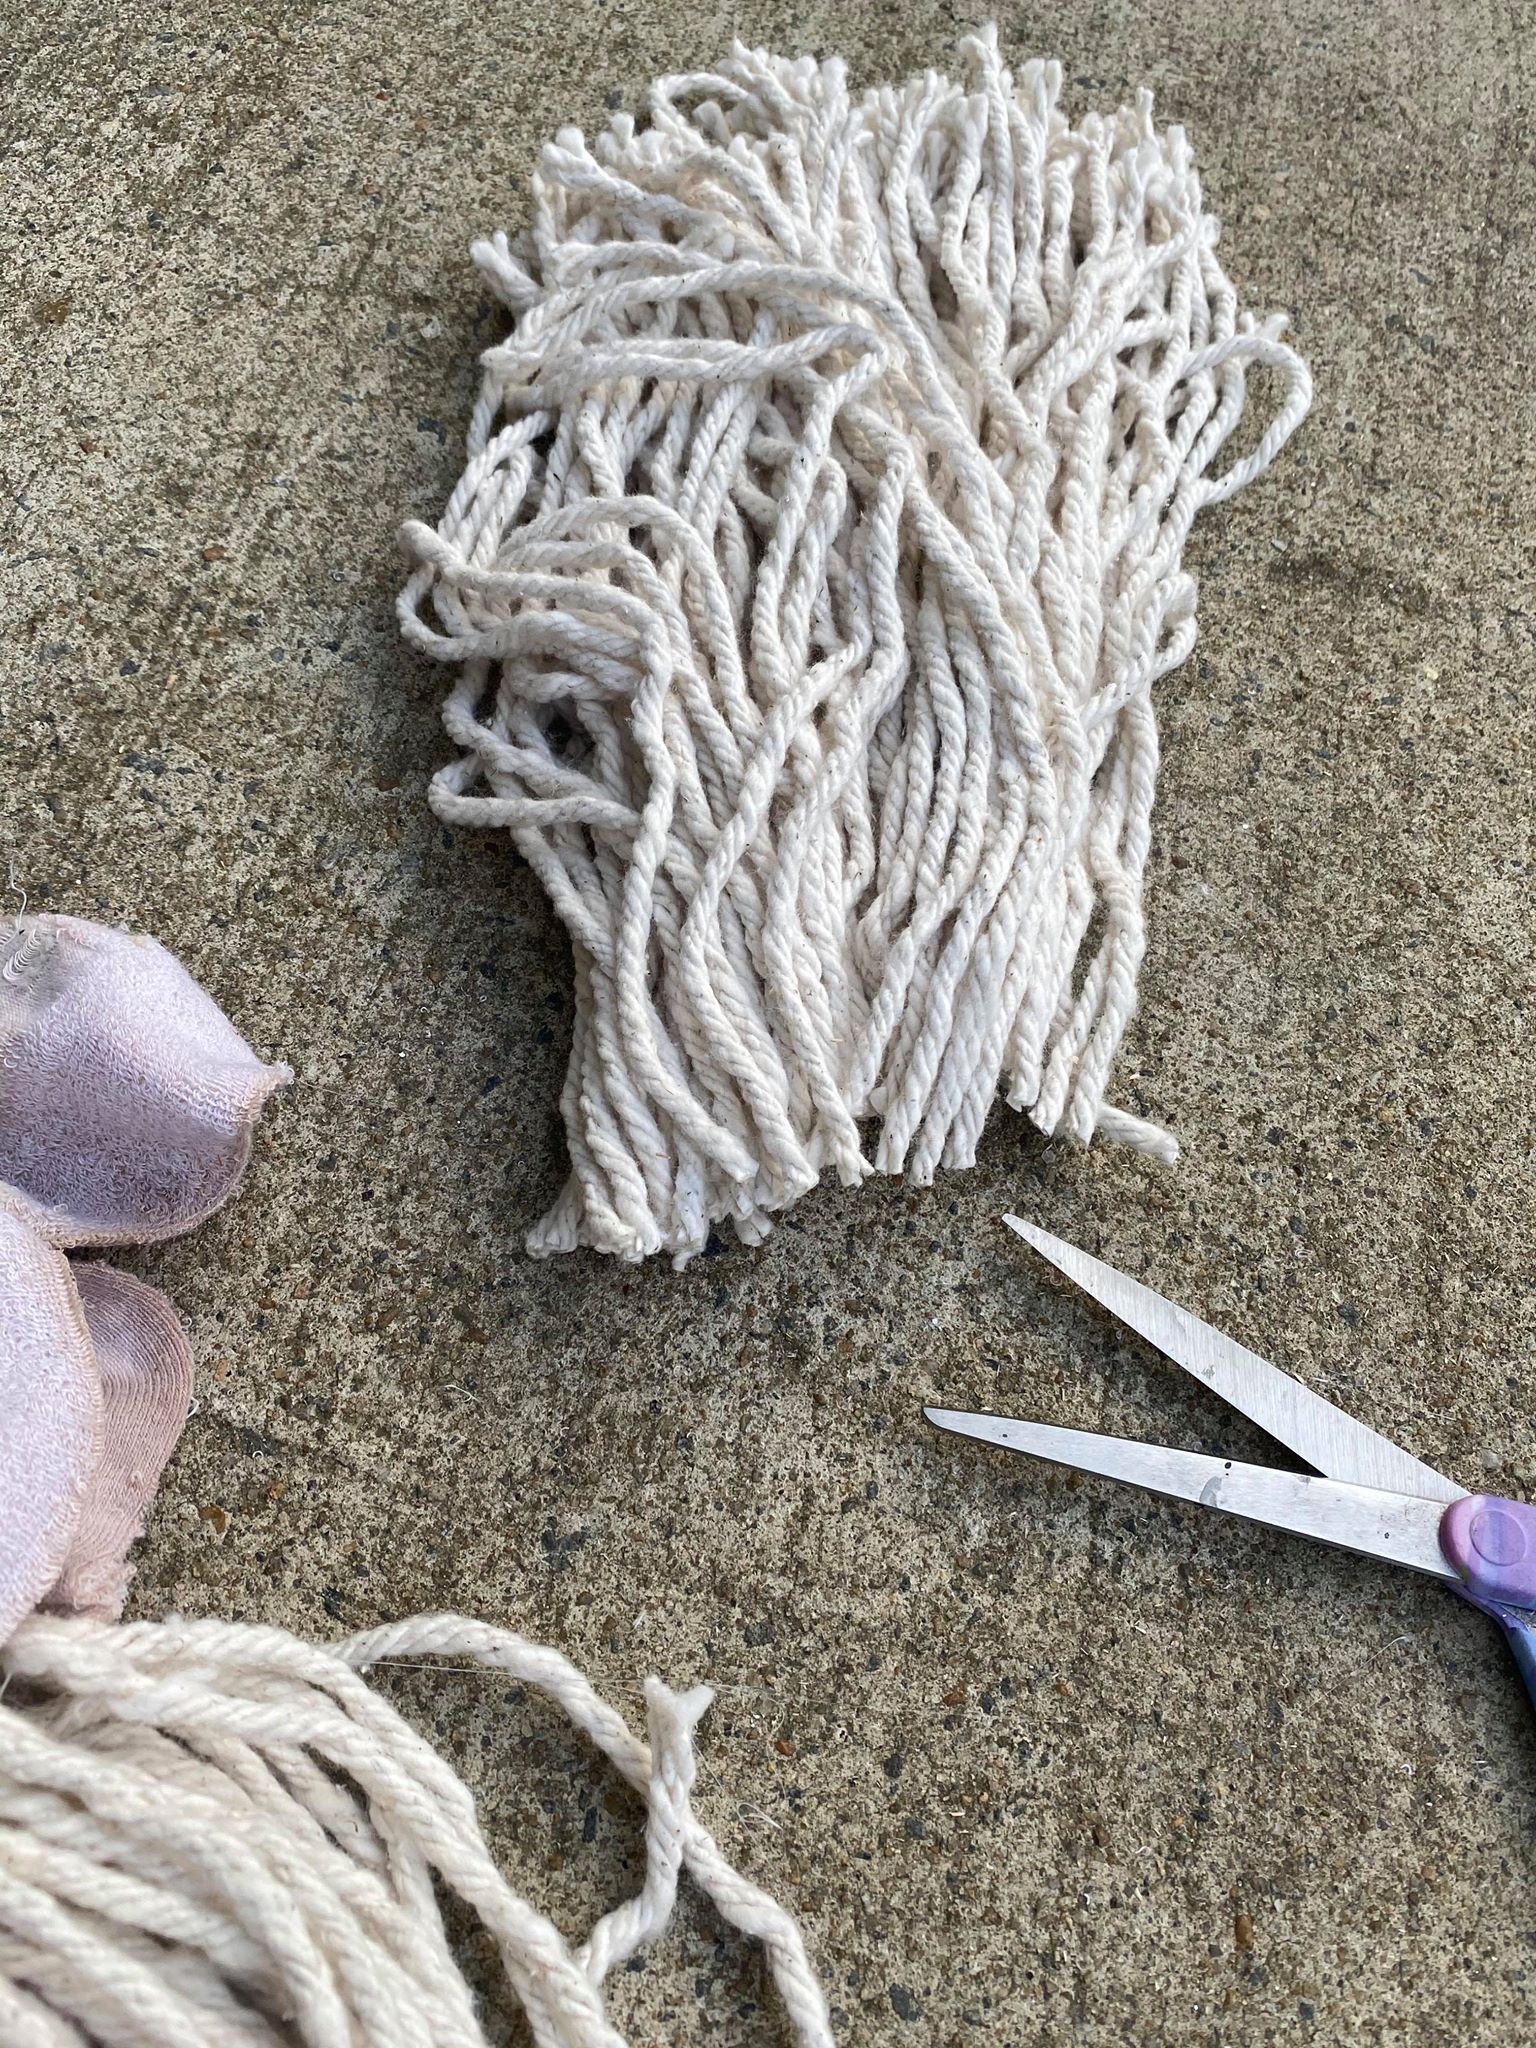
You will set these mop strands aside for now. These will be used for the bottom of your hat.
You will now want to glue the top part of your socks closed.
This top part of your socks is what will go up into your hat.
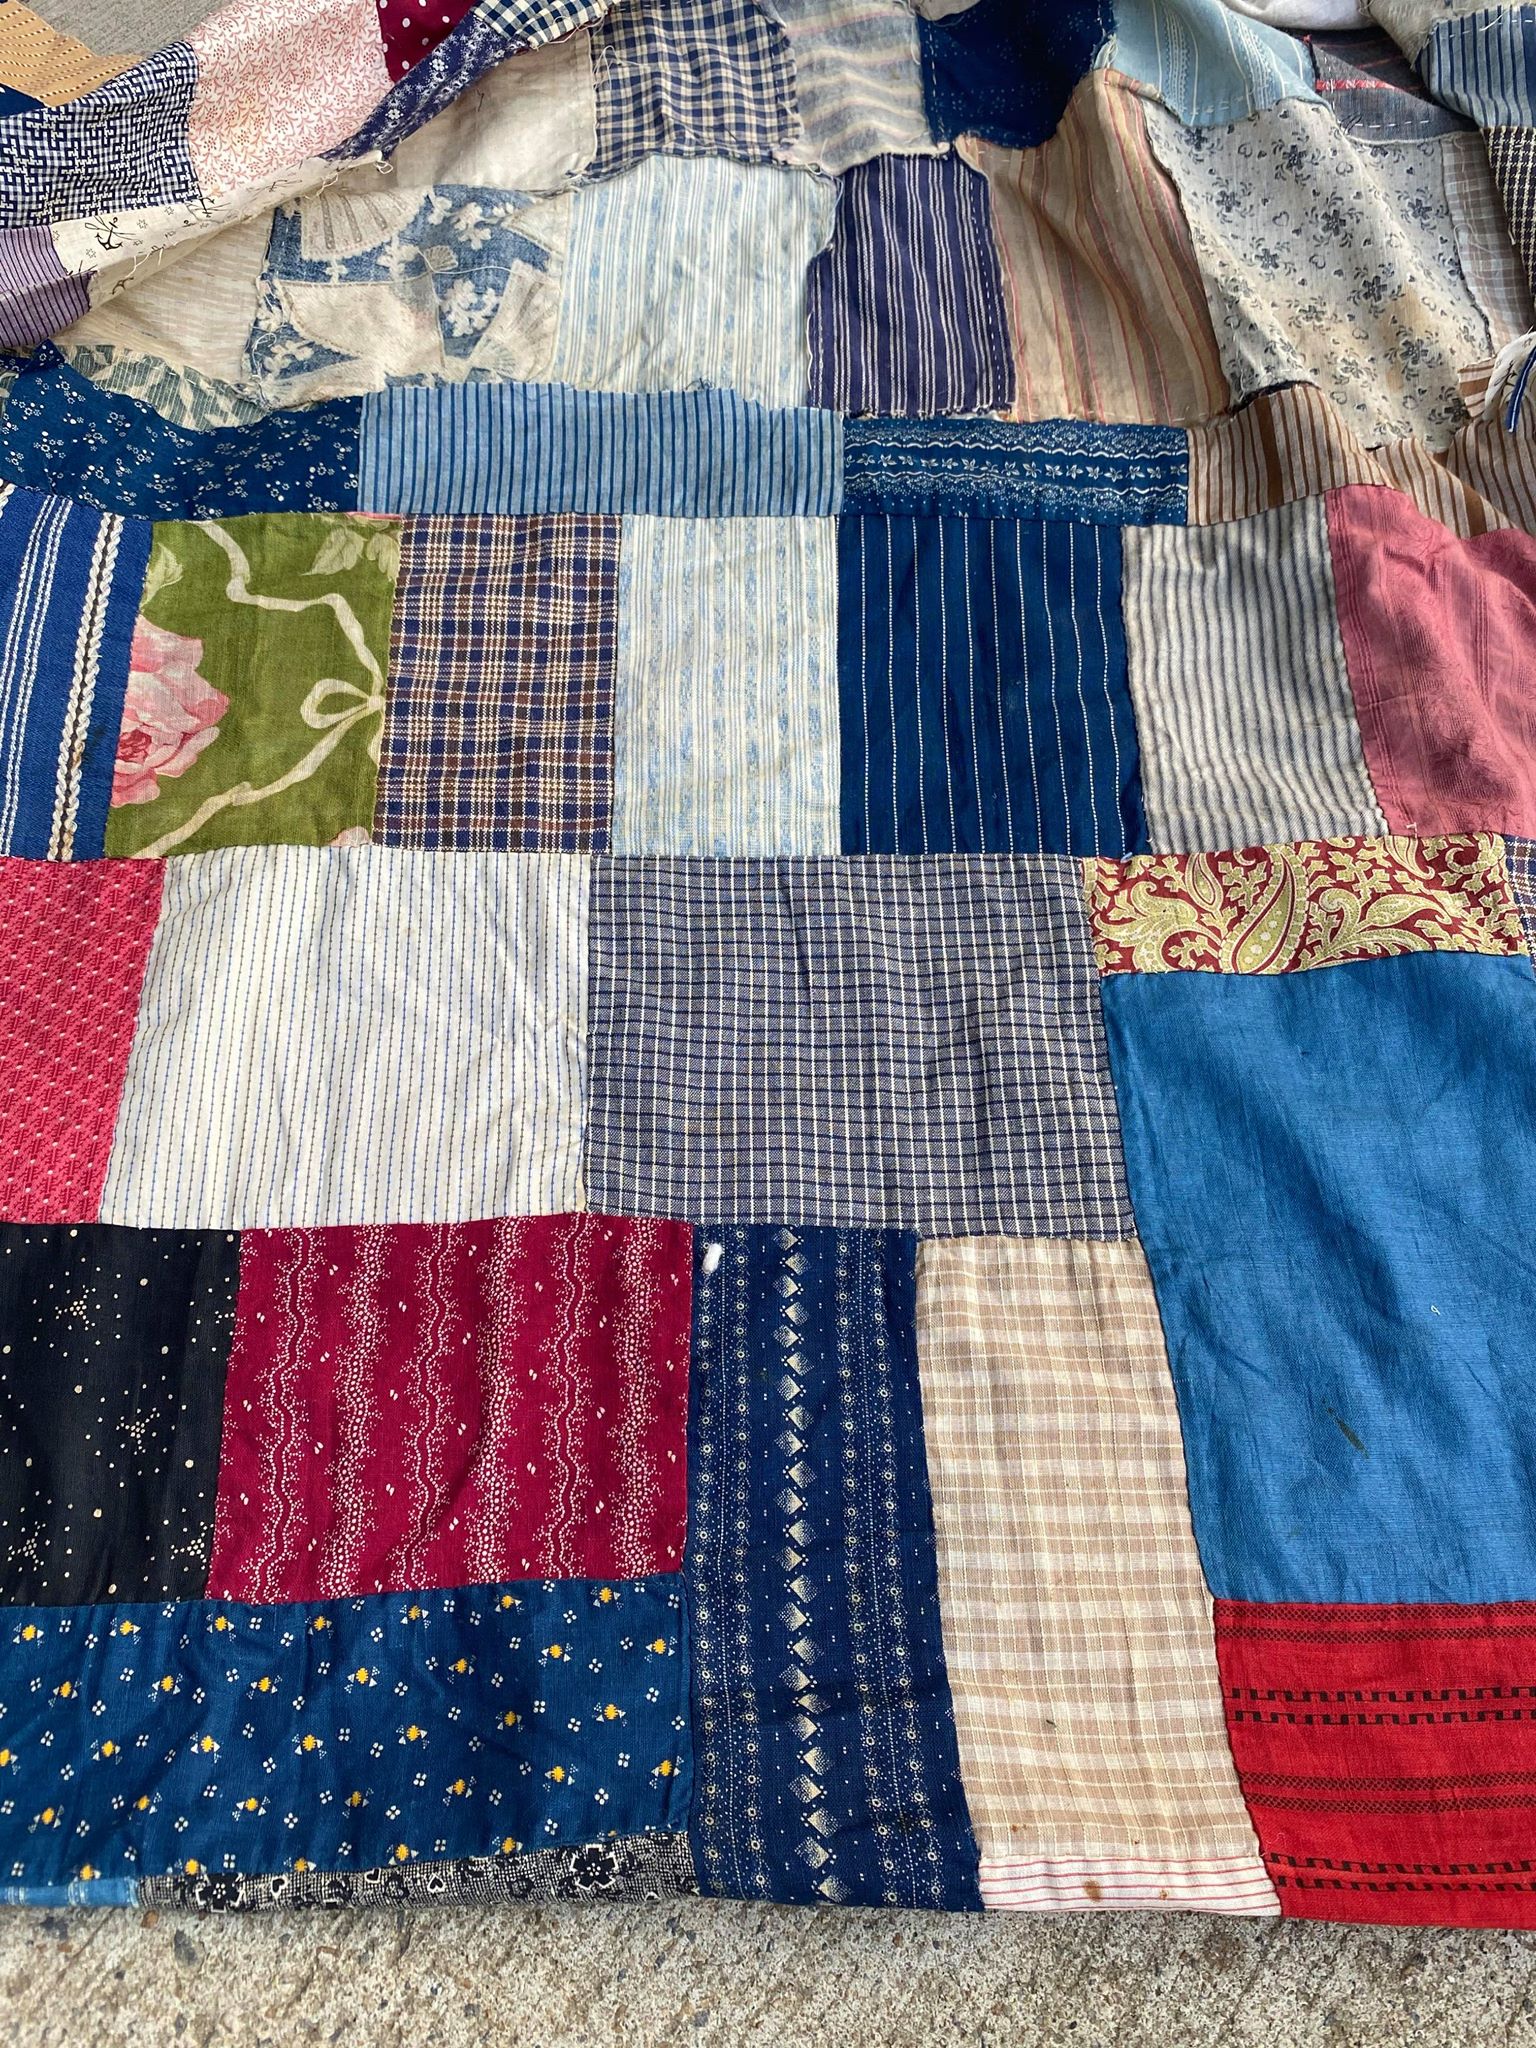
You will now need to cut out you hat for your Santa head. I am using a piece of a top quilt but you can use any type of material for this. I am cutting out a triangle to form my hat.
Your triangle can be any size you want. You need to have your material doubled so that you get a back and front piece. Face you good sides together and add glue around the edges.
Now you will turn your hat right sides out. This gives your hat finished side seams.
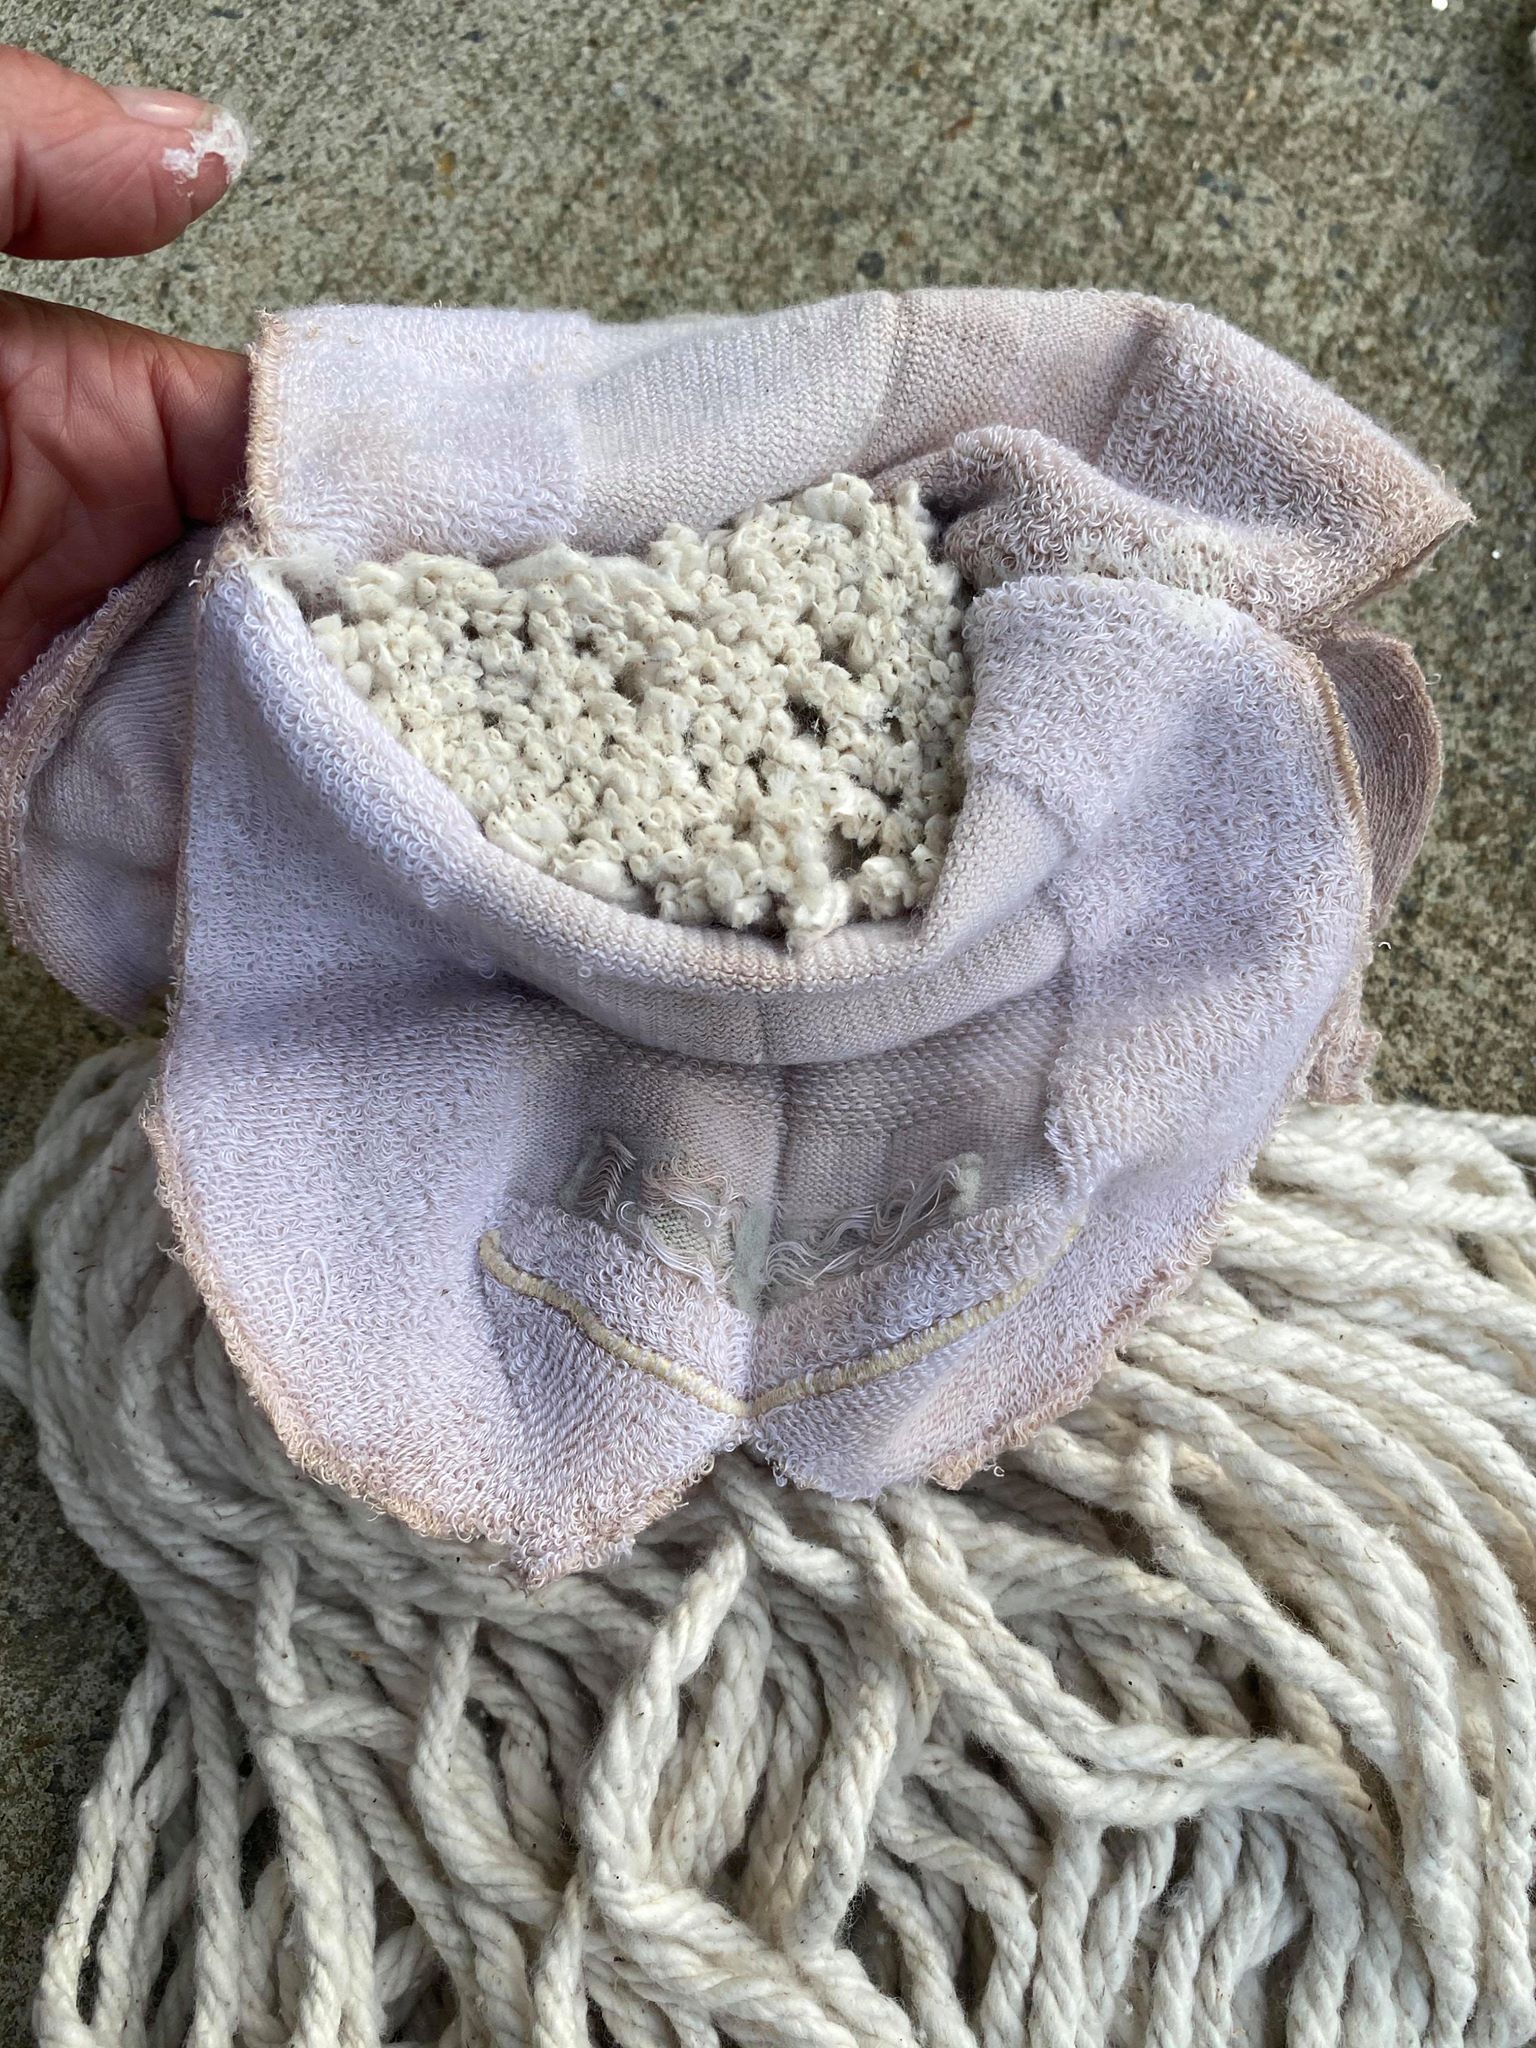
You will then slip your hat down onto your sock face.
I added a little stuffing to add some more fullness to my hat.
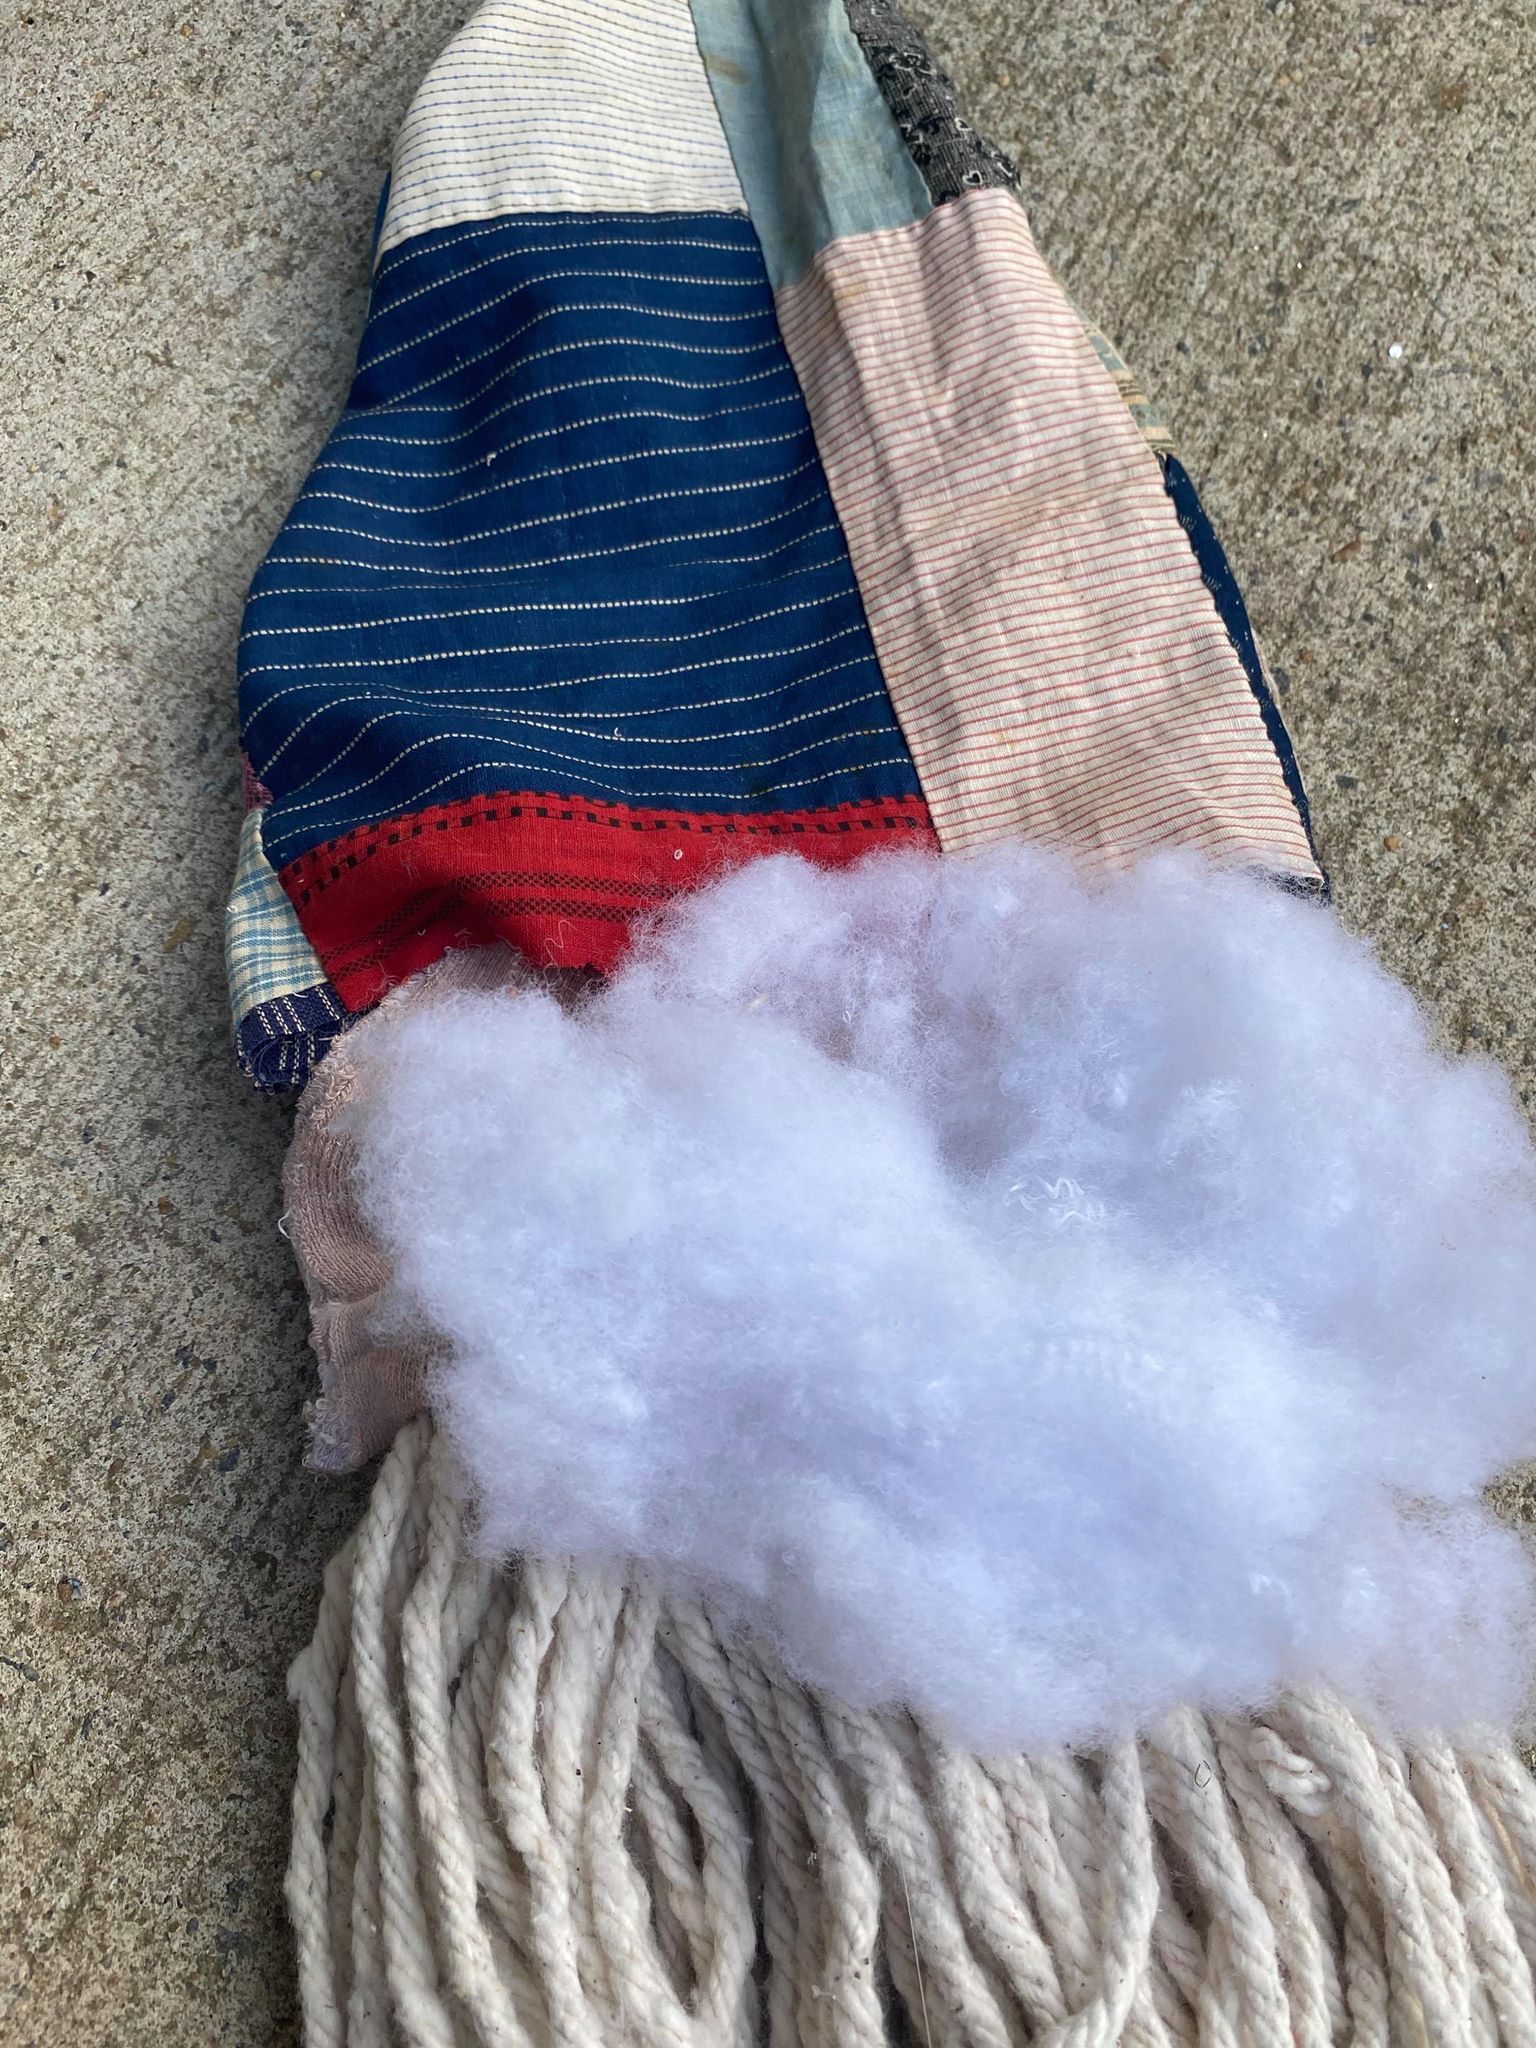
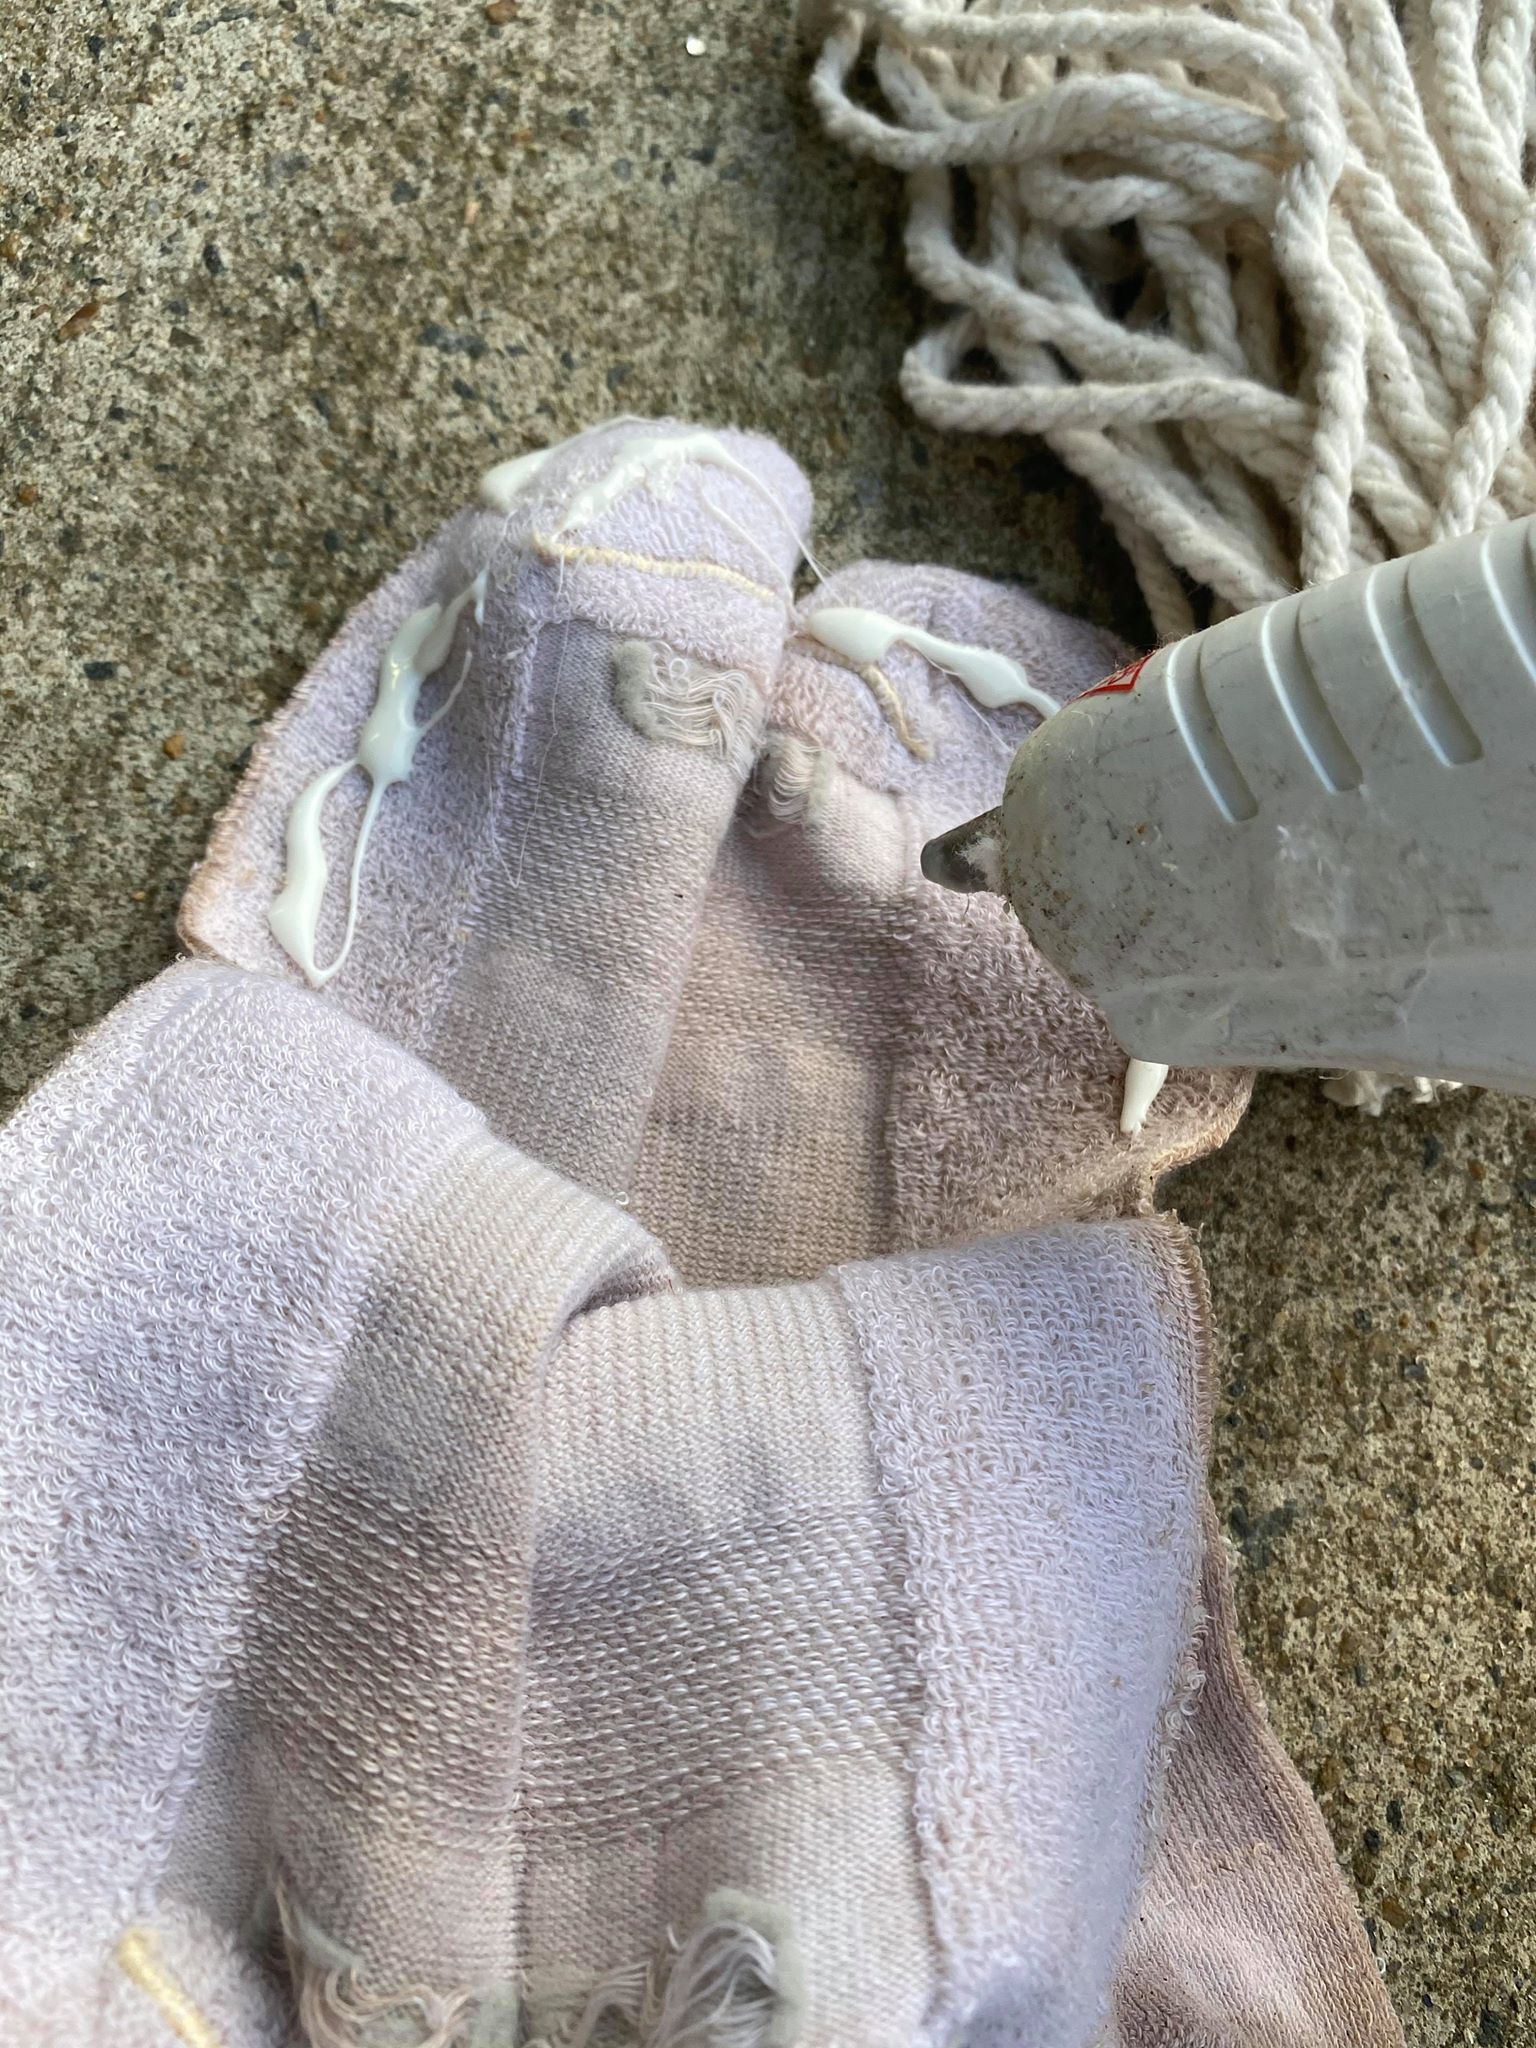
You will add glue and secure the bottom edge of your hat in place. You will do this to the front and back of your santa head.

It is now time to create the pom poms to go along the front edge of your hat.
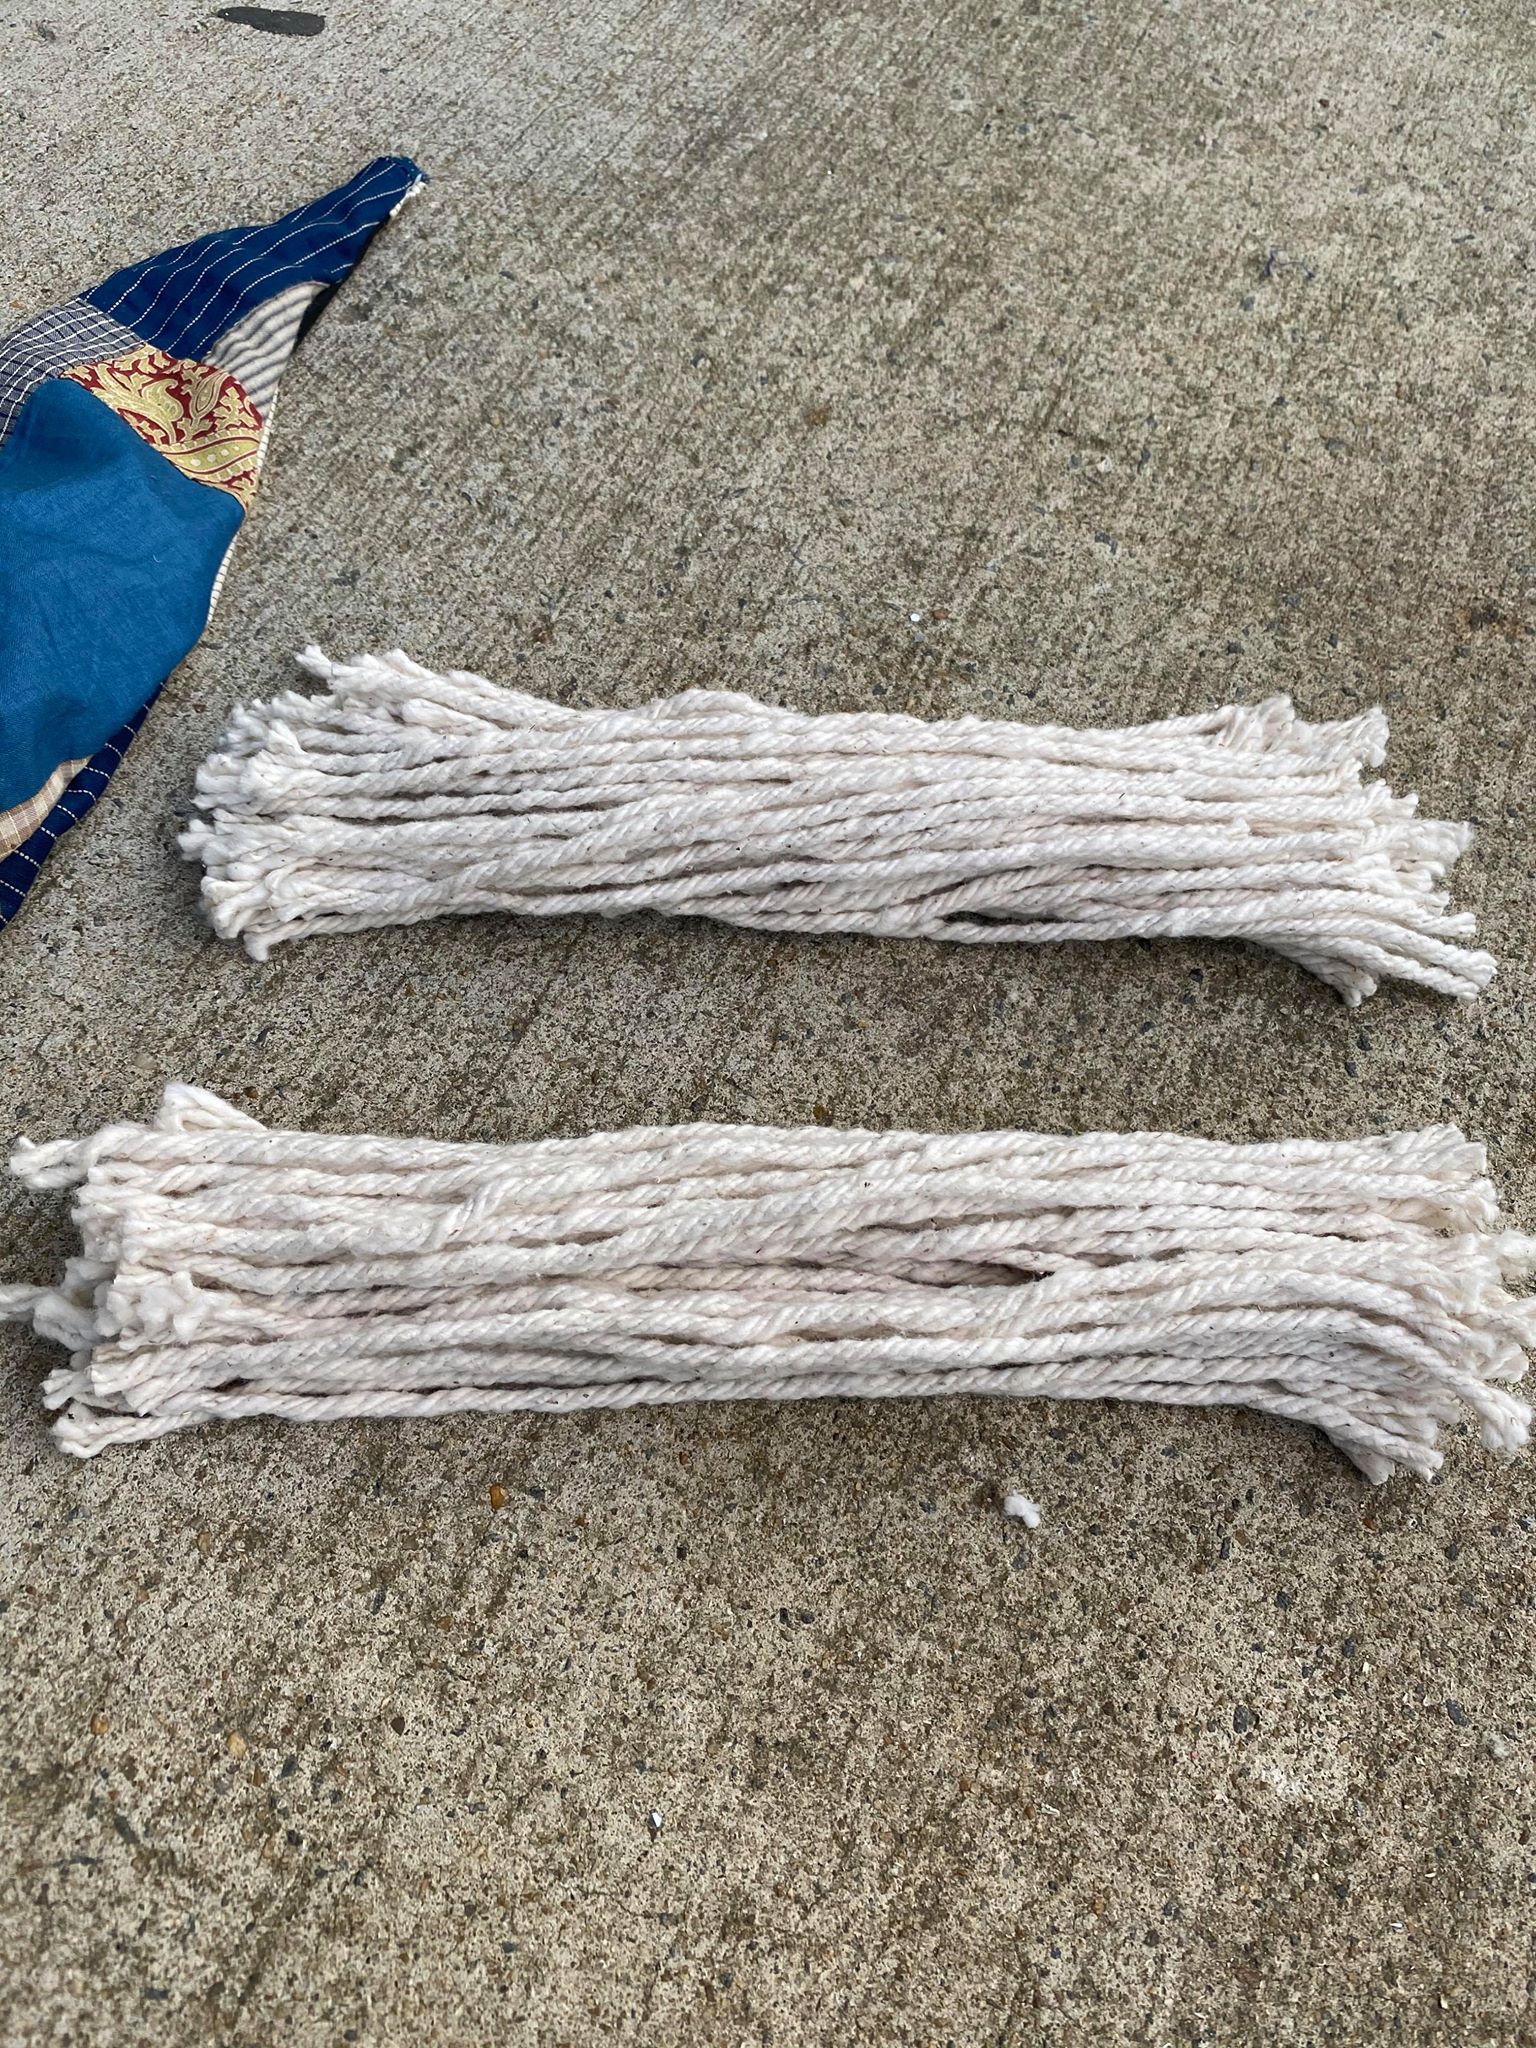
I separated the mop strands into 2 piles that we cut off from the top part of the mop earlier.
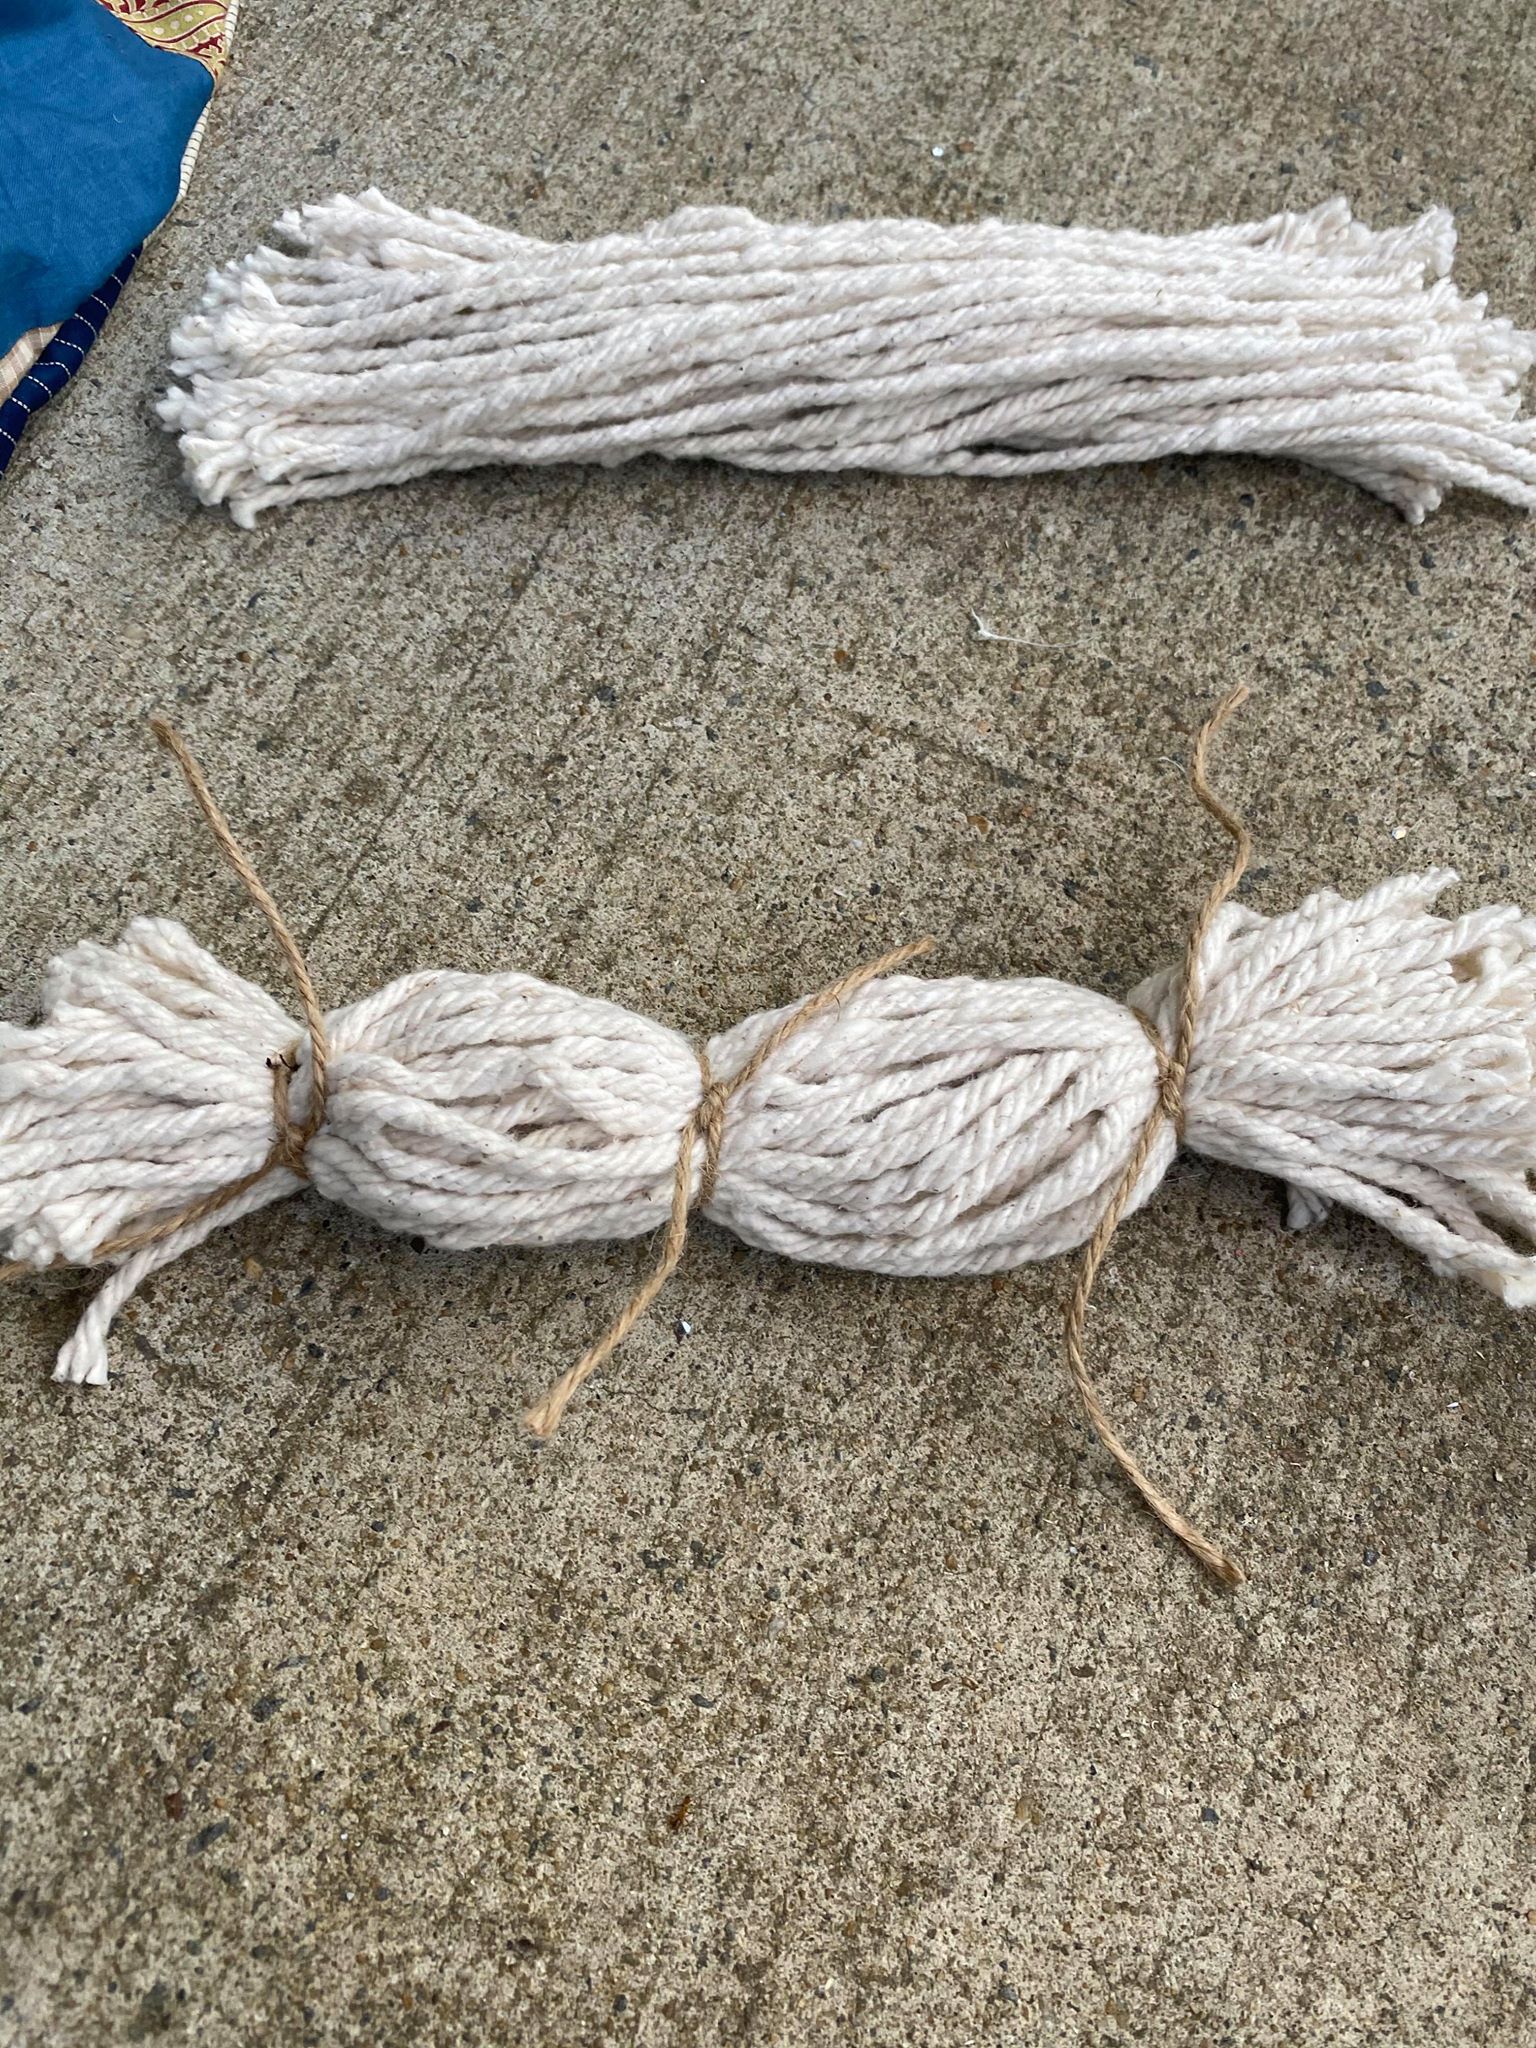
I then tied twine around the strands. I tied the twine about 2 inches apart from each other.
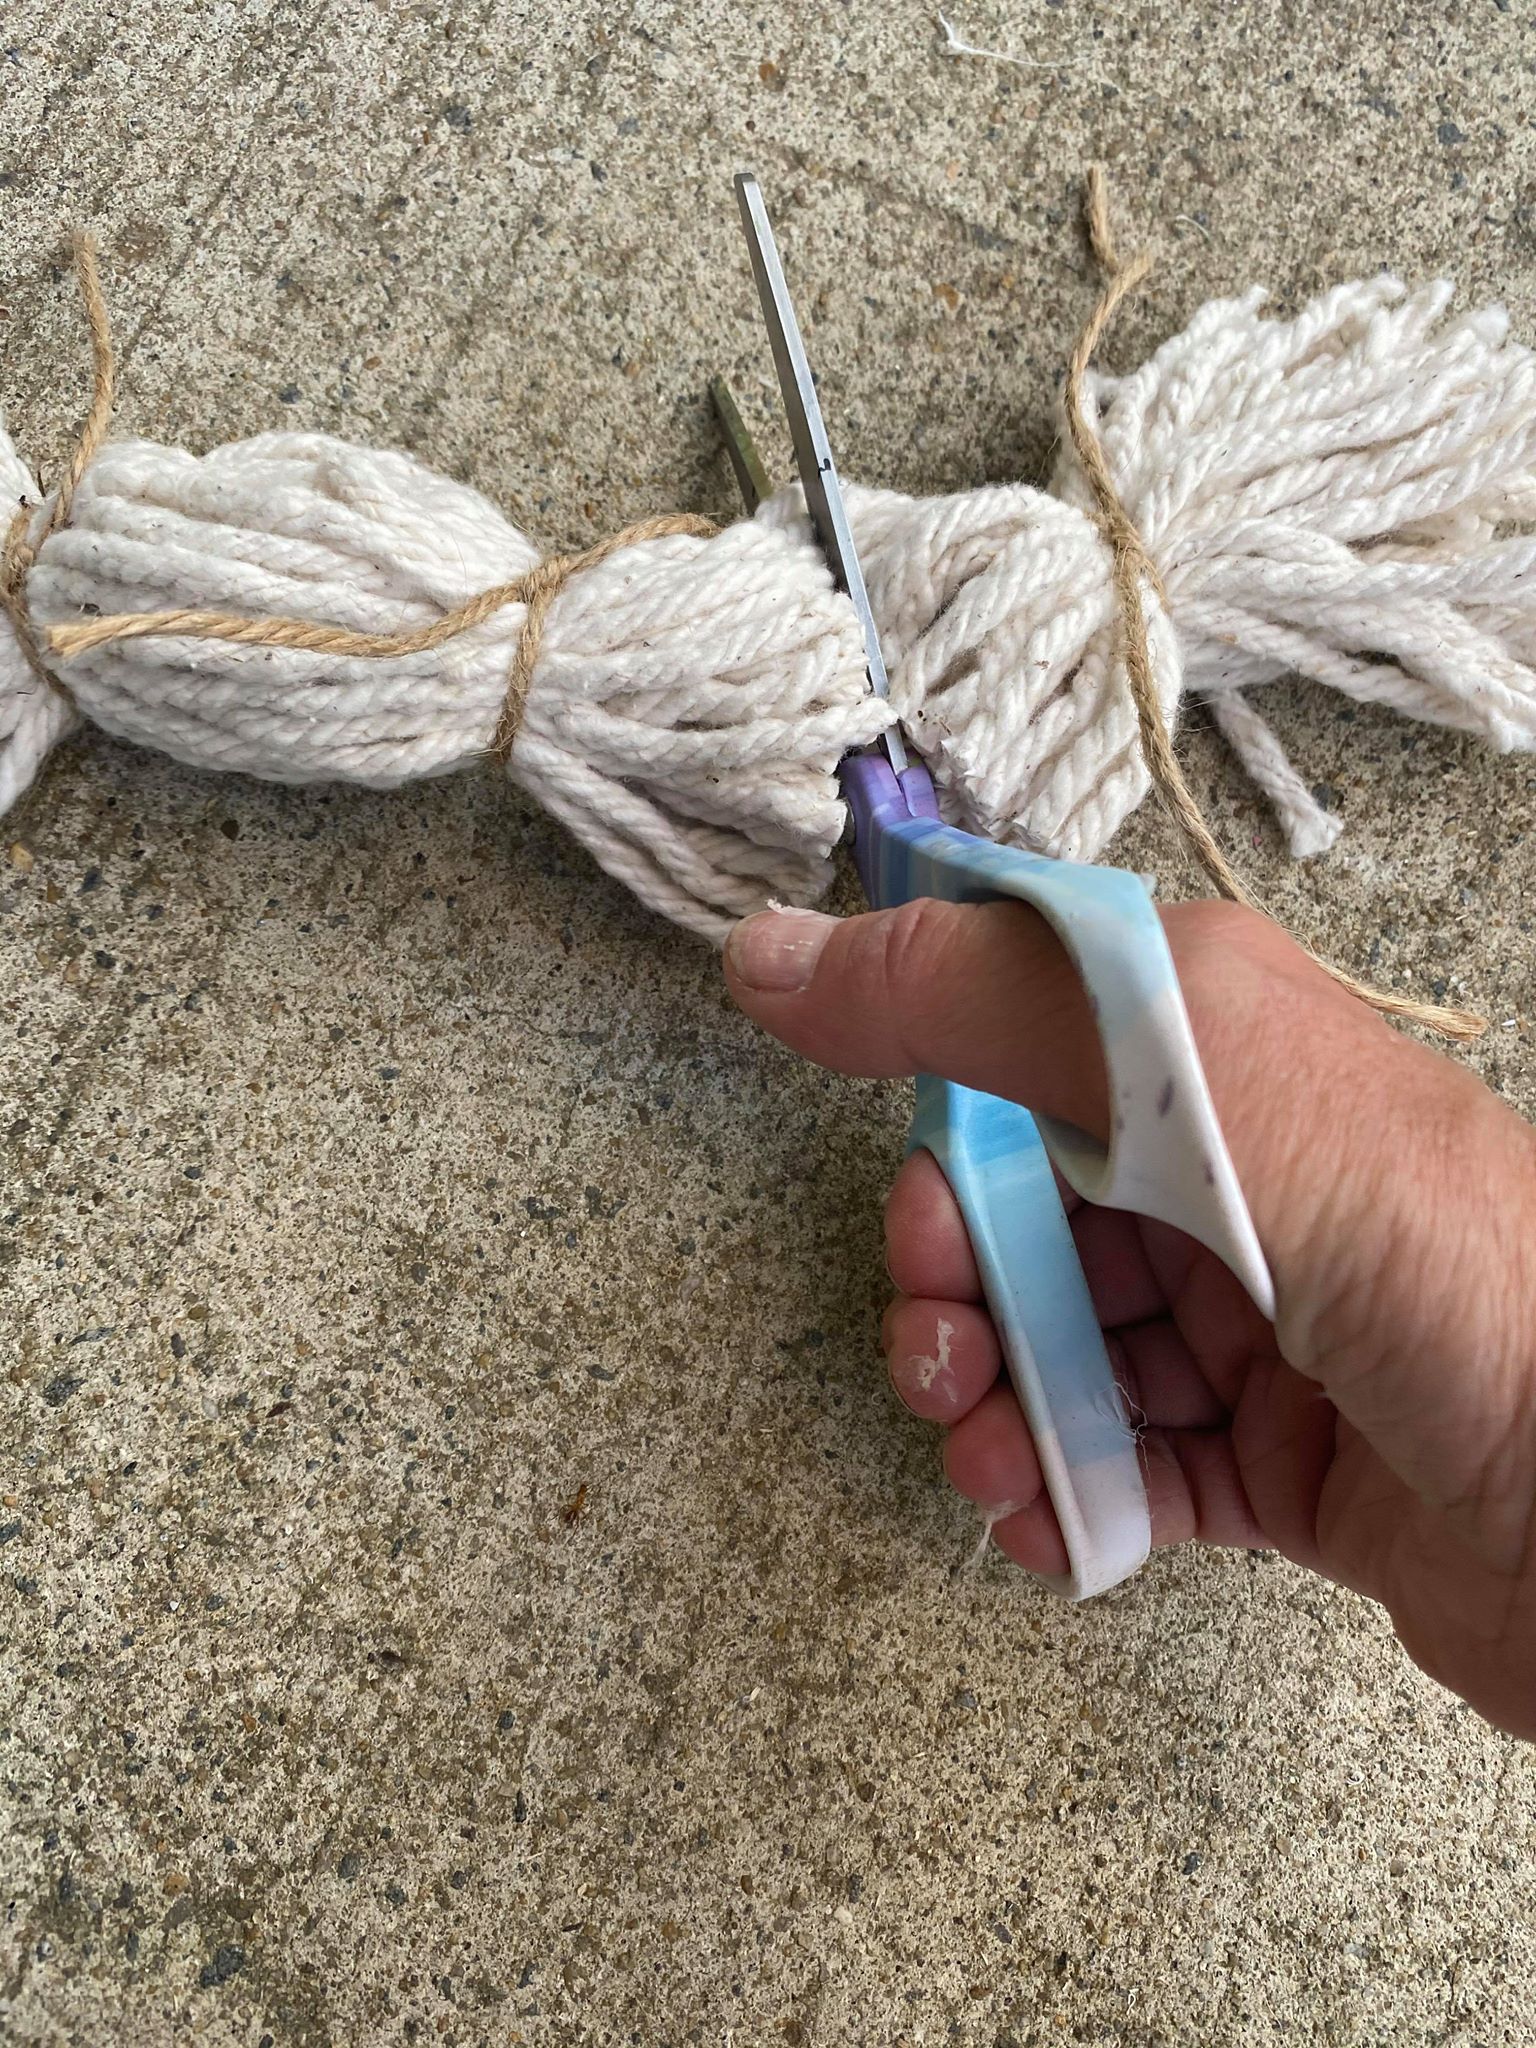
You will then take the scissors and cut in between each strip of twine.
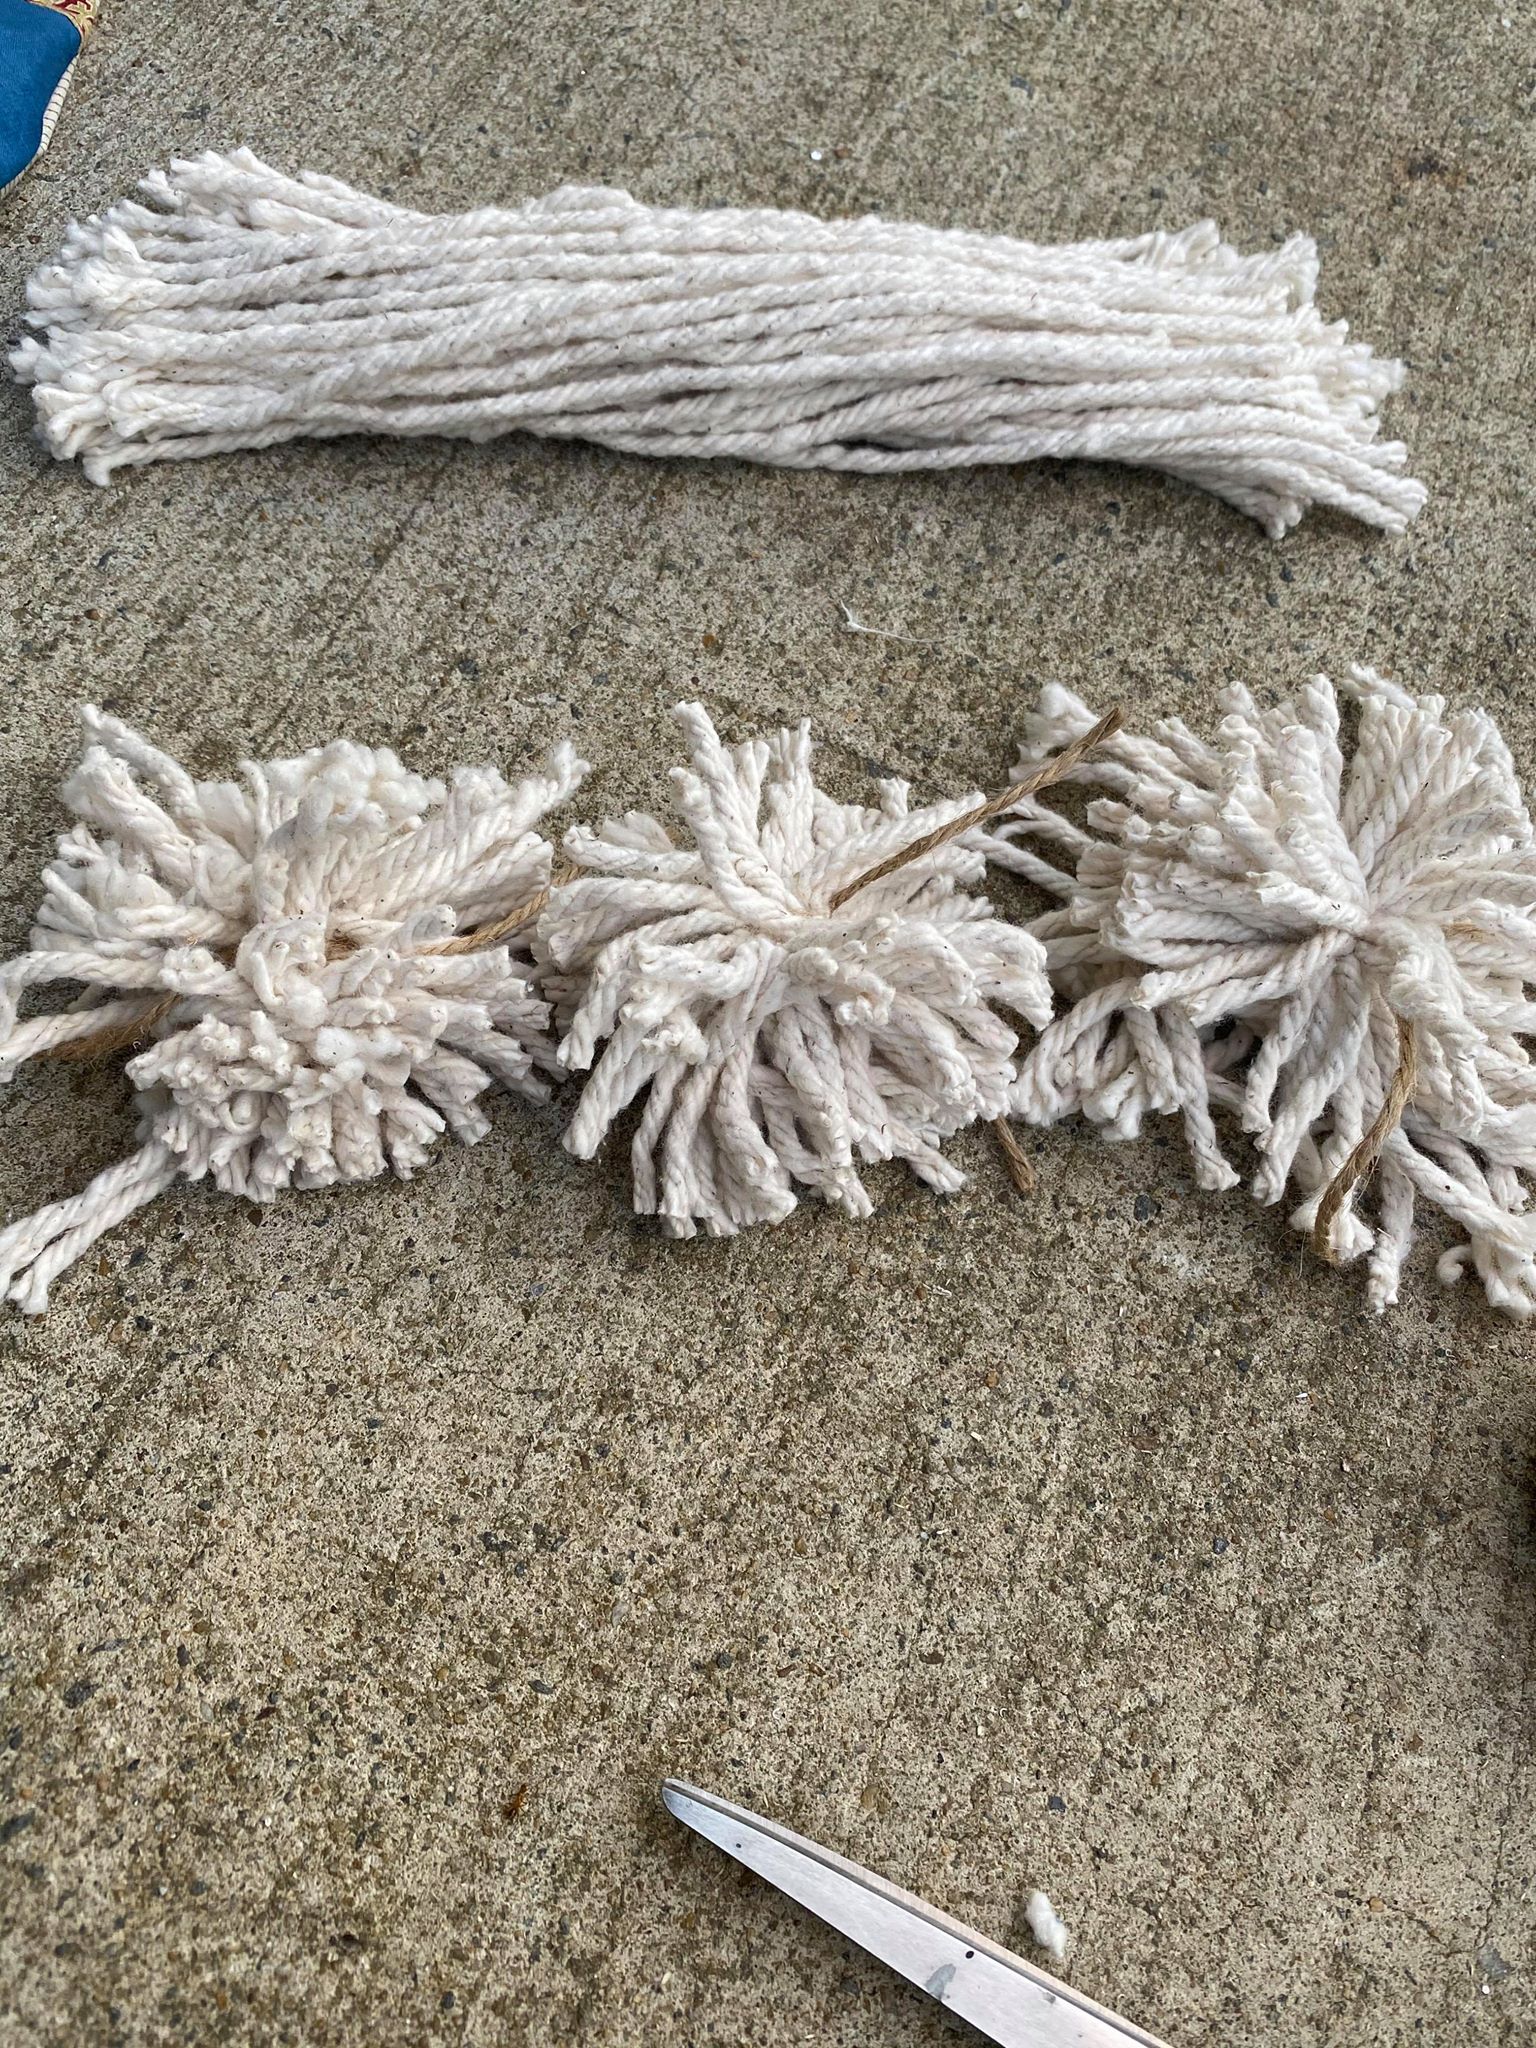
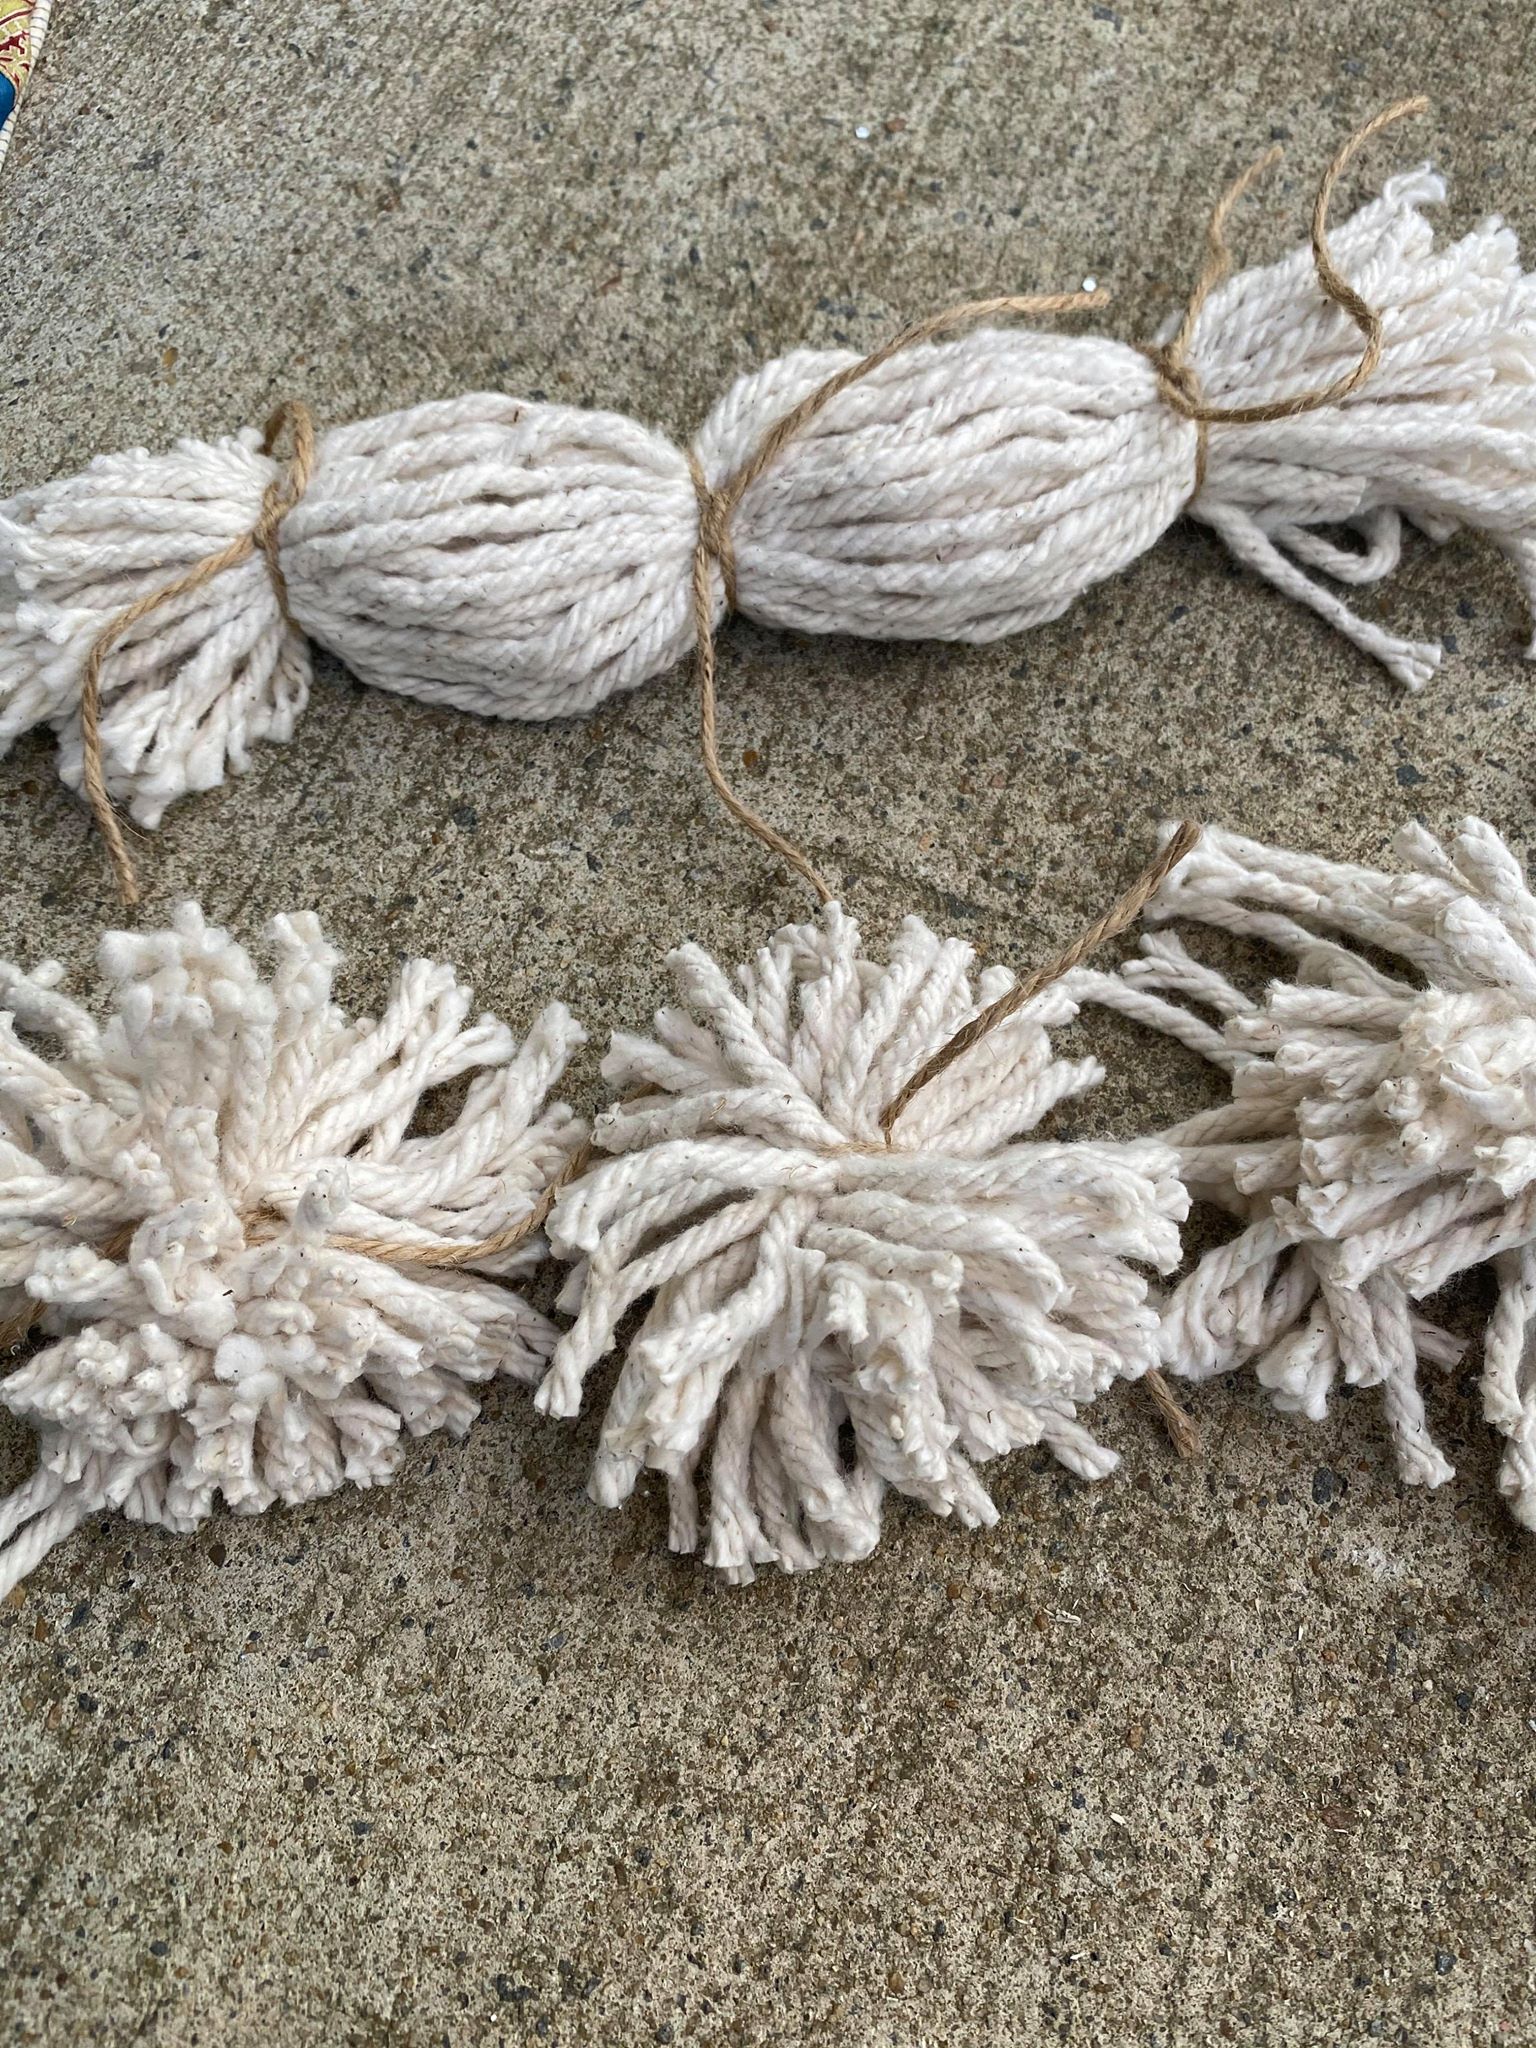
This will form your pom poms to glue around the base of the hat.
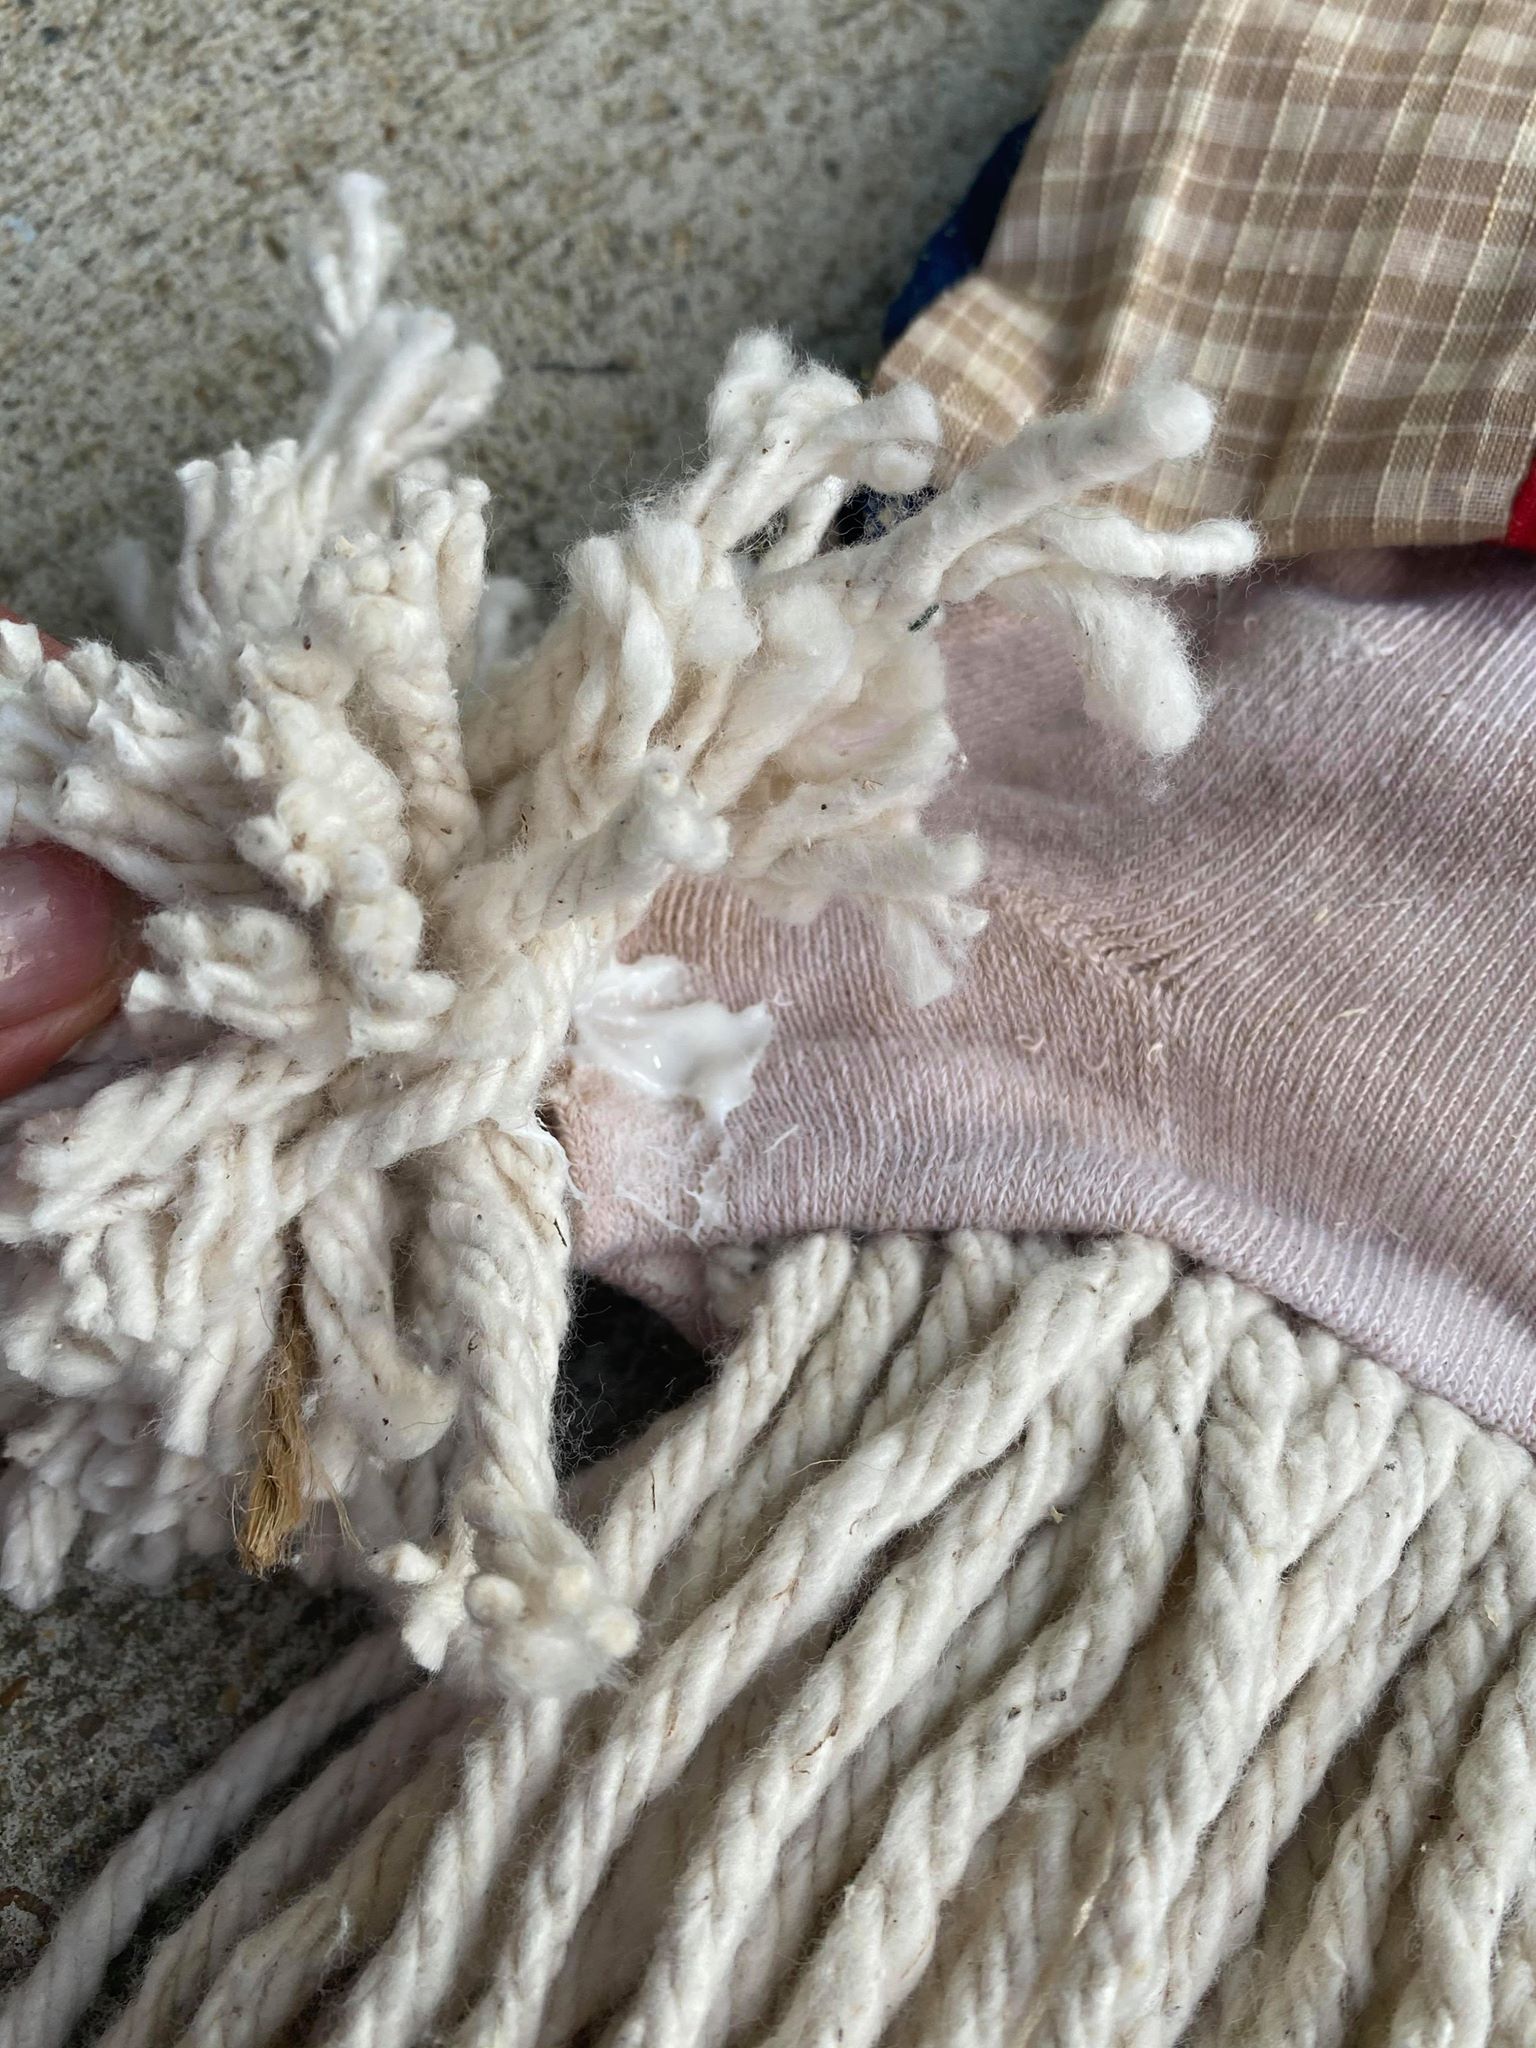
I start at one end and worked my way around the brim of the hat.
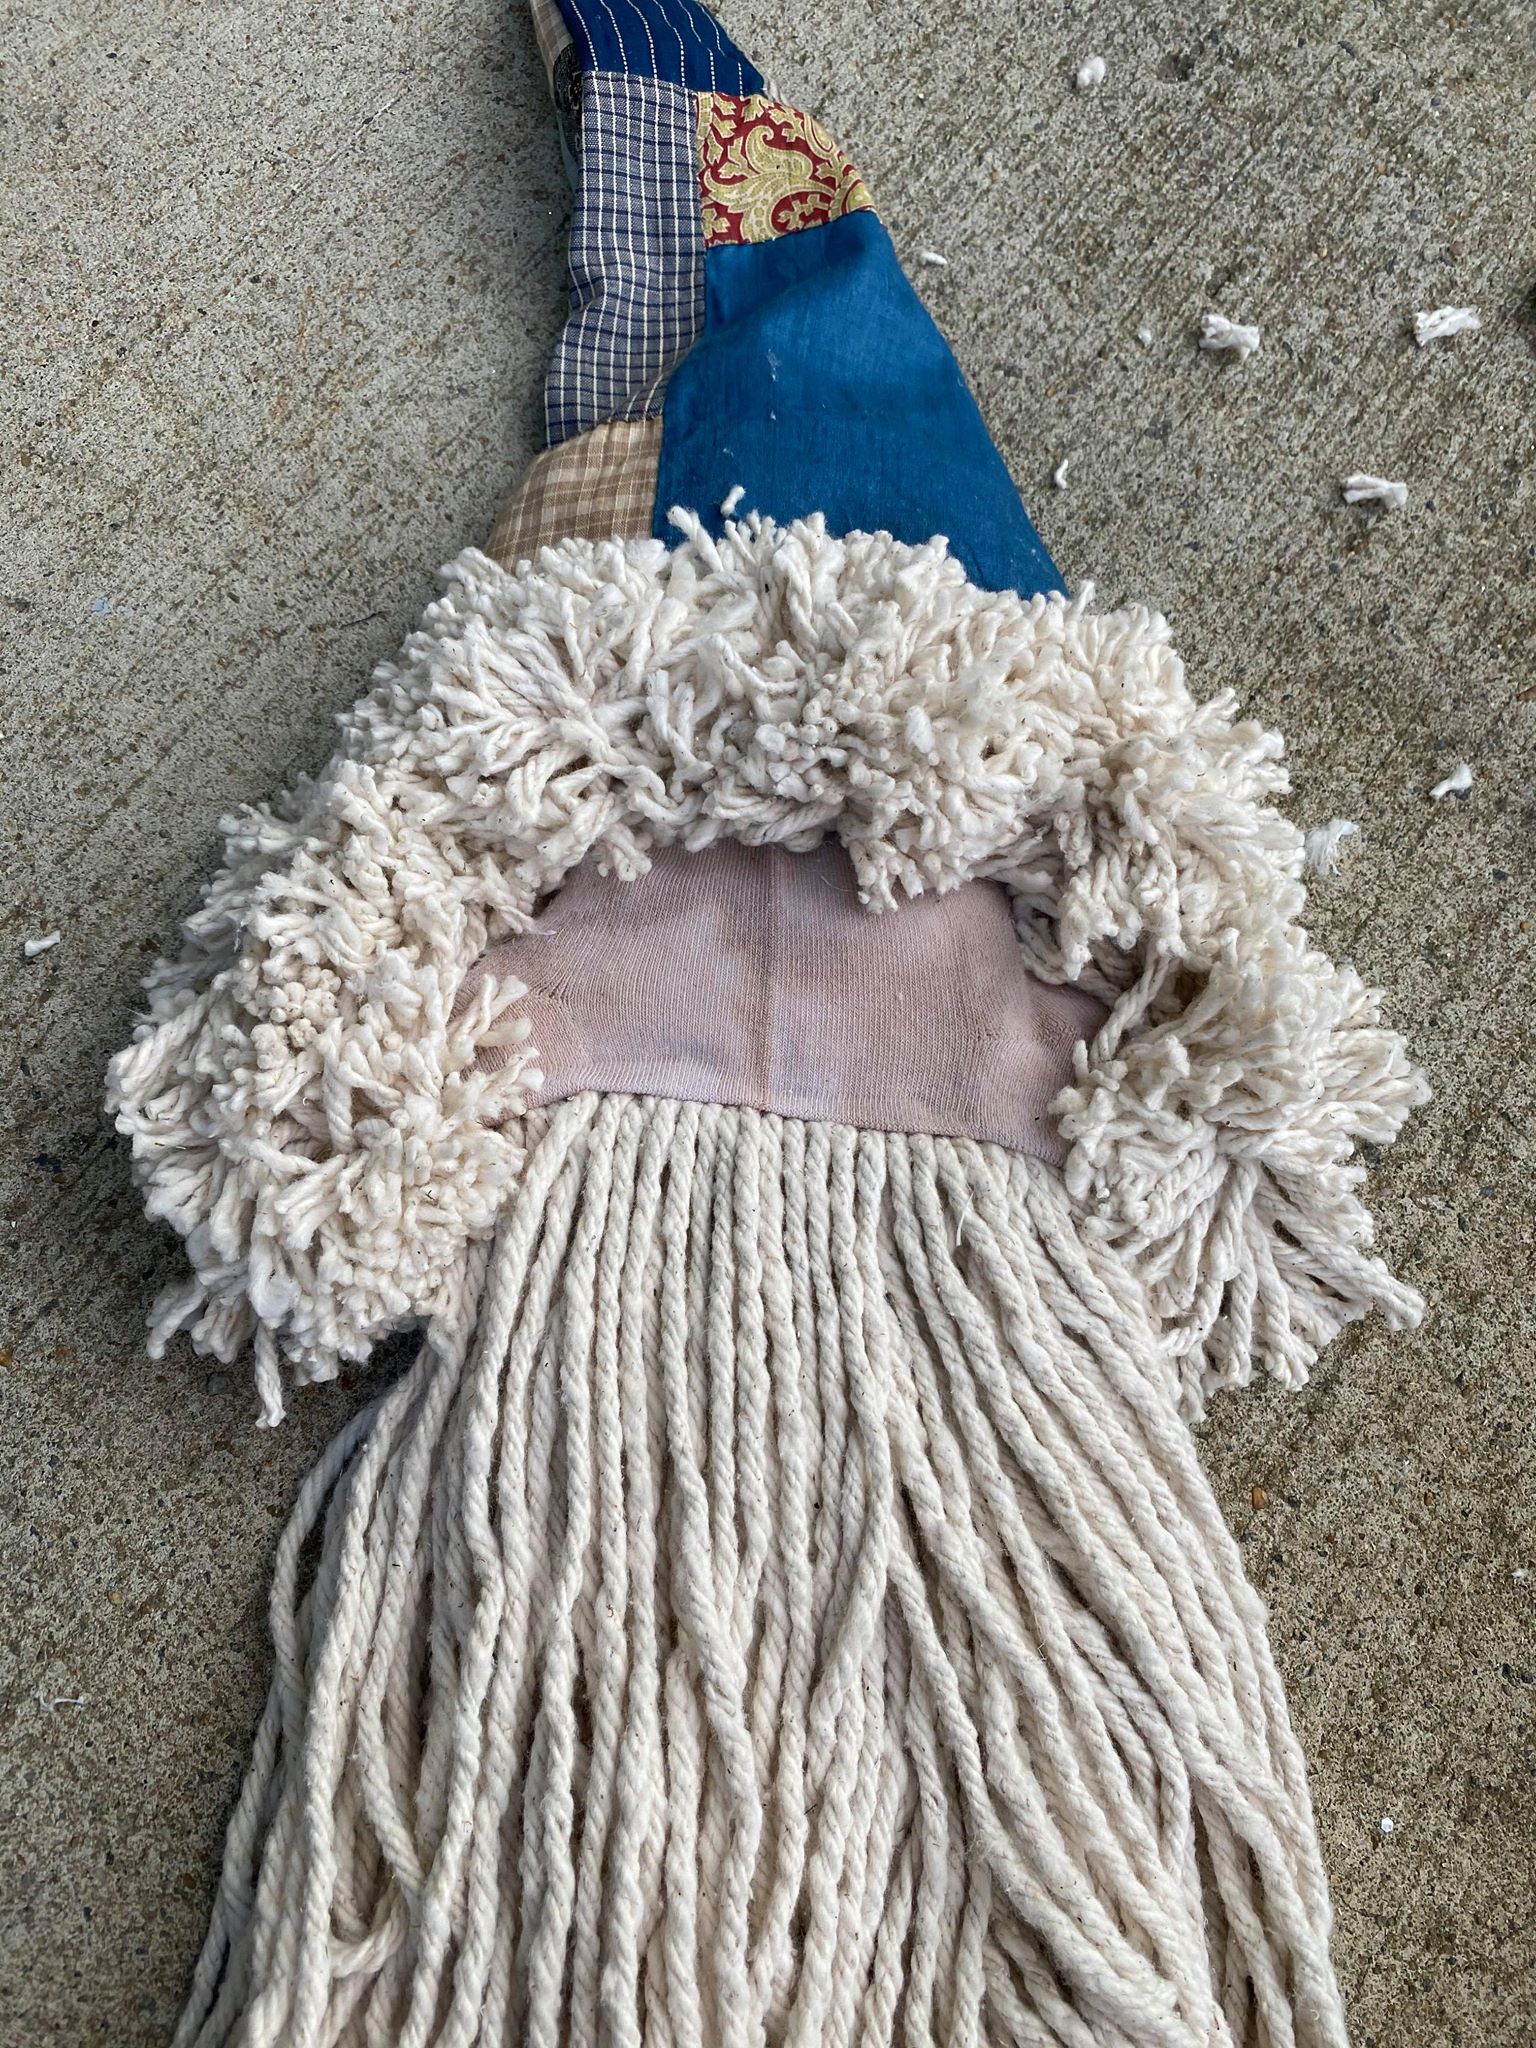
You can fluff and trim these once they are all glued in place.
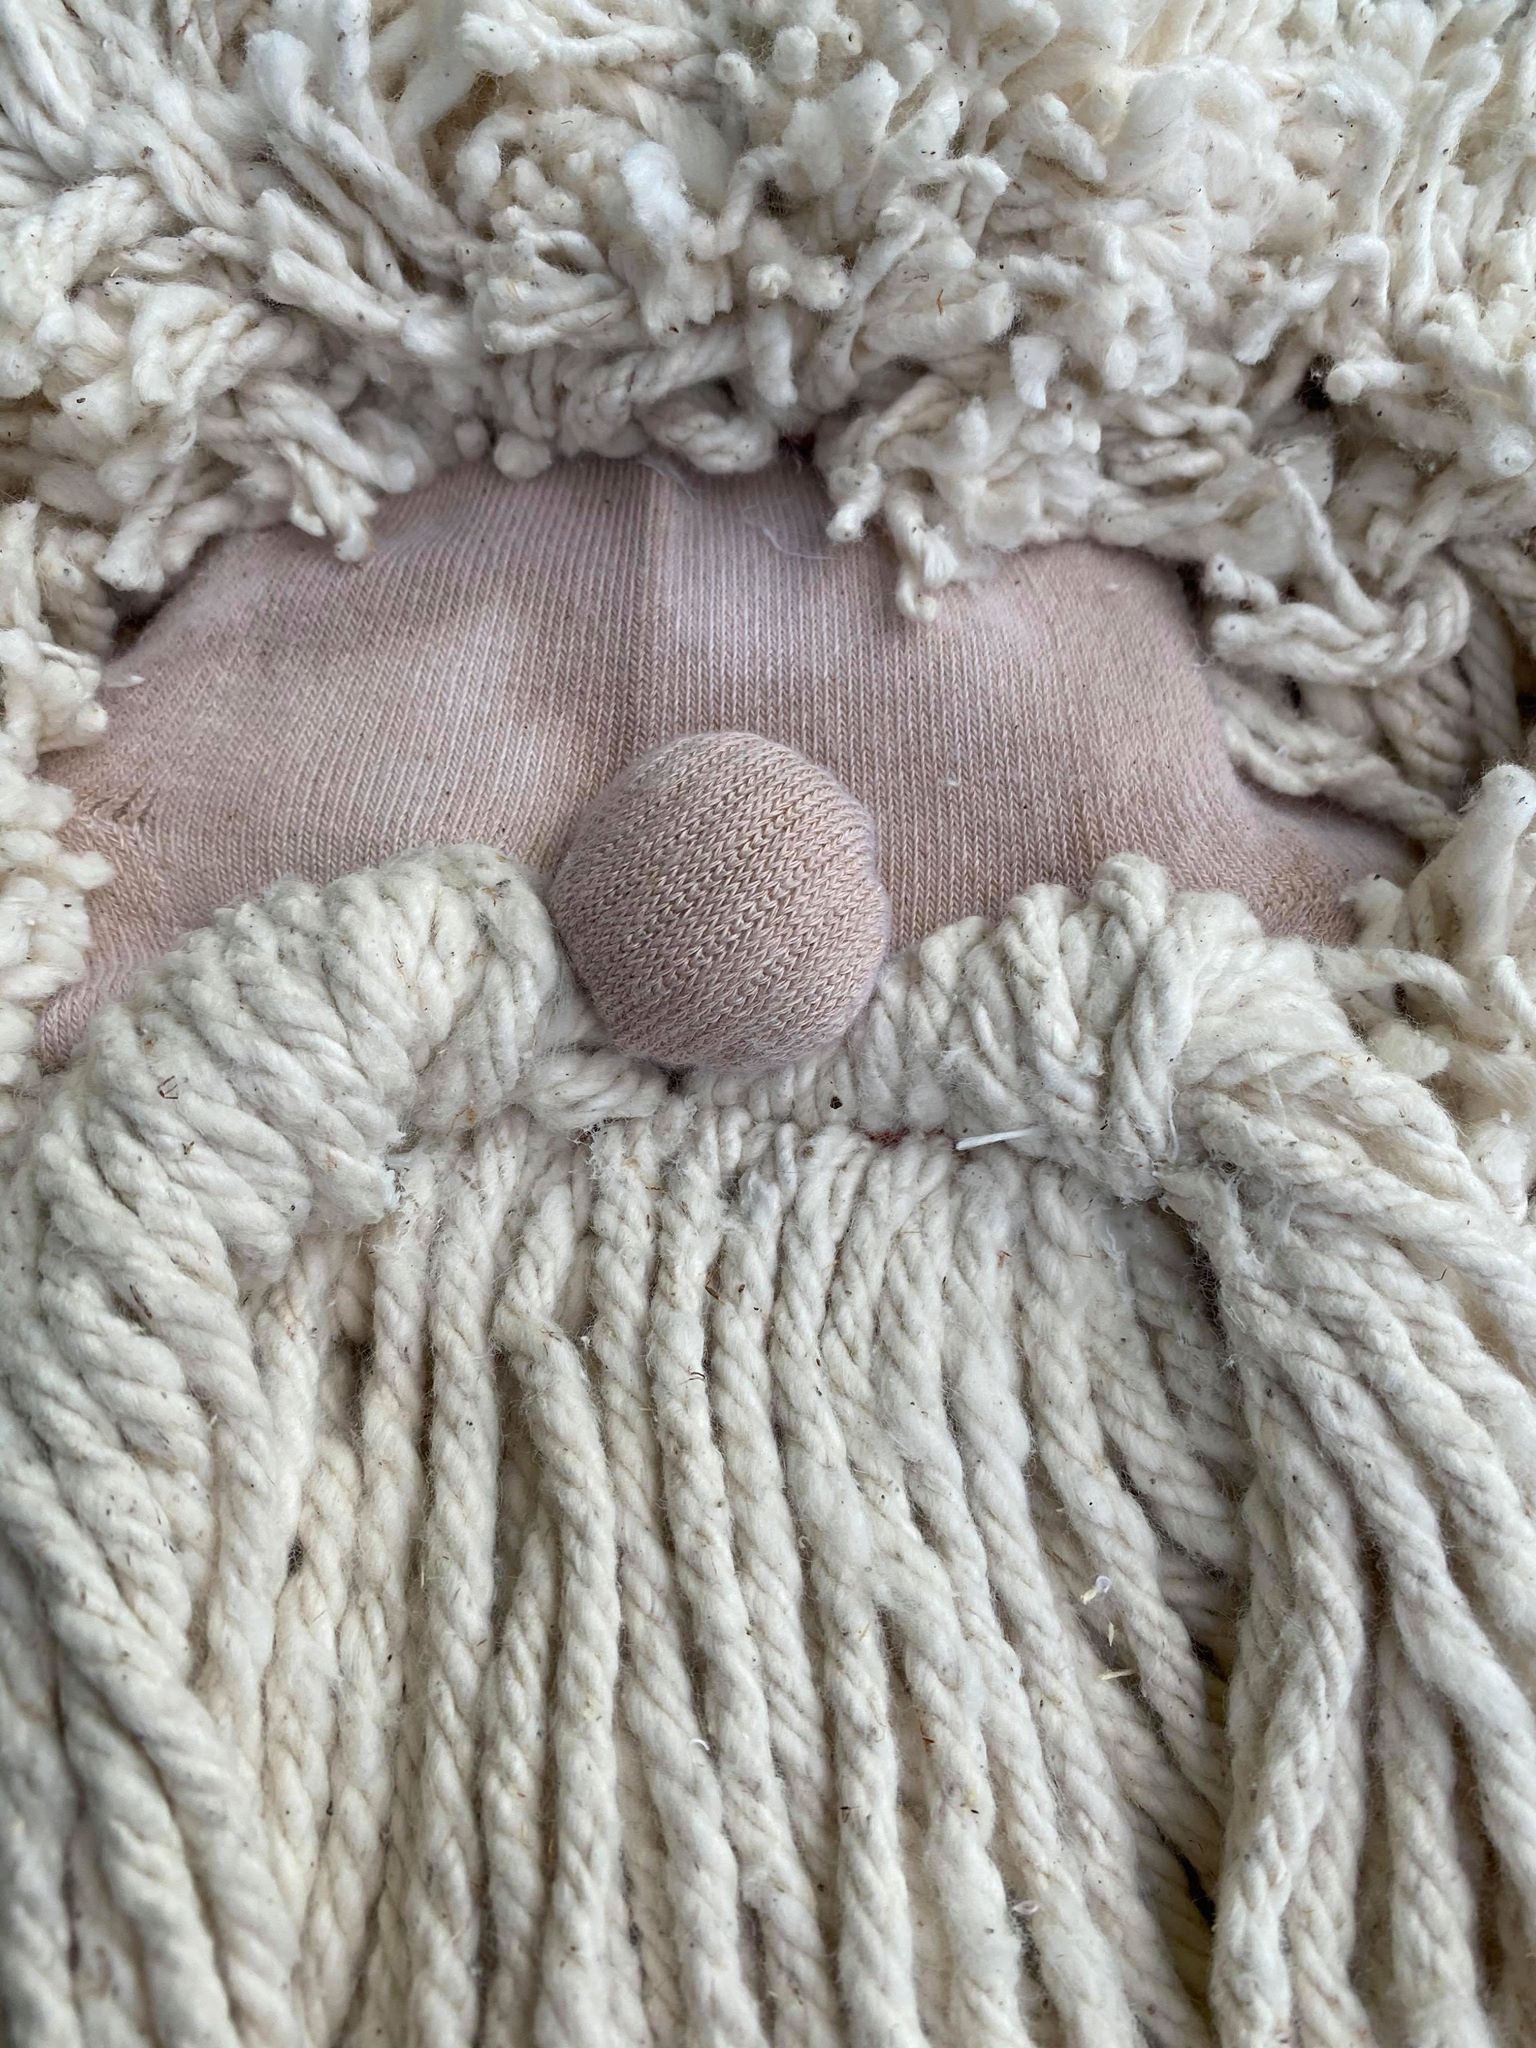
You will then take strands of the mop starting in the center and and twisting as you move to the side. These strands will form the mustache to your santa.
I added some glue to hold the mustache in place.
You will now need to make a nose. I cut a small circle out of the top piece of the sock.
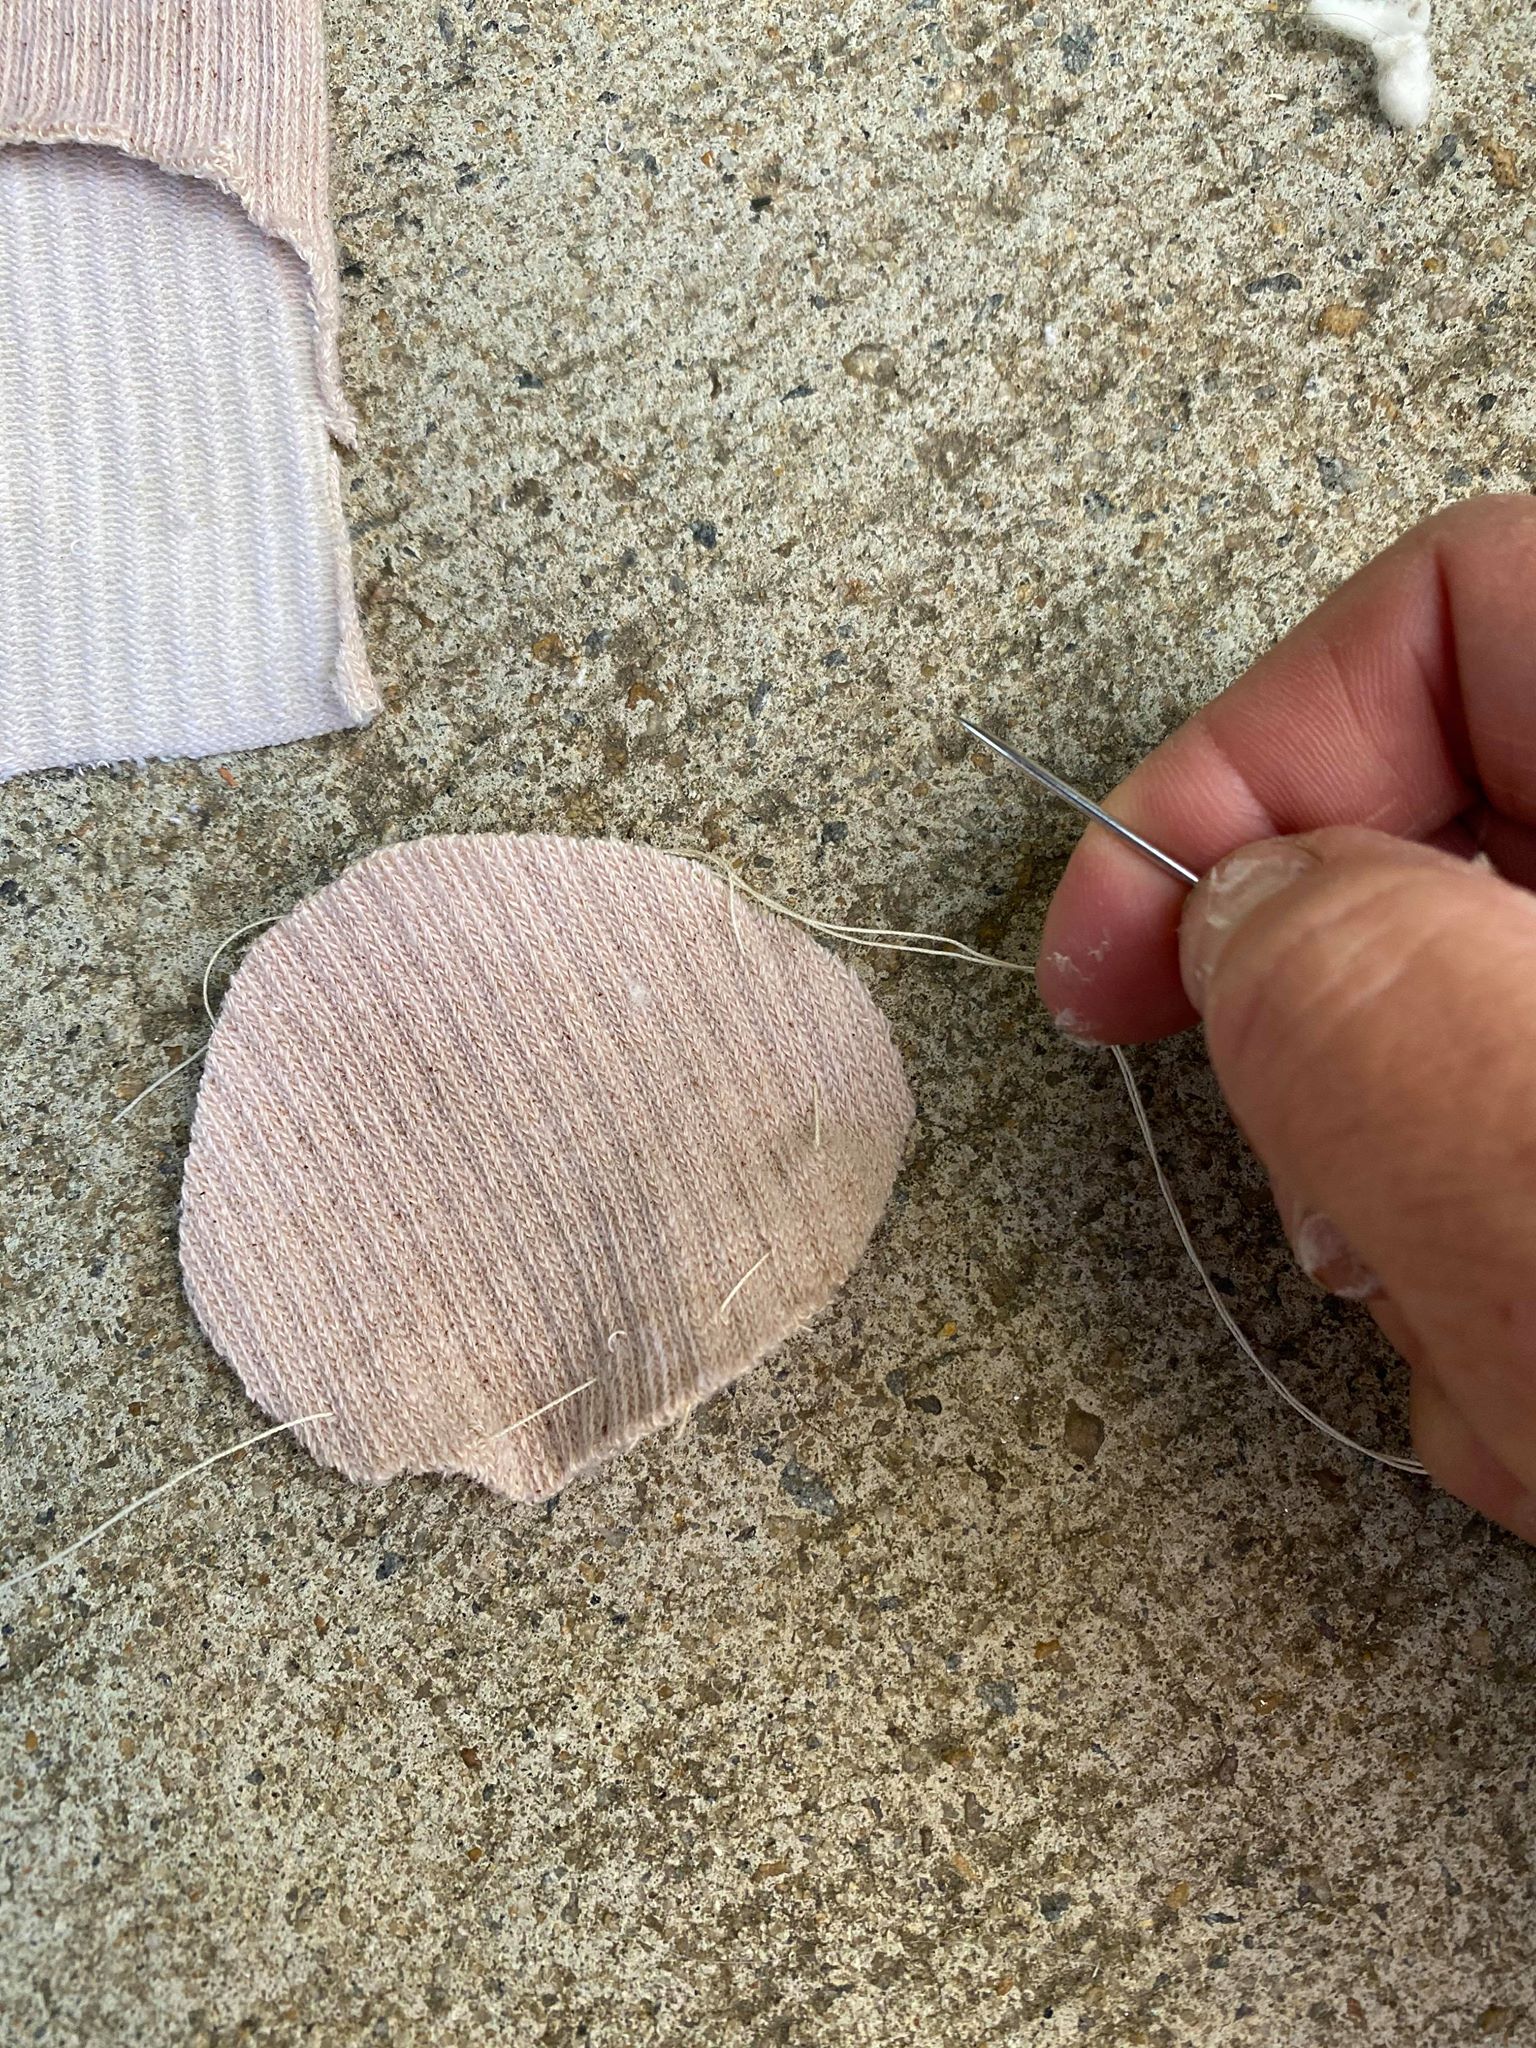
You will take your needle and thread and do a basting stitch around the edge of your circle.
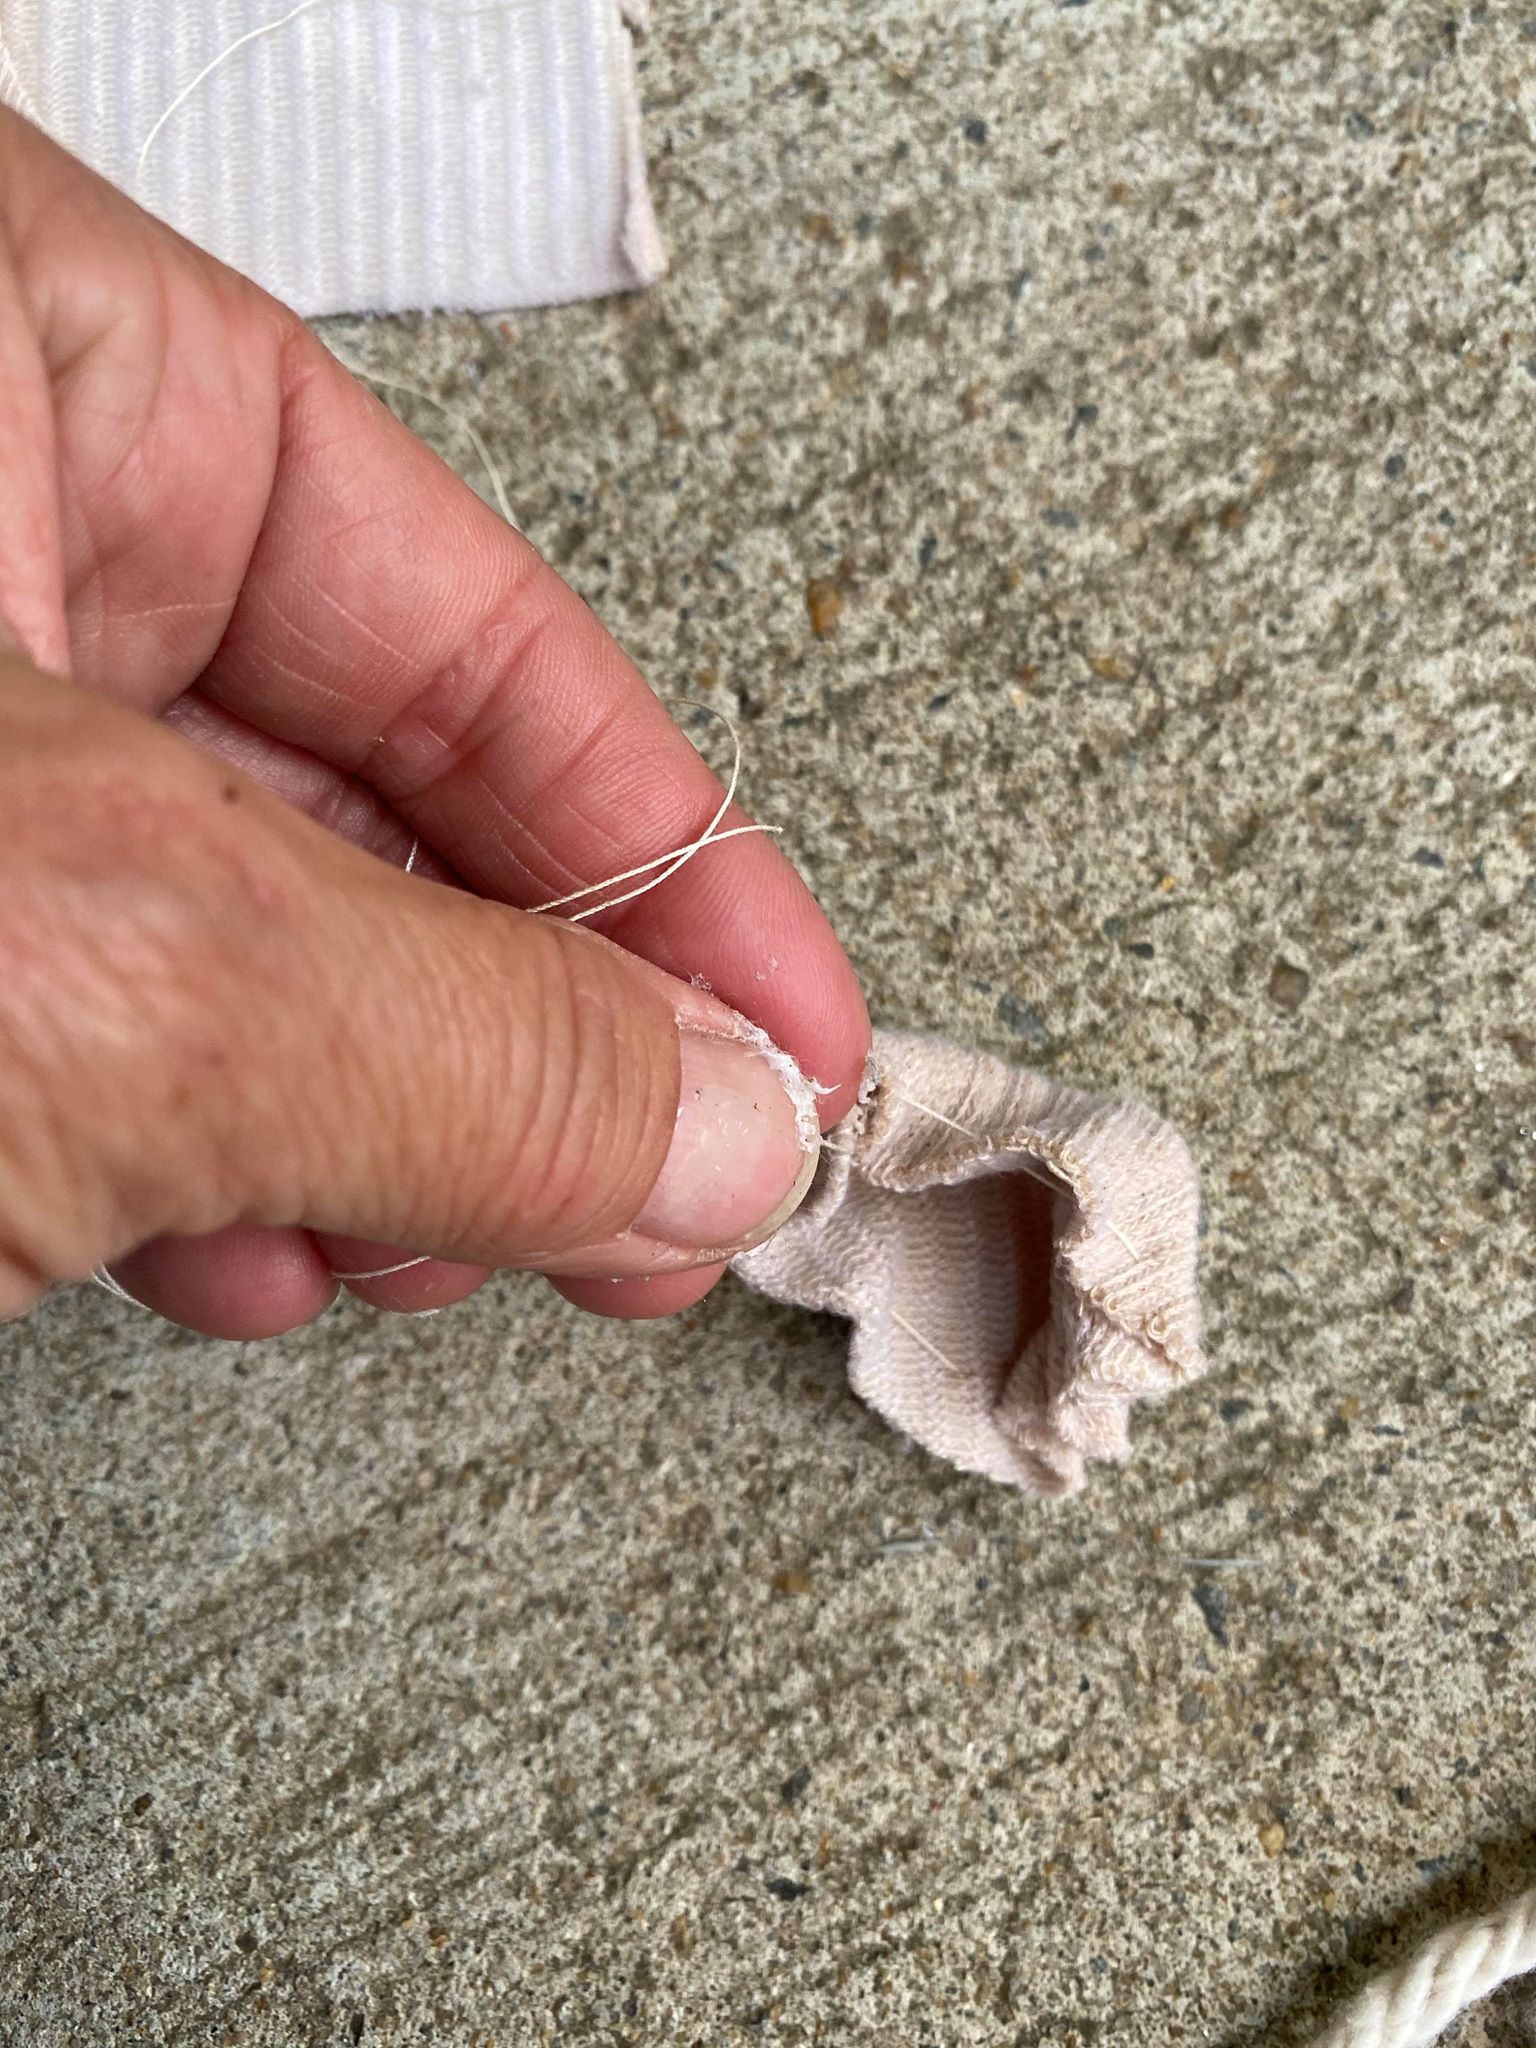
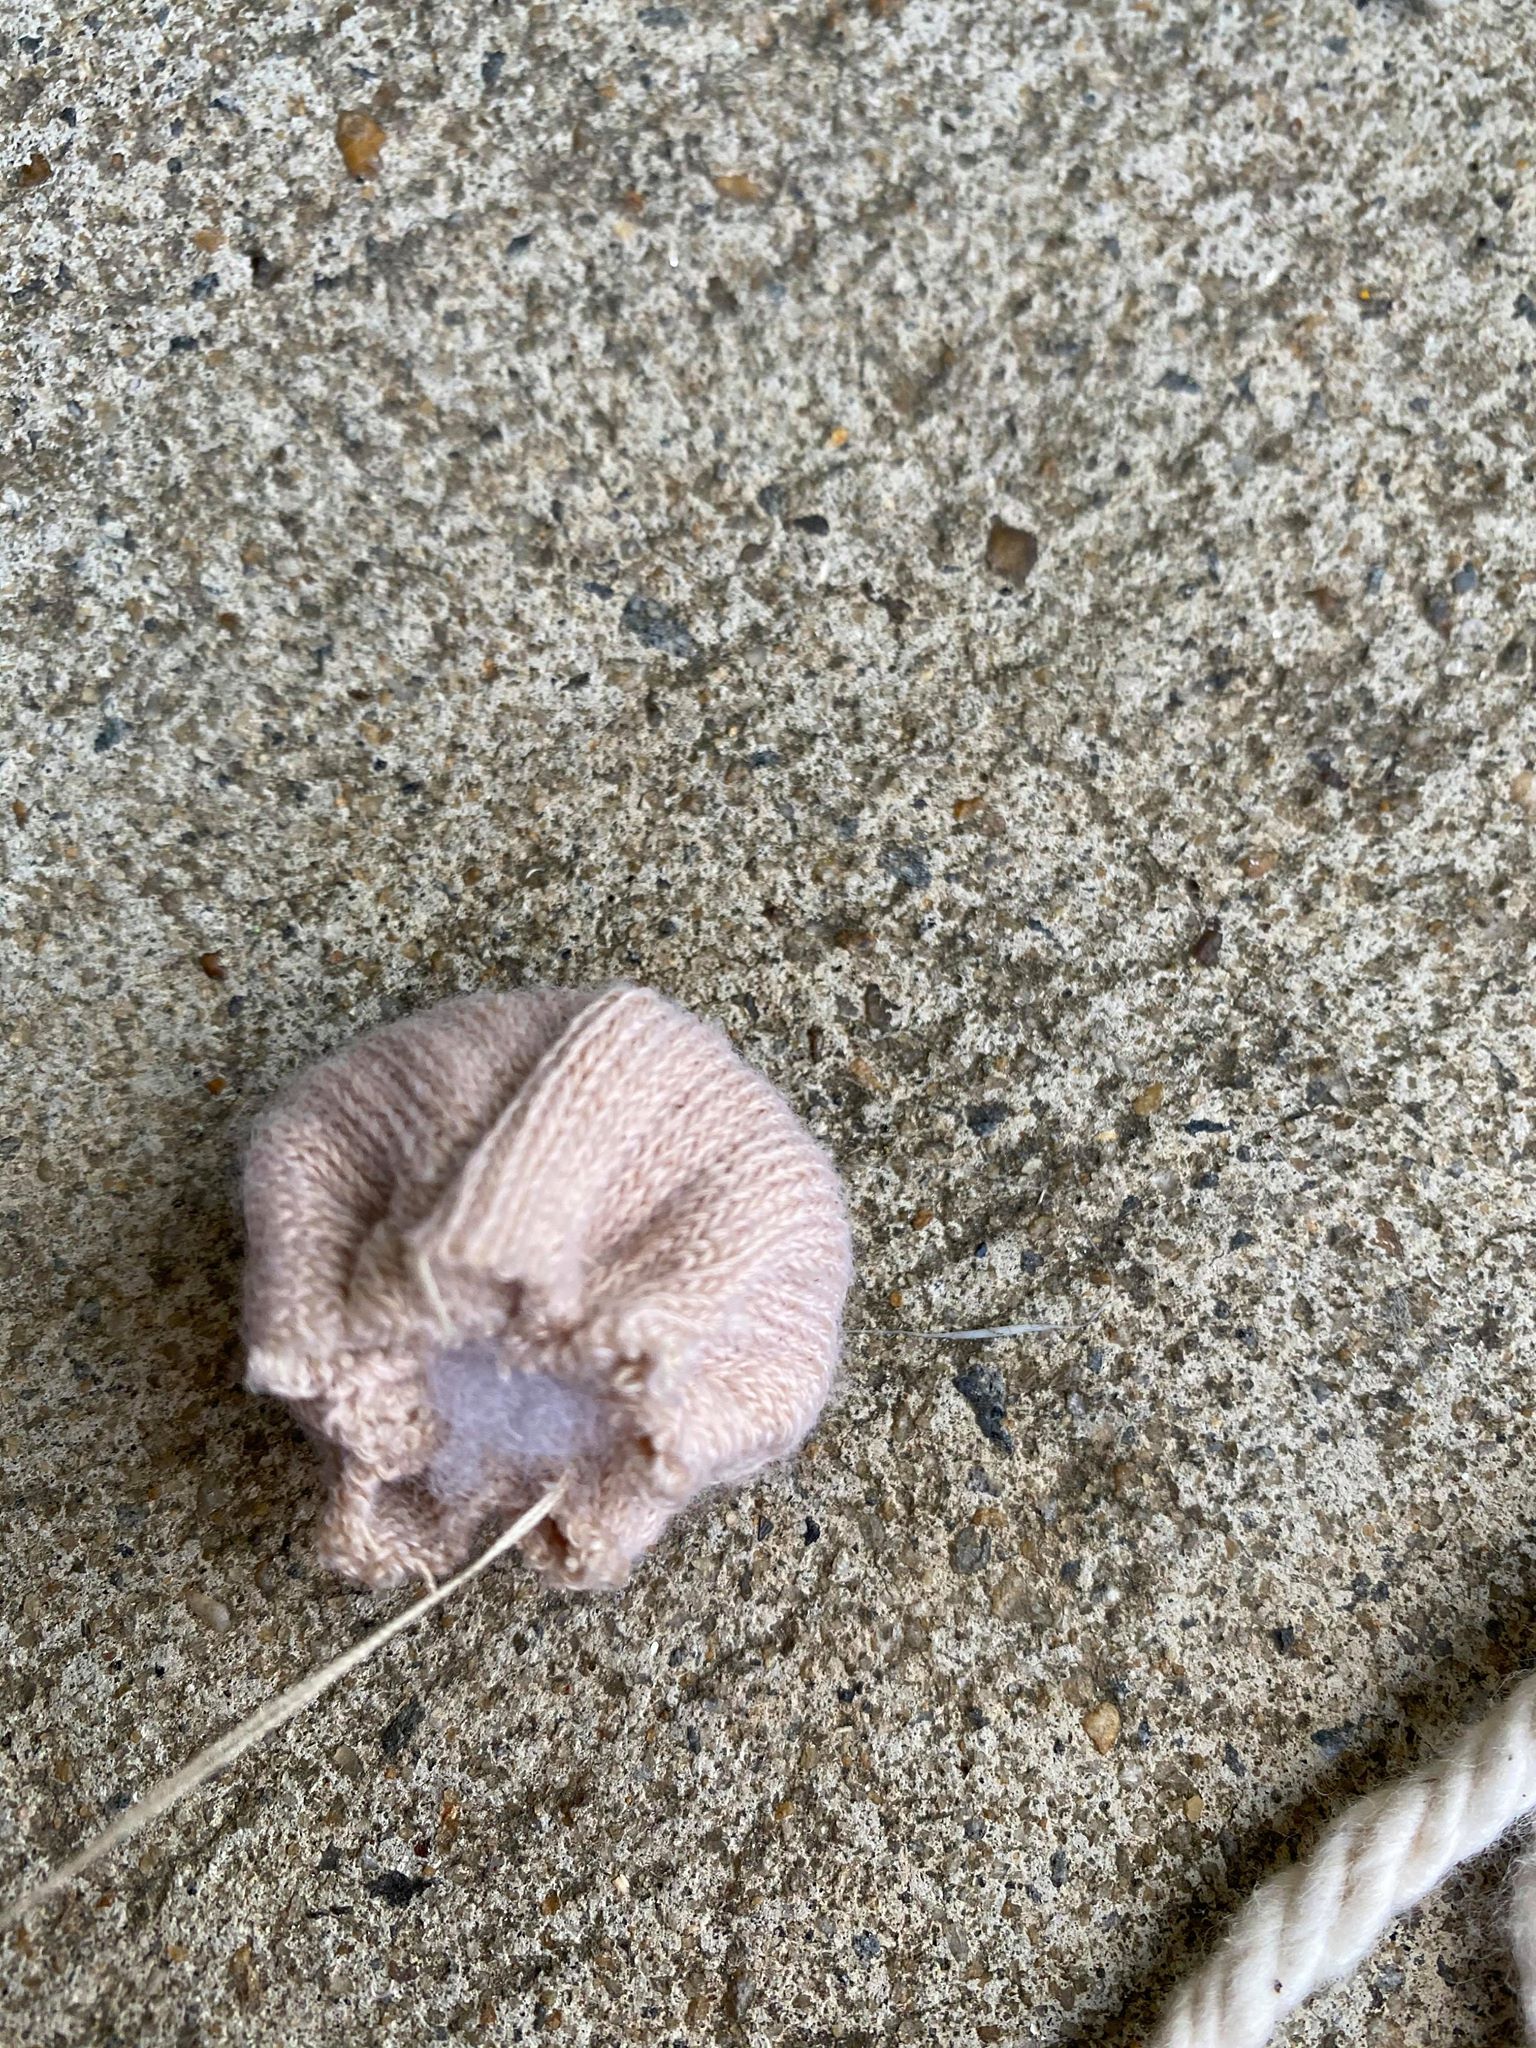
Pull your ends to form your nose. I added a little stuffing and then tied it shut.

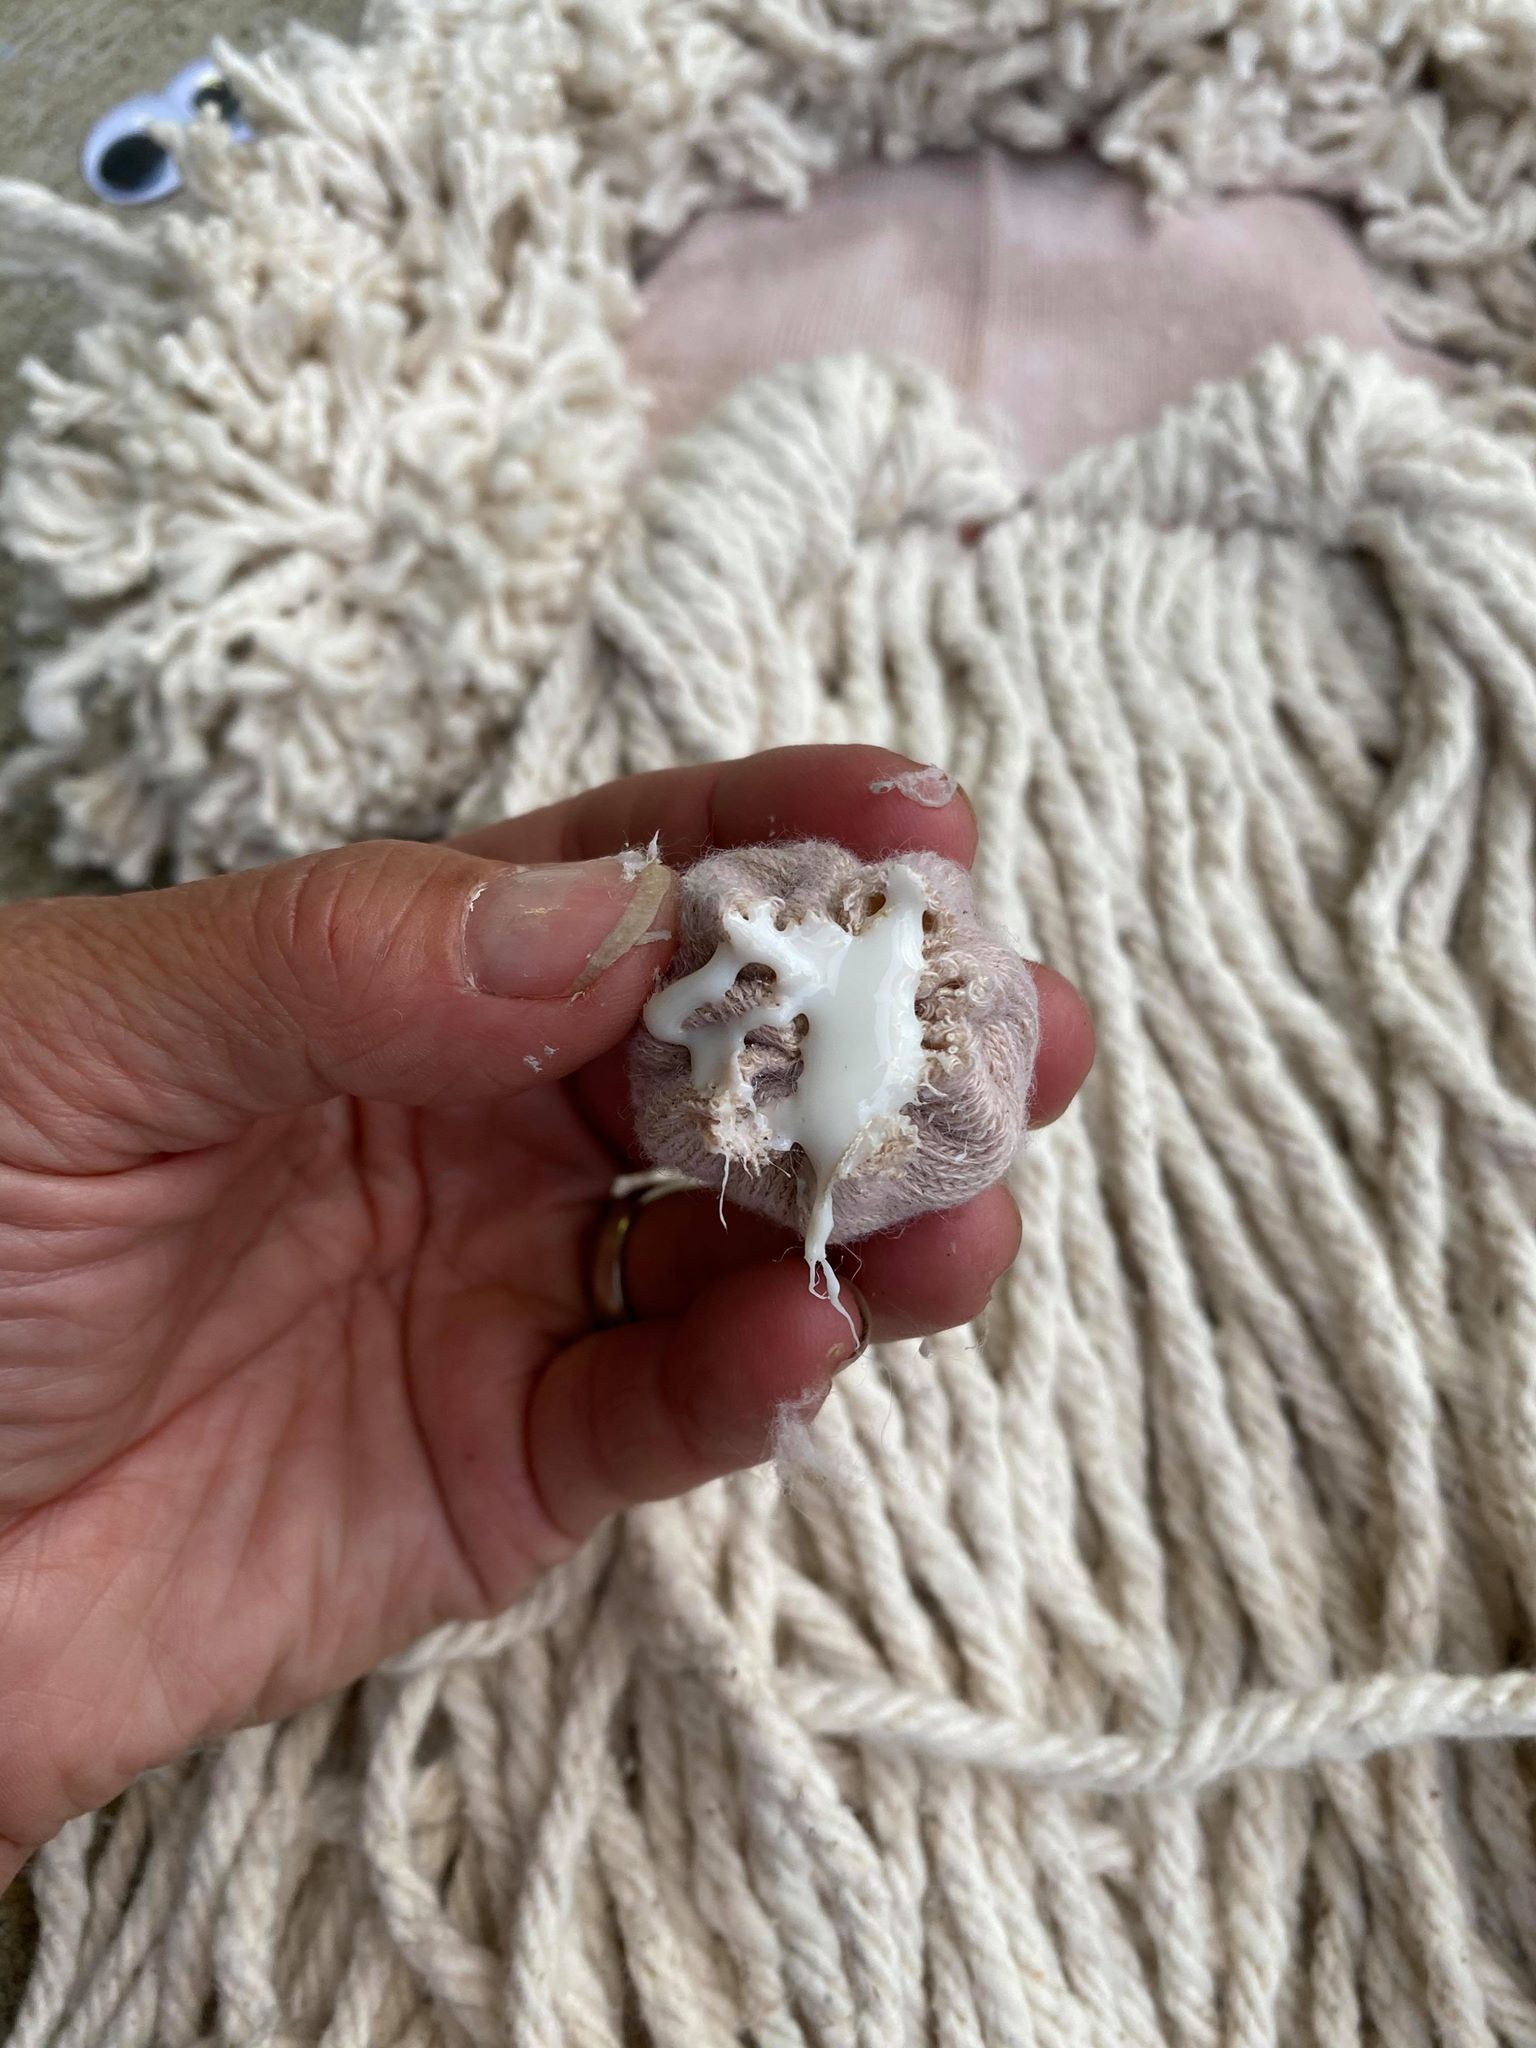
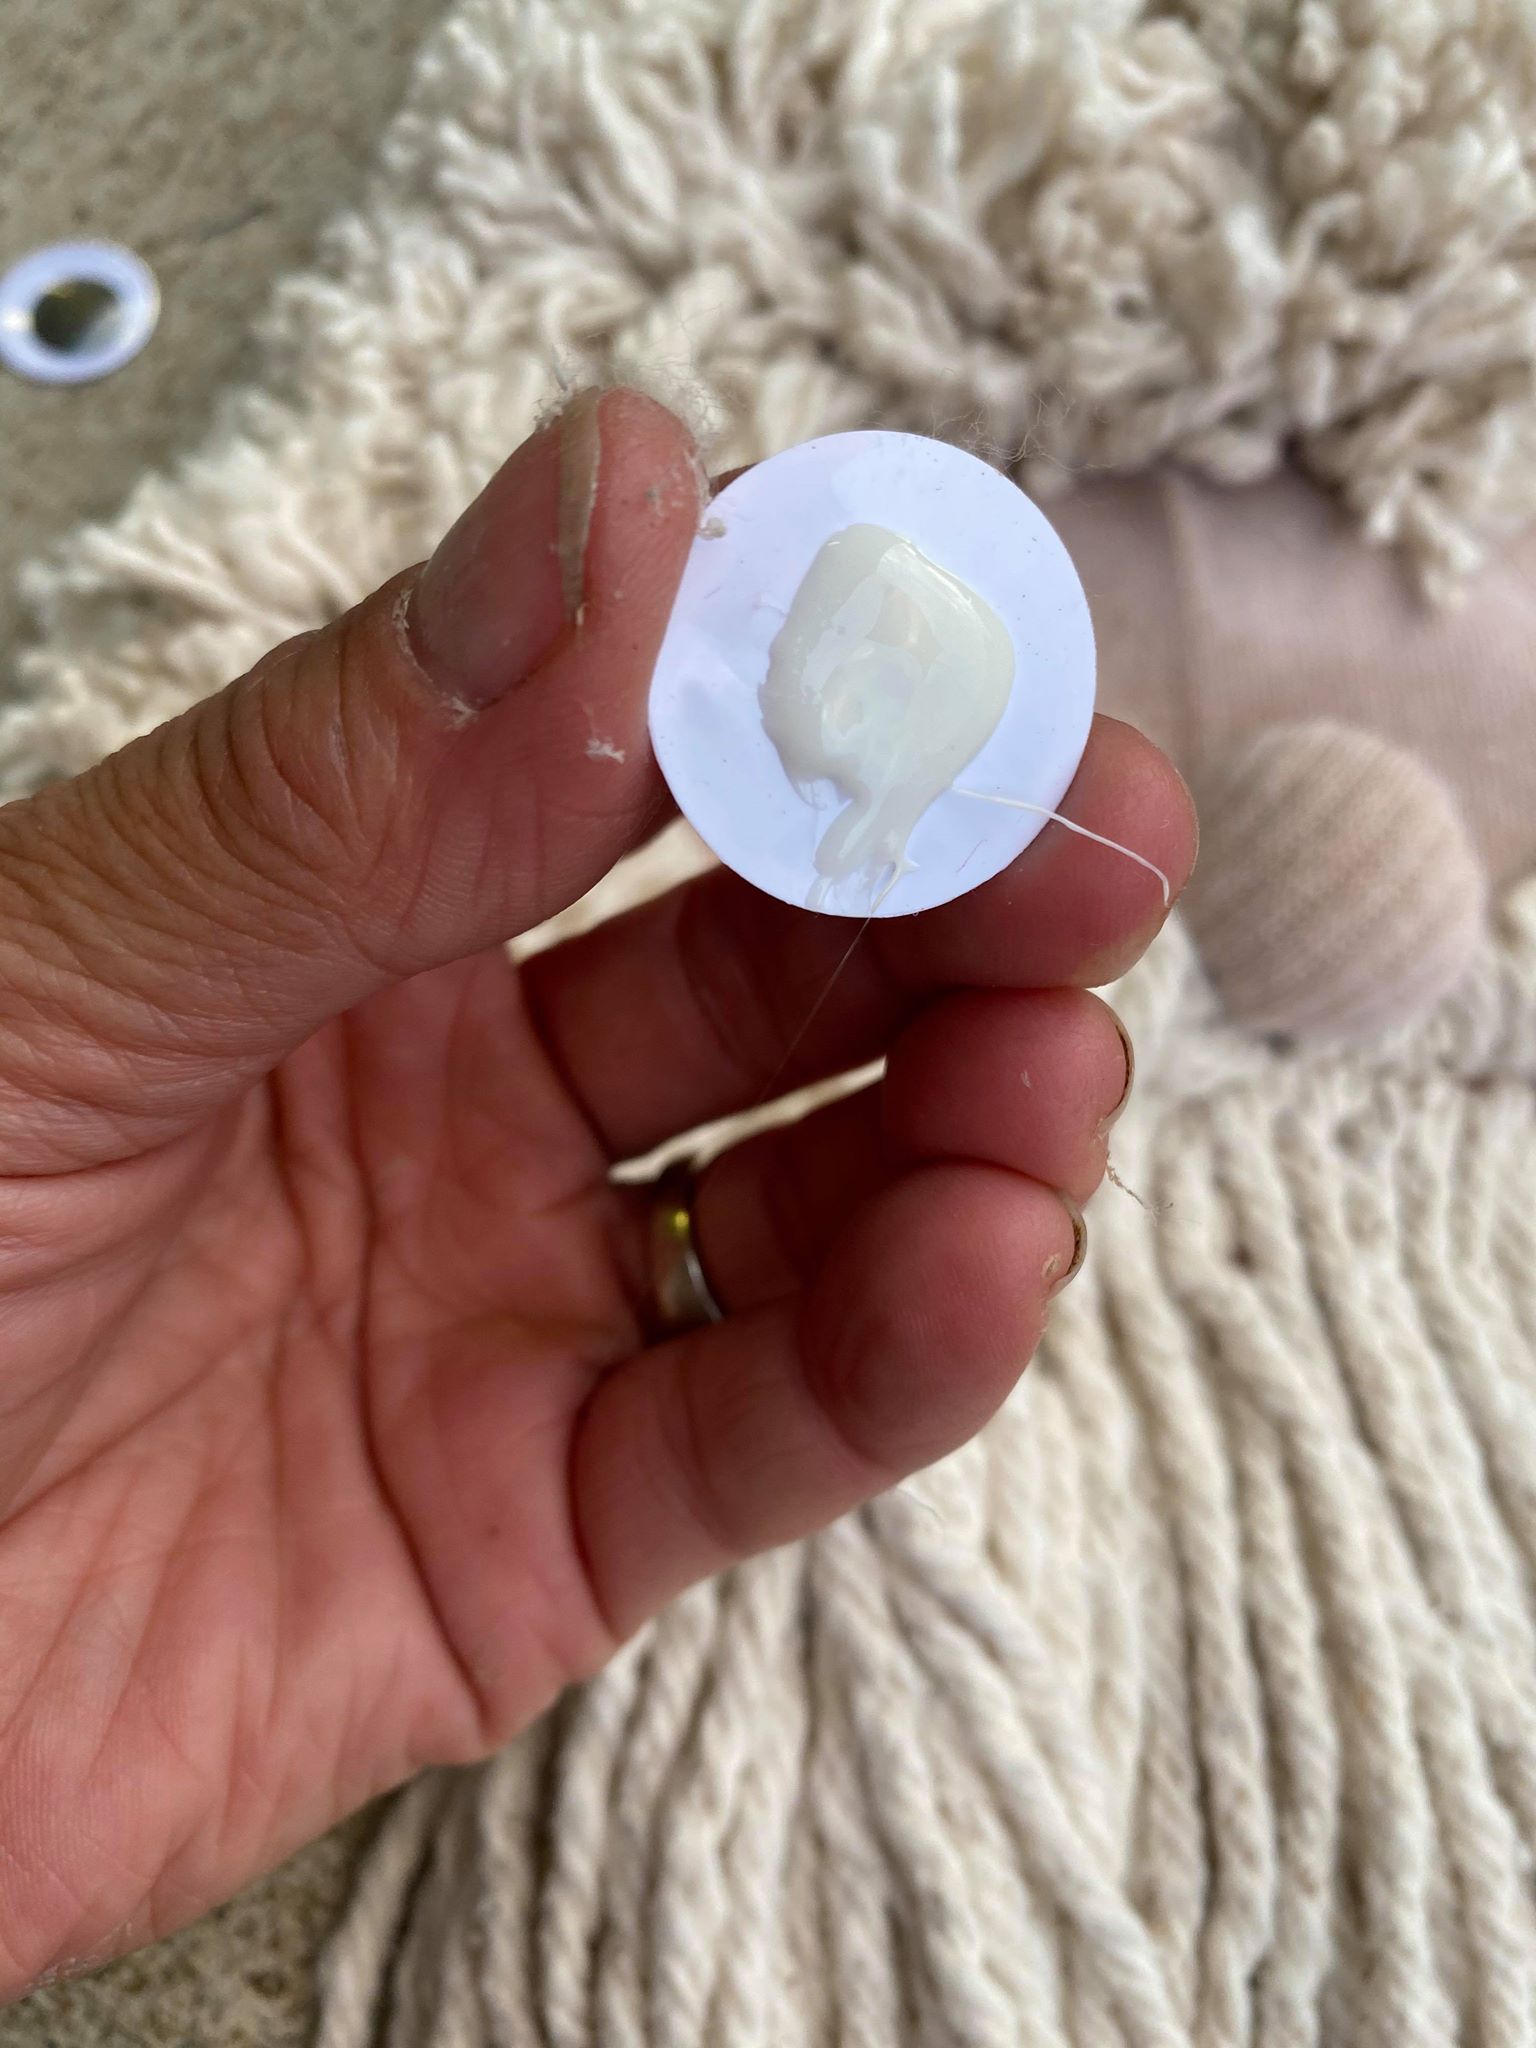
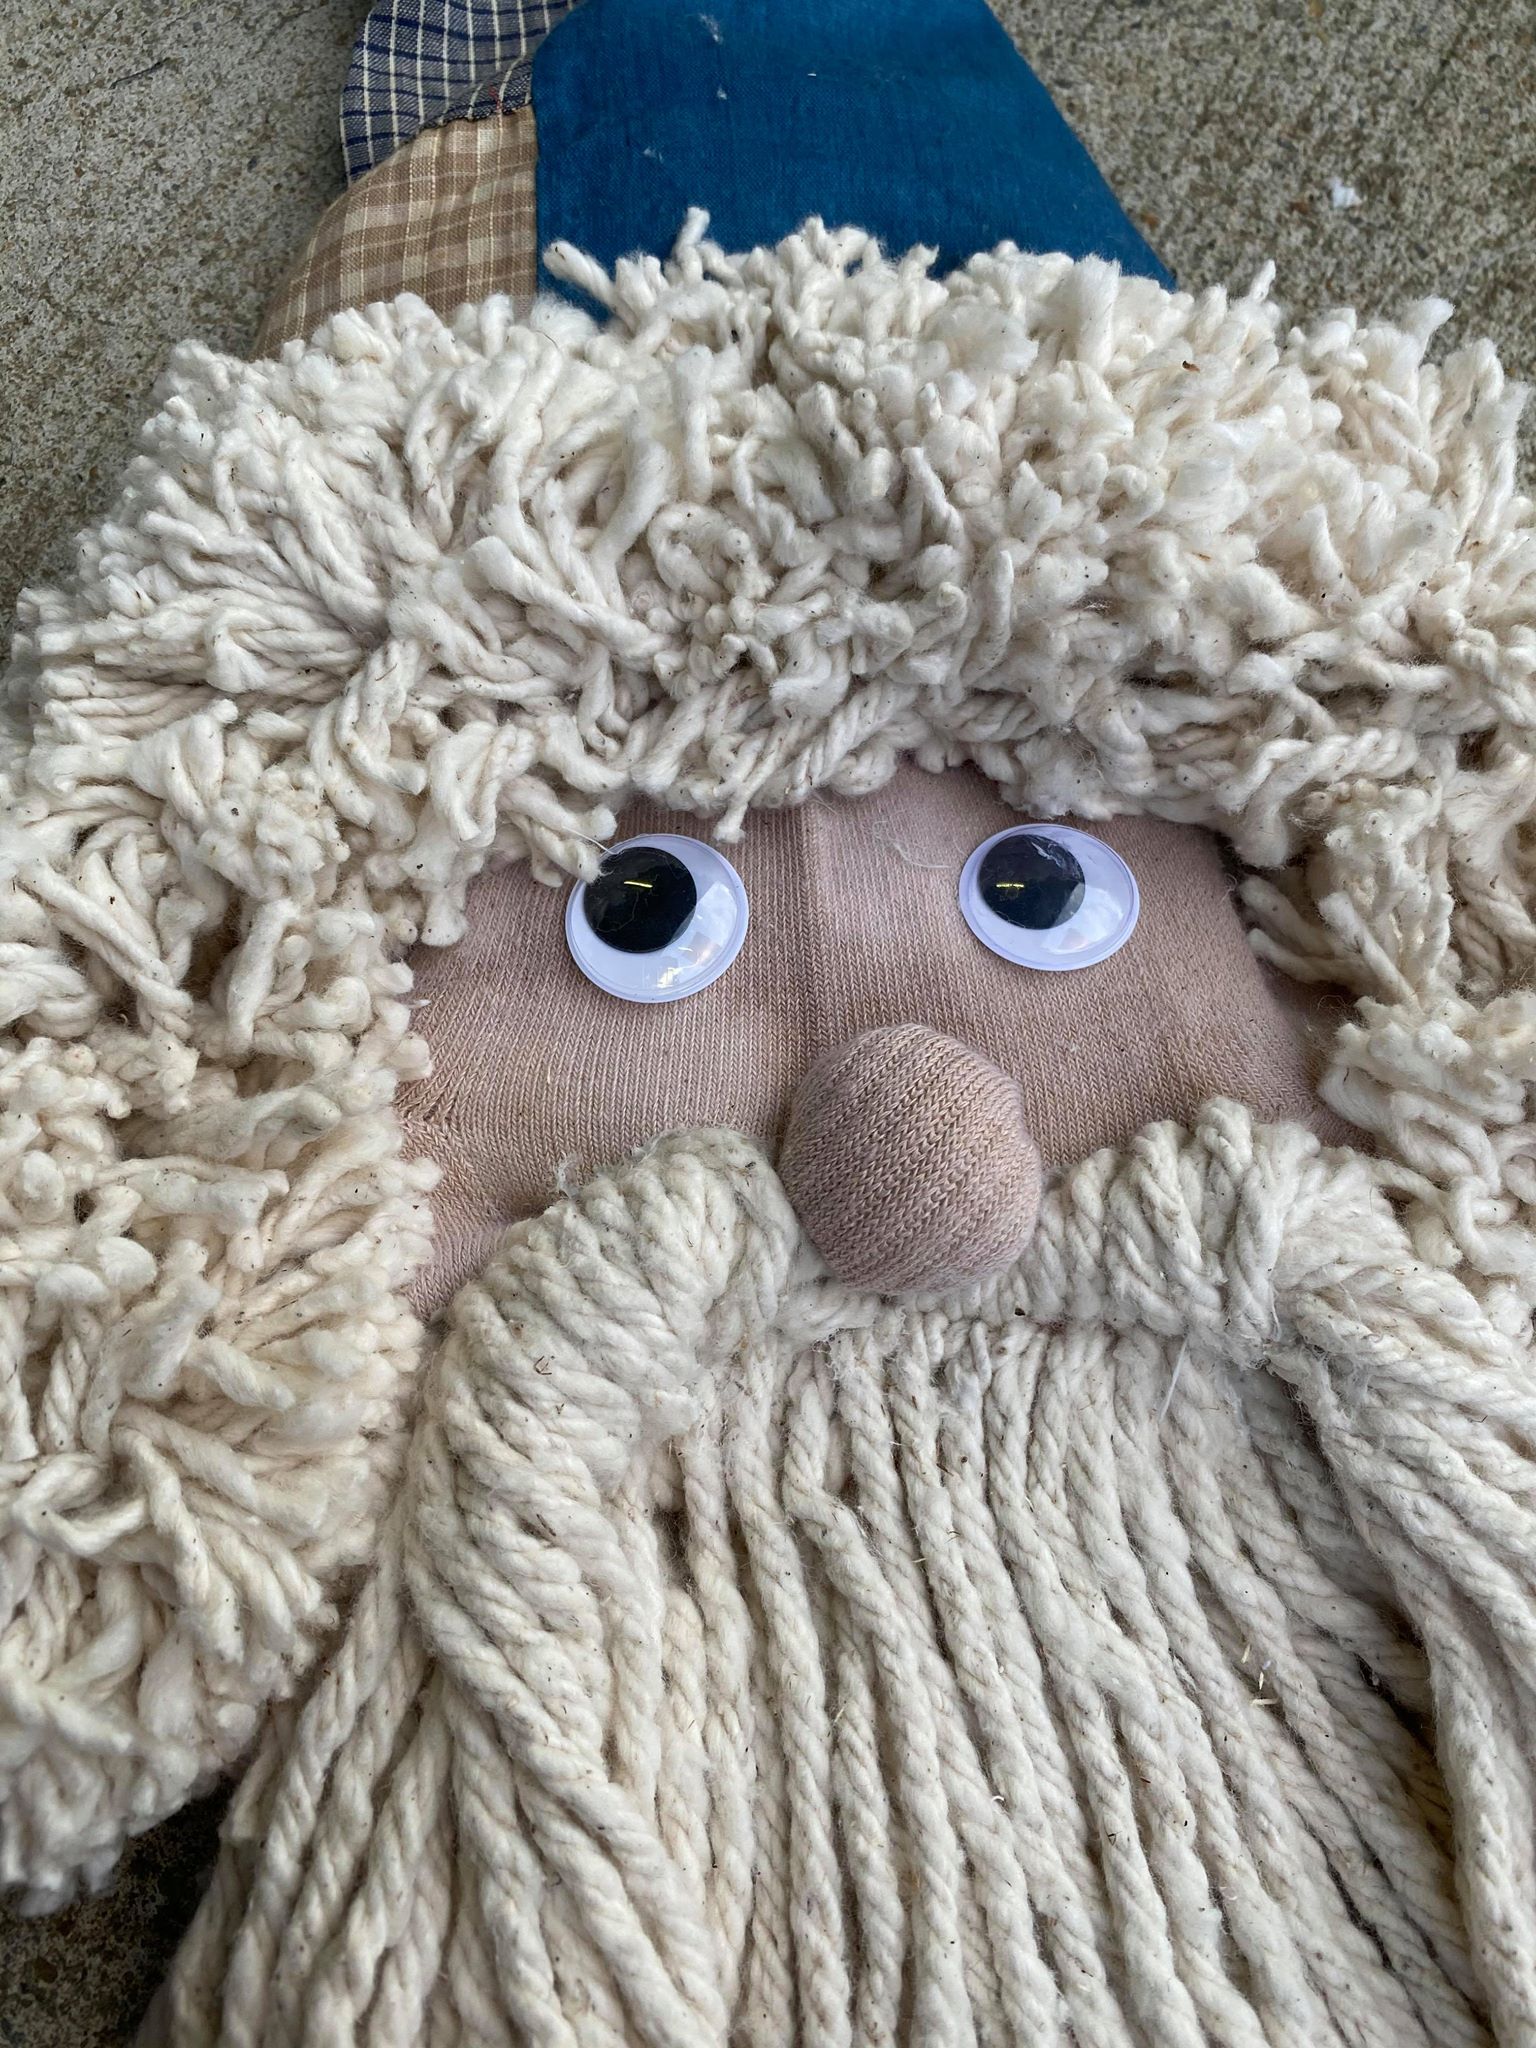
You will add a little glue and place the nose onto the face of the Santa.
I then added glue to the back side of the googly eyes.
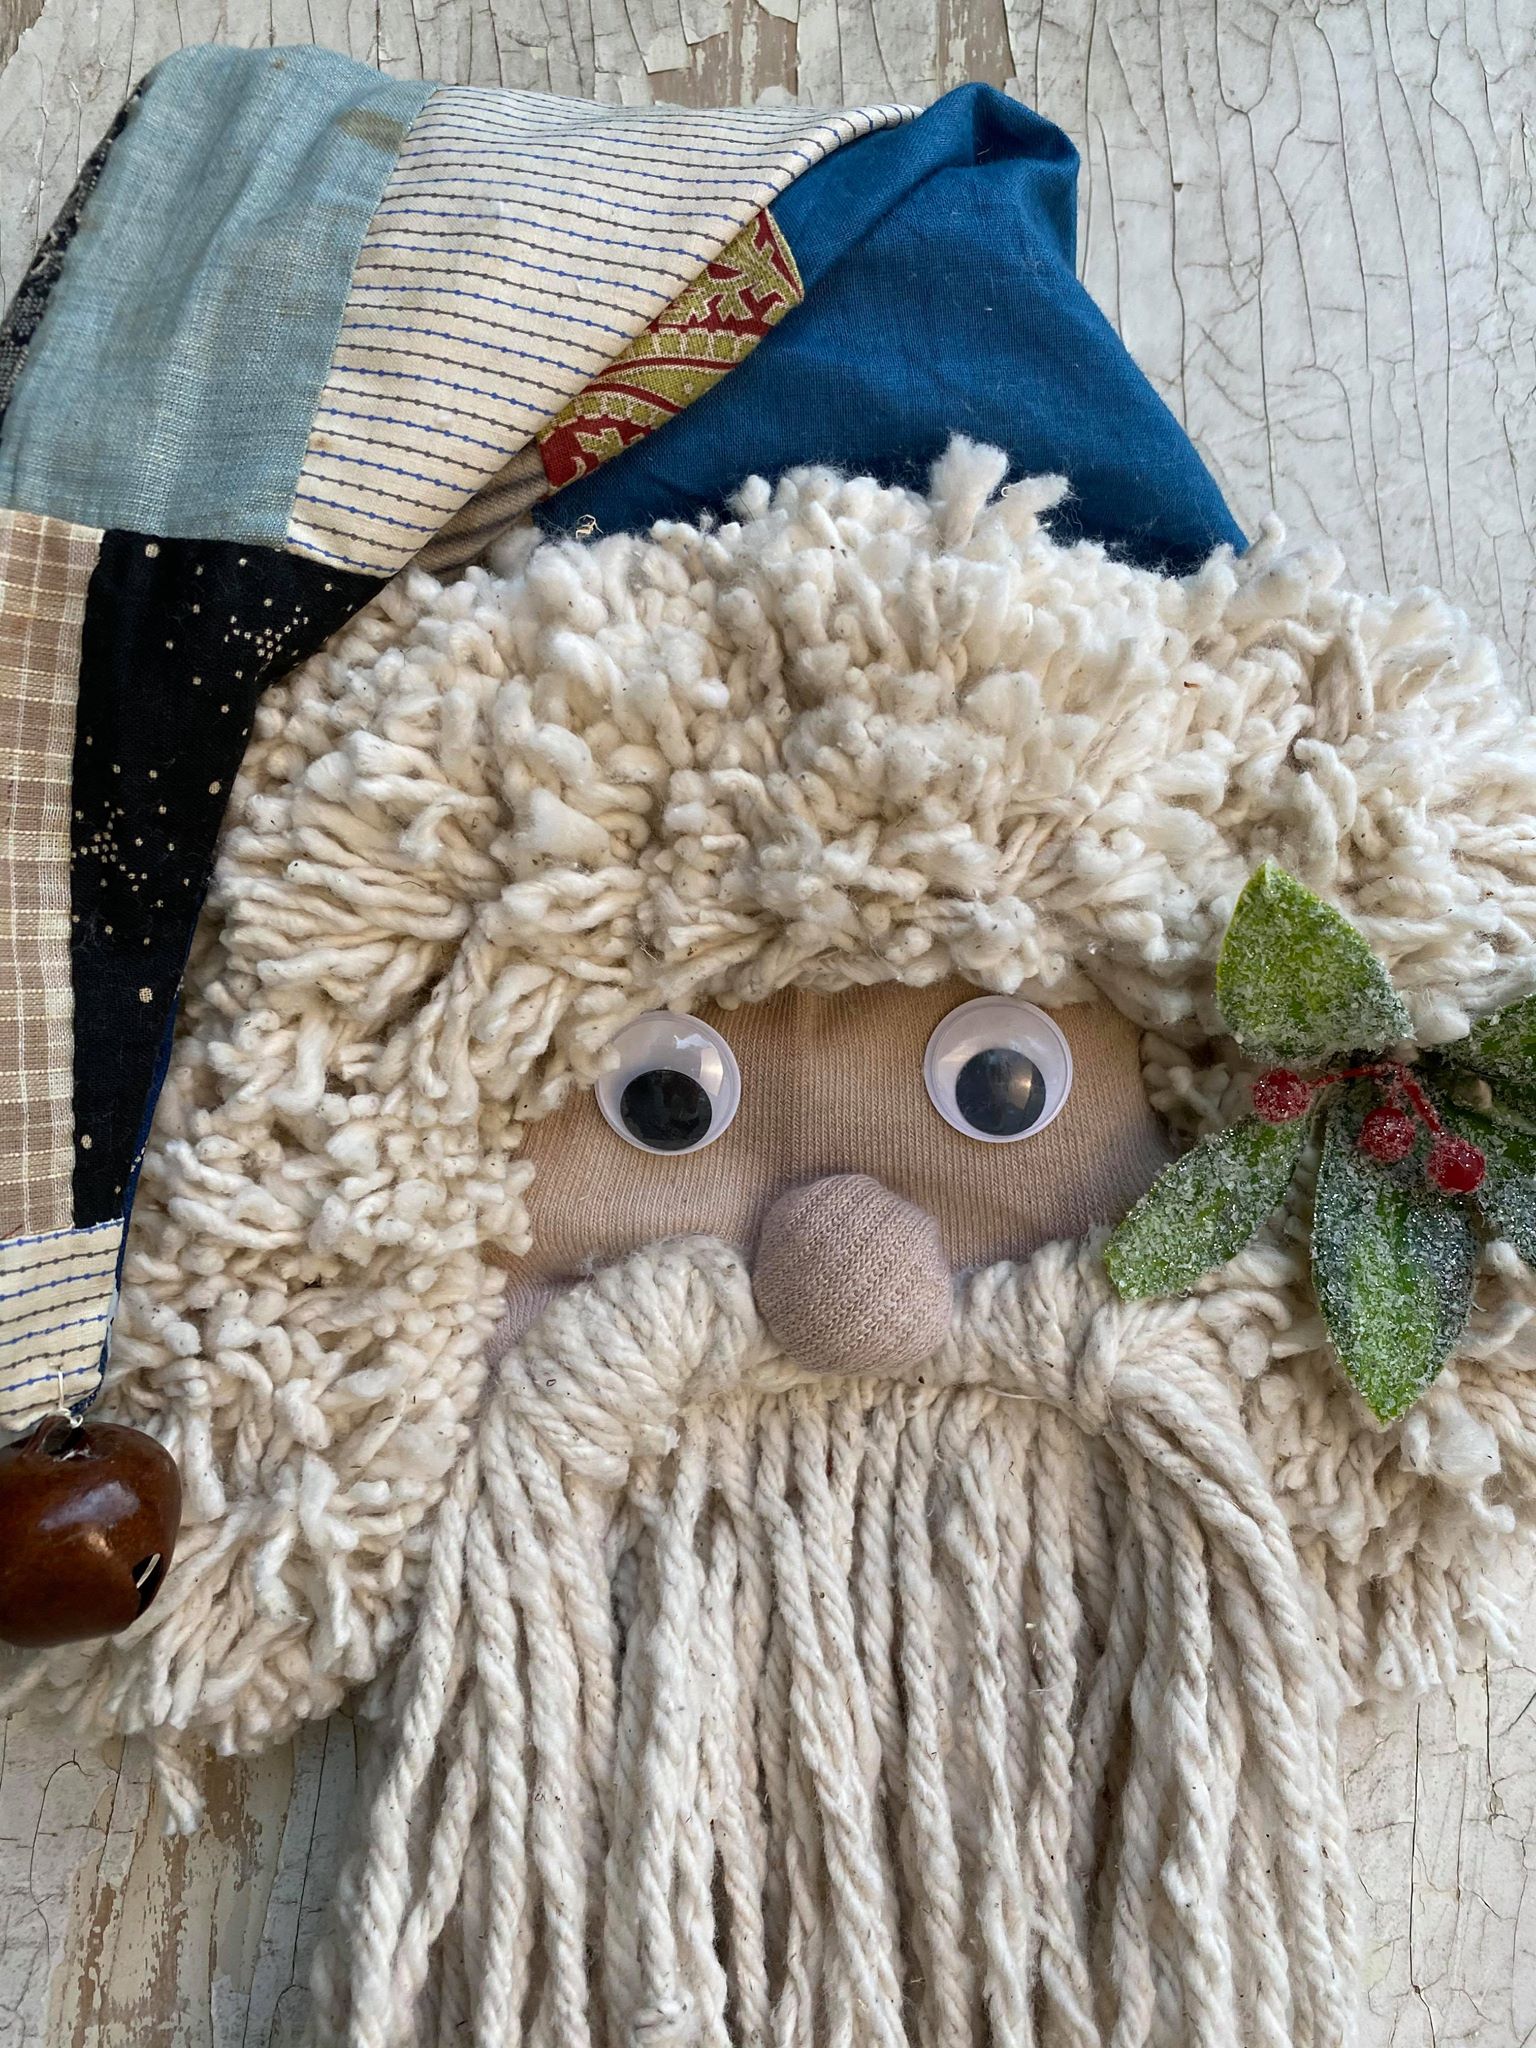
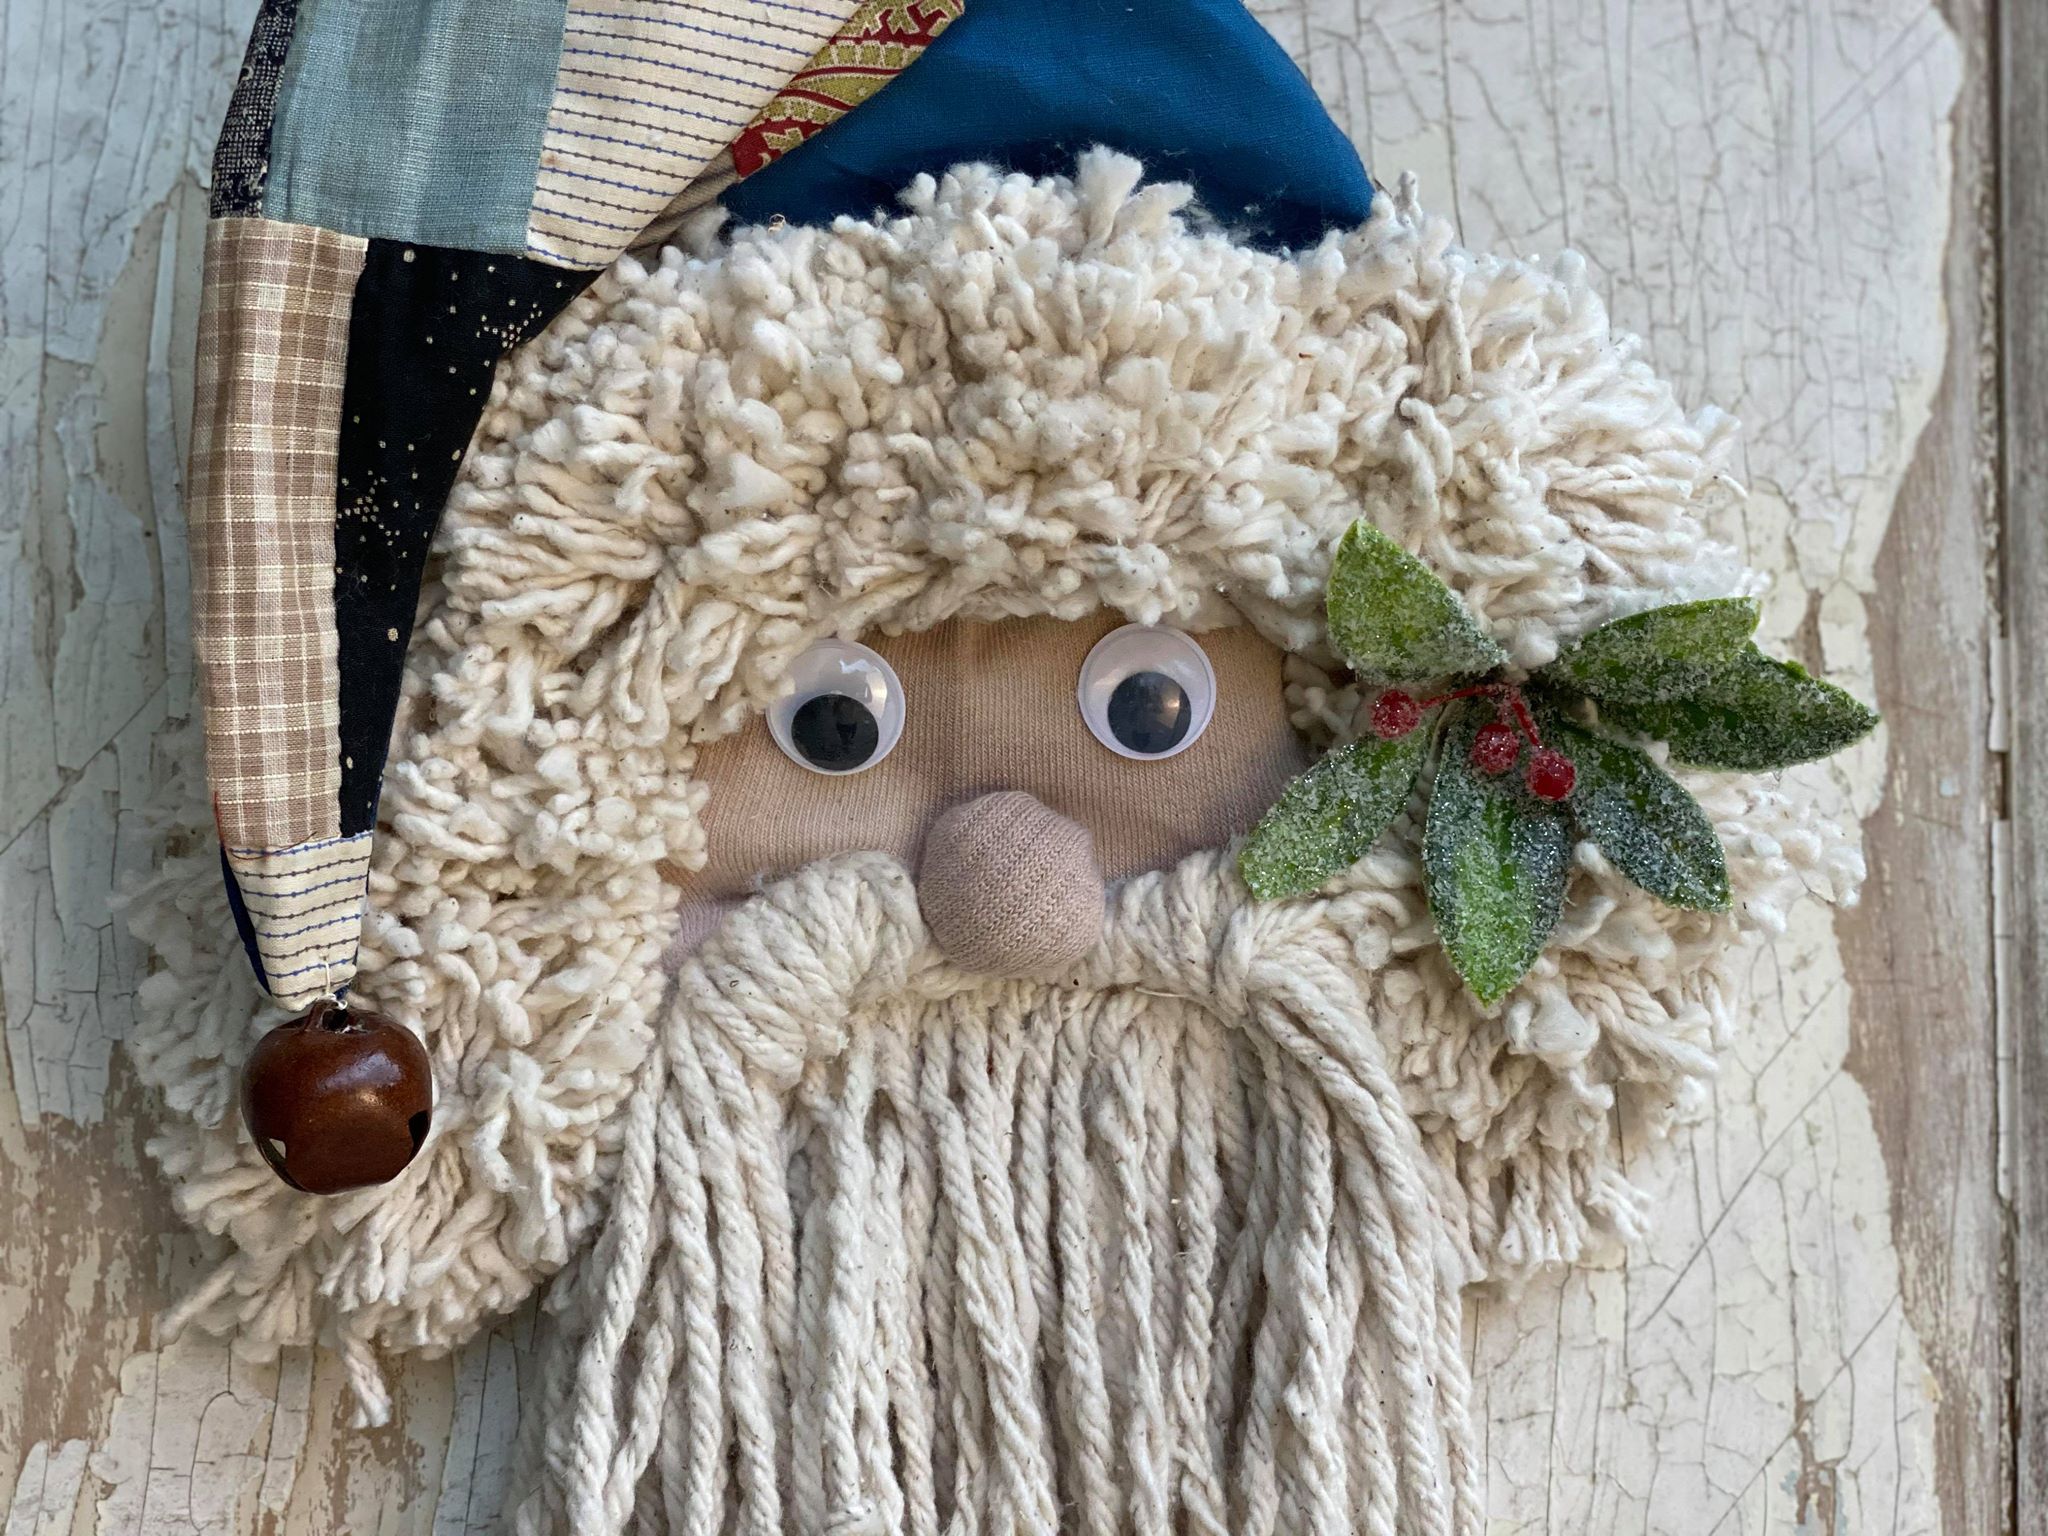
I added a small spring of greenery to the hat.
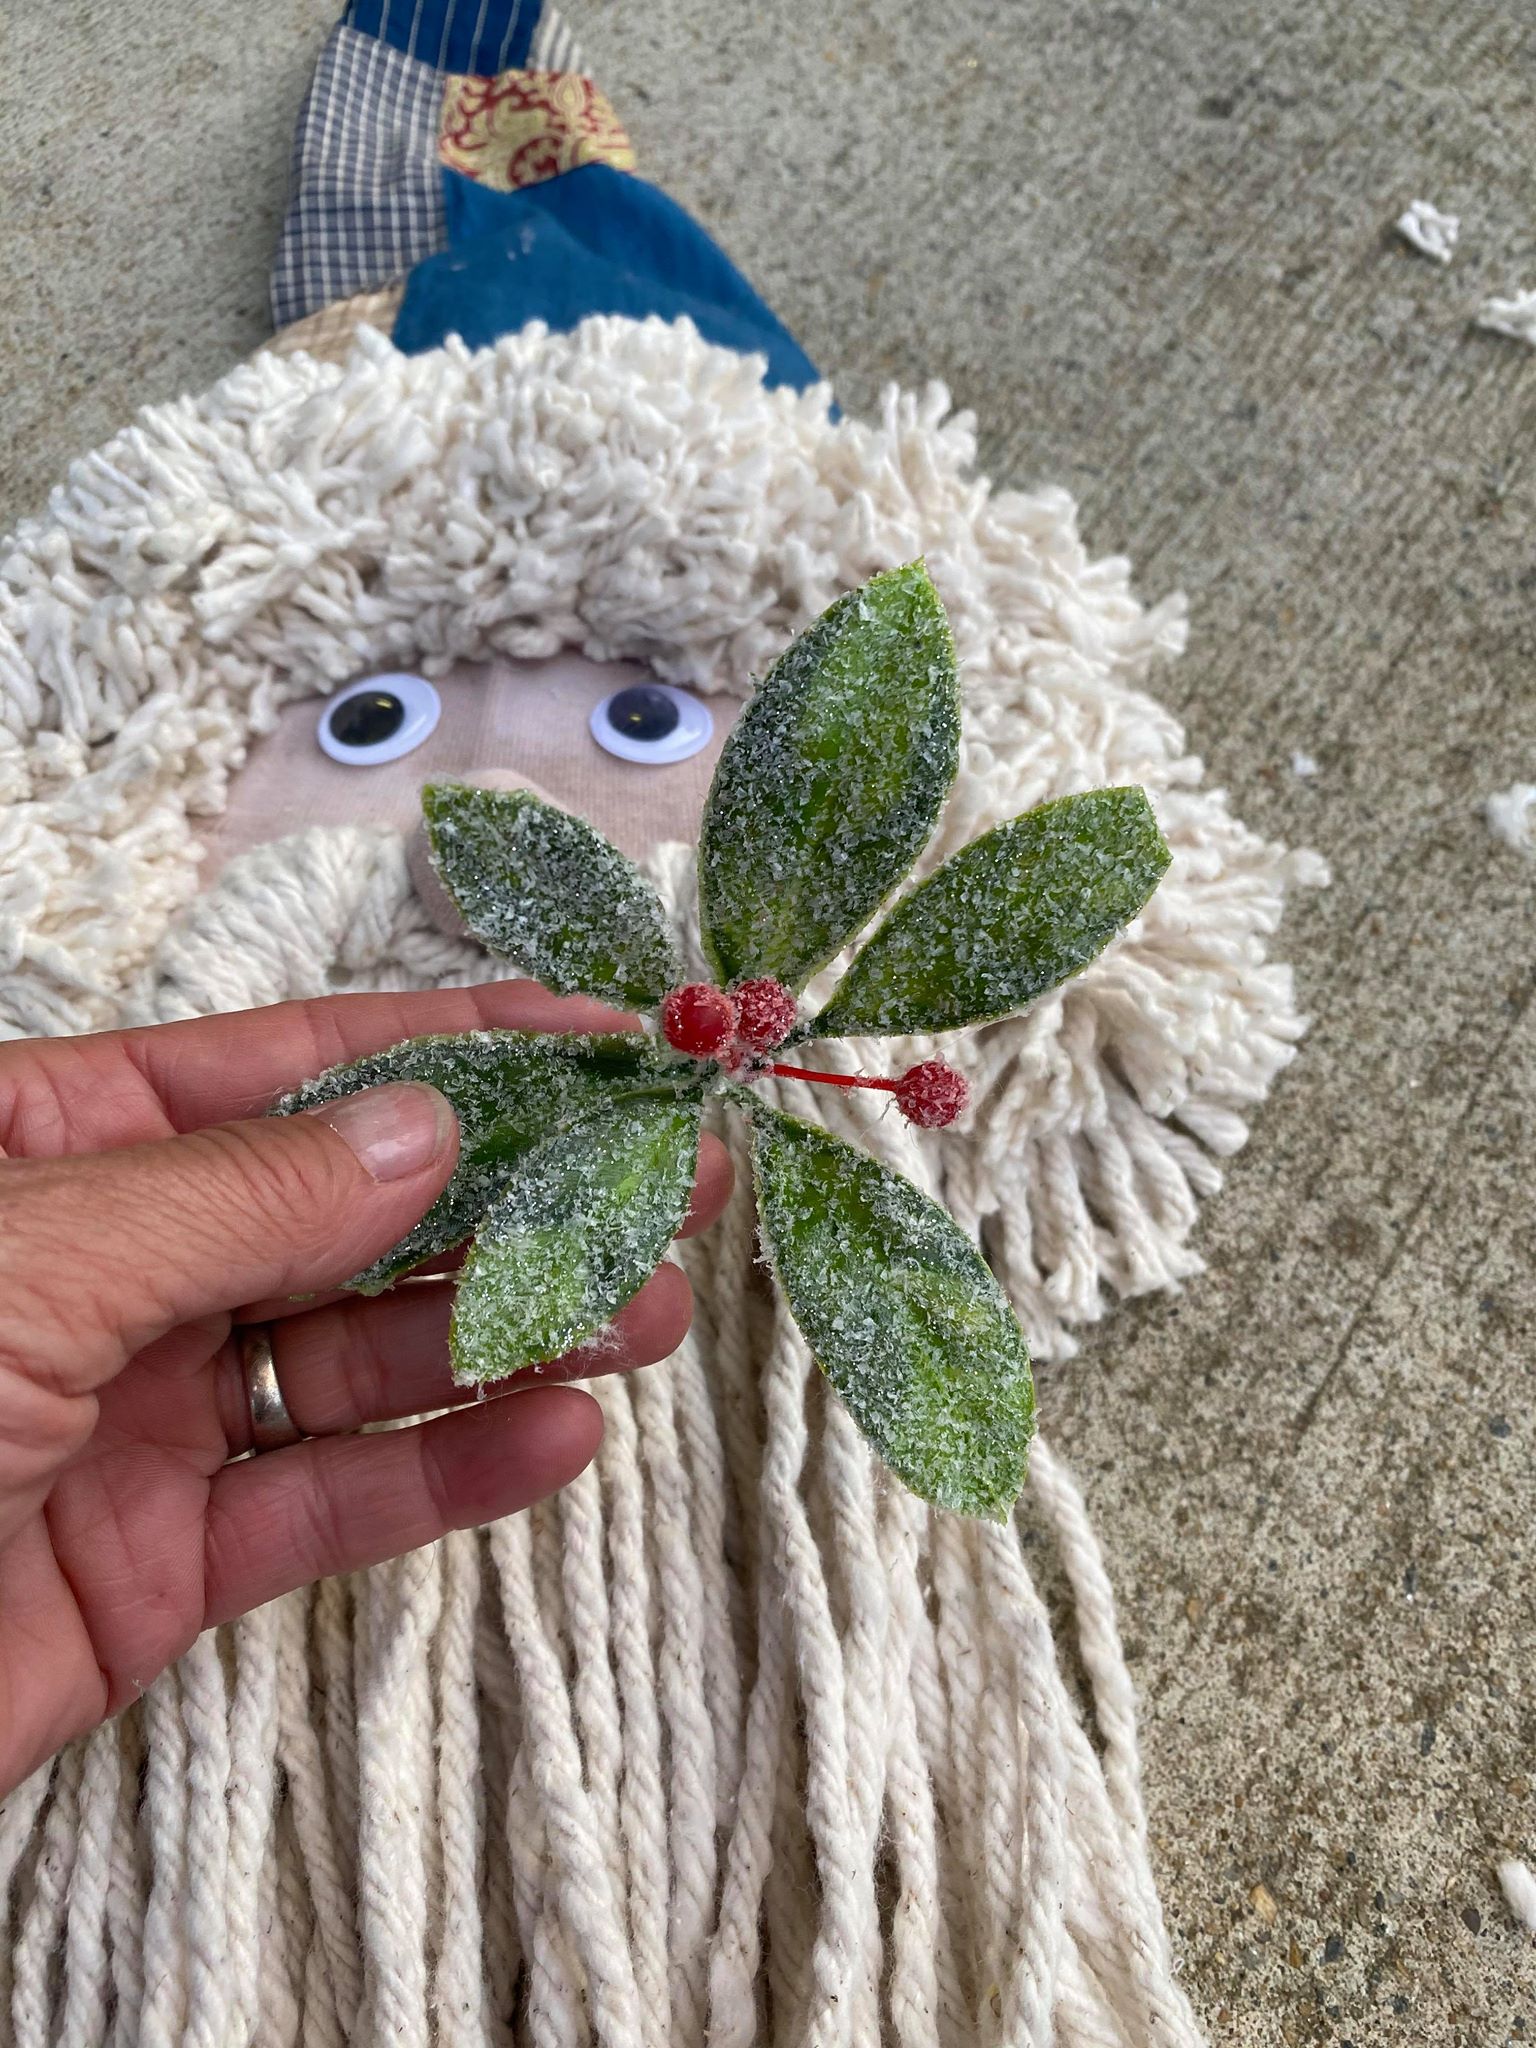
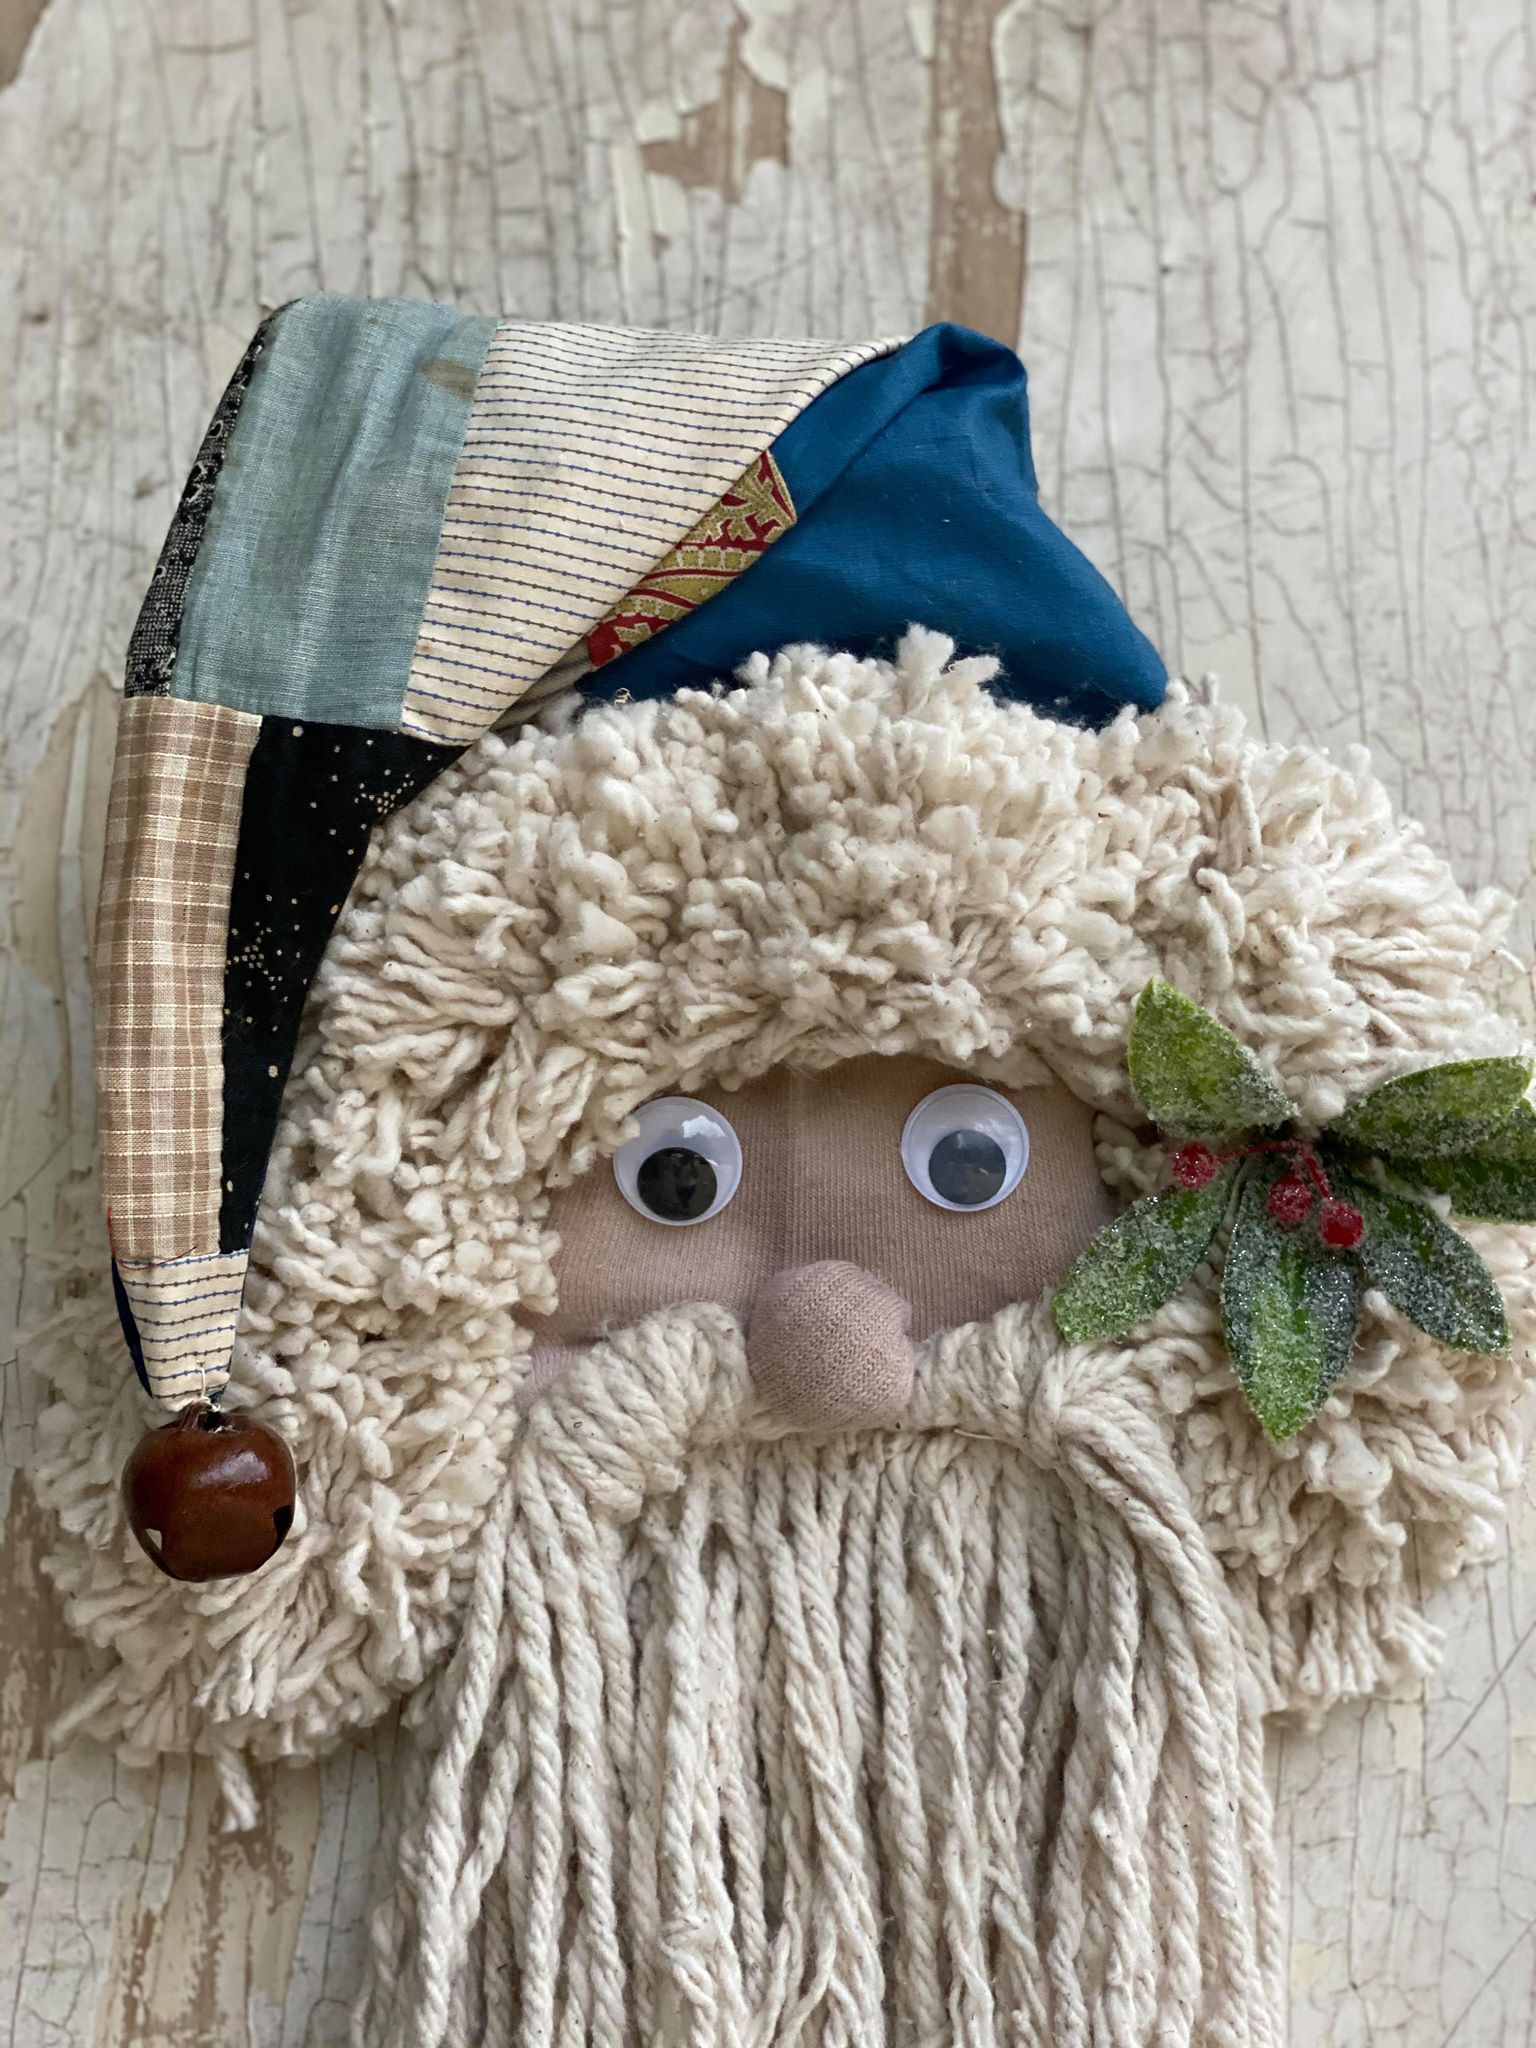
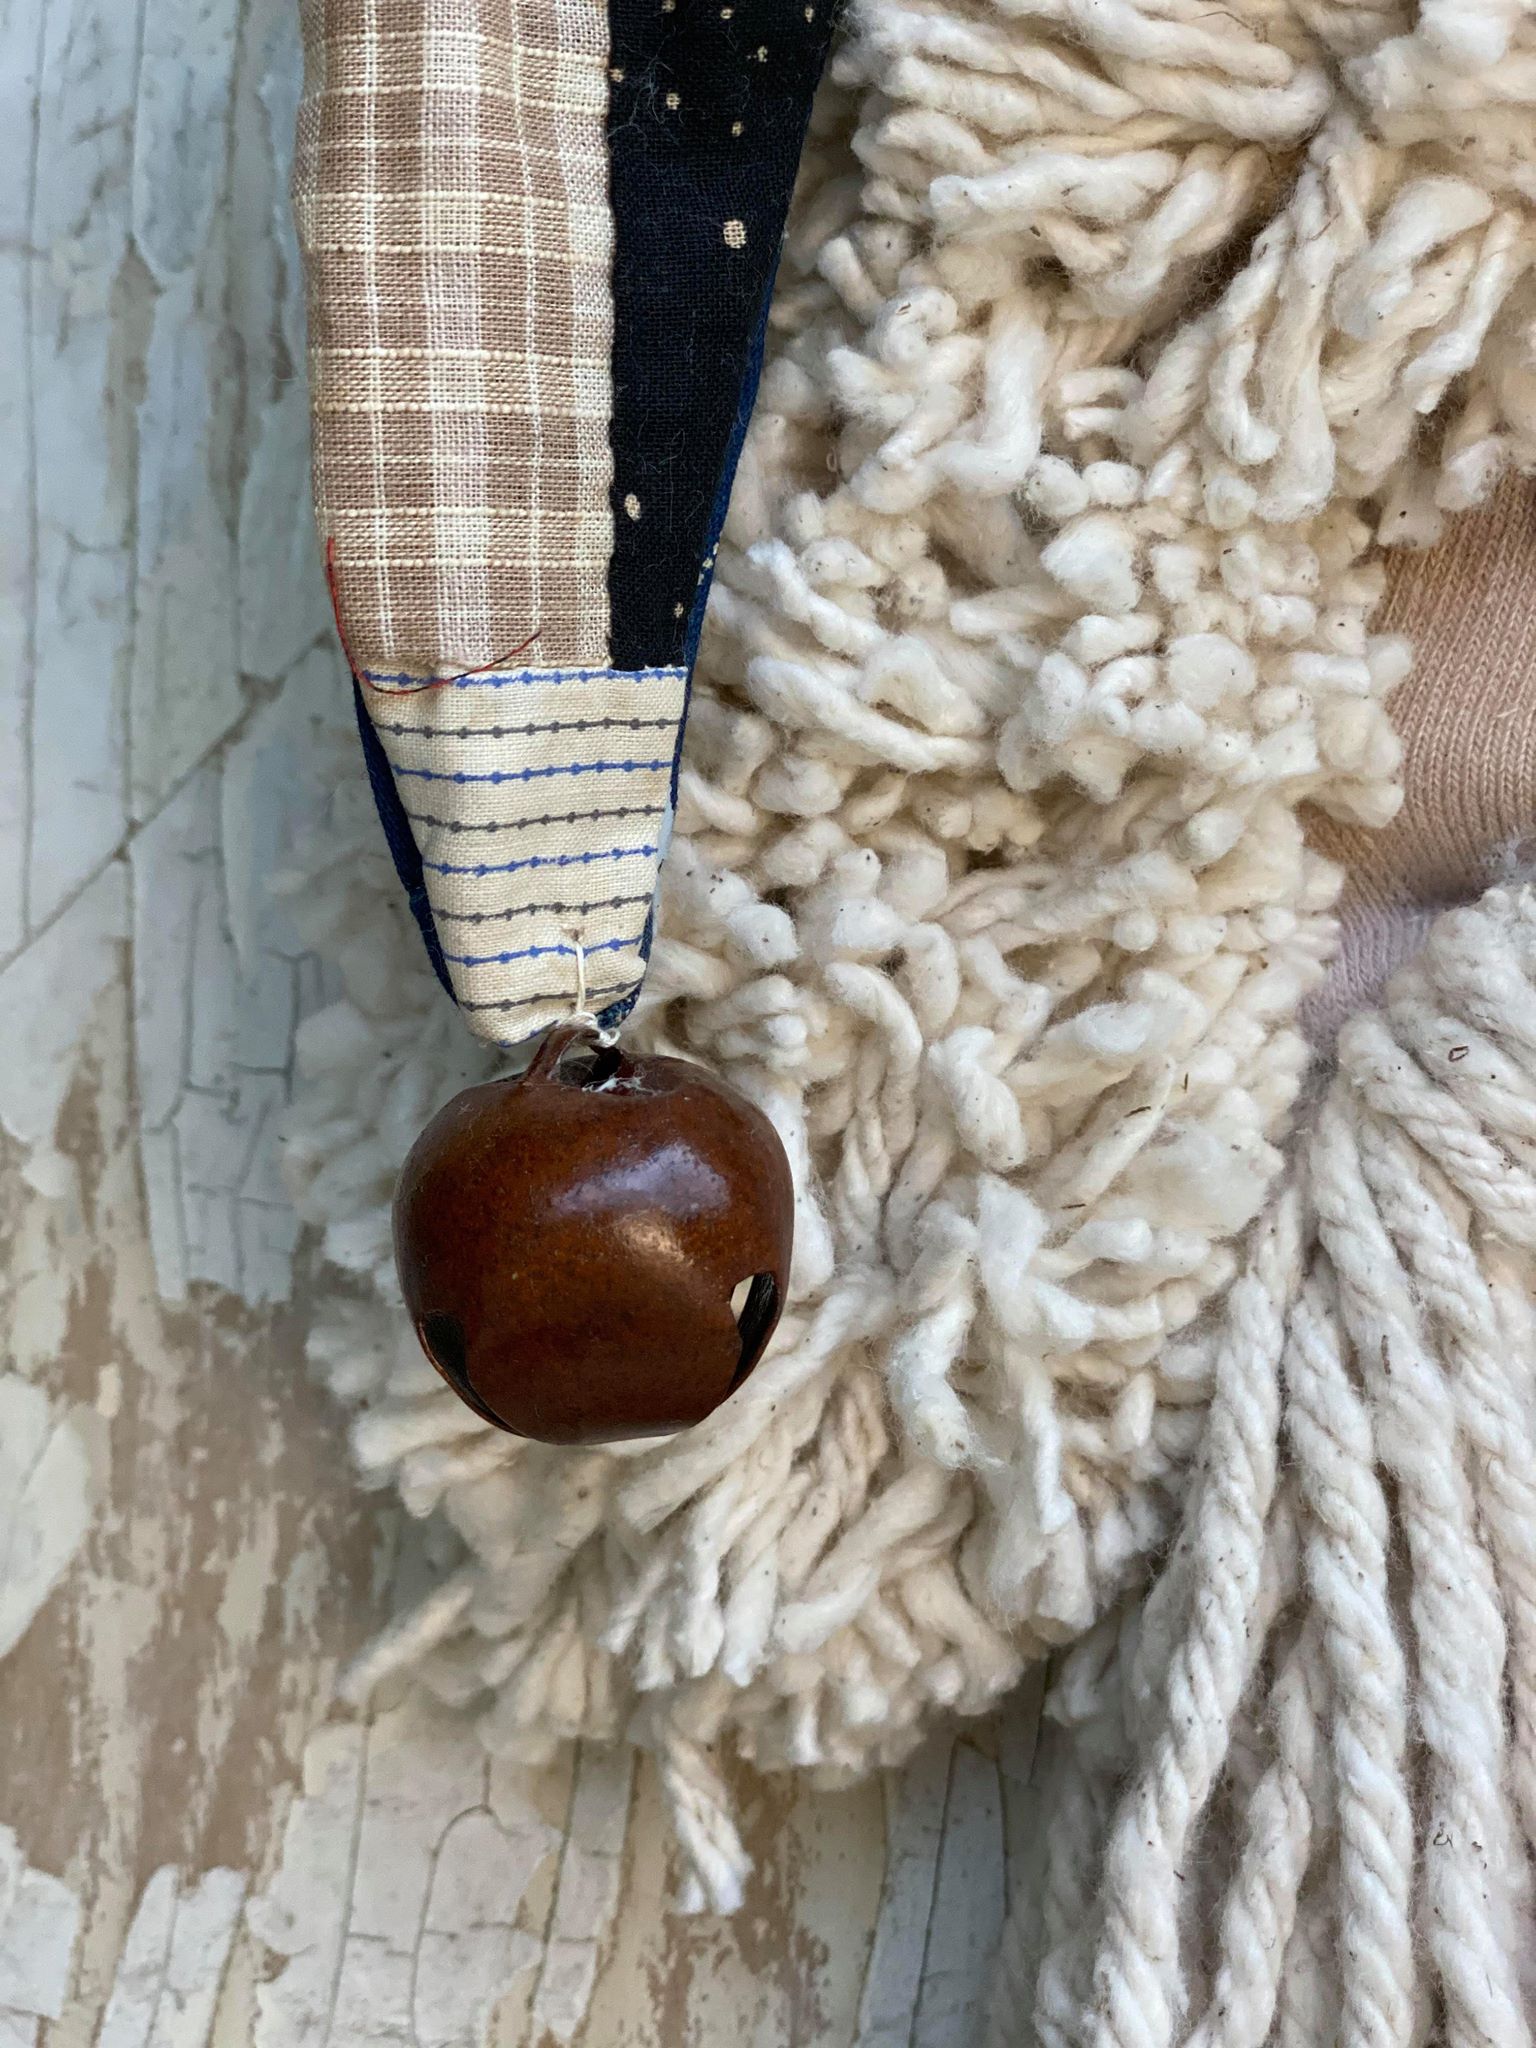
I took a small metal bell and sewed it onto the tip of the hat. You can find these bells in Hobby Lobby.
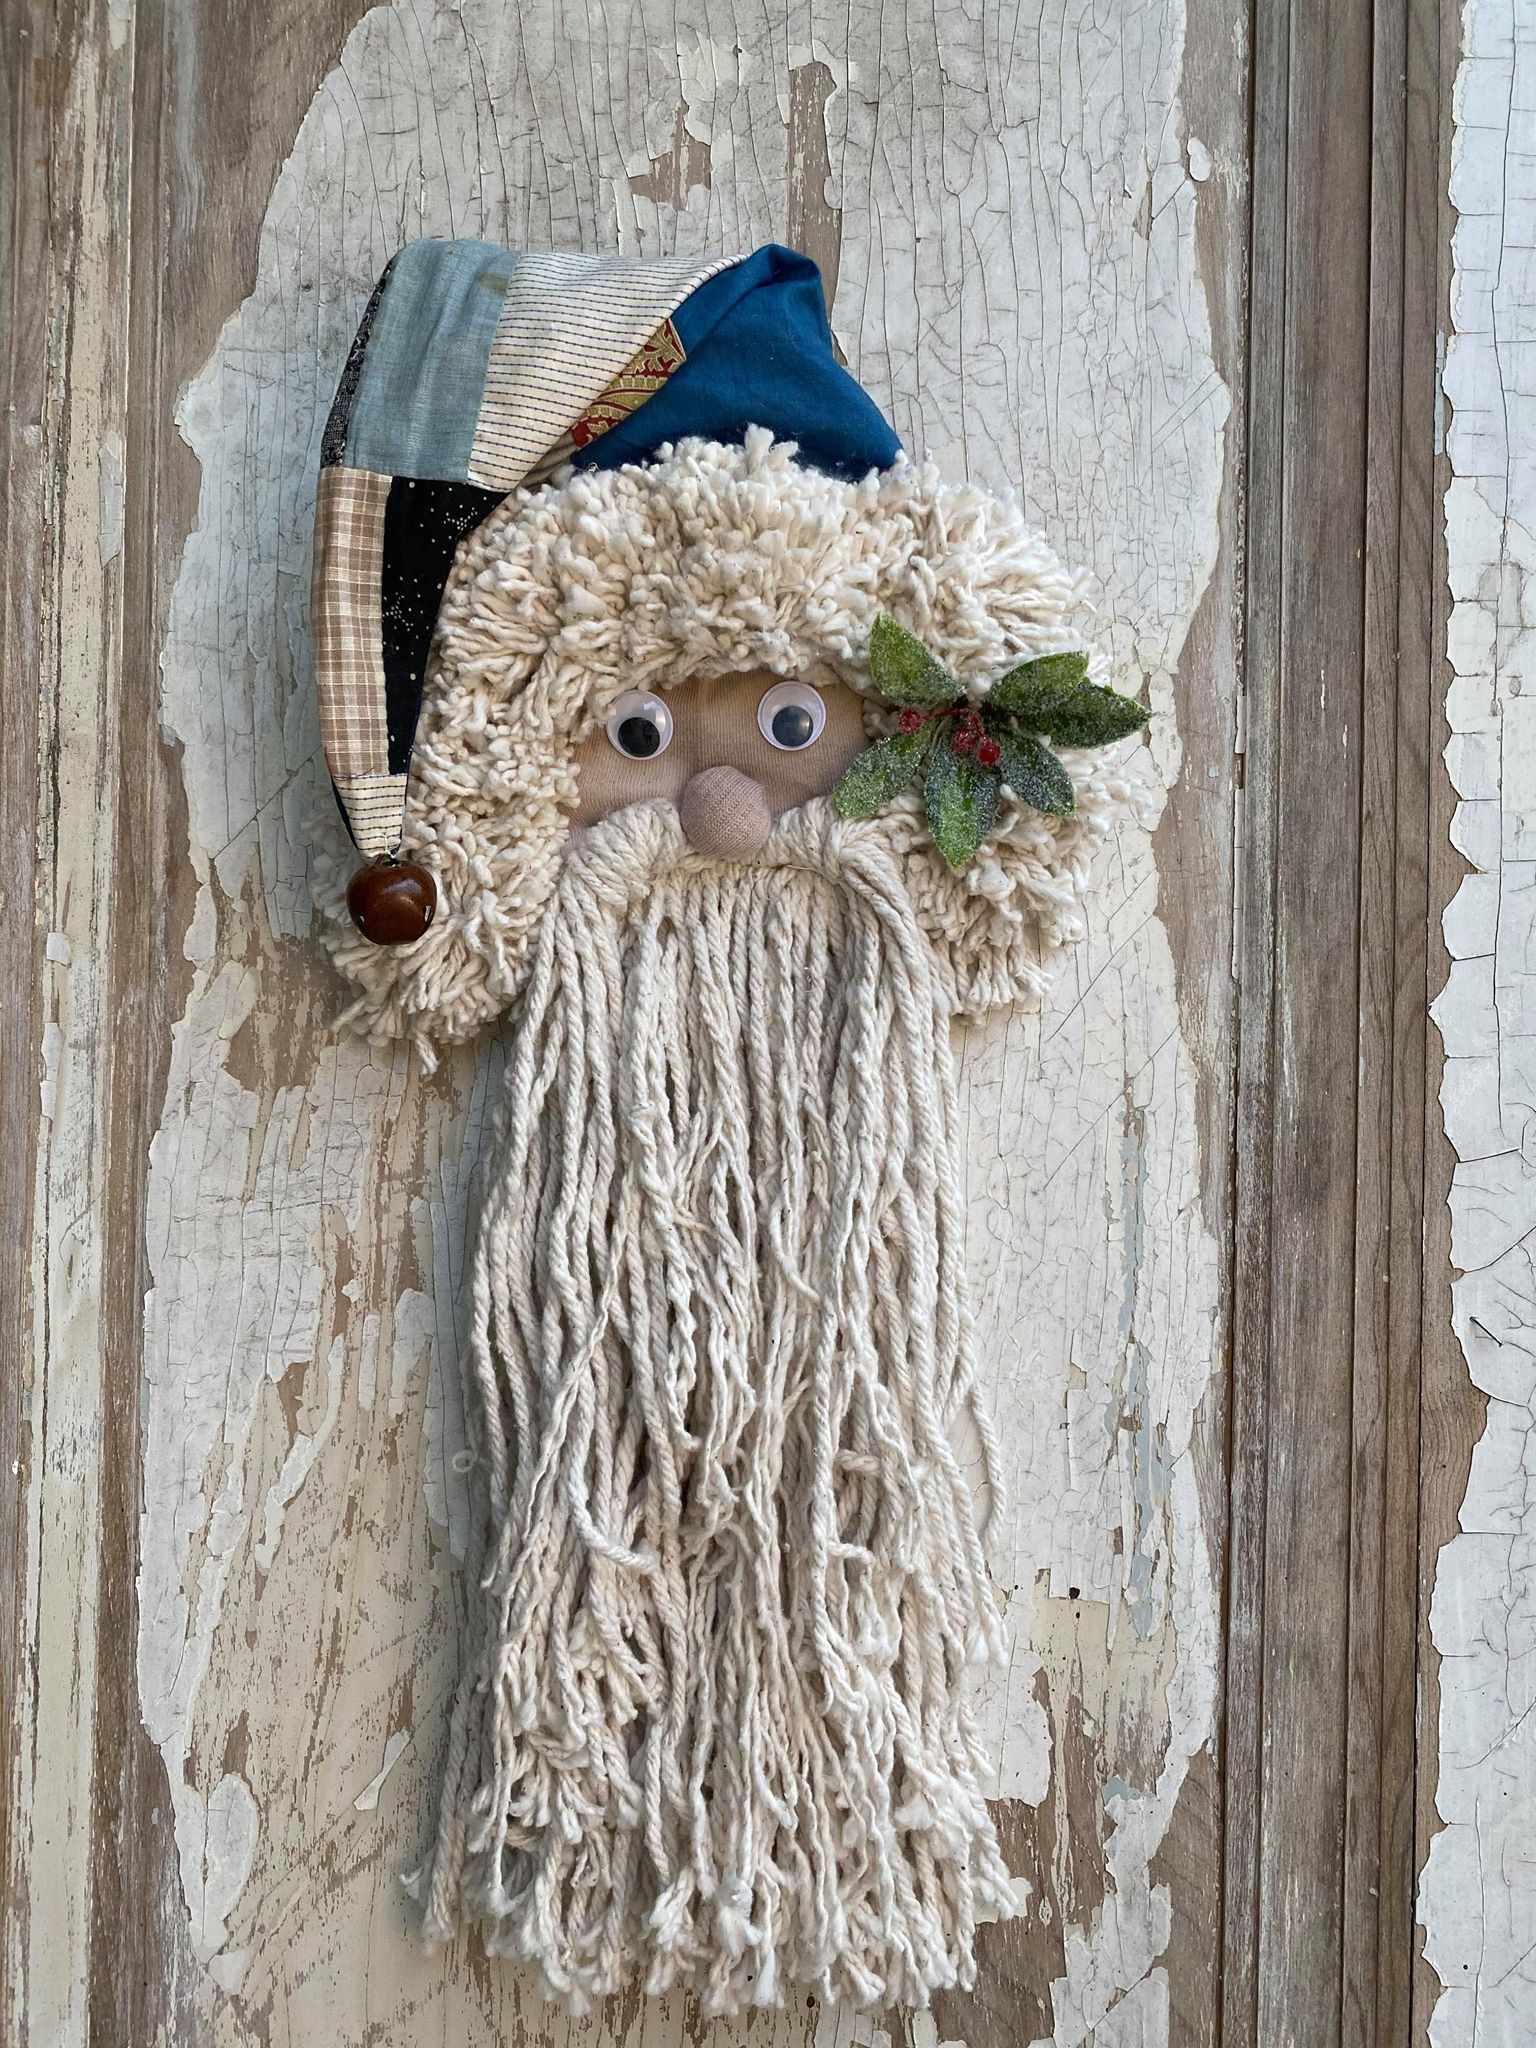
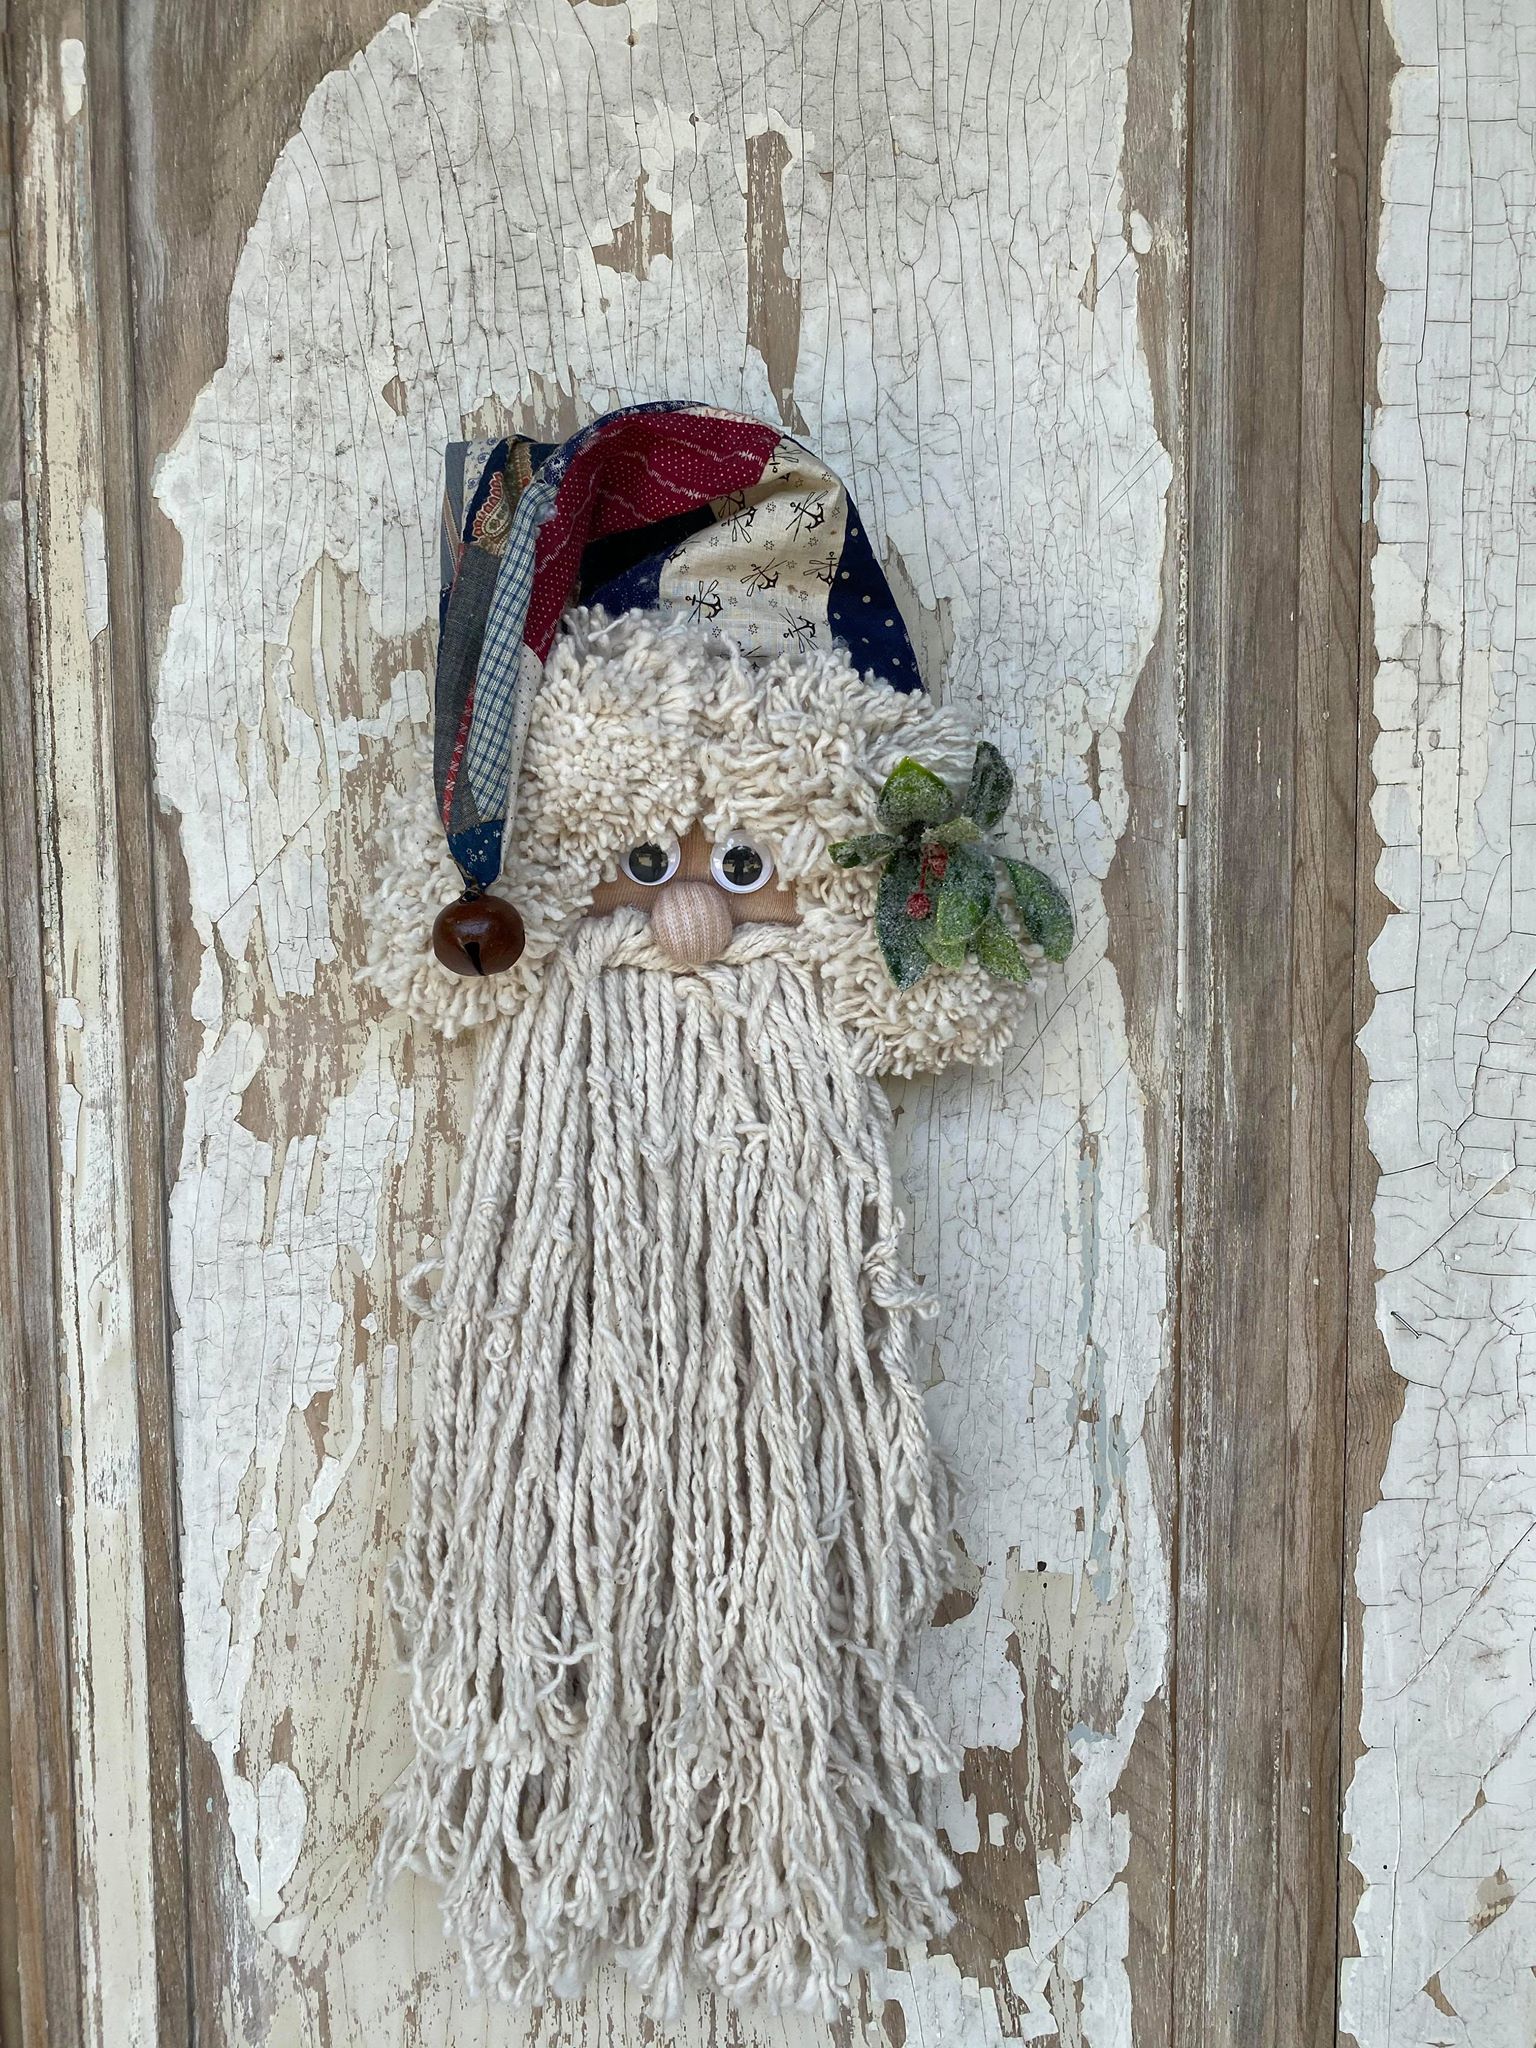
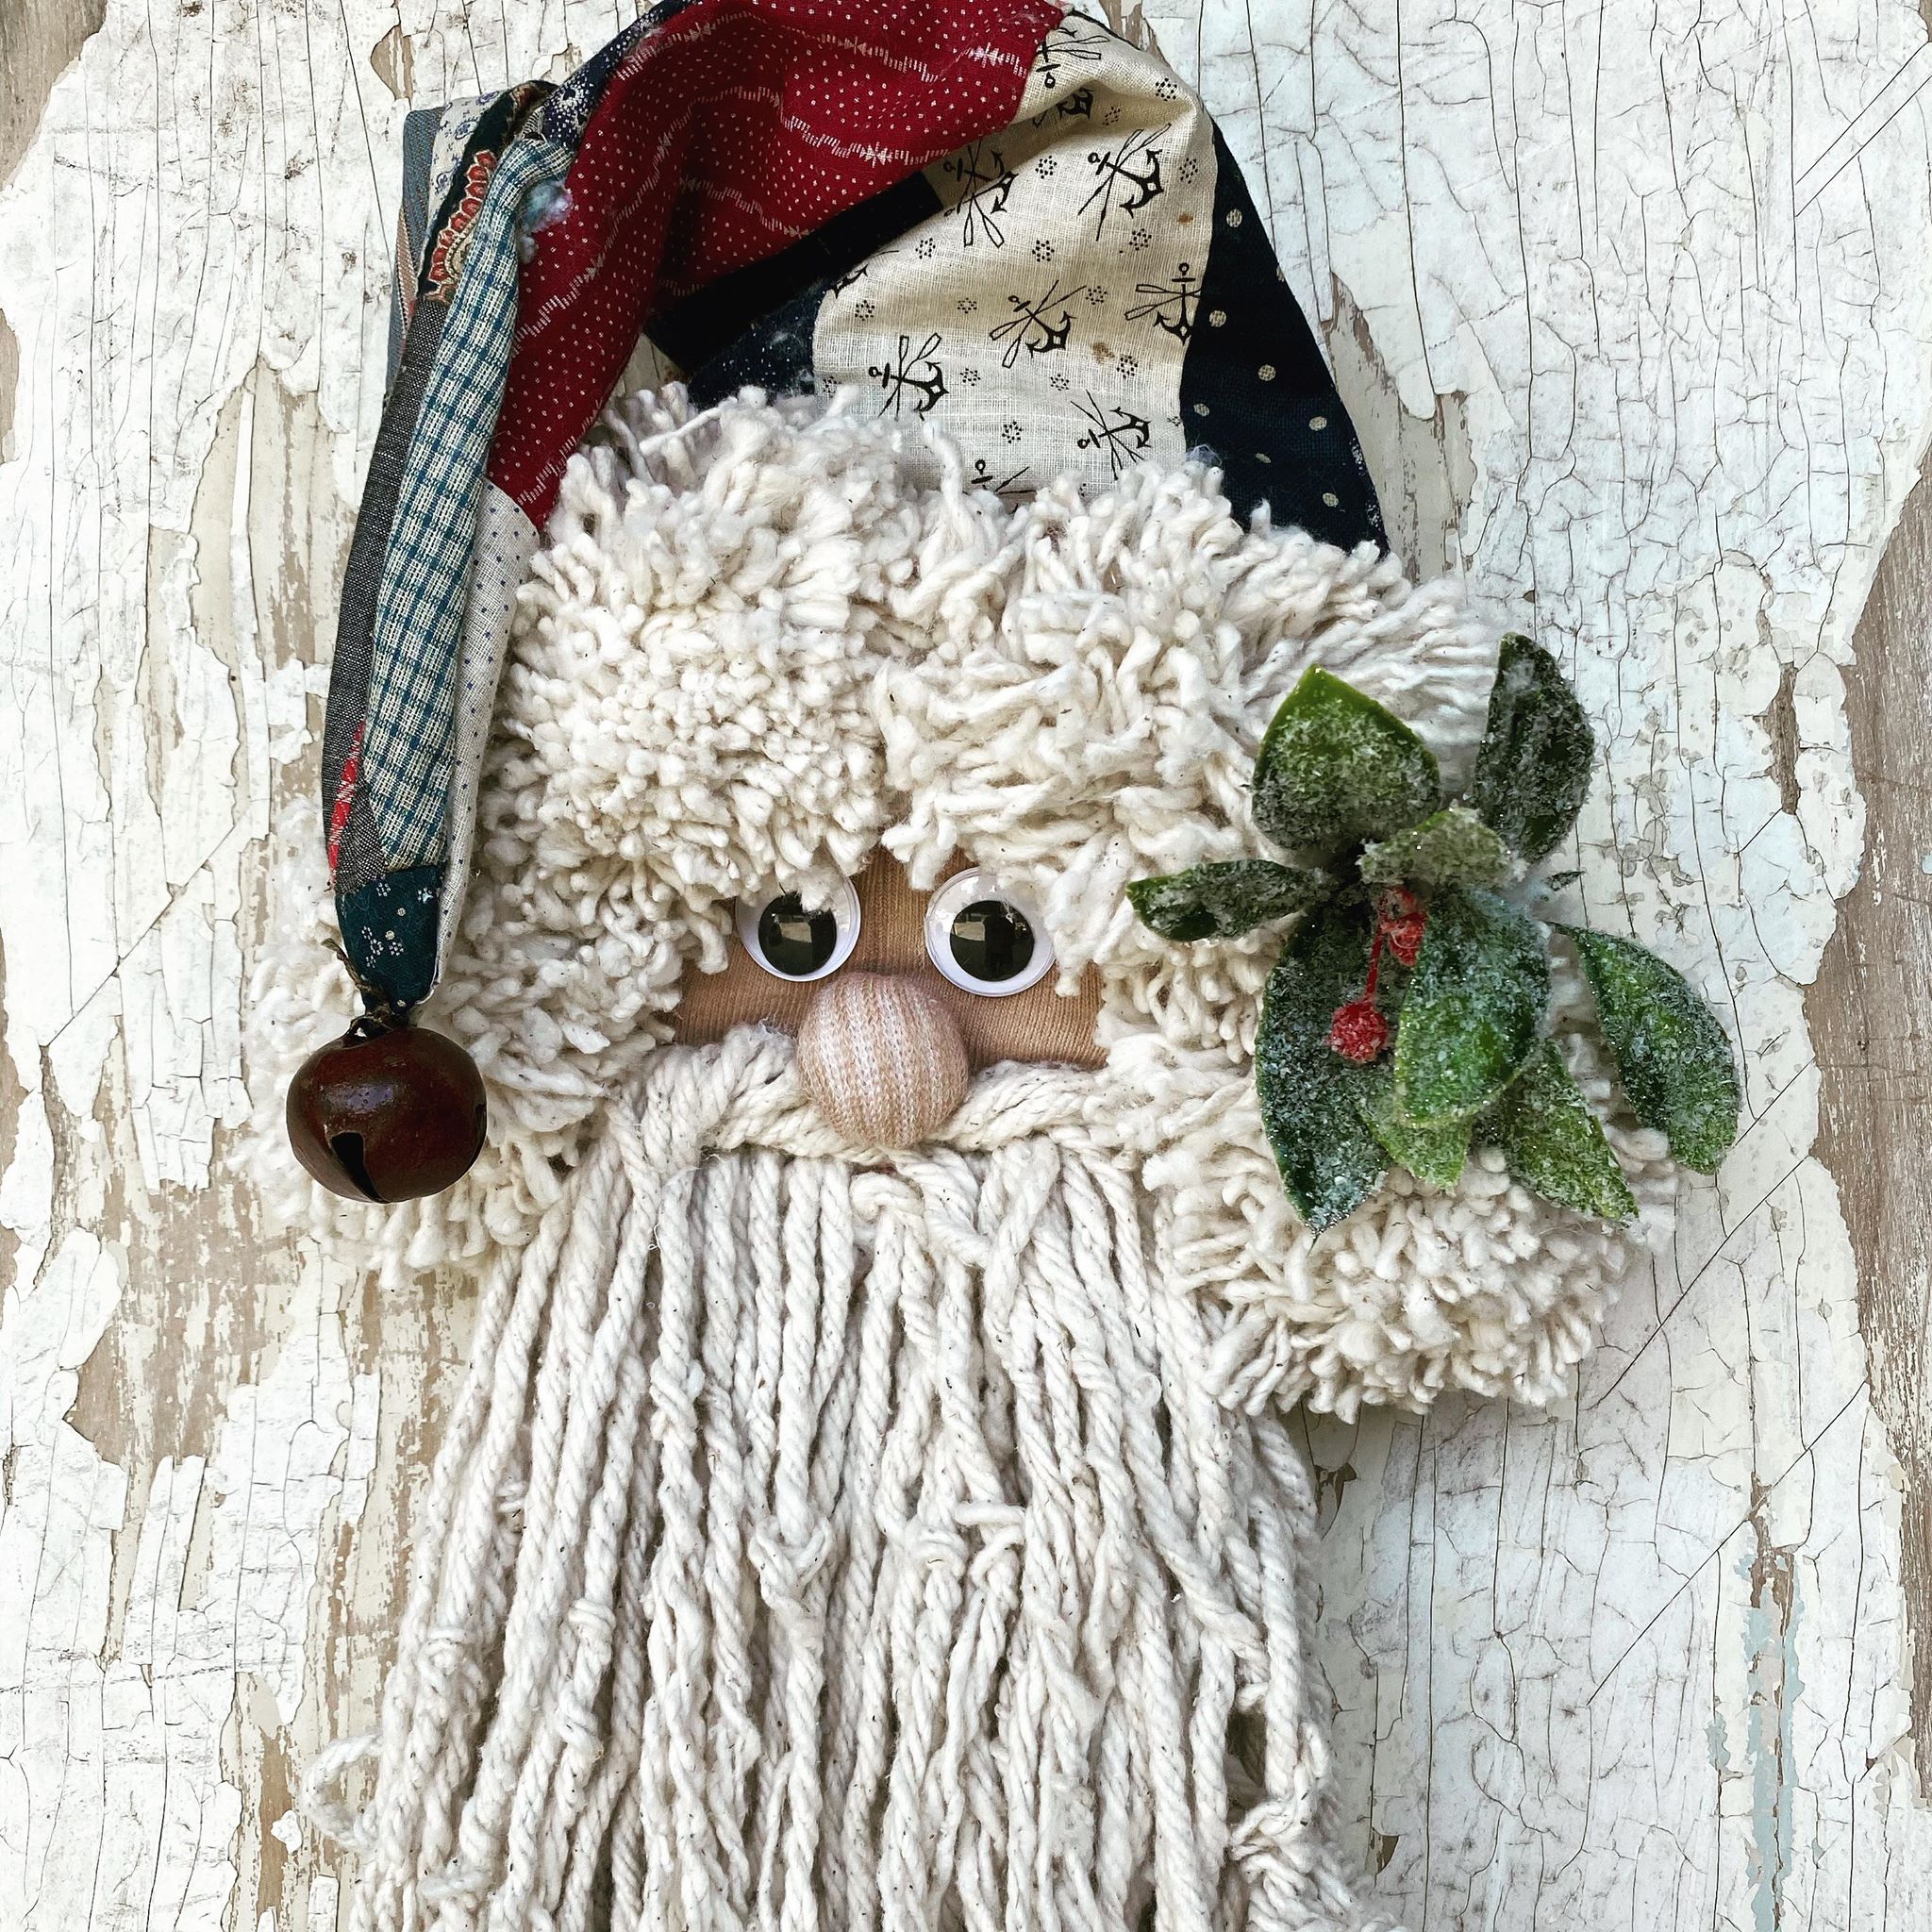
This santa is very easy to make and I hope you will all give it a try. He will be so cute hanging on your front door for Christmas!
Download Supply List Here