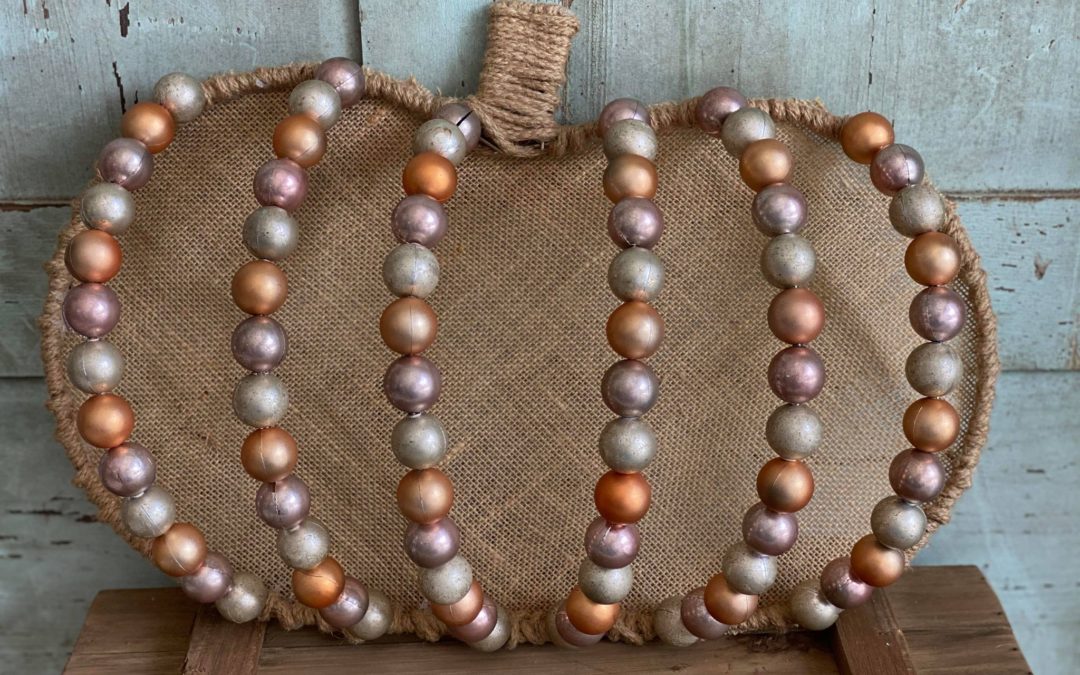
If your following The Shabby Tree then you all know that we use a lot of items from the Dollar Tree for our crafts. Everyone seems to like the pumpkin form that they have and I wanted to find some ways to get creative with it. There are a variety of things that you can do with this pumpkin form but we are going to change it up by adding beads to it.
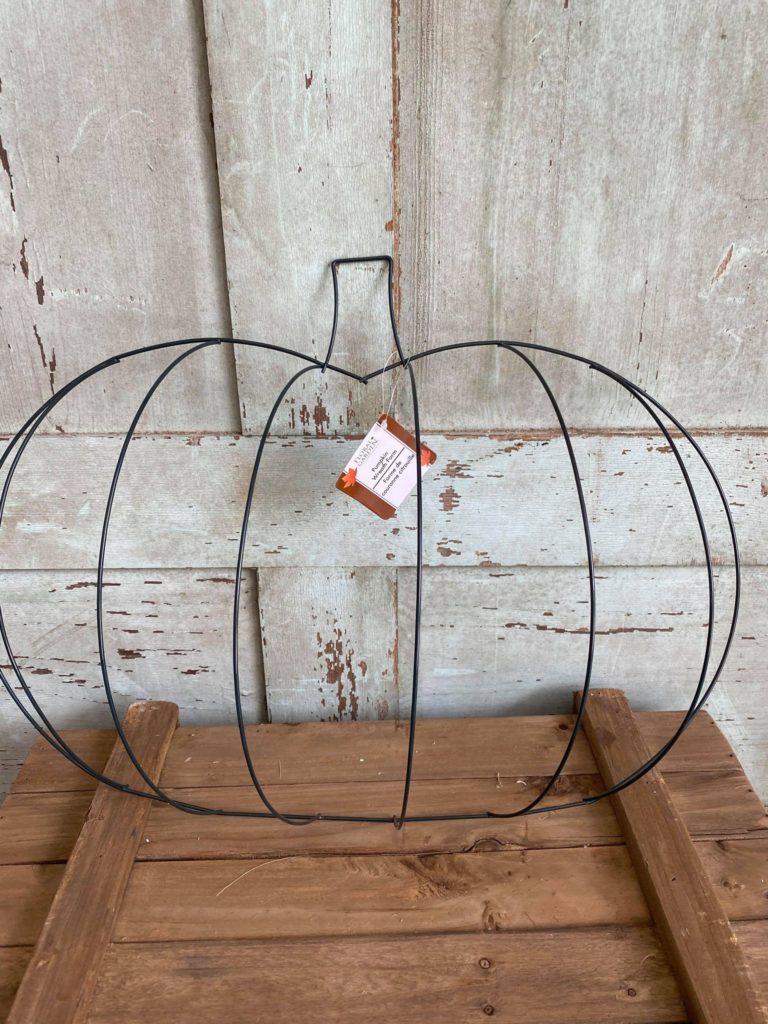
The main item you need for this is the Dollar Tree pumpkin form. You can also find a similar pumpkin form in Hobby Lobby.
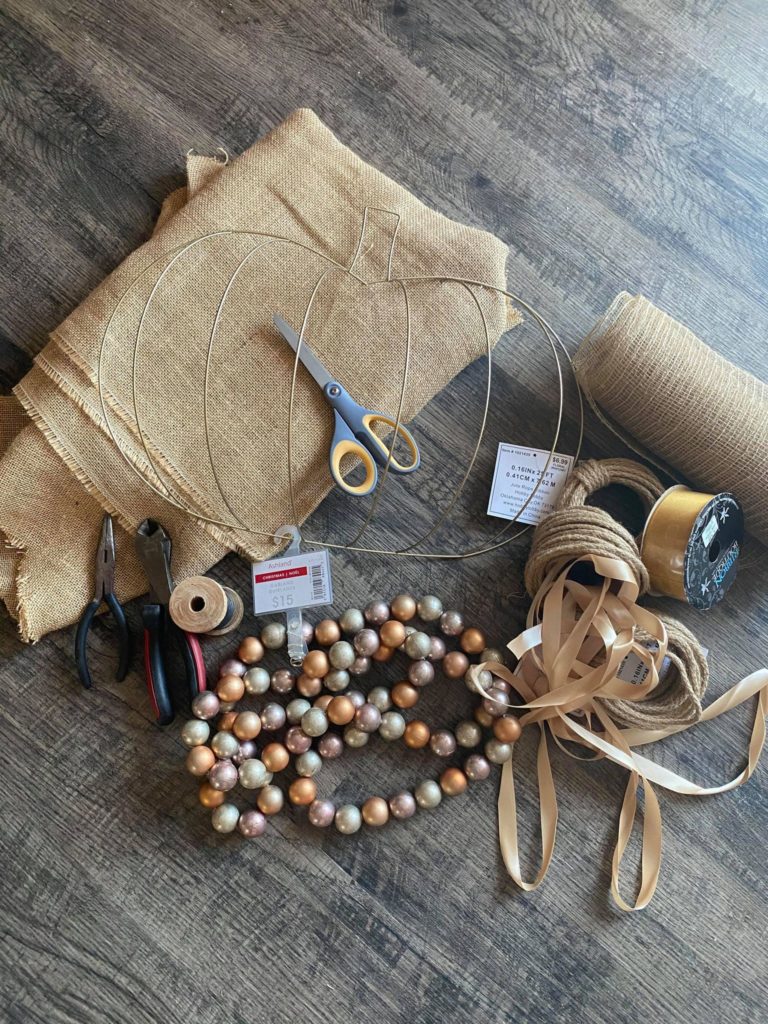
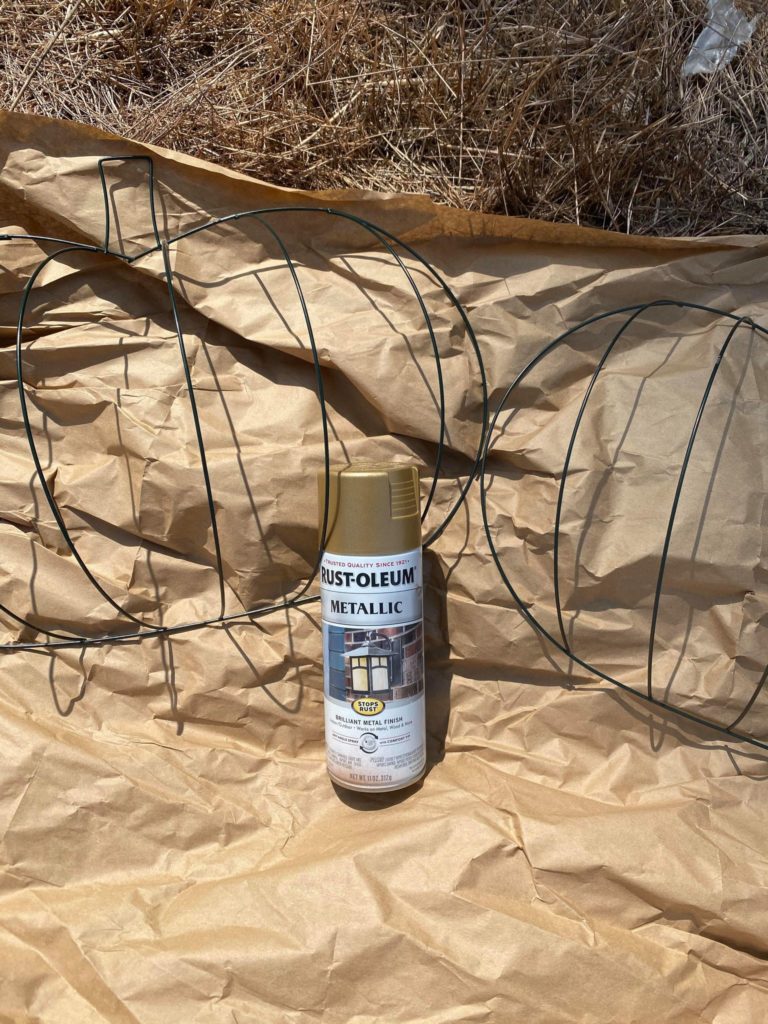
Some other supplies I will be using are: 1. Gold spray paint 2. Wire and wire cutters ( You can use floral wire ) 3. Scissors 4. Beads ( I am using a strand of plastic bead garland I got from Michael’s last year) 5. A piece of burlap ( just enough to cover the back of your pumpkin form) 6. Ribbons ( optional) 7. Twine ( I’m using a wired twine I got from Hobby Lobby)
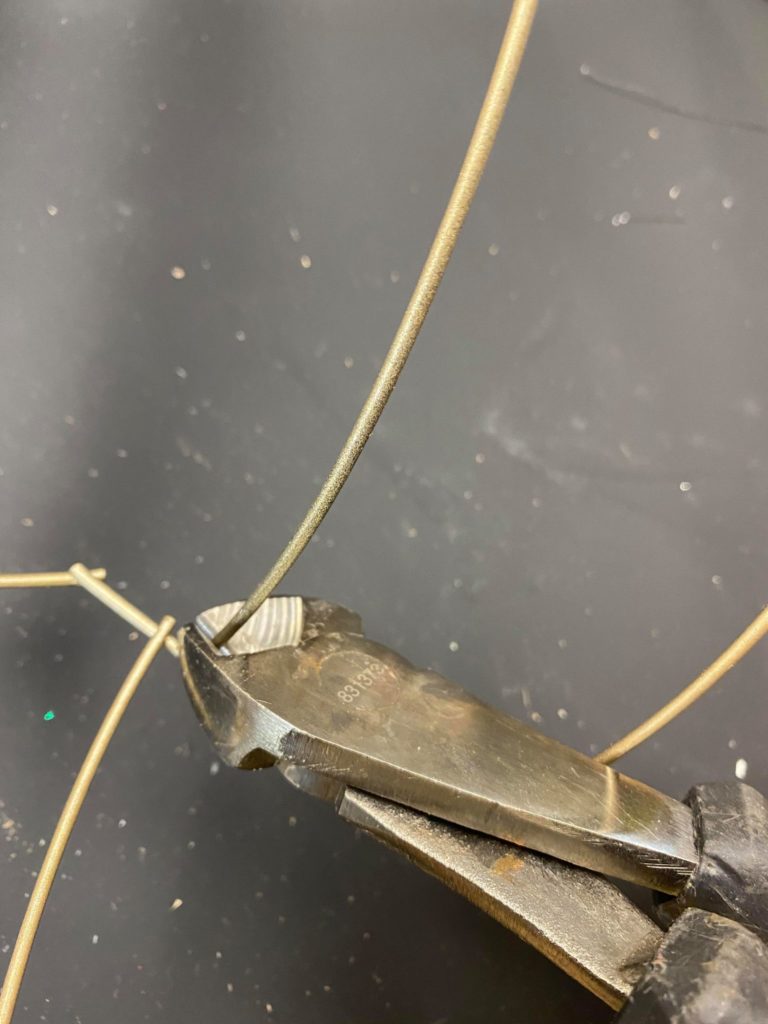
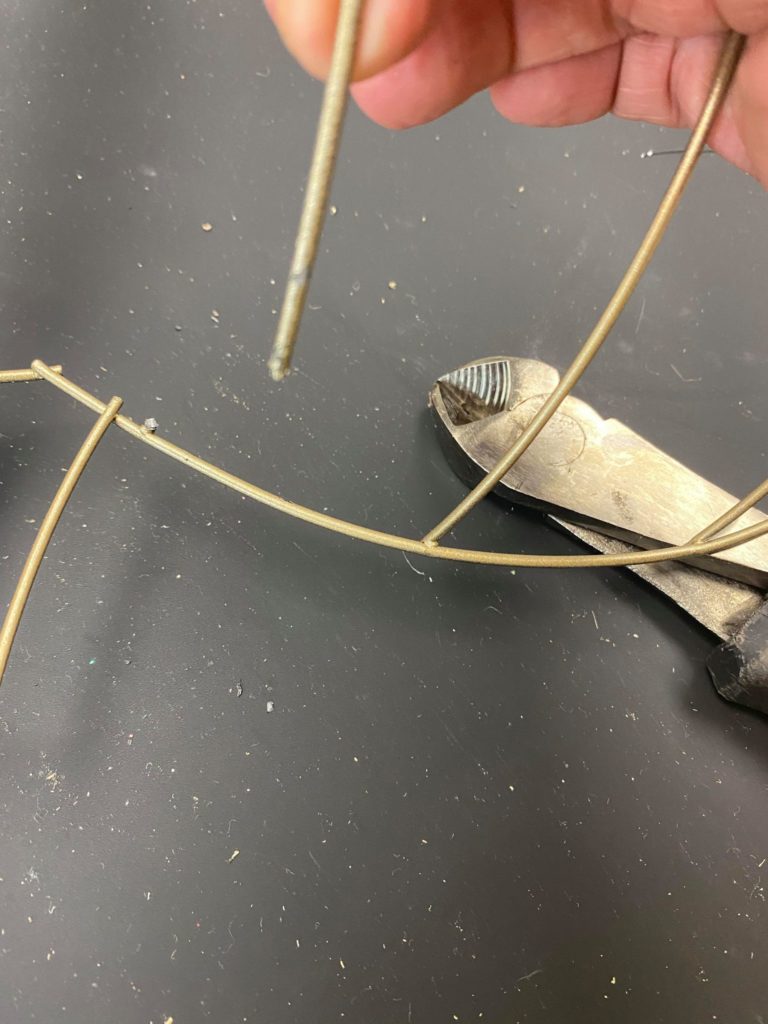
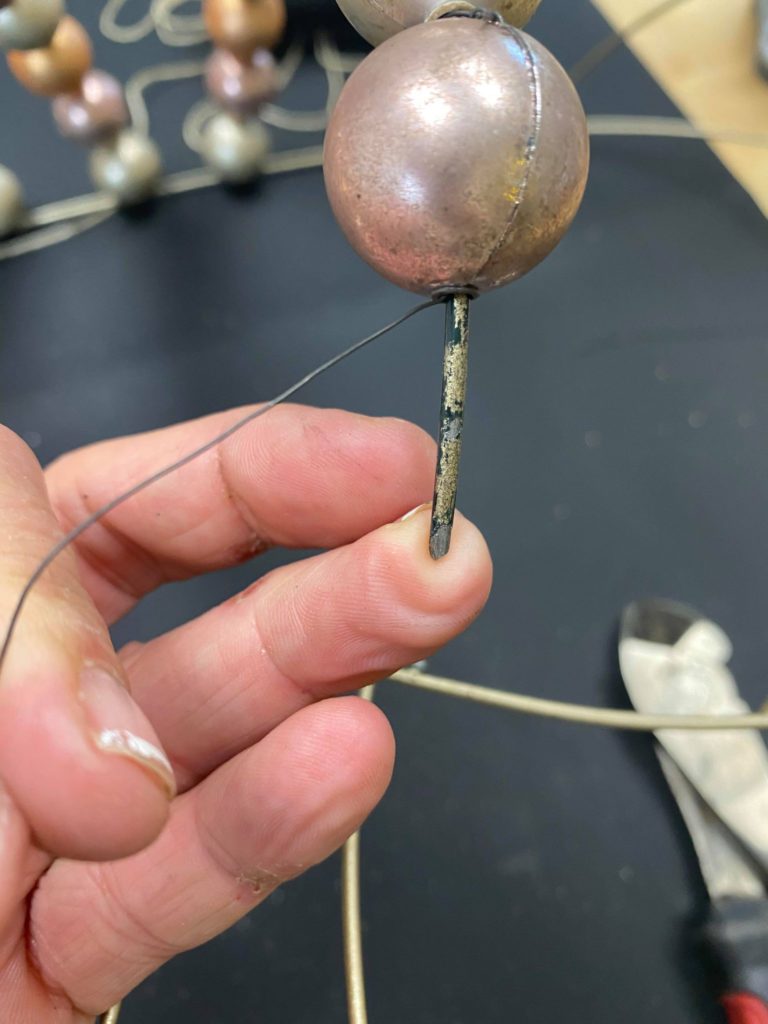
You will need to take the wire cutters and snip the top of one of the wire strips on the pumpkin form. You will know snip the top .
You will now add your beads to the strip.
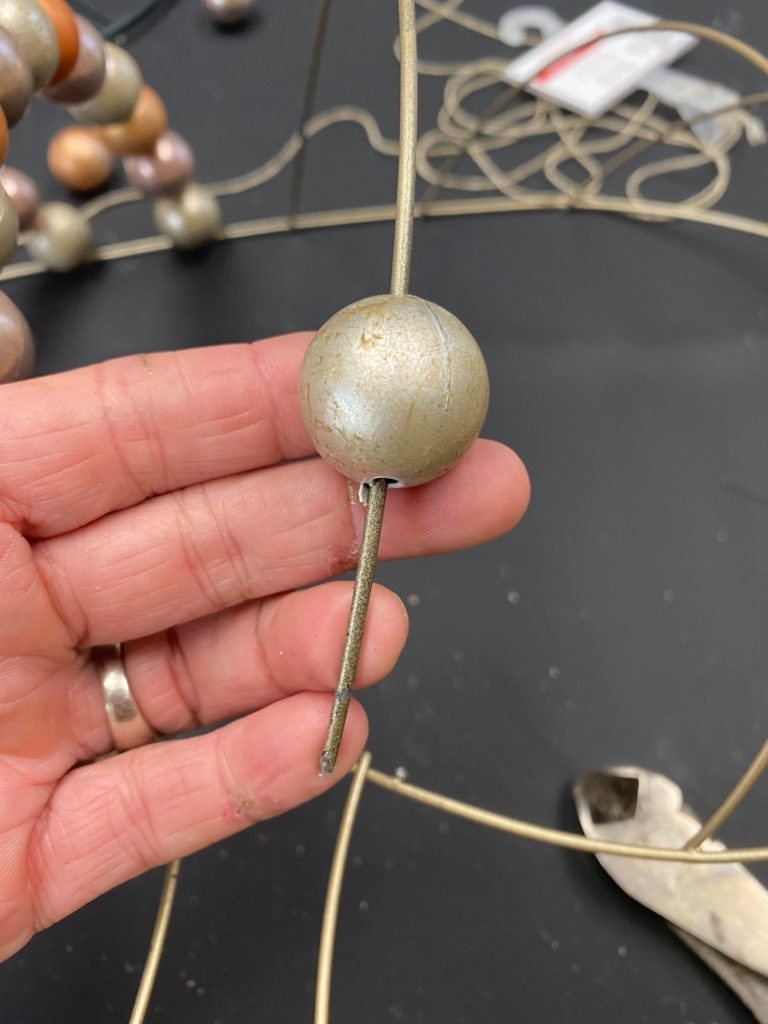
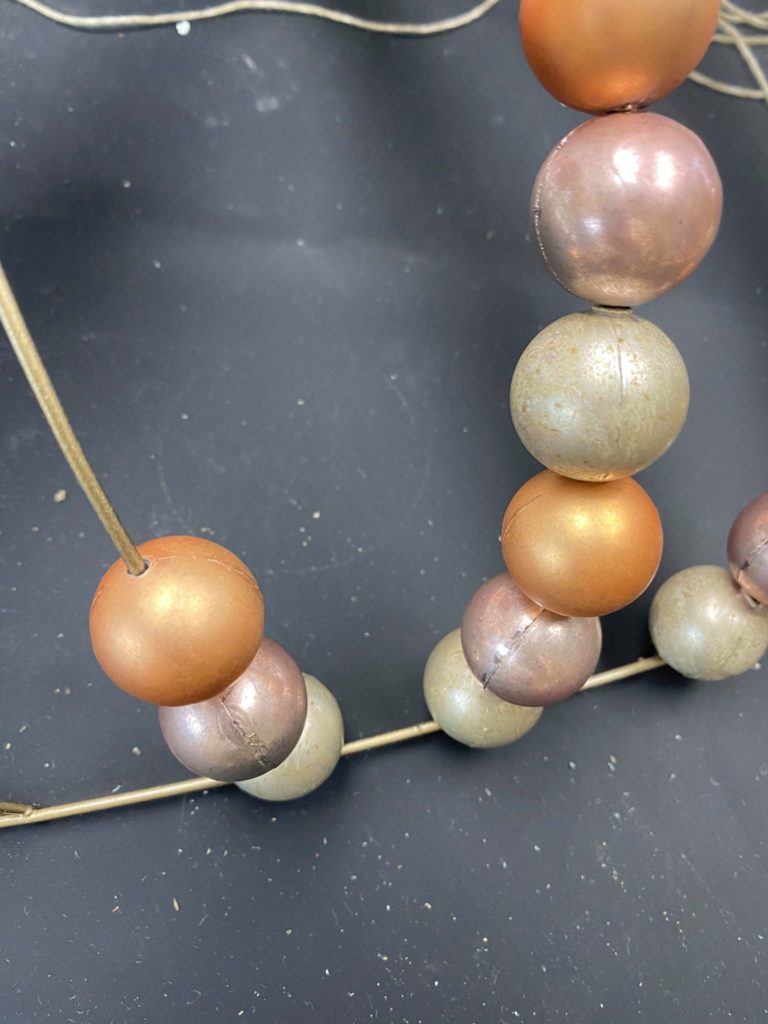
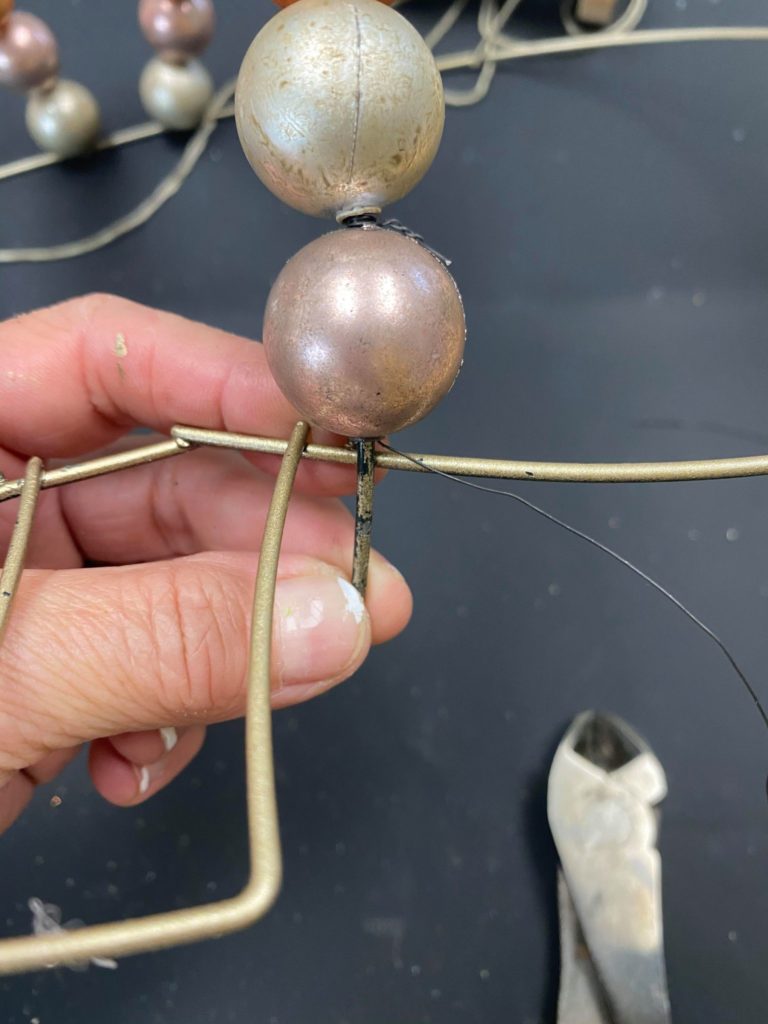
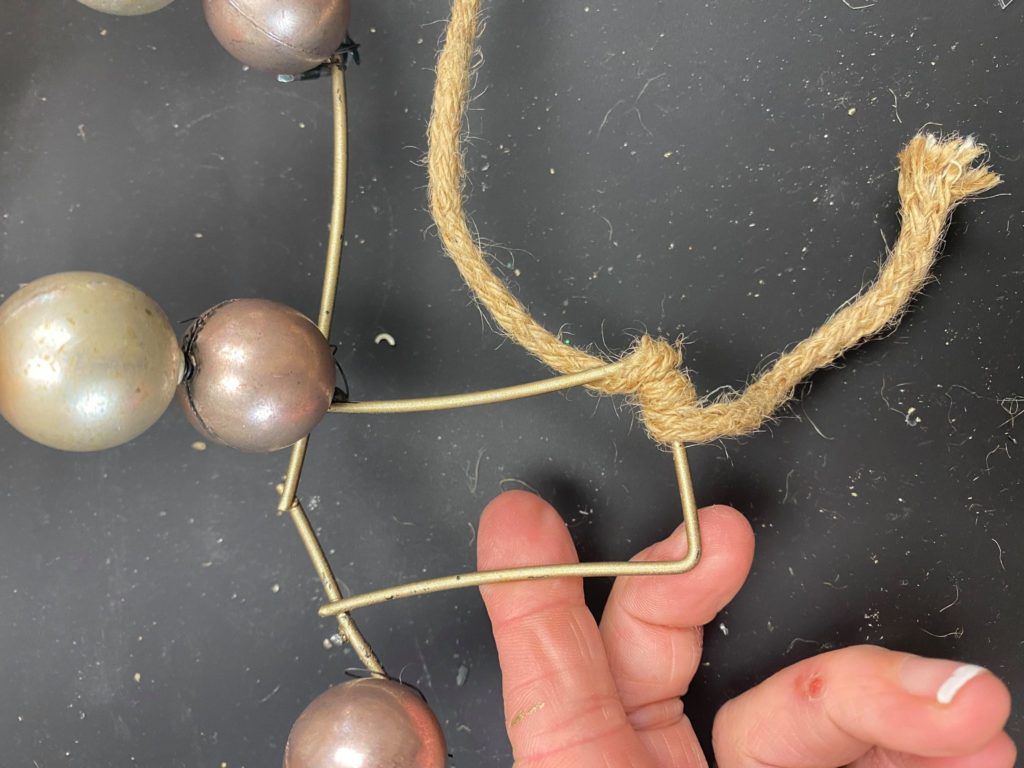
You will slide your beads down to the bottom. As you get to the top you will add a piece of wire to the metal strip before you slide your last bead on.
I wrapped the wire around the metal strip and twisted it to stay in place. You will then slip the wire through your bead and then add the bead to the wire strip. This will allow you to wire the end of the metal strip back in place onto the pumpkin form.
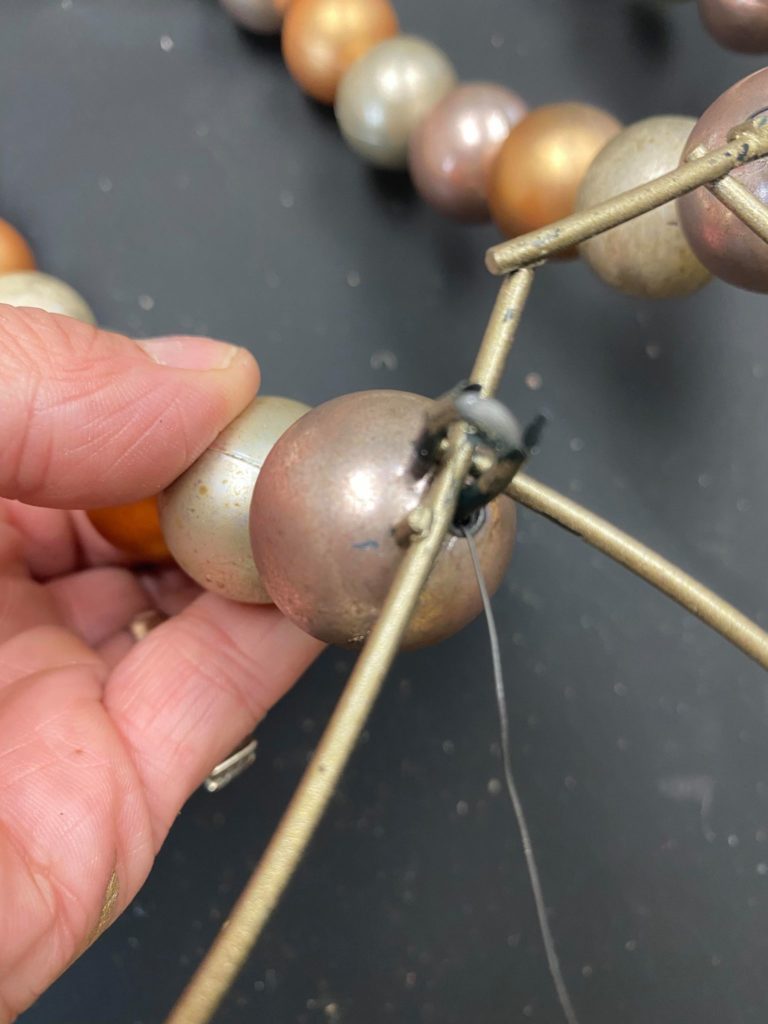
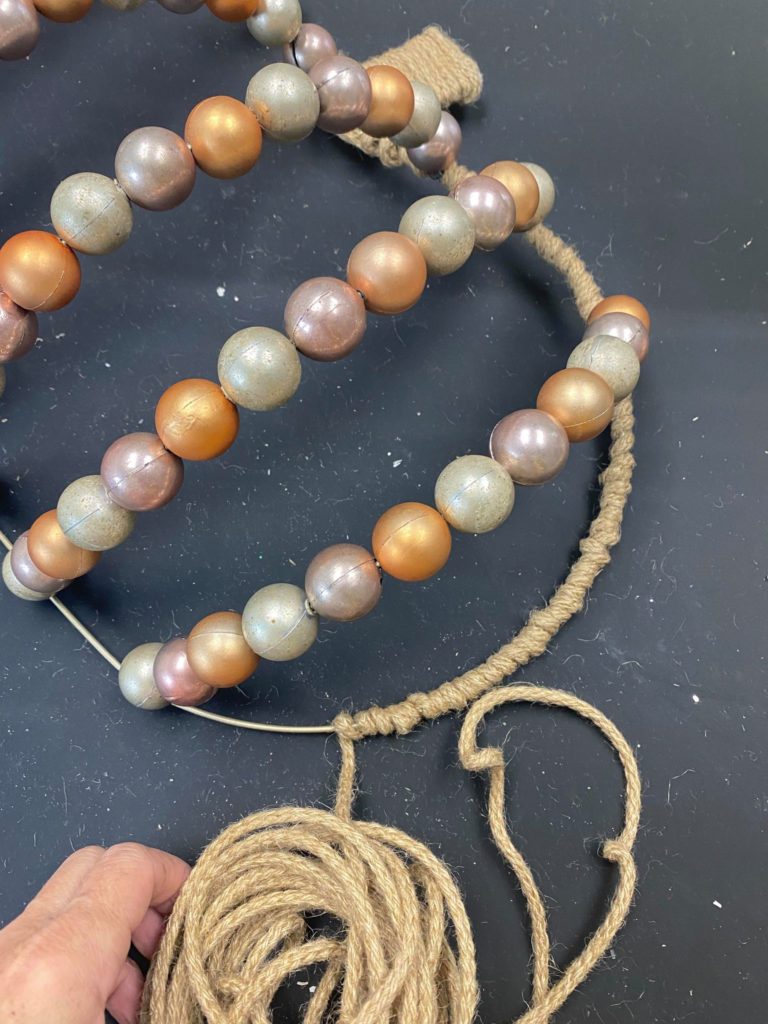
I did this process to all 6 metal strips of the pumpkin.
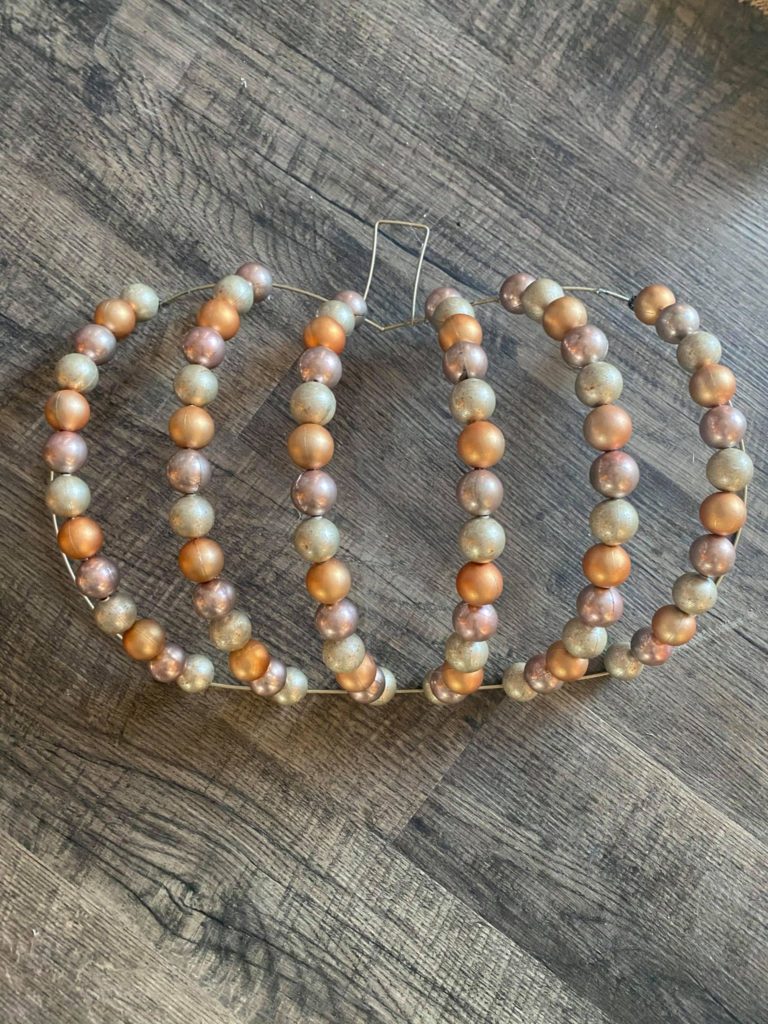
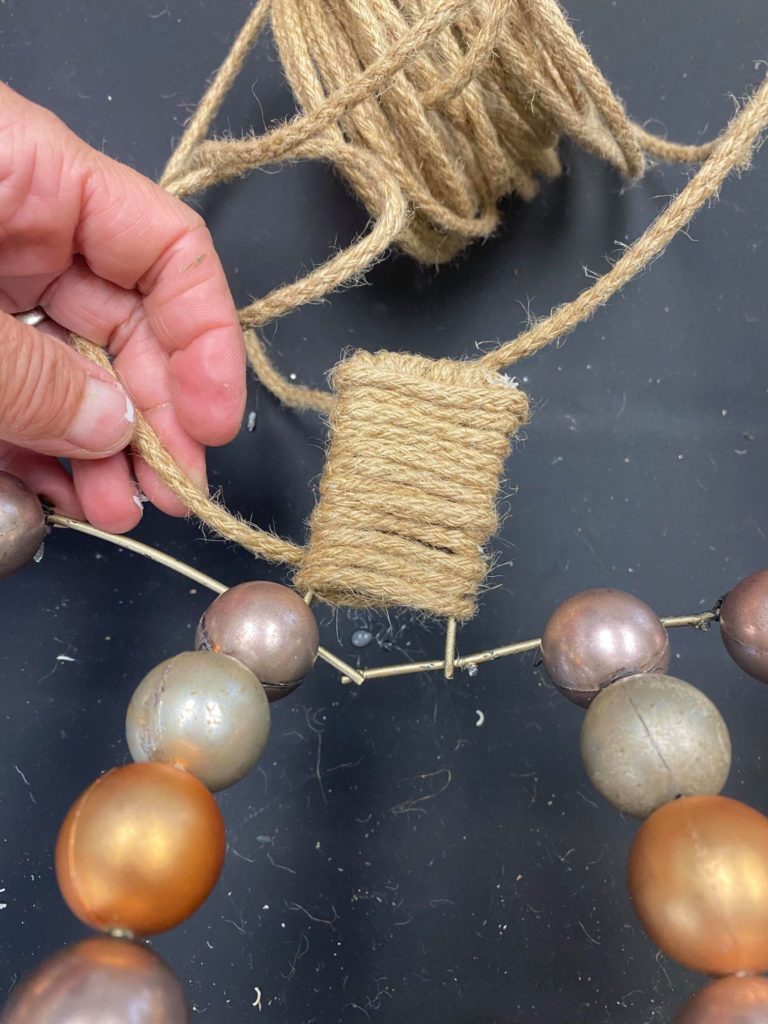
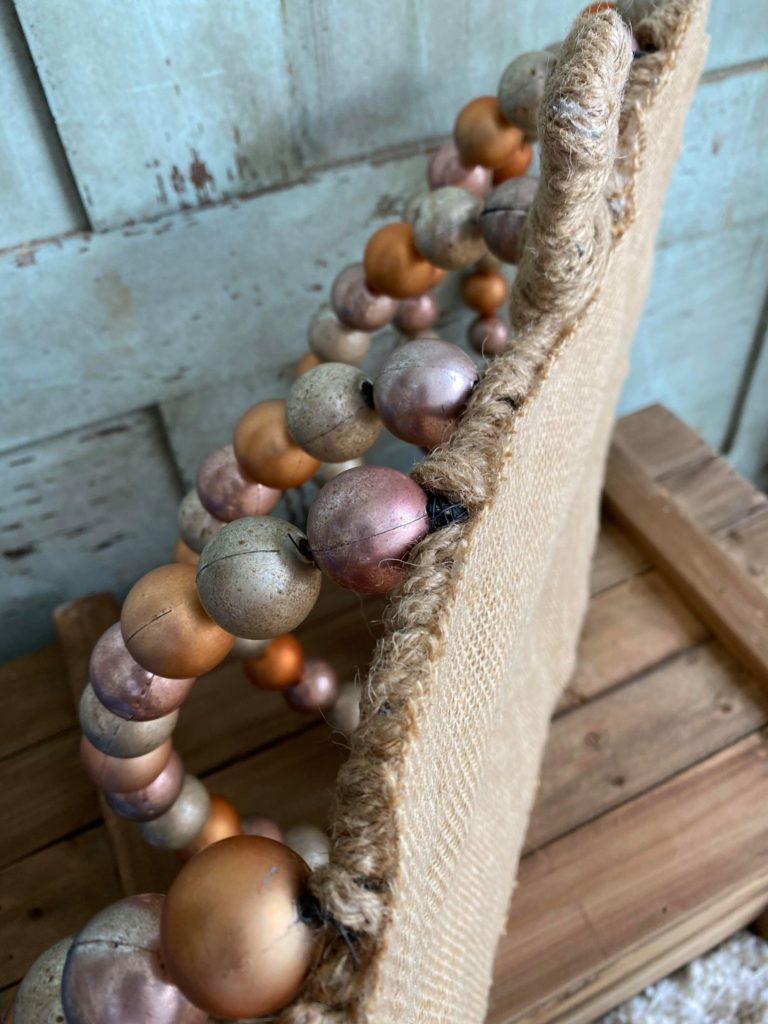
Once all my beads were in place I then wrapped the wire twine around the outside frame of the pumpkin form.
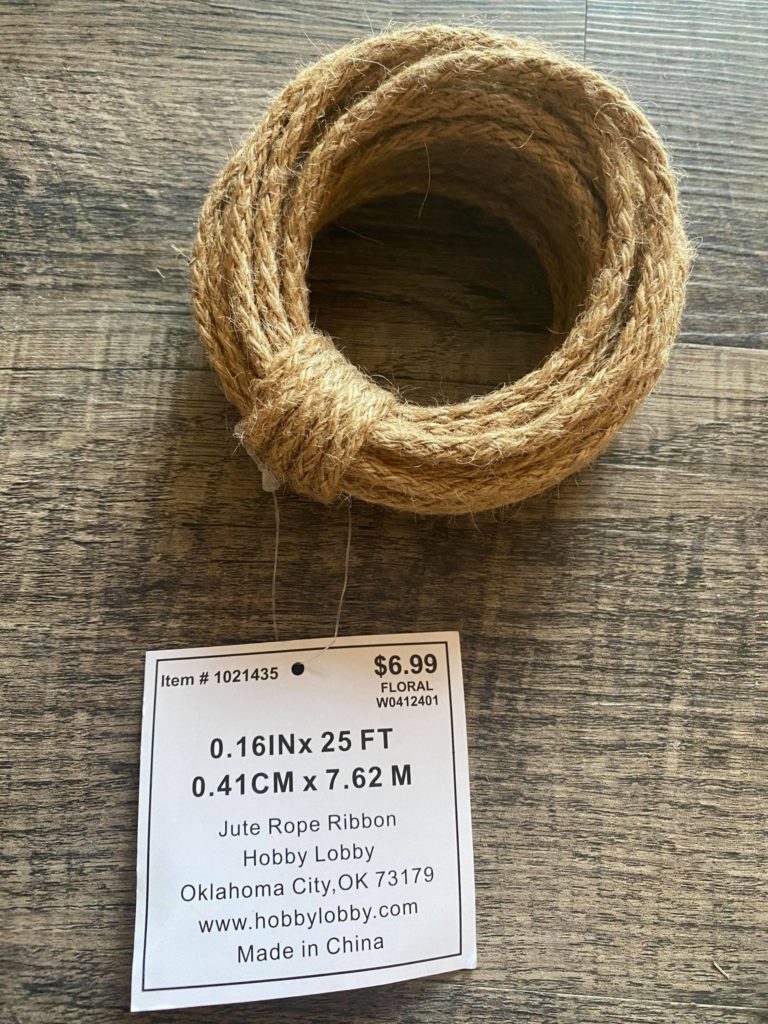
I purchased this twine from Hobby Lobby.
I started at the stem and then went completely around the pumpkin frame.
Once I finished wrapping the twine I then cut my piece of burlap for the back of the pumpkin.
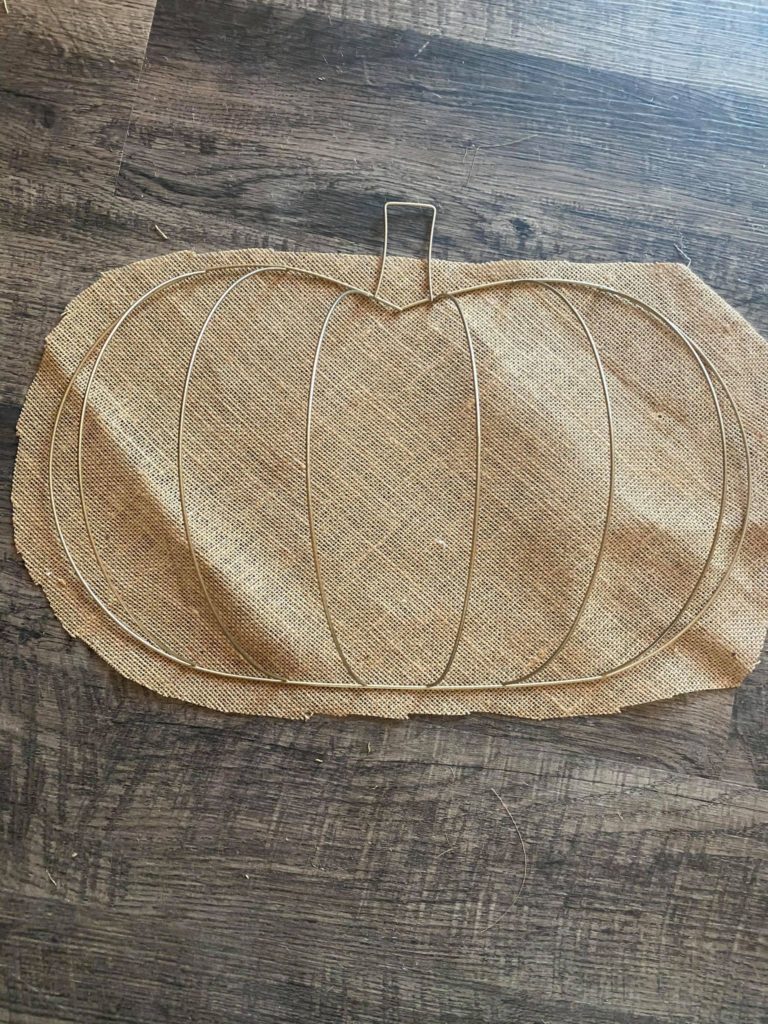 You can cut your material before you start the beads or after the beads are on. Just be sure to cut your material larger then the pumpkin form. Once your form has all the beads in place and your twine wrapped around the outer frame you will then glue the material to the back of the pumpkin. I then took scissors and cut the material close to the edge of the pumpkin.
 You can add a bow to the top or leave as is.
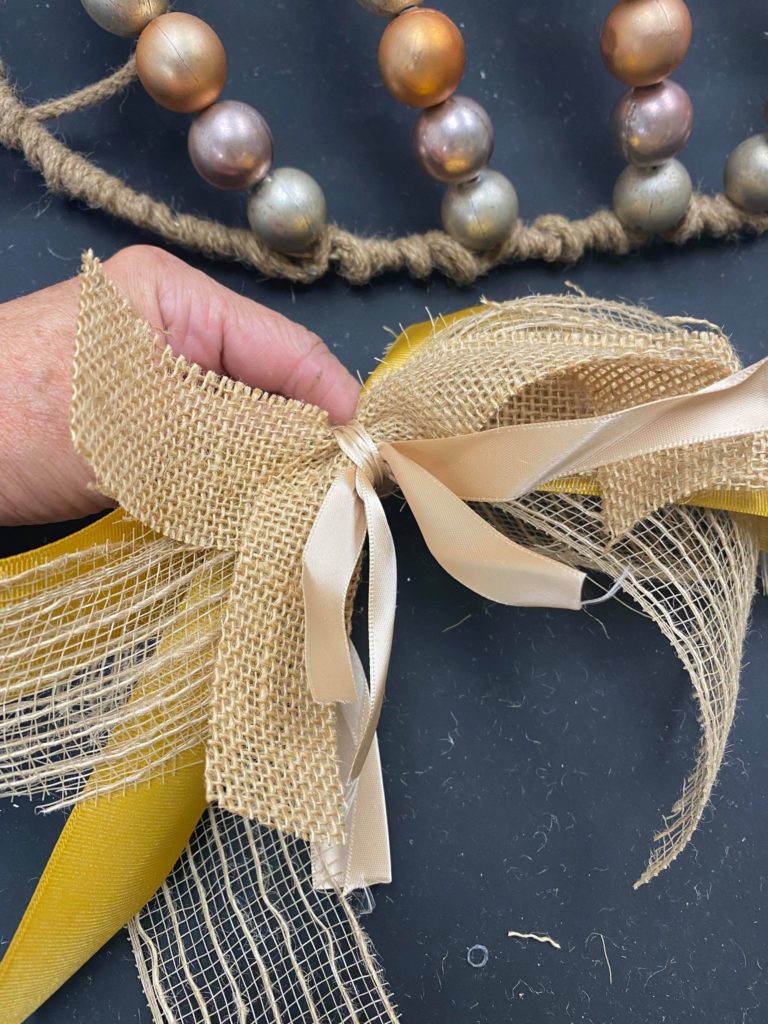
I’m not a good bow maker so I just took strips of ribbon and created a bow. I also added wire through 3 separate beads to add to the center of the bow.

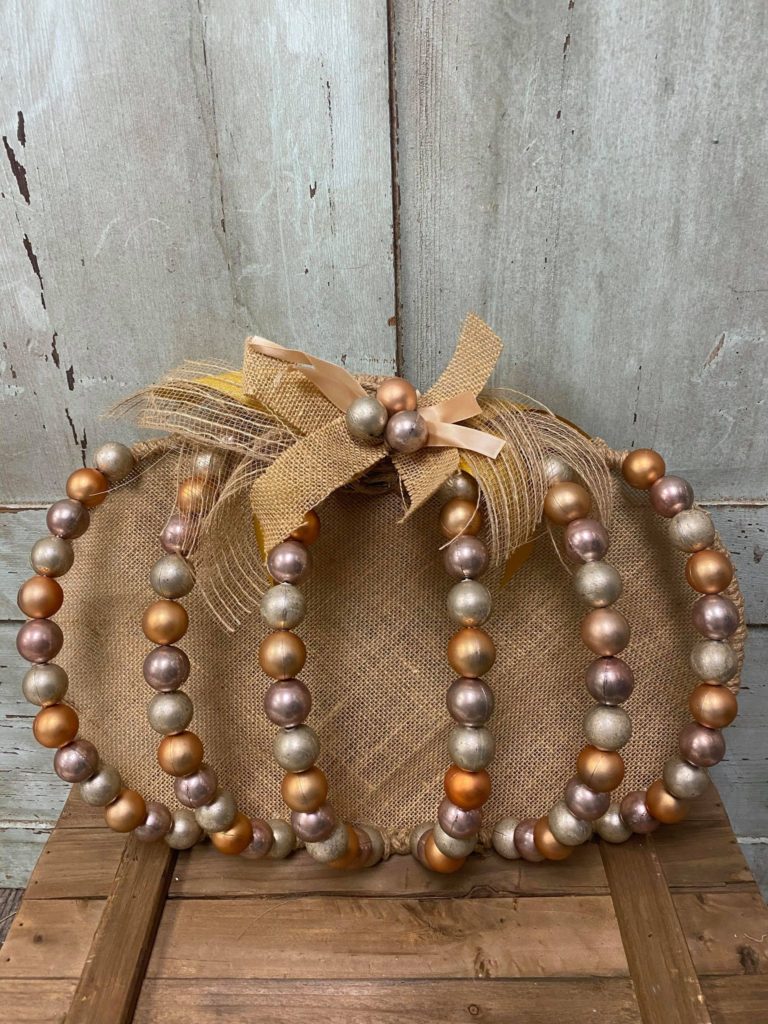
You can add a bow or leave it plain. This will make a fun wreath for a front door or a fun Fall decoration for inside your home.