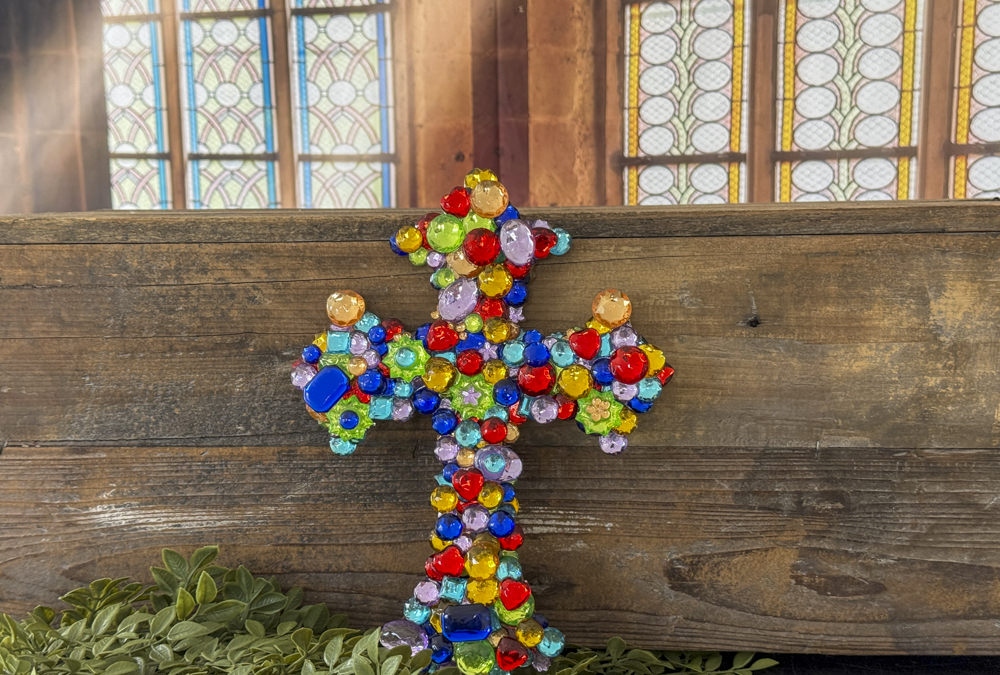
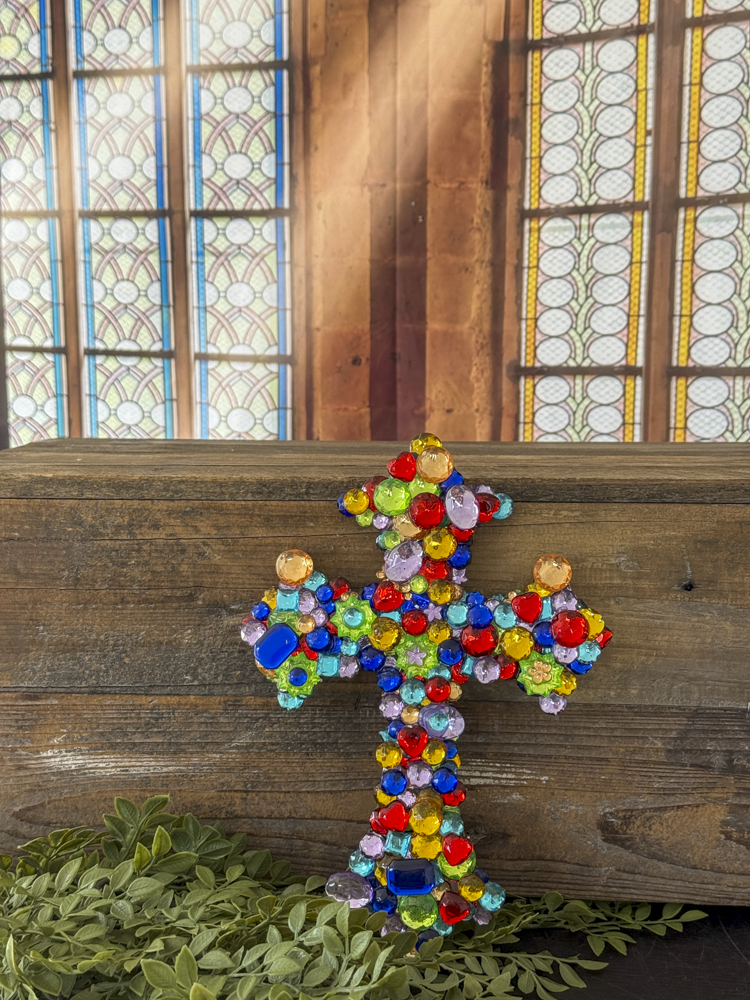
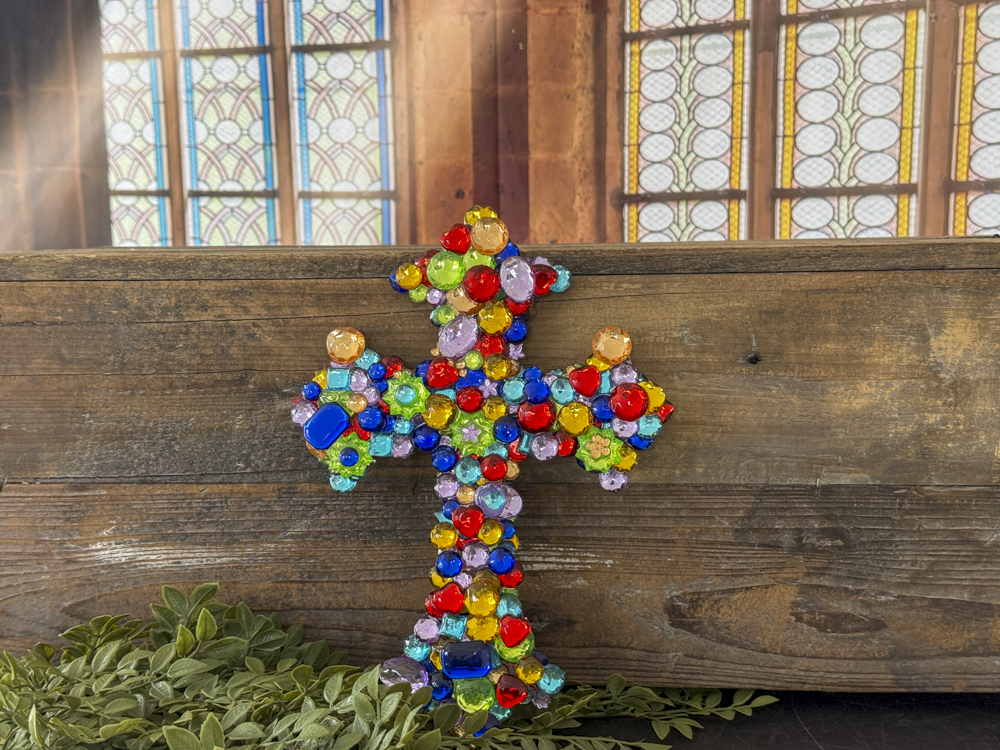
If you love a project that’s simple, fun, and really eye-catching, this one is for you. This gemstone cross is made using resin and colorful gems that come together to create a beautiful piece with so much character. It’s one of those DIYs that looks special but is very doable, even if resin isn’t something you use all the time. This is a great project to make for your own home or to give as a thoughtful handmade gift, and the finished piece truly shines in any space.
Here is what you will need for this DIY:
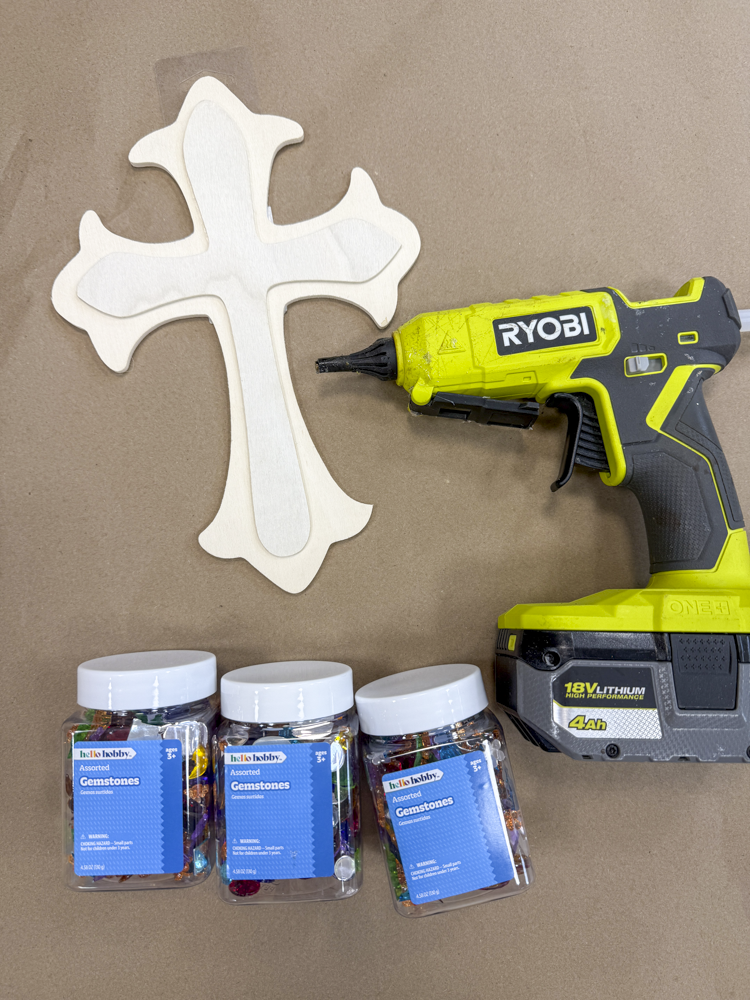
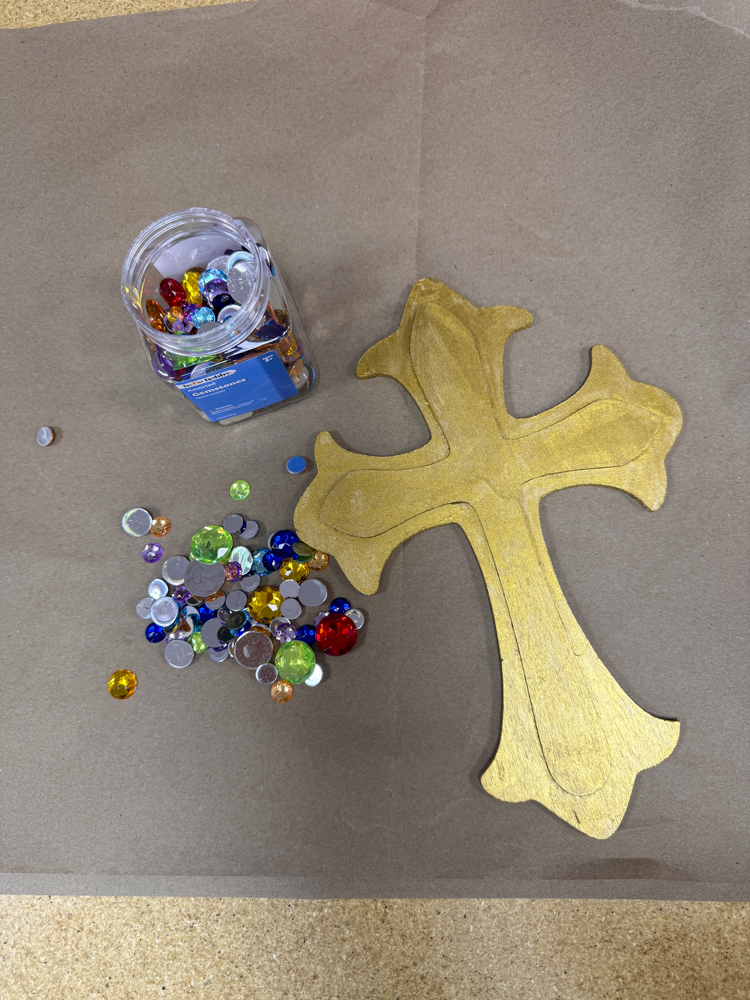
1. A Wooden Cross
2. Gemstones
3. Hot Glue
4. Resin
5. Parchment Paper
6. Dixie Cups
7. Wooden Popsicle sticks
8. Folk Art’s Treasure Gold Paint
9. Paintbrushes
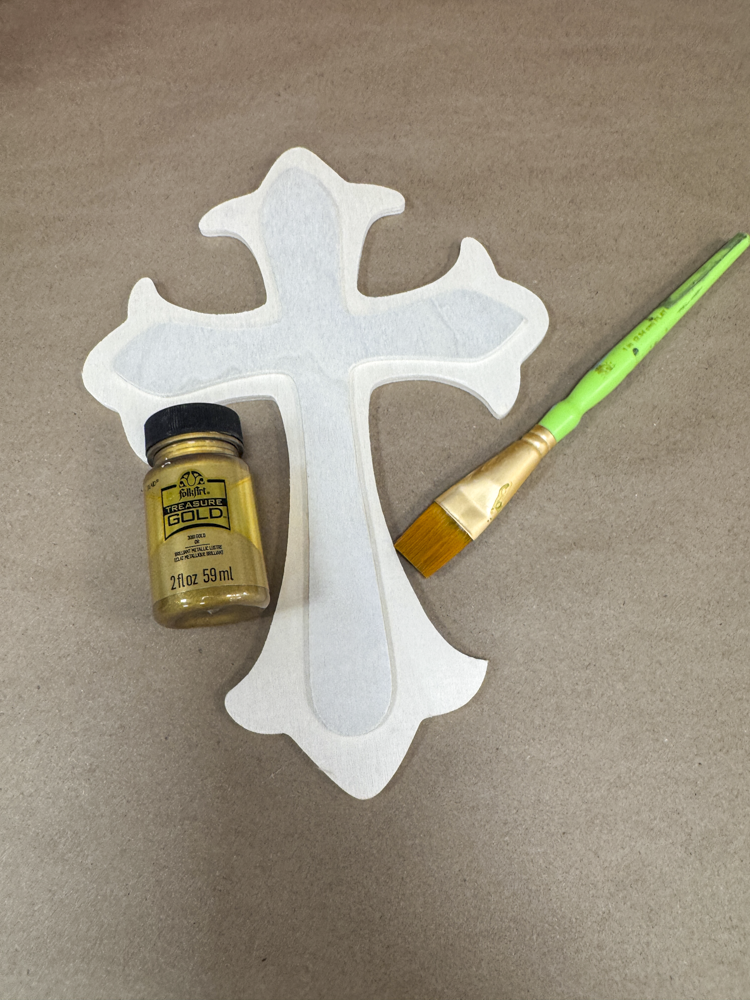
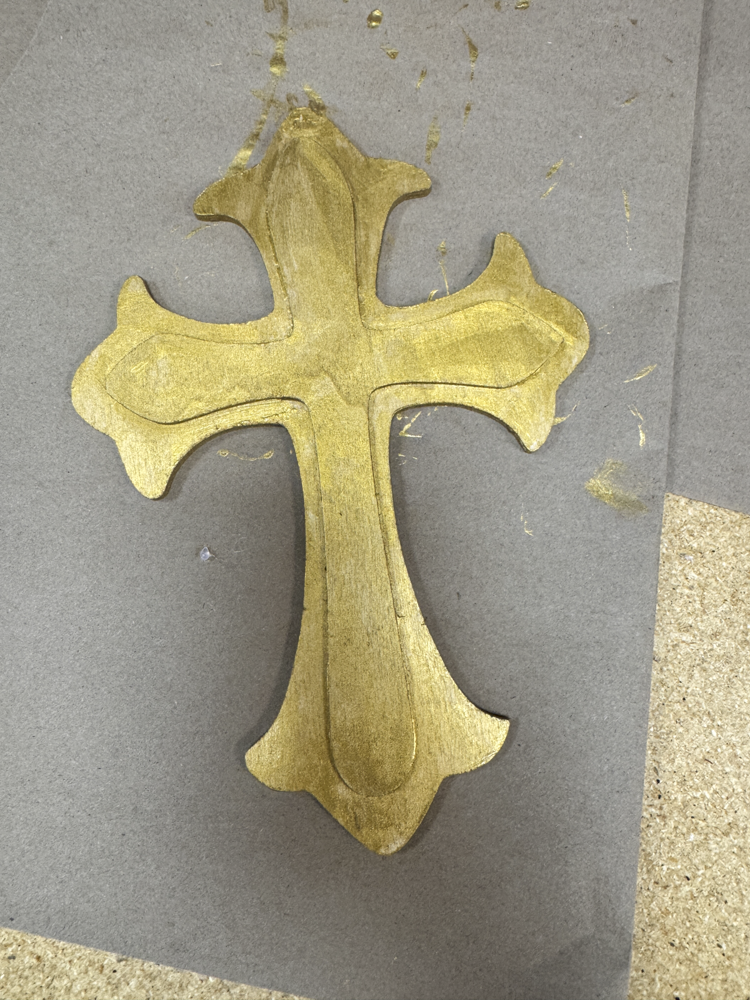
The first thing I did was give the wooden cross a nice base coat of FolkArt’s Treasure Gold paint. This gold is so pretty and goes on smoothly, making it a great choice for this project.
If you want to check out this paint, you can find it here on Walmart’s website: https://walmrt.us/4hQIjhc

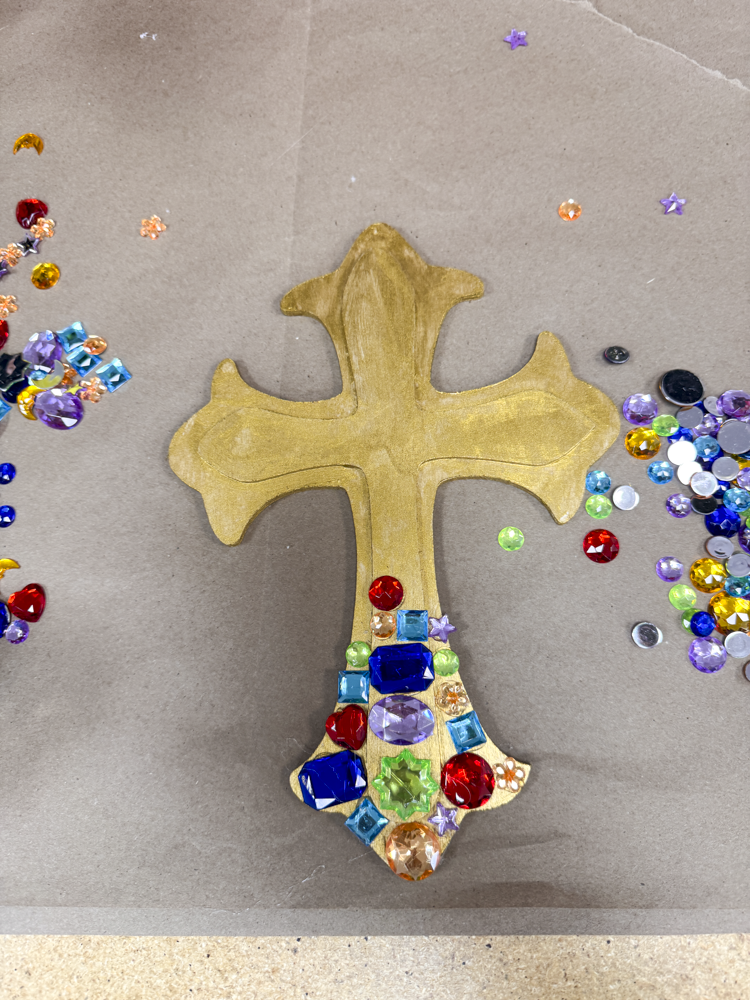
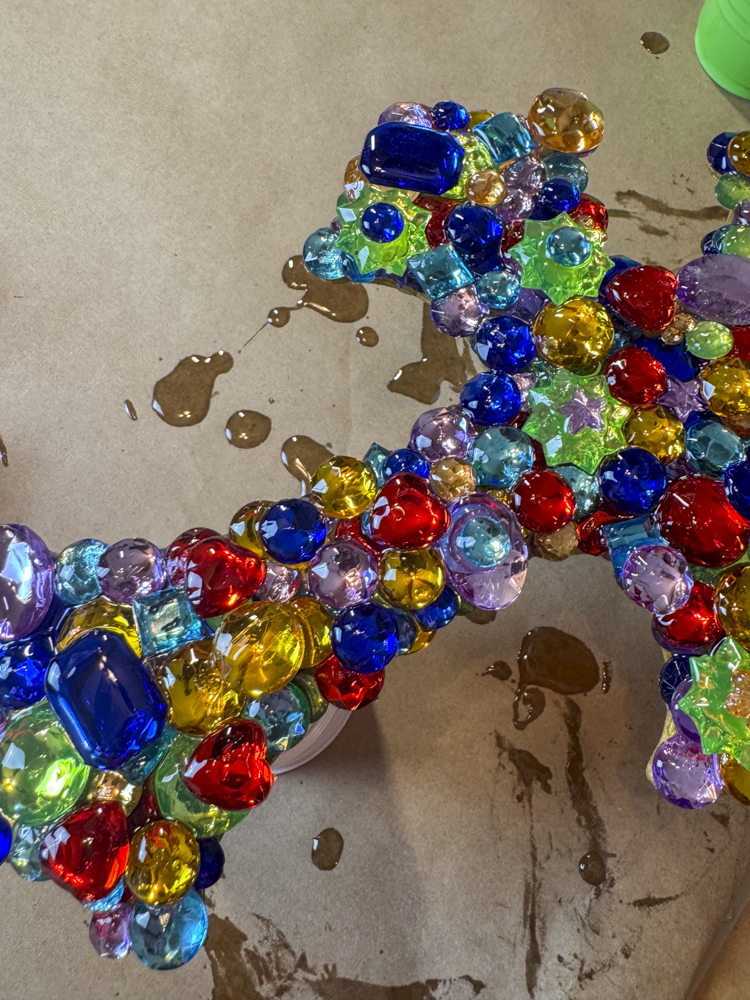
I started adding gemstones to the cross using my hot glue gun. I began at the bottom and worked my way up, placing larger gems first and then filling in around them with smaller ones. Using hot glue made it easy to adjust pieces as I went and helped everything stay in place.
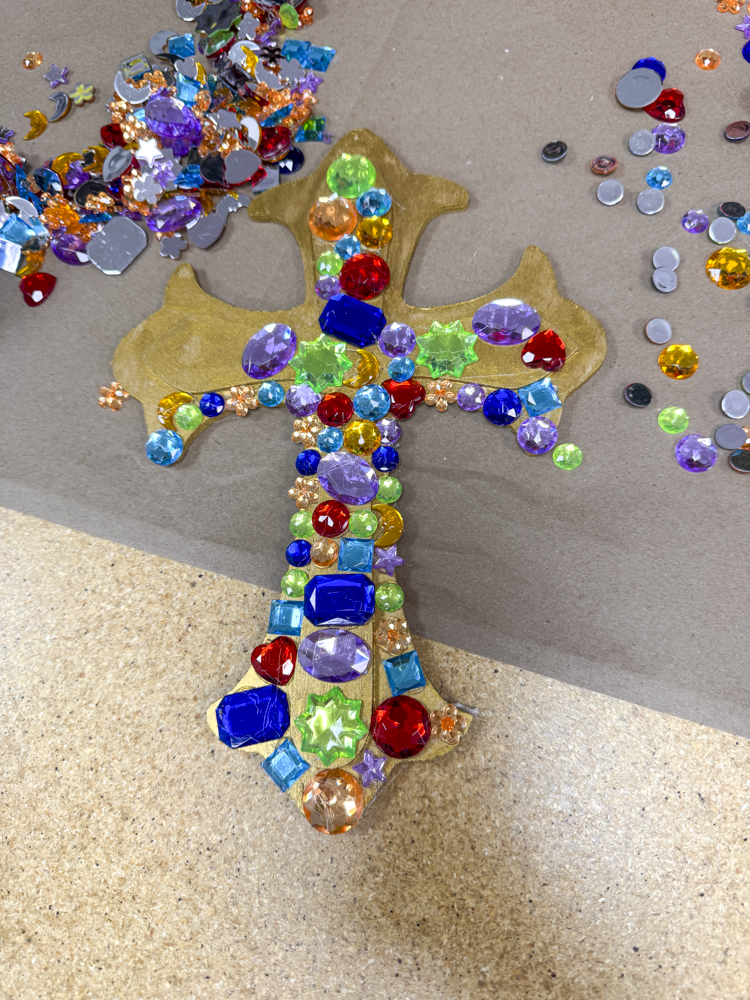
After the main gems were attached, I continued filling in the rest of the cross with more gemstones, mixing colors and shapes for extra interest. I used my hot glue gun for each piece, pressing them down gently to make sure they were secure. There’s no right or wrong here—just keep adding gems until the cross feels complete and looks just the way you want it to.
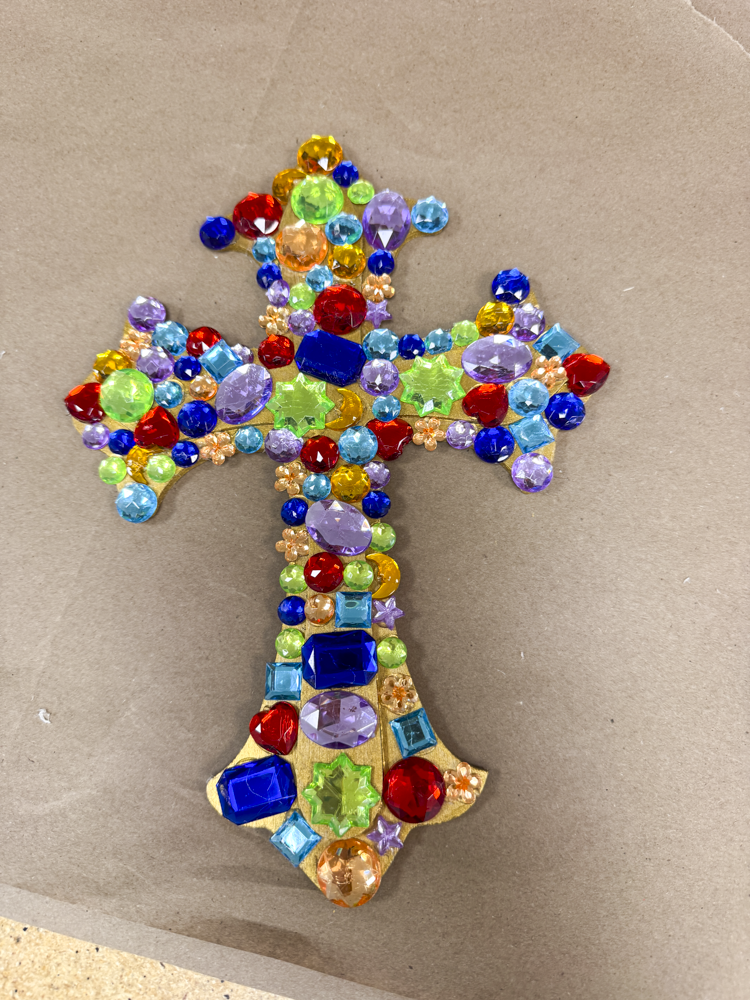
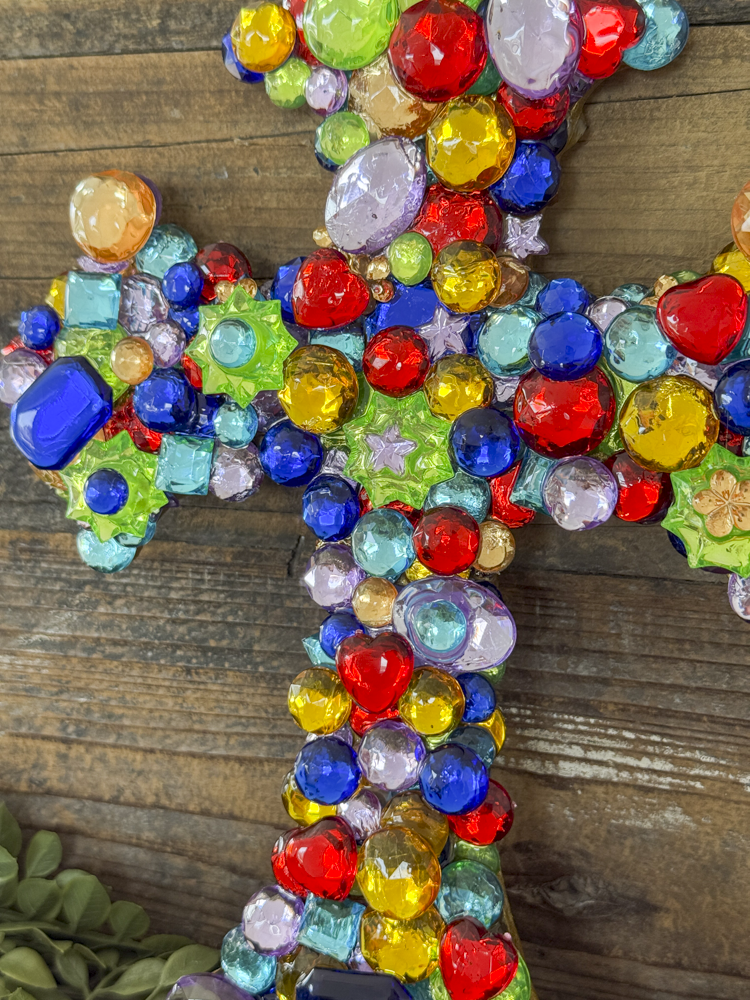
Once I had all of the gemstones attached with my hot glue gun, I took a moment to look everything over and make sure the cross felt balanced. This is a good time to fill in any small gaps or swap out a gem if something doesn’t feel quite right. I love how colorful and textured it looks at this stage.
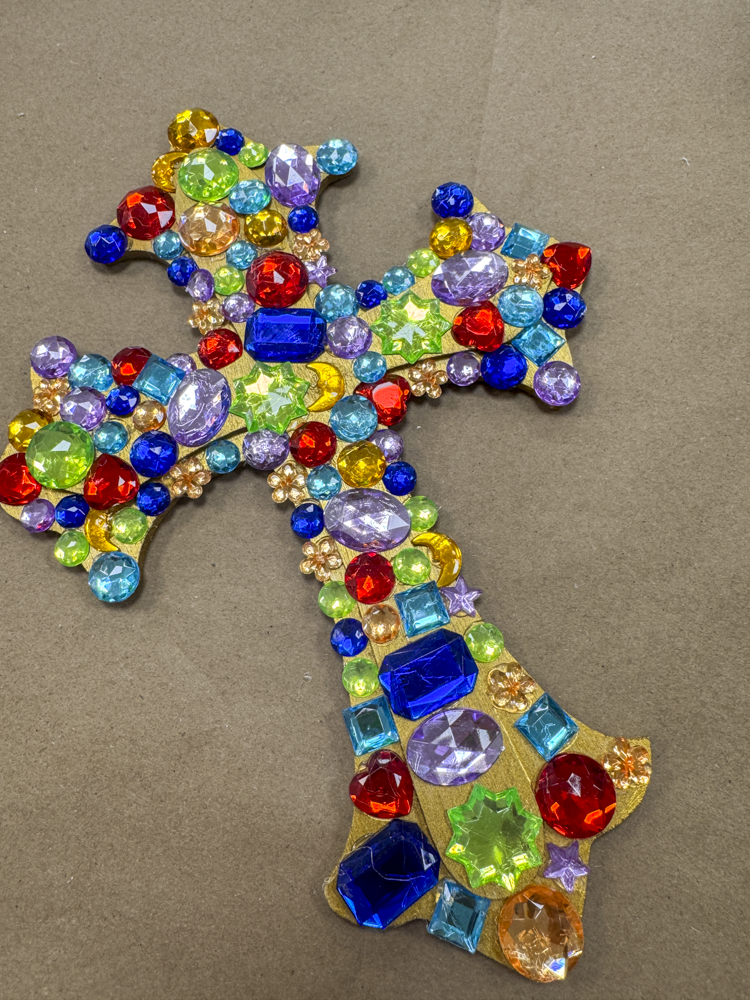
With all of the gems secured using my hot glue gun, the cross was officially ready for the next step. Everything should be firmly in place before moving on, so I gently pressed on each gem to double-check they were attached well. This is where you really start to see the finished design come together.
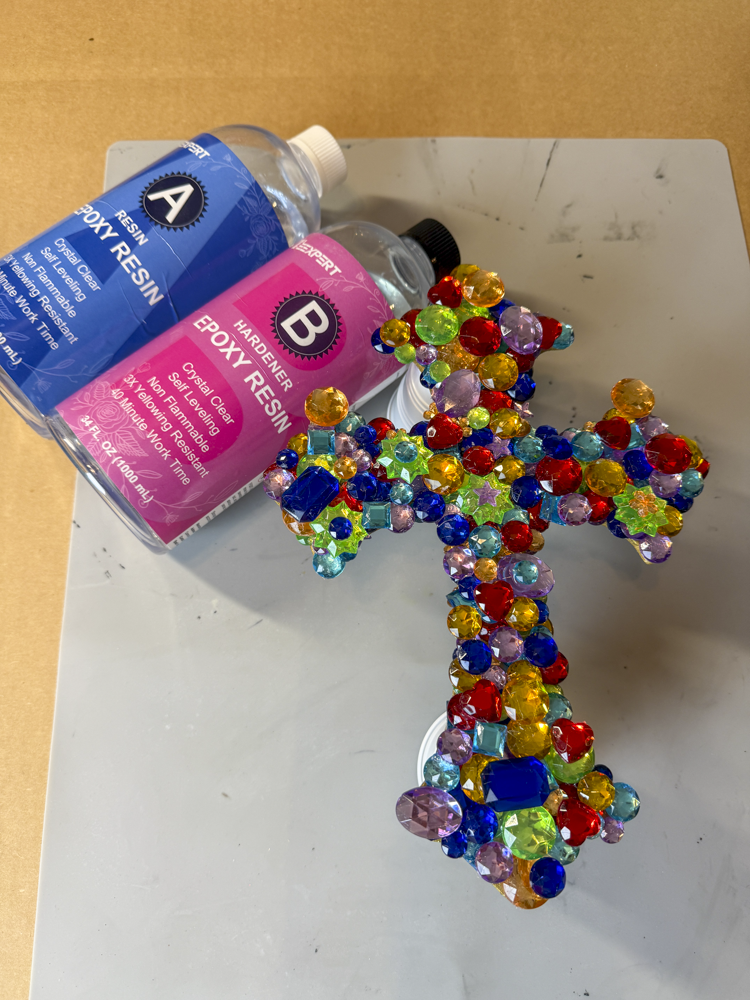
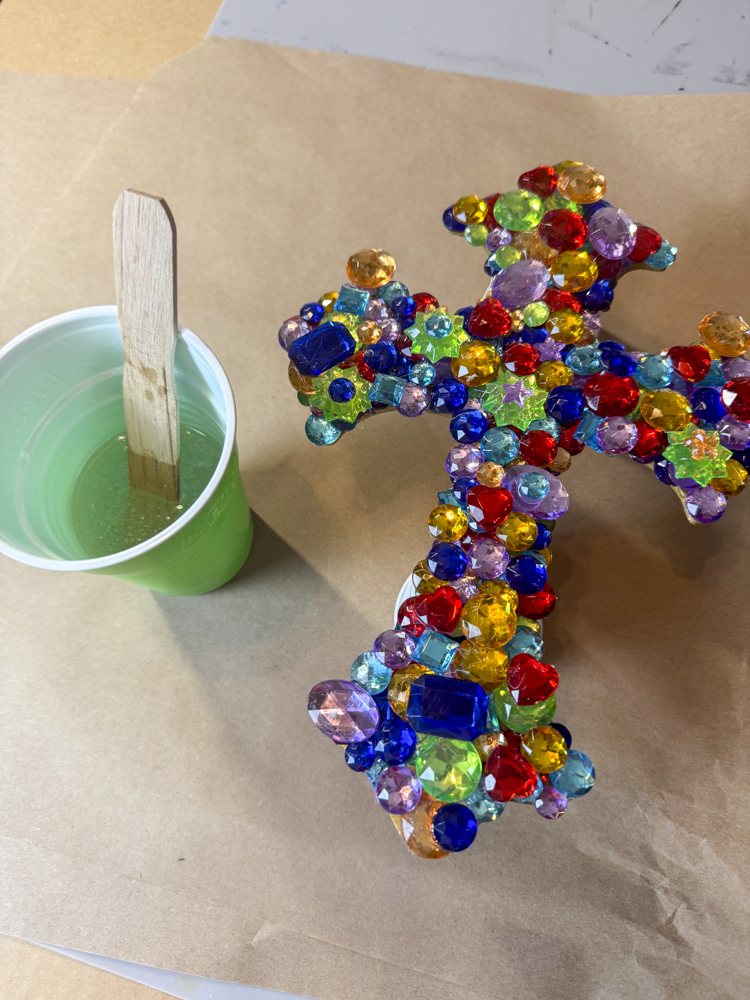
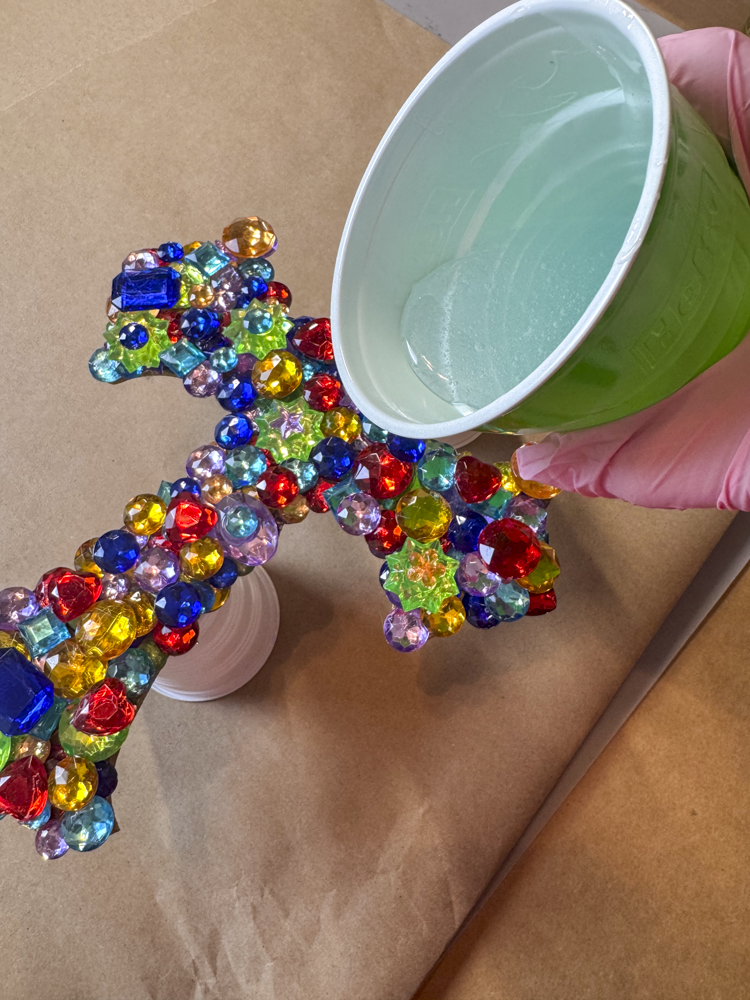
Once all of the gemstones were attached and fully secure, it was time to move on to the resin. I set the cross on parchment paper and used Dixie cups underneath to create a little riser. This allows the resin to drip off easily and keeps the edges from sticking to the surface, which makes this step much easier and cleaner.
You can find the resin I use here: https://amzn.to/3L5OlAv
This blog may contain affiliate links, which means I could earn a small commission if you make a purchase through them—at no extra cost to you. Thanks for supporting what I do!
I love this one. Forgot all about it. I have the supplies and will be making it. Thanks Barb for your unique creativity. ❤️
Absolutely gorgeous ❤️❤️❤️
Ohhhh I love love this!!! It looks just like stained glass!! So beautiful ❤️
Beautiful- colors remind me of old stained glass in church windows! Thank you Barb for more inspiration!
I watched you make this ,and I think it came out great!! I love it🥰💜
Beautiful Barb it turned out amazing!❤️❤️
Barb, I did catch you live making this beautiful cross. It turned out so colorful and will make a statement wherever you display it.
The cross is absolutely stunning! I love it!
So beautiful! Loved watching you create this and can’t wait for you to show it live today. 💖💖💖
Turned out amazing Barb
Barb, the cross came out amazing. I love it. 💗🤗
Barb, This cross is absolutely stunning. With the resin it’s so breathtaking. I haven’t tried resin yet.
Barb the cross is so pretty ♥️