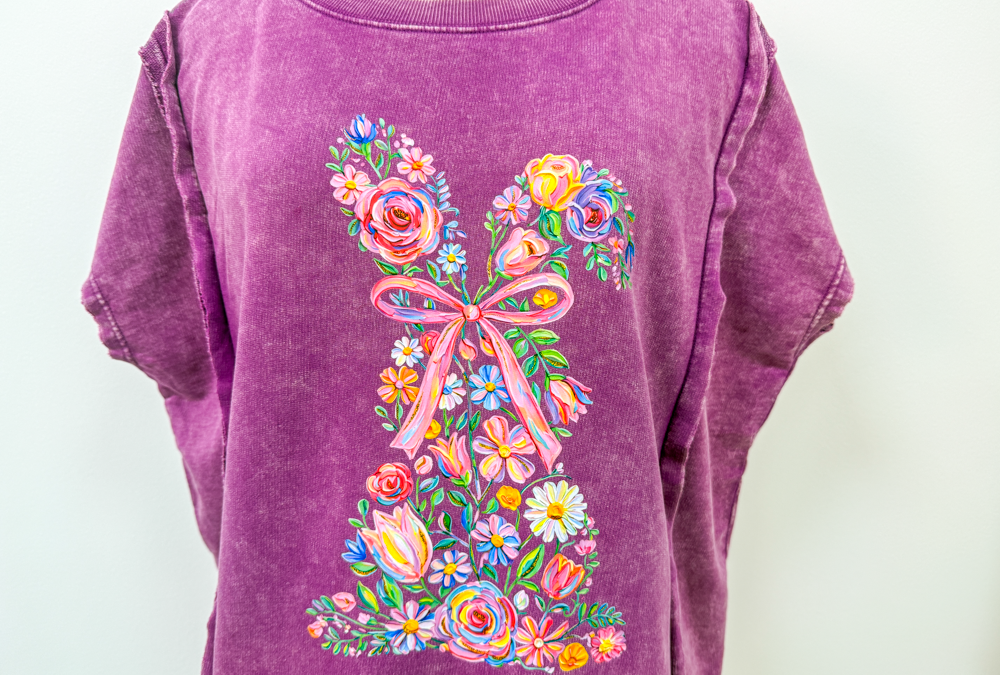
If you’ve been wanting an easy way to add a fun design to a shirt, then you’re going to love this idea! Today I’m using a DTF transfer from 143Vinyl and a comfy Zenana shirt from our website to create a custom shirt in just a few simple steps.
DTF transfers are one of the easiest ways to get a professional-looking design without needing a lot of special equipment. All you need is a shirt, a transfer, and a heat source to bring it all together.
This is a great way to create personalized shirts for holidays, events, or just something fun to wear. Let’s get creative and turn a simple cotton shirt into something unique!
Here is everything that I will be using for this DIY with links:
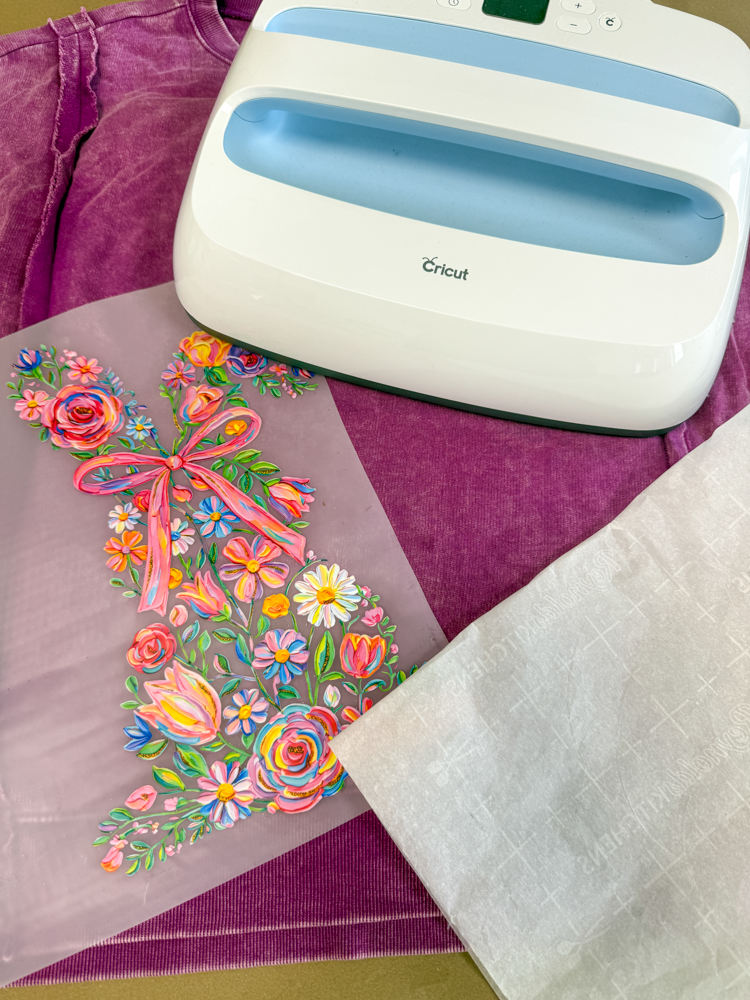
1. A Press Ready DTF Transfer from 143Vinyl – they have so many designs: https://www.143vinyl.com/home.php?partner=461686
2. I used the All Over It Zenana shirt from our website. It comes in the three different colors:
Purple: https://theshabbytreeboutique.com/all-over-it-top-purple/
Blue: https://theshabbytreeboutique.com/all-over-it-top-blue/
Teal: https://theshabbytreeboutique.com/all-over-it-top-teal/
3. An Iron – I used a Cricut Easy Press: https://walmrt.us/40U6lCd
4. Parchment paper
I positioned the transfer in the center of the shirt and placed it exactly where I wanted the design to go.
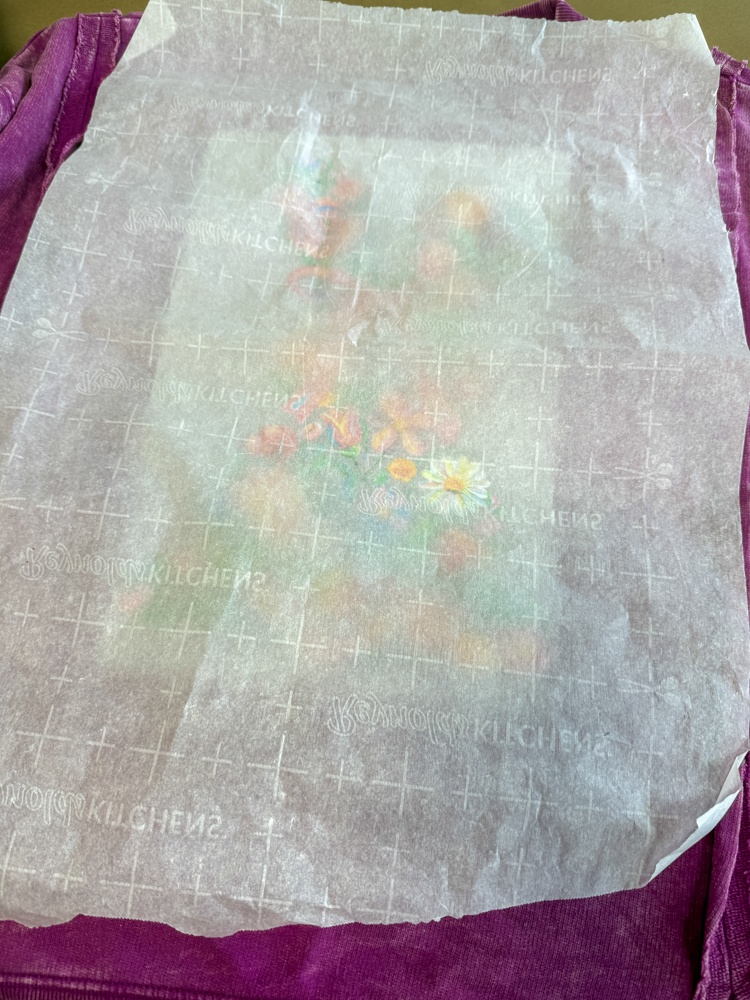
I covered the design with parchment paper and heated my iron to 310 degrees.
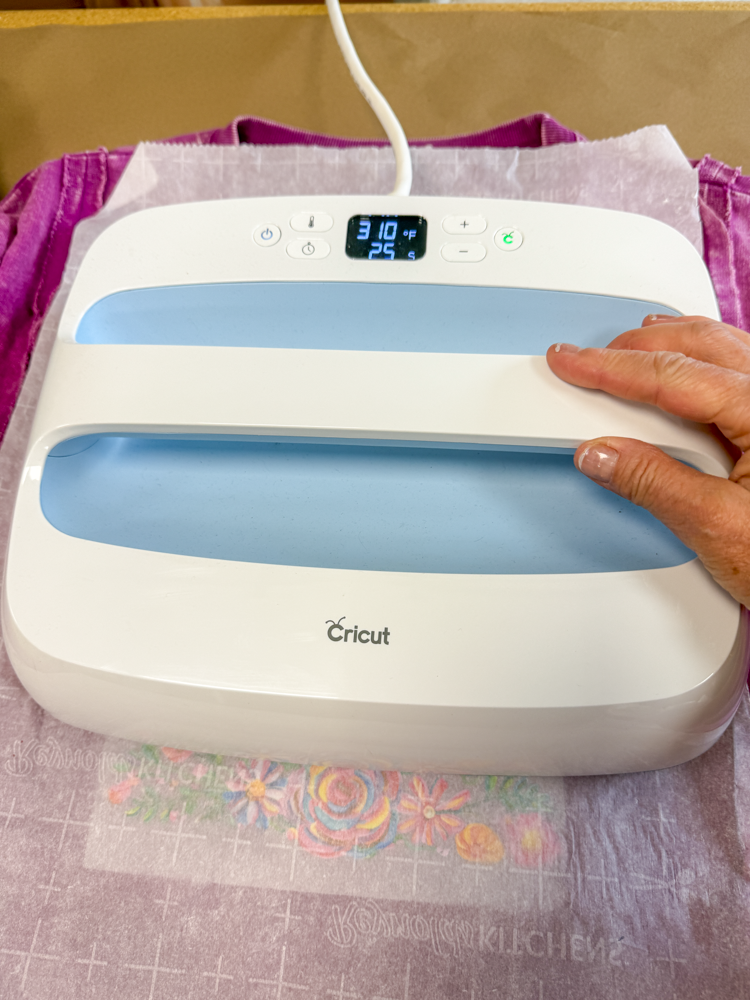
Each section of the design needs about 10 seconds of heat from the iron using firm pressure.
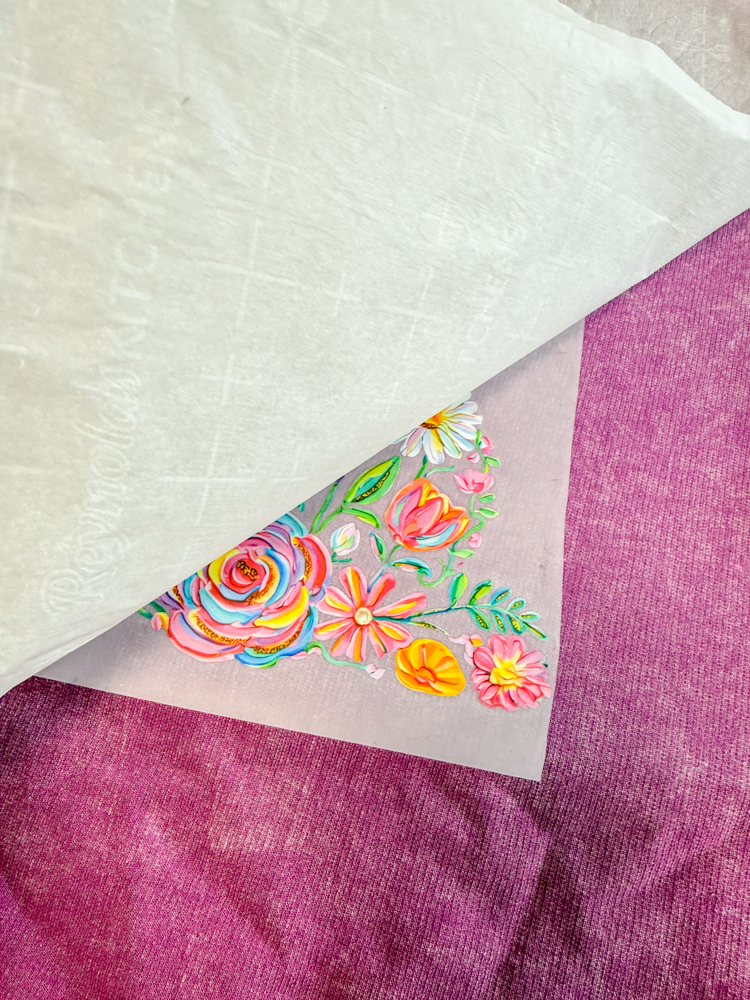
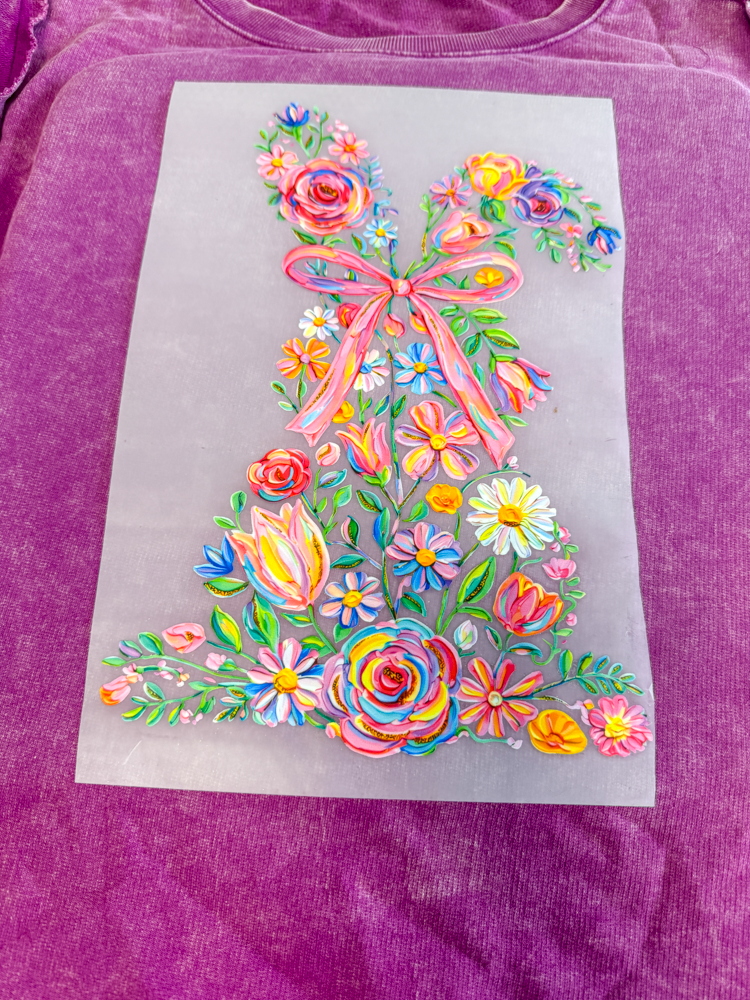
Once everything was heated, I removed the parchment paper and let the design cool completely.

I found that letting it cool all the way helps the transfer peel off the transfer paper easily.
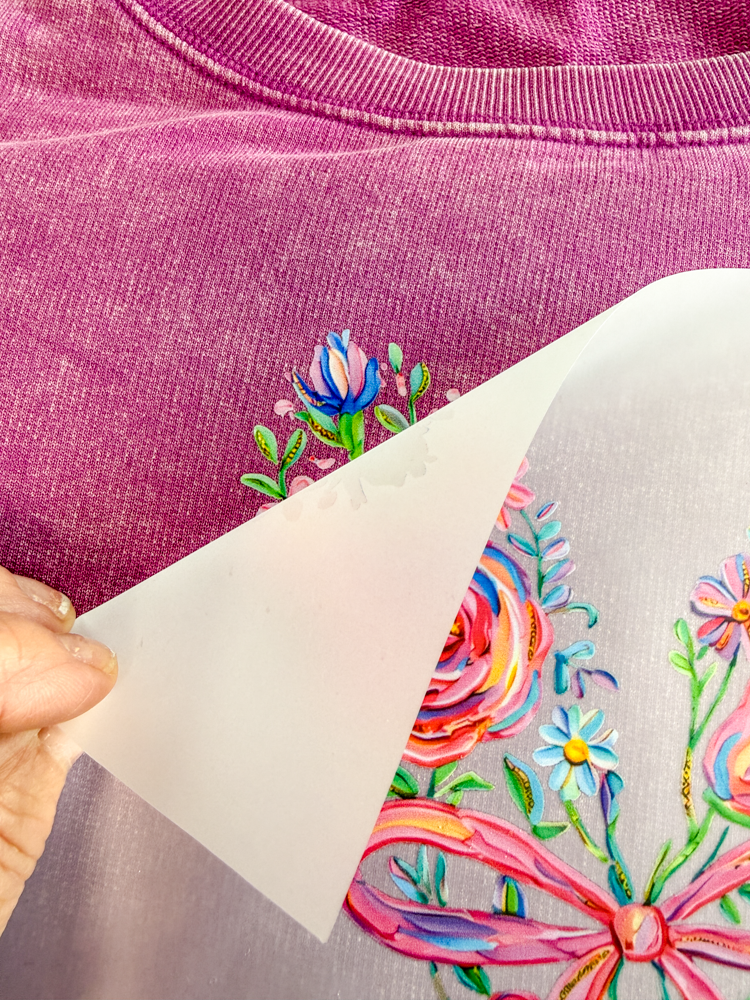
Once it had cooled, it was time for the magic. I gently peeled the transfer paper off to reveal a beautiful, vibrant design!
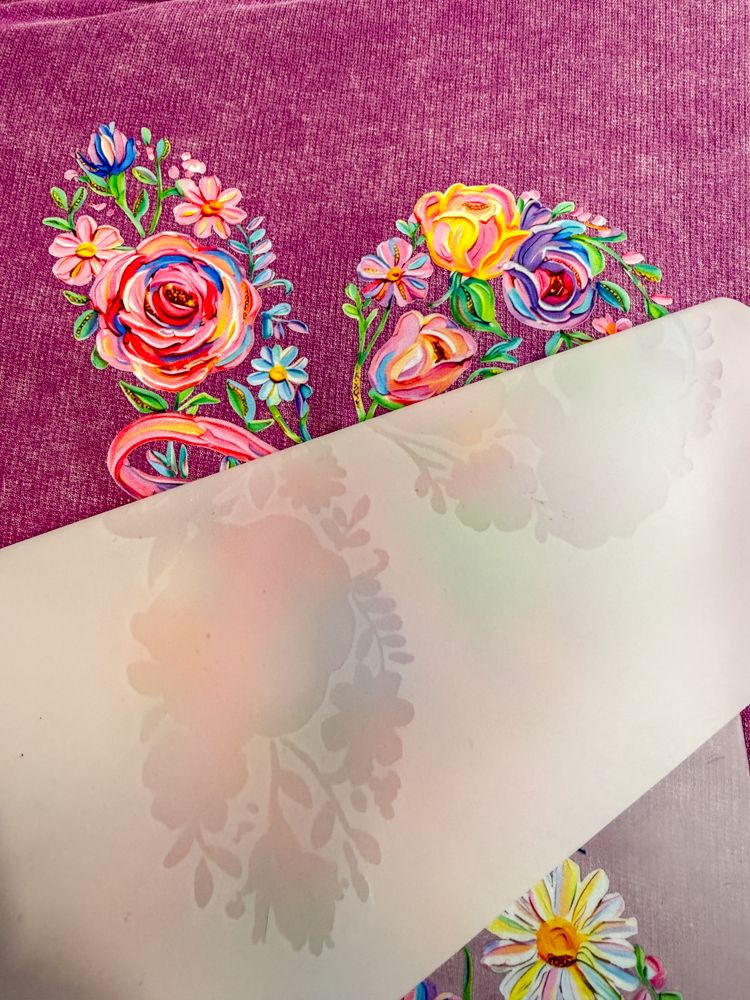
Once you peel off the original transfer paper, place the parchment paper back over the design and give it another quick 5-second press. This helps lock the transfer in place.
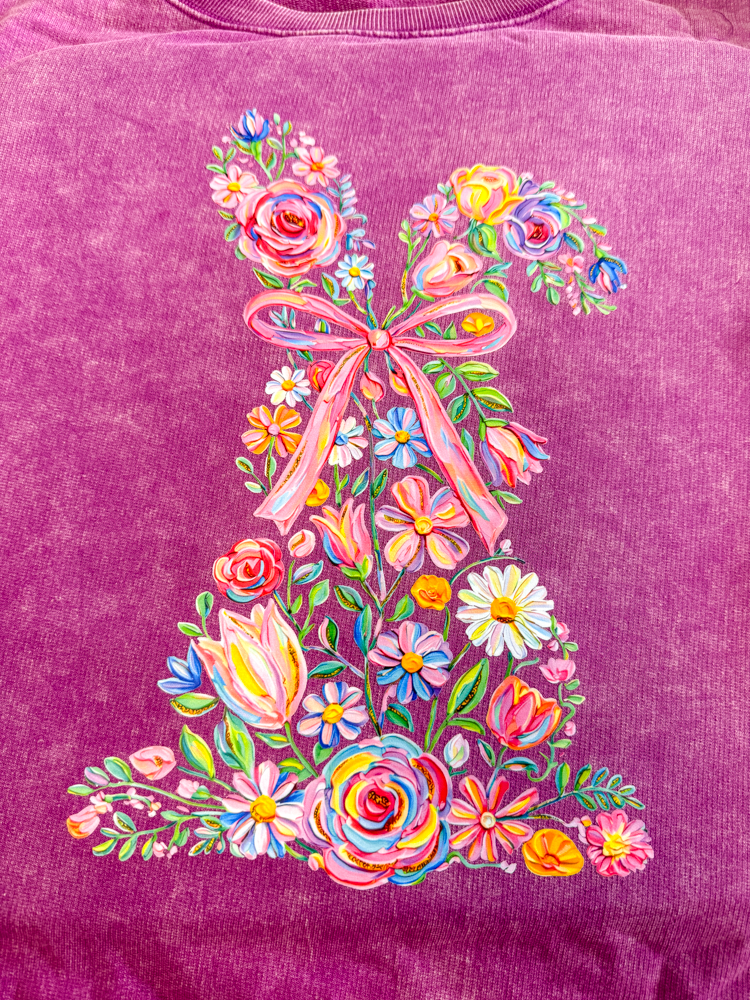


If you’re looking for a quick and easy way to customize a shirt, then DTF transfers are definitely something you’ll want to try. I love how simple this process is, and the final design looks so vibrant on the shirt.
Using a DTF transfer from 143Vinyl and a Zenana shirt from our website made this project come together so easily. It’s a fun way to create a custom shirt for yourself or even make one as a gift.
I hope this inspires you to get creative and try making your own custom shirts!

This blog may contain affiliate links, which means I could earn a small commission if you make a purchase through them—at no extra cost to you. Thanks for supporting what I do!
It looks beautiful, nice job.
That is so pretty and colorful
Love how the transfer turned out. So pretty
This is so cute and the colors are so vibrant and pretty!
Love the way this shirt came out!!
Love the tee’s! The colors really pop!
Barb!! This came out GORGEOUS on this lavender shirt!!! I love it!!
This is so cute!! I love it!! The black and white one is my favorite!! Can’t wait to see you wear it!! 🖤🤍💖🌲