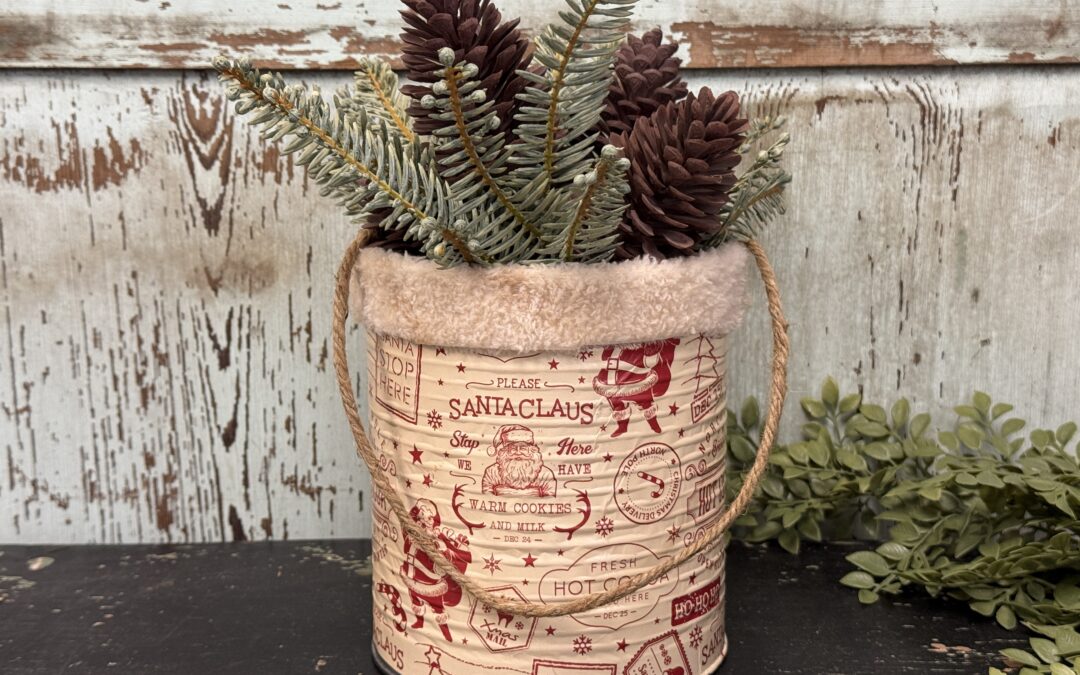
If you love turning everyday items into something festive, you’re going to love this DIY! We’re giving a recycled can a vintage-inspired Christmas makeover using beautiful wrapping paper I found on Amazon. It’s an easy and budget-friendly way to add a touch of nostalgic charm to your holiday decor—and you might already have everything you need! Let me show you how fun and simple it is to bring this idea to life.
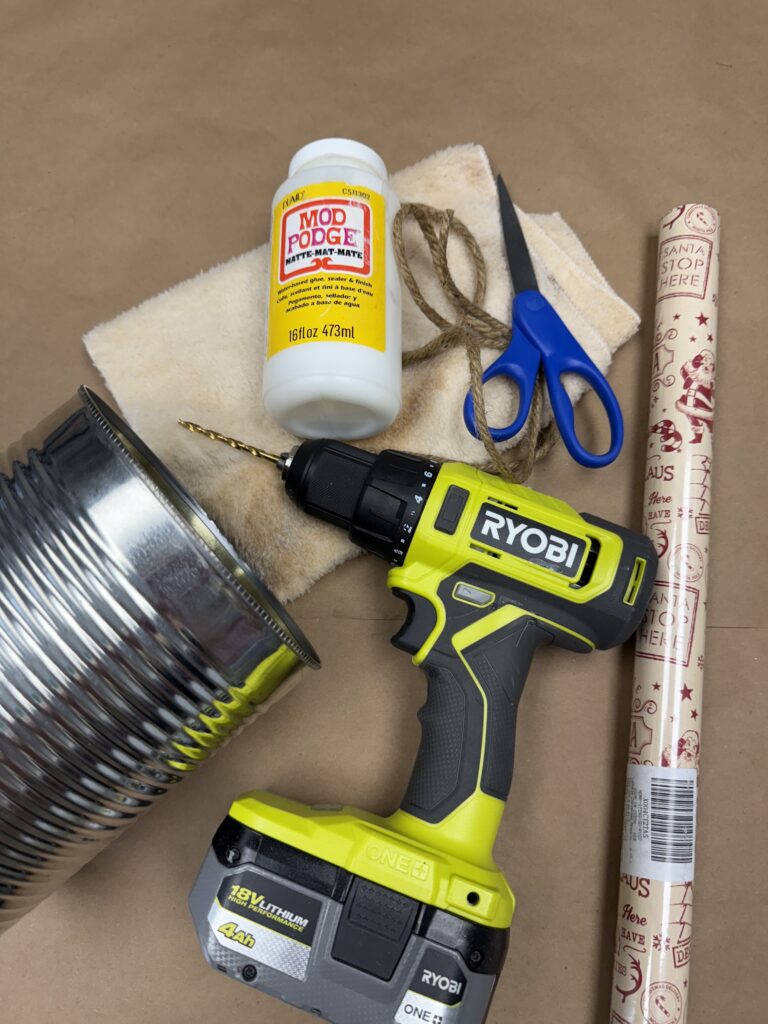
Here is what you need to get started:
1. A Recycled Can – You can use any size you want!
2. Wrapping Paper – I got mine from Amazon! The link is below!
3. A Microfiber Cloth from the Dollar Tree – I coffee stained mine!
4. Scissors
5. Hot Glue
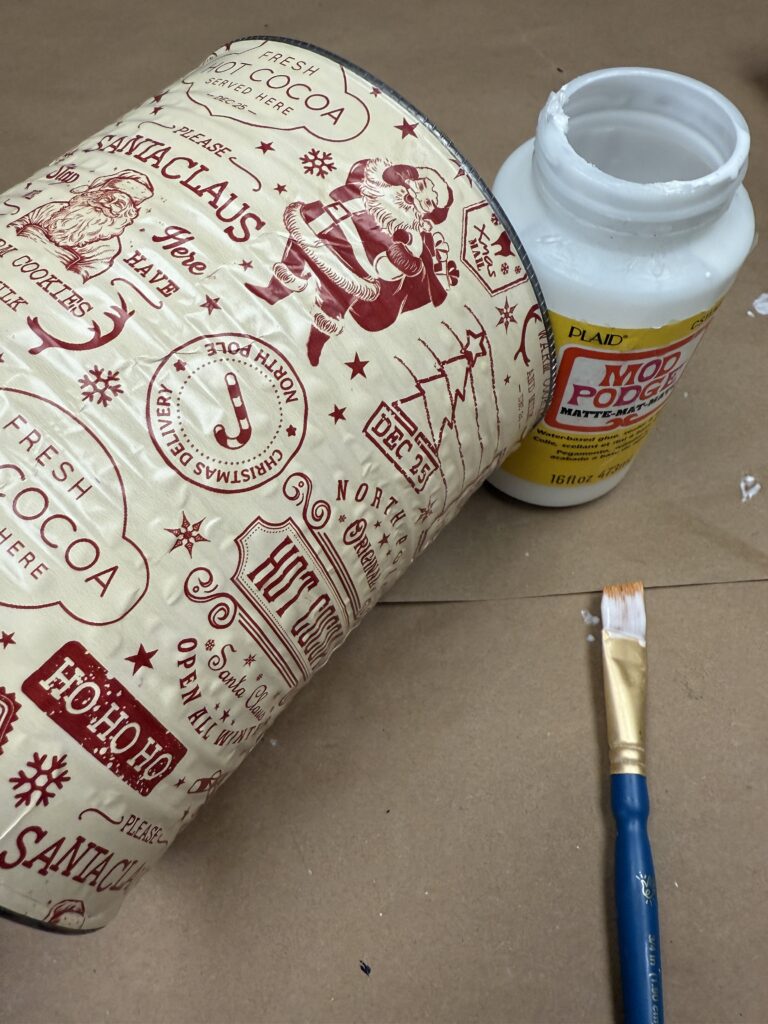
6. Mod Podge
7. A Drill
8. Some thick twine
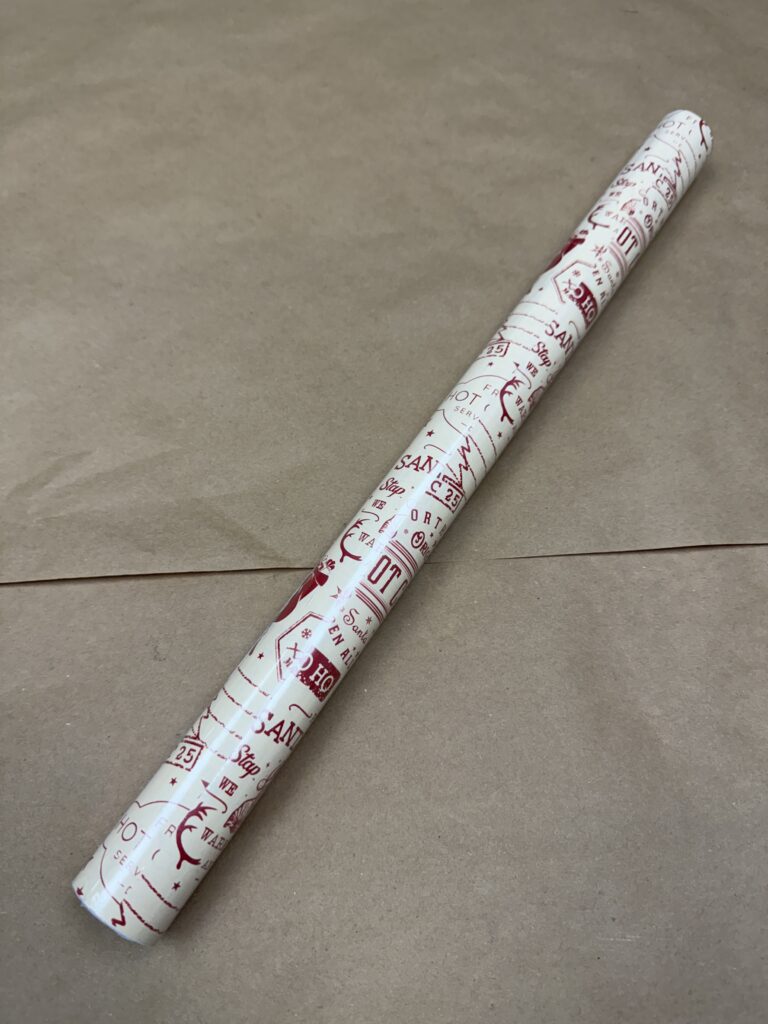
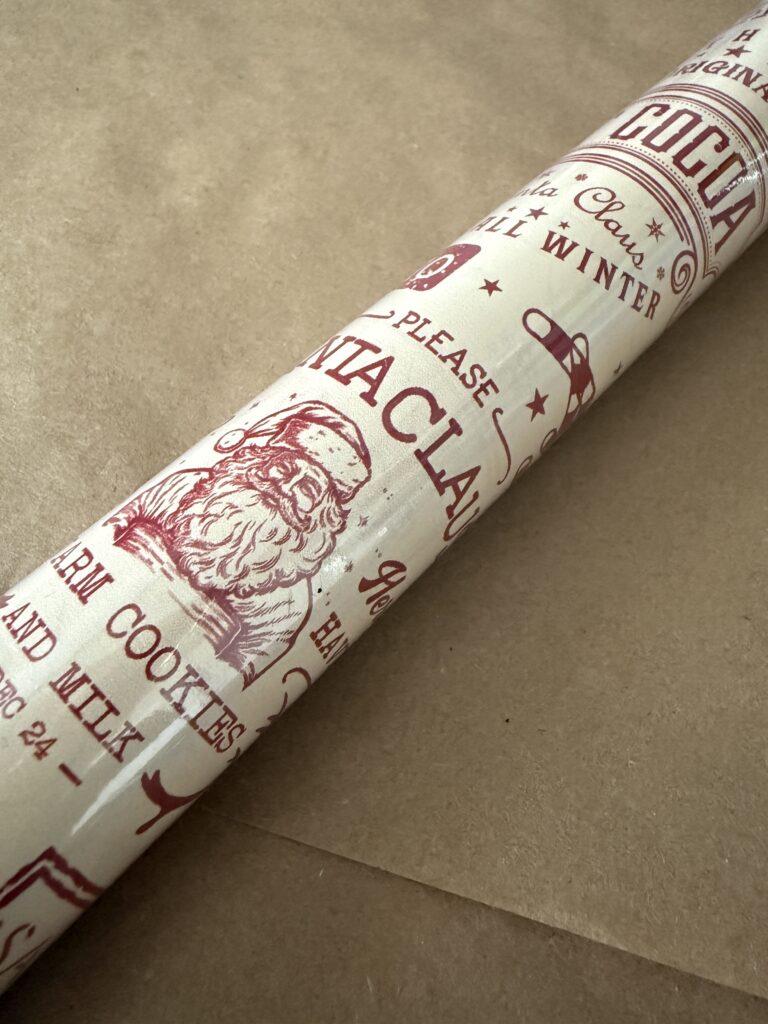
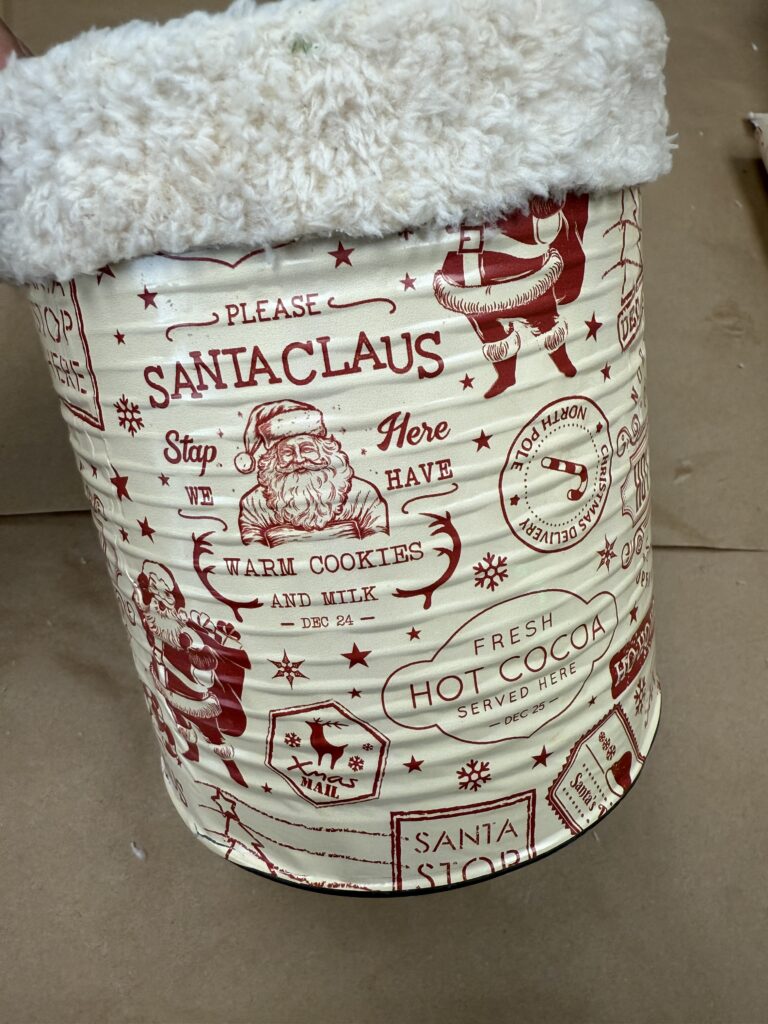
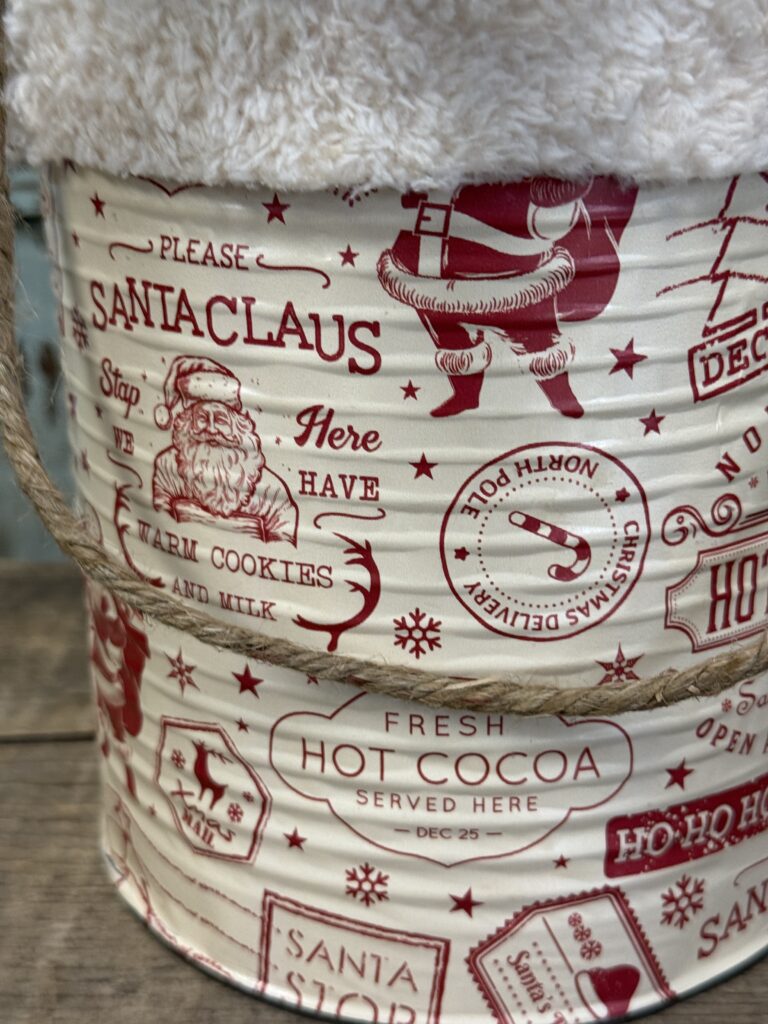
The wrapping paper I’m using for this project is one of my favorites—it has the sweetest vintage look with soft cream tones and classic red accents. There’s just something about that old-fashioned Christmas style that I absolutely love. The colors feel warm and nostalgic, and they give this recycled can such a charming, timeless look. I found the paper on Amazon, and it’s perfect for crafts like this!
You can find it on Amazon here: https://www.amazon.com/dp/B0DCVLTXPF?linkCode=ssc&tag=onamztheshabb-20&creativeASIN=B0DCVLTXPF&asc_item-id=amzn1.ideas.2T5HJJUJZ2DRH&ref_=aip_sf_list_spv_ons_mixed_d_asin&th=1
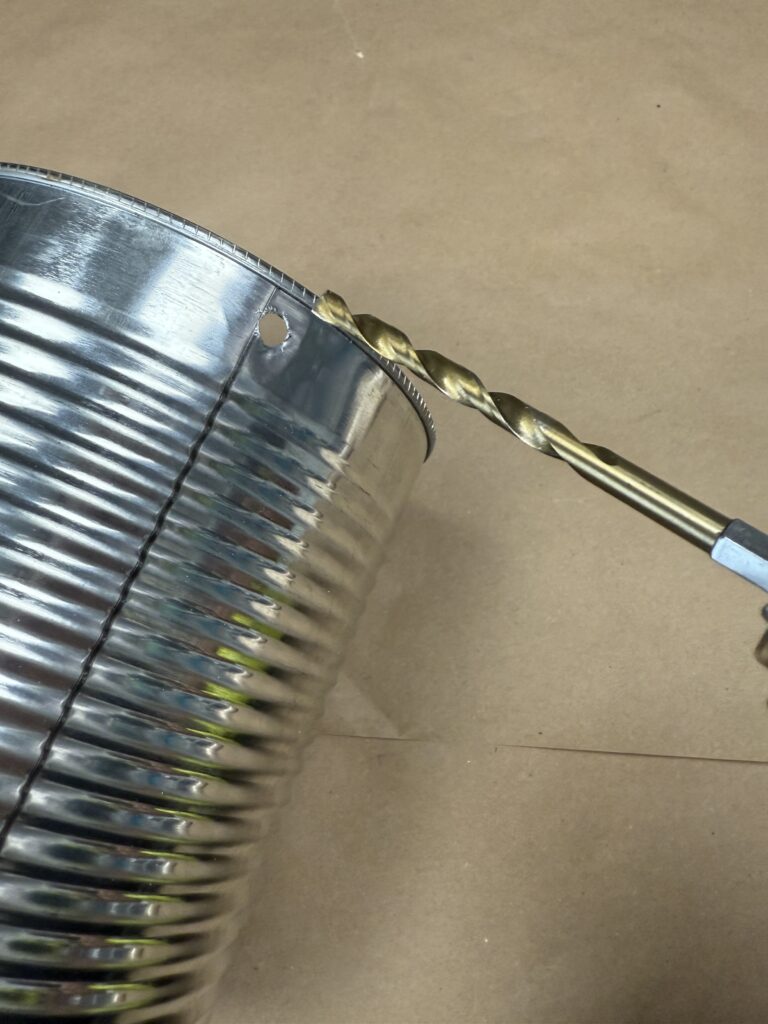
I started by drilling a hole on each side of the can—this is where we’ll thread our twine through to create a handle.
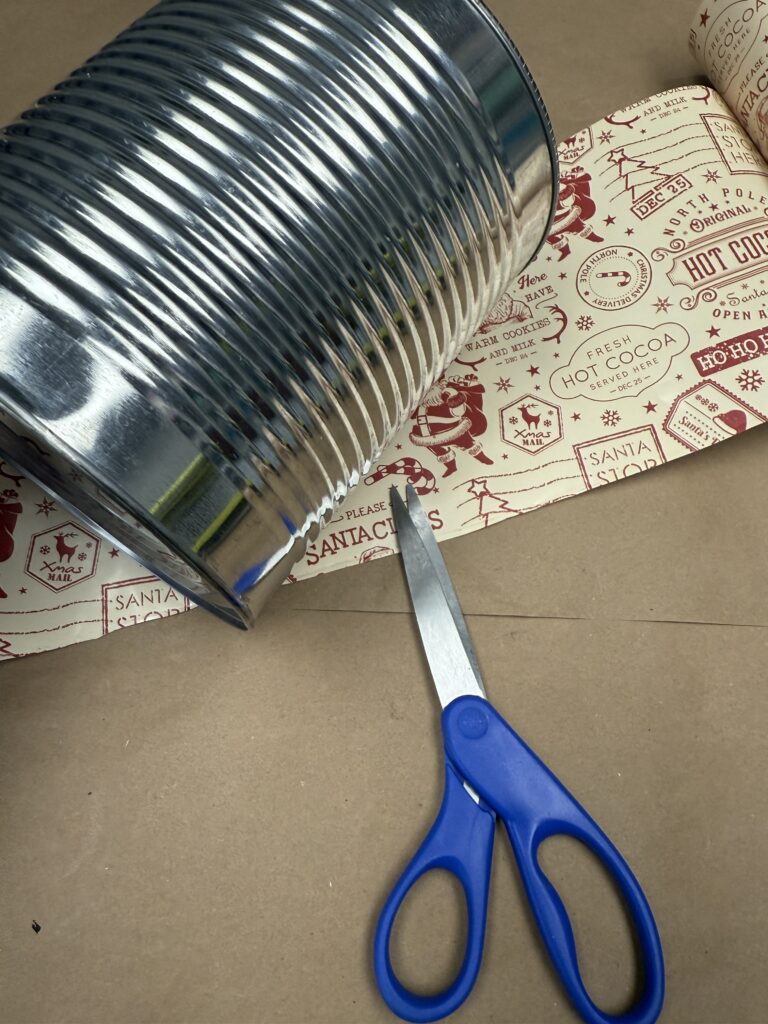
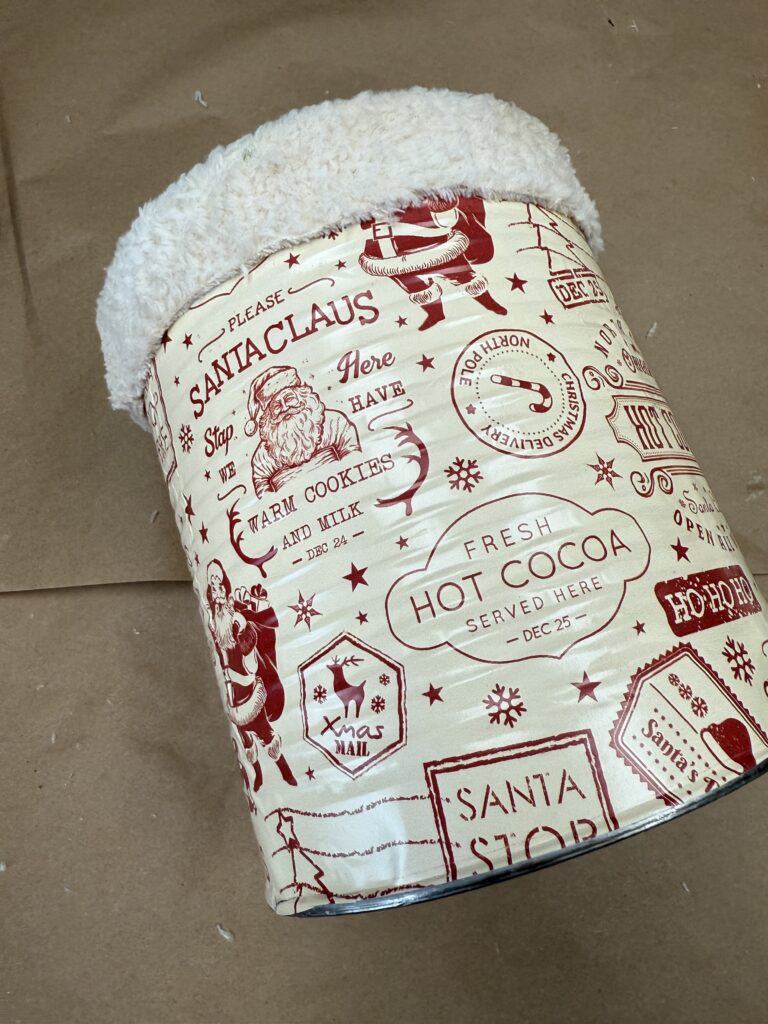
I wrapped the paper around the can to get the right fit, then trimmed it to size before attaching it.
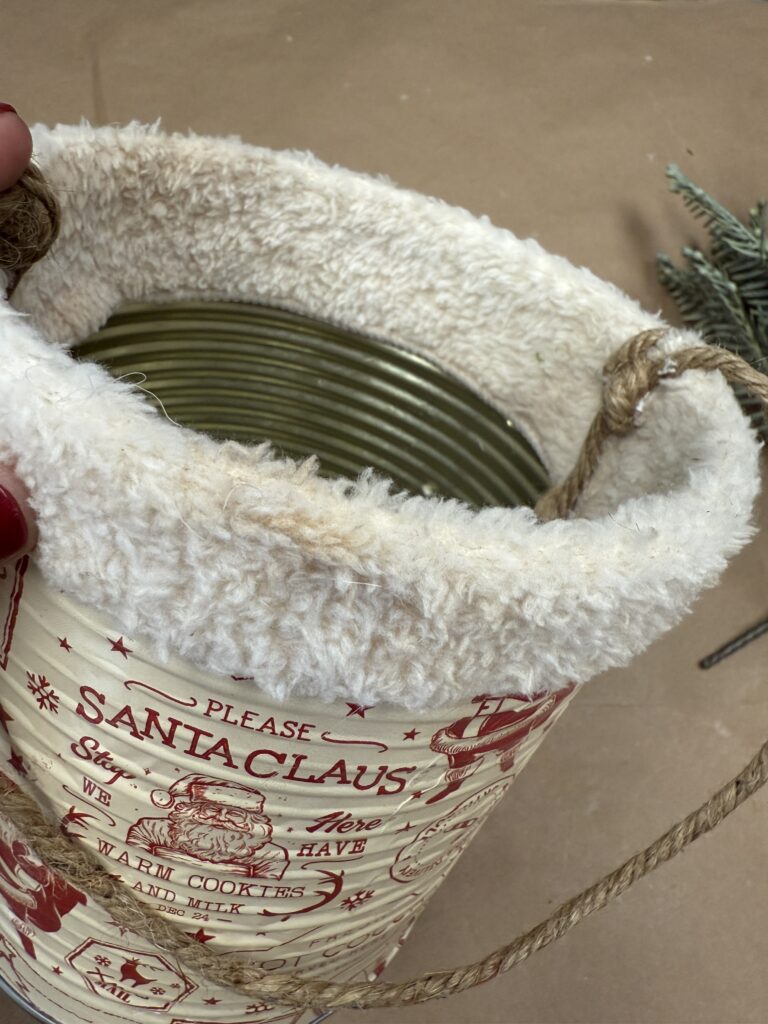
I cut a strip of the microfiber cloth long enough to wrap all the way around the can, and I left it tall enough so it could fold over the top edge for a softer, finished look.
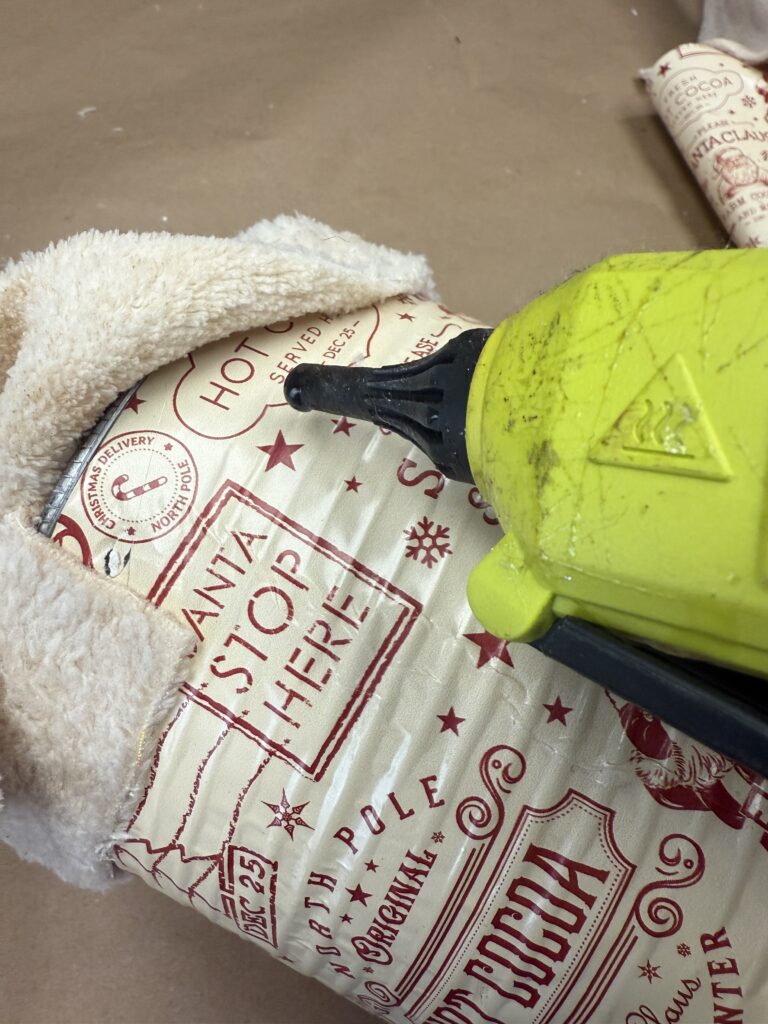
I used hot glue to attach it securely to the can.
I repeated this all the way around both the outside and inside of the can to make sure the microfiber cloth stayed firmly in place.
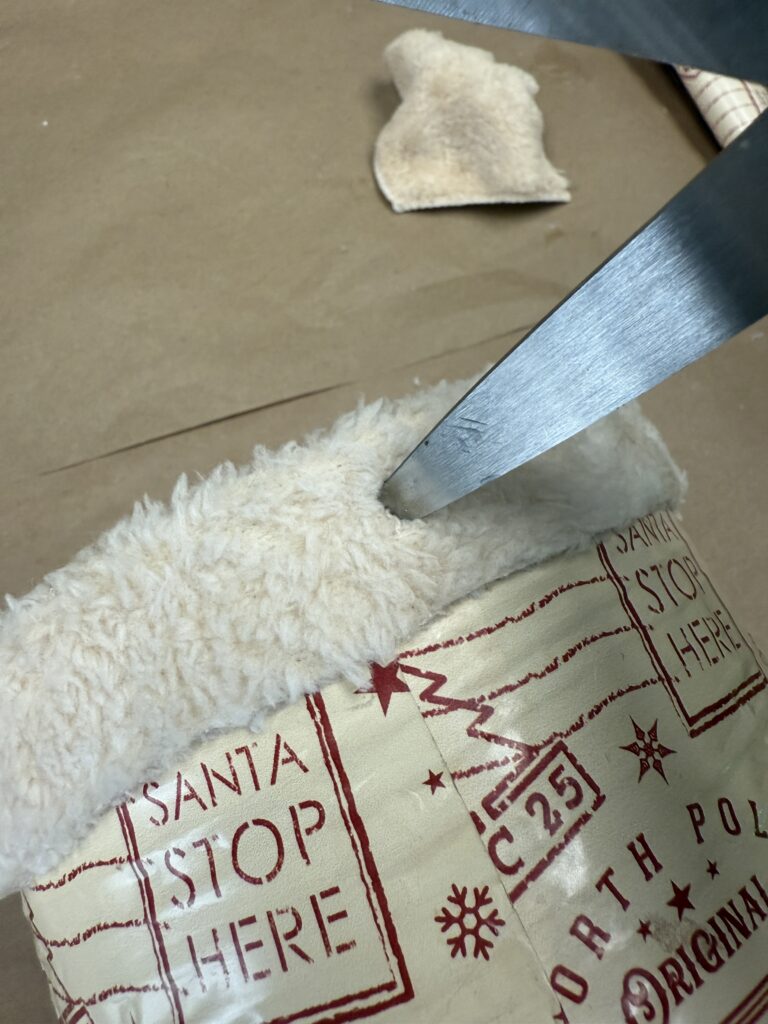
I did take a pair of scissors and put a whole in the cloth where our holes were previously placed for the twine. After that, I slipped the twine through and tied it!
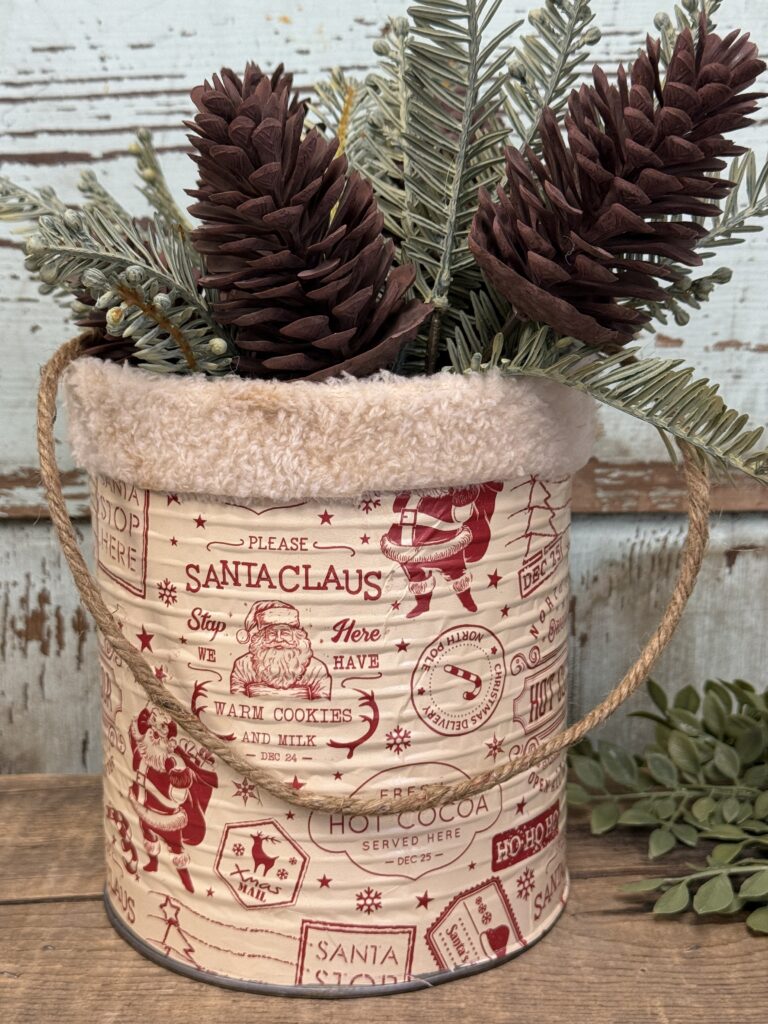
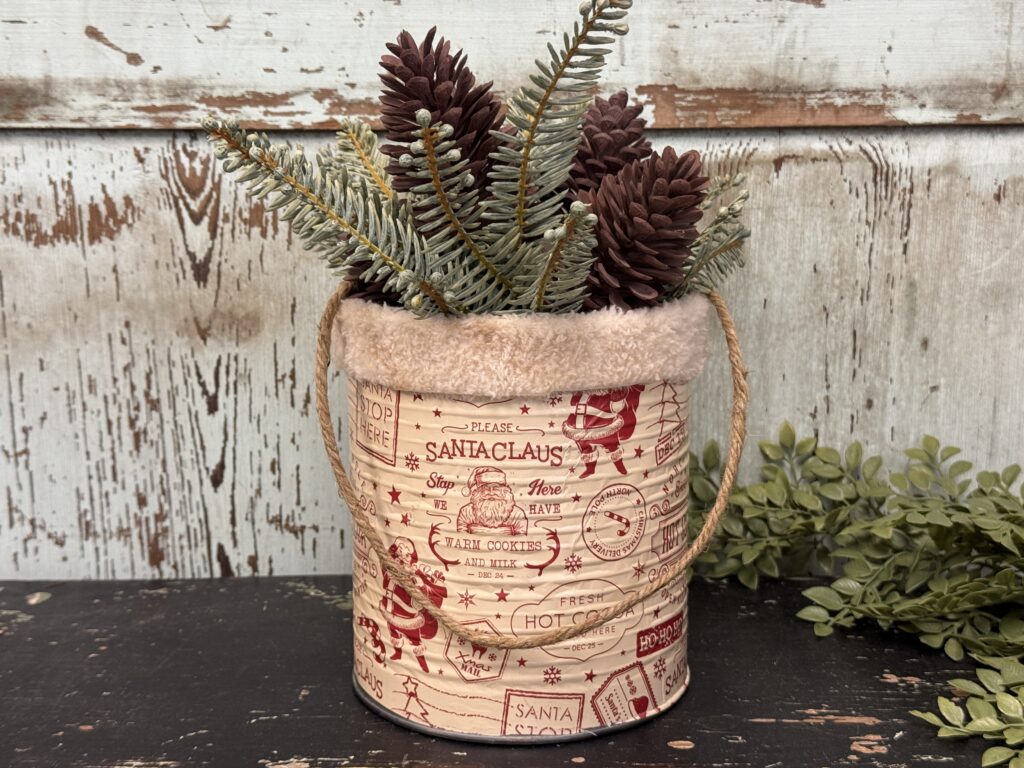
I finished this DIY off by adding some sprigs that are on our website! I think it gives it the perfect touch of Christmas magic!
Click here to check out the sprigs: https://theshabbytreeboutique.com/mossband-greens-pinecone-pick-set-of-2/
This DIY is such a fun way to turn something simple into a charming piece of vintage Christmas decor. I love how the wrapping paper and microfiber cloth came together to give this recycled can a whole new look. It’s proof that with just a few supplies, you can create something unique and festive for the holidays. I hope this project inspires you to get creative and give new life to items you already have at home!
This blog may contain affiliate links, which means I could earn a small commission if you make a purchase through them—at no extra cost to you. Thanks for supporting what I do!
I love it!!! The paper is amazing!!
I absolutely love it.
I. Love. This!♥️♥️ That paper is gorgeous! Can’t wait to make one♥️🎅🏼♥️
I most definitely would not just try, but I would do it! Super cute!
Barb, I love this!!! I would love to make this to add to my Christmas decor.
It’s so cute i have some big cans i saved now i know what to do with them. These would be great to put trees in.
I love this!! It’s so vintage and adorable!! Perfect for your trees!!! ♥️🌲
Barb this is so pretty I love it ♥️♥️♥️
Barb this is my favorite using time cans and decorating them. We definitely should do it together !!!!! I don’t know how to water or I certainly would . I love the vintage wrapping paper !!!
I love everything about this. So festive and fun
Barb I love this. Love crafting with the tin cans. The paper is so pretty. Great job Barb. Watered the page. Thank you.
You have such good ideas I love it!
Love this simple idea- it turned out beautifully! I think I would want to put a small tree in mine.
This turned out absolutely adorable and very vintagey looking!!! I love it!!!!
LOVE IT!!!
I will be making one of these . Love the vintage look . It will fit perfectly with my Christmas decorations.
Very cute idea with vintage wrapping paper…I might try a shorter can with a Snowman ⛄️ sitting in it…
Love it!
Love, love this craft. The vintage paper is perfect for the old time Christmas look.
This craft is perfect for putting a small tree in it and giving as a gift for teachers, friends or anyone you just want to give a little gift to.
This is so cute! I love it! I would like to make lt!
Barb, I don’t like this. I absolutely absolutely love it. I wish I could find big cans so I can make all these different items like this one. It’s so so cute. I can’t wait to decorate for Christmas. 🎄🎄🎄five dollars🤗💗
This DIY turned out so very cute! Love the vintage paper. I love all things vintage Christmas 🤶 🎄watering the amazing Shabby tree
Barb, this turned out amazing.The vintage paper is the prettiest paper they have on Amazon. Absolutely love it. Could be used on a lot of things. A small frame or tray would ne pretty too.💦💦💦🌲
Adorable! I love the vintage paper
I really love this and will definitely be making several as gifts. The vintage paper is perfect for this project.
Love I’ll give it a try🌲❤️
Love the way this turned out and so simple.