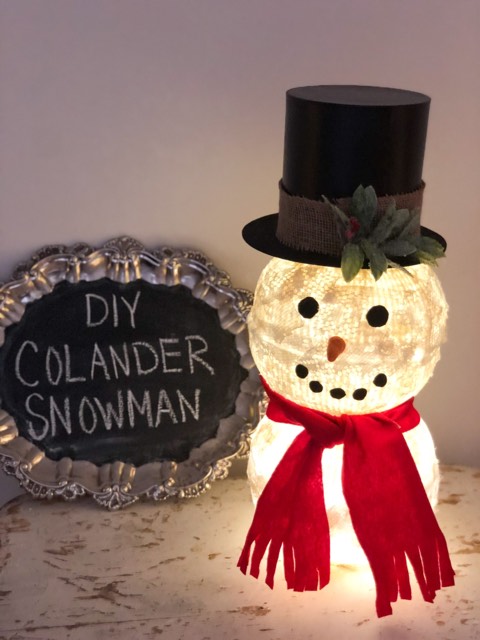
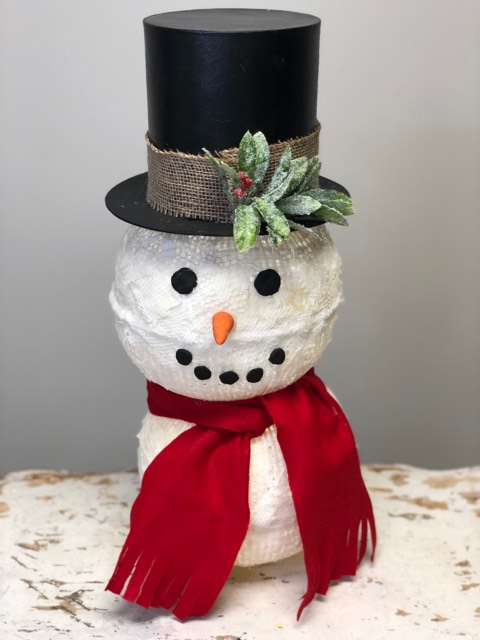
Oh my if you love snowmen then you’re going to love this DIY. I have done a few DIY’s using plastic colanders from the Dollar Tree but this is the first time I have made a snowman from them.
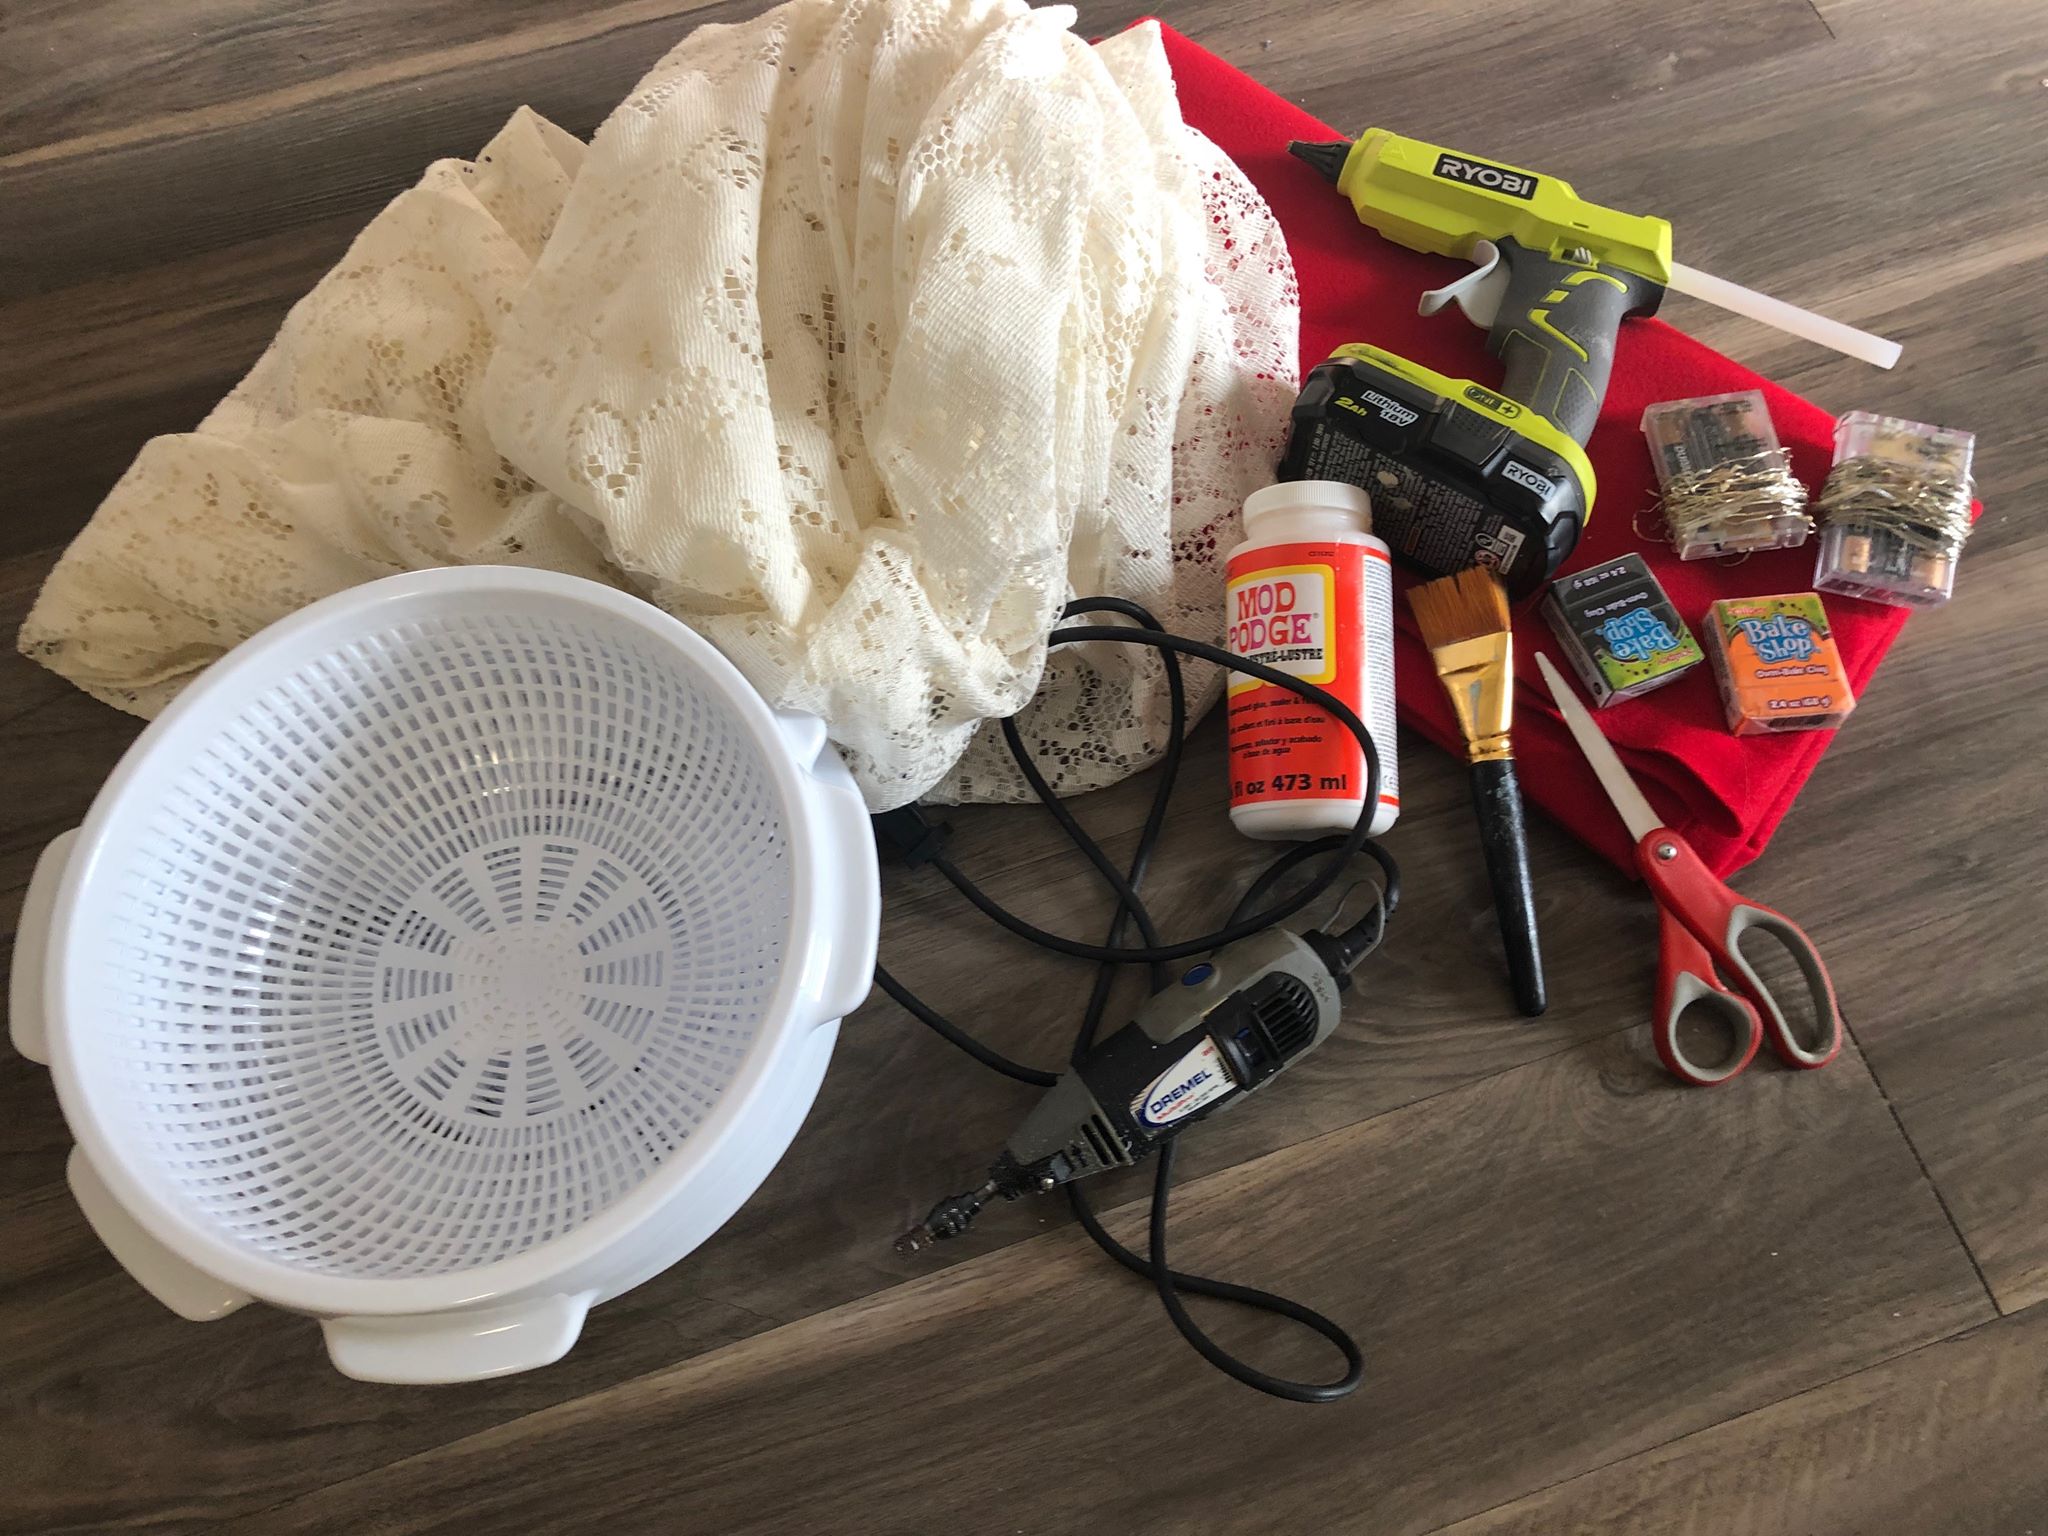
The supplies you will need are:
1. Four plastic colanders from the Dollar tree
2. Dremel
3. Glue gun
4. Mod podge
5. Paint brush
6. Lace material
7. Black and orange oven bake sculpey
8. Scissors
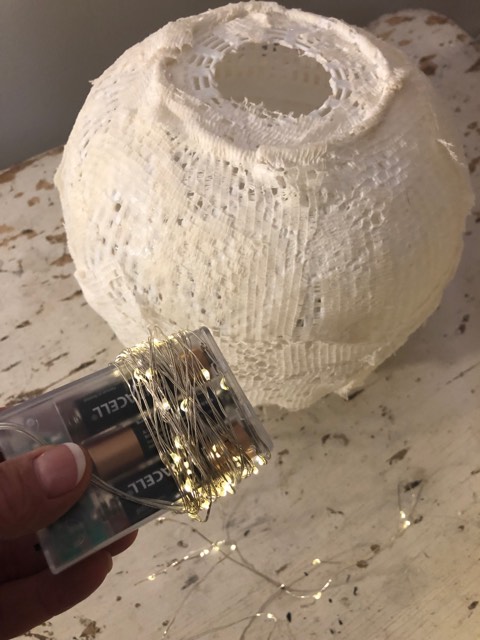
9. Battery operated sting lights( this is optional)
10. Red felt
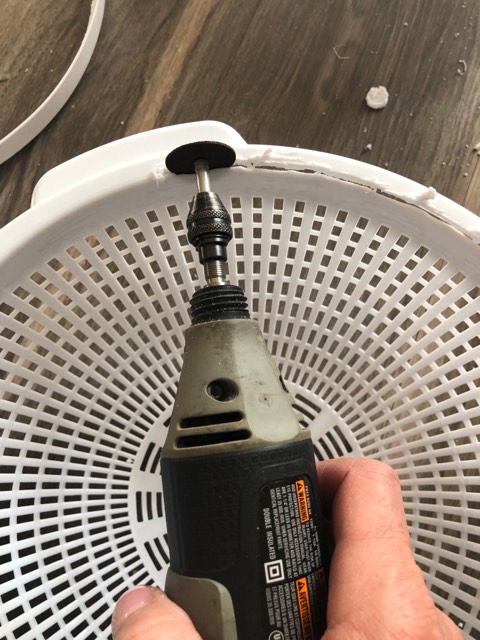
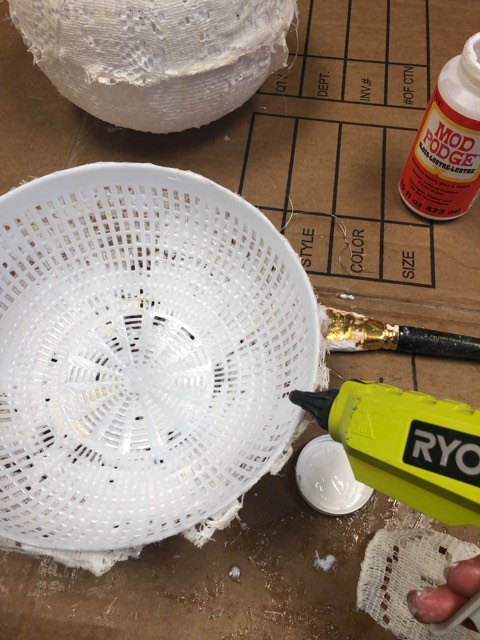
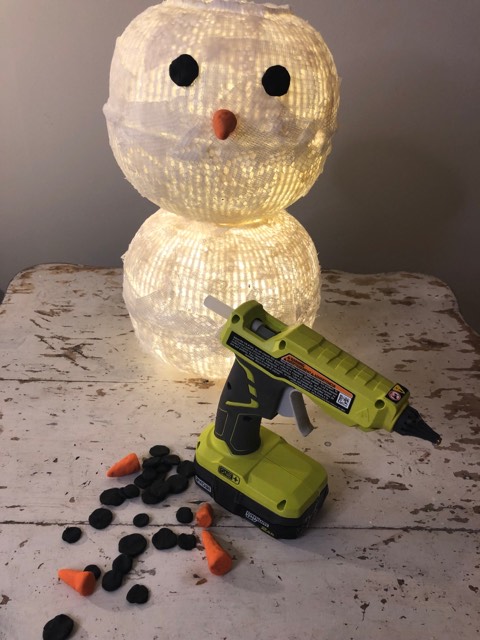
The first thing I did was cut 2 holes into the bottom of 2 colanders. This will allow me to put the battery operated lights in. I did this with my dremel.
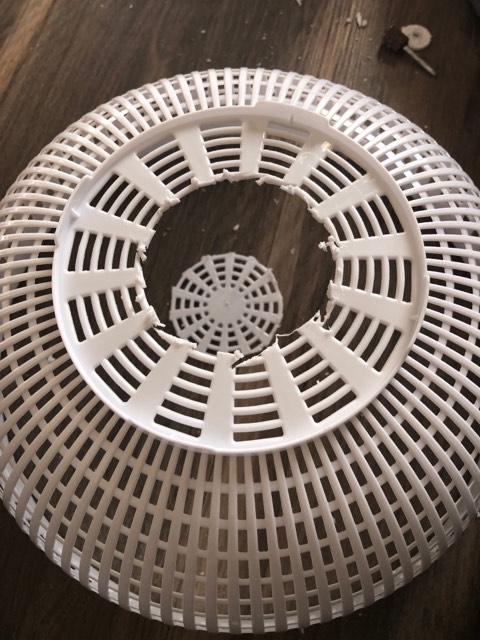
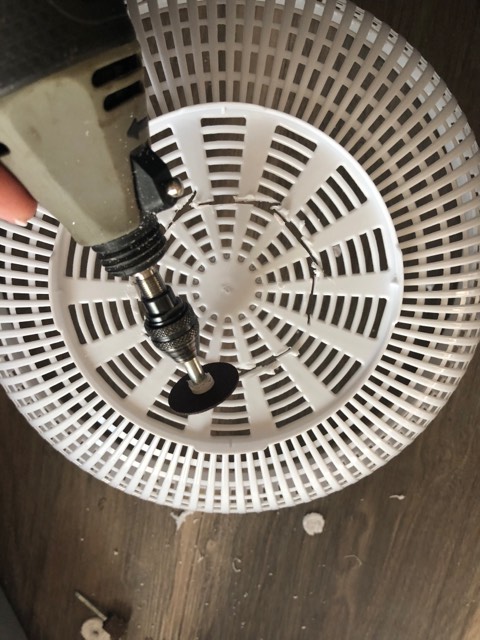
I then cut the rims off of all four colanders using the dremel.
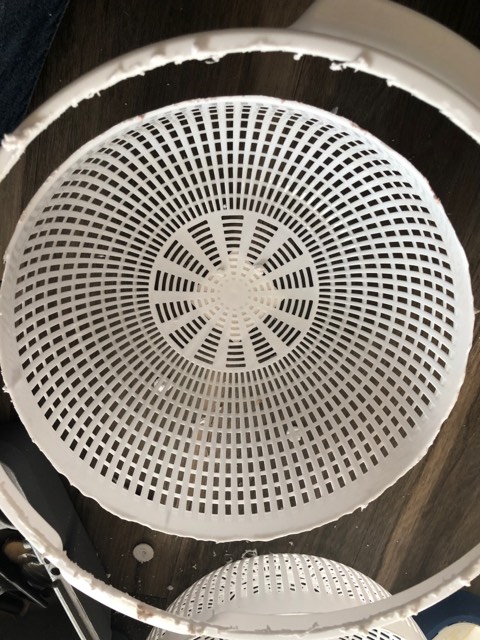
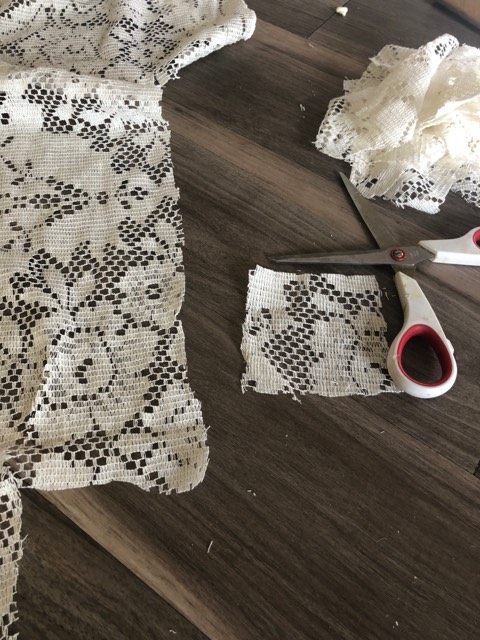
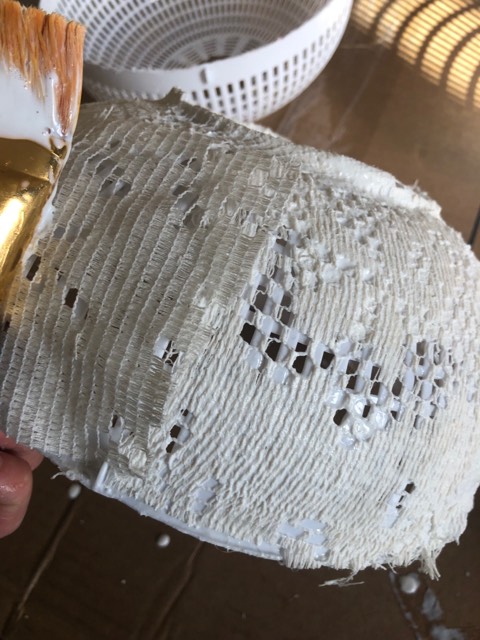
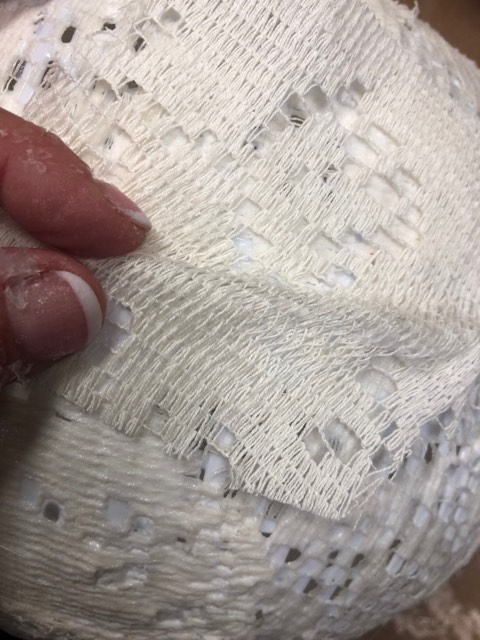
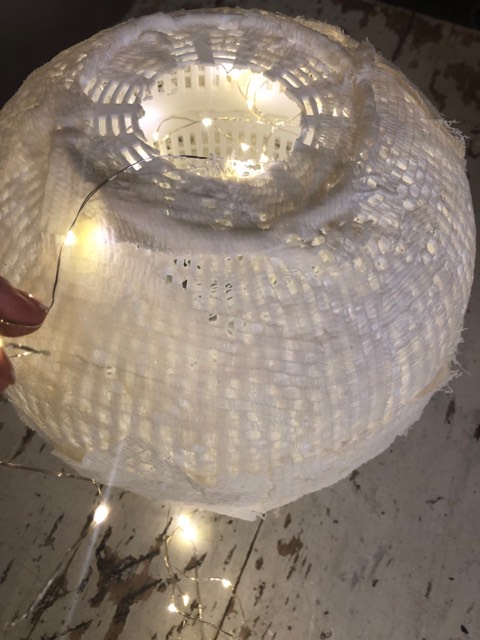
Next you will cut your lace into small pieces for decoupaging onto each colander.
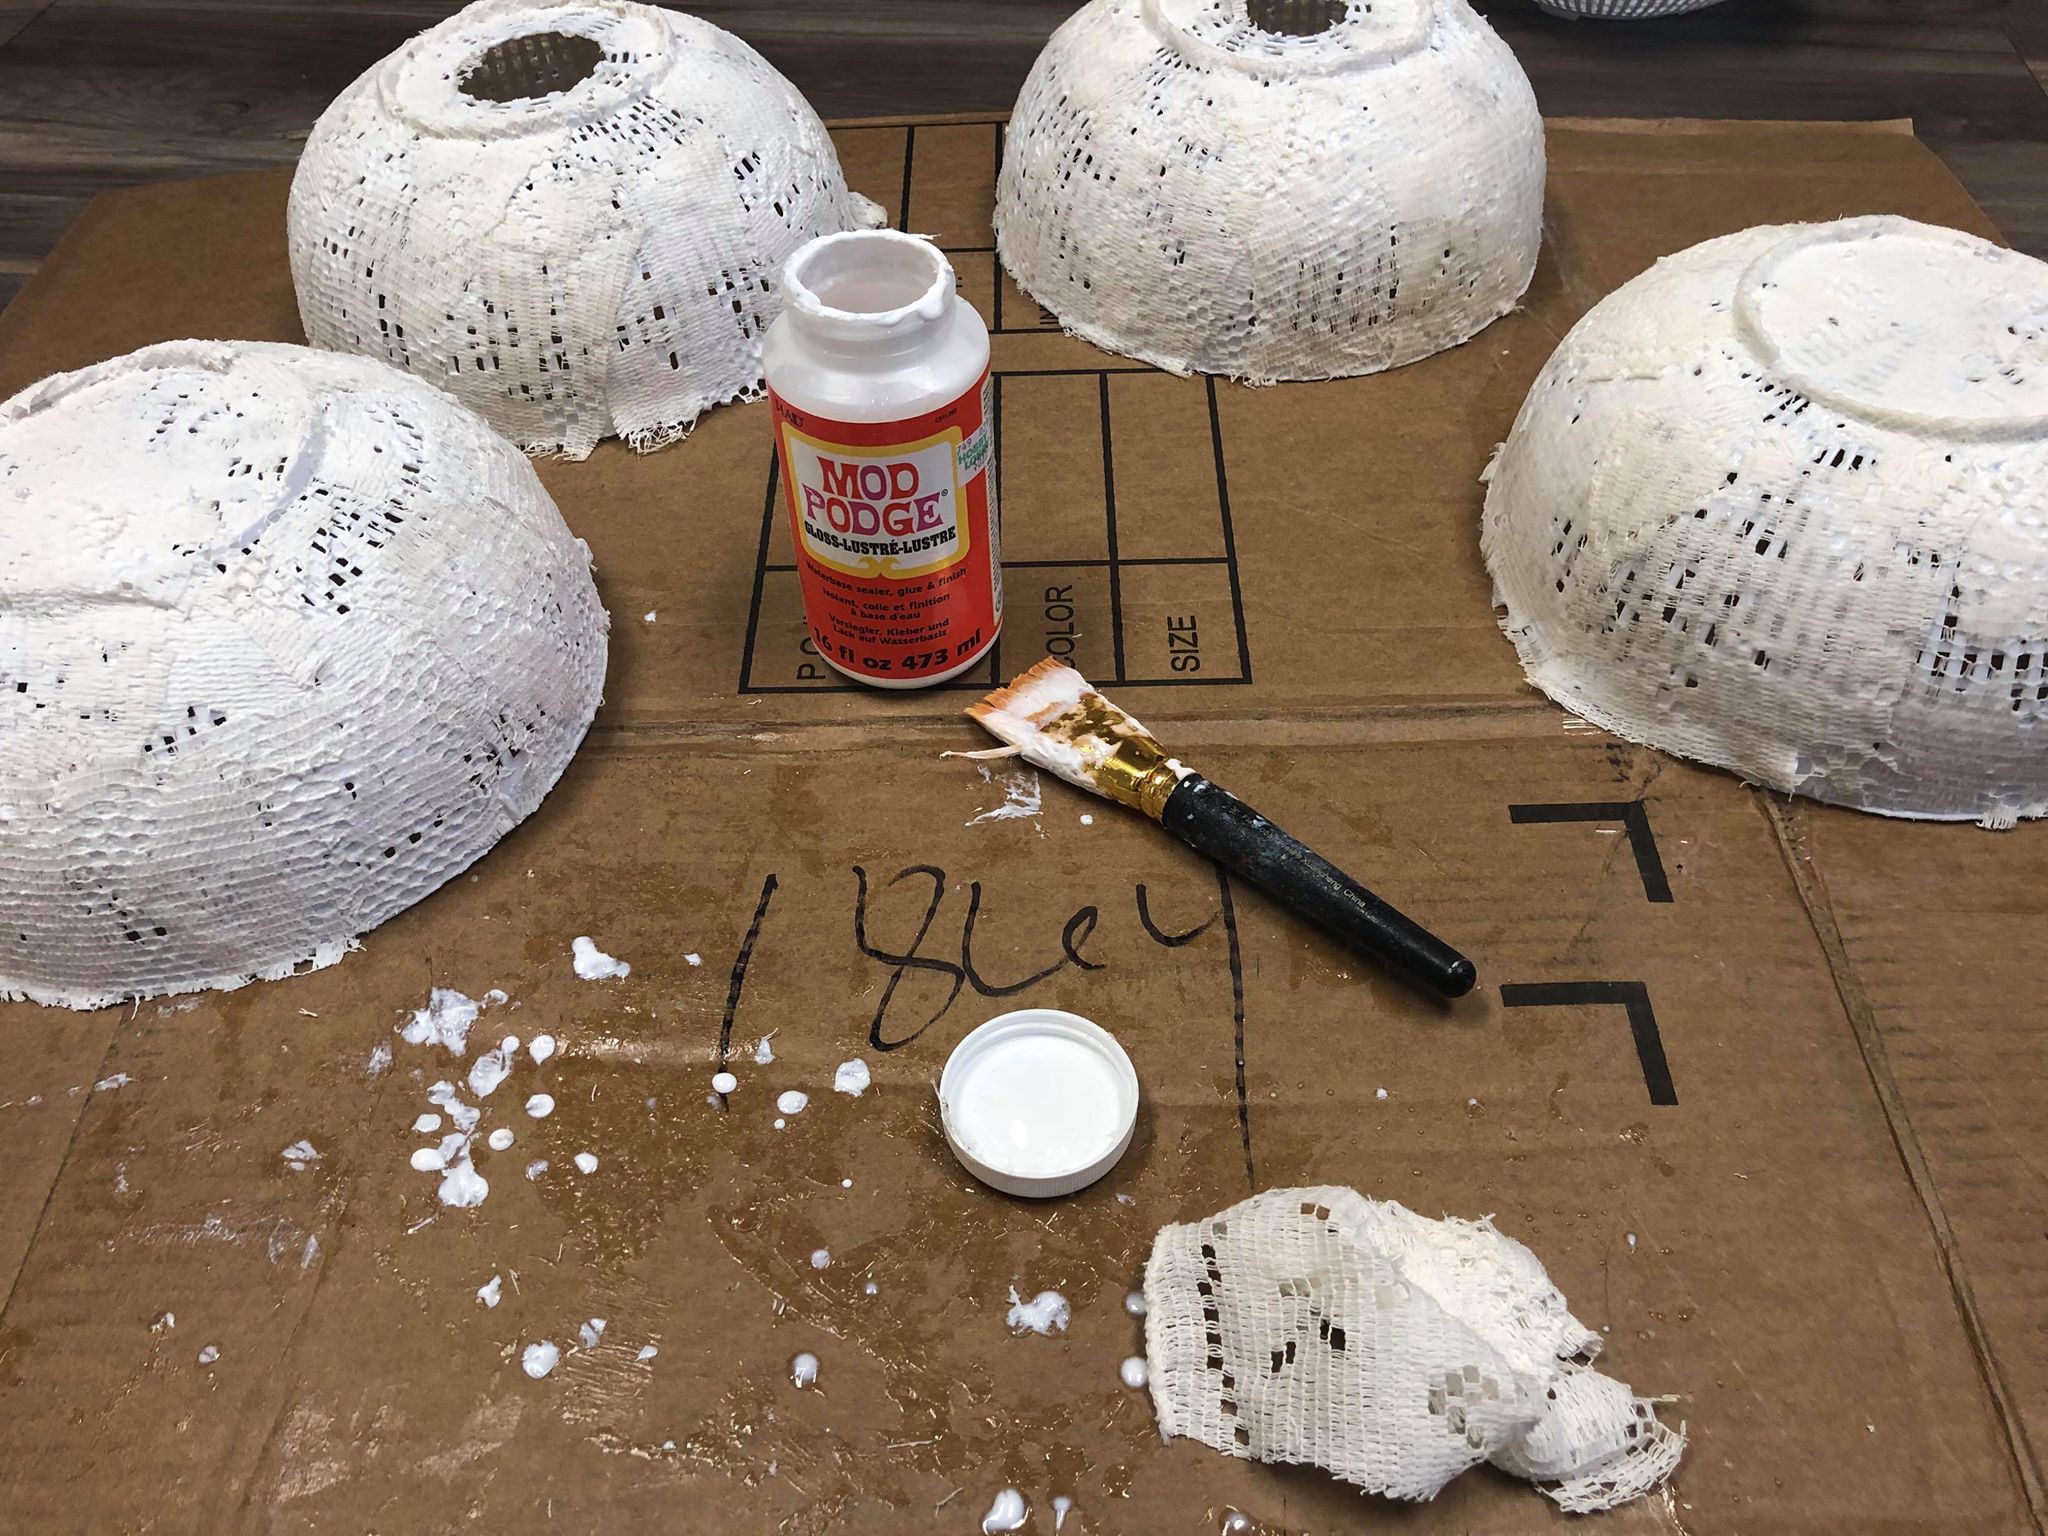
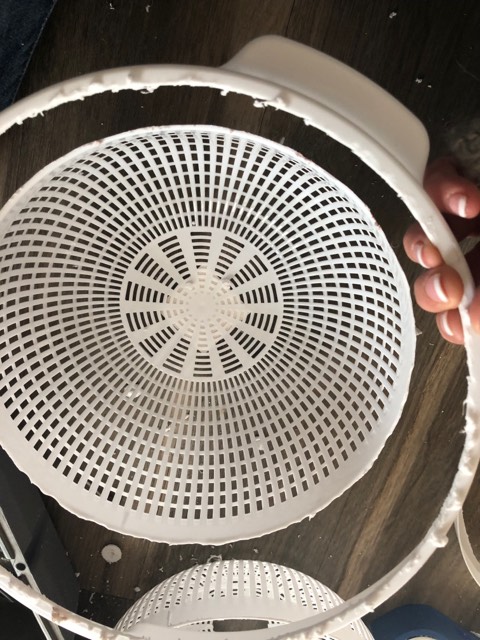
Once all four colanders are decoupaged and dried you will then glue the colanders together. You will glue 2 colanders together using hot glue. You will do this for the four colanders which will give you 2 pieces to form your snowman.

Once I had them glued together I then took more pieces of my lace and decoupaged onto the colanders around the rim where I glued them together.
You will have a hole in each piece of your snowman which will allow you to place lights inside.

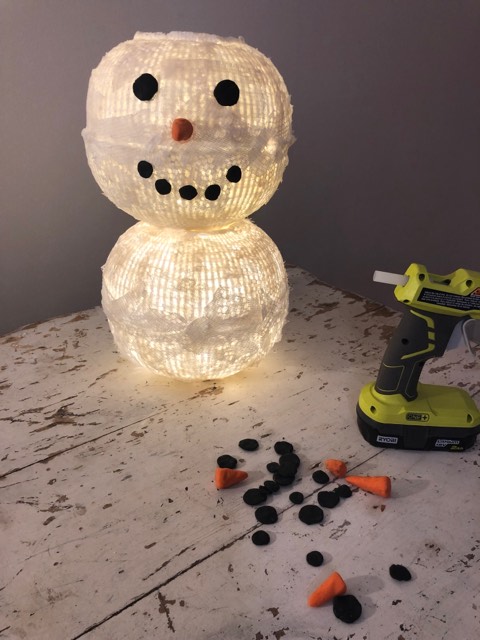
Now you will need to make your nose , eyes and mouth. I just formed and baked them out of the sculpey.
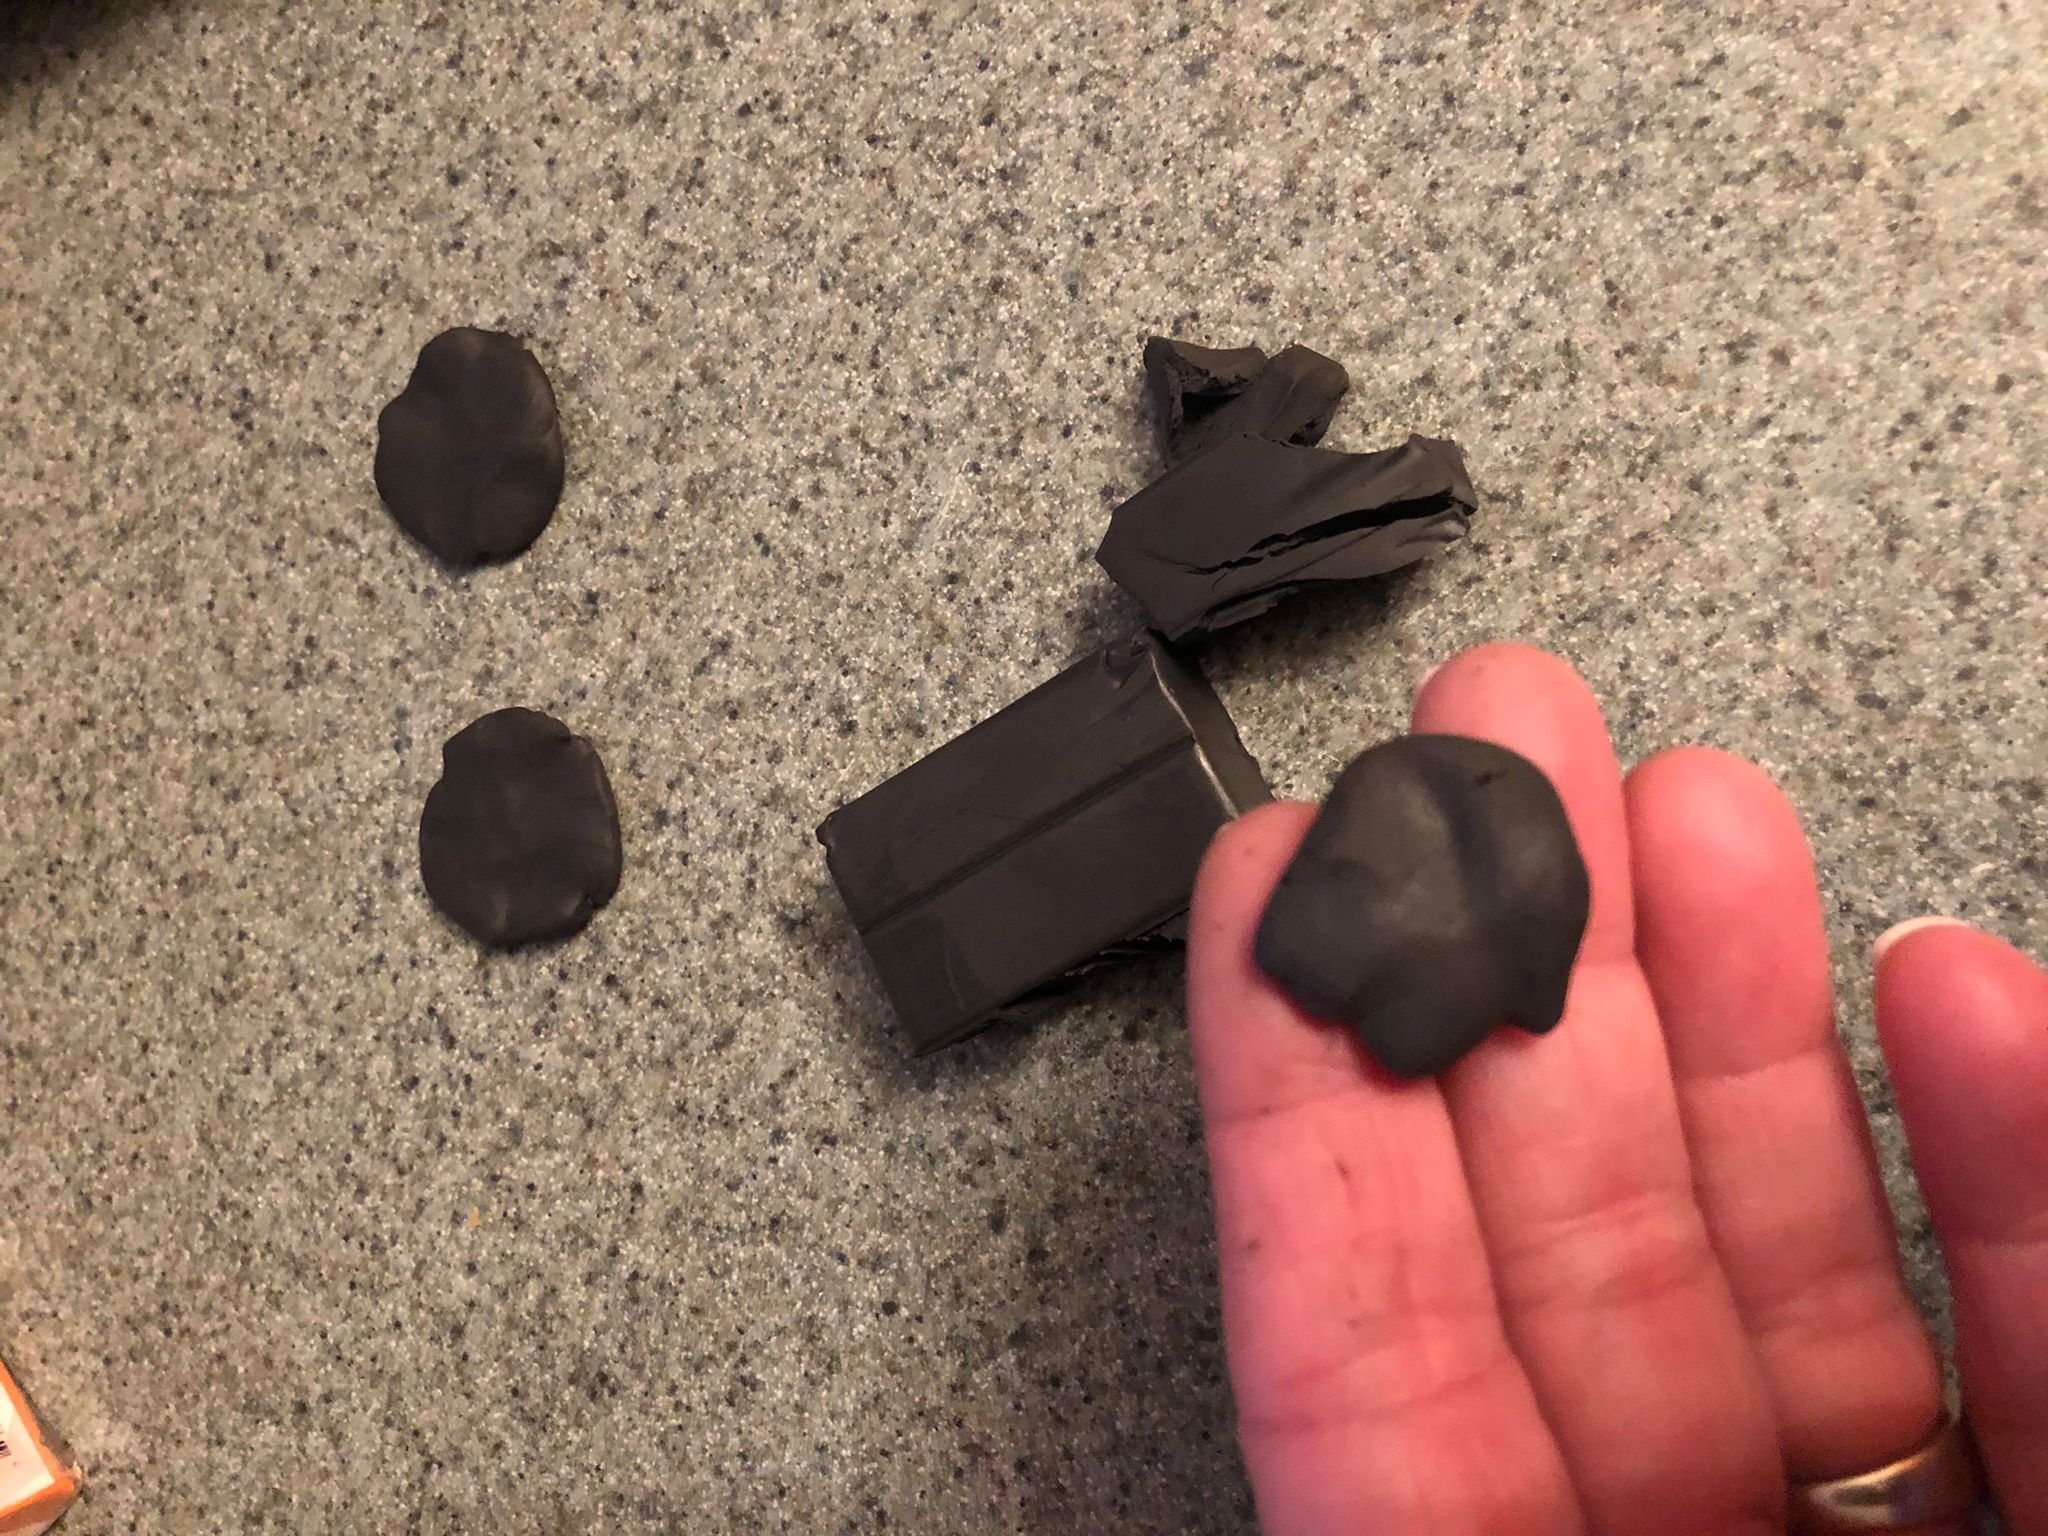

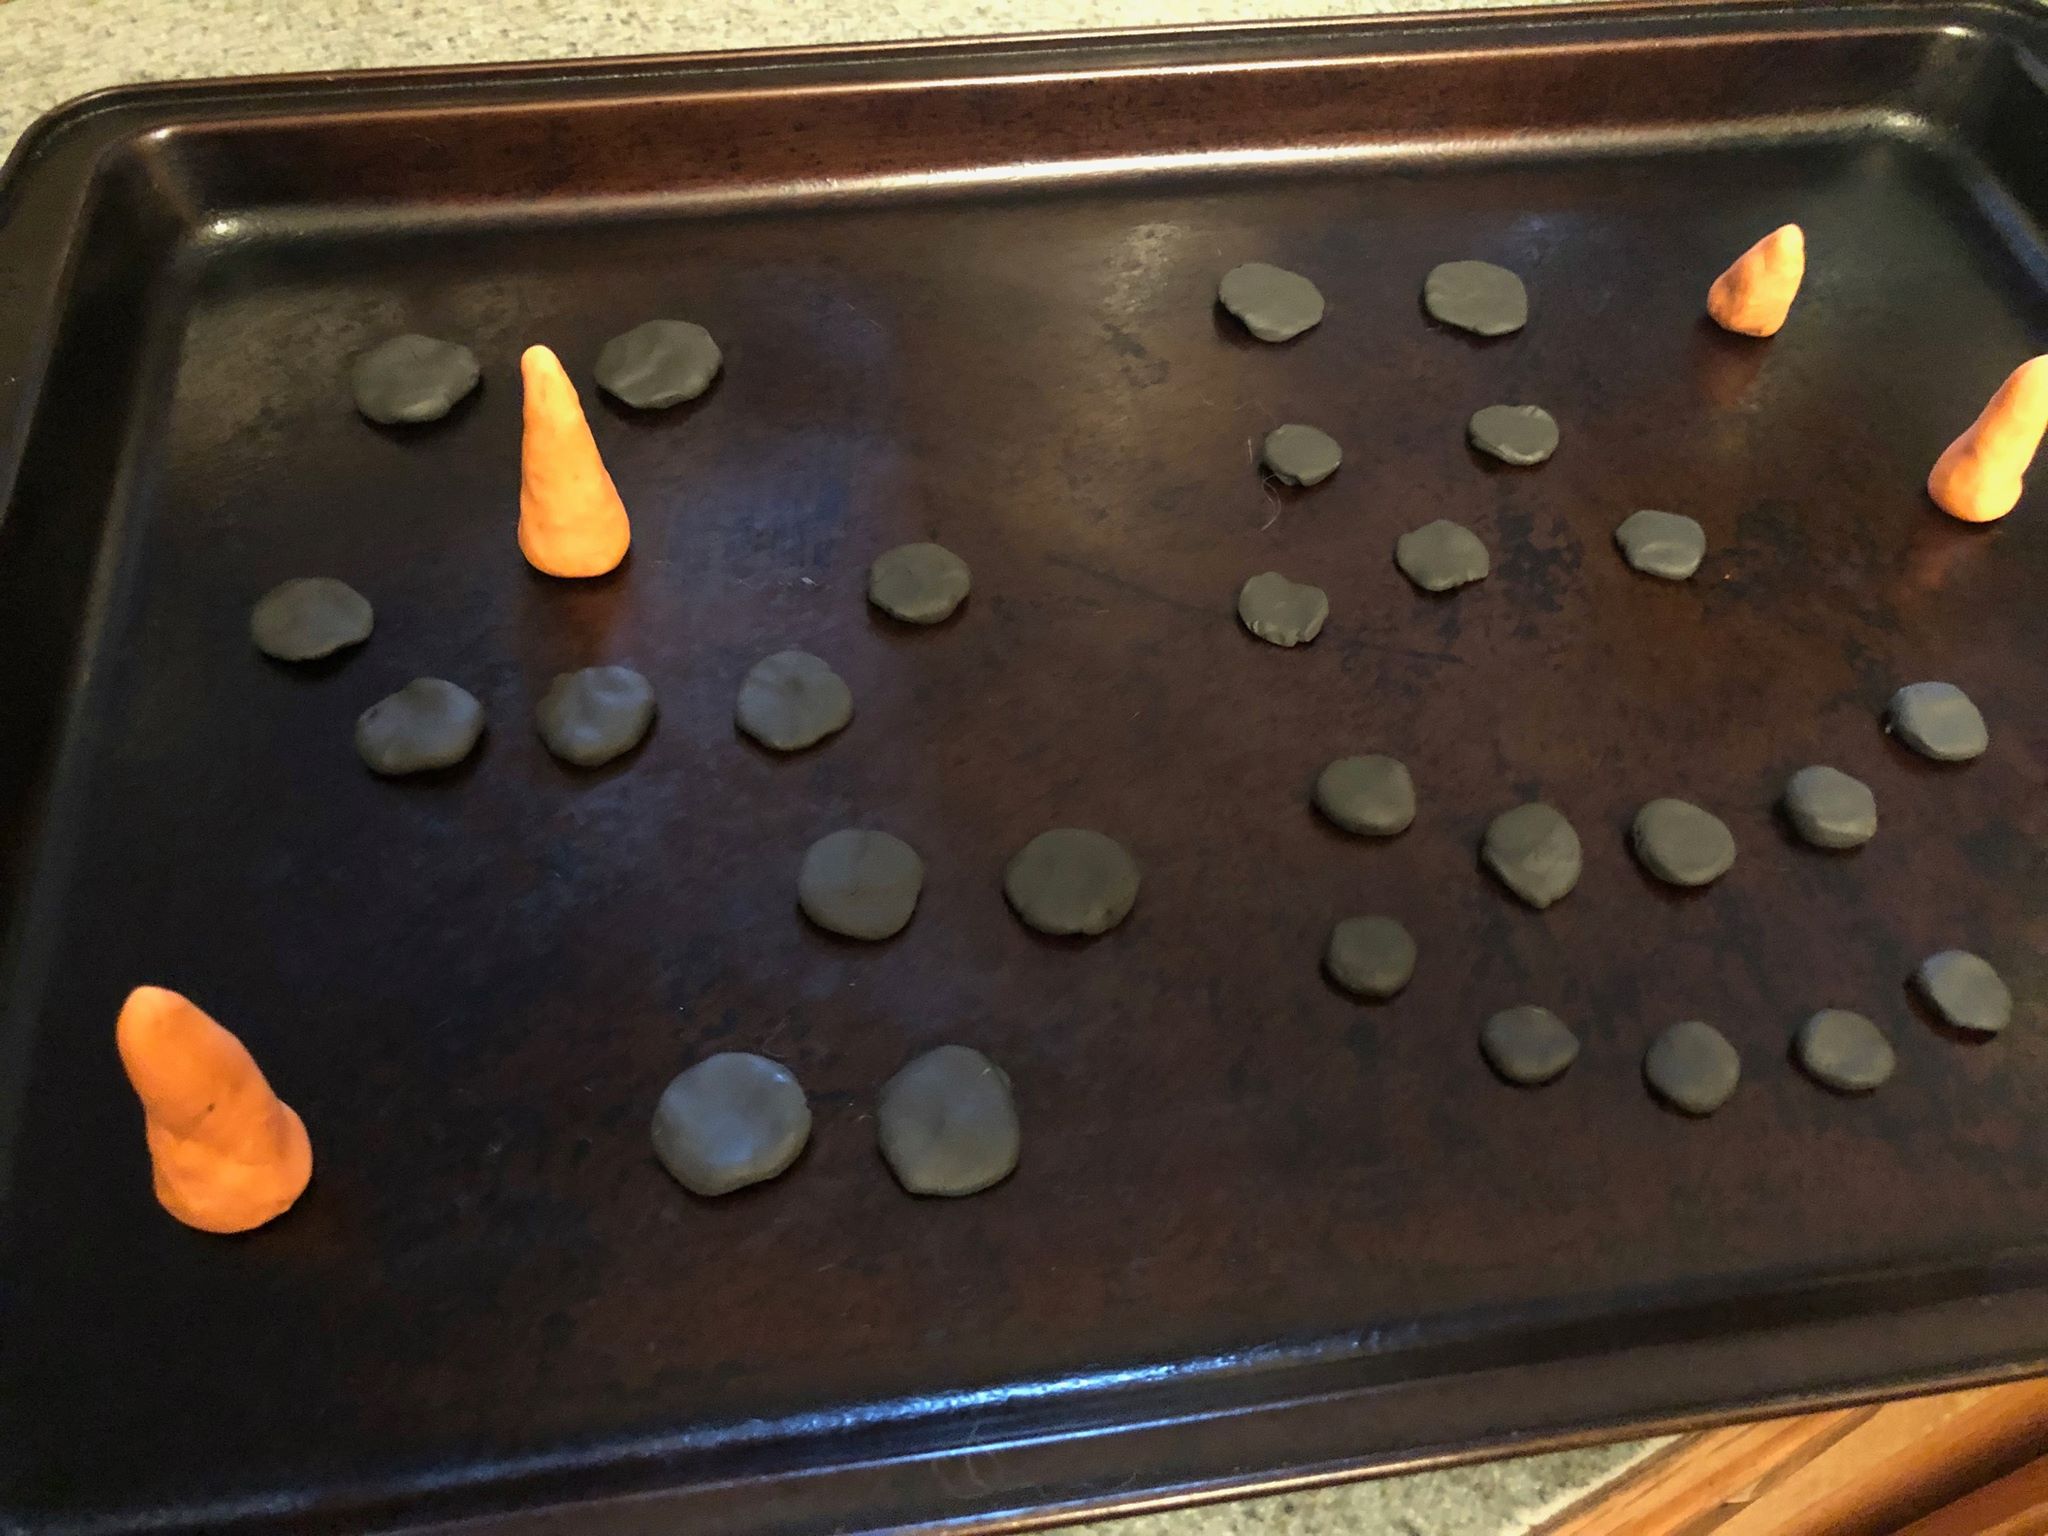
Once you have them baked you then glue them onto your snowman.
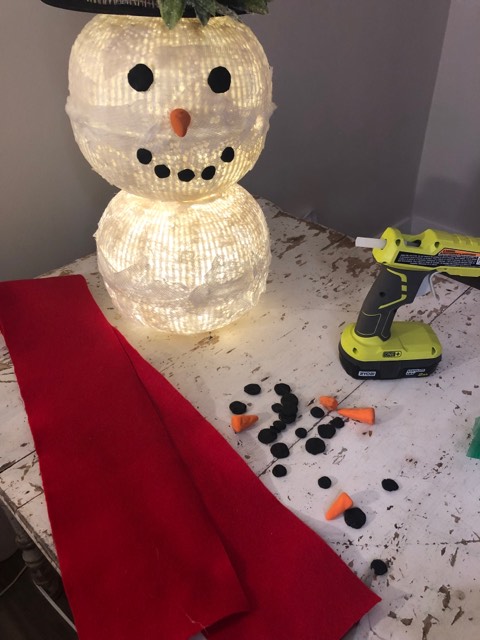
I cut a piece of red felt to make a scarf for the snowman.
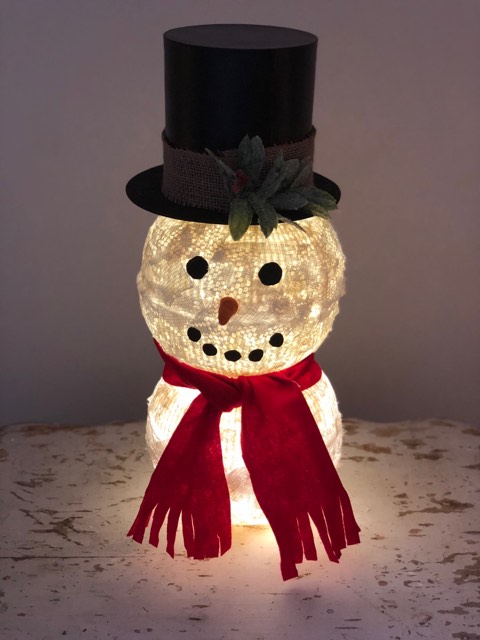
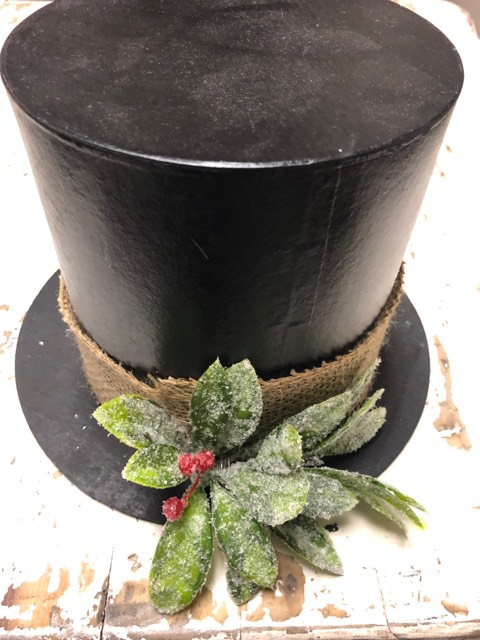
I added the snowman hat that we made here at The Shabby Tree.
I love snowmen. Am going to try and get the stuff to make it.
Supper cute Barb! I keep my snowmen up all through the month of January. So… going to give it a try, when I can get the supplies. Thank you for always sharing your wonderful ideas.
I love this! I love snowmen too! I am hoping to give this a try!
Thank you!
love love love your ideas
Love it !! Will be making one for my shut in neighbor !!
I love it. Adorable idea
Love the snowman! An the candles!
love your spirit and ideas wish or know how you keep going great personality you got me back crafting after 10 years
I love all your ideas that I’ve seen so far
This is really cute and what I have done to make the top hat is I take a metal coffee can and a cheap 10 in. melamine plate. I glue the open end of the coffee can on to the underneath of the platewith E 6000. I spray paint it all with flat black and then I am delish it with red ribbon in pine cones and little plastic snowflake you can get from Dollar Tree. And you have your snowman hat. You can also make as large or as small and use them as centerpieces or accent pieces.
I love it!!! Snowmen make me so happy, they are just fun. I recently started following you.
This is soooo adorable
Absolutely love the snowman, so cute. Great idea.
Love it. I will be making it. There are 3 dollar trees in Bryan and College Station, Texas
They are 3 Dollar Trees in Bryan and College Station Texas
They’re sold out of everything to make everything you have showed us.
Good job.
Love you show on Facebook. Please don’t stop.
I can’t get any sound on your videos. Love the snowman.
I hi my name is Felicia Smith and I am a Crafter I craft things myself I would like to be in to introduce two other Crafters and I would like to make the Snowman for next year
Is there a way to make them heavier so if it’s outside the wind won’t blow away
LOVE OUR snowman, so cheerful and happy!! THANK you for teaching me how to. We love it. Night light.