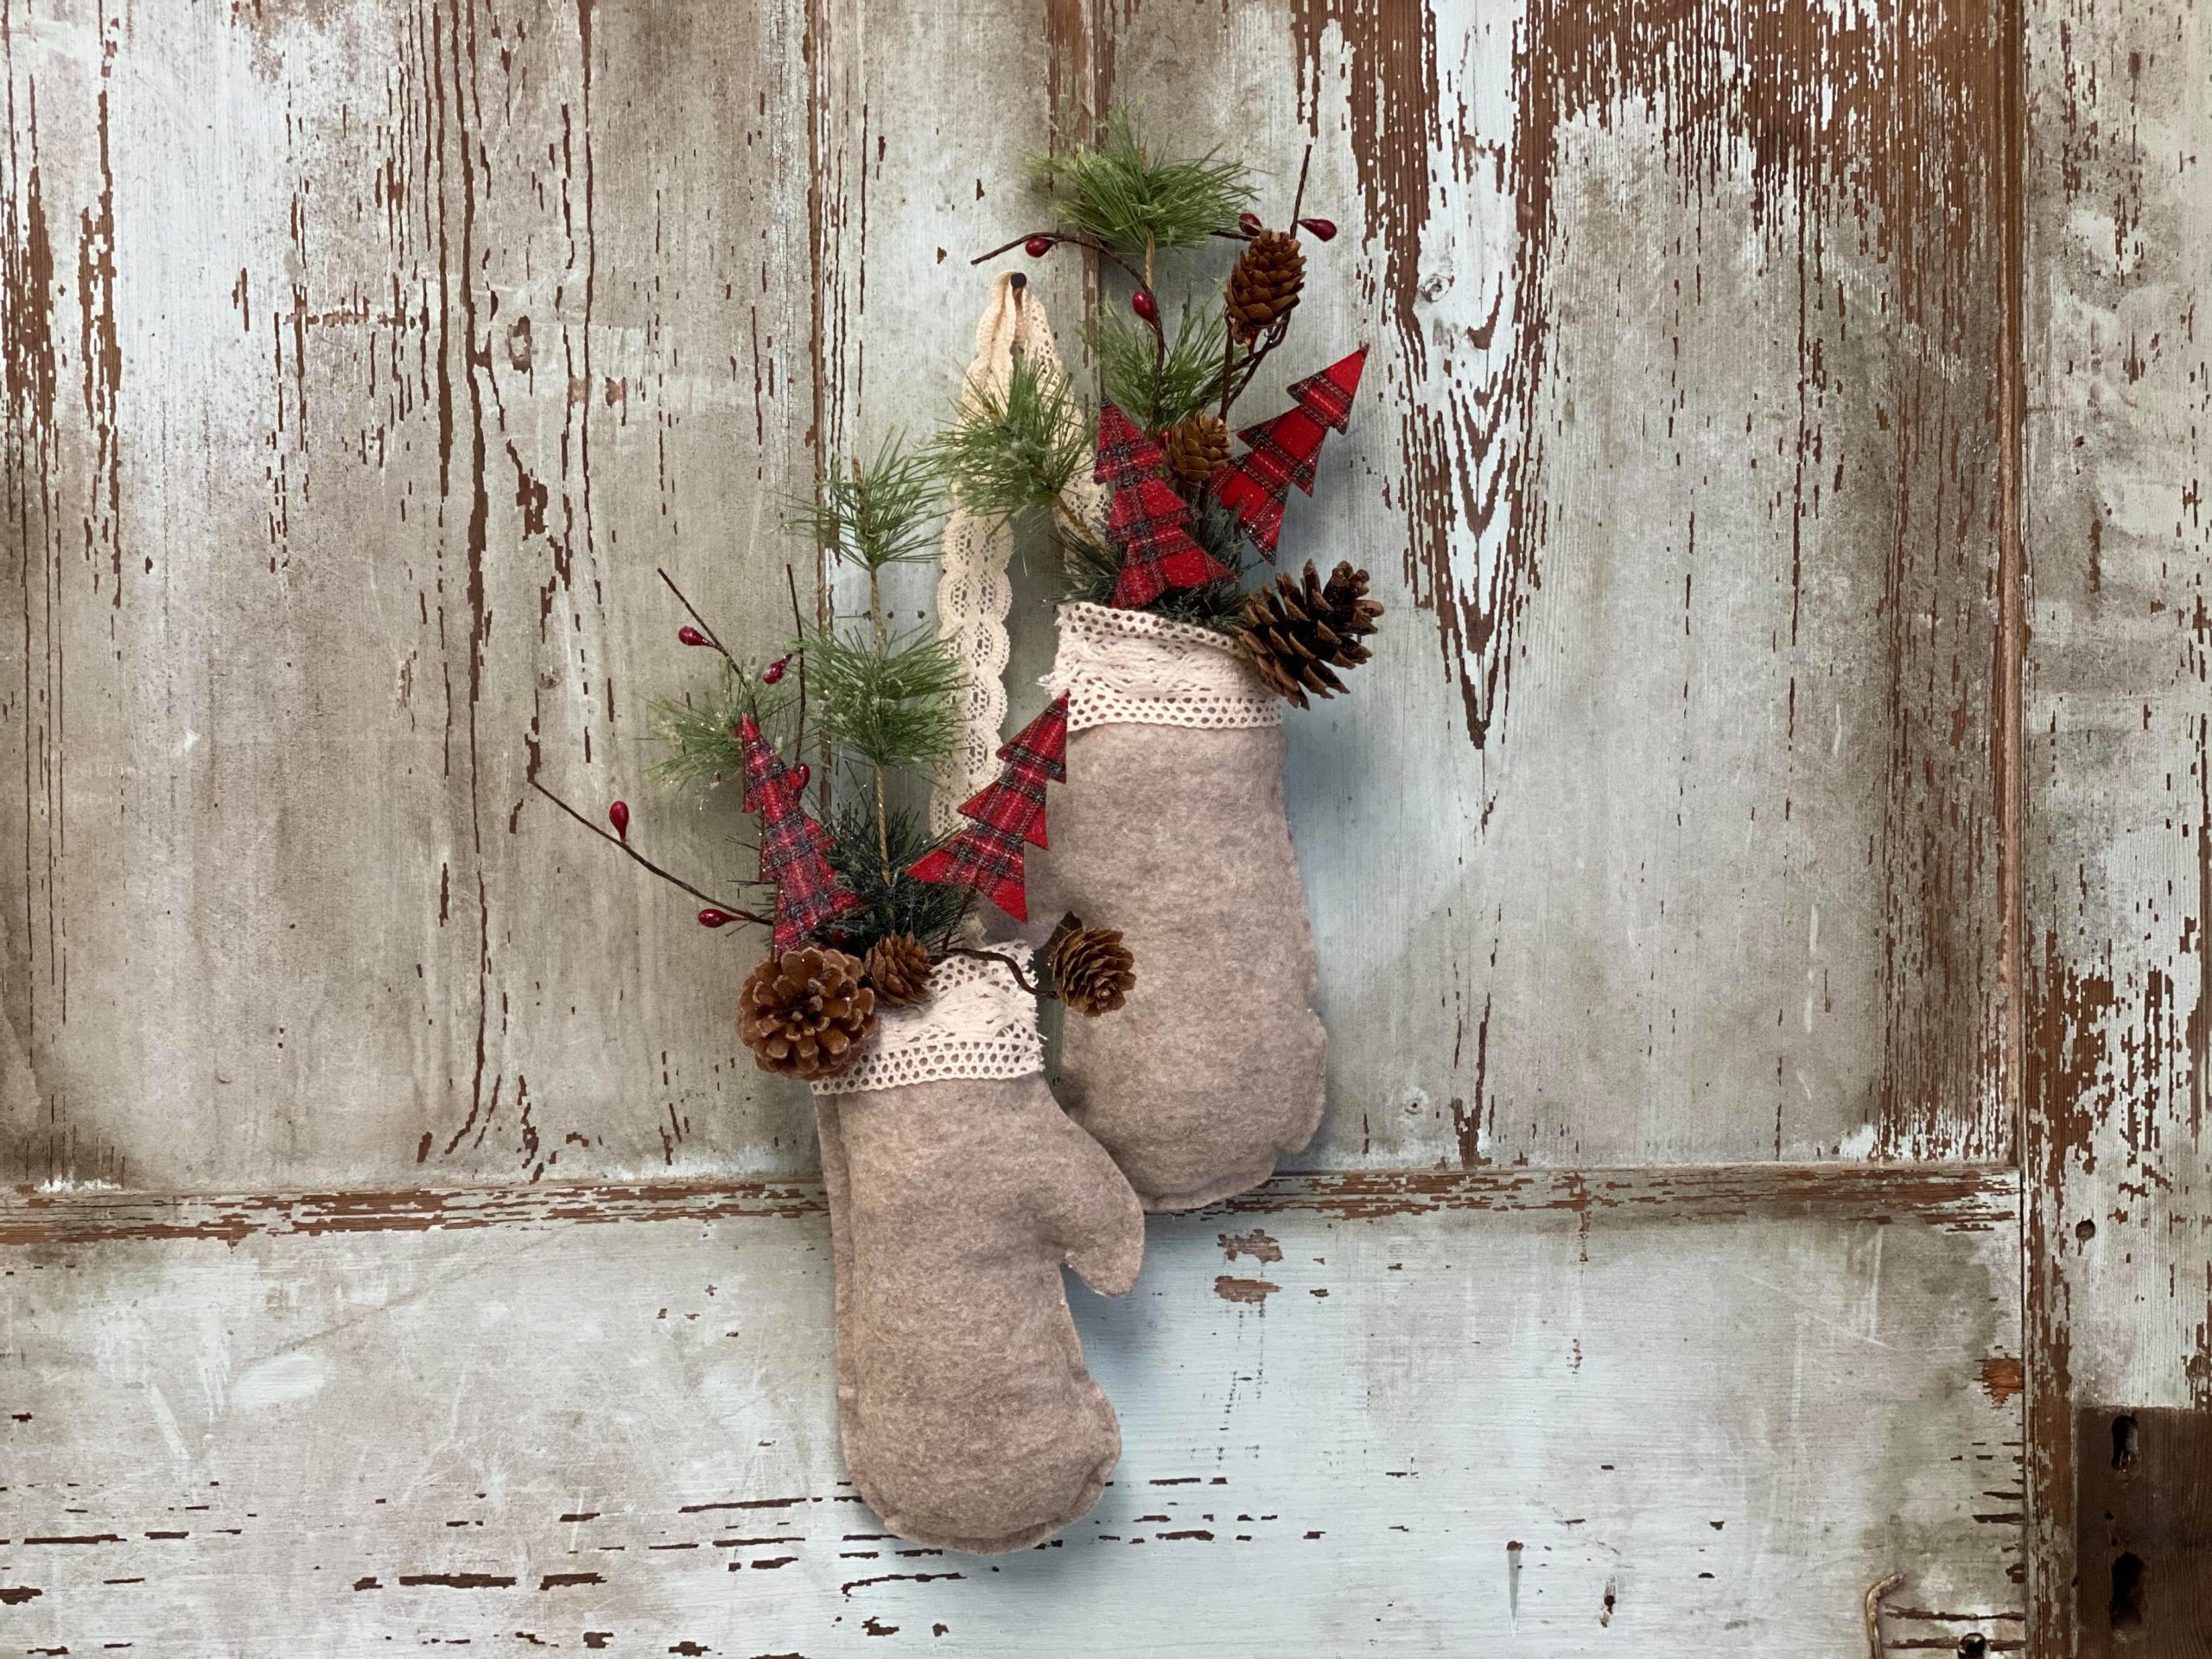
I love decorating for Christmas and I wanted to make something fun that can be hung on my tree or even hung on one of my cabinets. I came up with the idea for some decorative mittens because I thought these would look so cute with our DIY snowman hat that we made last year here at The Shabby Tree.

The supplies I will be using are:
1. The mitten pattern that you can print from down below
2. Two sheets of felt that measure 9”x12” (I am using a sandstone color felt)
3. Surebonder fabric glue for glue gun
4. Scissors
5. Pen or marker
6. Polyfill stuffing
7. Greenery sprigs (I got mine from Hobby Lobby)
8. Ribbon (I am using using from Hobby Lobby)
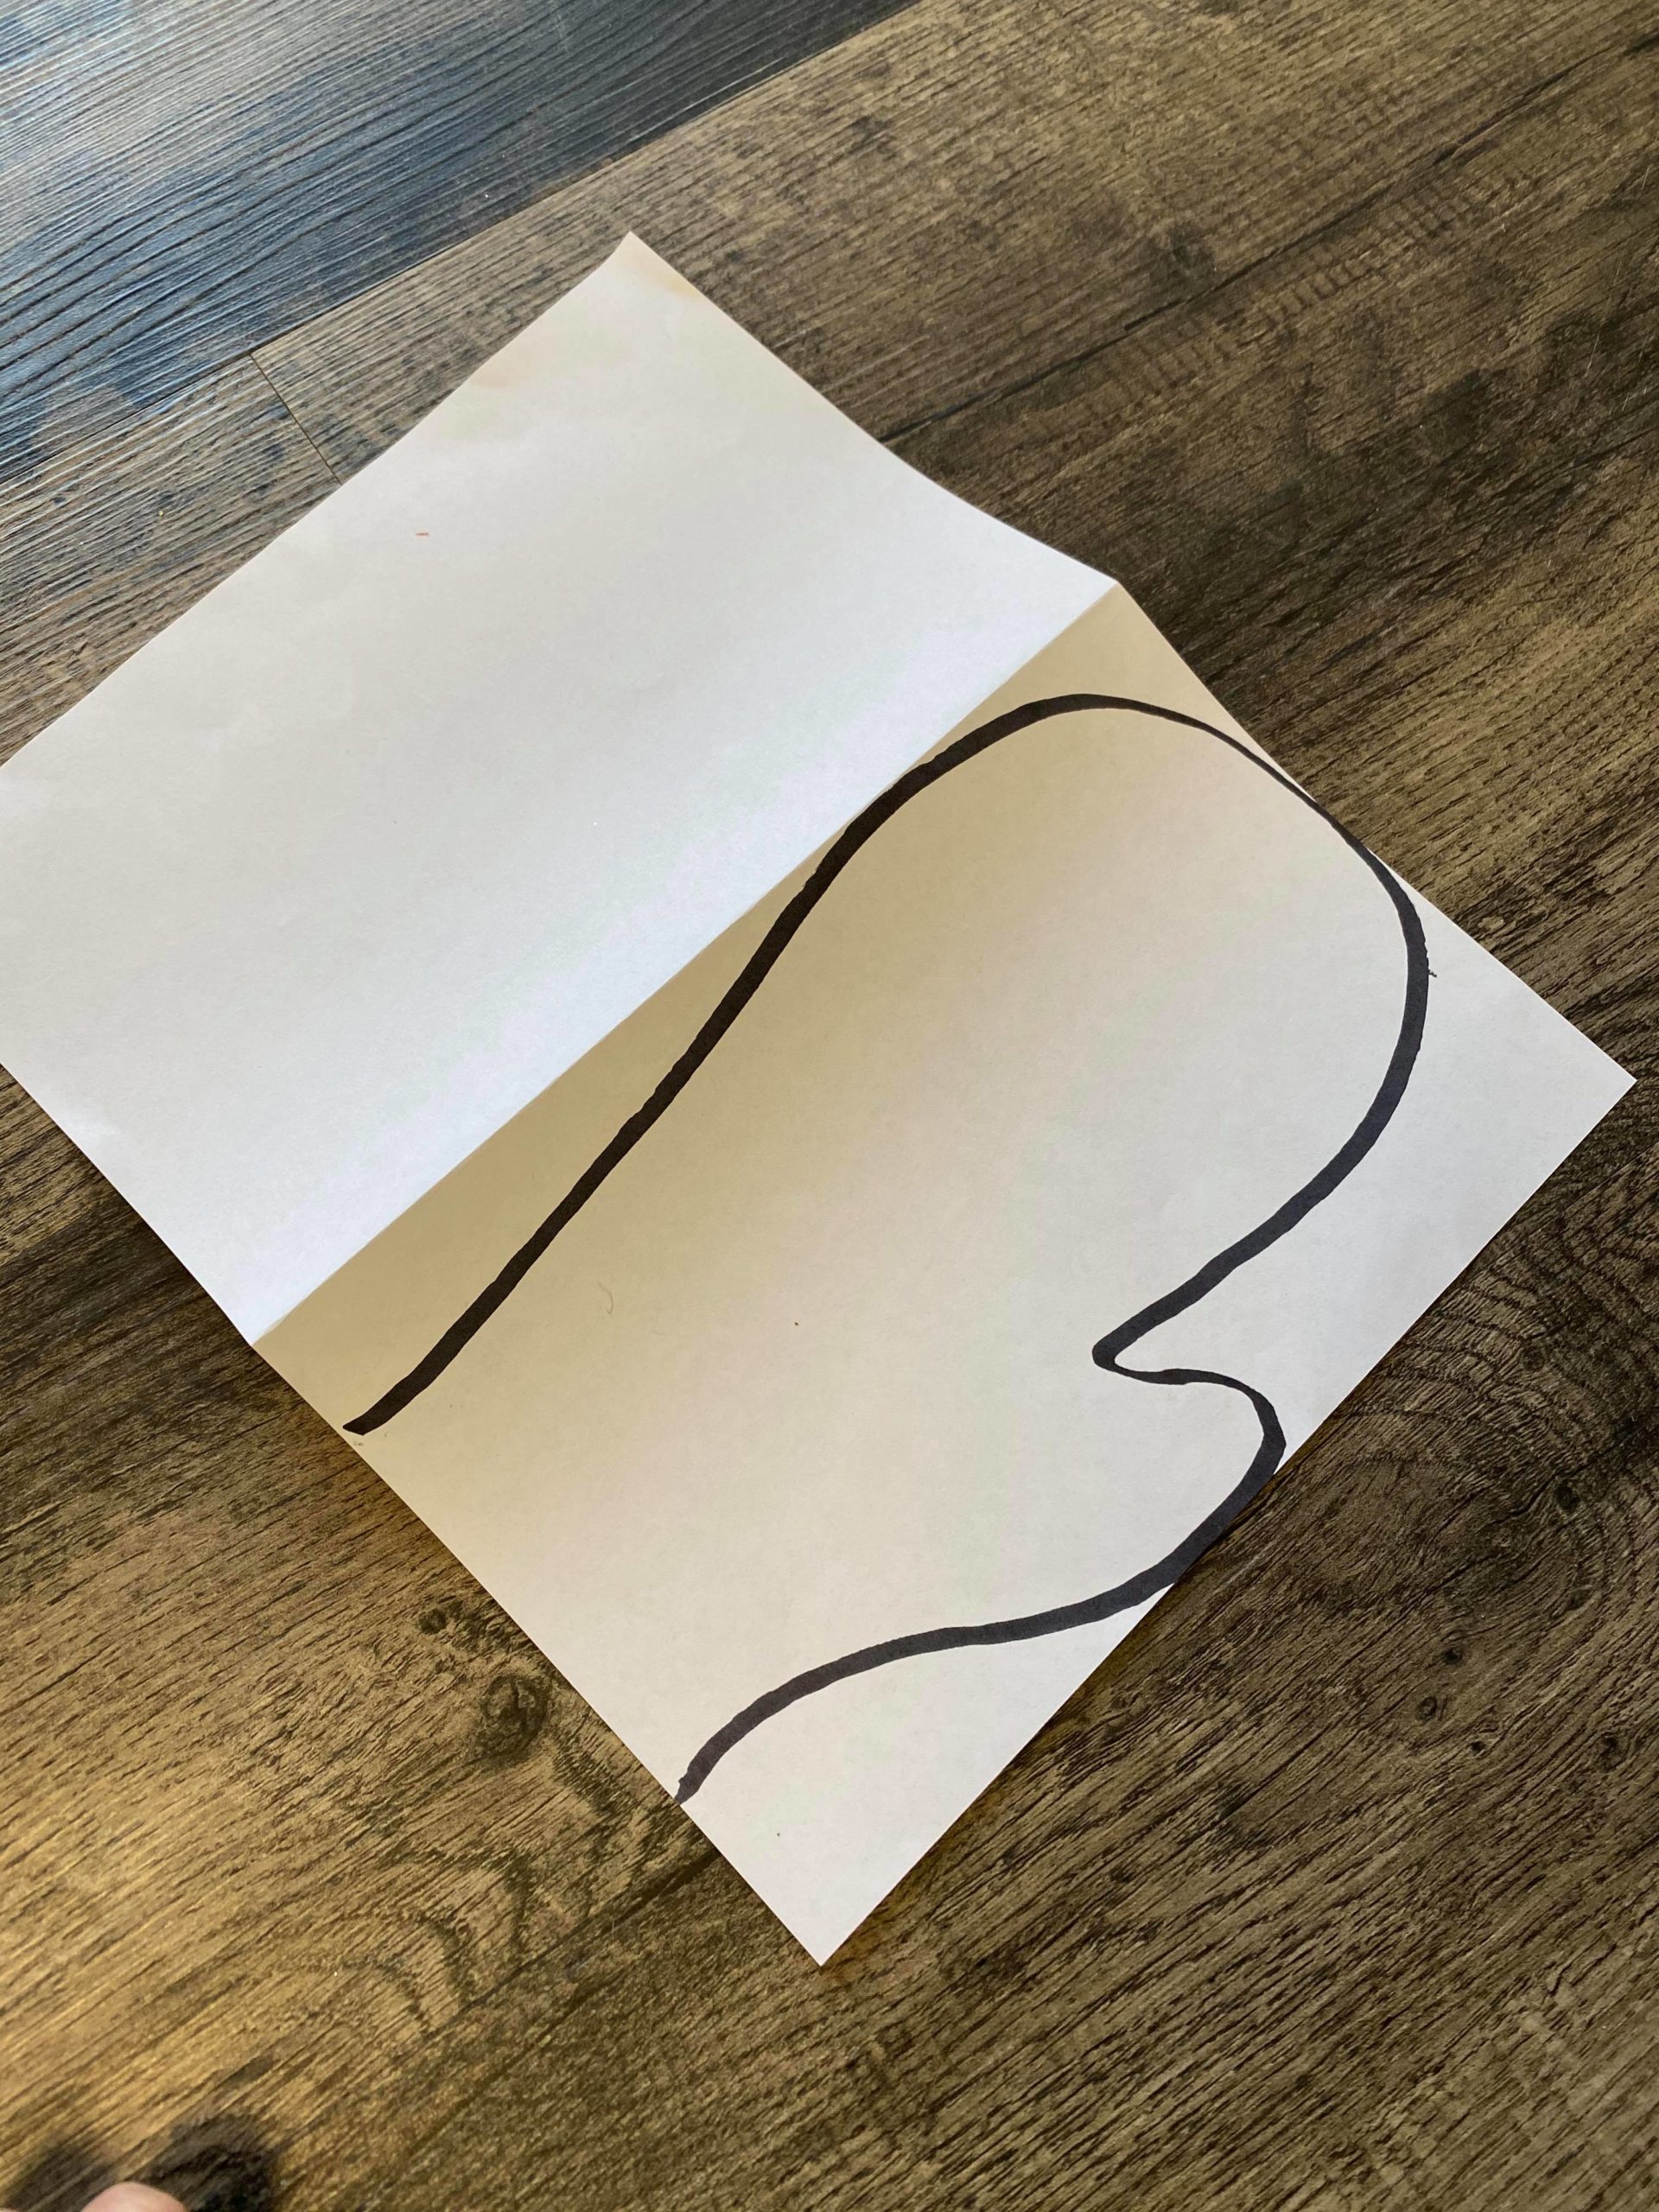
You will want to print your pattern on an 8×10 sheet of paper.
I folded my paper in half to to cut out two mittens but you can use just one.
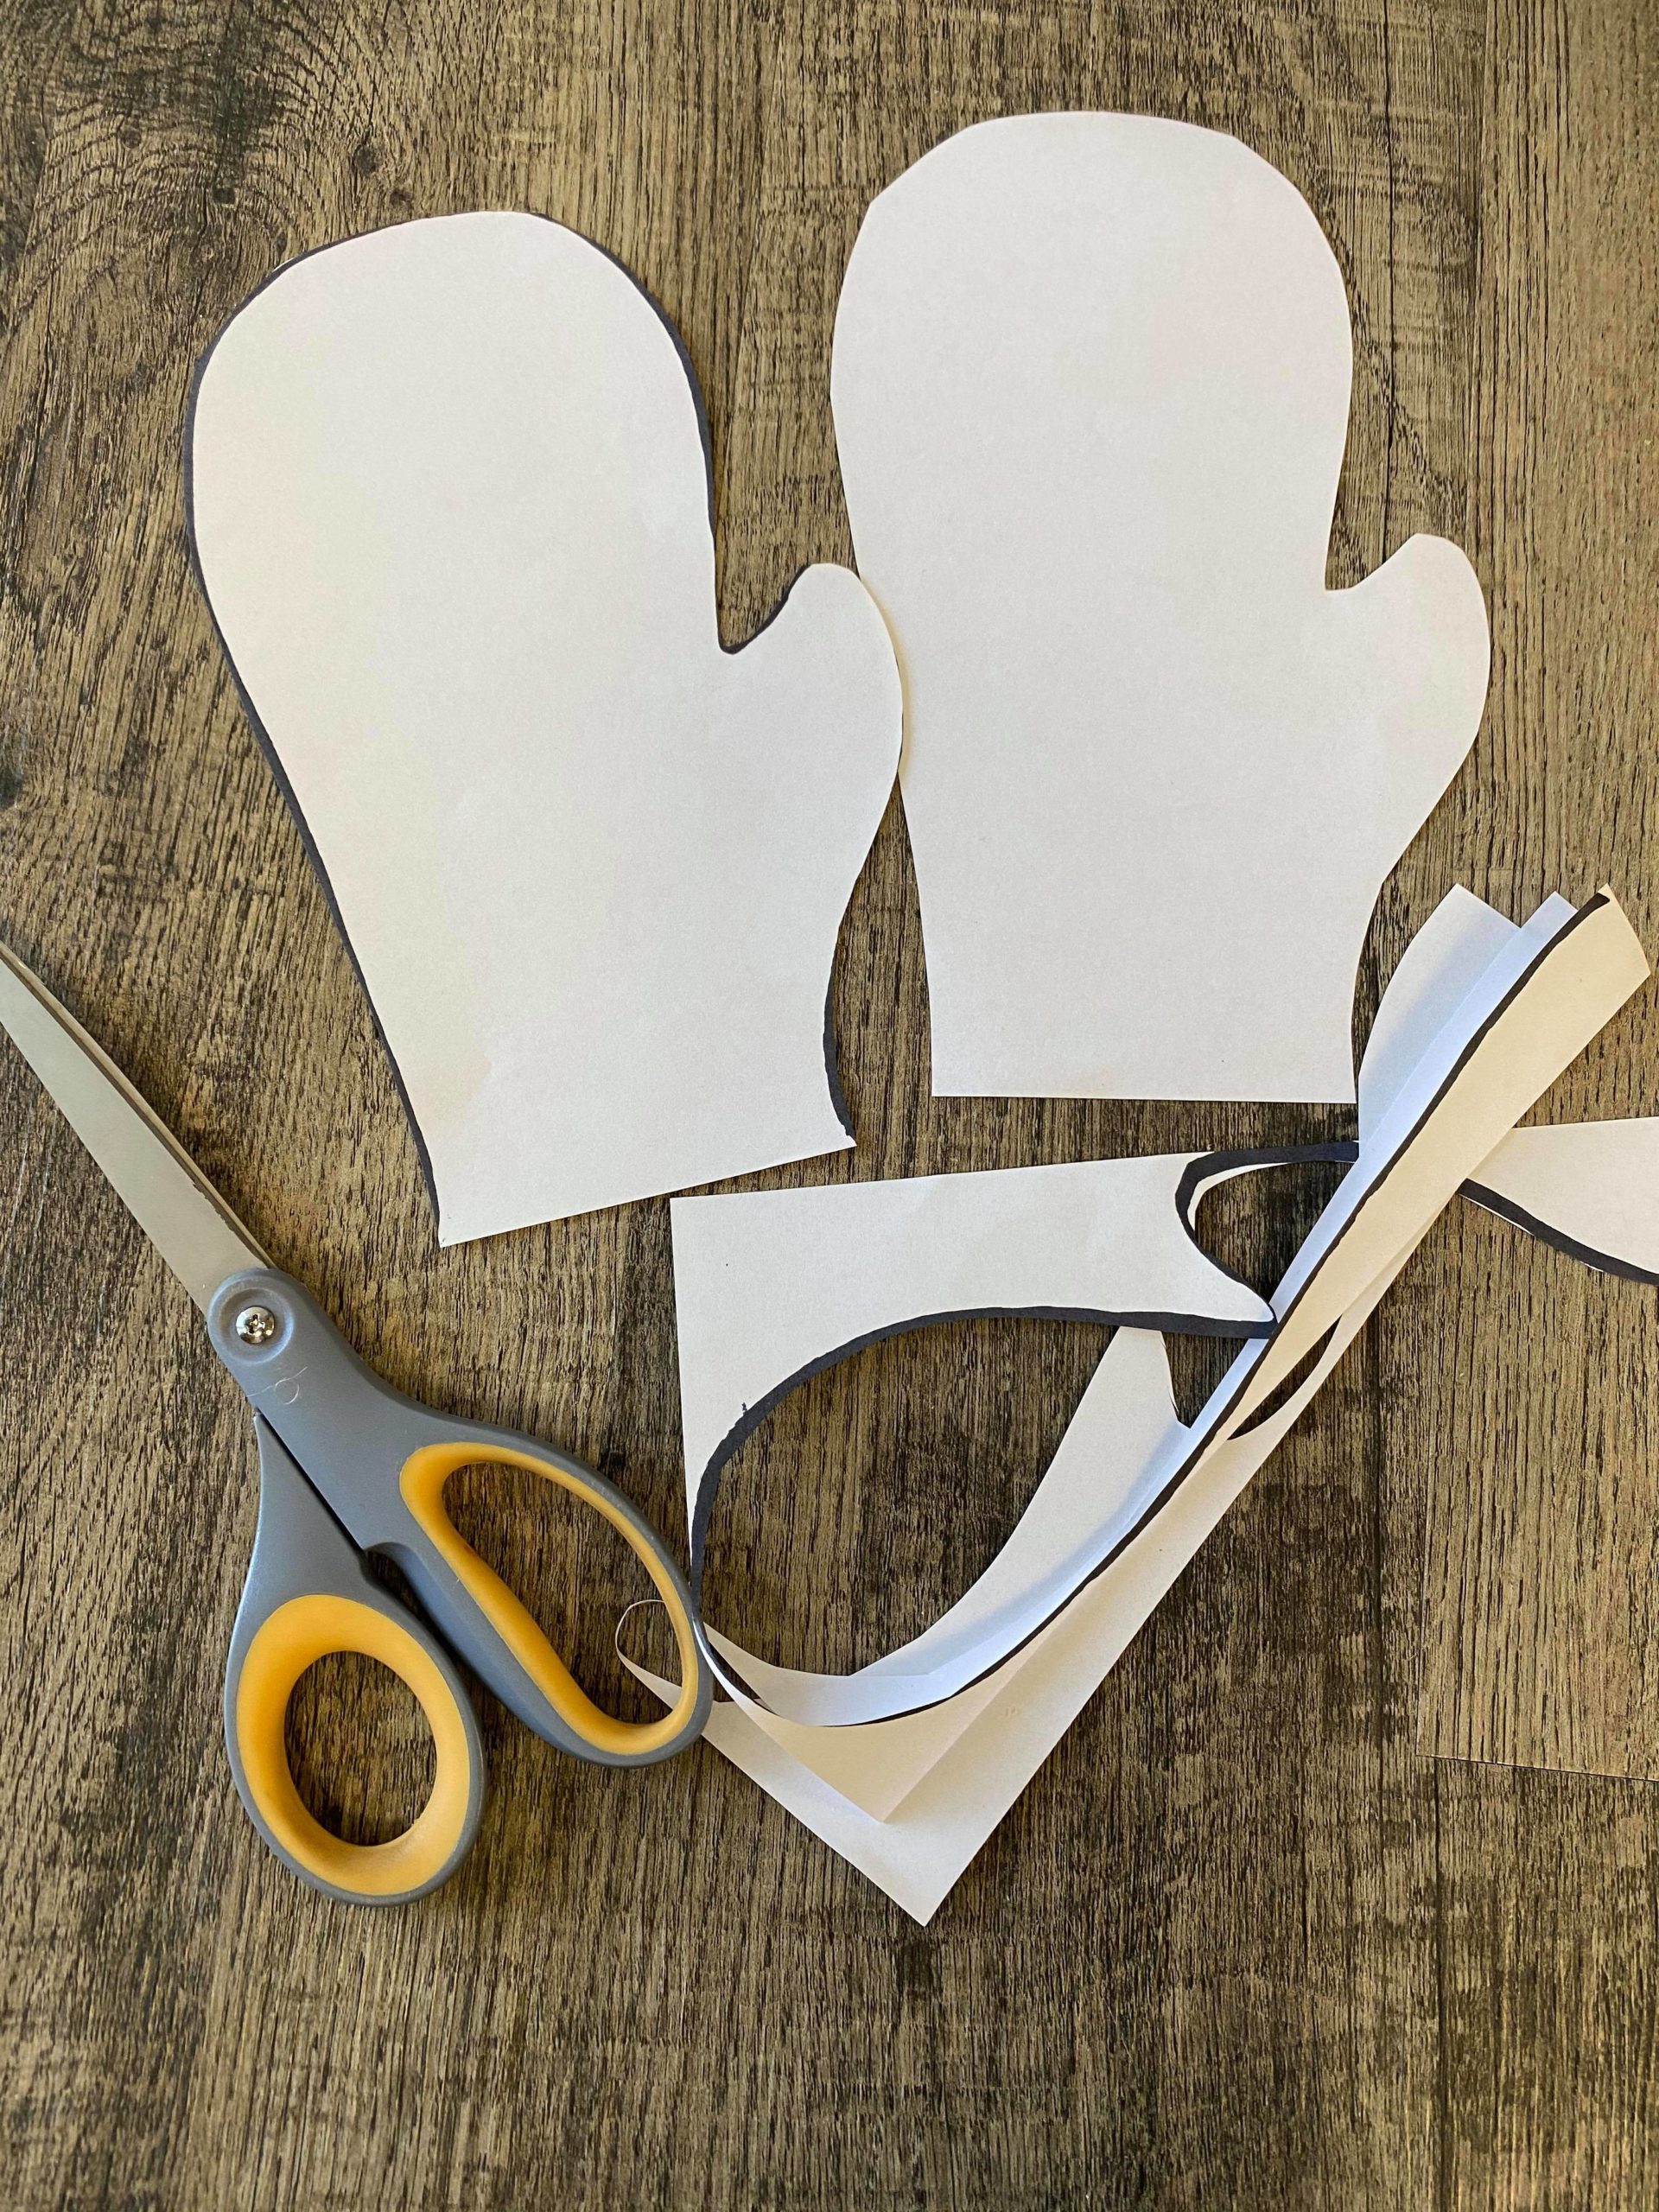
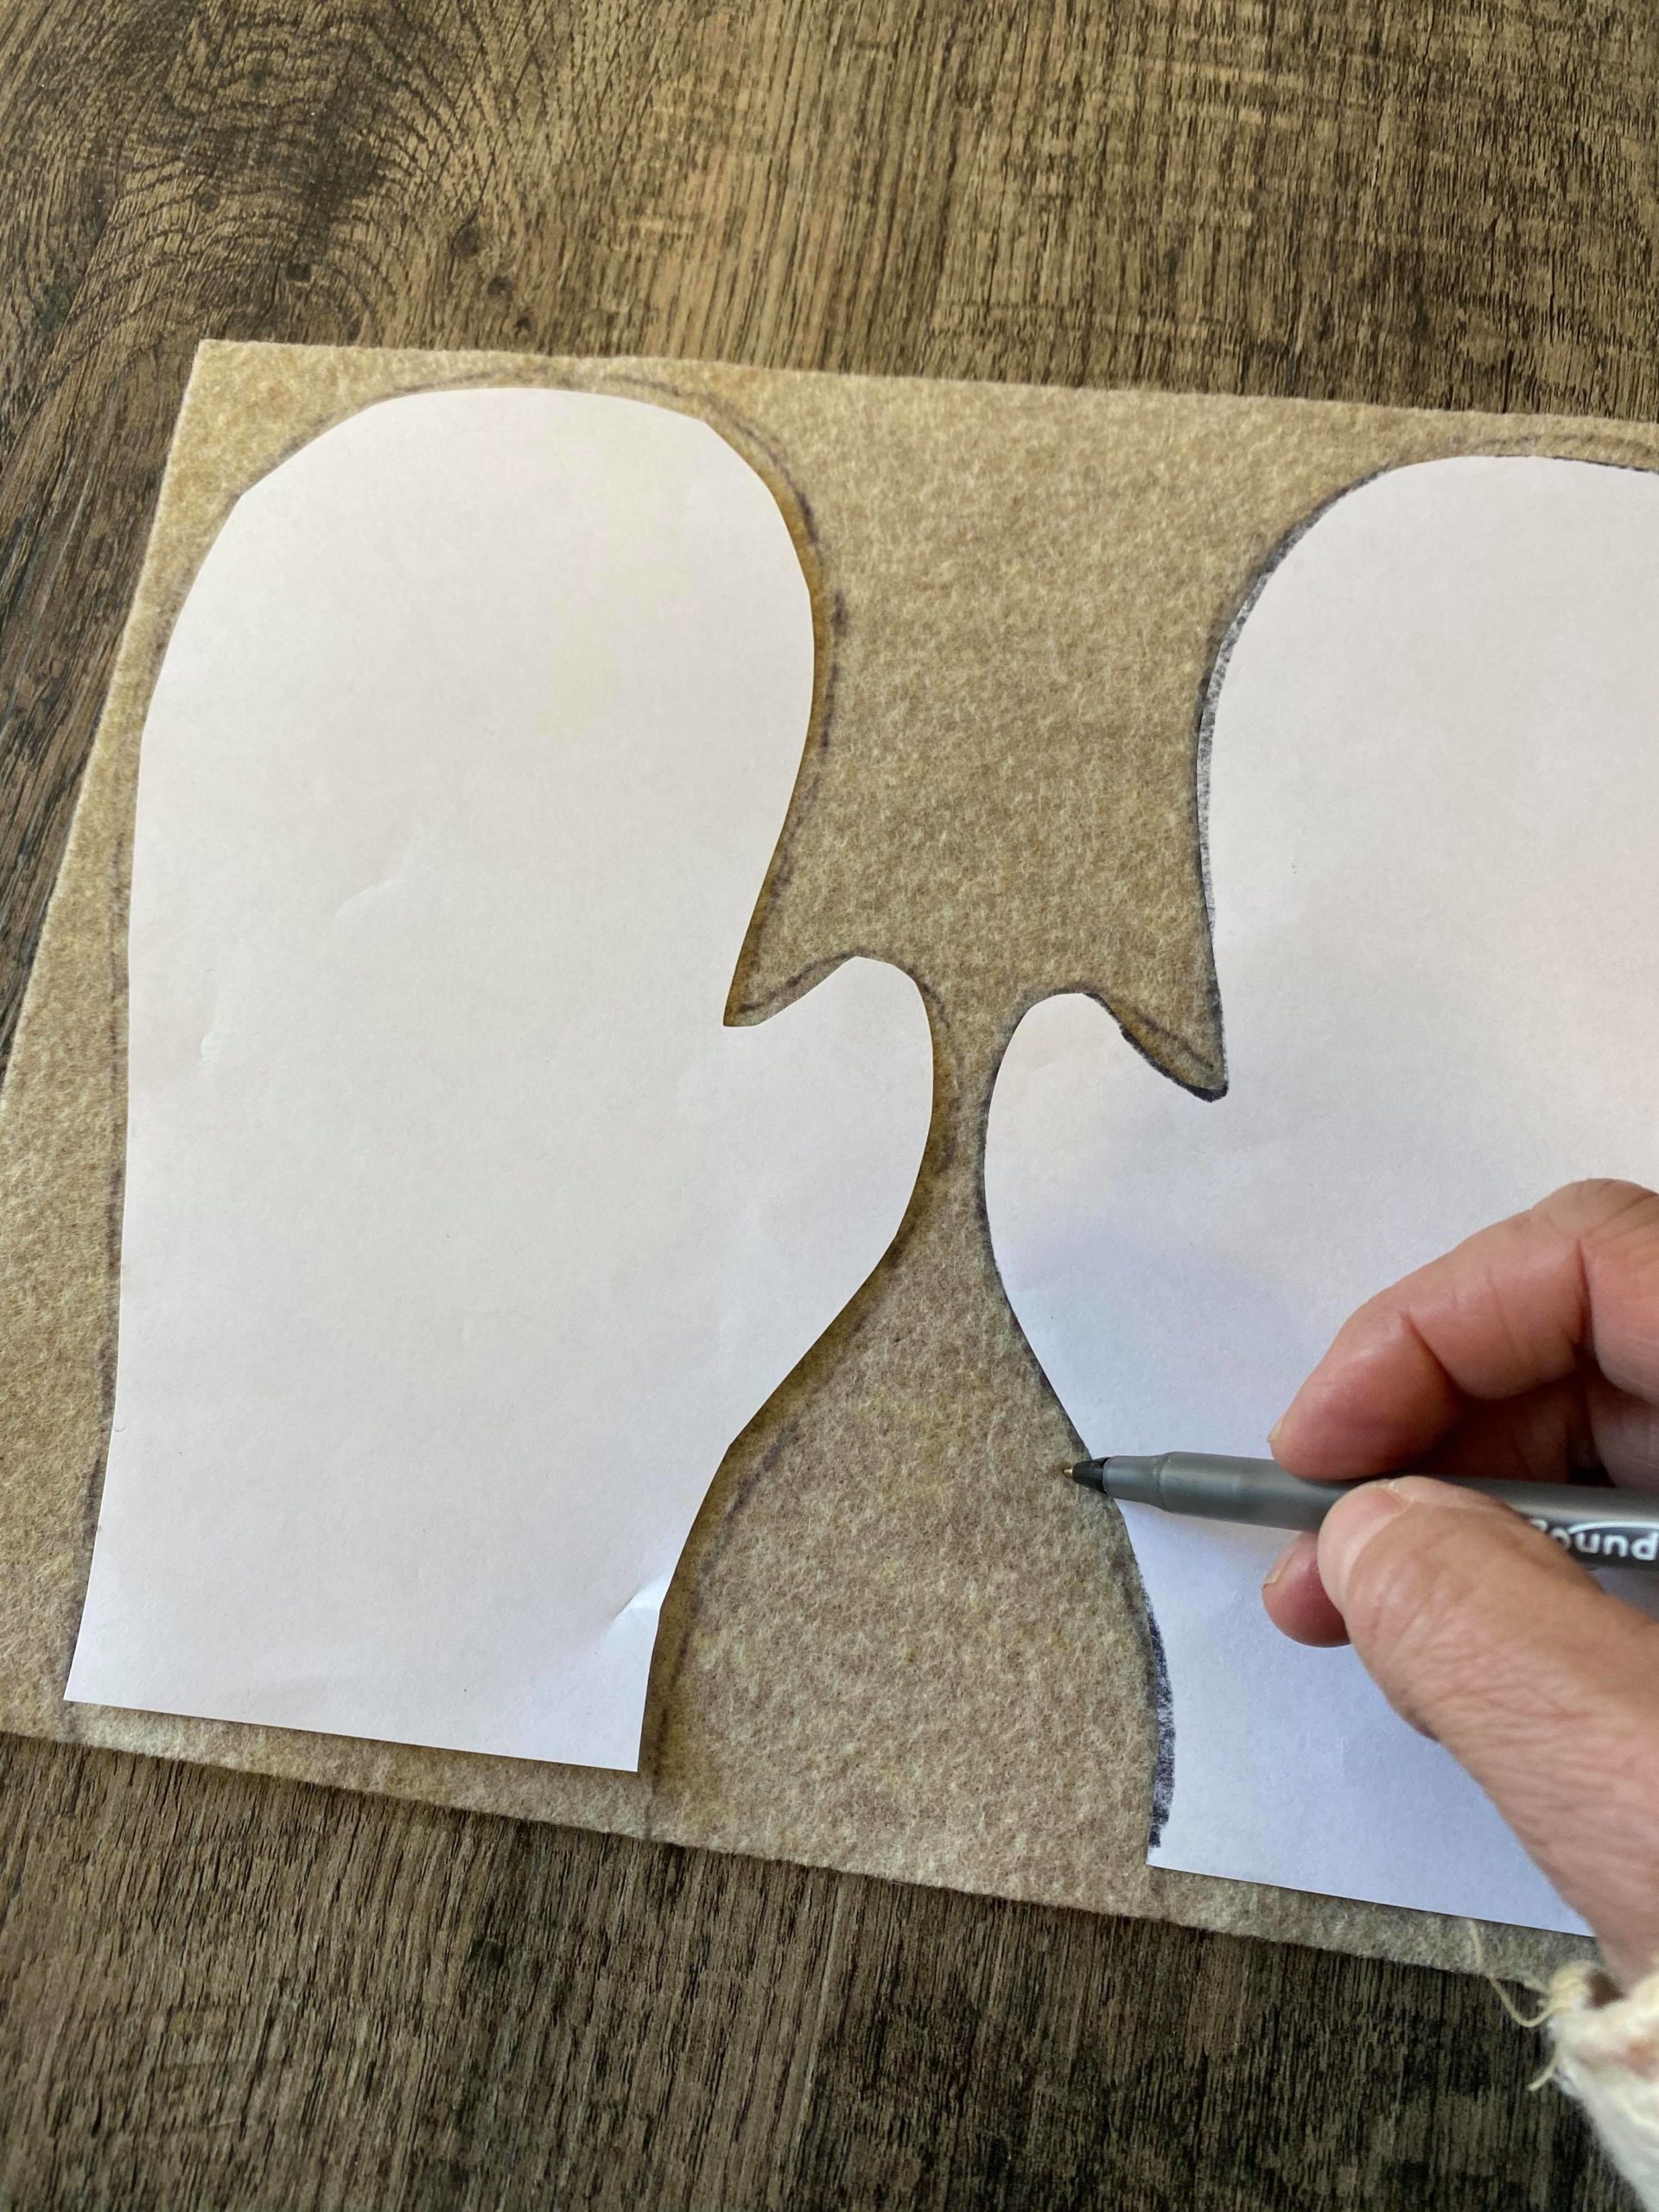
I traced my mittens into my piece of felt and then cut them out.
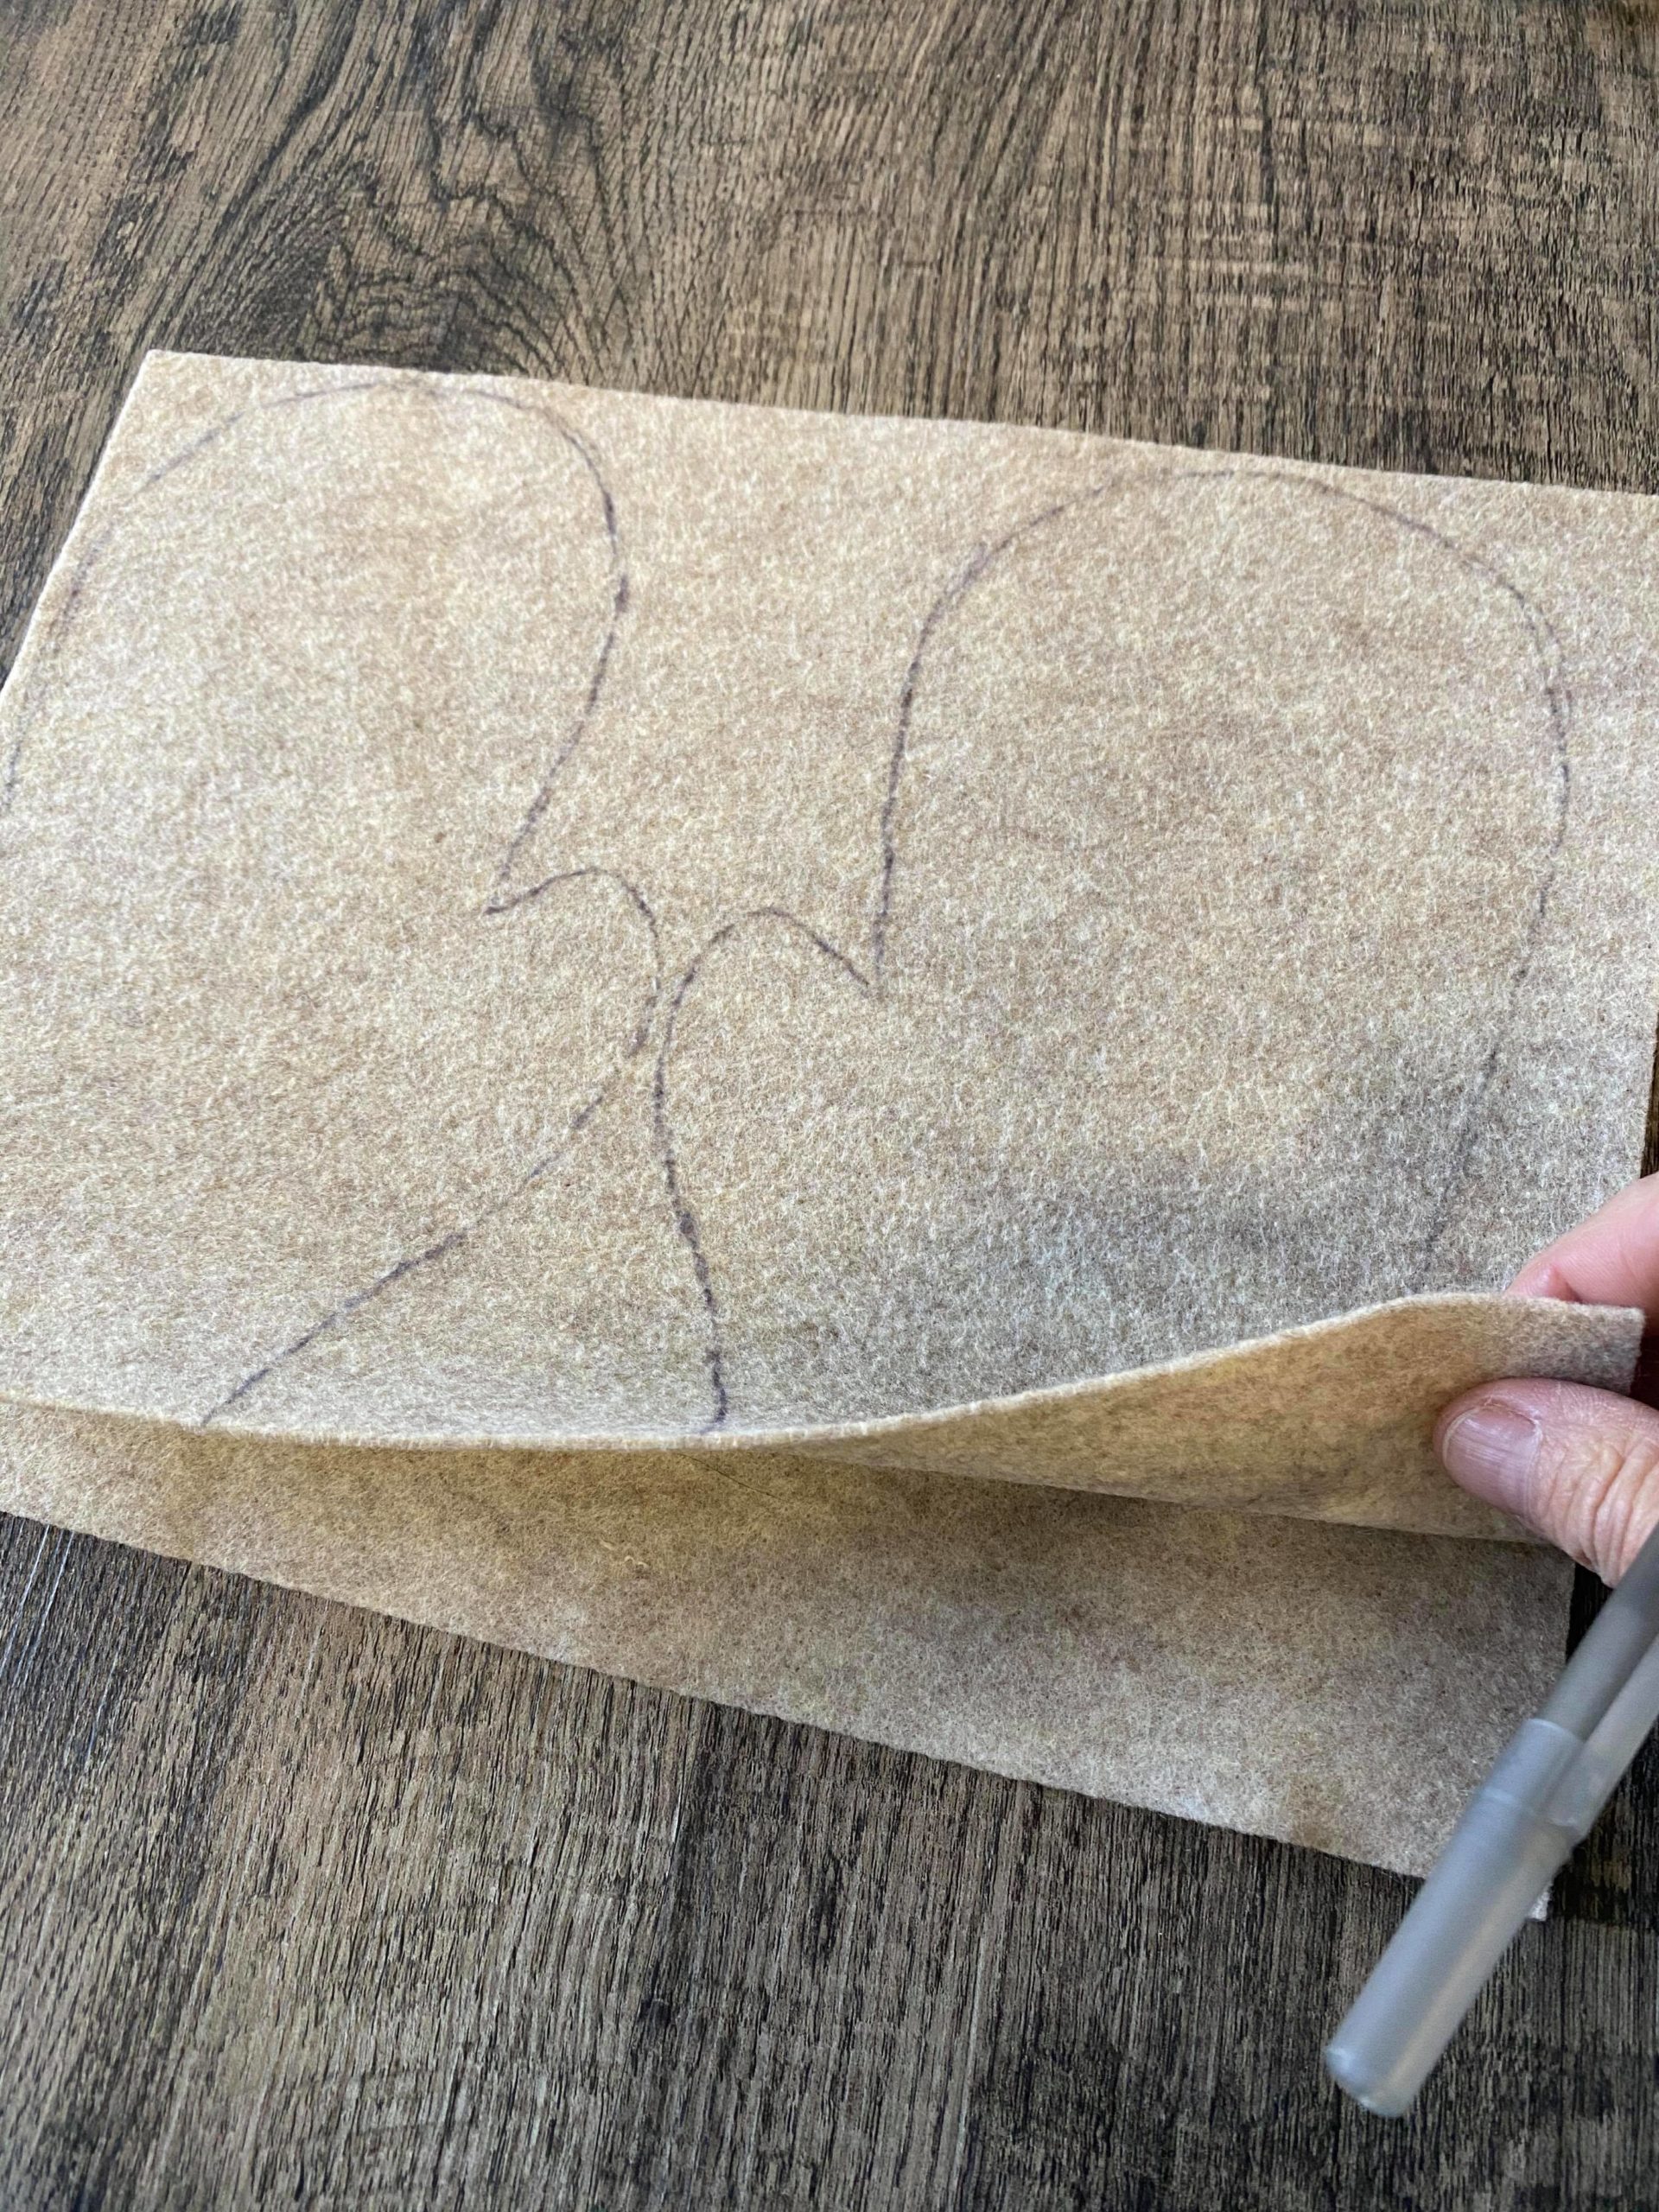
Be sure to double layer your felt before cutting them out. This way you will be cutting out your pair of mittens with back and fronts.

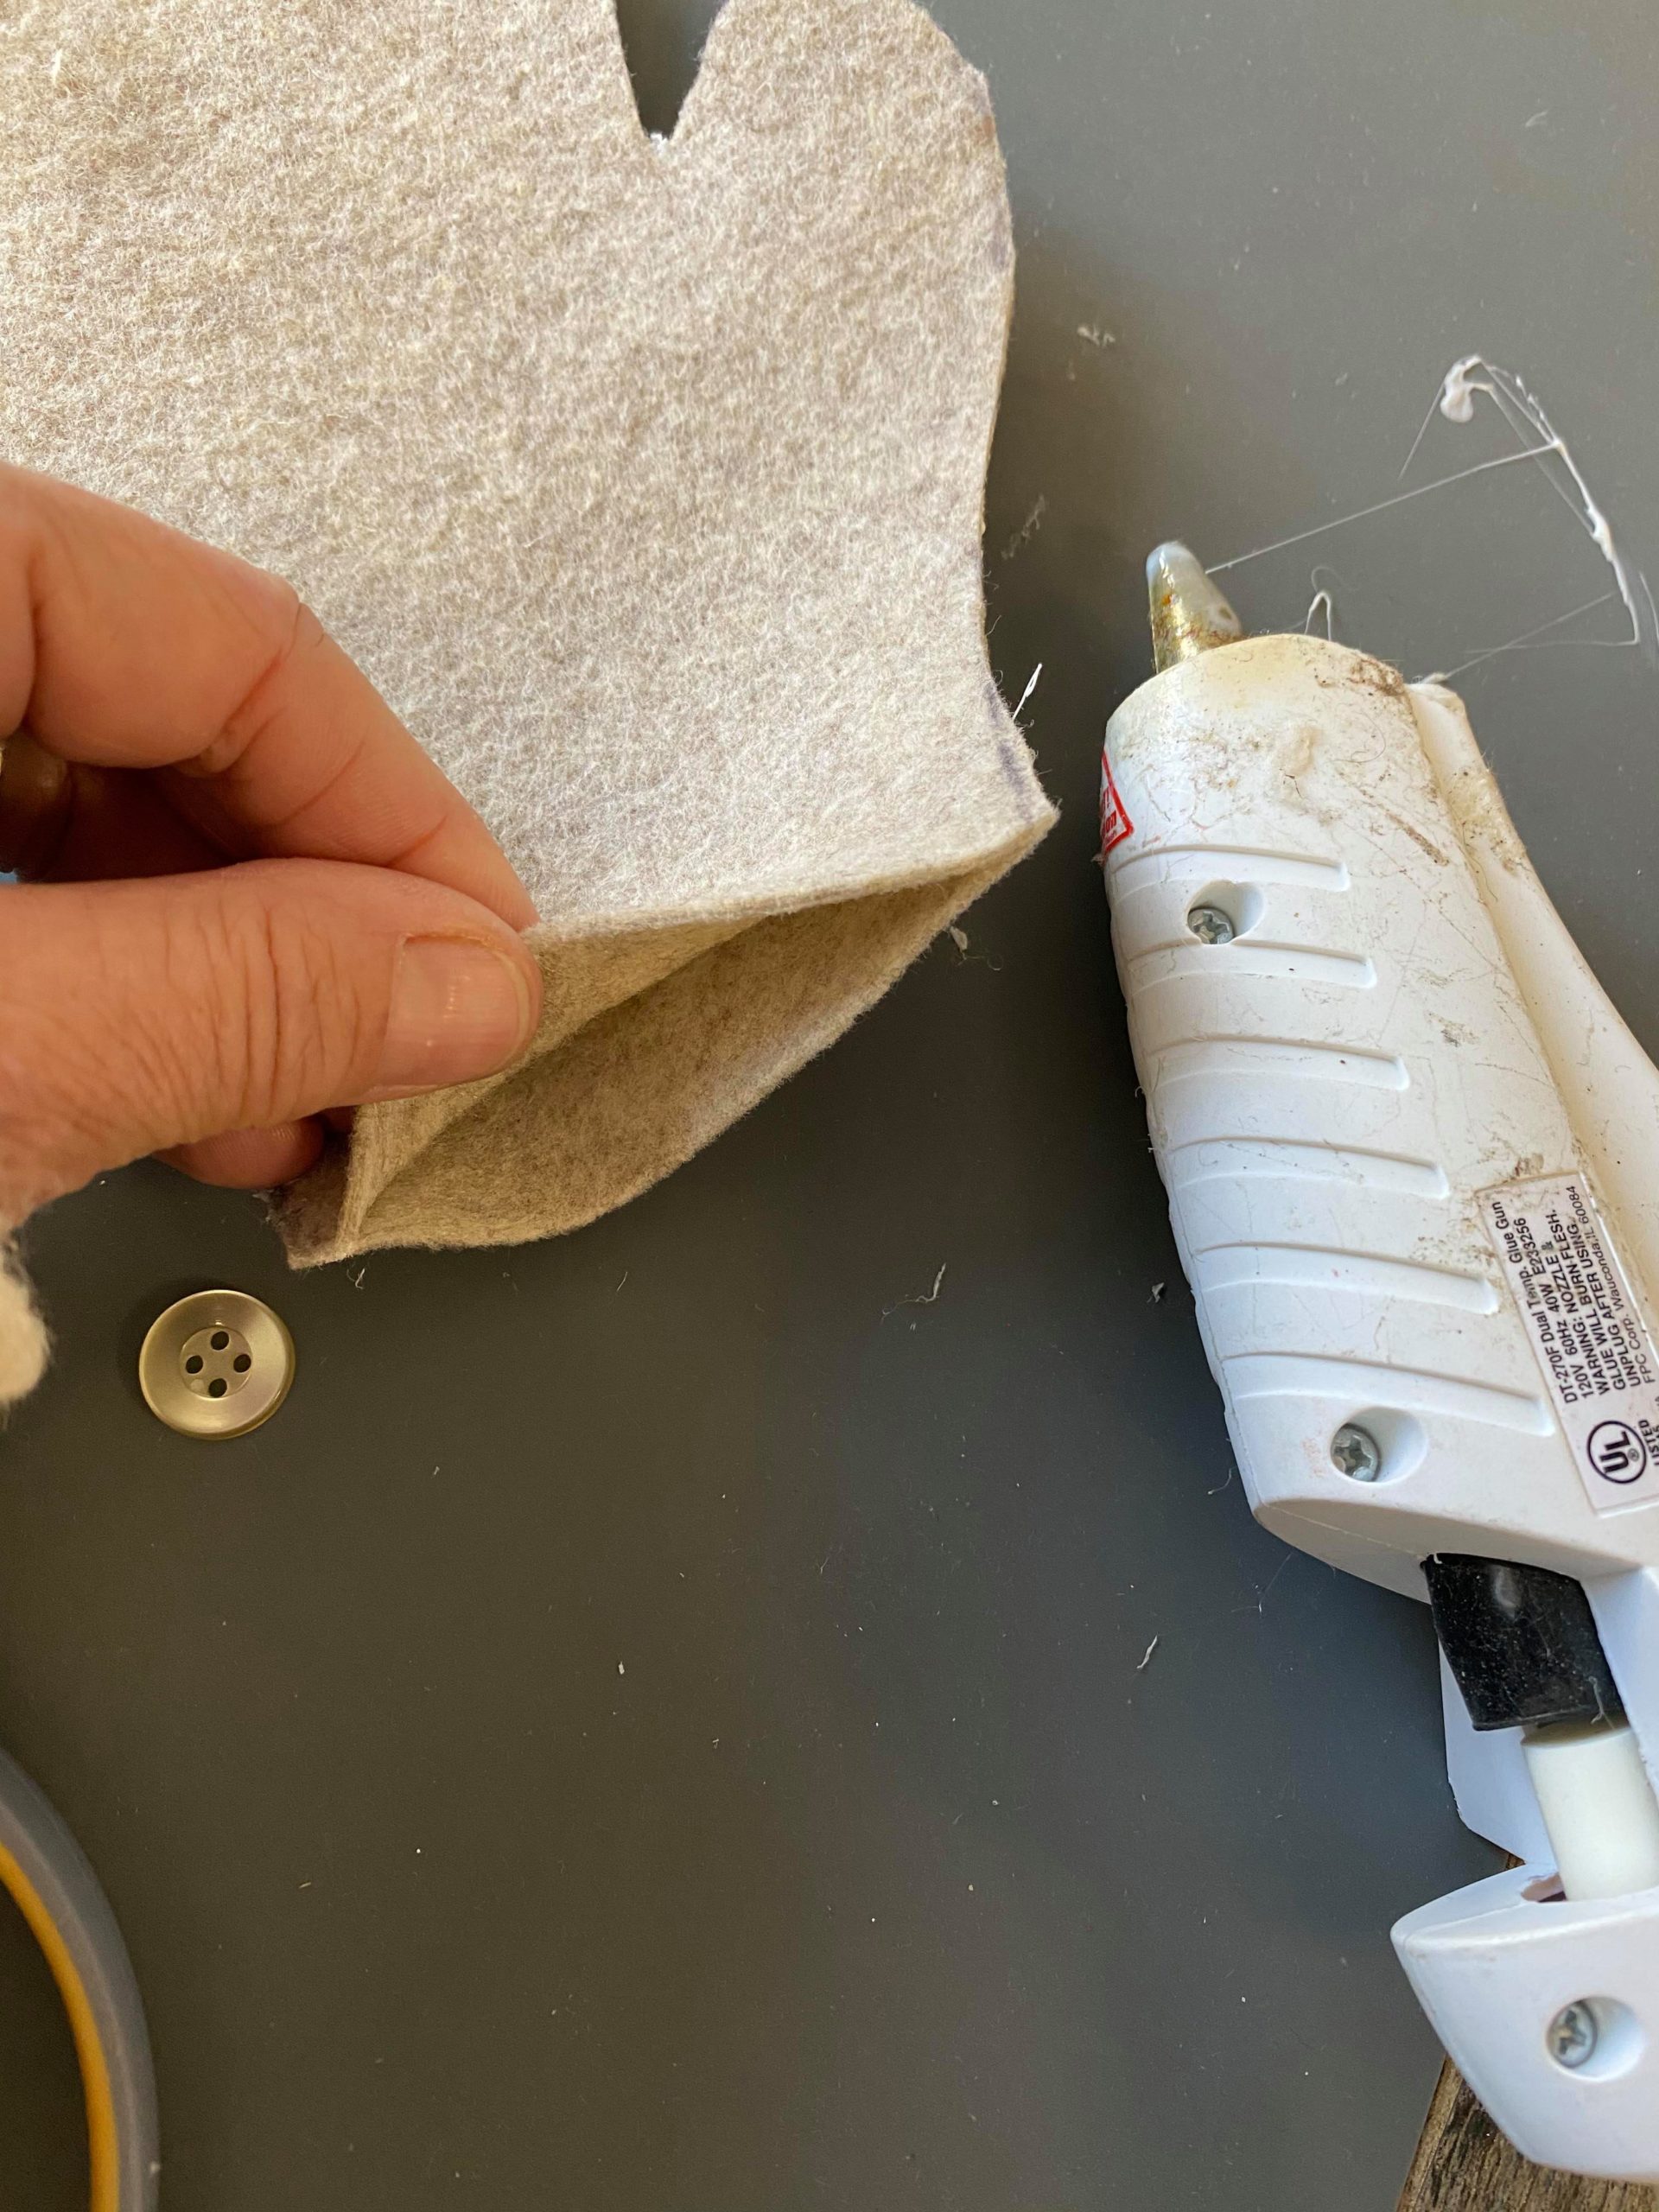
Next you will glue them together with the surebonder fabric hot glue sticks.
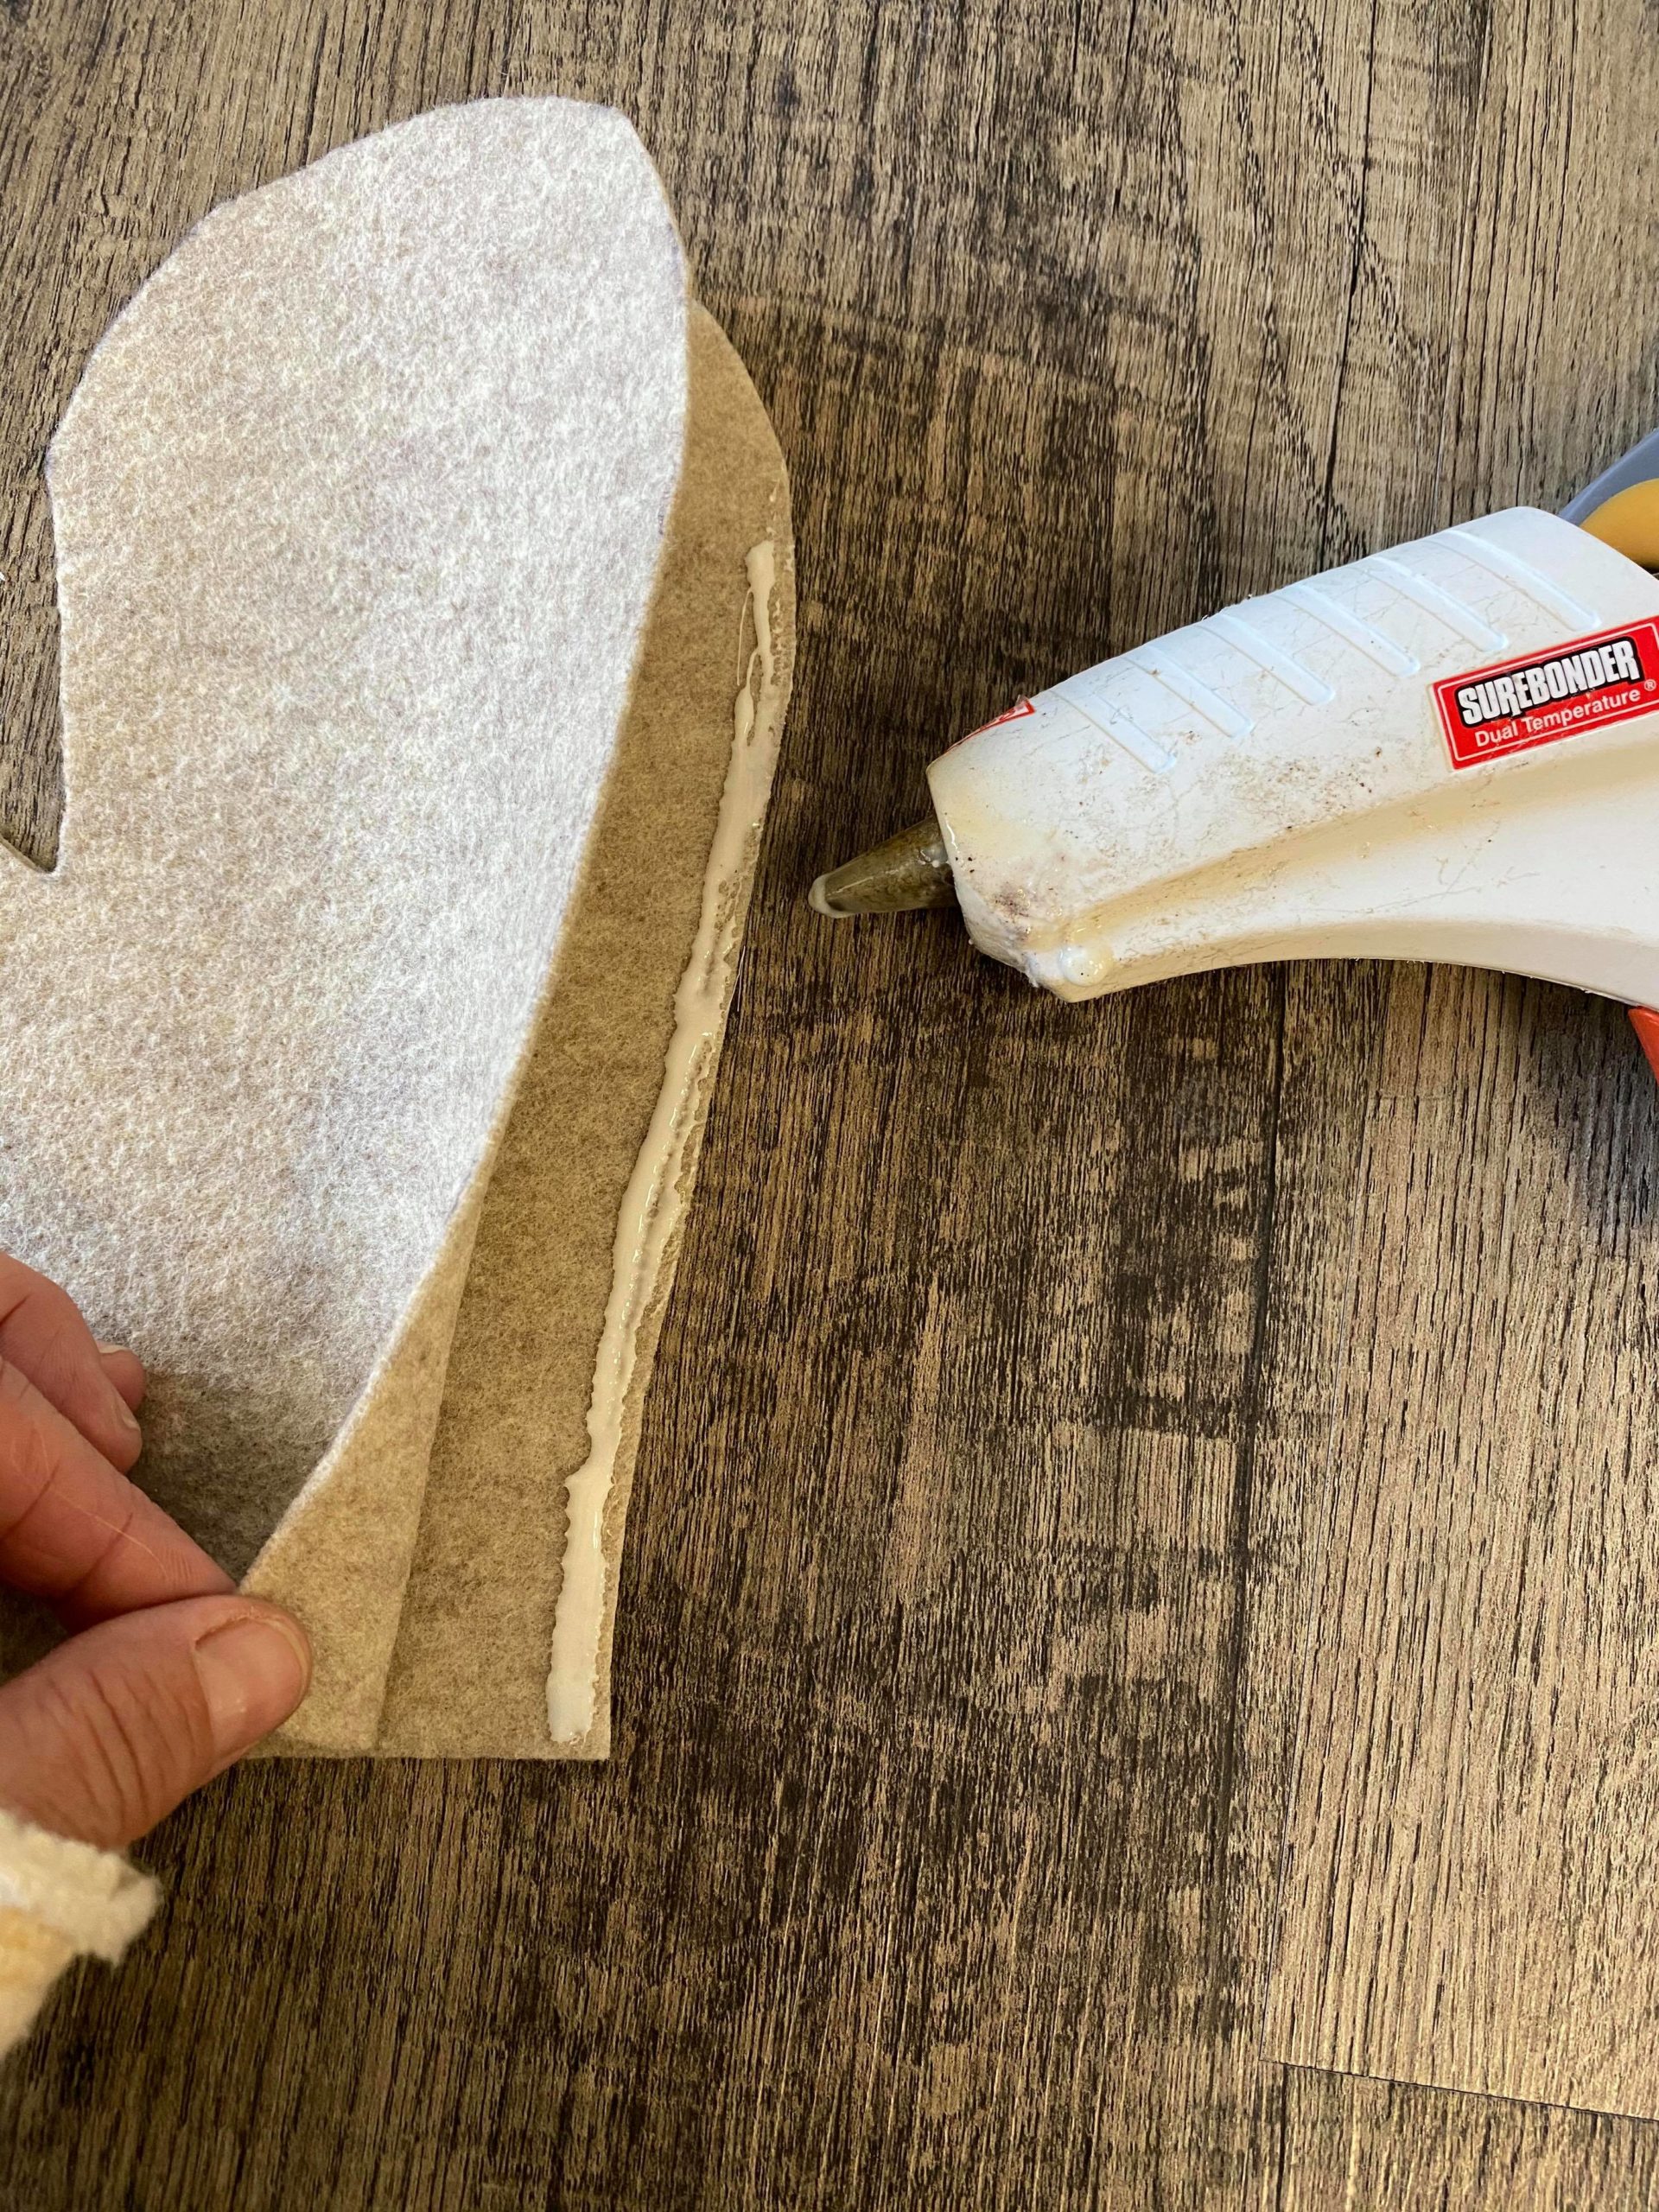
Be sure to leave the top part of the mitten opened so that you can add the stuffing.
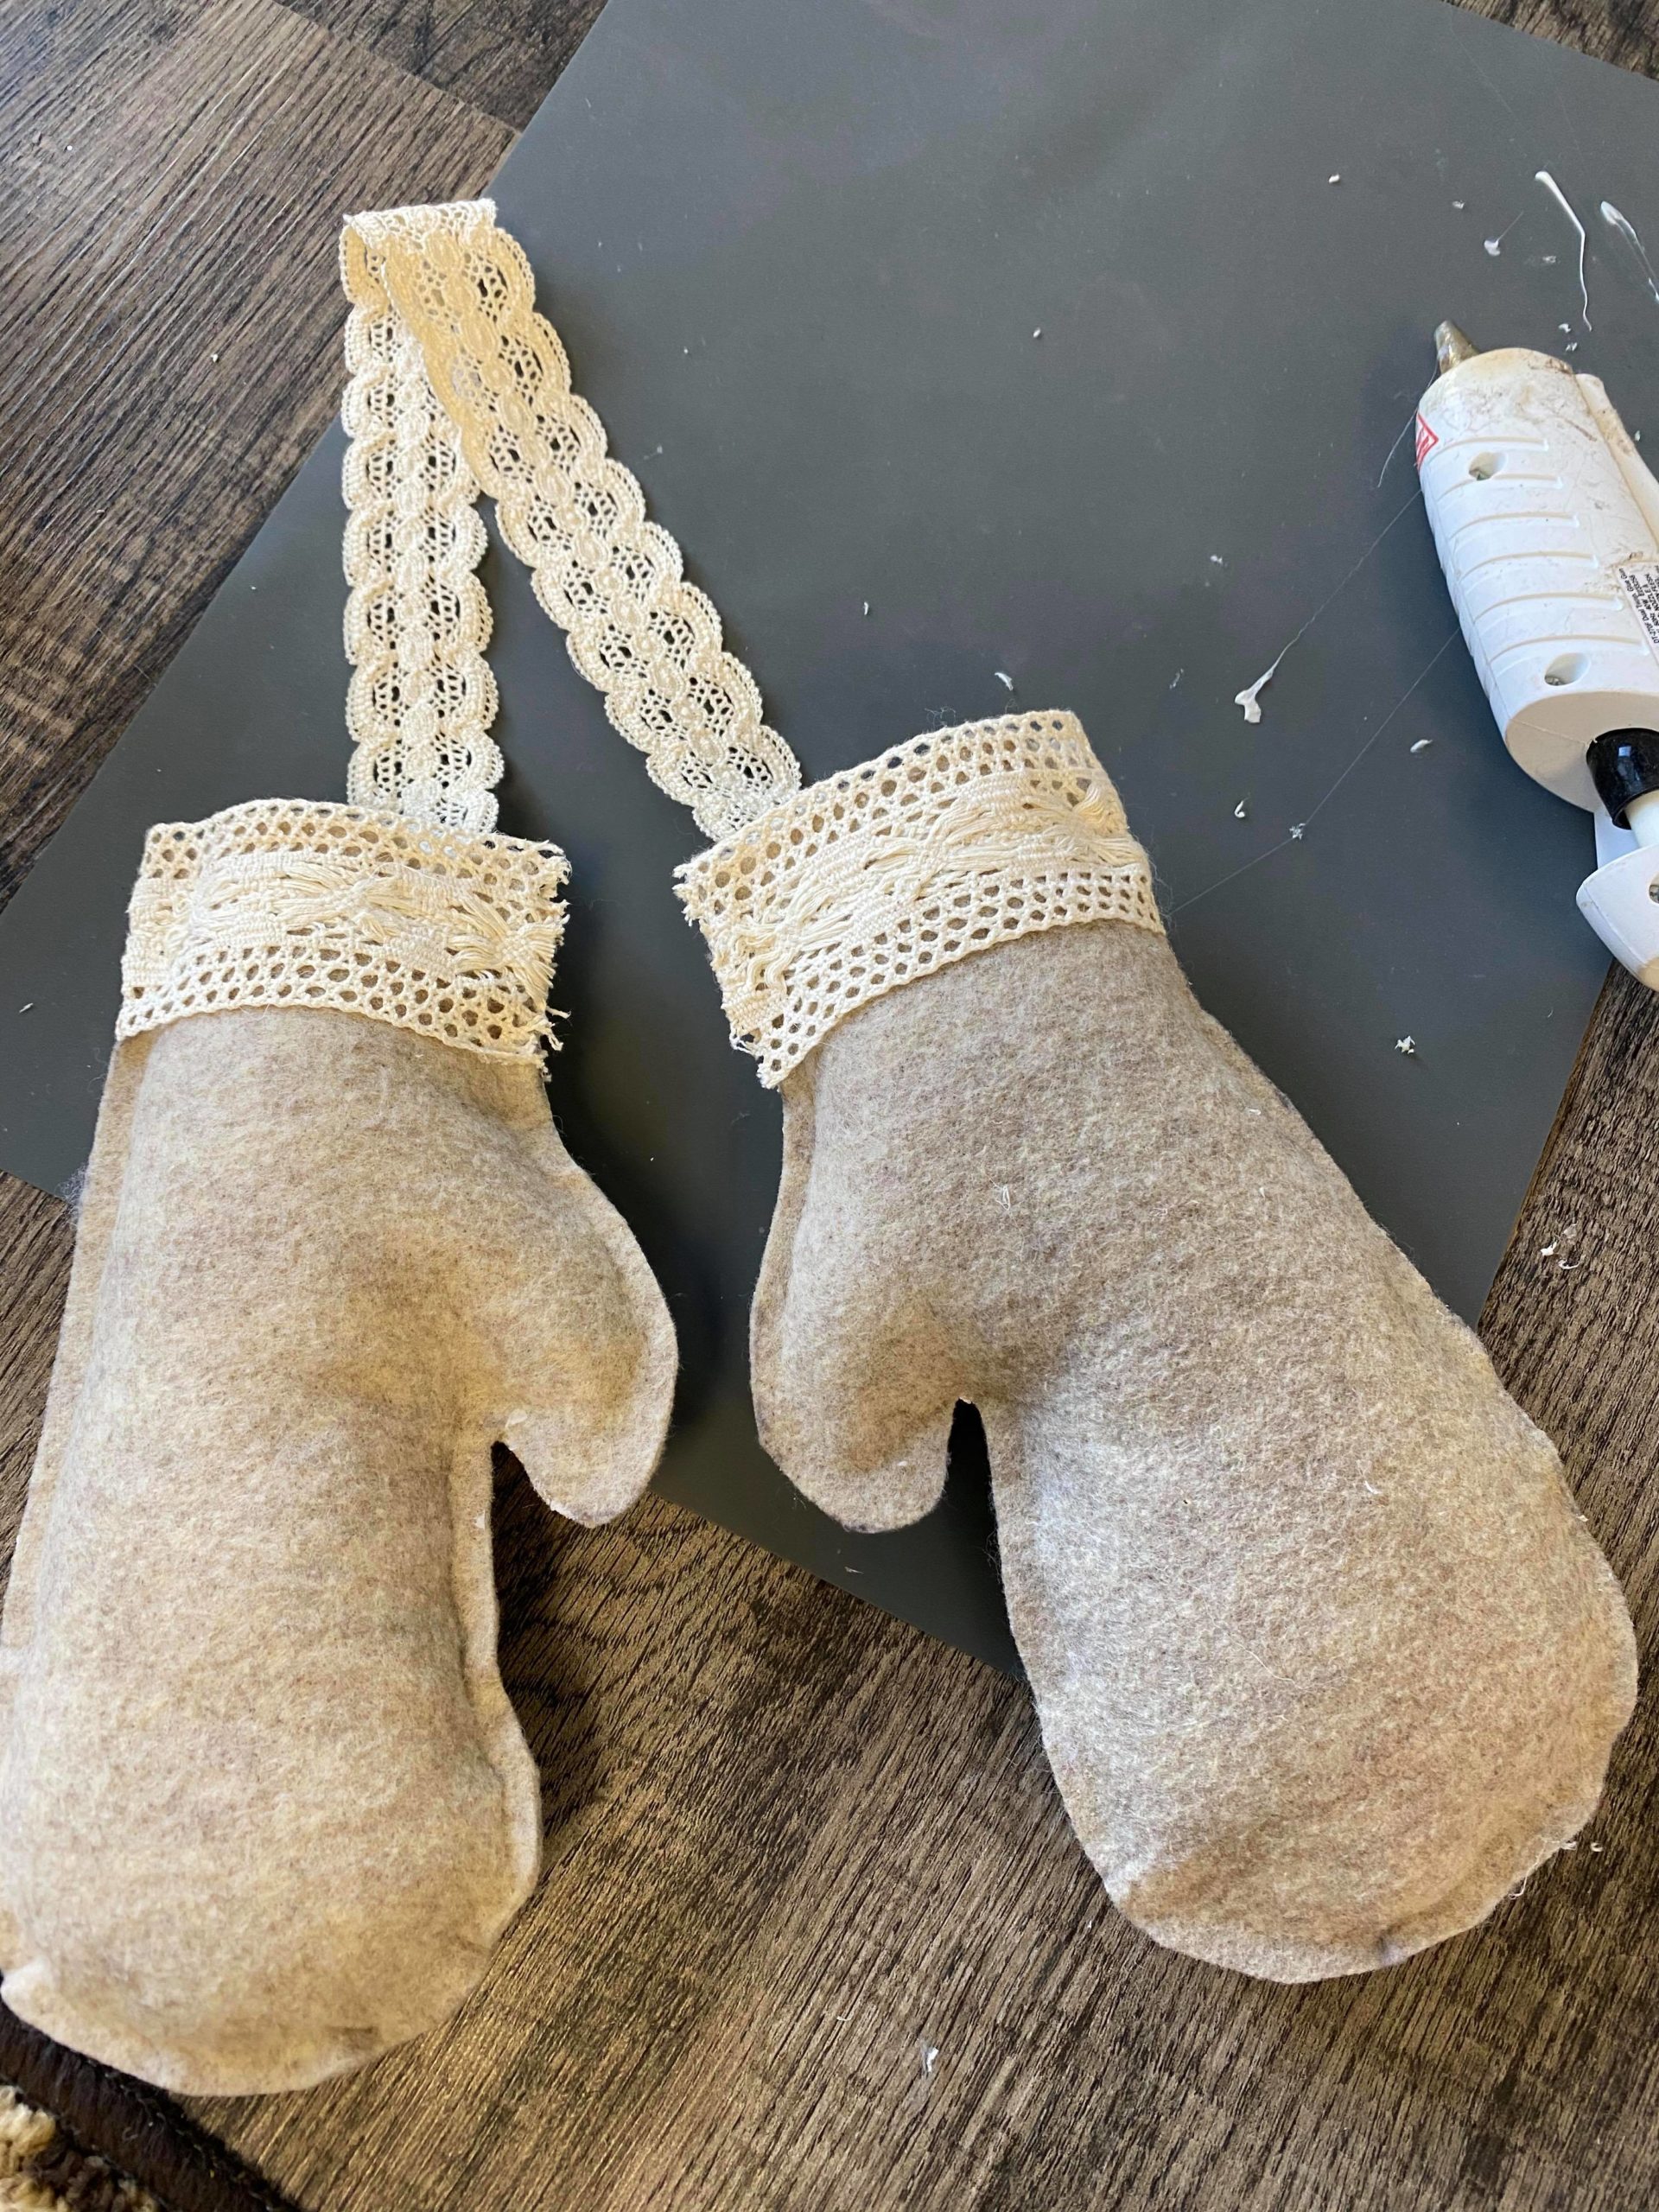
Before you add the stuffing you will want to glue your ribbon onto the mittens.
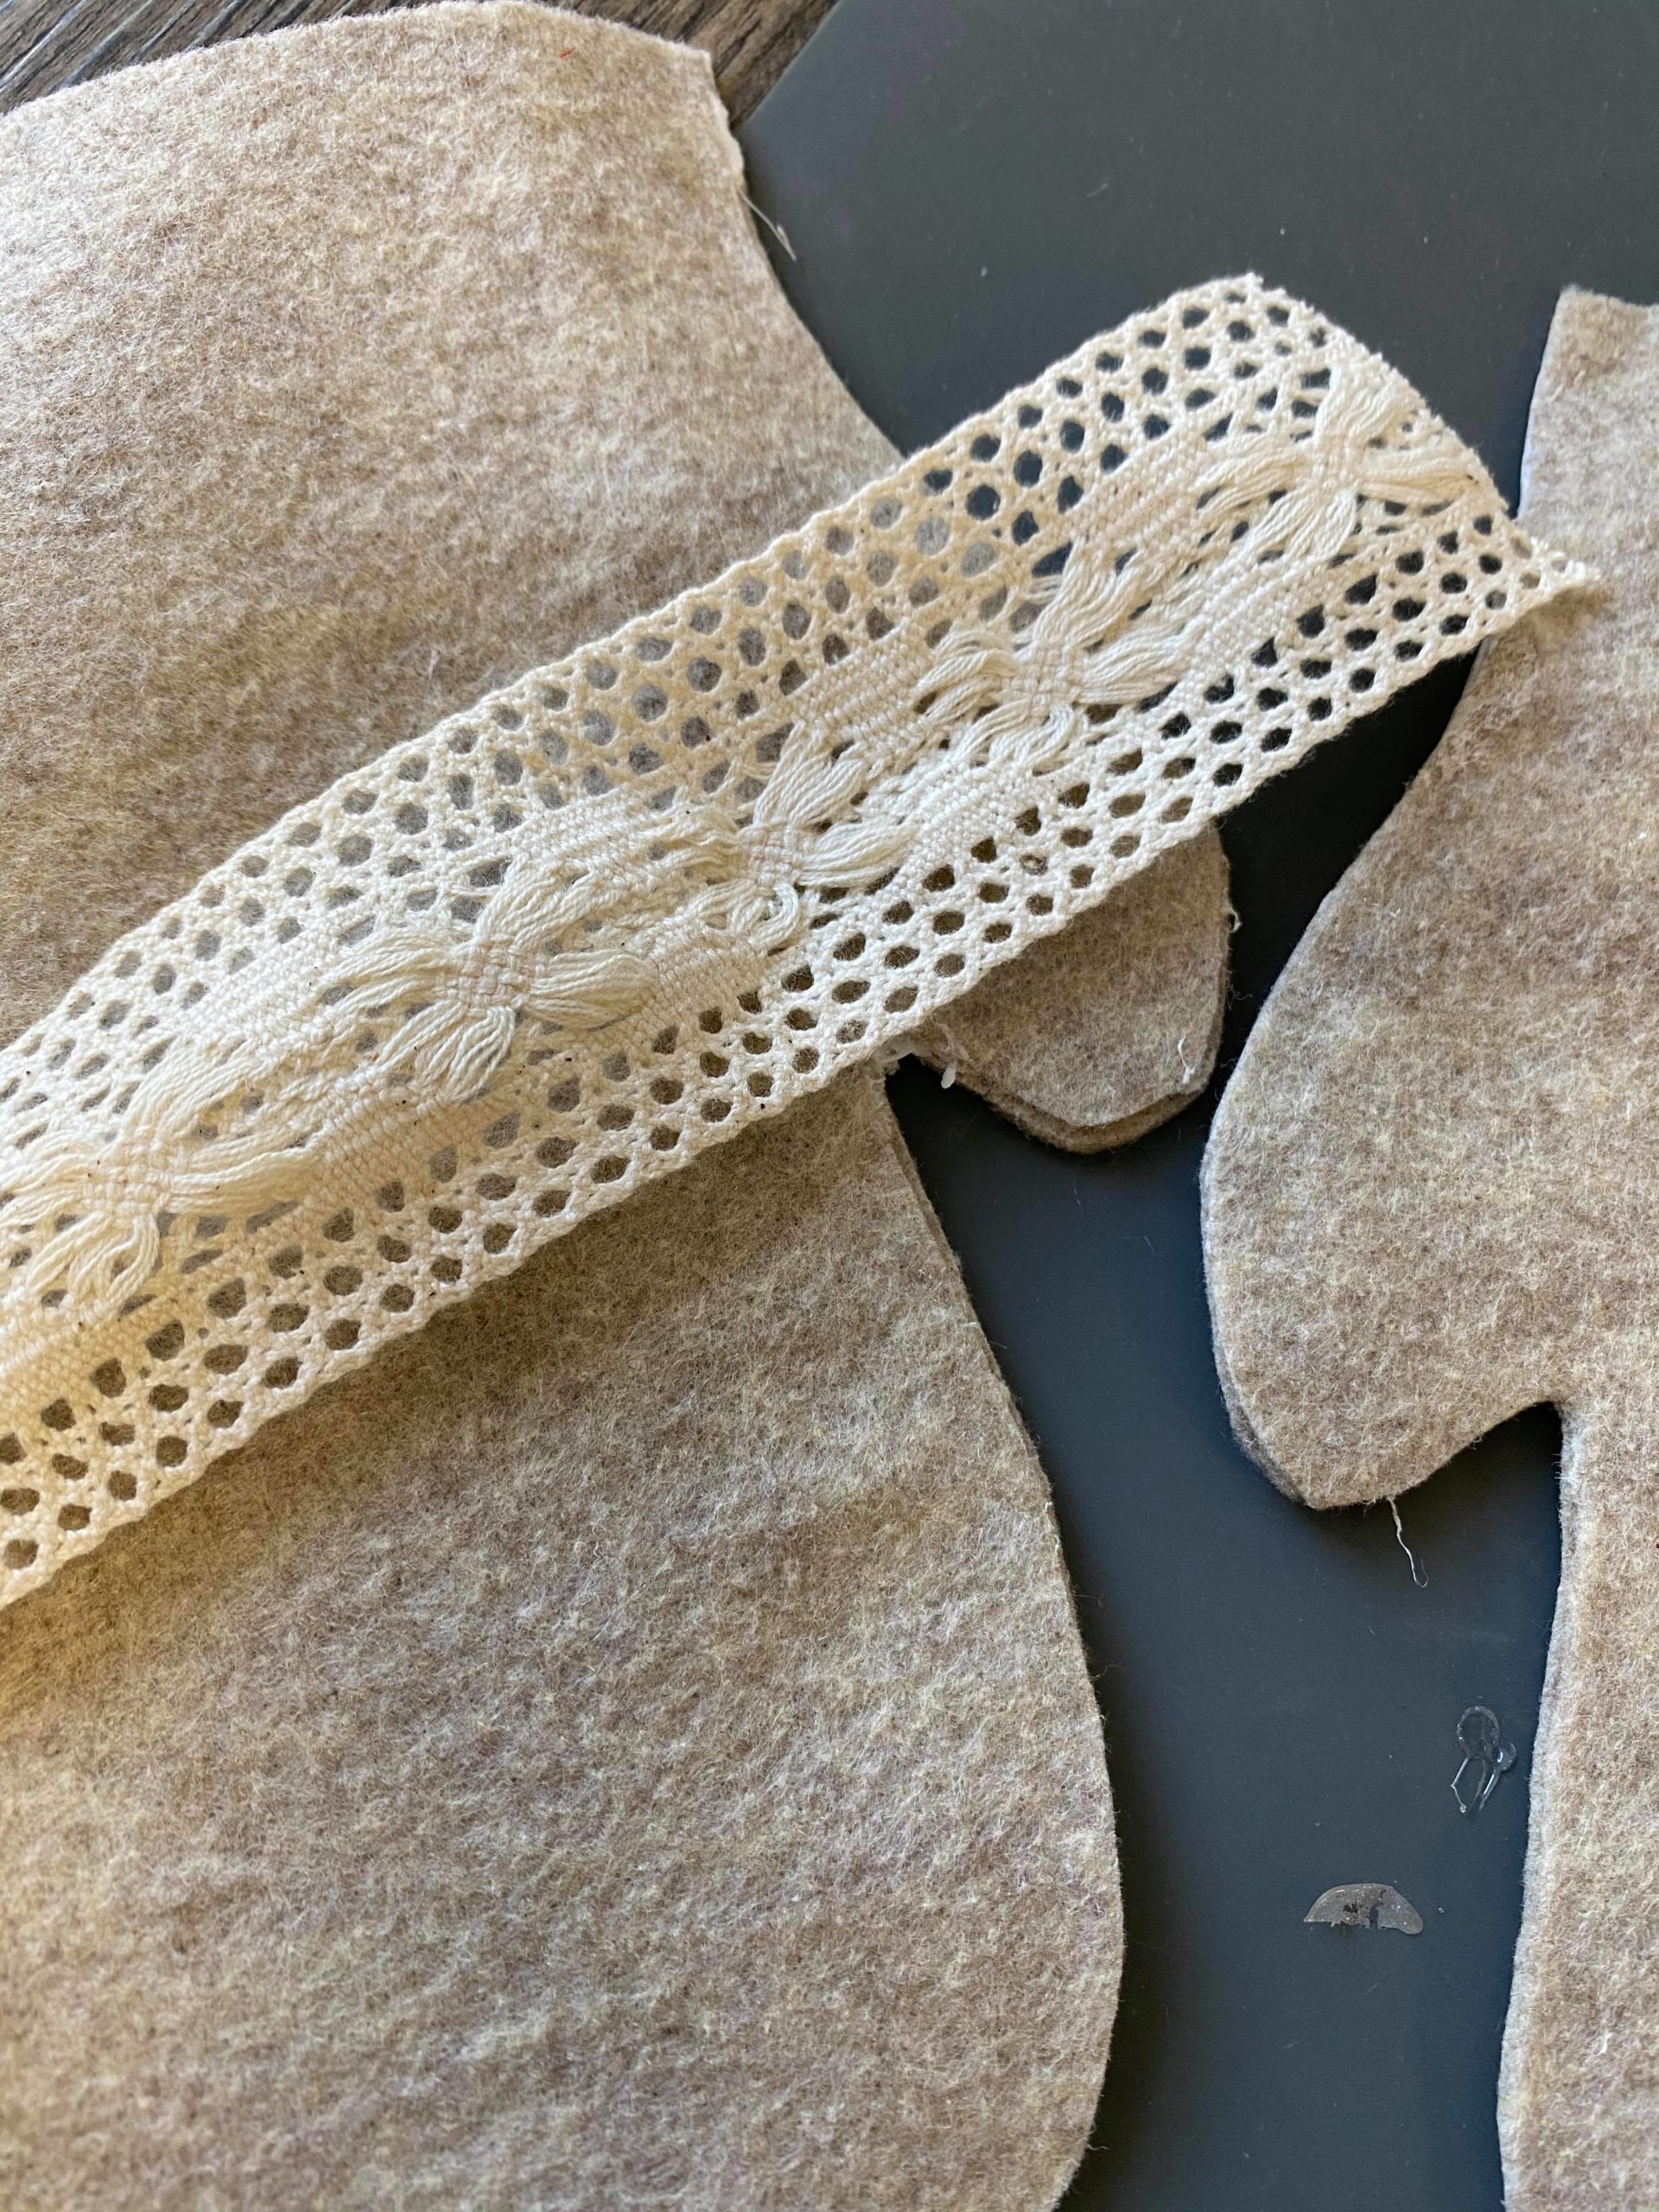
I’m using a wide cream ribbon from Hobby Lobby for the top part of the mittens.
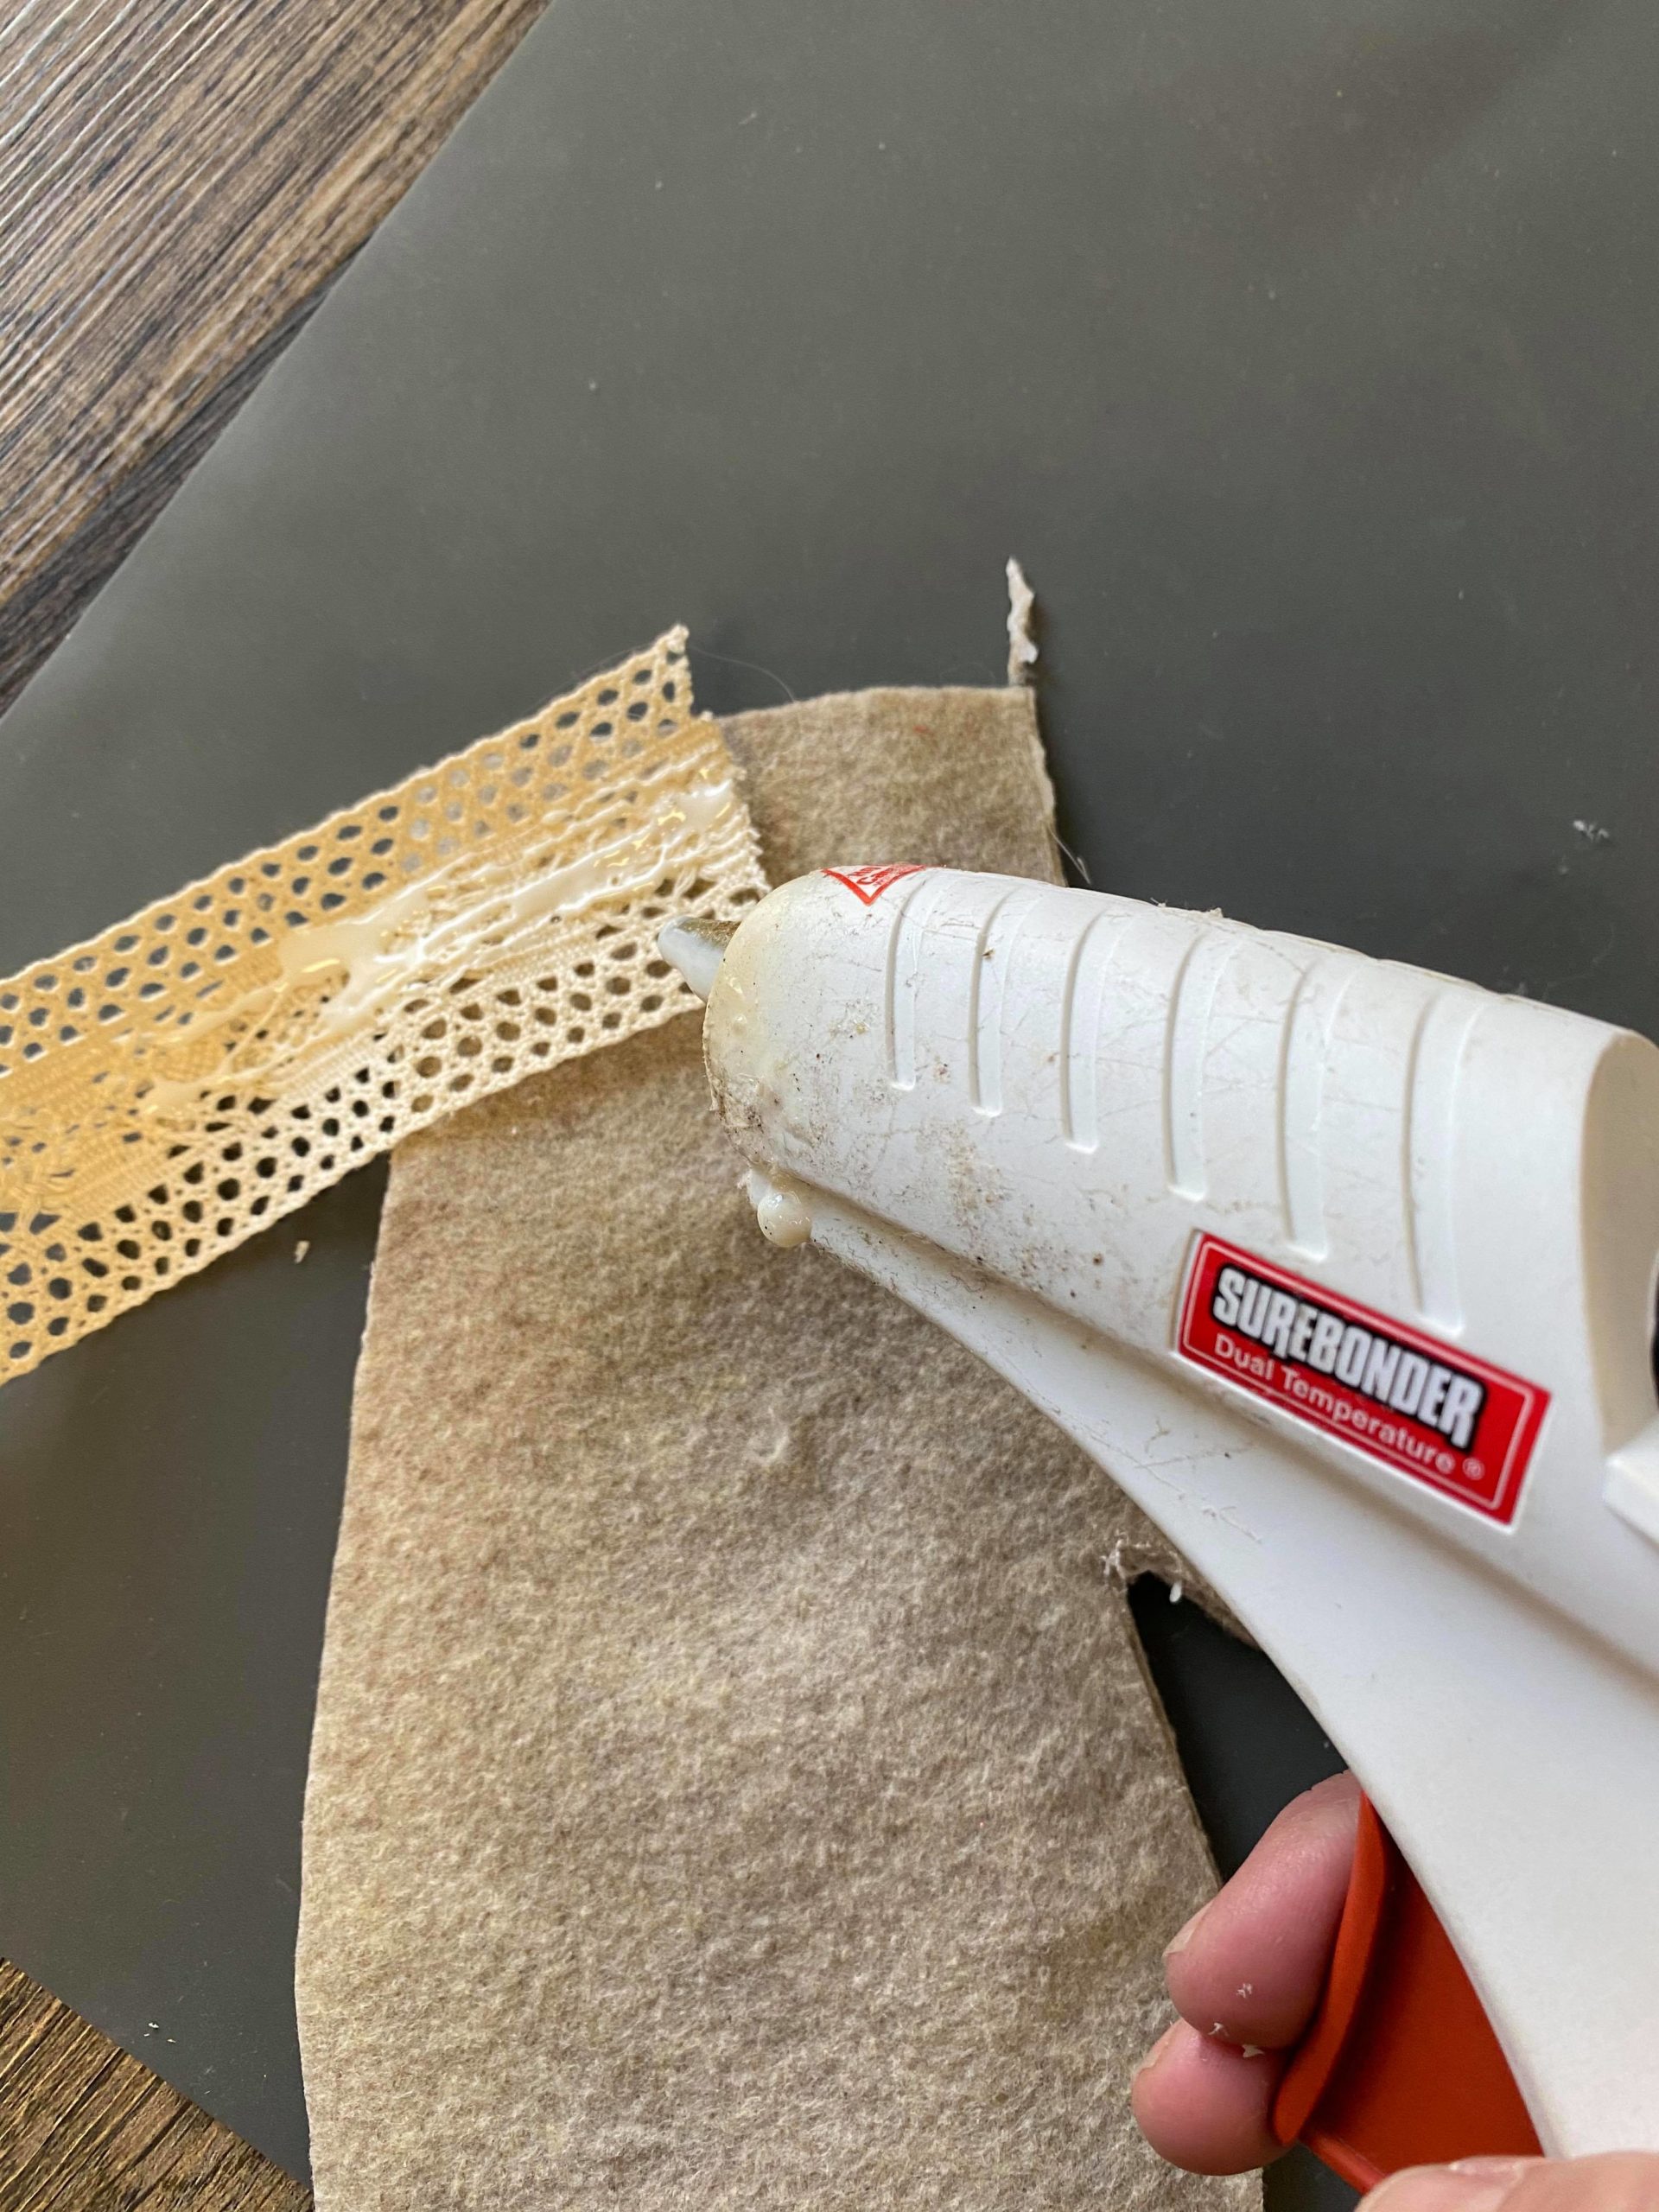
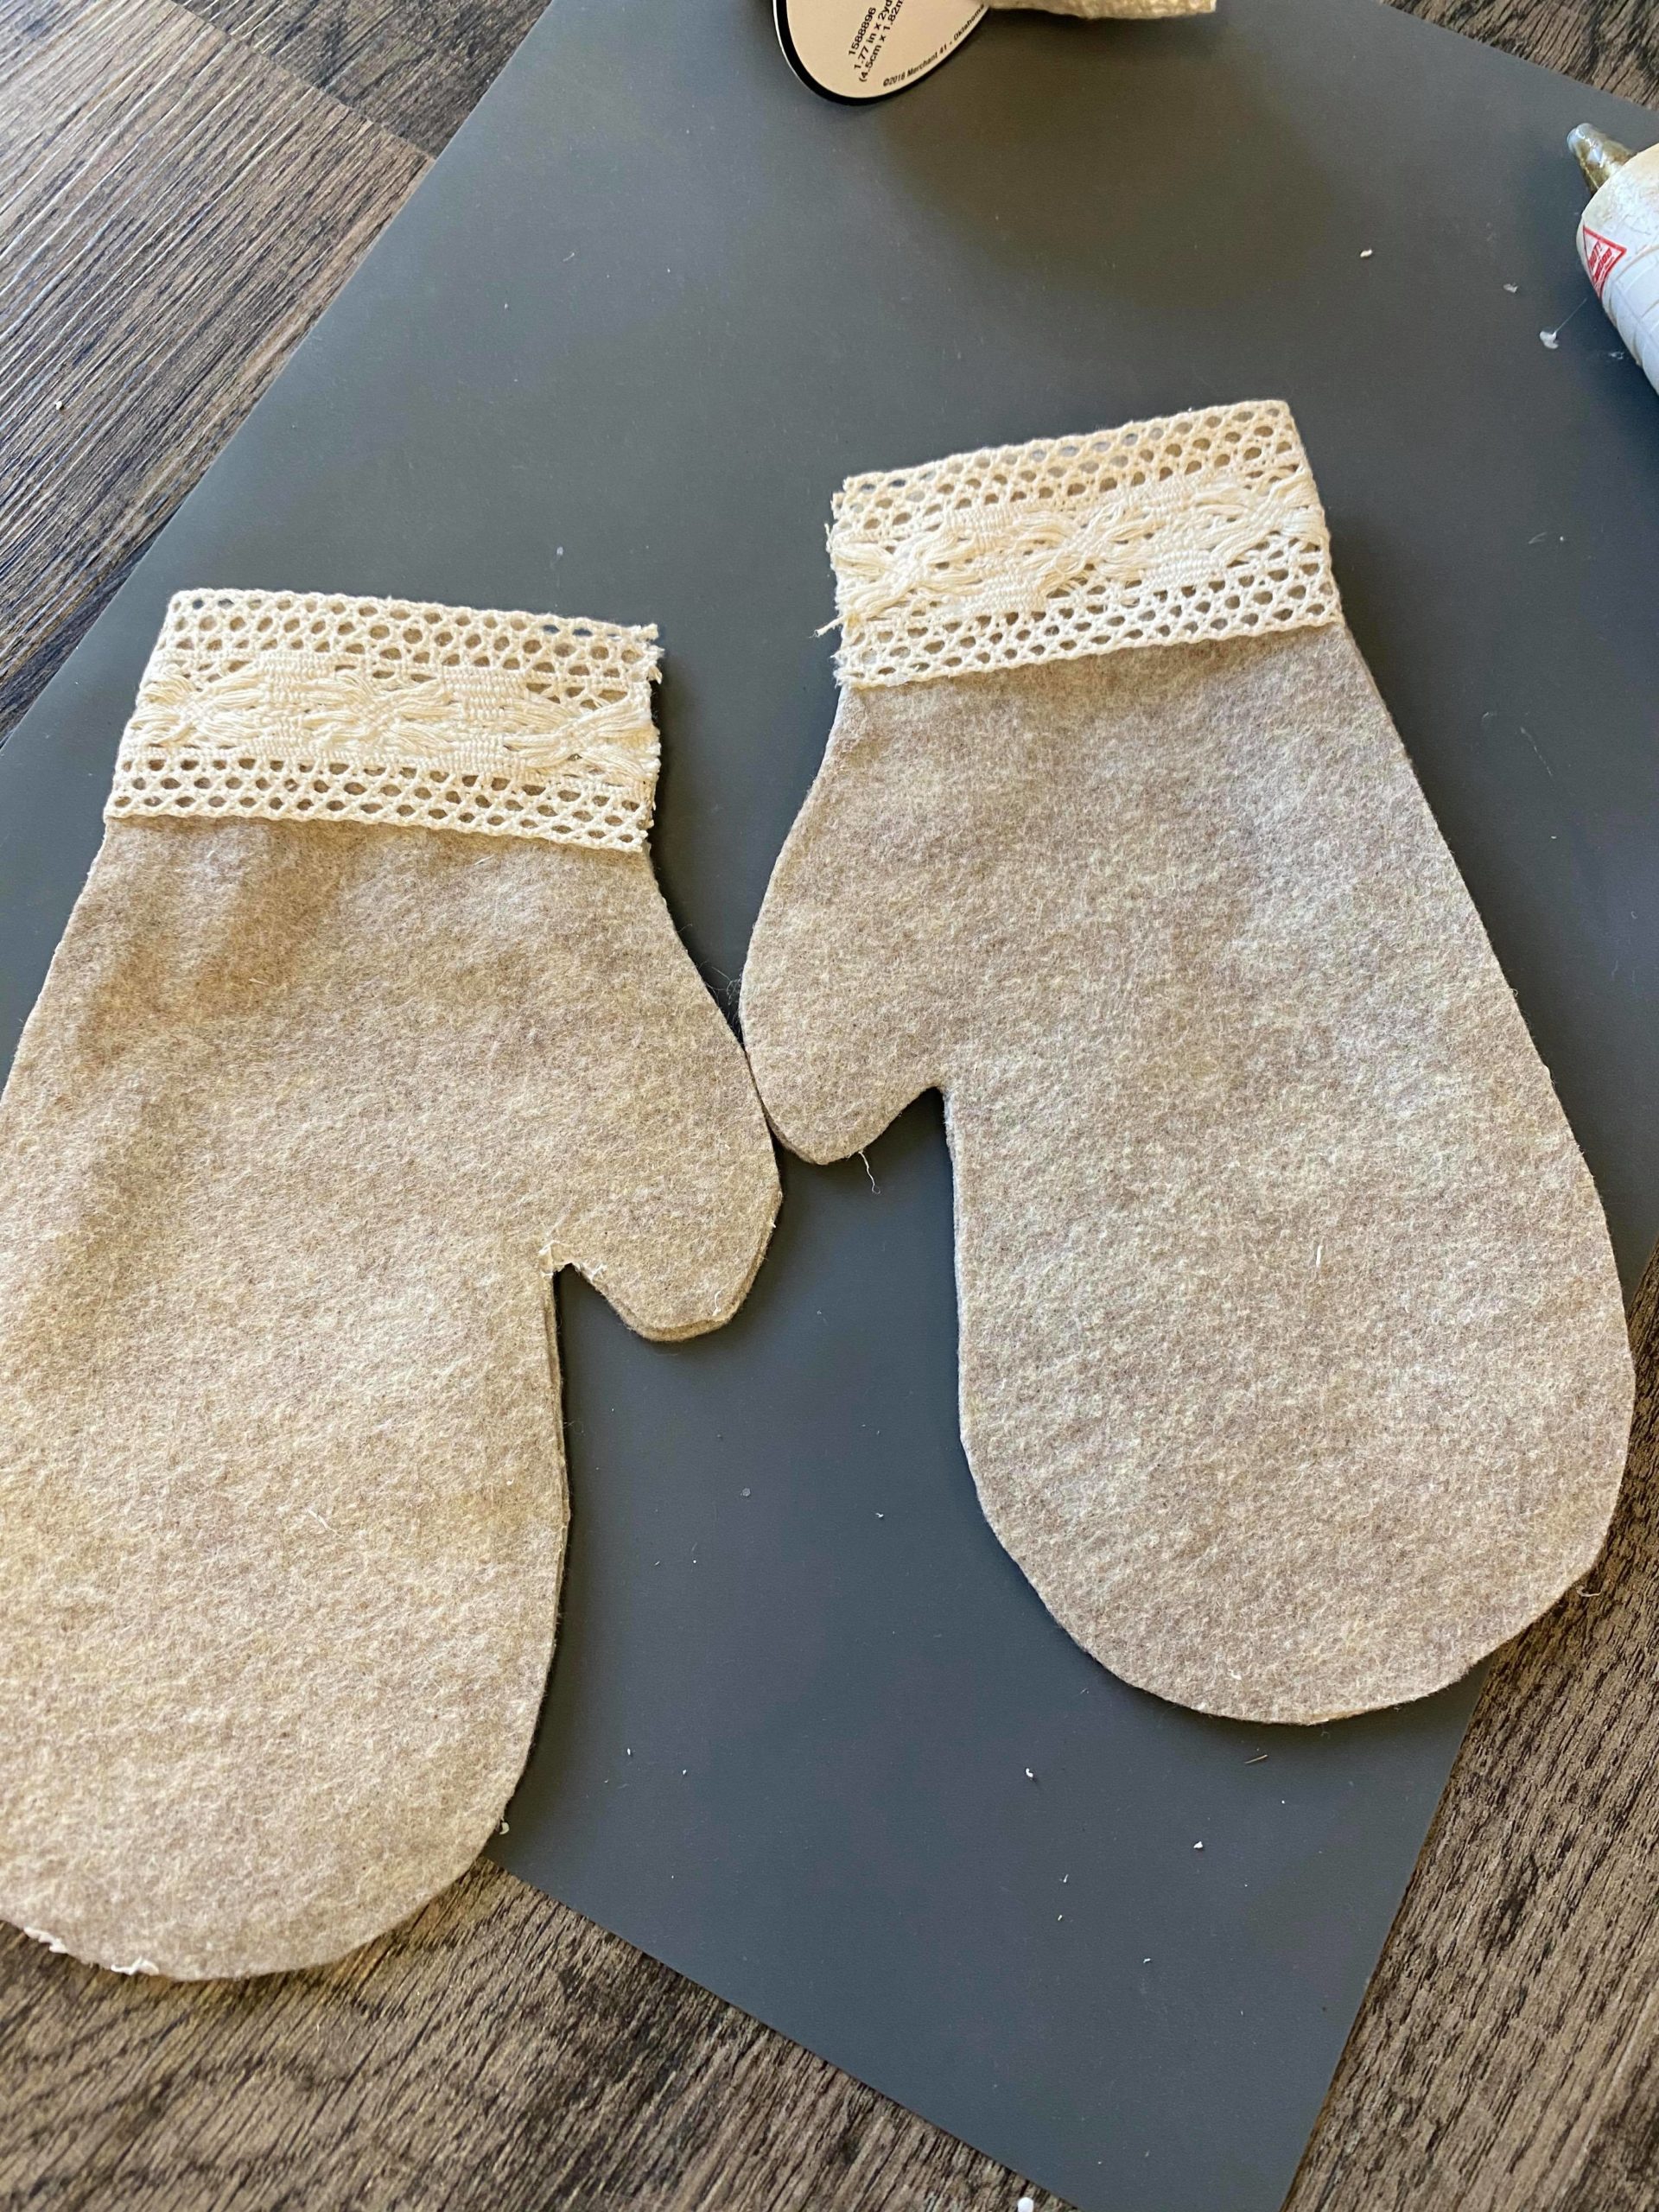
I glued the ribbon onto the back and front of the mittens.
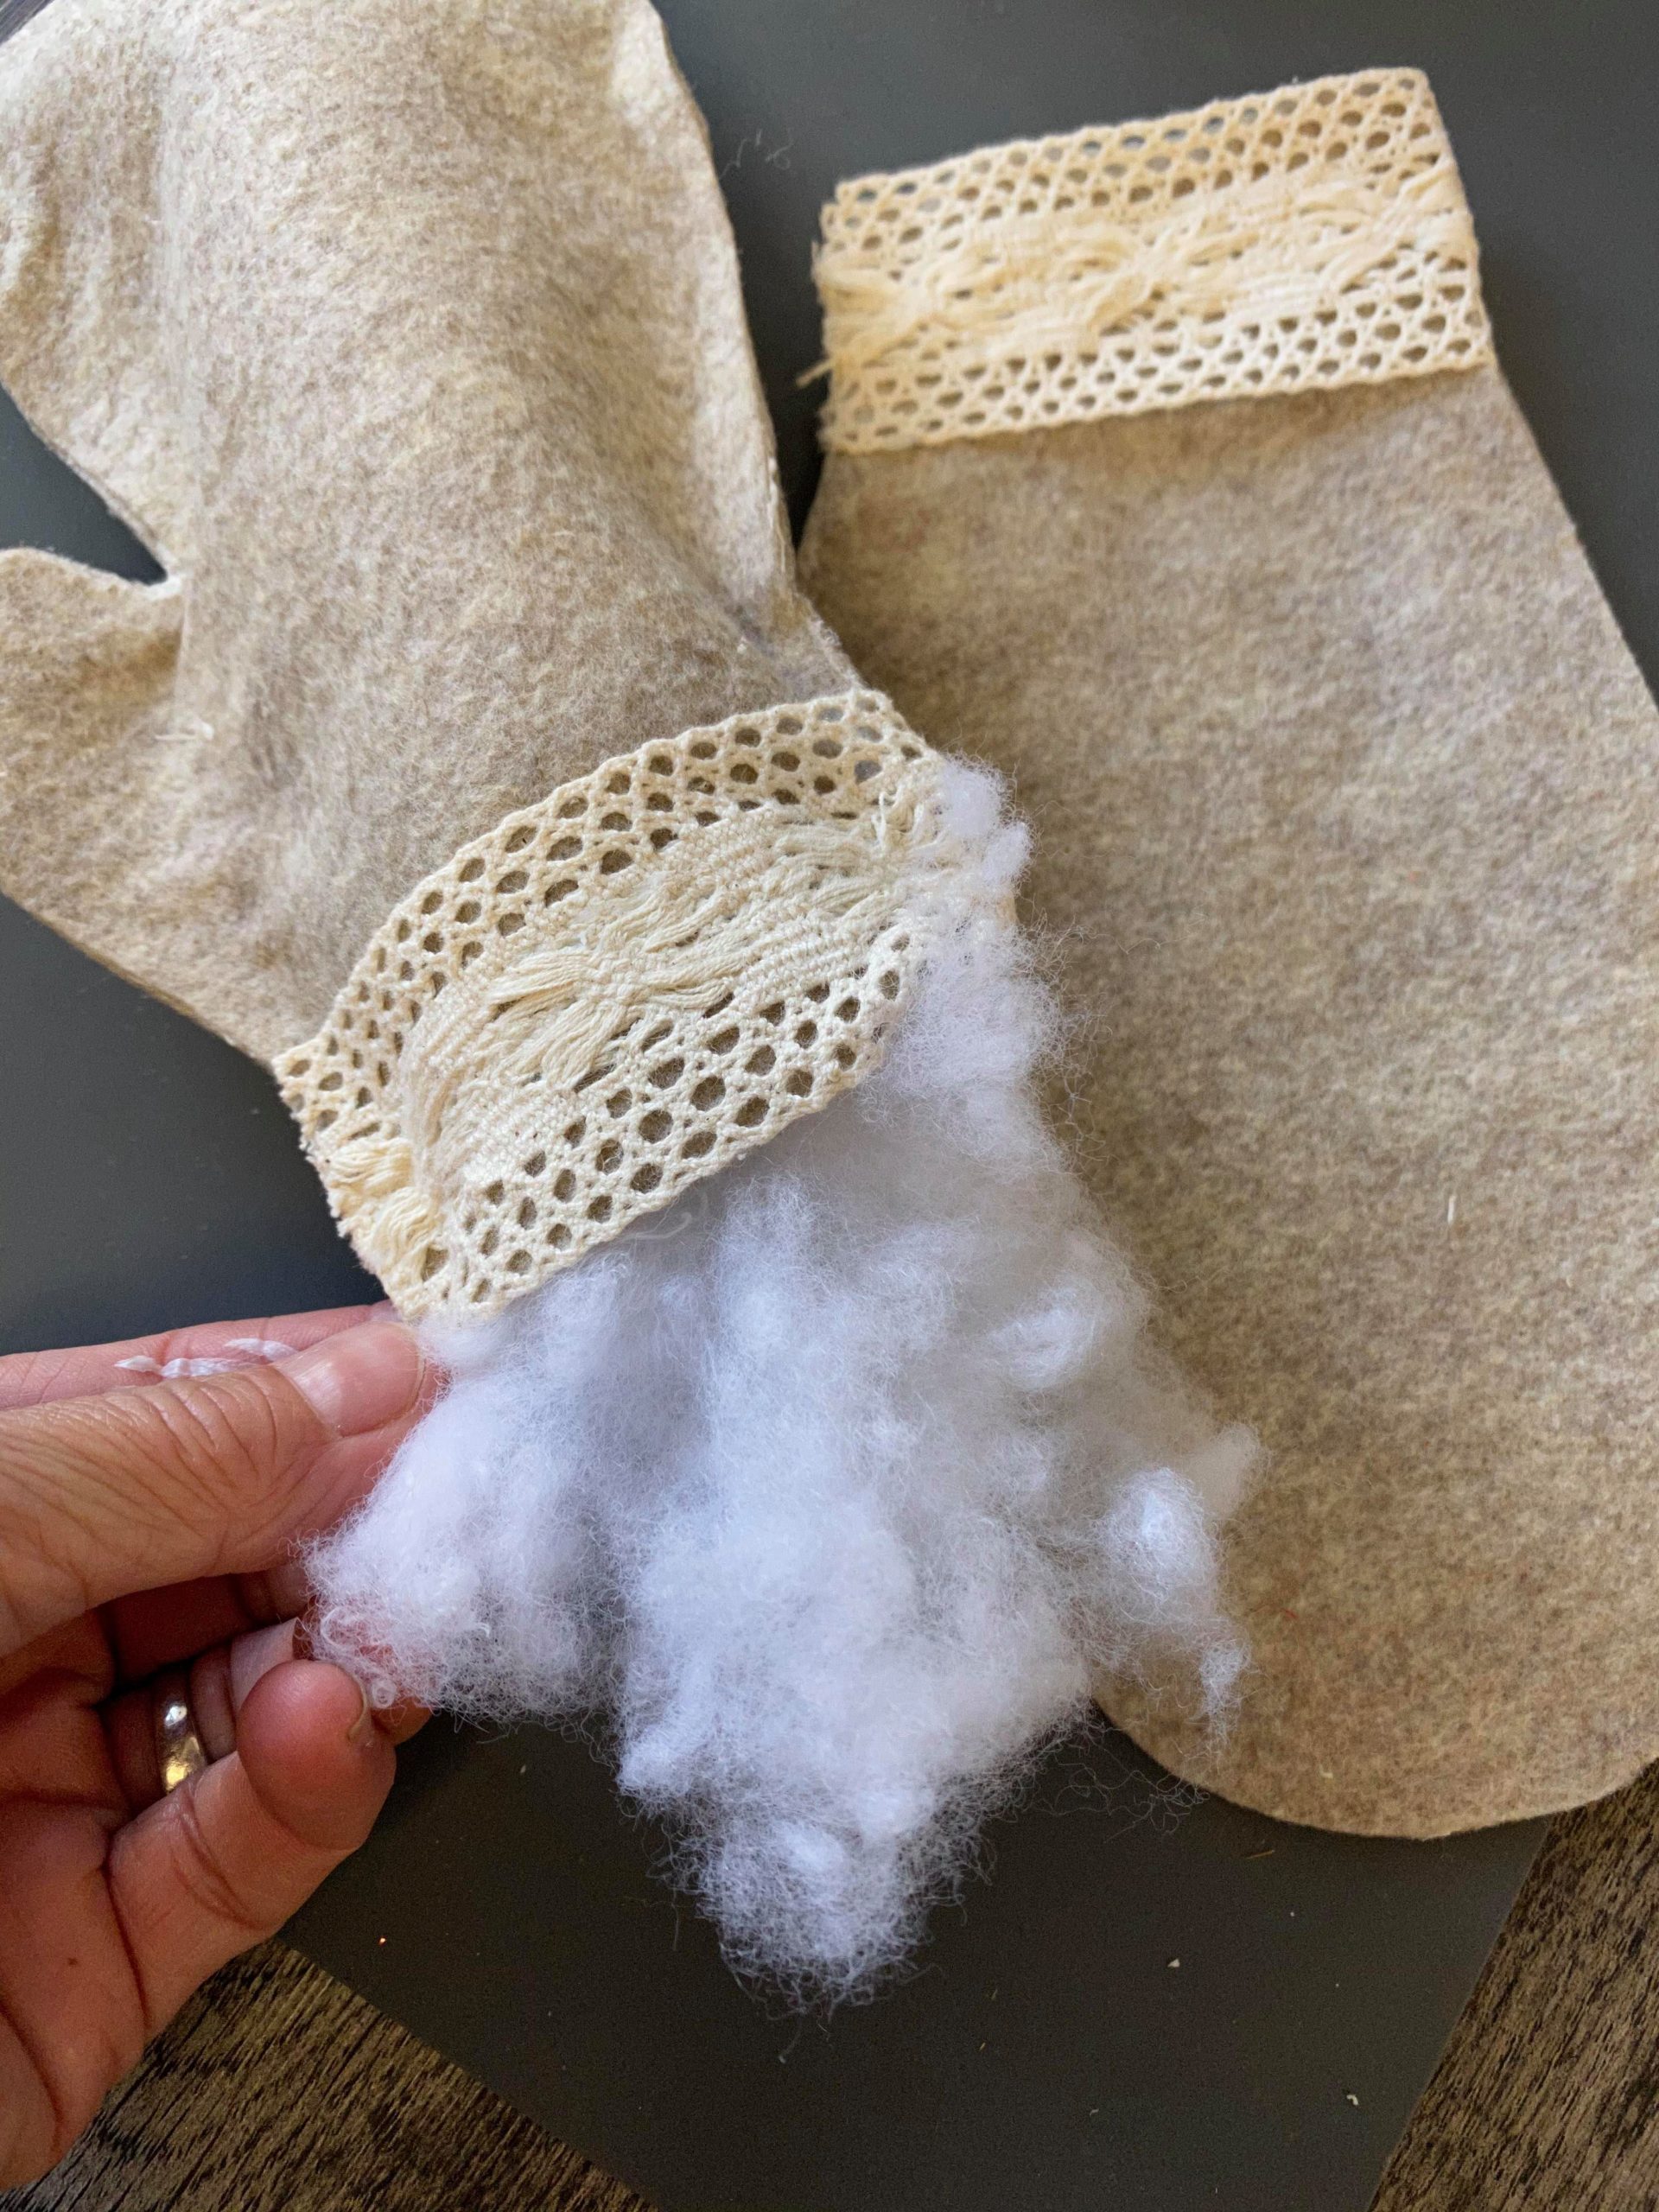
You will then stuff the mittens. I want to hang these mittens so I glued a thinner strip of ribbon to the inside top part of the mittens.
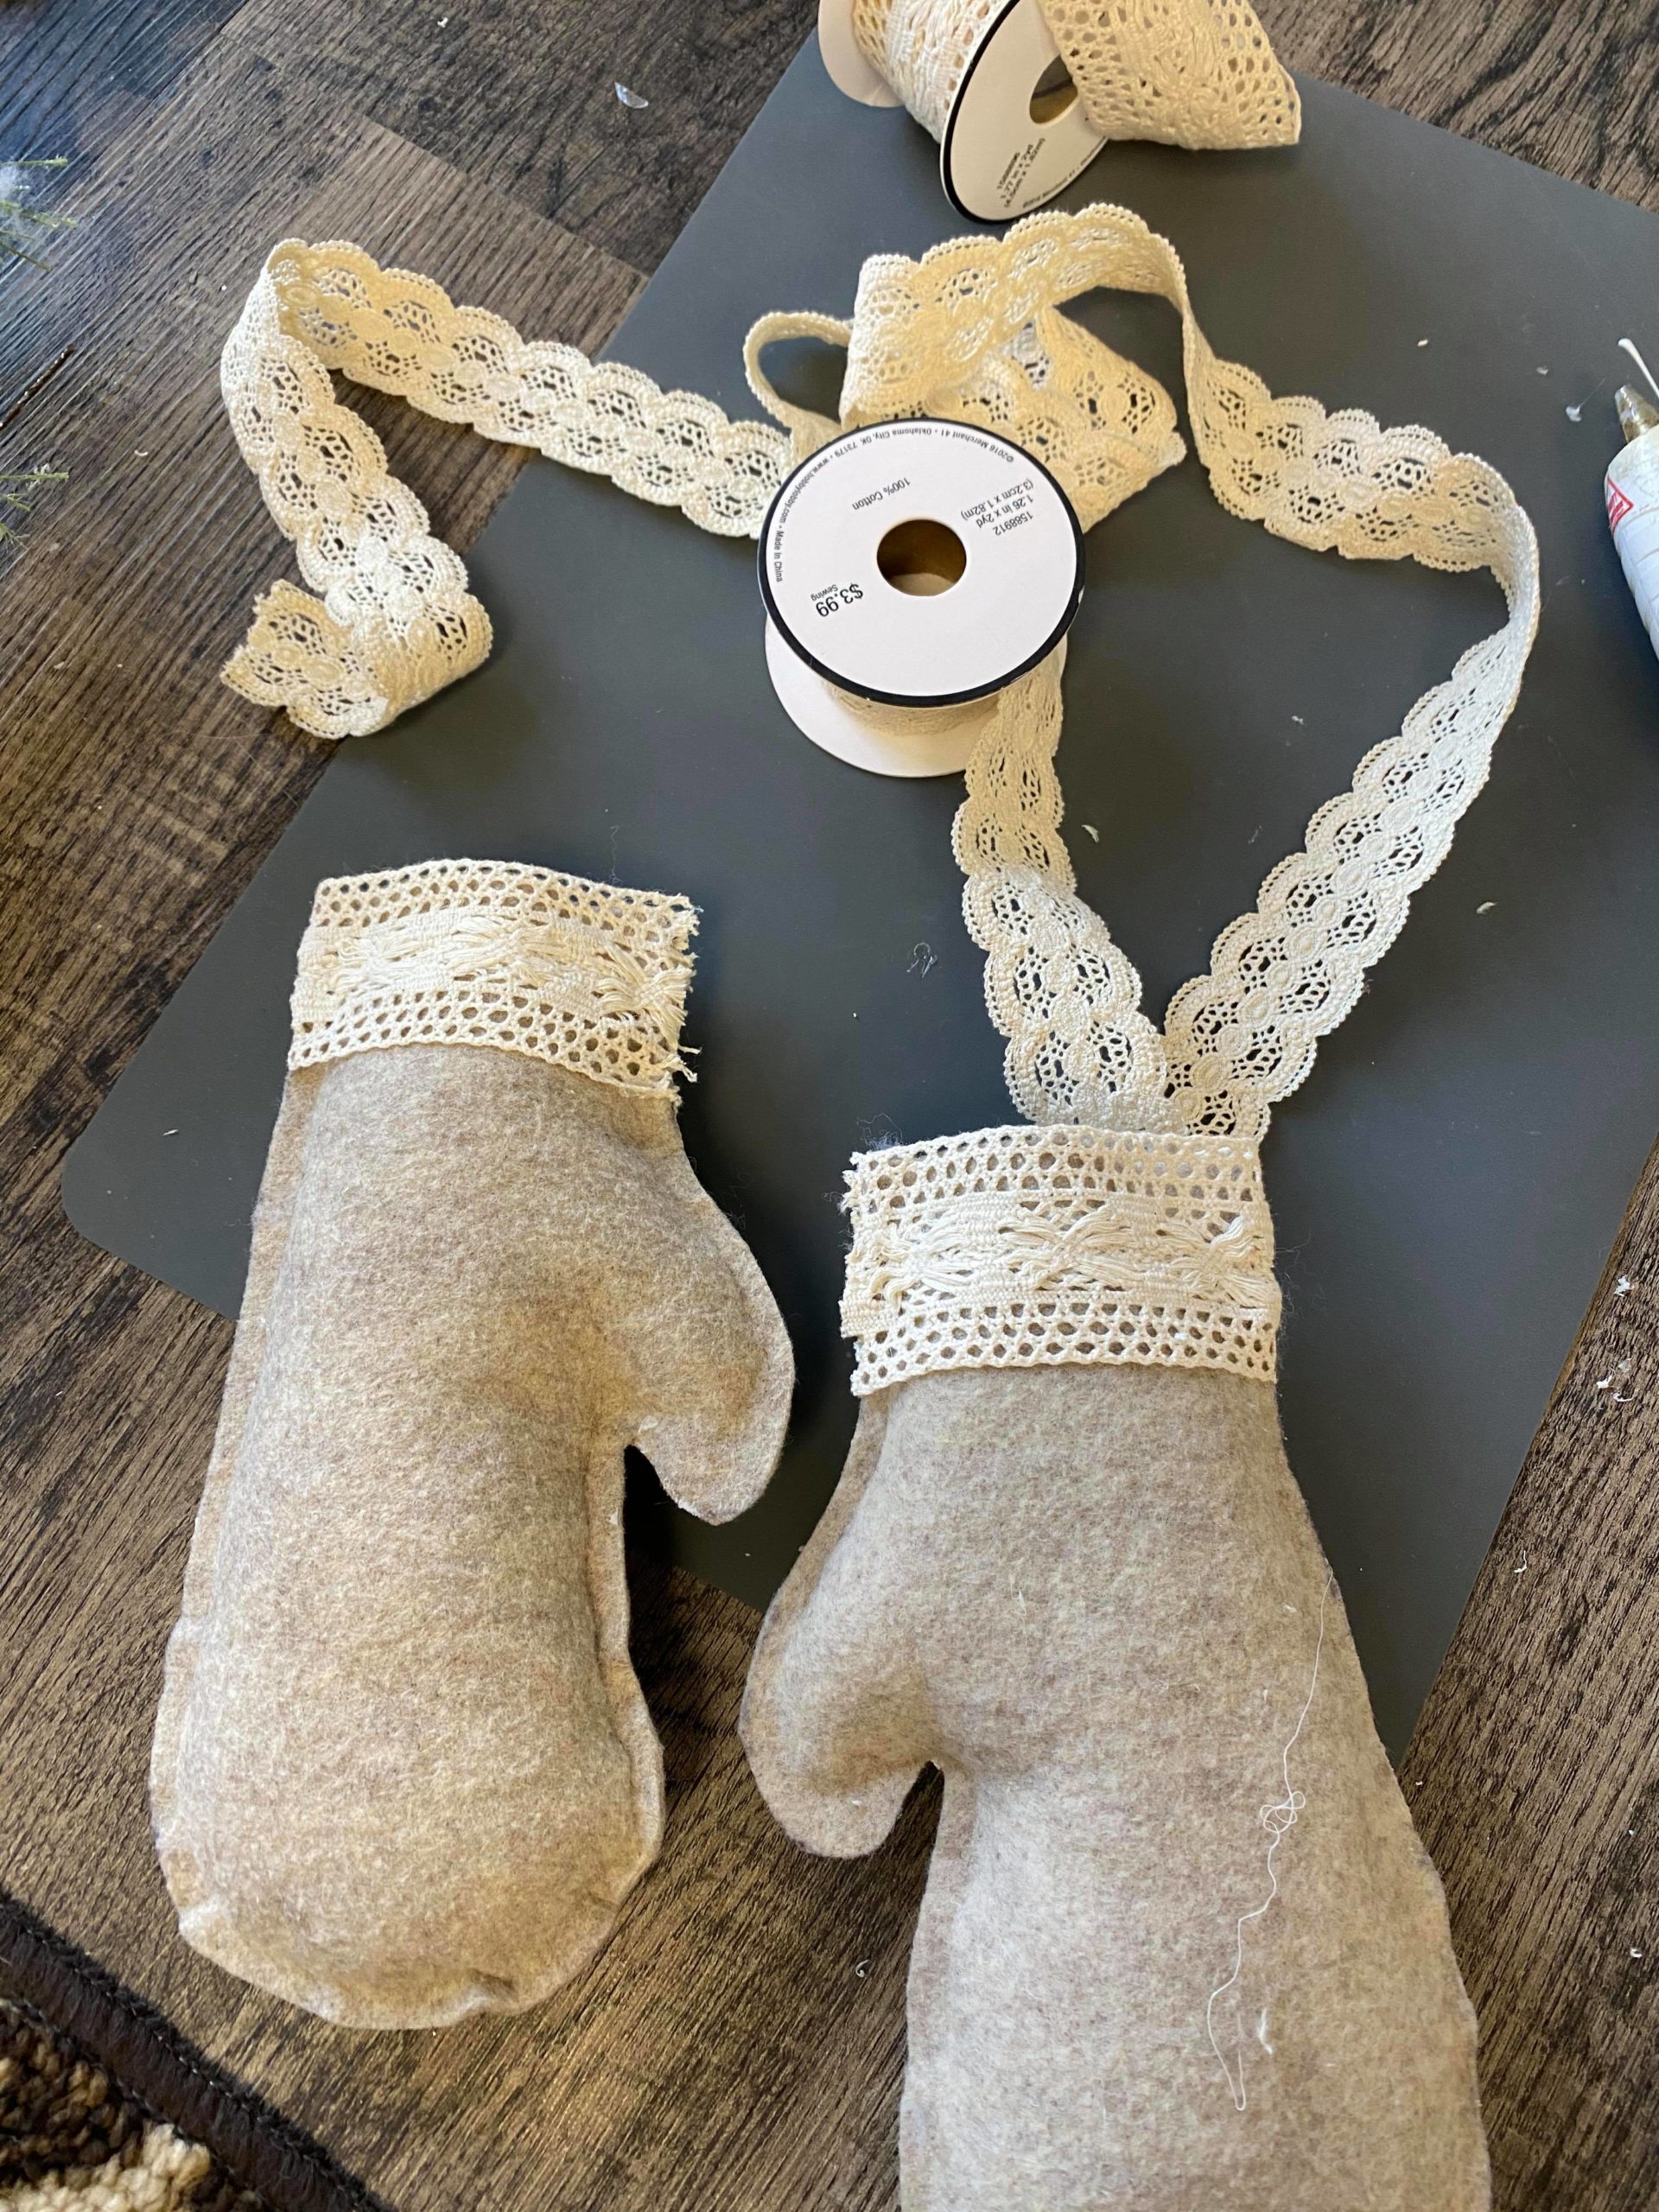

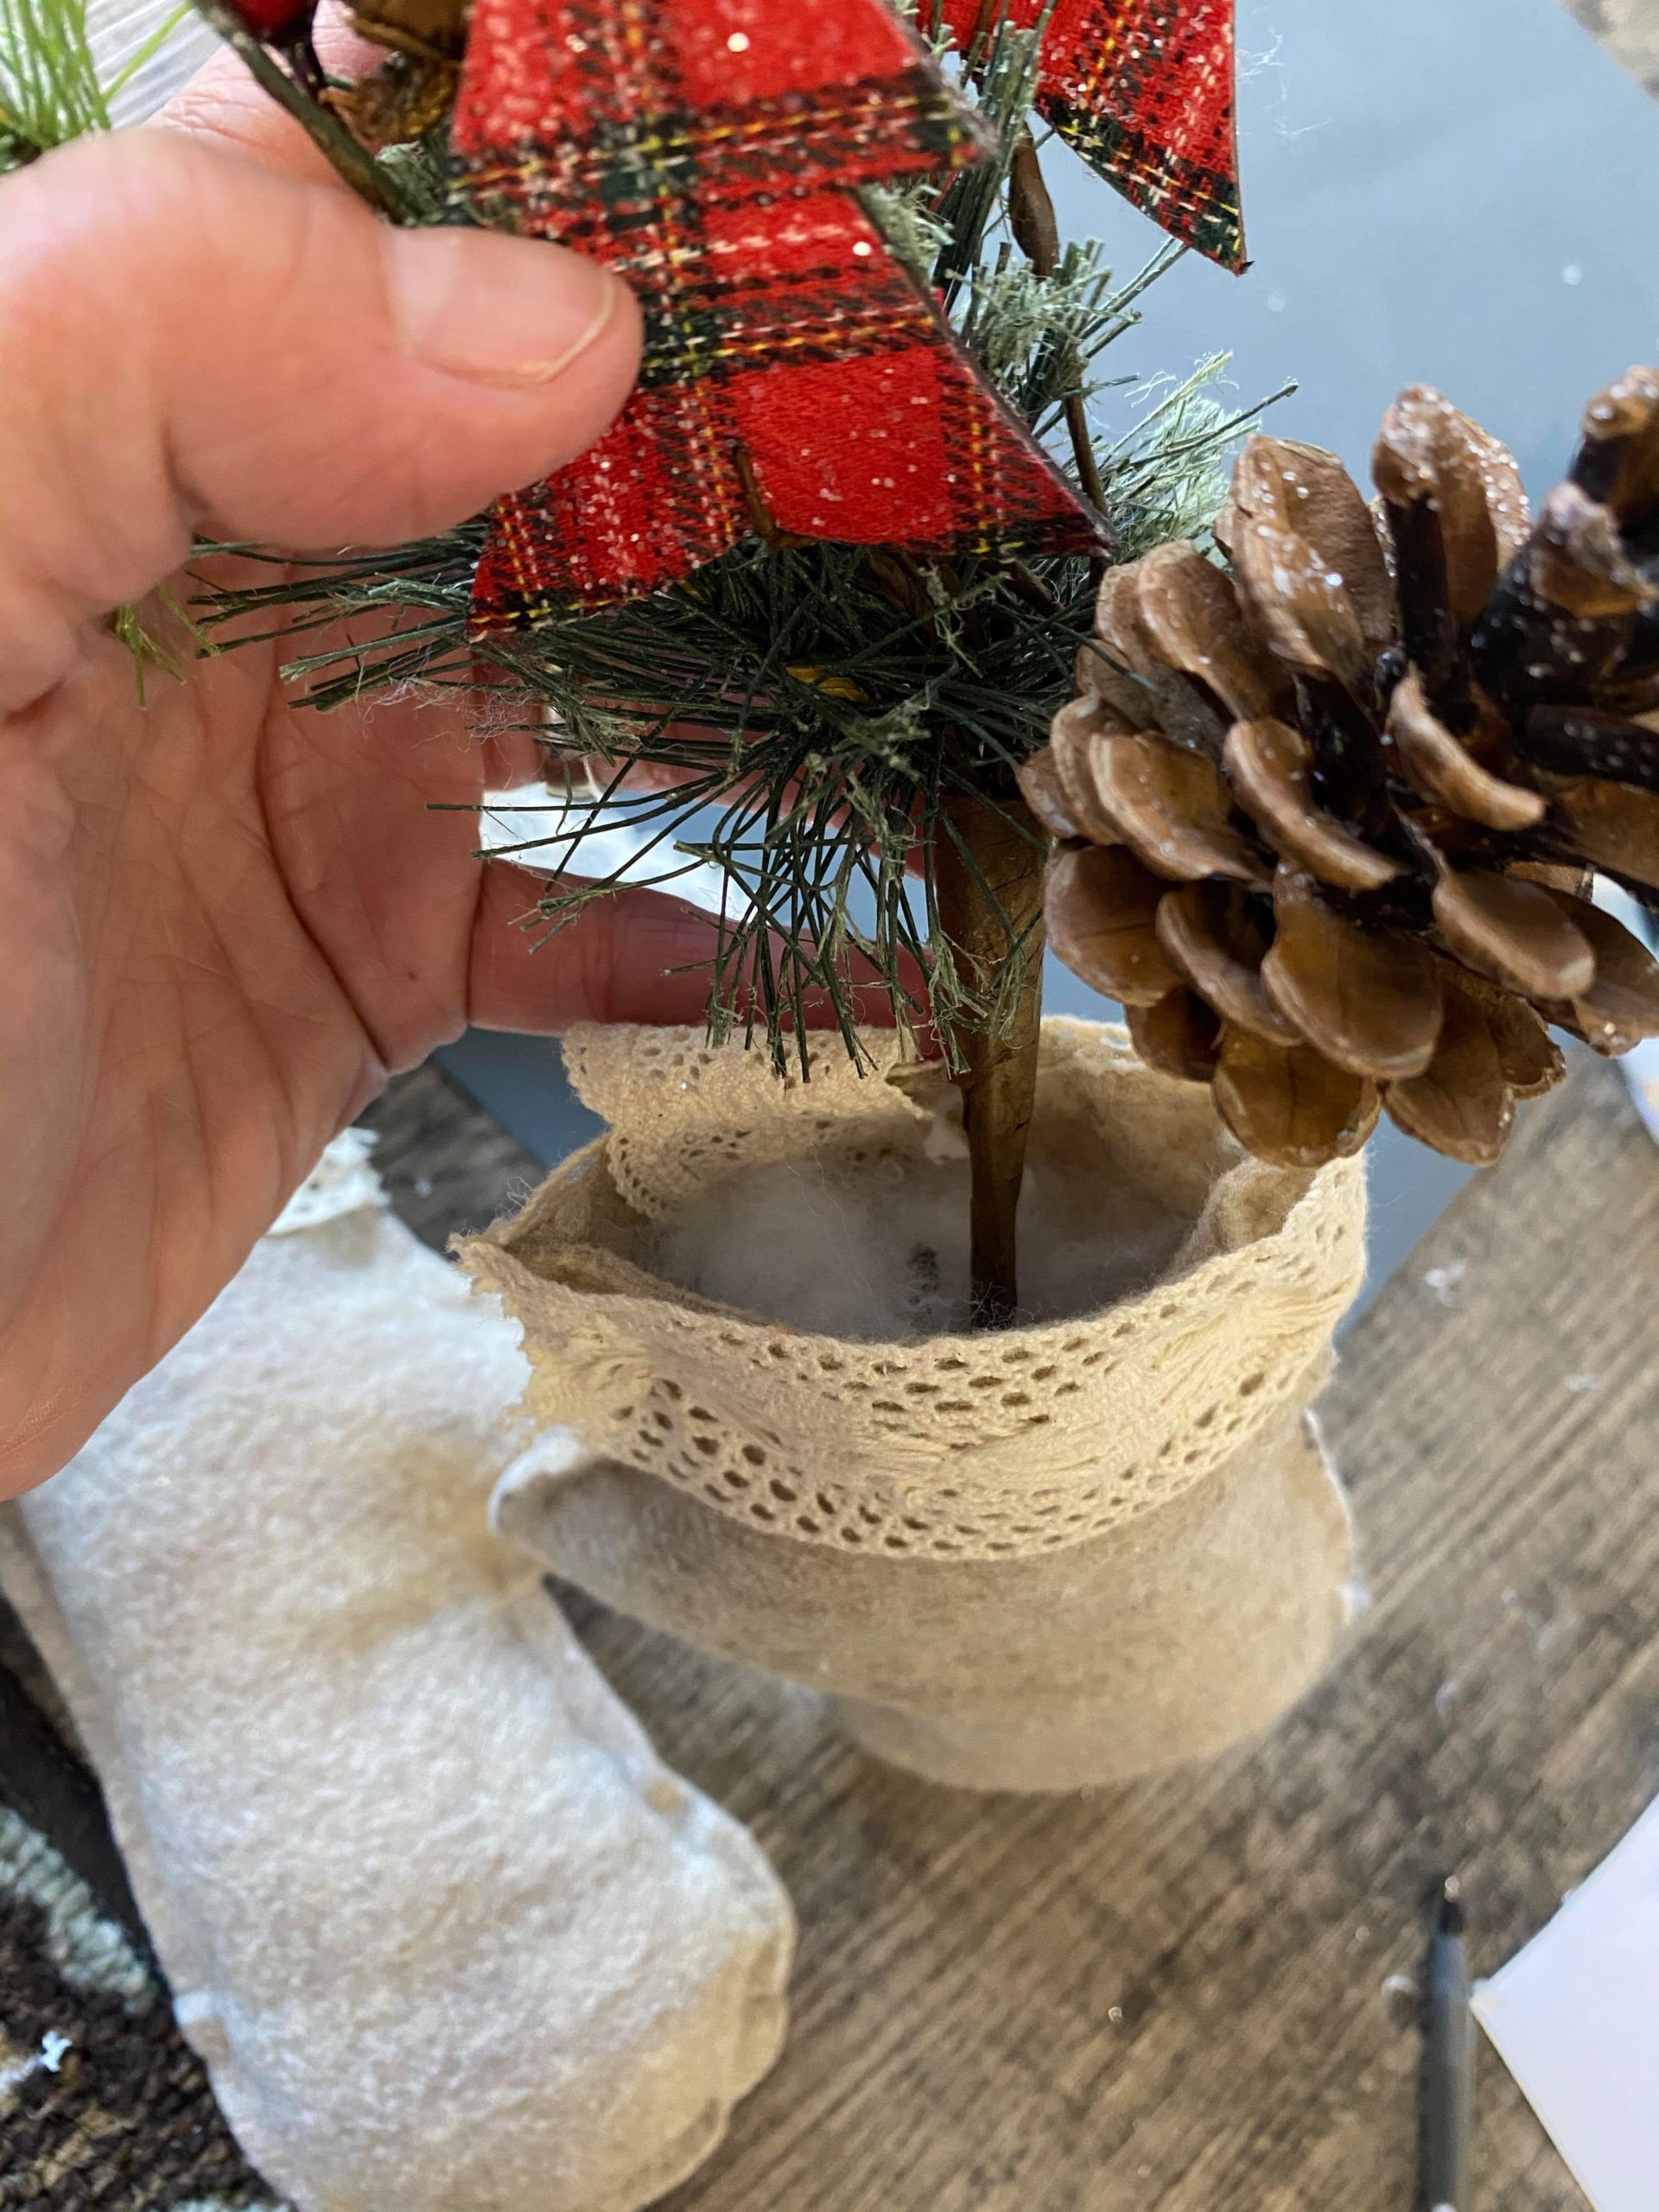
You will then add some greenery sprigs into the mittens. I found these cute sprigs in Hobby Lobby.
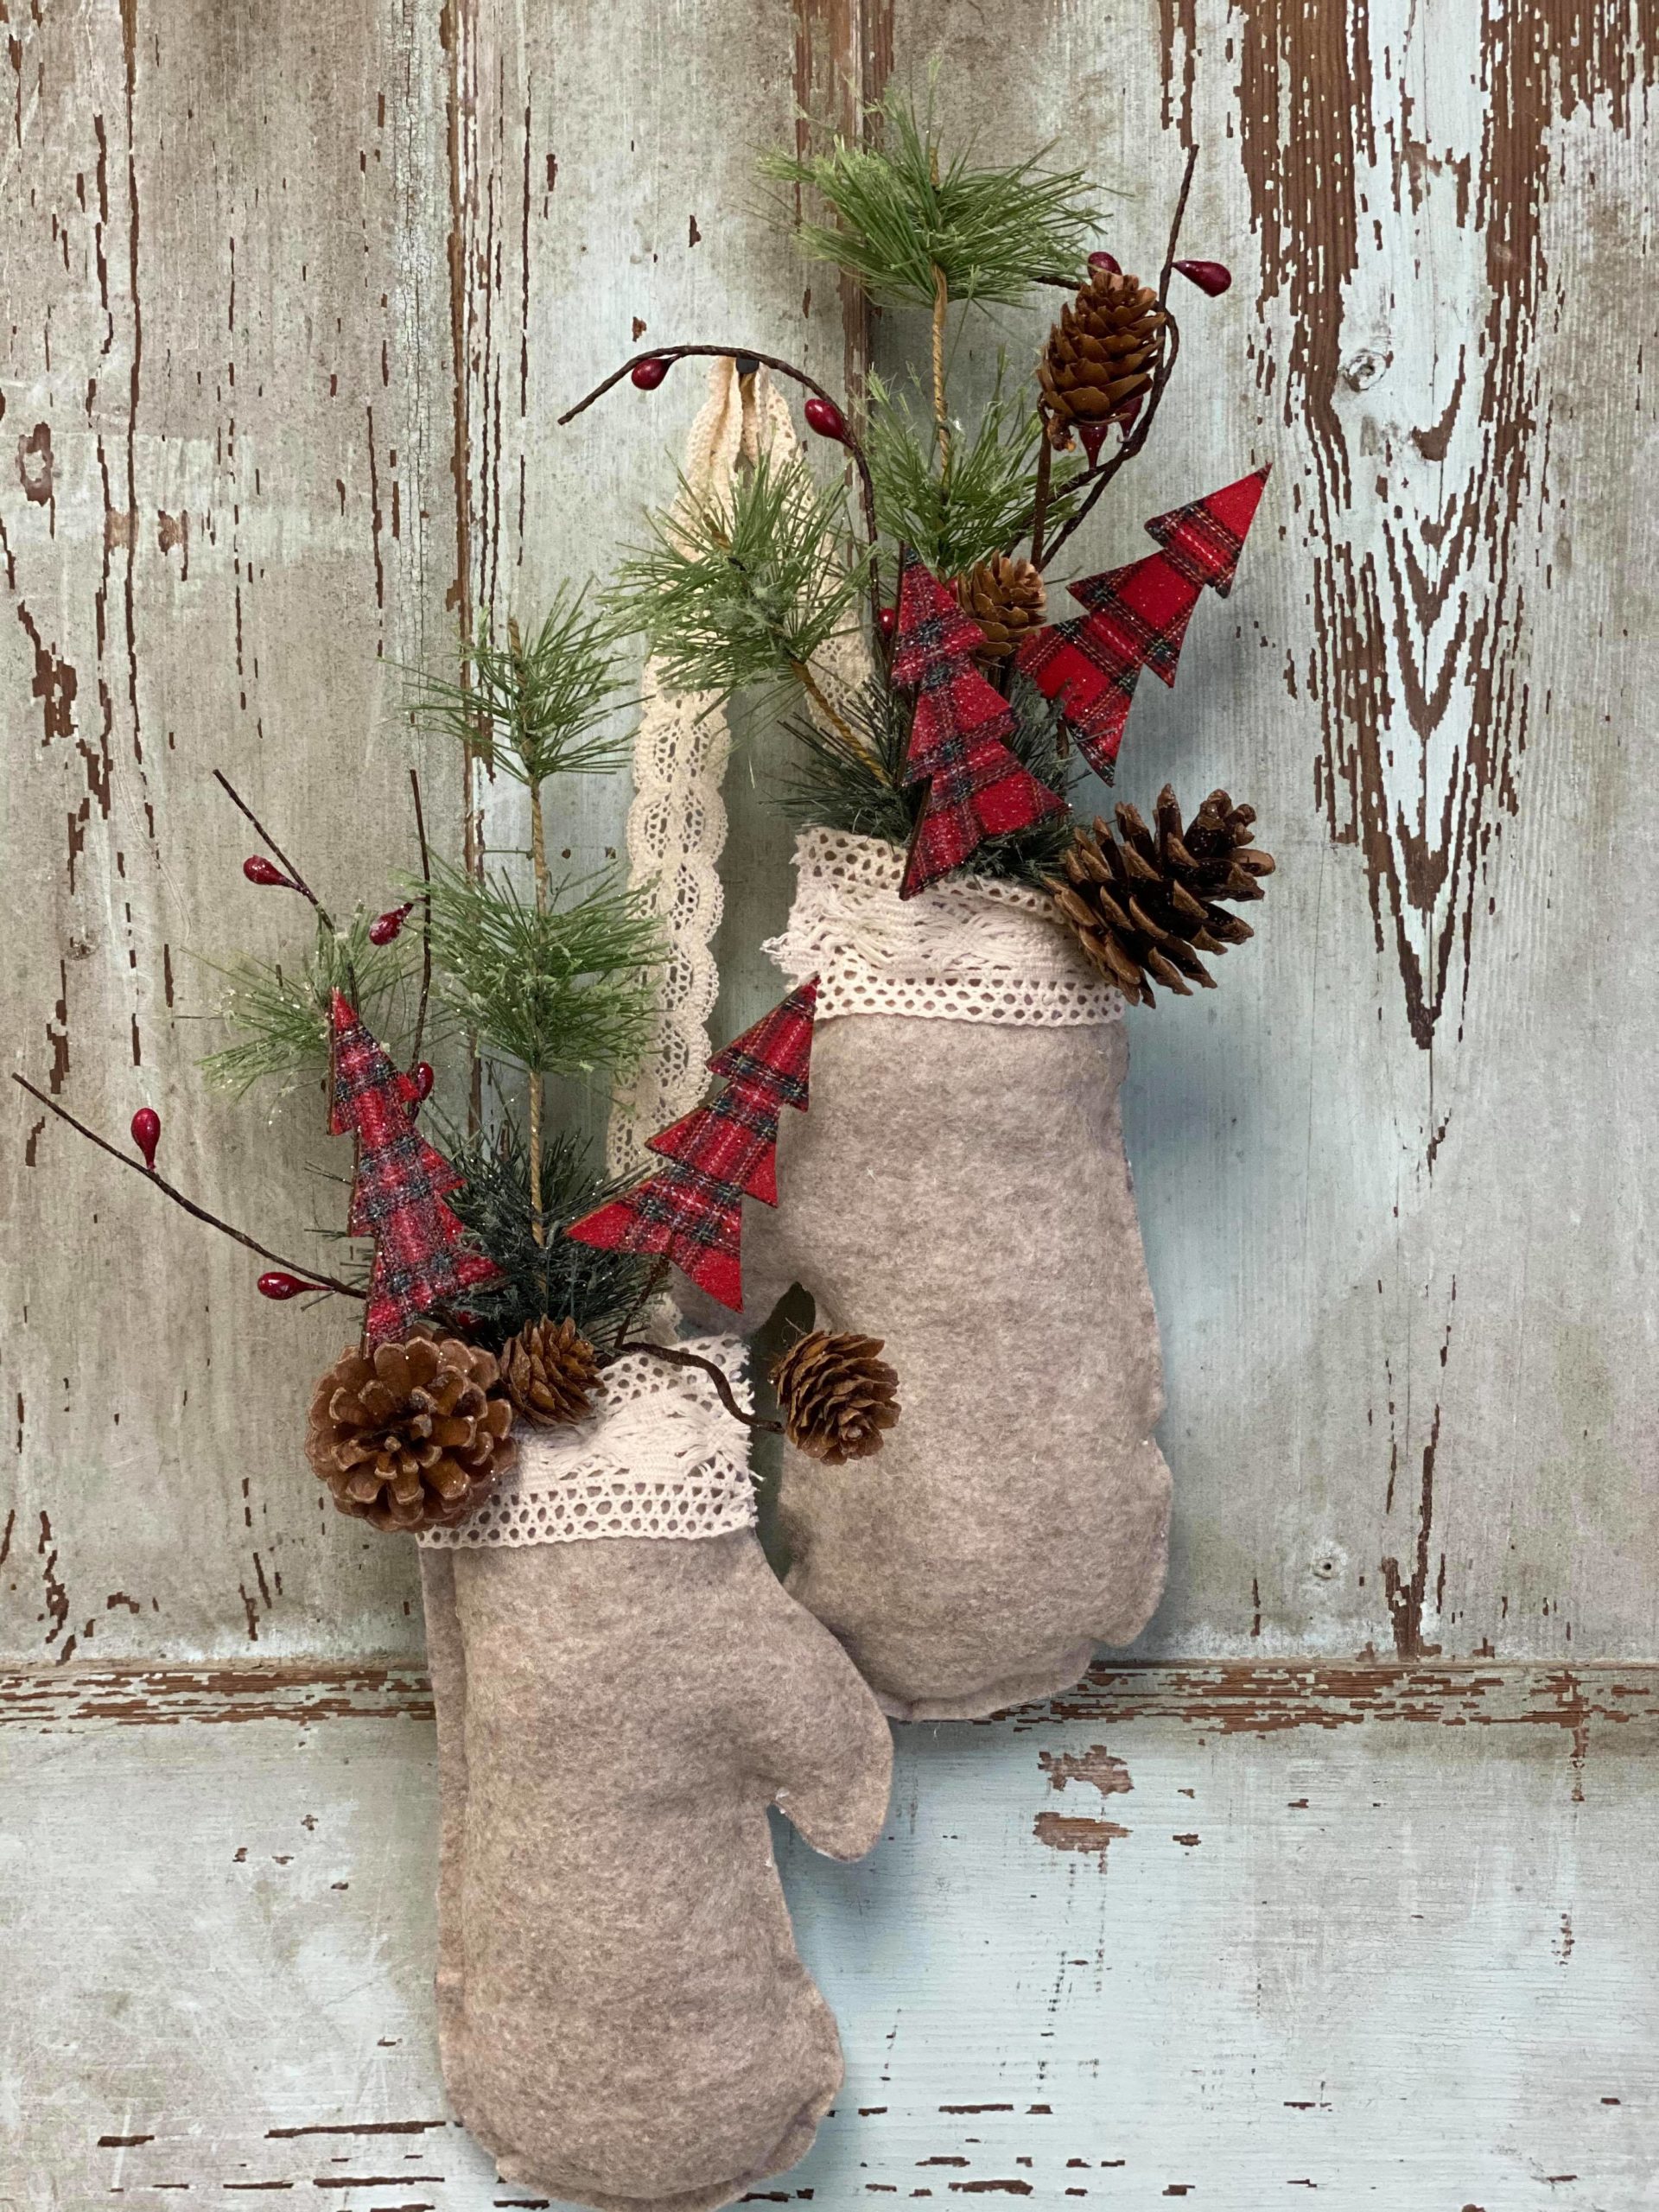
The mittens turned out so cute and will look adorable on a tree or even hanging on a door or cabinet. I hope you will all get creative and give these a try.