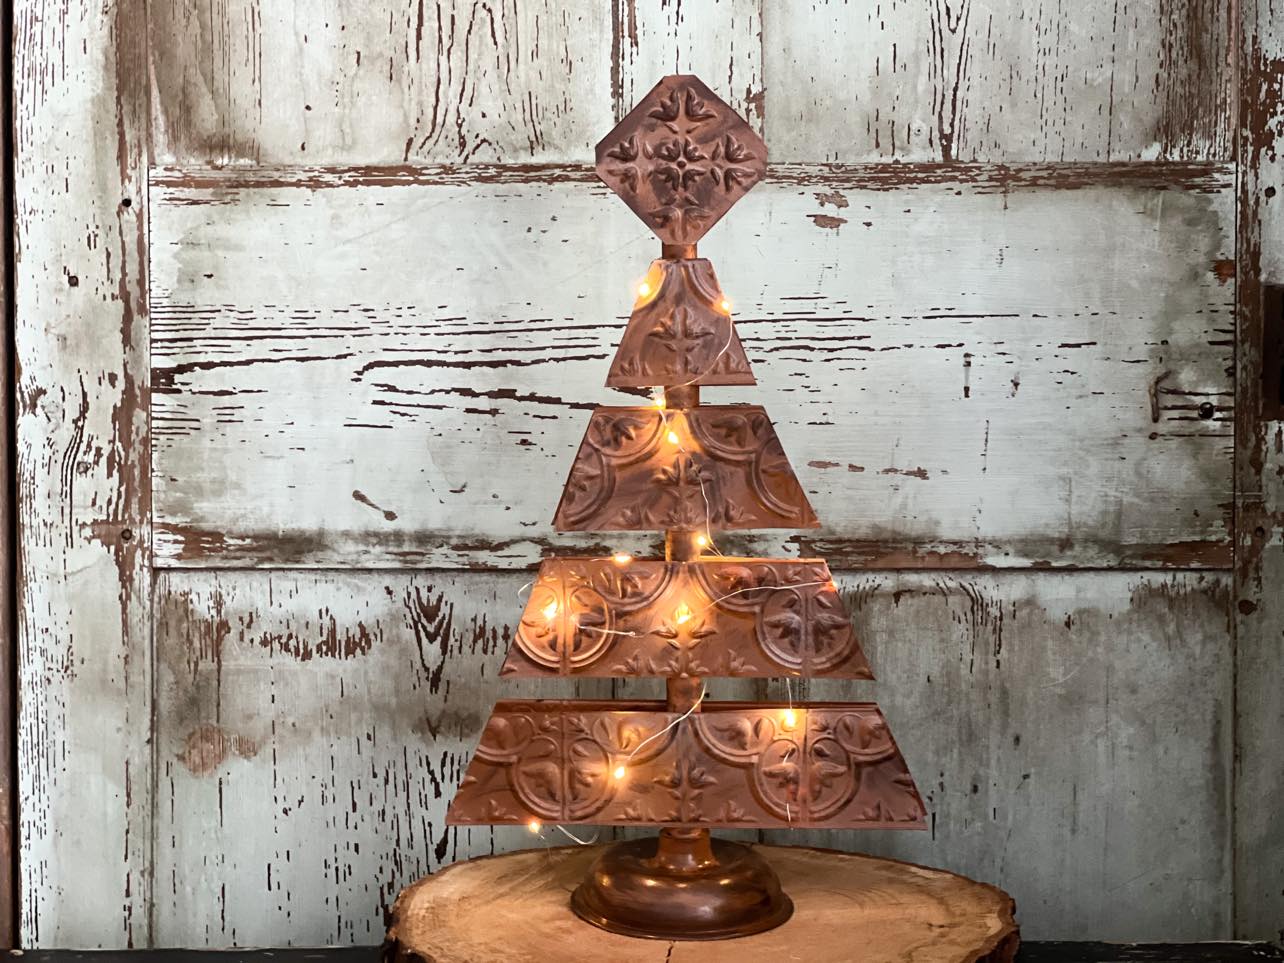
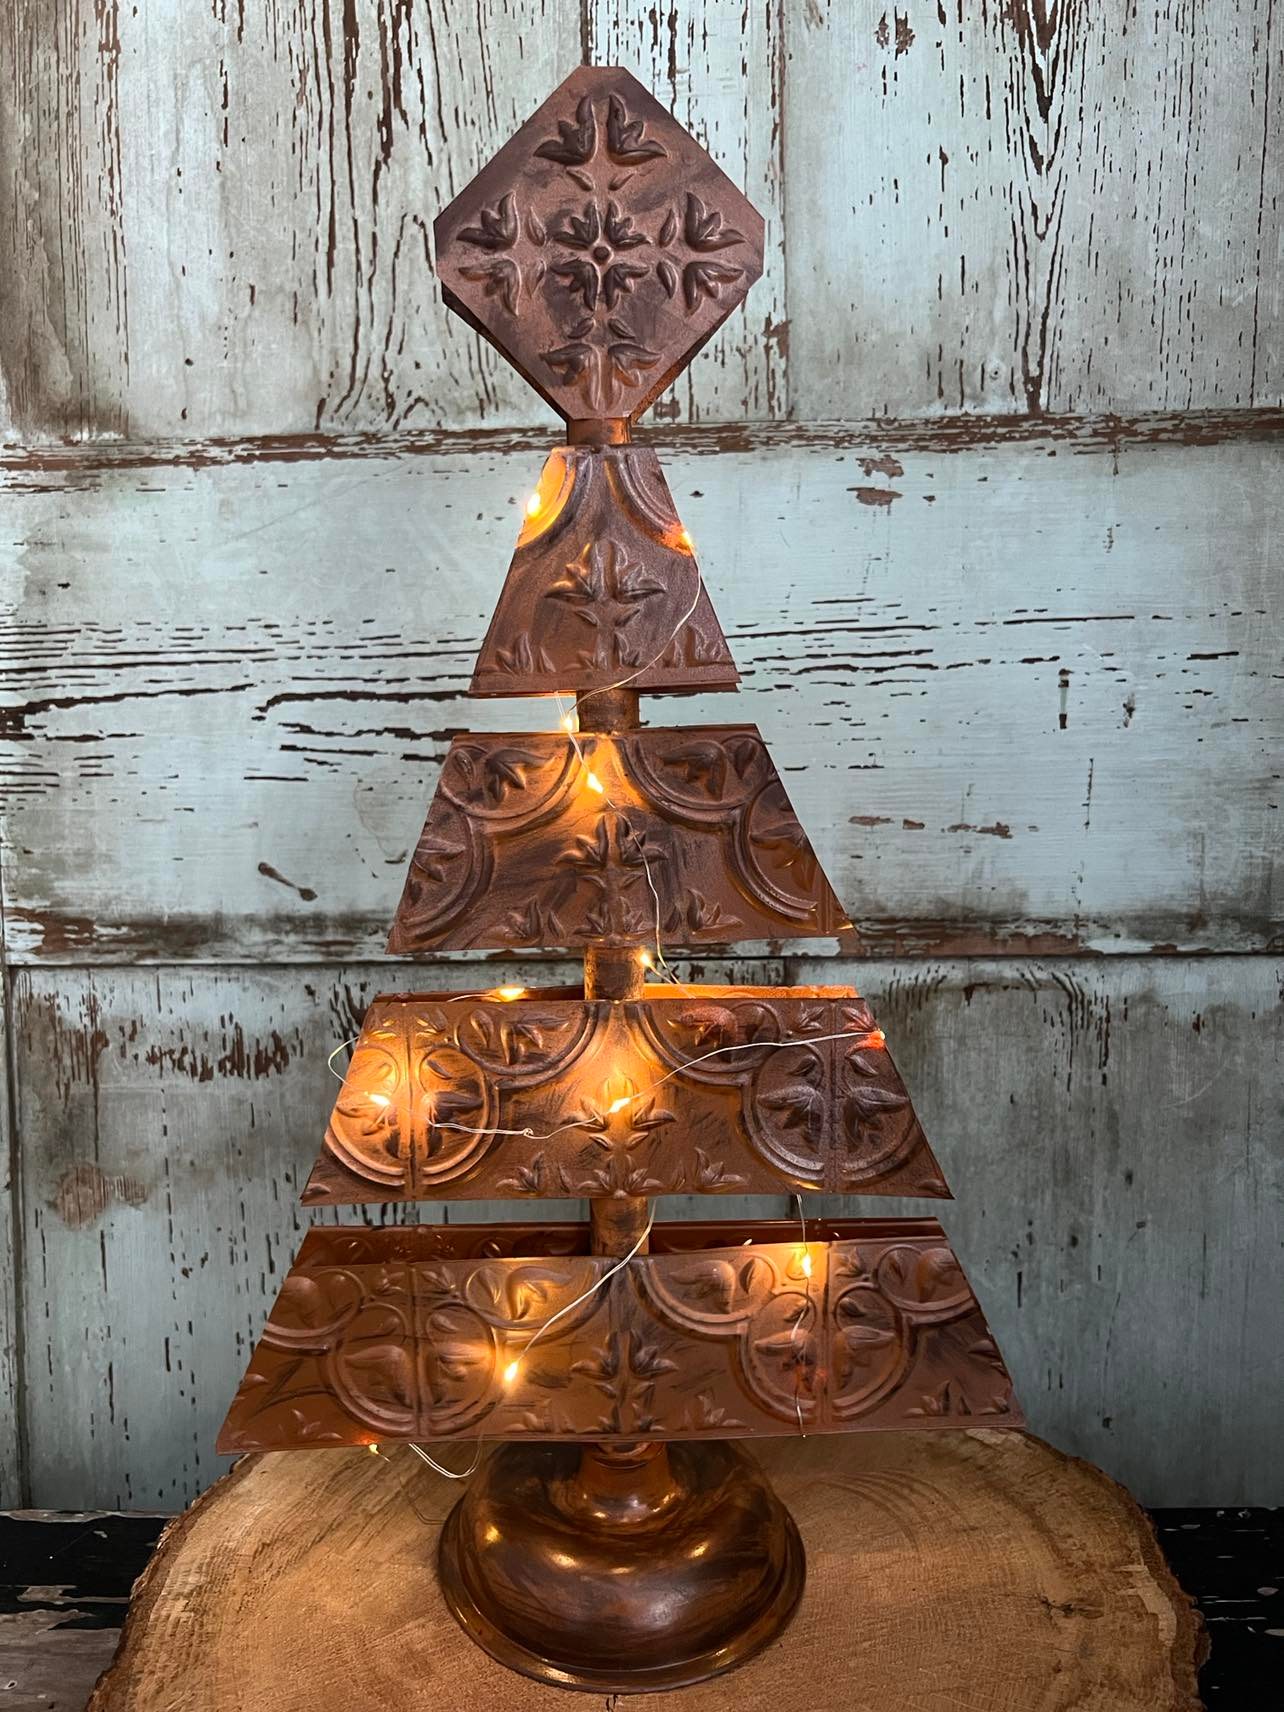
The Dollar Tree has been getting some amazing wall tiles in and I have been wanting to get creative with them. You all know that I love trees of all kinds so I thought it would be fun to create a tree with a few. I have pallet trees in my yard that I absolutely love and would like to try and make a smaller version of.

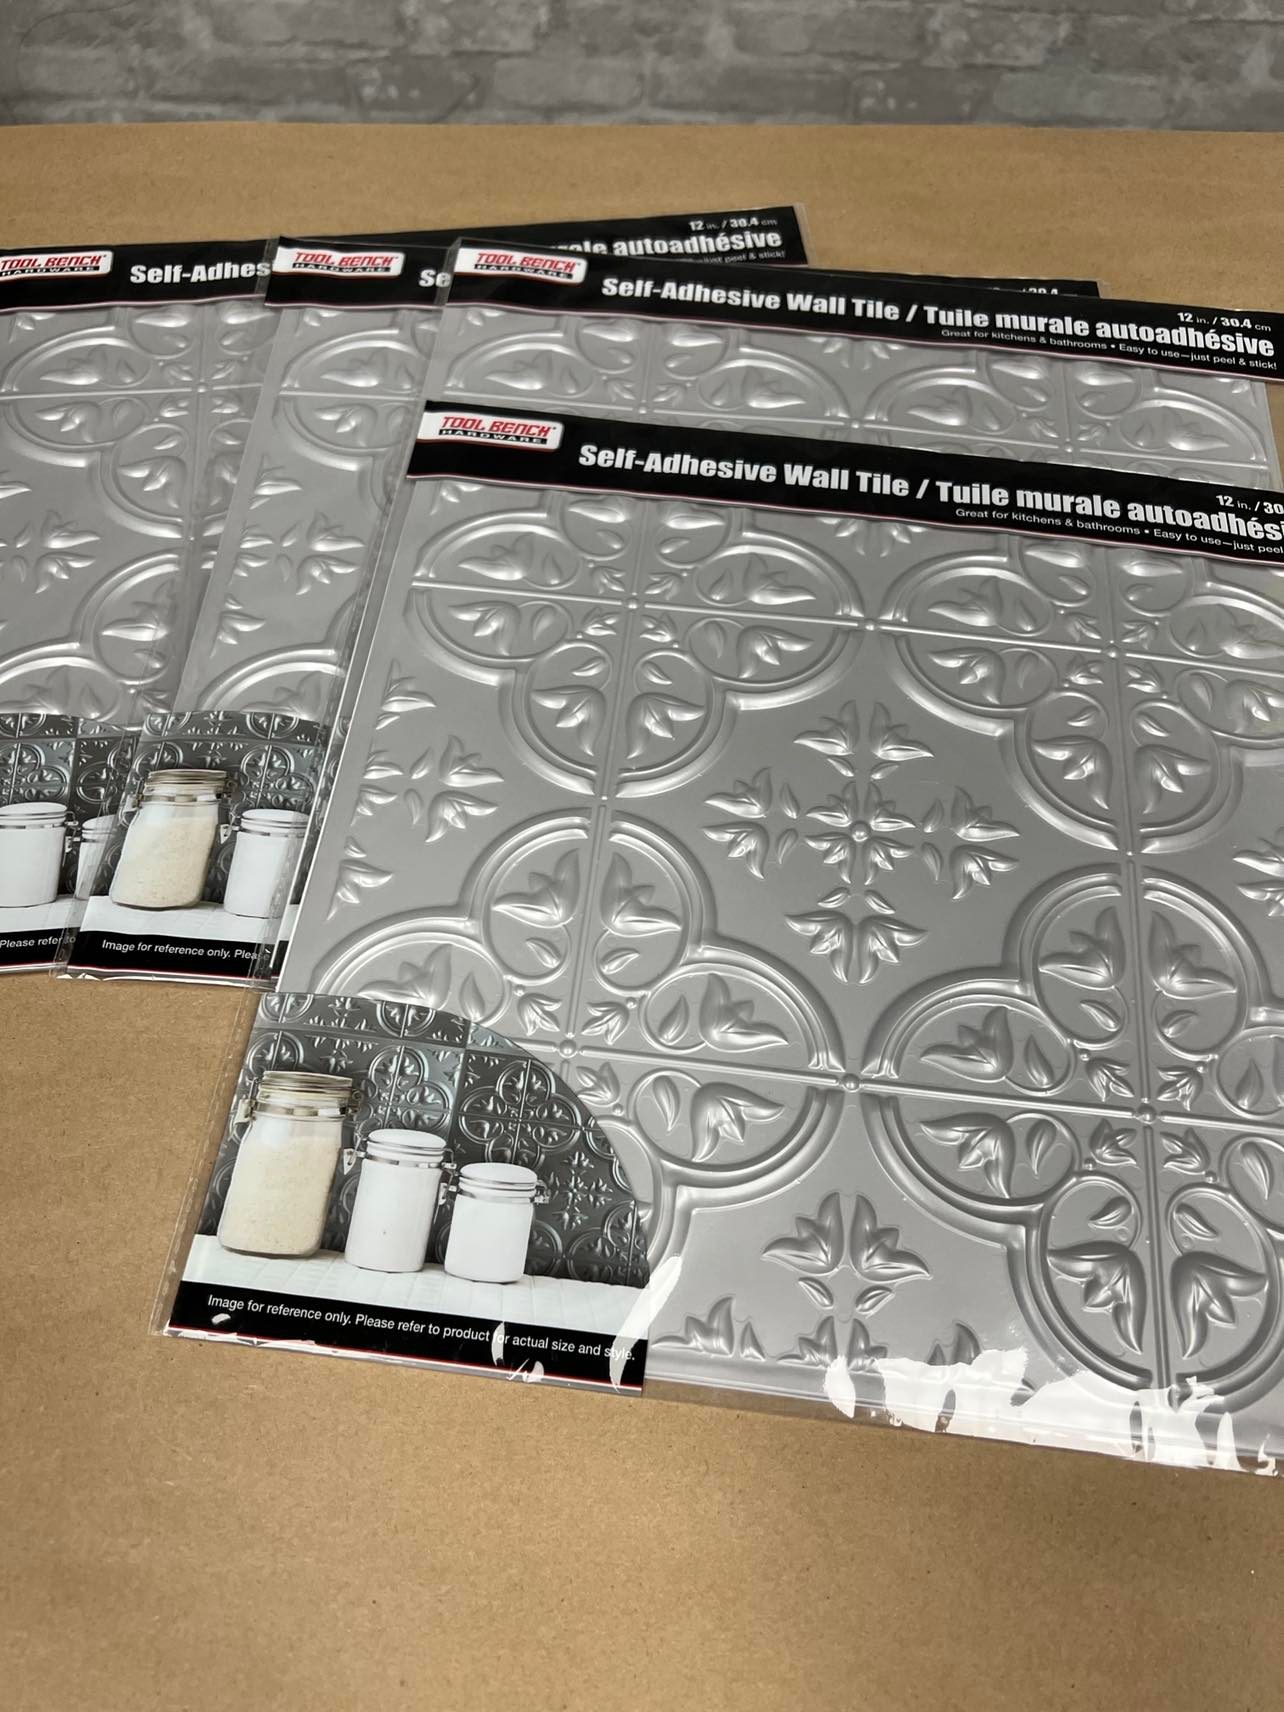
The supplies that I will be using are:
1. Four self adhesive wall tiles from the Dollar Tree
2. Hot glue
3. One plunger from the Dollar Tree
4. Scissors
5. Rust-oleum spray paint ( color warm caramel)
6. Rub’n Buff (color Spanish Copper)
7. Ruler stick
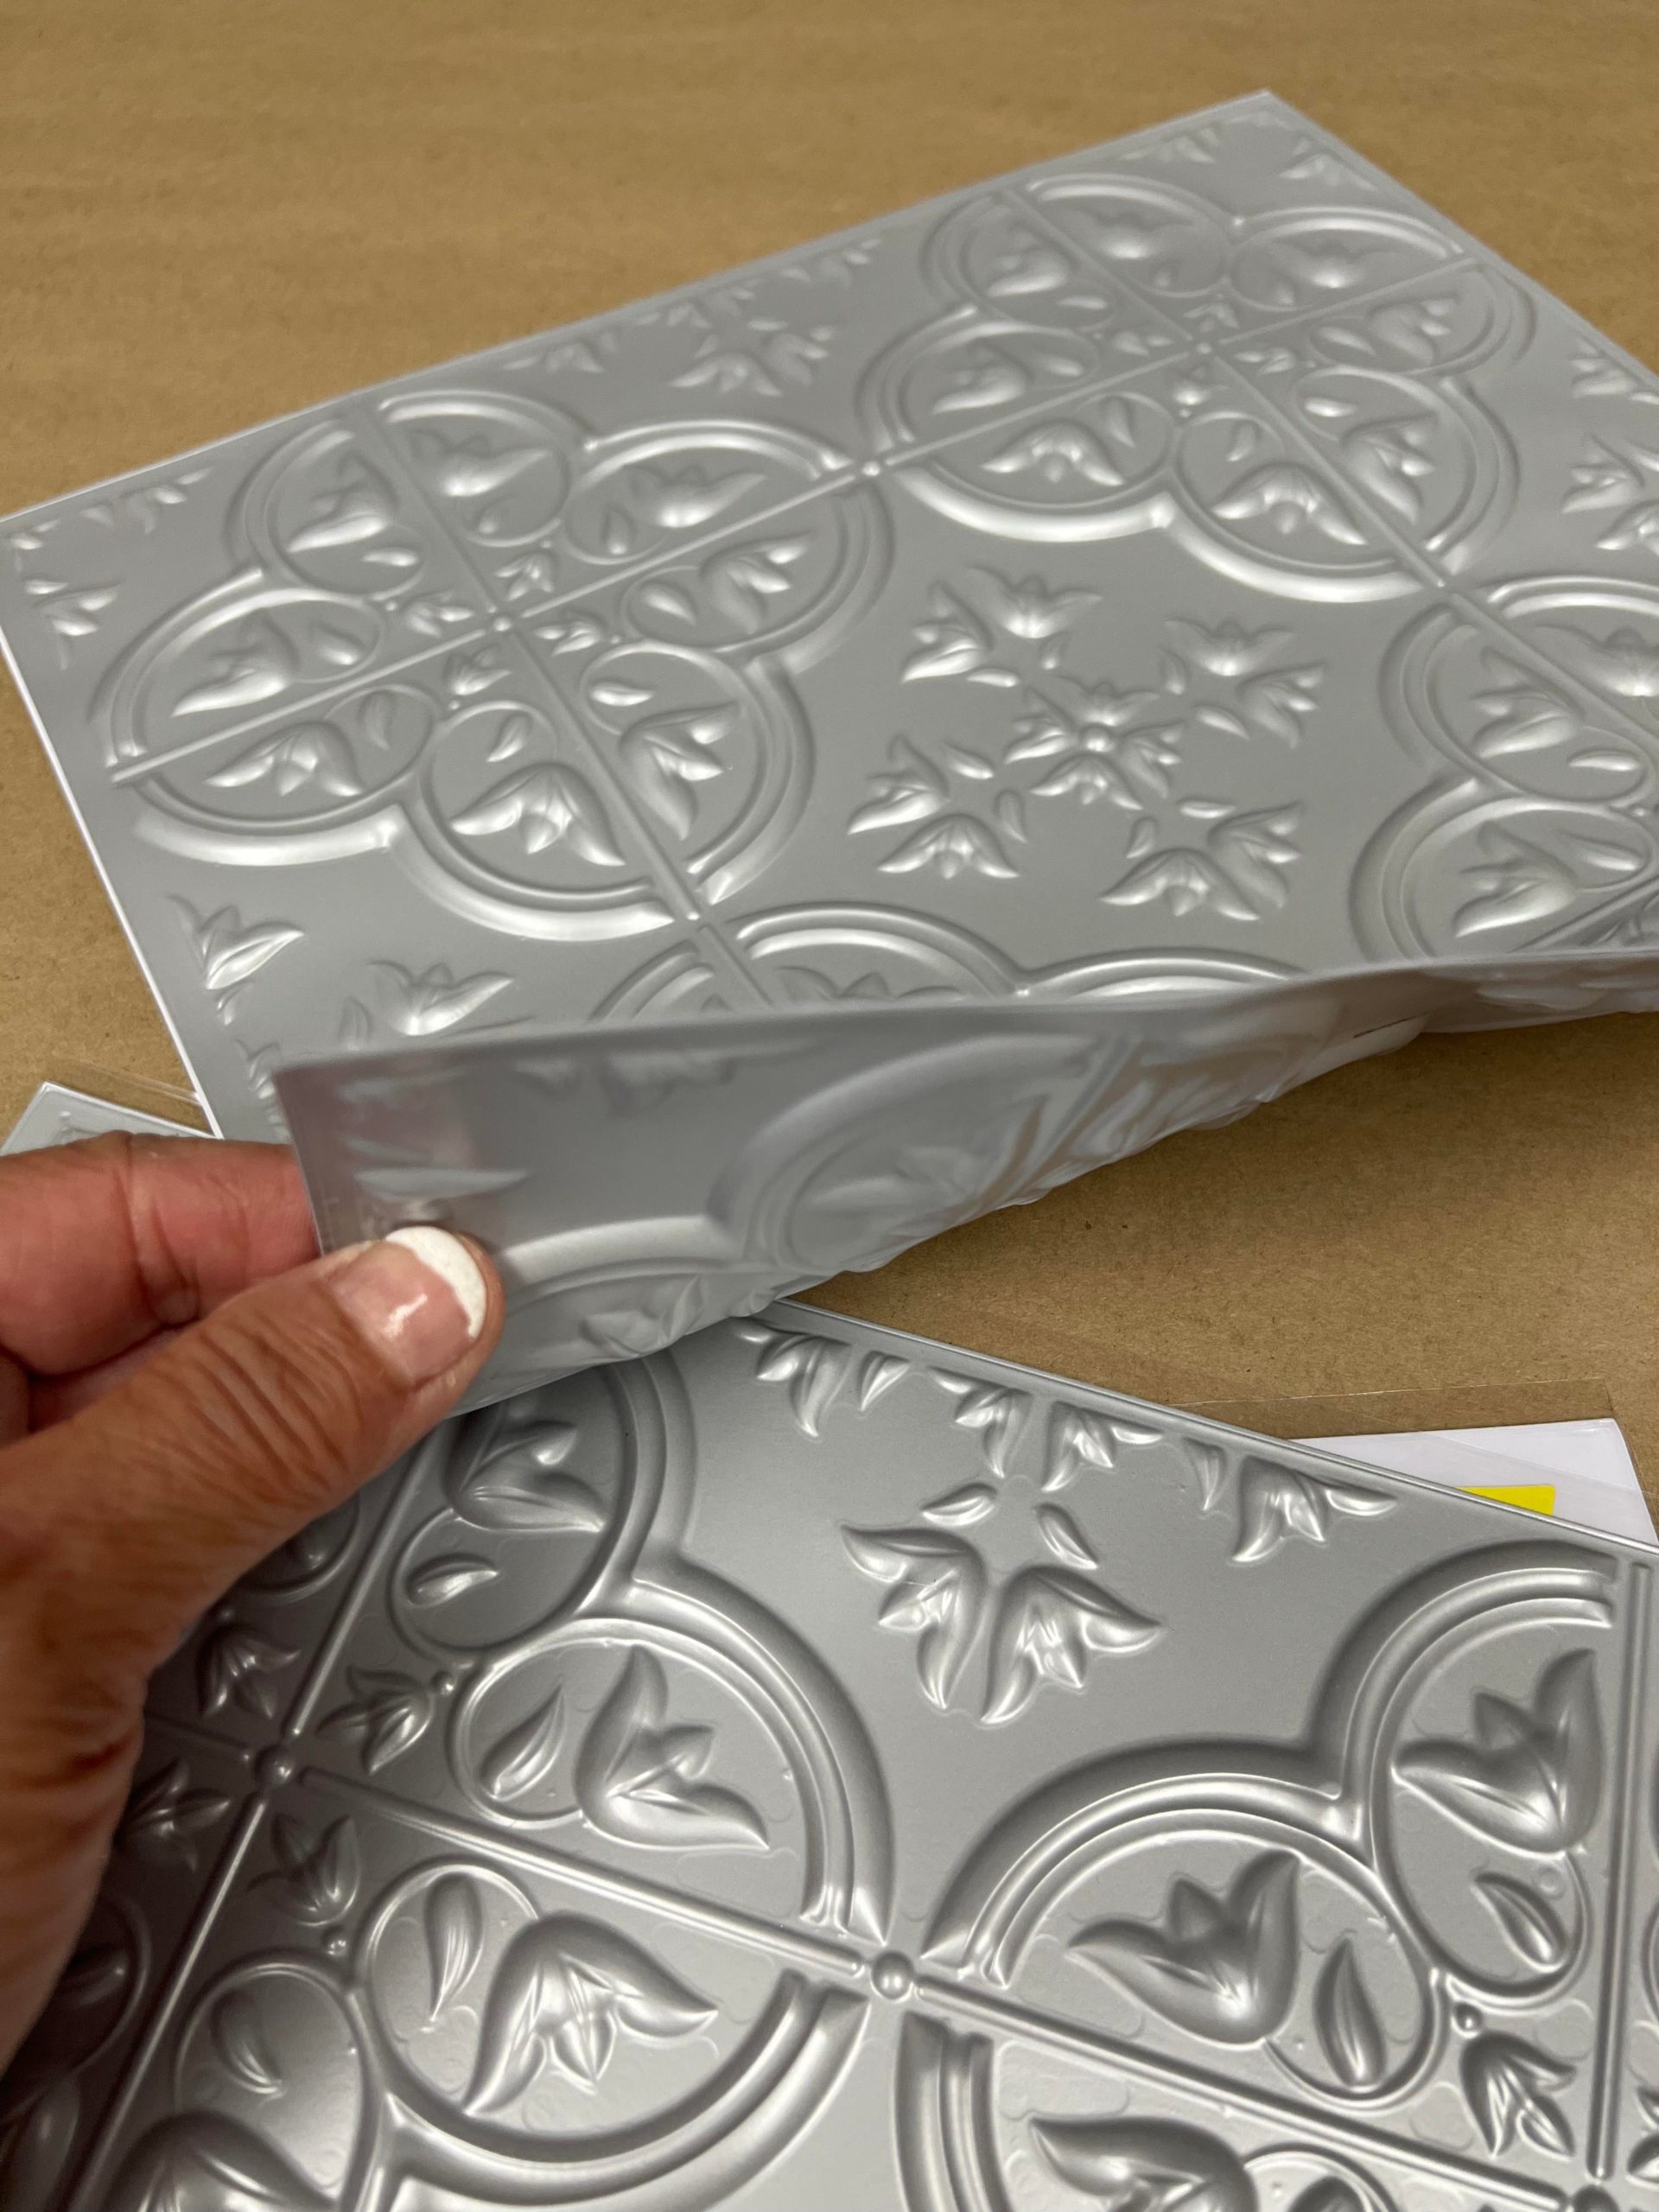
I opened up all four packs of the wall tiles. I peeled the backing off and stuck 2 tiles to each other as shown in photo below.
I then cut strips from one of the tiles as shown in photo below. You will only need four strips from one of the tiles. You will see in the photo that I cut one extra strip from the second tile but we will only use 4 for this tree.

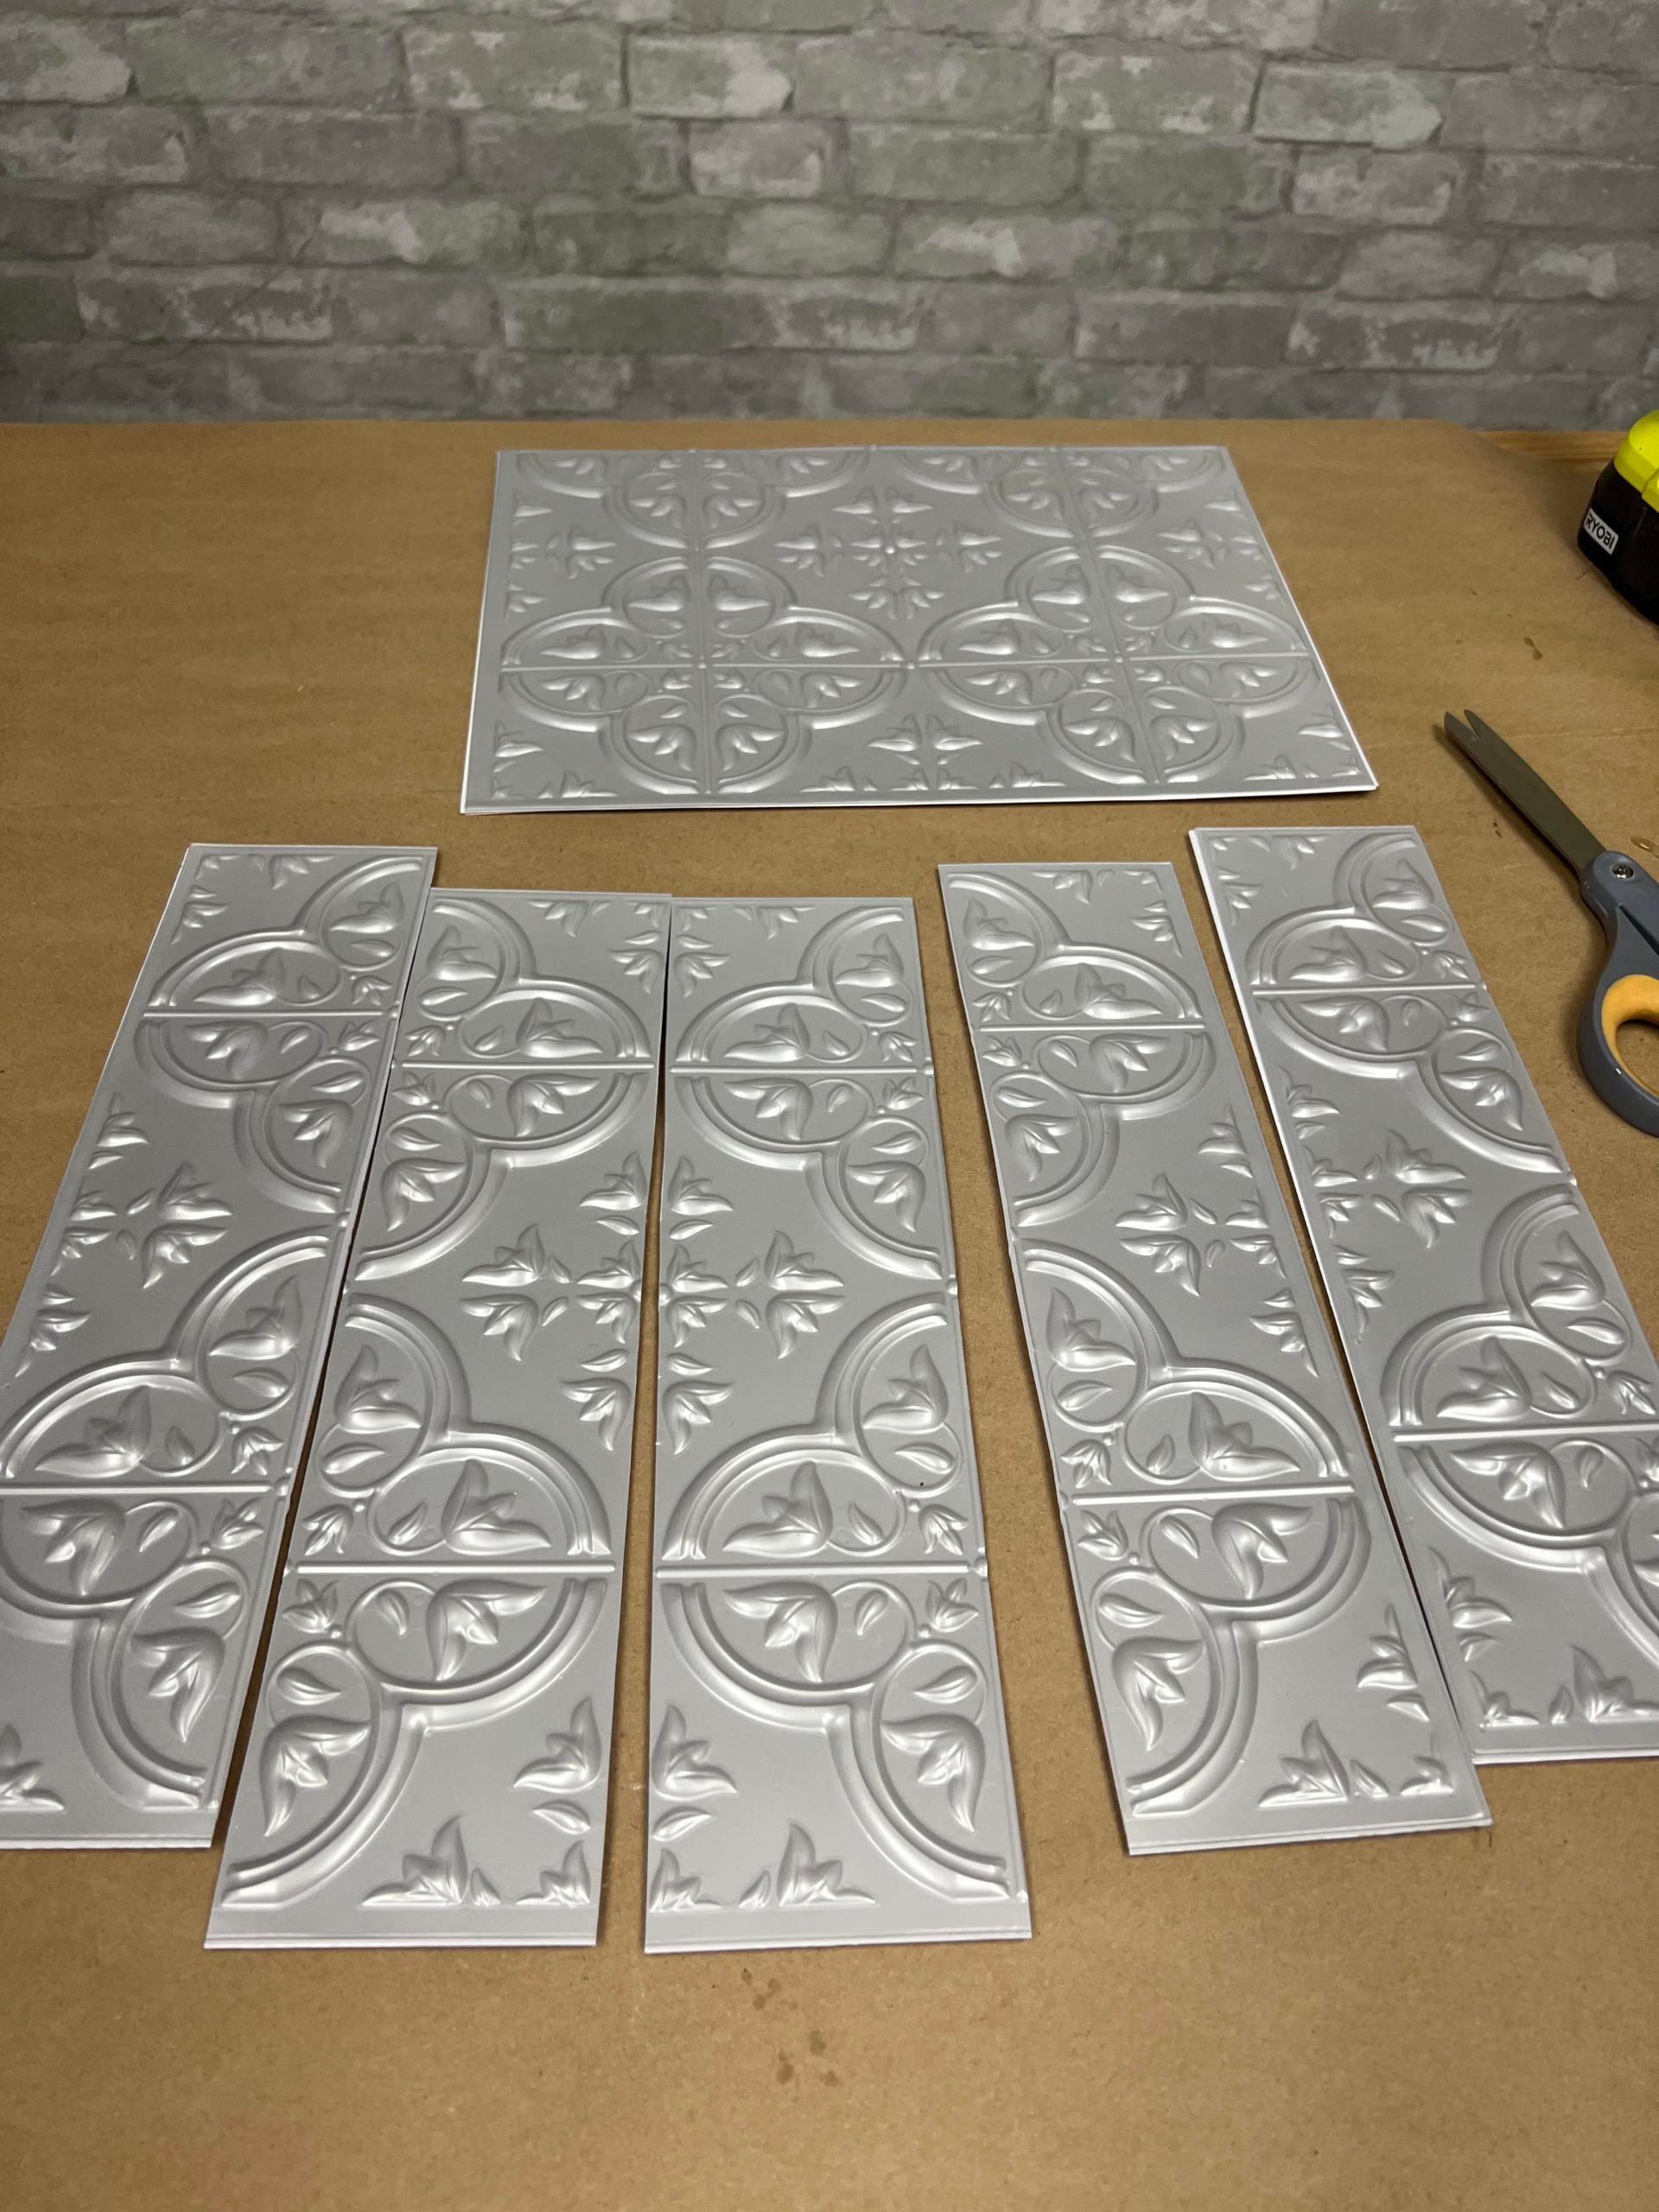
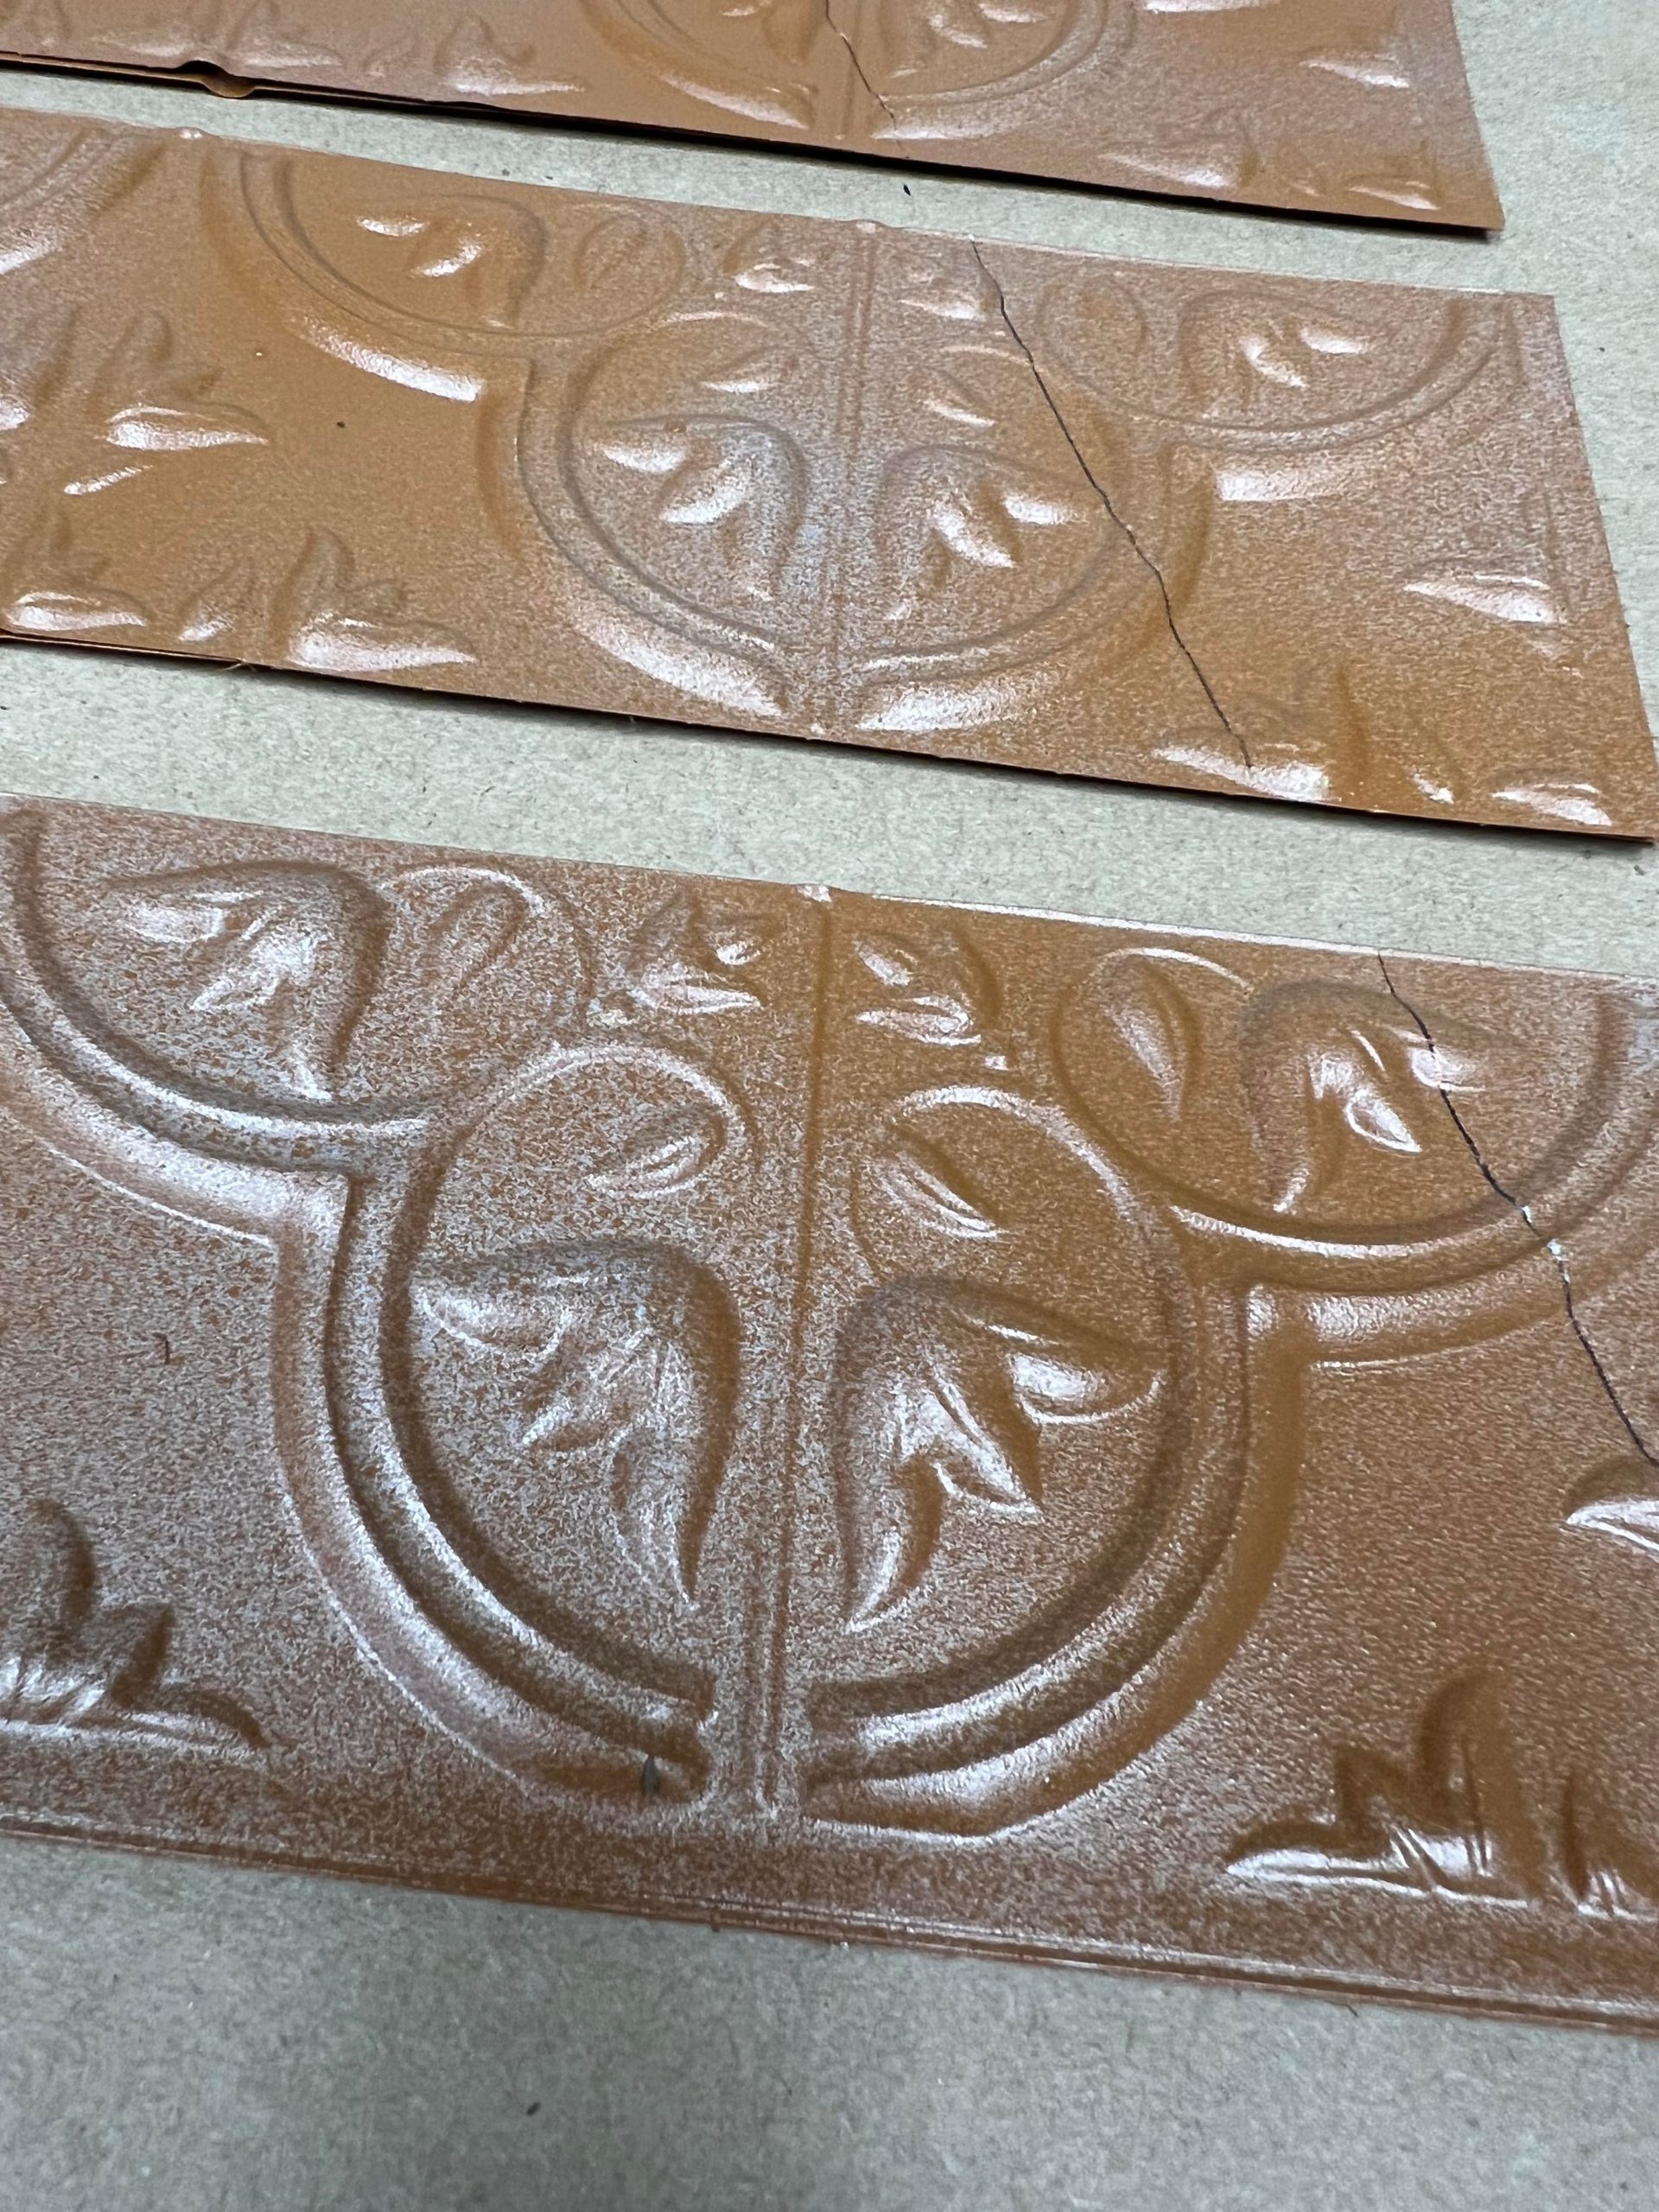
Once I had the strips cut I then peeled them all apart. Sticking the tiles together made it easier to cut even strips.
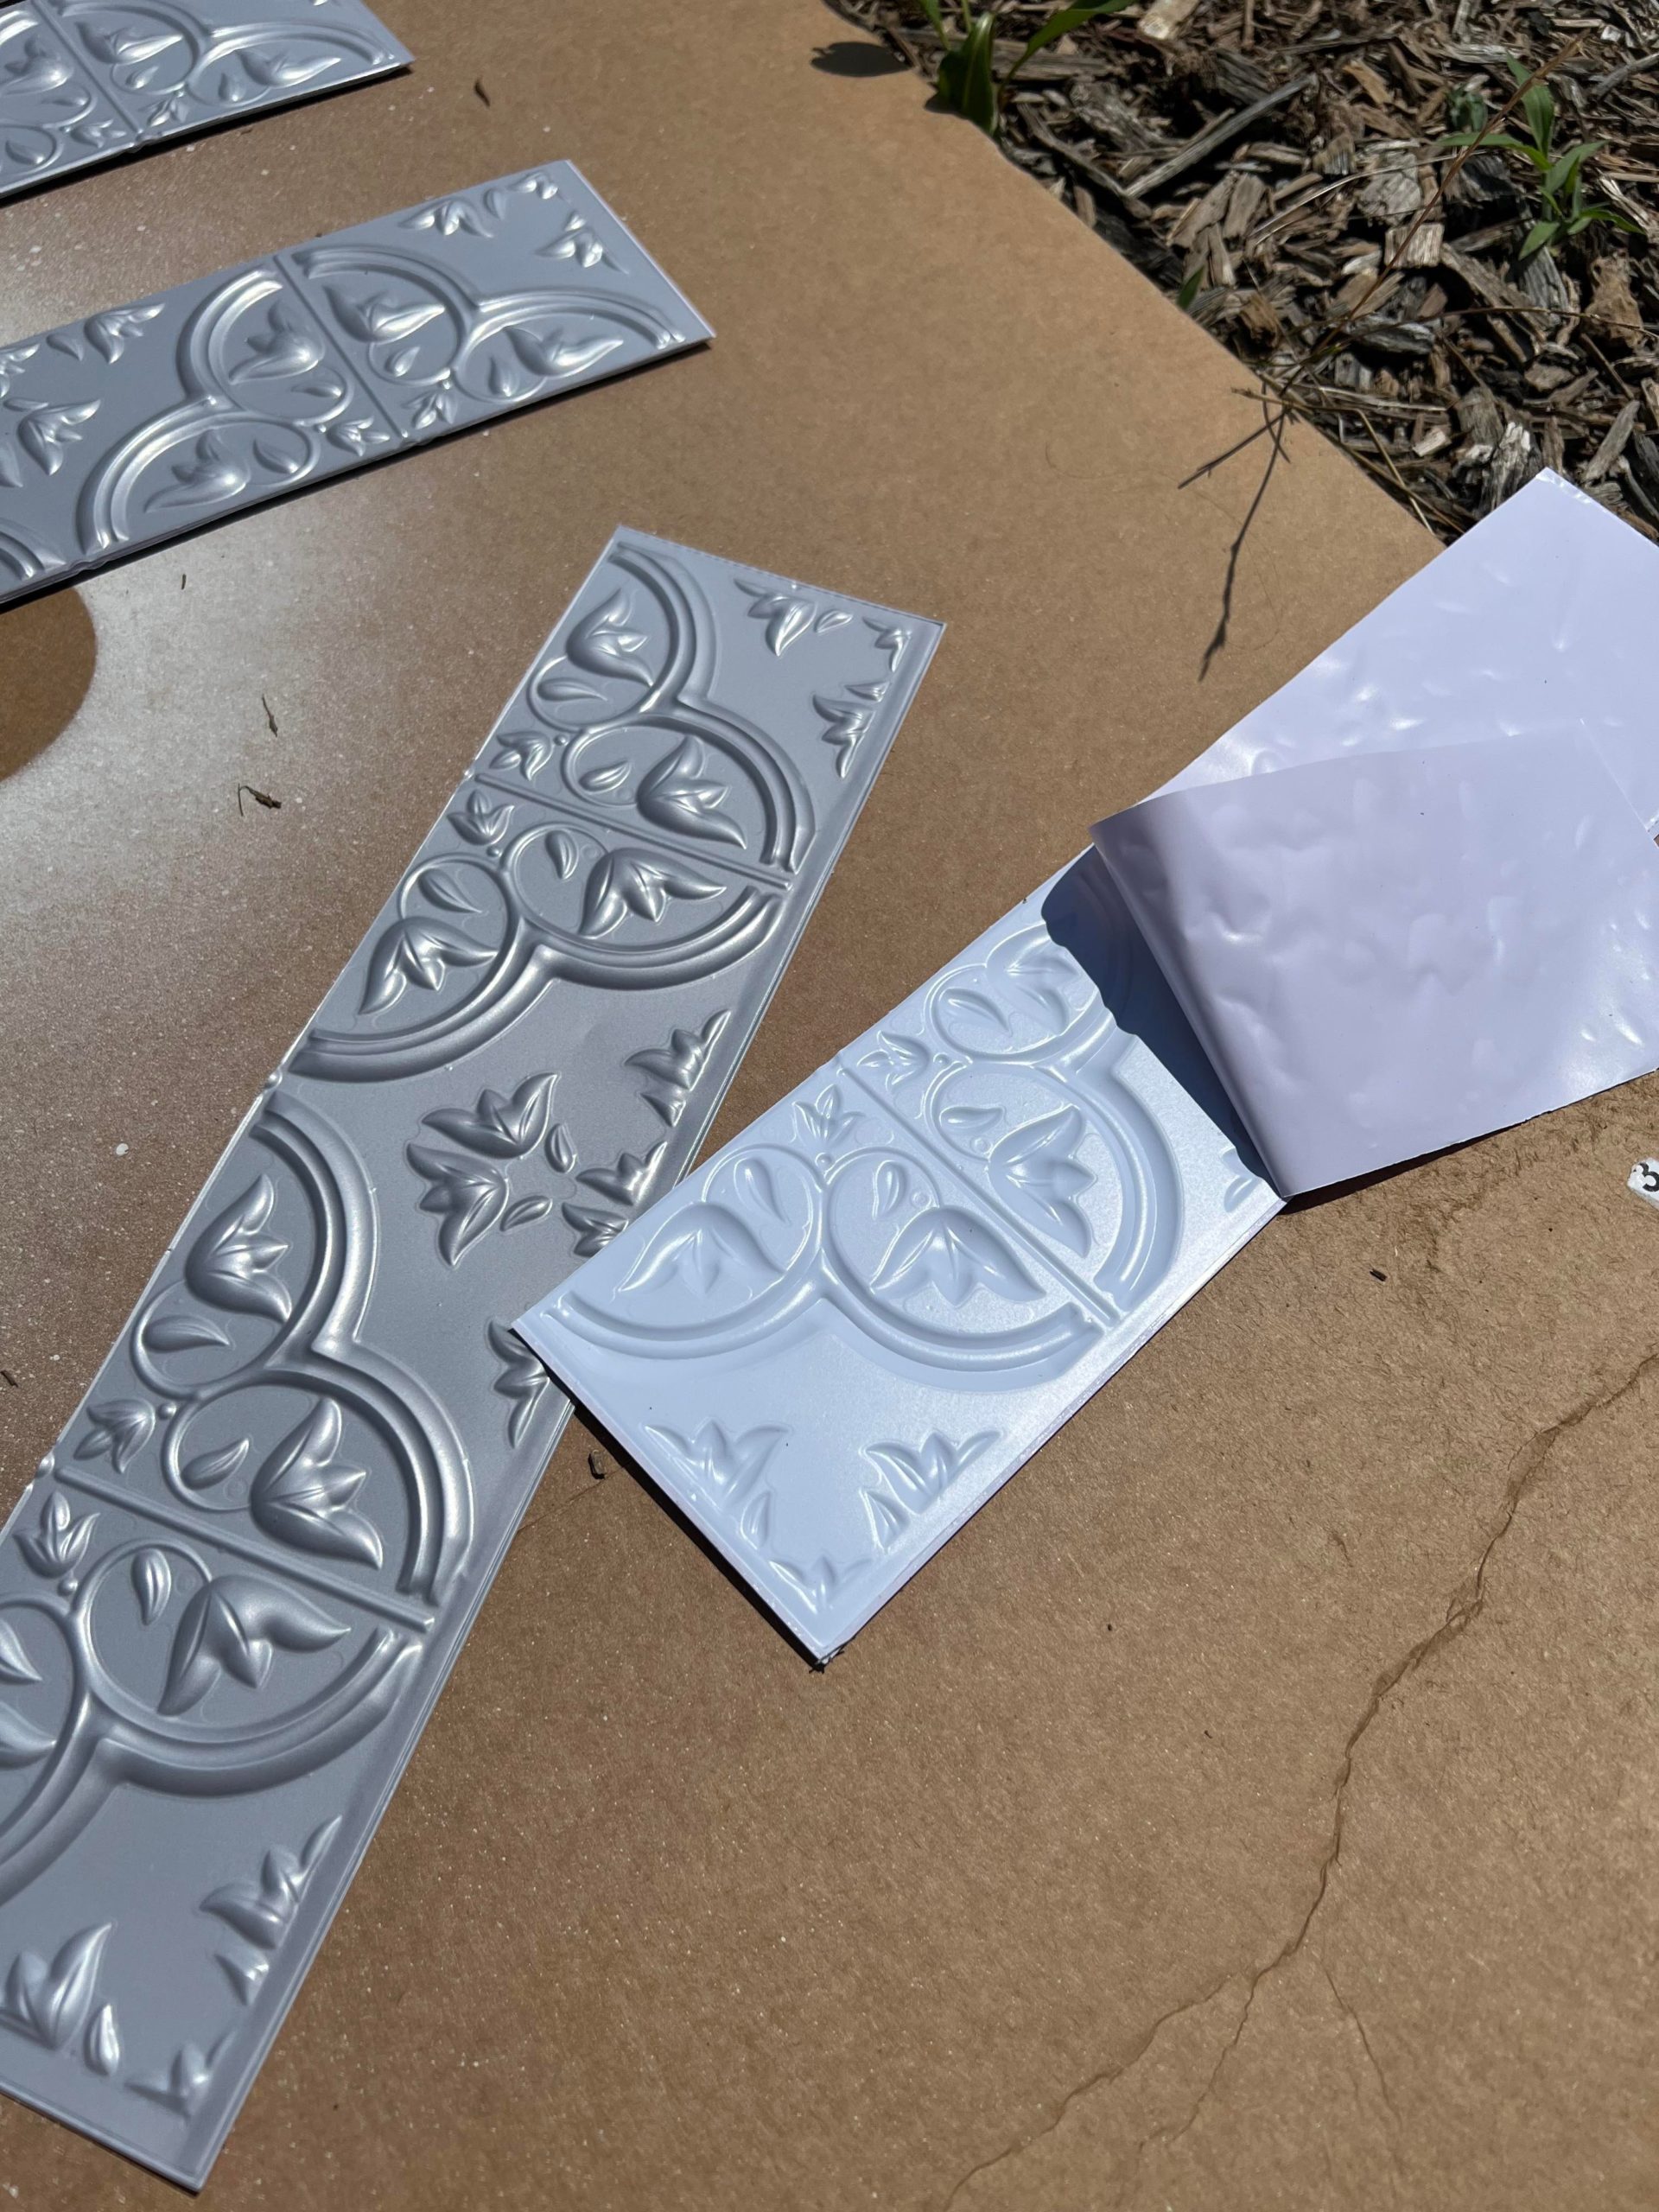
Be sure to pull off all of the sticky paper from all of the tile pieces.
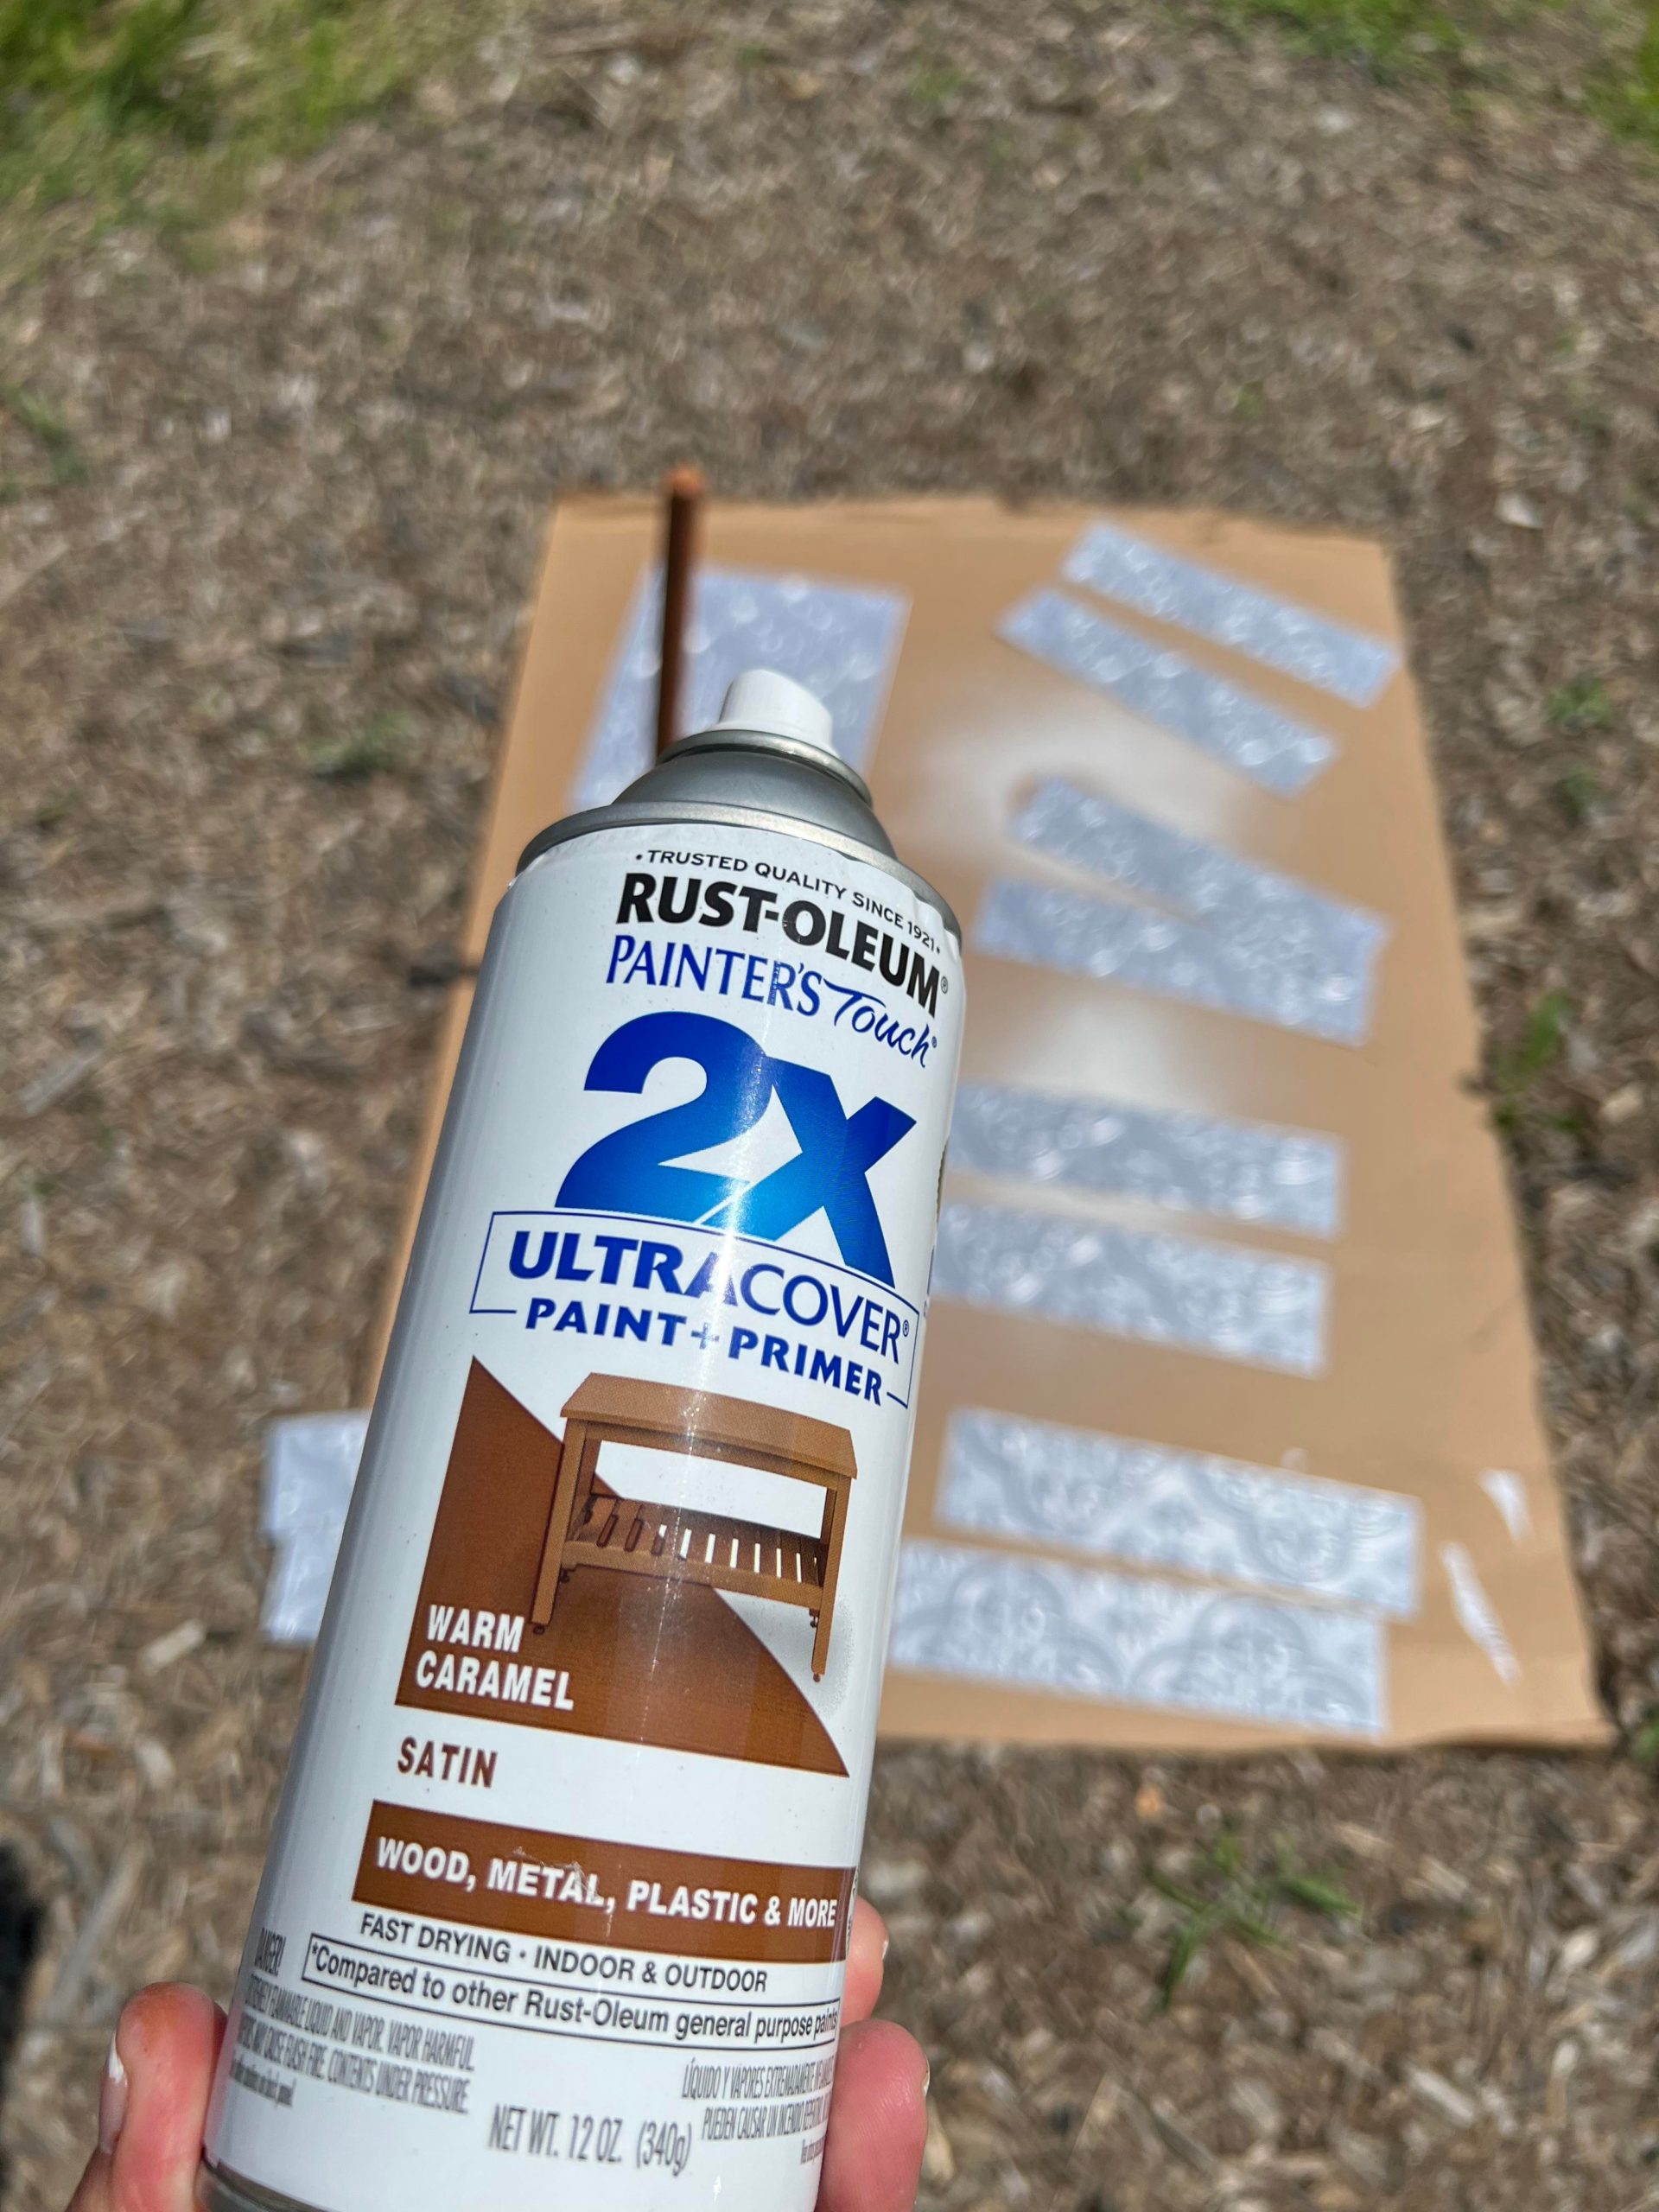
You will then use the warm caramel colored spray paint on all of the pieces.
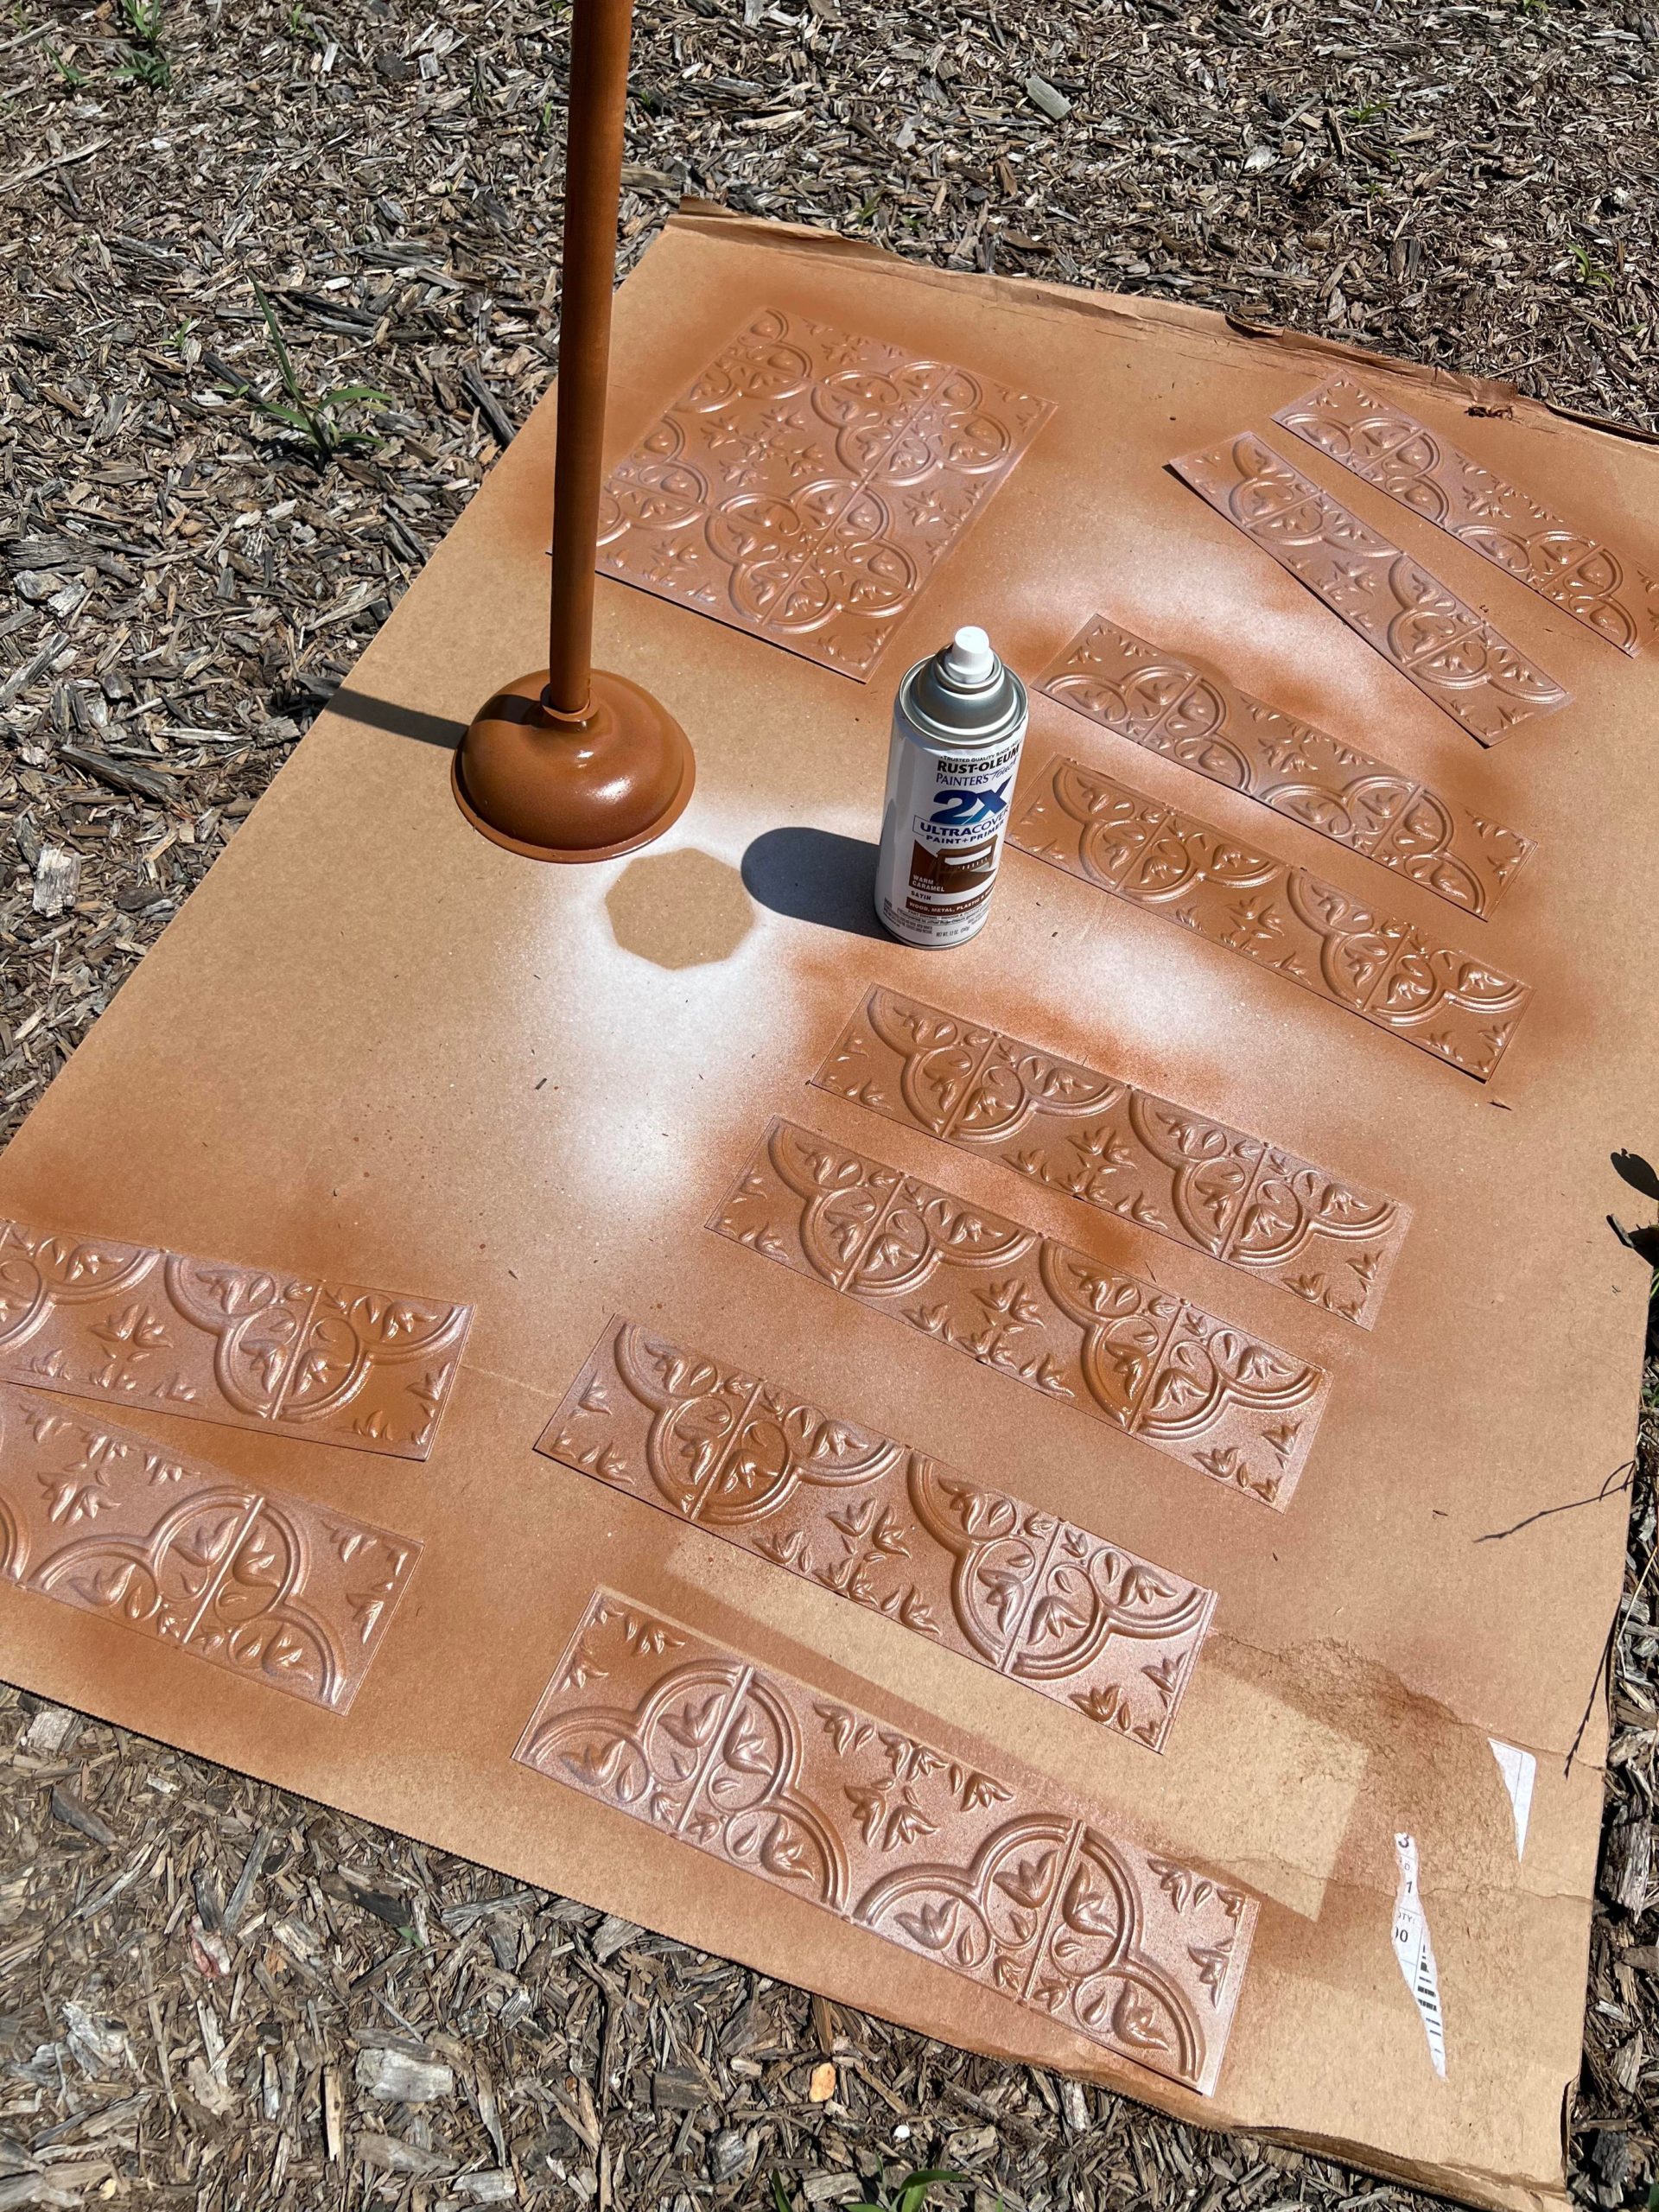
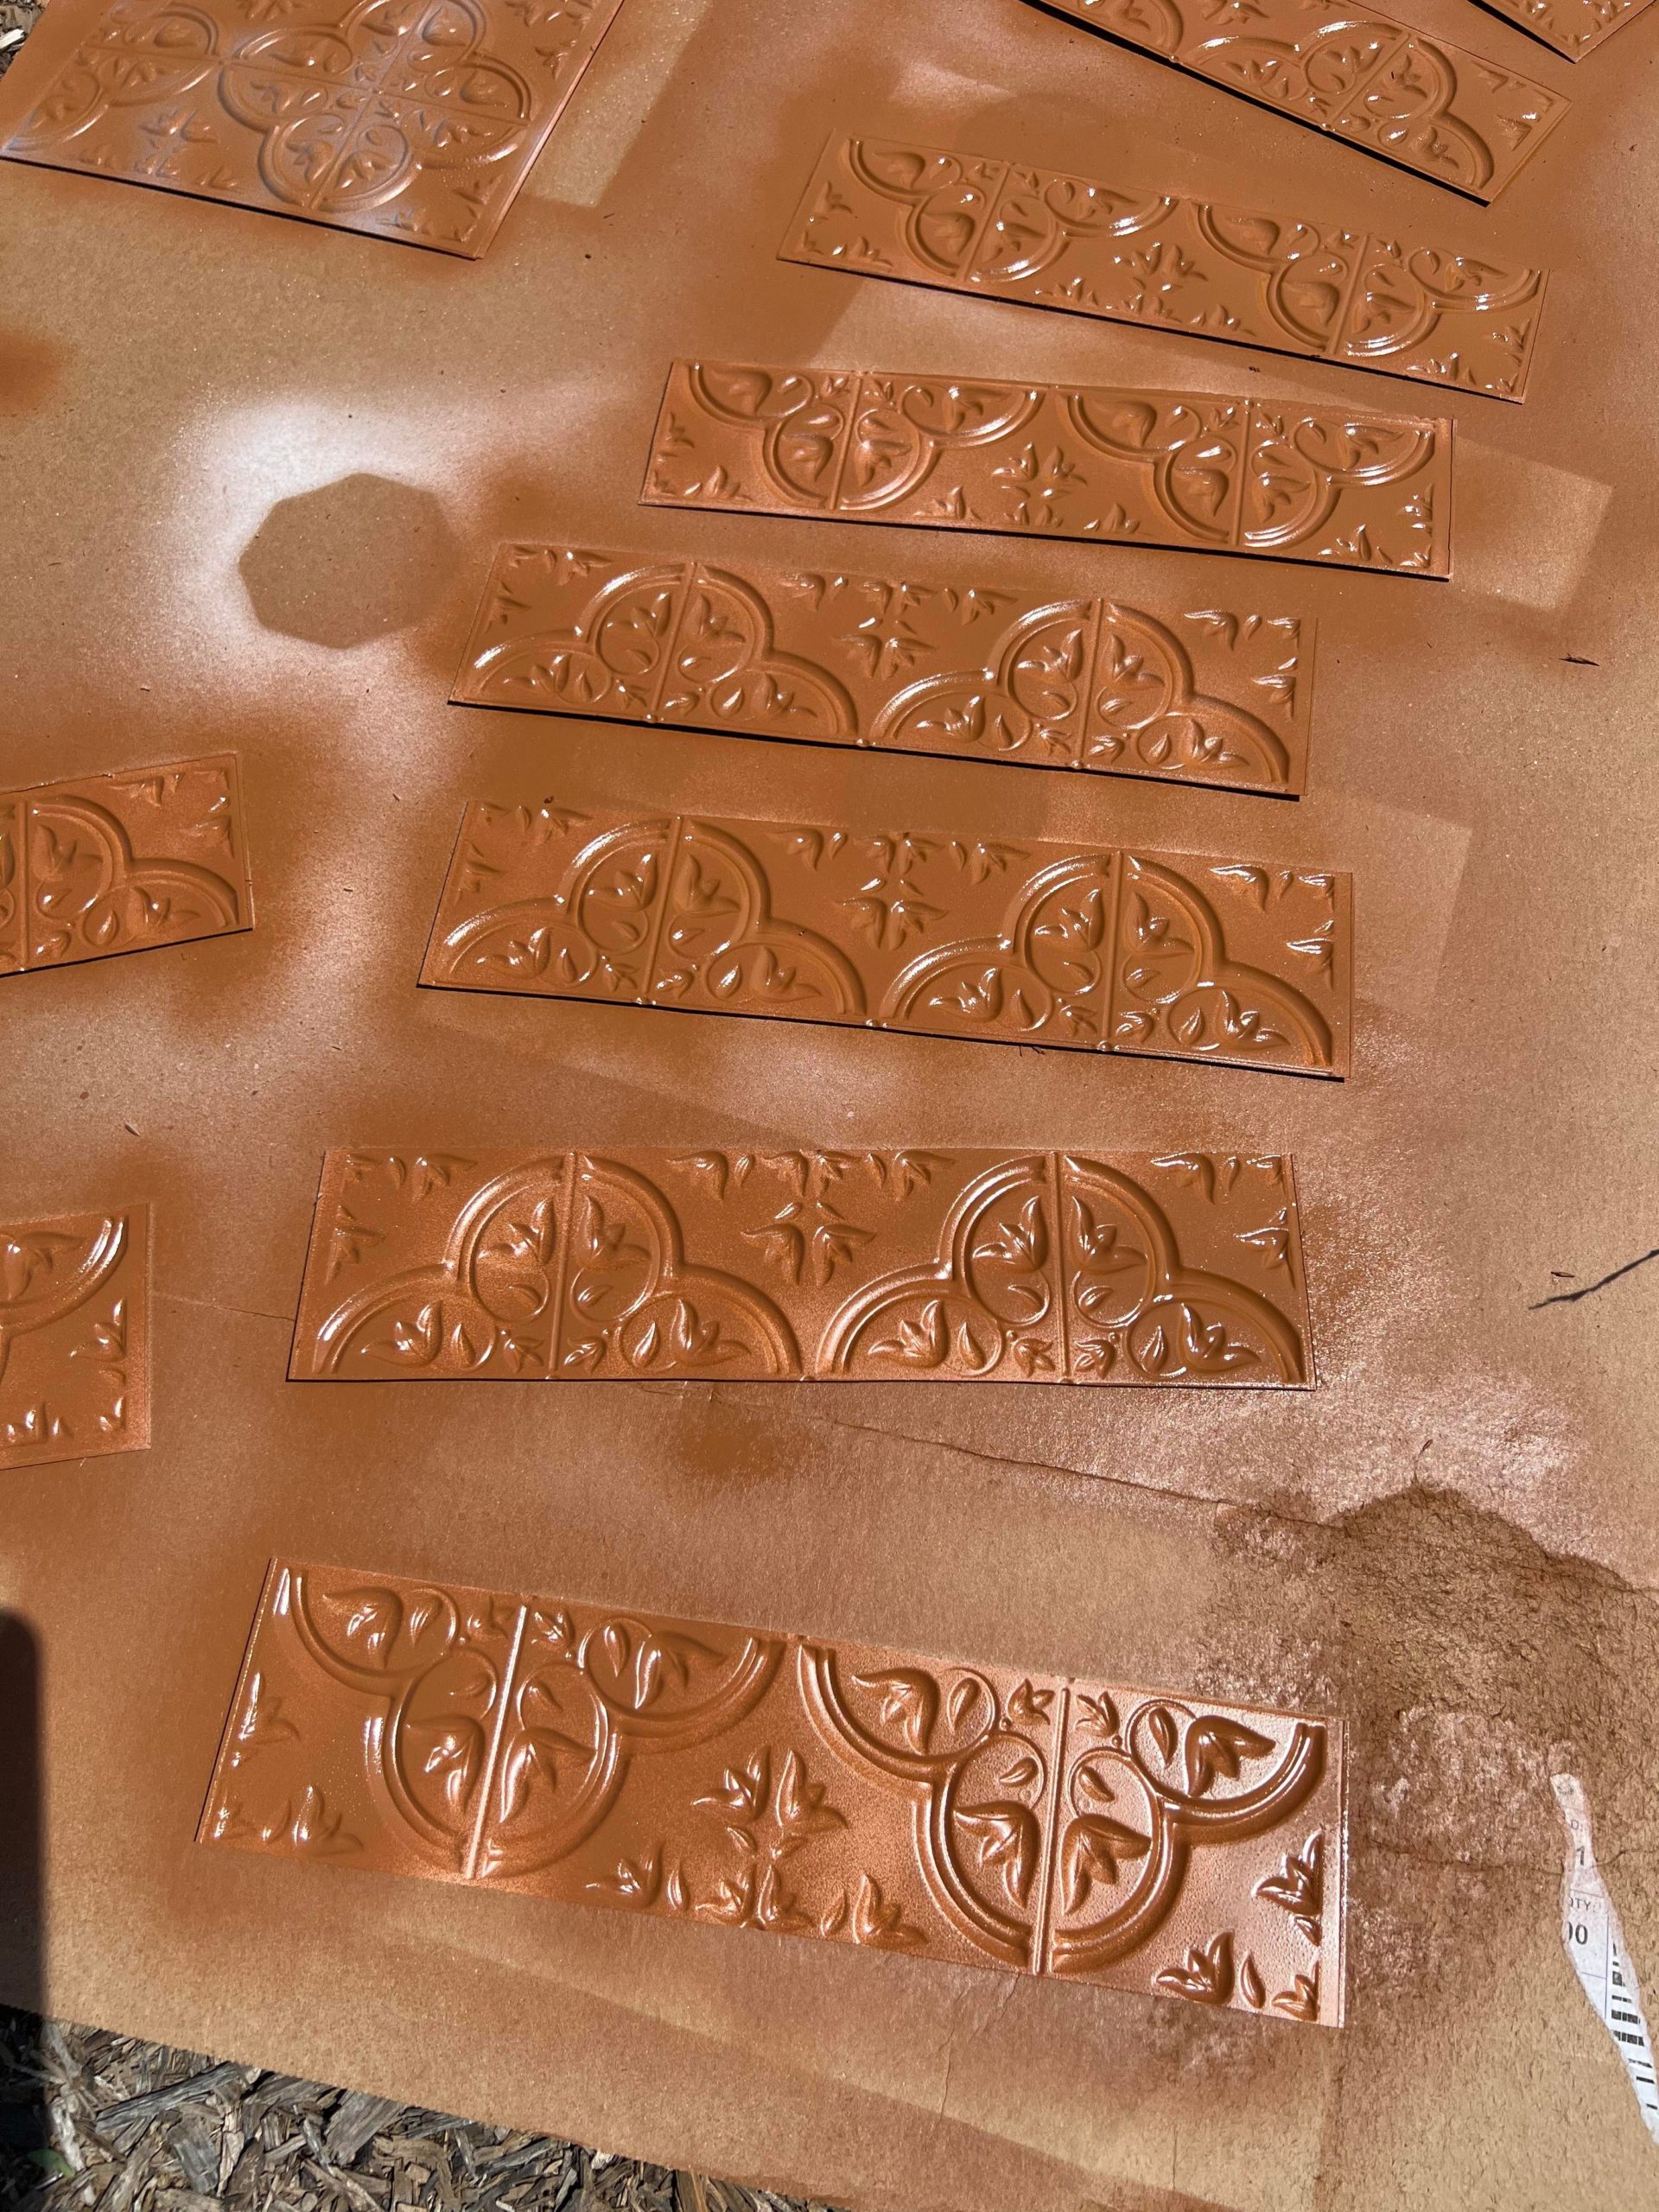
Be sure to spray paint the back and front of each piece as well as the plunger.
I lightly spray painted my pieces because I want some of the silver to show through.
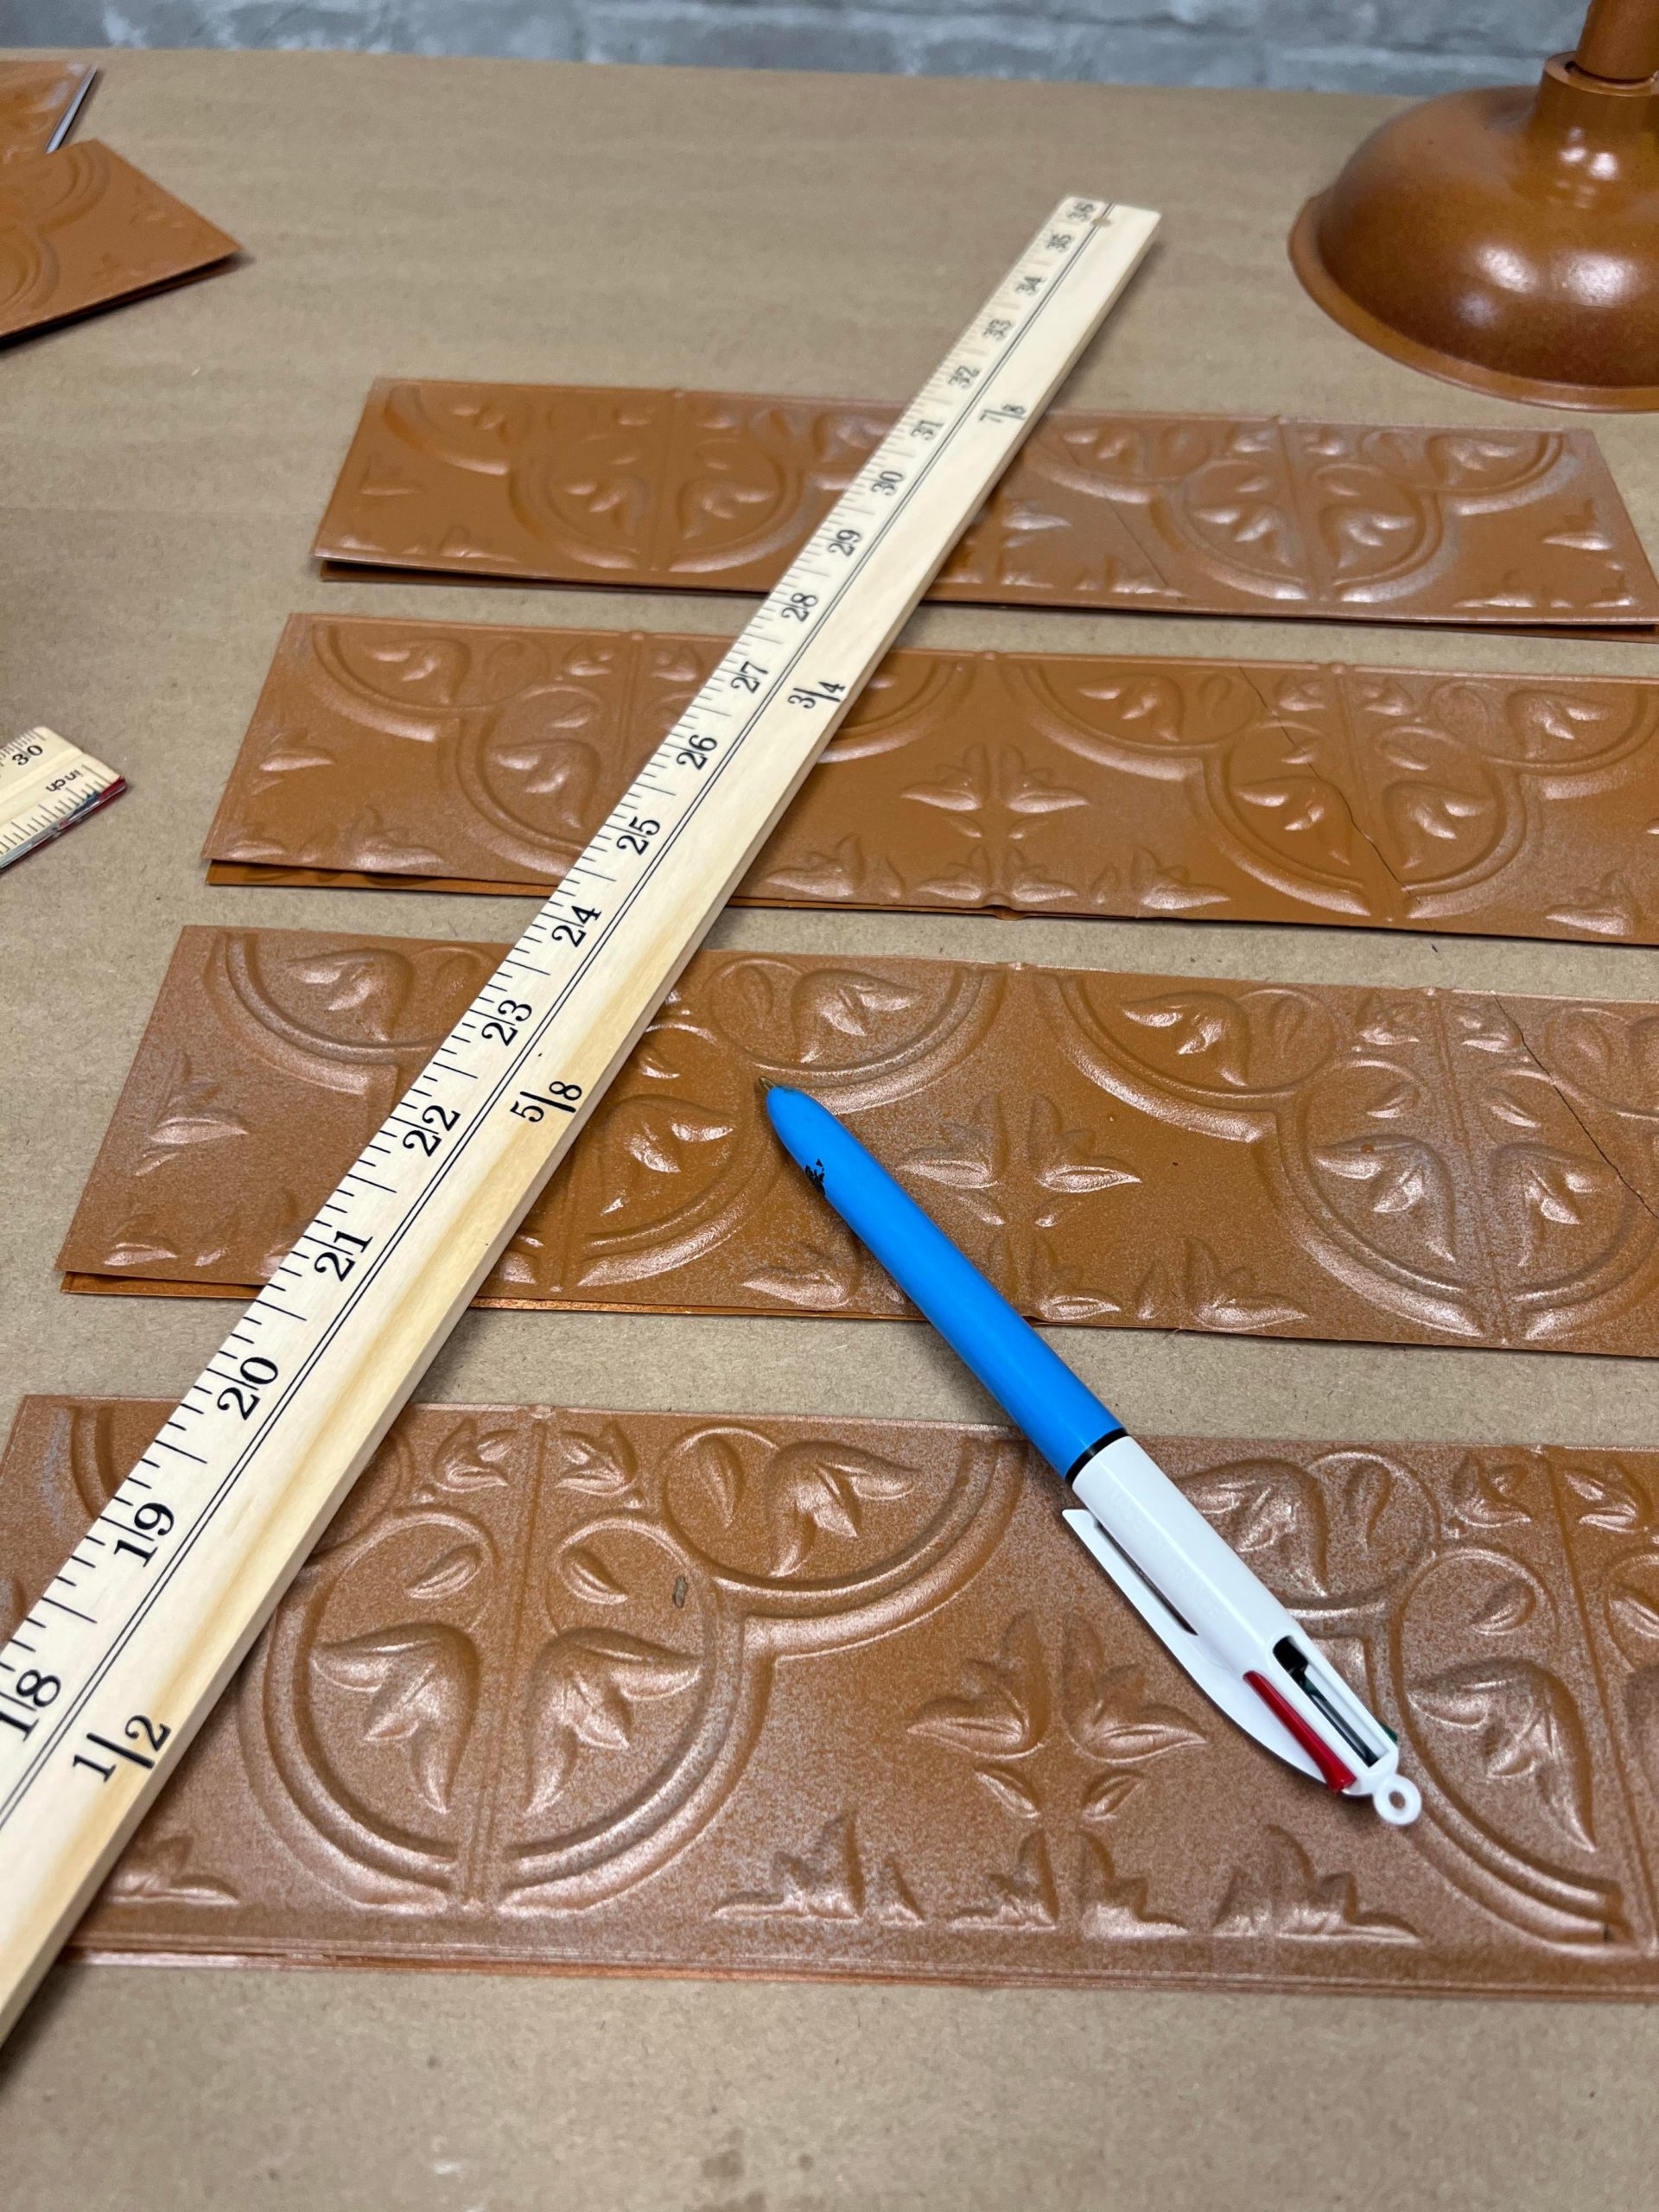
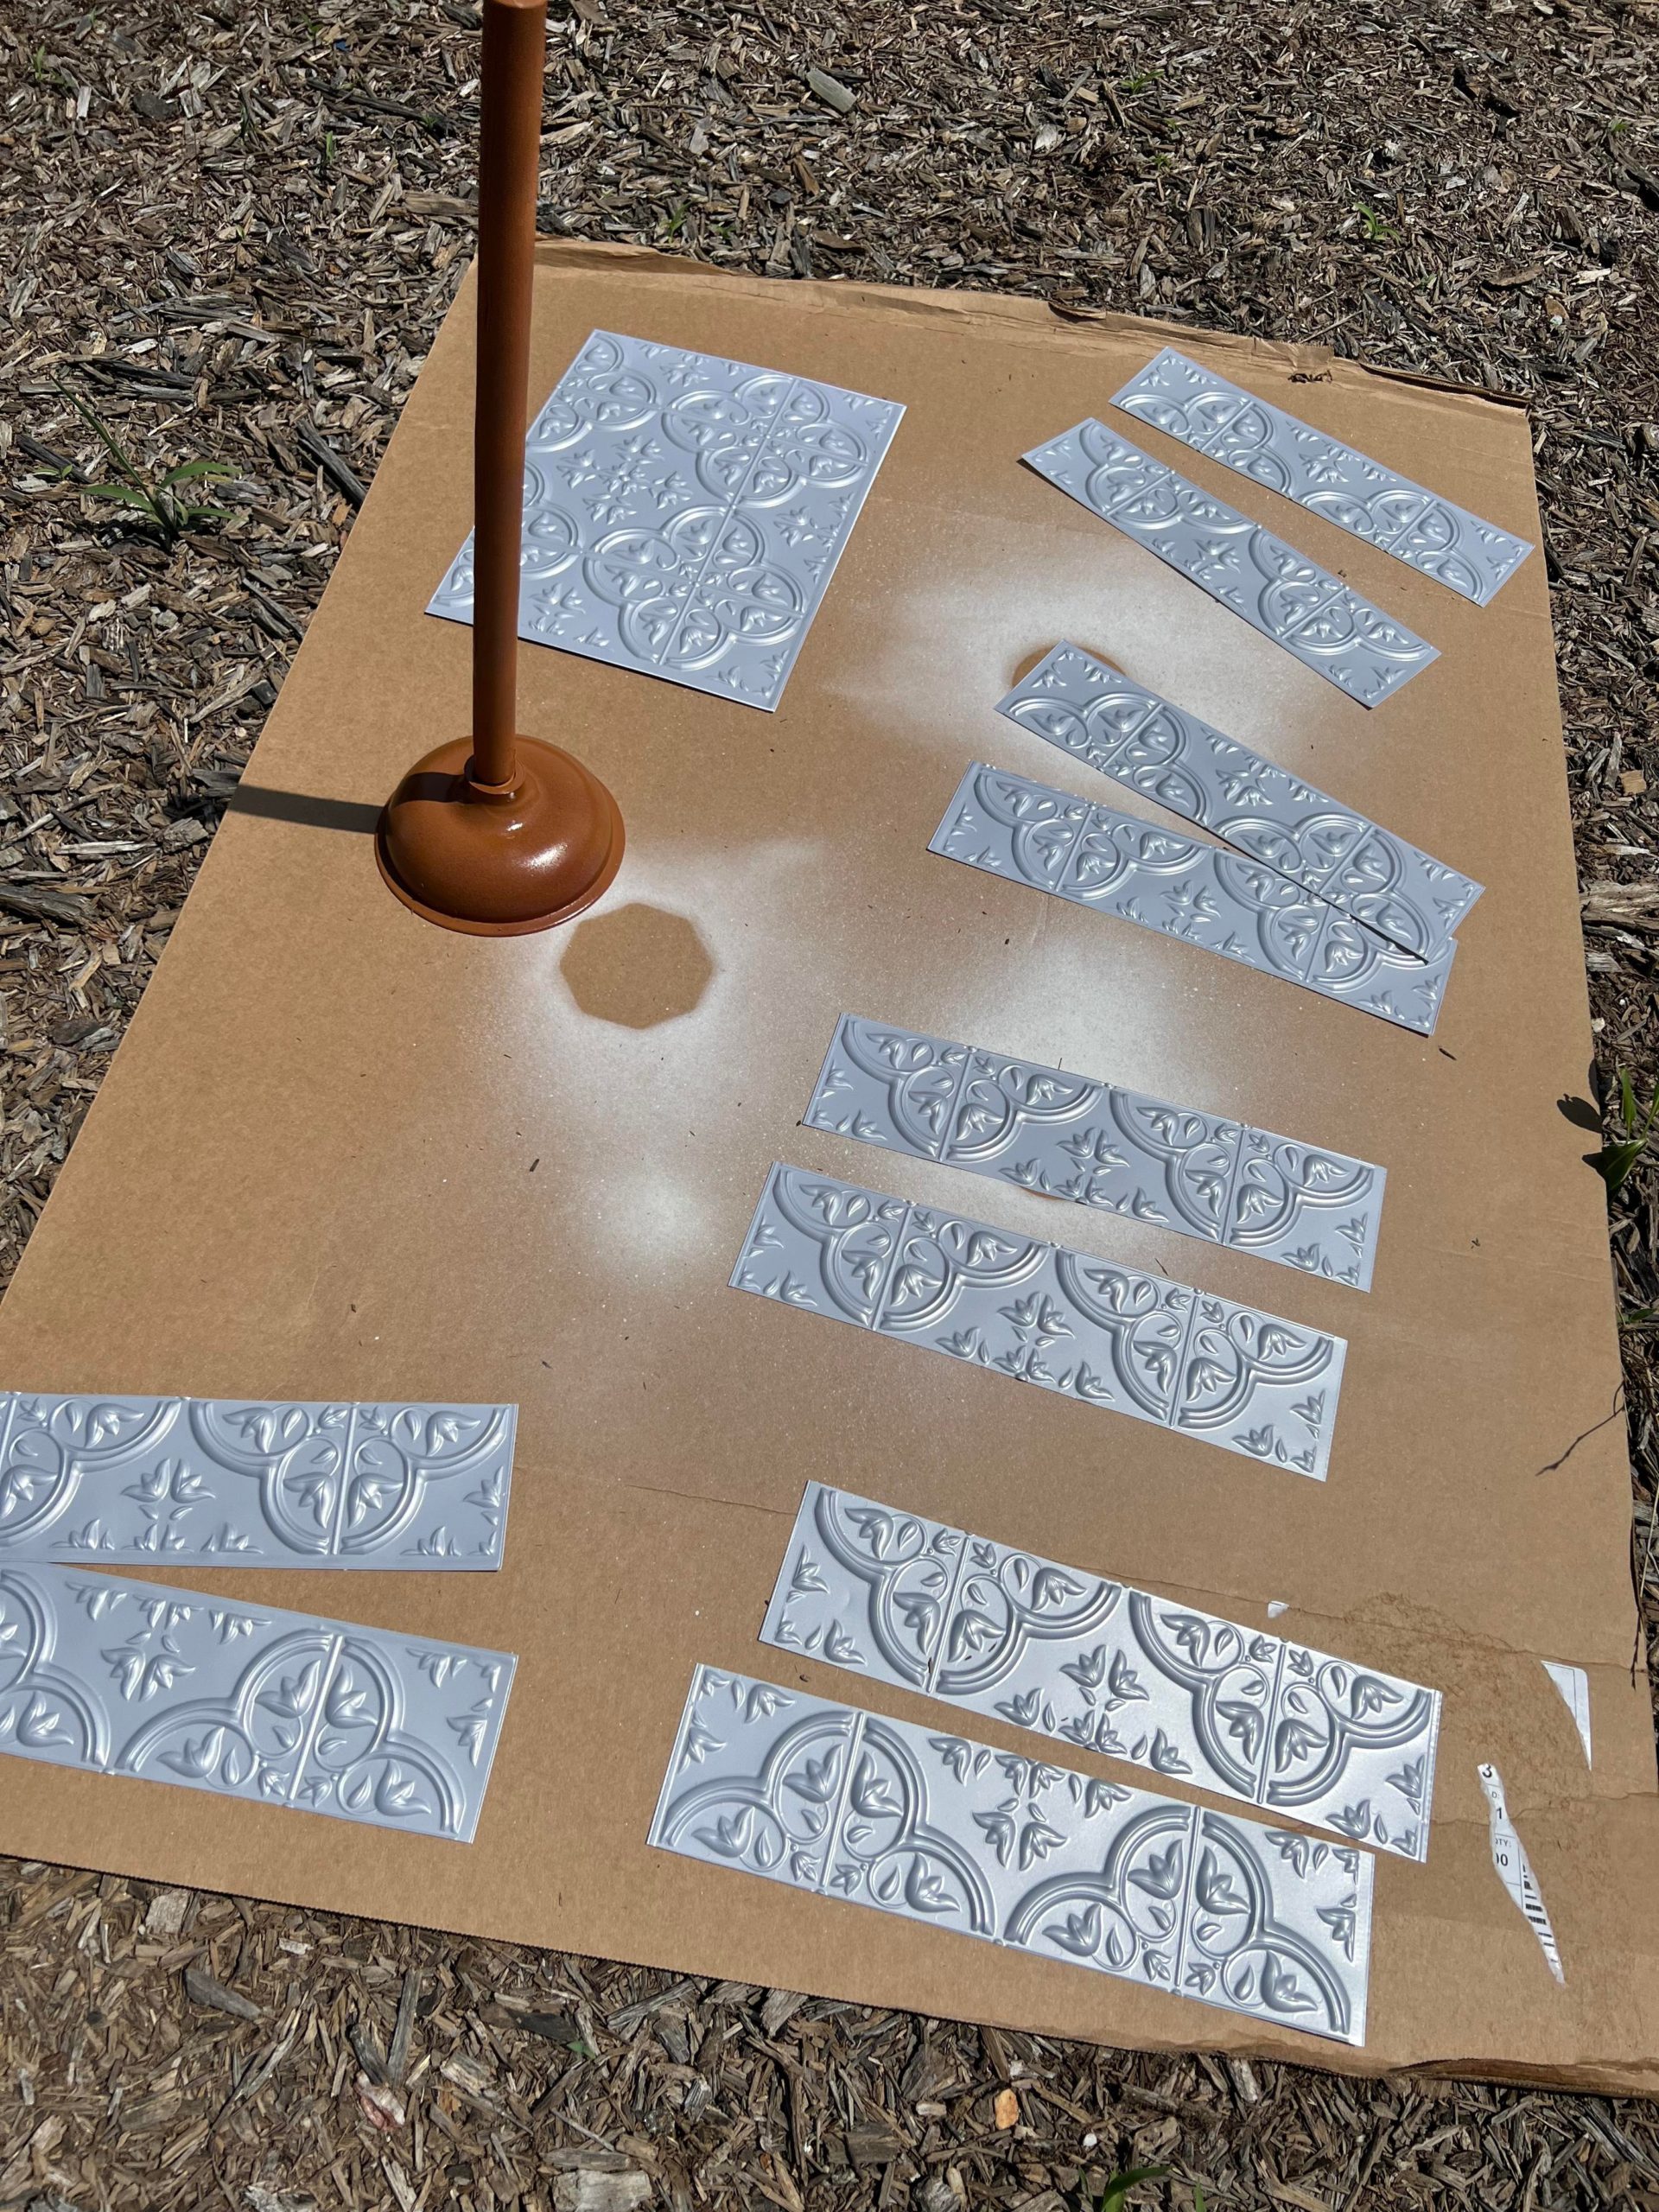
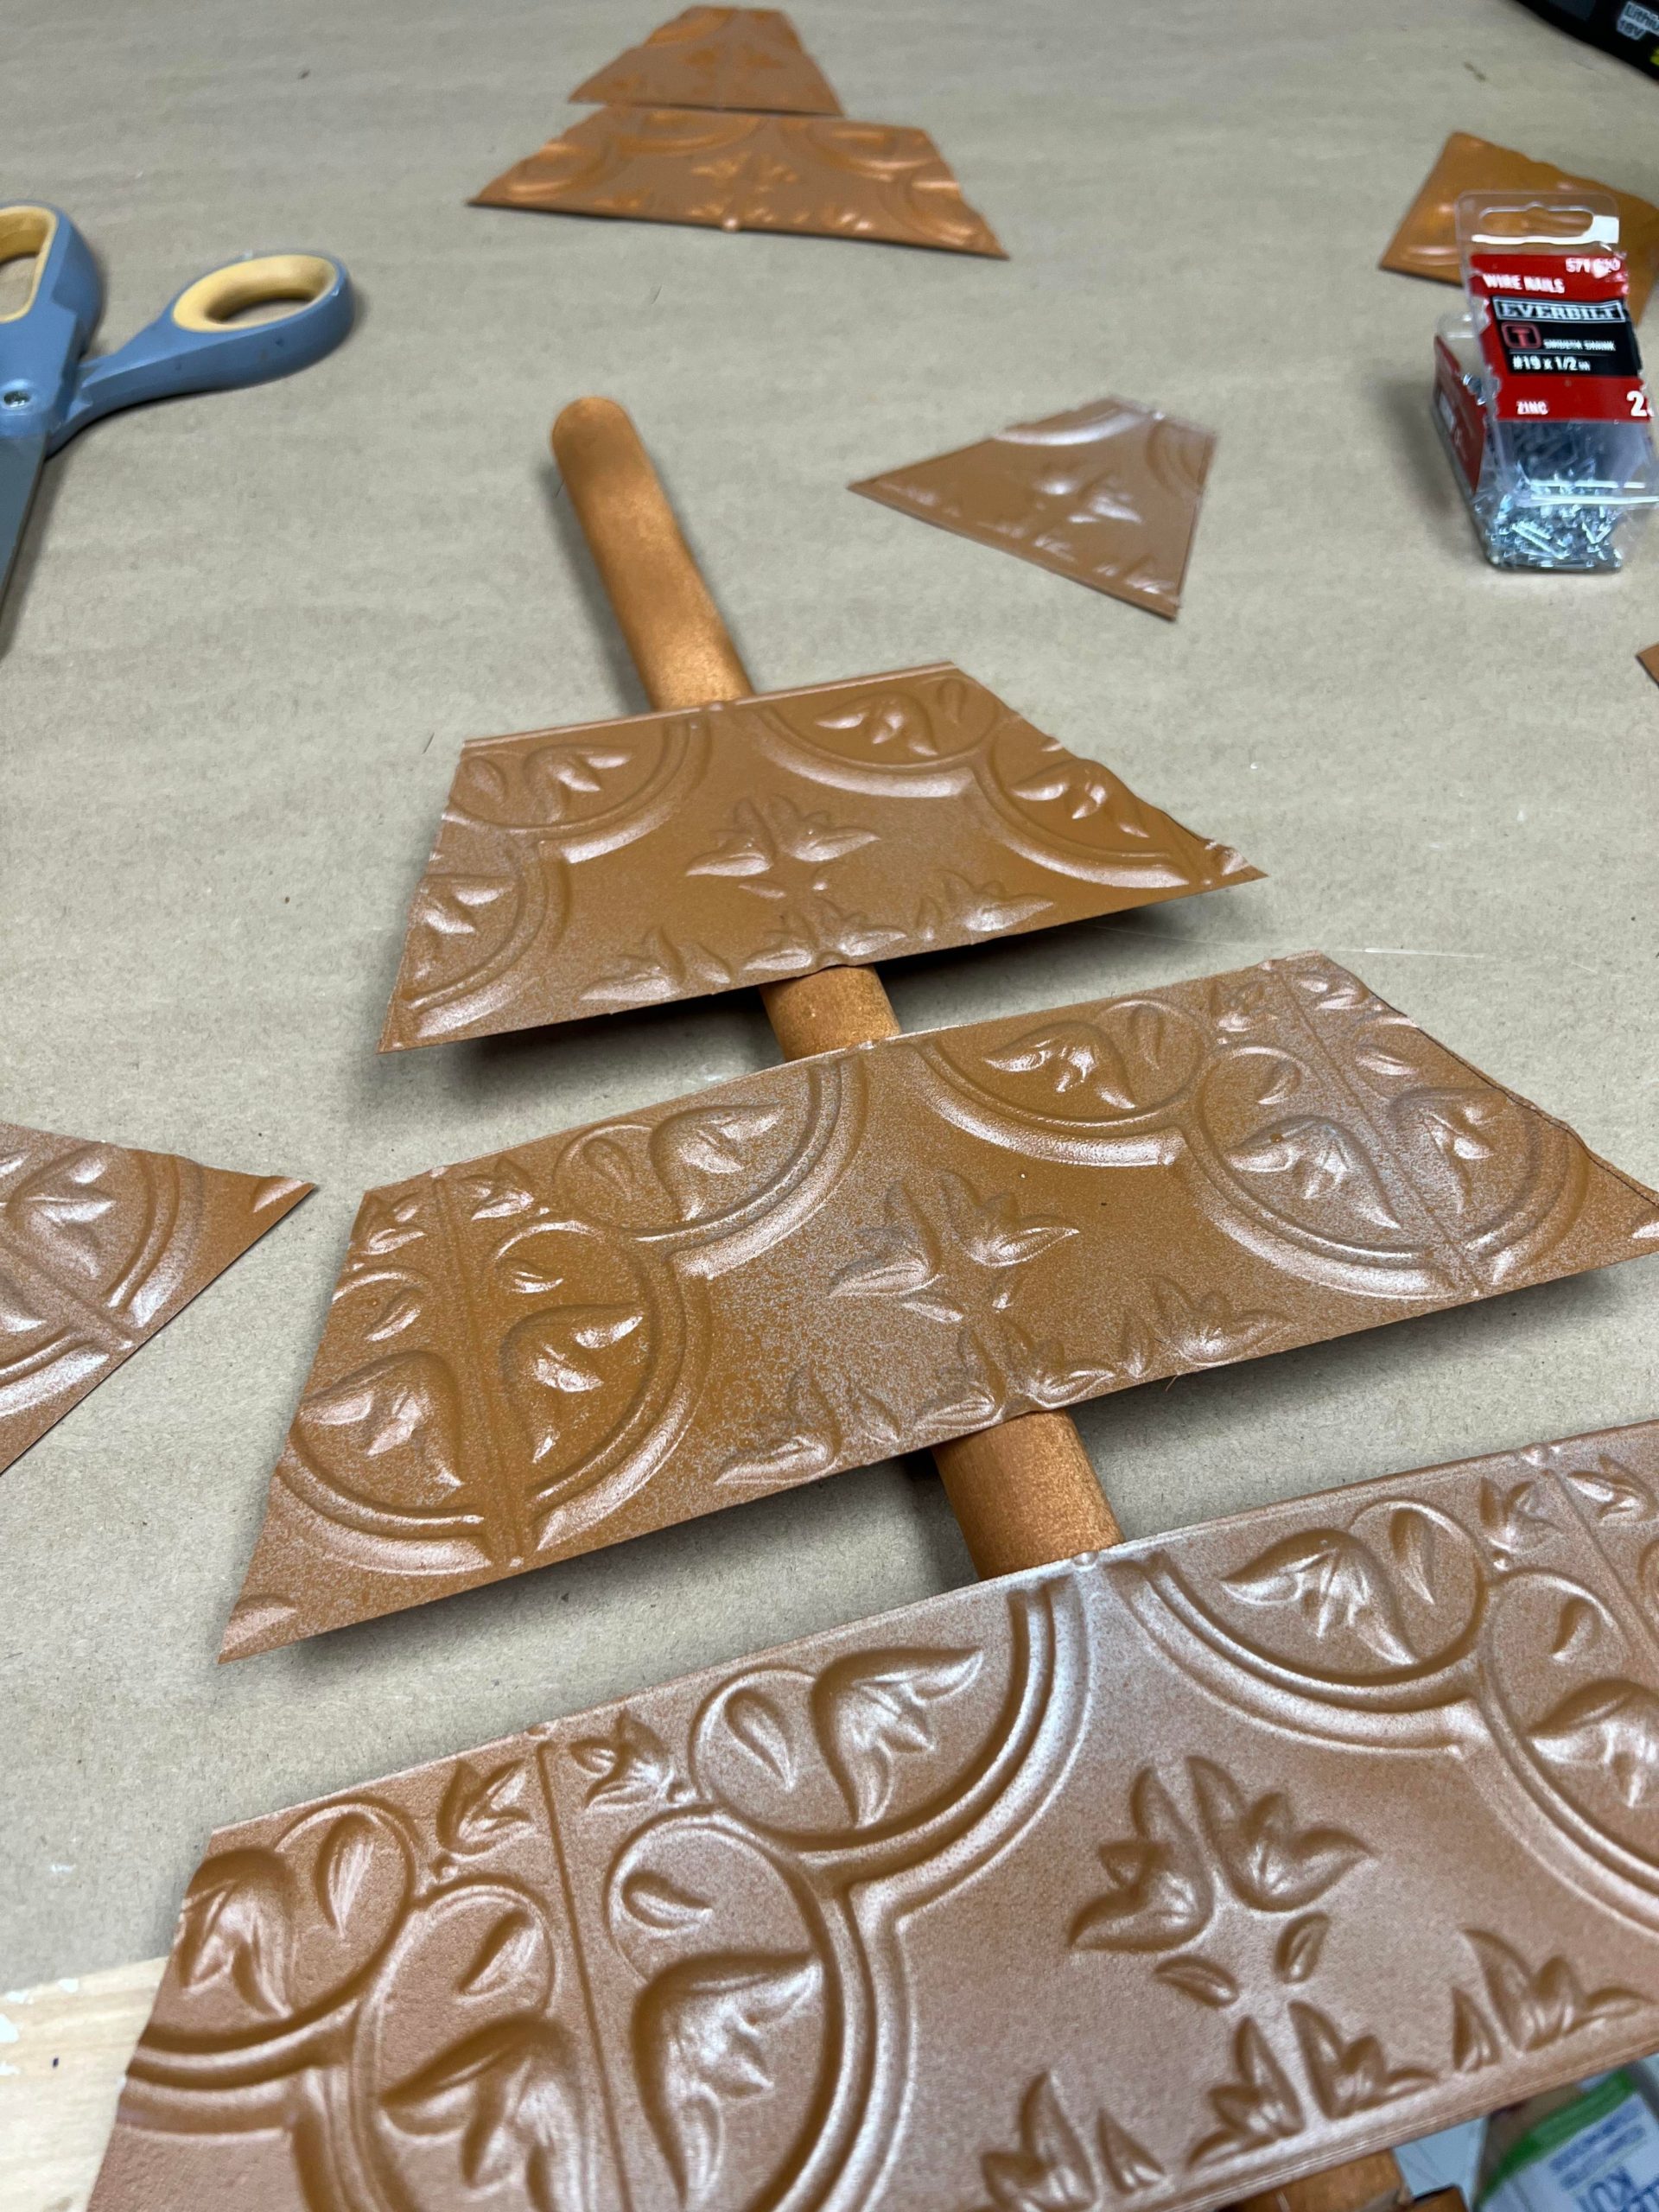
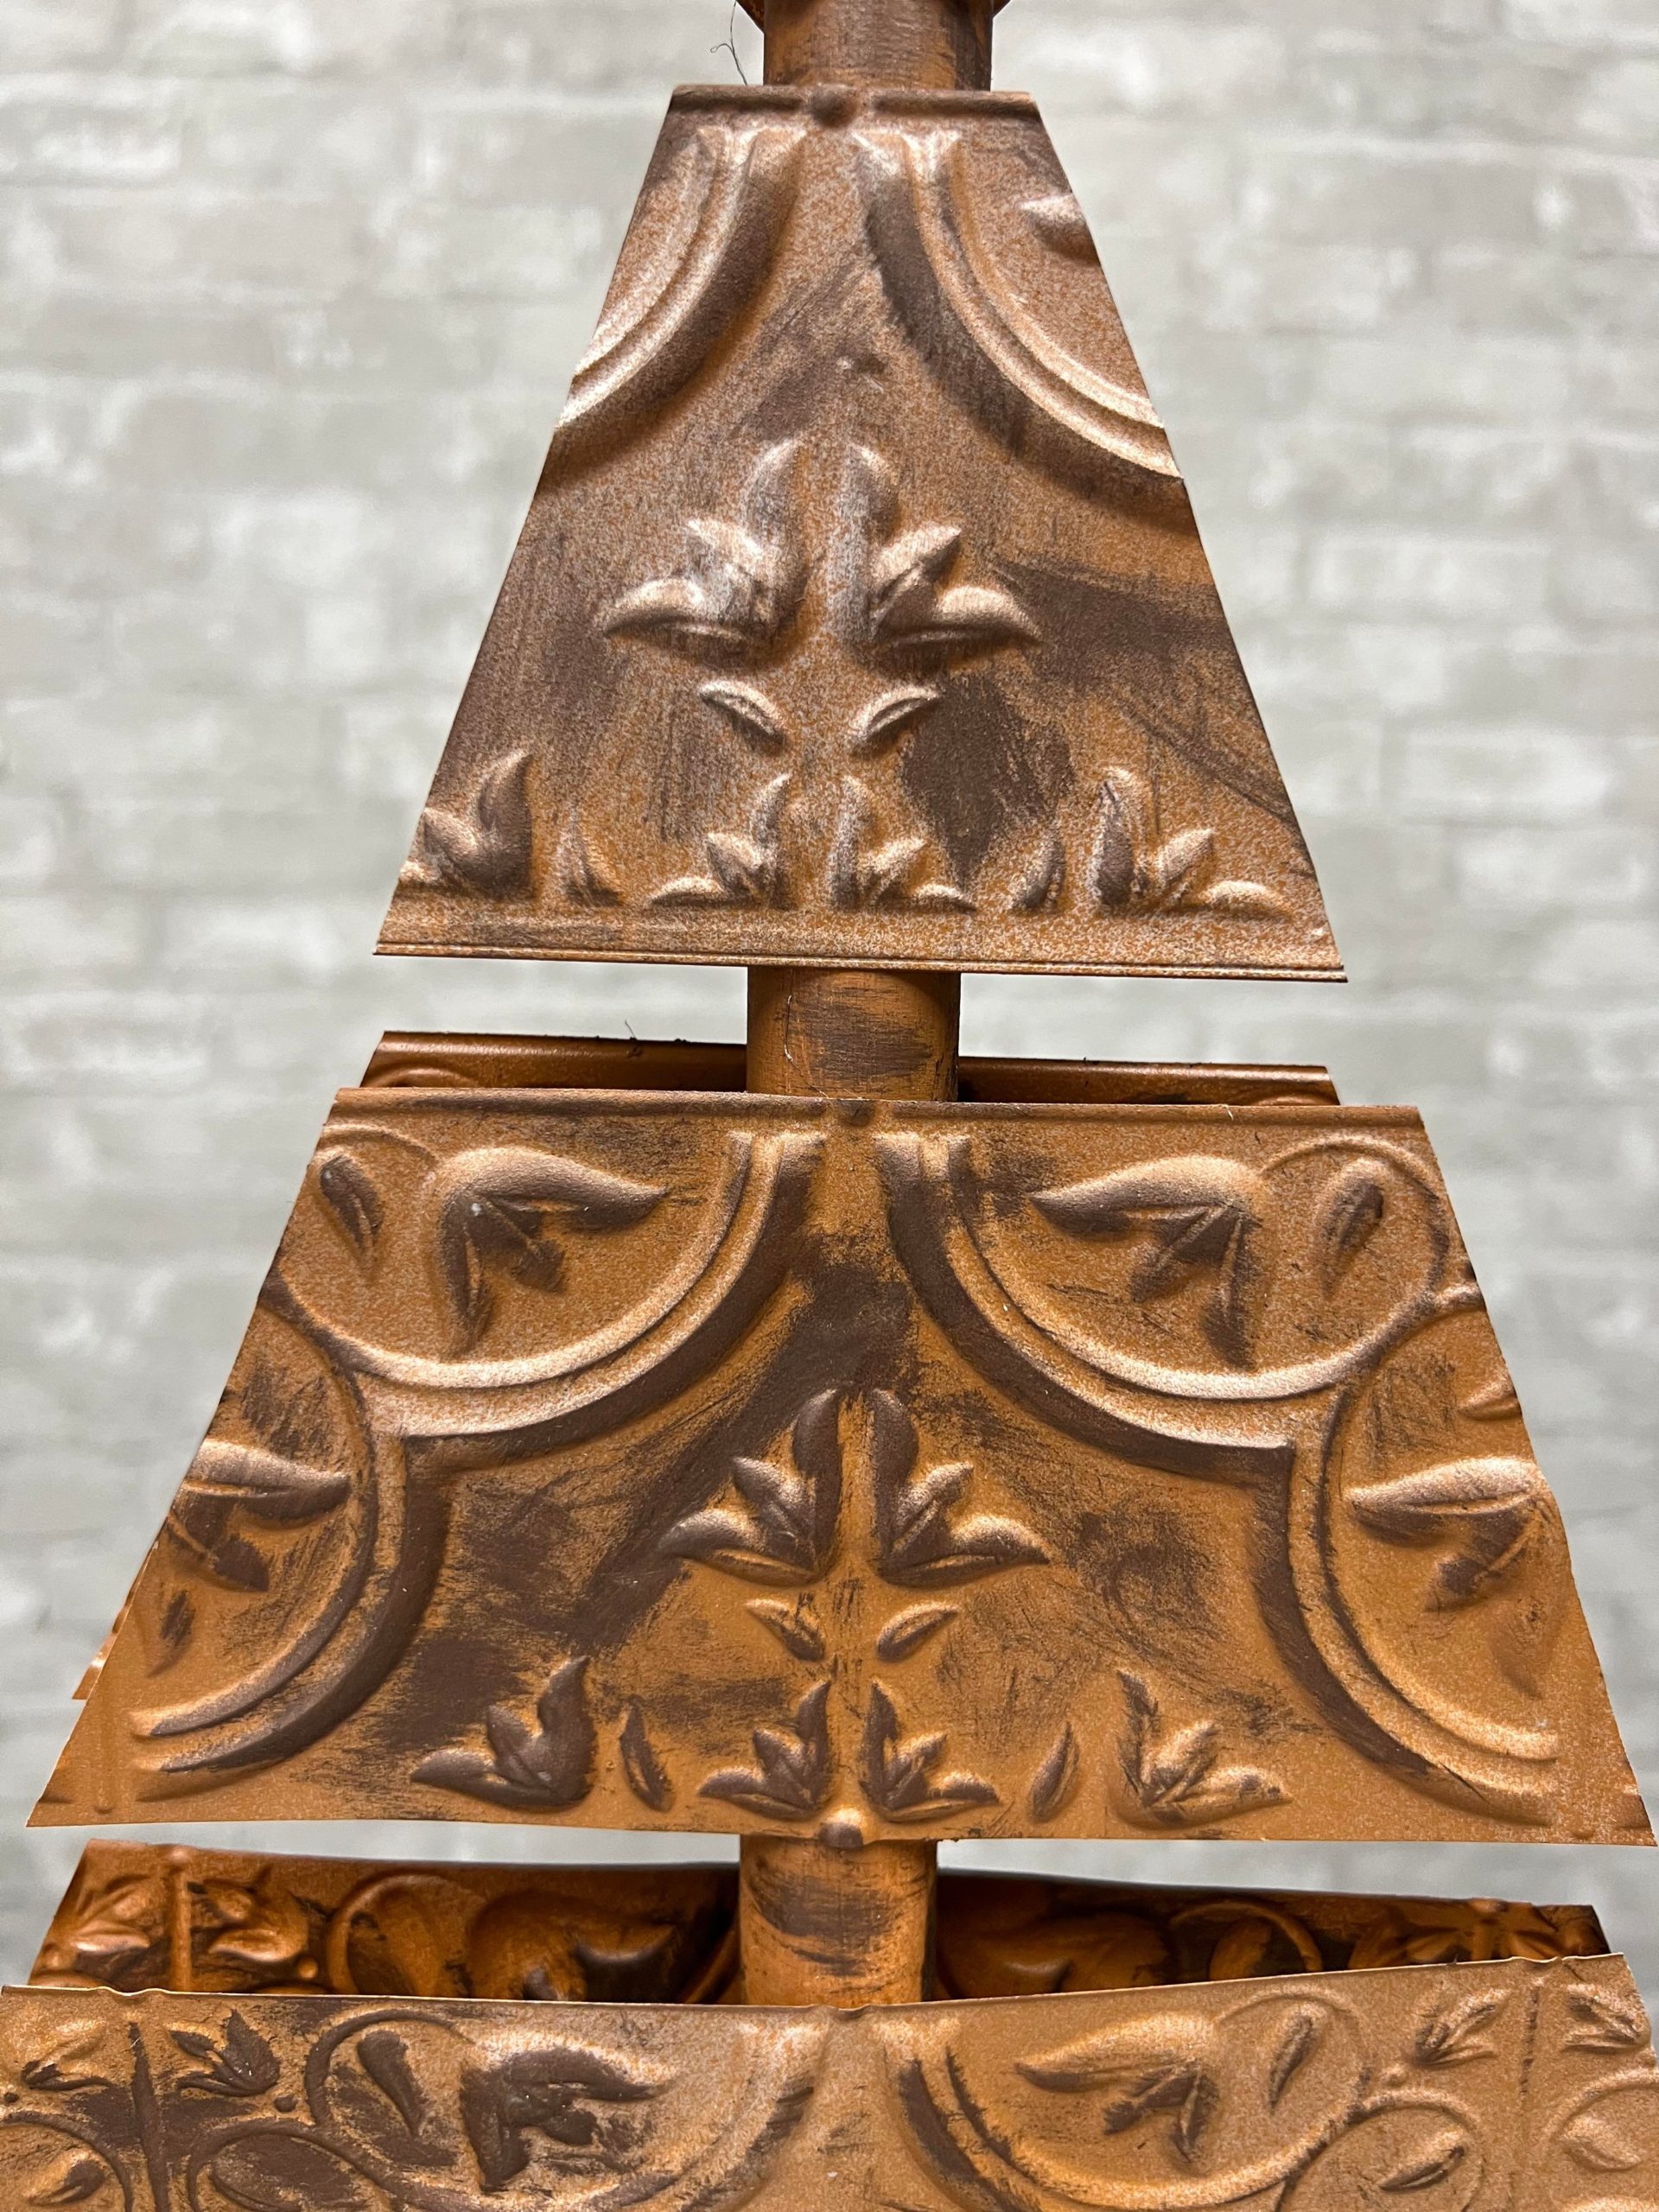
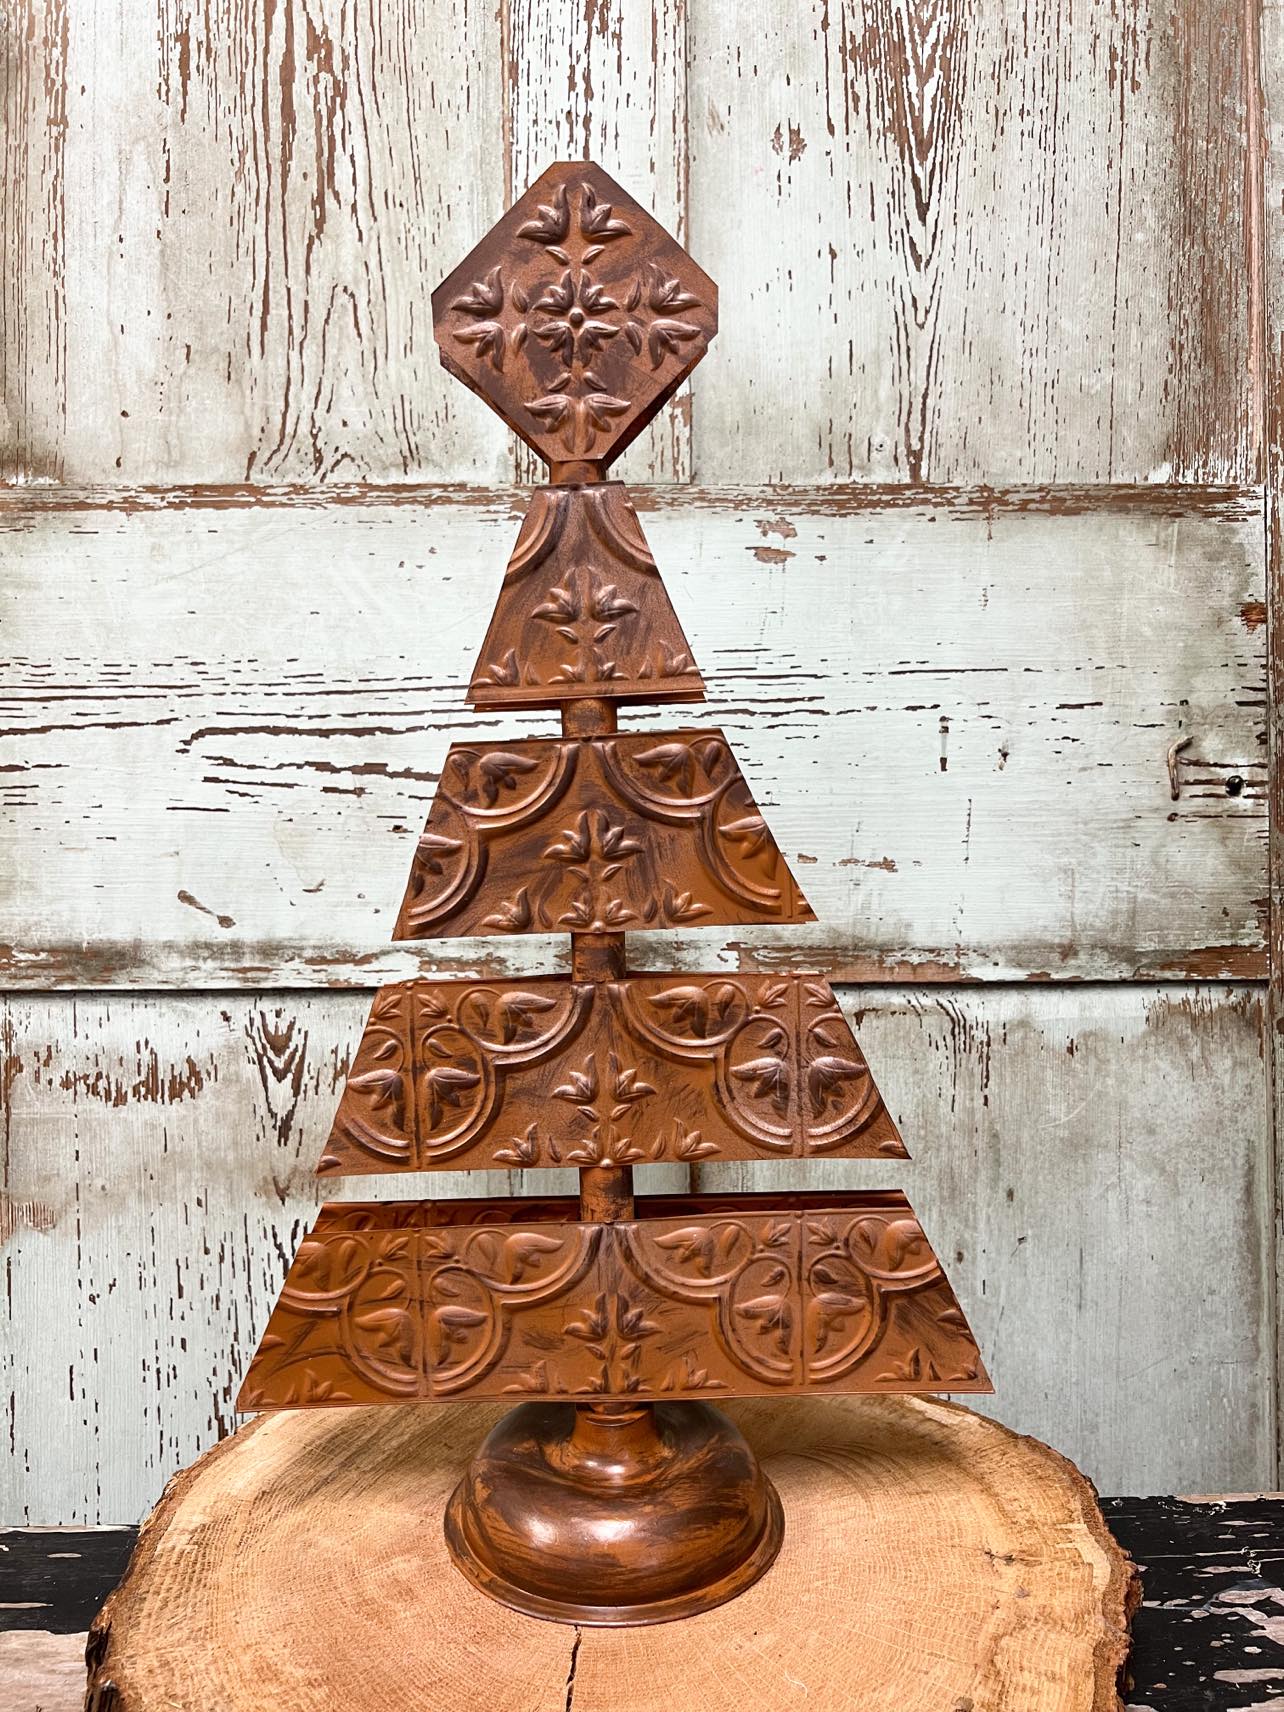
I placed four of the tile strips in a row with a space in between. You will use a ruler to draw a line from the center at top to the bottom corner. I did not go directly in the center of the top strip because I do not want the top at a point.
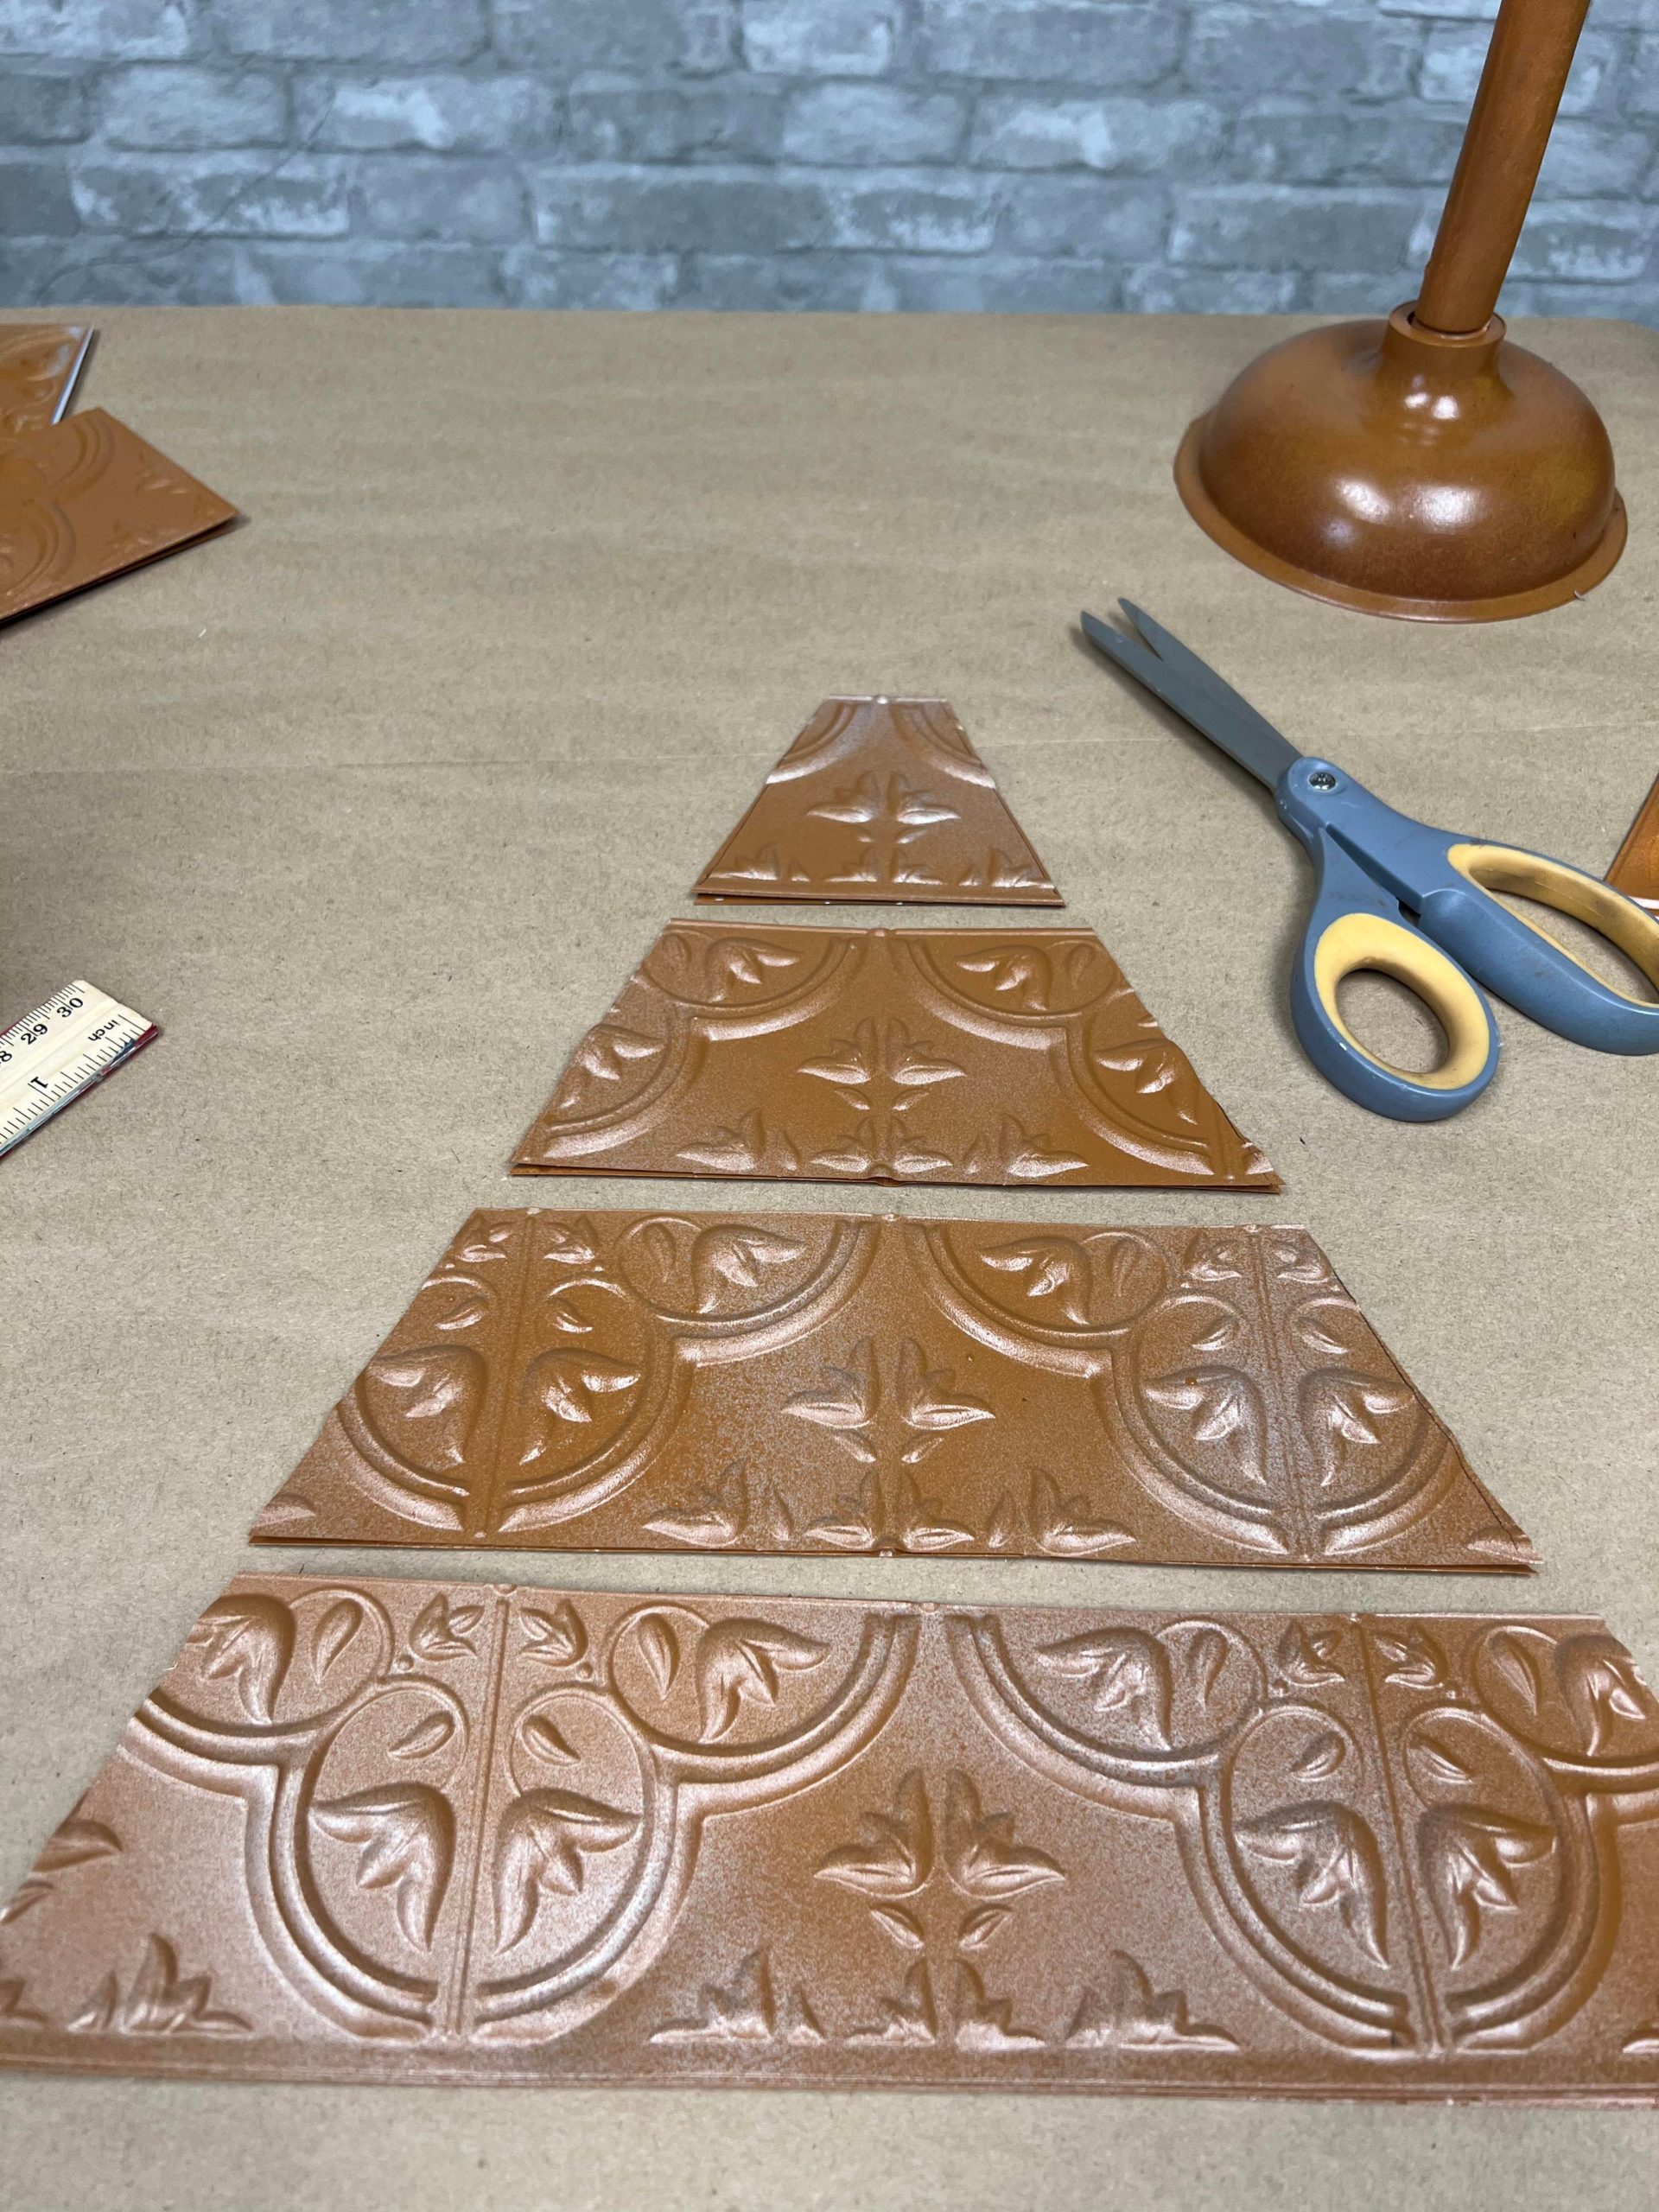
You should have two pieces of the wall tile for each strip. Once you have the line drawn you will then cut the ends off.
You can use the Rub’n Buff on all of the pieces now or use it after the tree is formed. I used it after I formed the tree but It might be easier to do before you form the tree.
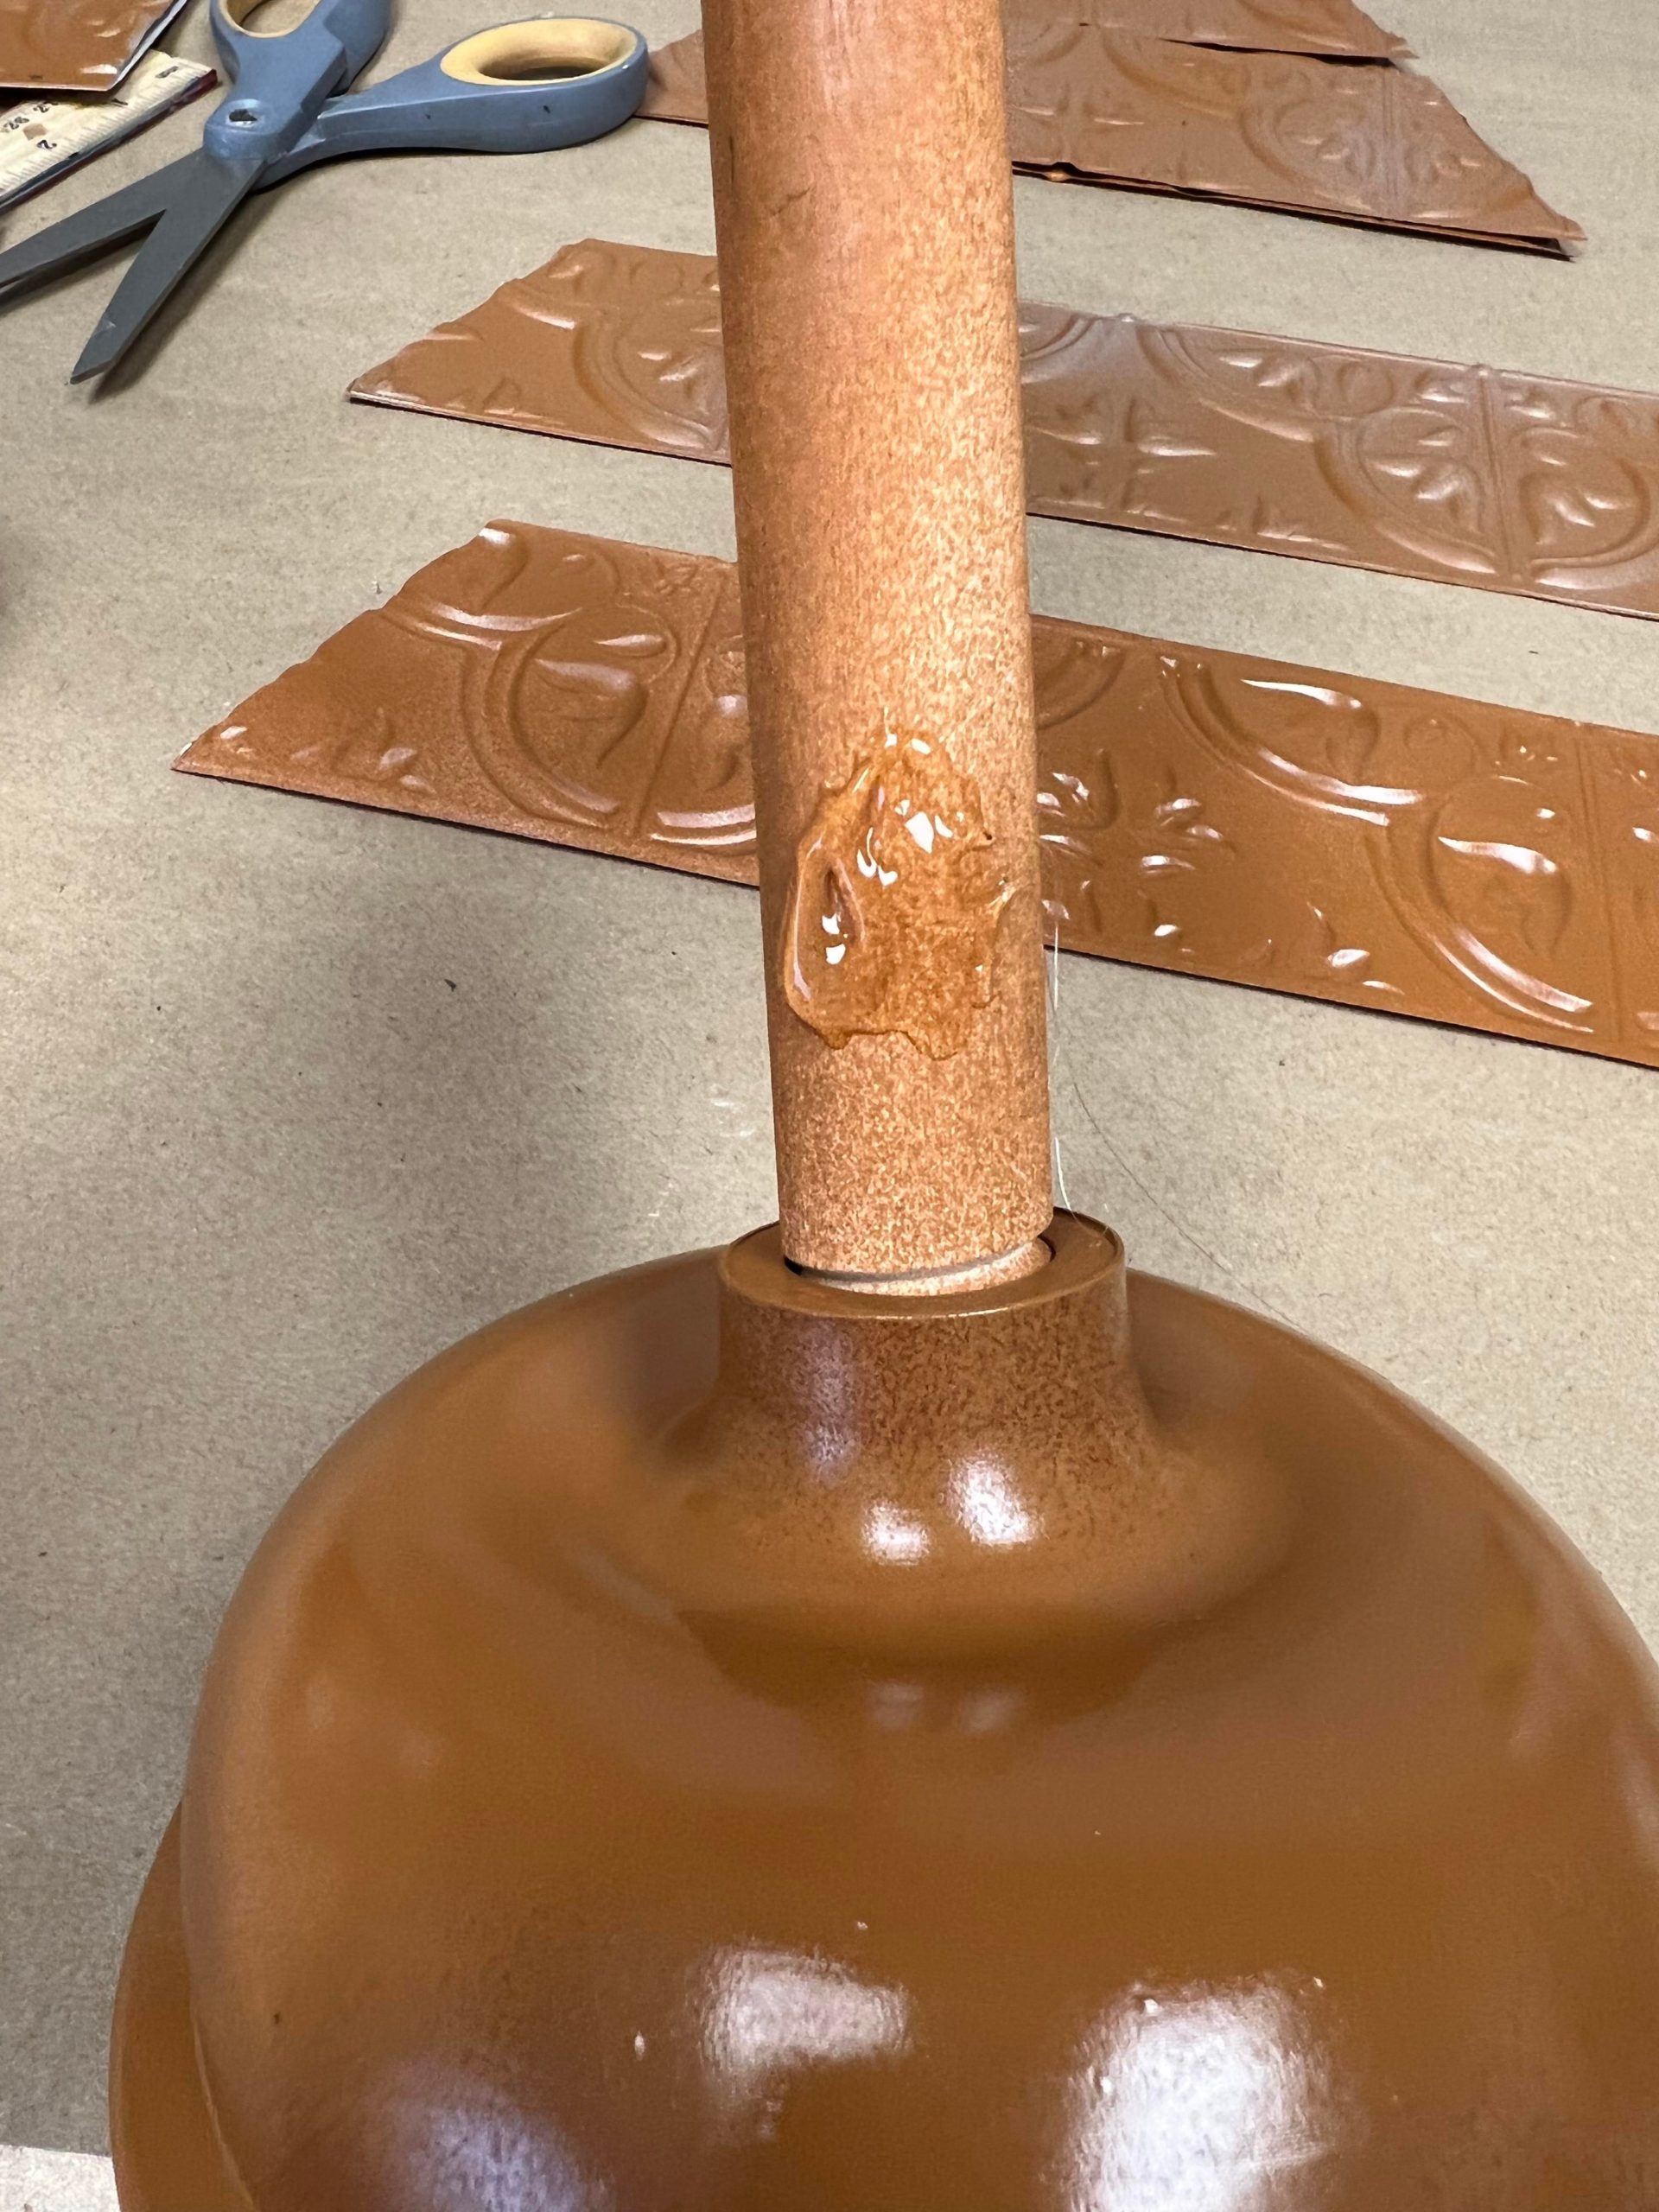
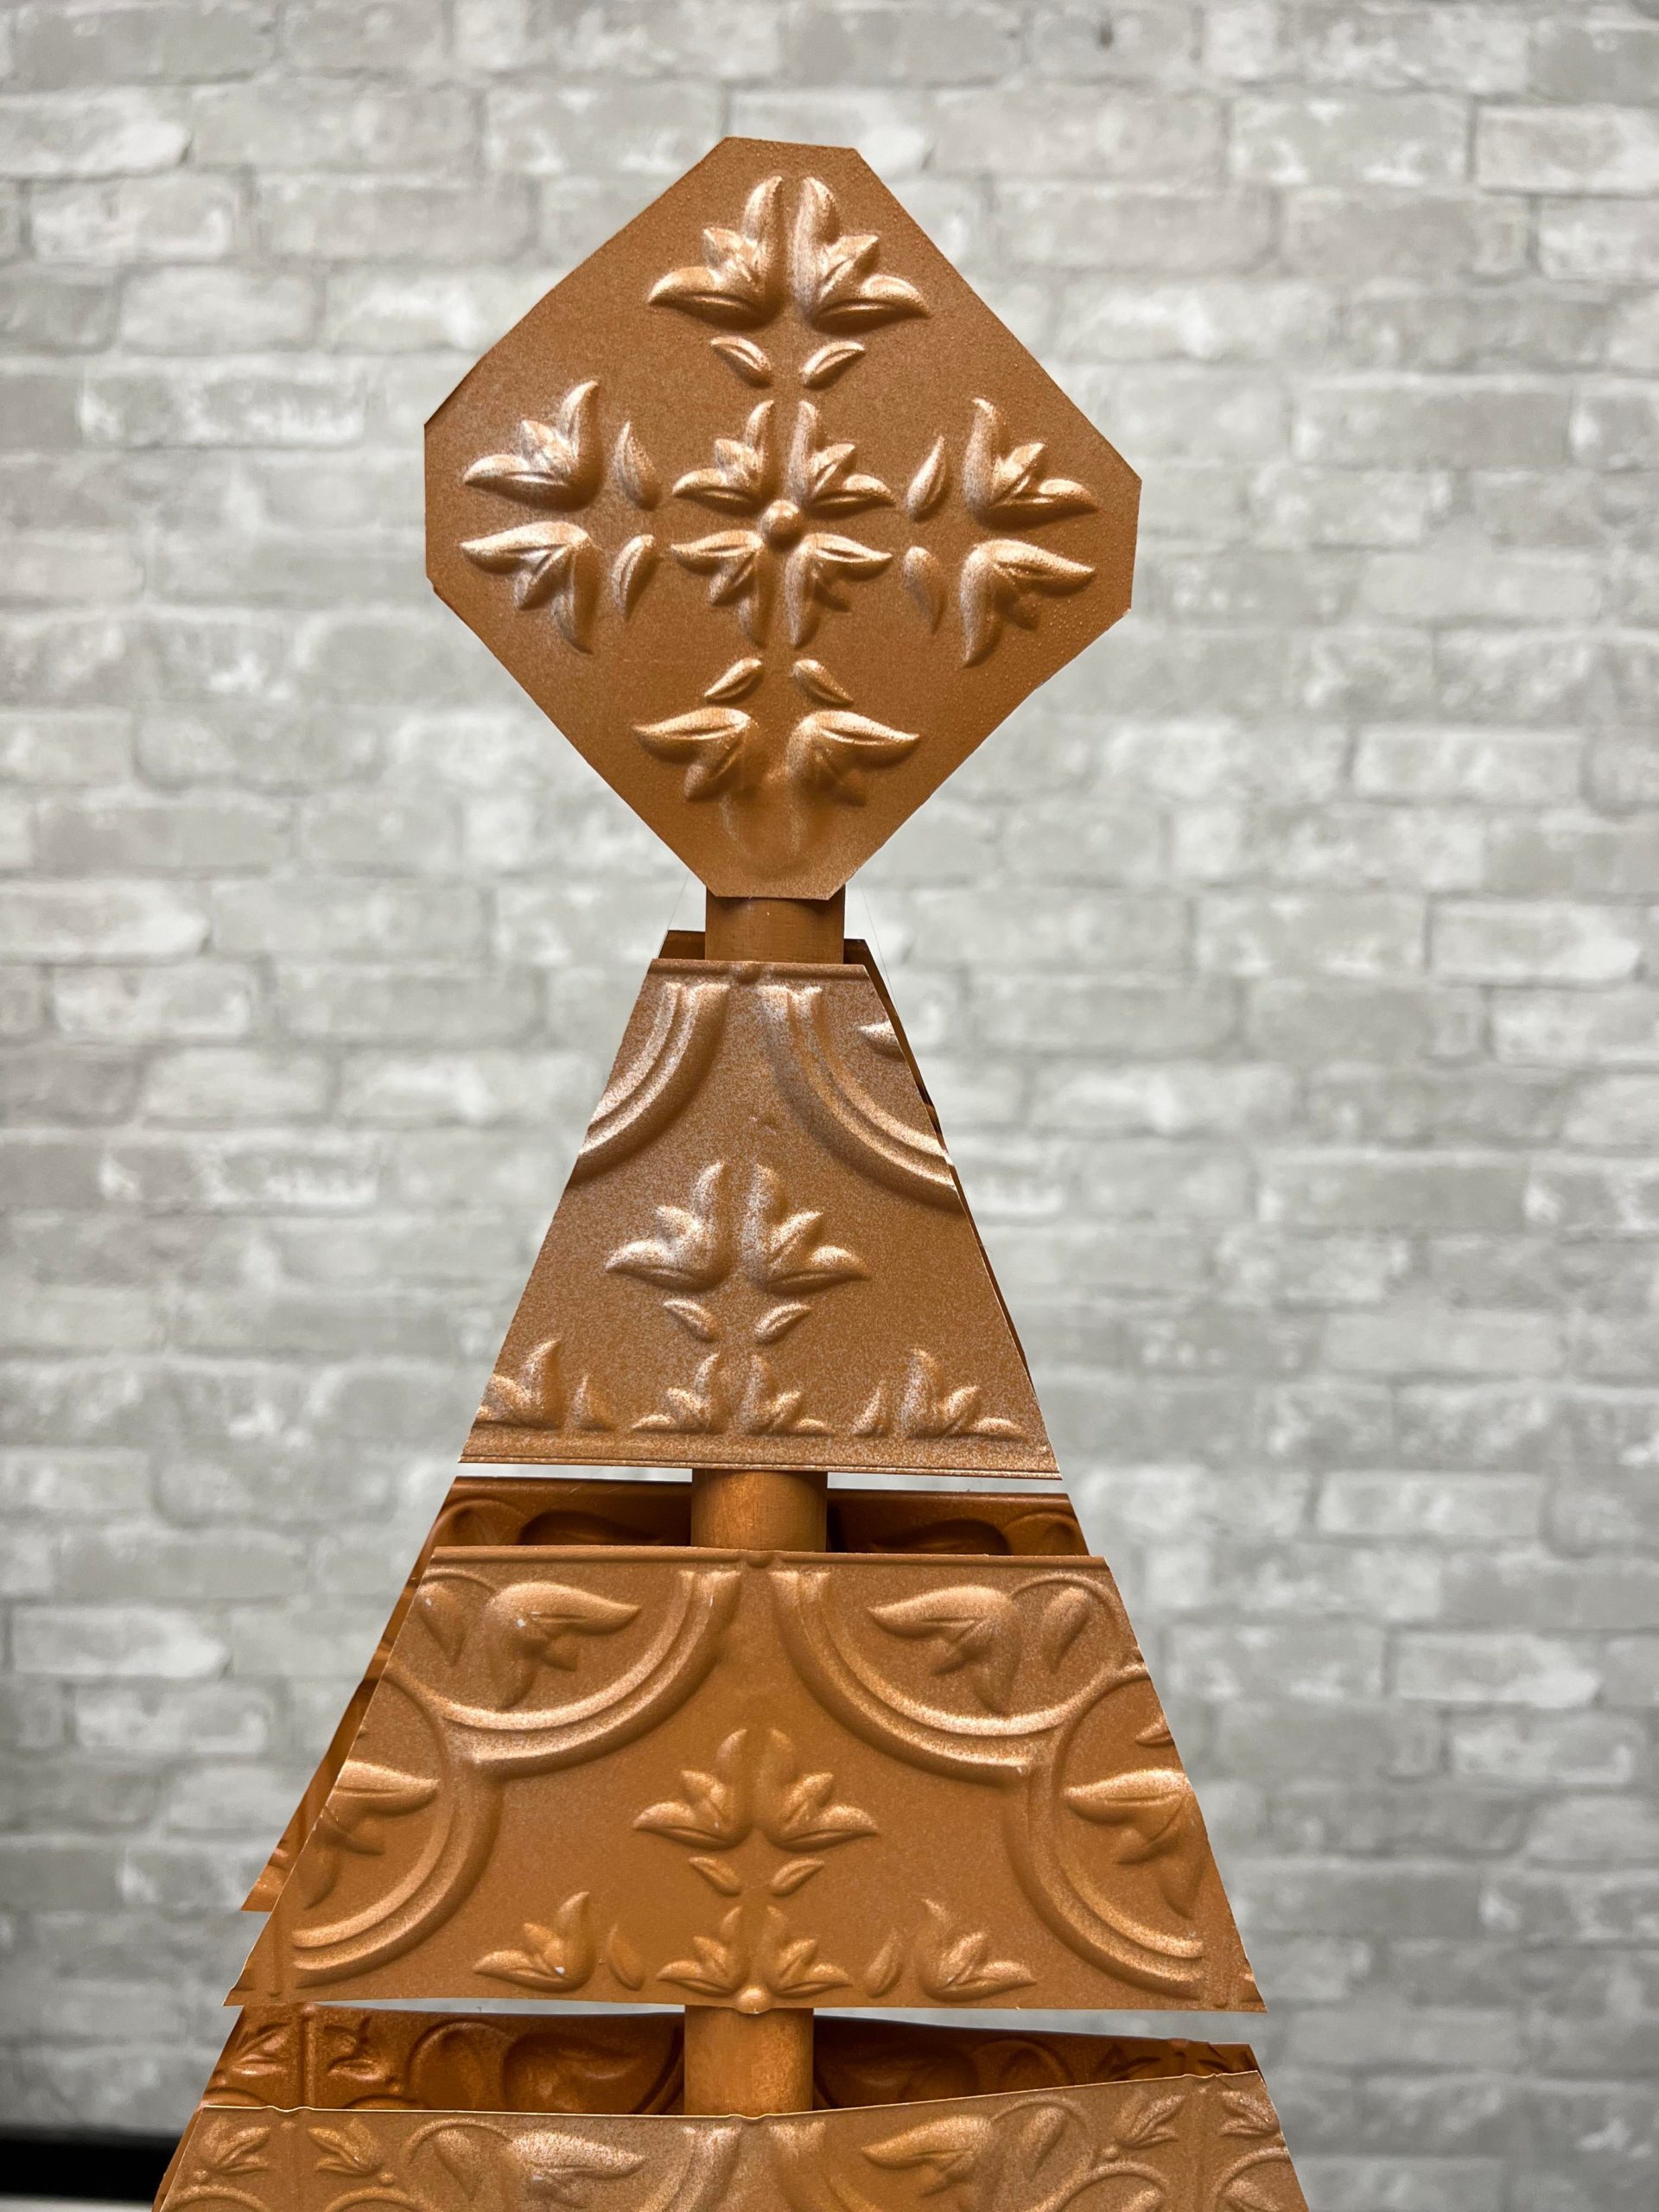
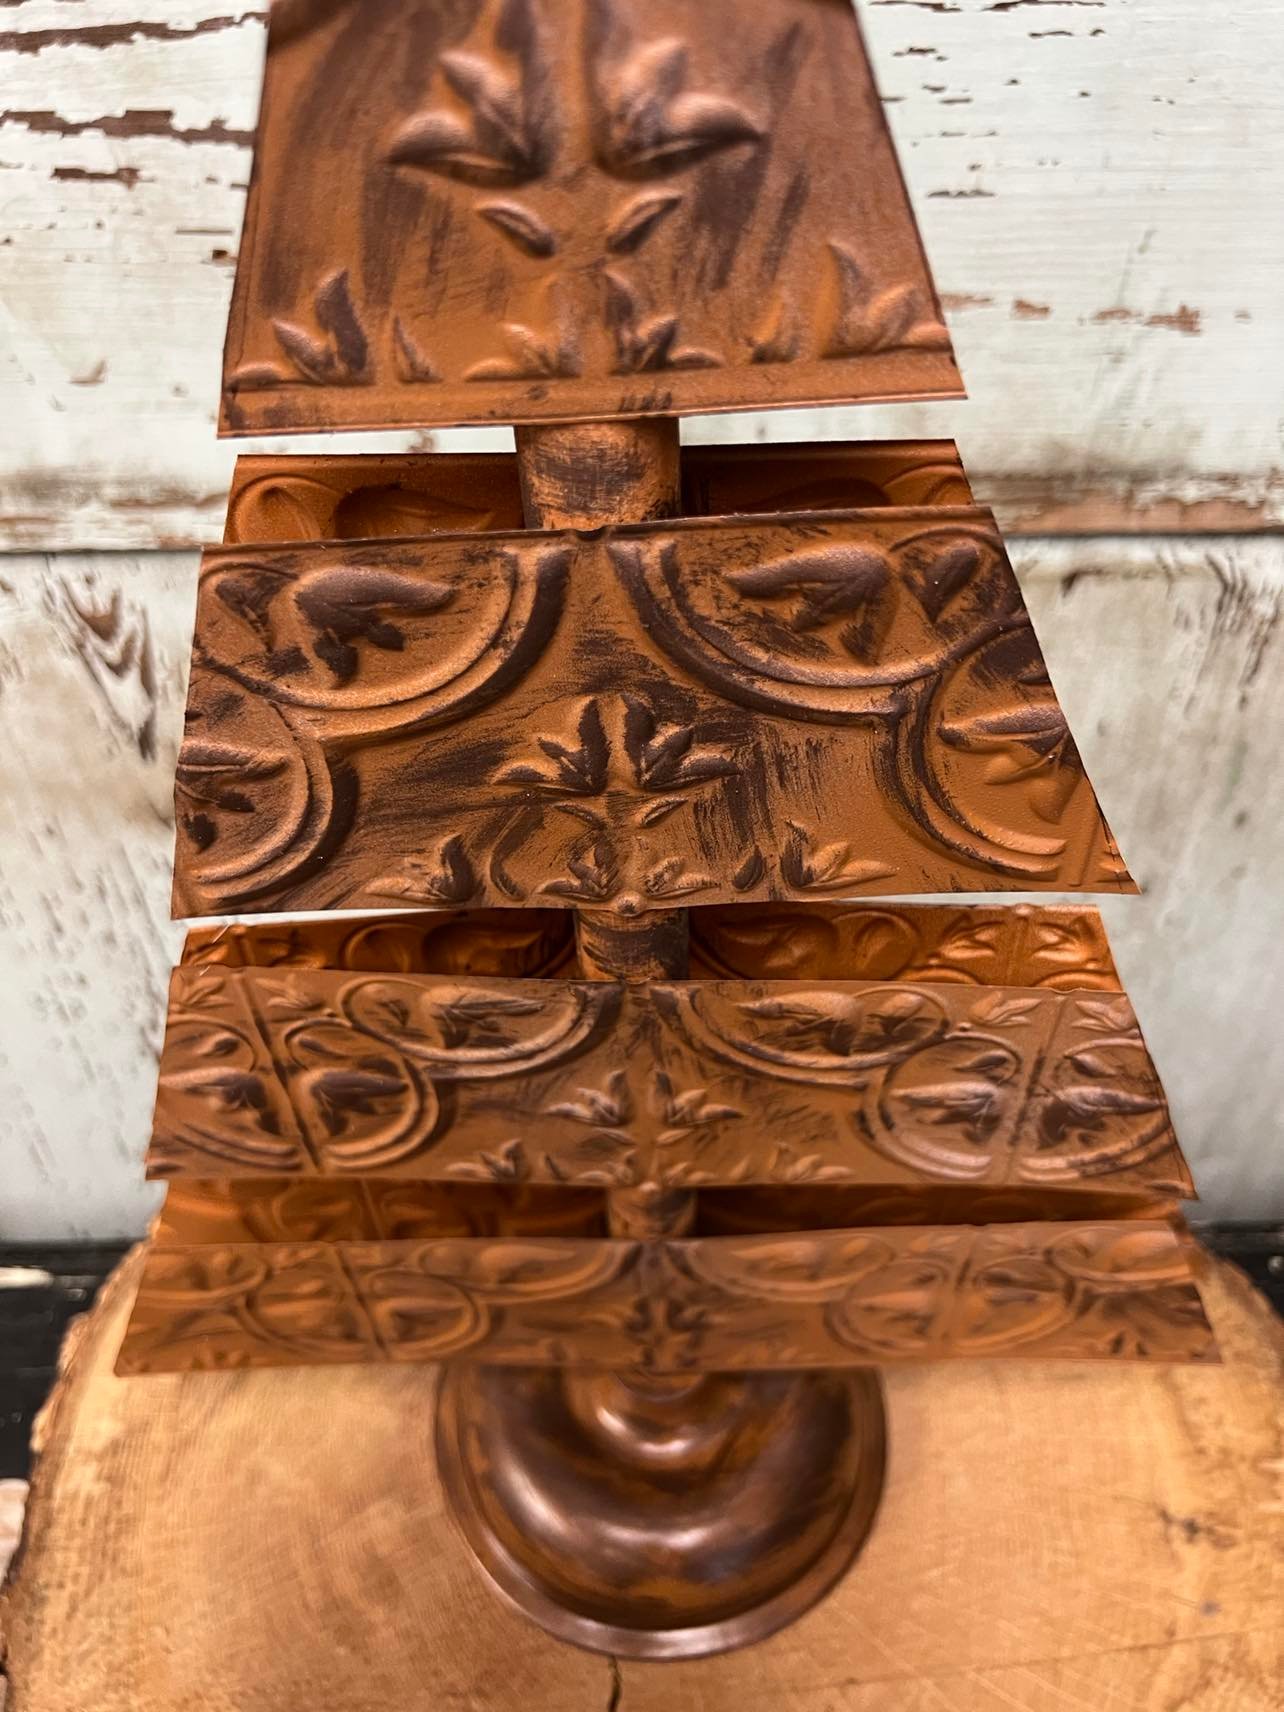
I used hot glue to attach all of the tile strips to the plunger.
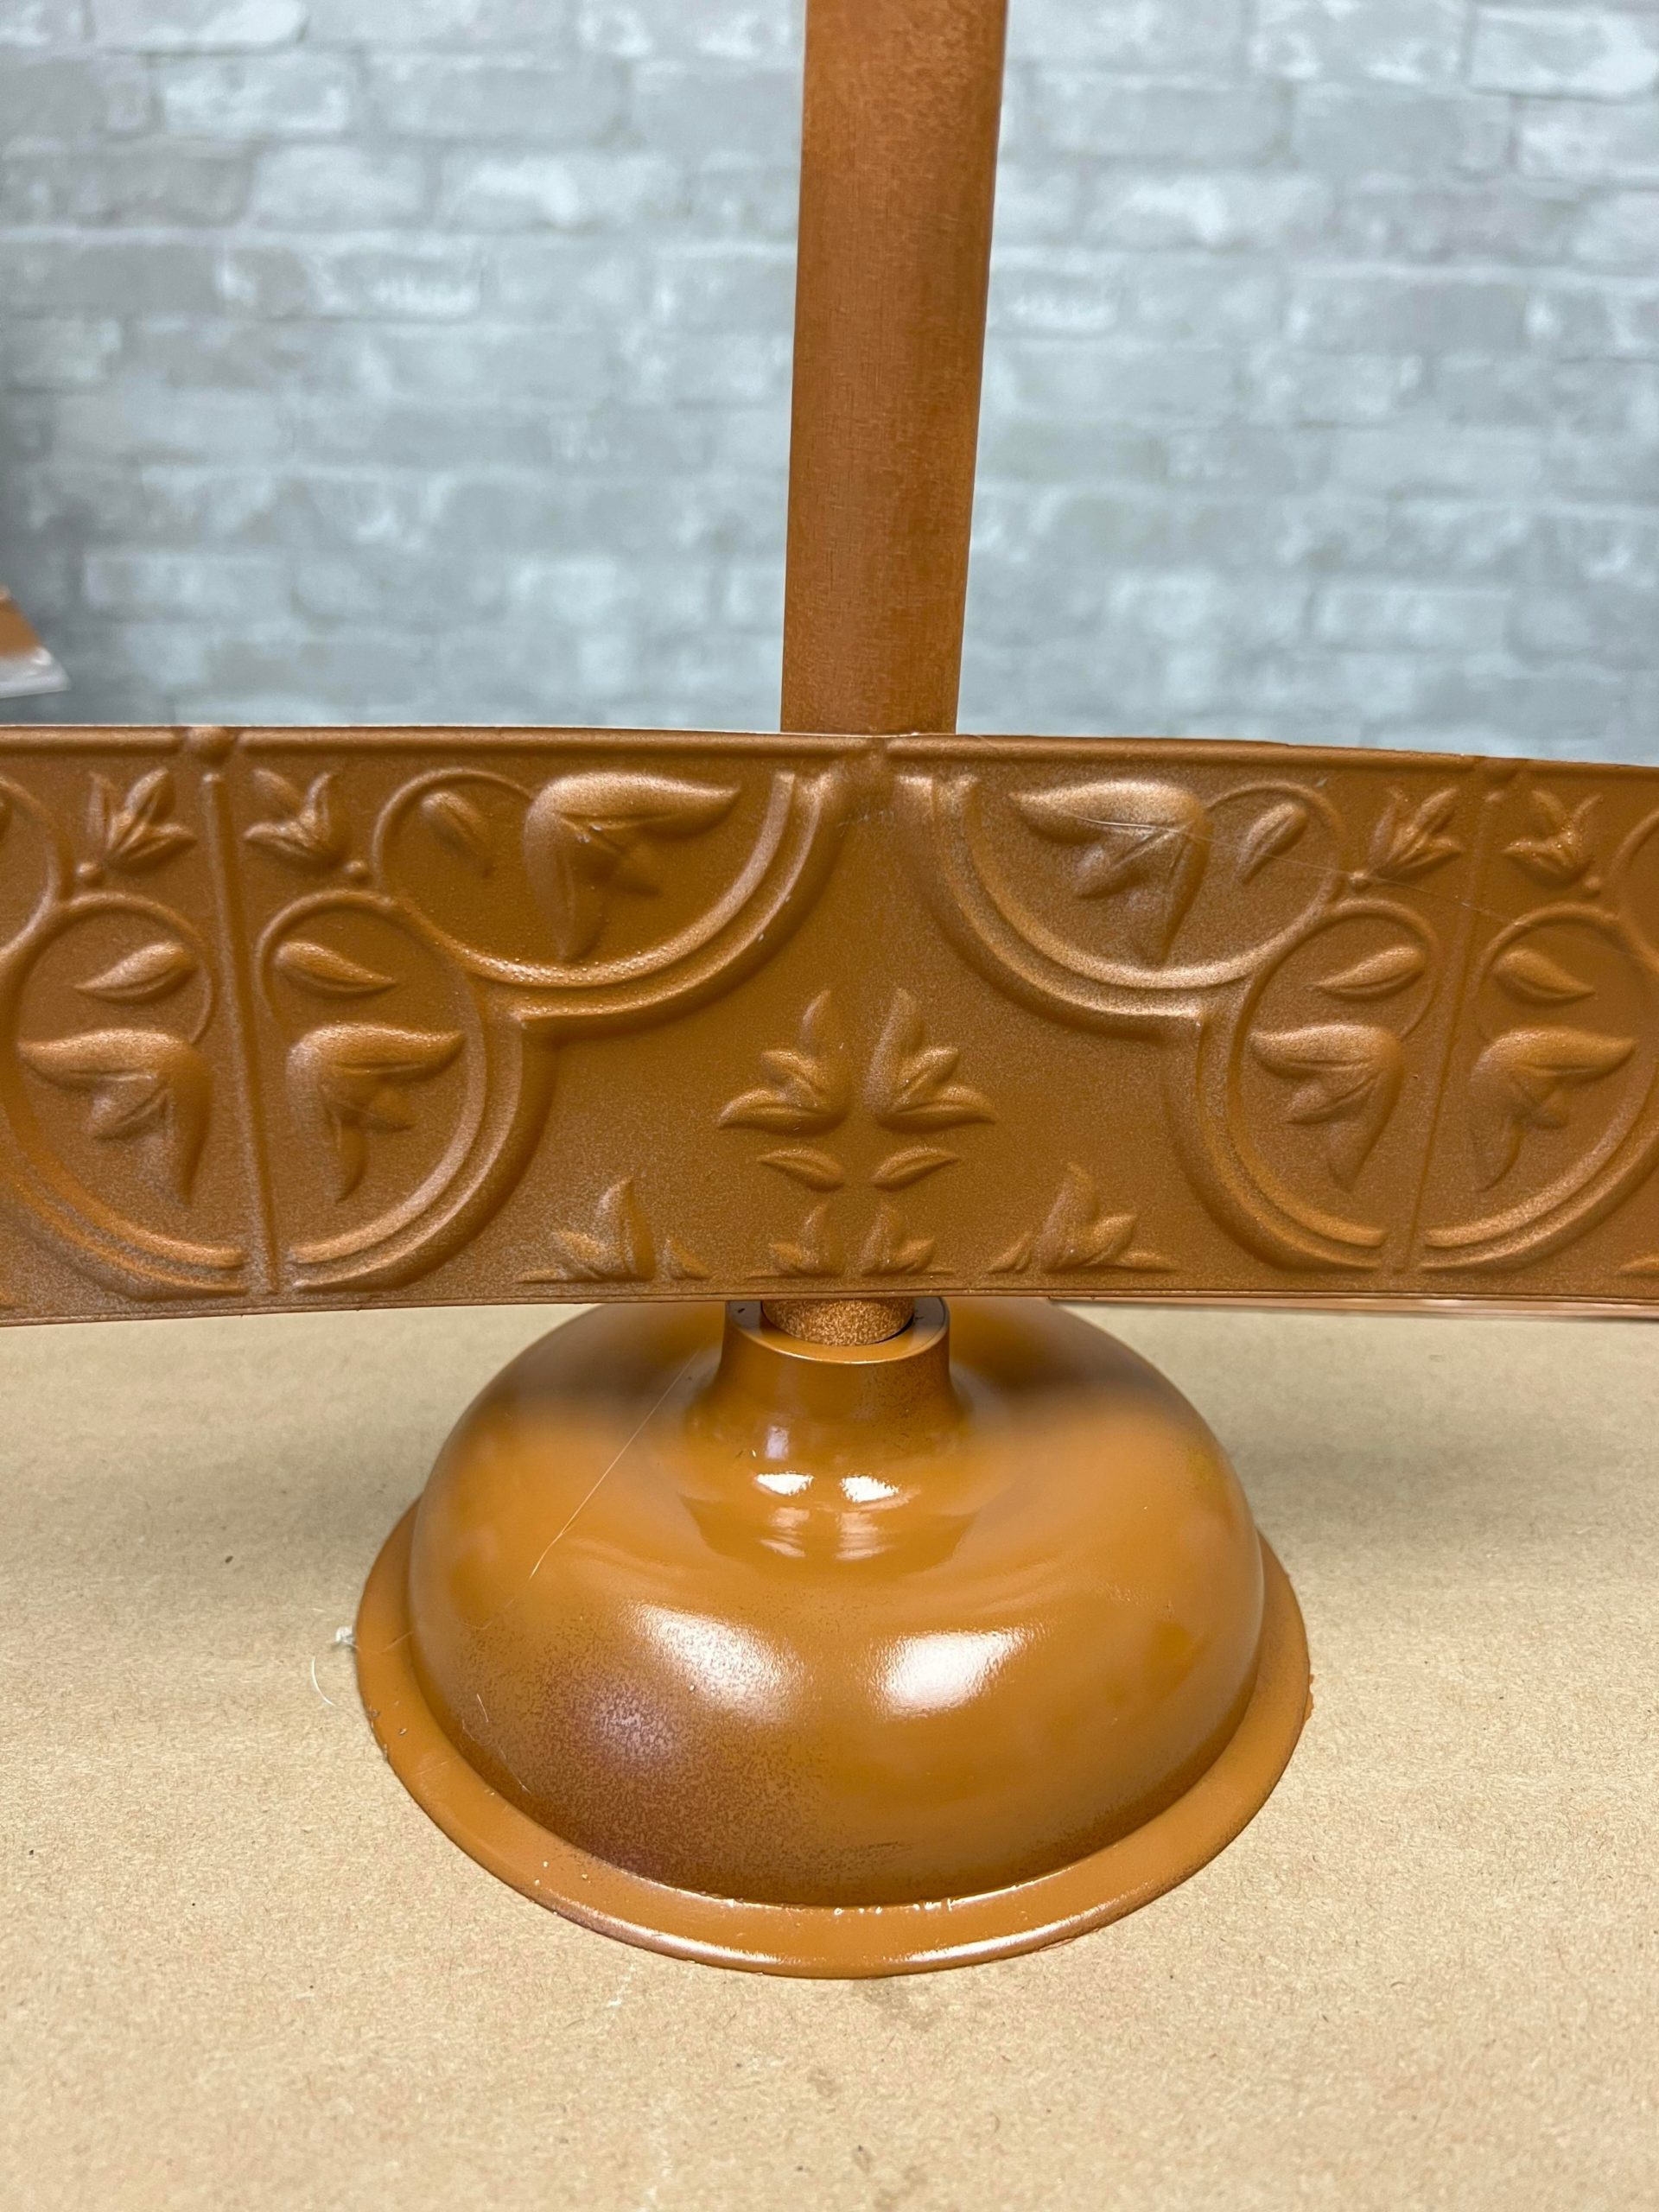
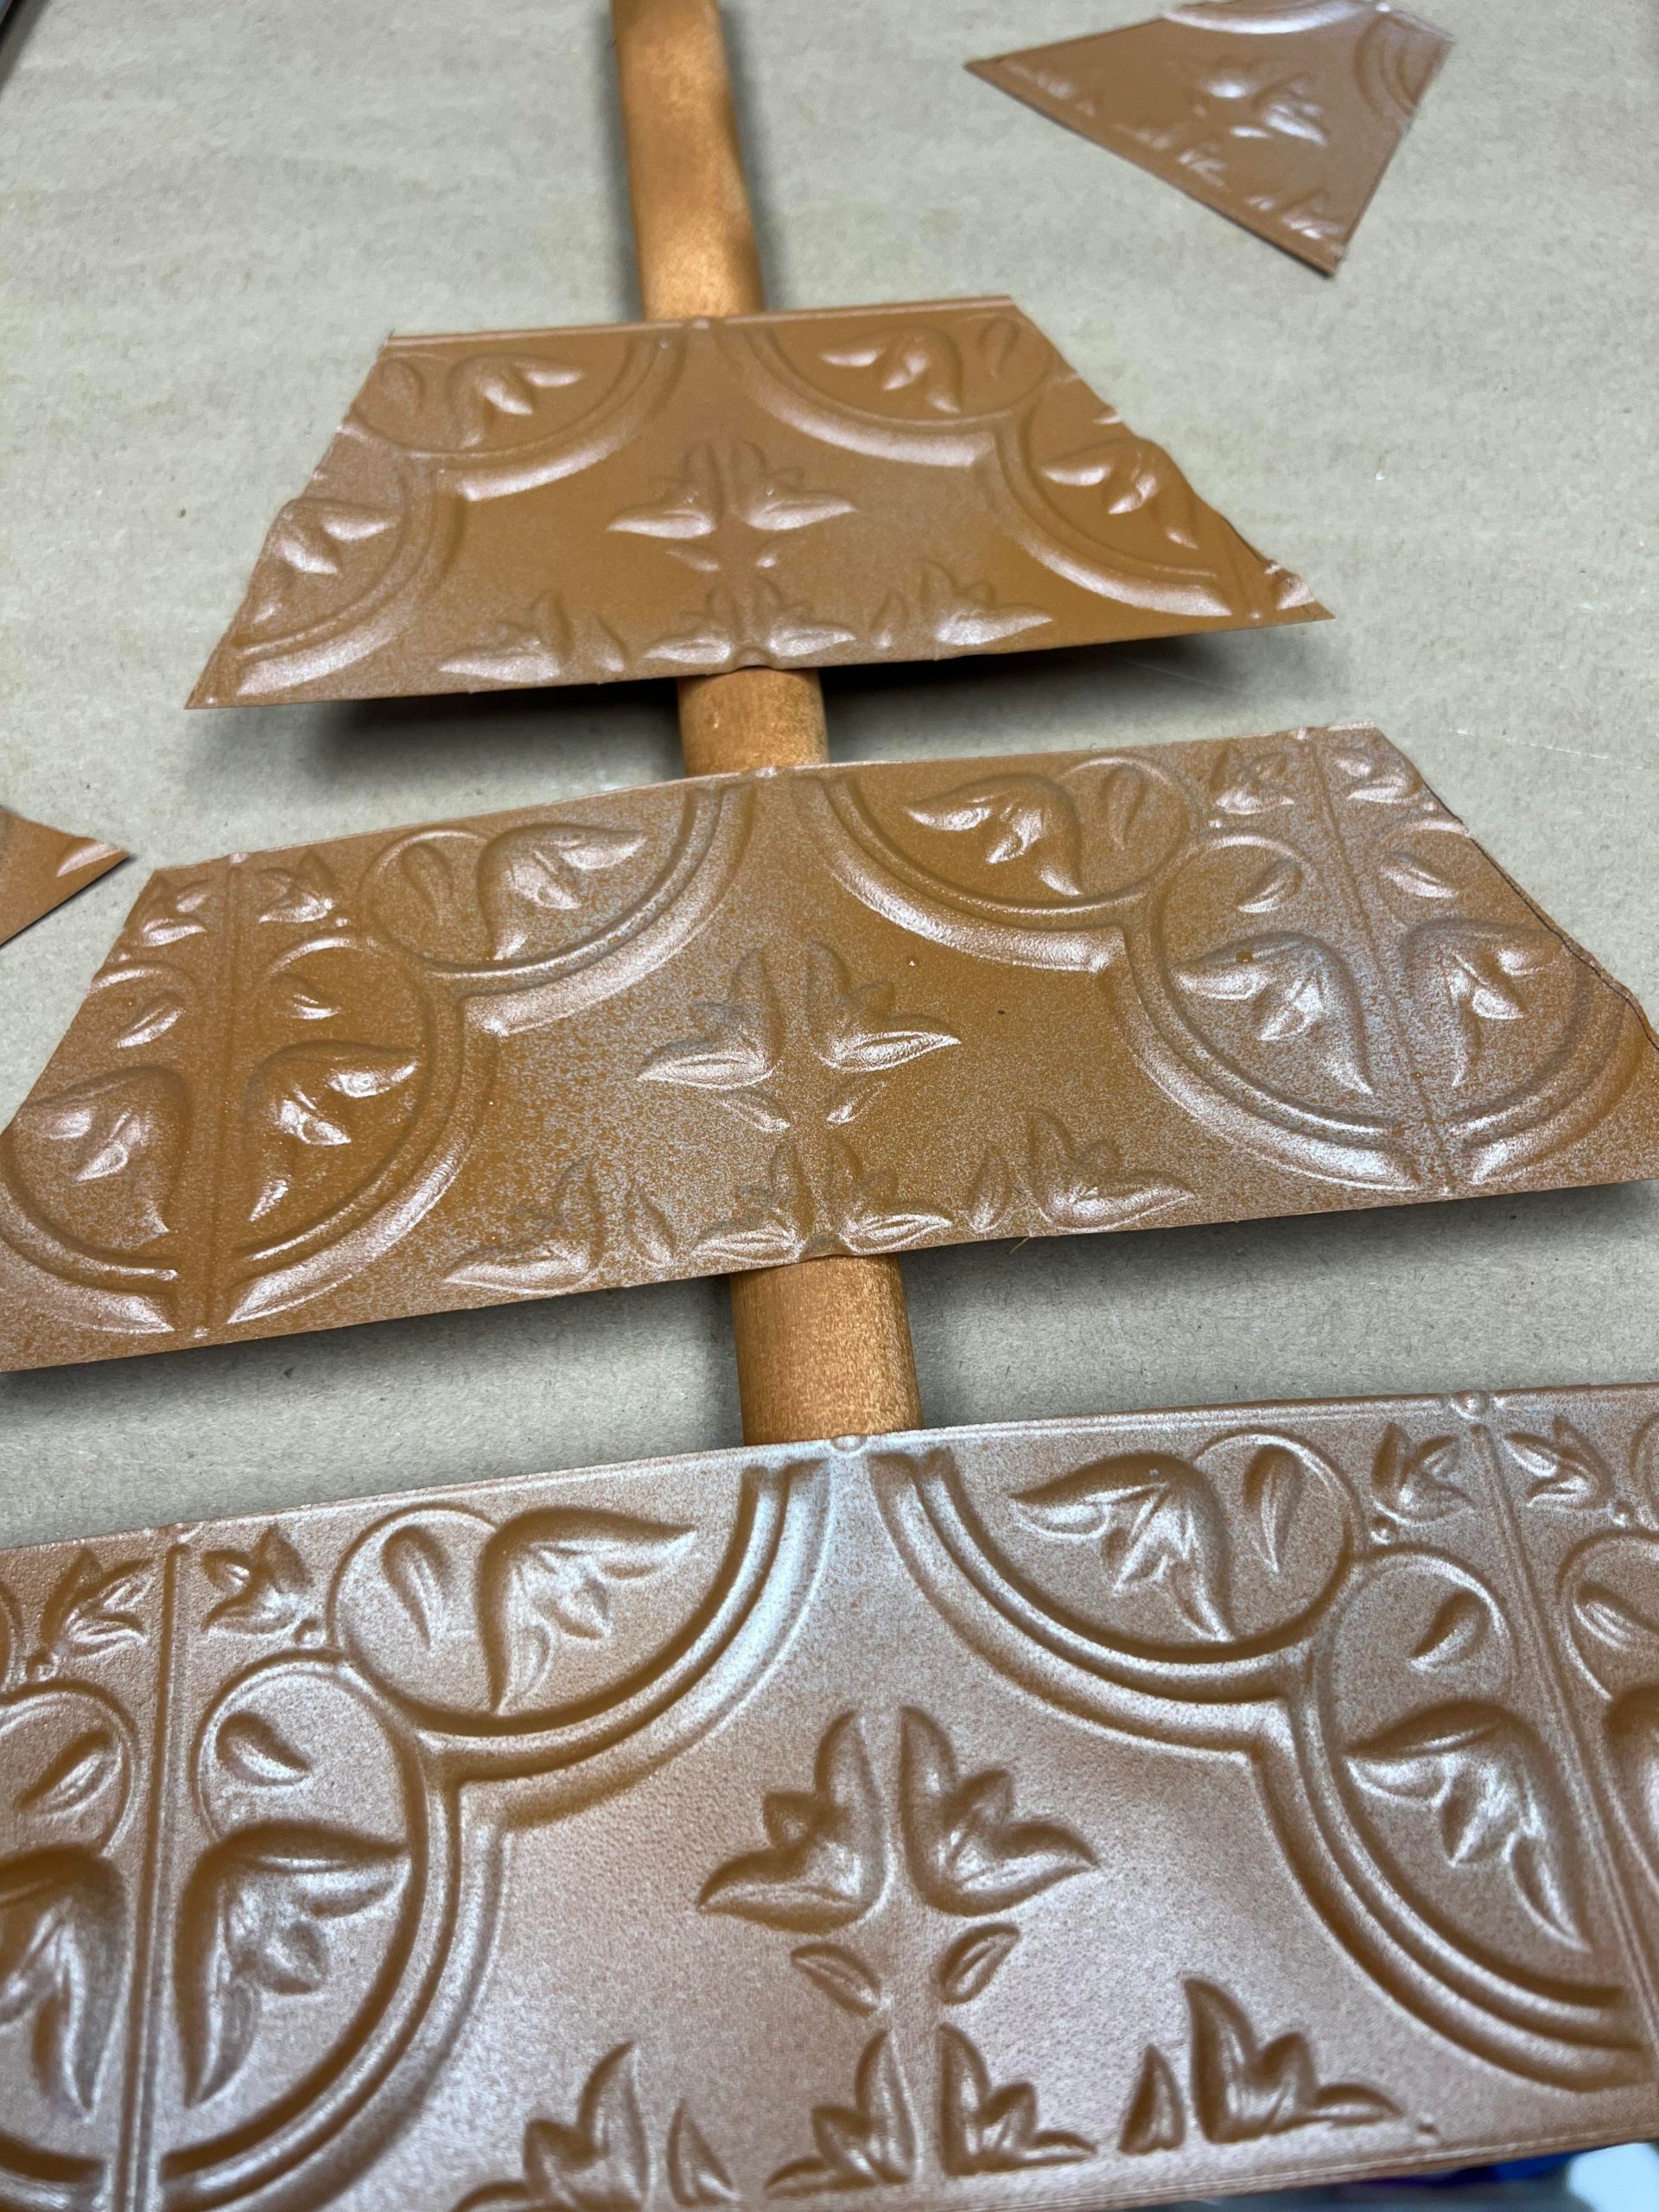
I left a space between each strip. My space is about a half an inch wide.
You will glue your pieces to the front and back.
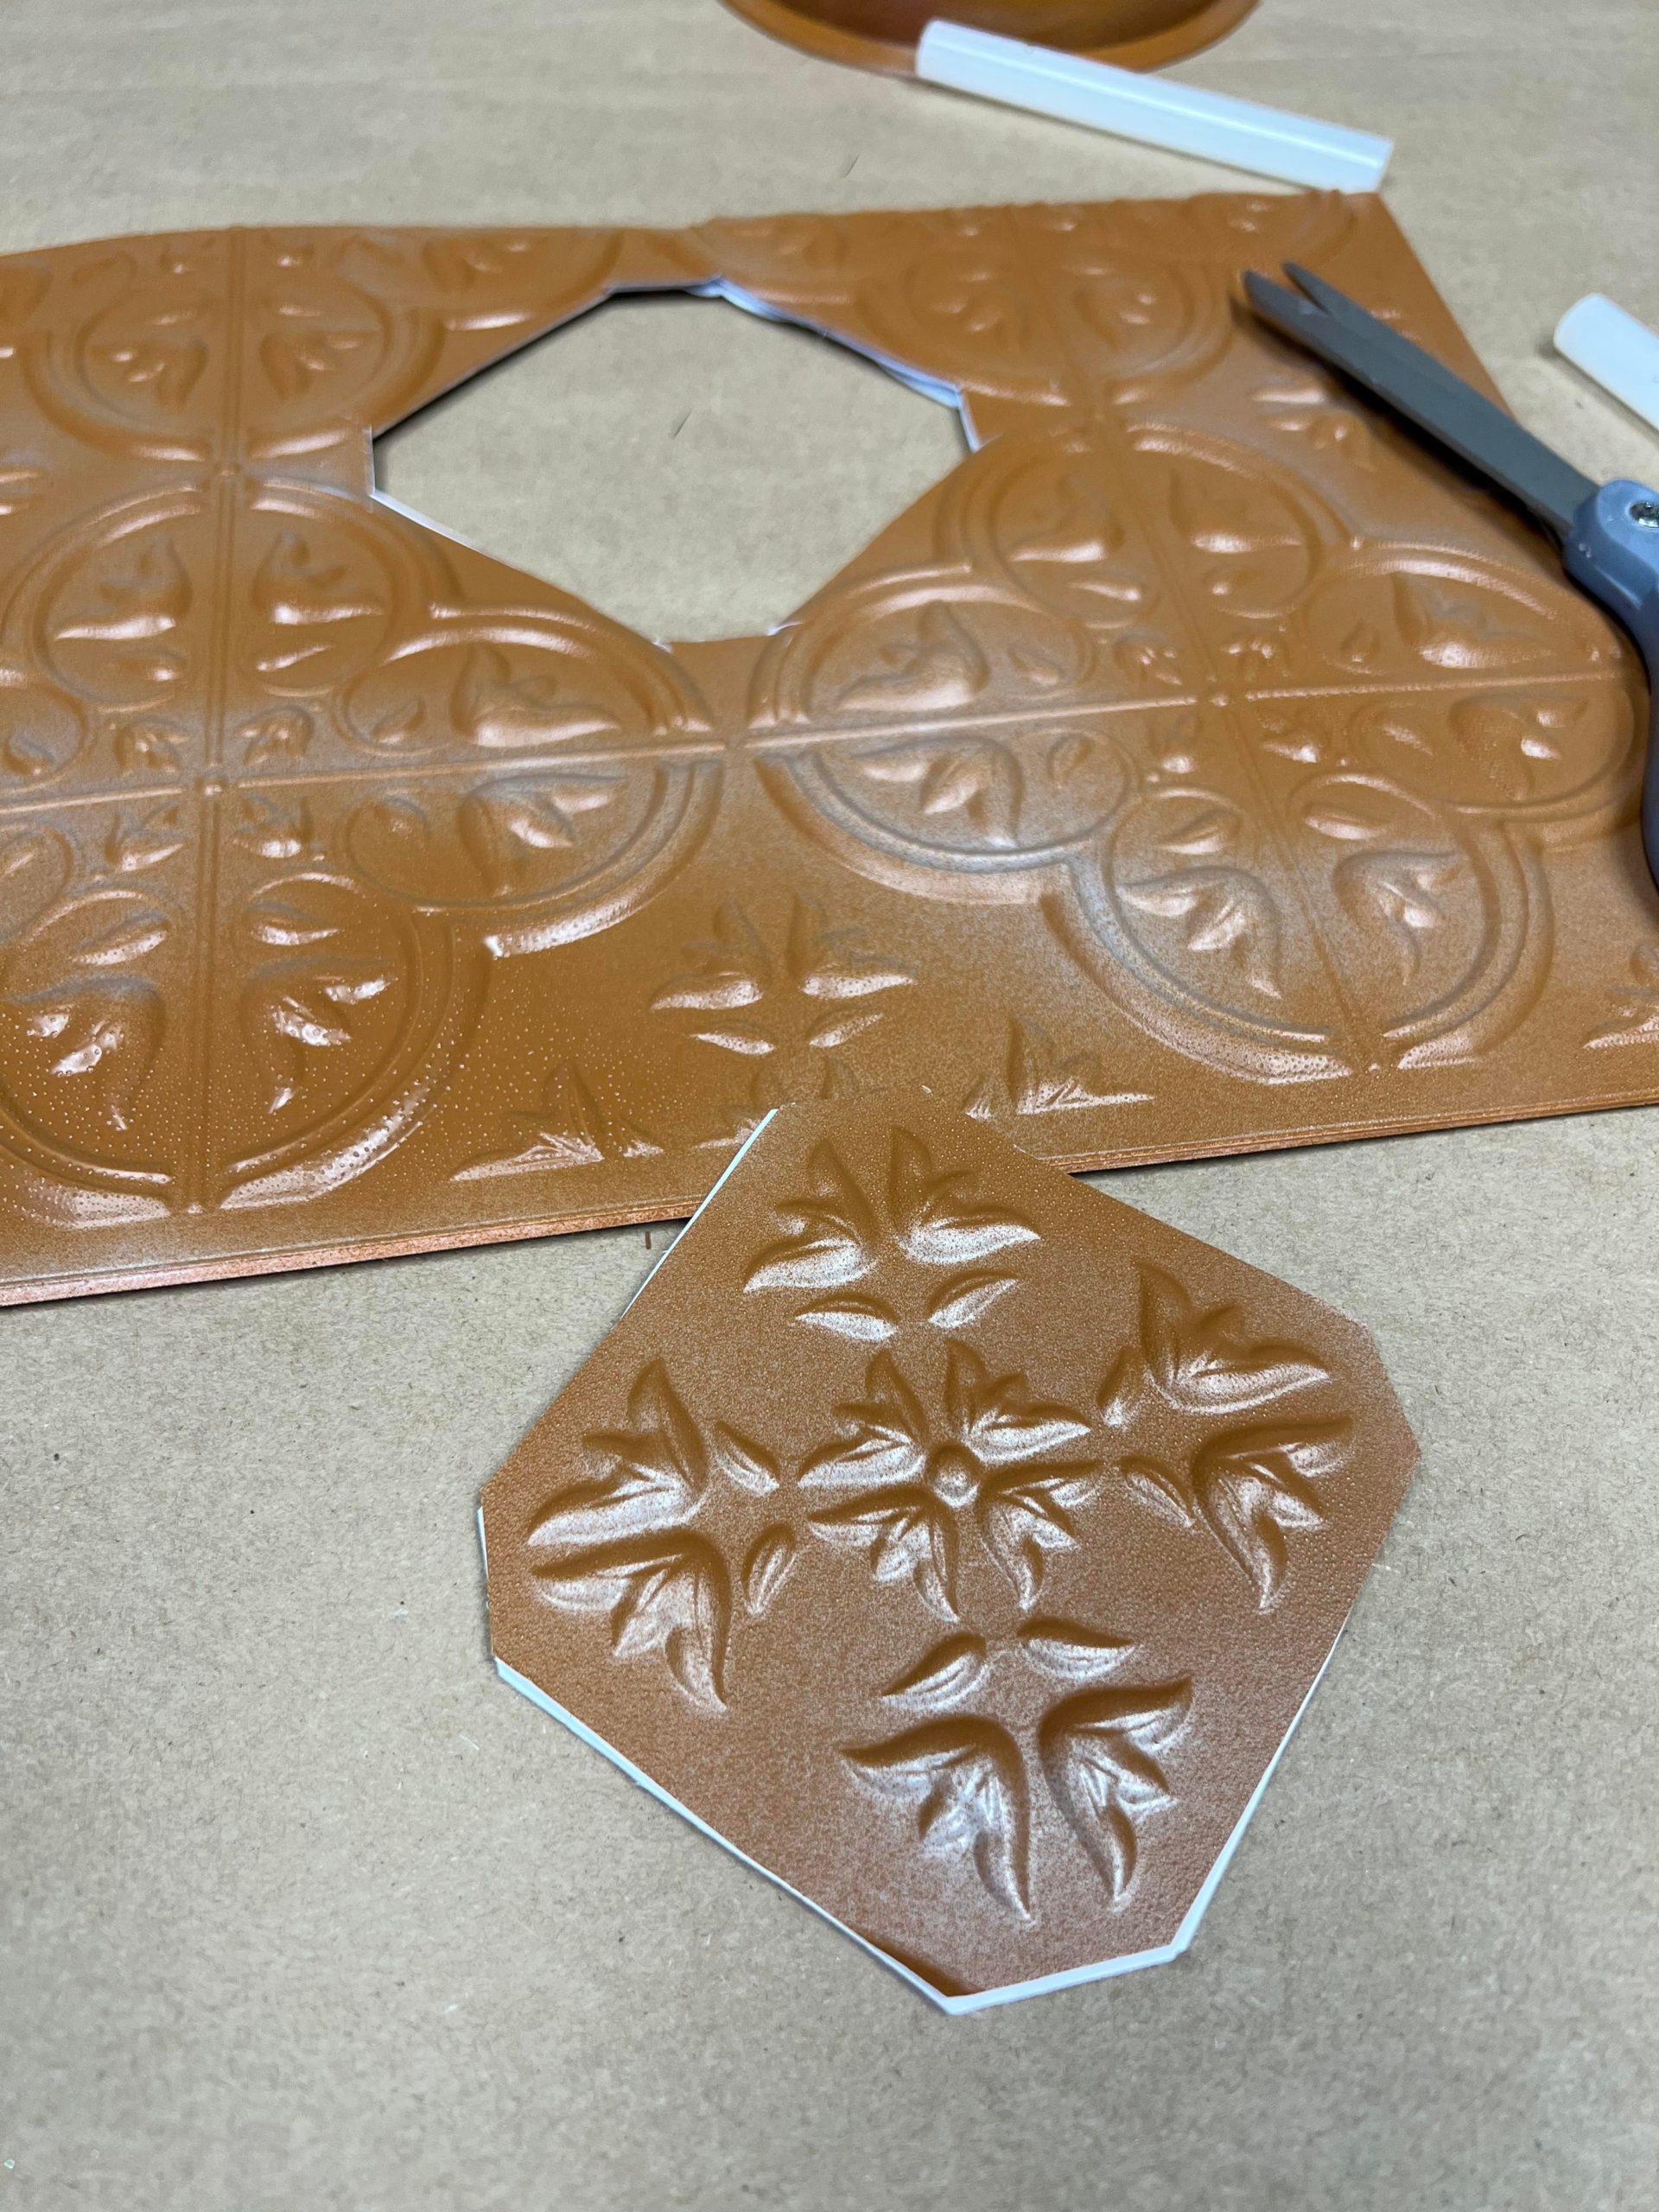
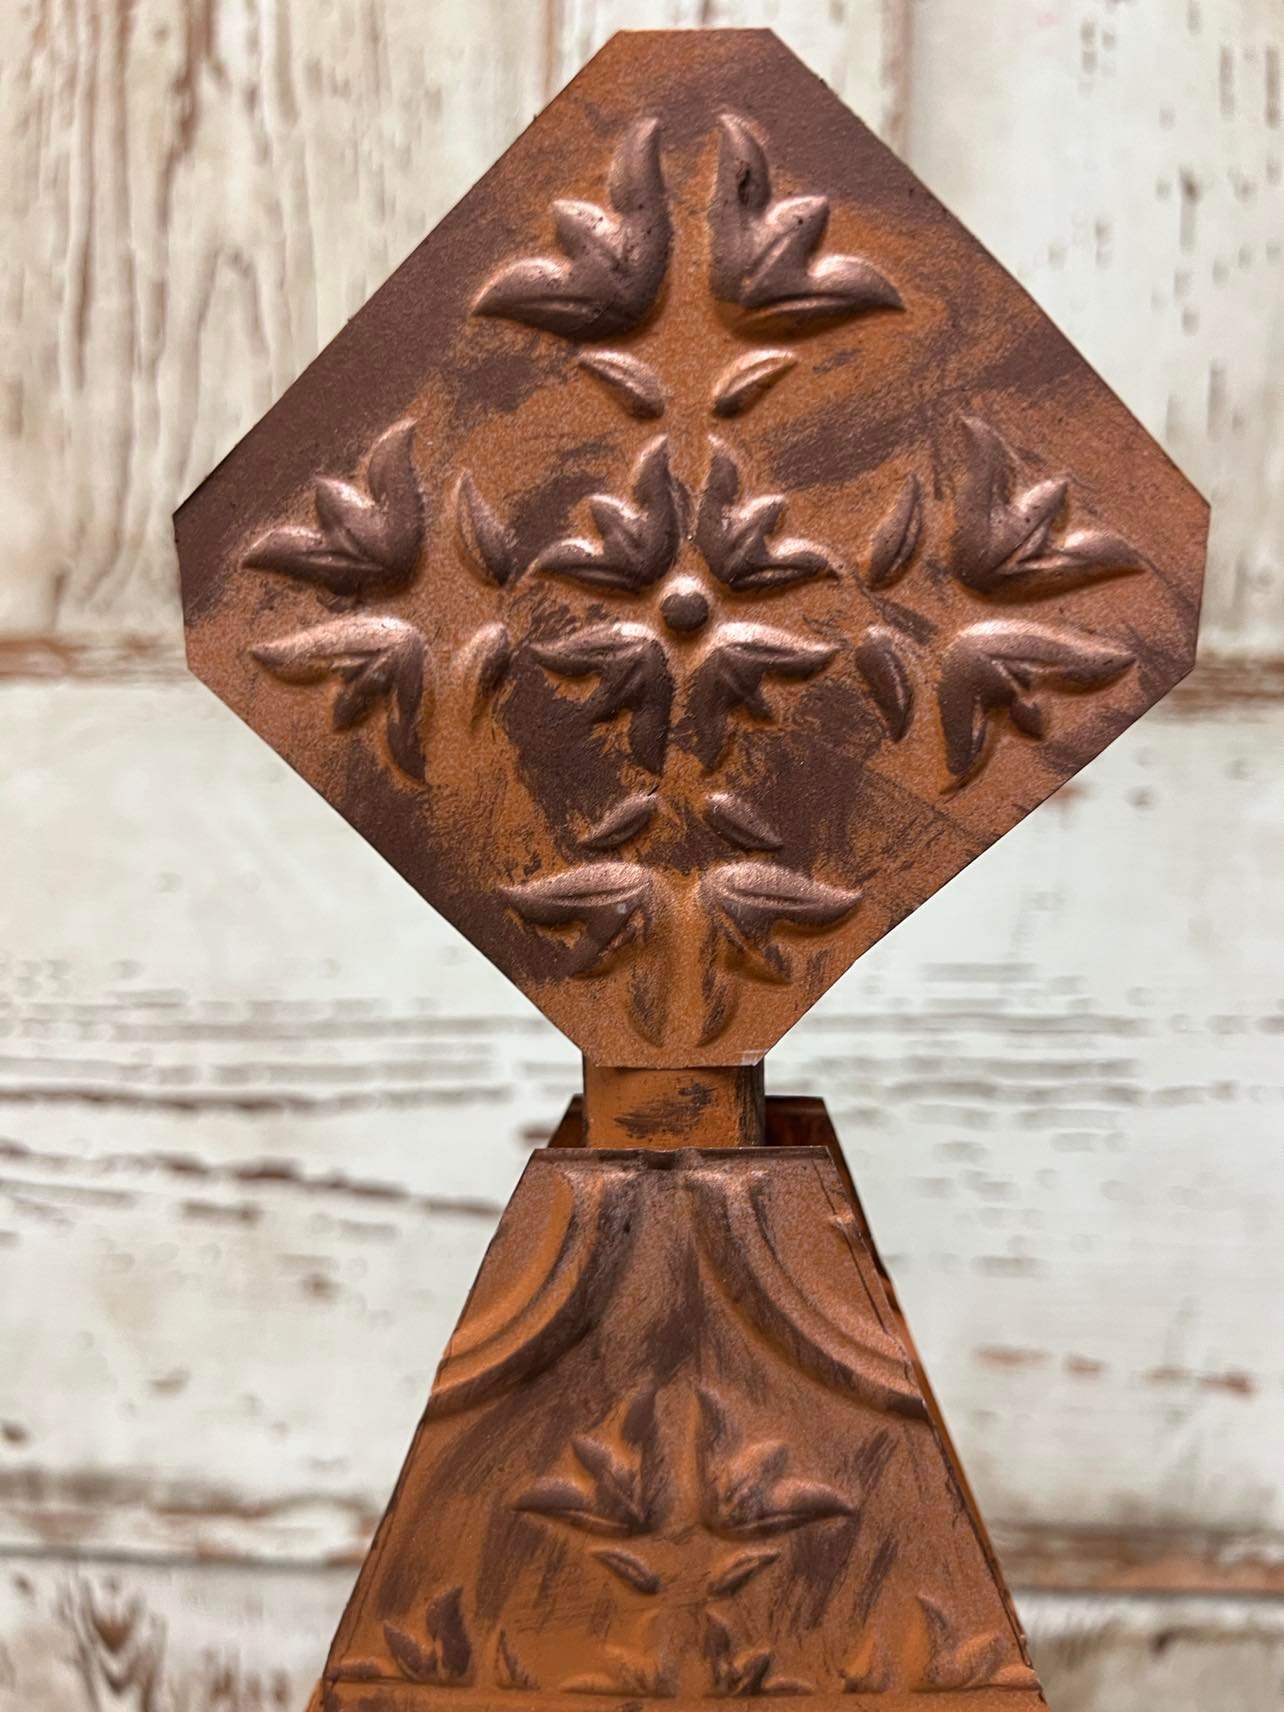
I then cut out a center piece of the other tile. This will be my tree topper.
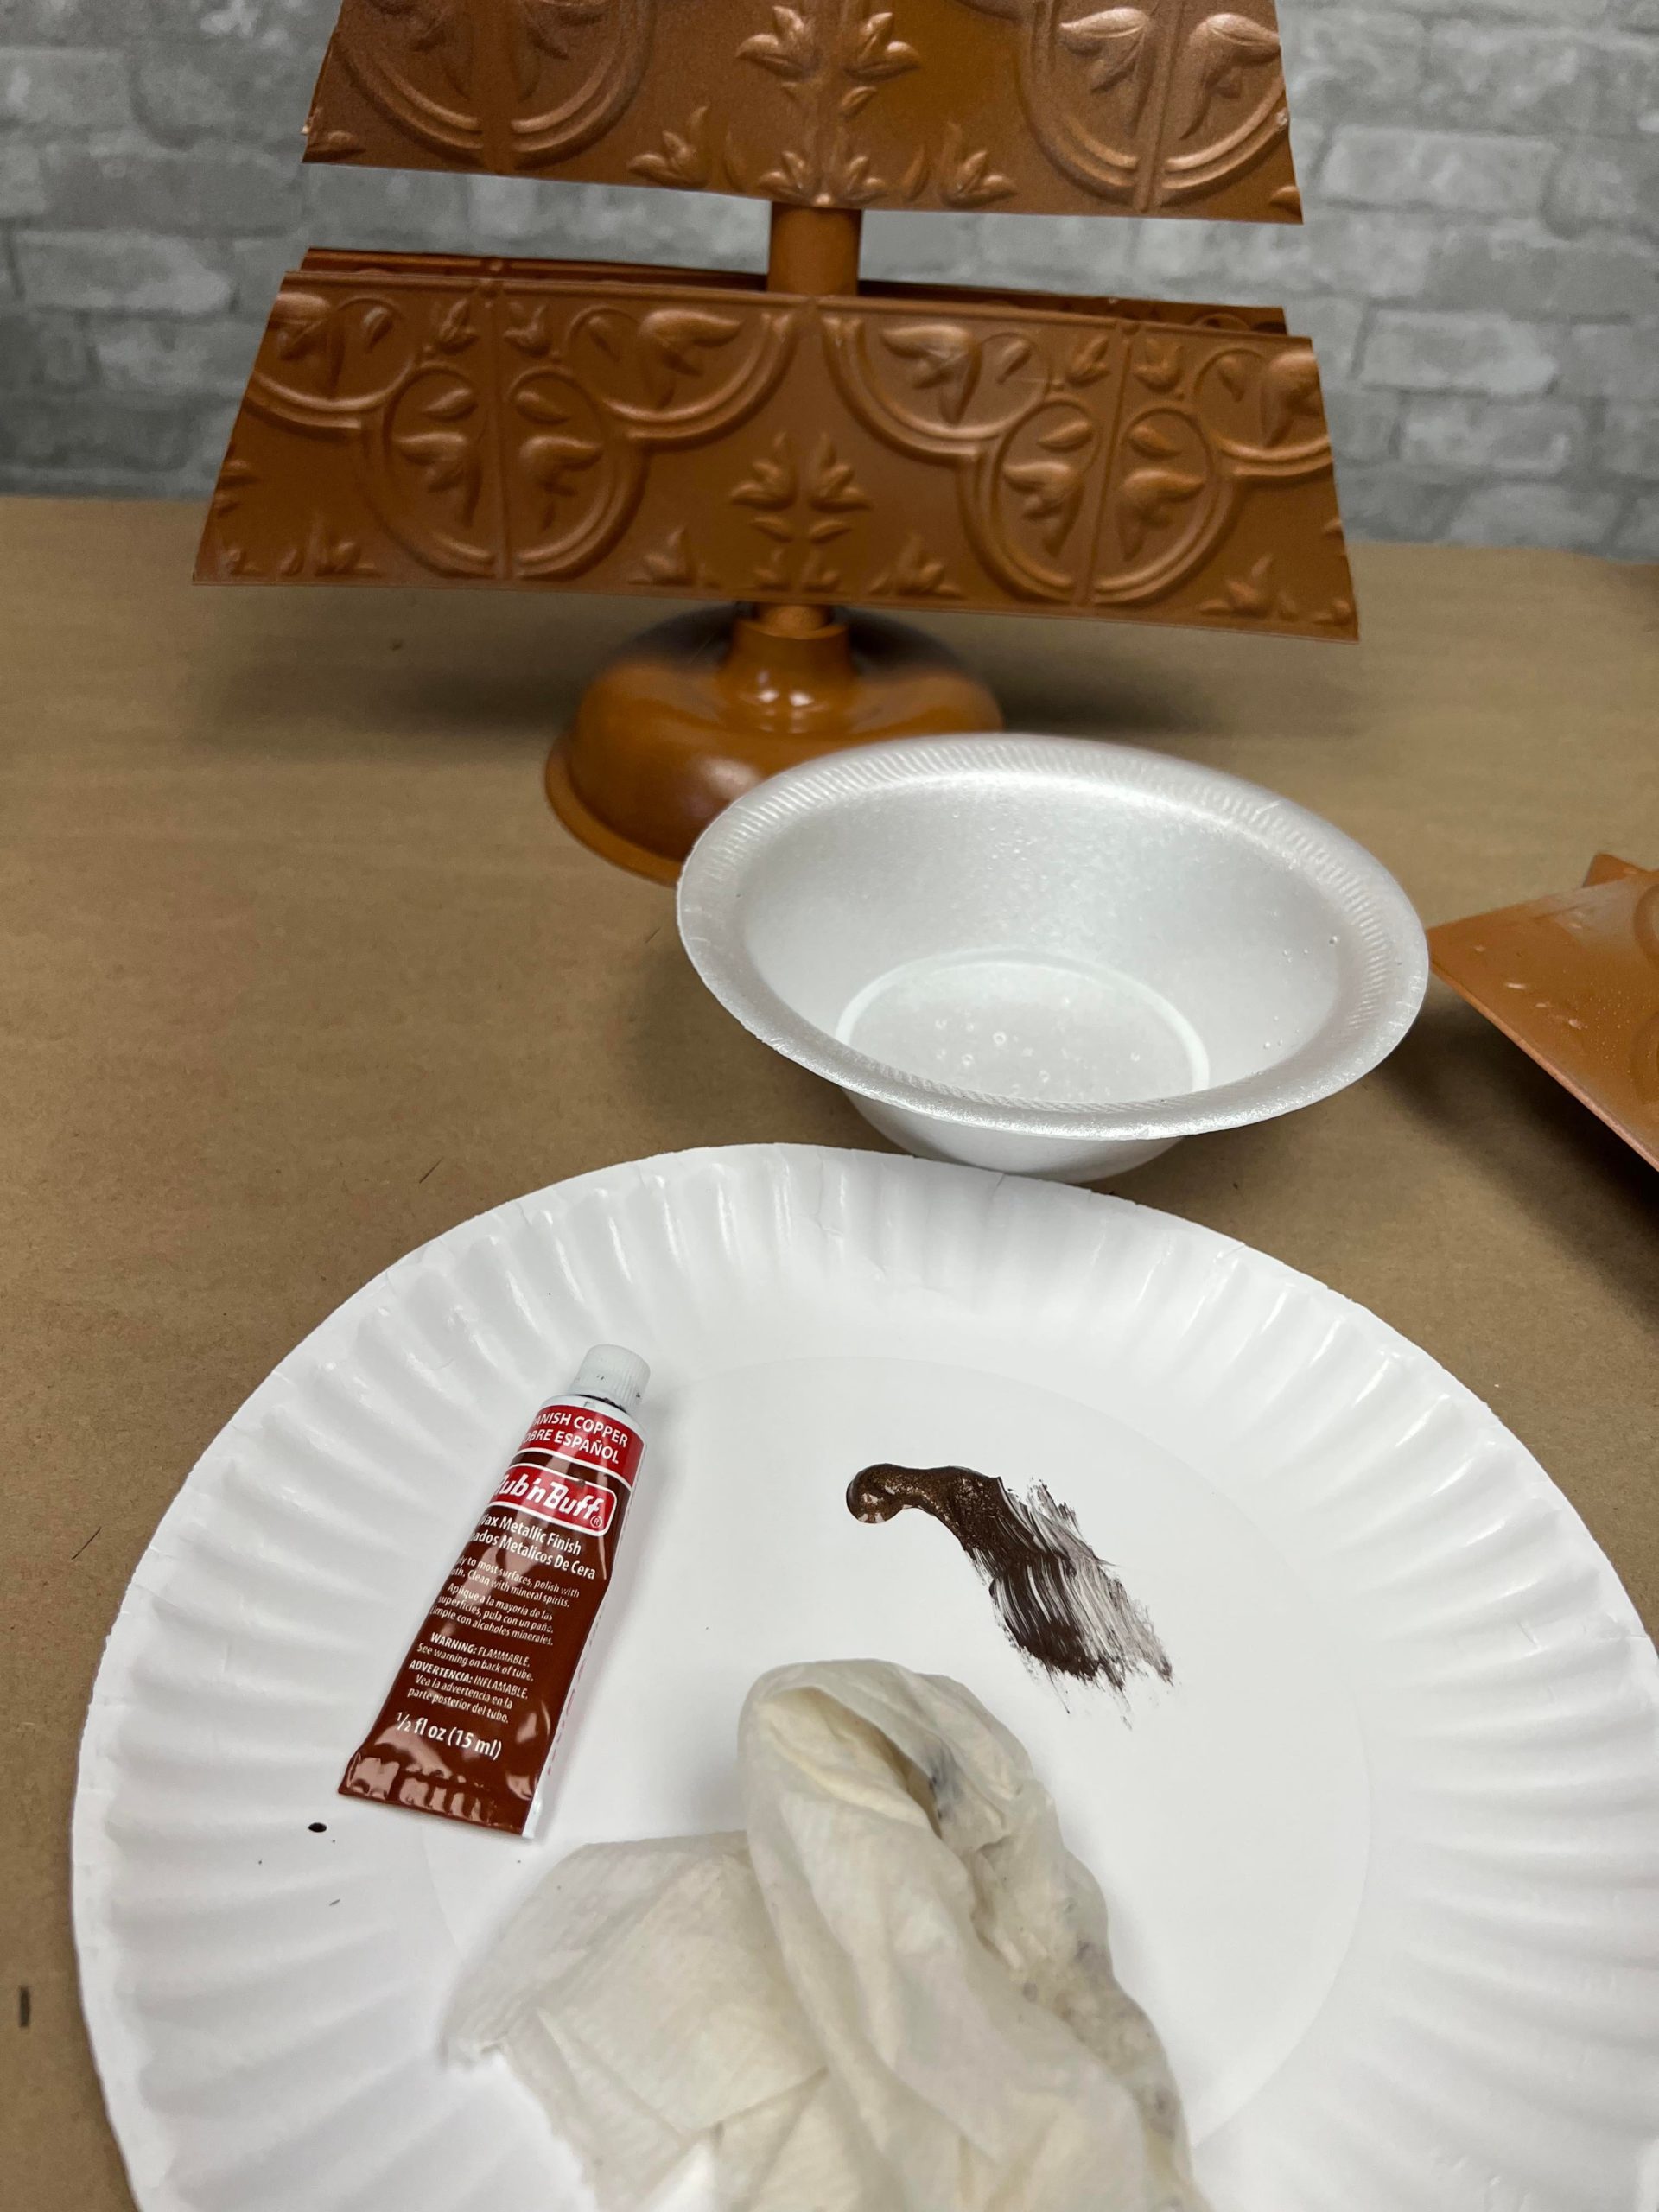
I used a damp paper towel and applied the Rub’n Buff to the tile.
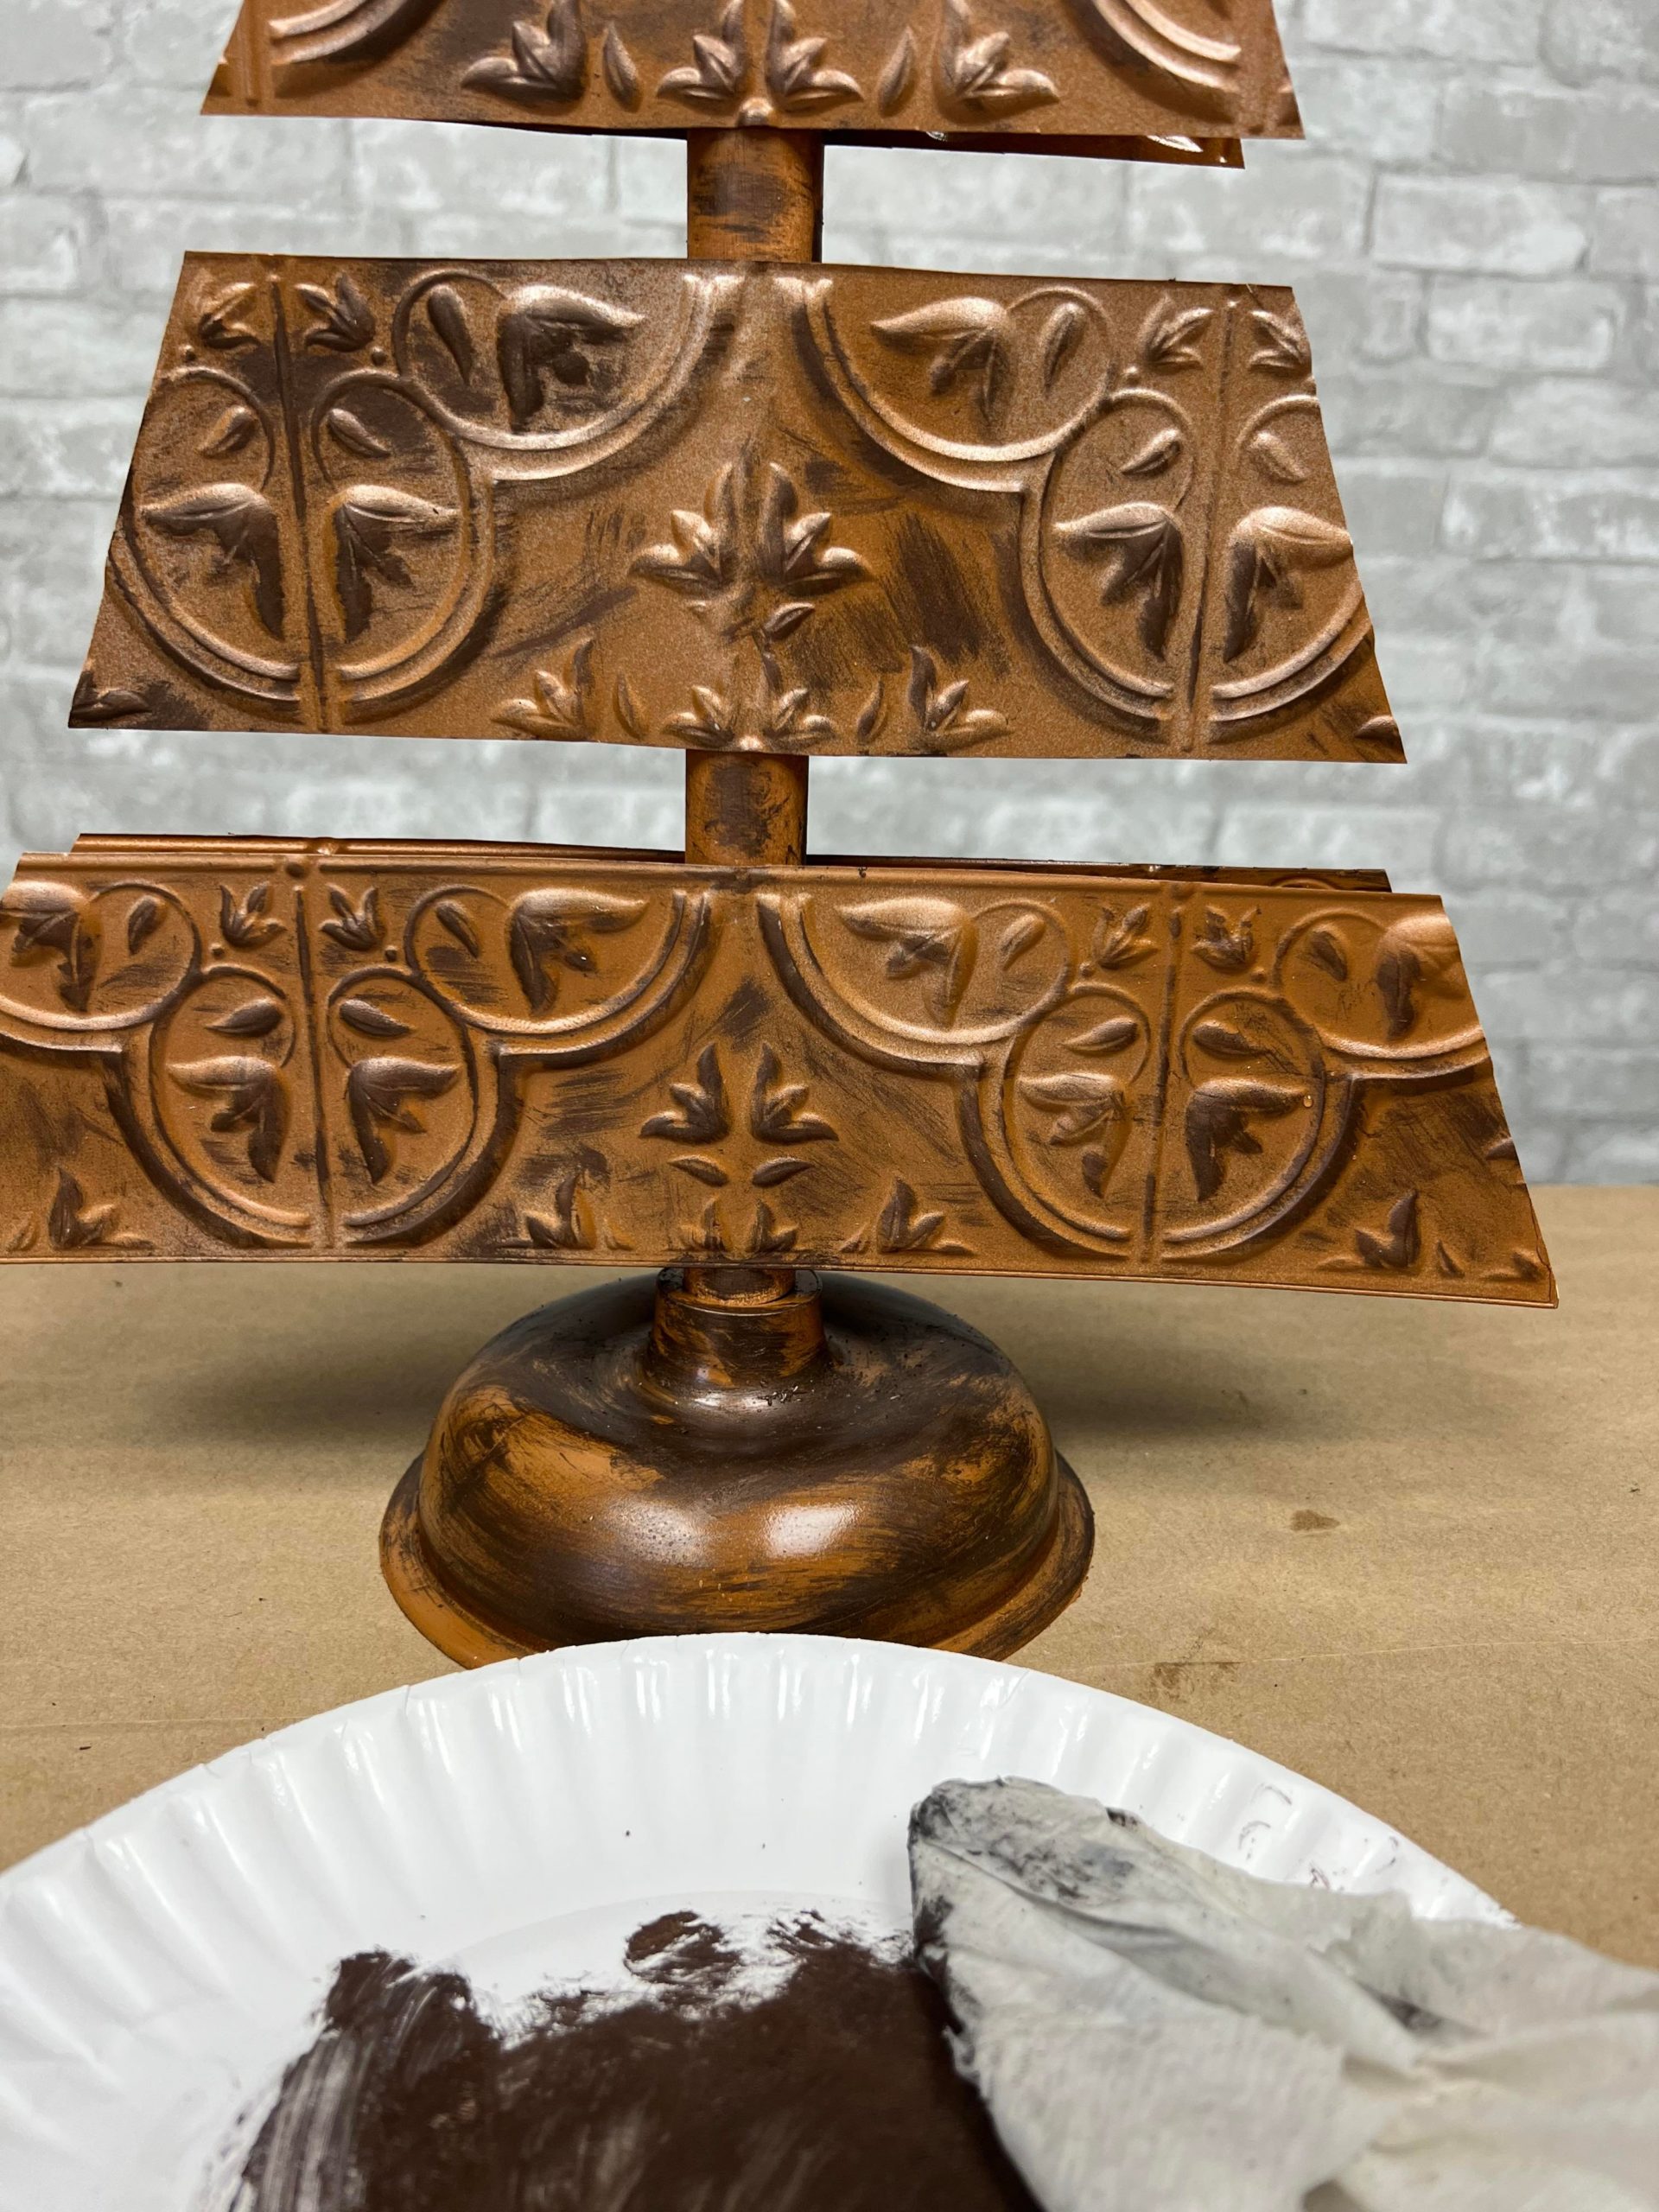
I applied the Rub’n Buff to the entire tree. You will want to apply the Rub’n Buff to the front and backside of each tile piece.
This tree is so easy to make and you can even add some copper wire lights to it.
I hope you will get creative and give this fun Diy a try.