I love decorating throughout my home for all holidays and seasons. Spring is here and I have been seeing a lot of home decor items with bees. We are always crafting and creating fun and unique items here at The Shabby Tree and I thought it would be fun to create a decorative beehive.
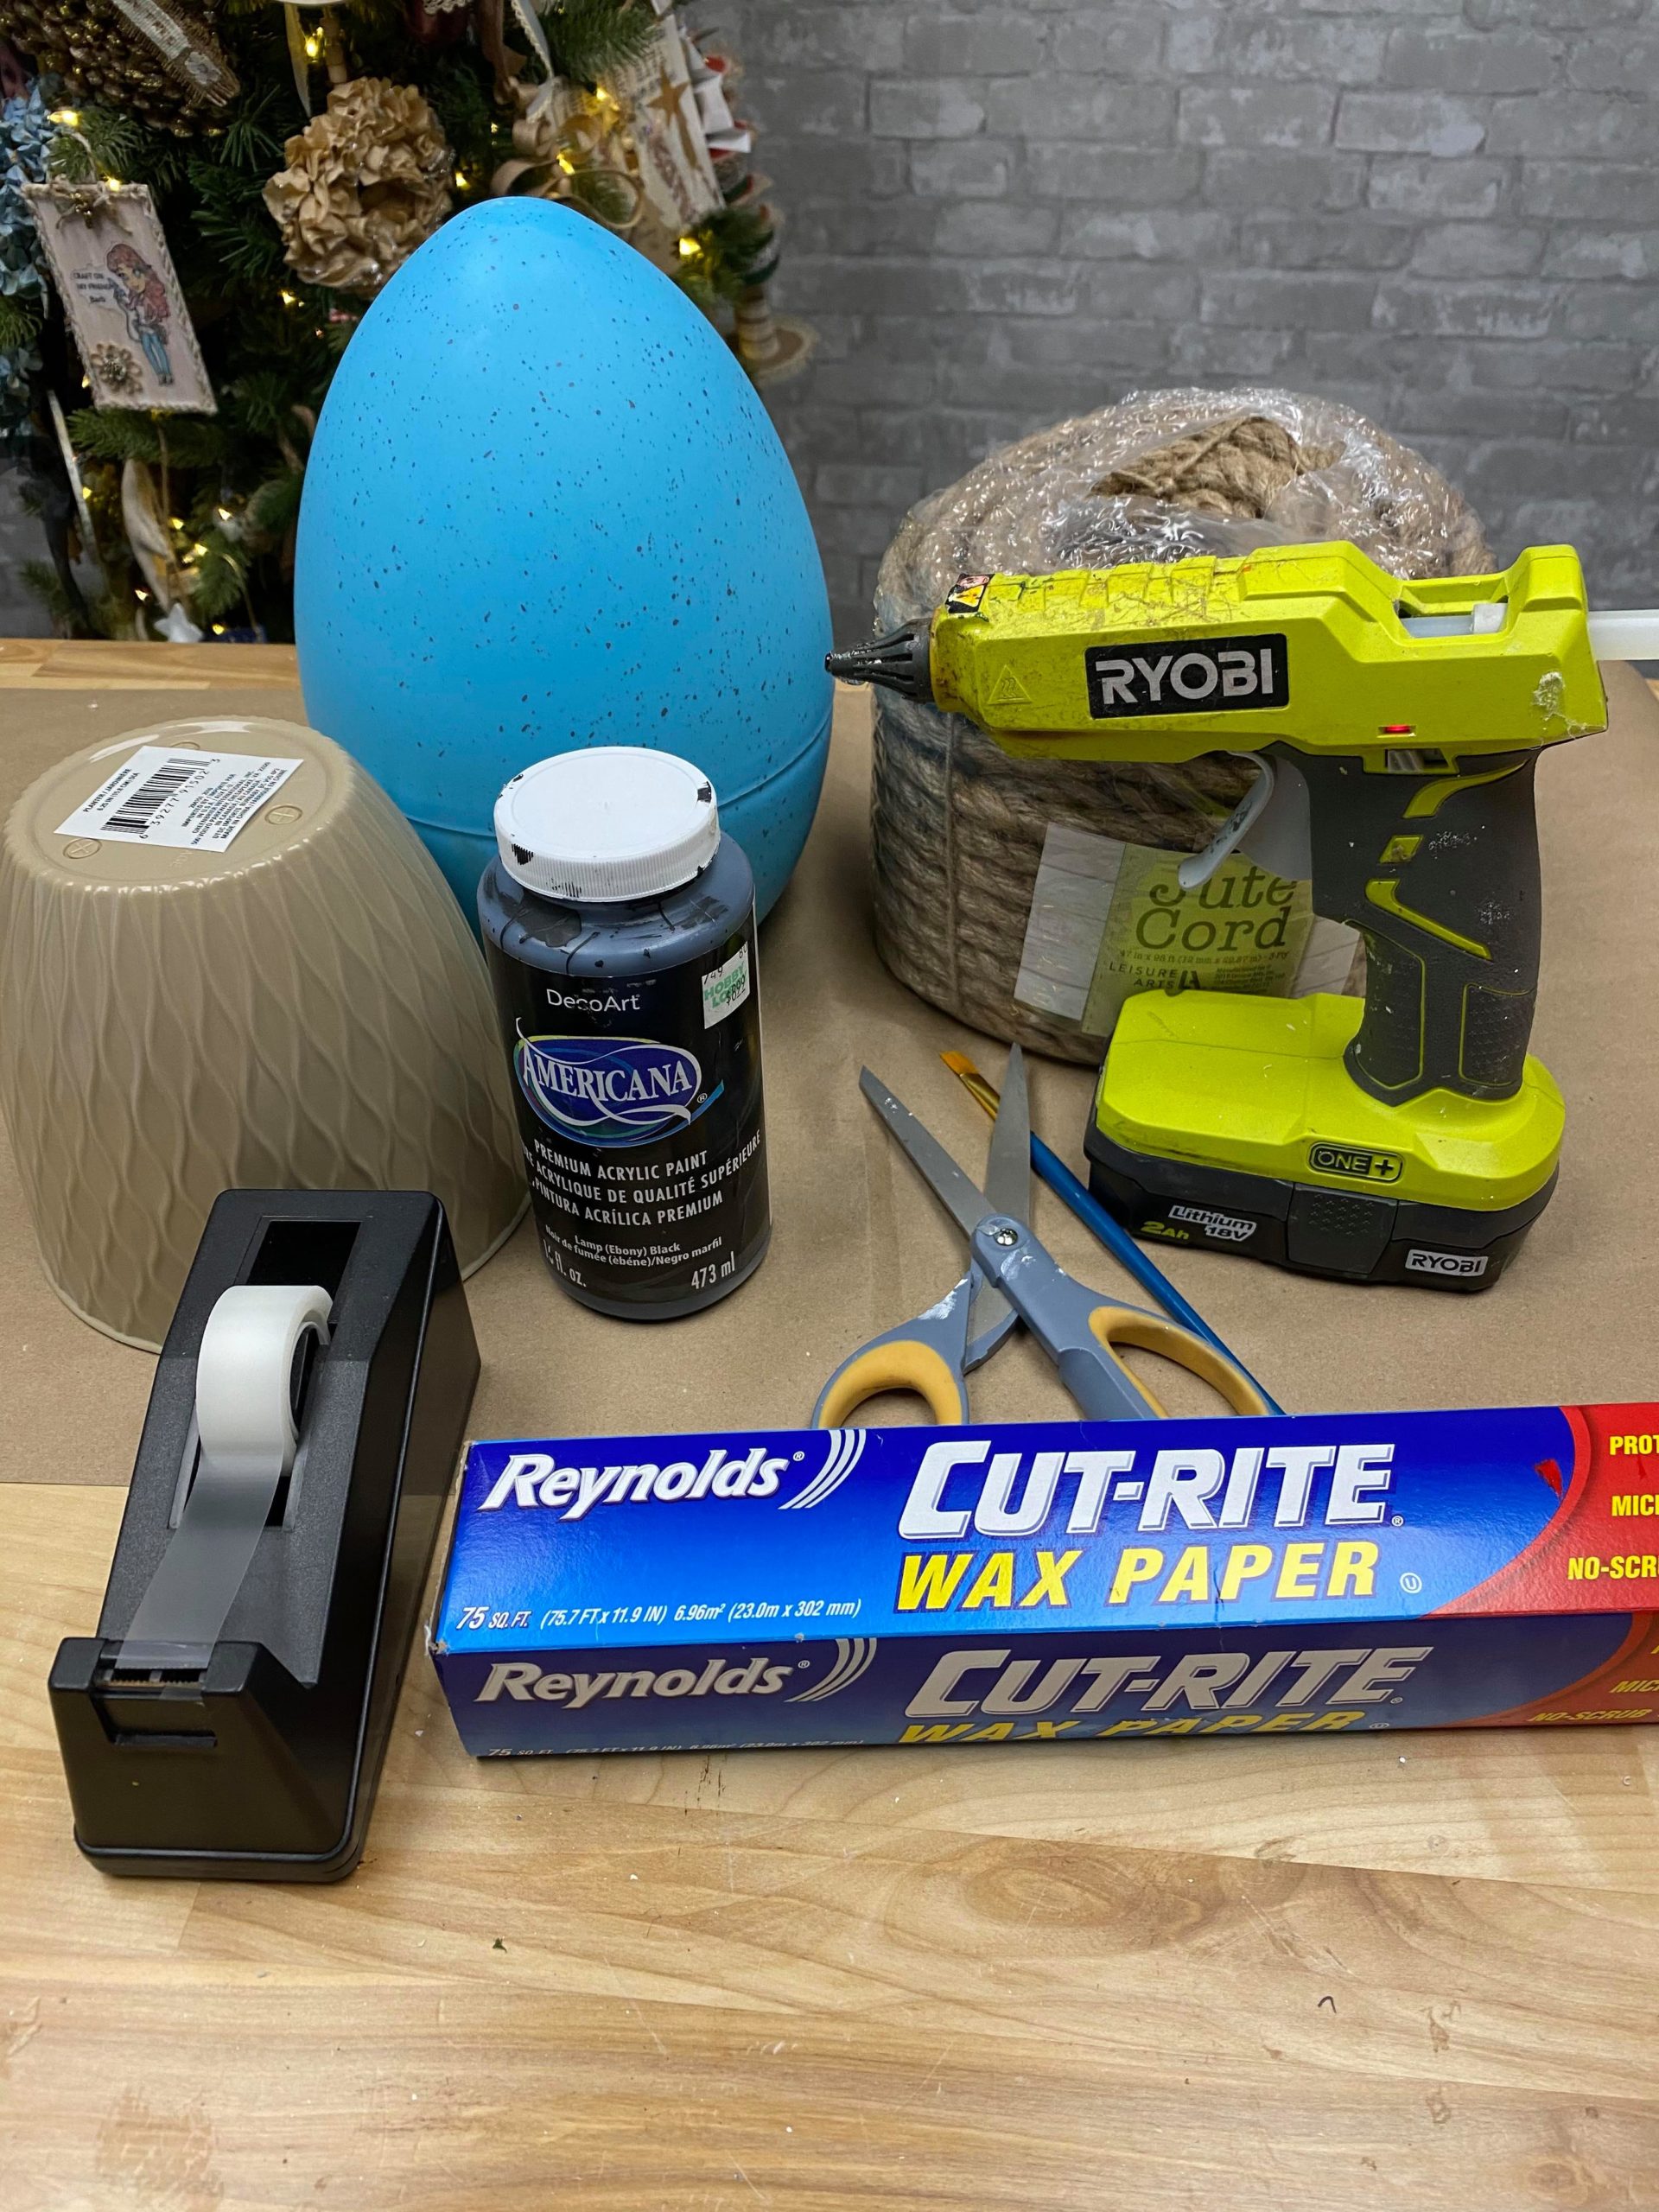
The supplies I will be using are:
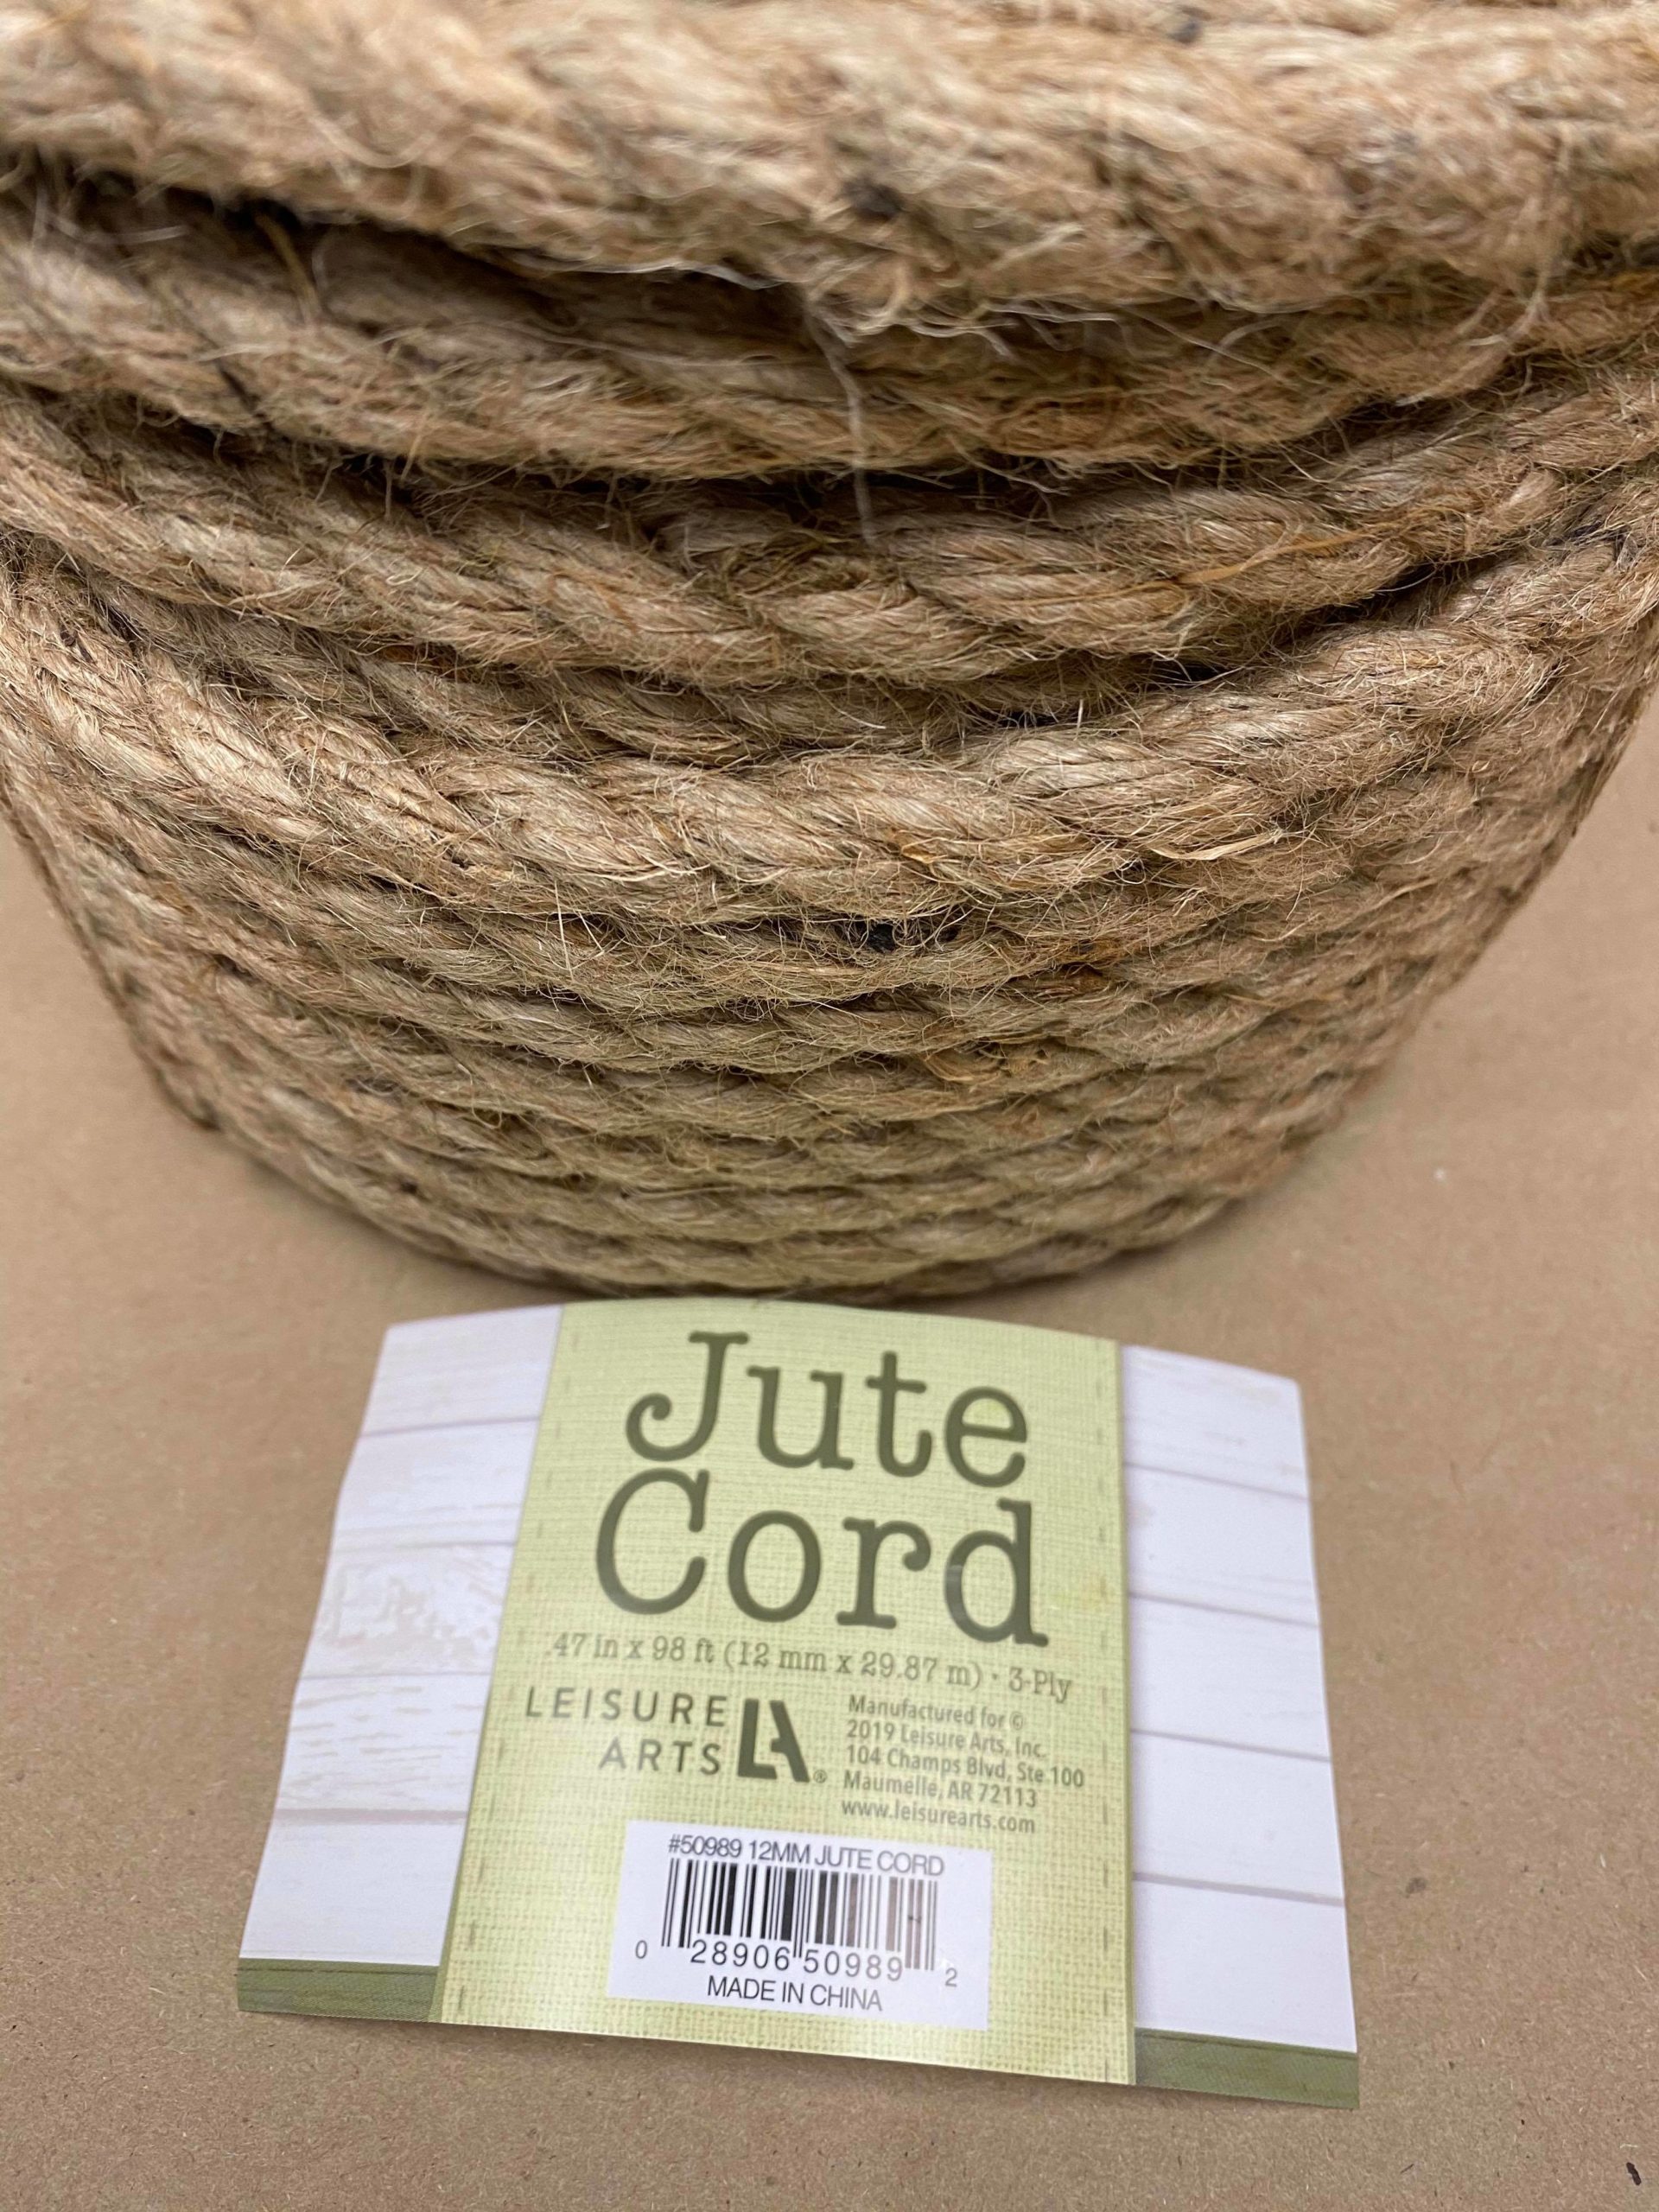
1. Jute (I will be using a 3ply jute that I purchased from Walmart)
2. Hot glue
3. Black paint
4. Paint brush
5. Scissors
6. Some type of oval pot or plastic egg
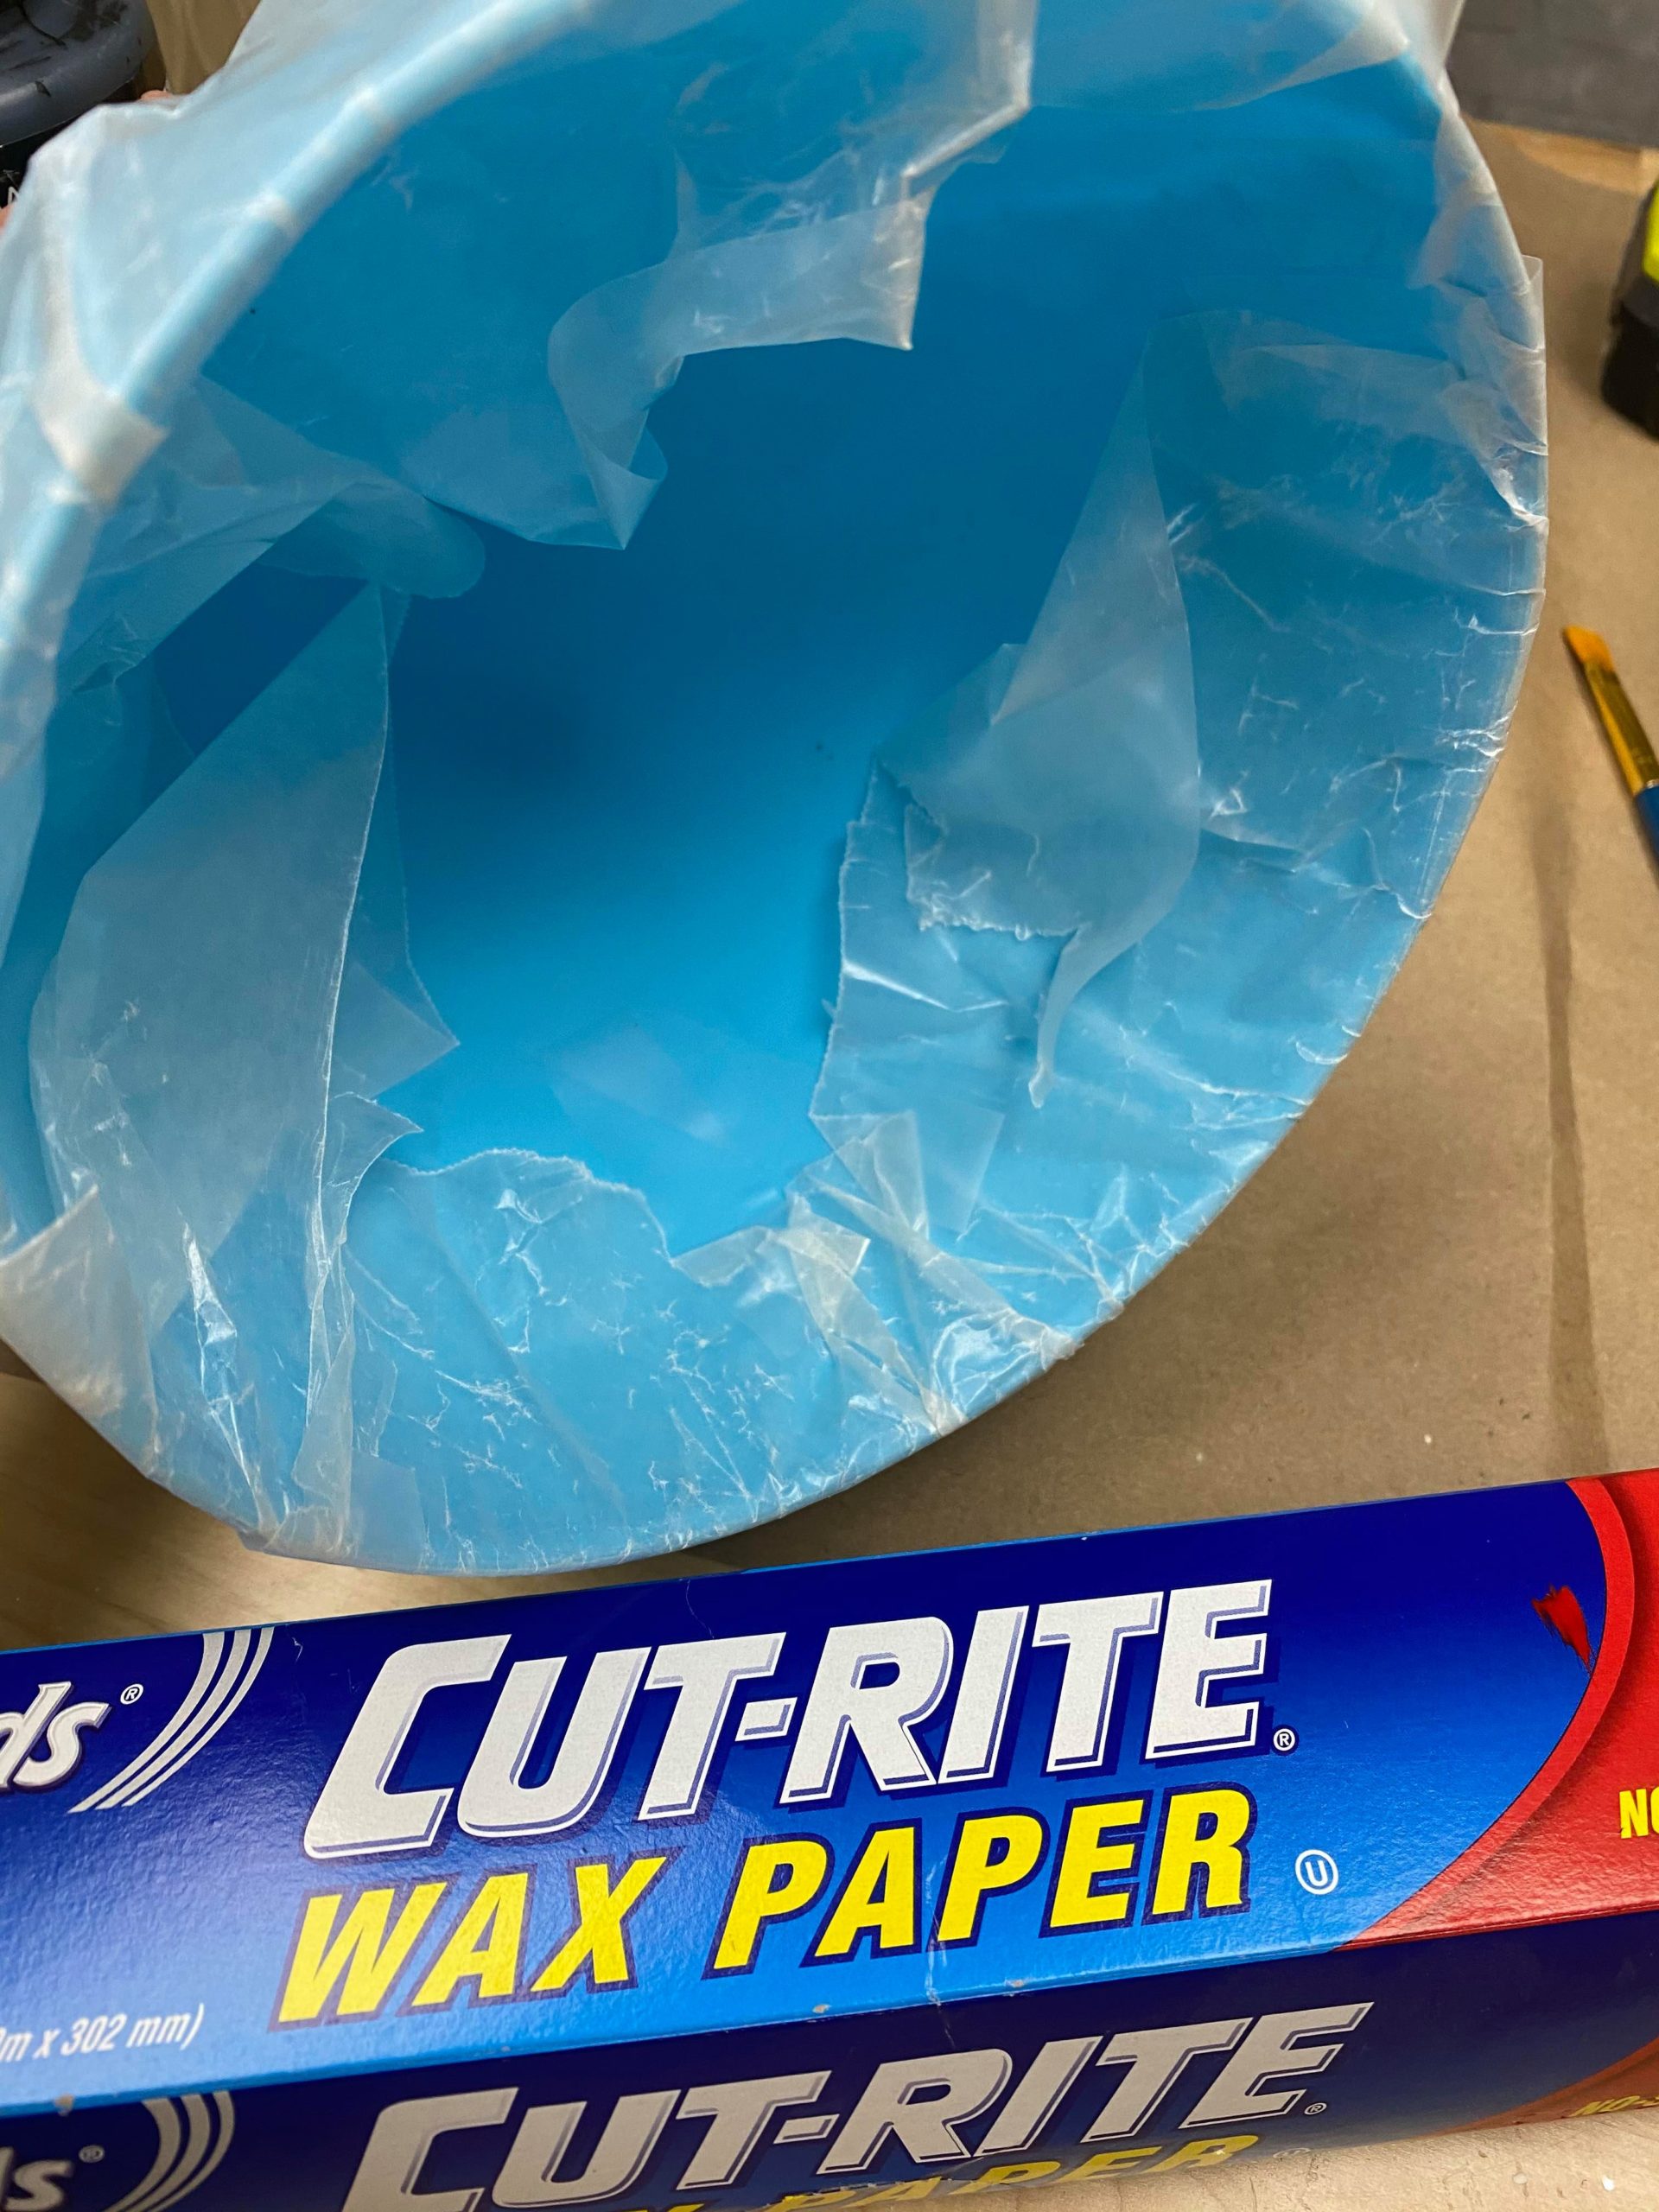
7. Wax paper (optional)
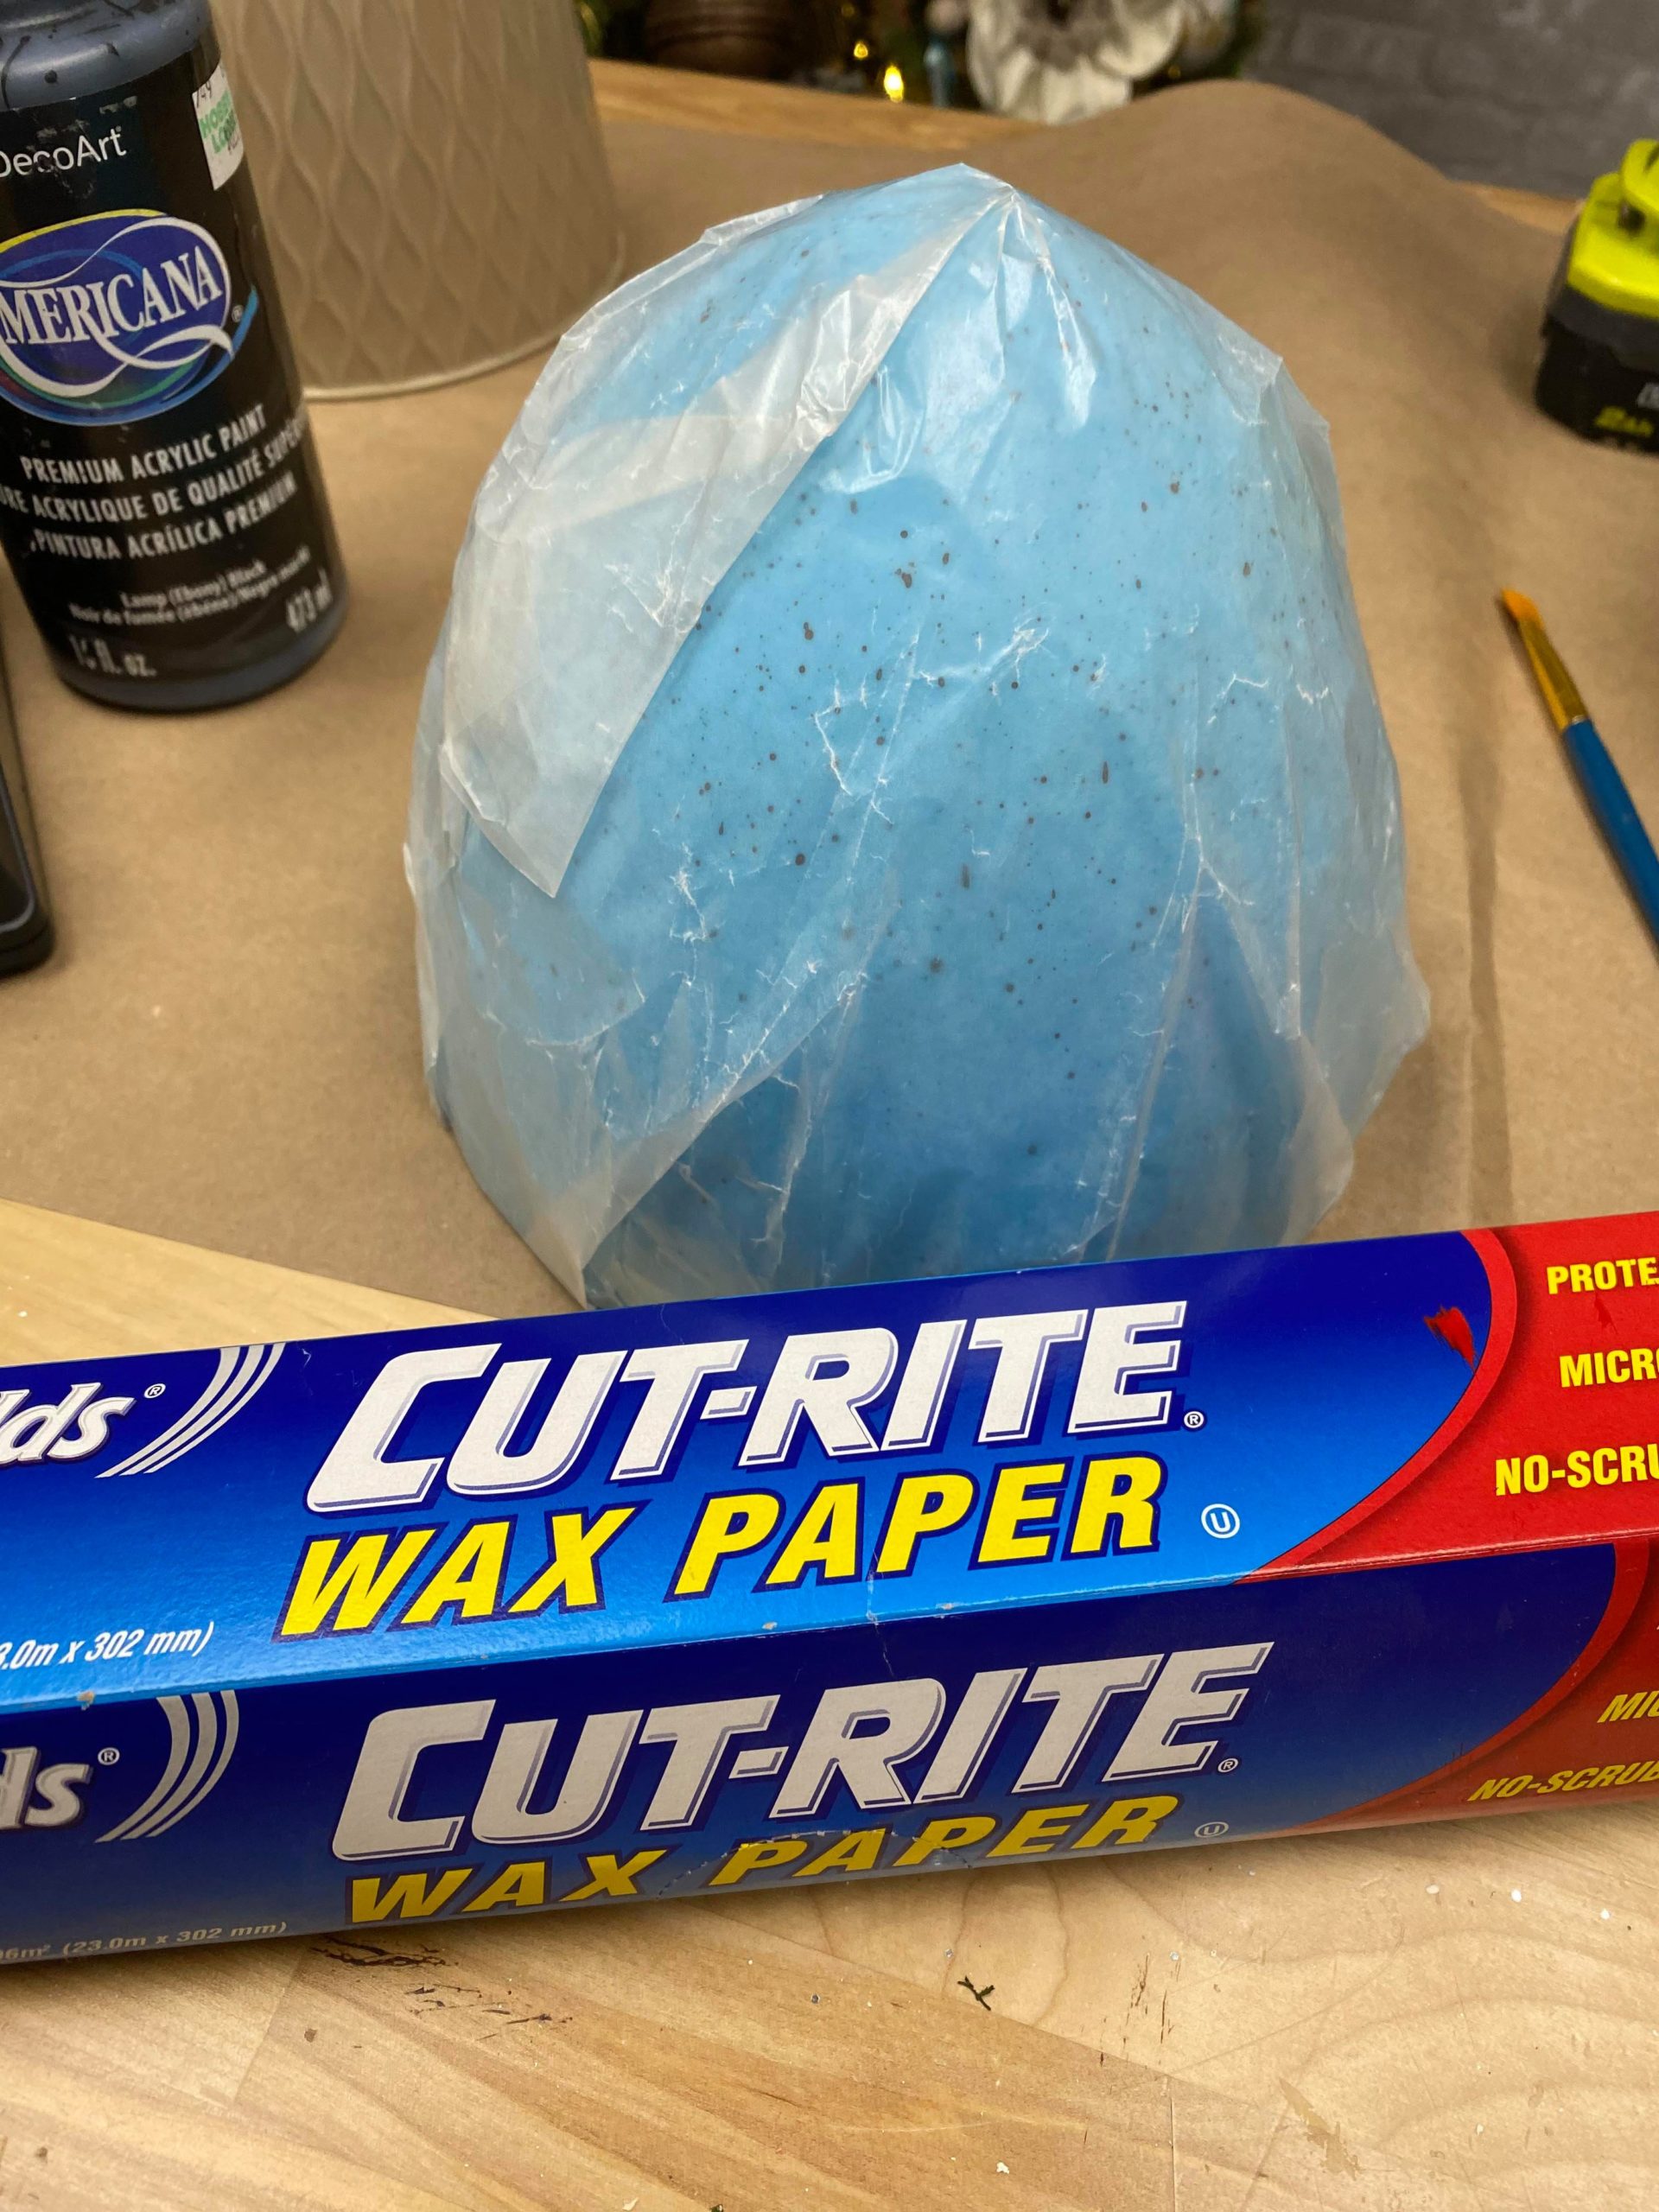
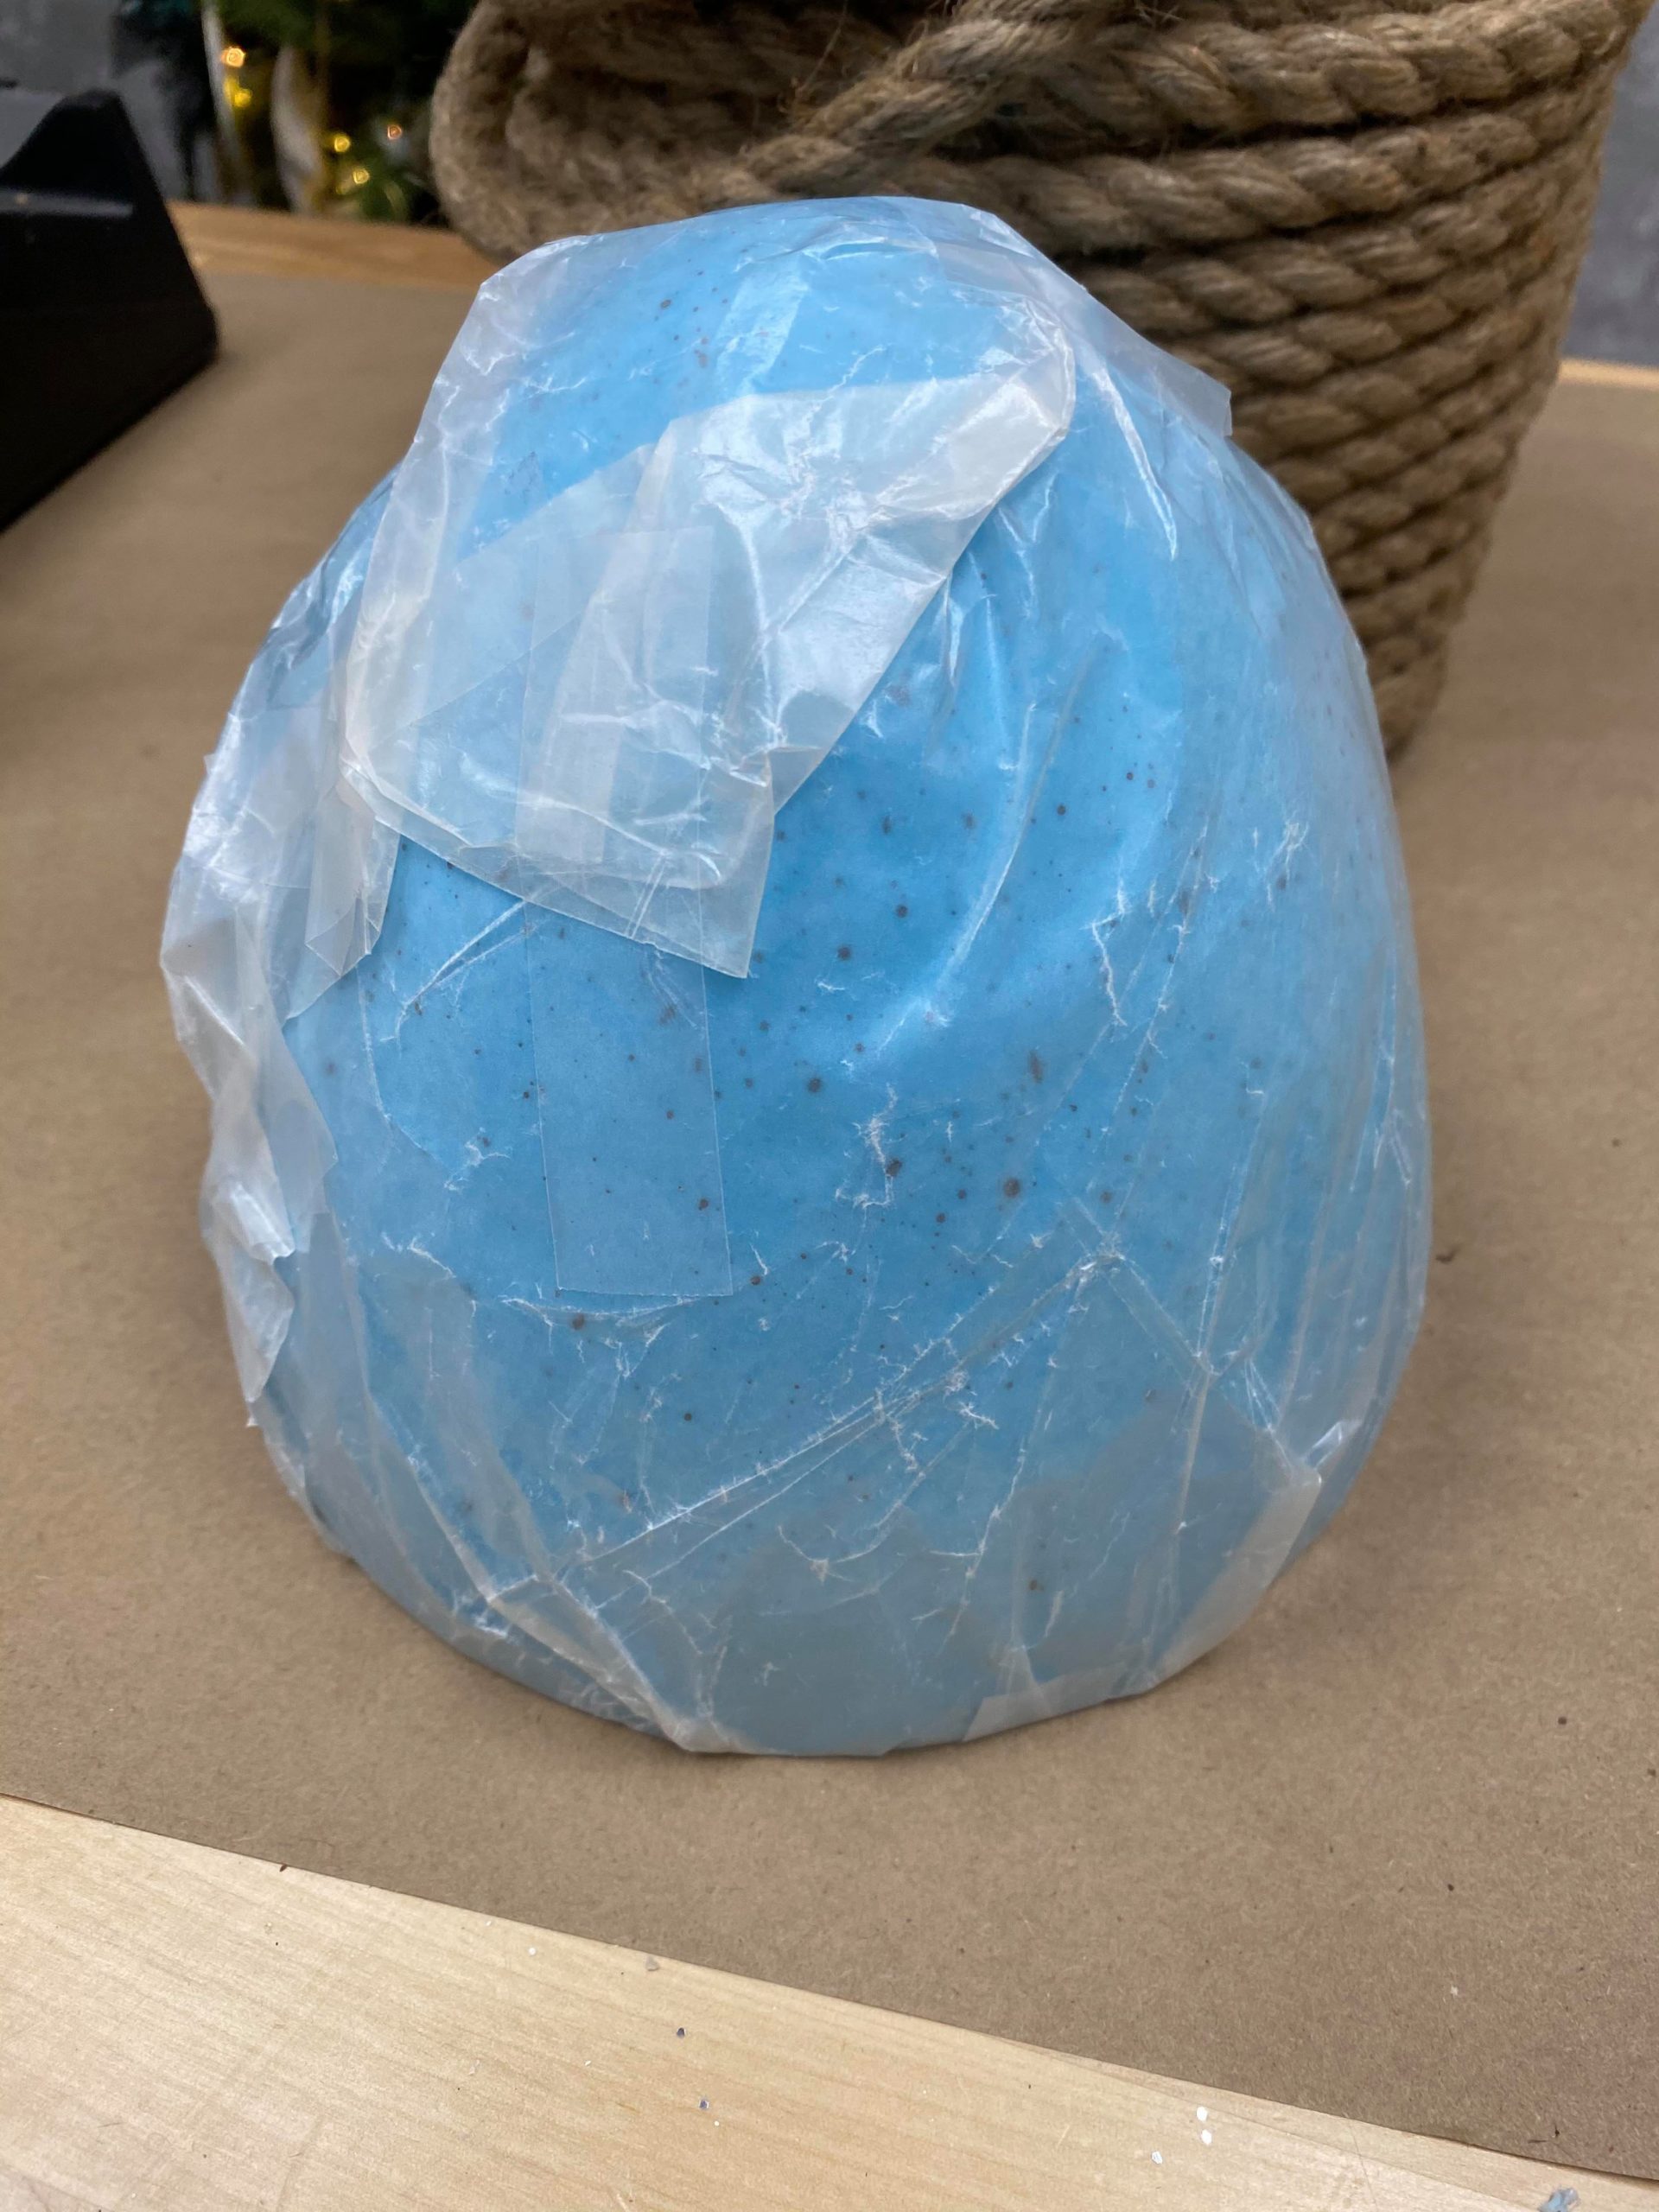
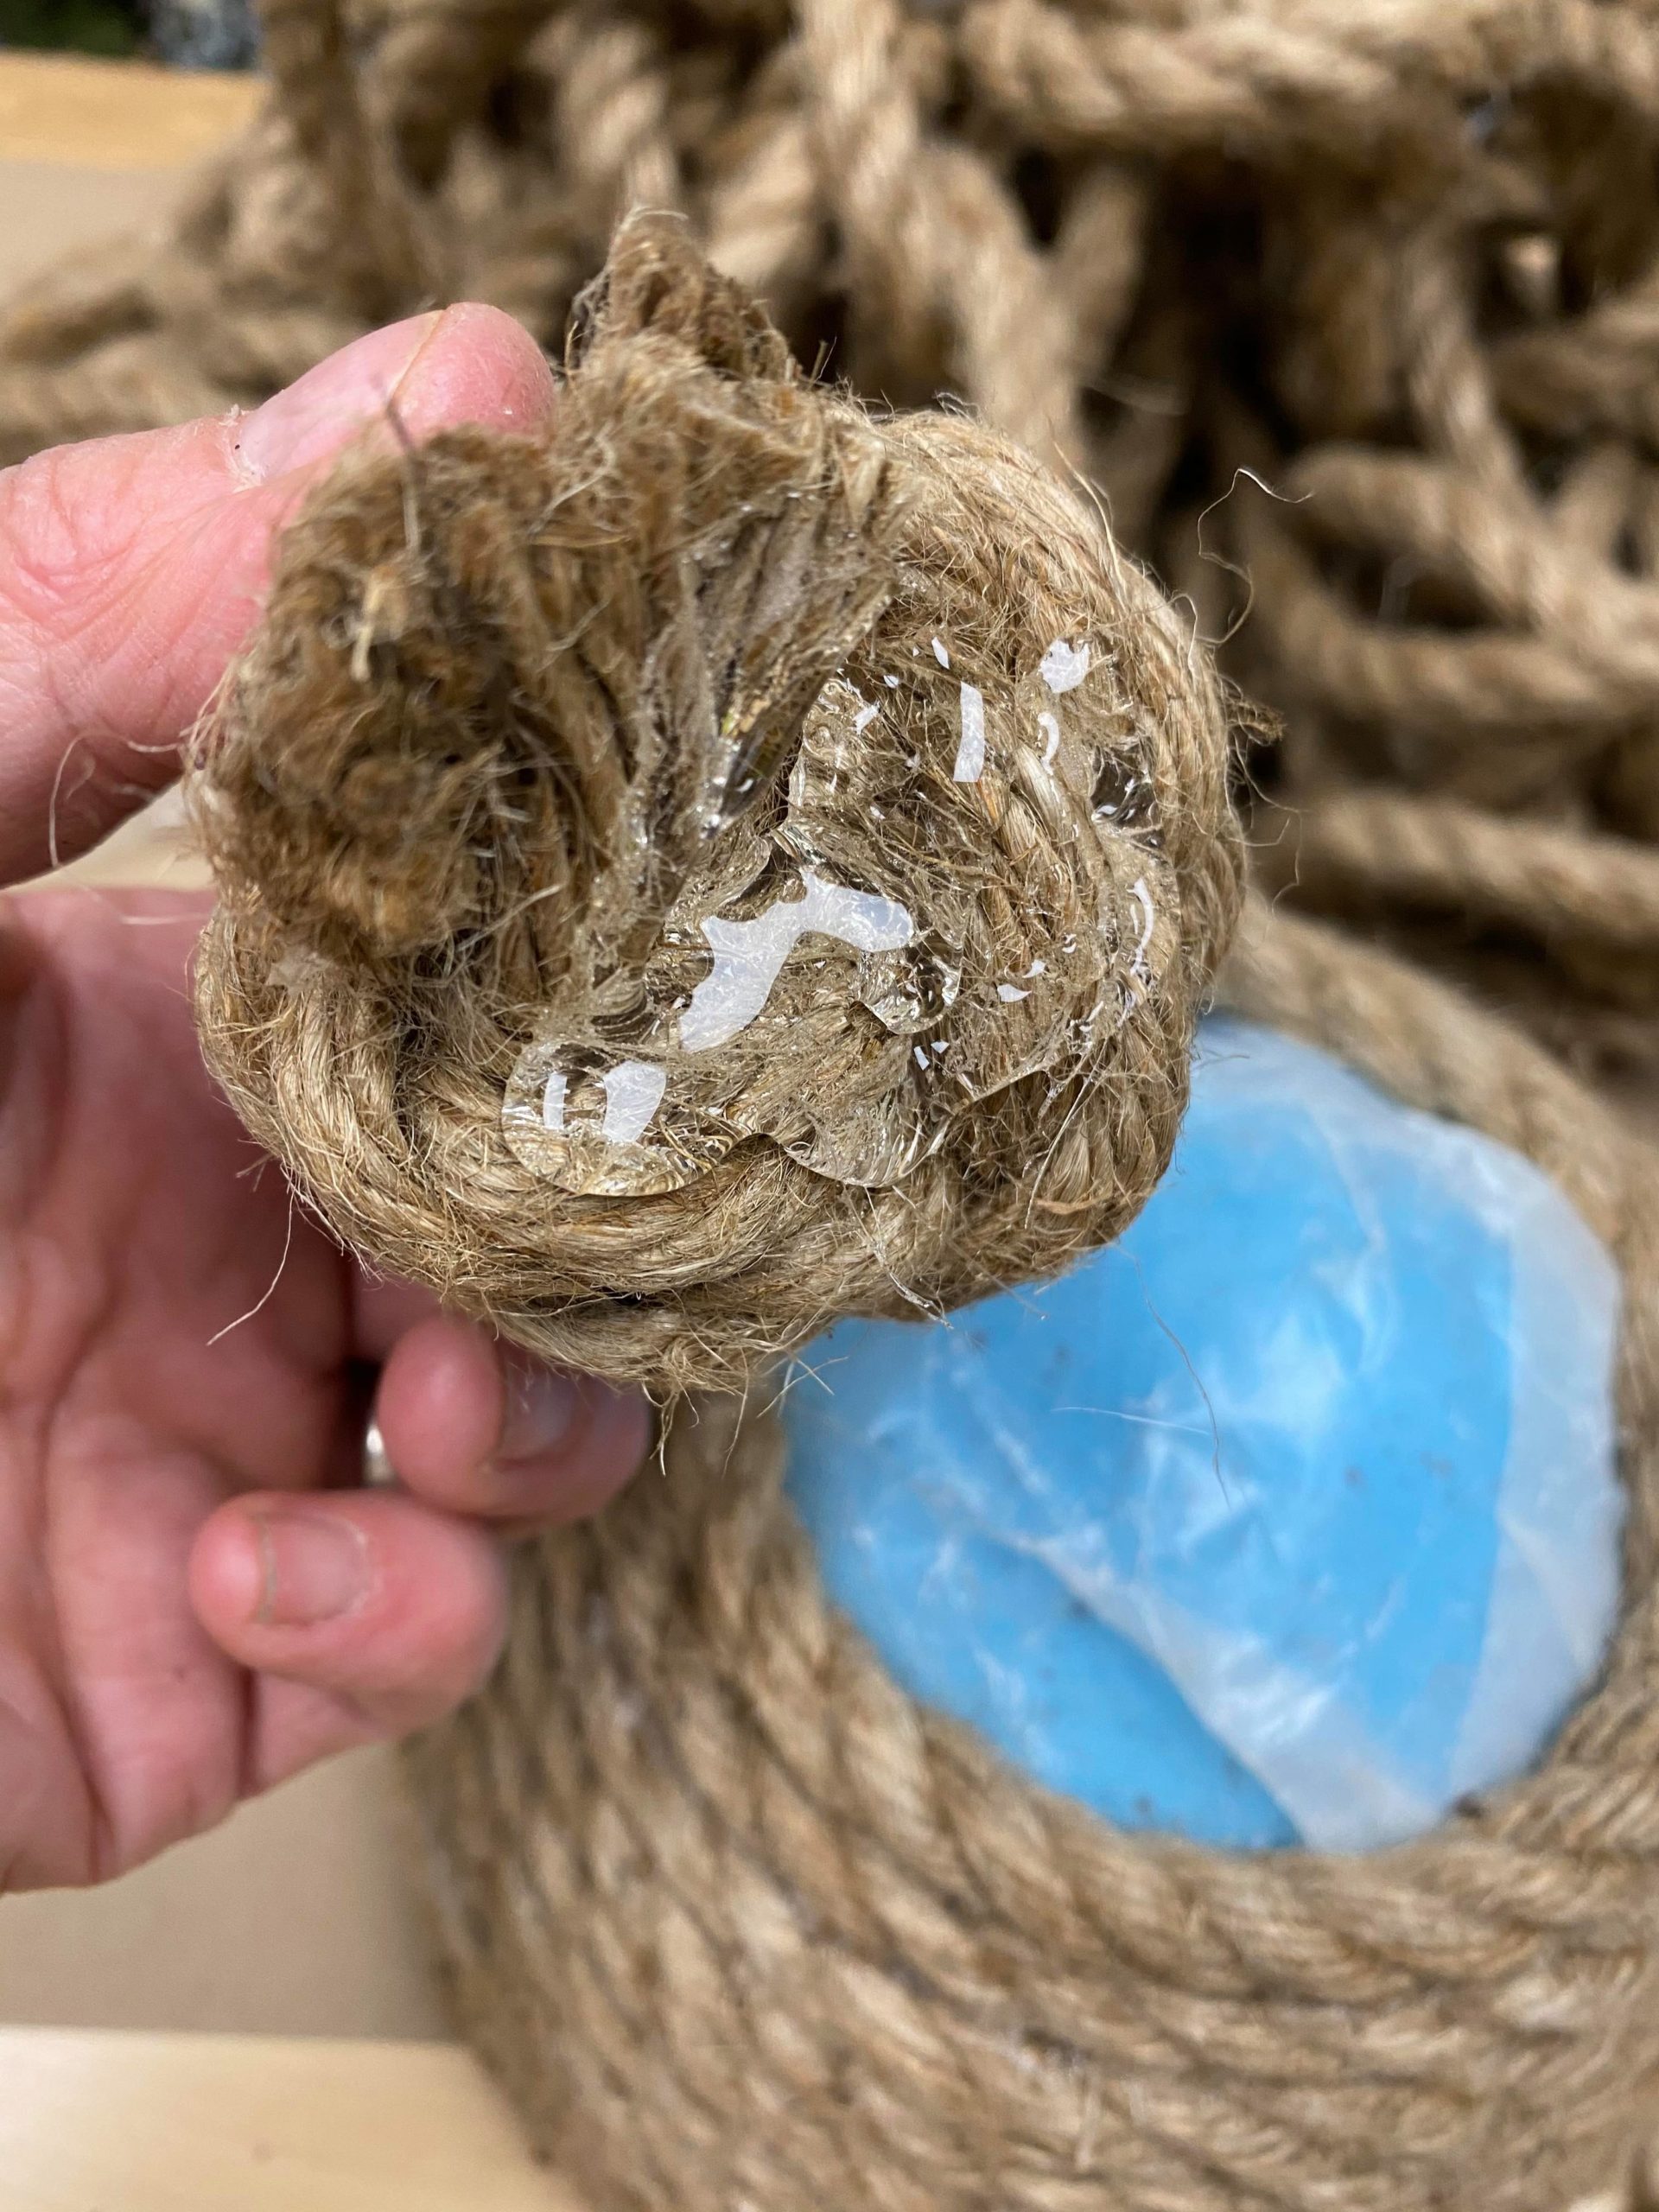
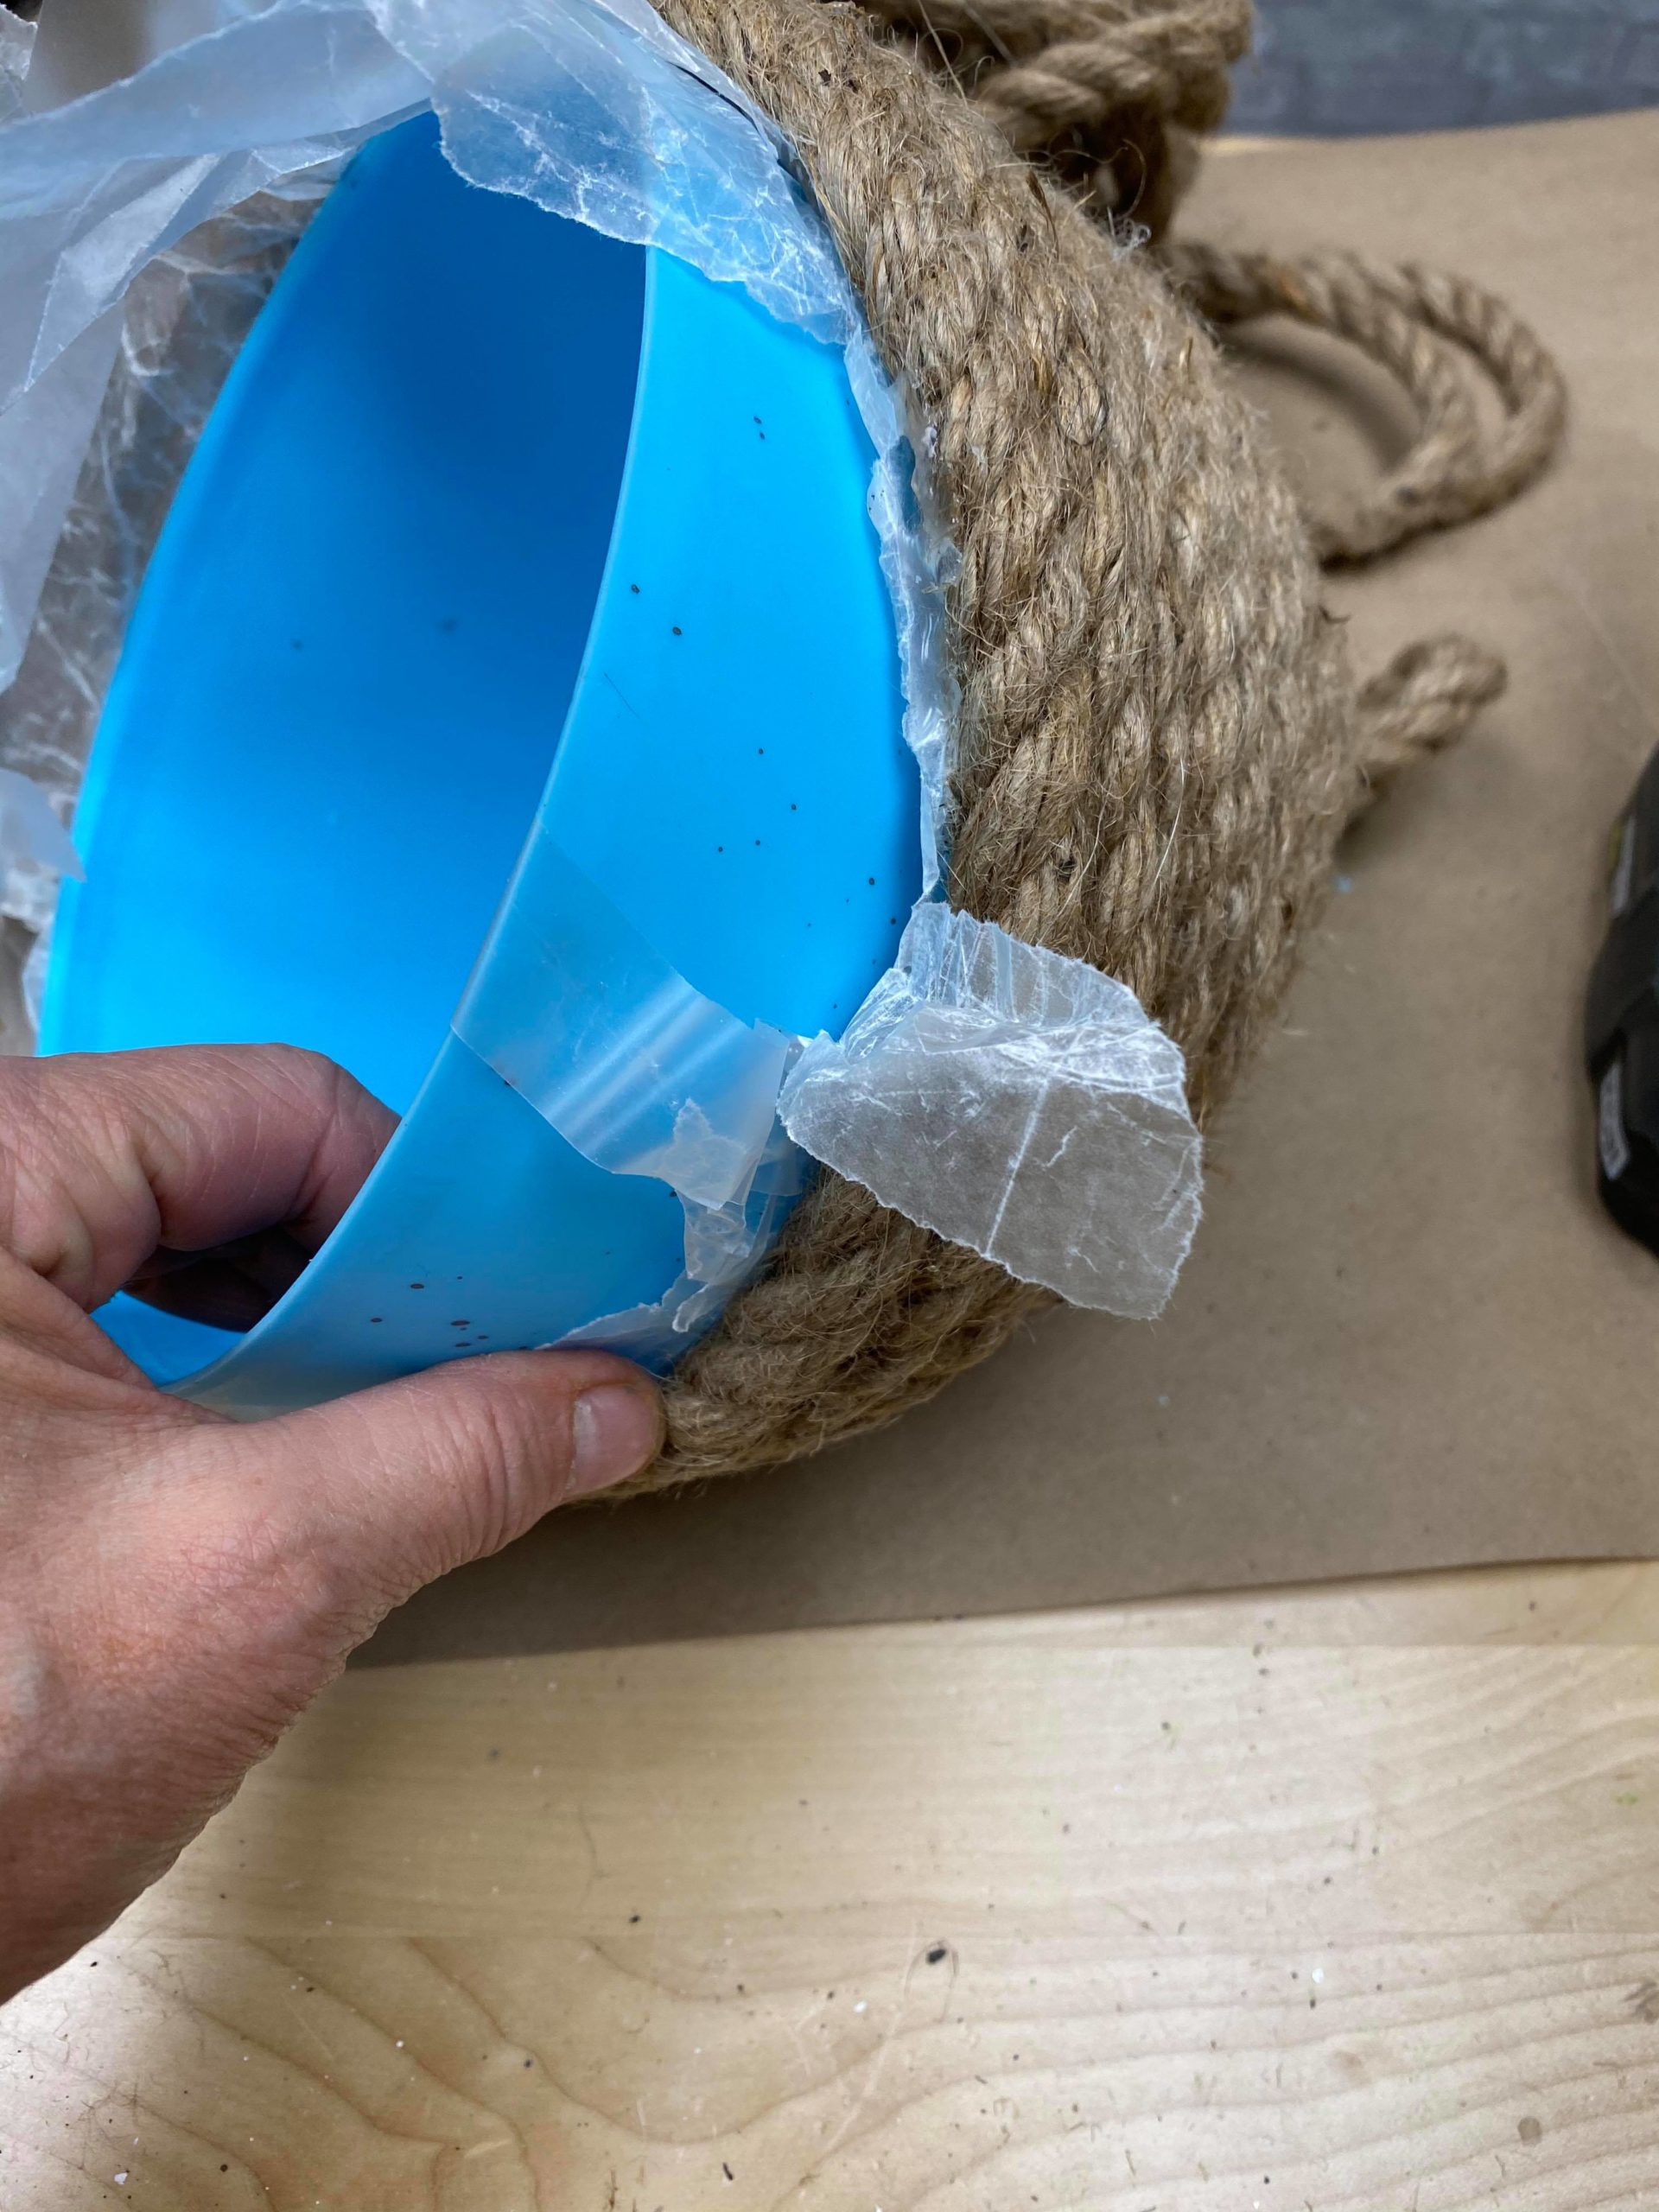
I will be using half of a large plastic egg. You can wrap your egg or pot with wax paper so that you can reuse it.
I taped the wax paper onto the inside area of the egg.
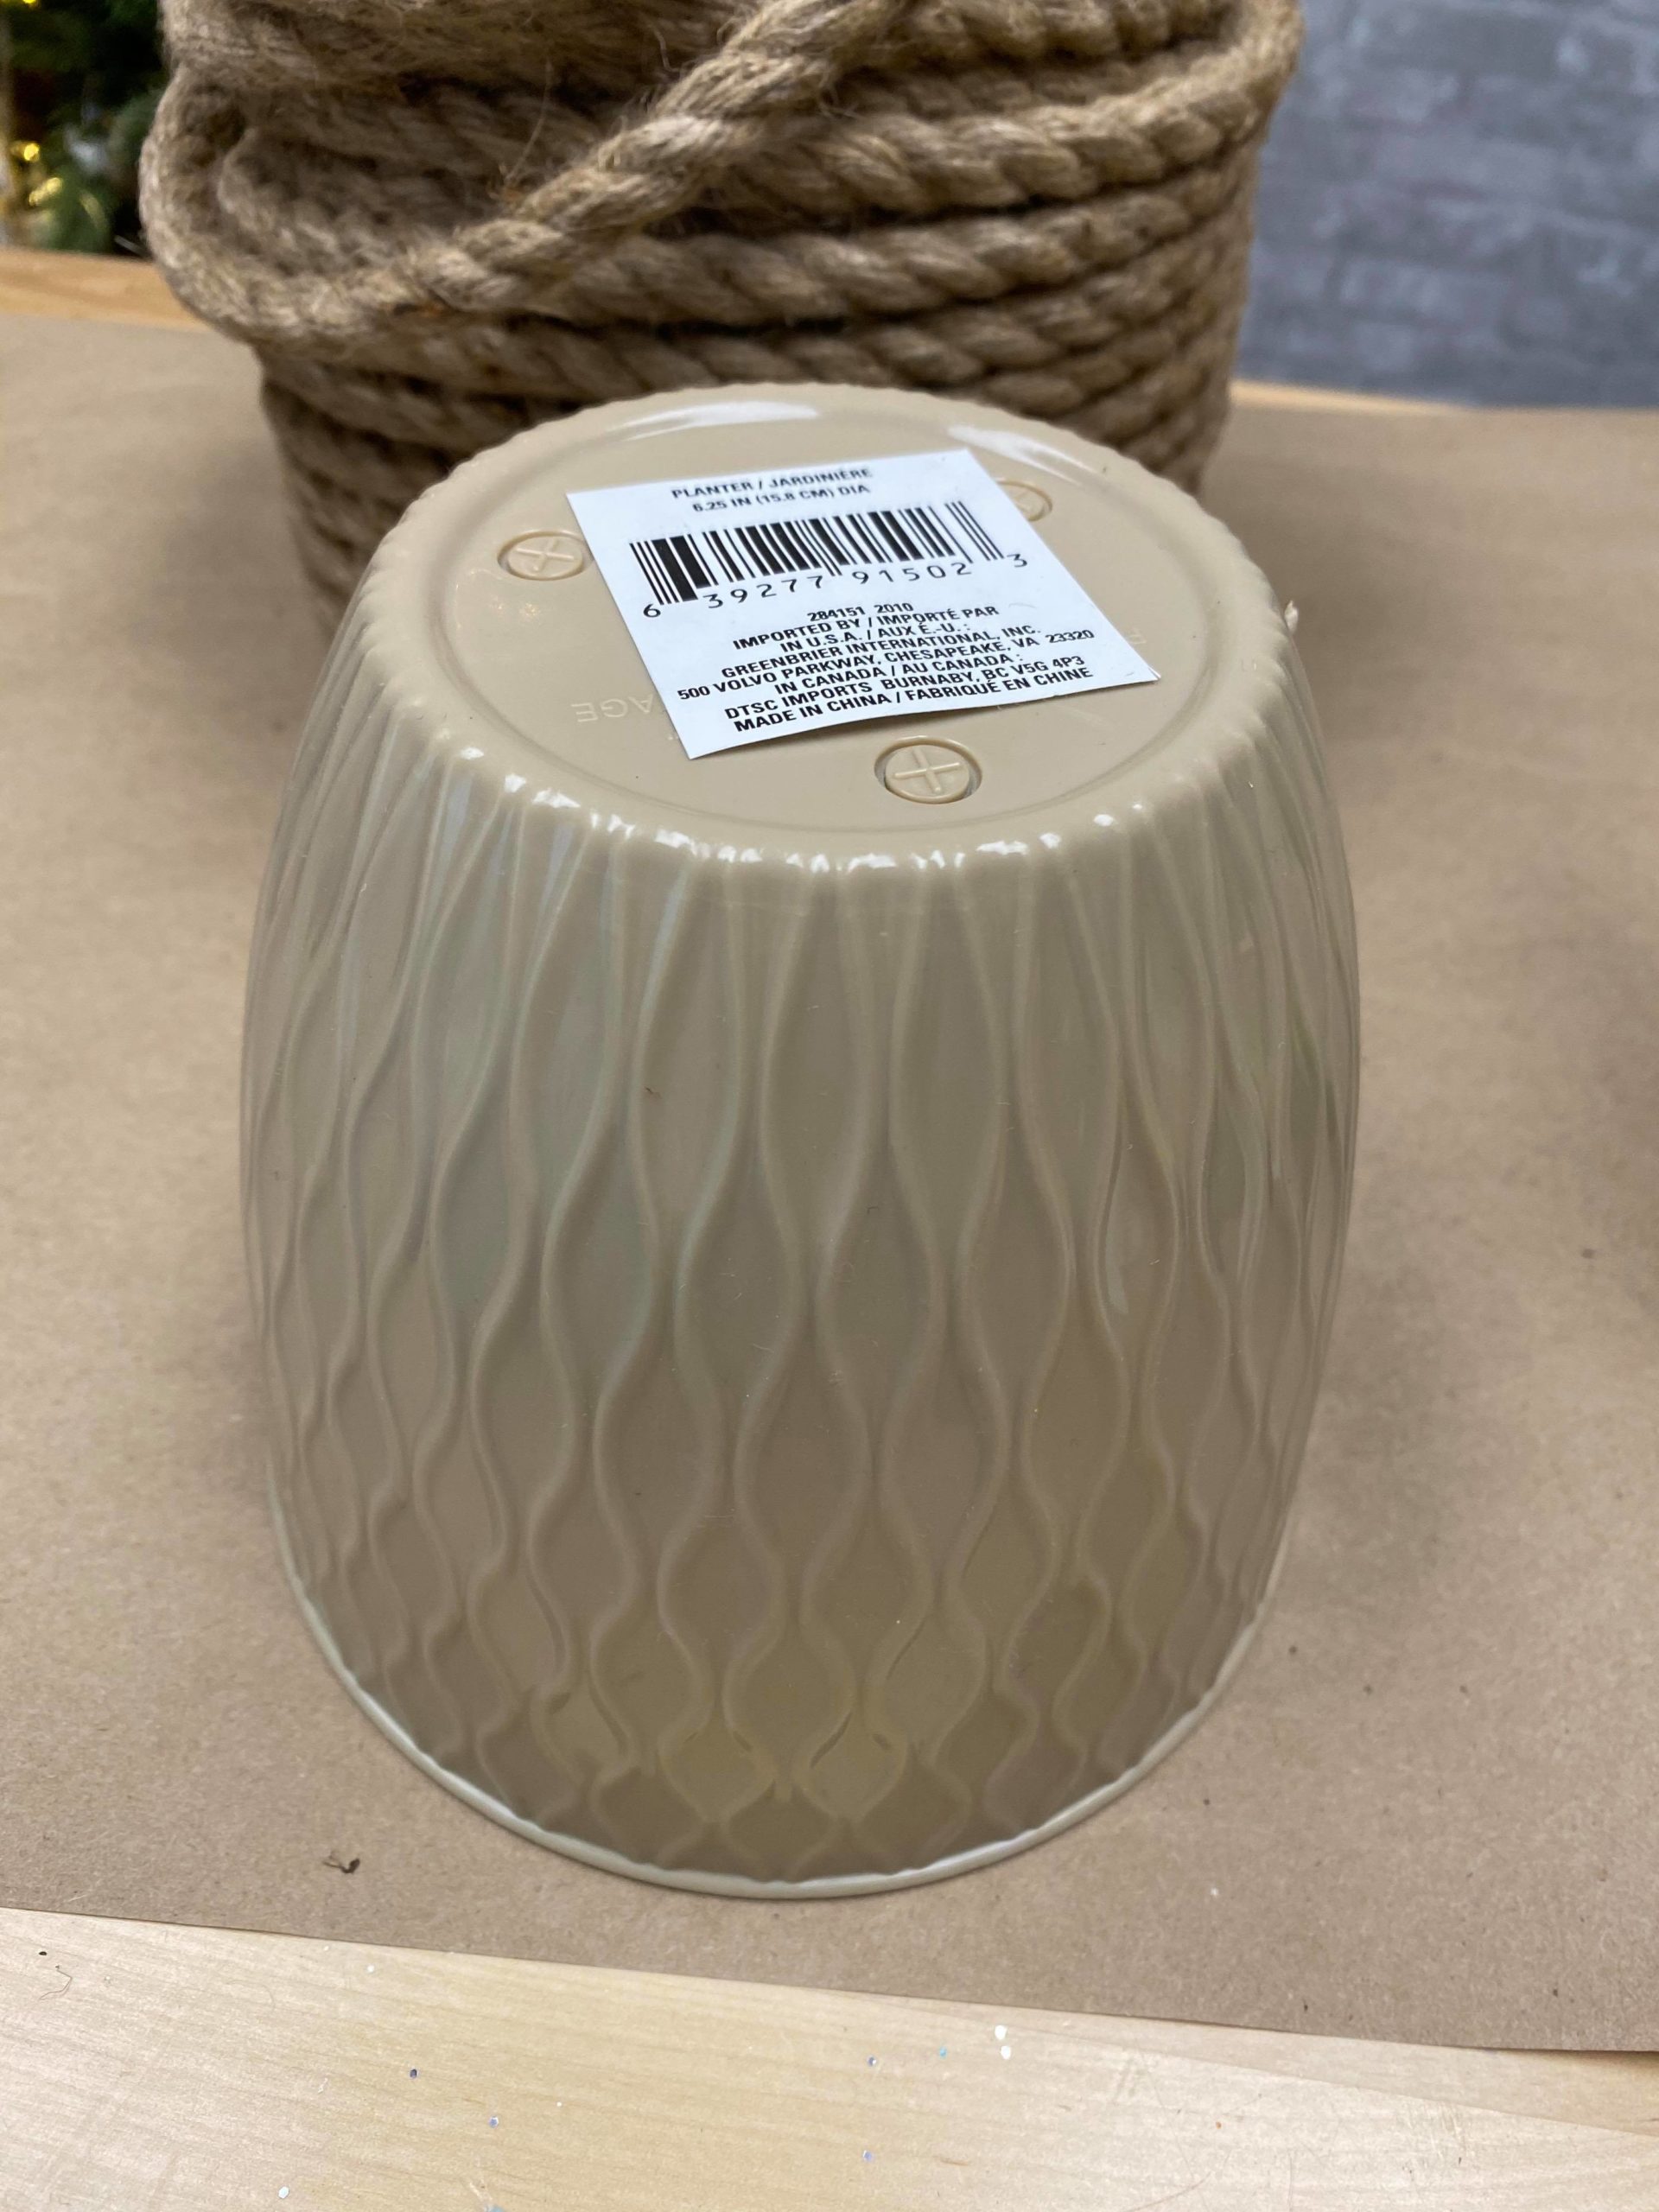
The Dollar Tree has plastic flower pots that will work great for this.
You will begin gluing the jute to the bottom of the egg.
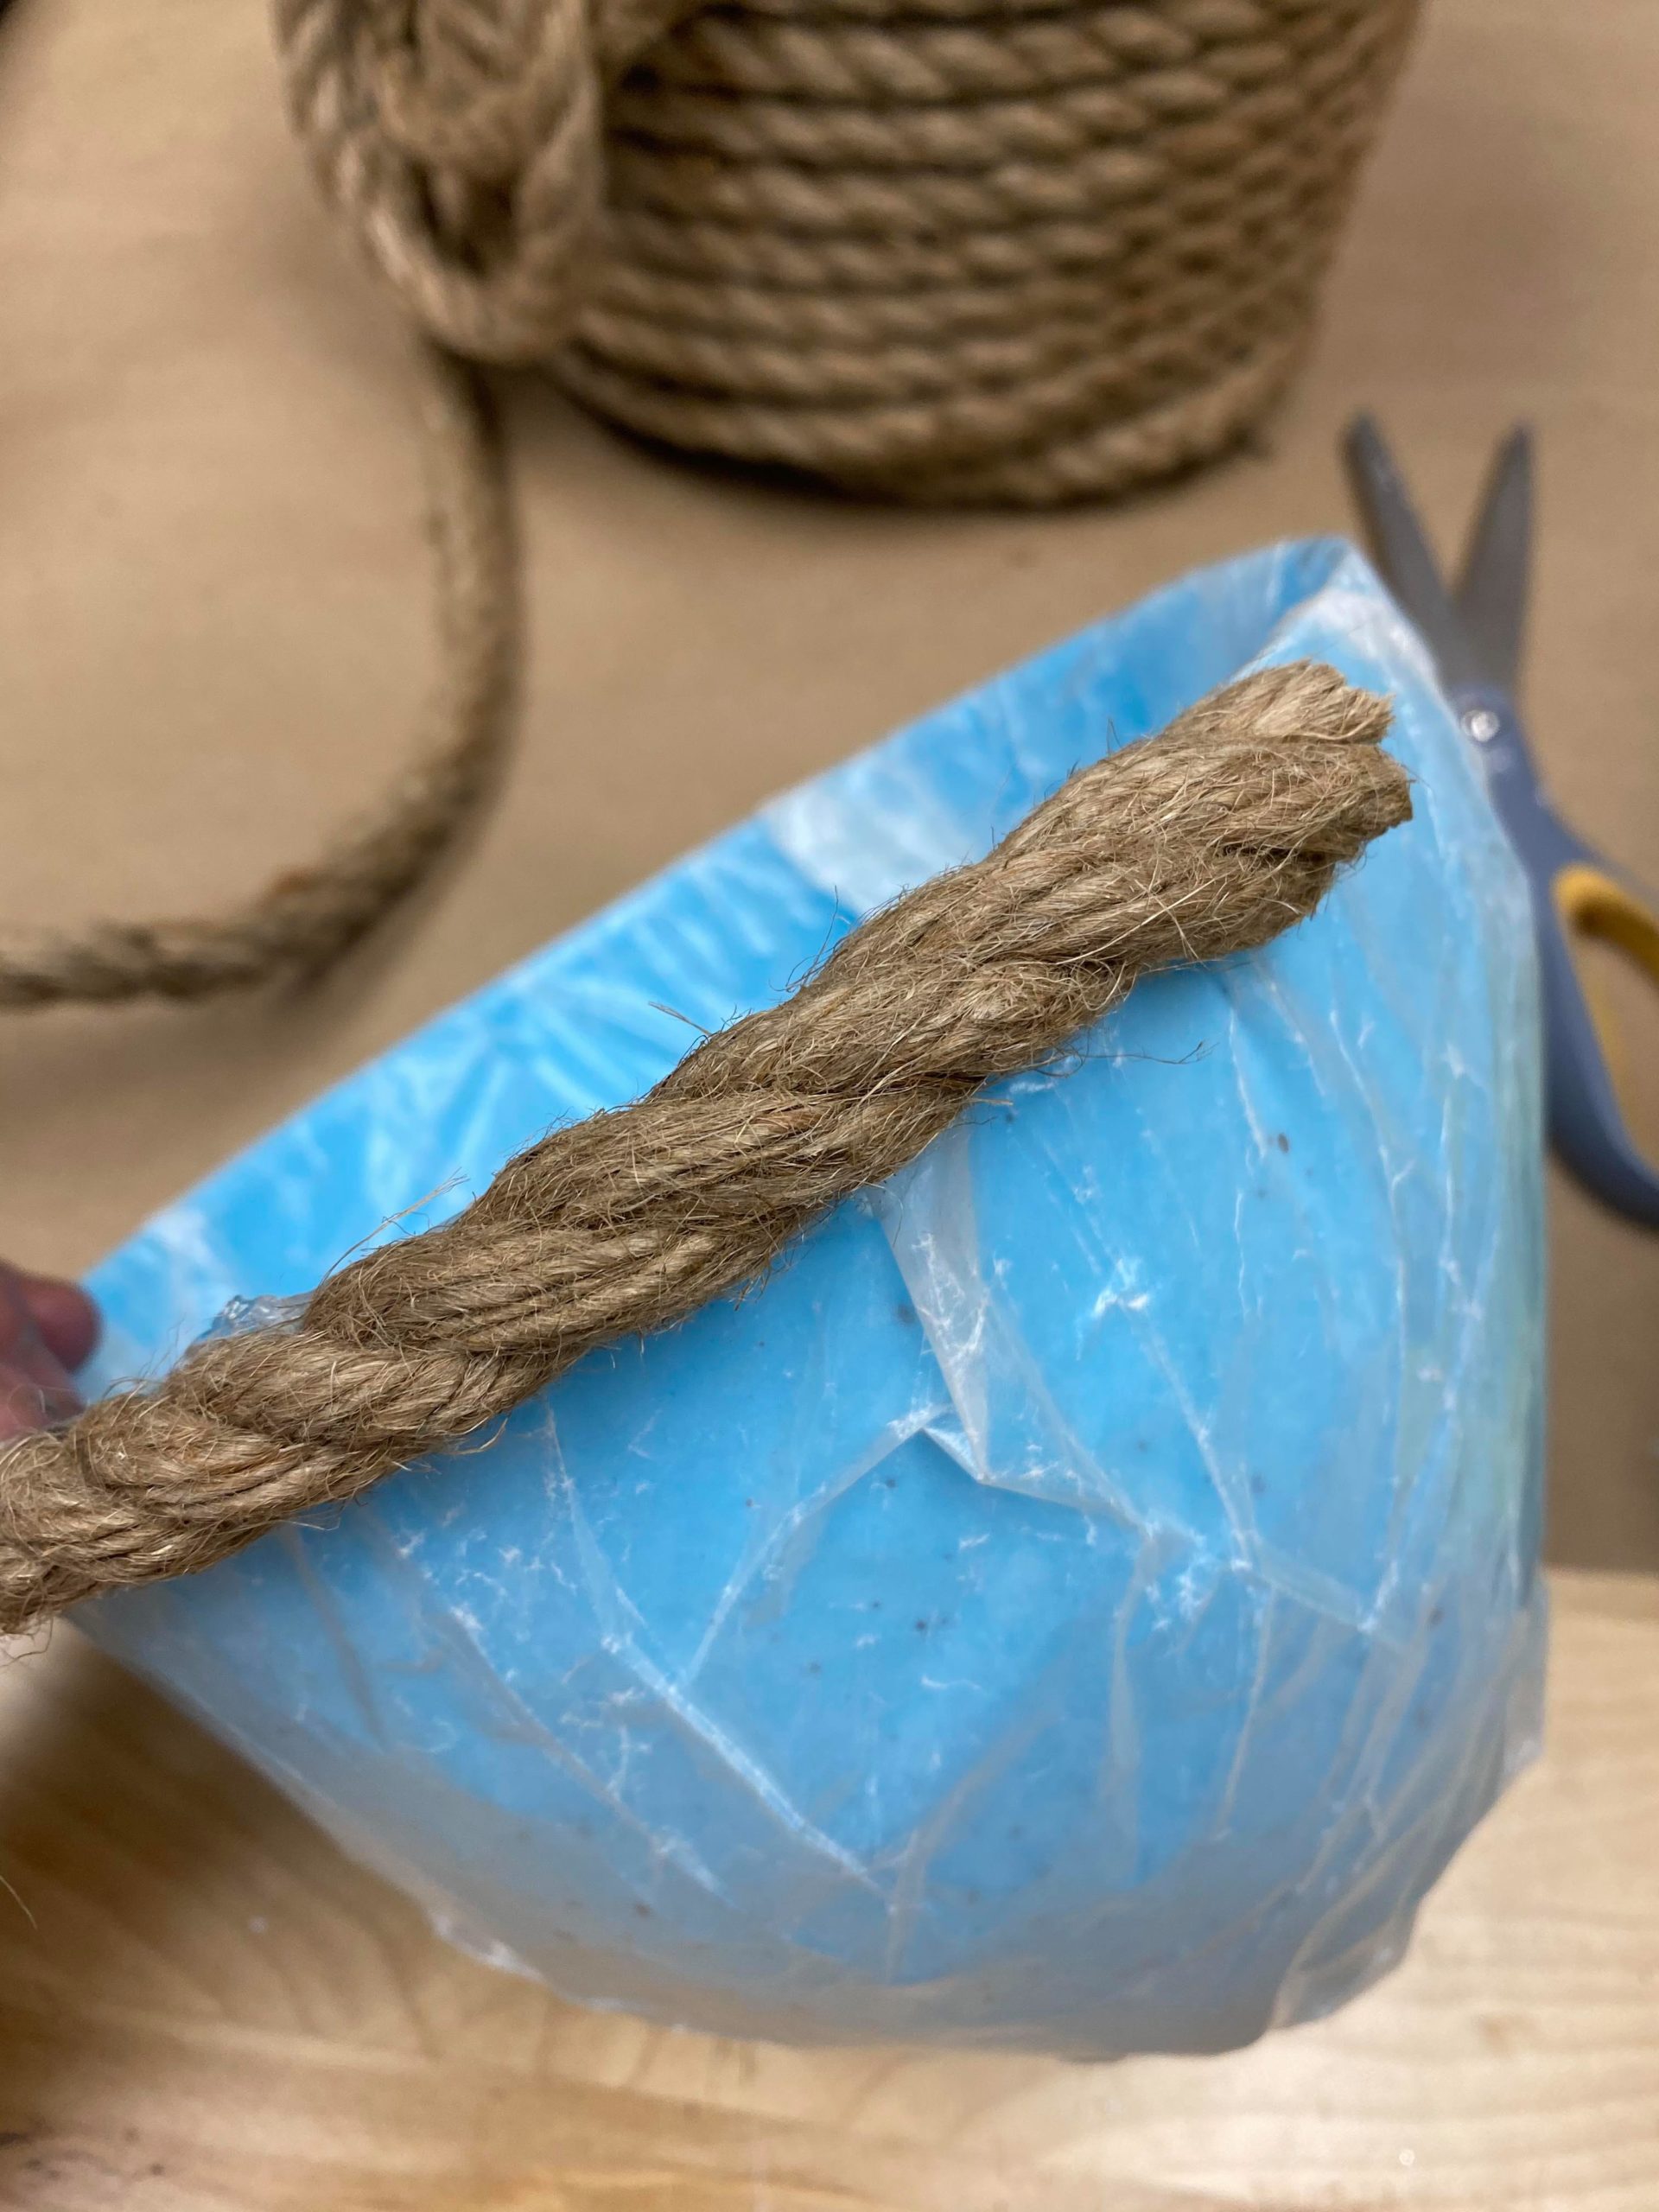
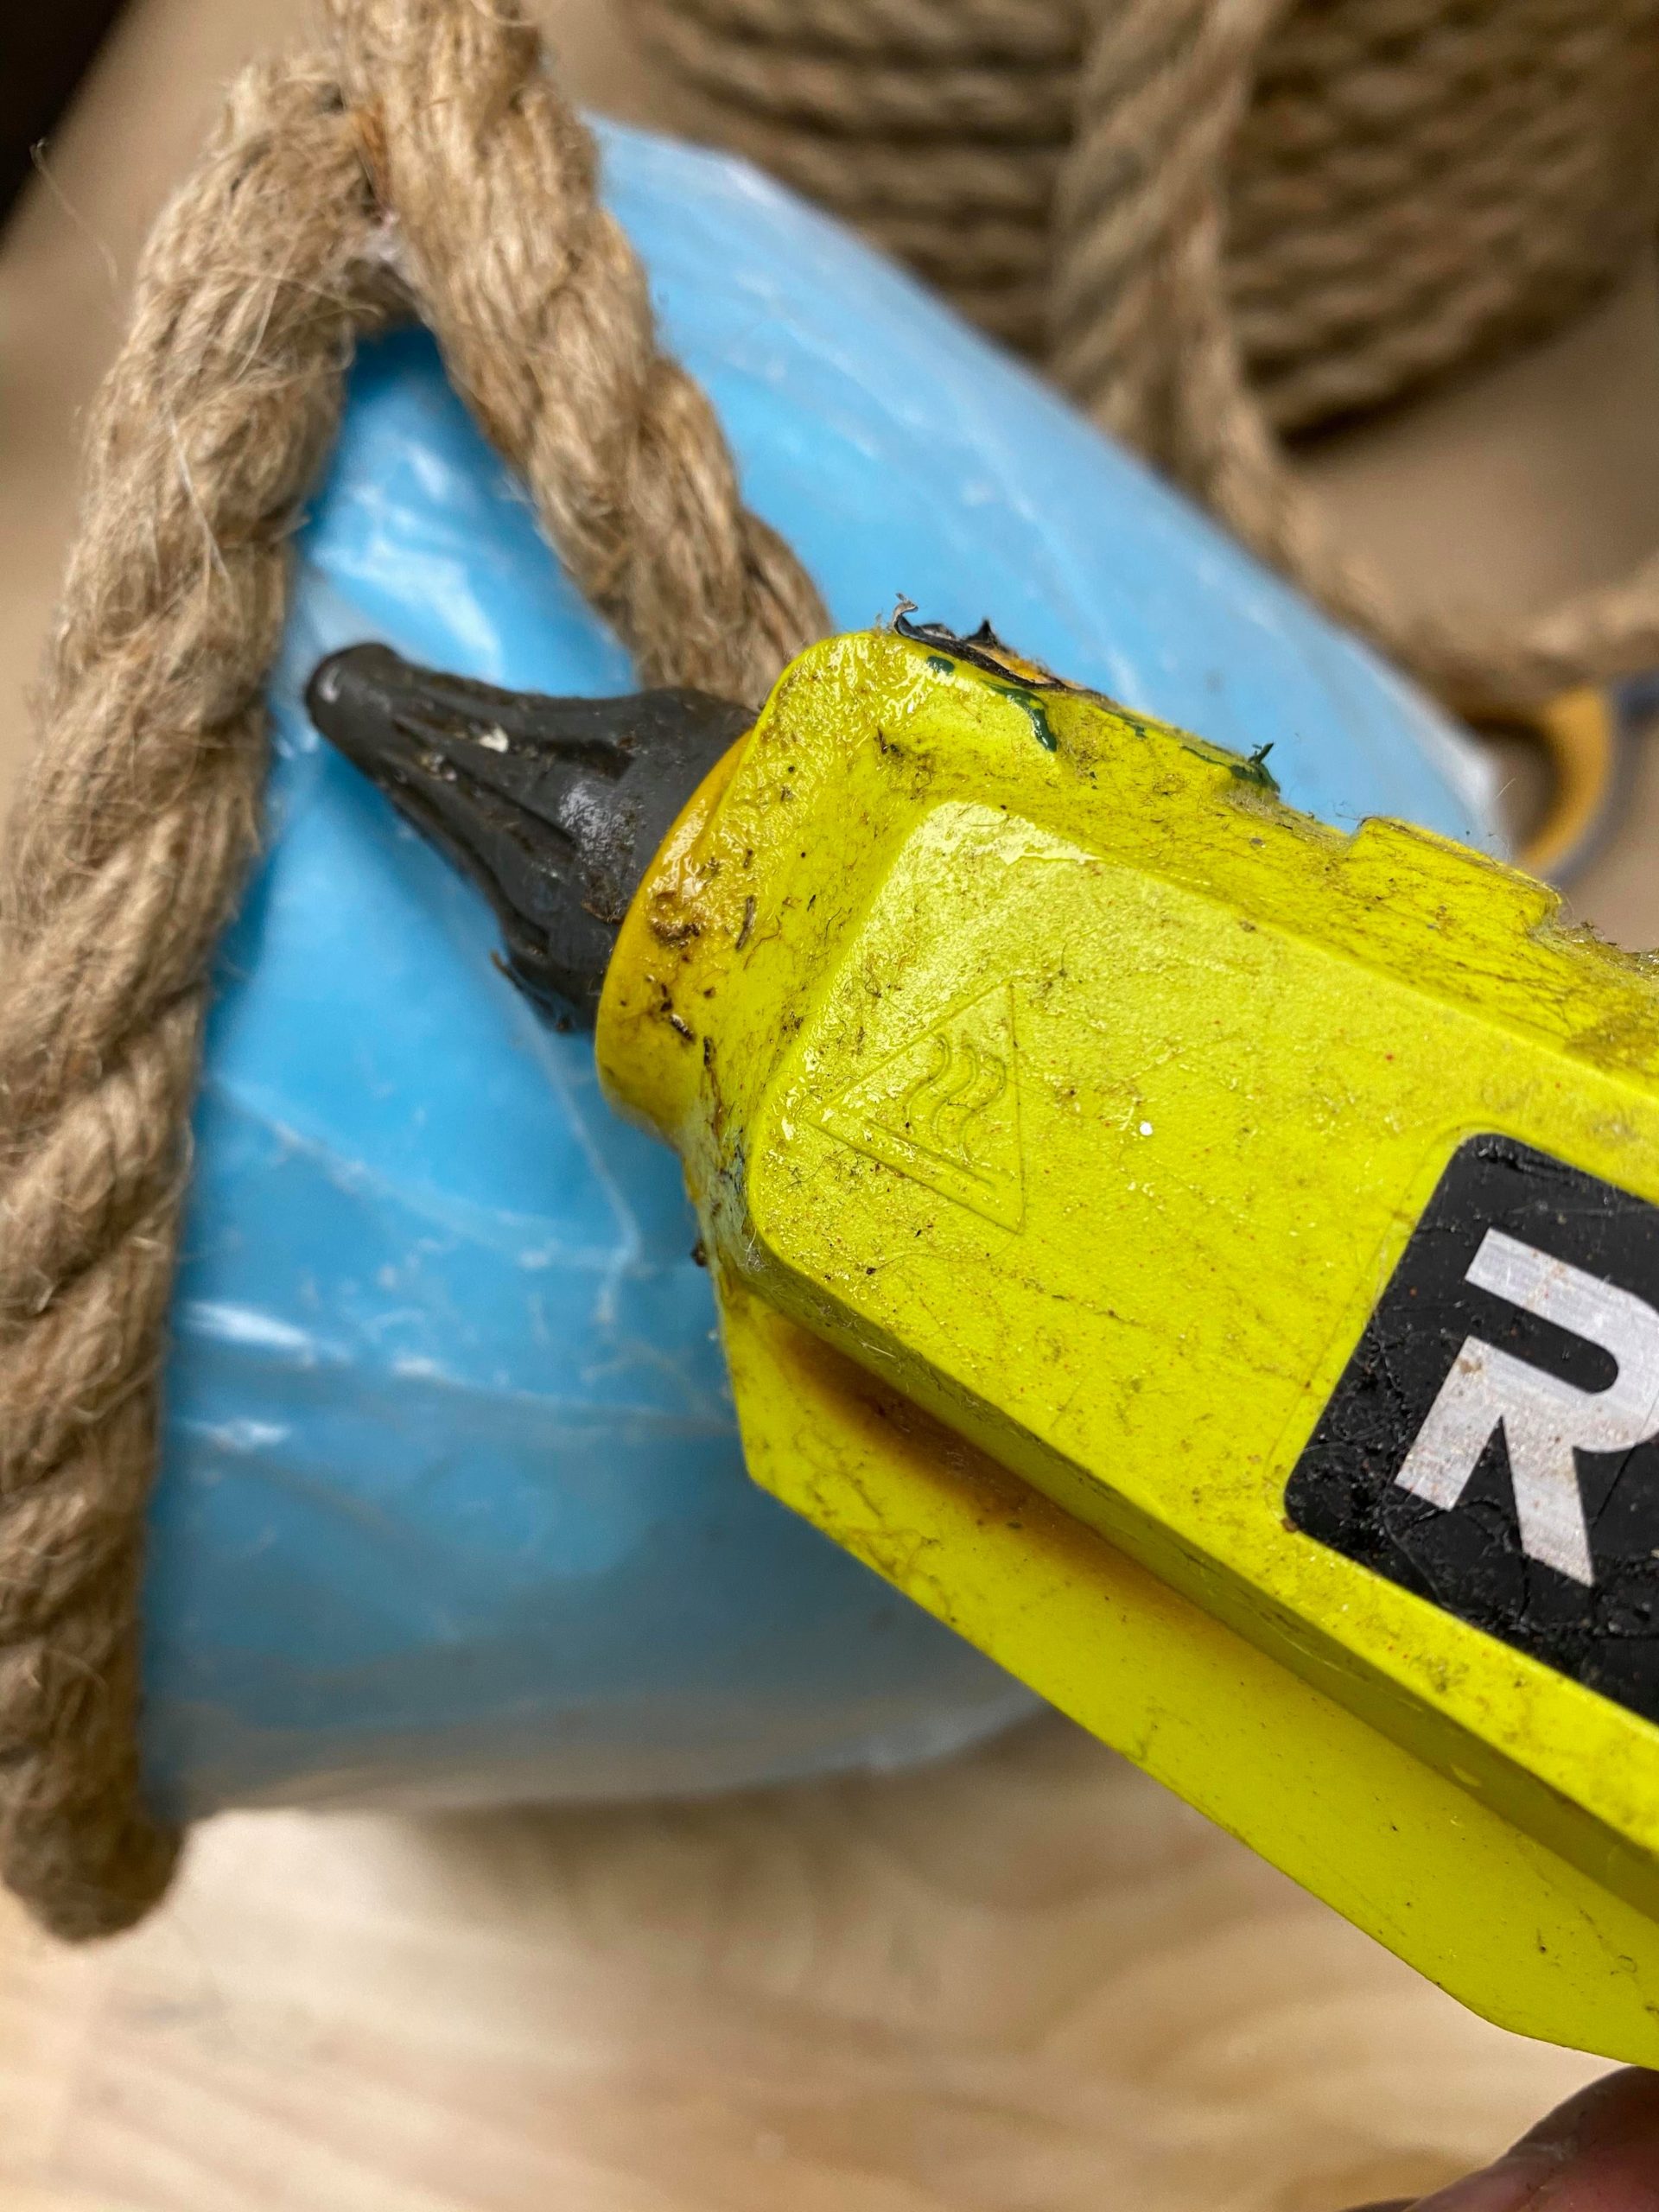
You will continue wrapping and glueing the jute around the egg. I added the hot glue to the previous layer of jute as I continued wrapping.
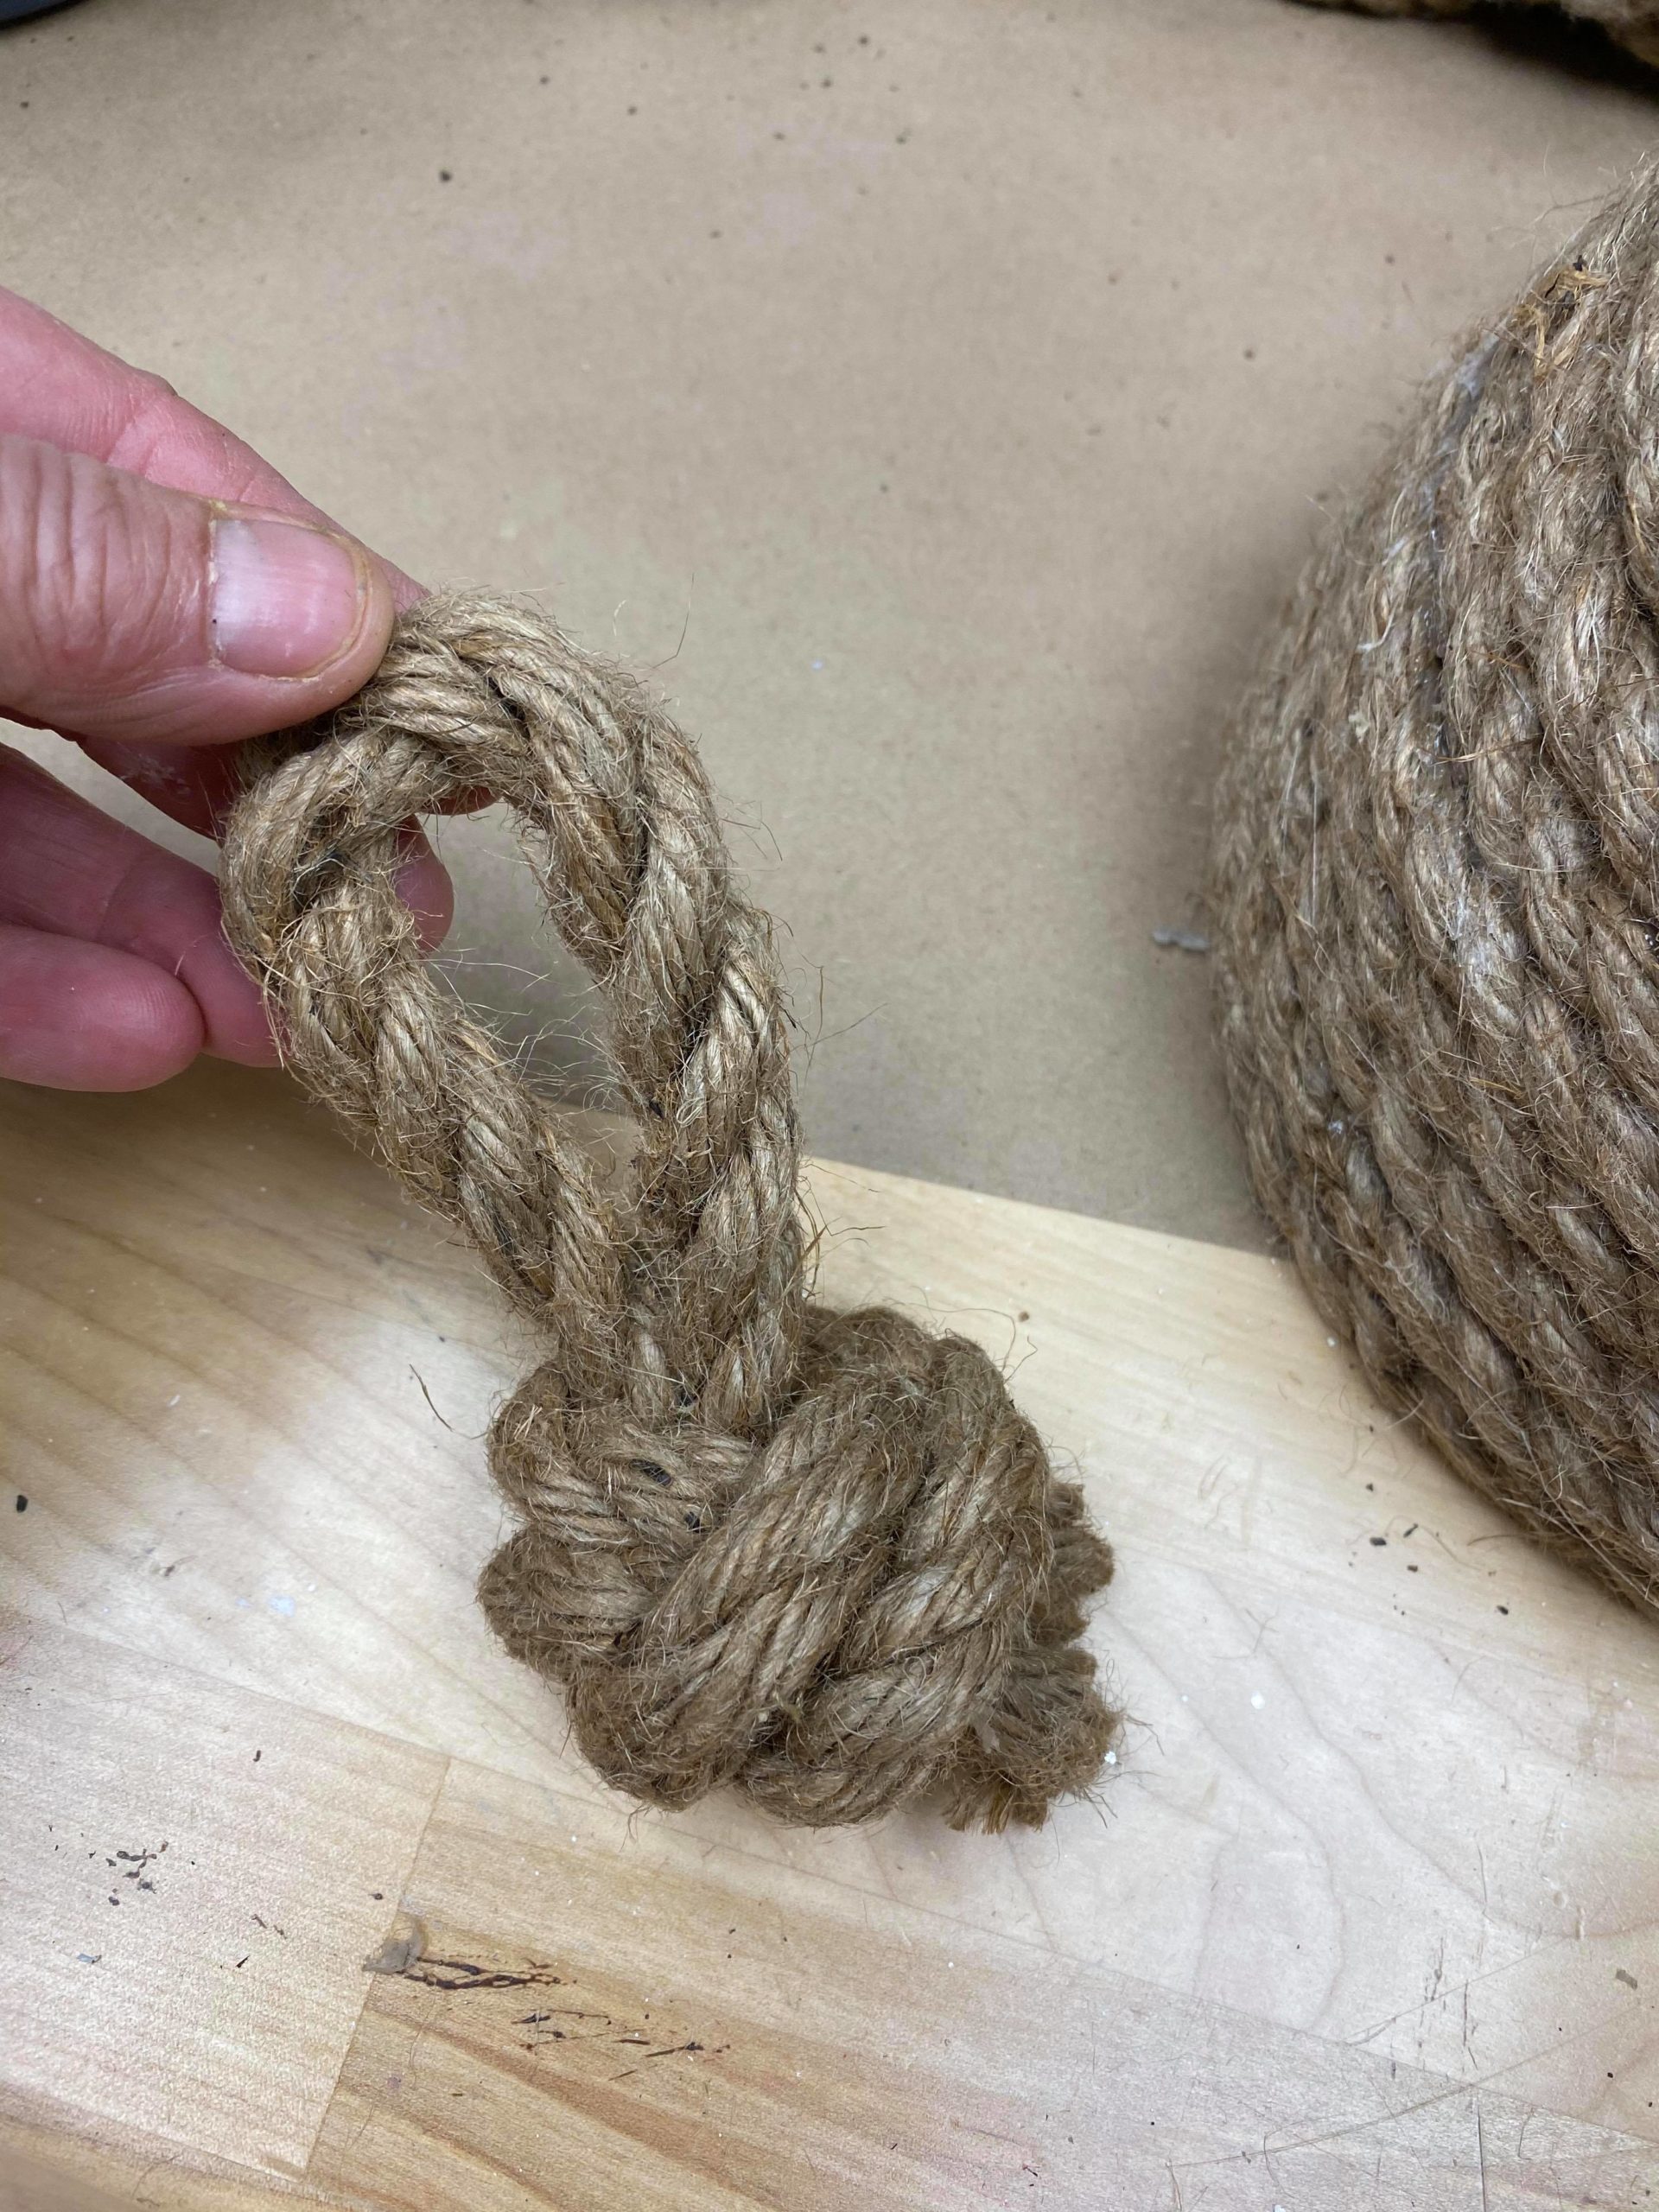
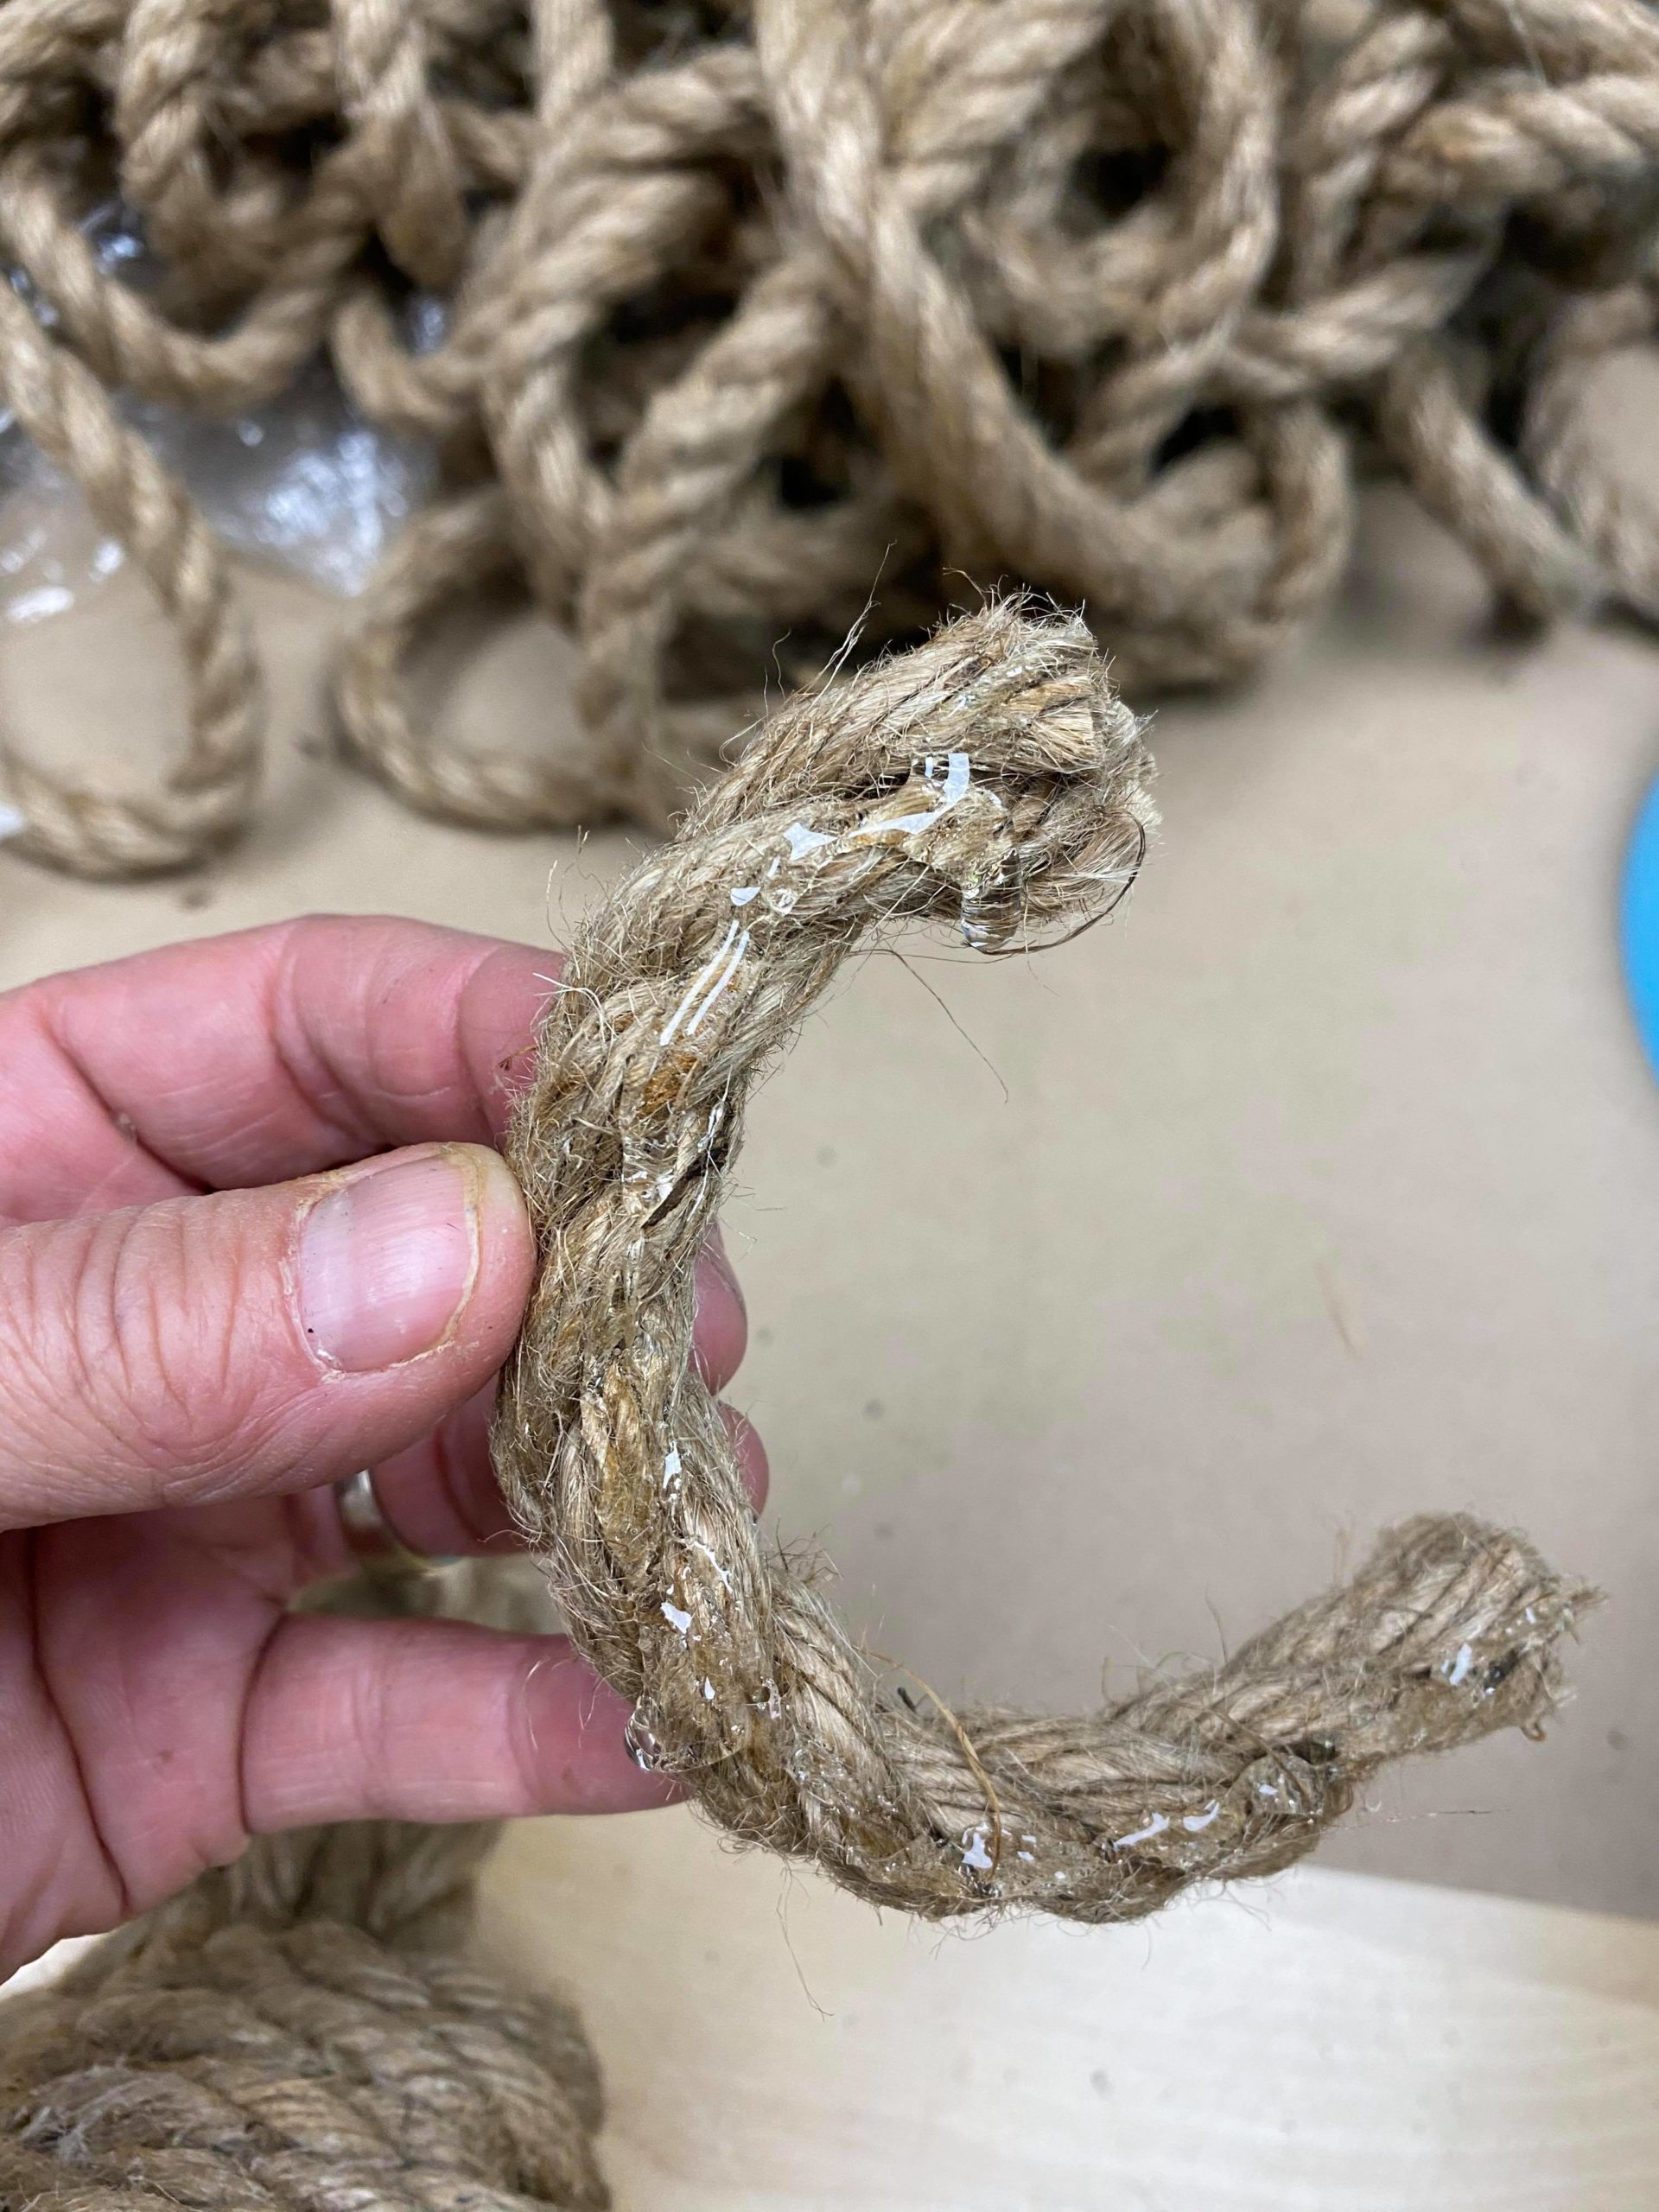
Before I got to the top of the bee hive I cut a piece off jute and made a loop and tied a knot. This will be the hanger for my bee hive. I glued the knot to the very top part of my egg.
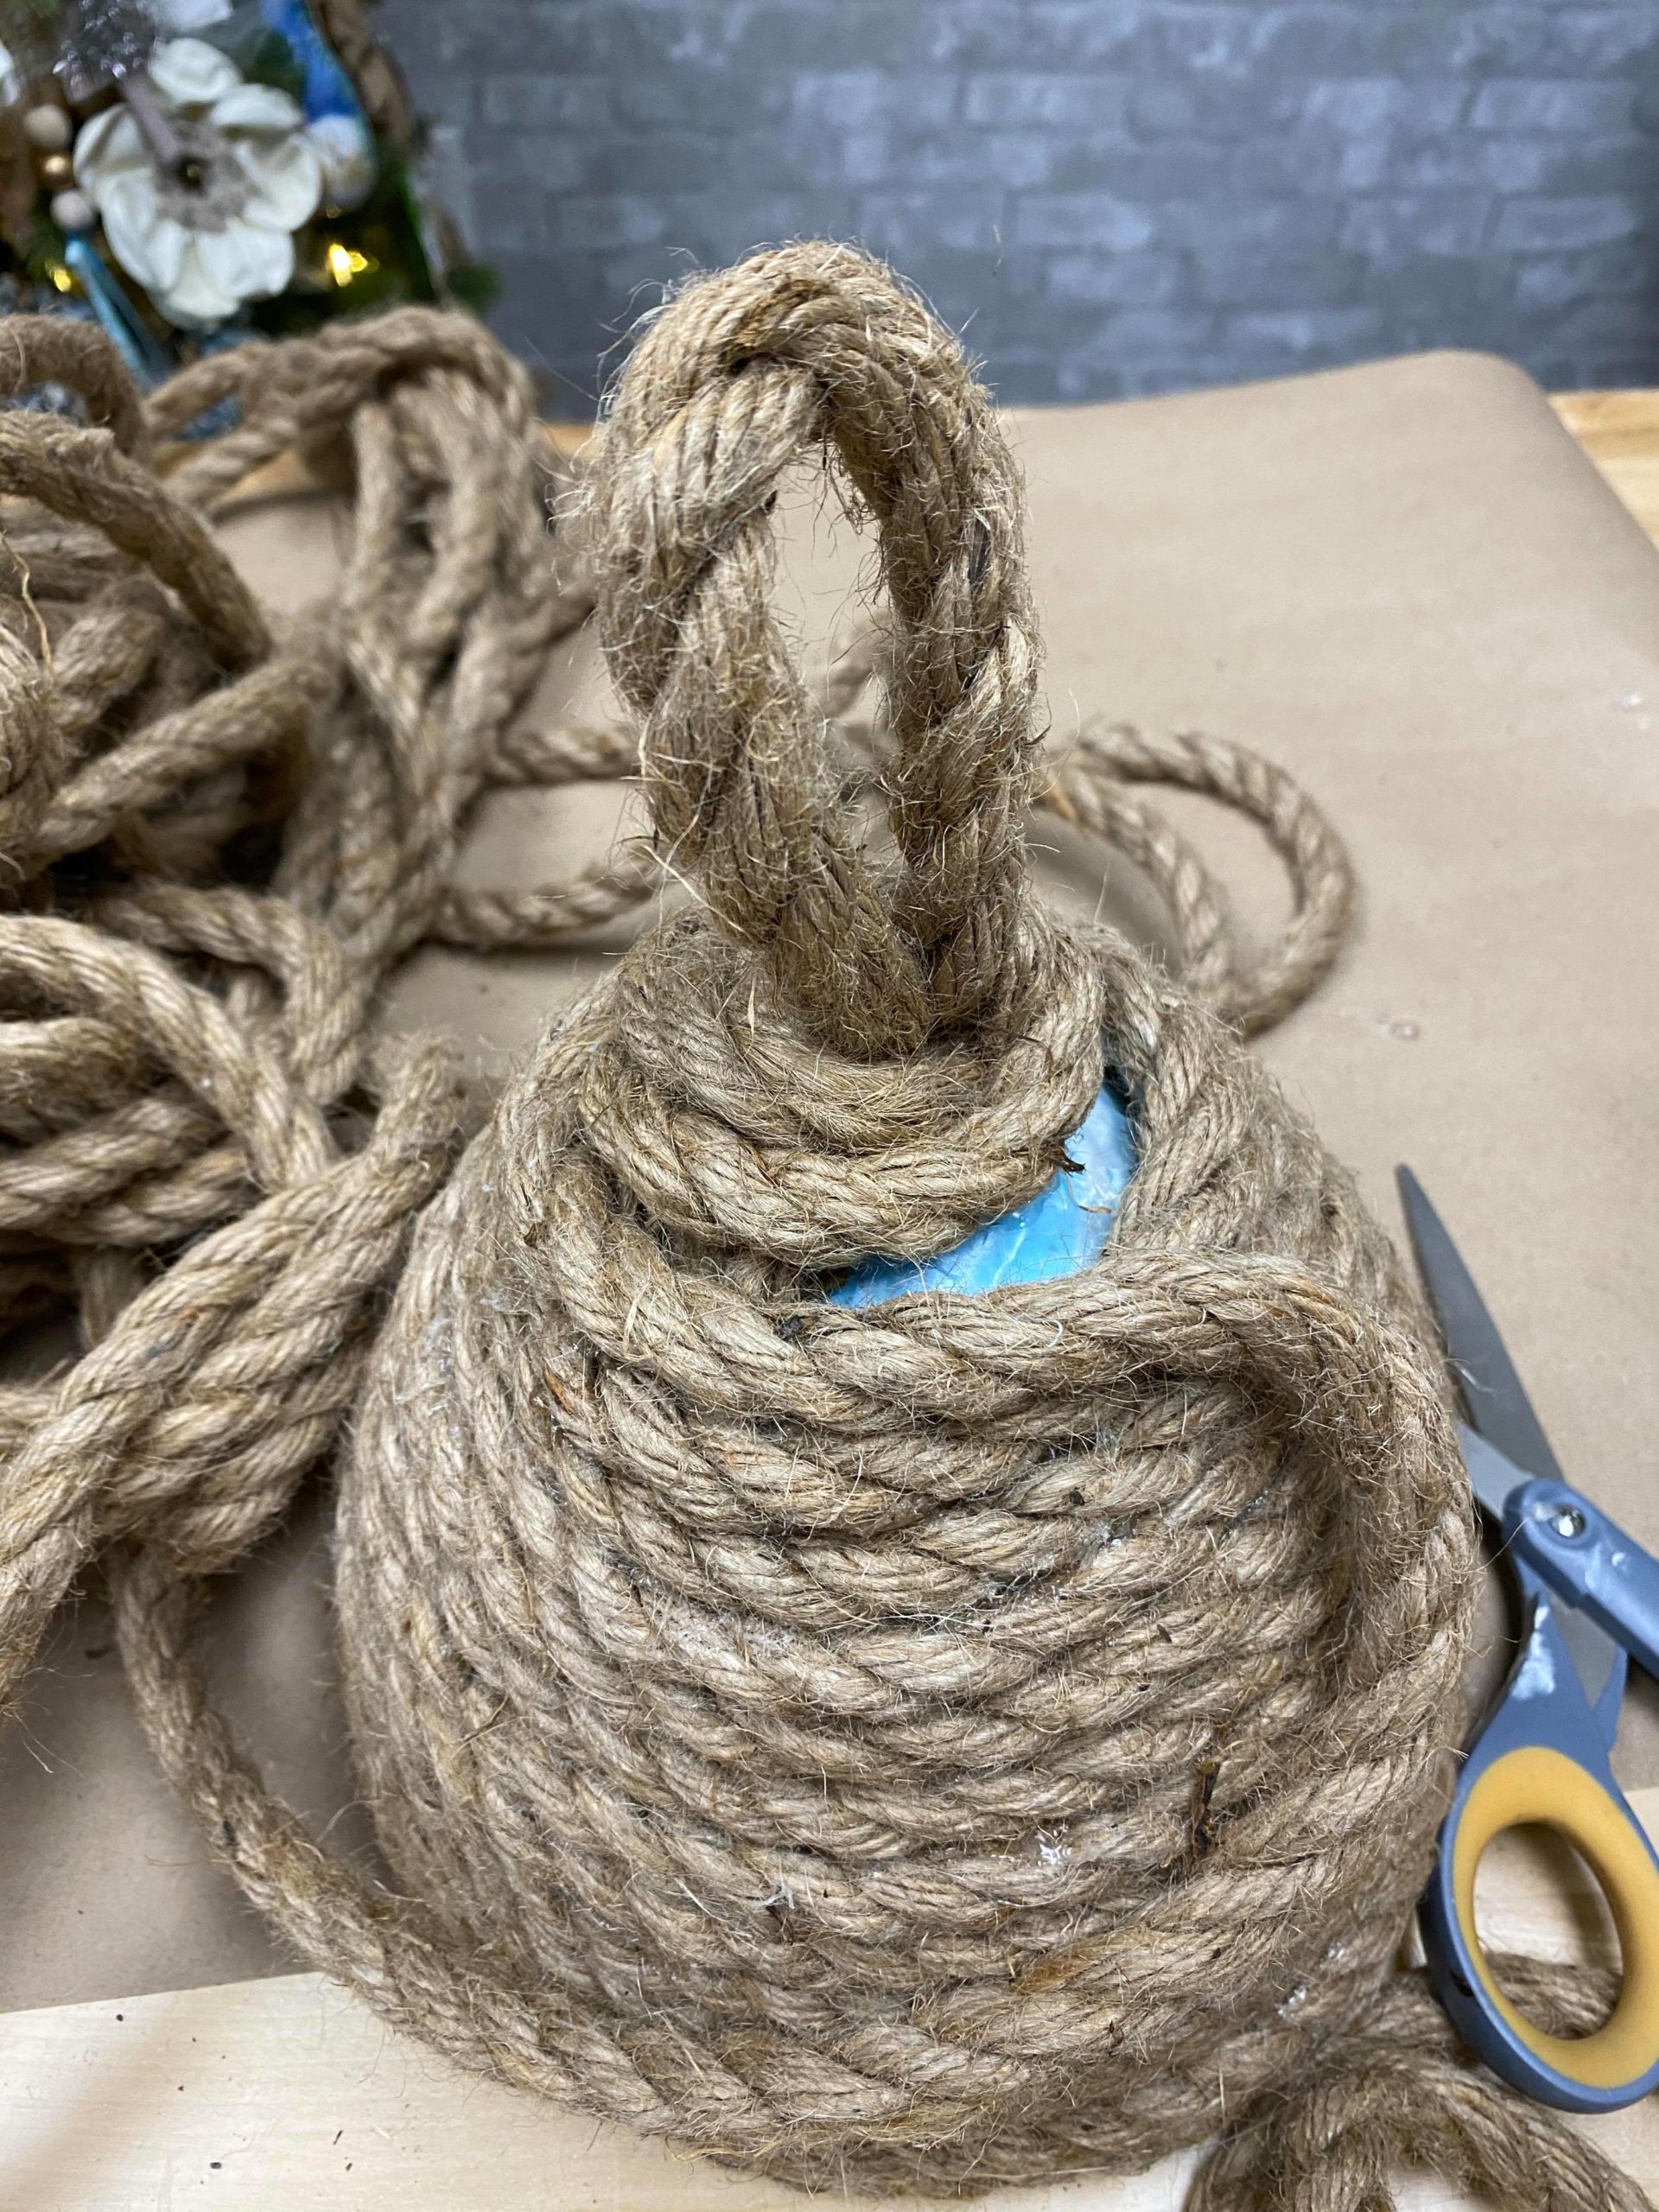
I continued wrapping the jute until I got to the very top. As I got to the top I wrapped the jute over my knot area and formed the top of my bee hive.
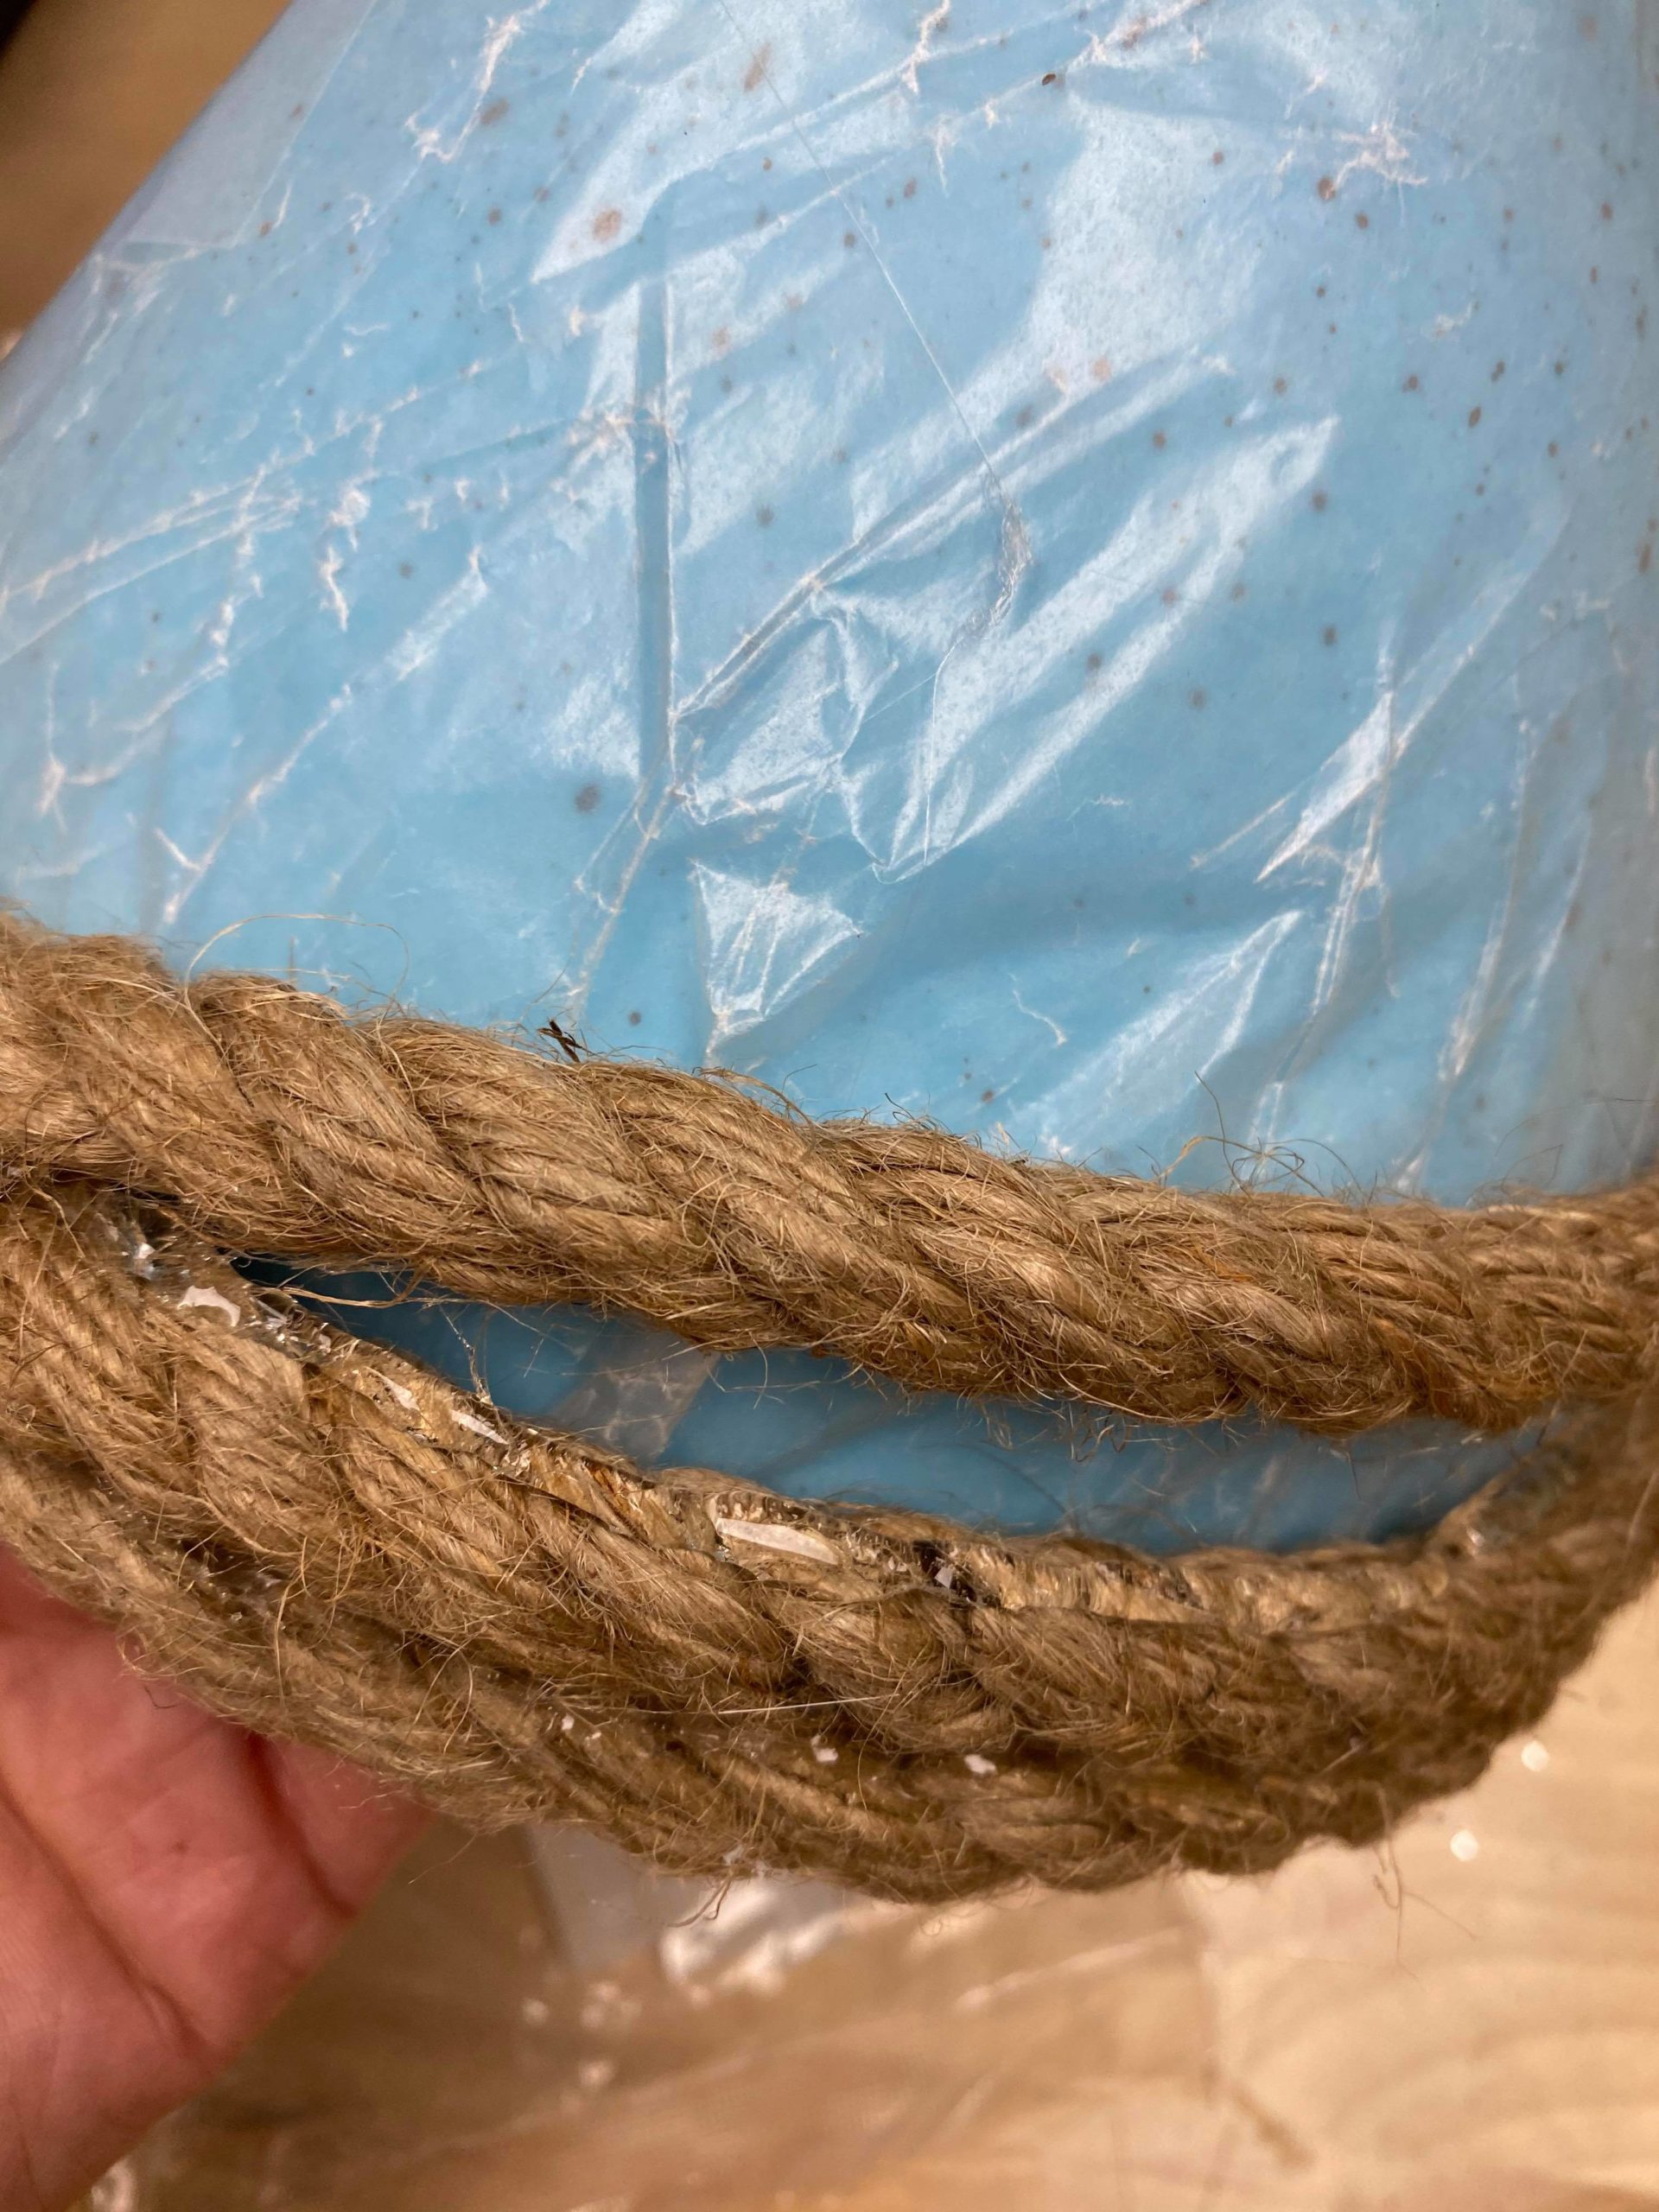
You will cut the end and glue the end down in place.
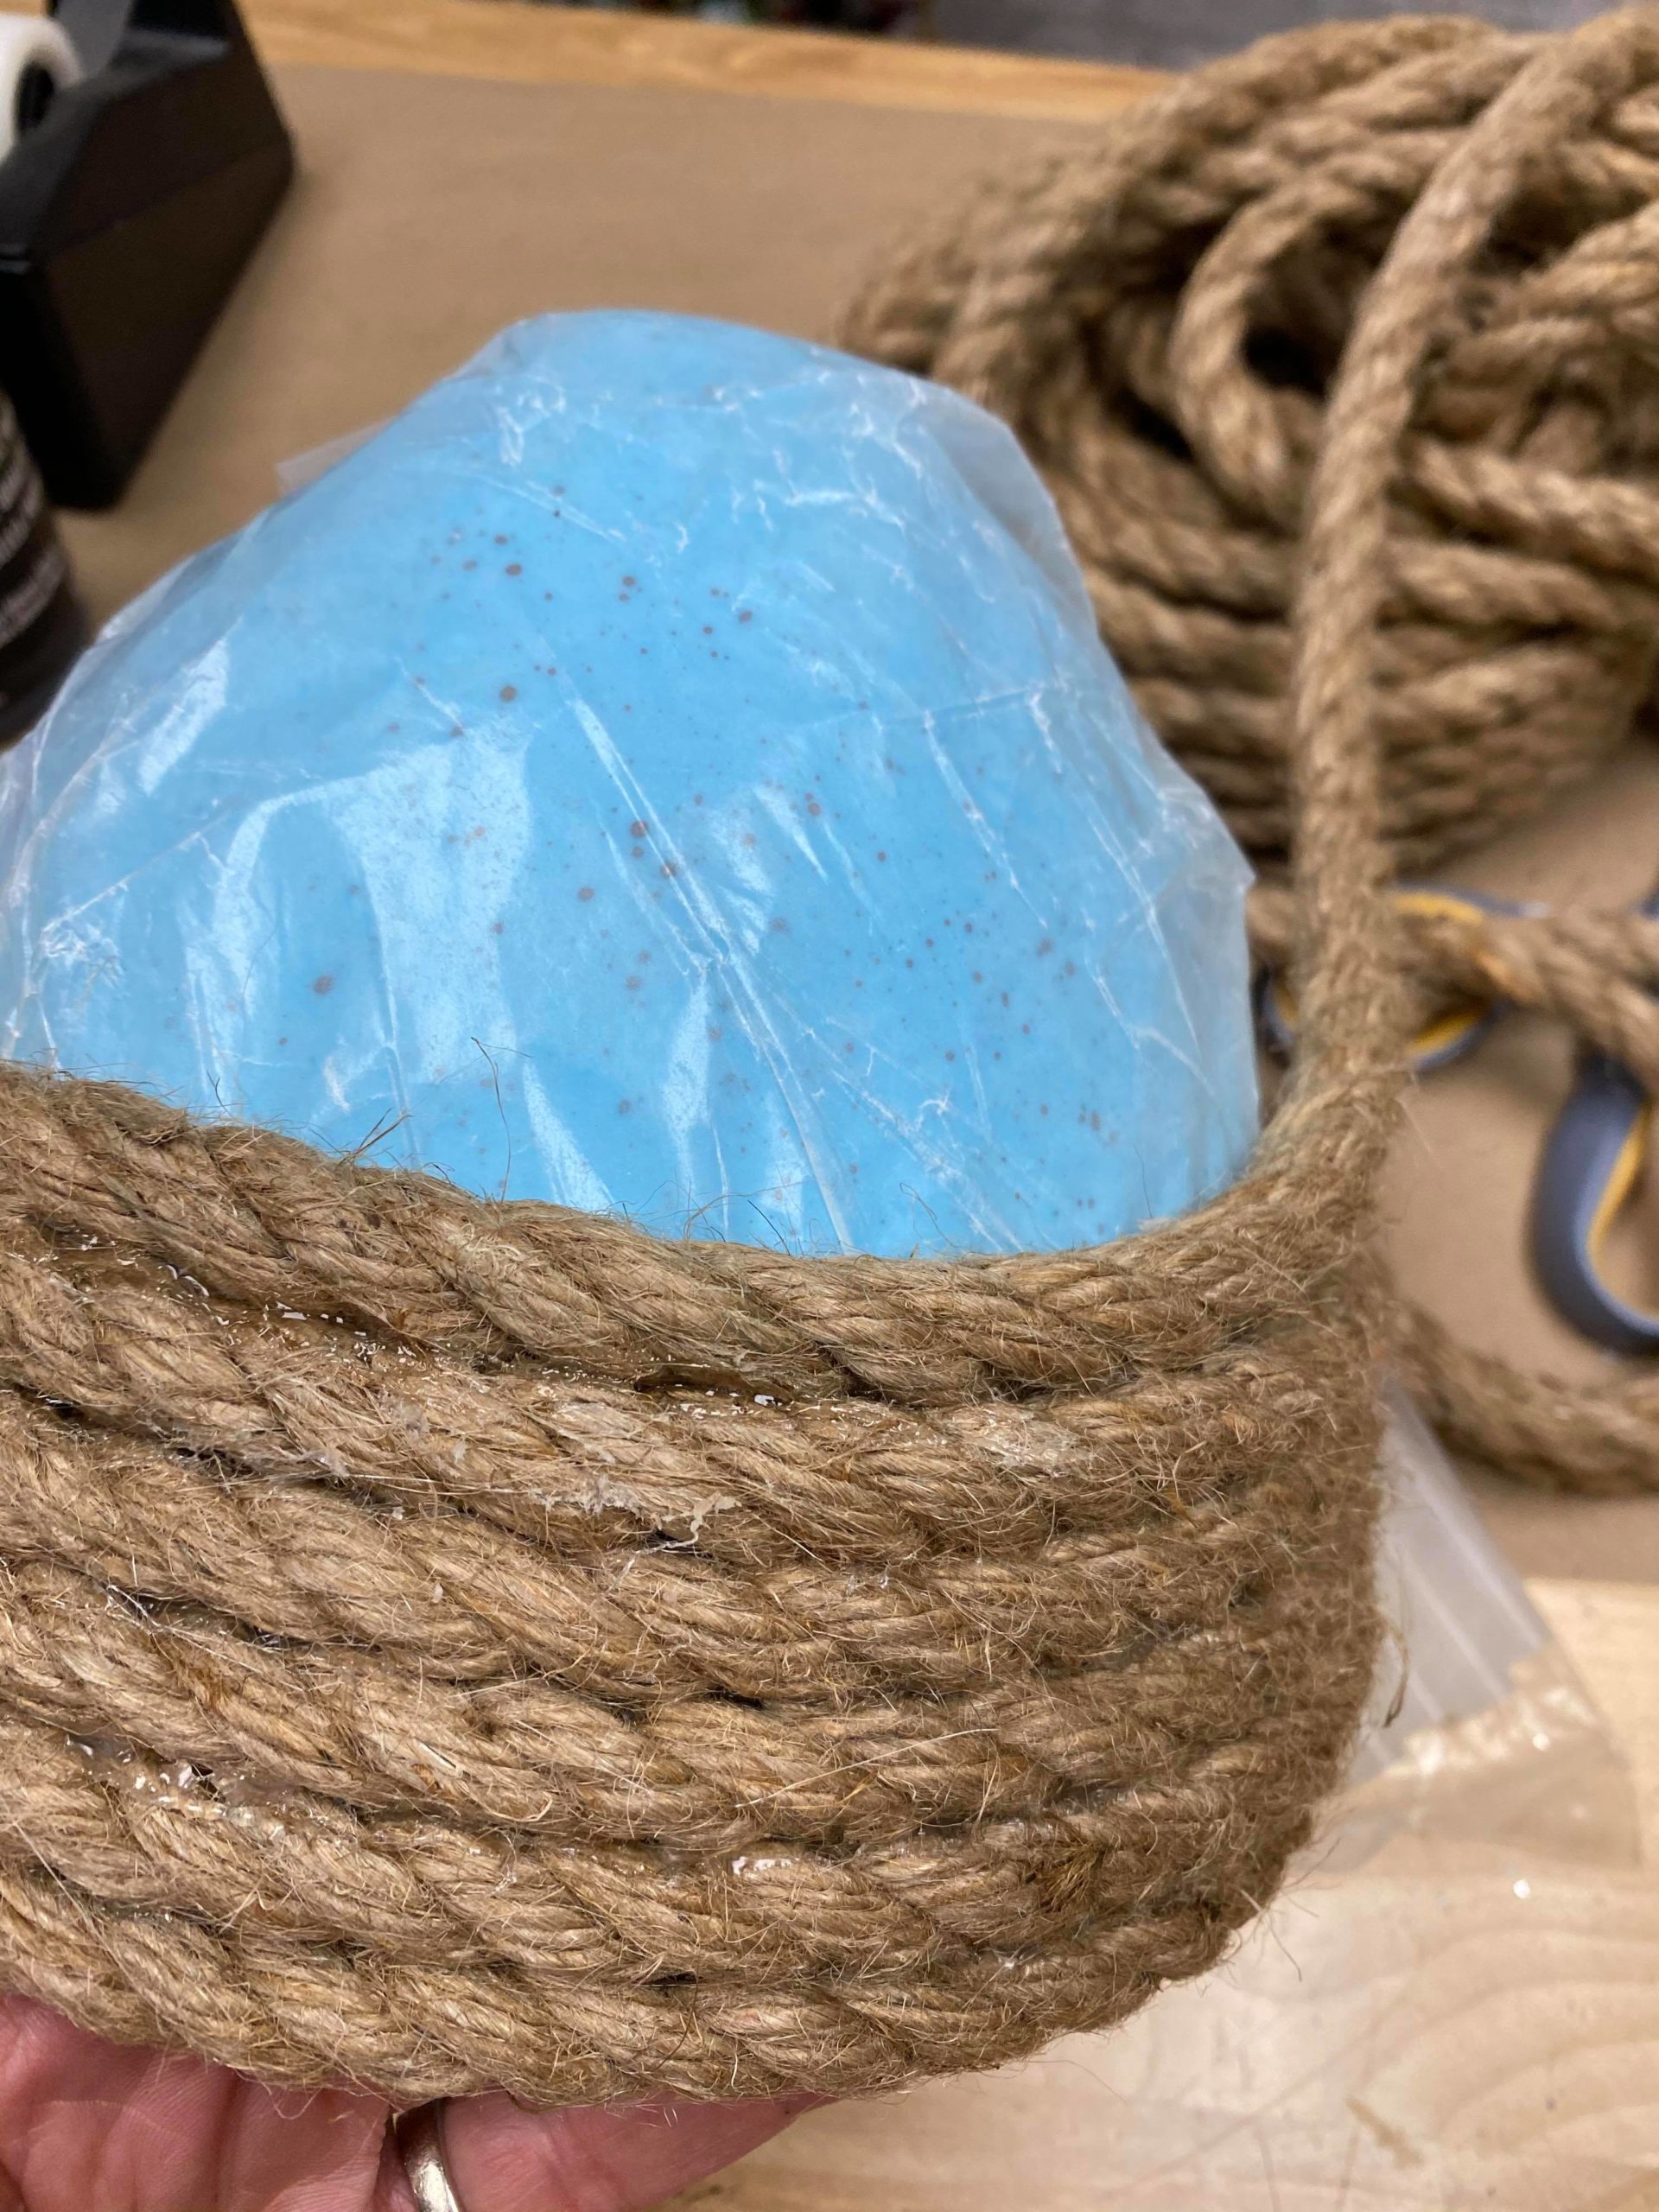
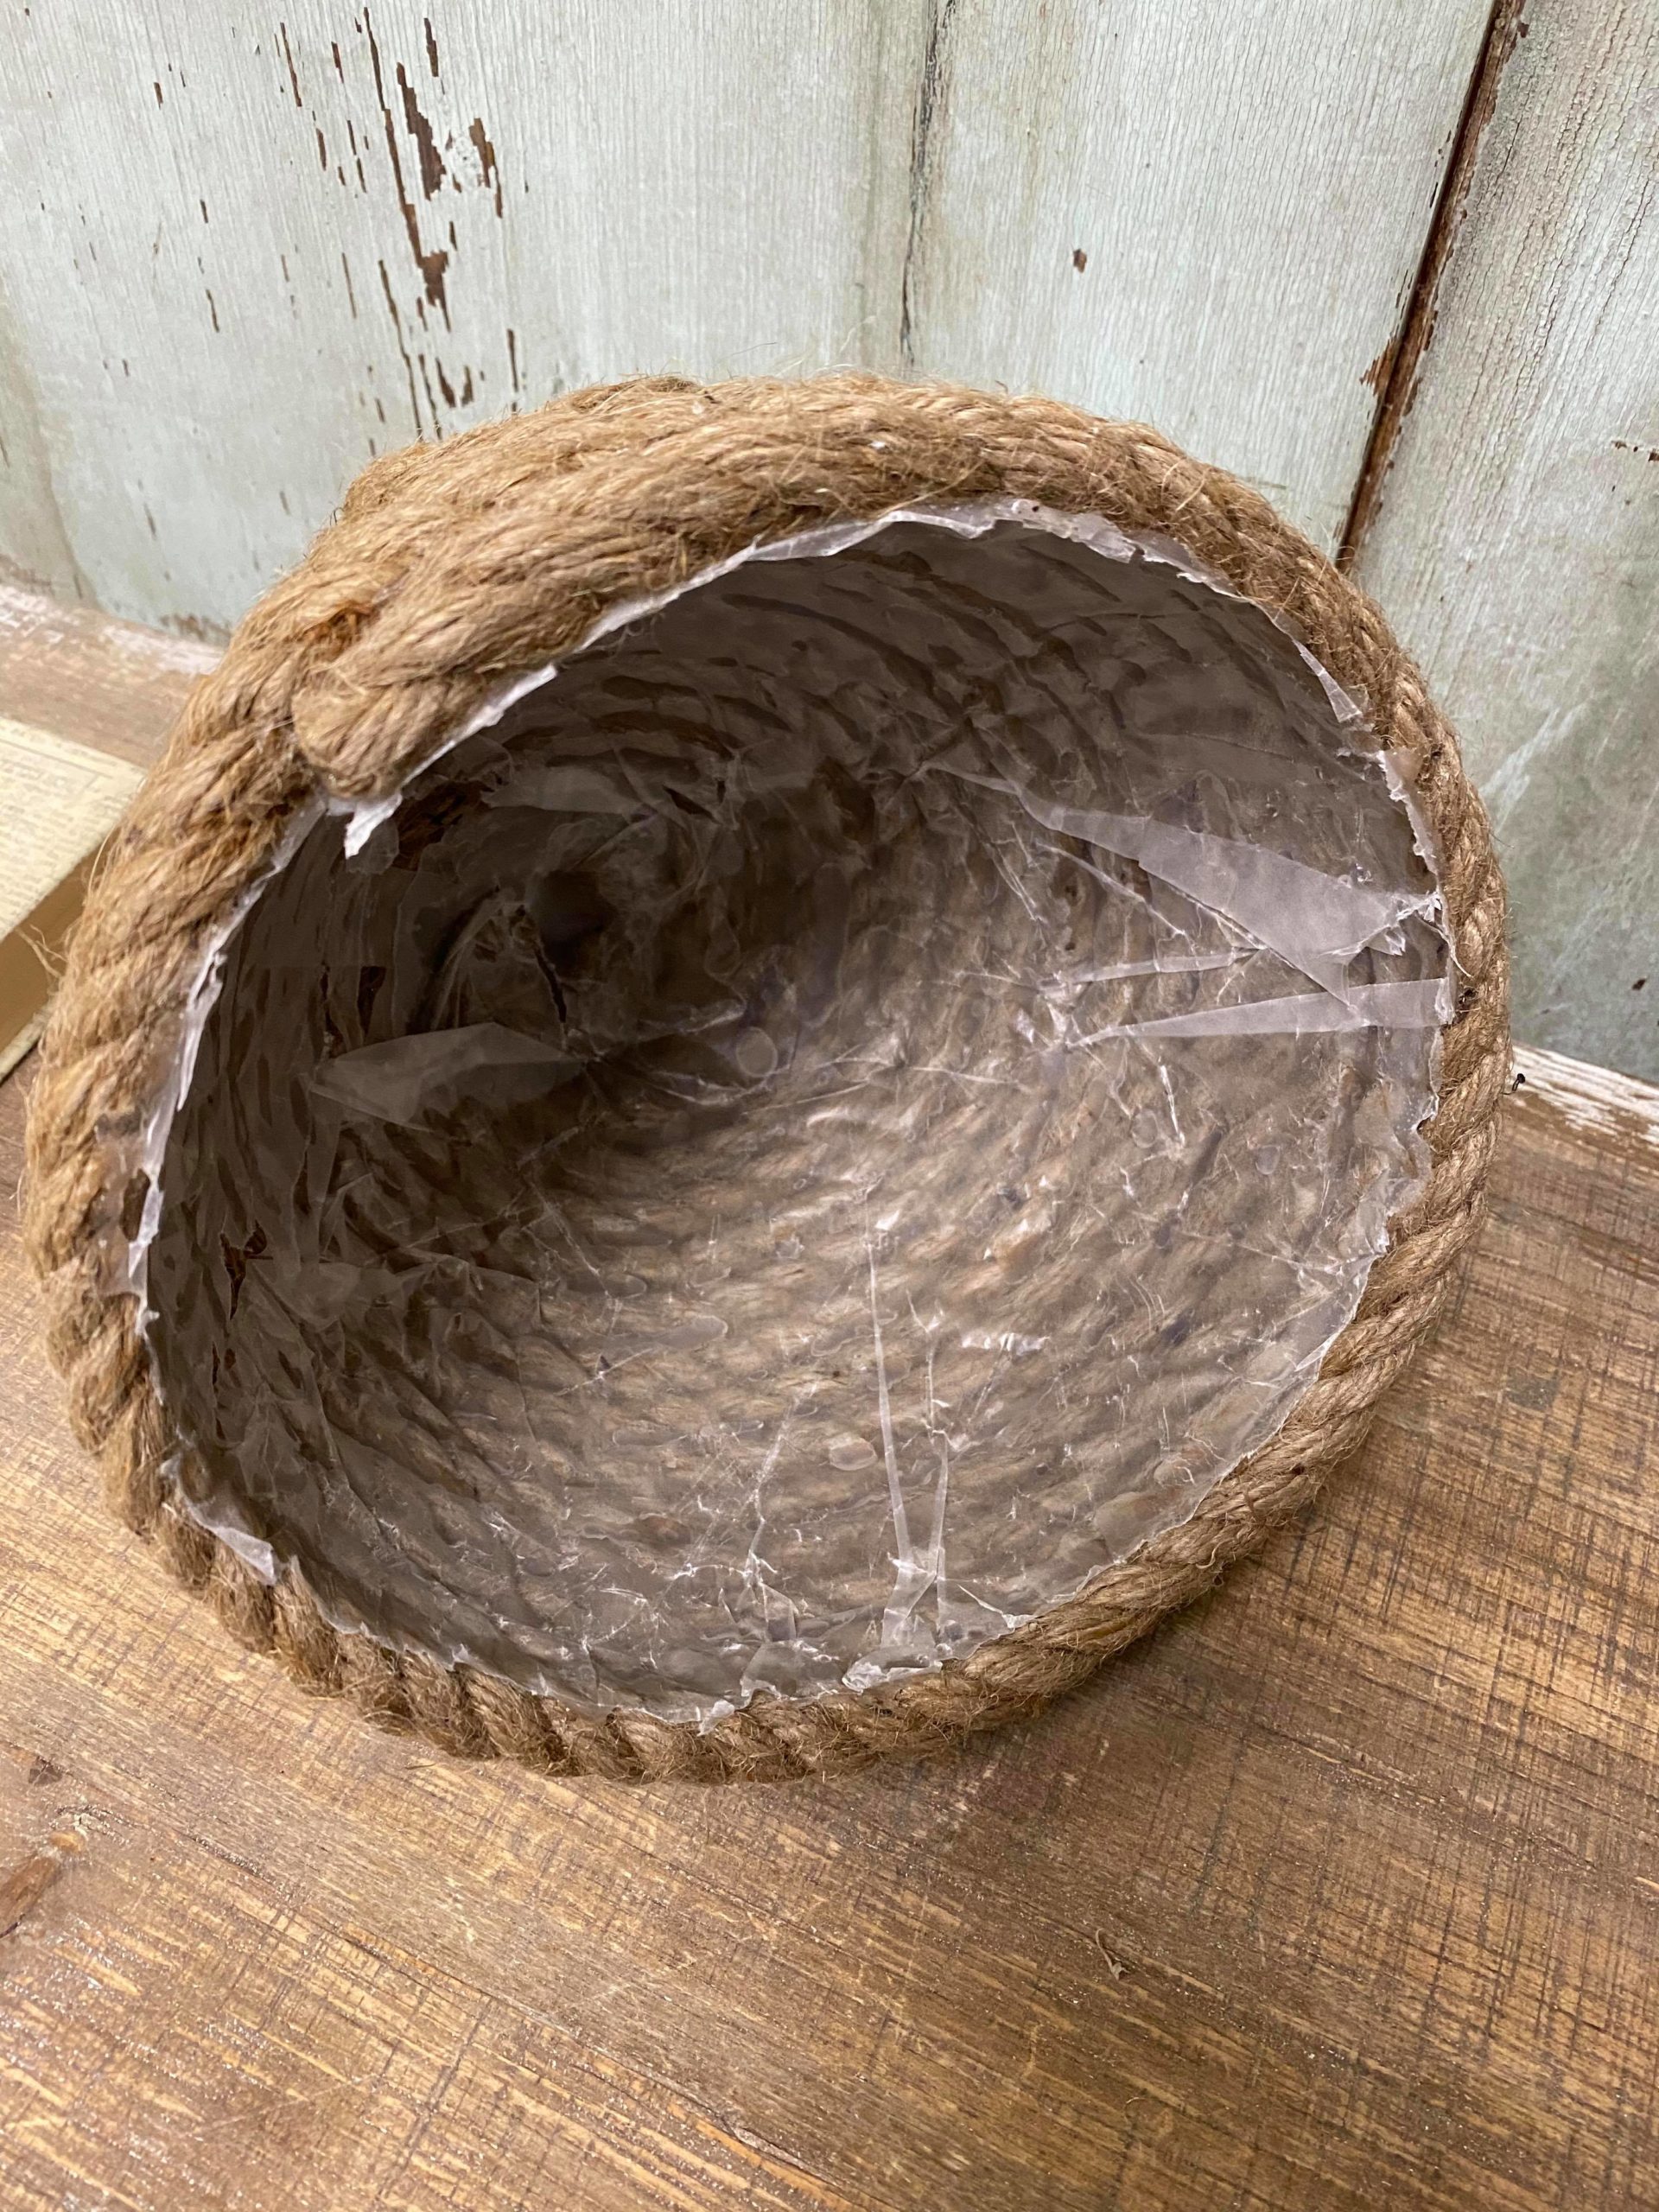
I slipped the egg out of my bee hive and I now just have the layer of wax paper up in my bee hive. Wrapping the egg with wax paper is not necessary unless you want to reuse the egg to create more bee hives.
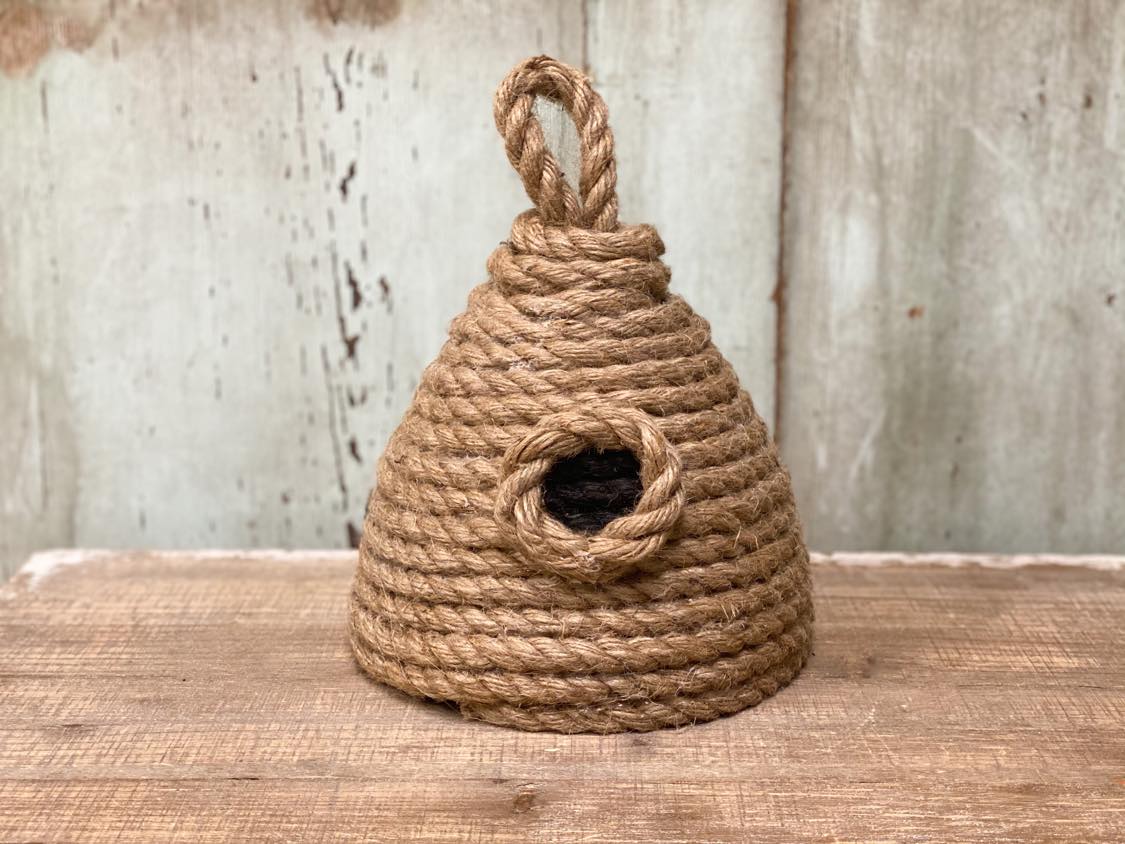
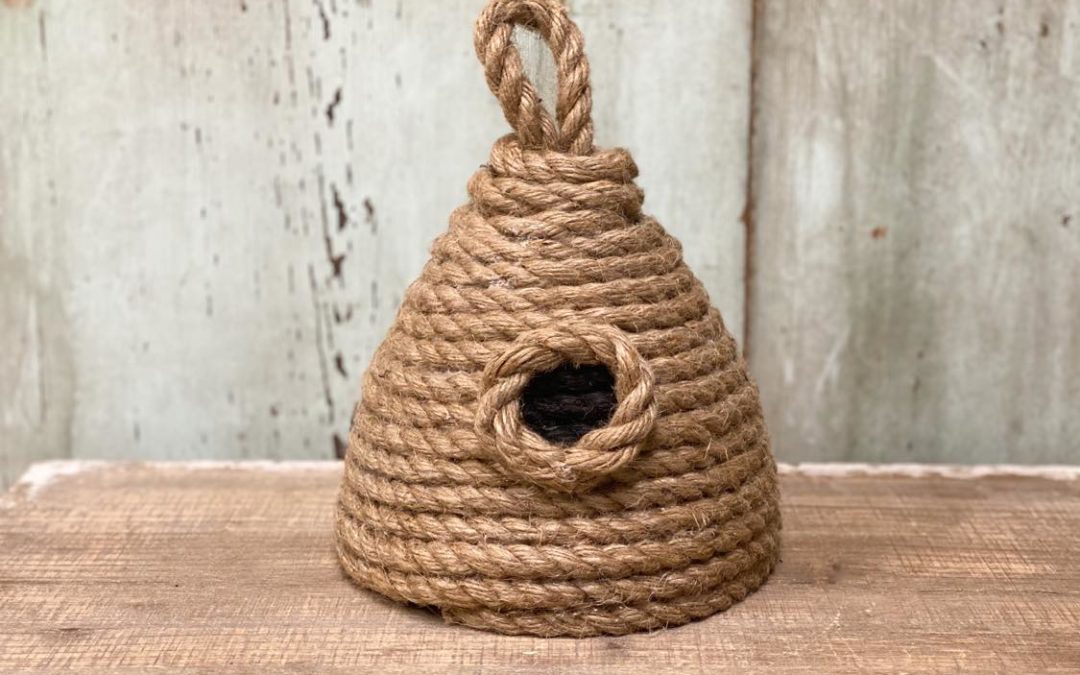
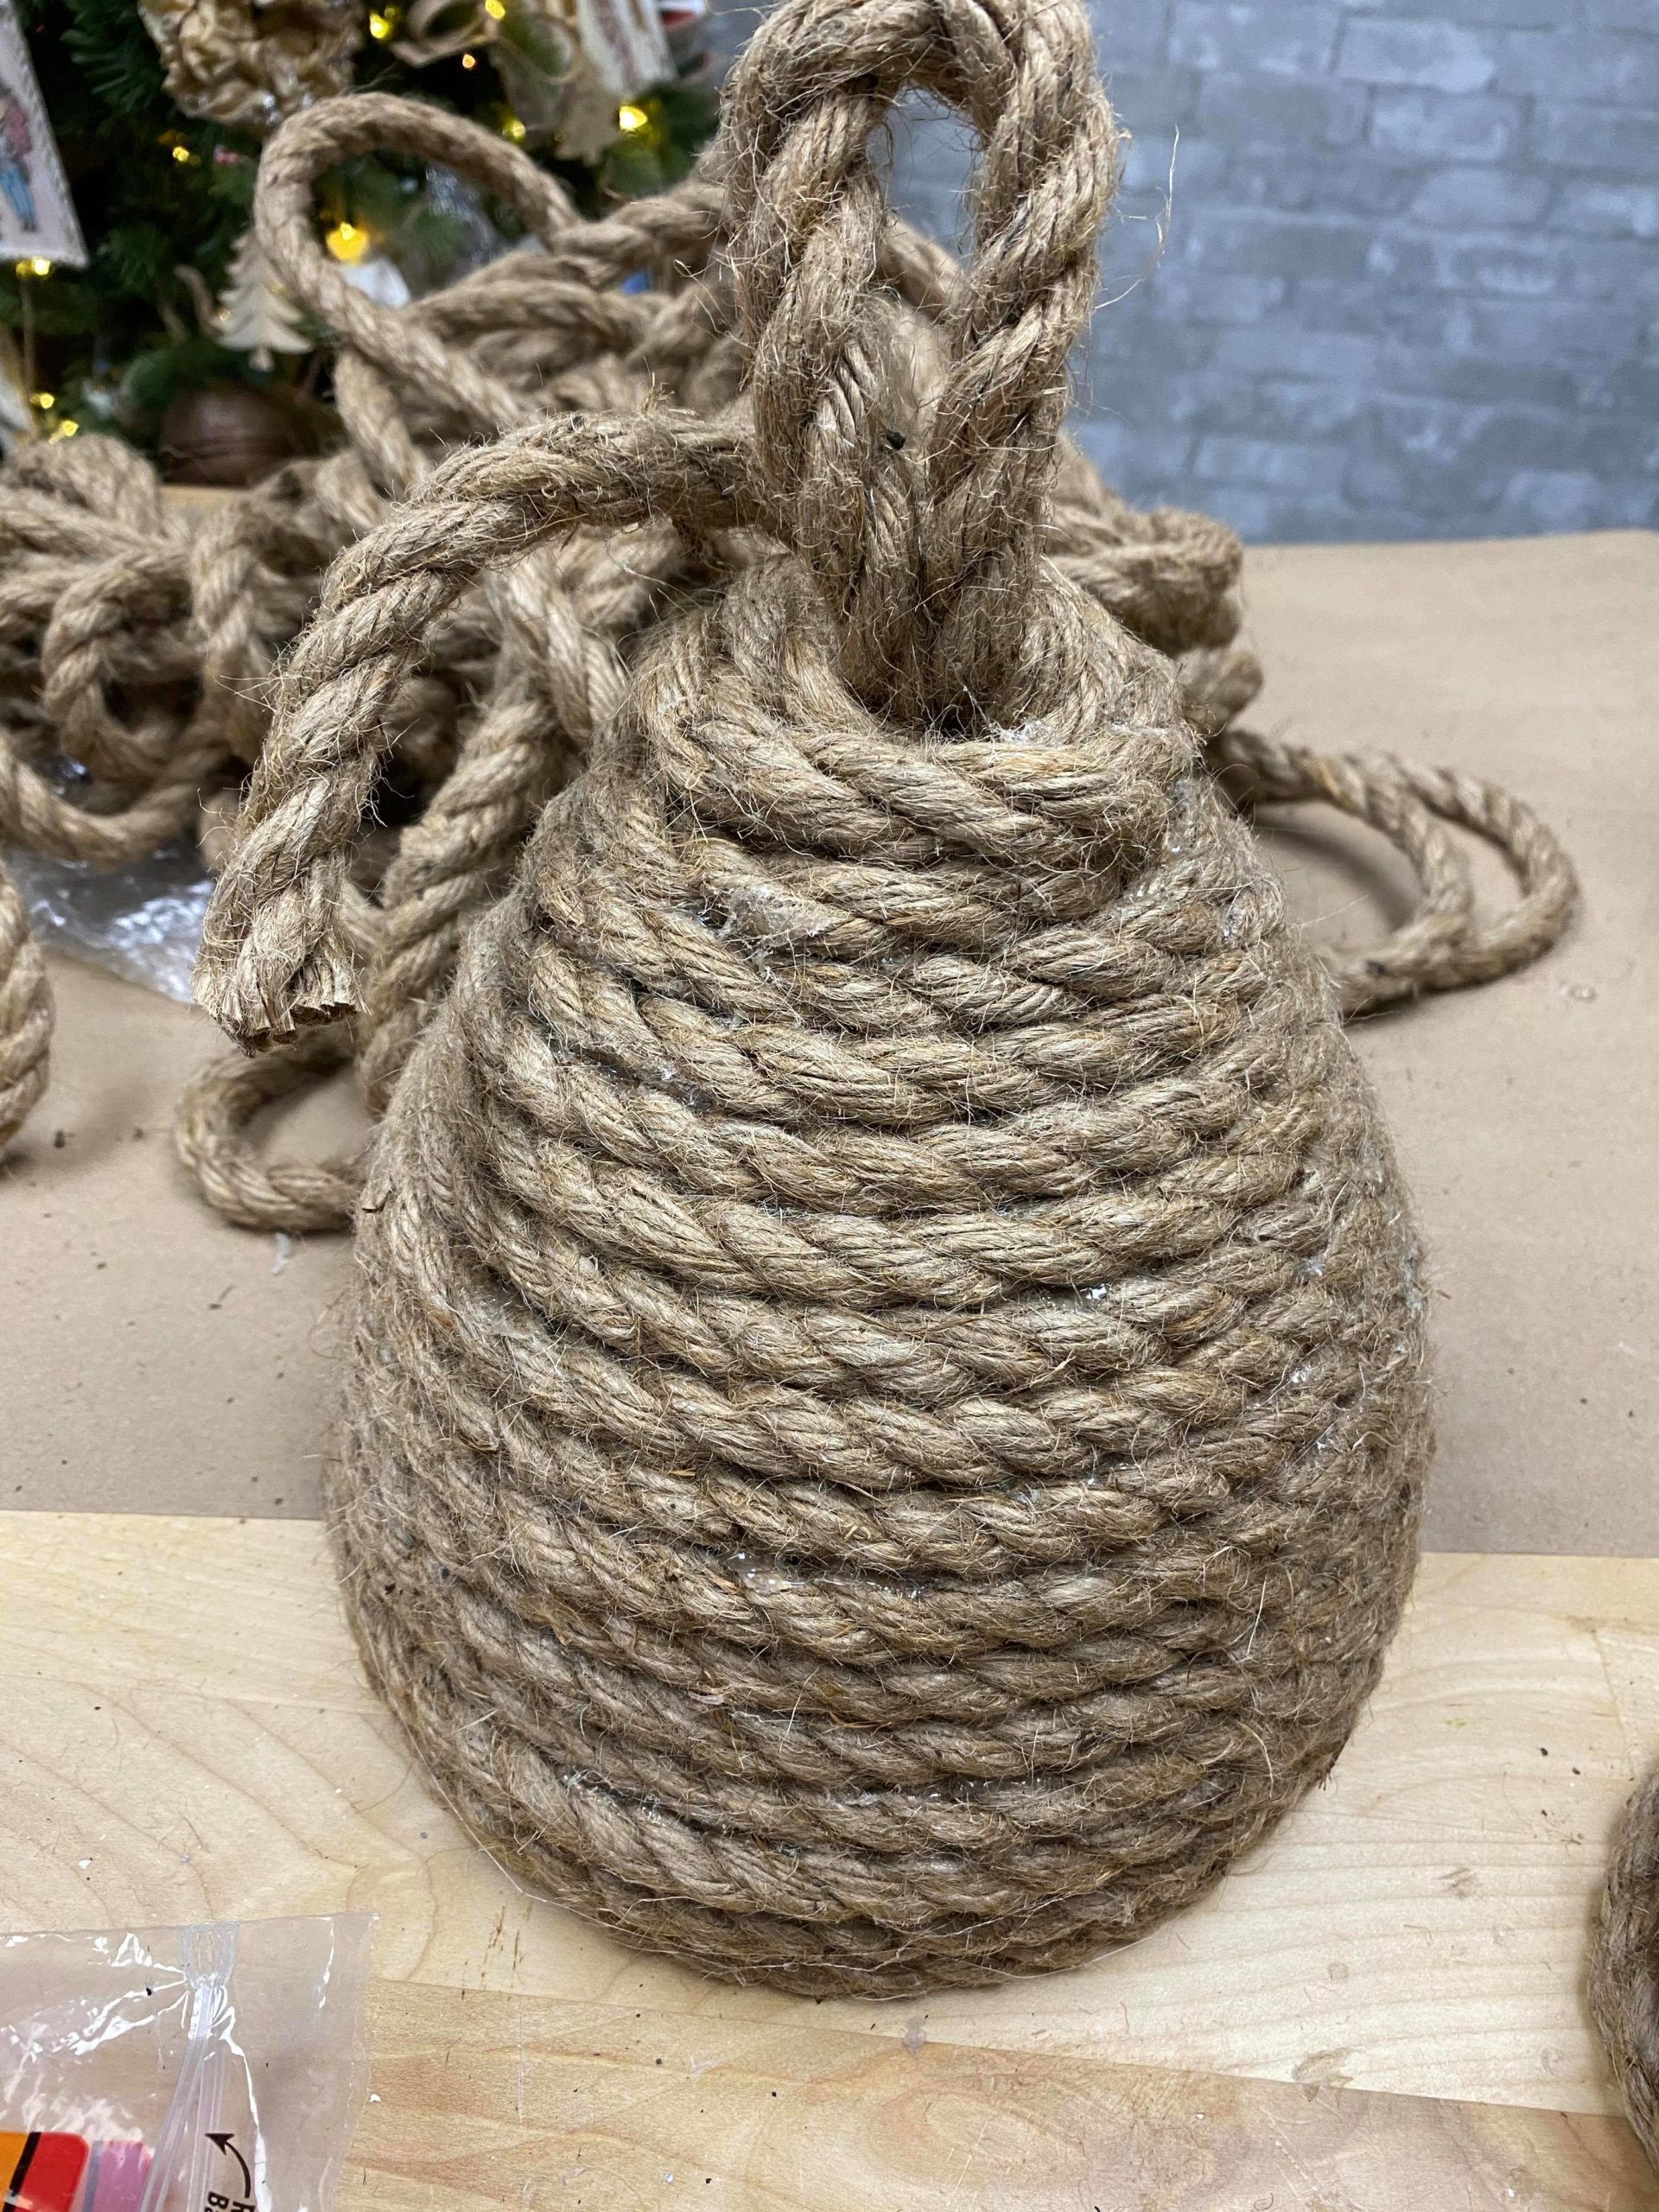
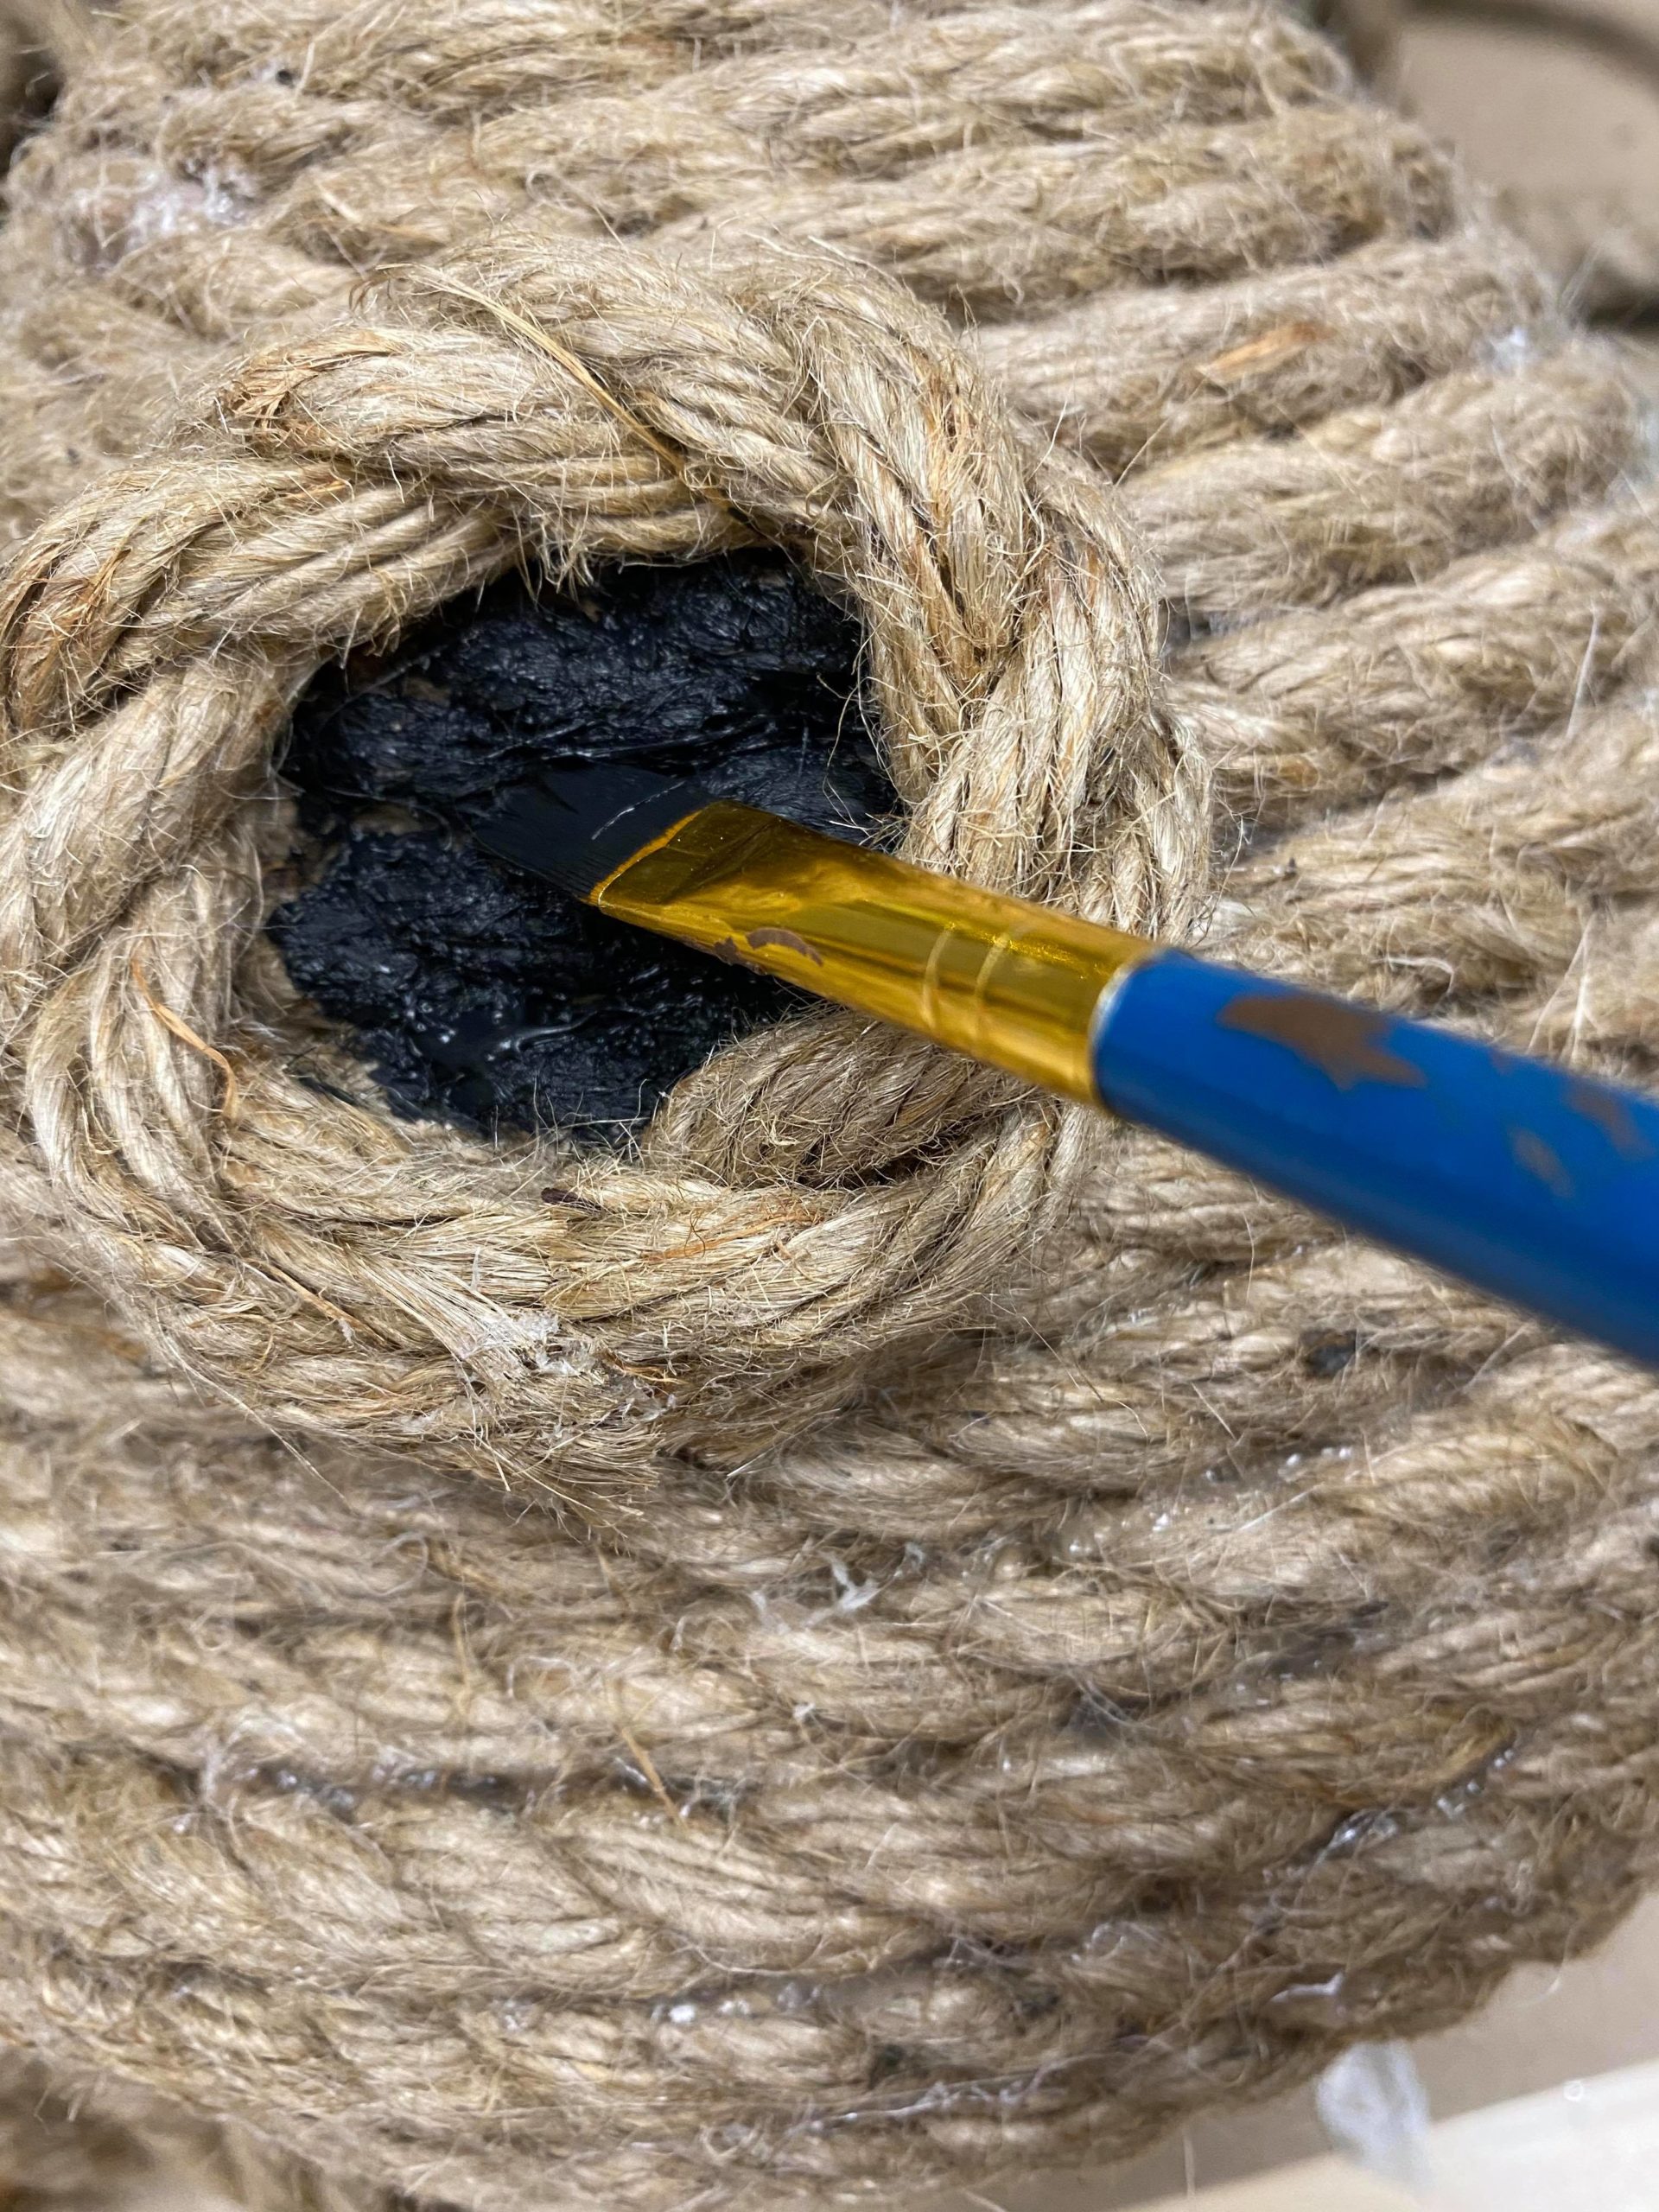
You will then cut a piece of jute to create a circle on the front of your bee hive. I added hot glue to the jute and secured it to the front of my bee hive.
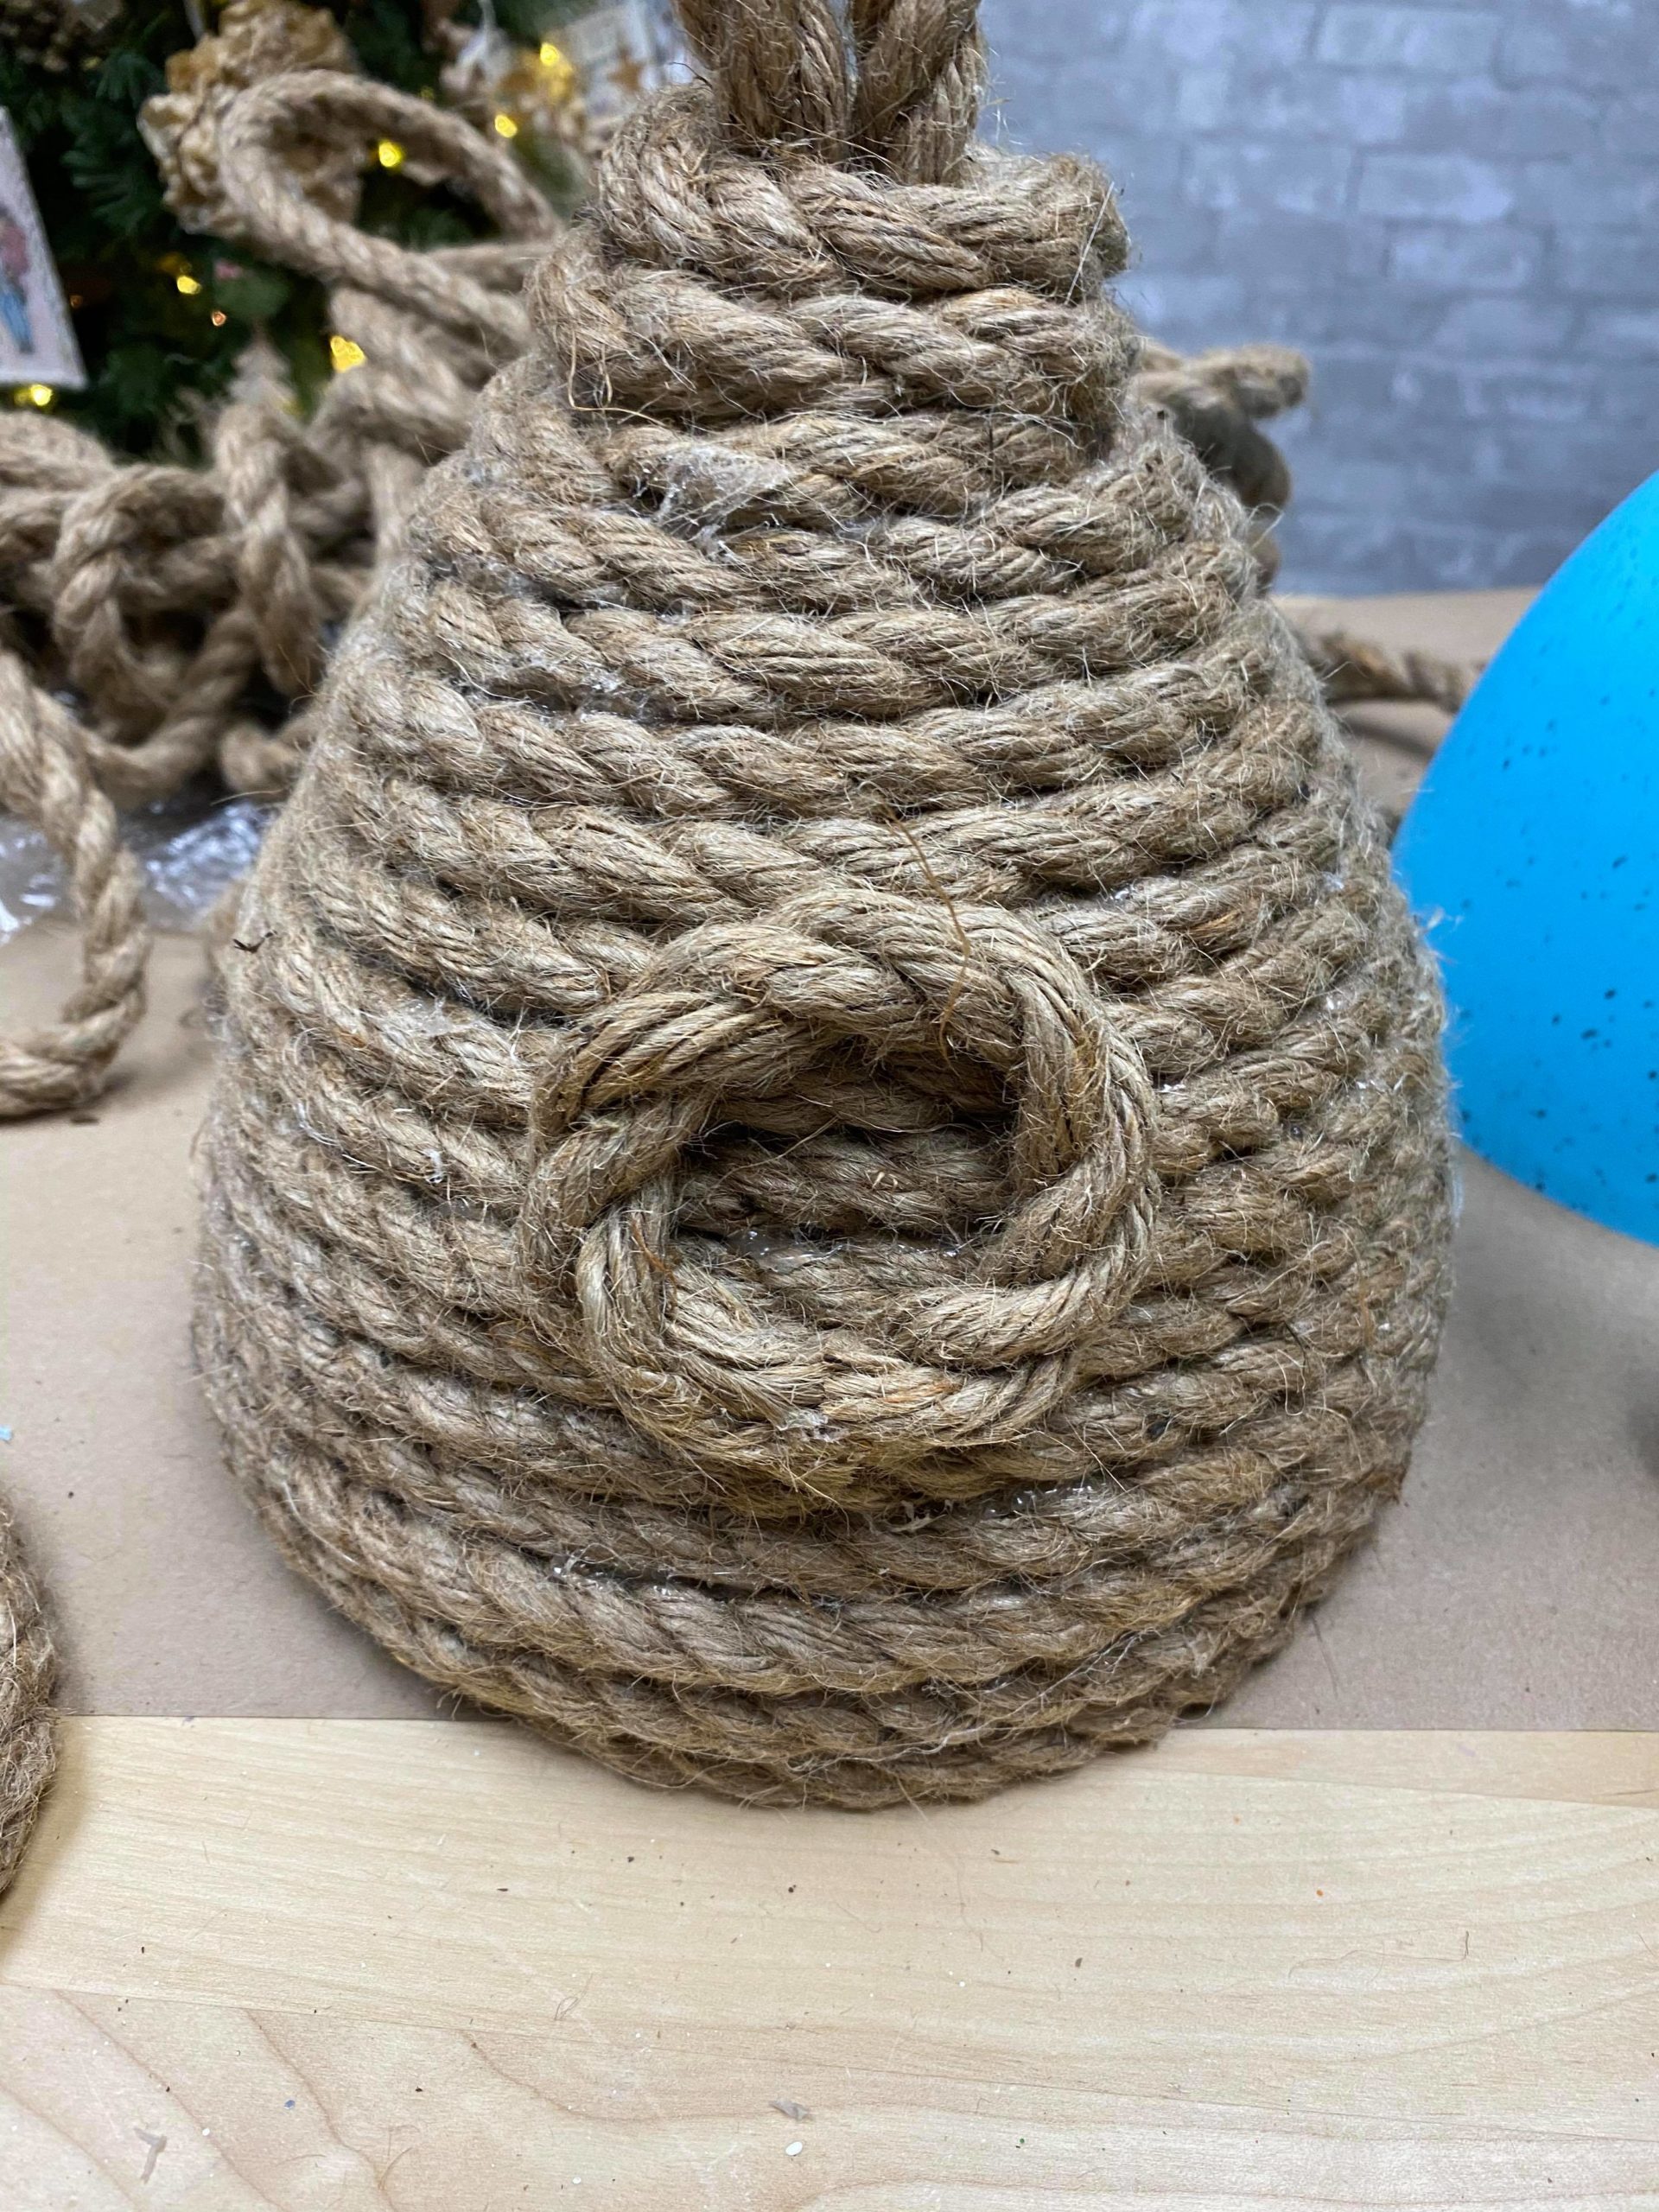
I used black paint to color in the center of the circle.
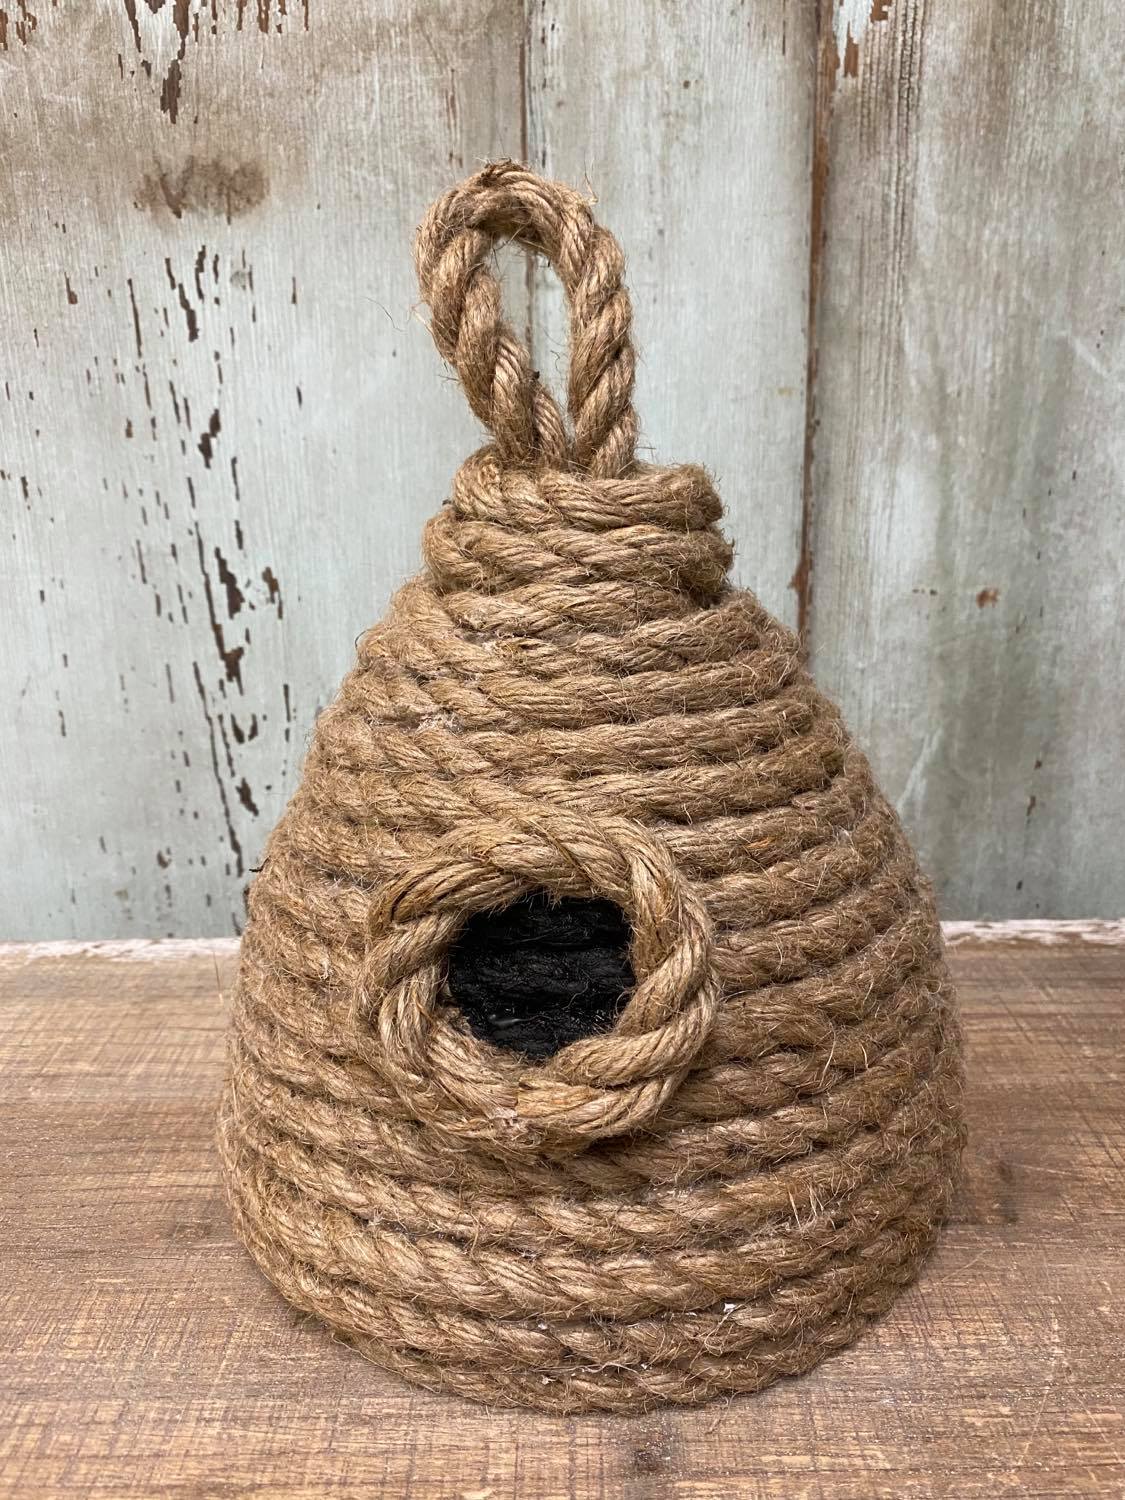
This bee hive is so quick and easy to create. It will make for a fun decoration to add to your porch or in your home. I hope you will all have fun, get creative and give this a try.