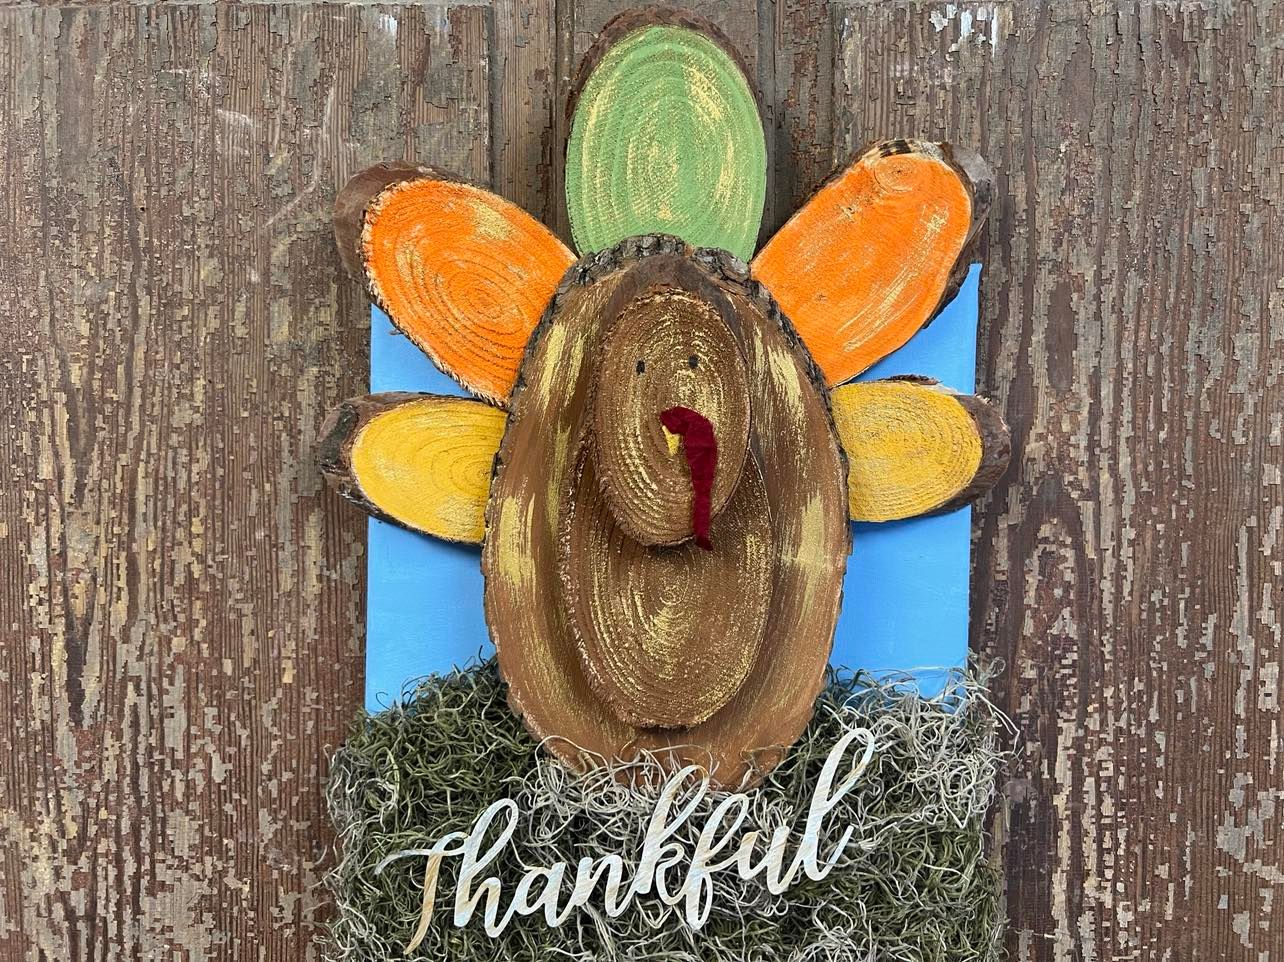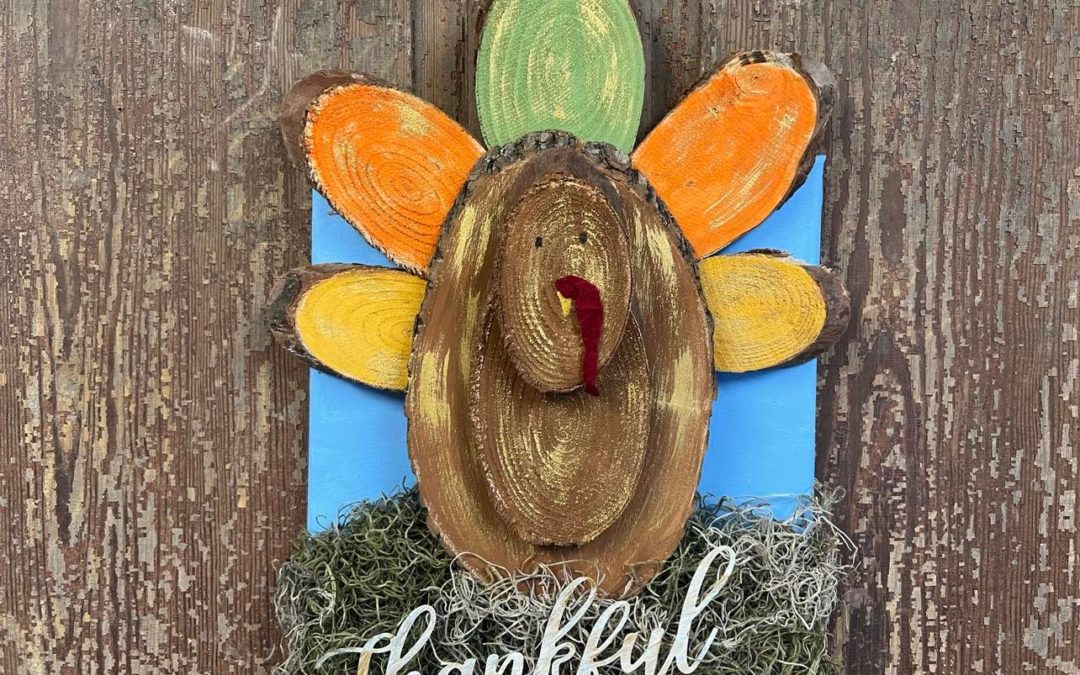
Thanksgiving is right around the corner and I thought it would be fun to make one more turkey decoration. We have made a few different turkeys here at The Shabby Tree but today I want to create a rustic turkey.
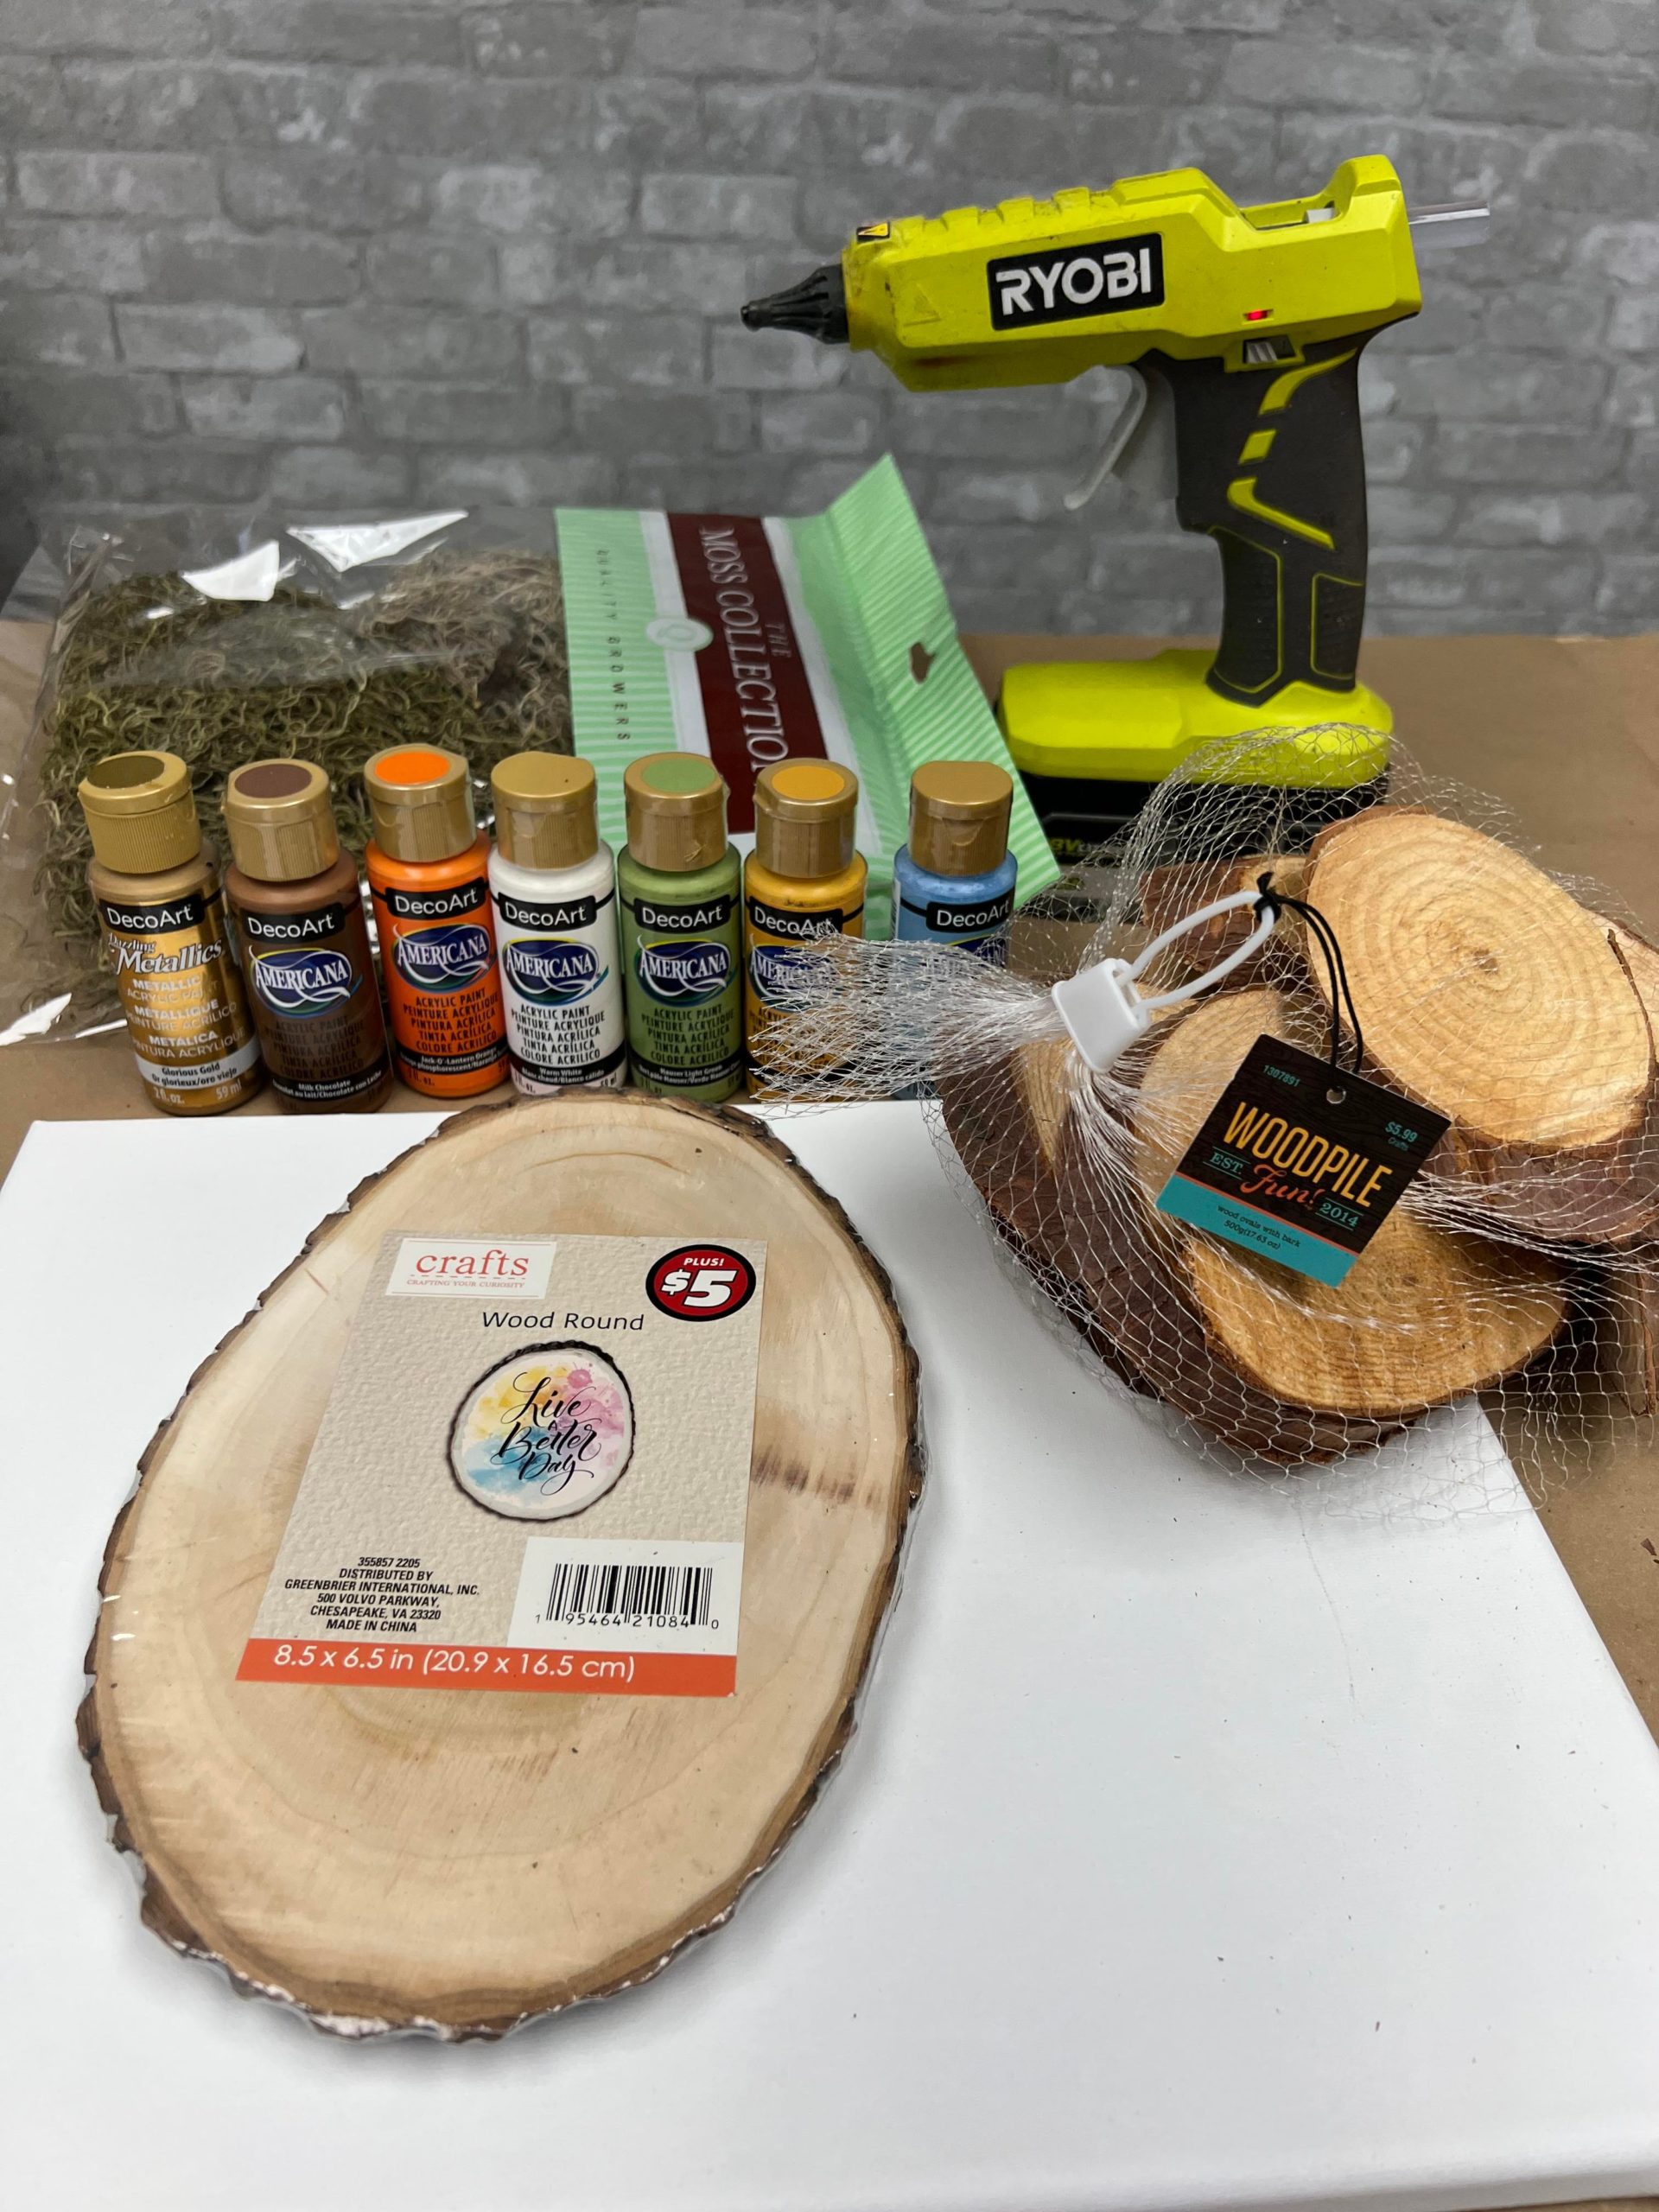
The supplies that I’ll be using are:
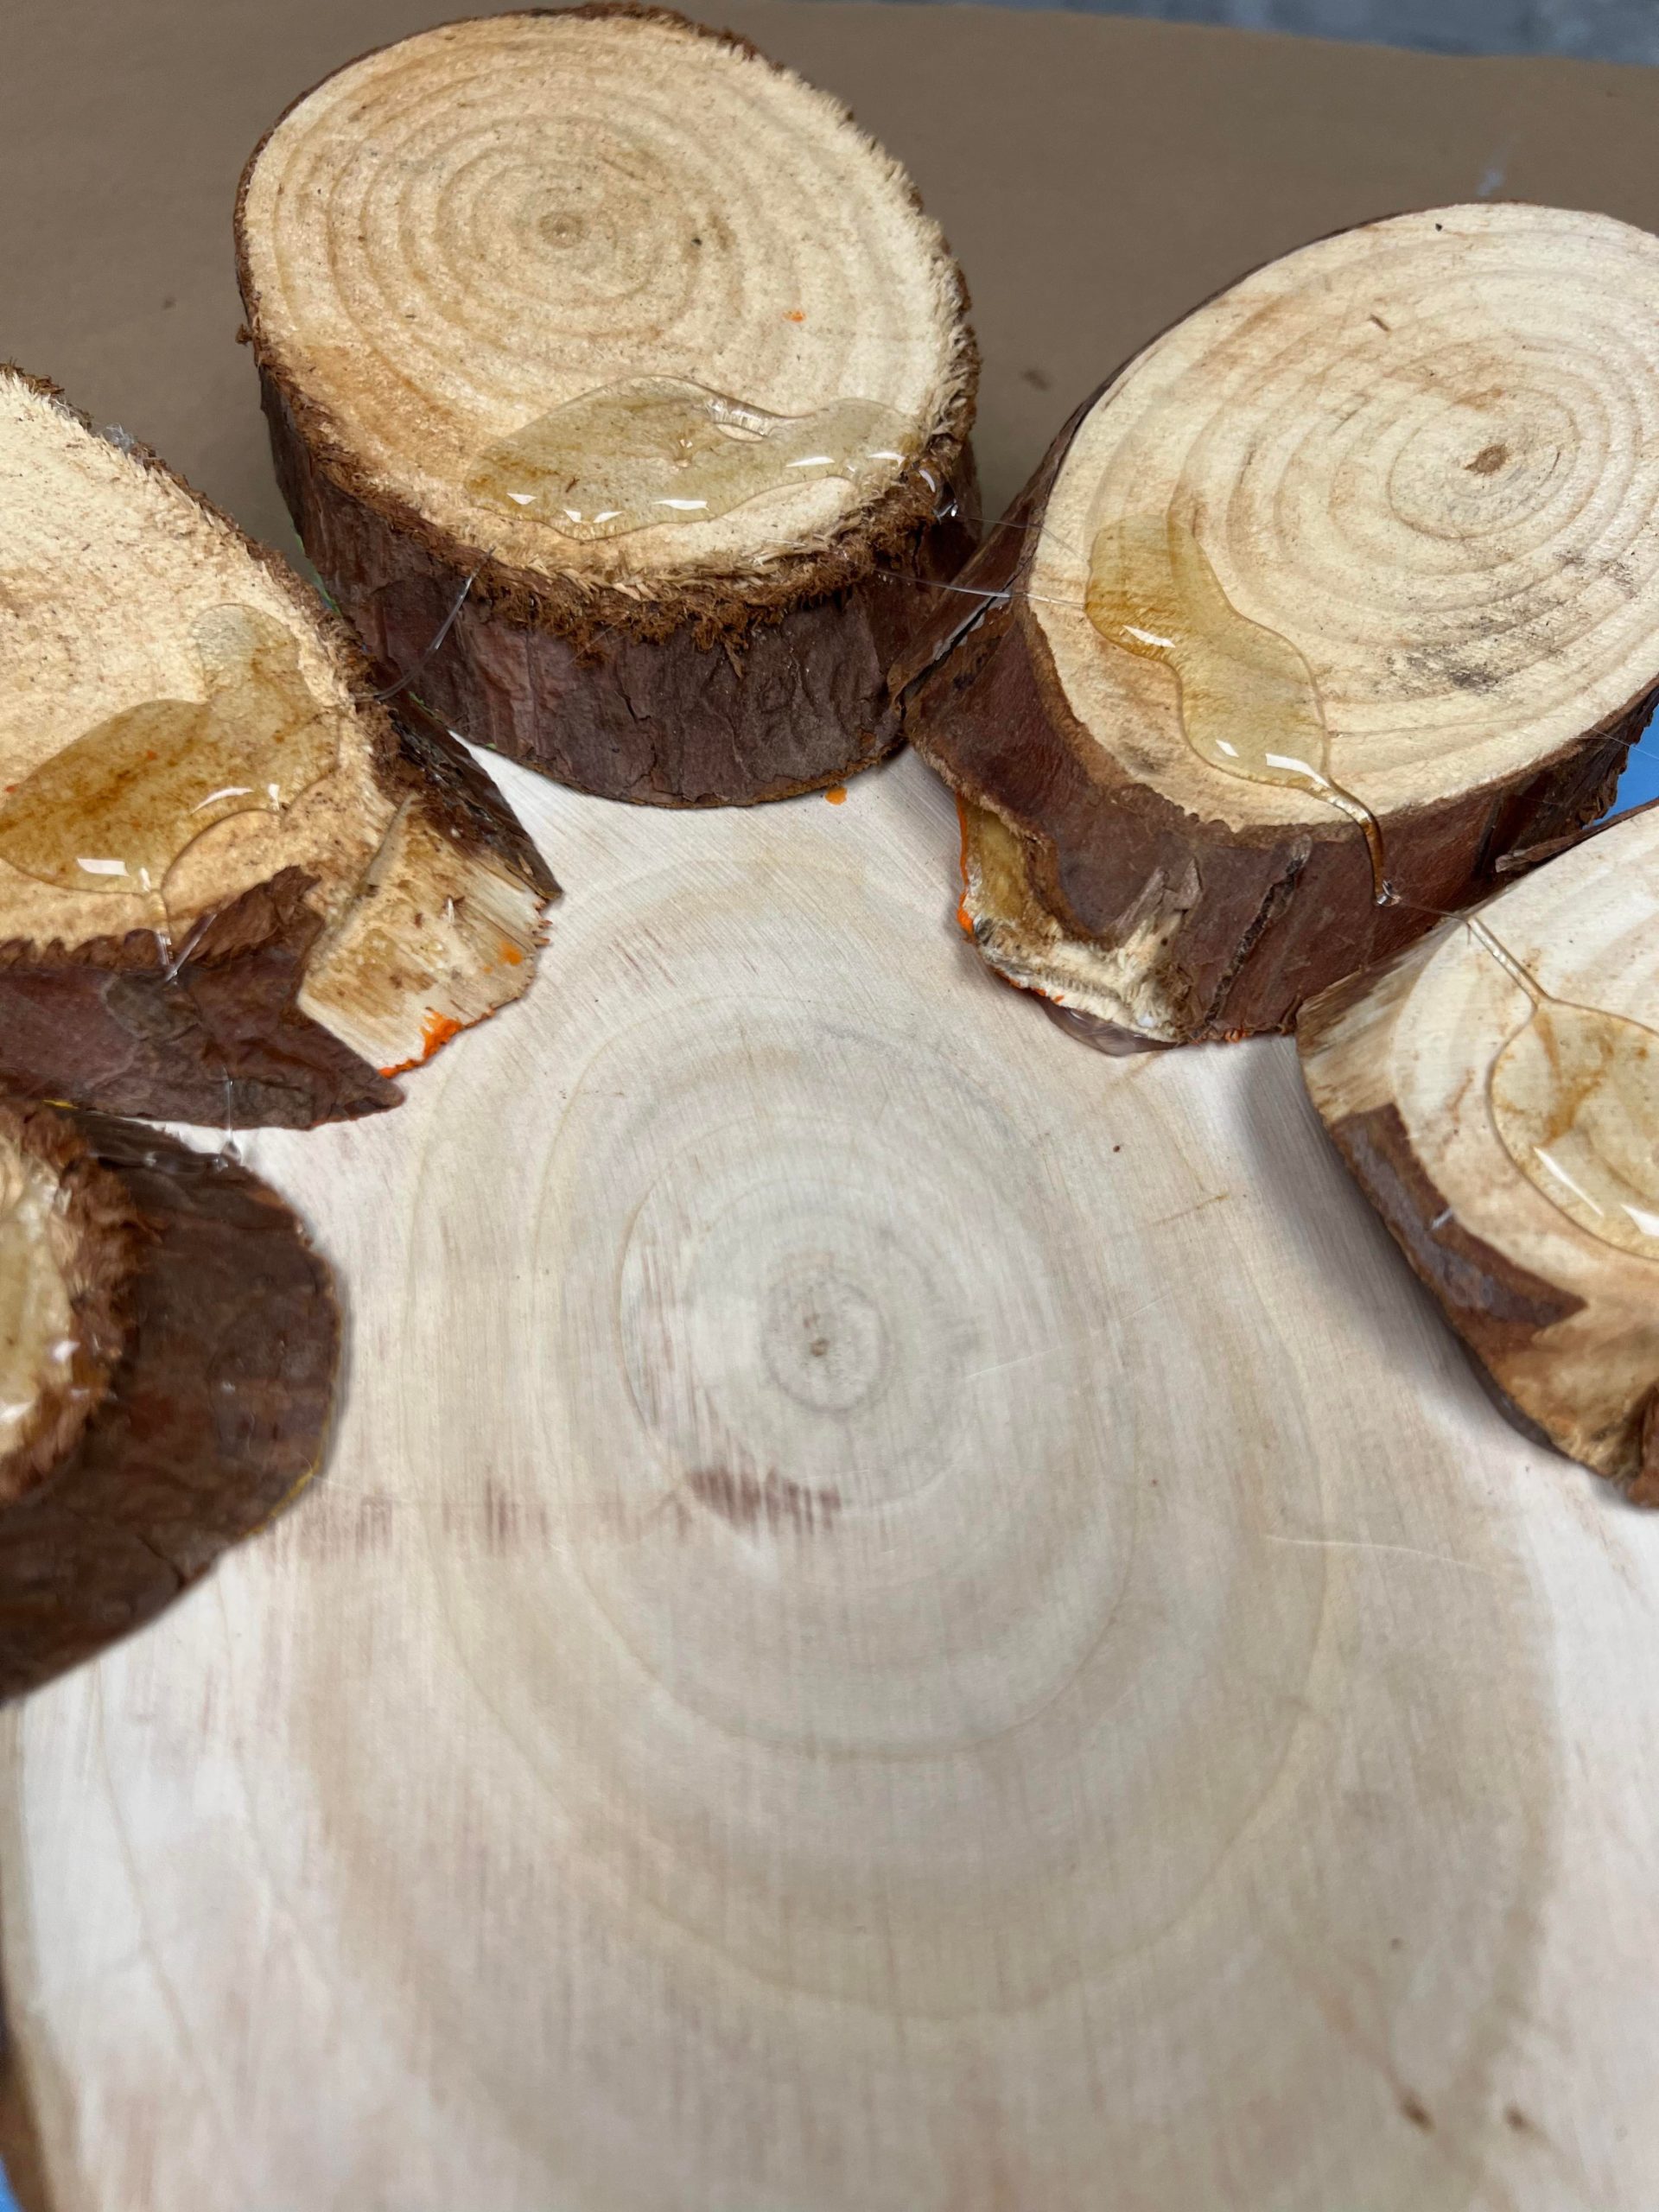
1. One wood round from the Dollar Tree
2. One pack of wood ovals from Hobby Lobby
3. Spanish moss
4. Hot glue
5. One 11”x14” canvas
6. Paint brush
7. One metal thankful cut out from the Dollar Tree
8. Americana acrylic paint by DecoArt ( colors Marigold, Hauser Light Green, Milk Chocolate, Baby Blue, Jack O’Lantern Orange, and Warm White)
9. DecoArt Dazzling Metallic color Glorious Gold

You can find all of the paint that I’m using by clicking the link below.
https://shop.decoart.com/americana-acrylics?ref=theshabbytree
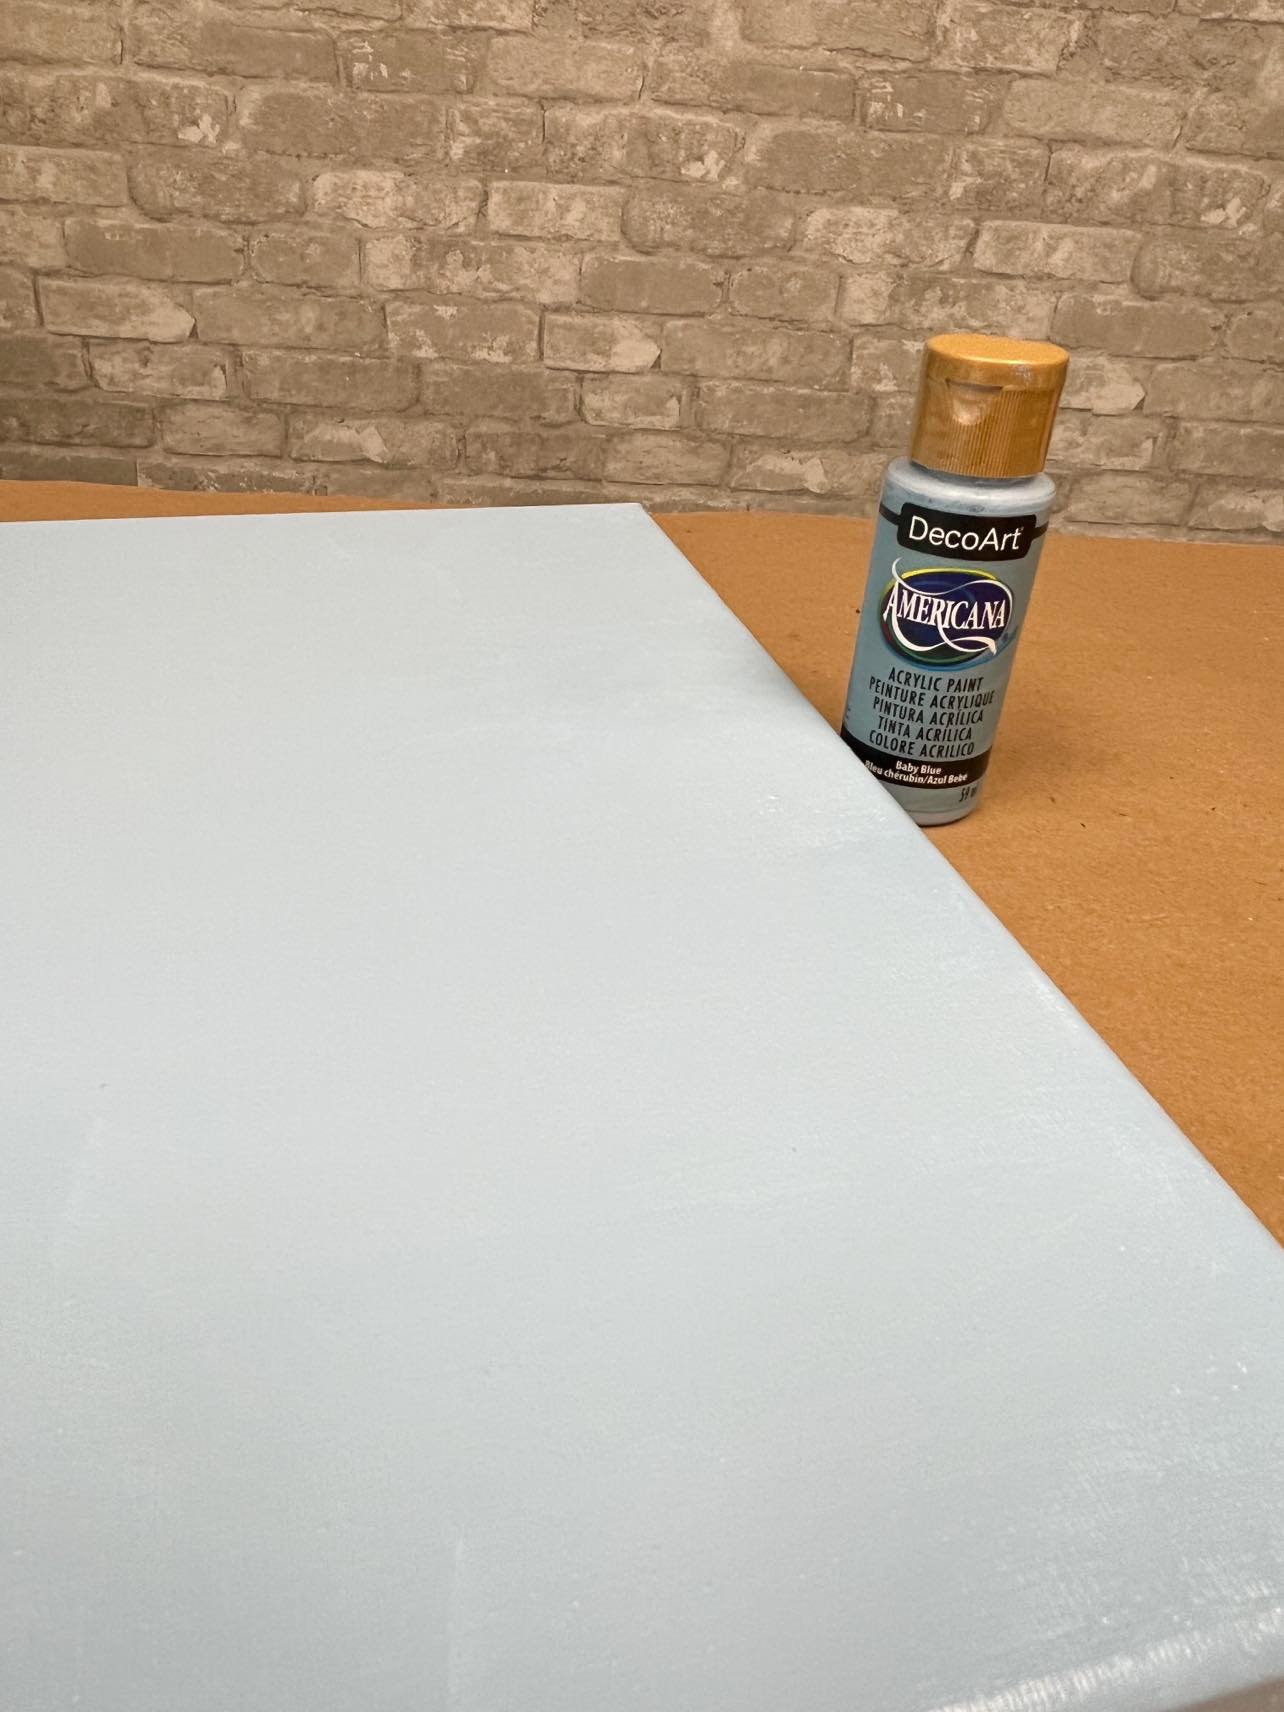
The first thing that I did was paint the canvas with the Baby Blue colored paint.
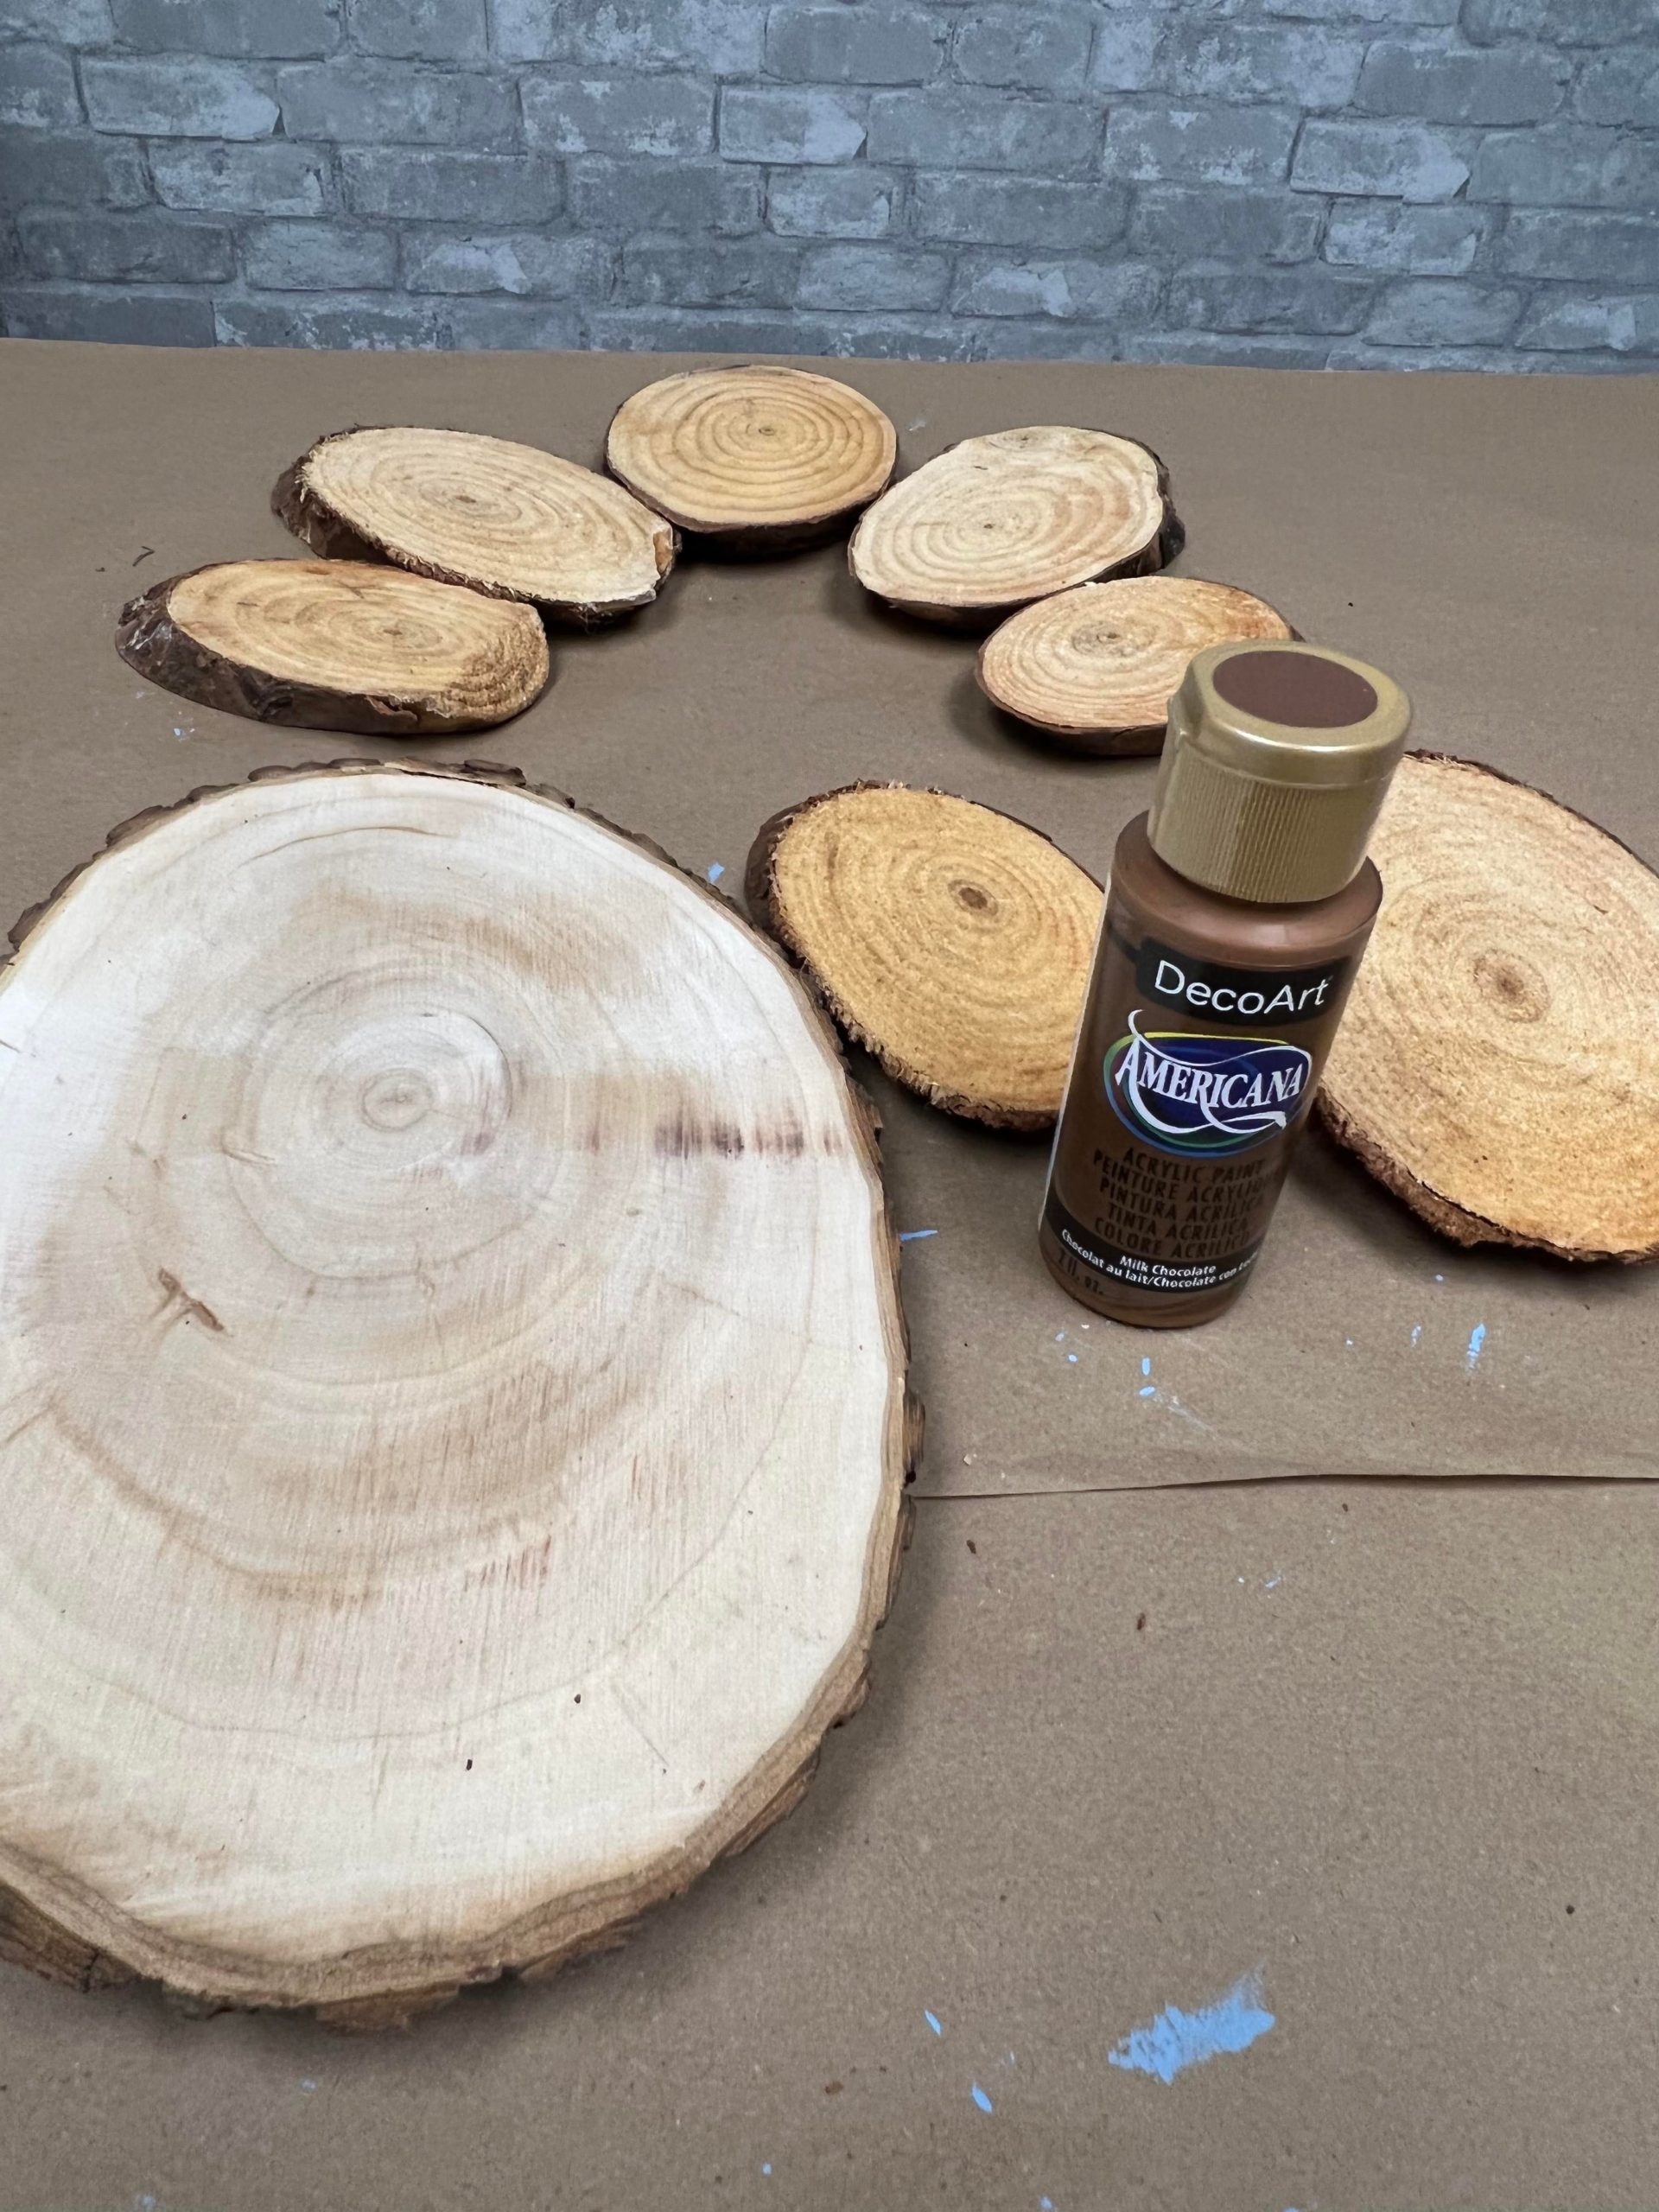
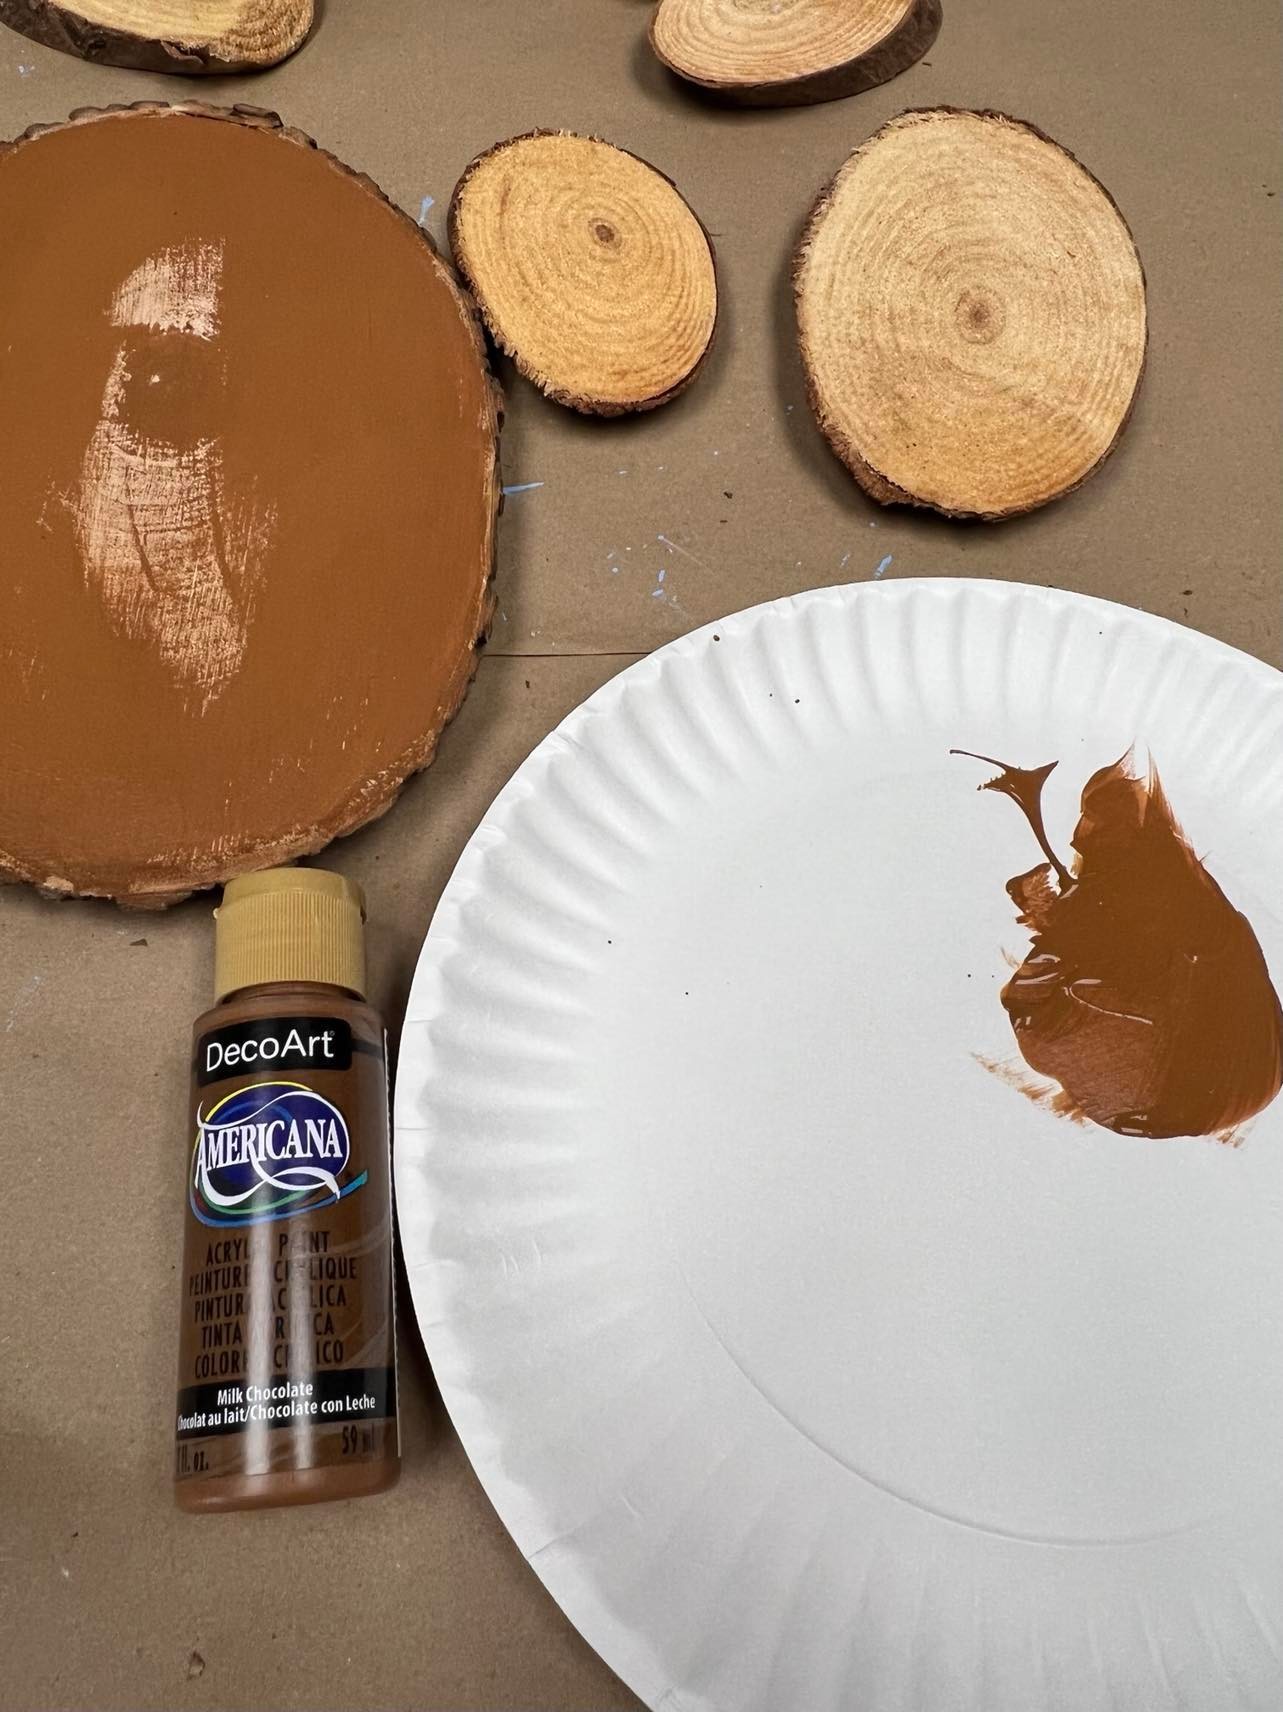
I then painted the wood round and 2 of the wood ovals with the Chocolate Brown paint.

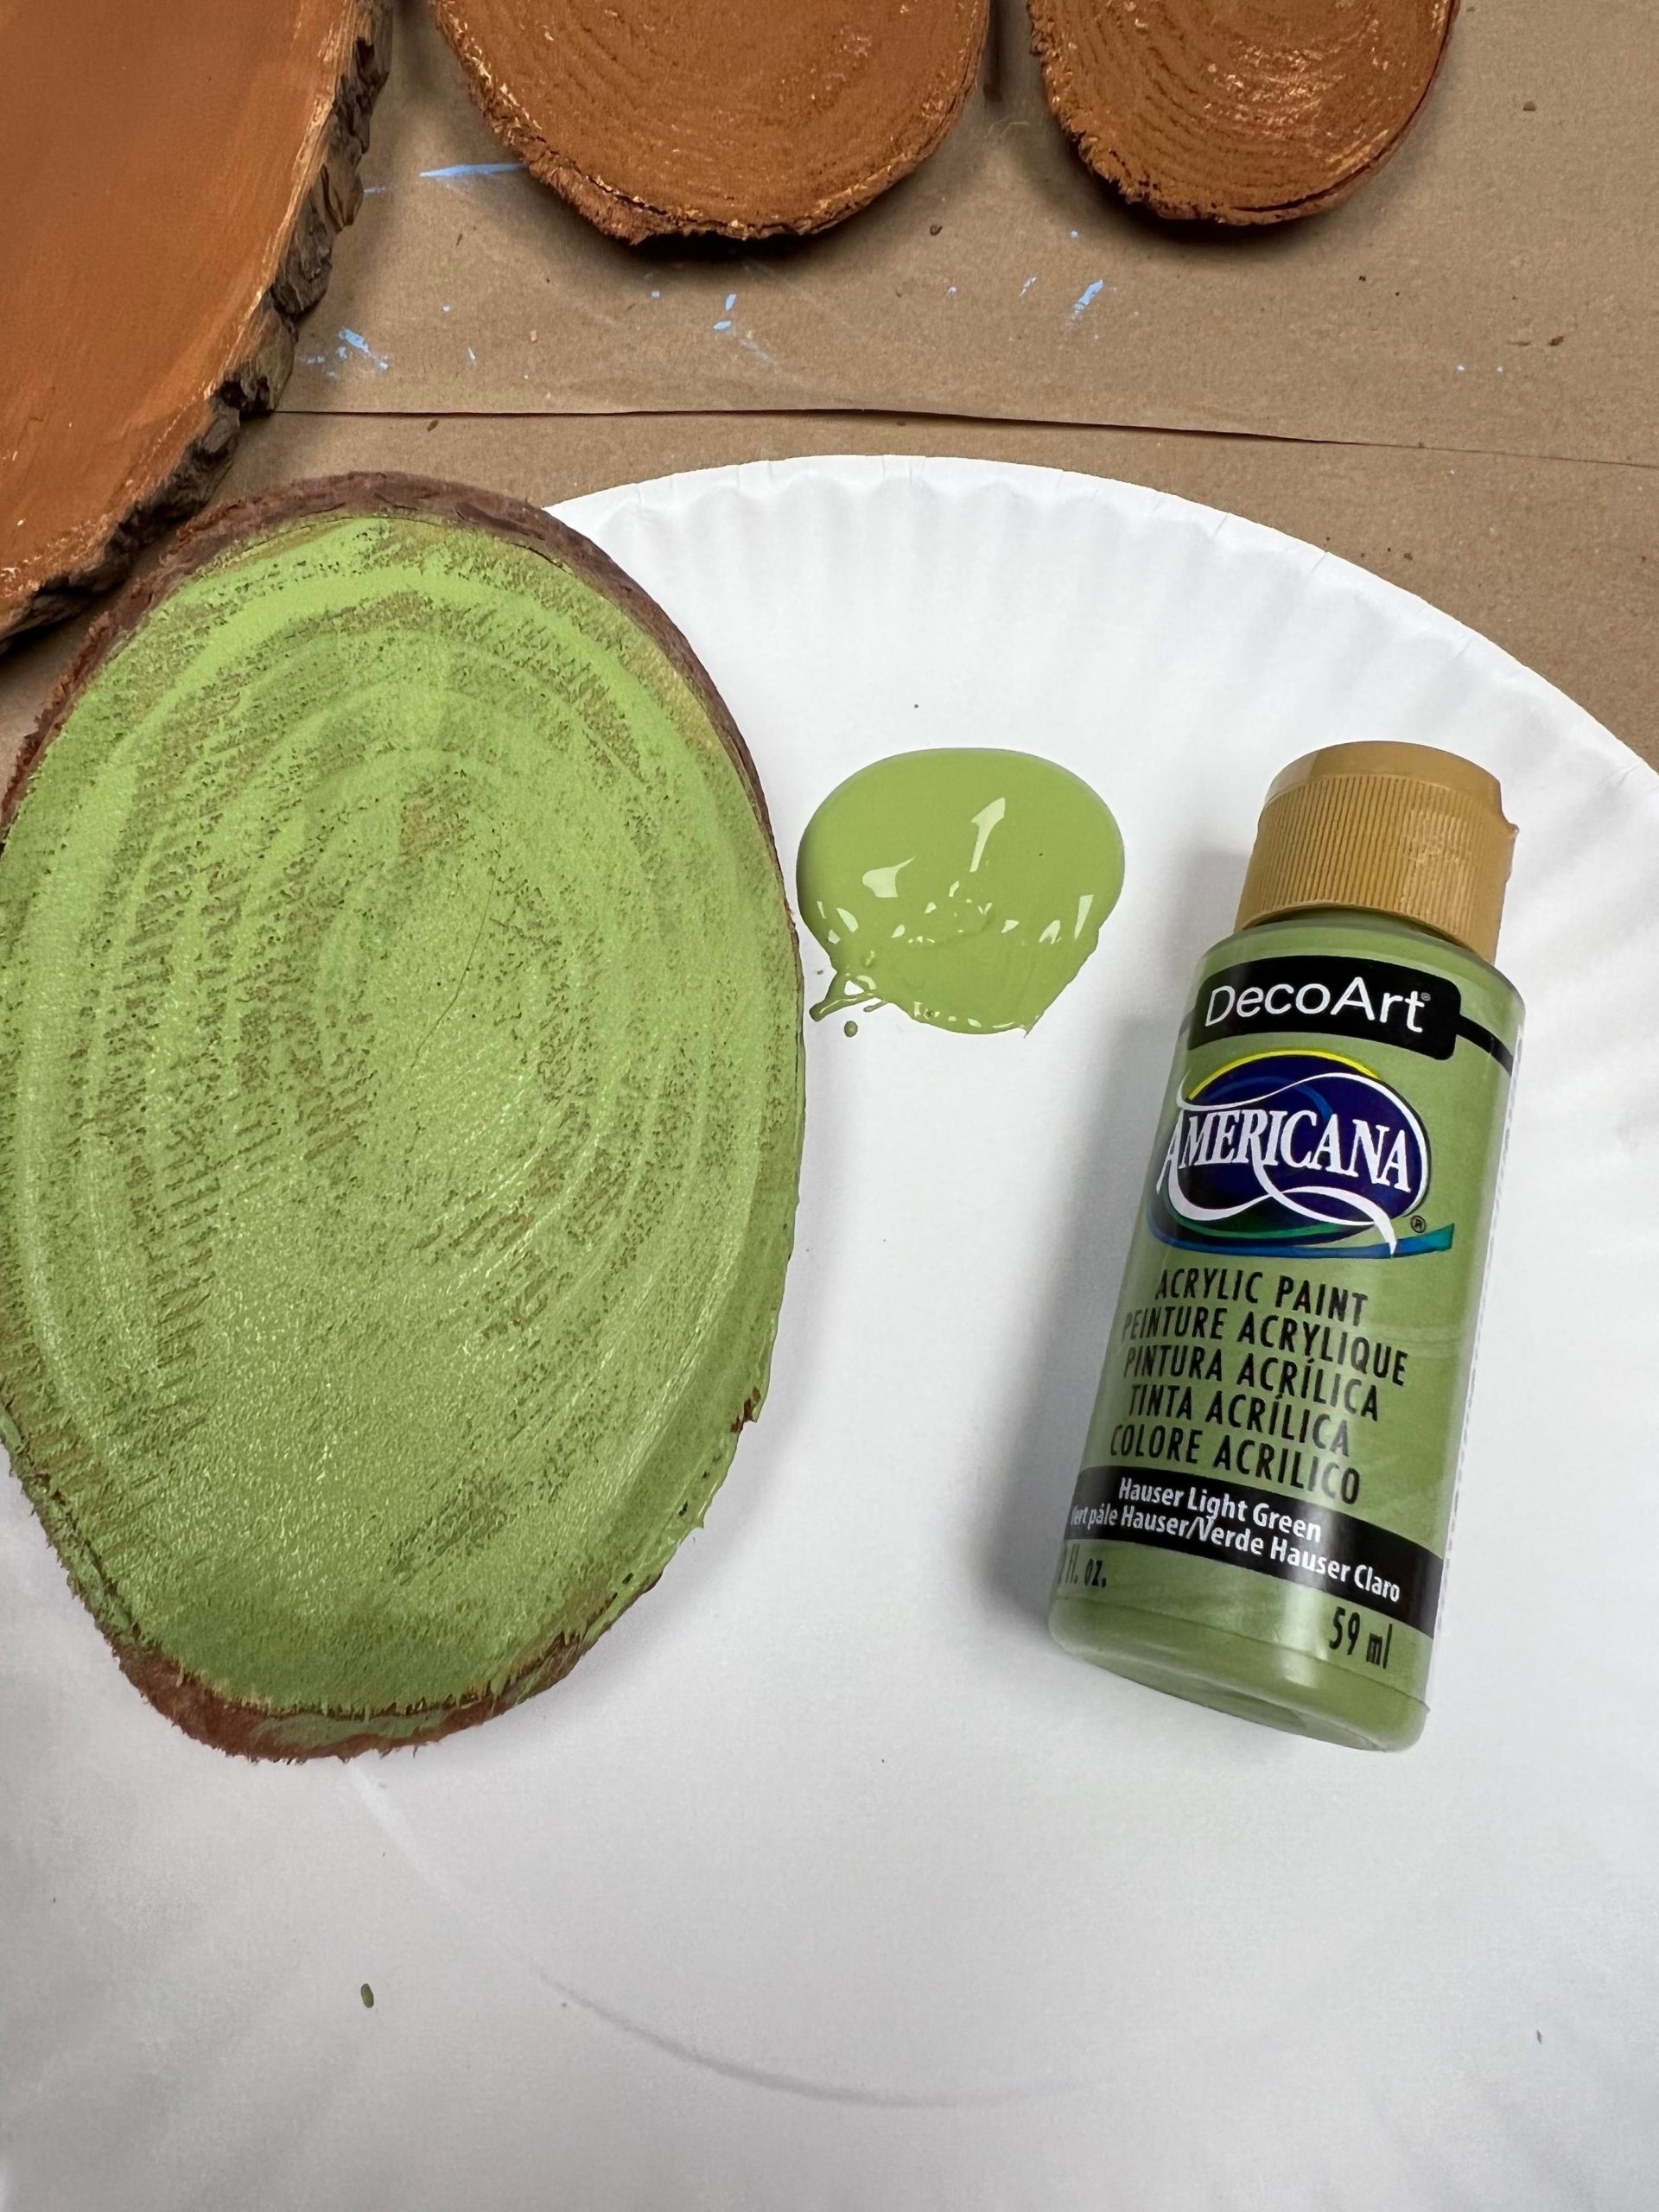
The next step is to paint 5 of the wood rounds for feathers. I painted one if them with the Hauser Light Green.
I then painted 2 of the wood rounds with the Jack O’Lantern Orange.

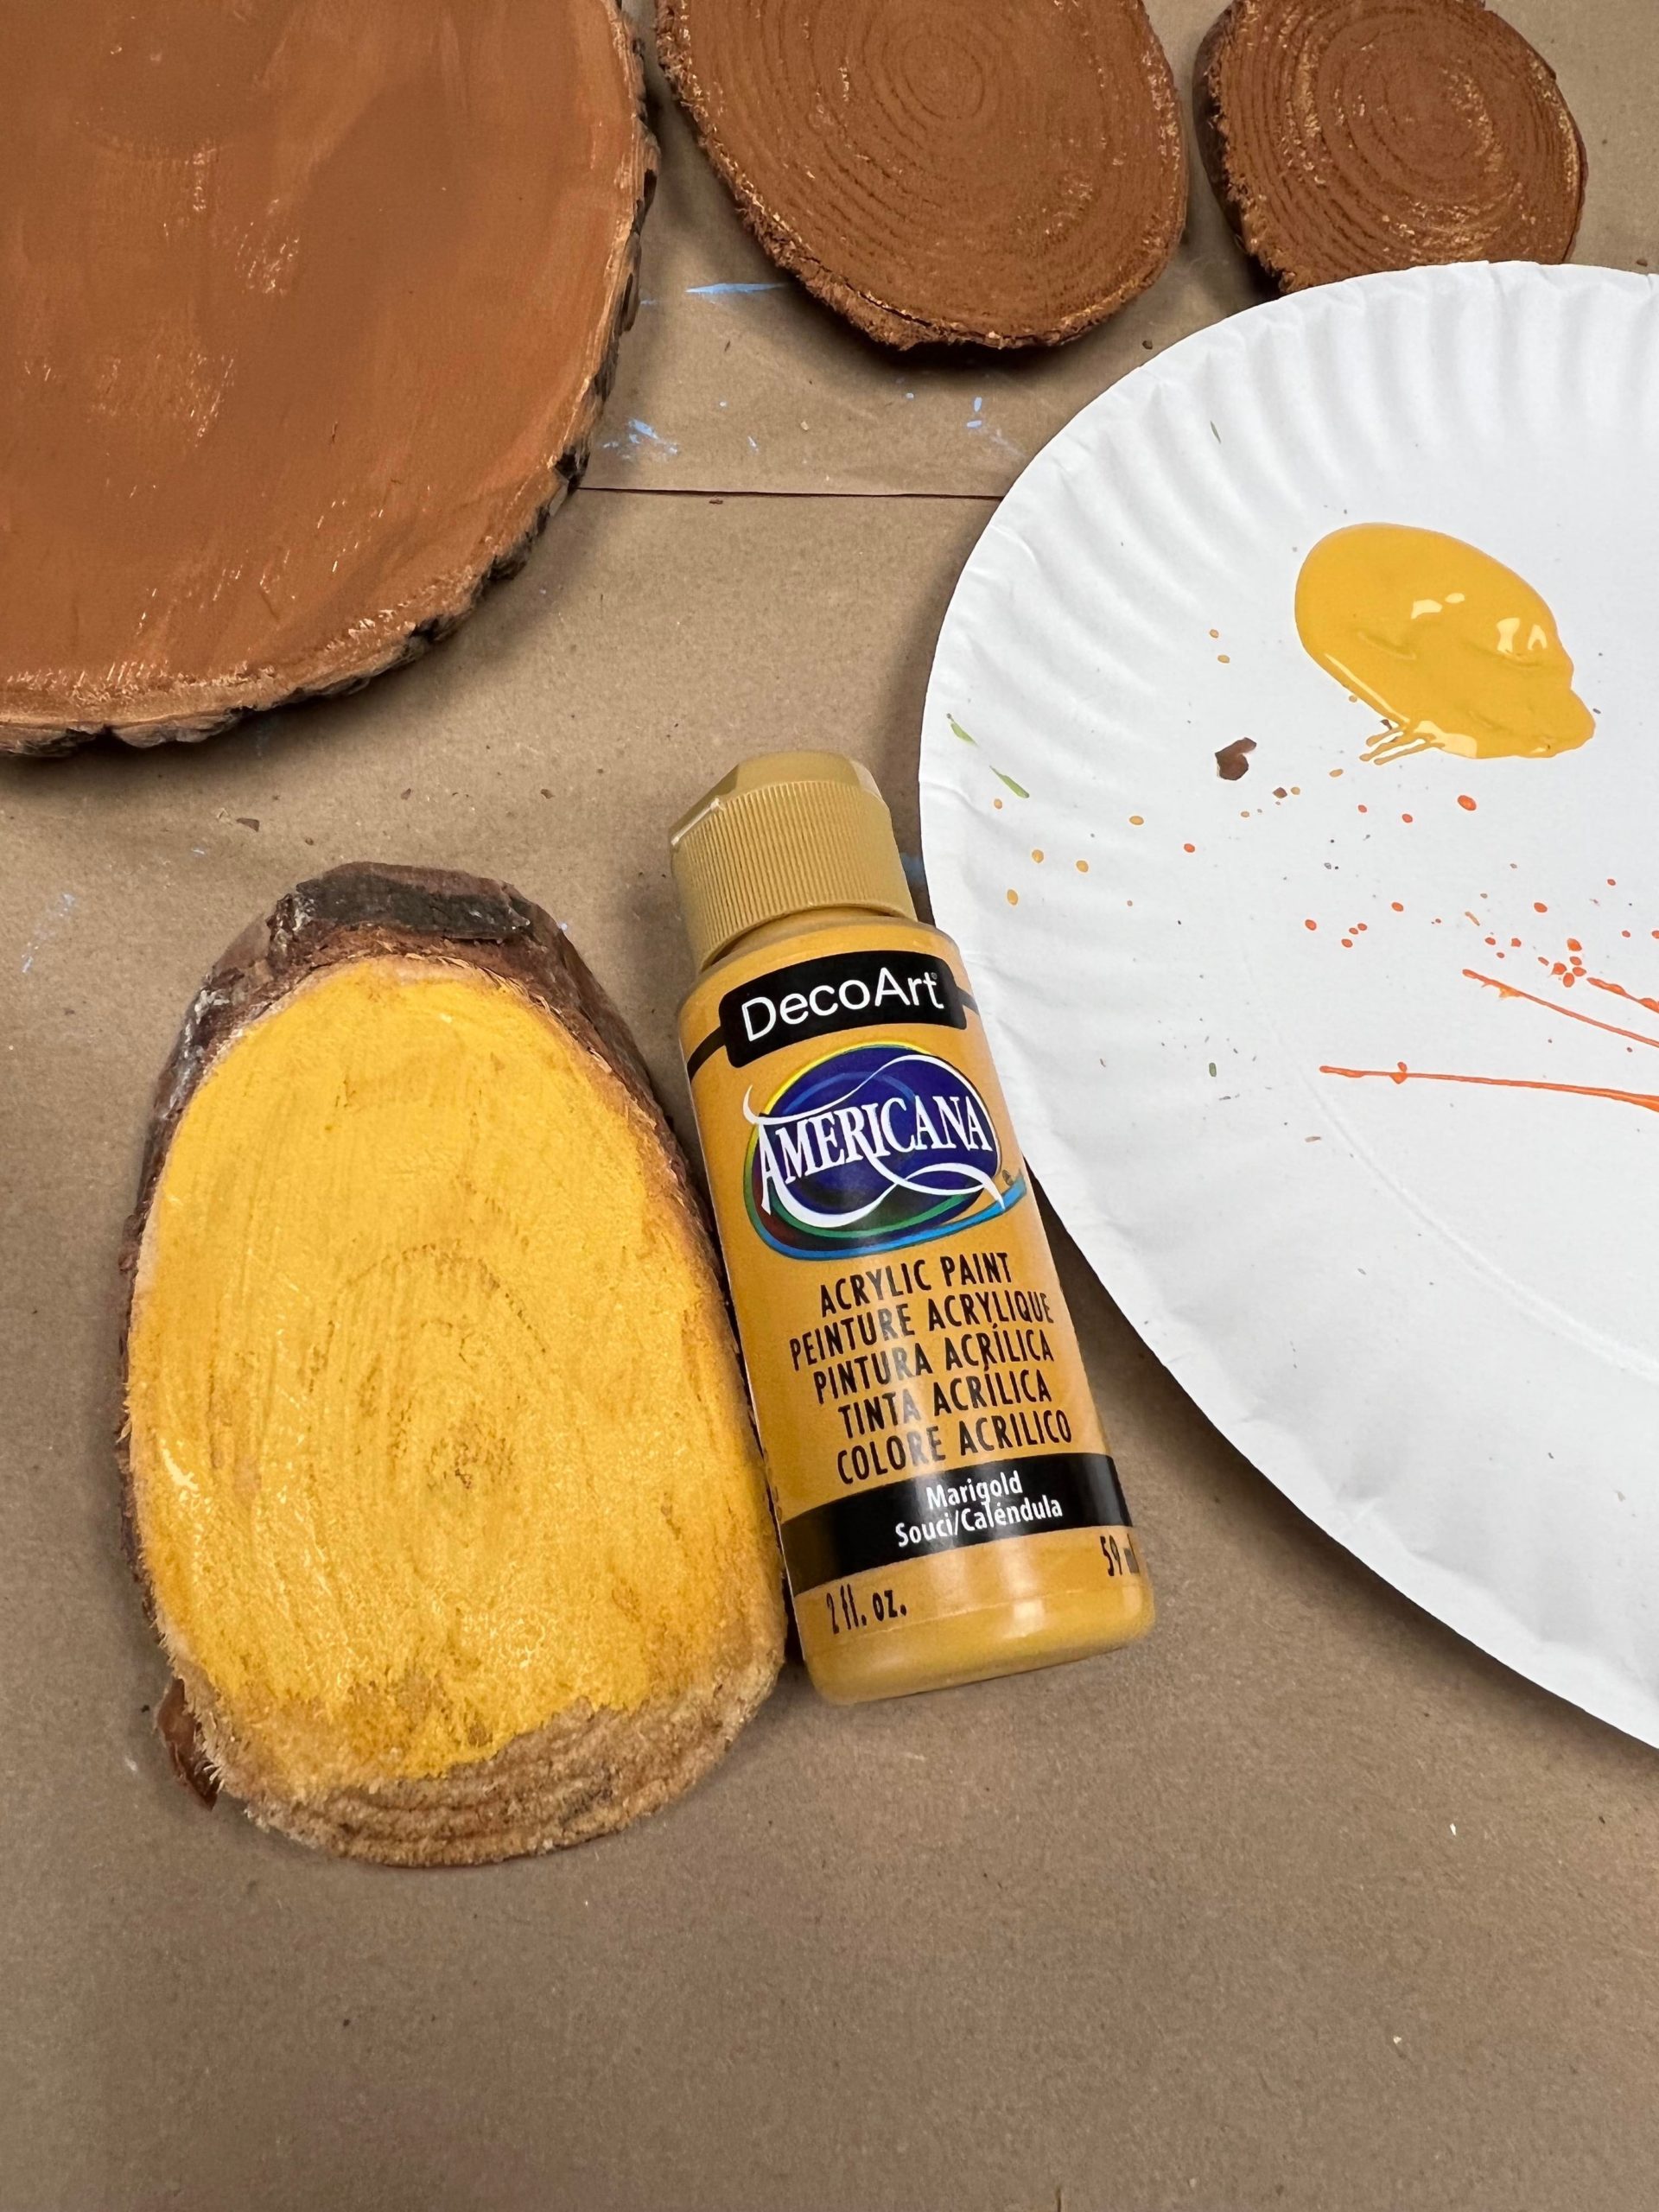
The last 2 wood rounds I painted with the Marigold.
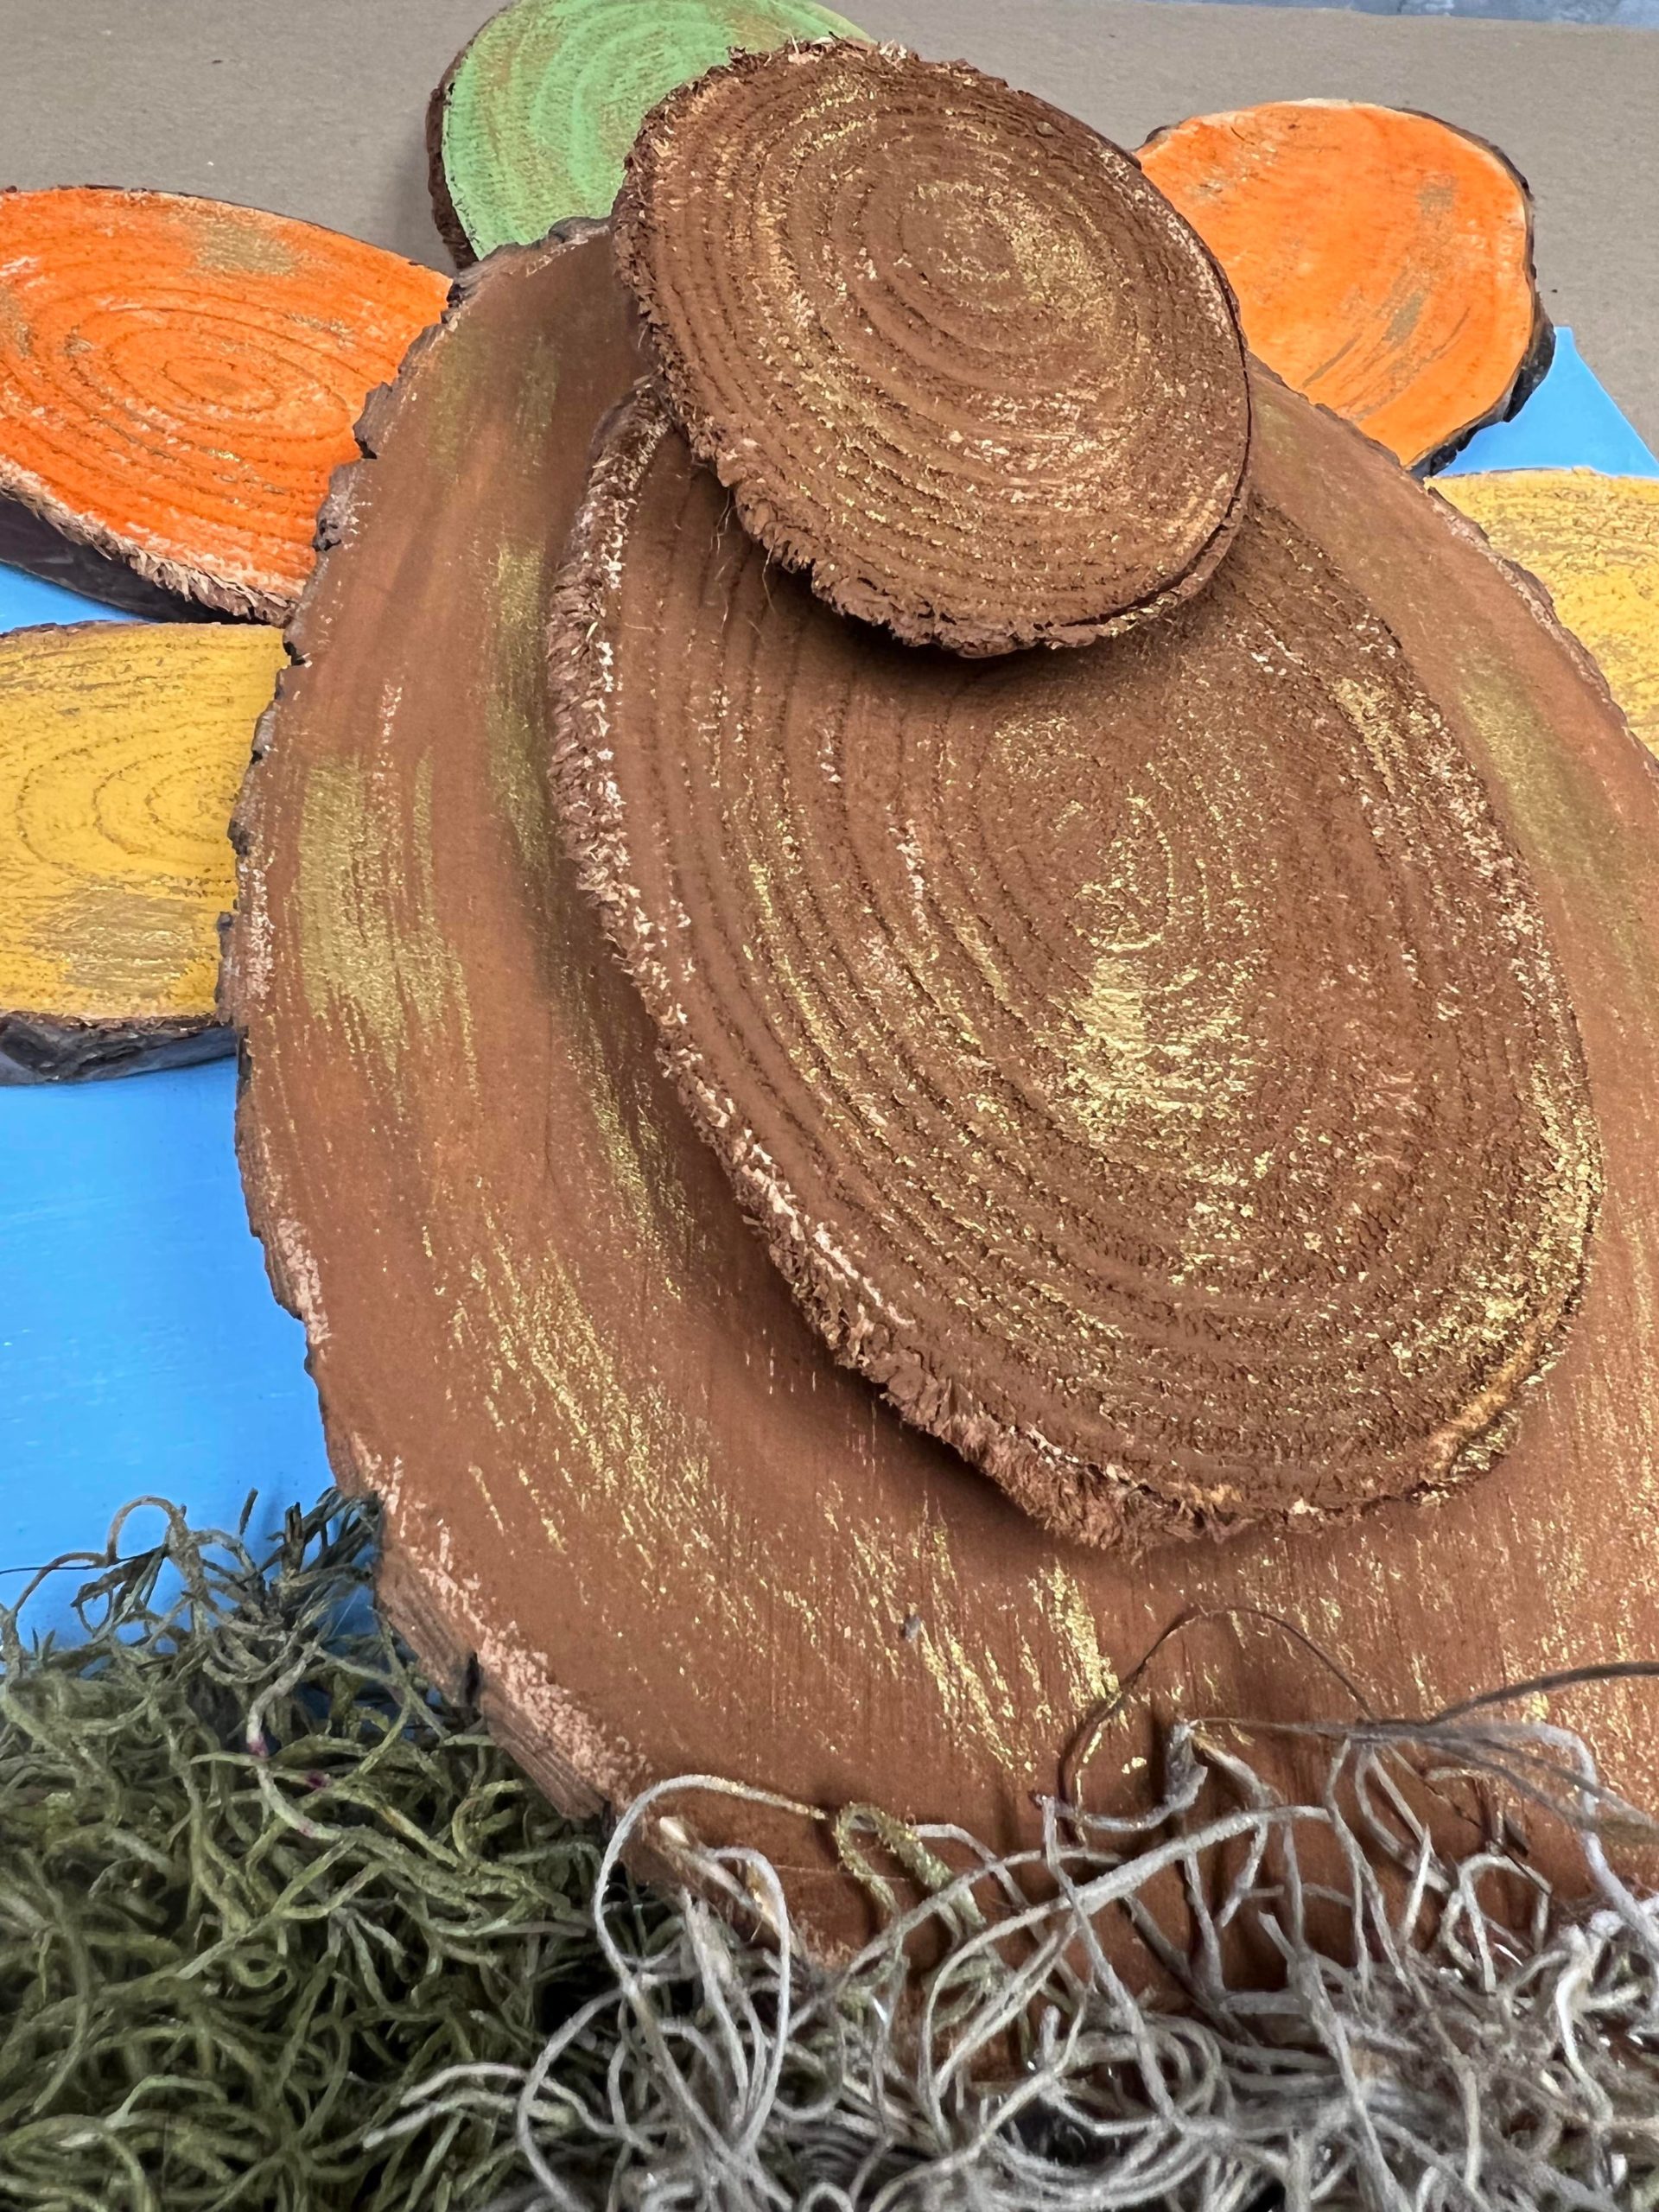
Once I had the pieces all painted I then glued them together.
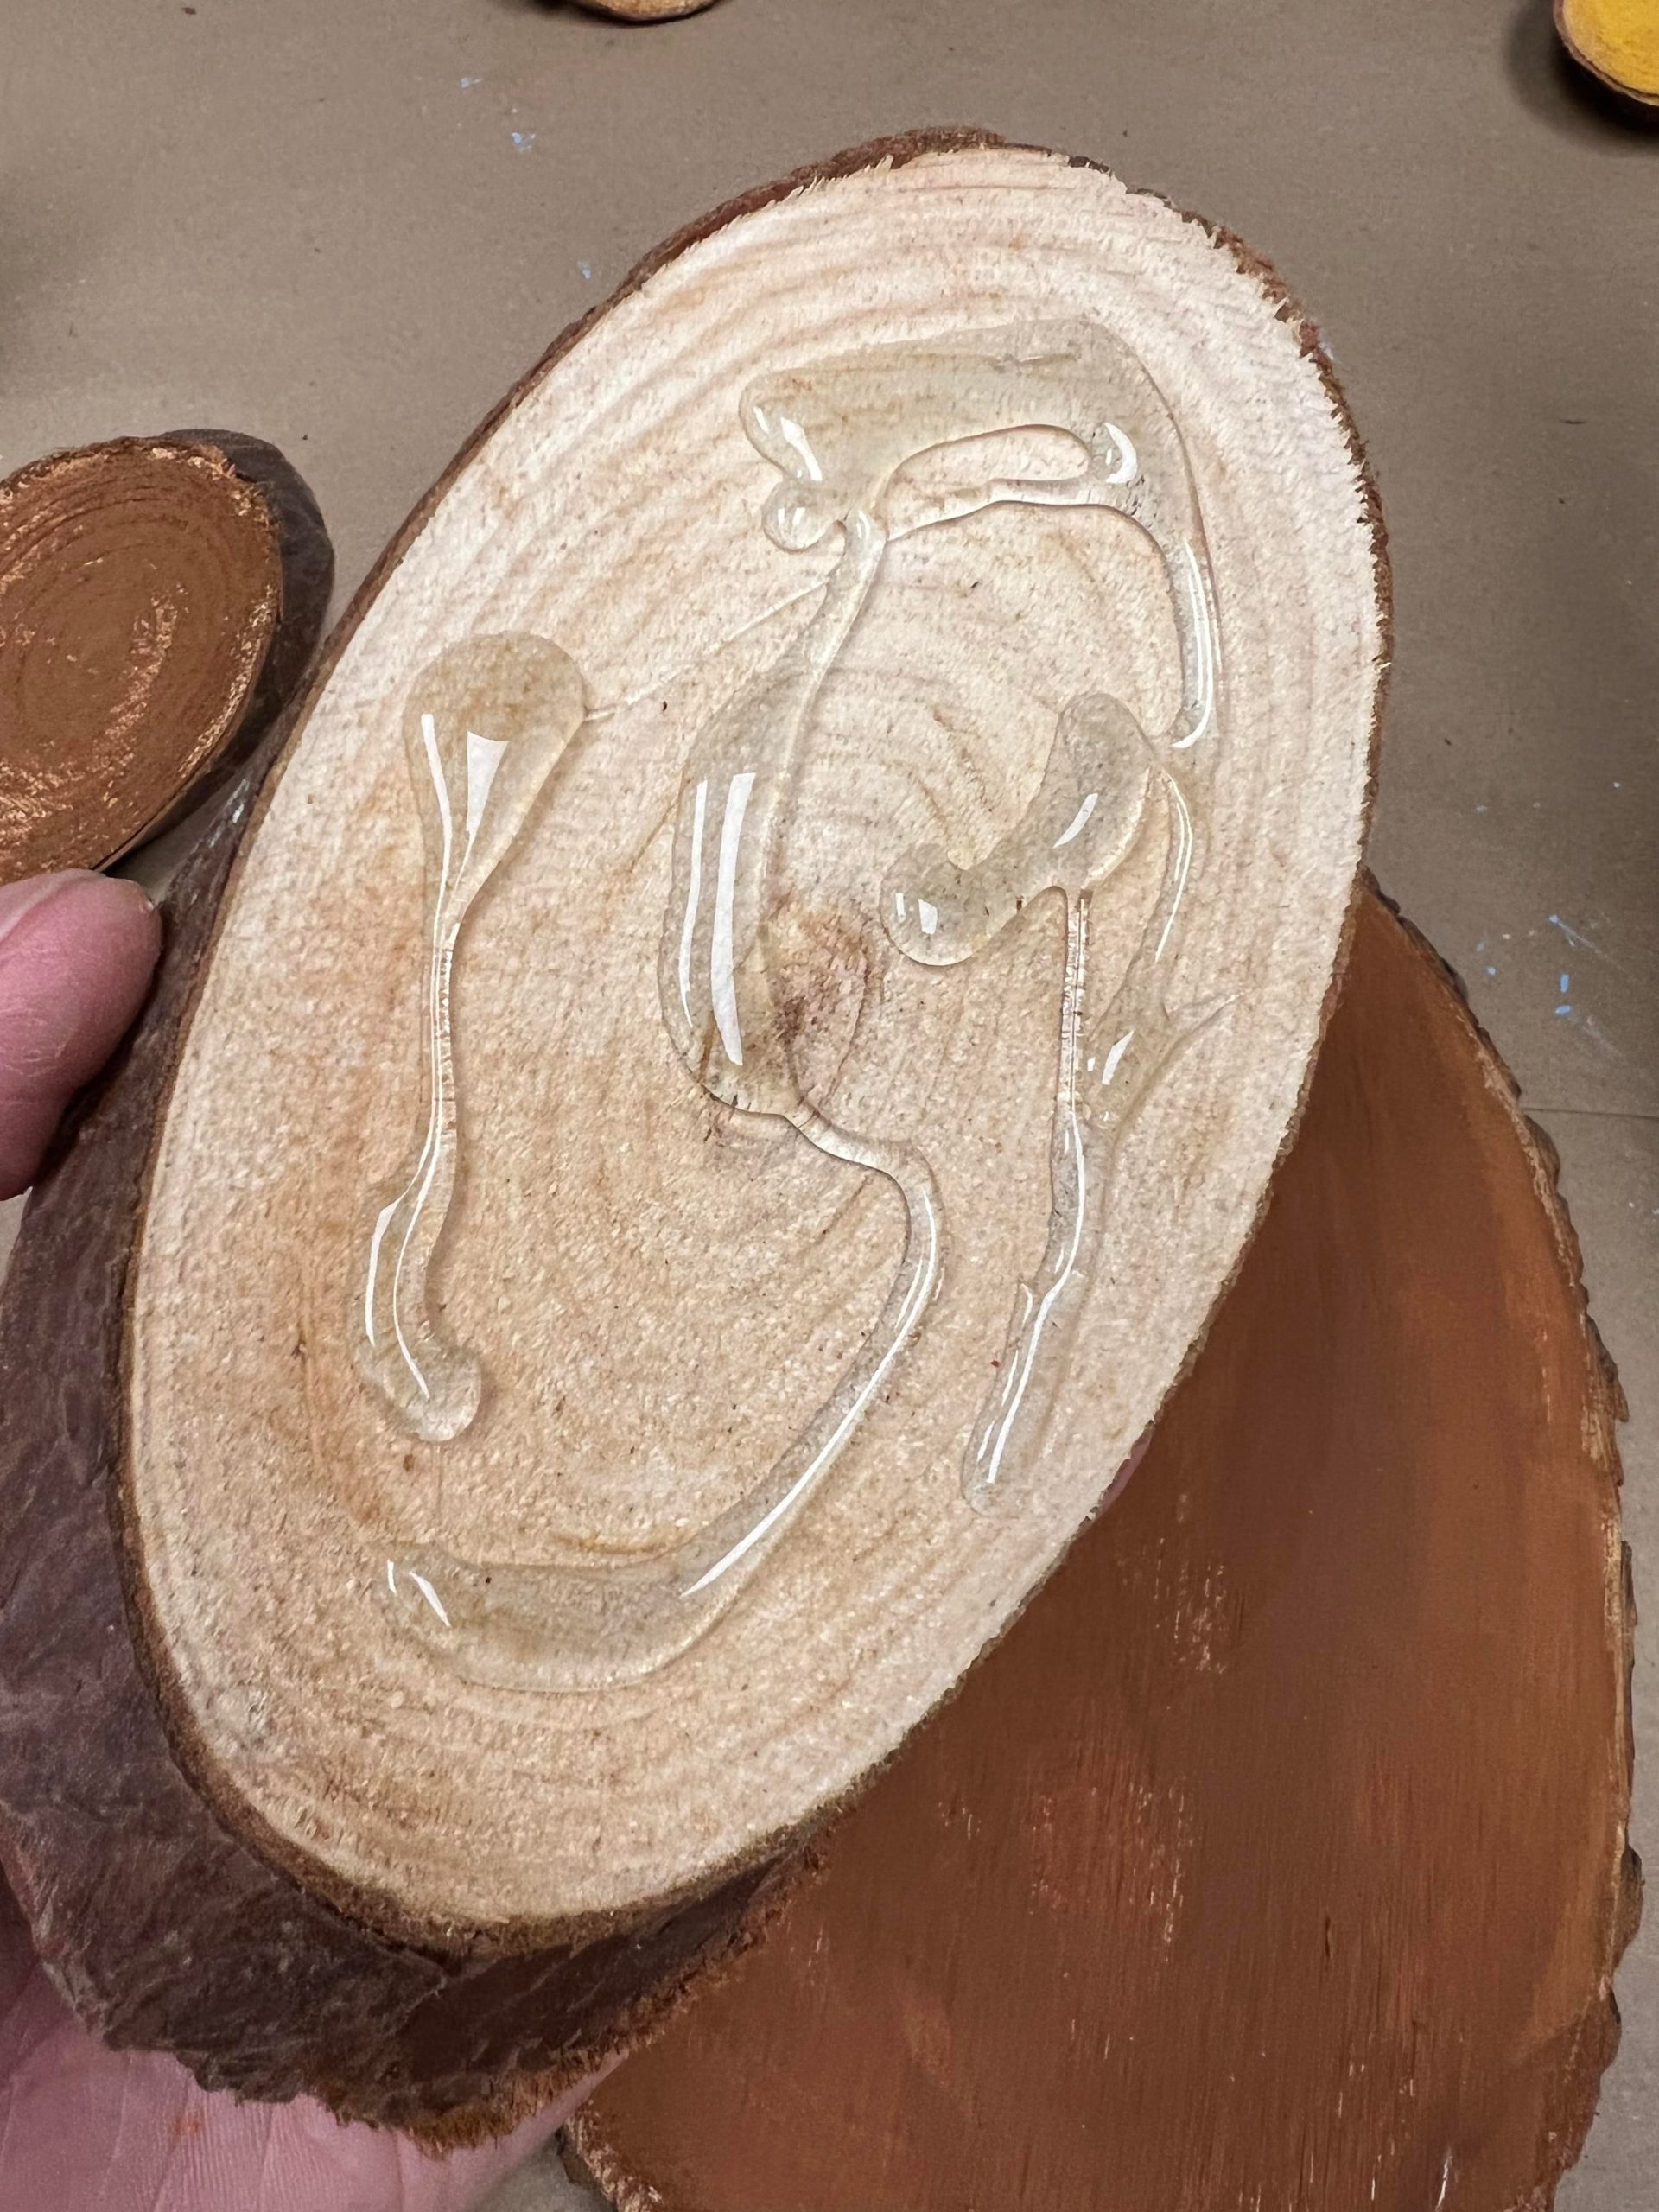
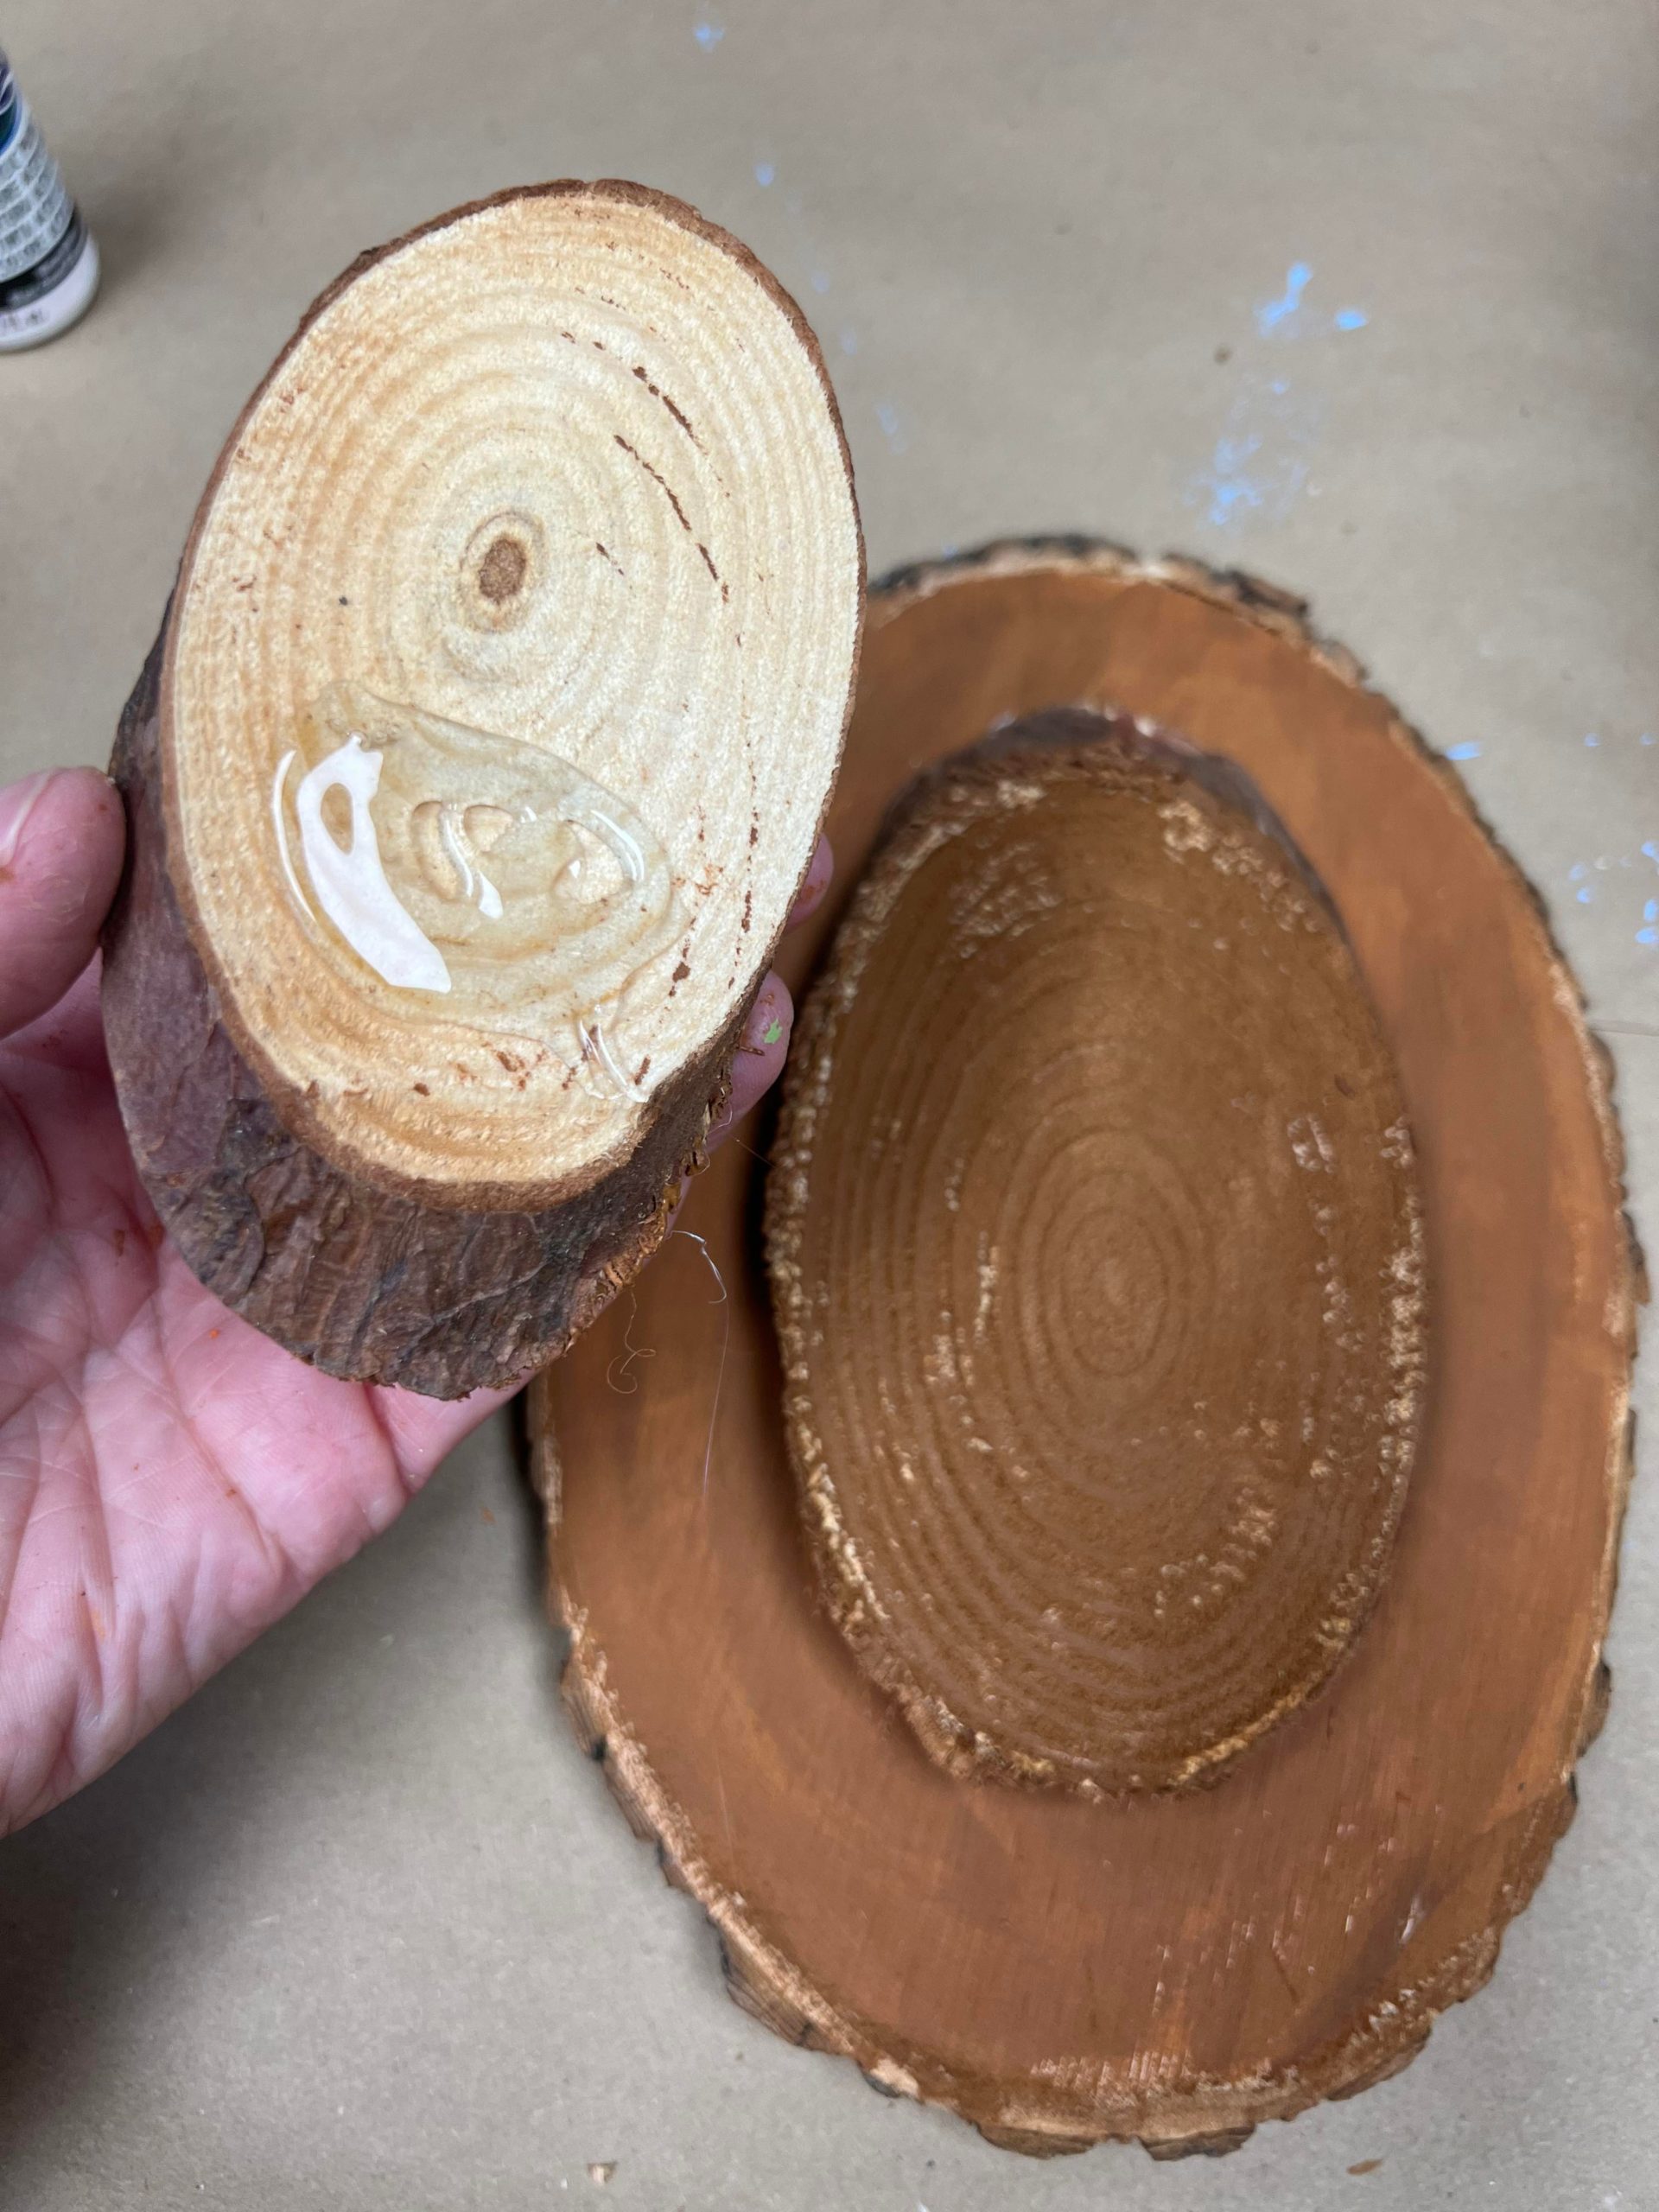
I first glued all 3 Chocolate brown pieces together as shown in photo above.
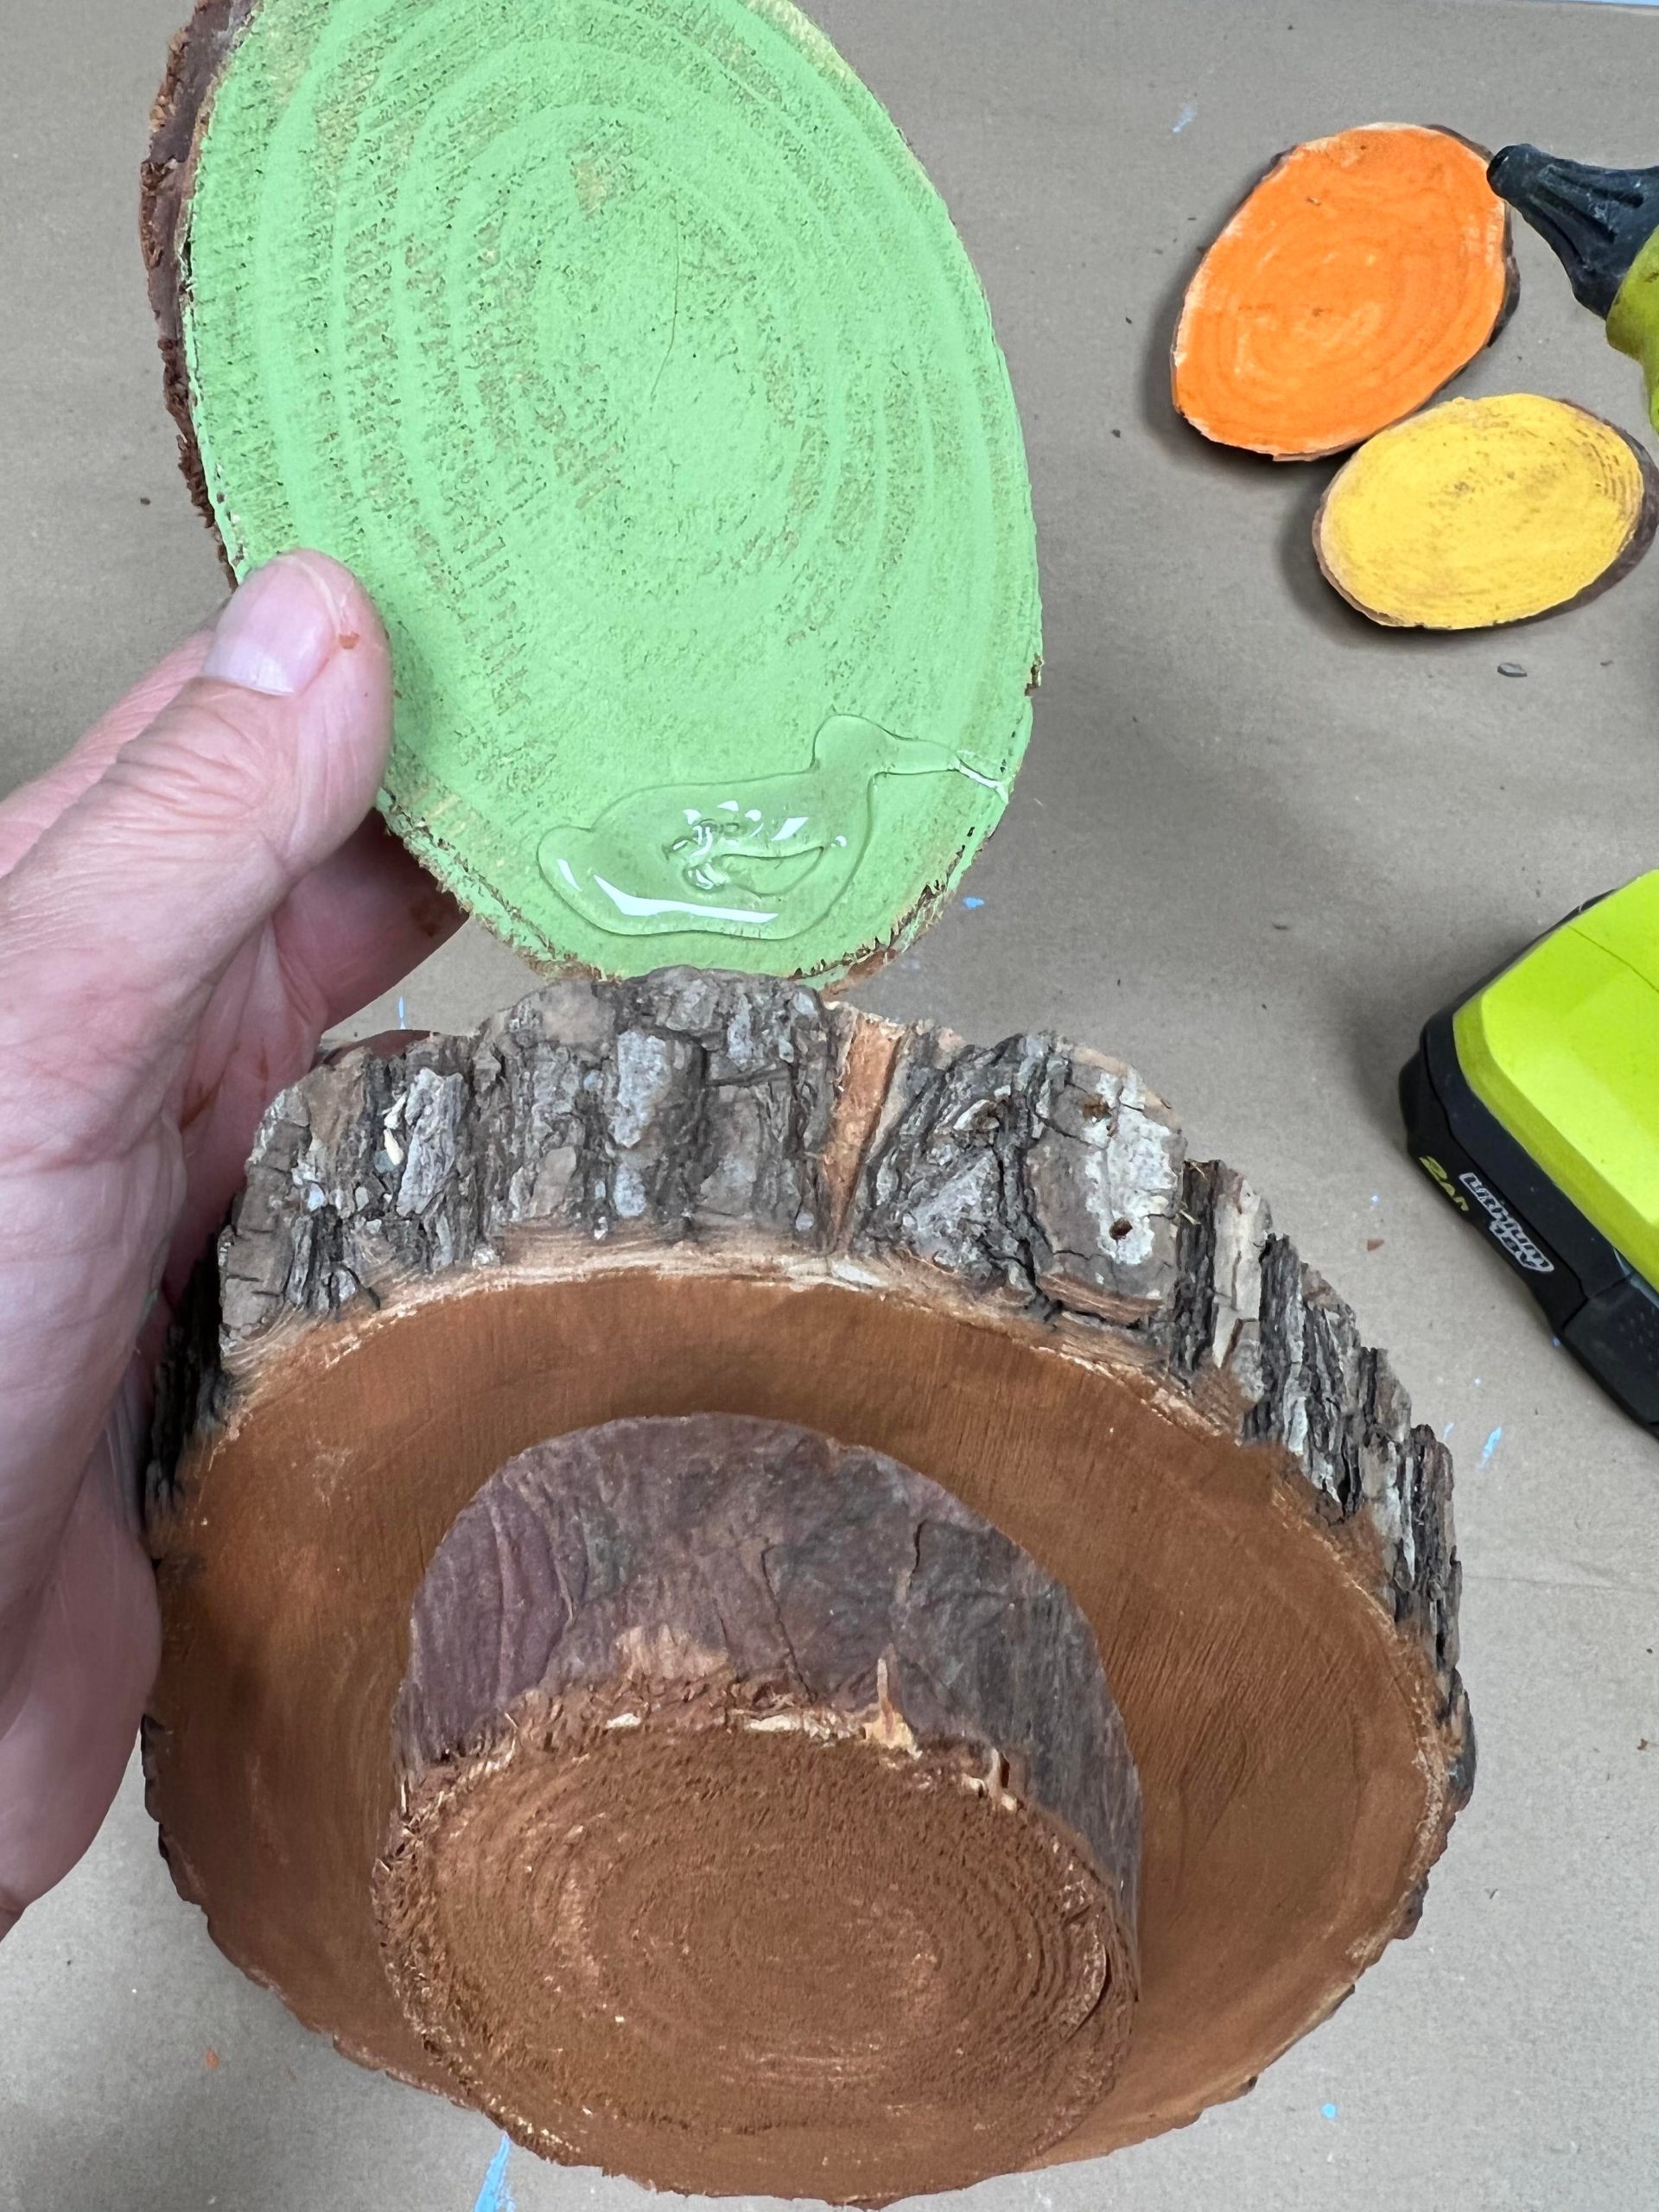
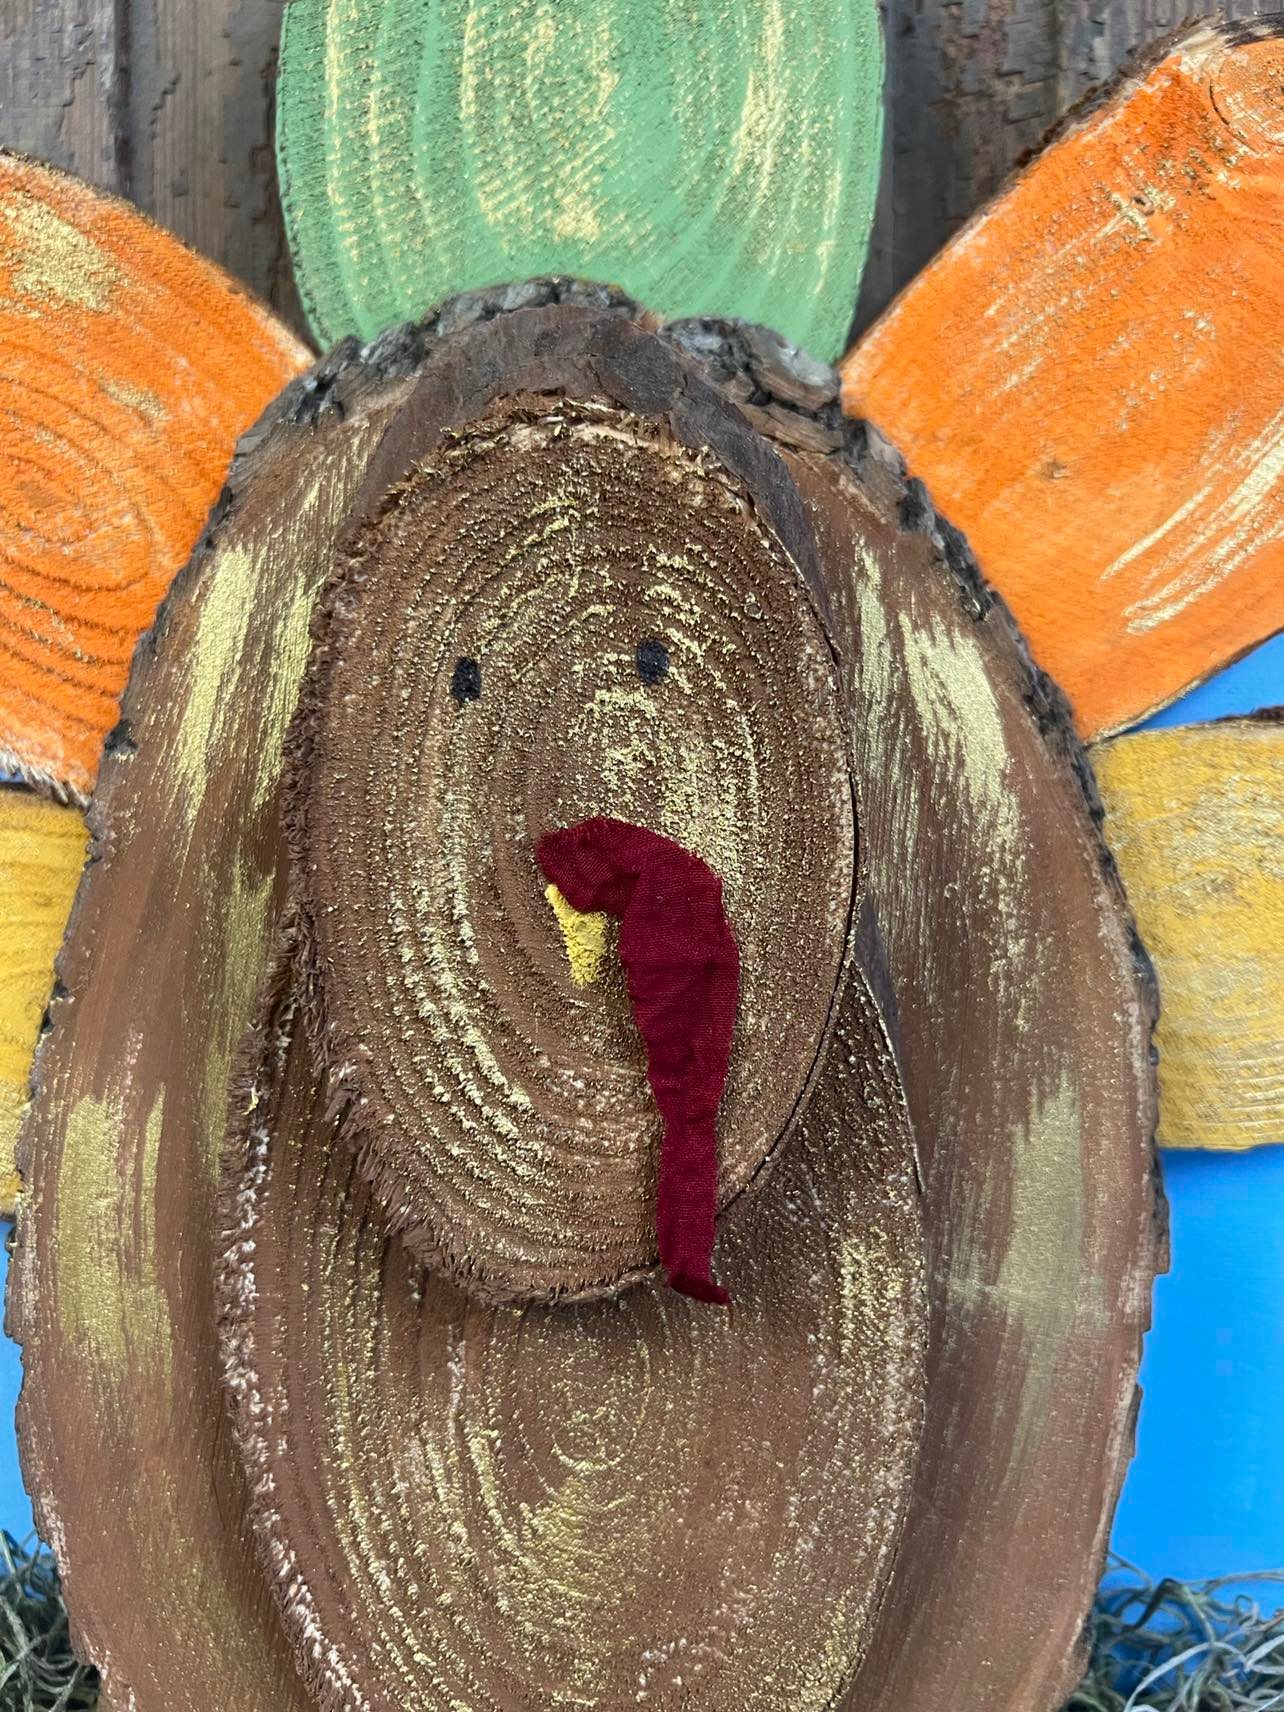
I glued the green wood oval in the center and then added the orange and yellow.

Once I had all of the pieces glued in place I then glued the turkey onto the canvas.
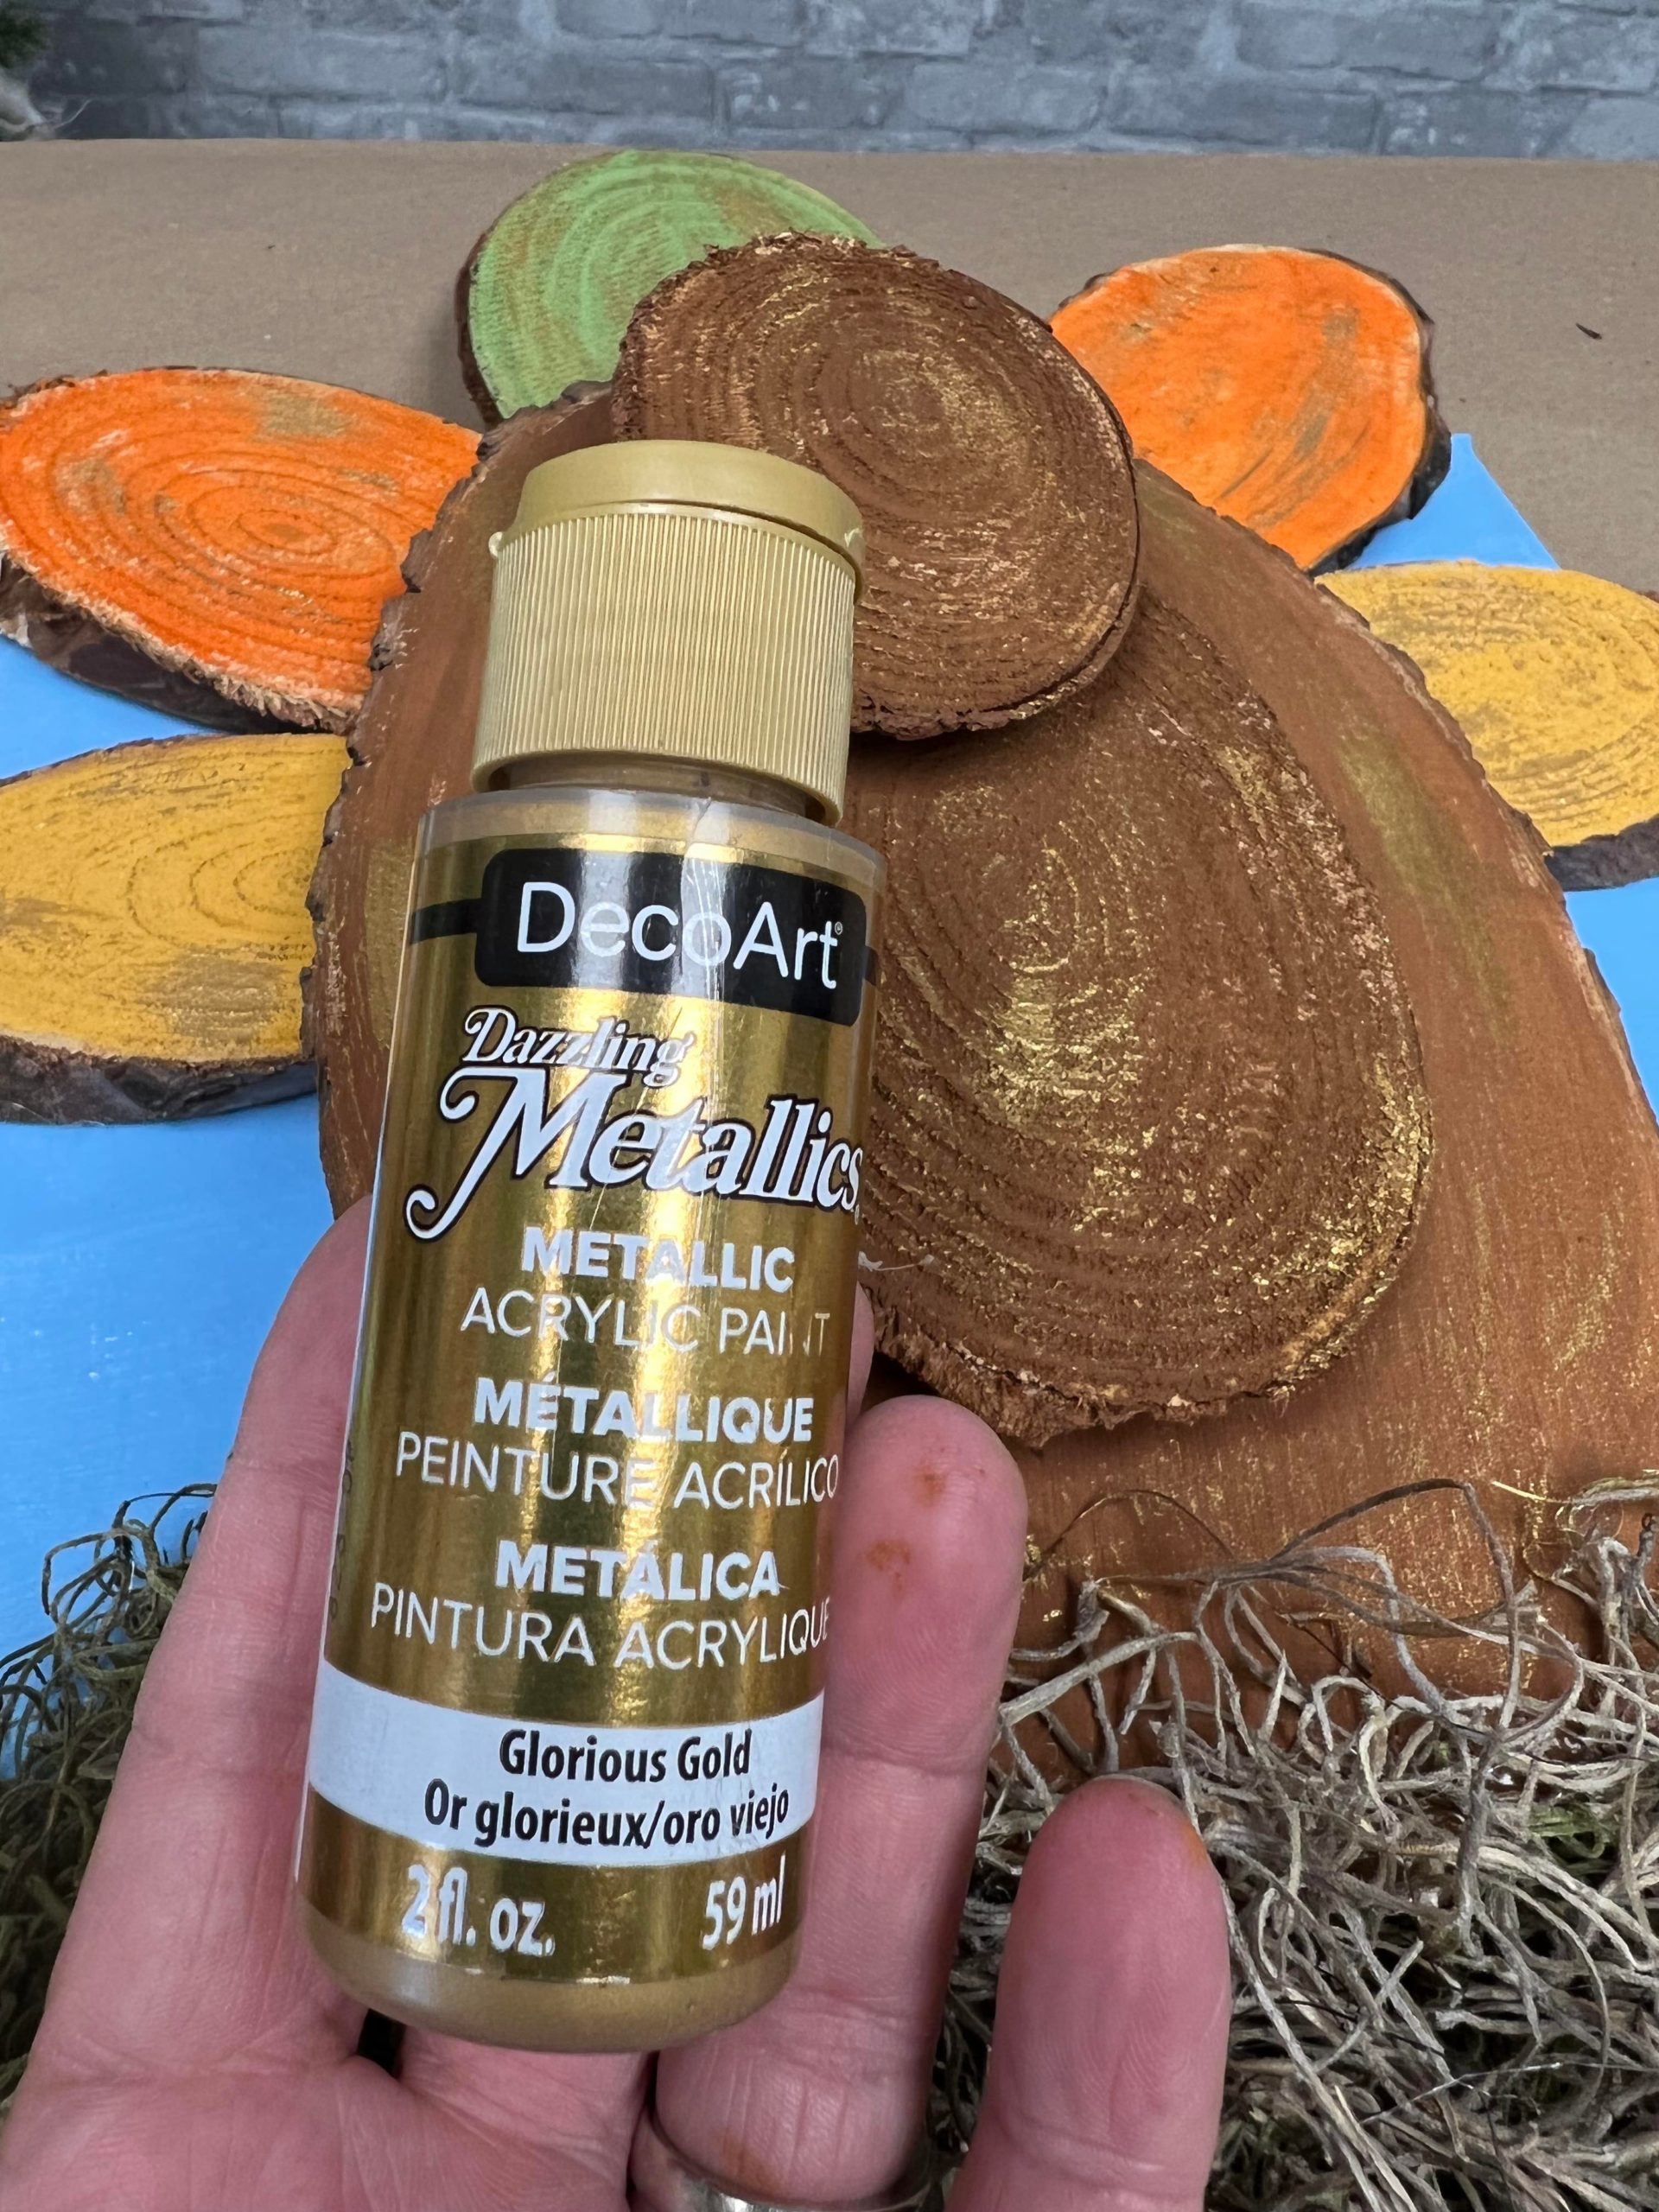
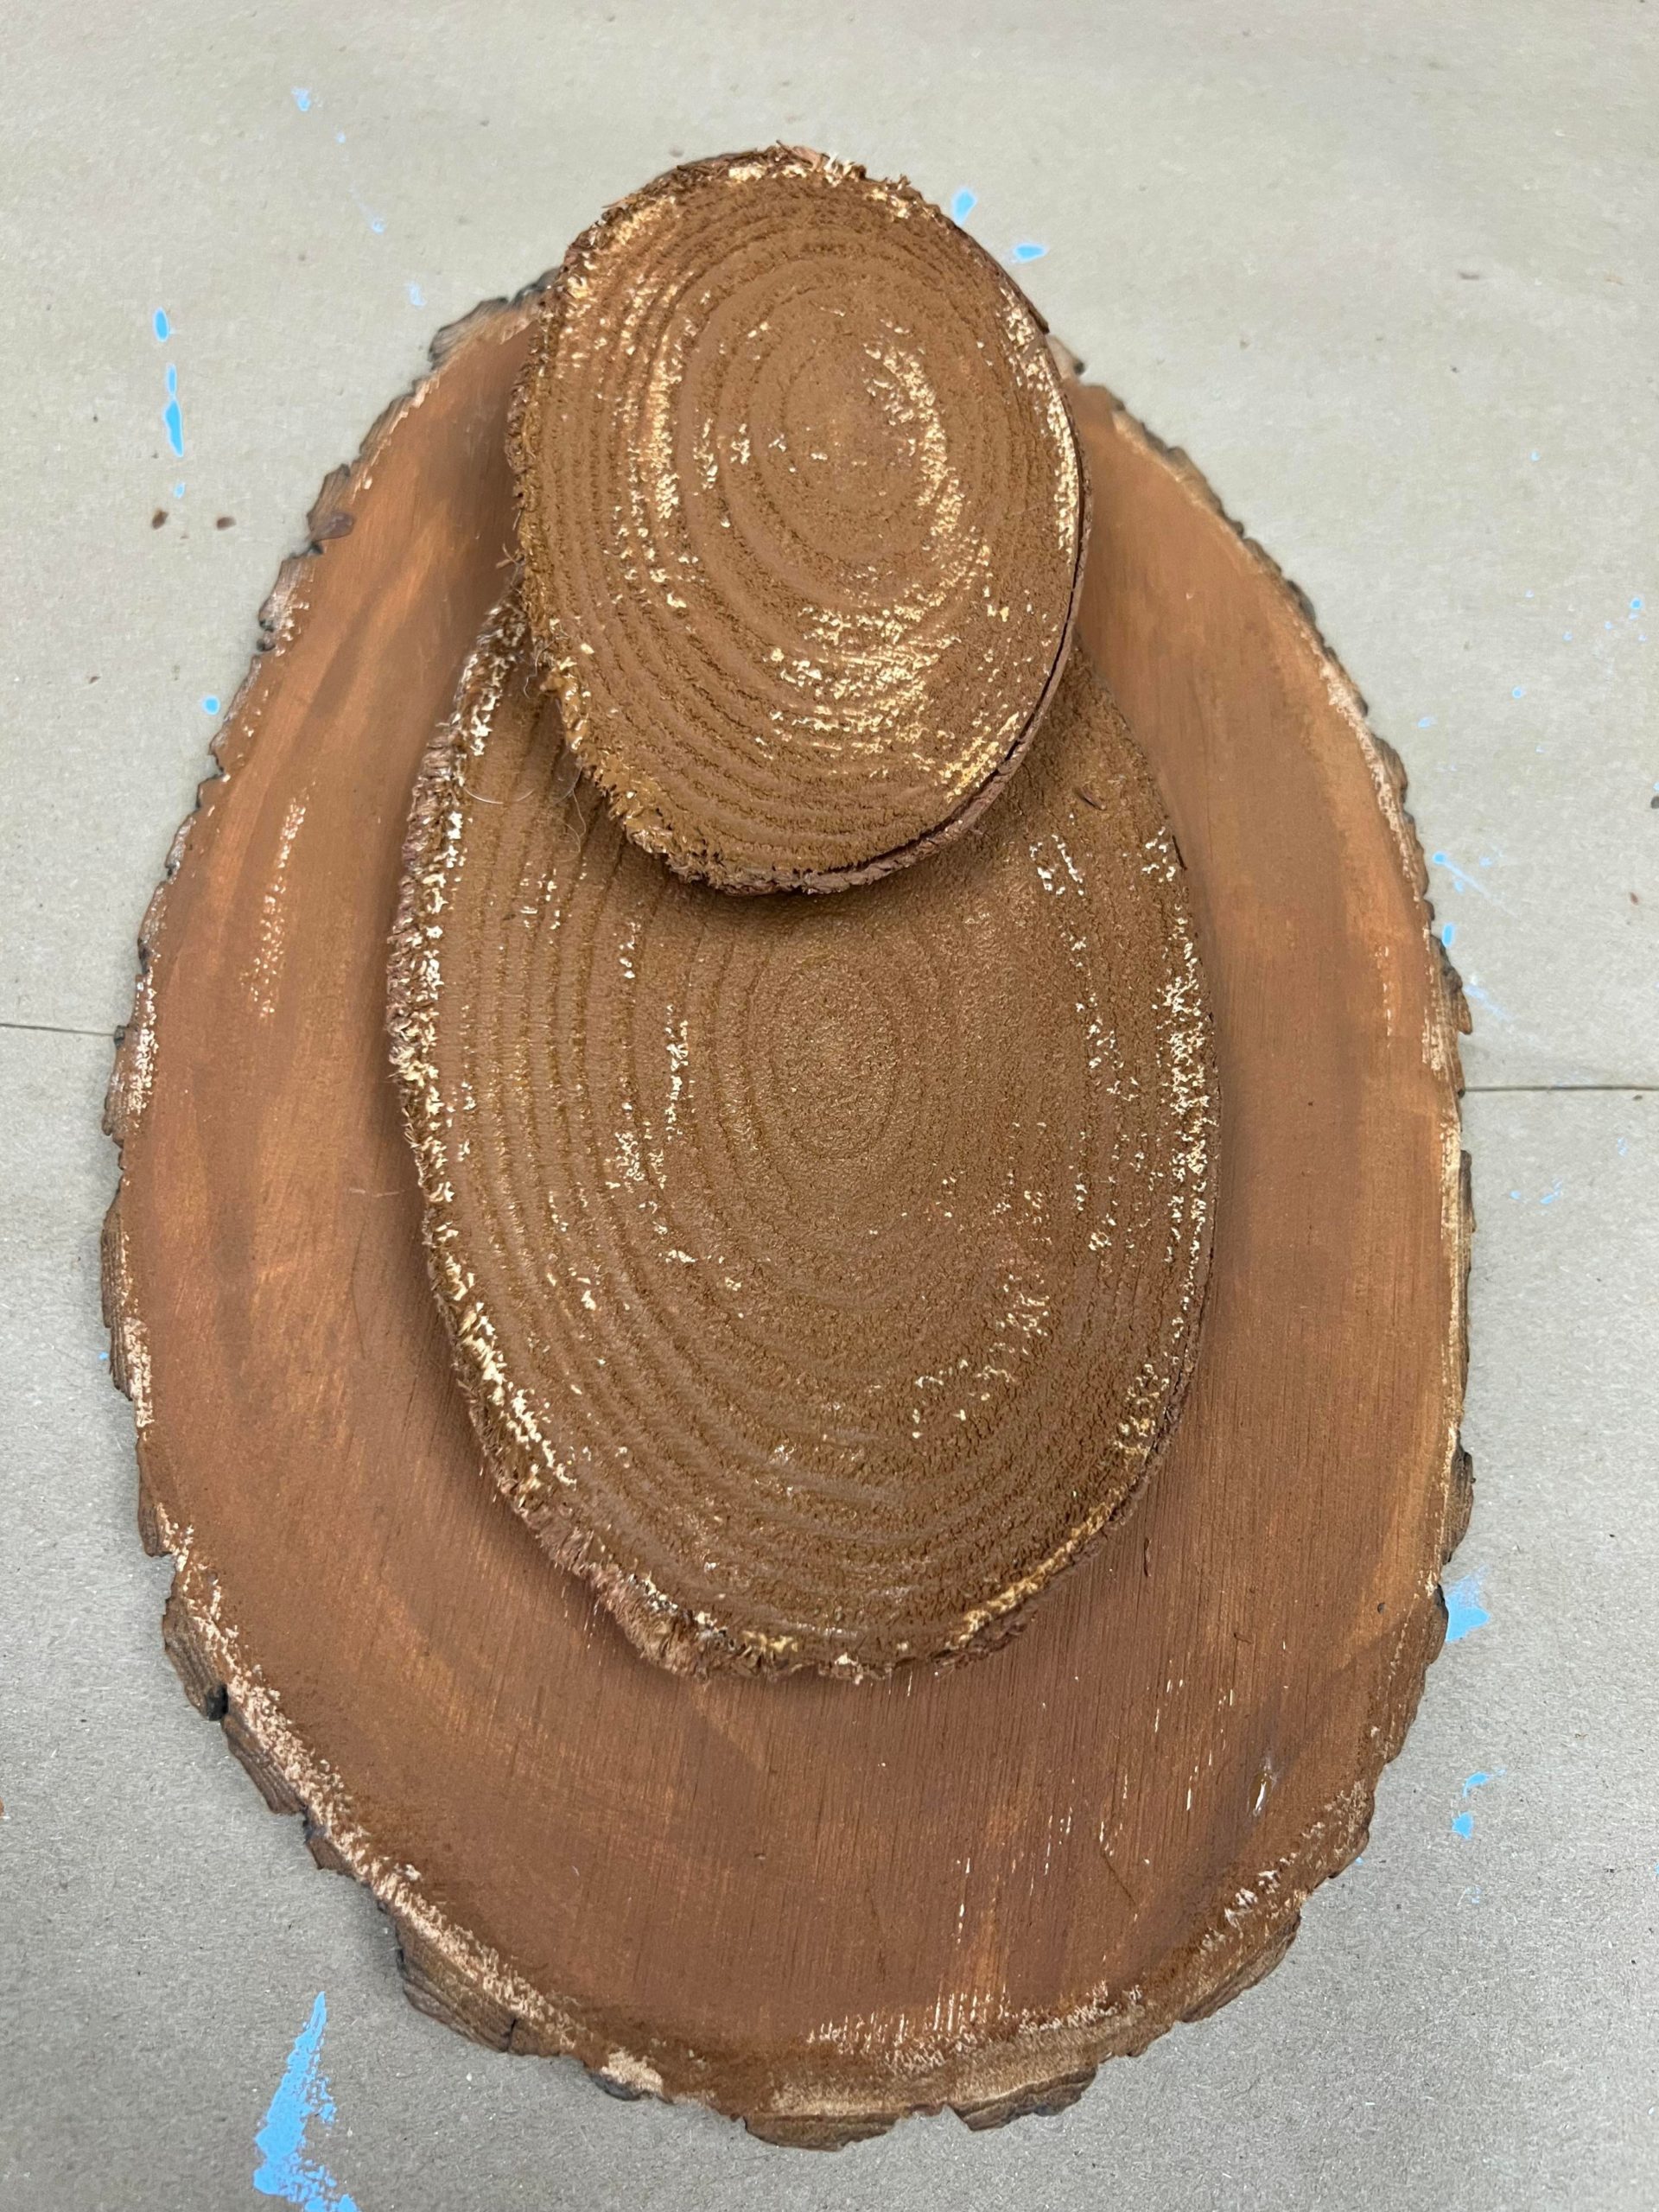
I added some of the Glorious Gold to the entire turkey.
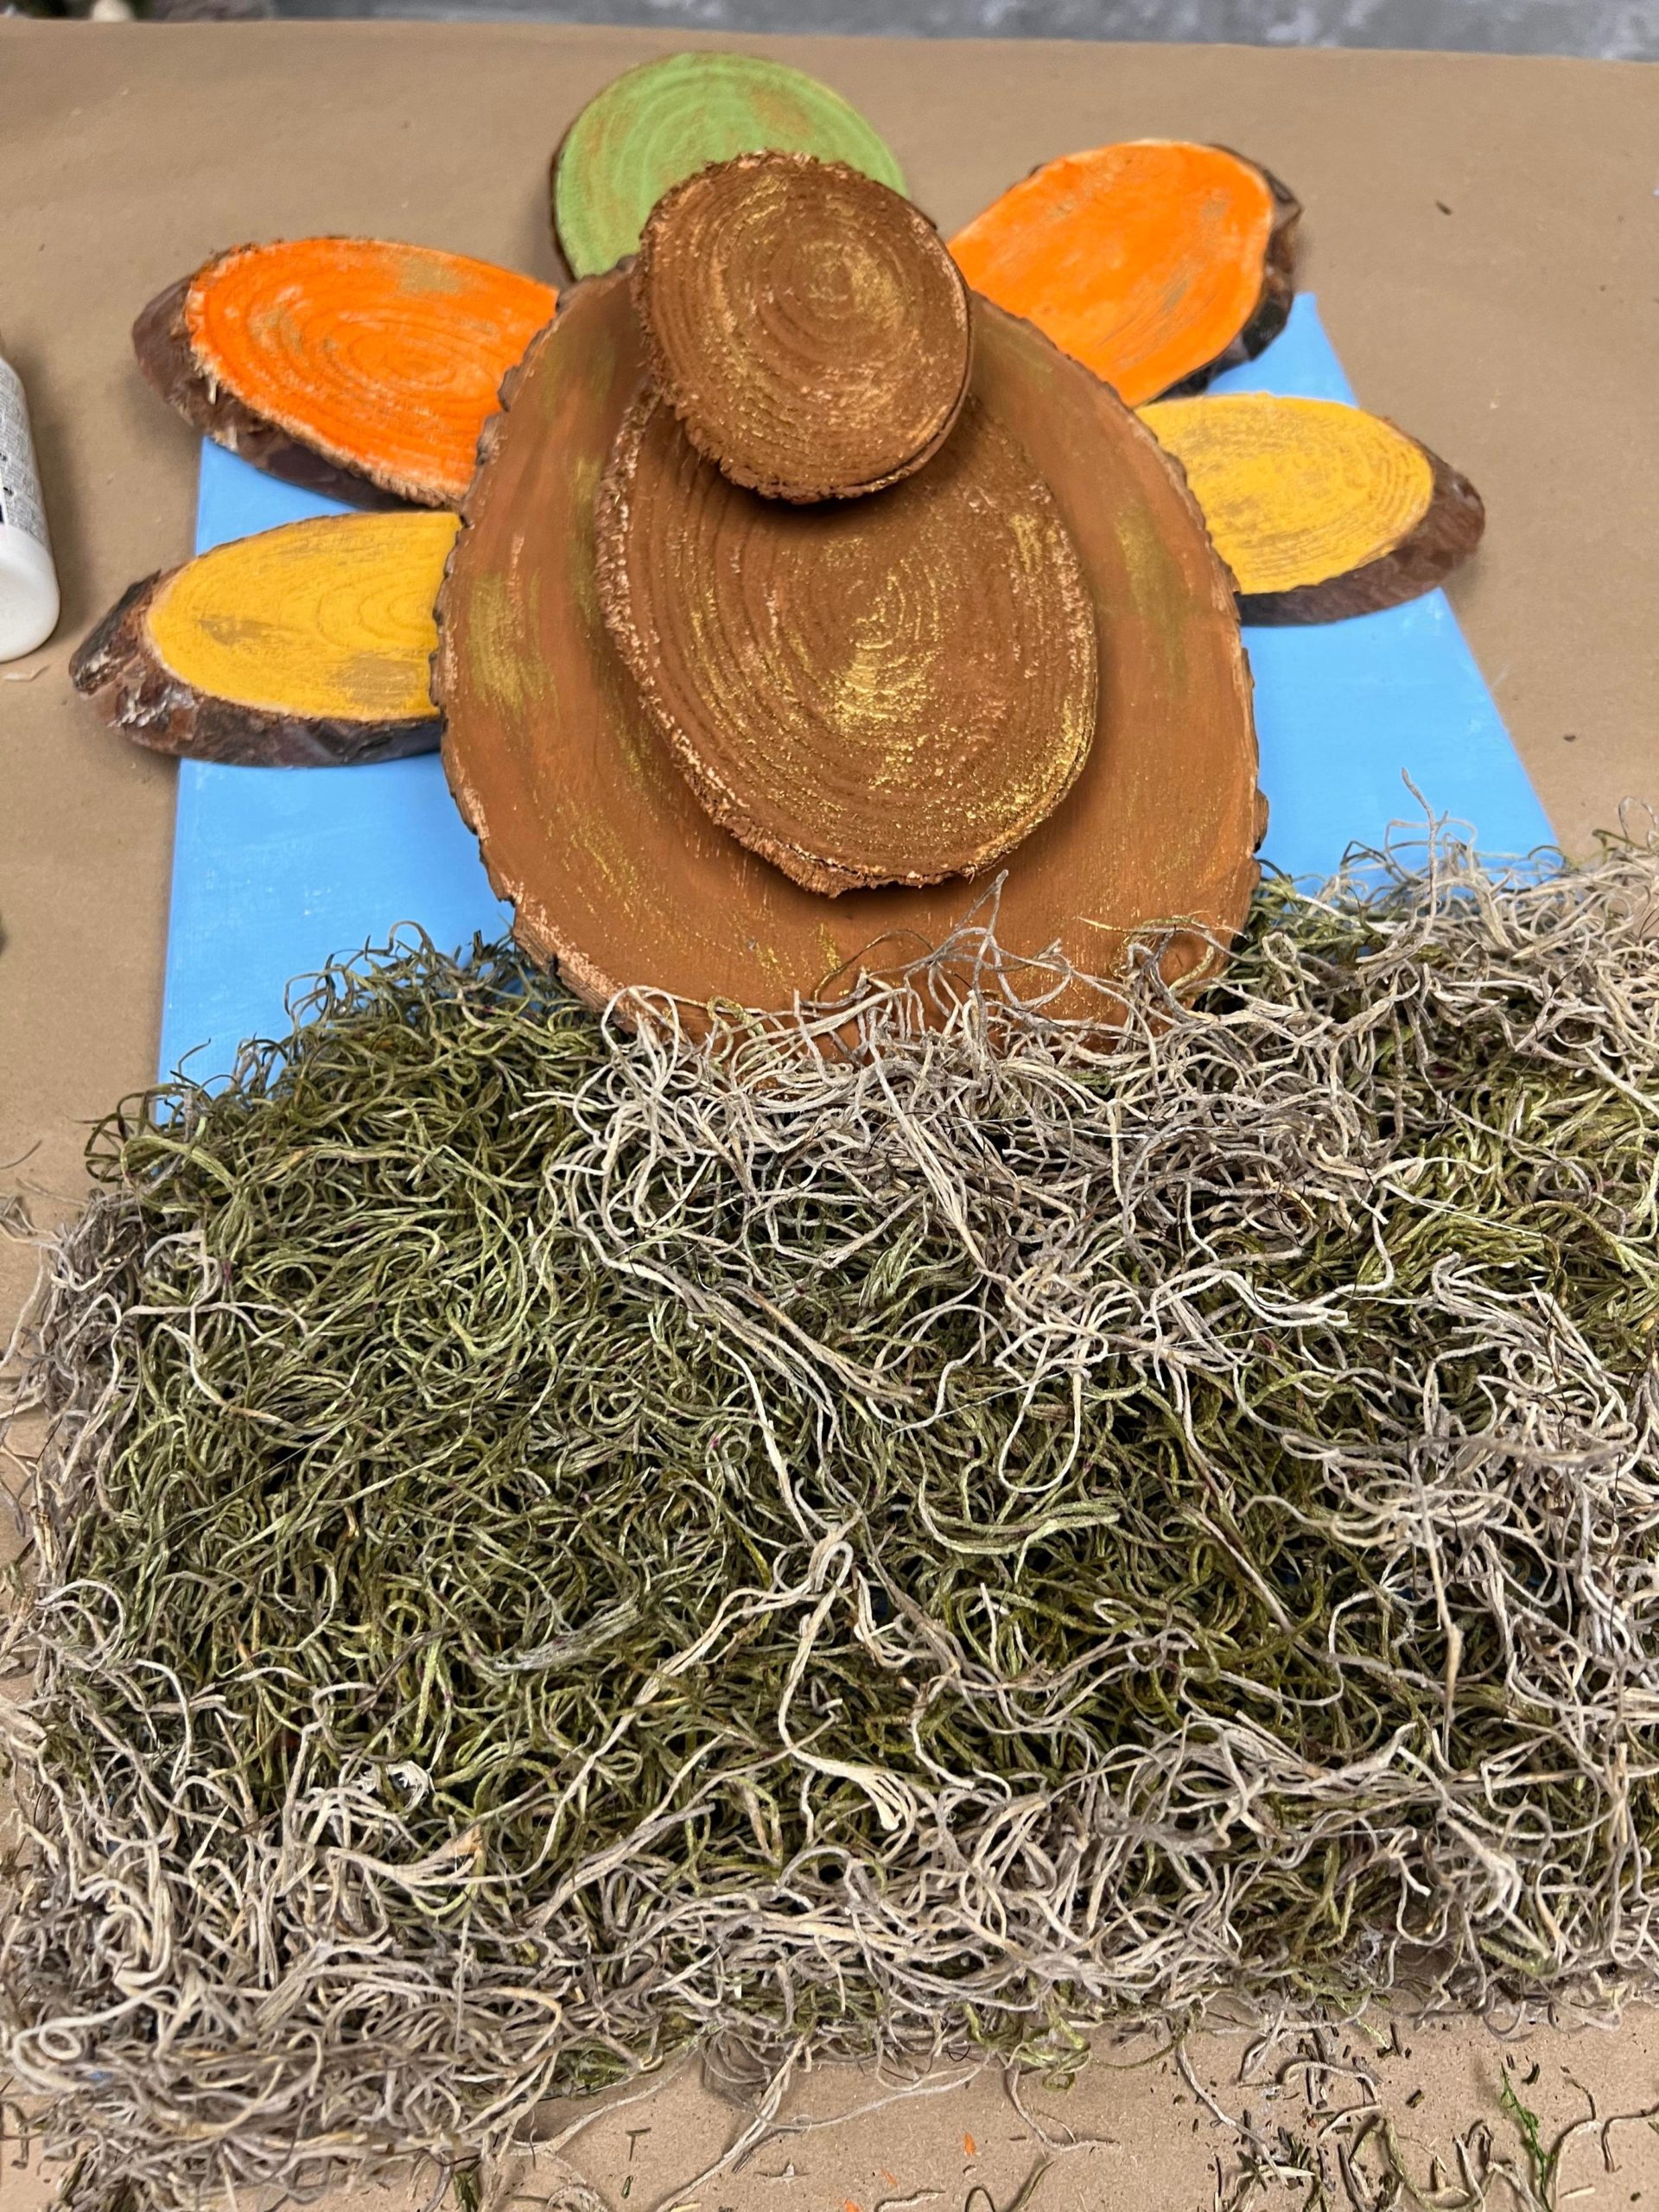
I glued the Spanish moss to the bottom of the canvas.
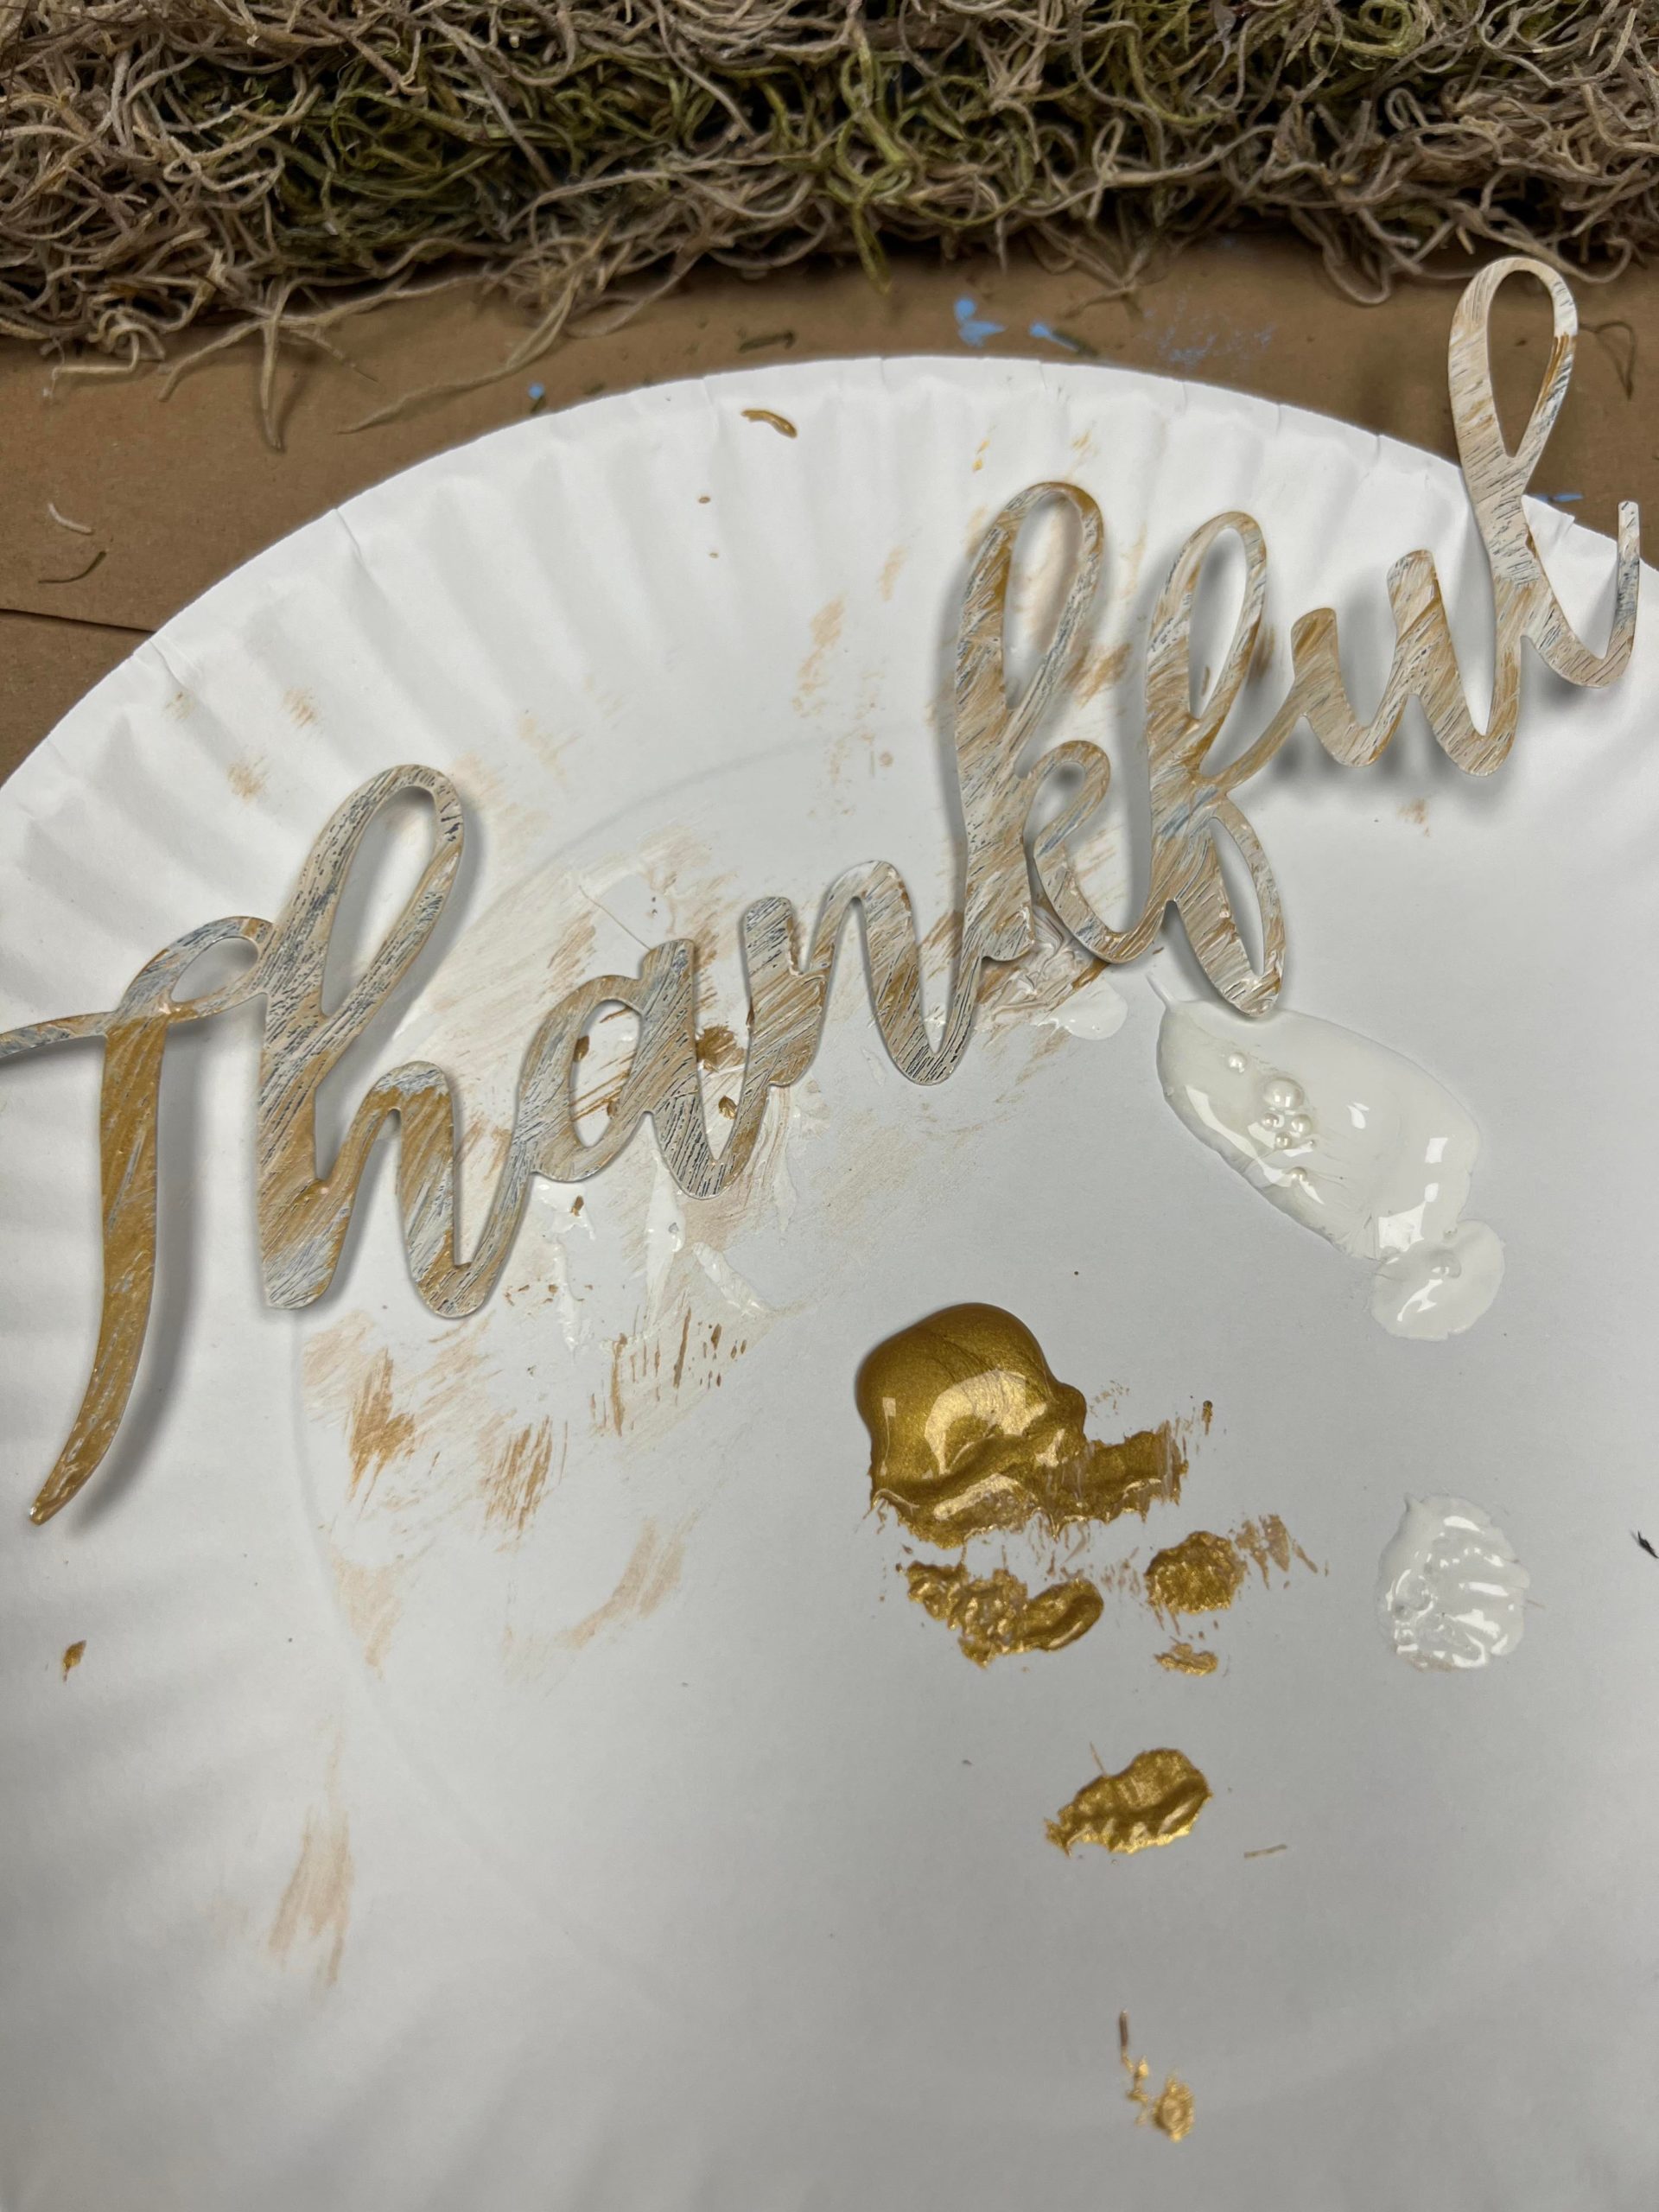
I added some of the Warm White and Glorious Gold paint to the metal thankful cutout.
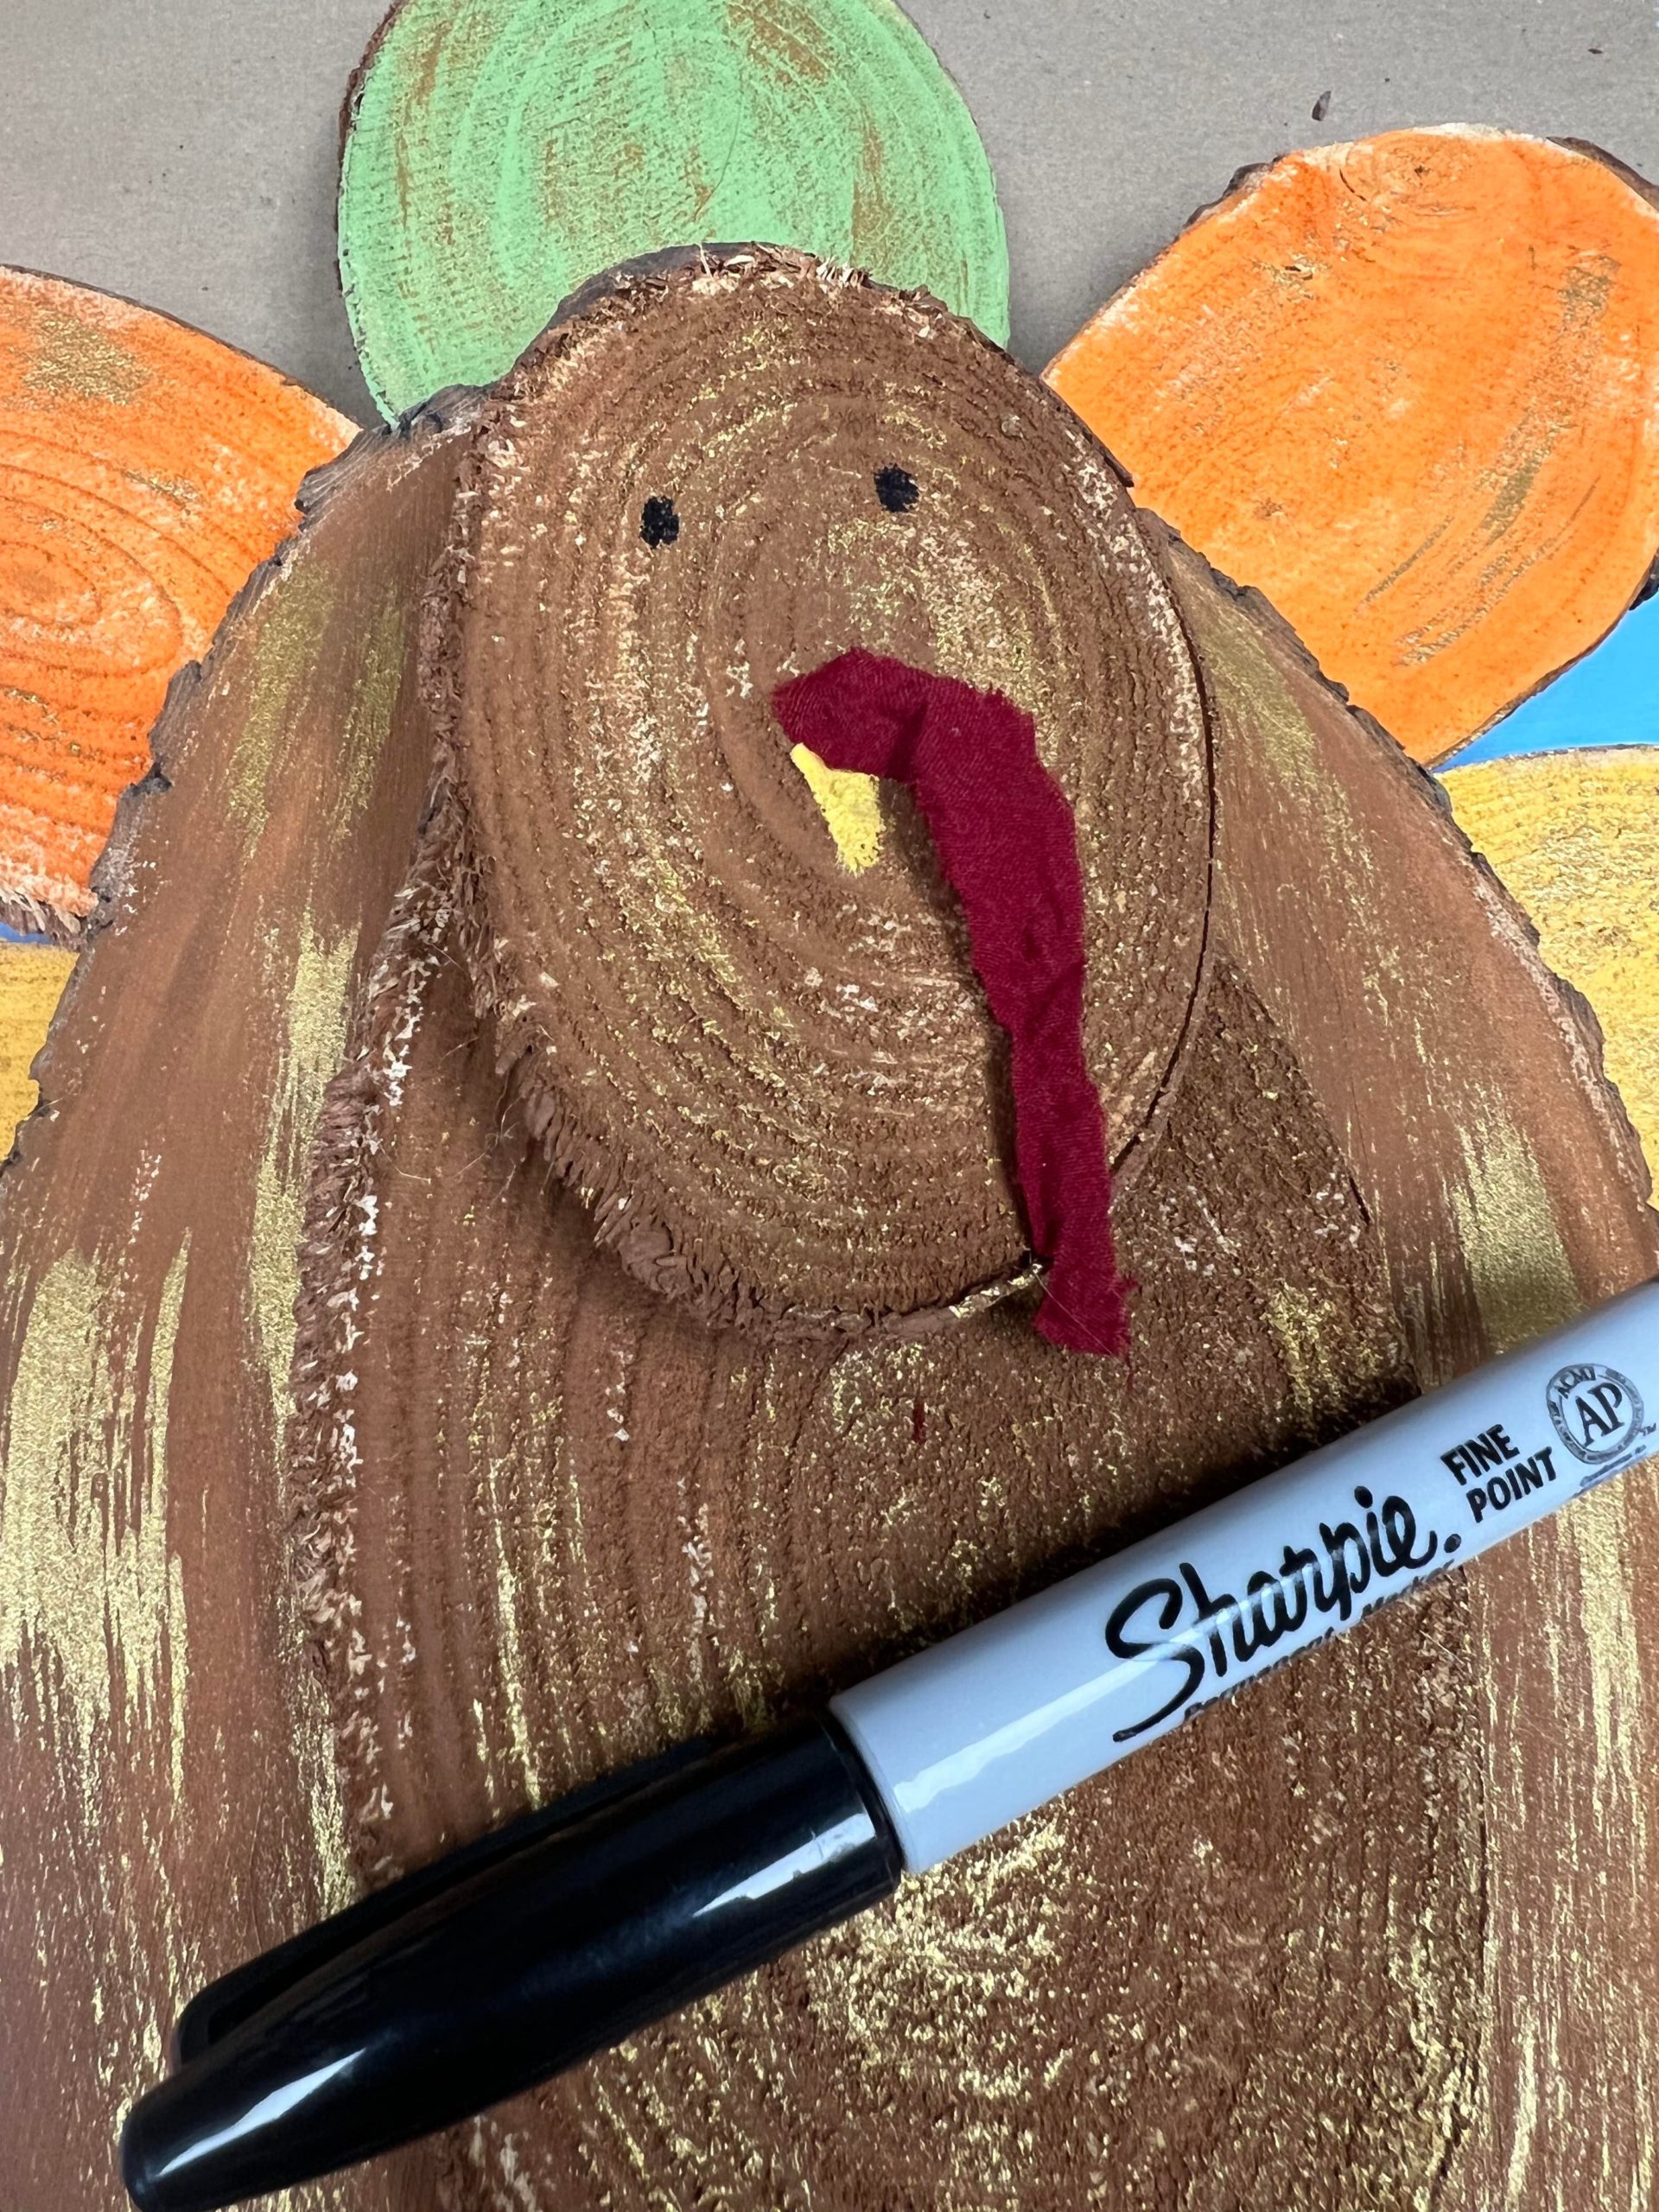
I used a black marker for the eyes and a piece of fabric for the goblet.

I glued the thankful sign onto the Spanish moss.
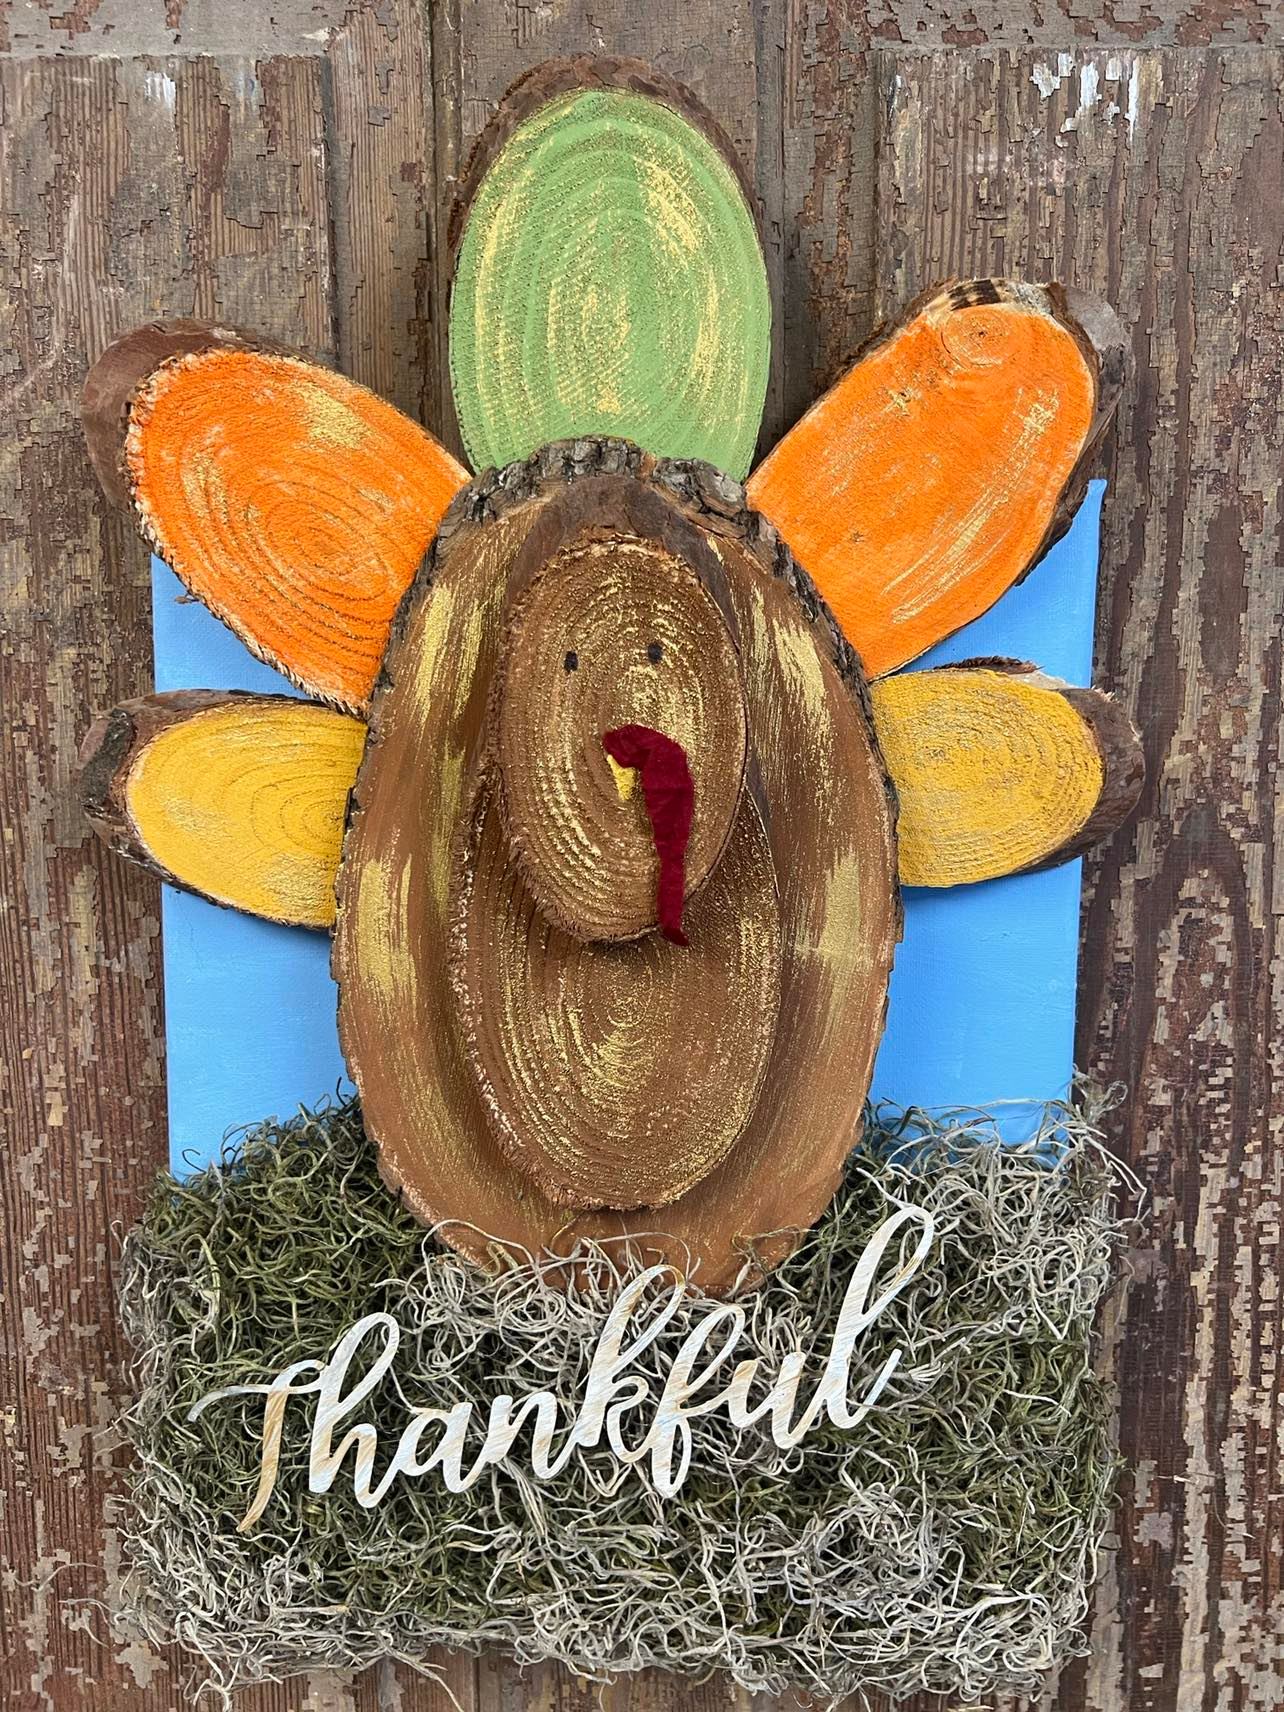
This was very easy to make and can be hung on your door or placed any where in your home. I hope you will get creative and give this a try.