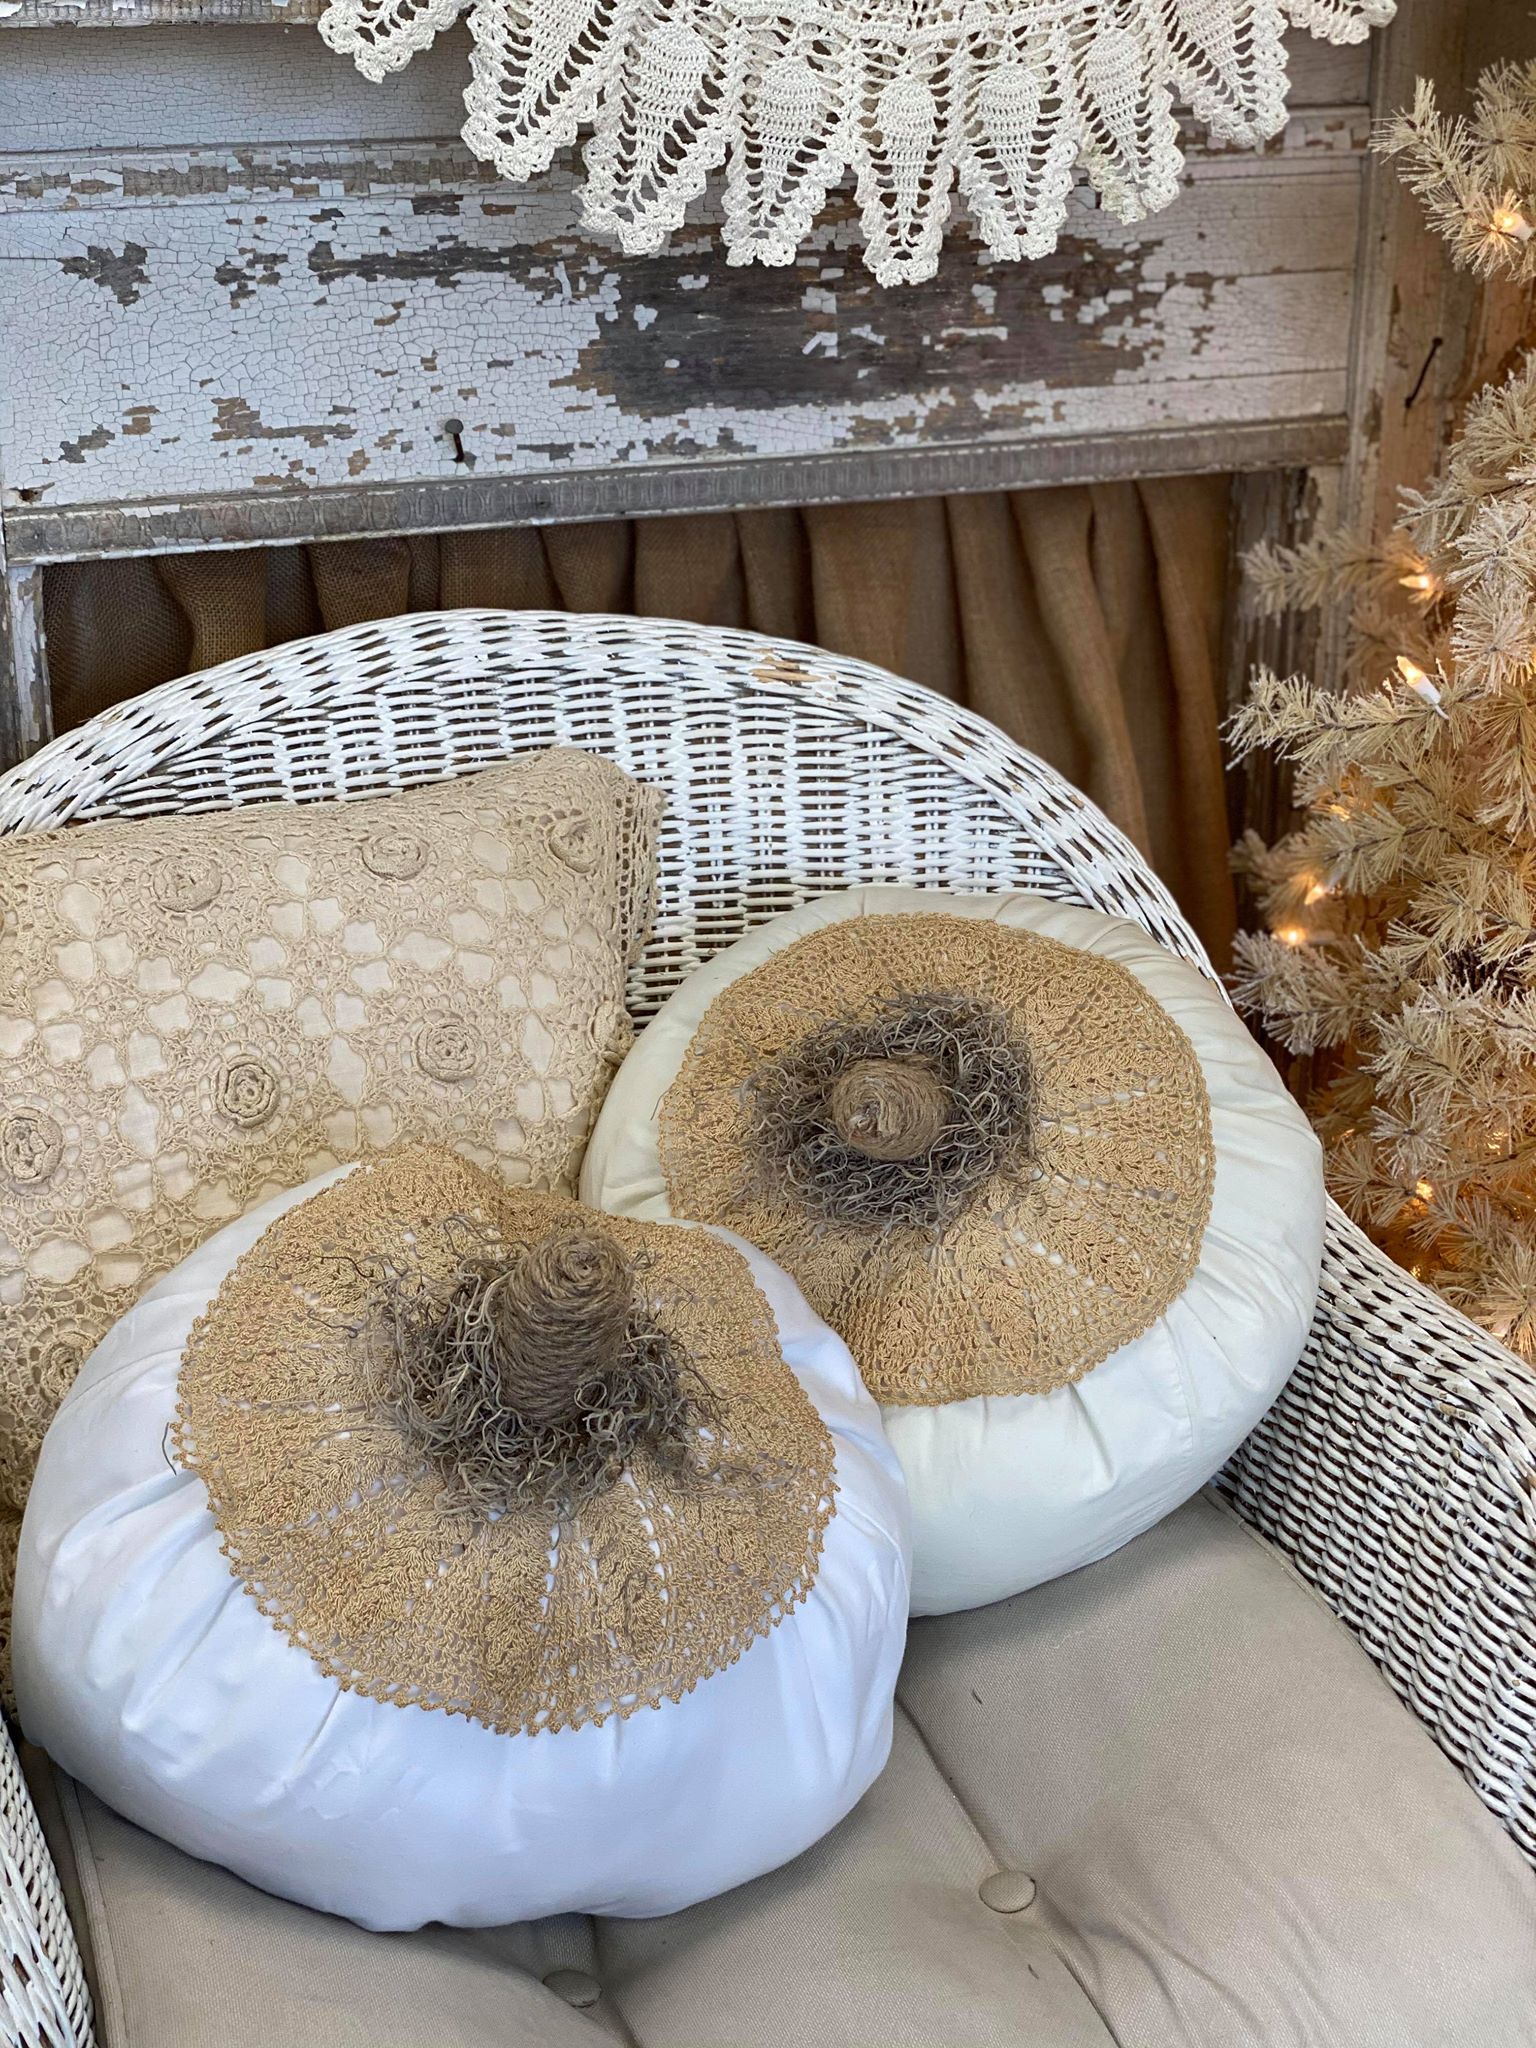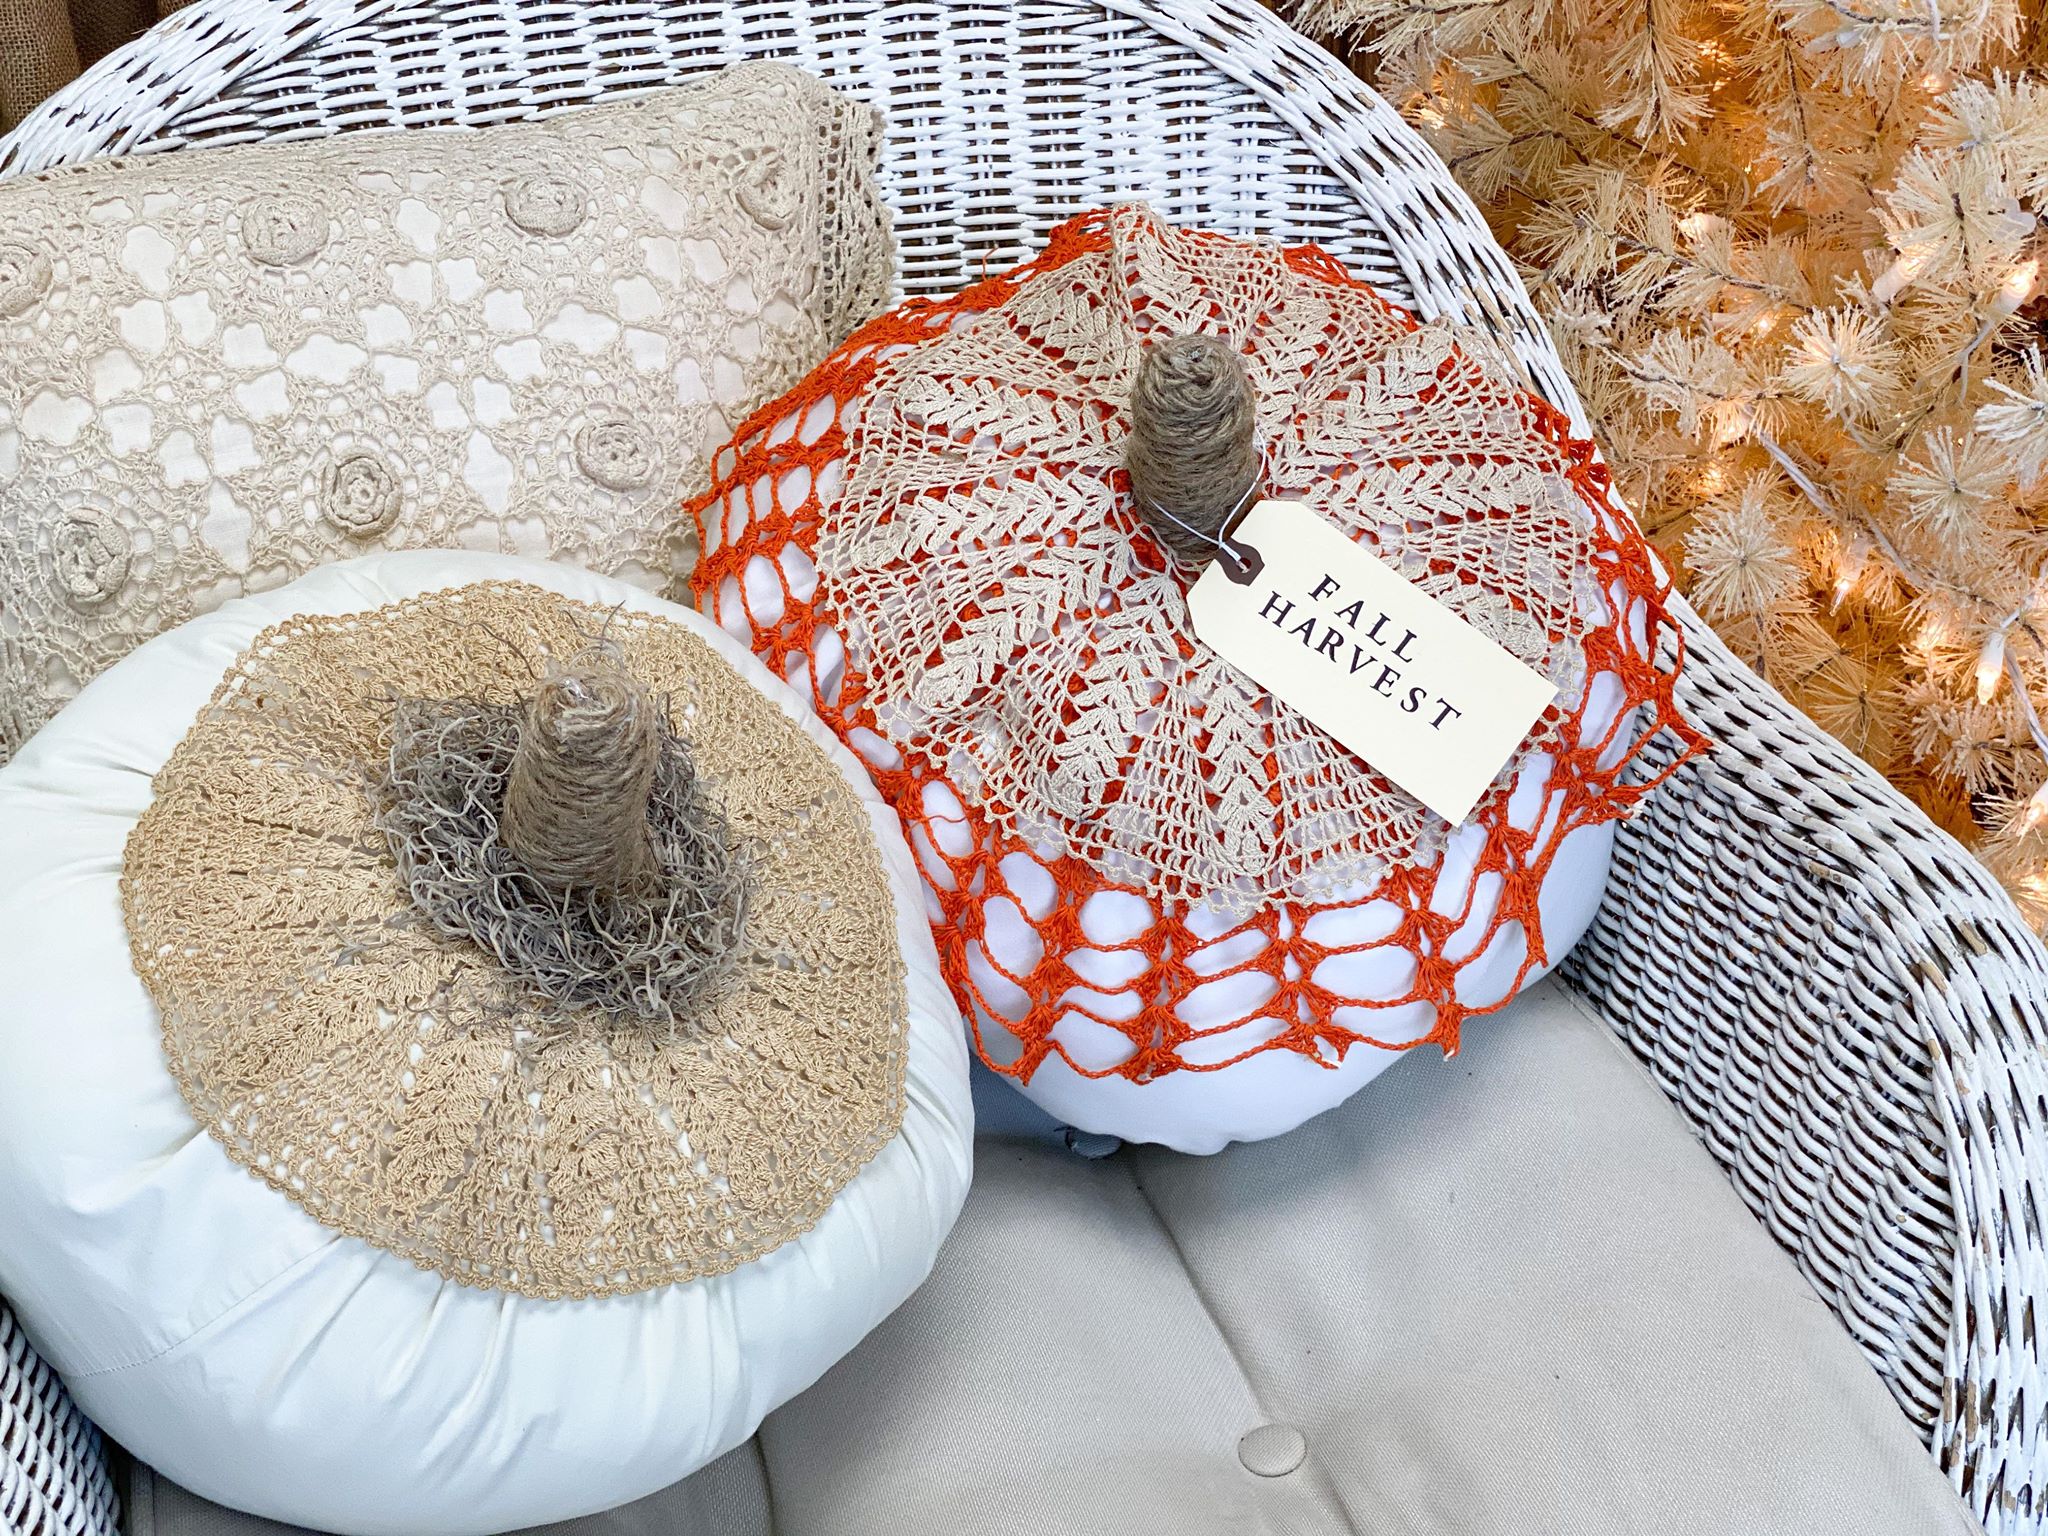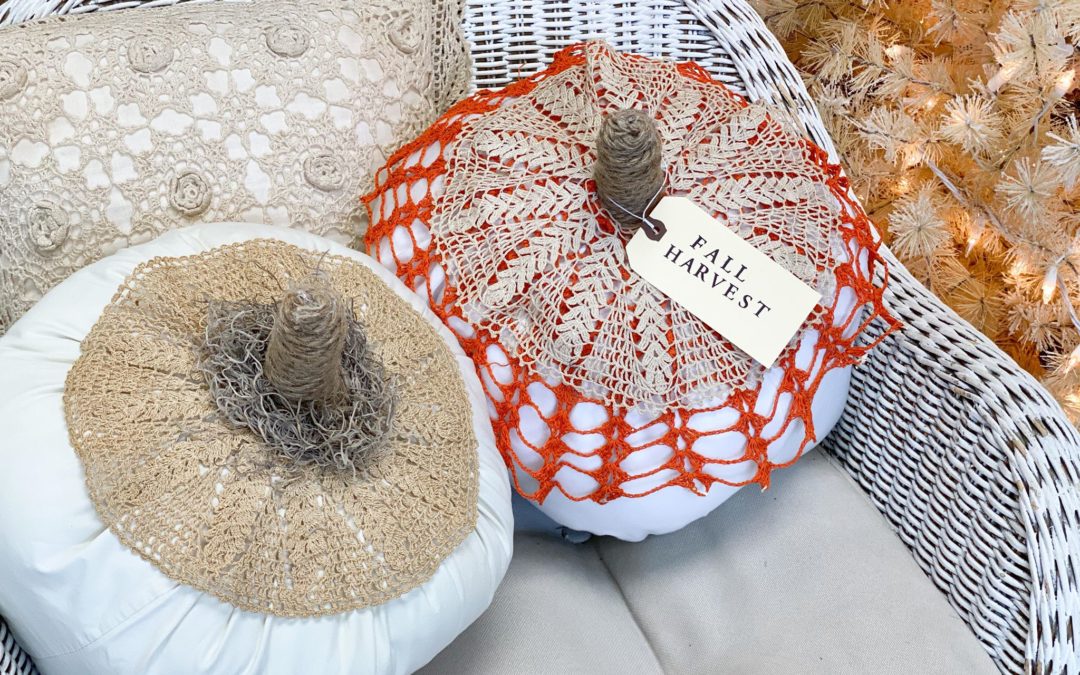
It is time to start thinking about Fall decorations. A pumpkin is a must have item for your Fall decorations. We have made a variety of pumpkins here at The Shabby Tree but this one is so easy that your all going to want to give it a try. I love to cluster a group of pumpkins together and these are going to be great to display at the base of my Fall tree.
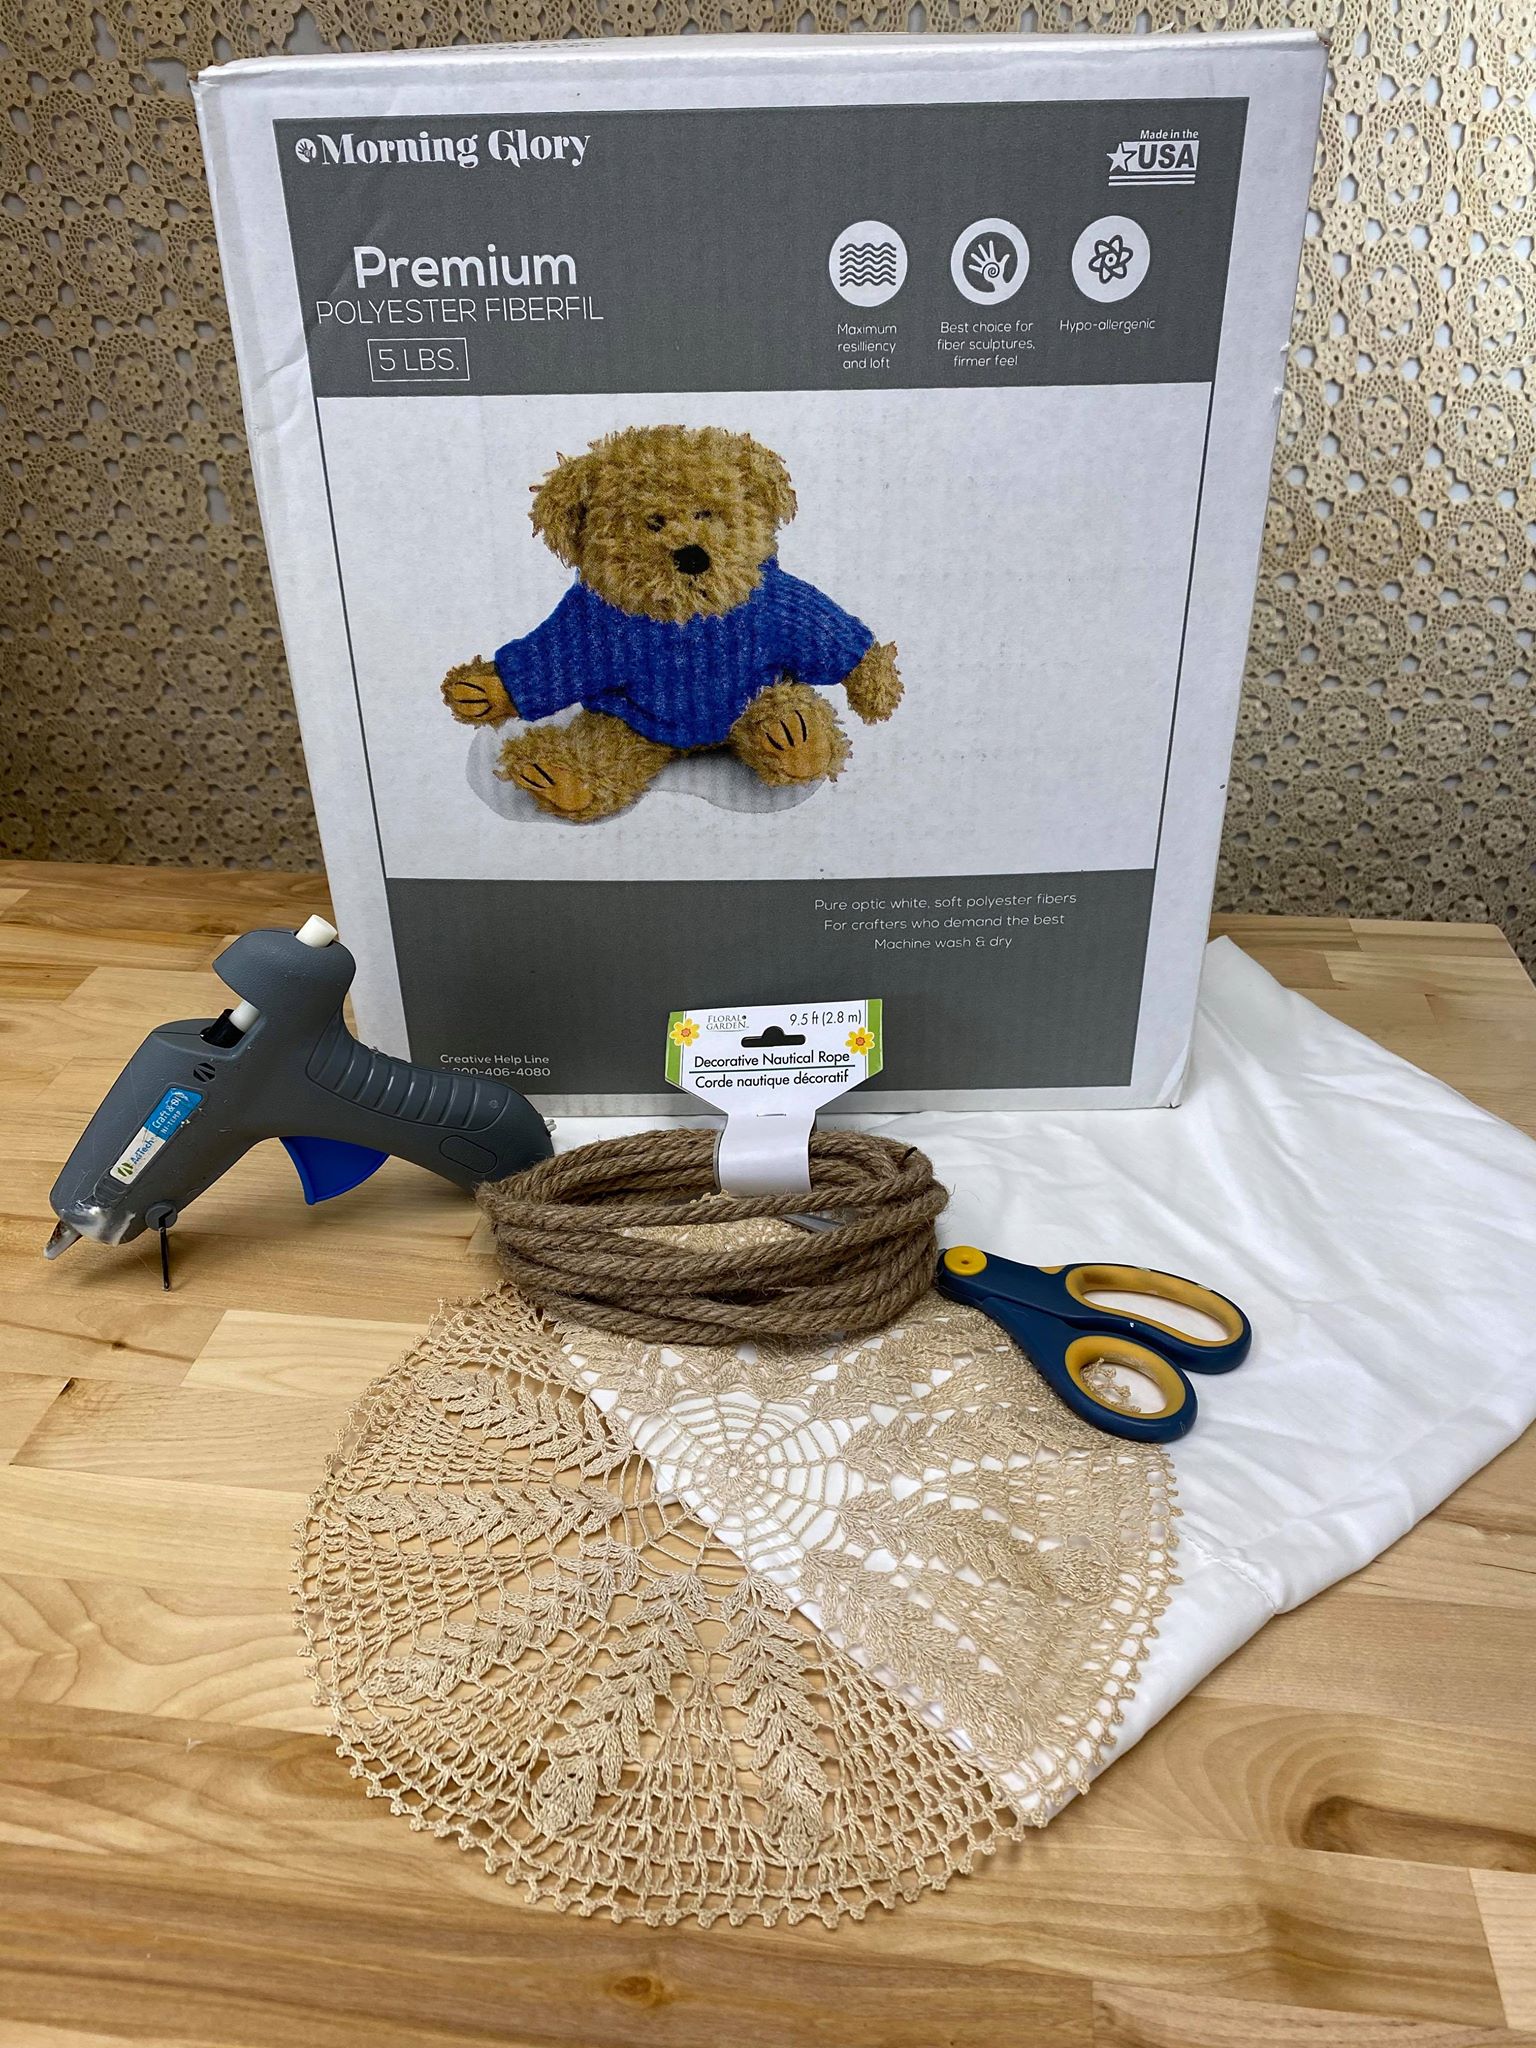
The supplies you will need are:
1. Standard pillow case
2. Polyester fiberfill
3. Scissors
4. Hot glue (I am using regular hot glue and sure bonder fabric glue)
5. Thick jute (I got a small pack at the Dollar Tree)
6. Doily (this is optional)
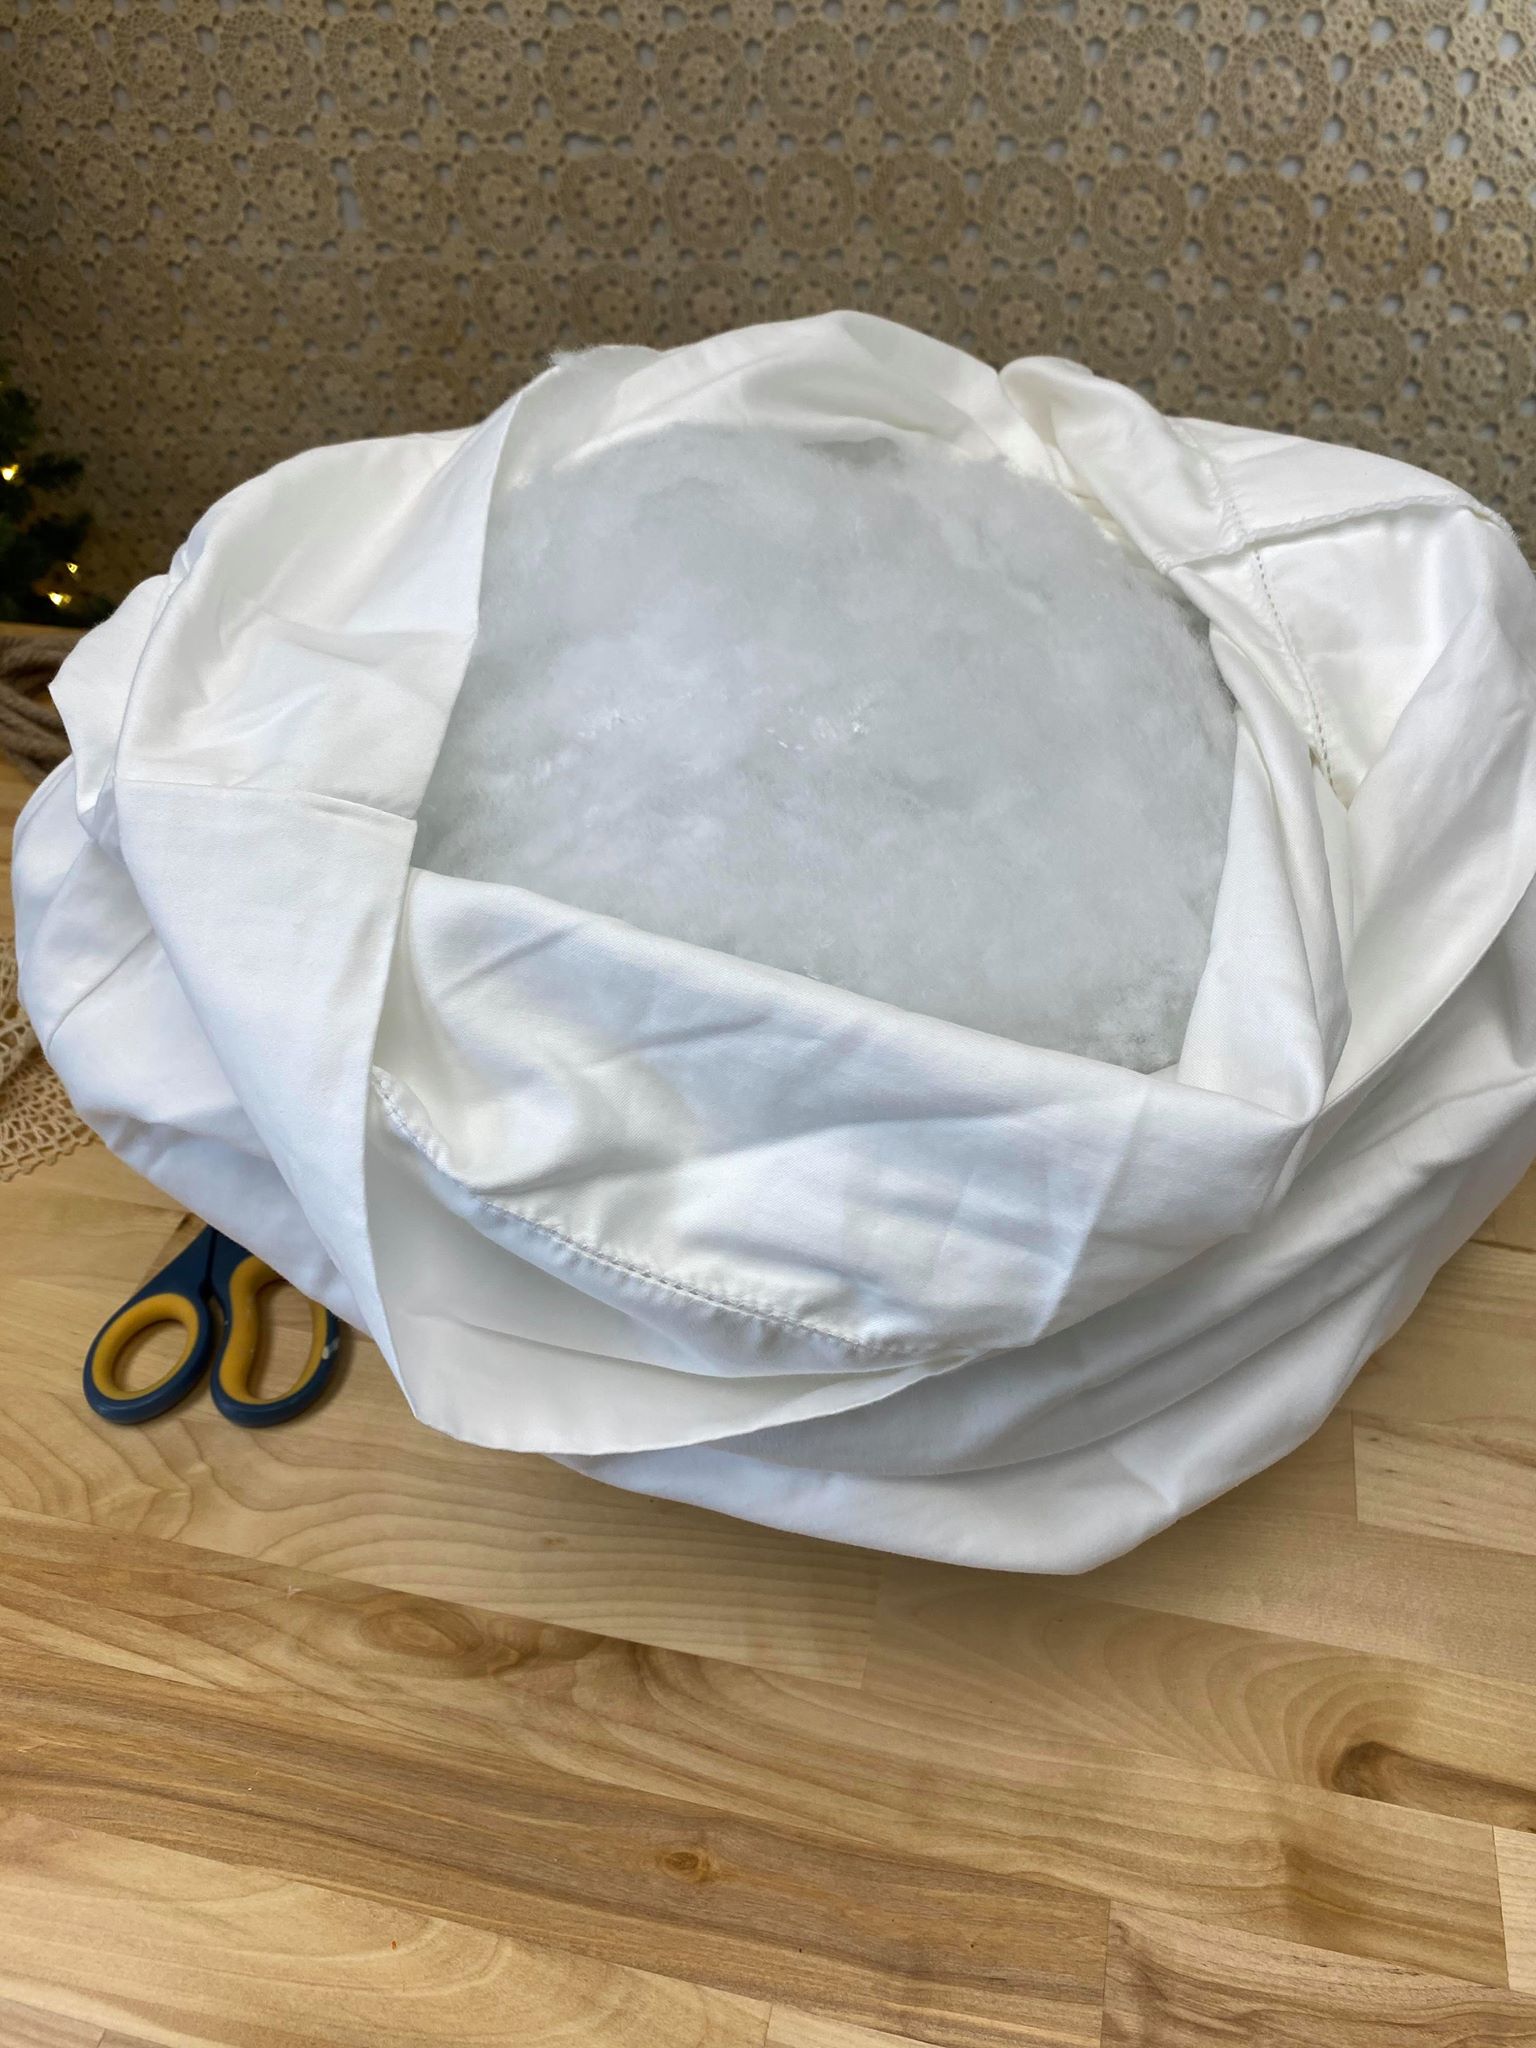
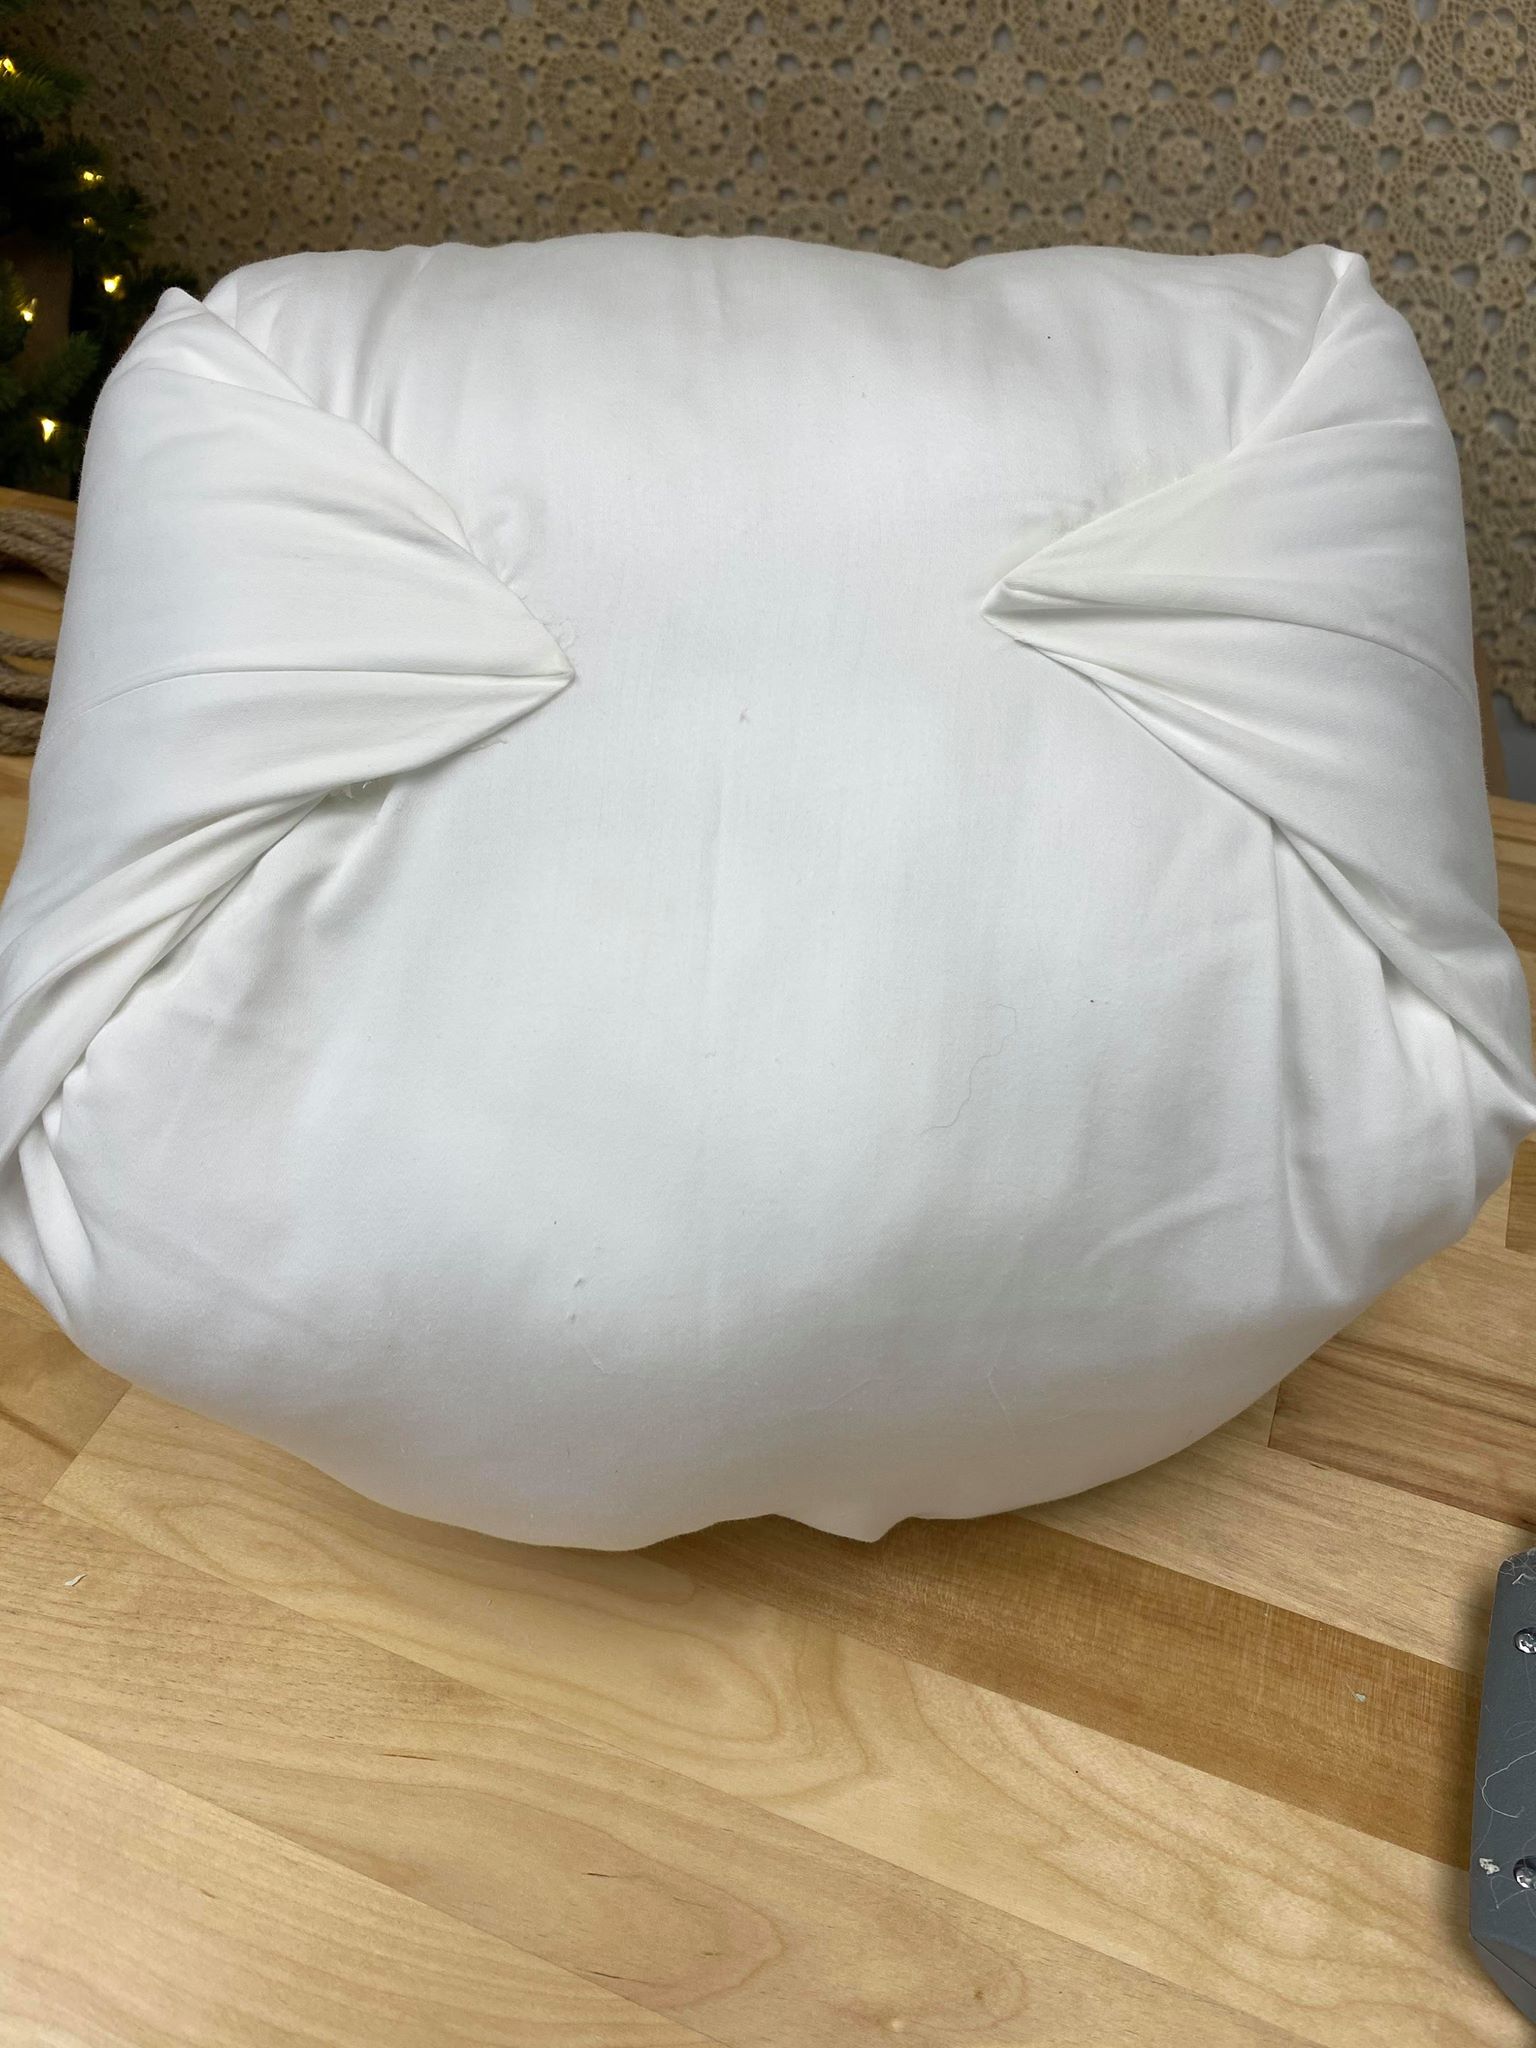
The first step is to fill your pillowcase with the fiberfill. You will add as much as you want.
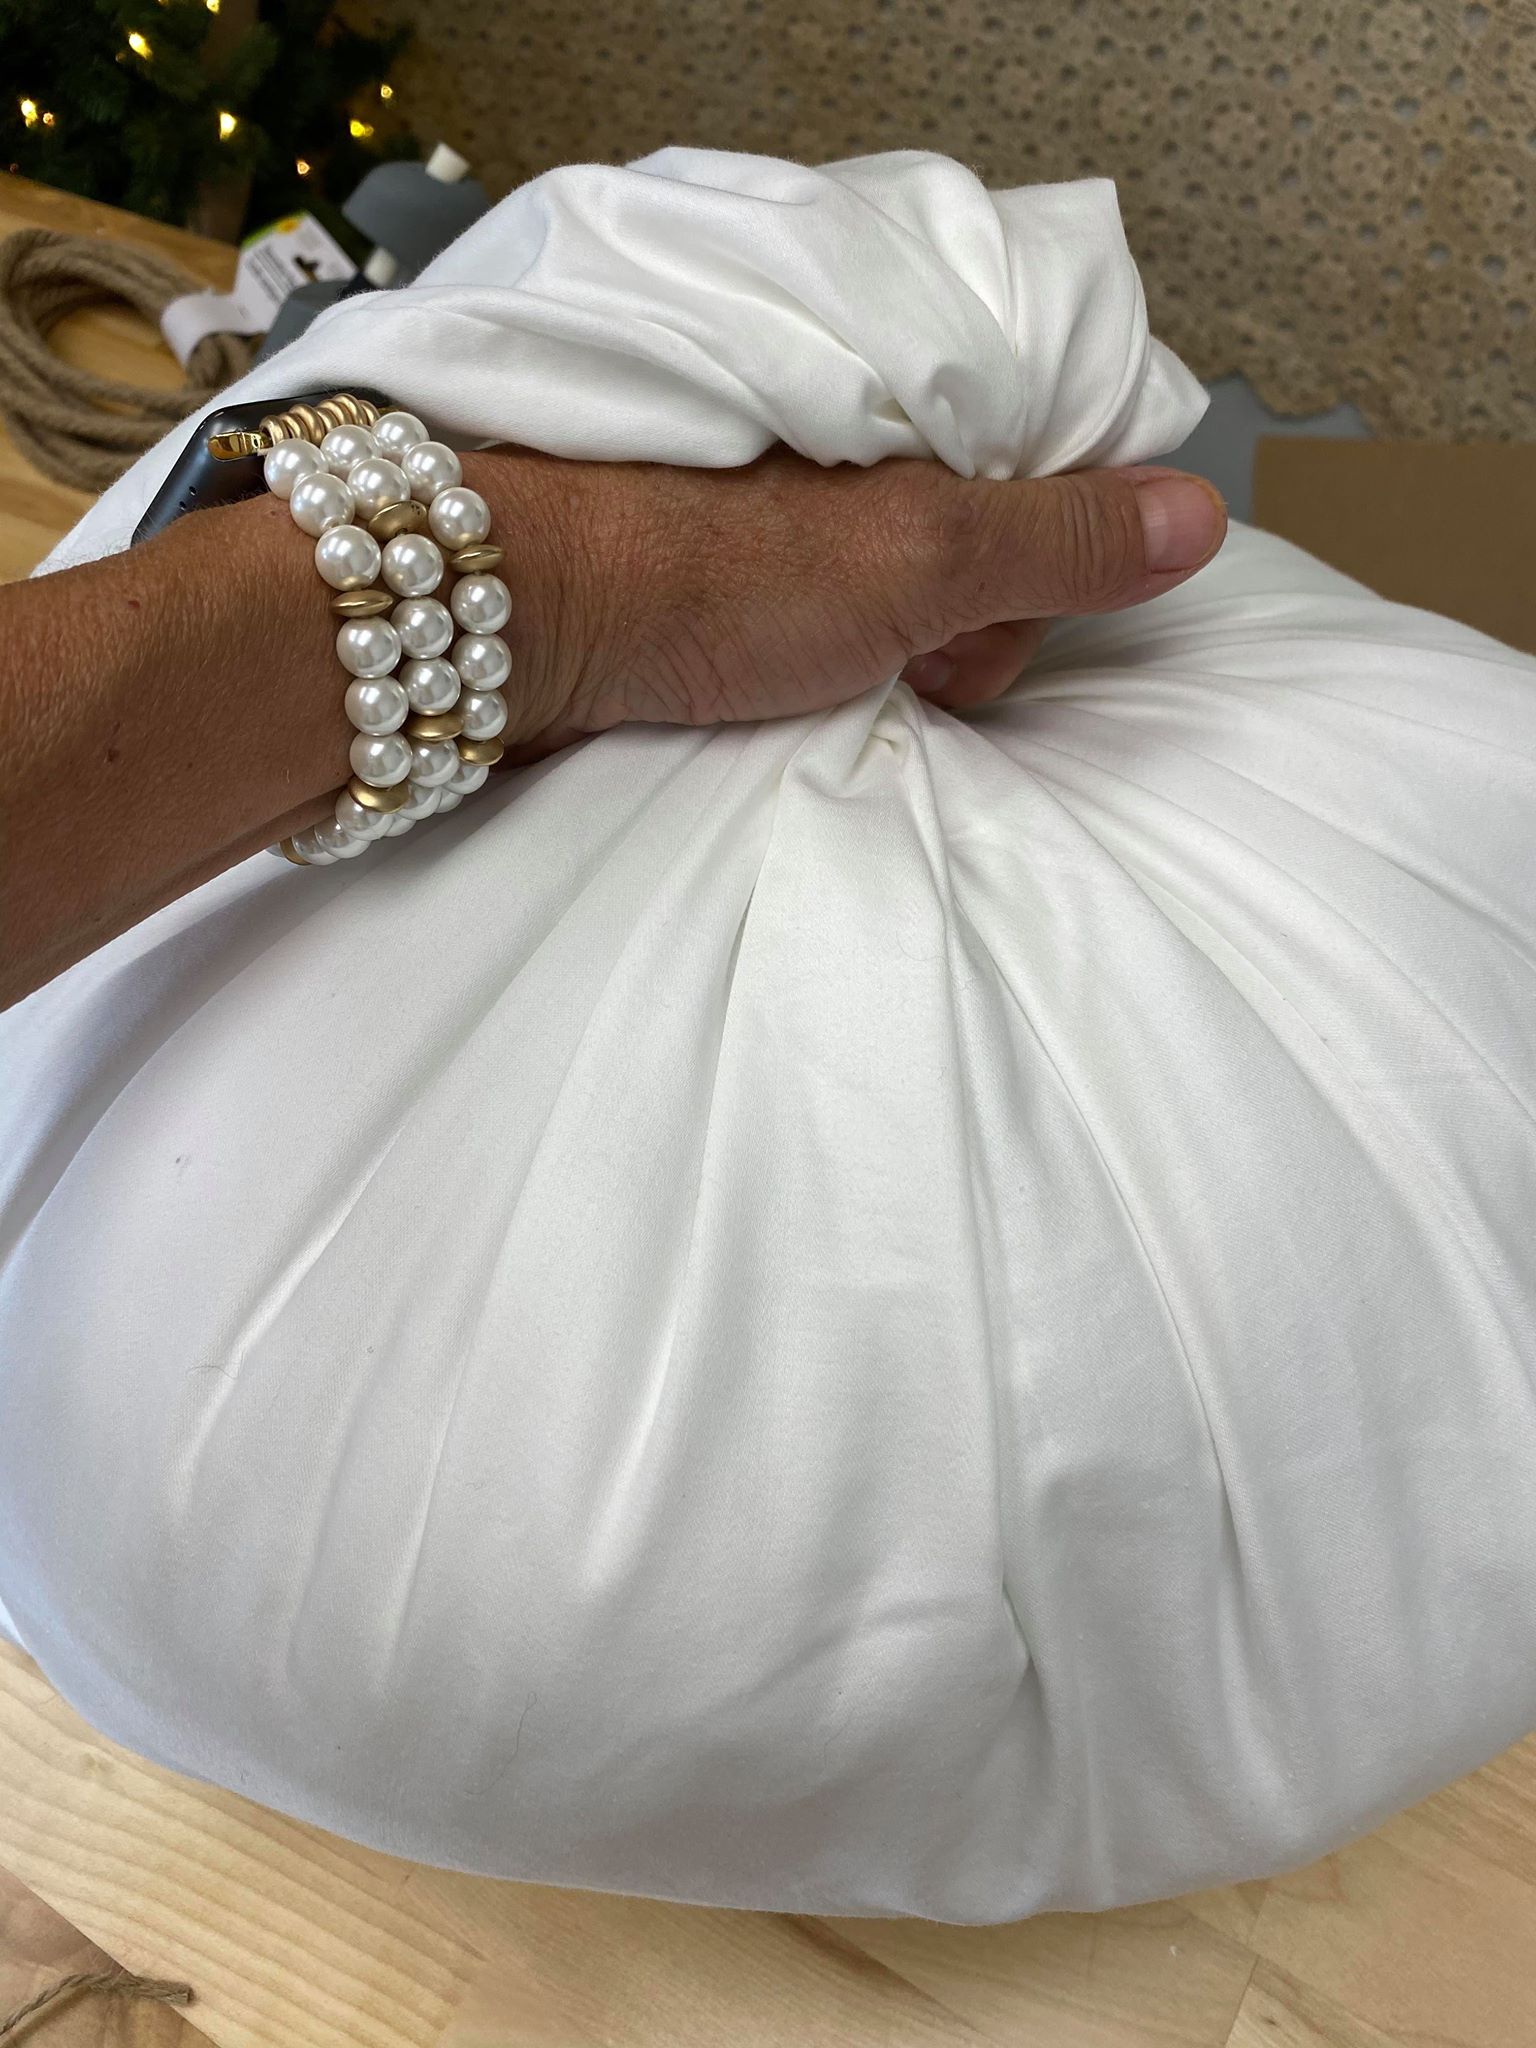
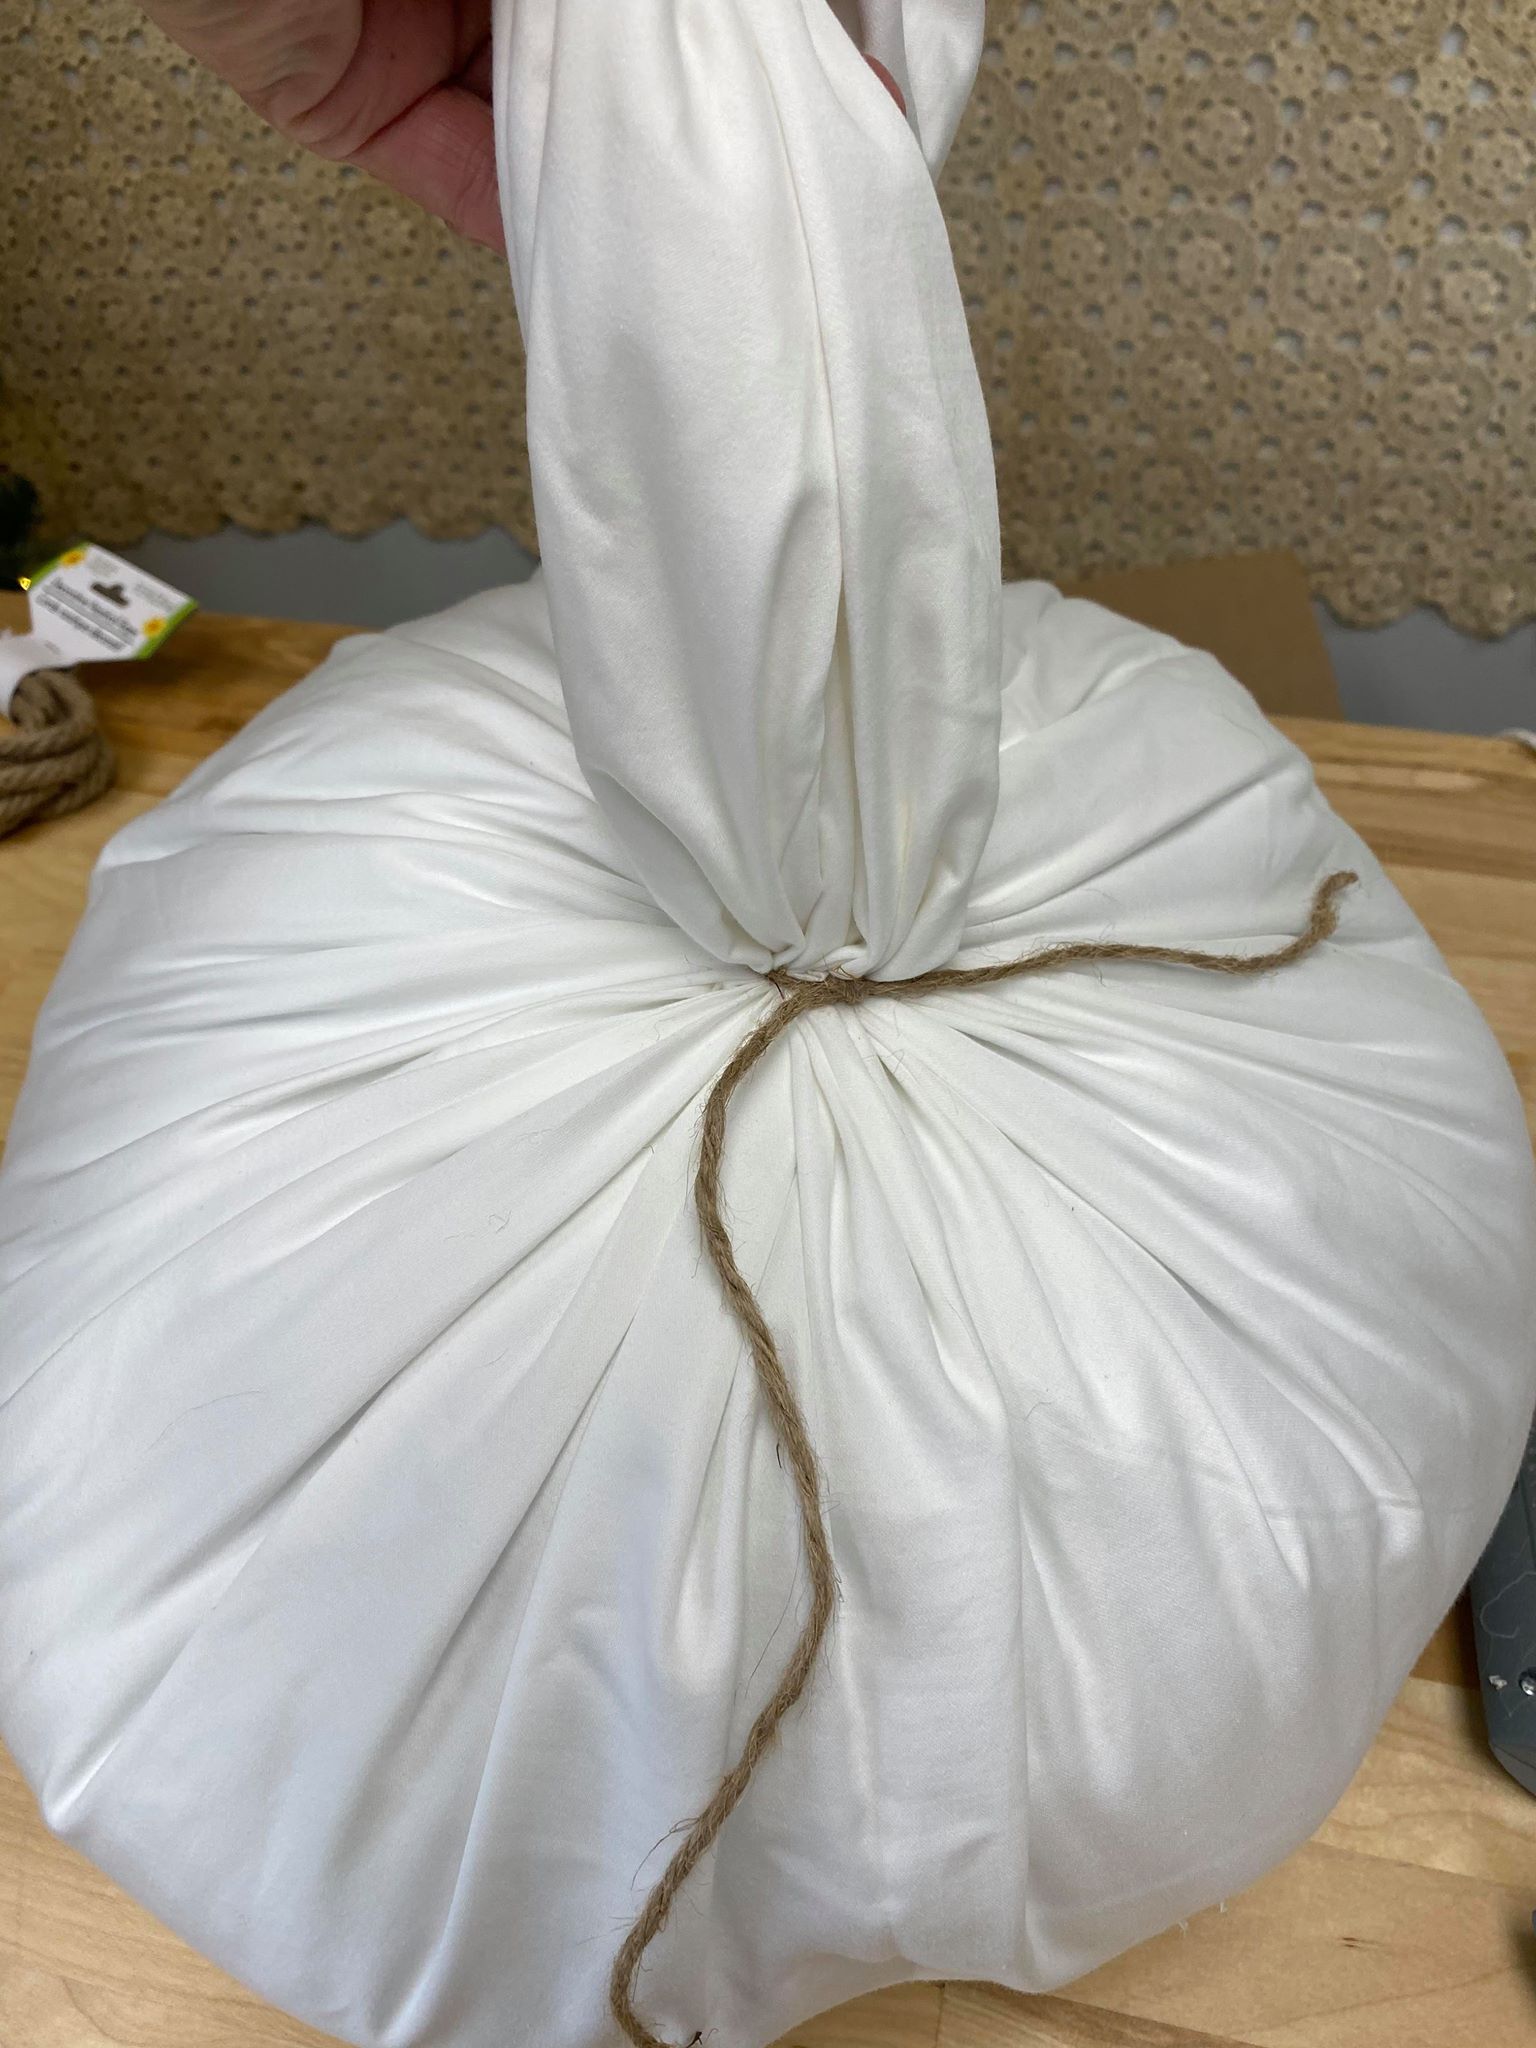
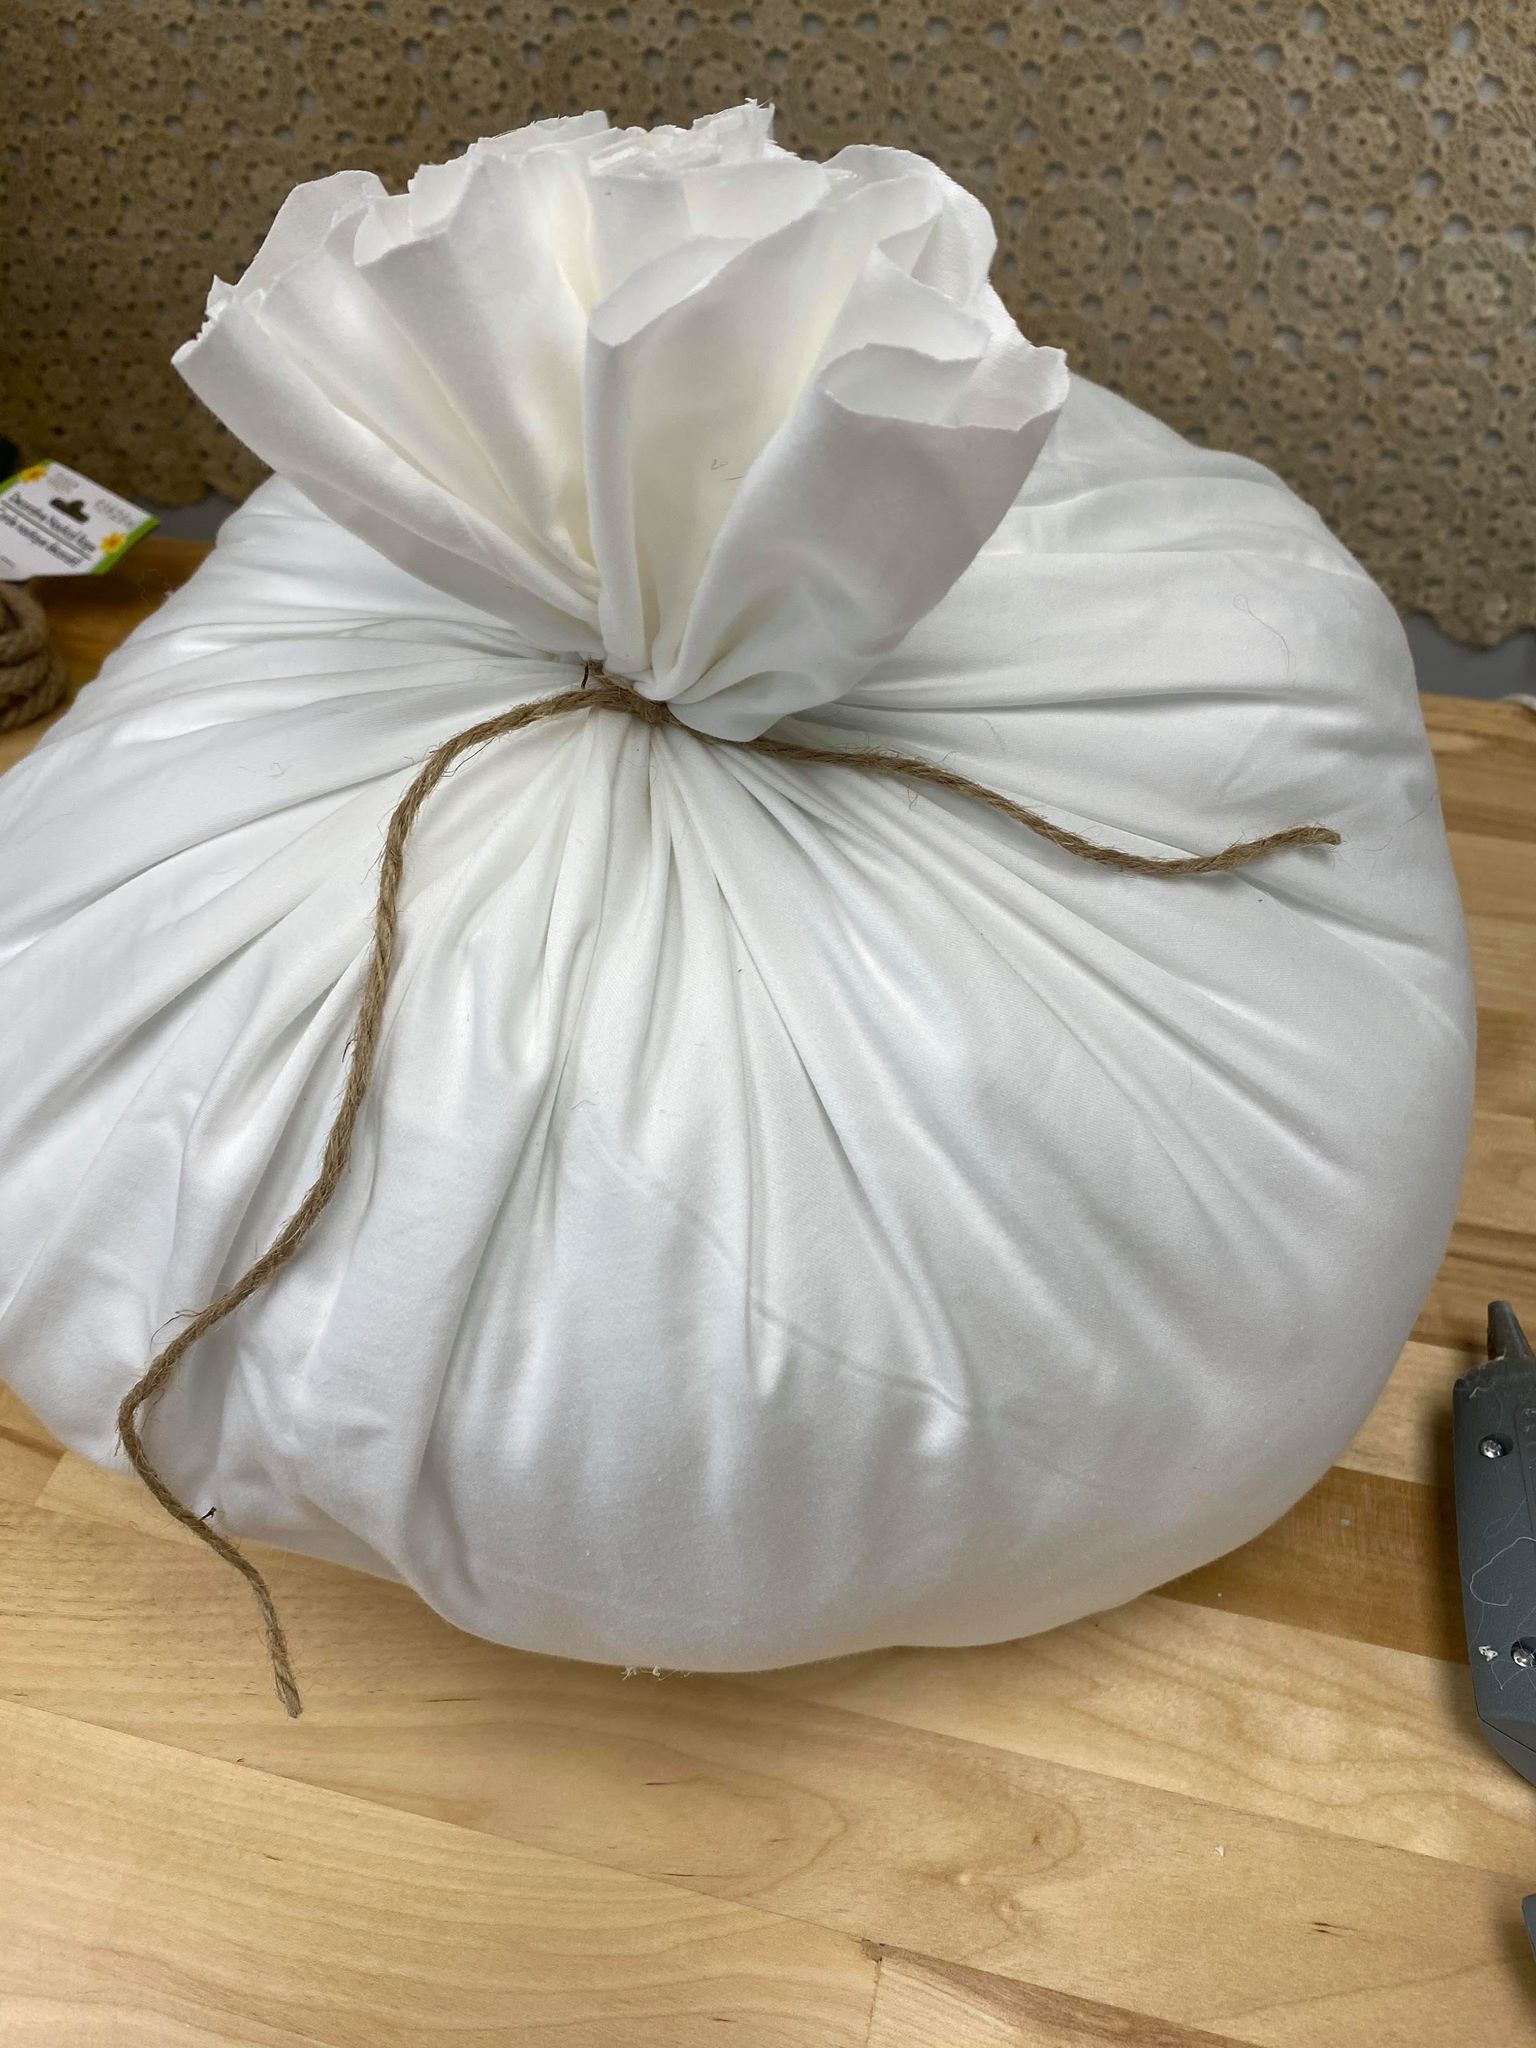
Once you have the size of the pumpkin you will want you will then gather the pillowcase at the top.
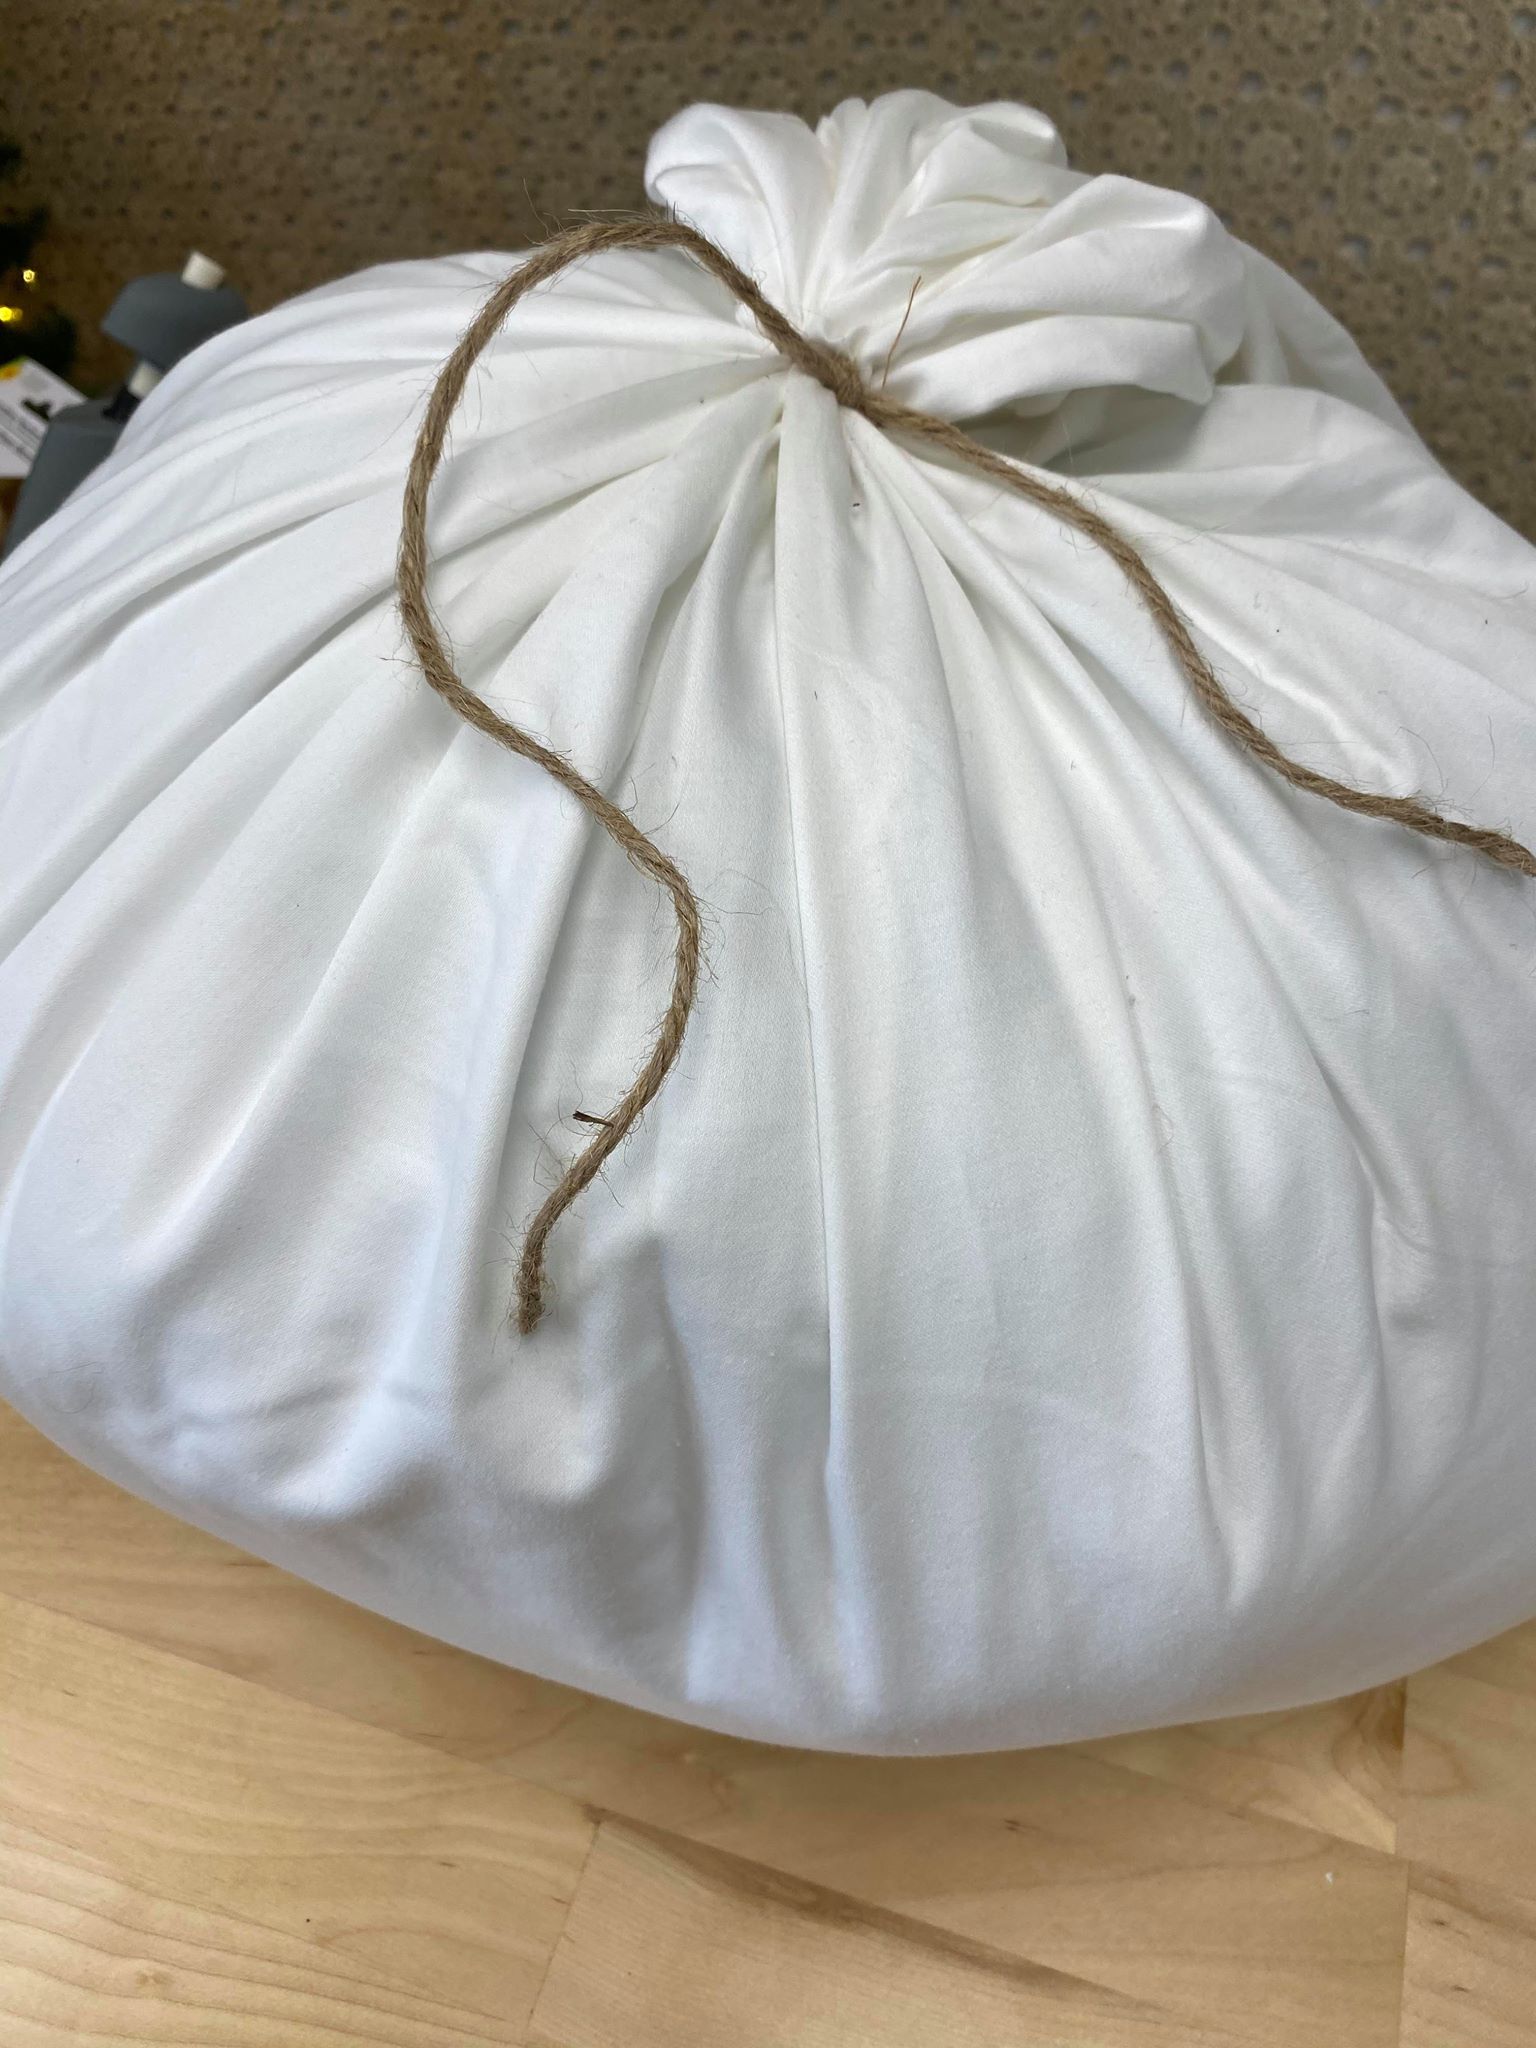
I tied the top of the pillowcase with a small piece of twine.
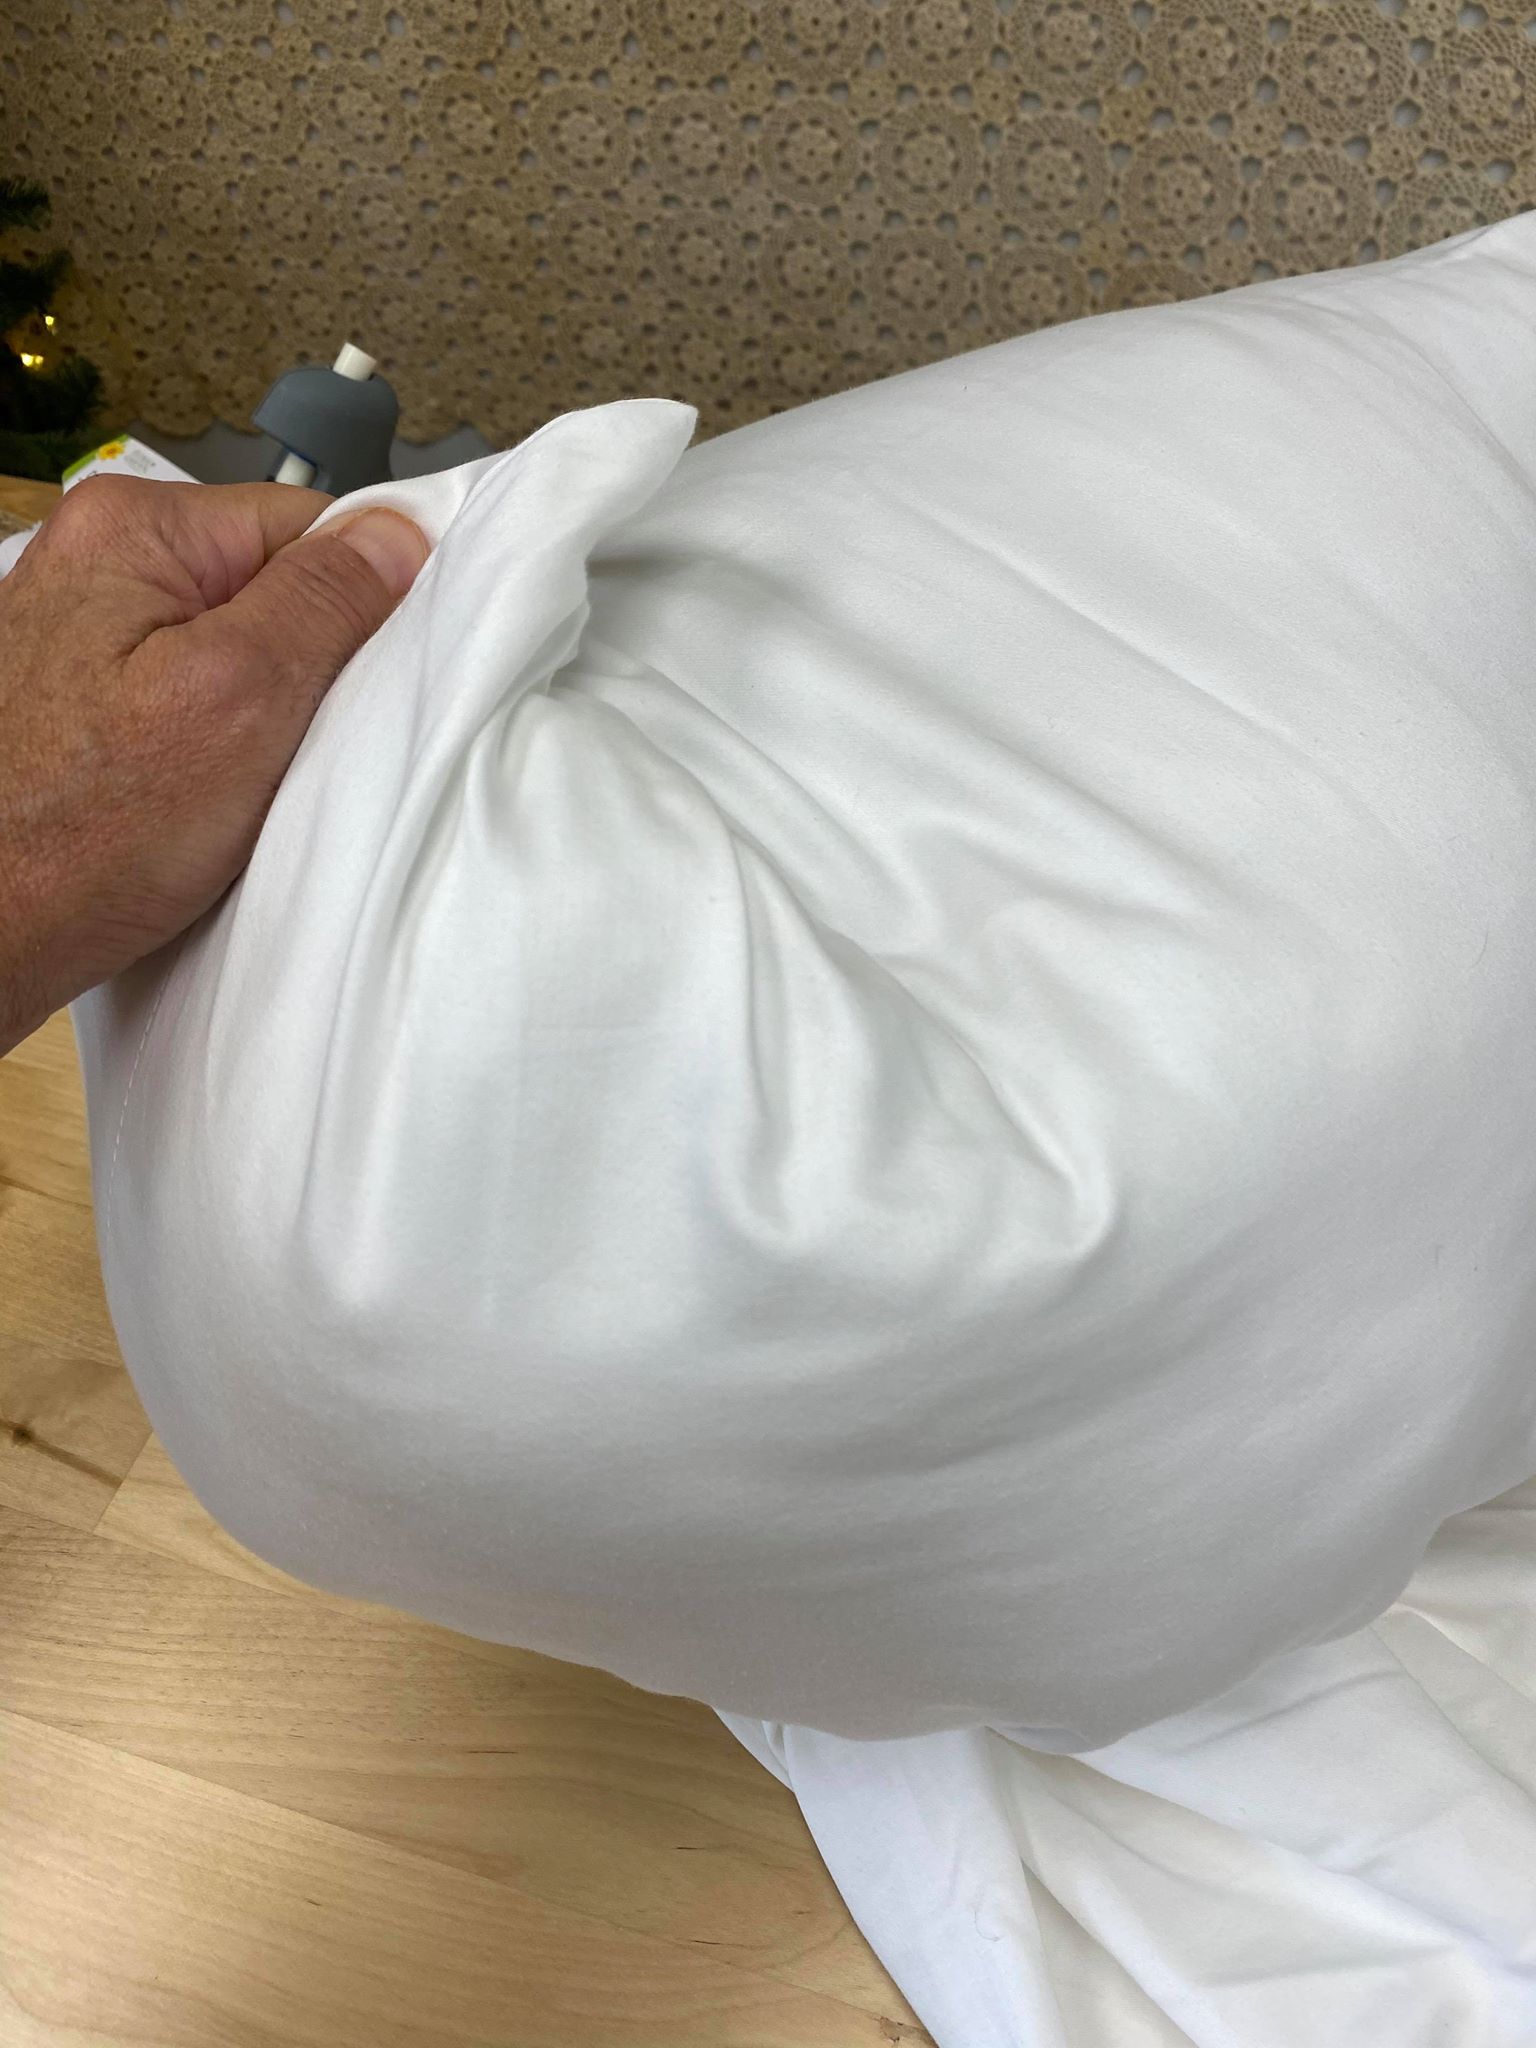
You will need to flip your pumpkin over and pull in the corners of the pillowcase.
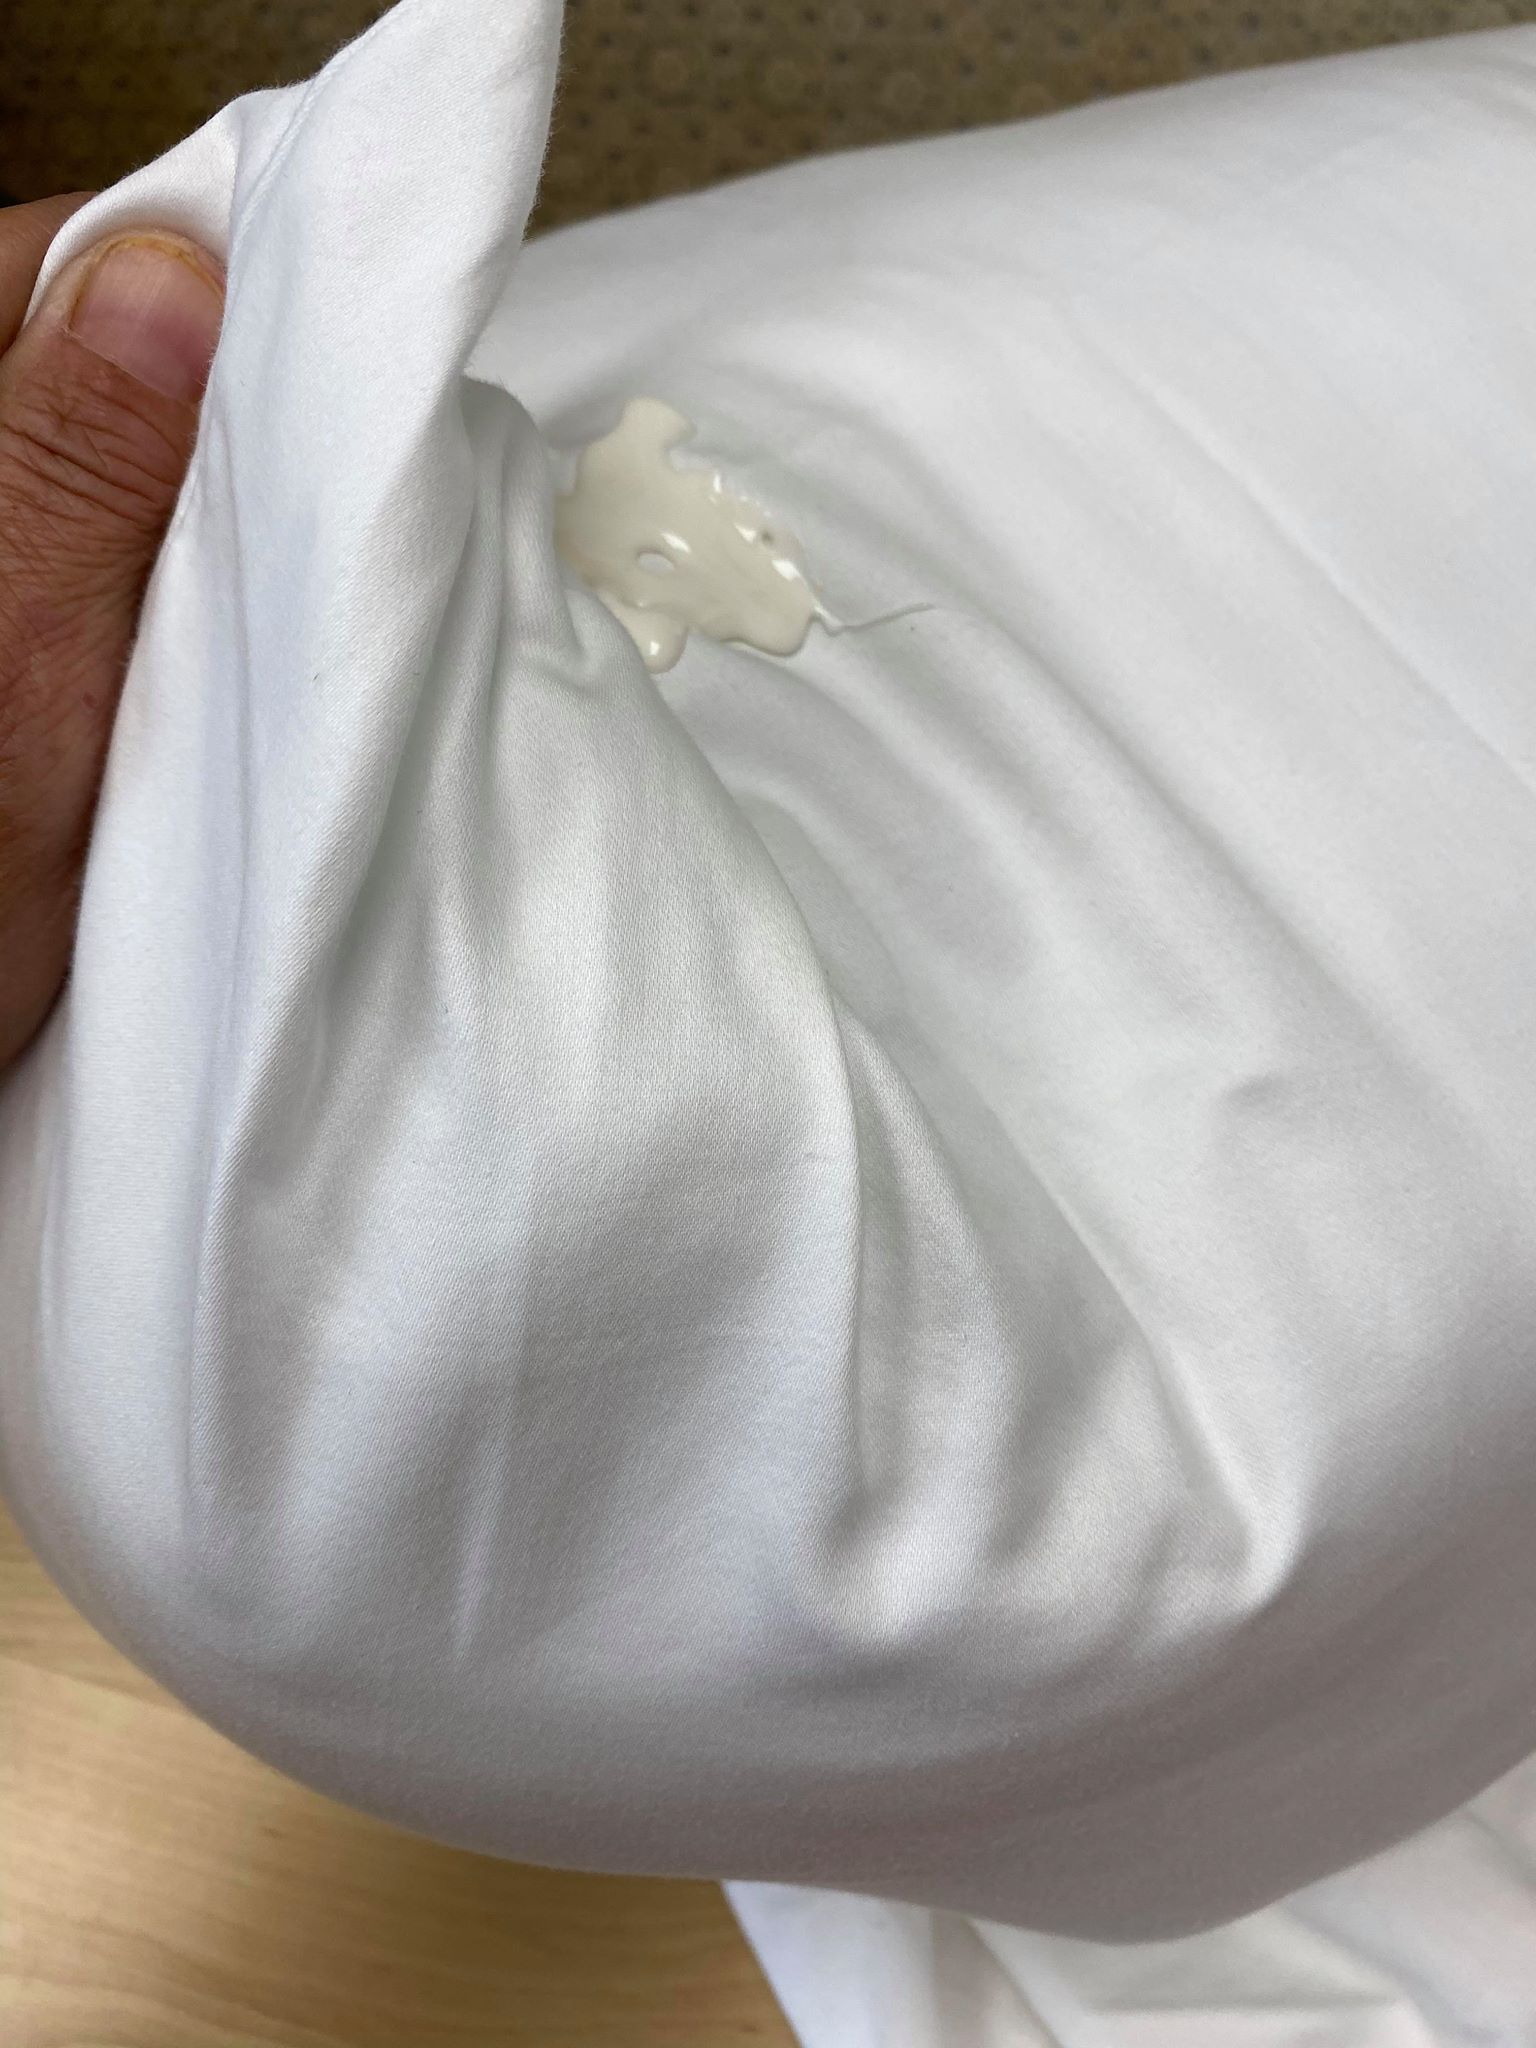
I added some surebonder fabric glue to hold down the corners. This will give your pillow case a round pumpkin shape.
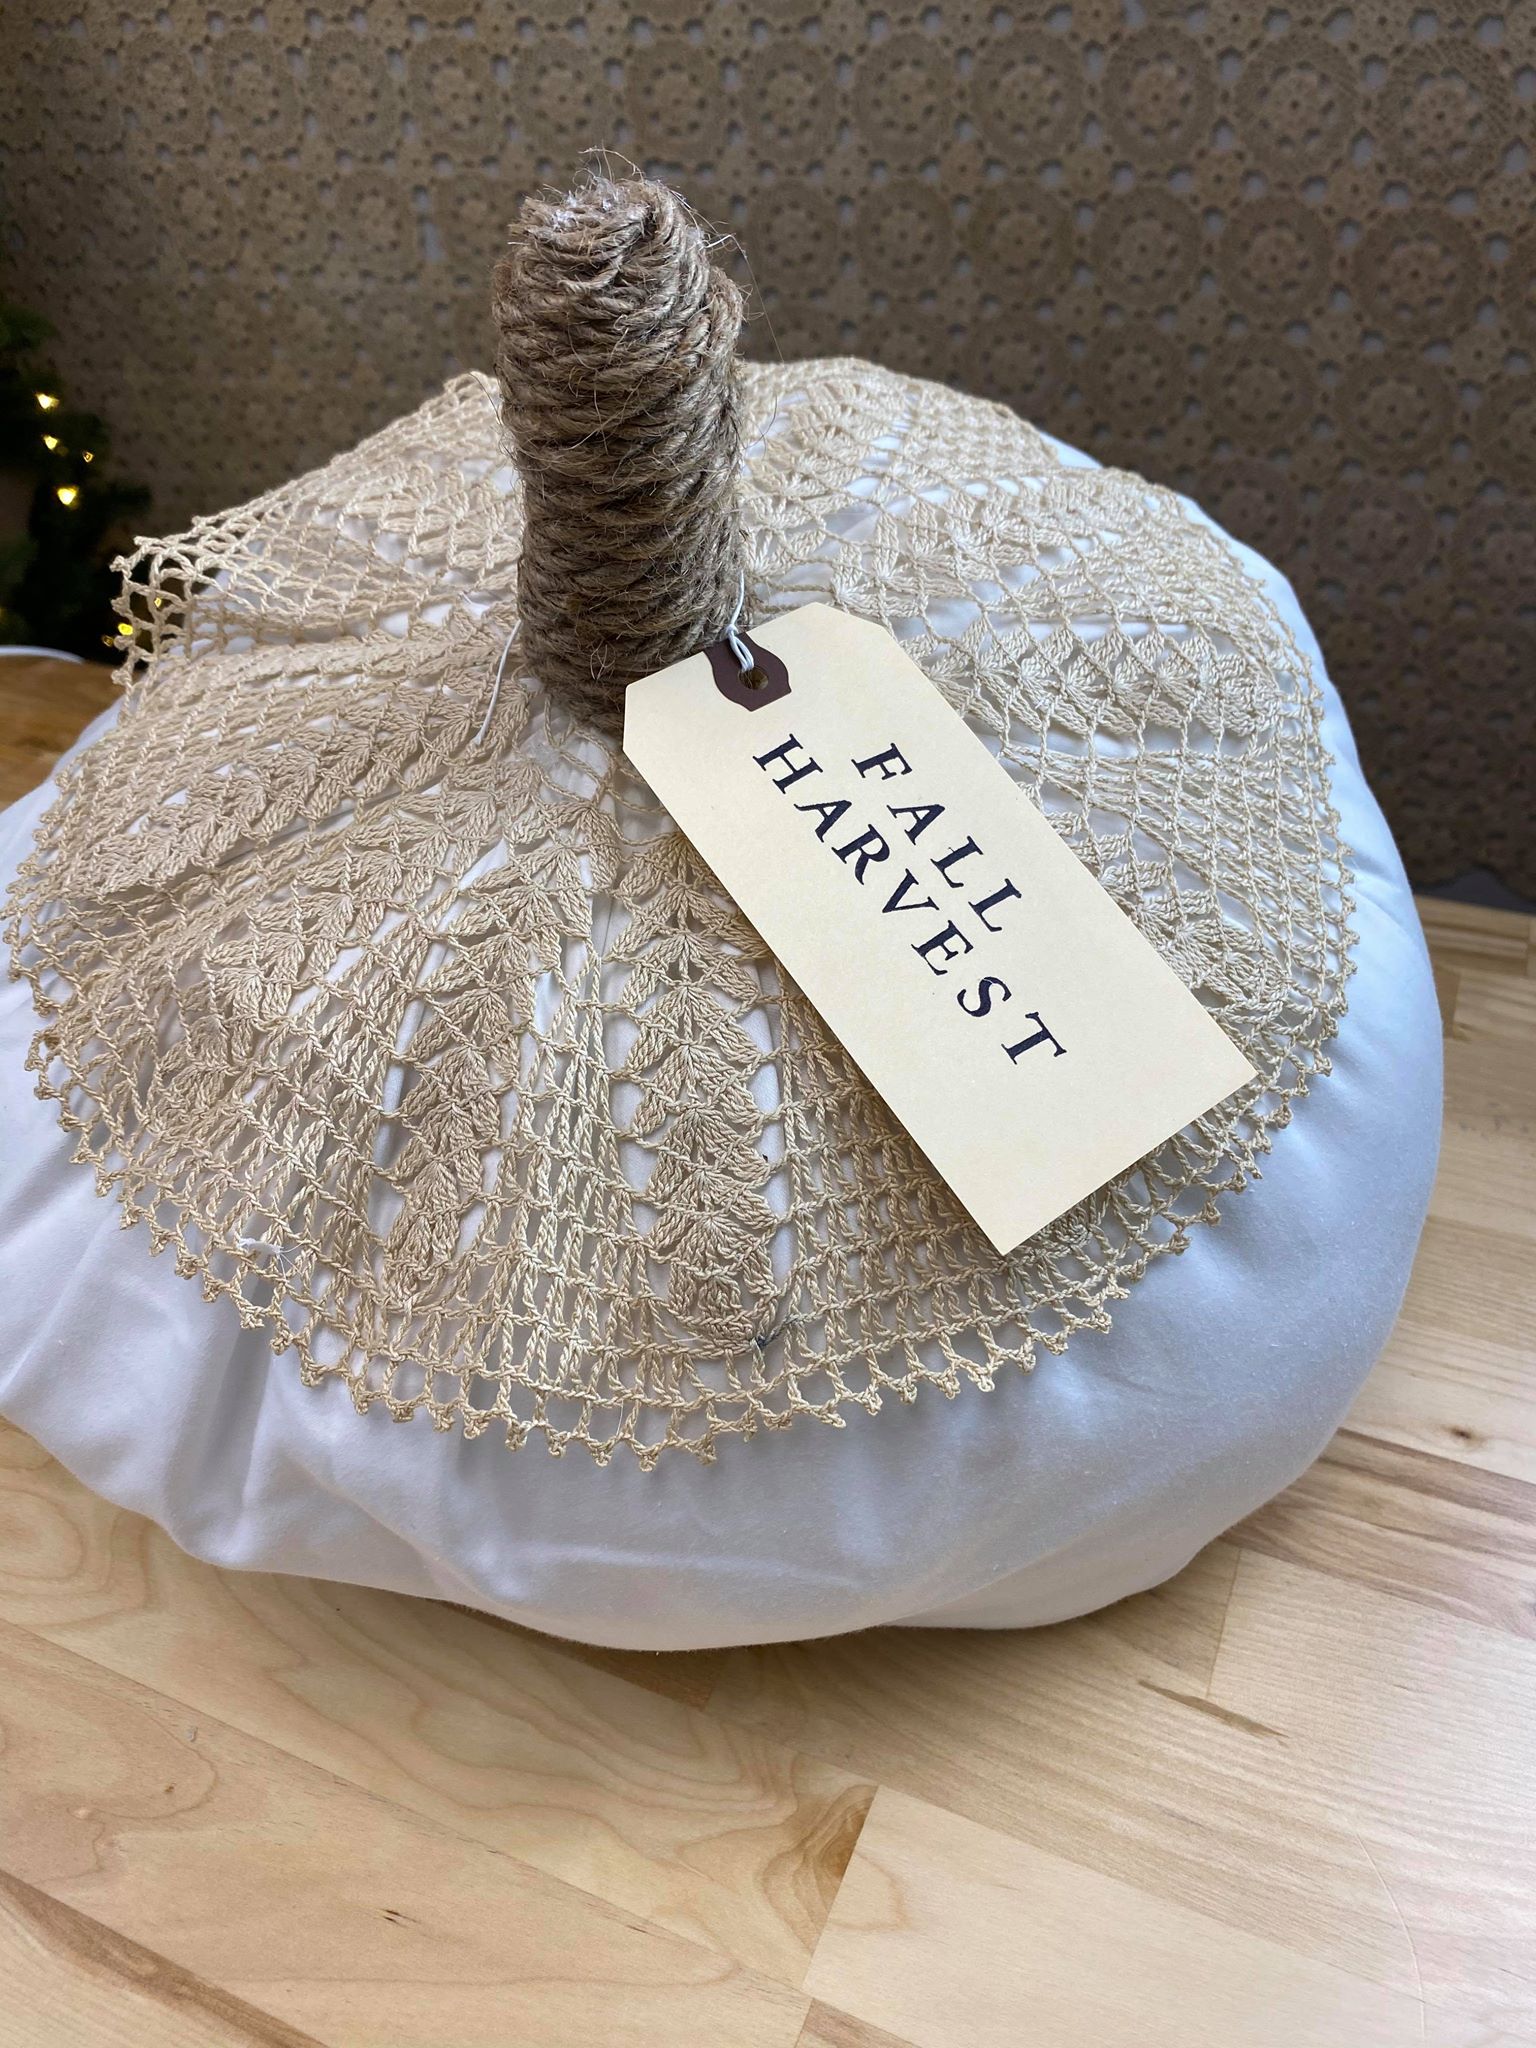
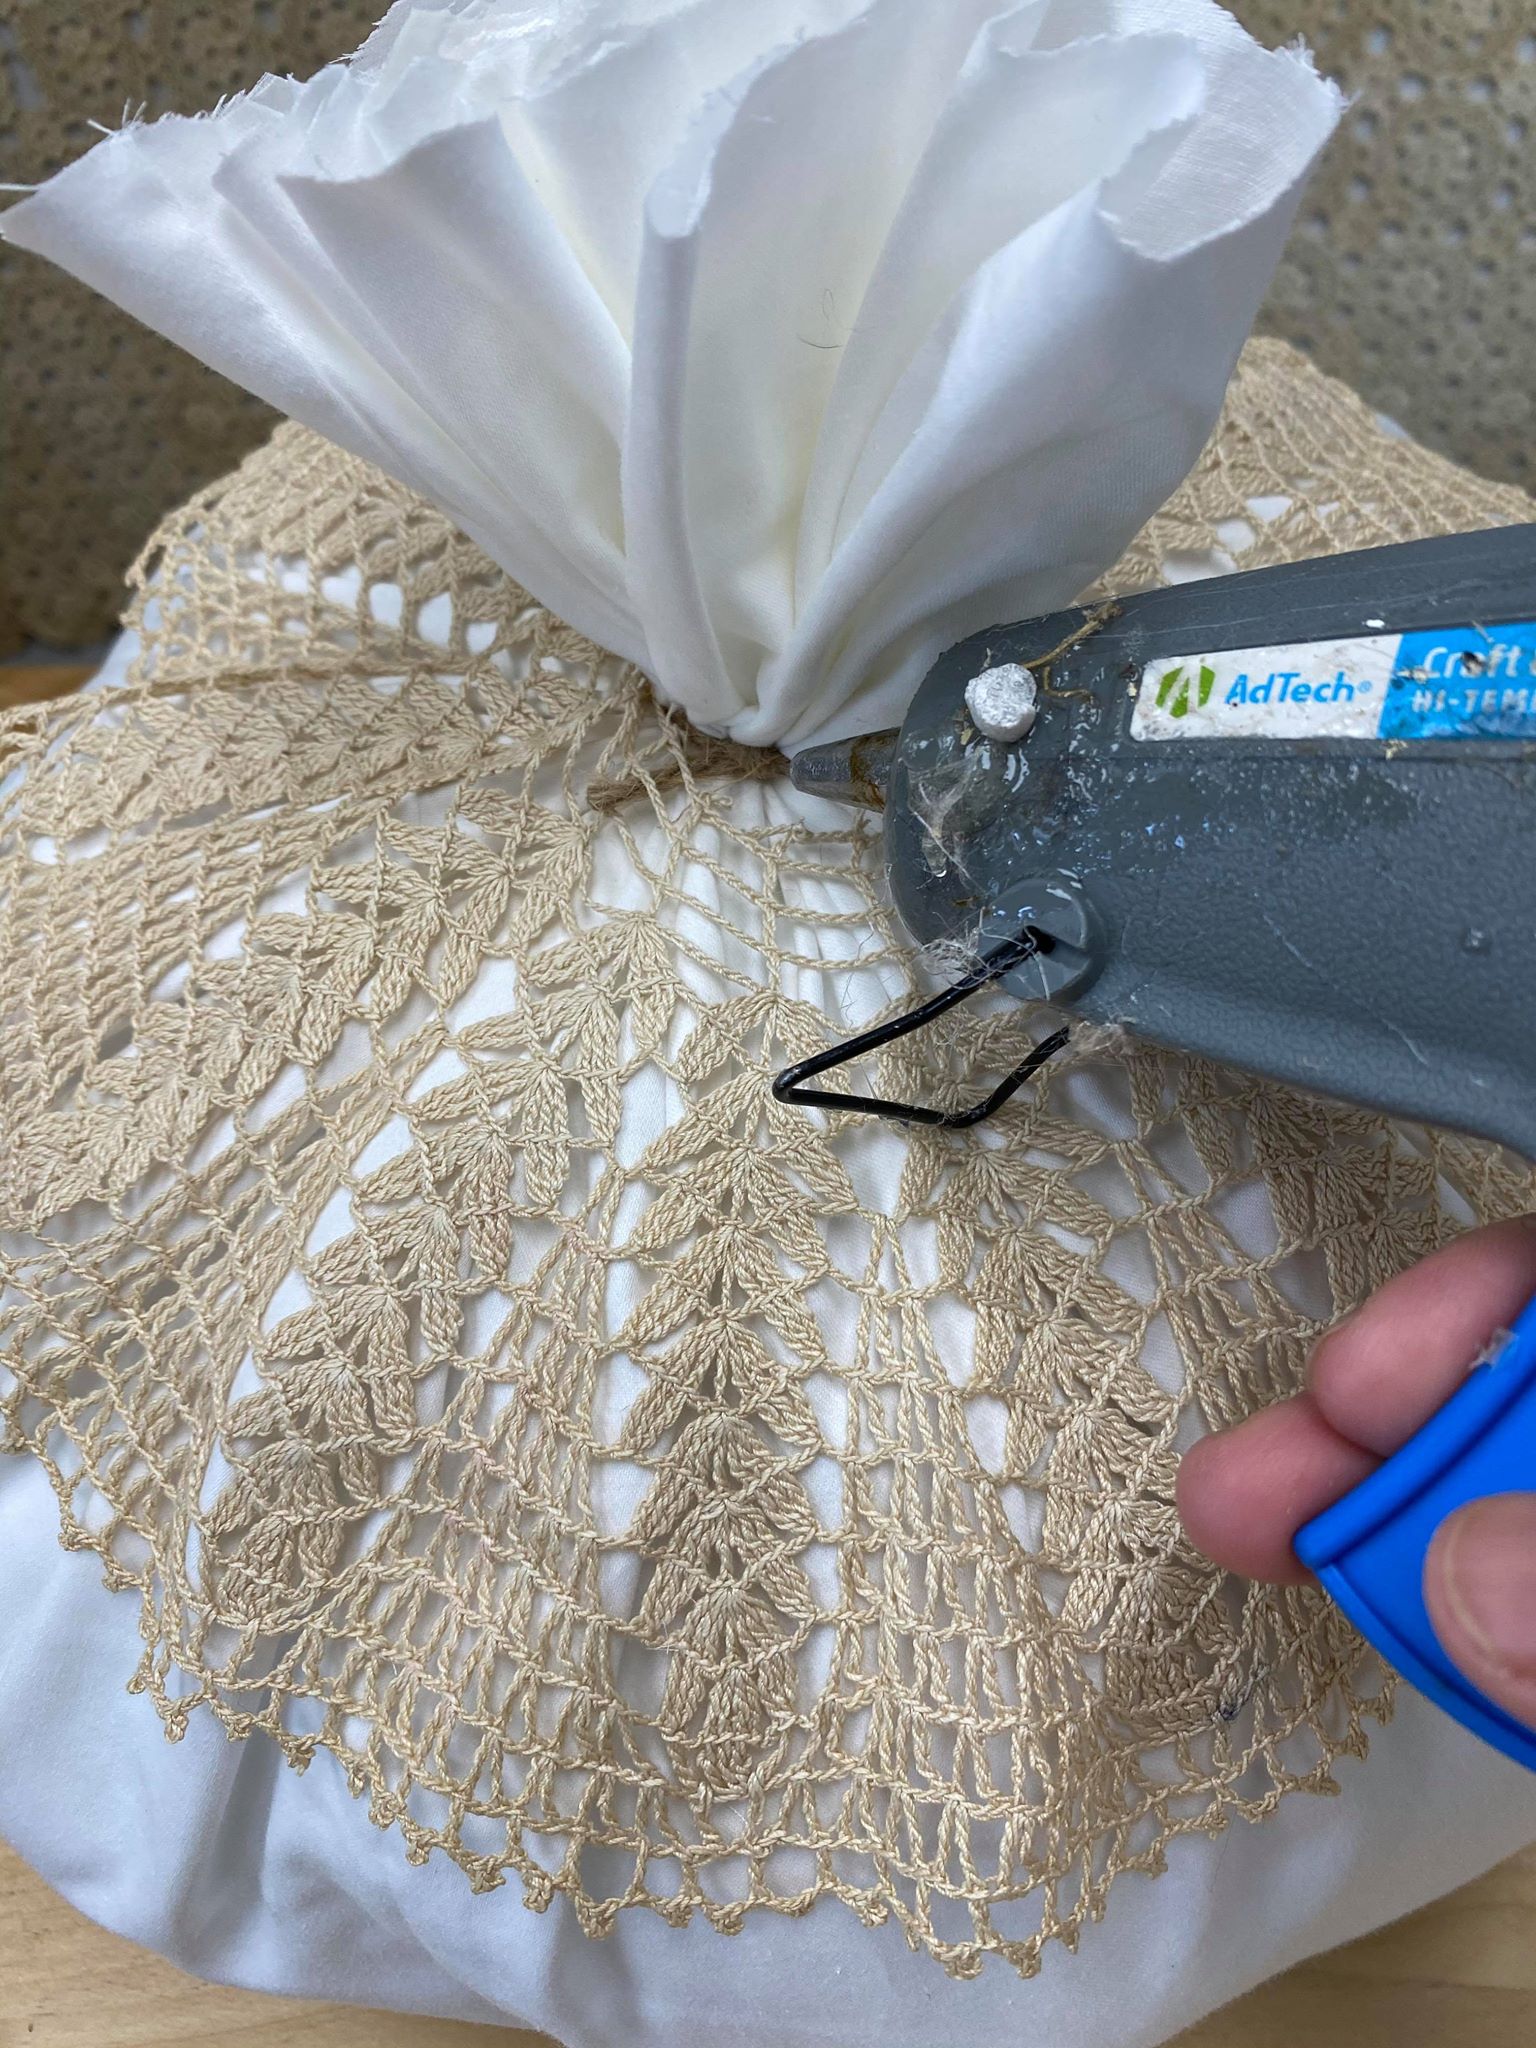
You will want to cut the top of the pillow case. You will cut it according to how big you want the stem of your pumpkin to be.
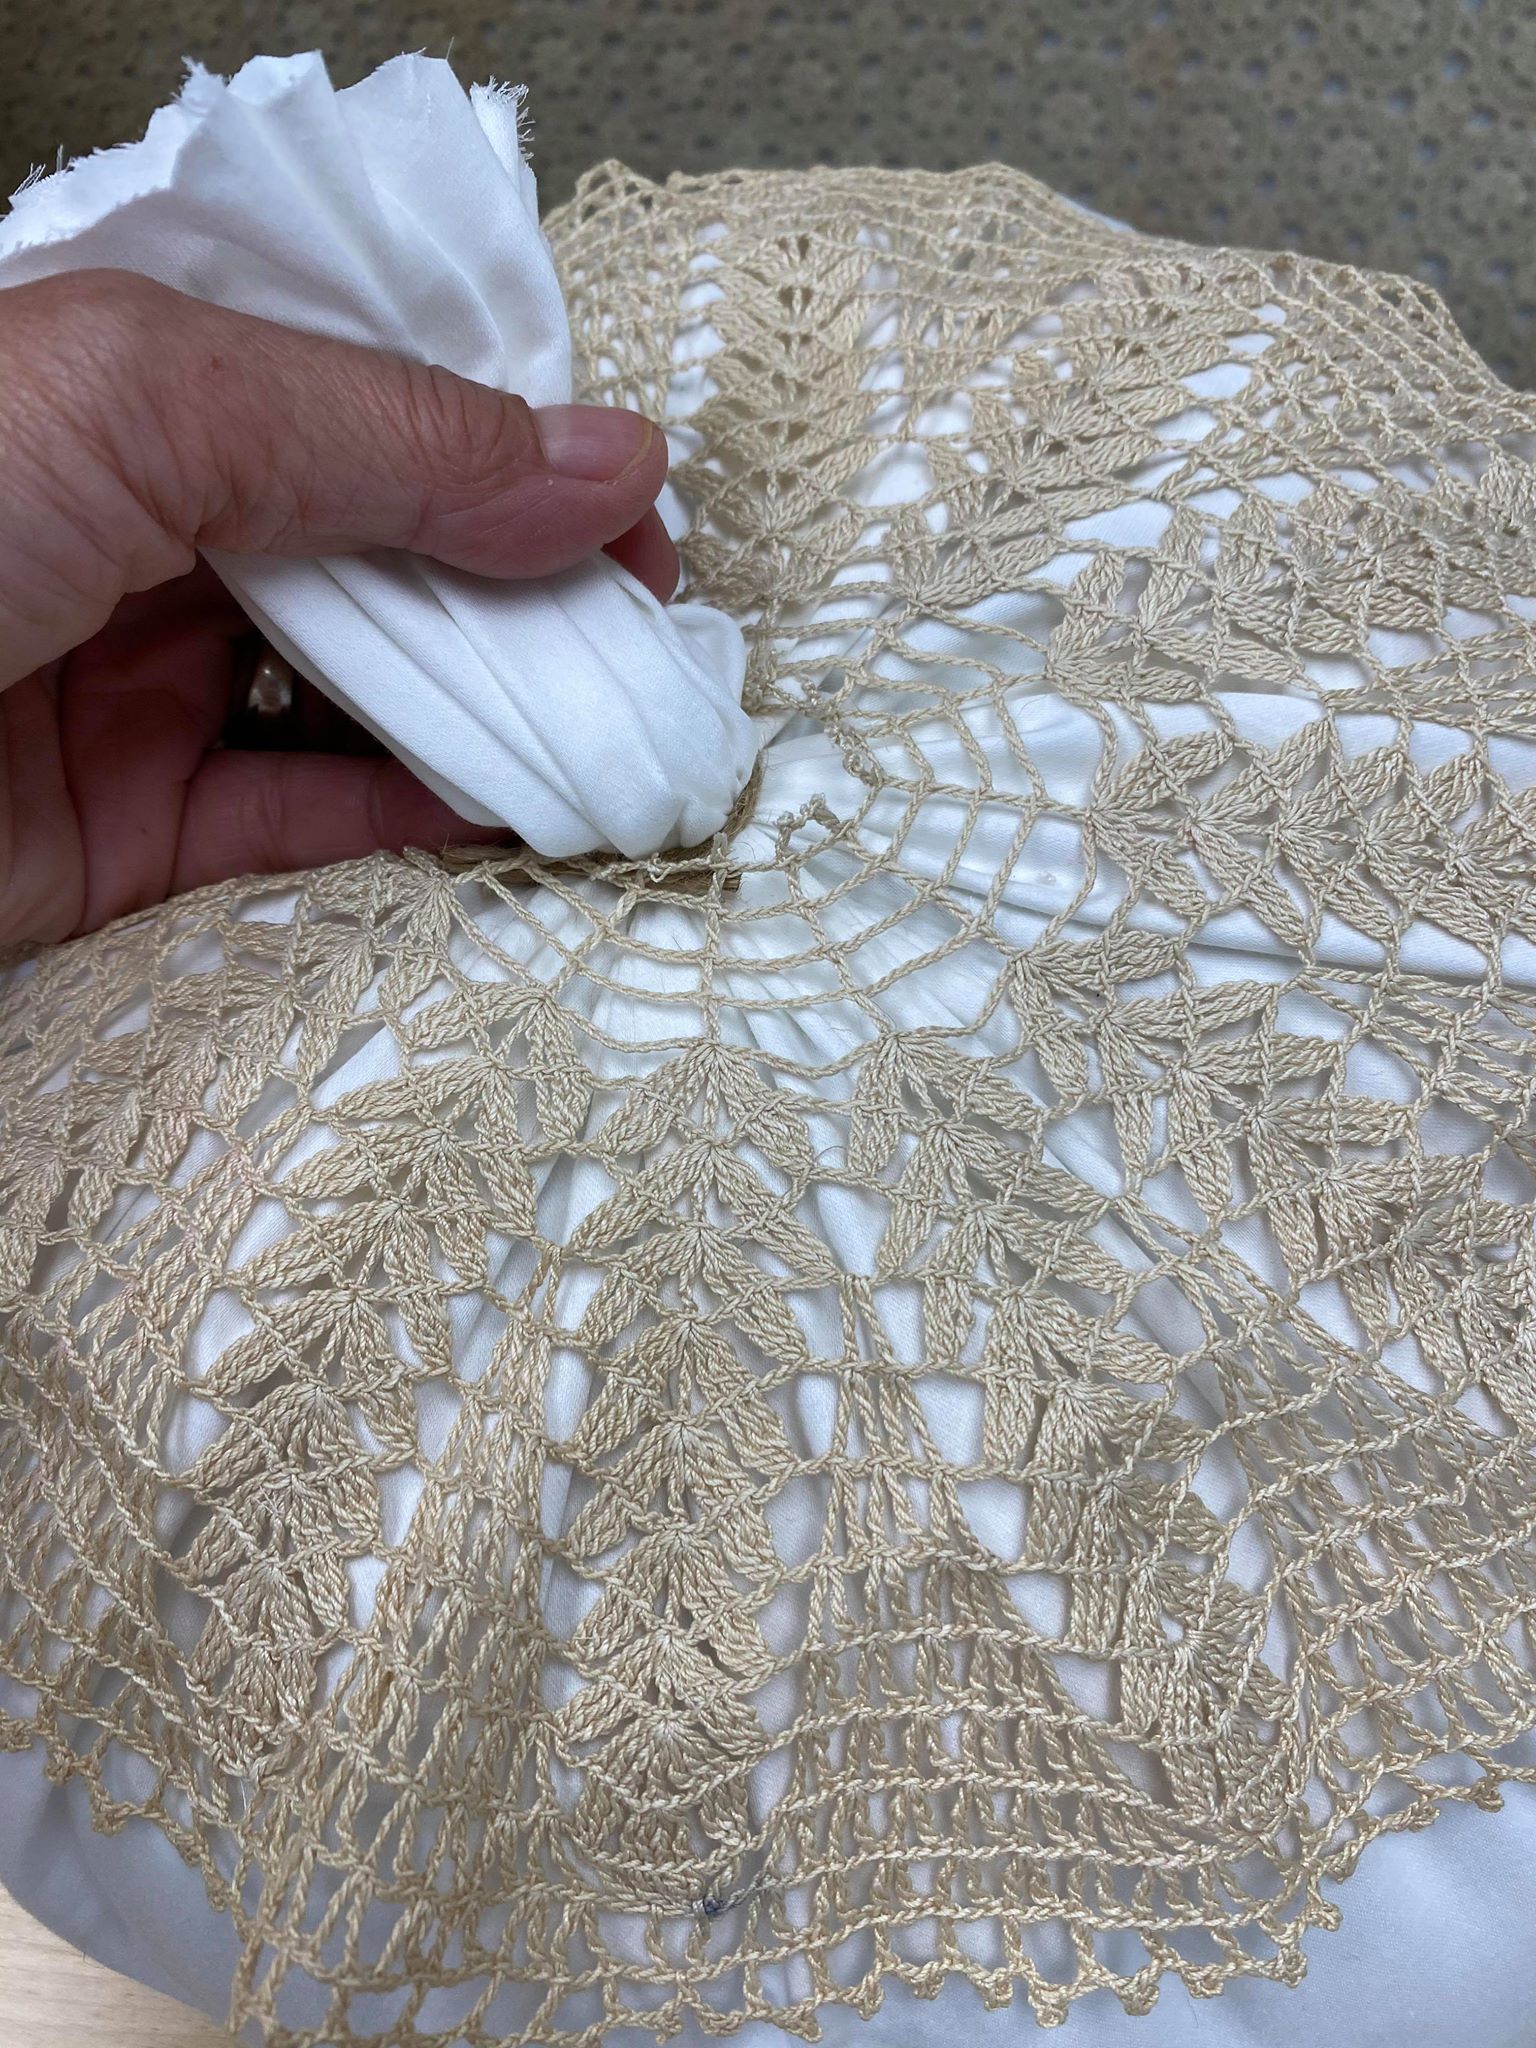
I added a doily to the top of my pumpkin . This is optional but I love doilies and I feel like it really add to my pumpkin.
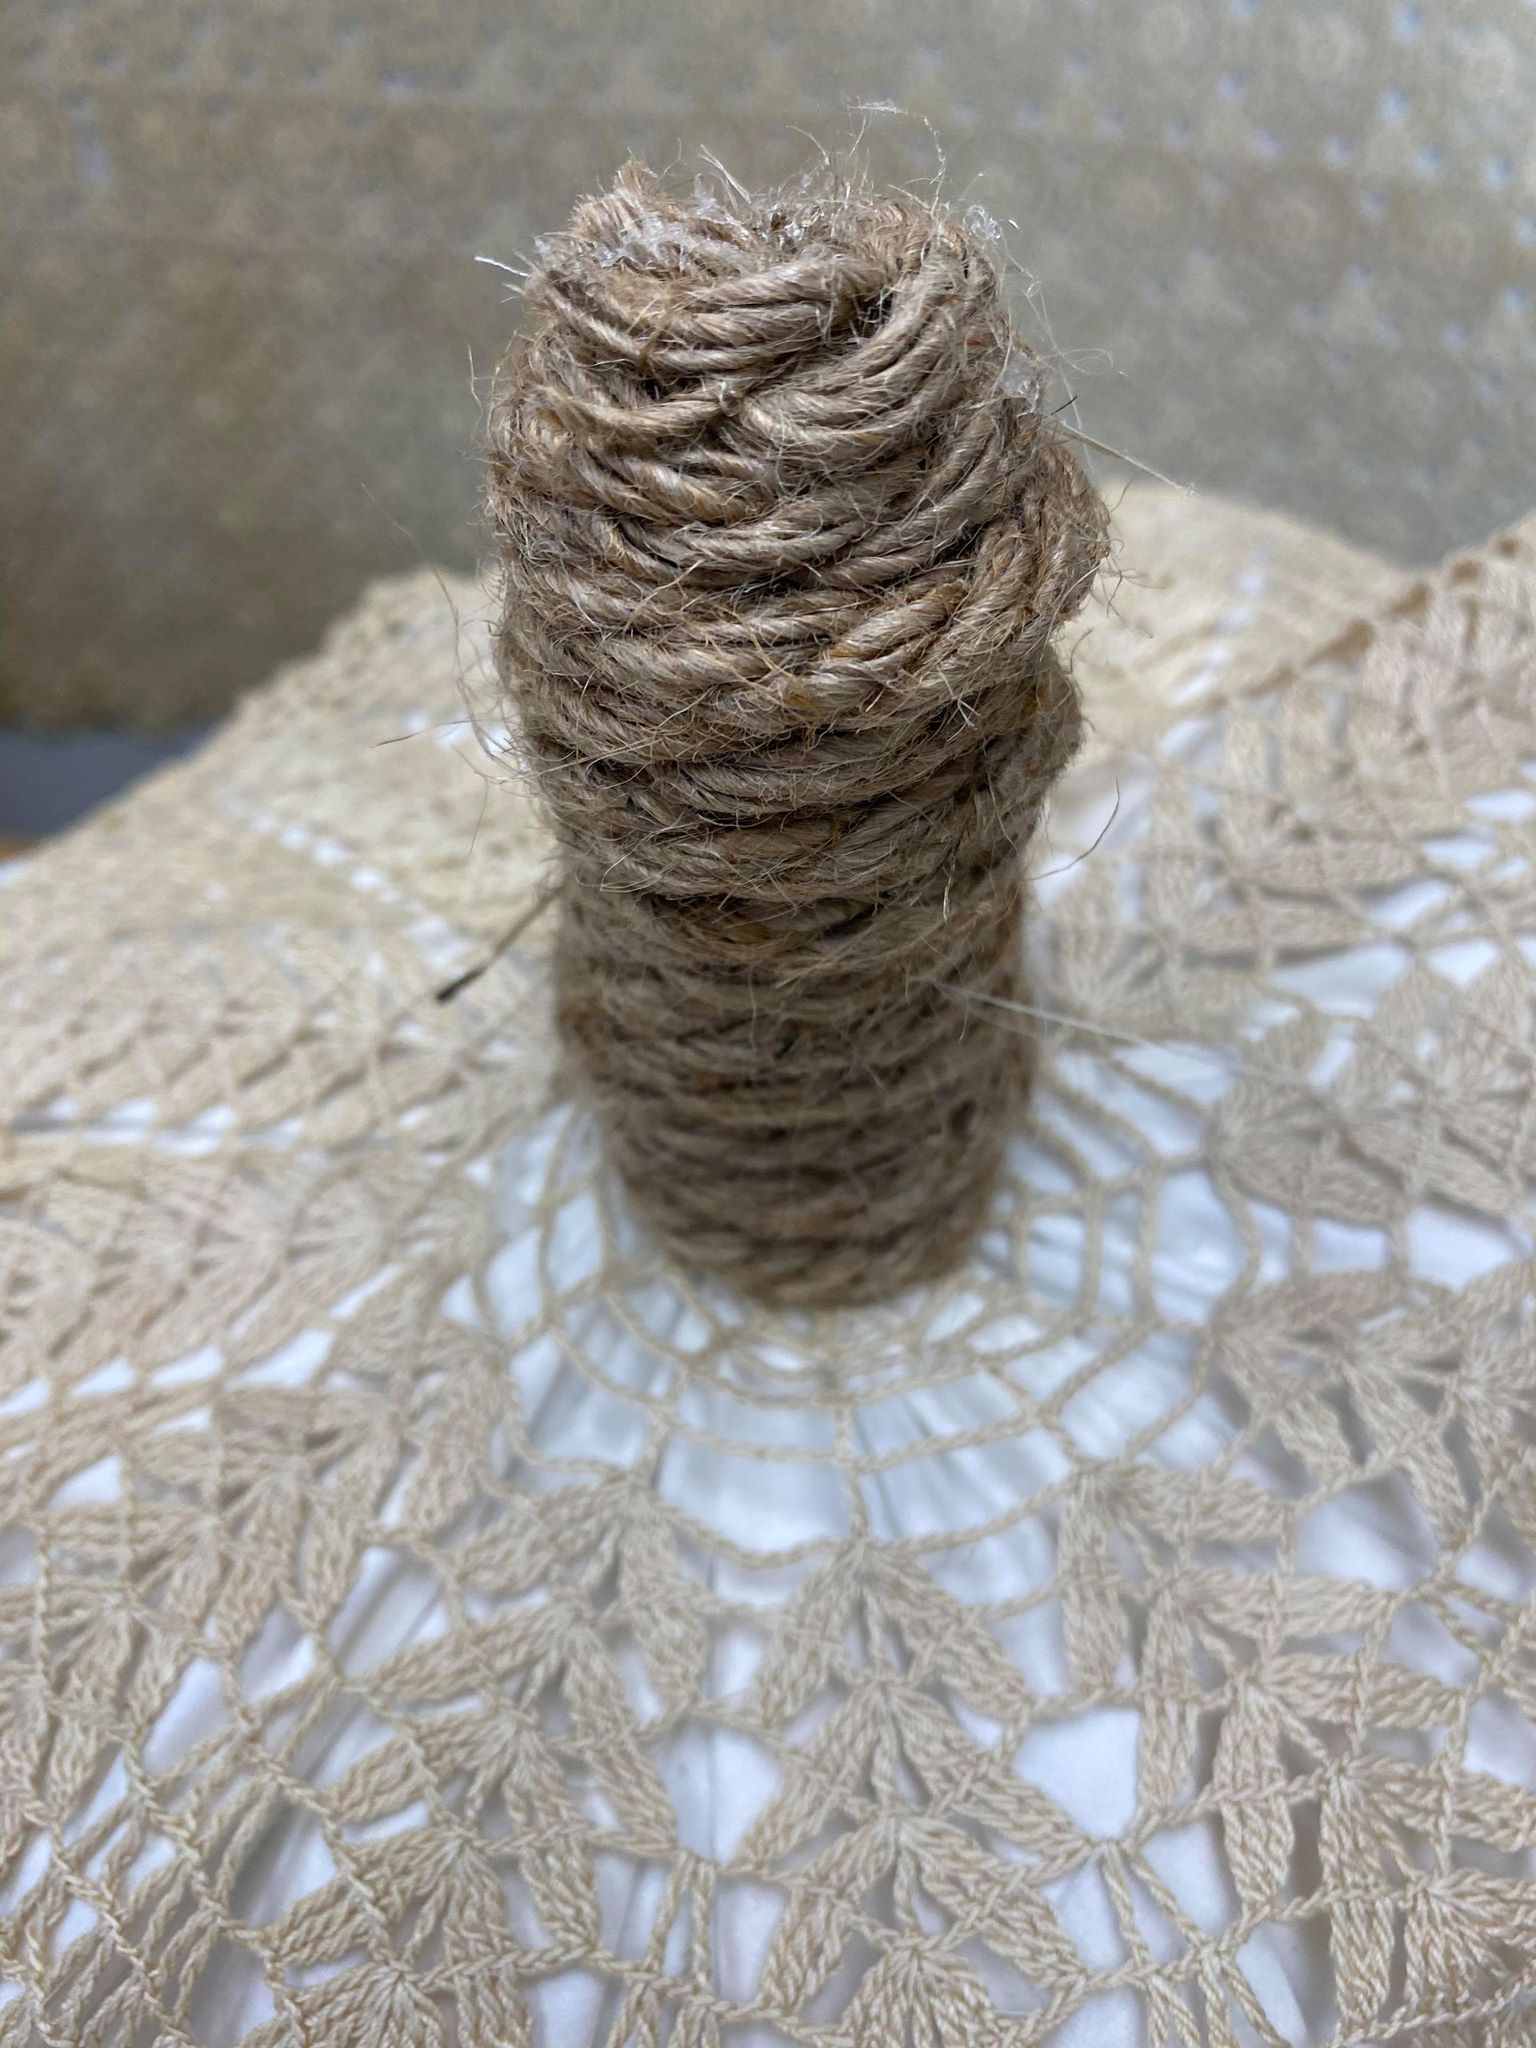
Now you will need to add hot glue to the top piece of the pillow case. I added hot glue and started wrapping the jute to form the stem of the pumpkin.
You can add some moss or a hang tag to top. These are very easy to make and I love how you can get as creative as you want with them.