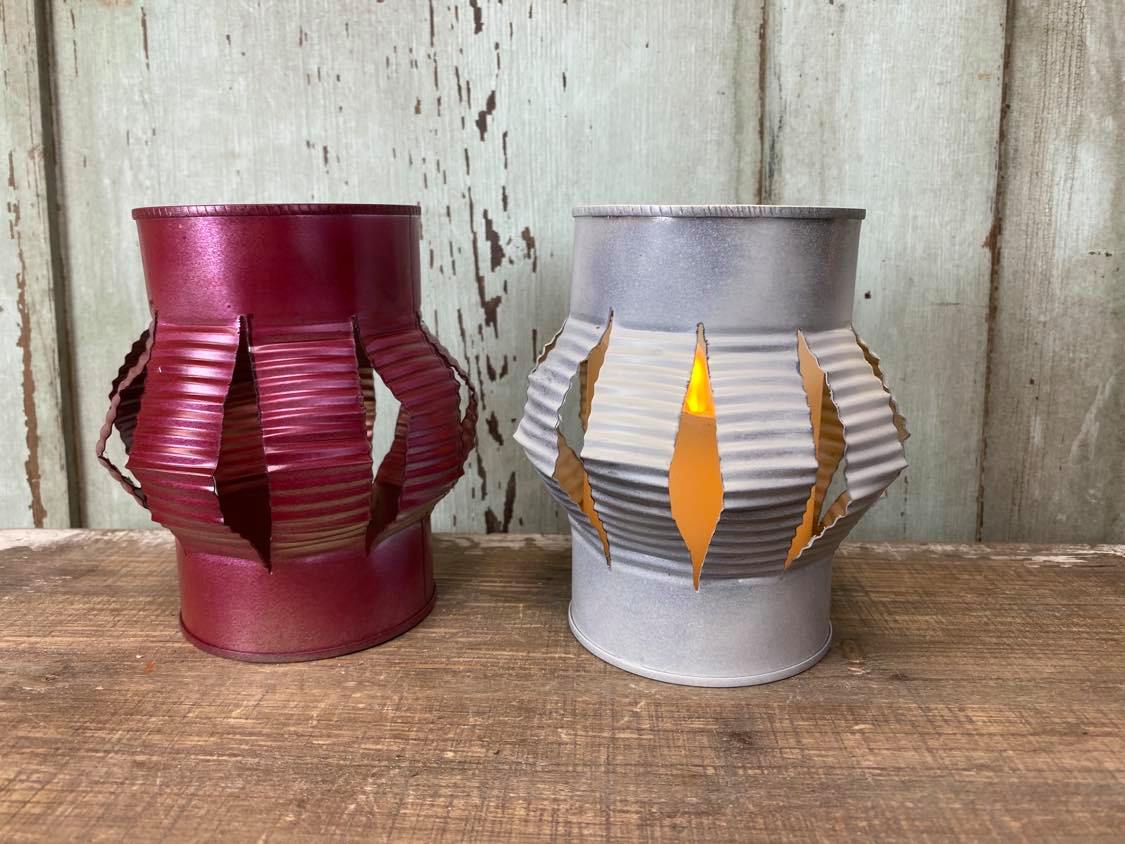
If you’re following The Shabby Tree then you already know that I love having lights of all kind throughout my home. Since summer is right around the corner I have been trying to come up with a few ways to create different types of lanterns. We have been doing a few crafts with recycled tin cans lately and I just knew there had to be a way to create a fun lantern.
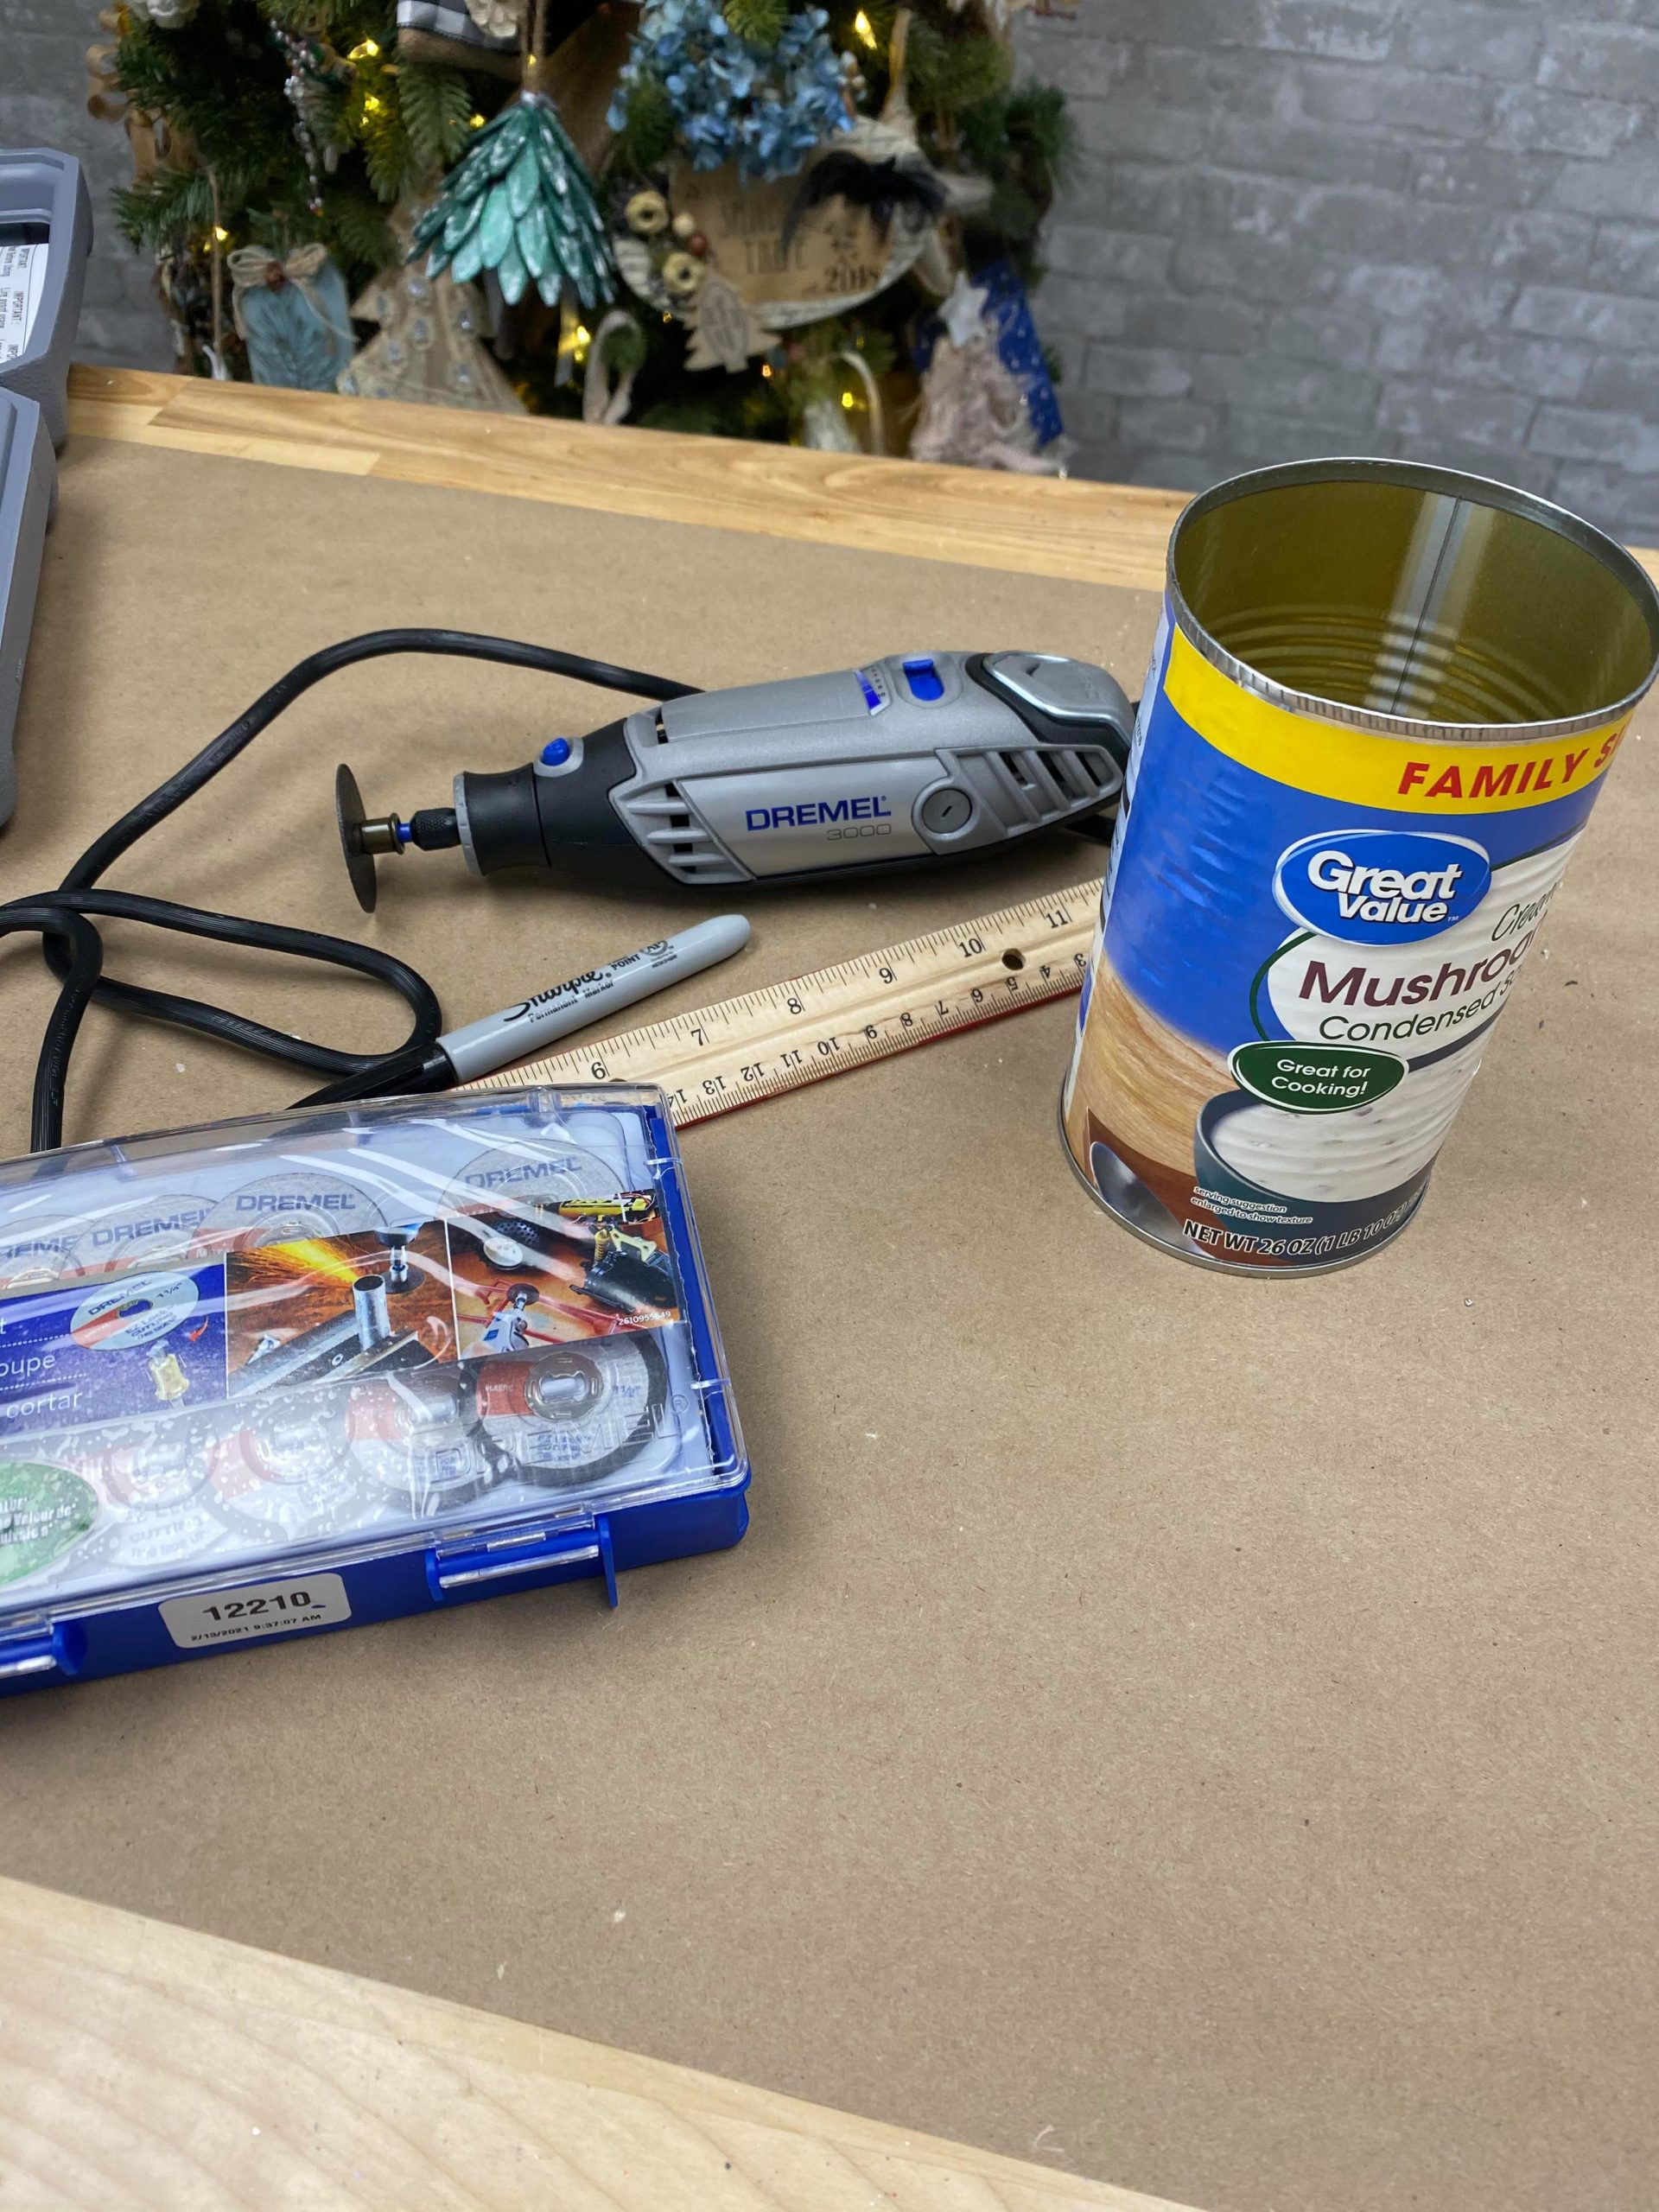
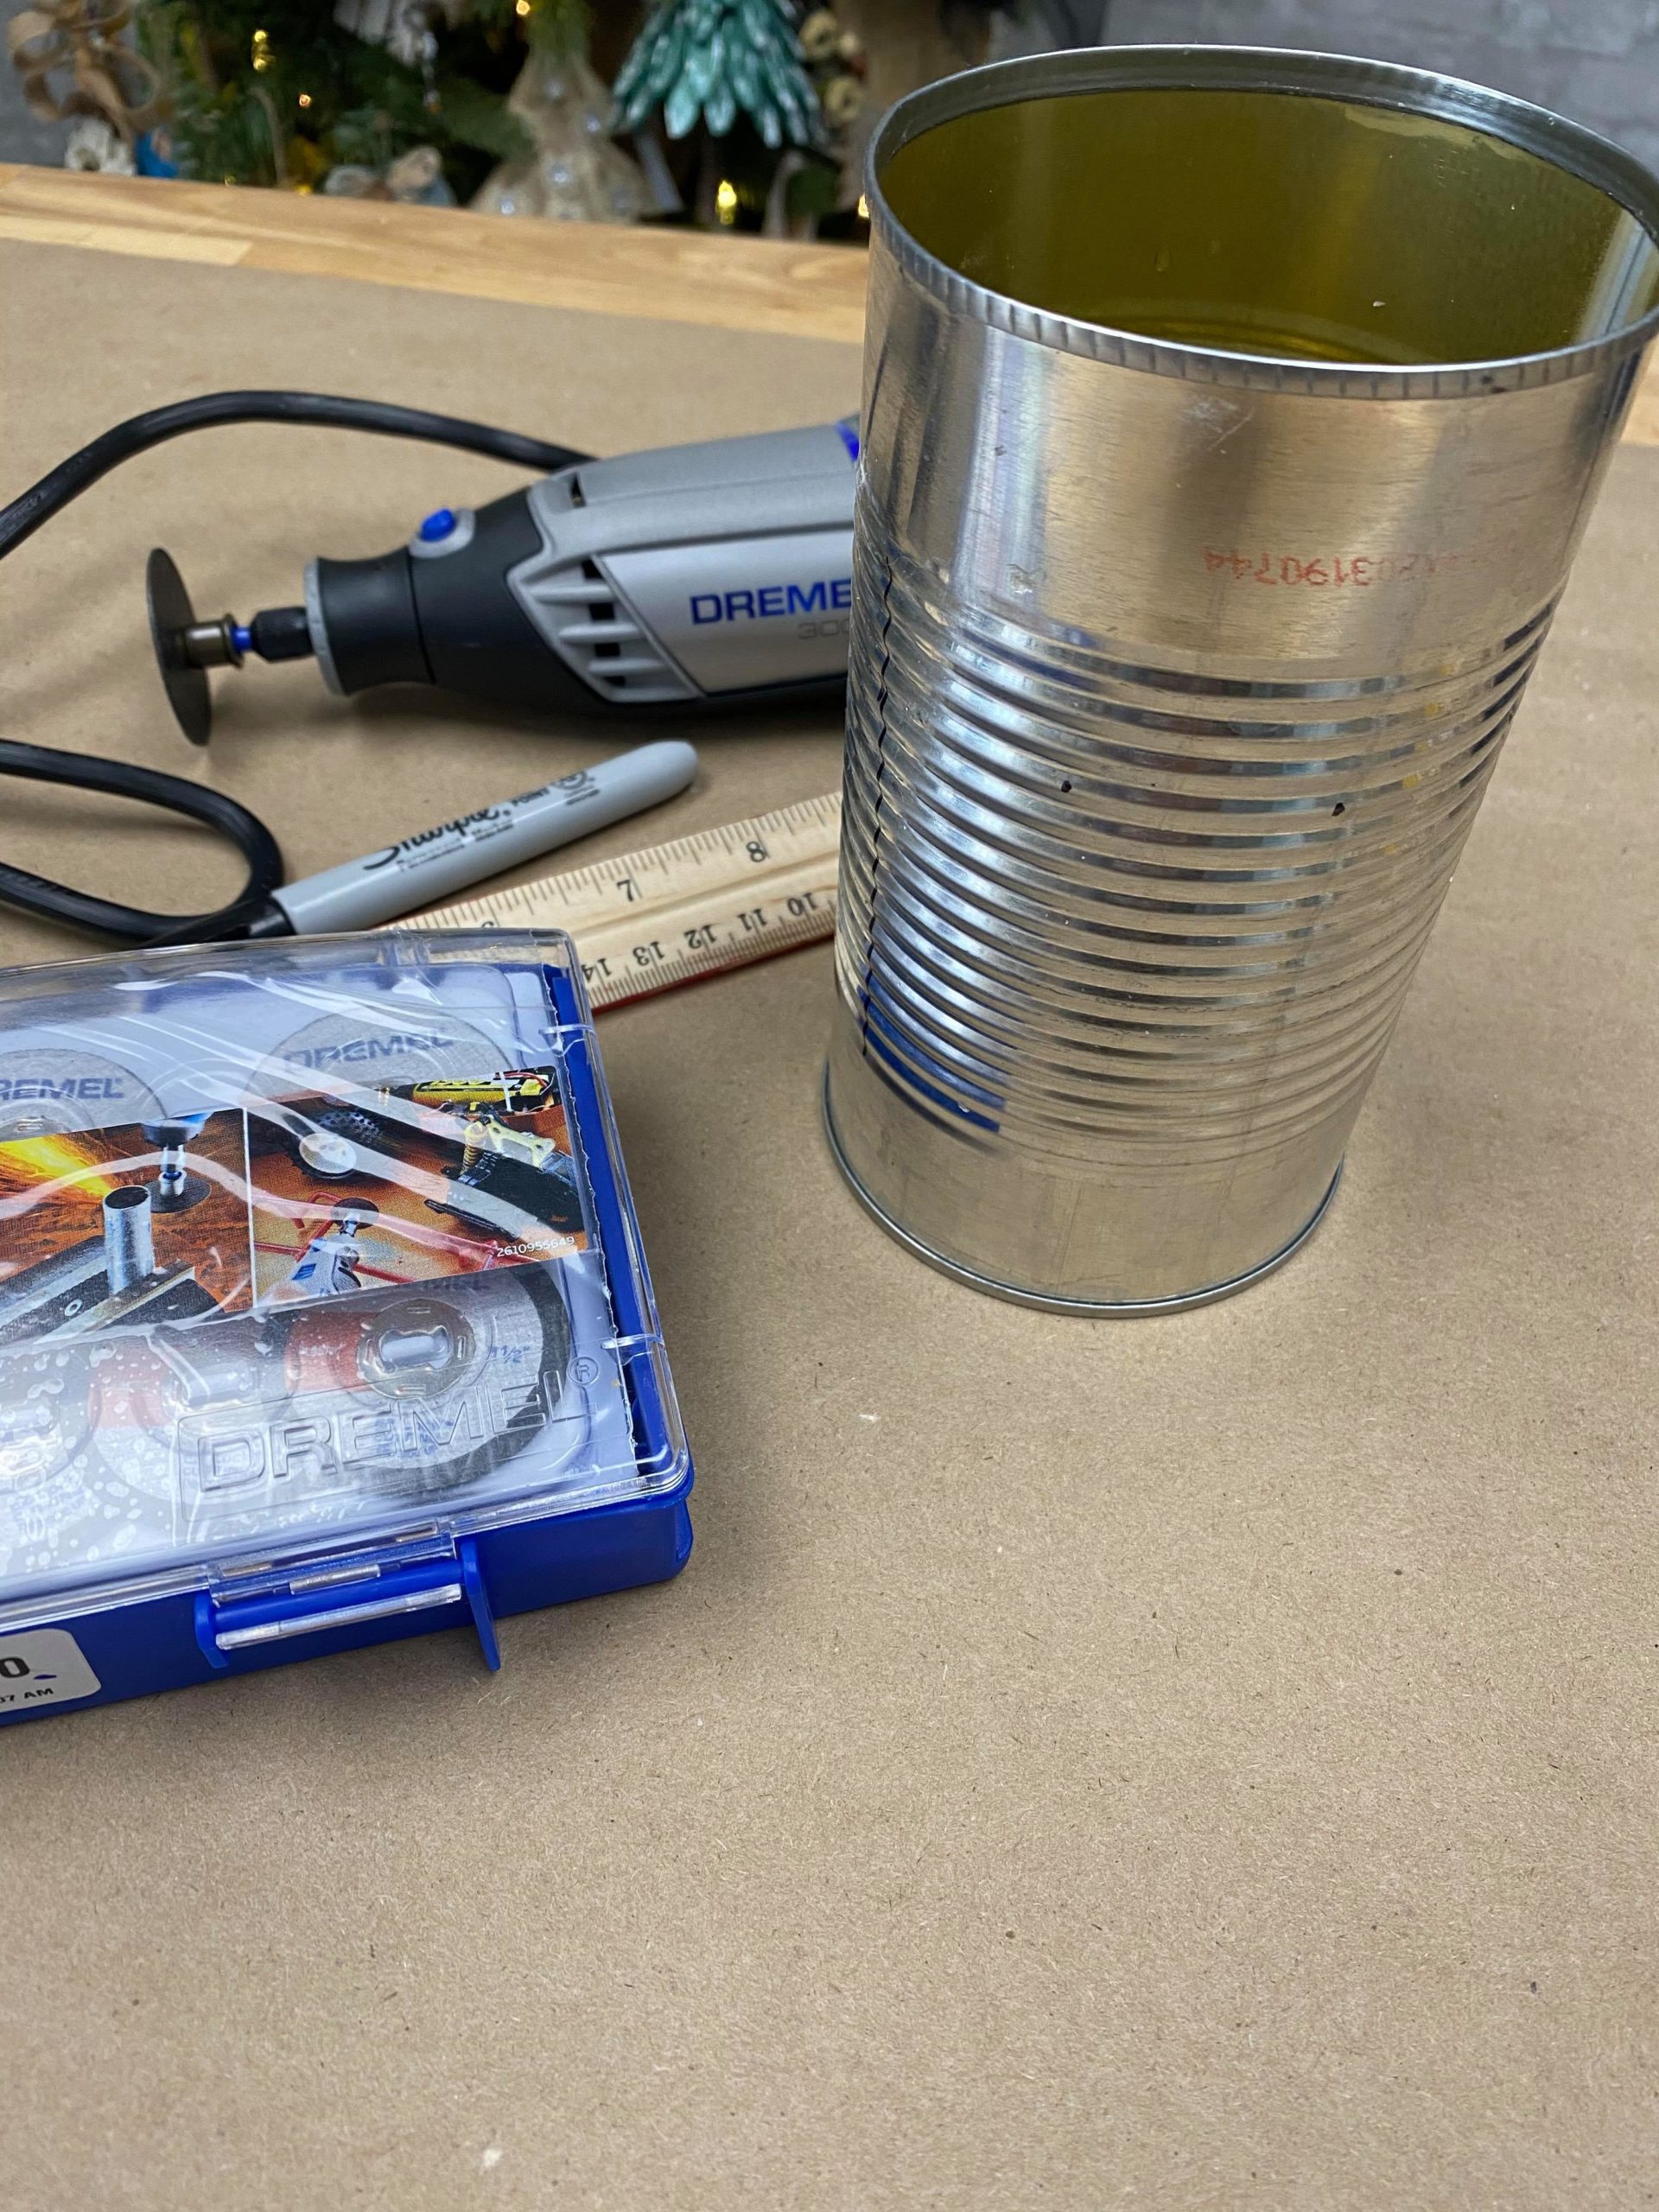
The supplies I will be using are:
1. Tin can
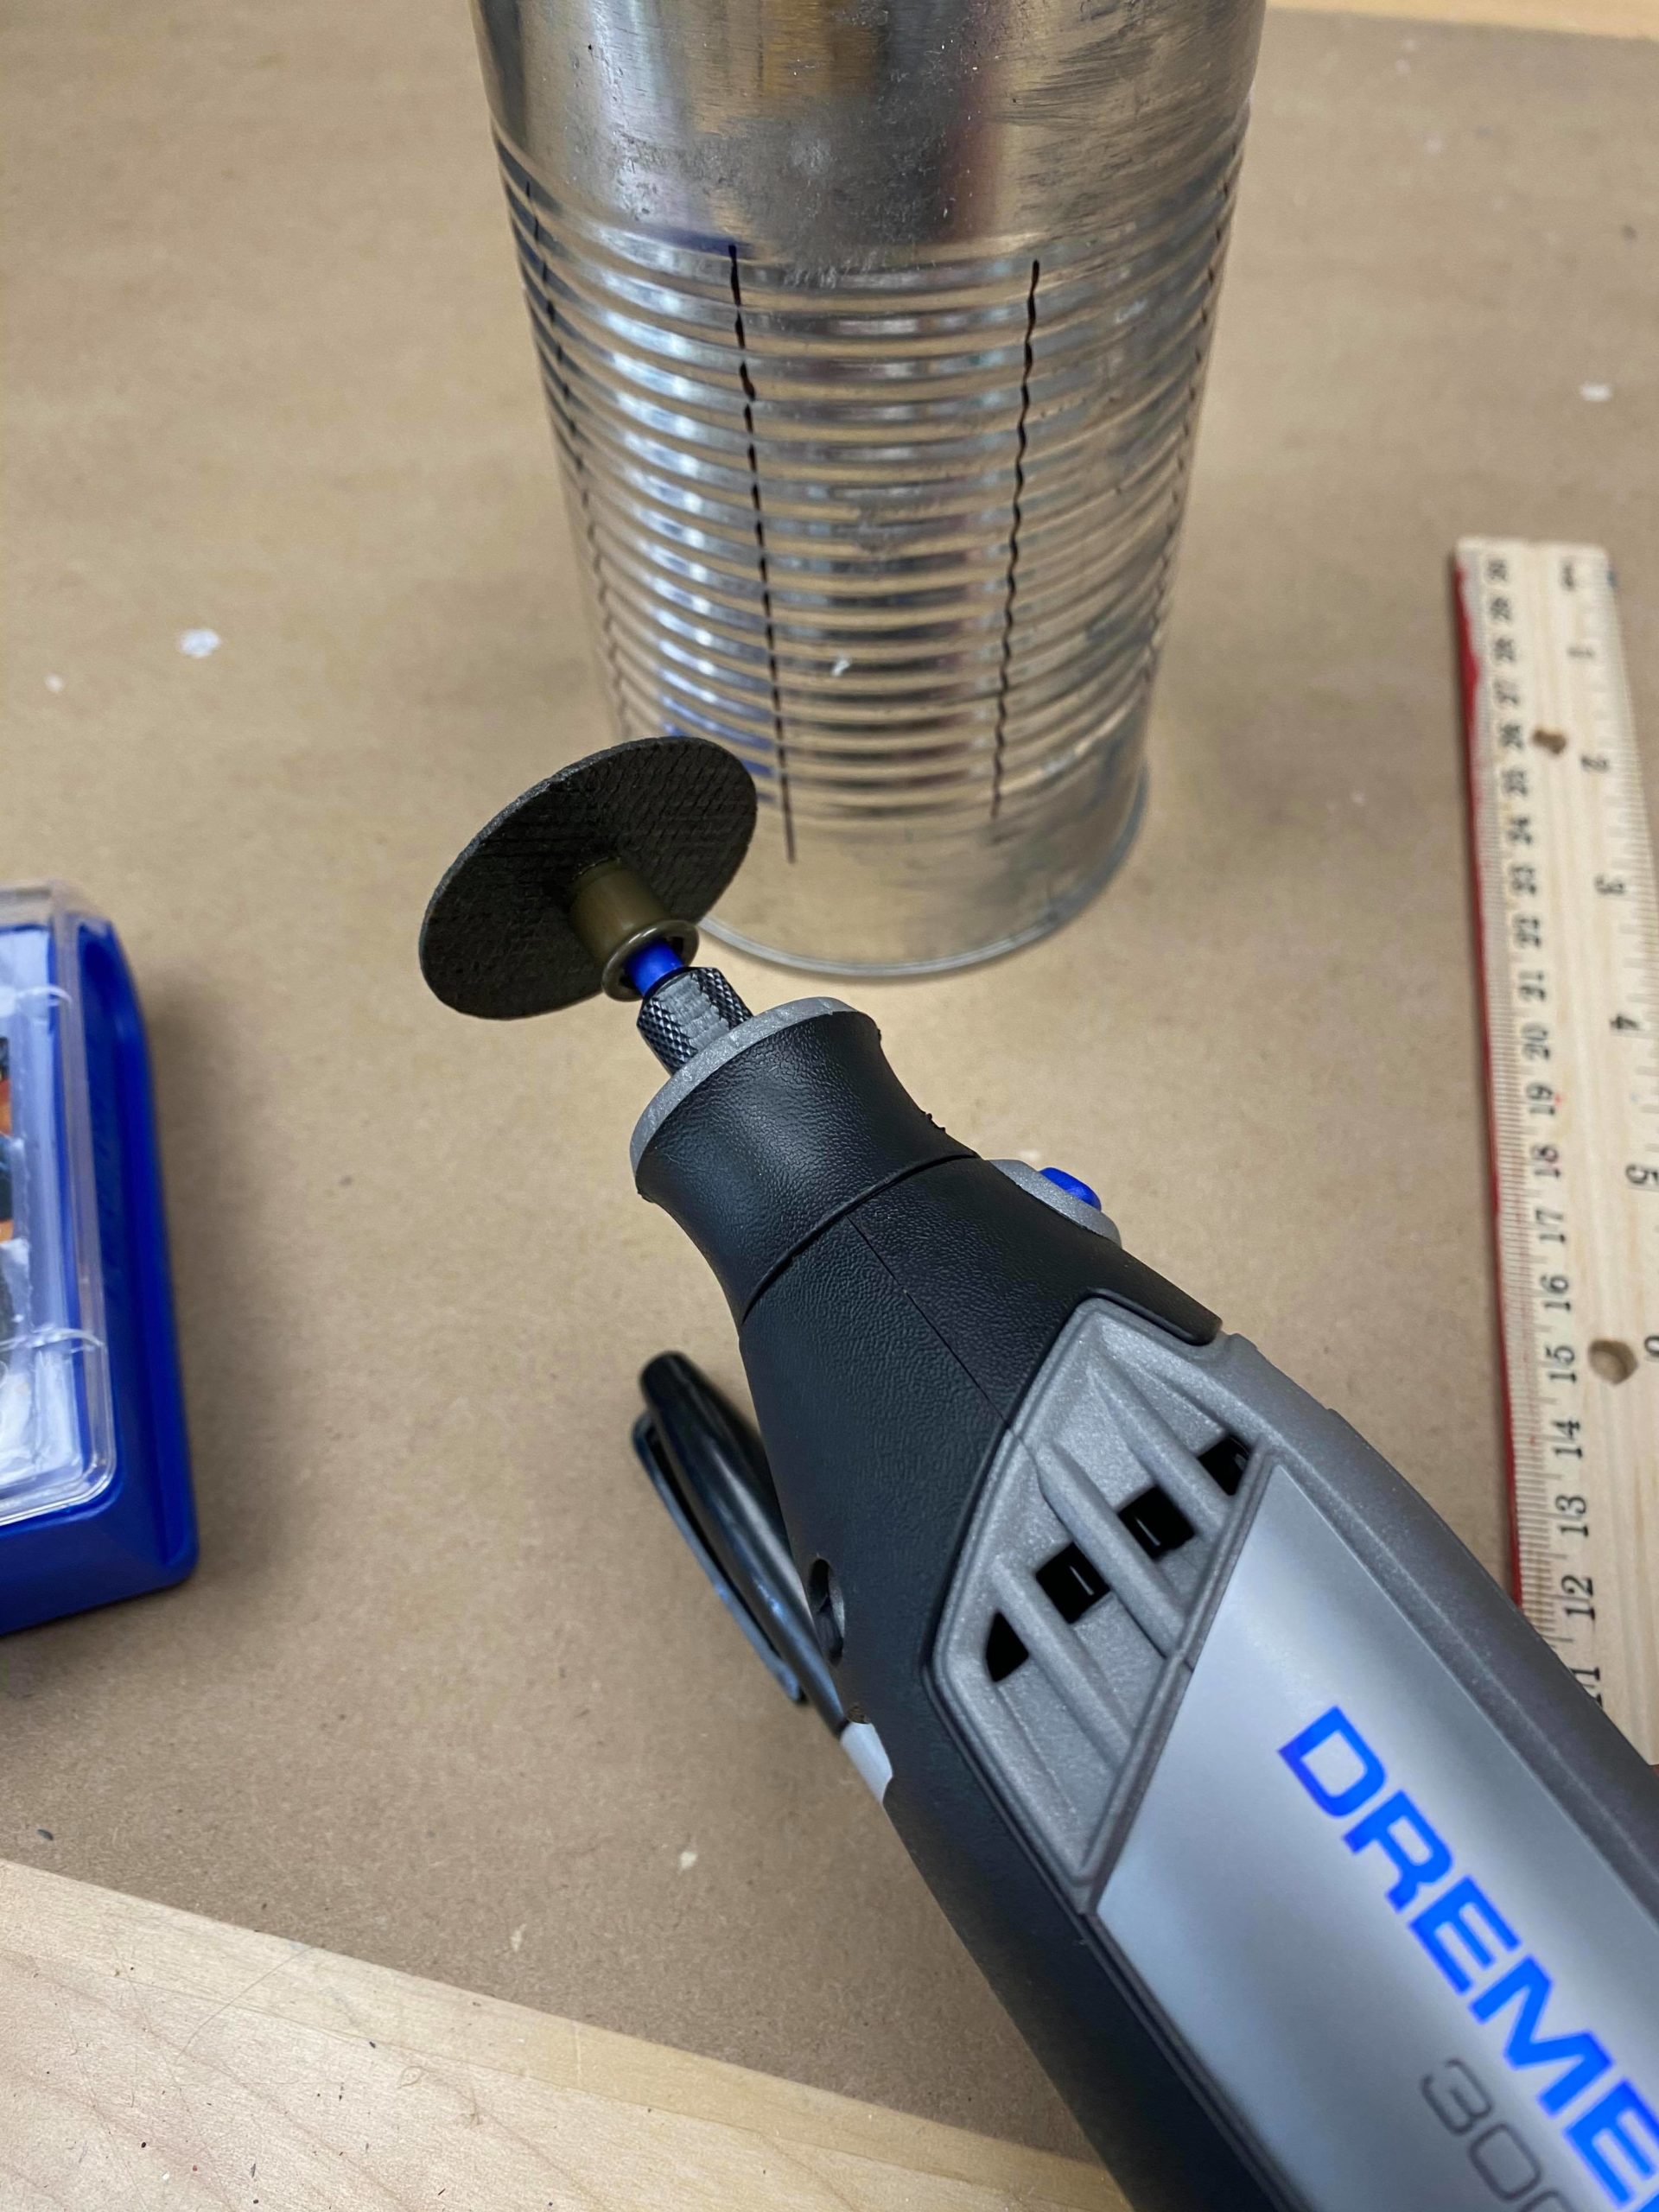
2. Dremel and cutting blade for dremel
3. Marker
4. Ruler
5. Spray paint
6. Goggles
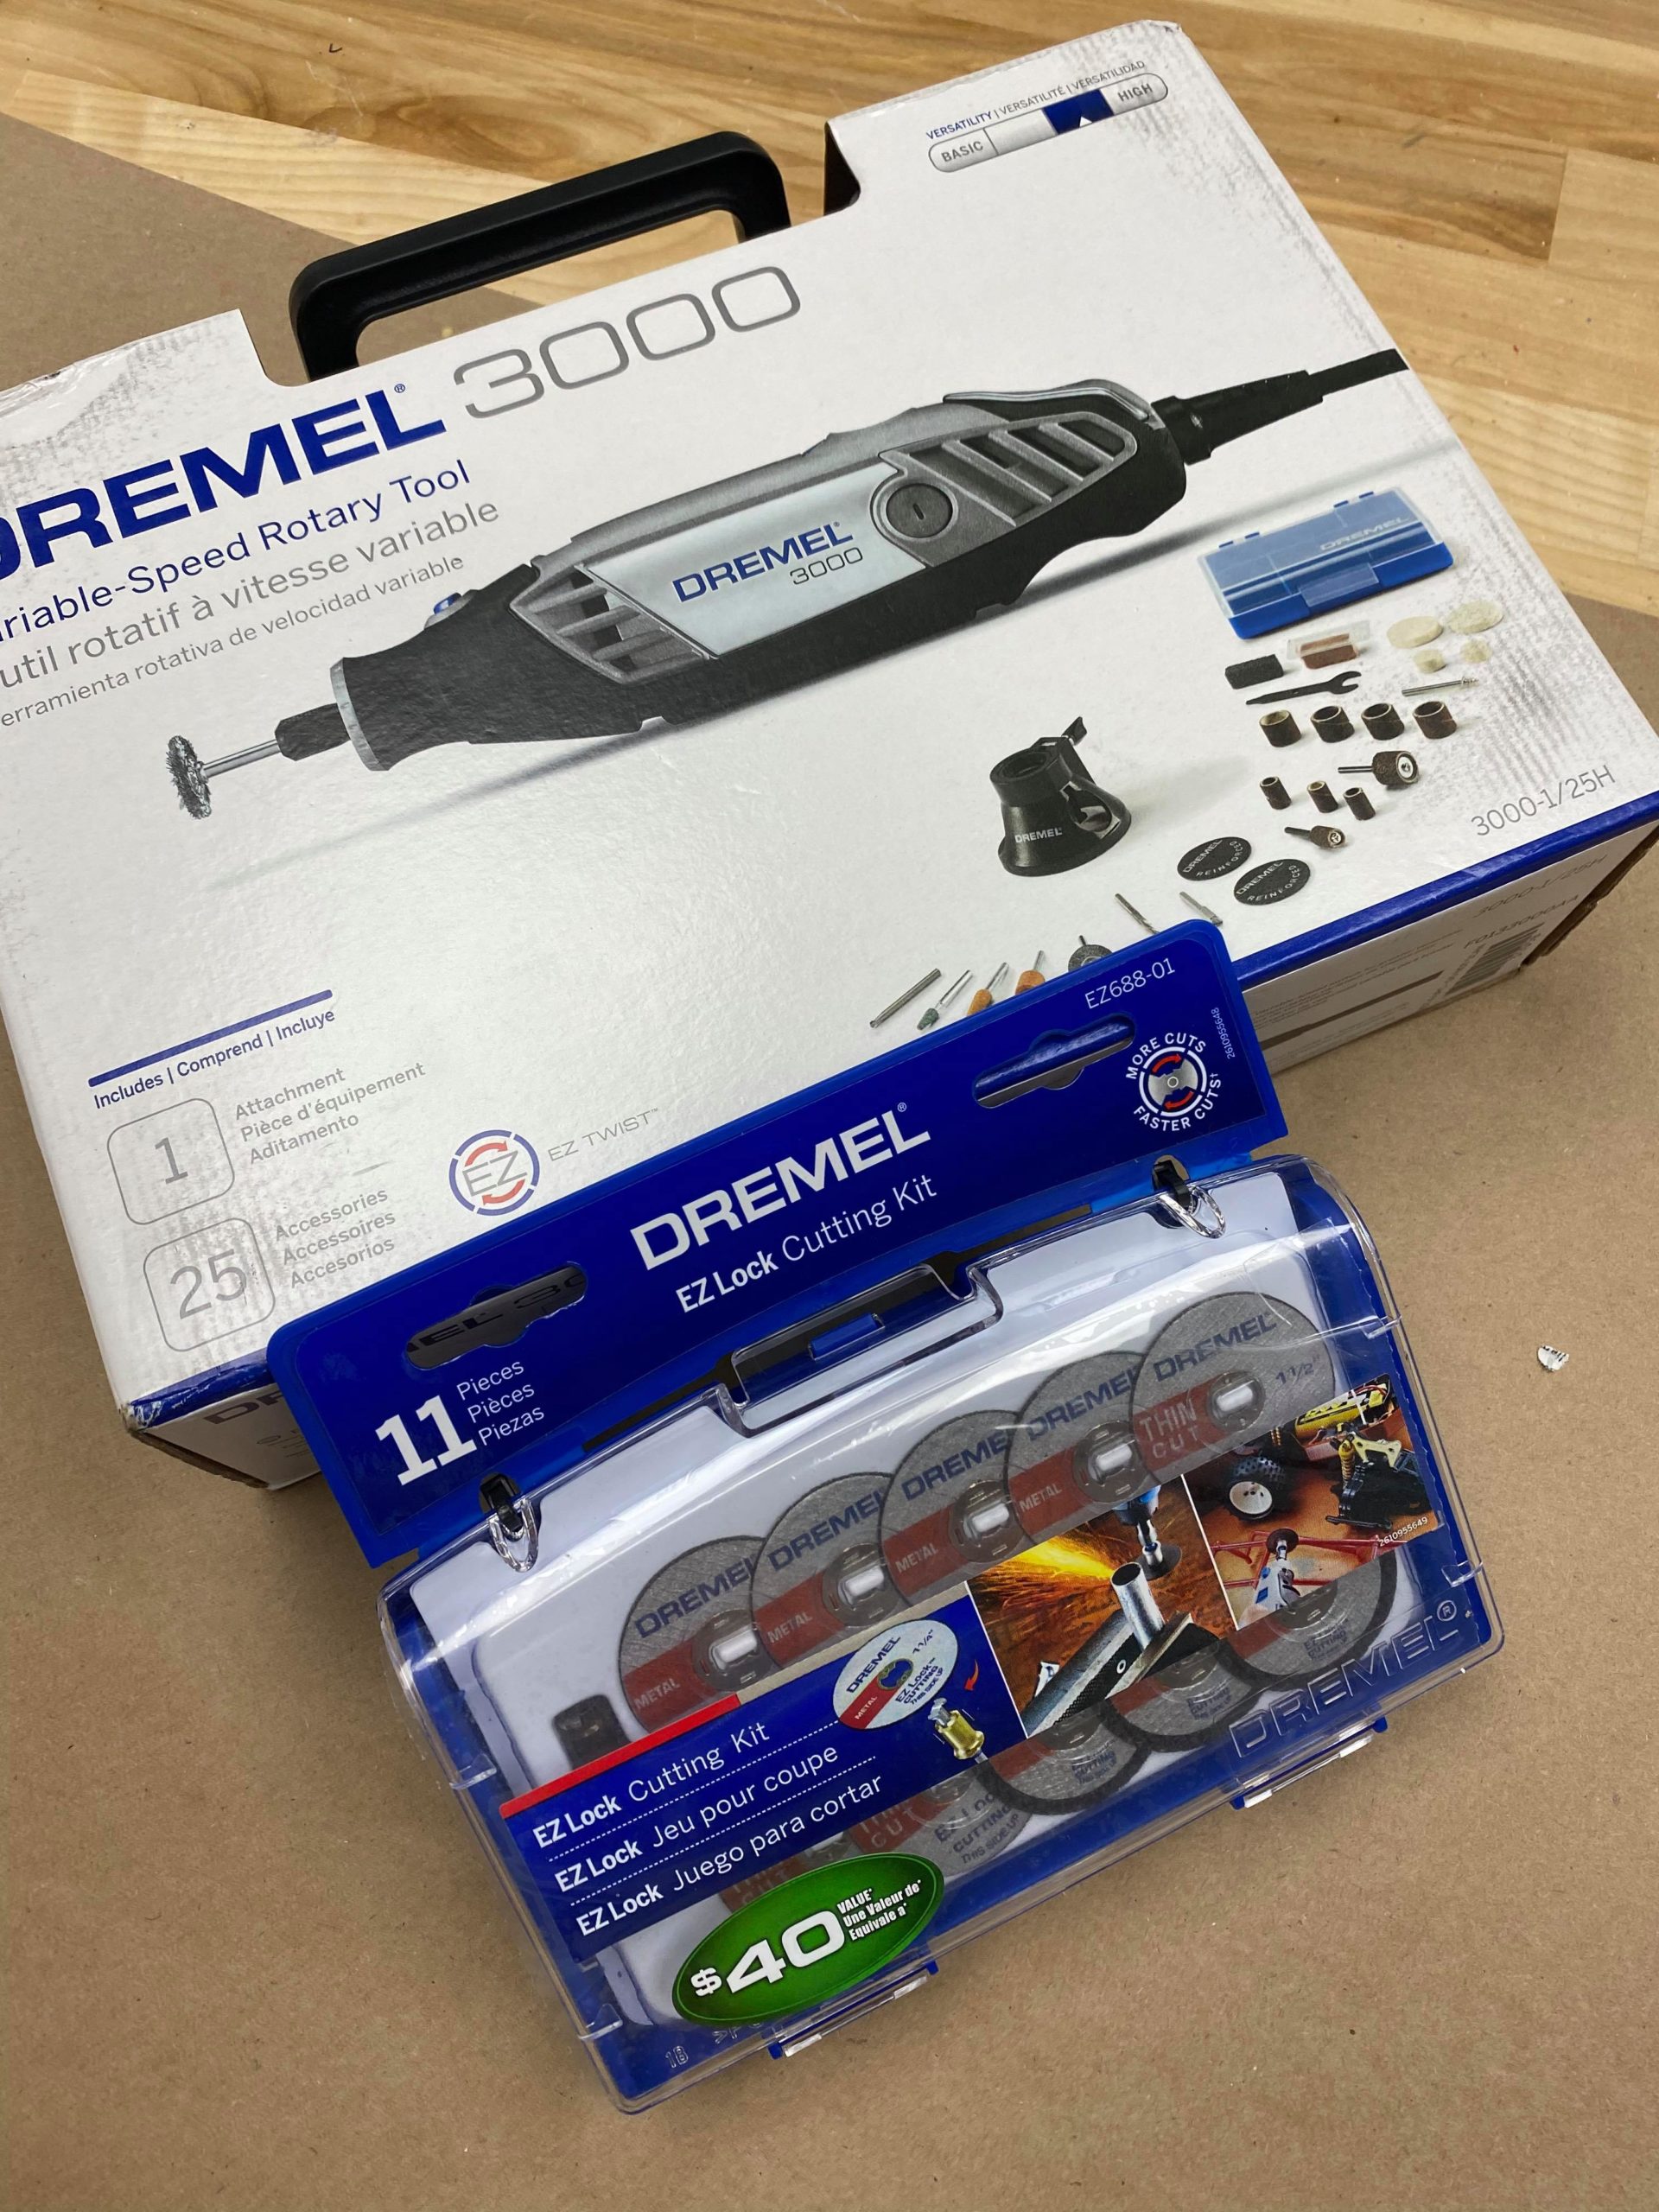
I am using the Dremel 3000 and I purchased it from Home Depot. You will also need a blade for cutting metal.
You will want to remove the label and glue from the tin can. I used my heat gun to help remove the glue from the tin can.
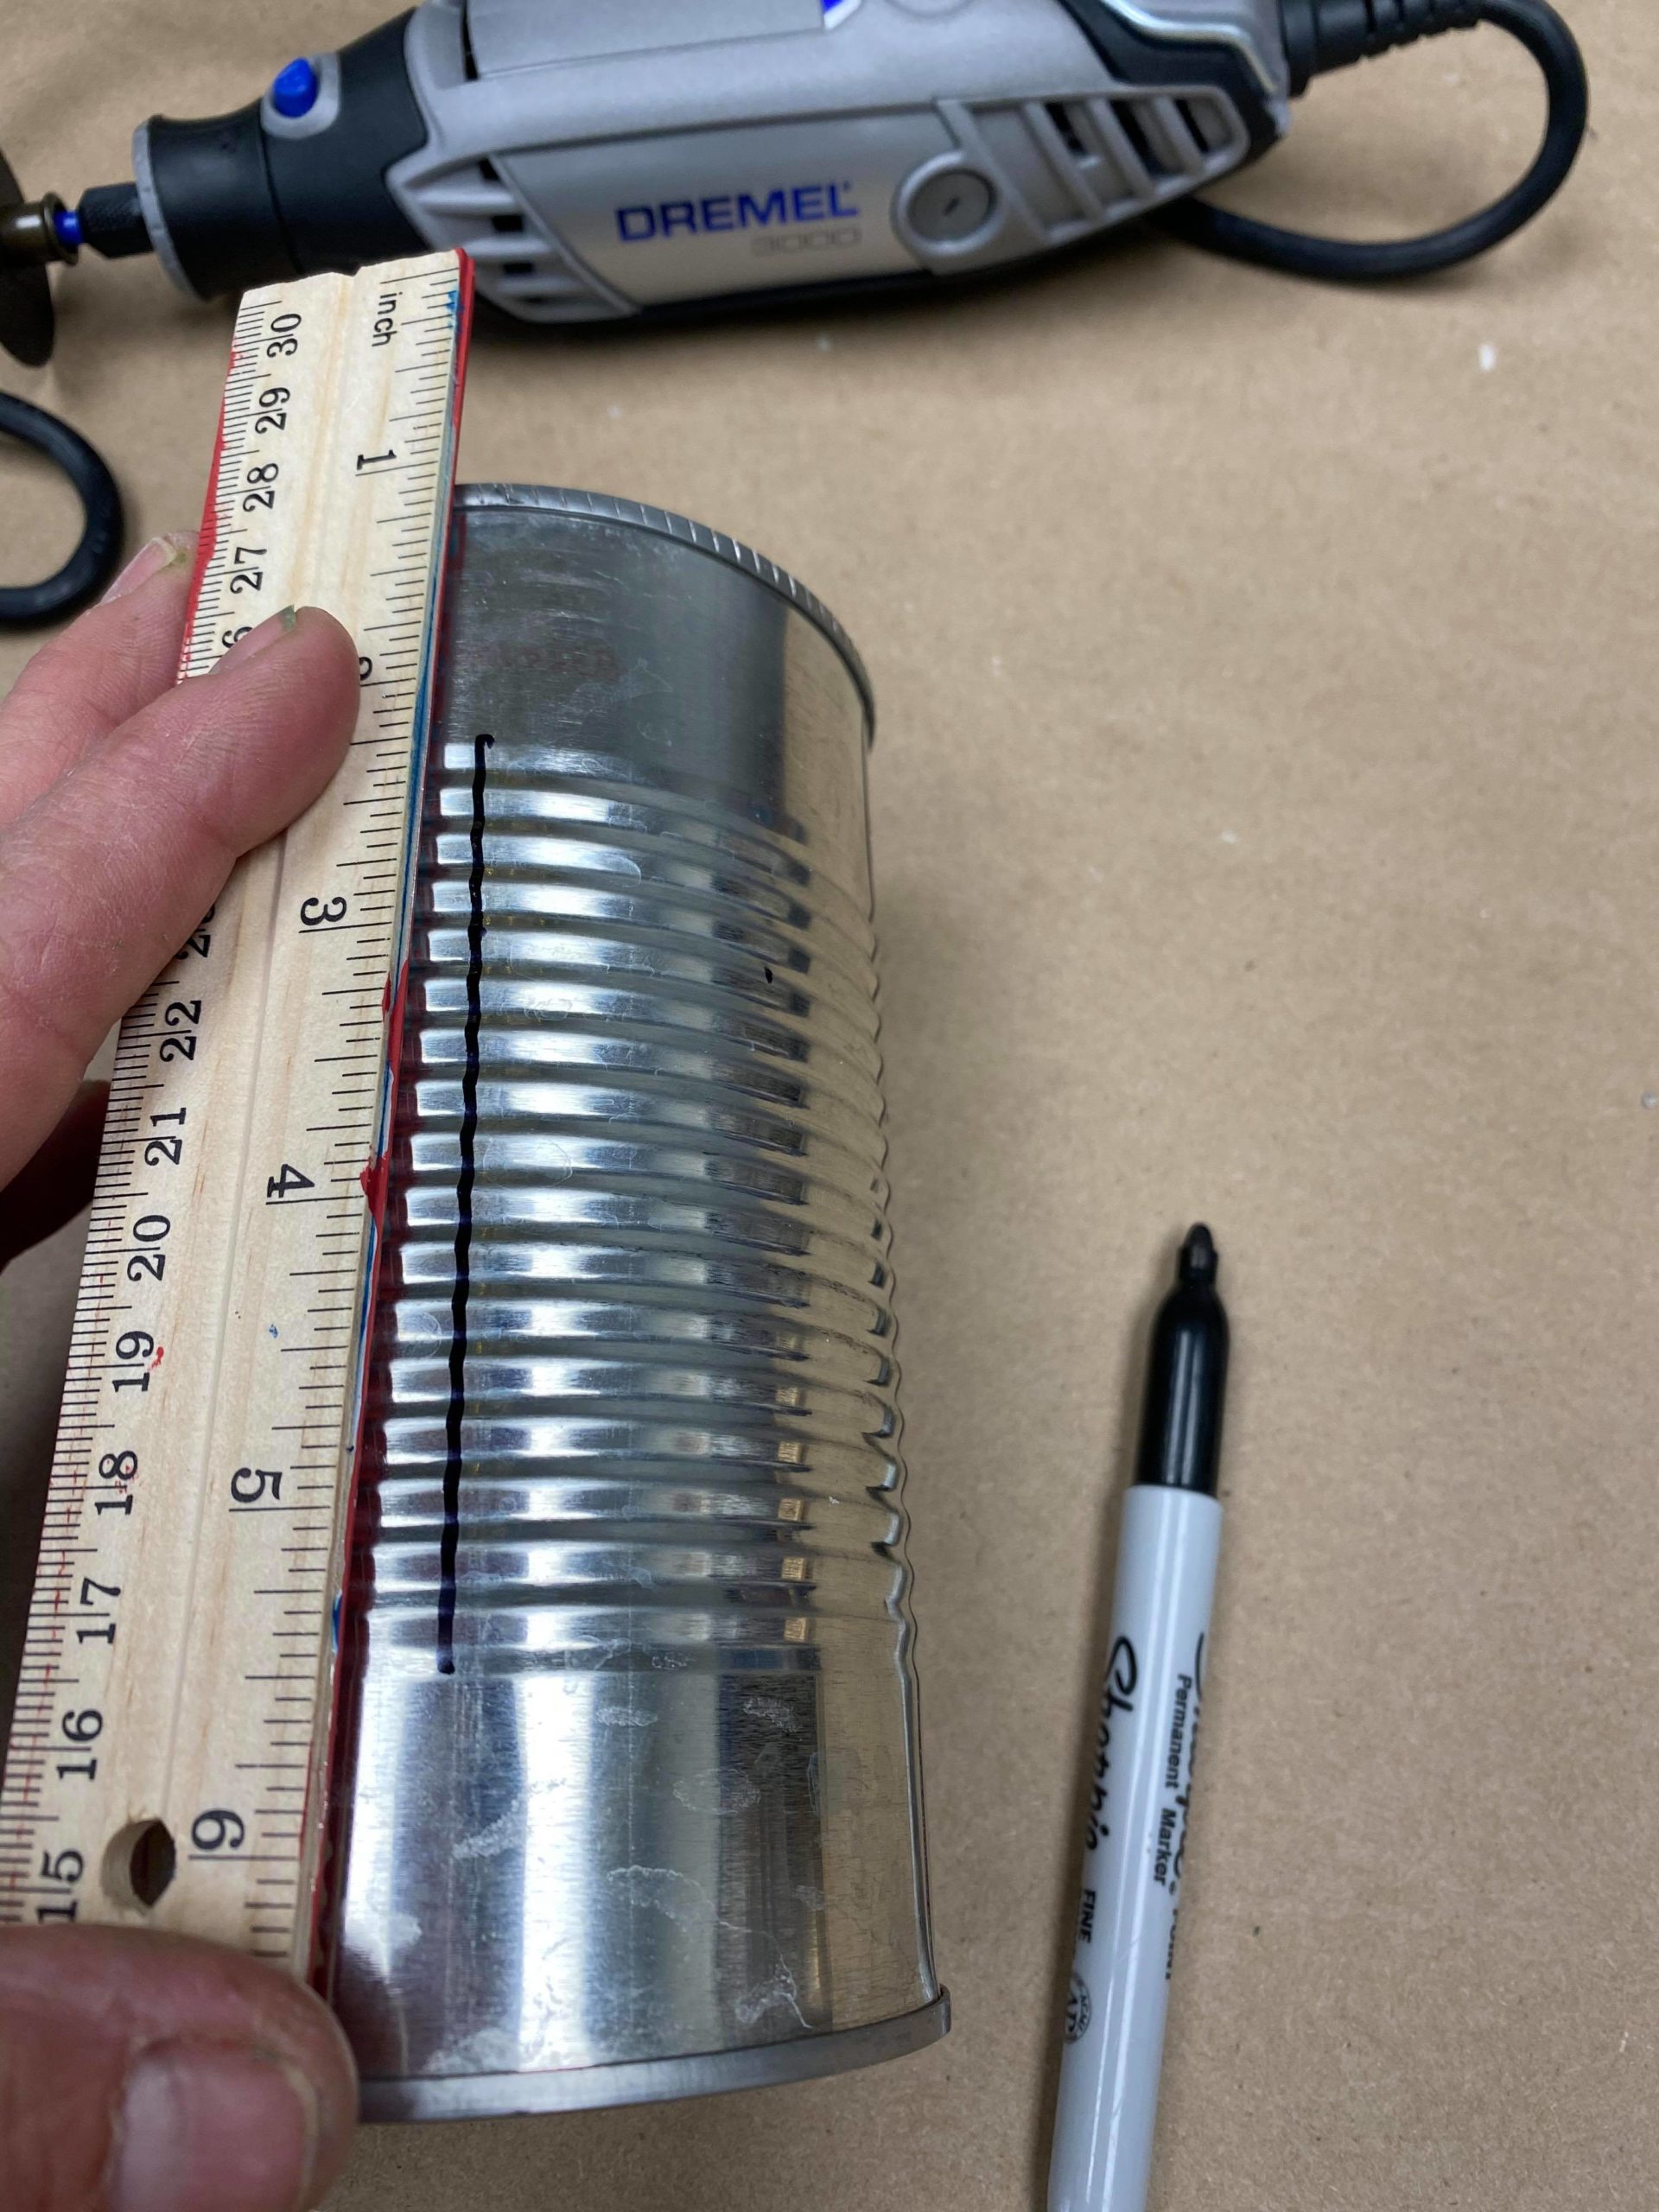
I then drew a line down the center of the can. My line goes over the area with the ridges. You will do this all the way around the can and I did my lines one inch apart.
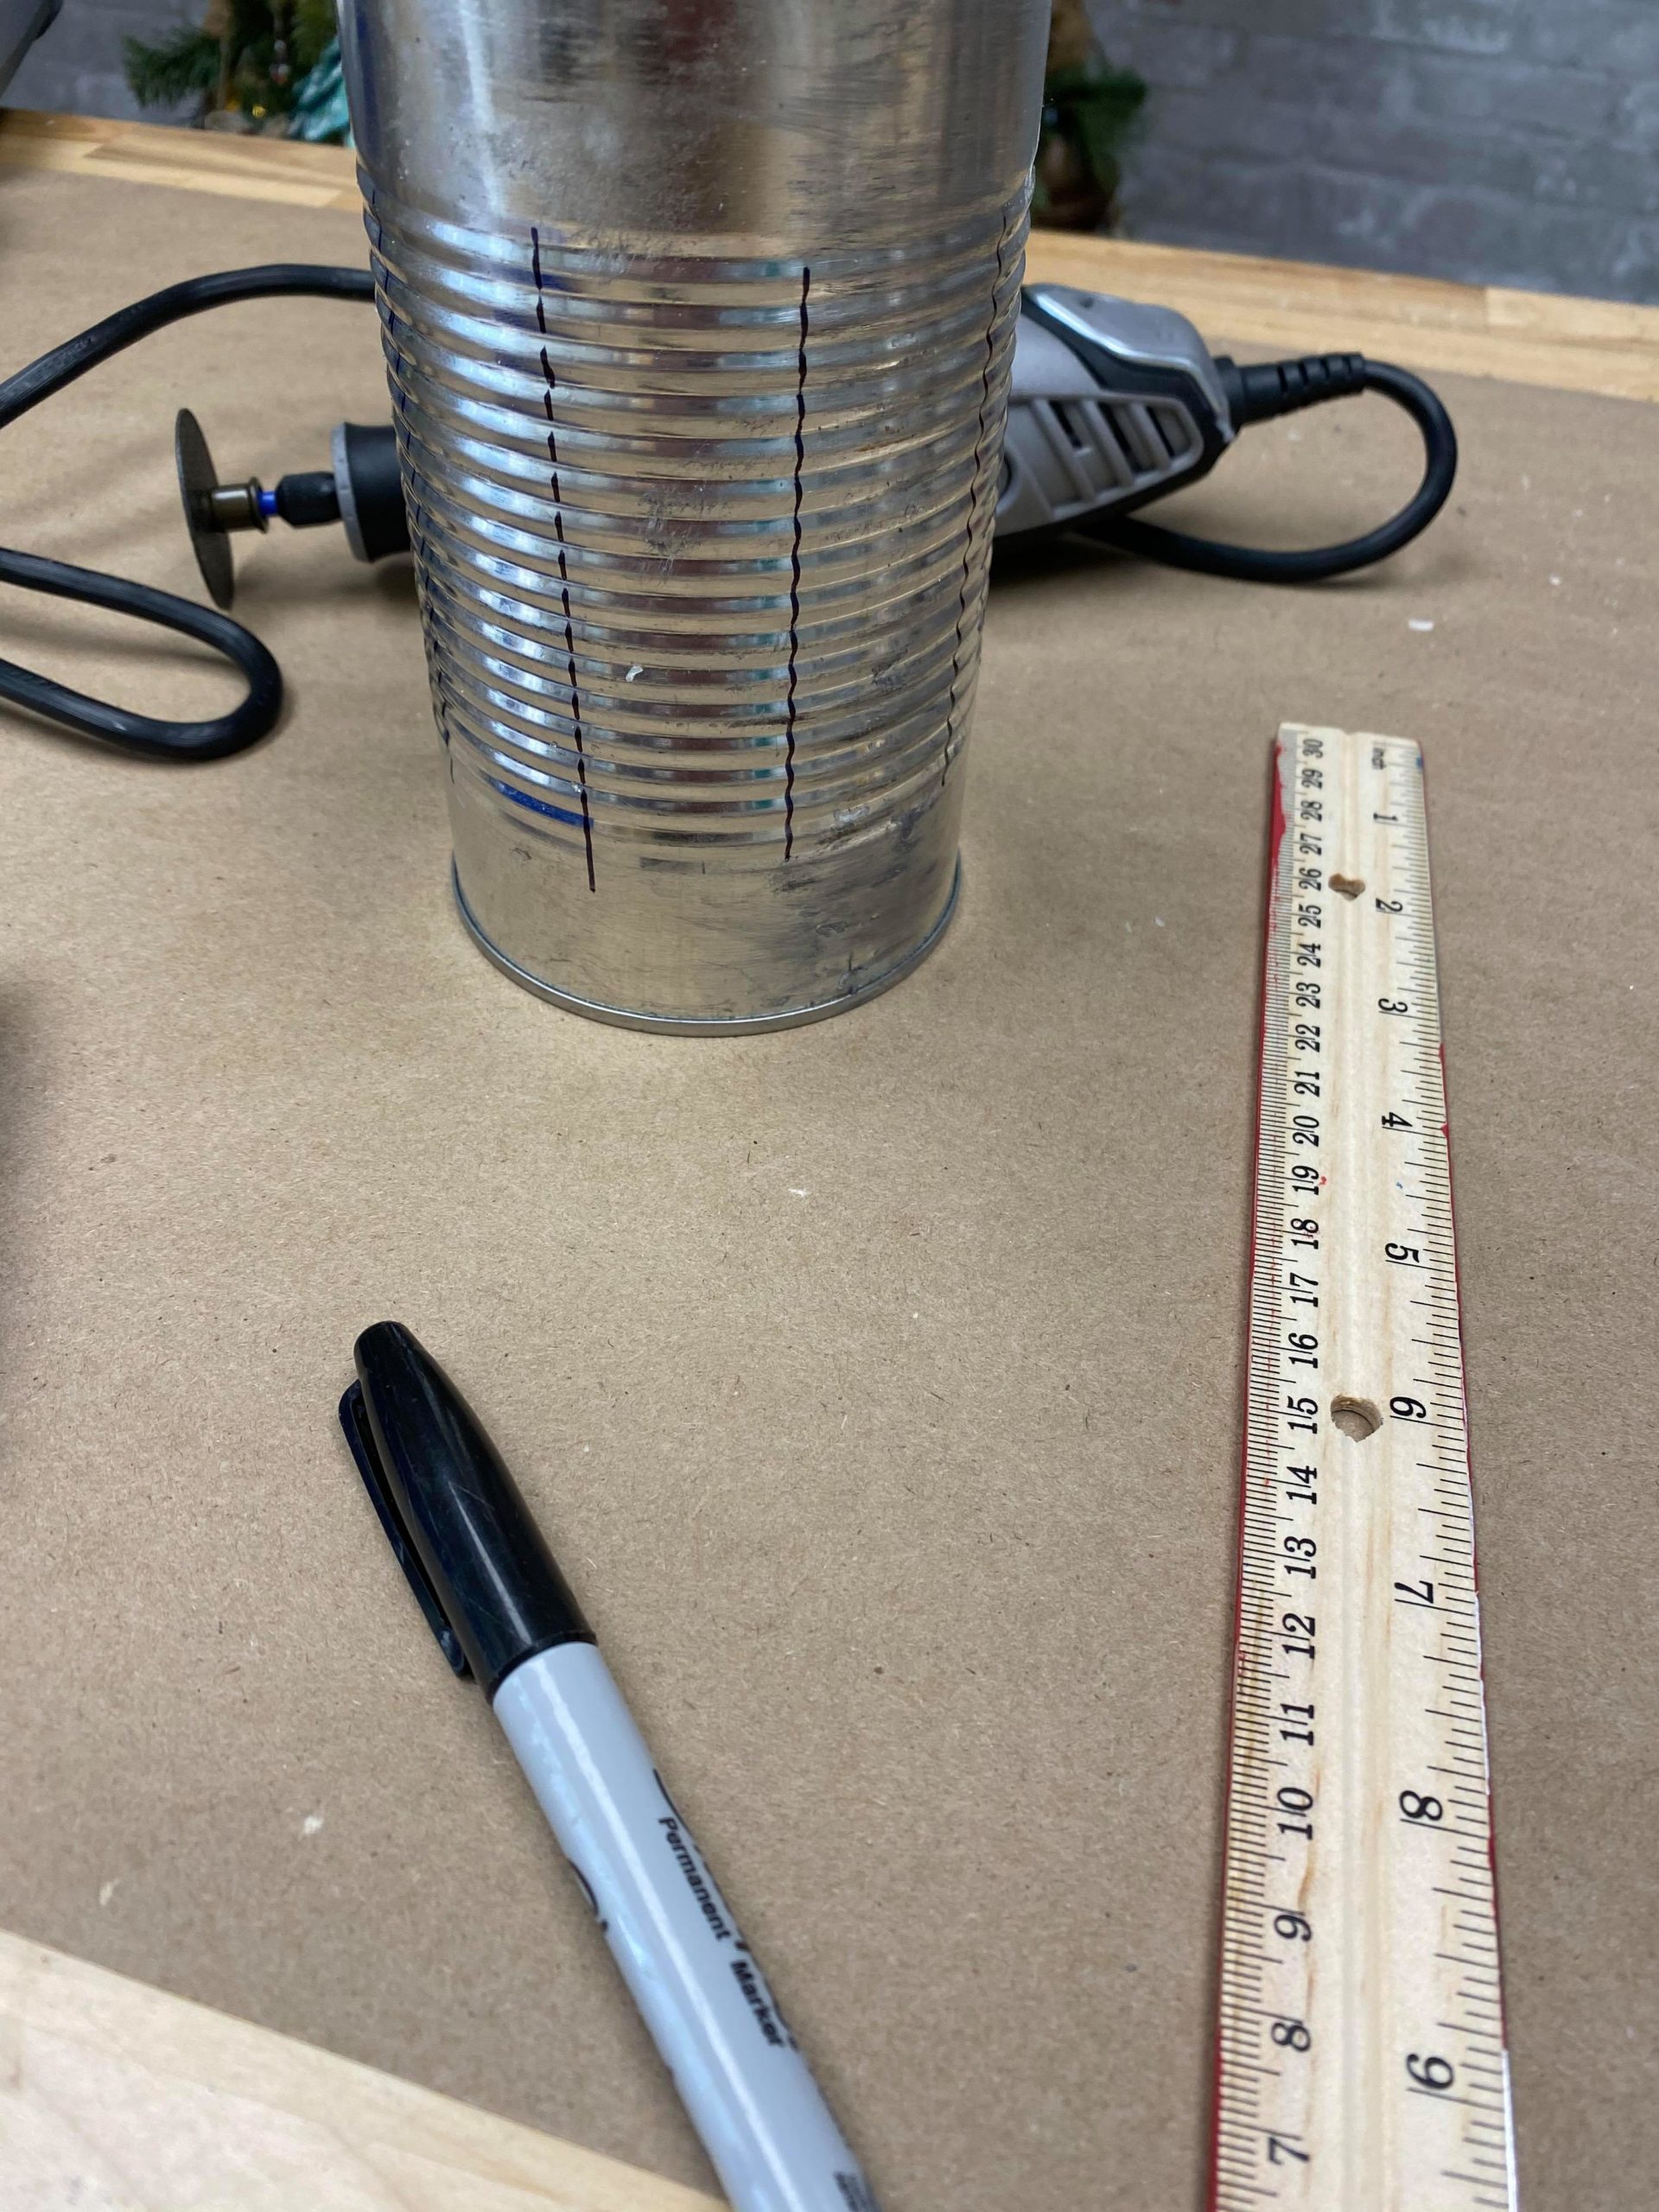
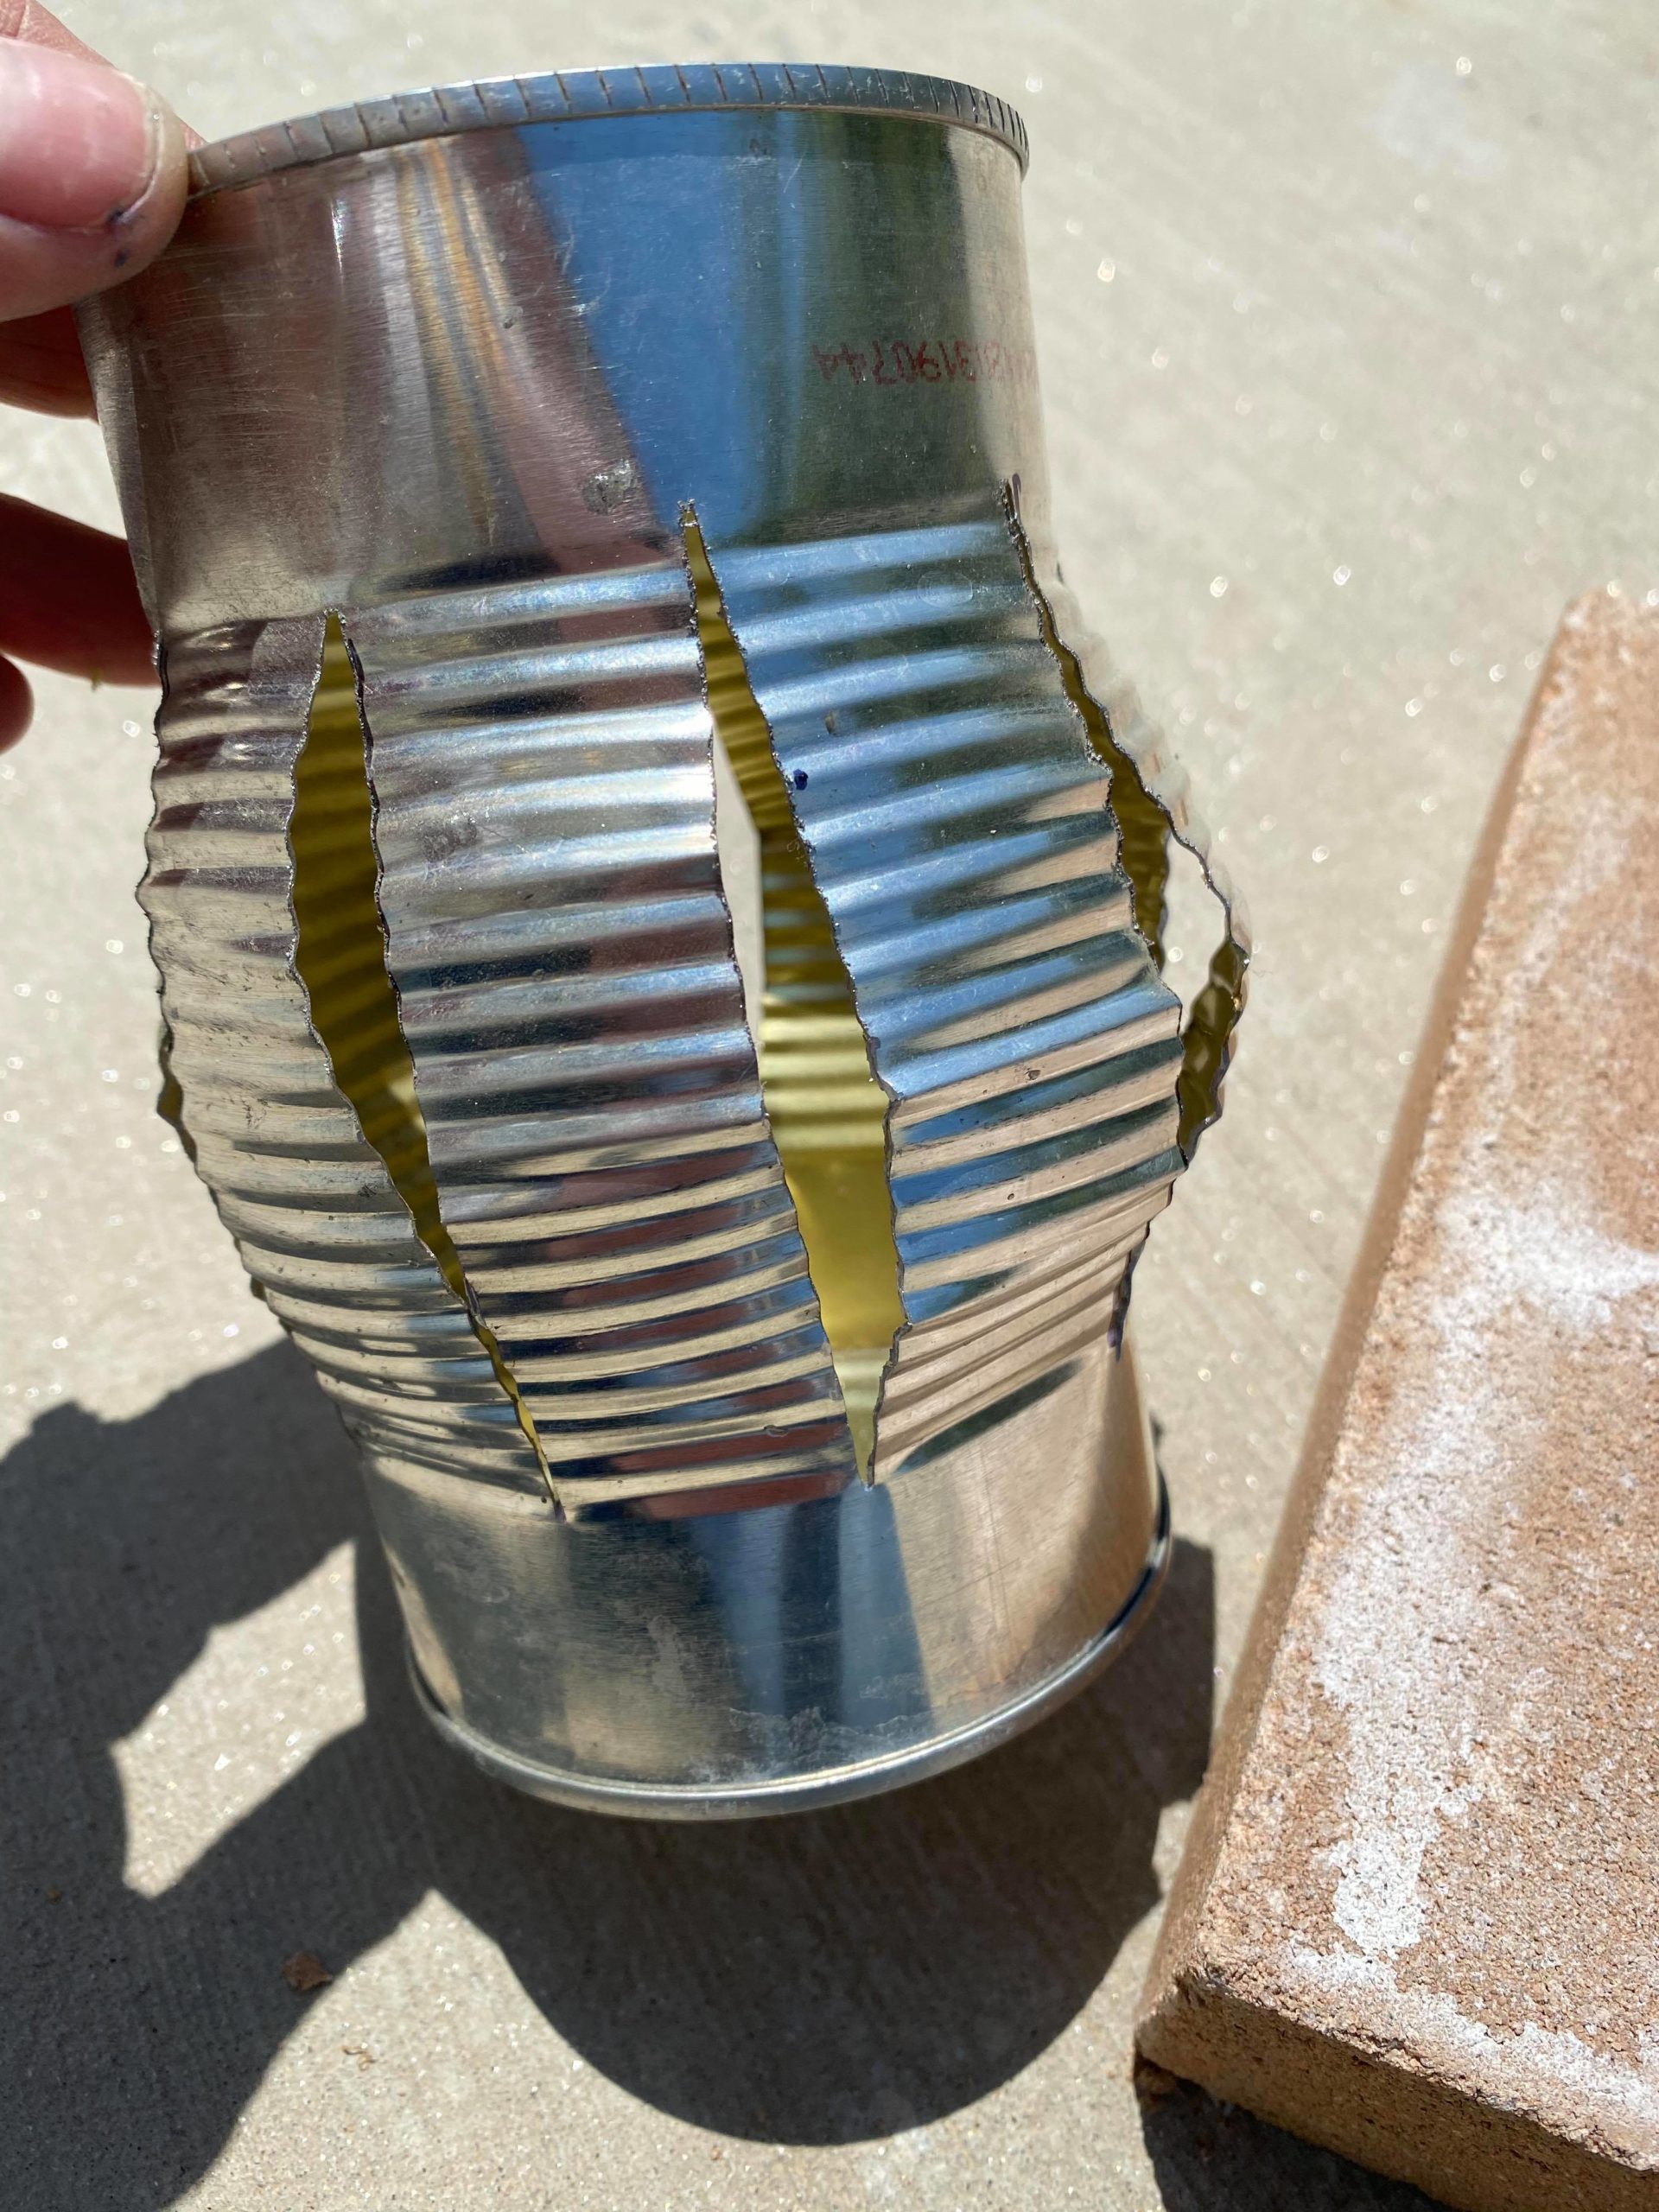
You will now use the Dremel with the blade for metal to cut through your lines.
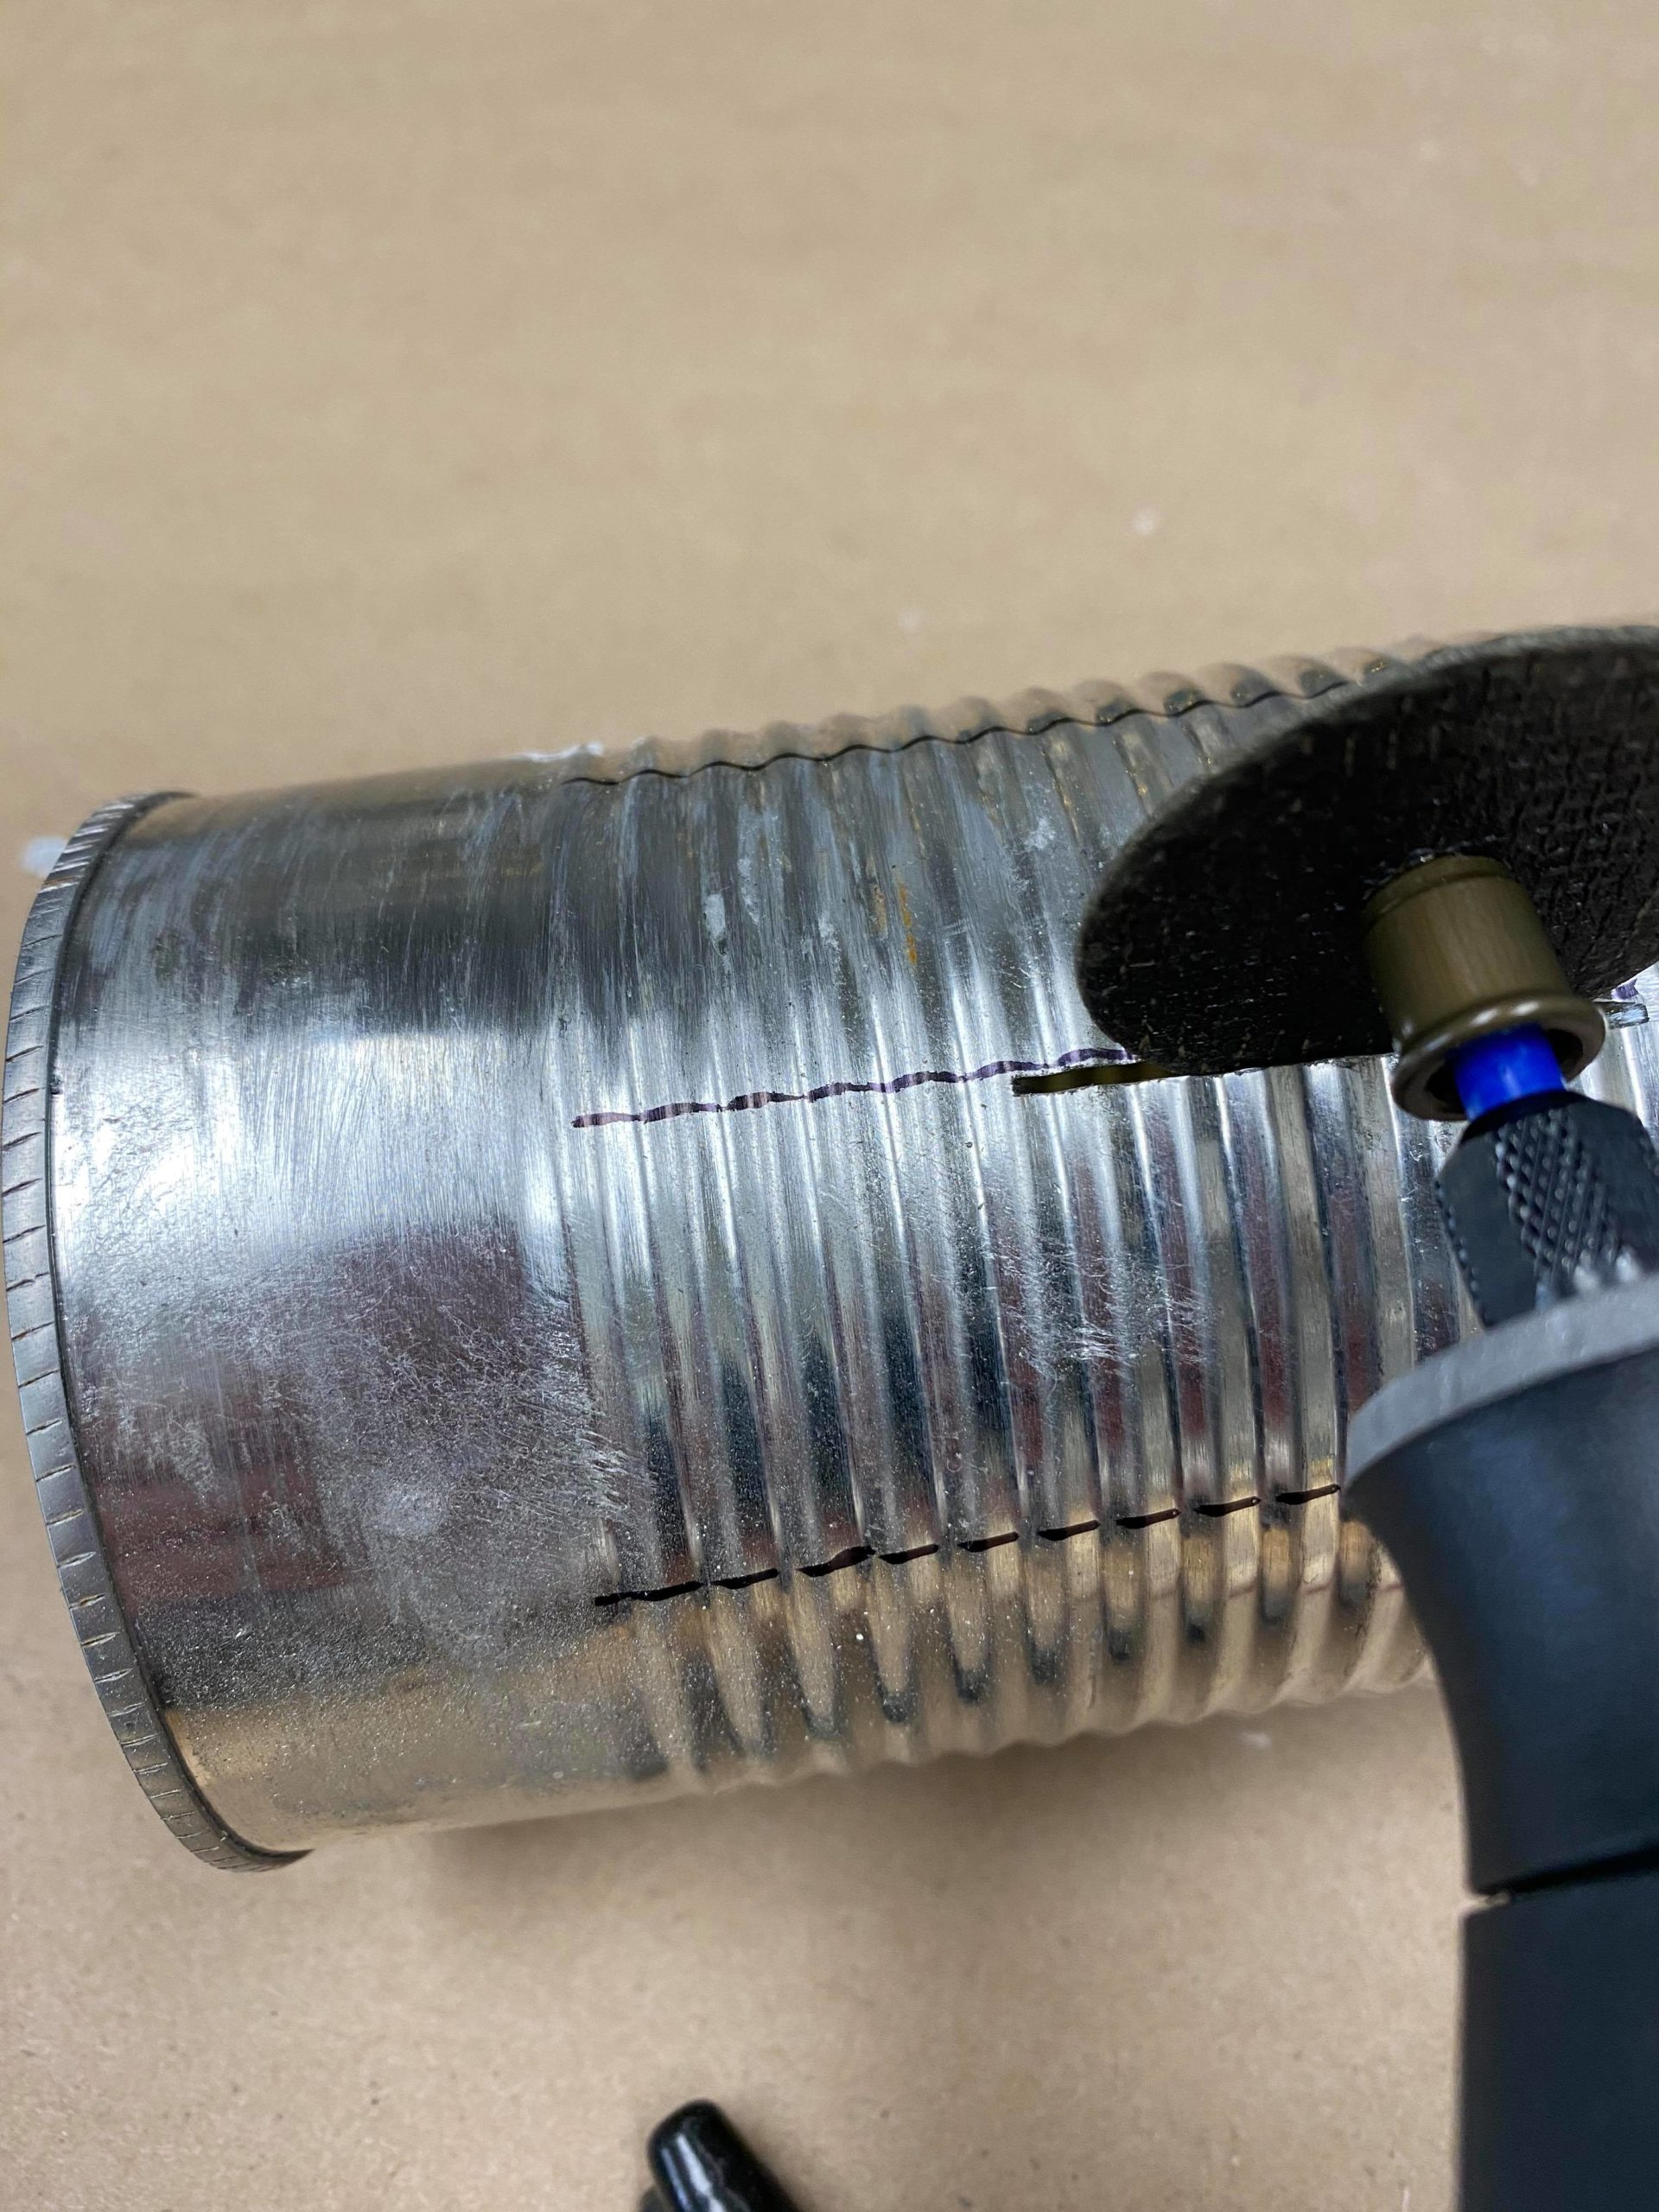
I started in the center of my line and went to the left and then worked my way back over to the right. The Dremel has numbers on the dial and I have my dial set to number 8.
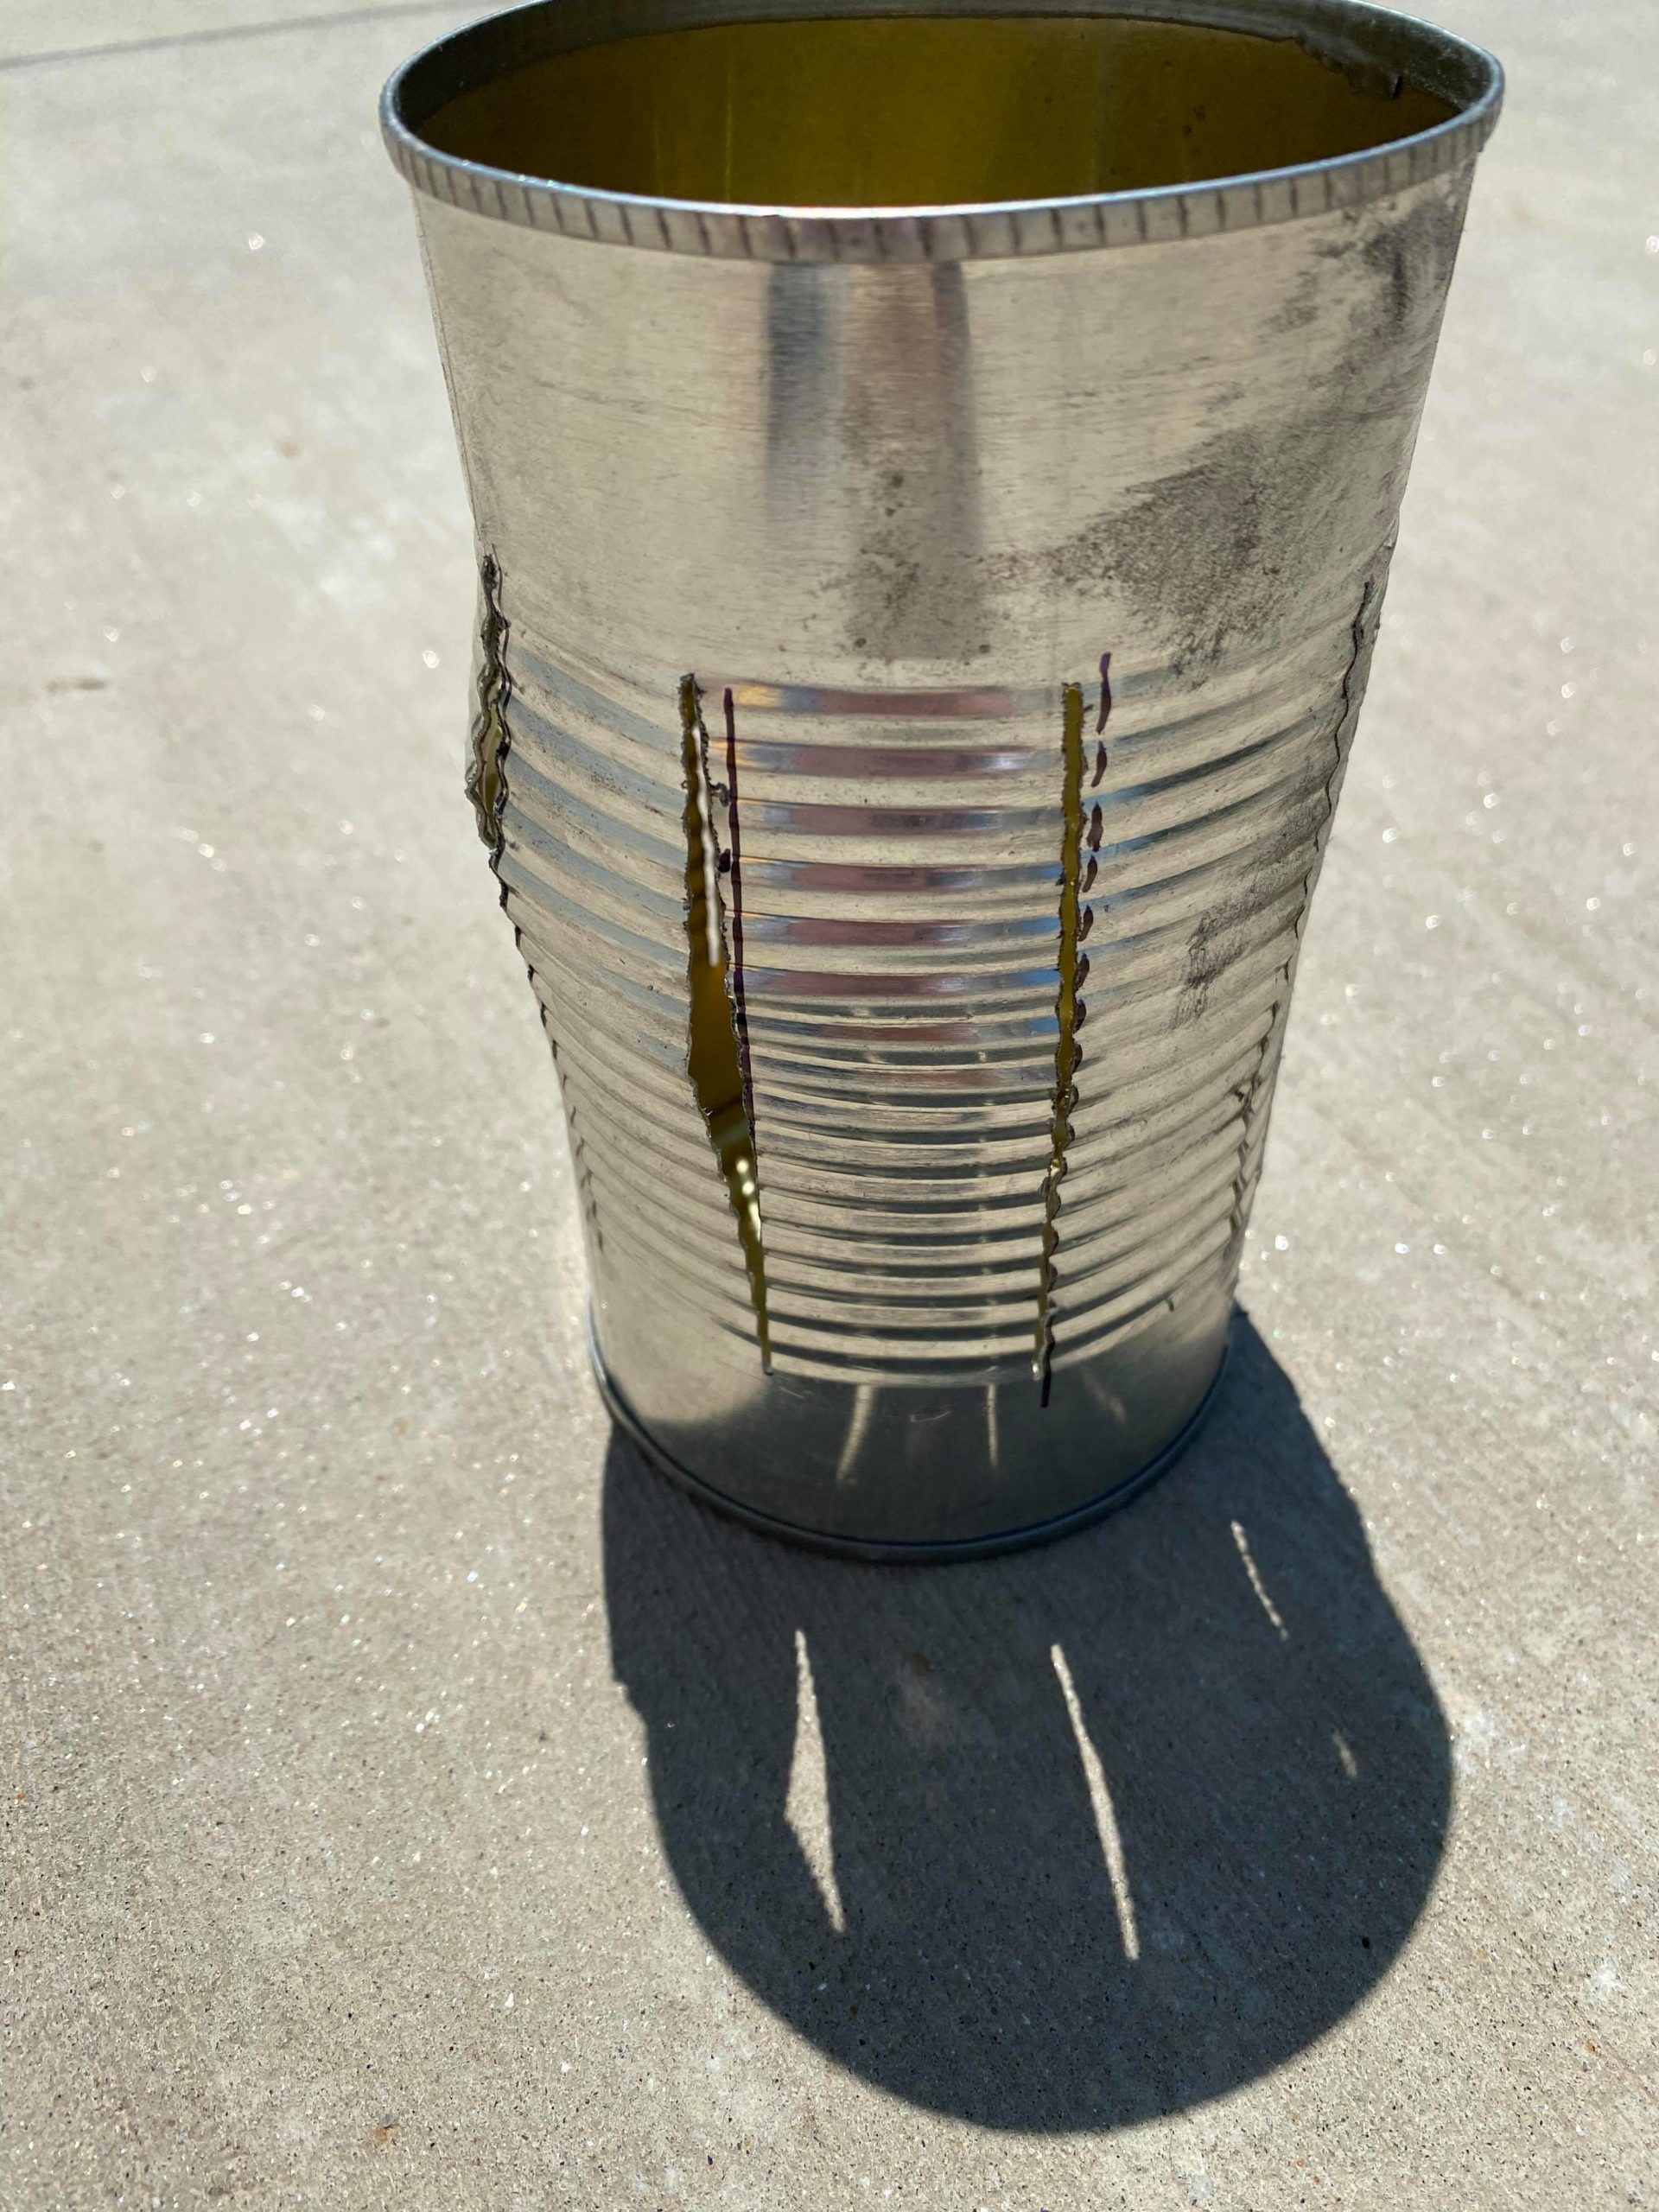
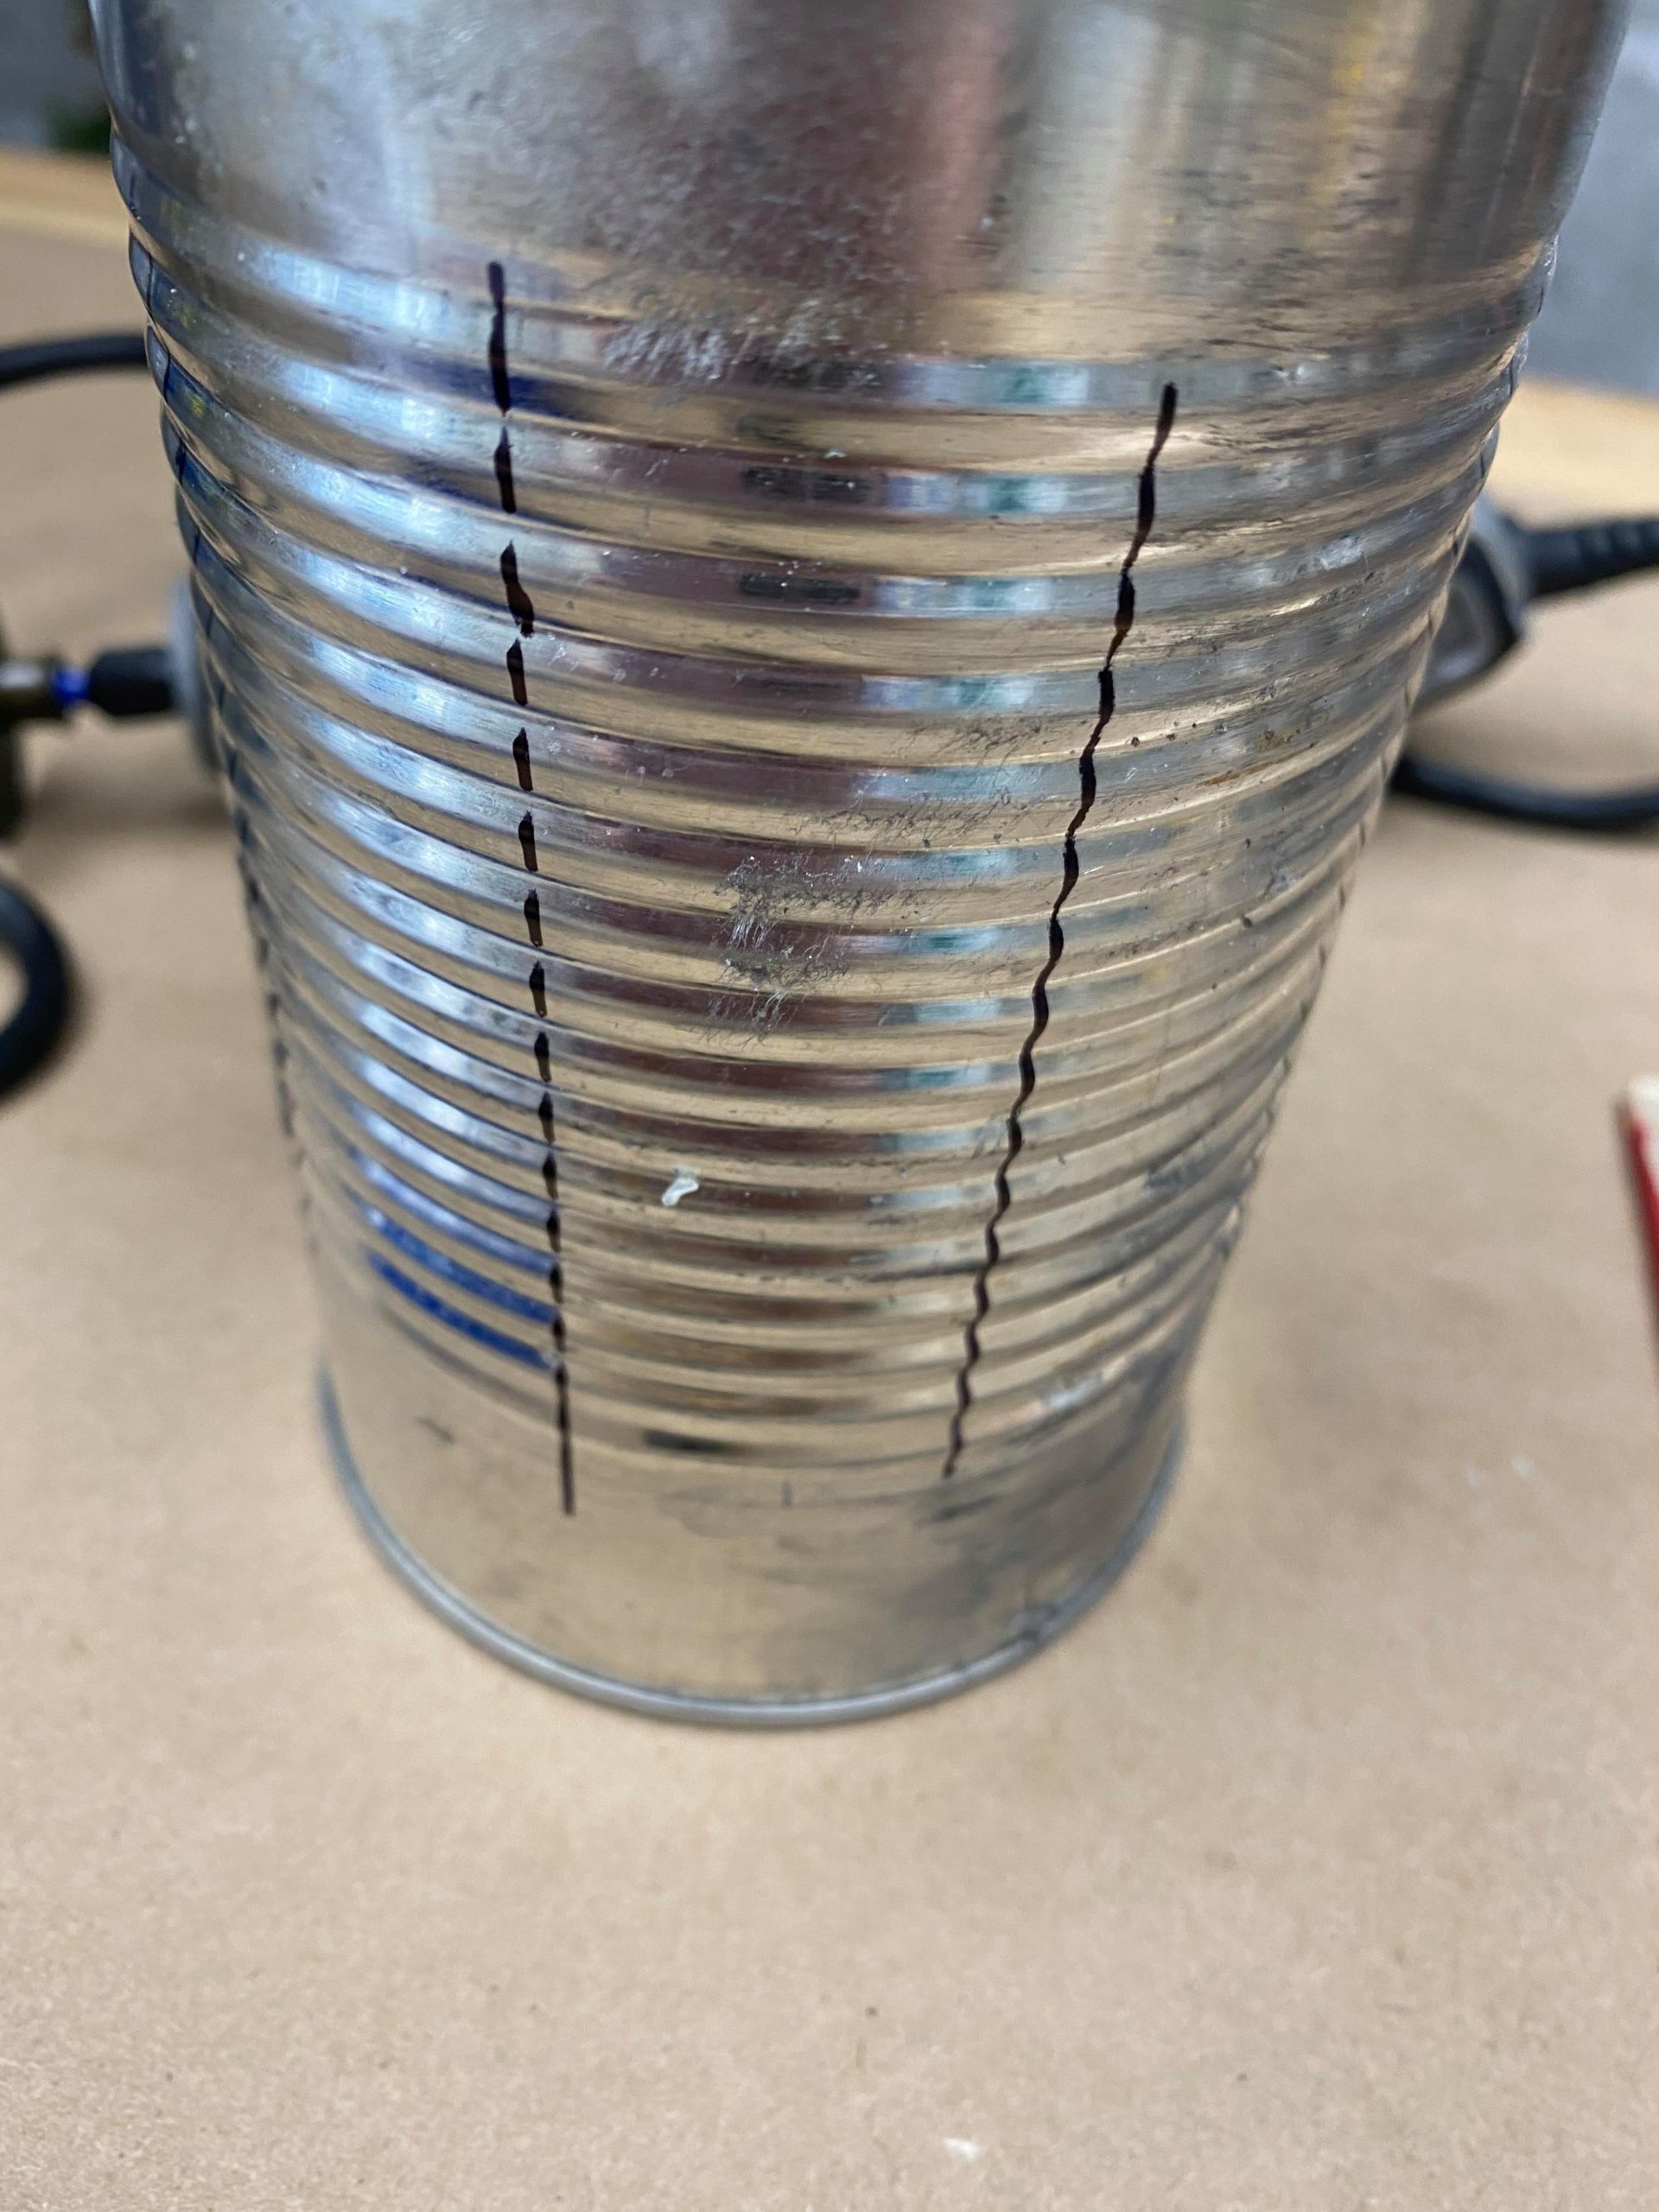
You will cut through all the lines that you drew onto the can. Now you will need to use something heavy to push down into the can. This will help to push your metal strips outwards.
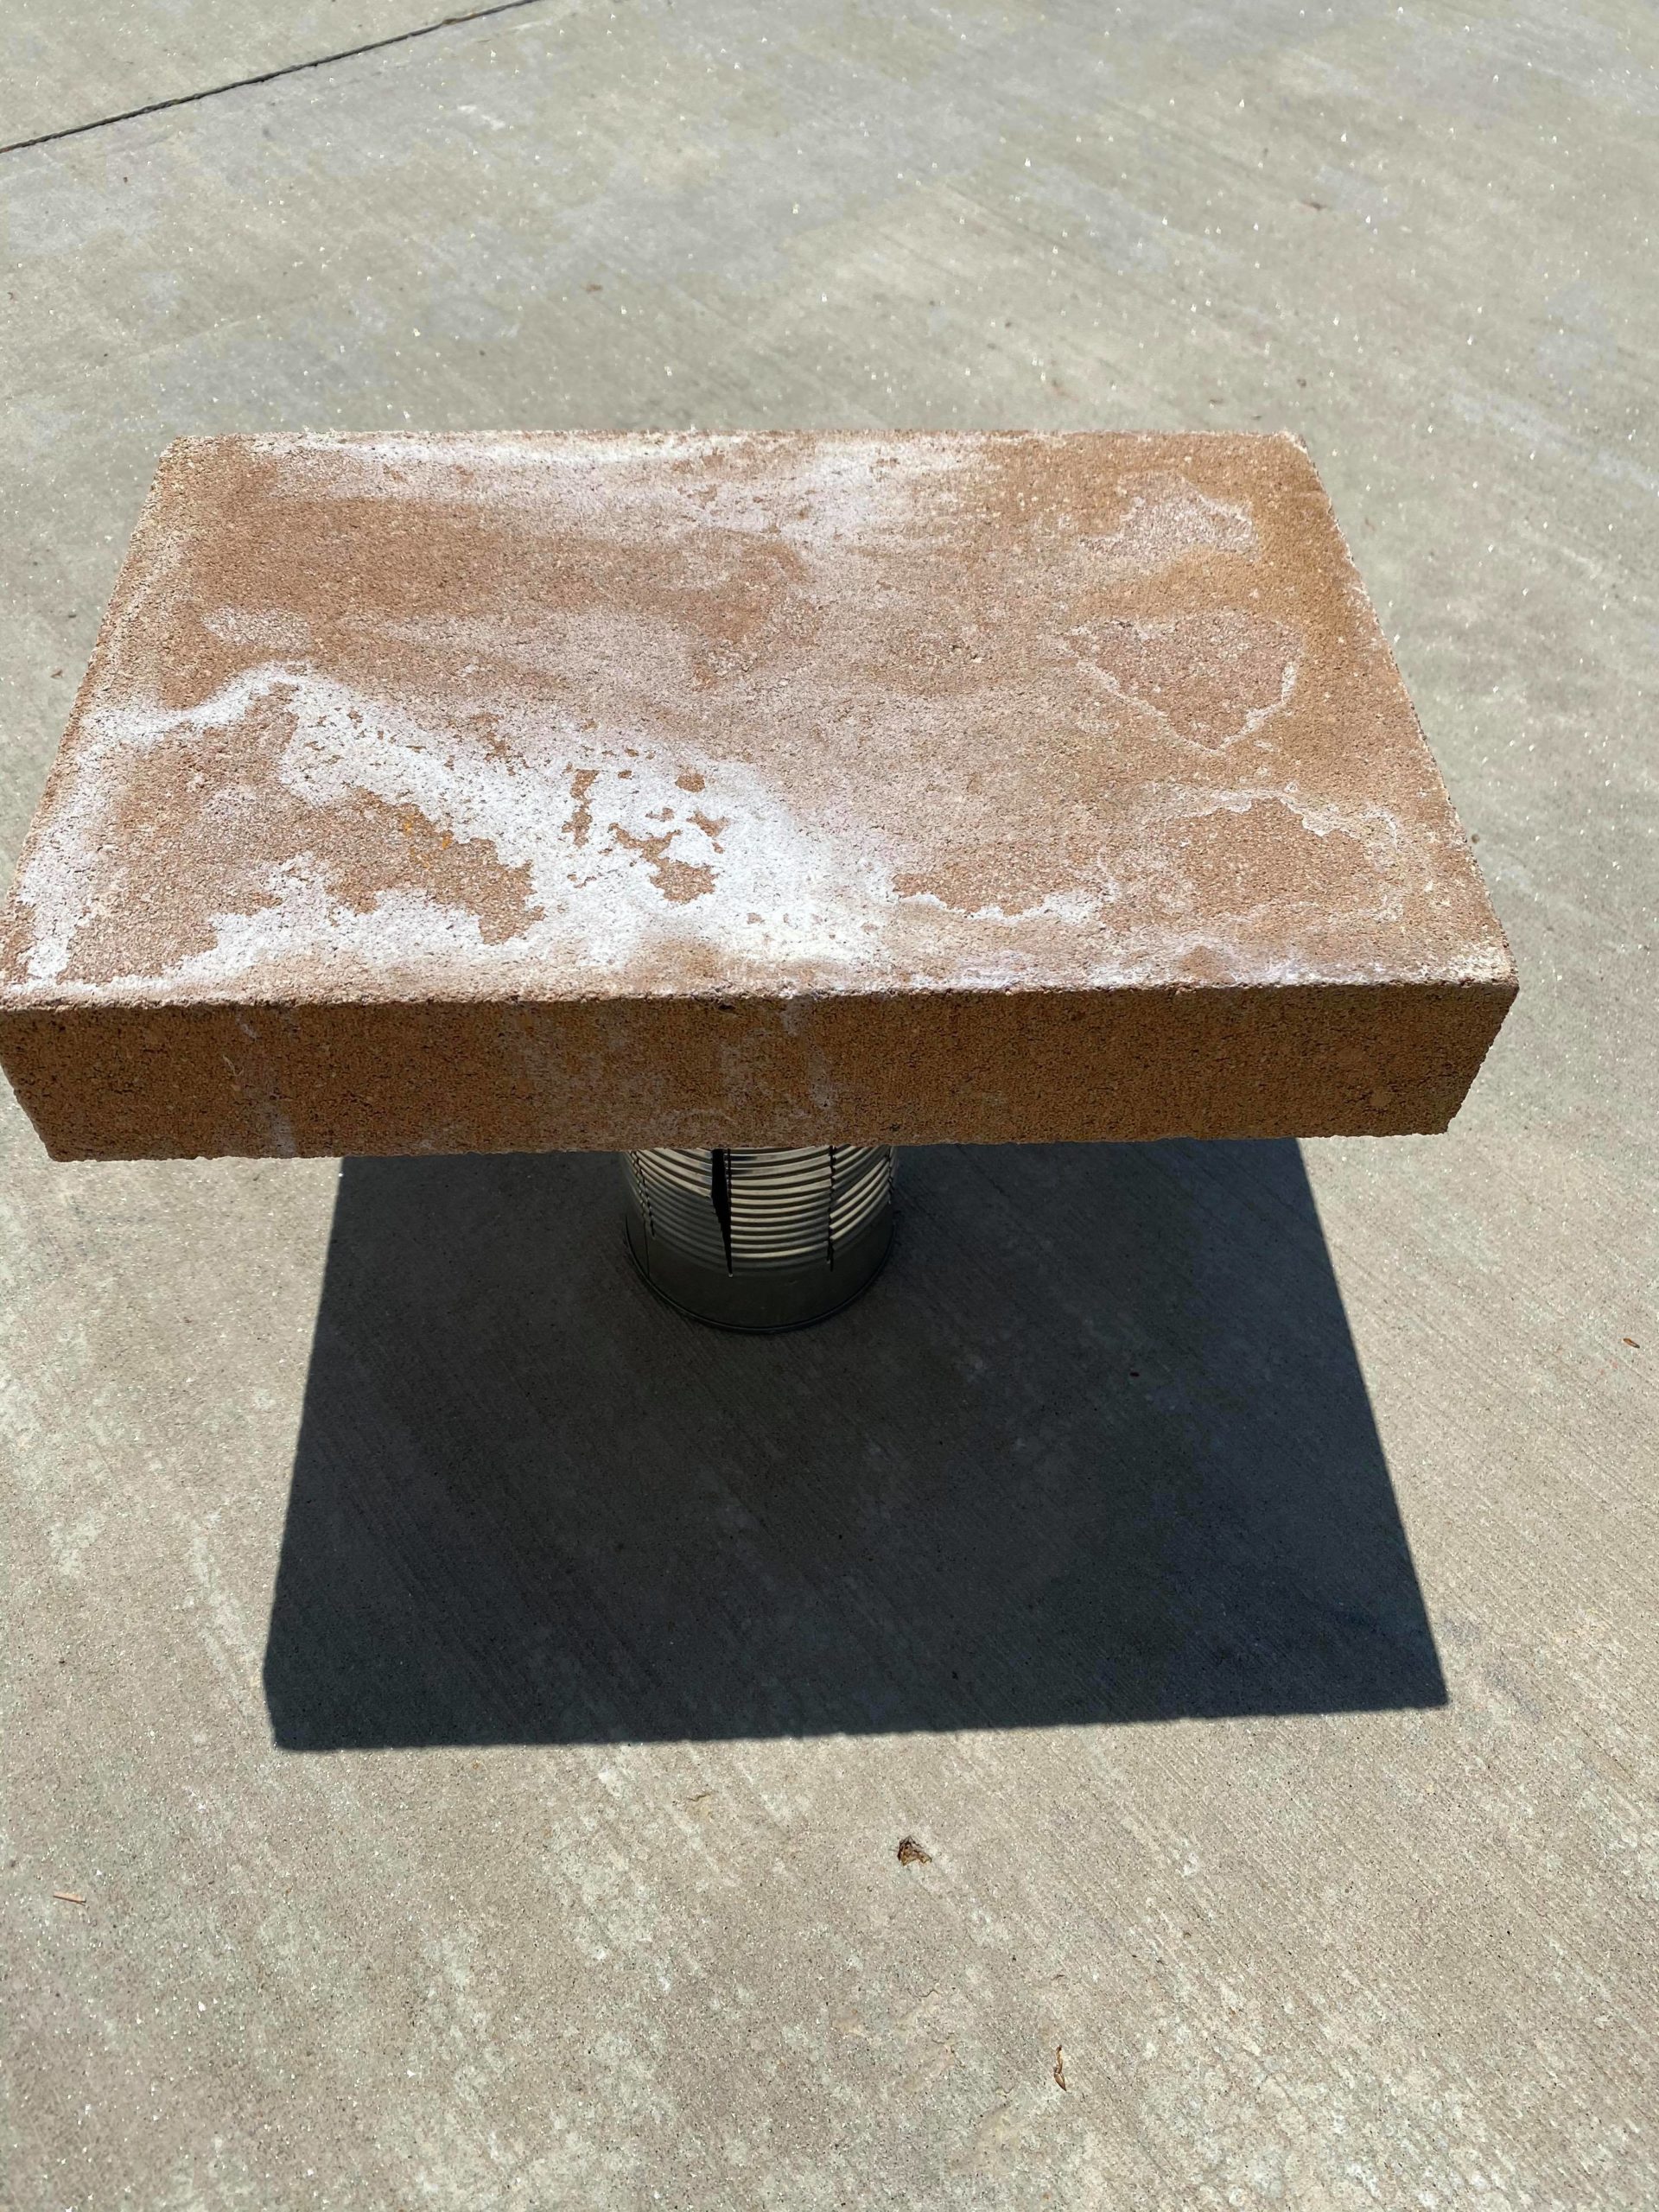
I used a heavy cement block and lightly smacked it onto the top of the can.
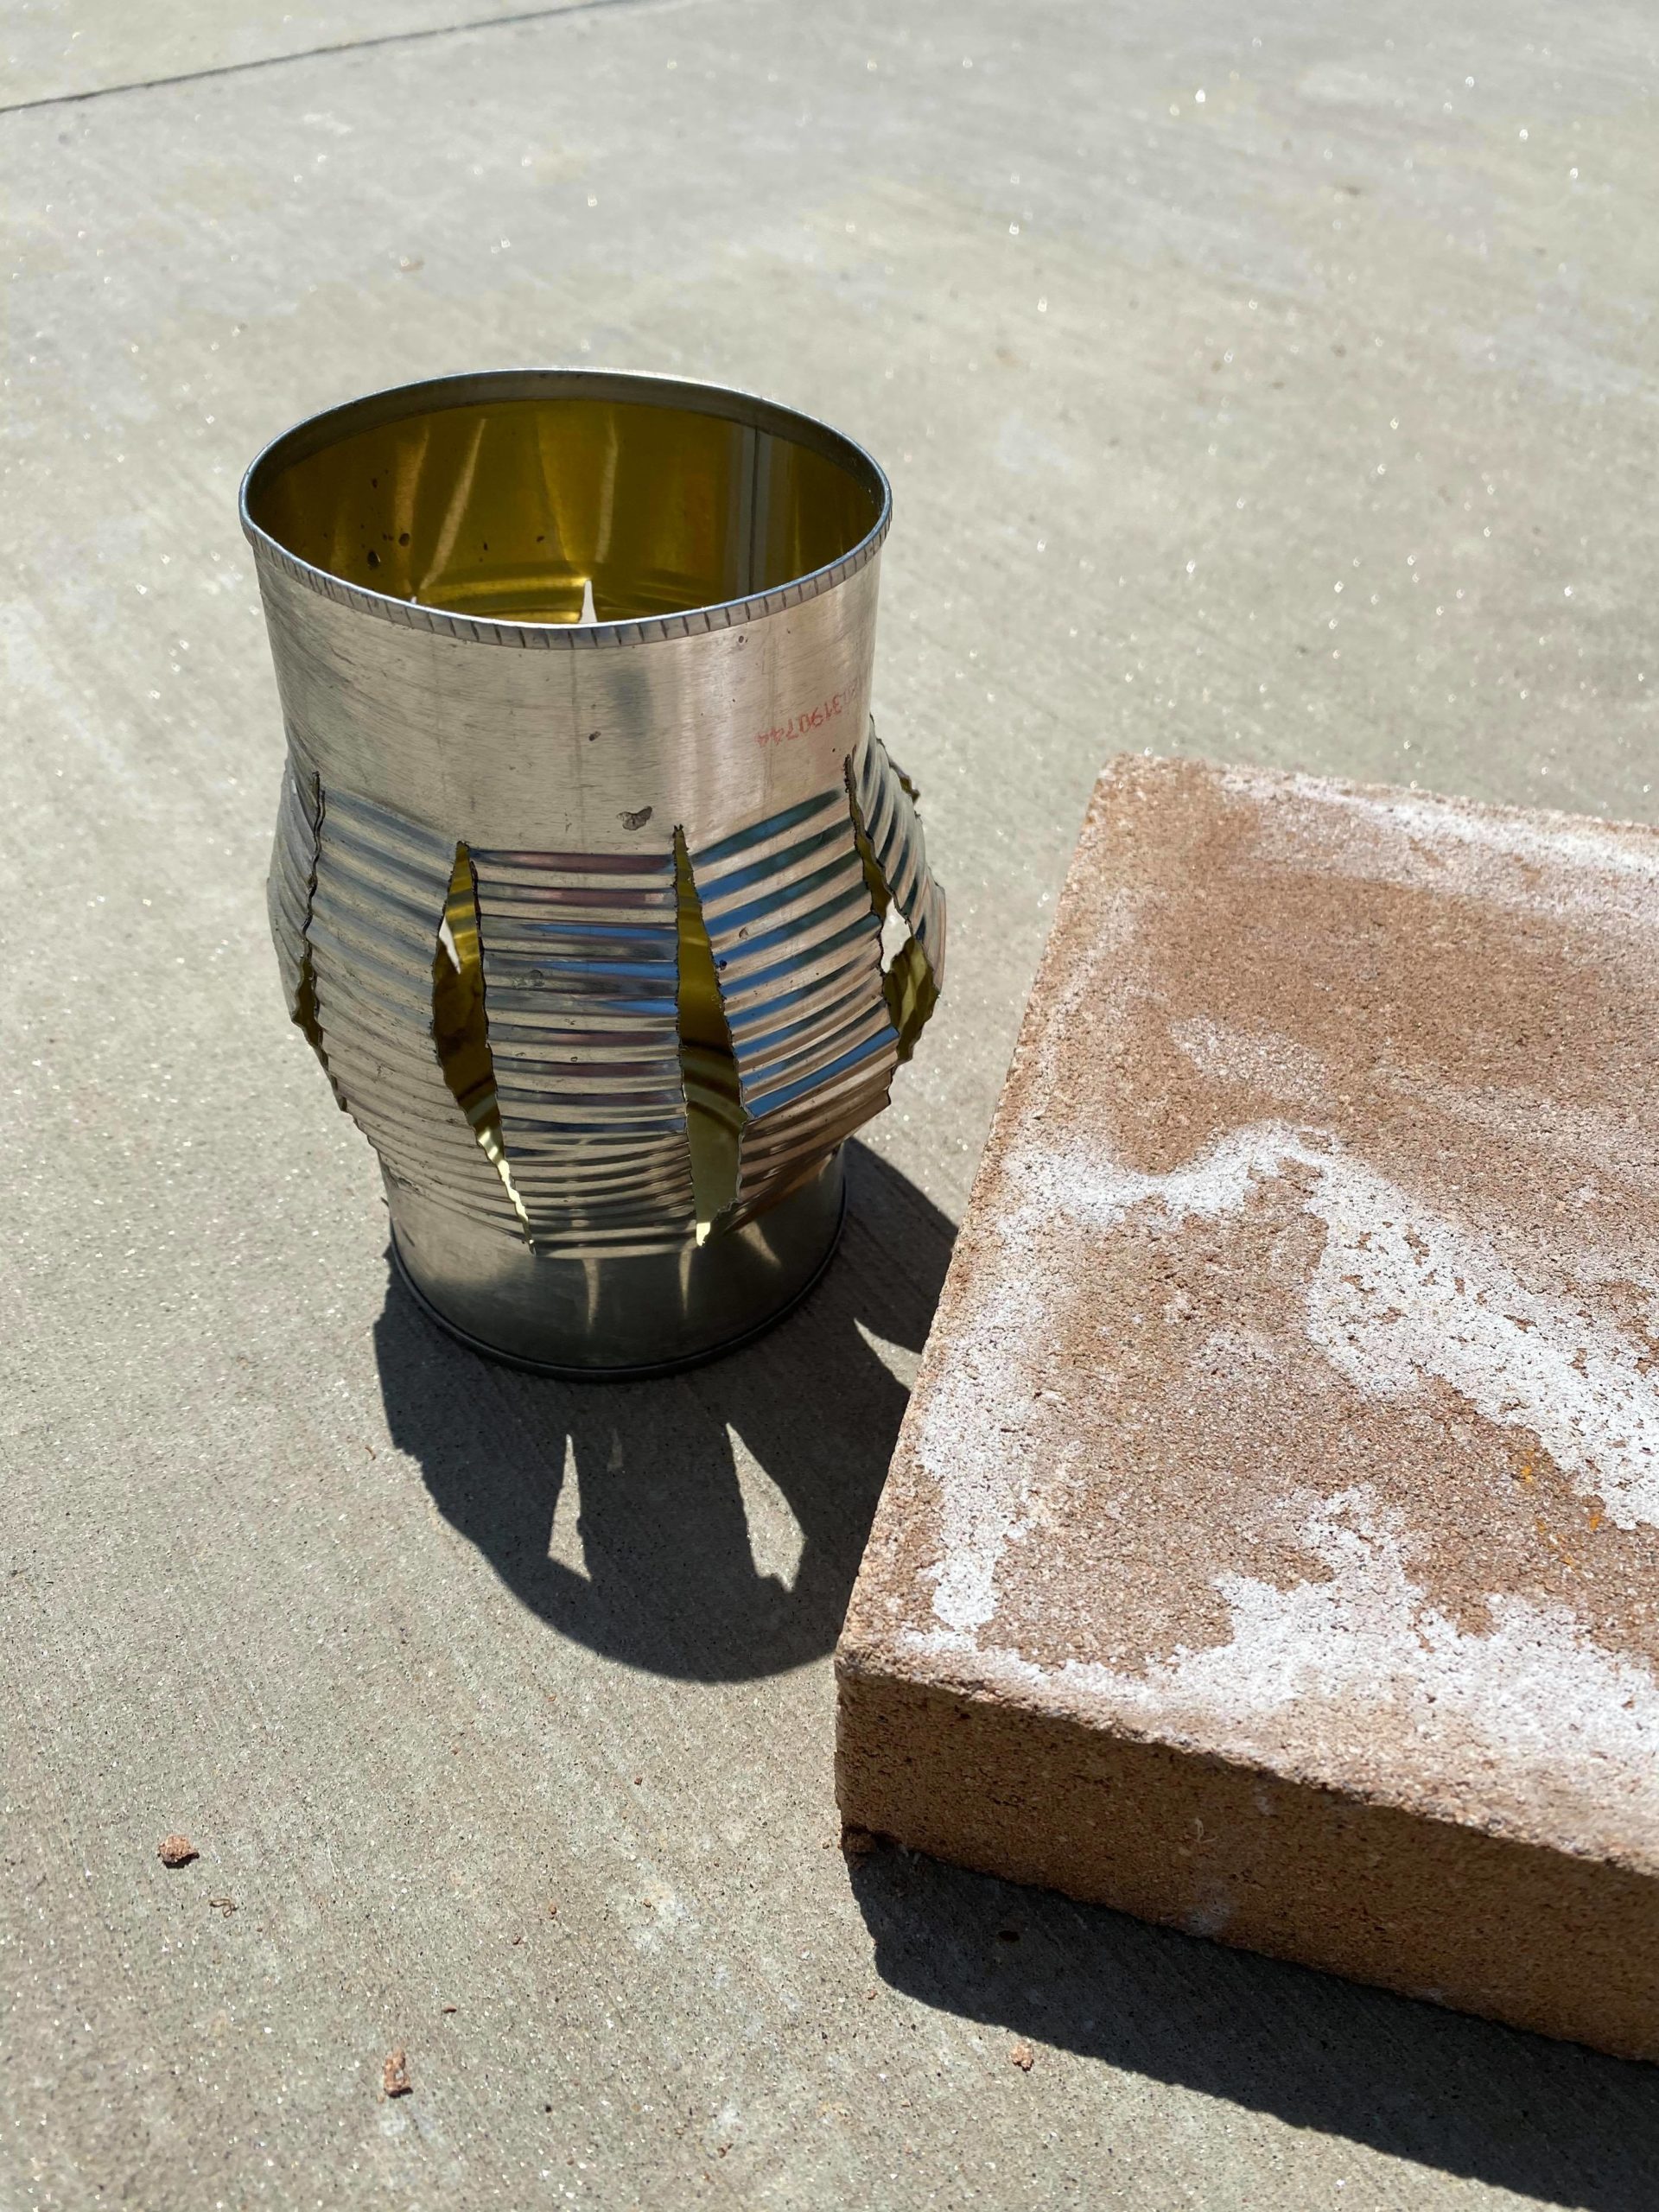
I did this a few times until I had the strips pushed out as far as I wanted them.
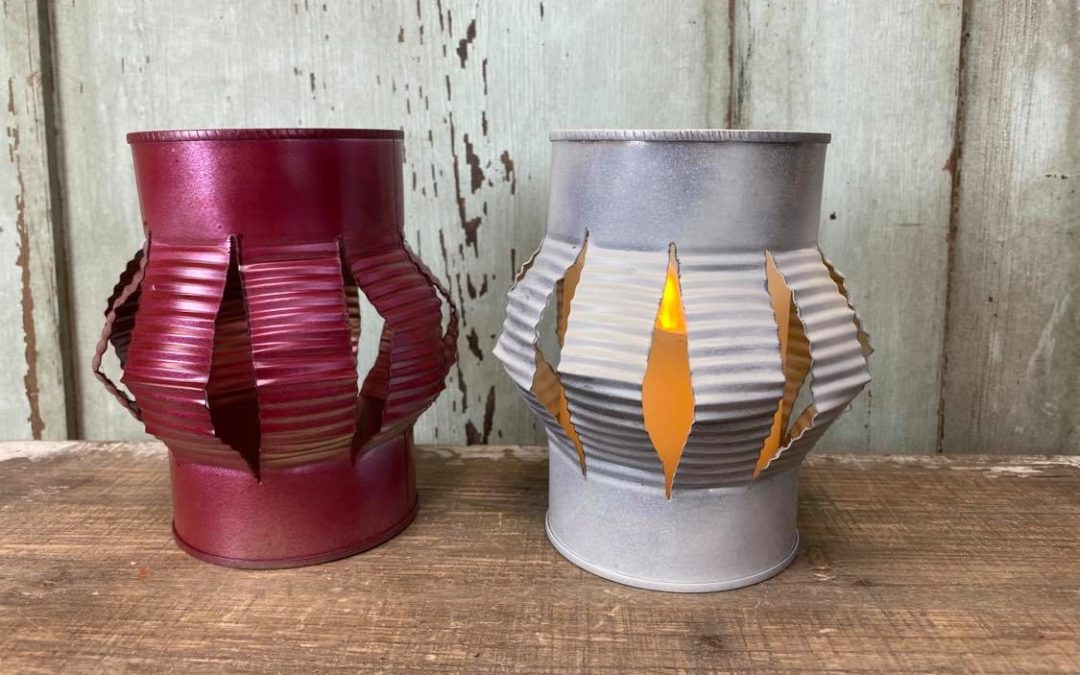
I used spray paint to color them.
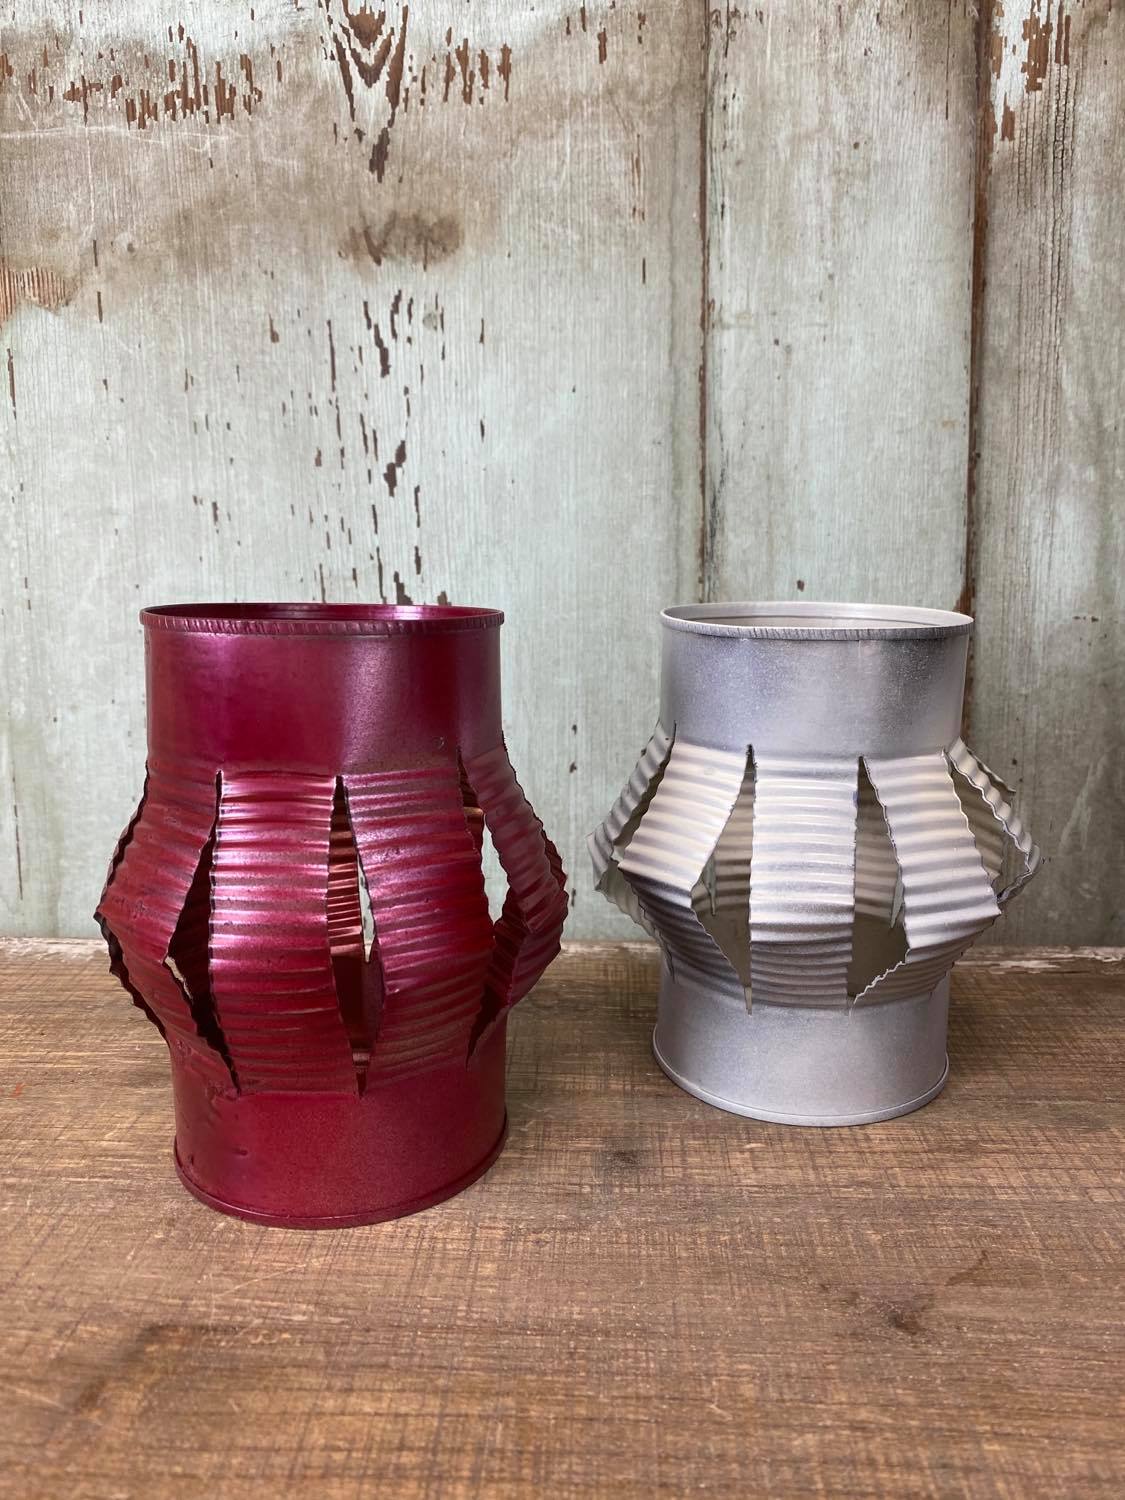
These are fun to create and you can use a variety of different size cans. I will be adding battery operated candles to mine. I hope you will all get creative and give these a try.